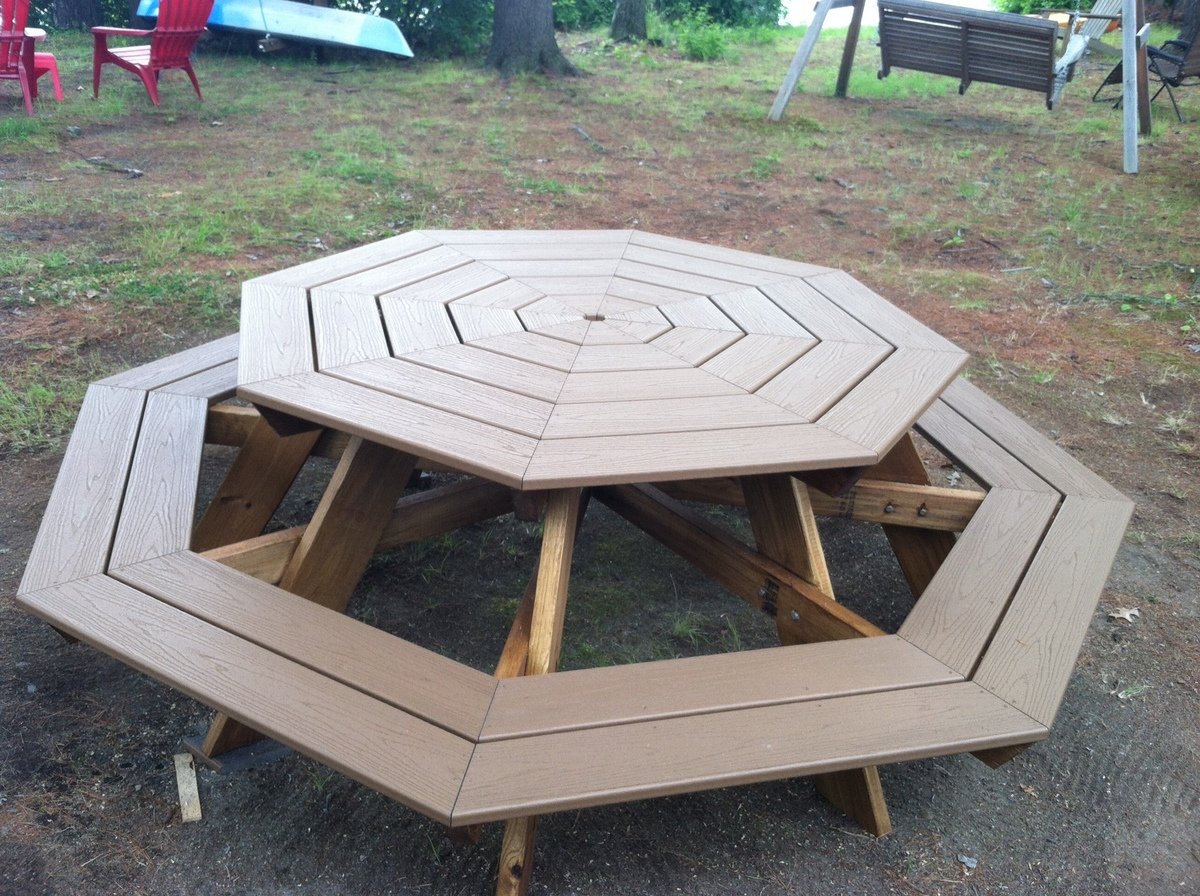
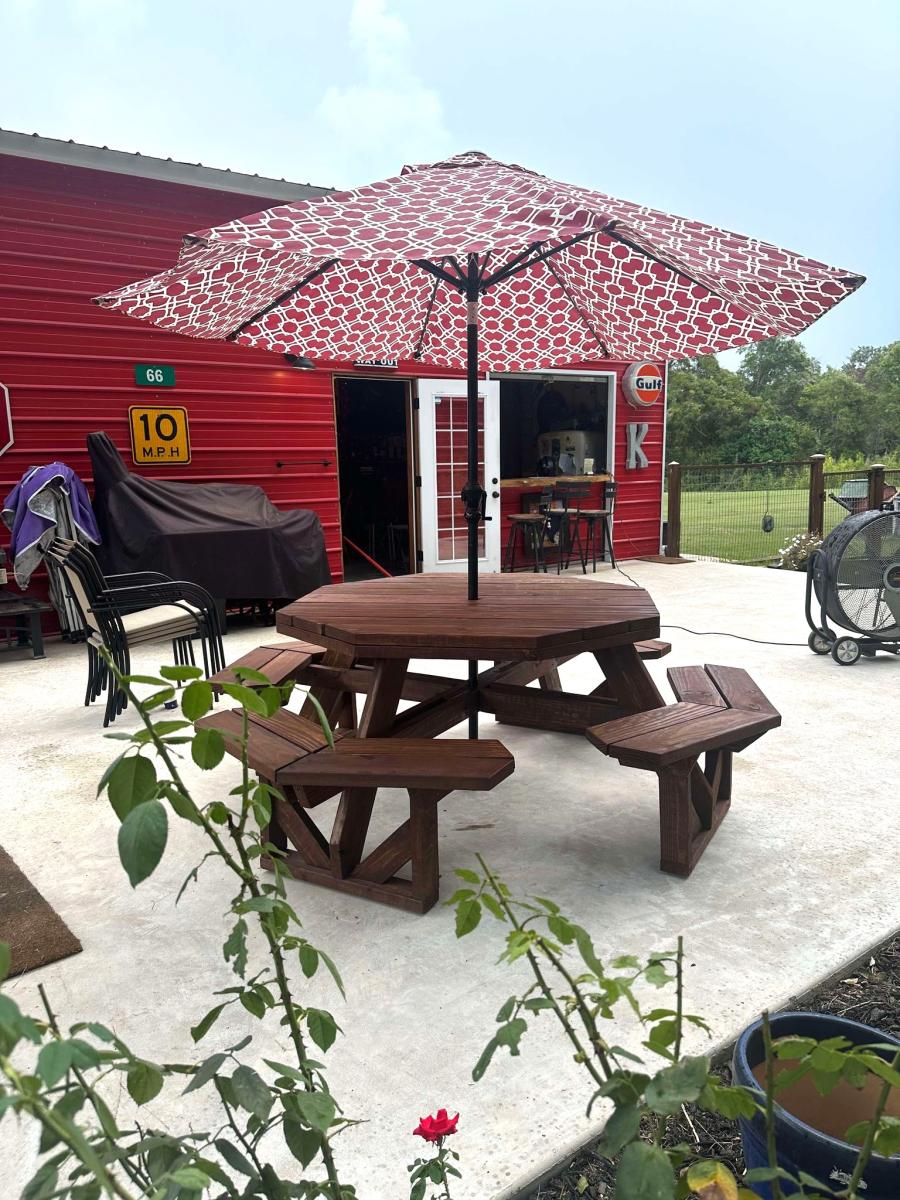
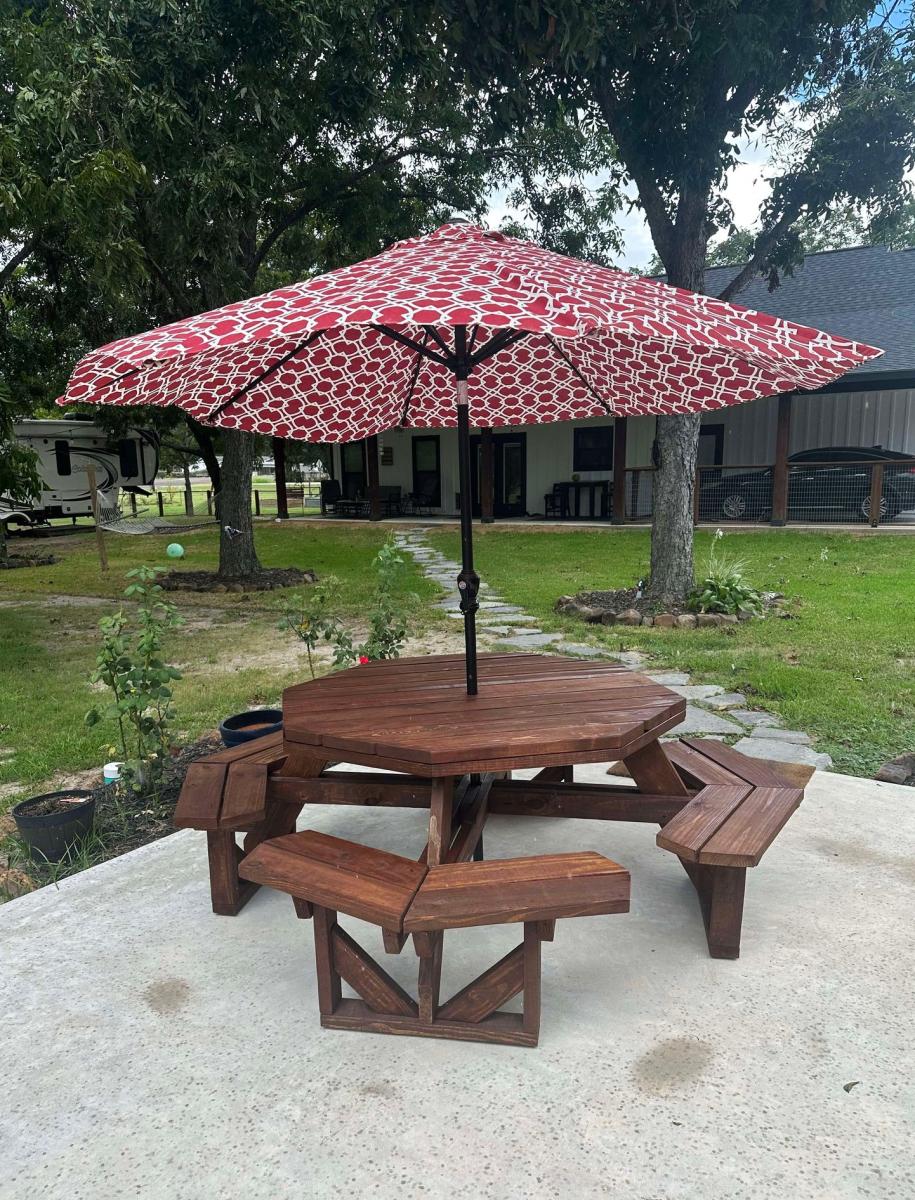
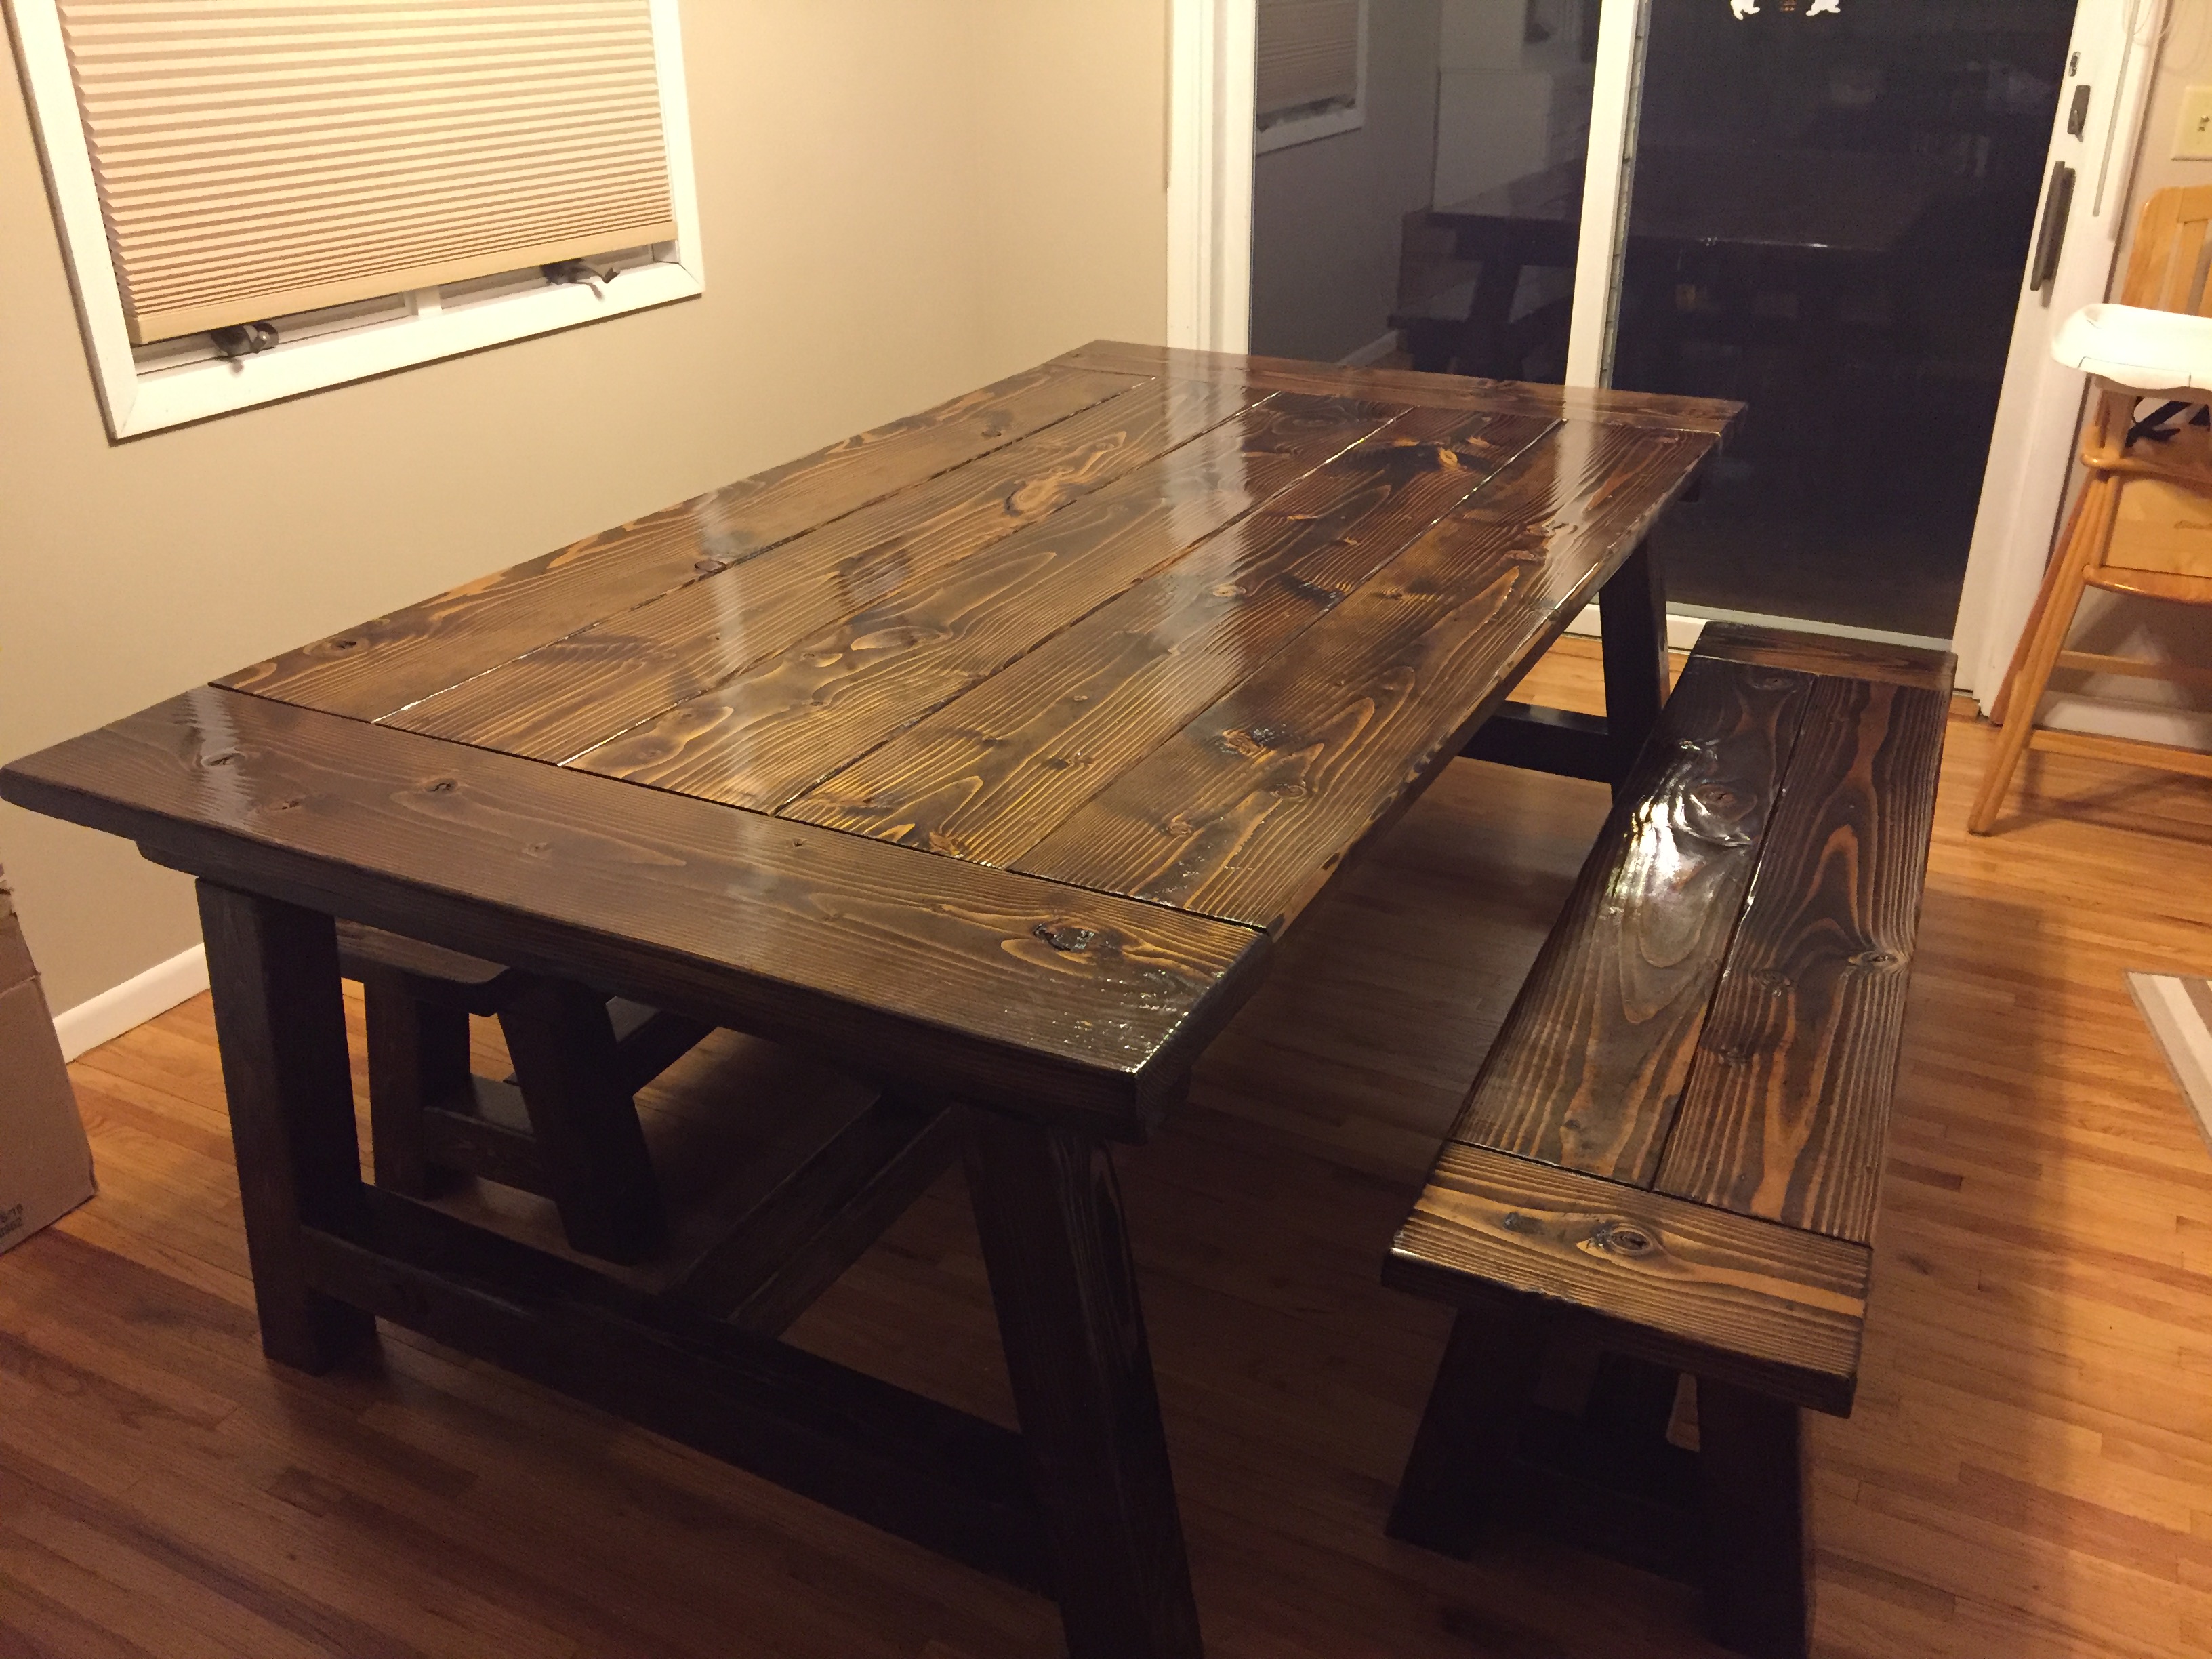
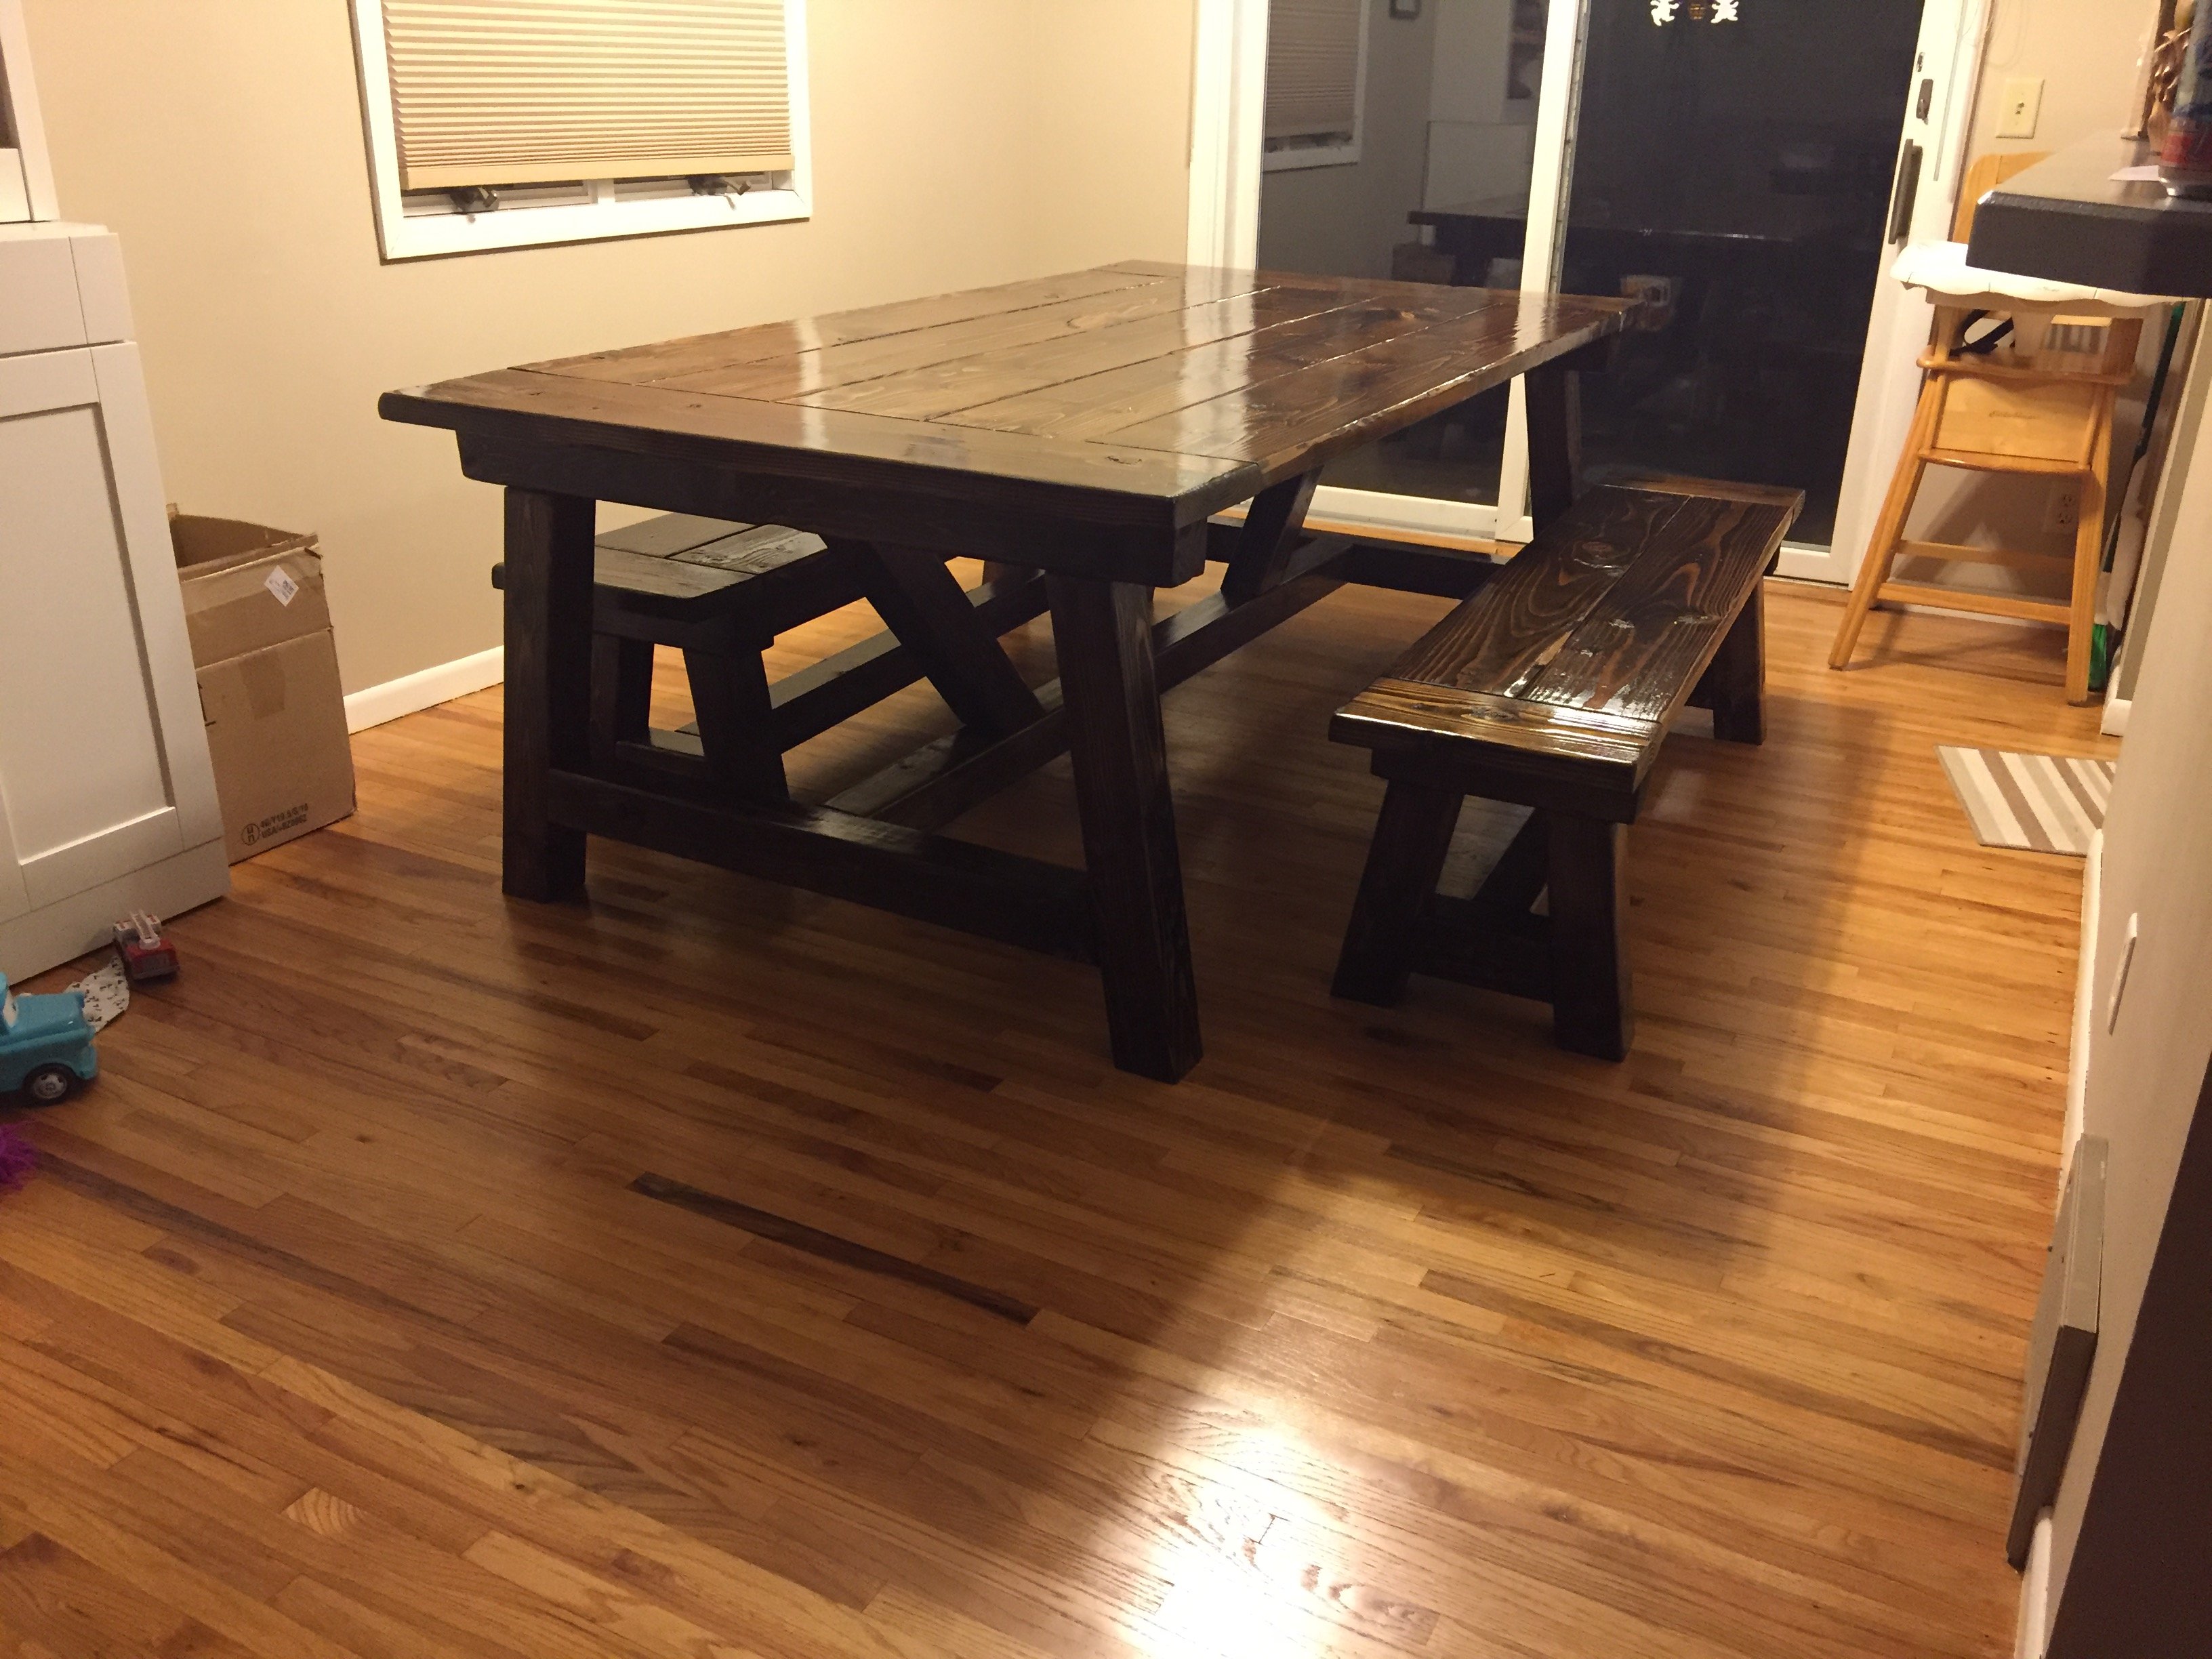
Living in a cottage on a lake during the summers, I needed a picnic table that would take care of a big family so I built the Octagonal picnic table on Ana's site, however with a twist.
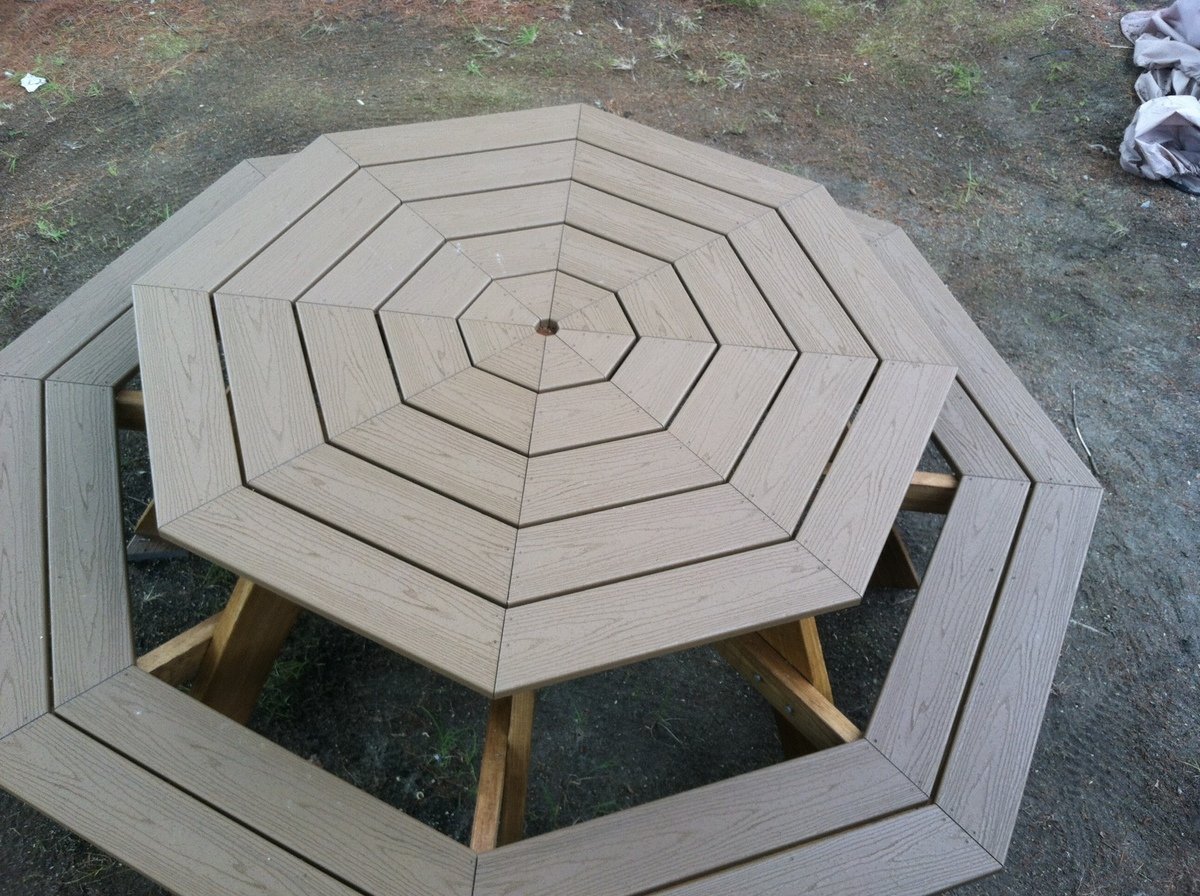
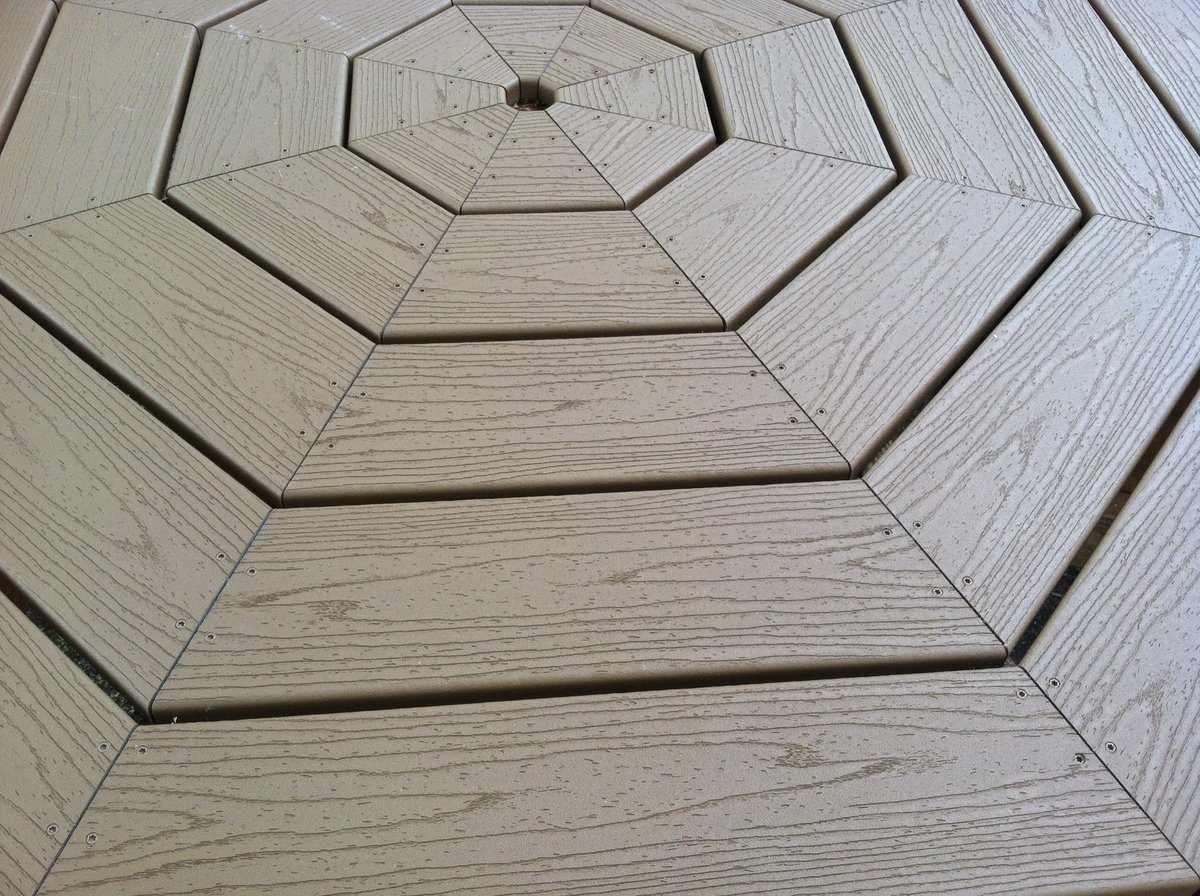
Since we are under a bunch of trees, I wanted to be able to scrub the table easily and not have to do any maintenance on it over the long term. So I built the top and the benches using Trex. Yes, it was more expensive but the result (if I do say so myself) was incredible.
Since Trex isn't as structural as 2 x 6's, I reinforced the seats using 2x4s laid horizontally underneath the seam of each of the two bench pieces. I also drove a few extra screws through the Trex benches along the 2 x 4's to further strengthen seating area.
Aesthetically, I didn't care for the 1/2 inch spacing for the table top and benches so I reduced it to 1/4 inch and cut the length of the Trex accordingly. I used decking screws that exactly matched the color of the Trex.
I did take the advice of one of the former builder's of this table and staggered the legs to make it easier to get in and out. That was a worth while suggestion.
The only 'warning' I was given about using Trex was that it could get 'hot' if in the sun for long periods during the day during the summer. This table is in the shade almost all the time, but having said that I have read that the Trex as decking gets no hotter than treated lumber stained the same color.
This is a great design at it was lots of fun to build.


Comments
Ana White Admin
Fri, 07/01/2016 - 10:53
Stunning!
Great choice all around! Thanks for sharing:)
Katie.Belmont88
Wed, 07/06/2016 - 19:18
Love!
I love this! I was so excited until I realized that this was a brag and didn't have plans. I don't know if I'm as talented at modifying as you are. :)
kajasmin
Tue, 06/11/2019 - 05:25
Can you share where you got…
Can you share where you got your cushions please?