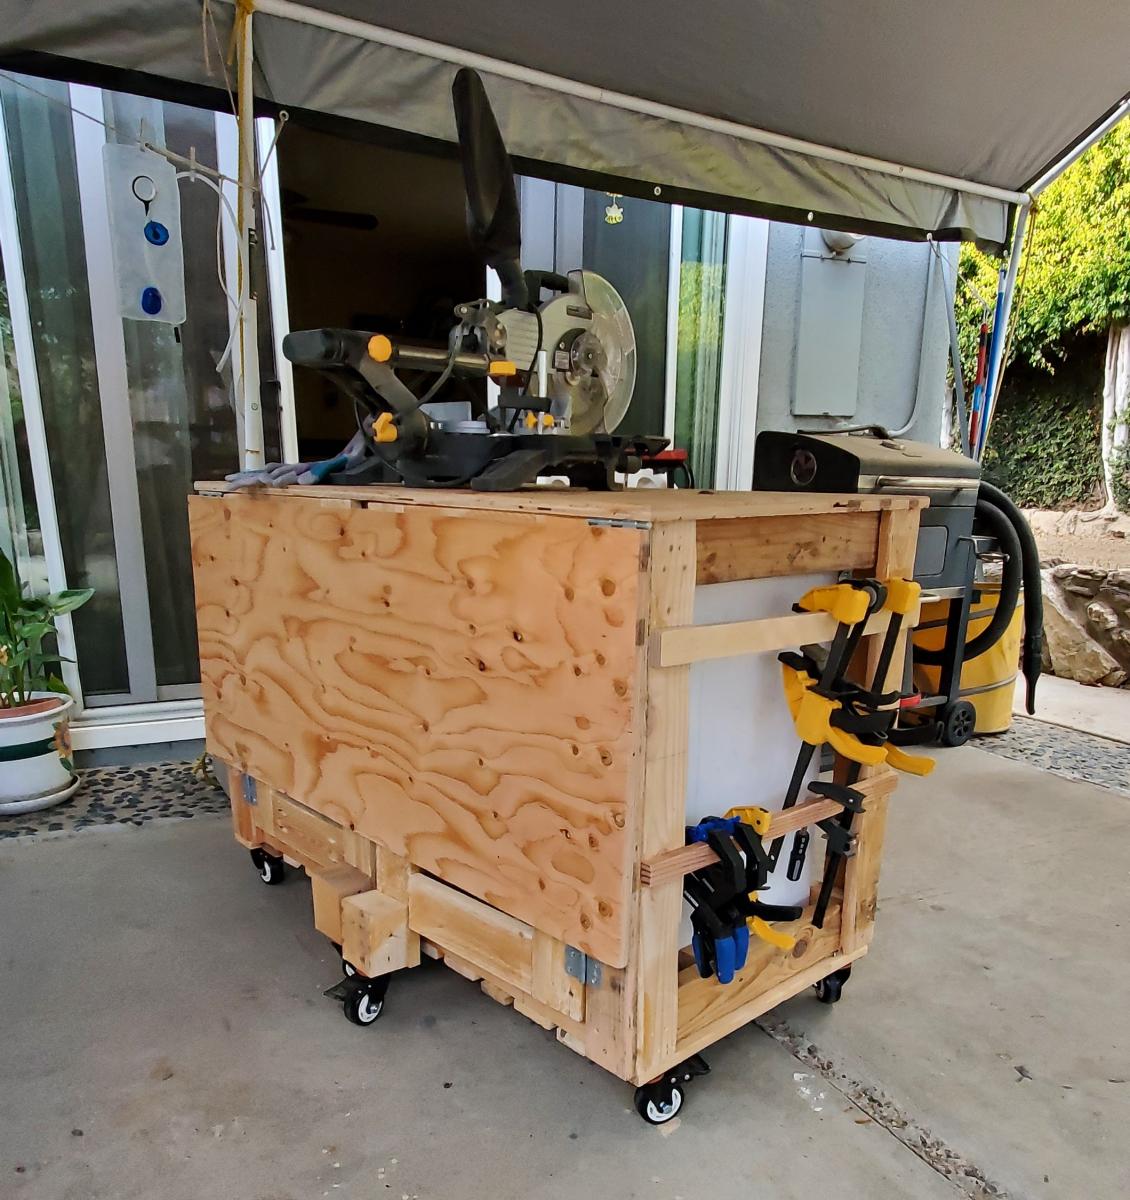
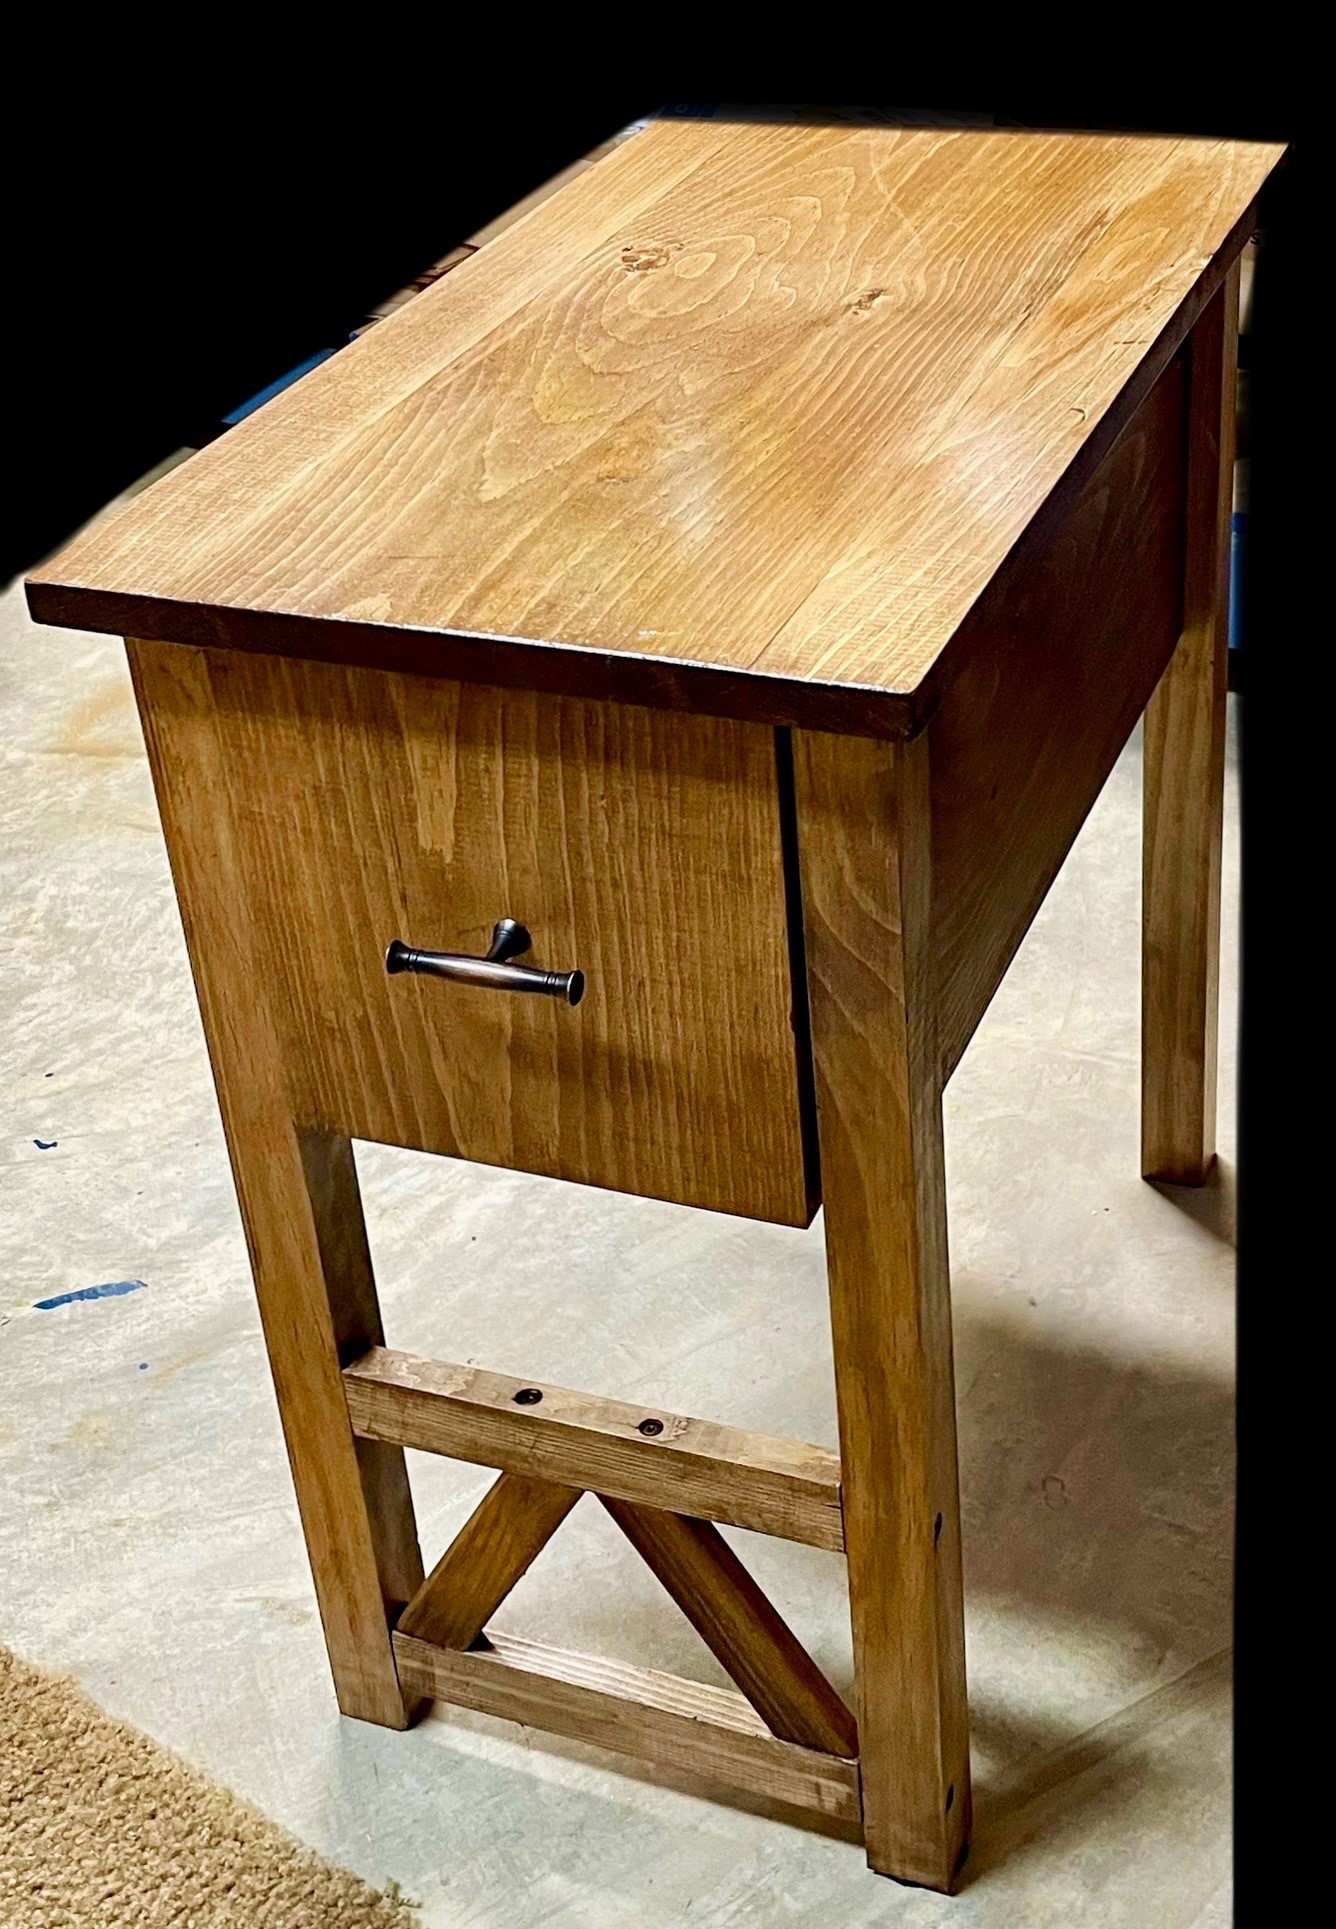
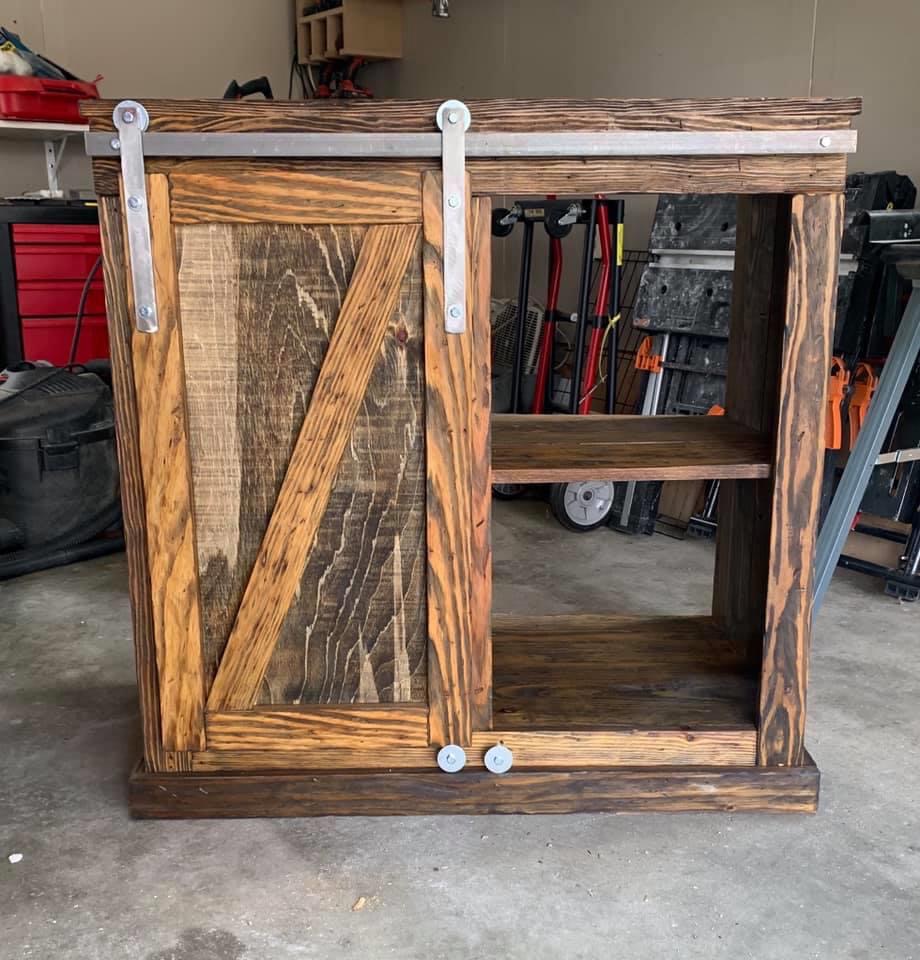
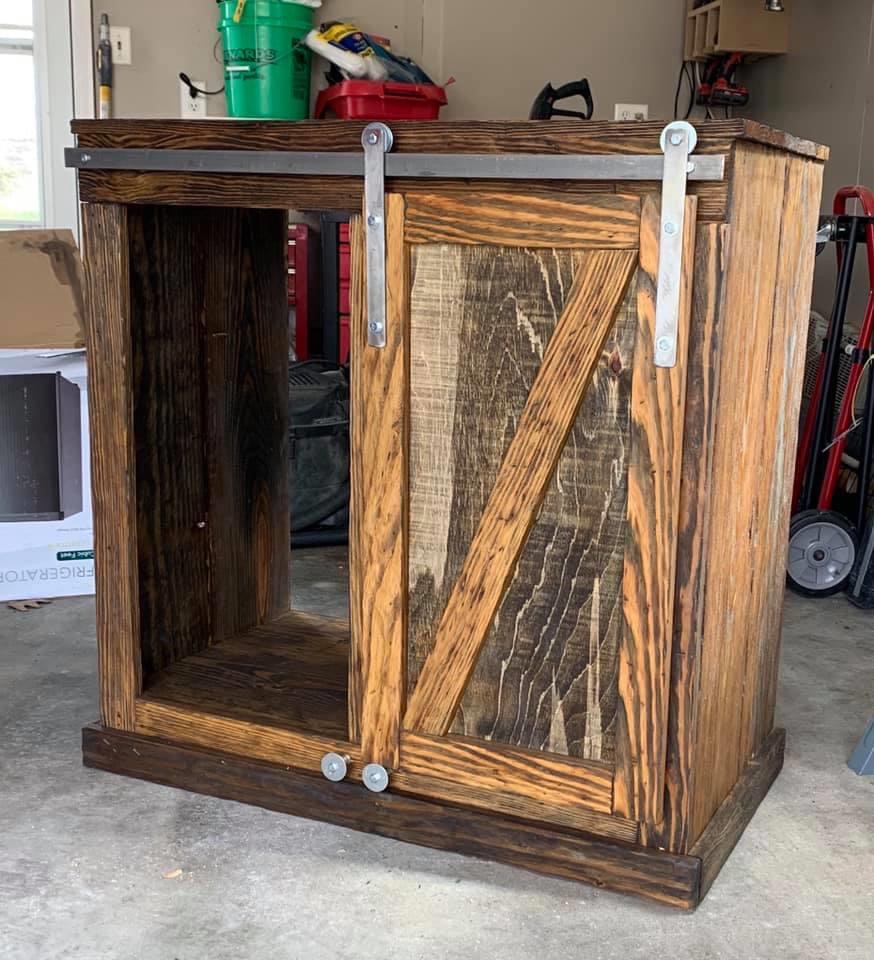
DIY Folding Workbench
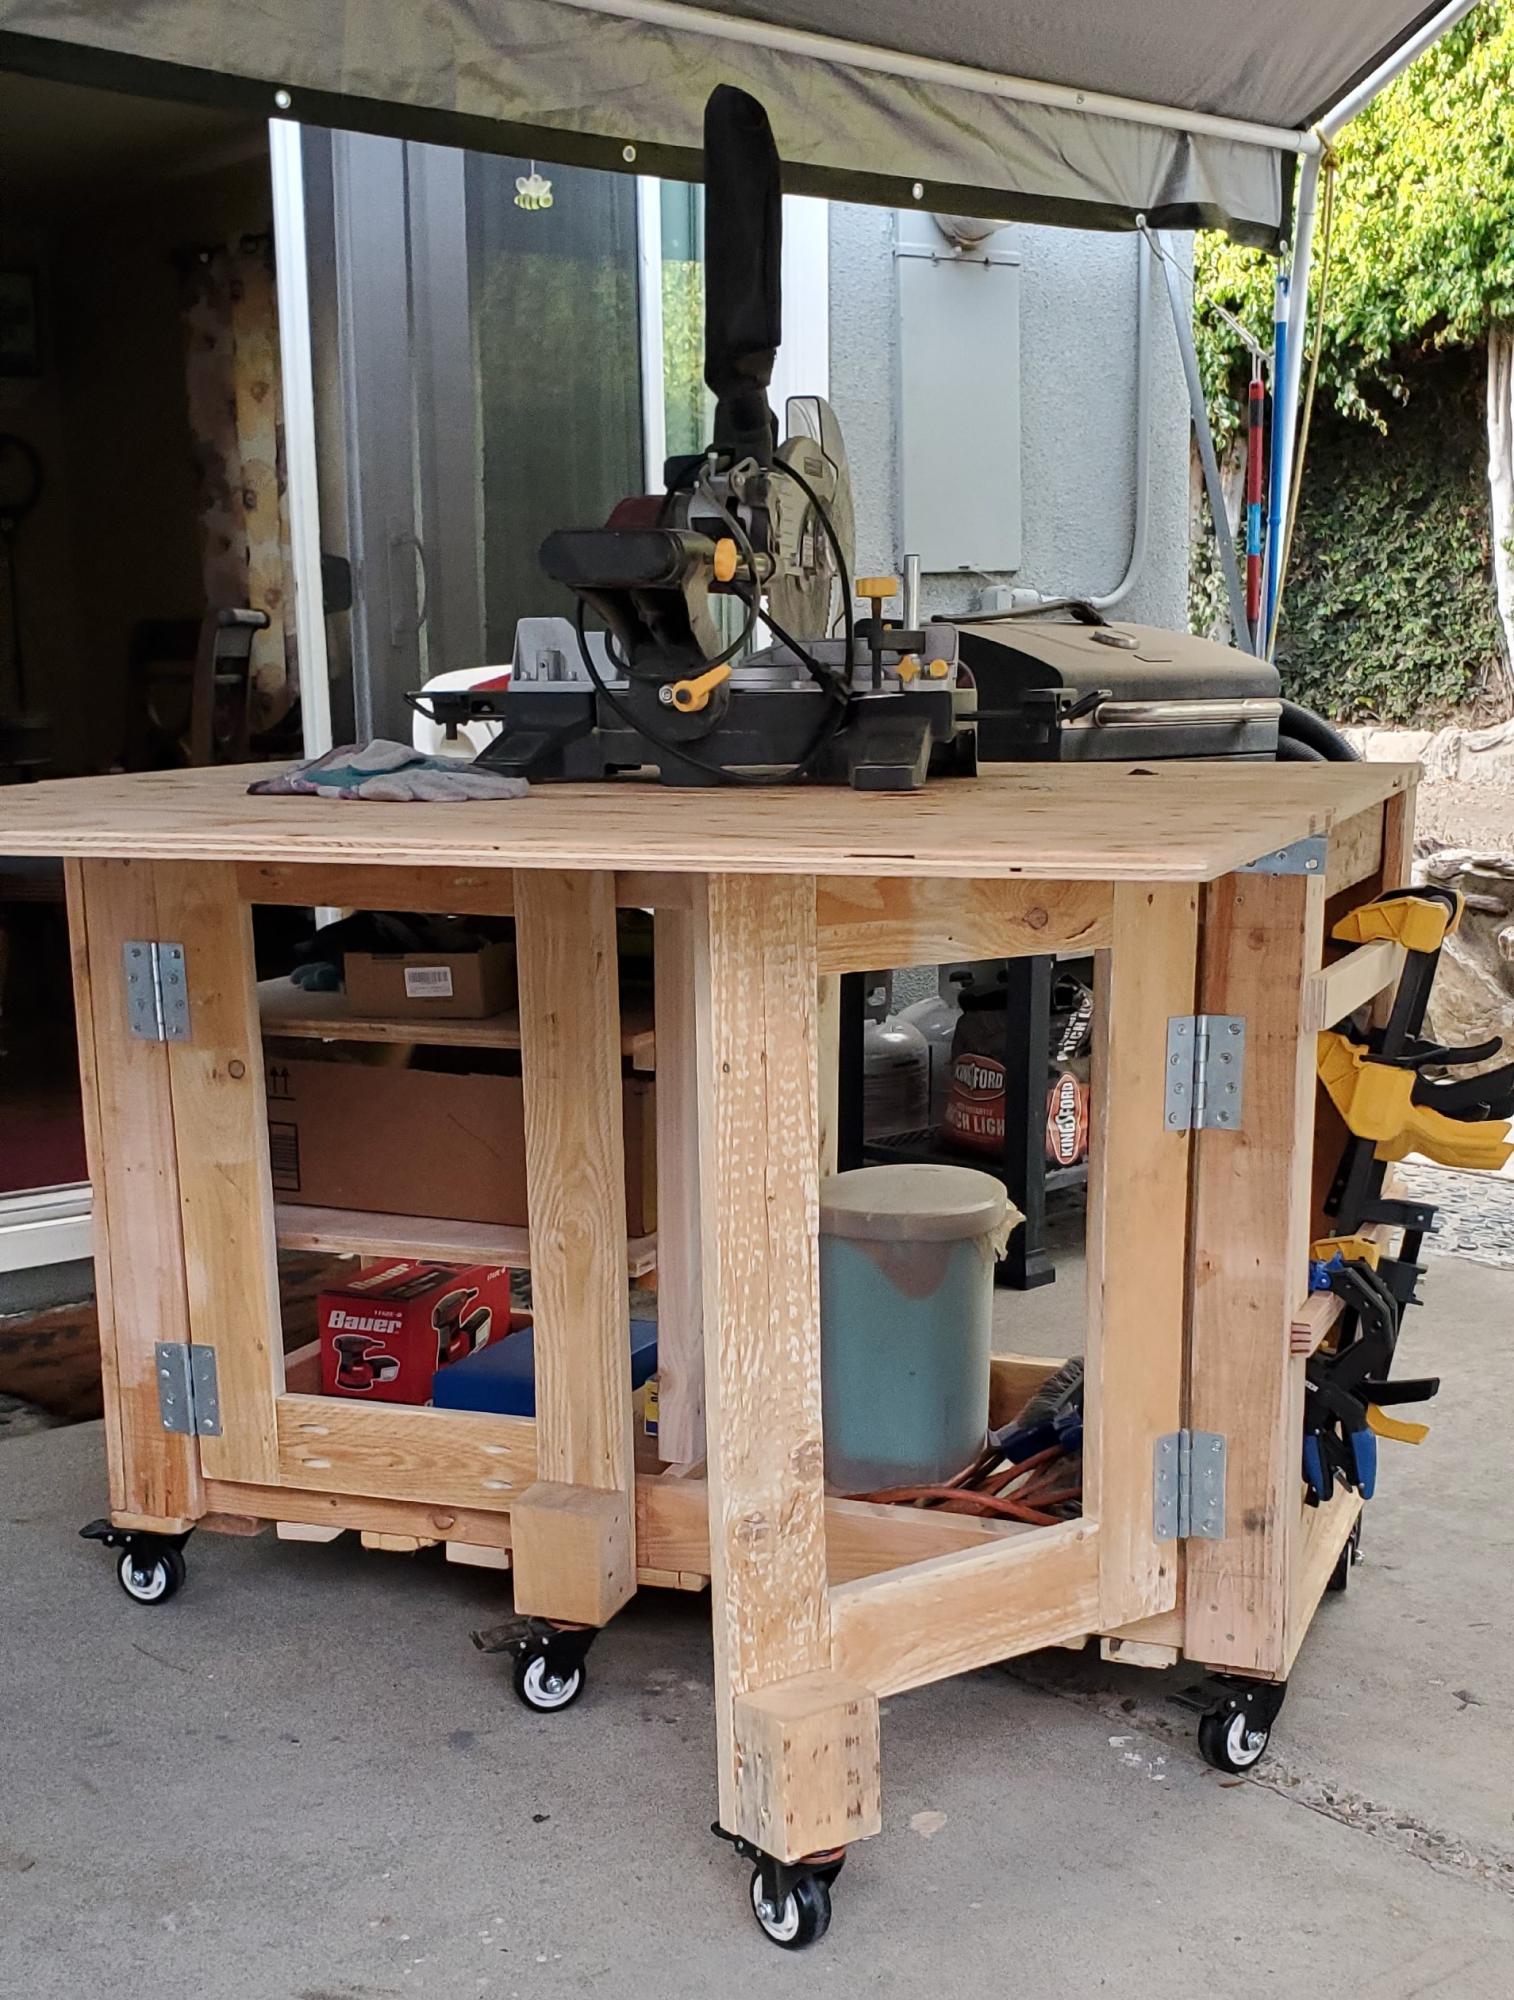
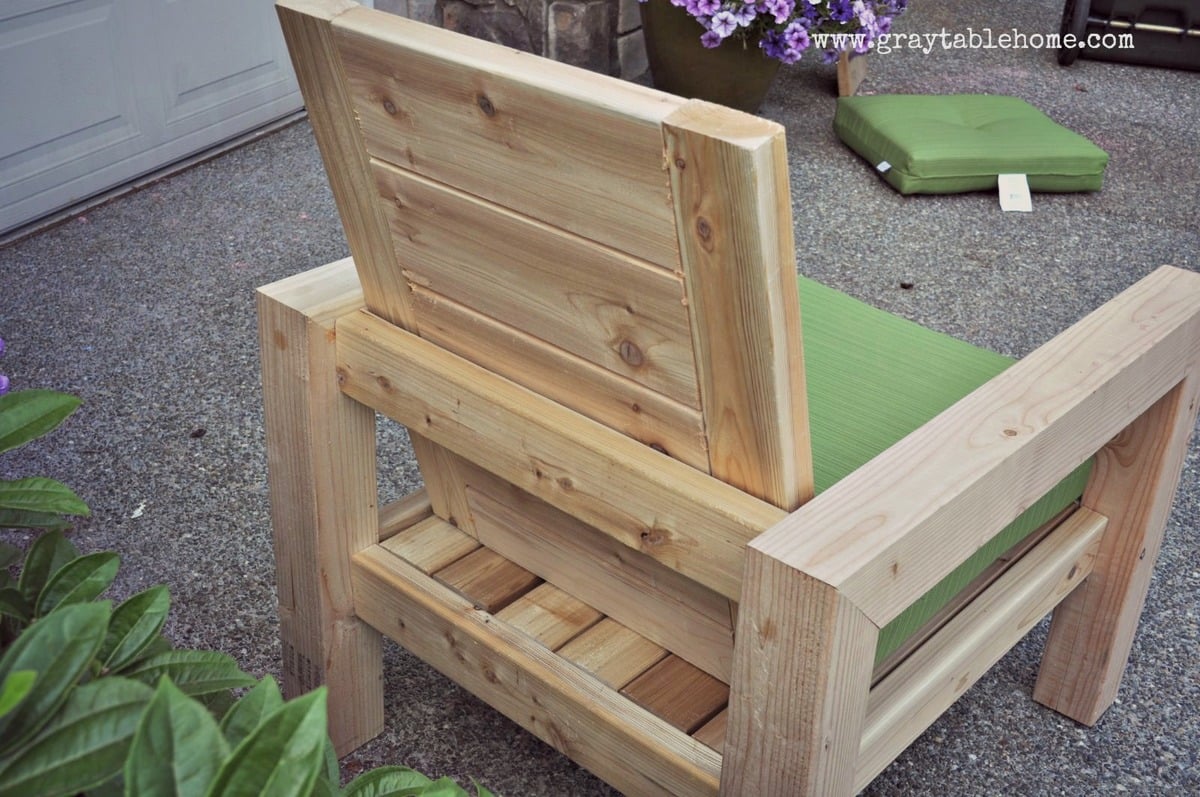
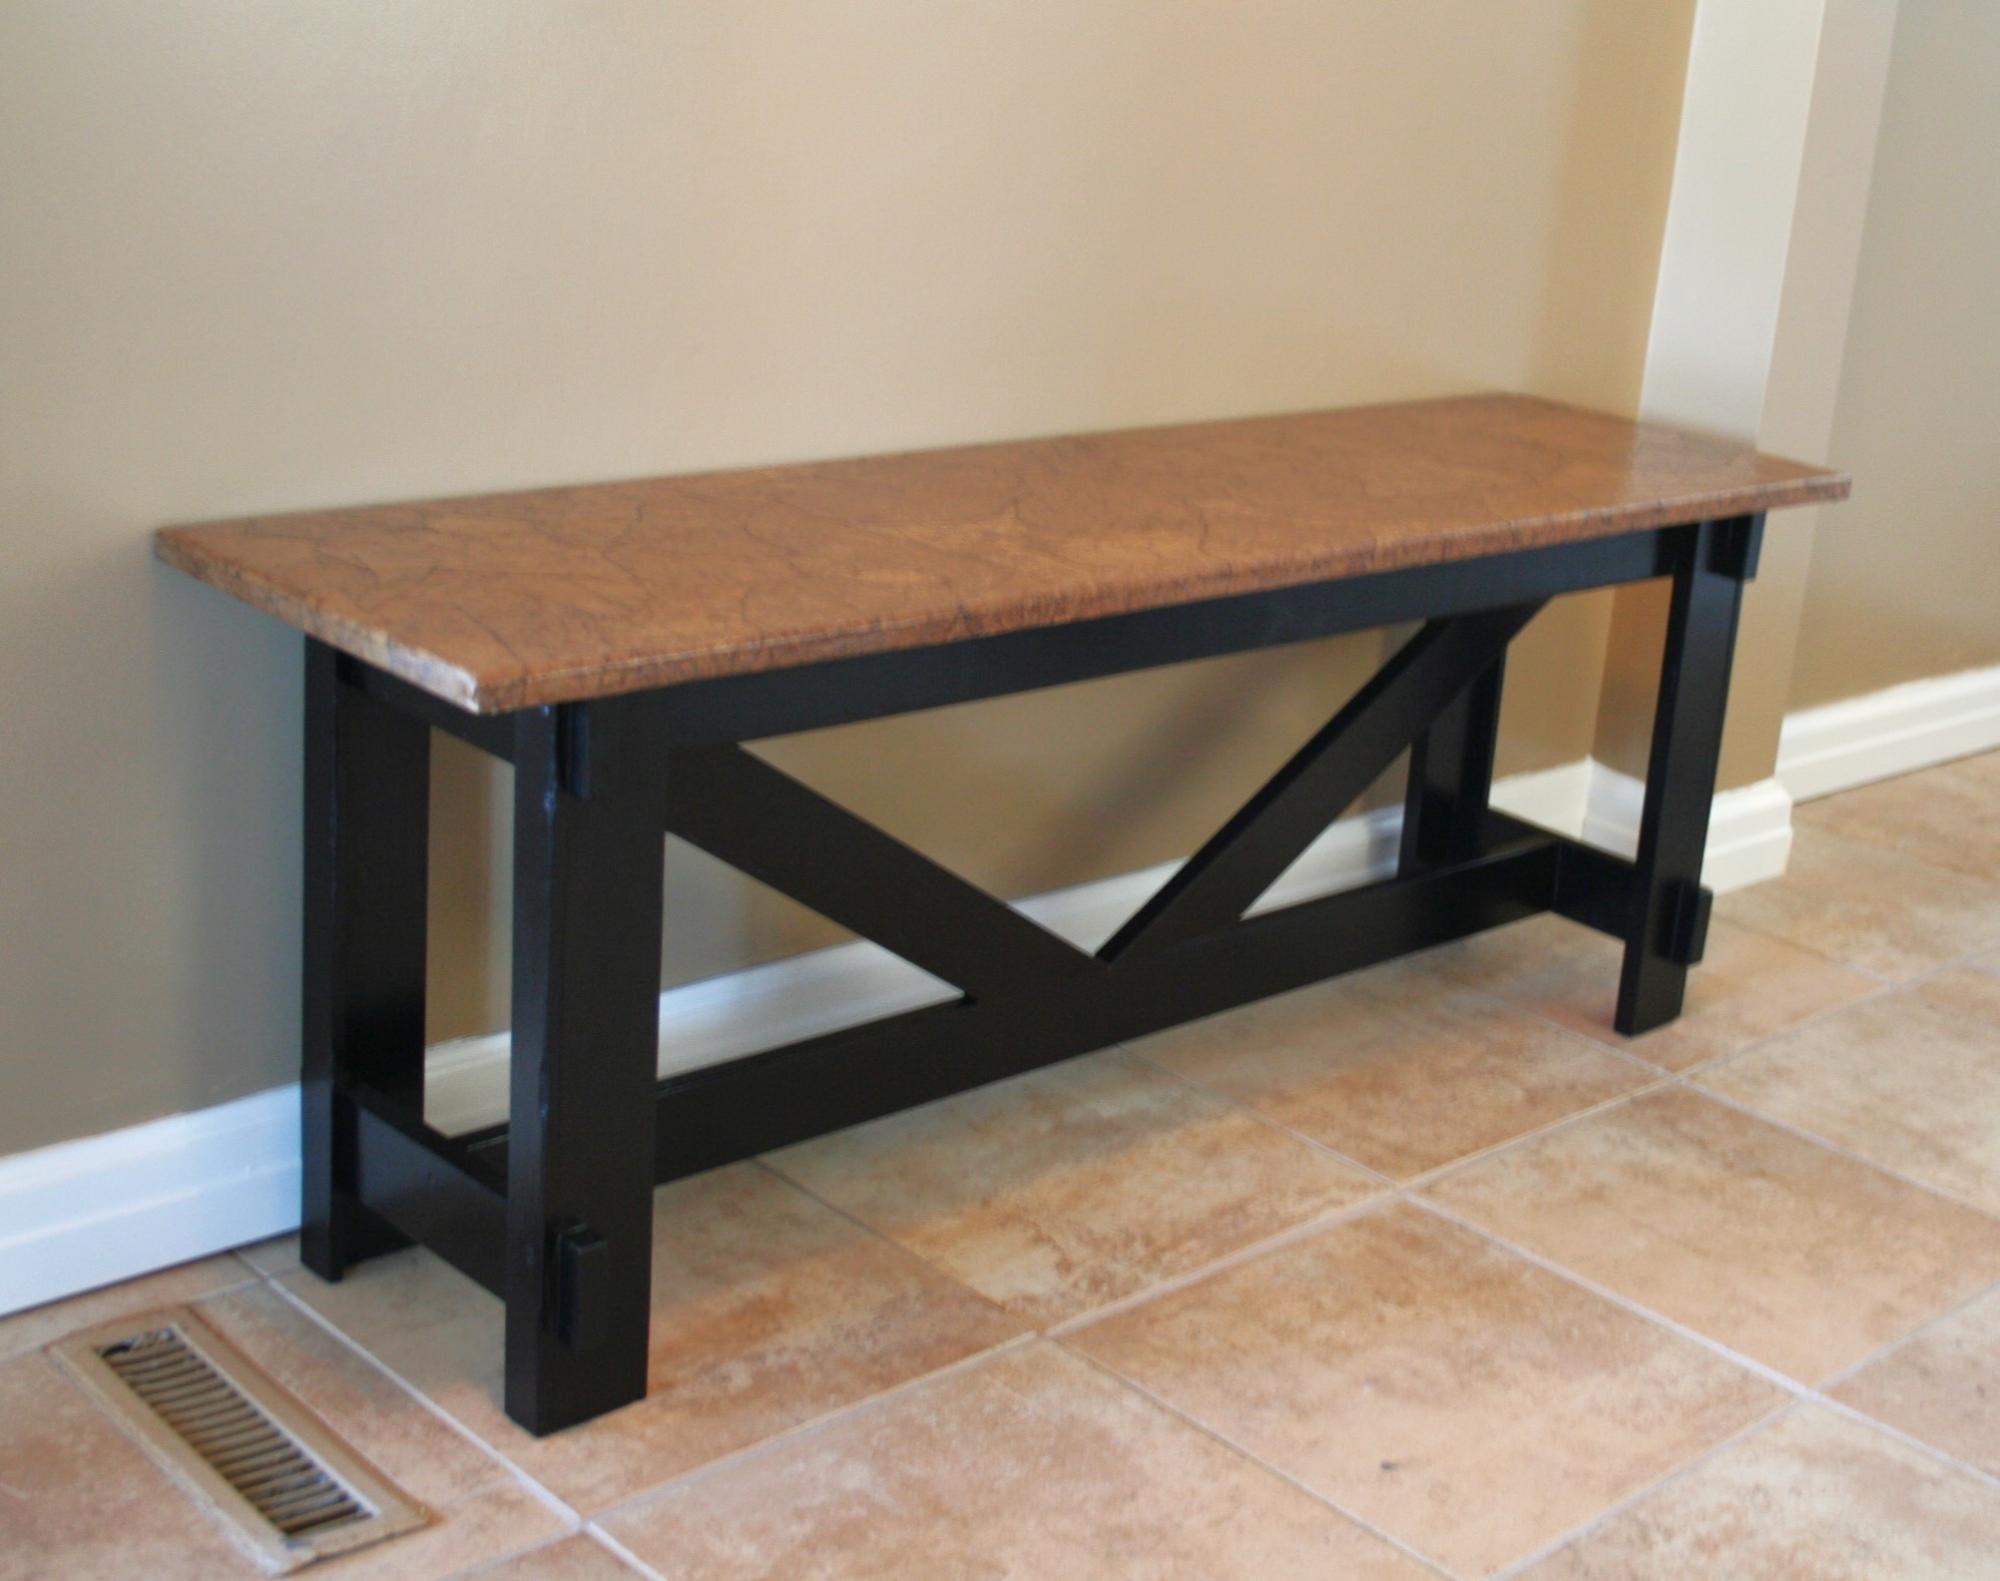
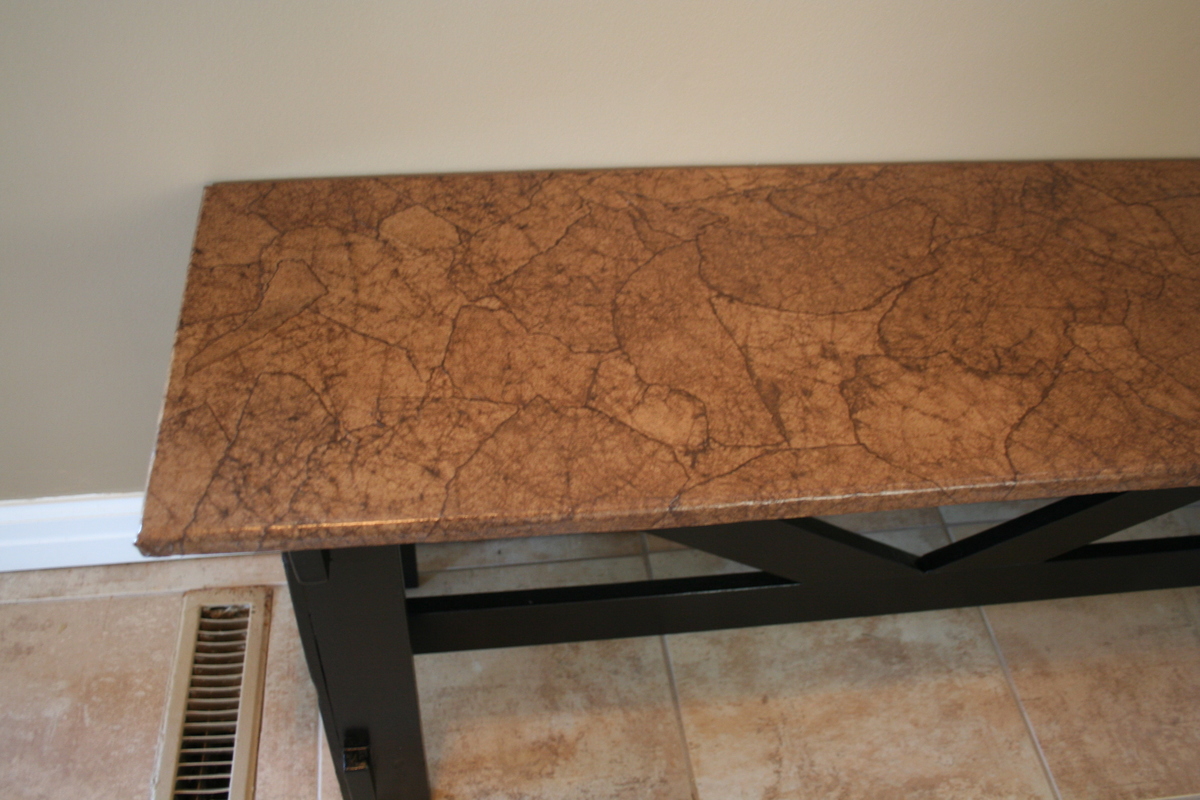
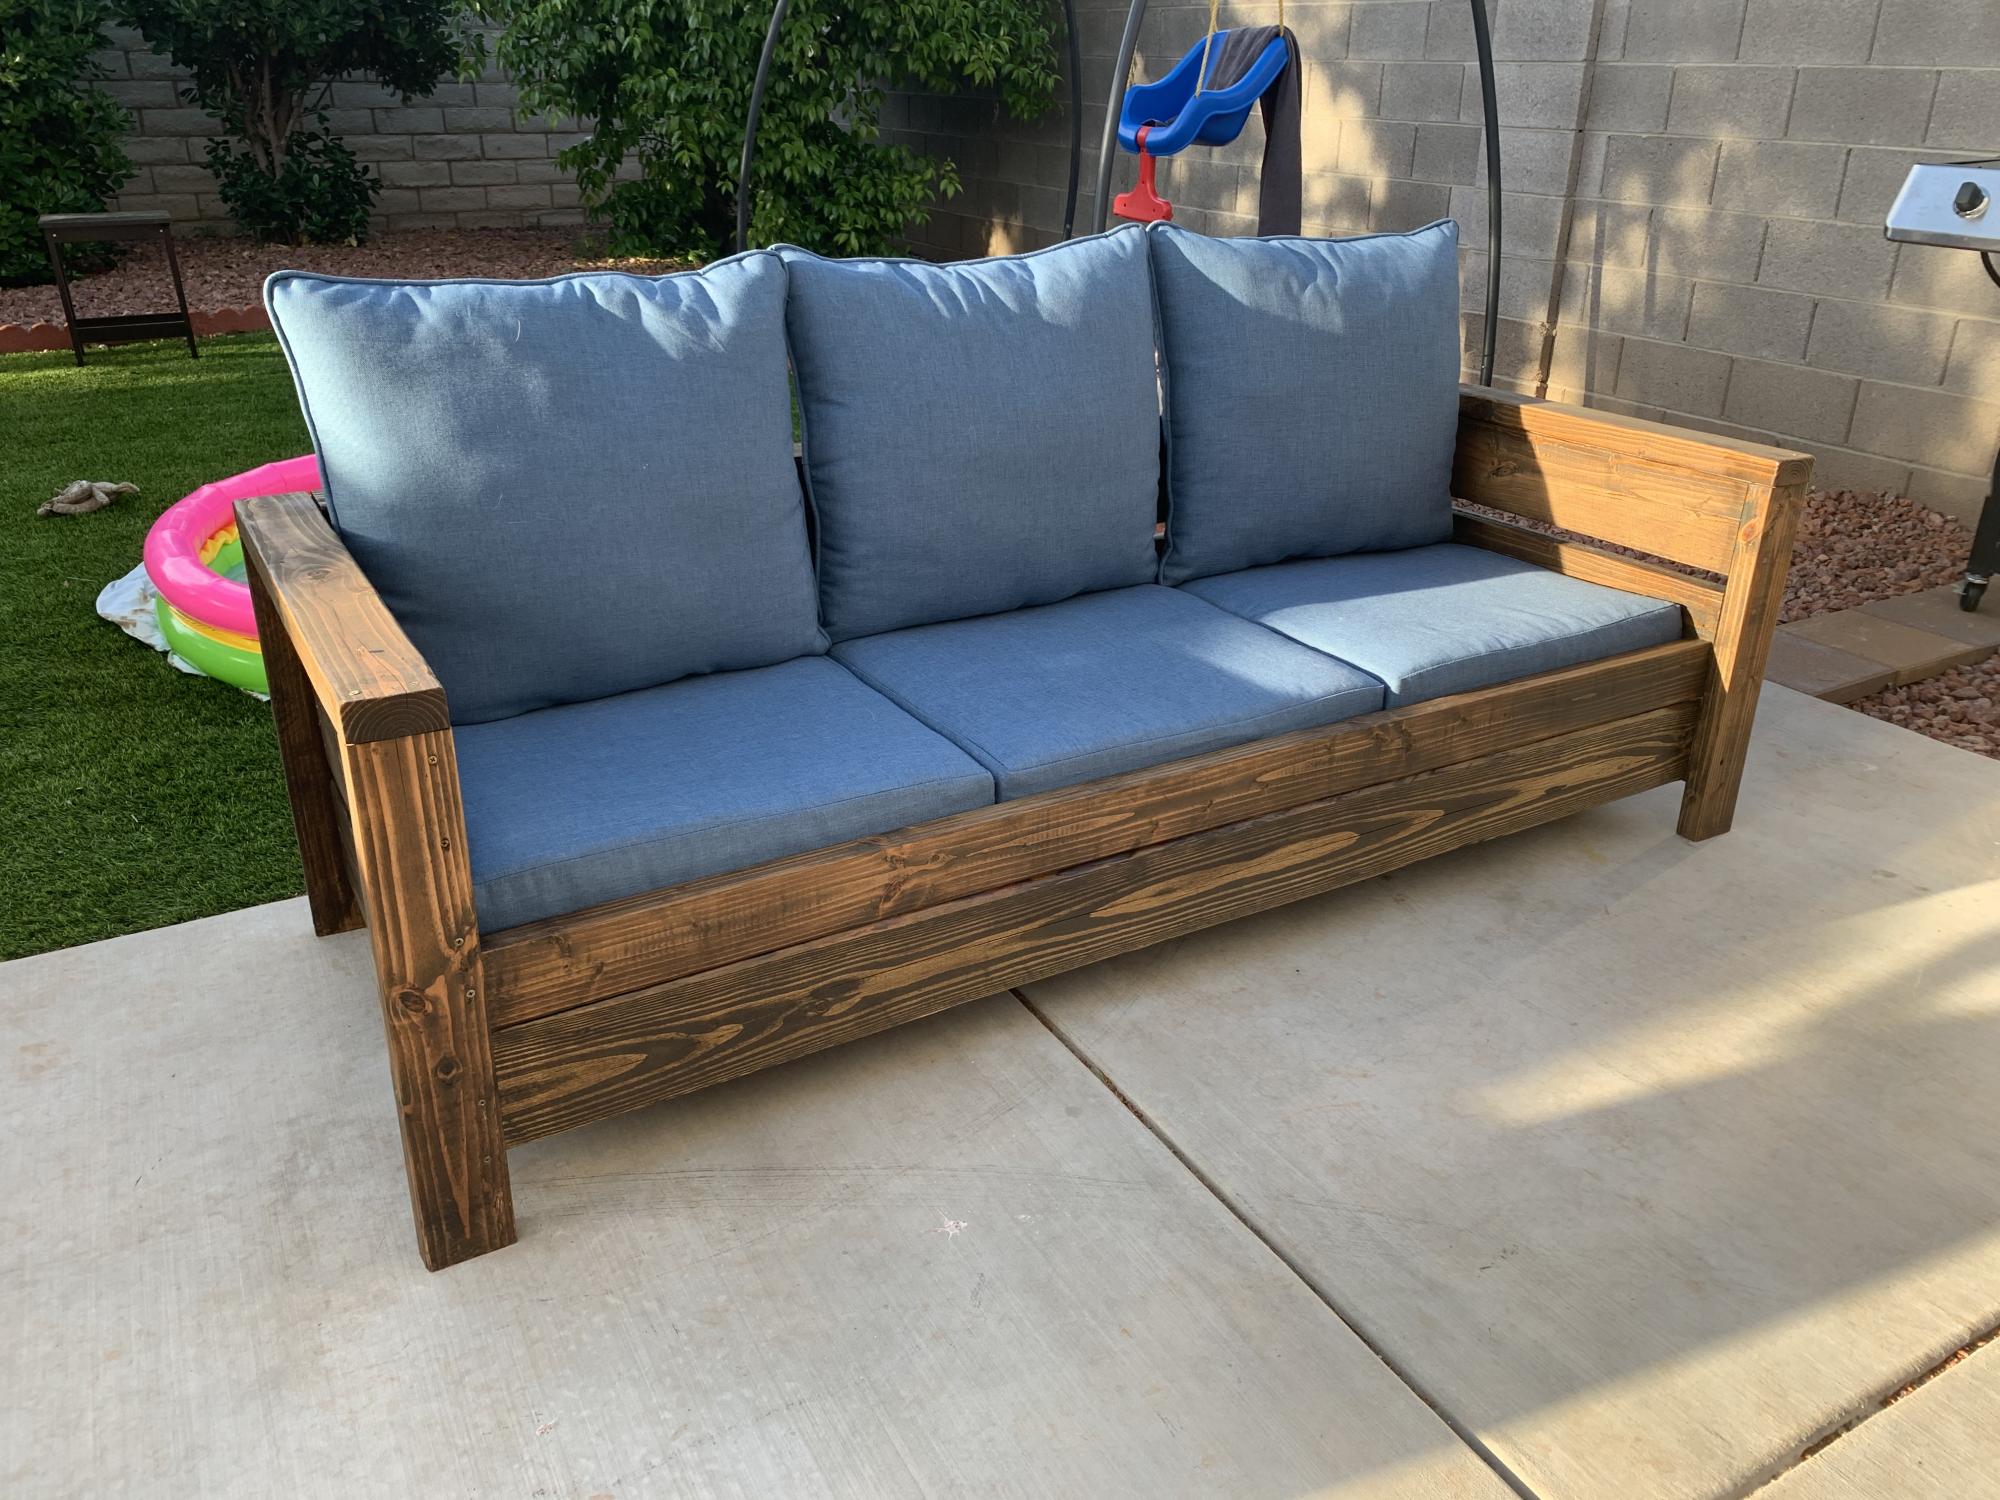
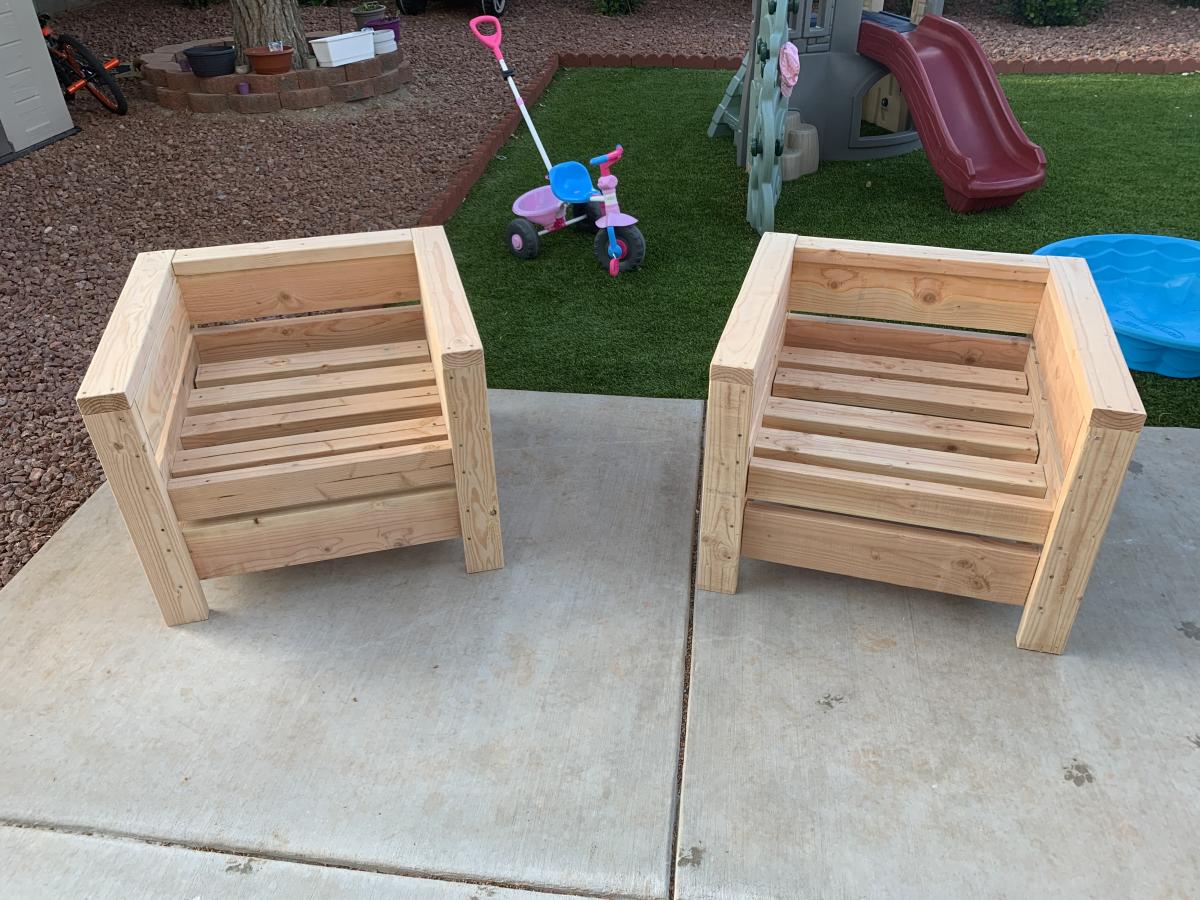
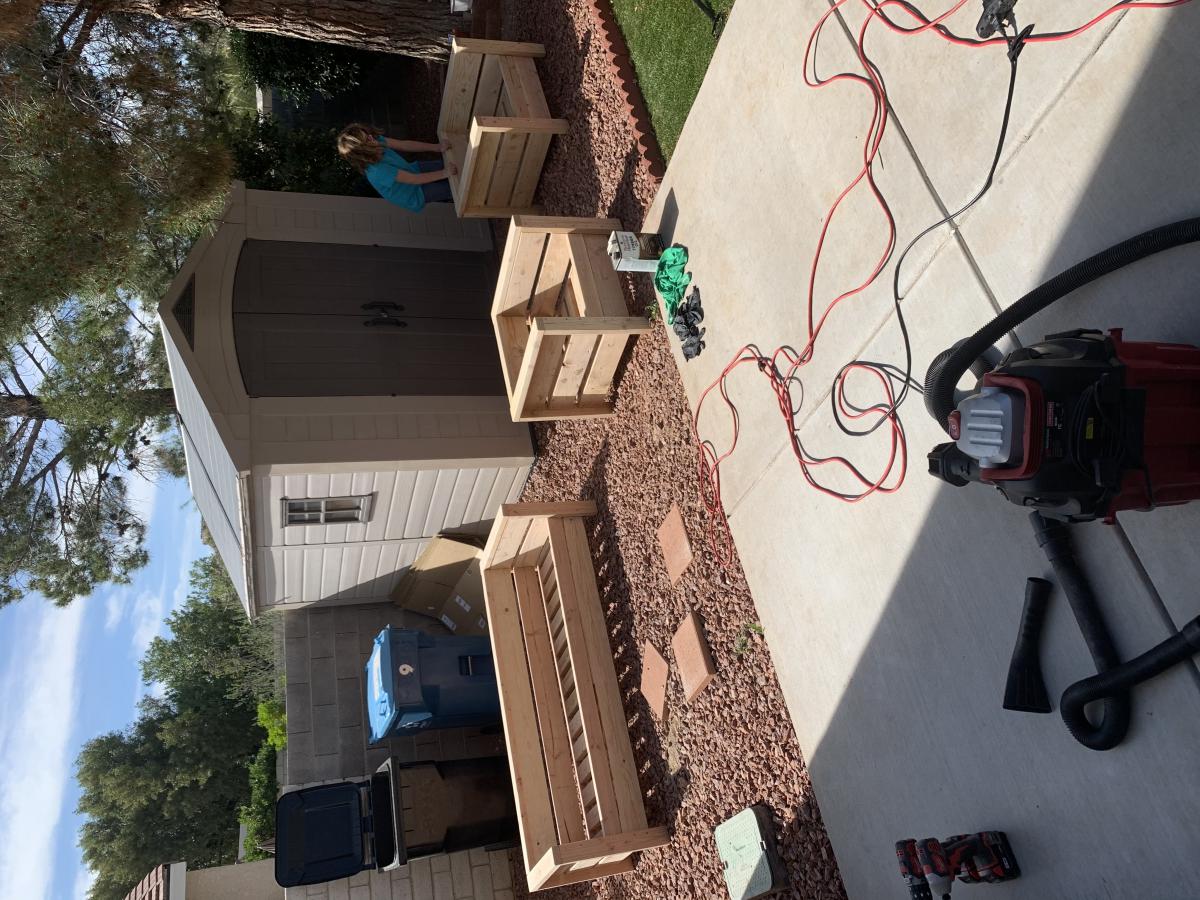
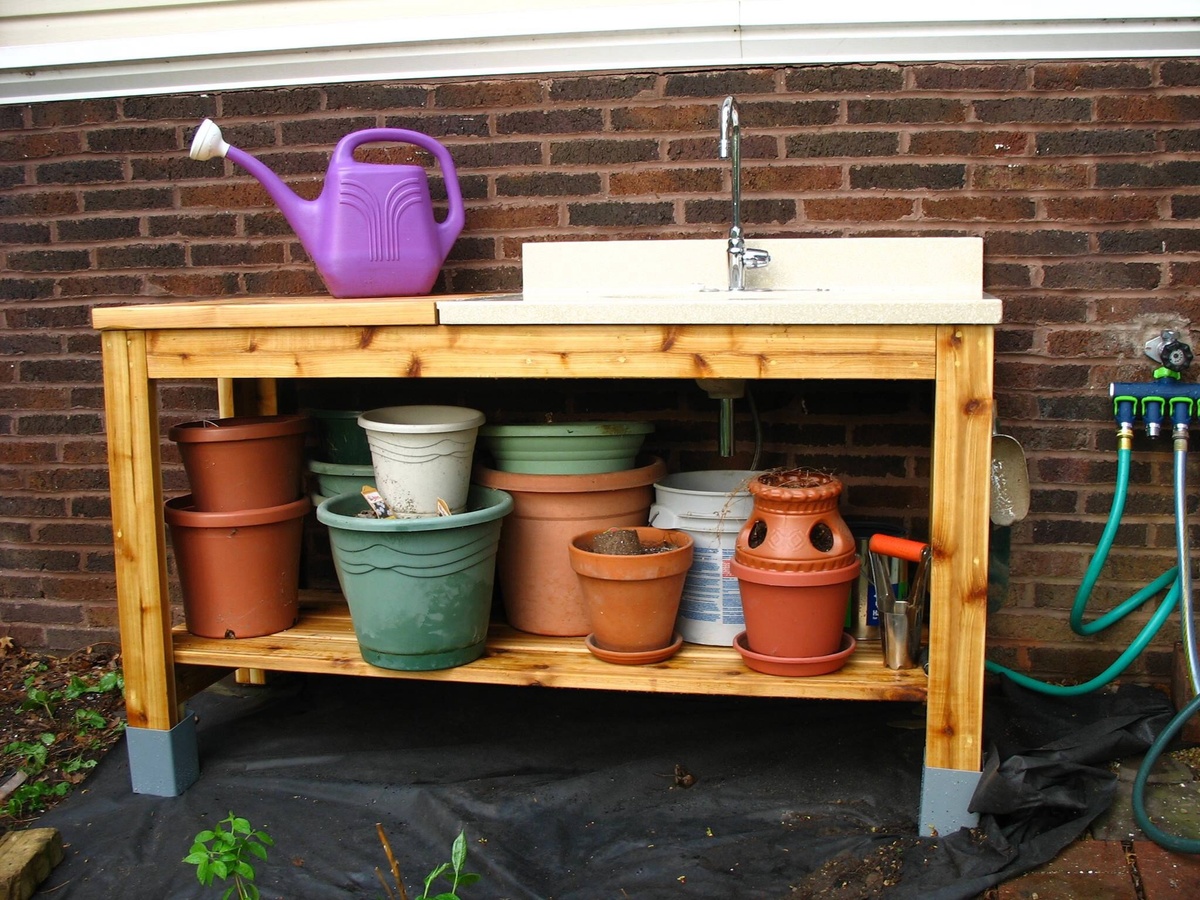
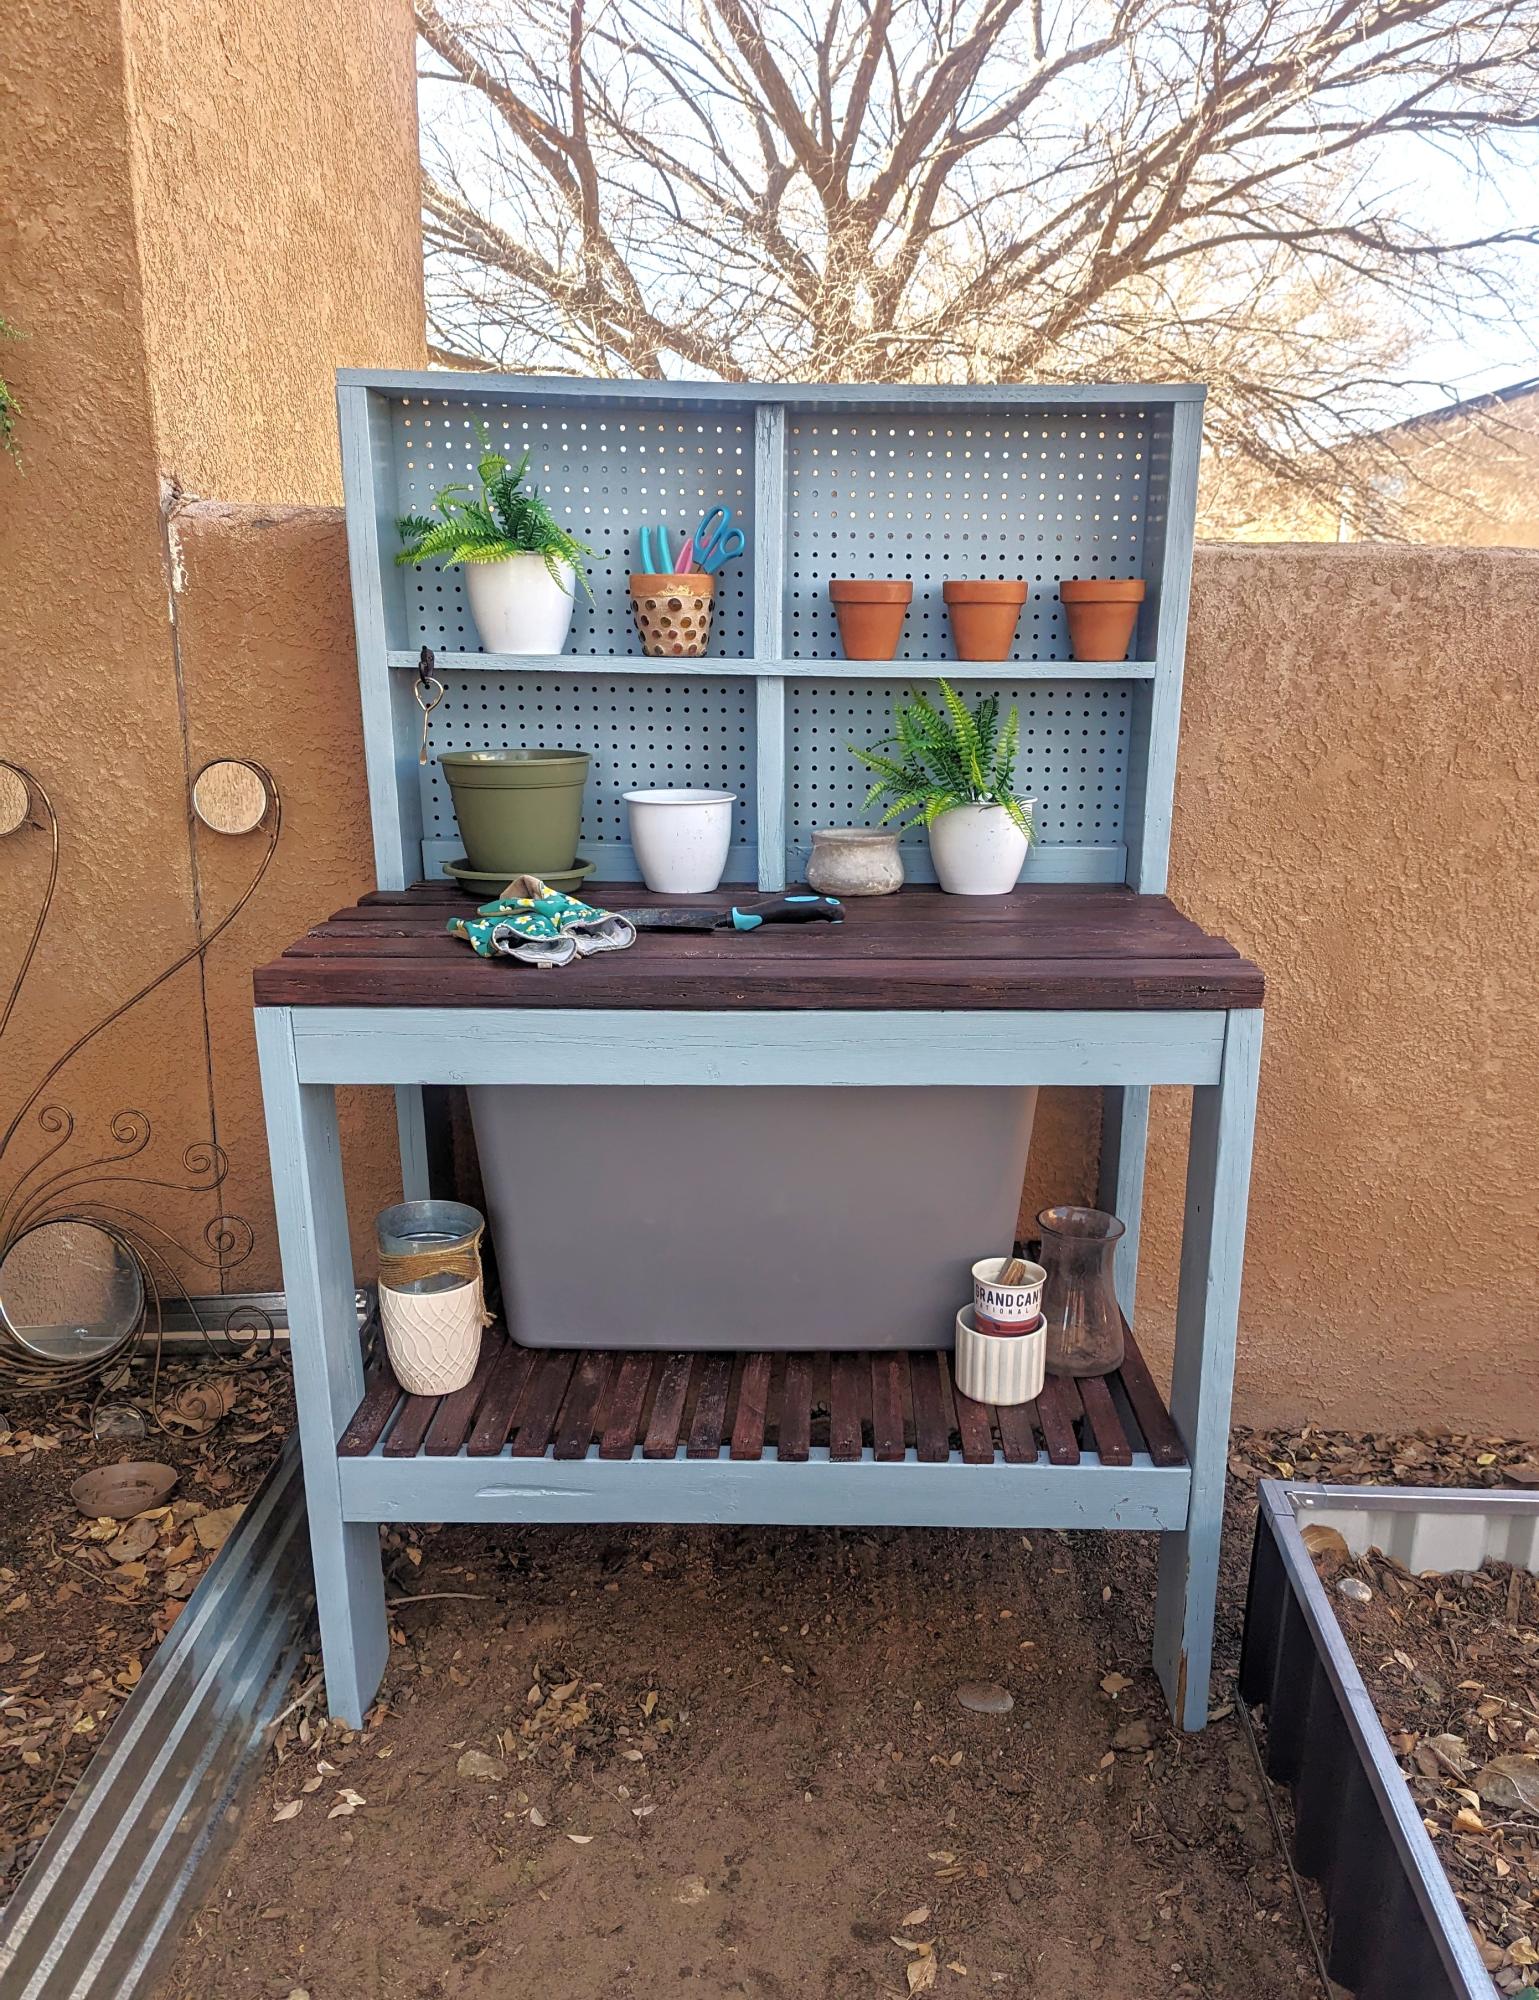
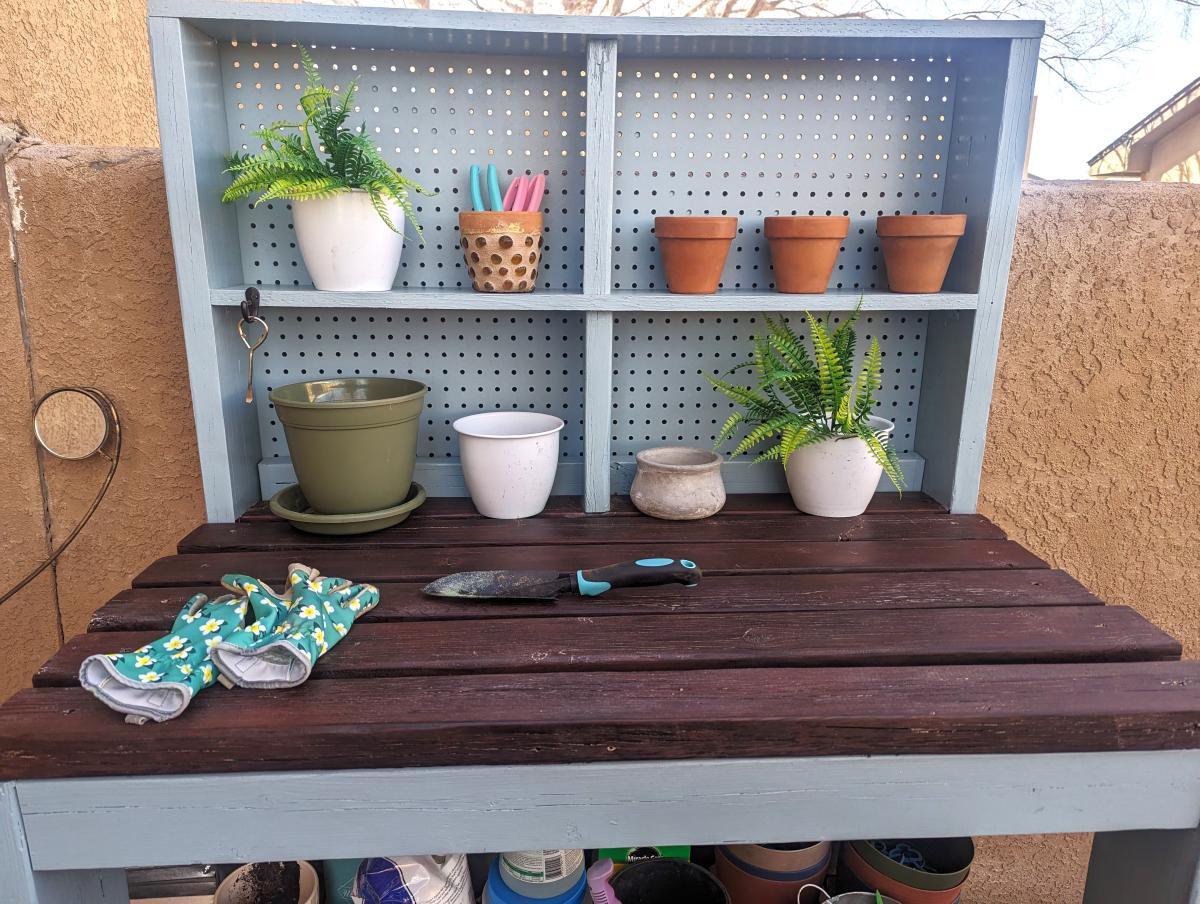
I'm a beginner DIYer and I knew one day I was going to have to make a workbench. I made mine 24x48 so I wanted a little more support to hold up the drop down leaf. I searched your site and found another plan with these gatelegs and knew this is what I wanted. I love the way it came out. What do you think?
Built from Plan(s)


Comments
Ana White Admin
Tue, 10/19/2021 - 07:23
Great workbench!
Way to go, that is sweet! Thanks for sharing.