Community Brag Posts

Rustic Computer desk with Shou Sugi Ban and Epoxy Top

Submitted by Anonymous (not verified) on Tue, 03/14/2023 - 14:16

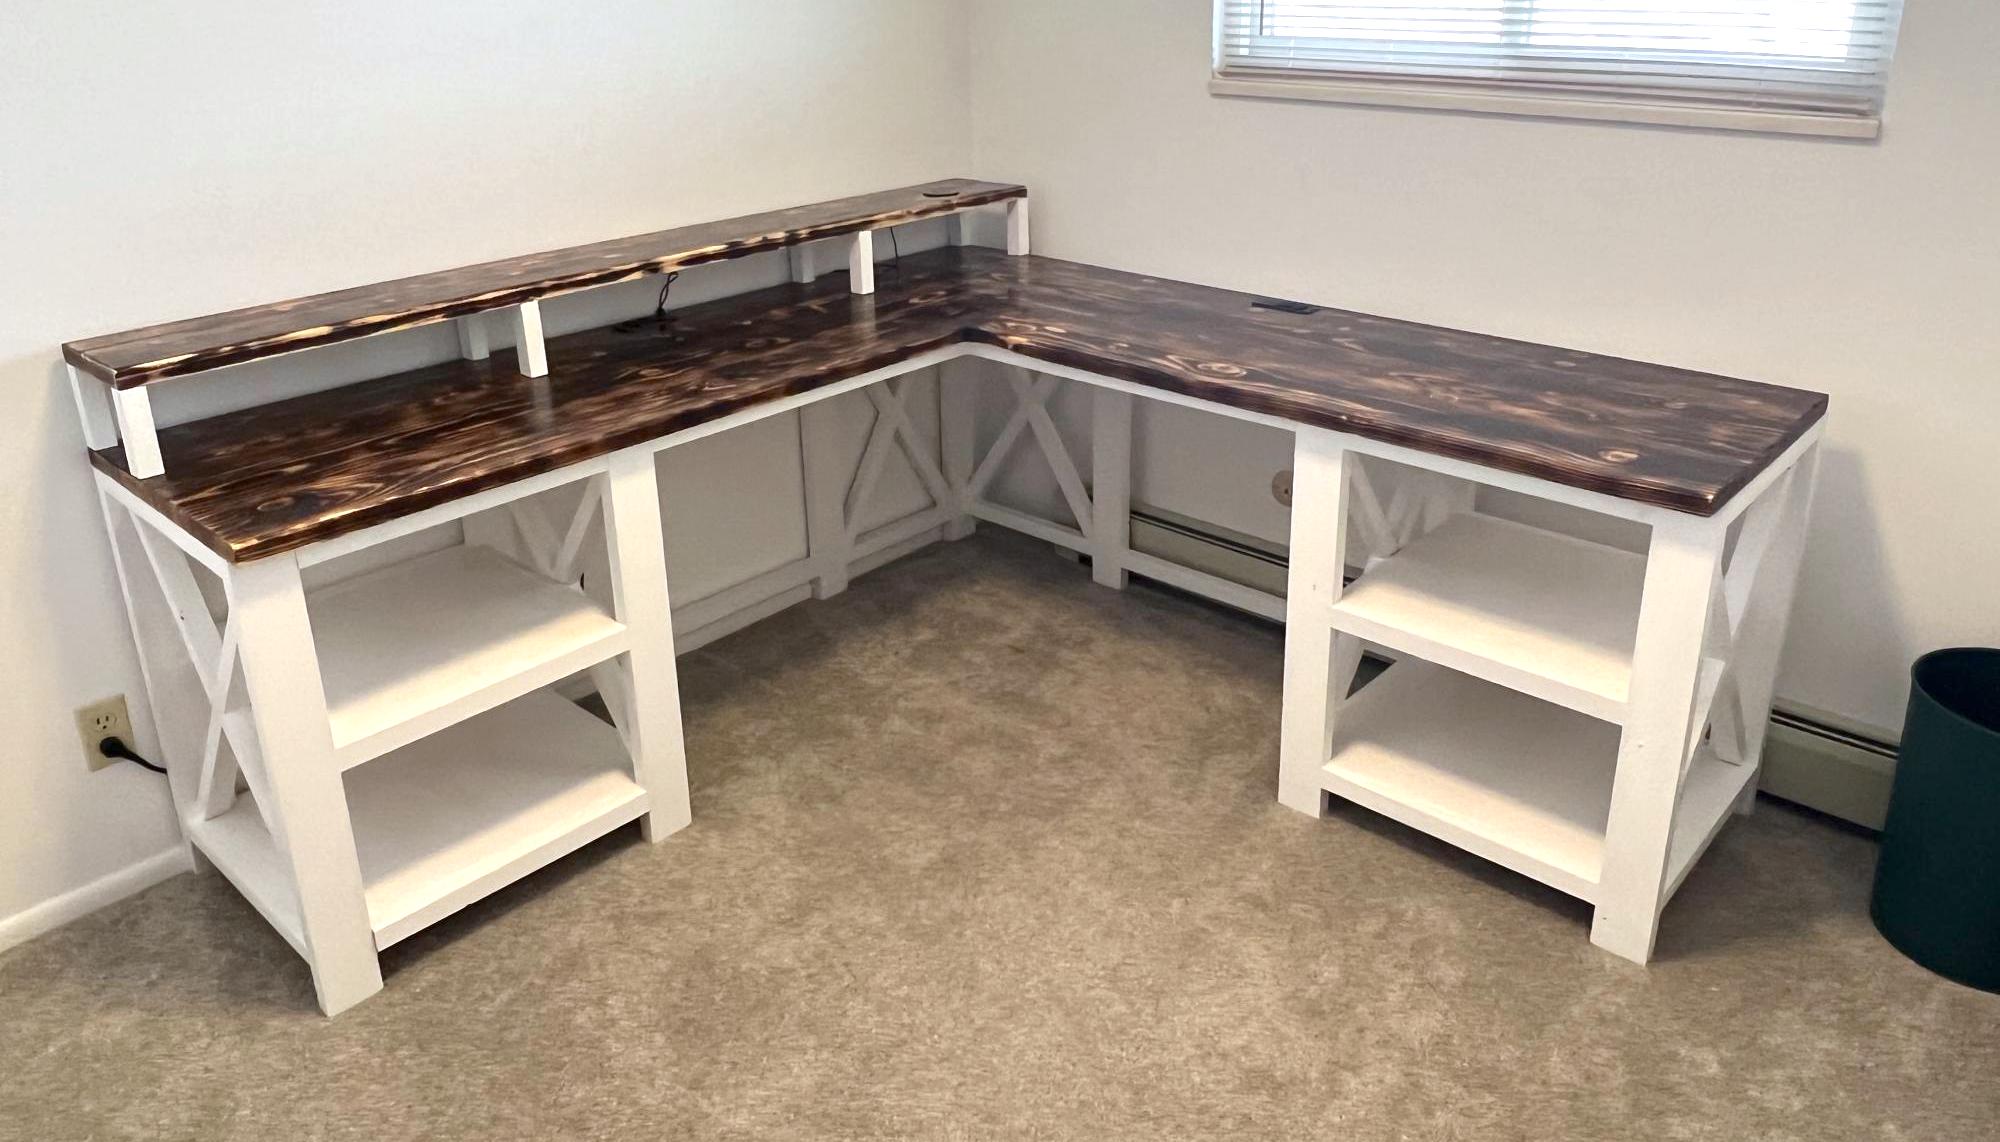
I slightly modified the Rustic X Desk plan to make my L shaped computer desk with a monitor platform! The desk surface is Shou Sugi Ban with an epoxy finish. All made from stock lumber and a lot of pocket hole screws. Thanks for posting your plan Ana to give me the idea! Construct for around $200.

Built from Plan(s)

Comments

dog kennel night stand

For my son's new black lab pup. Started with rough cut maple.

Estimated Time Investment
Weekend Project (10-20 Hours)
Recommended Skill Level
Intermediate

Comments

Sliding Door Console

Submitted by Anonymous (not verified) on Thu, 06/29/2023 - 09:29

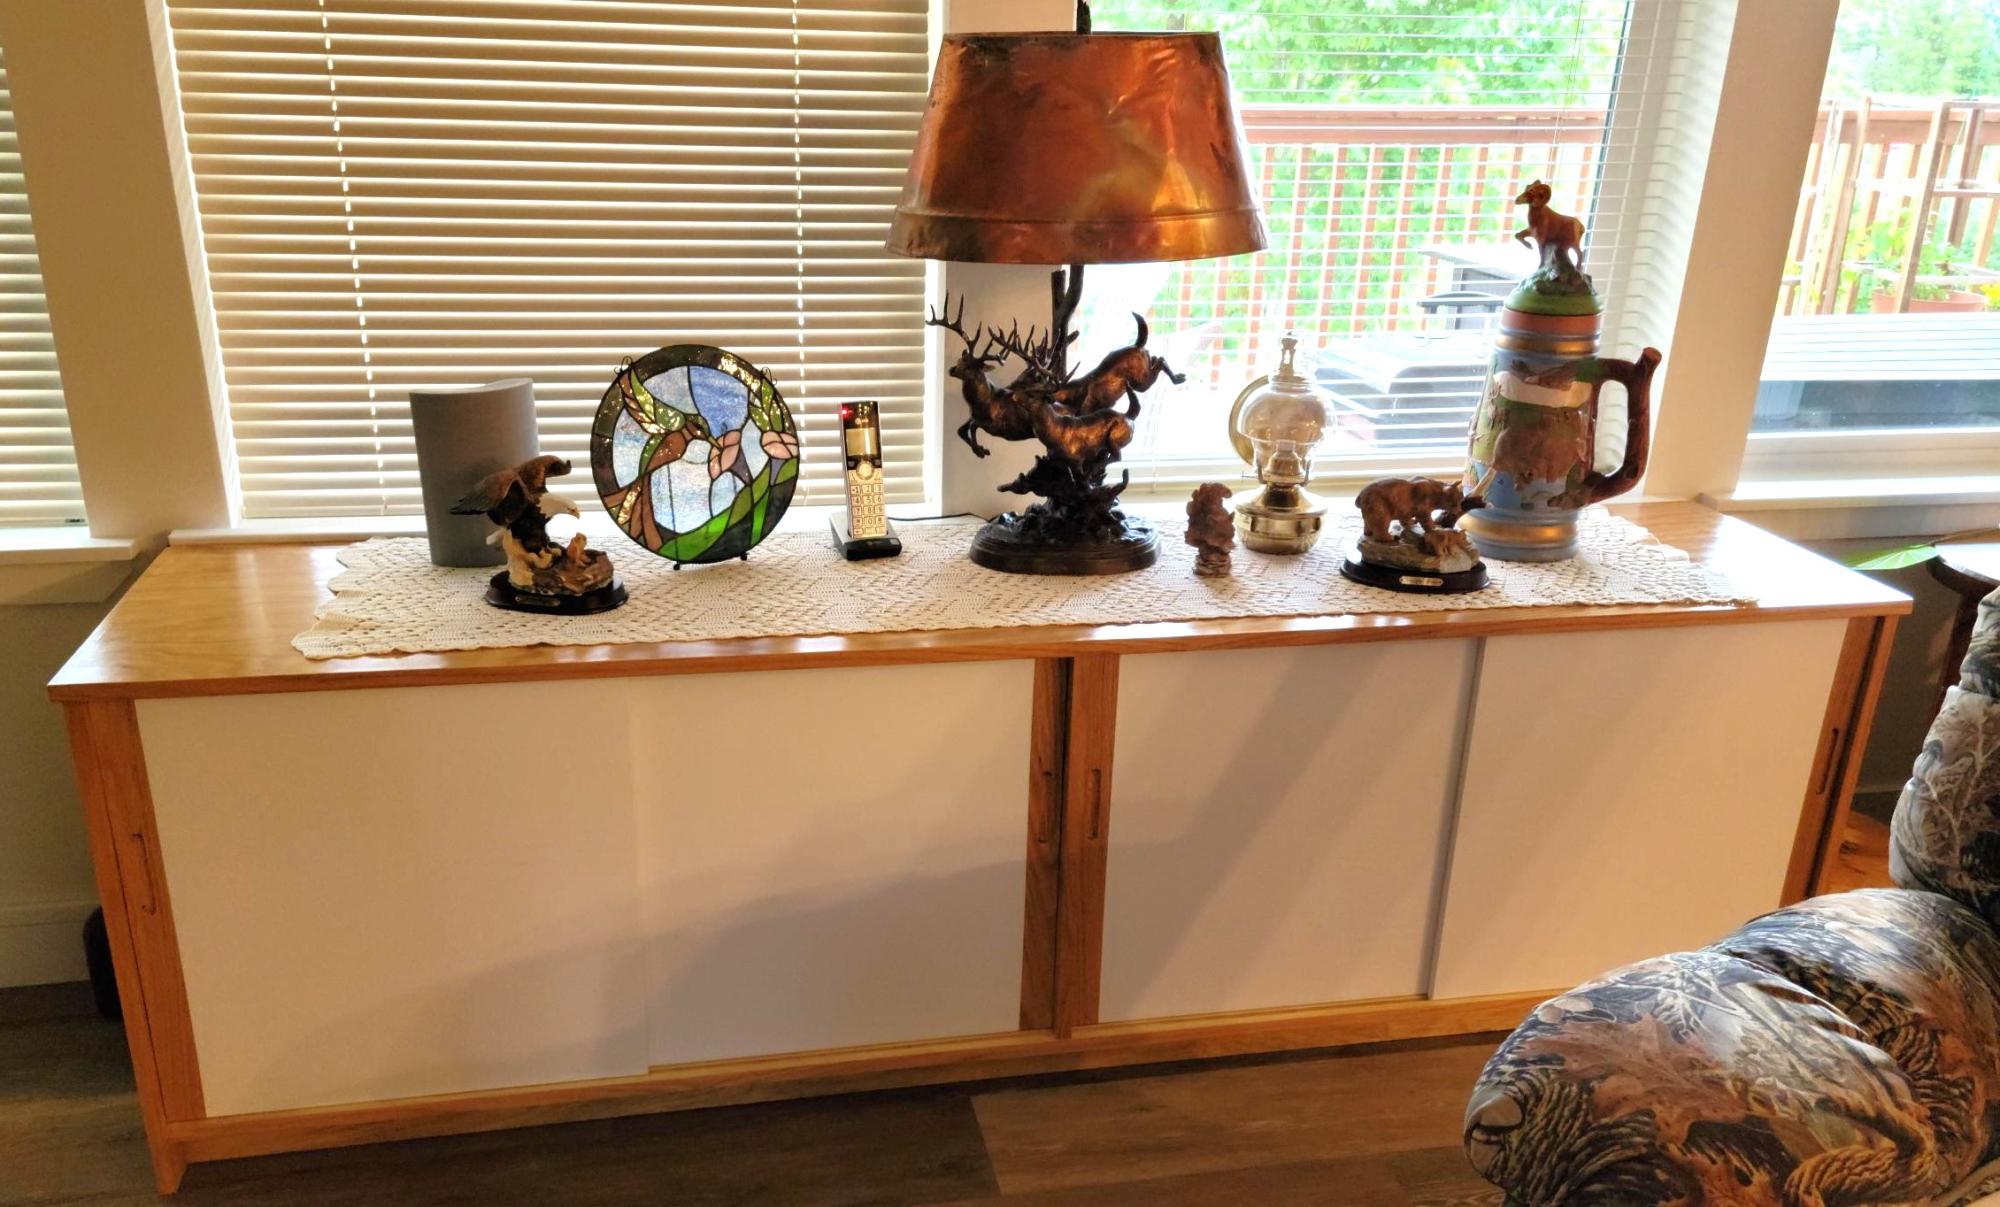
This cabinet was inspired by an Ana White project. My wife wanted more storage in our new home, and we had a sofa table at this location. But it was just a top, no shelves. I custom fit it to be flush with the window sills at the top and ends so it takes on a bit of a built in appearance. The top and bottom are oak faced plywood, all edges covered with iron on oak facing. As I was short of the expensive plywood, the ends, shelves and kick are doug fir plywood with a light oak stain; while not a perfect match gave a pleasing result that guests have not caught. The doors are 1/2" MDF, with a 2" solid oak end glued on where I routed the slots to open them. Slots are 1/4" +, 3/8" apart, and the top and bottoms of the doors routed to leave a 1/4" rail. The bottoms of the bottom slide slots have a slick poly tape in them, which really helps the doors to slide easily.

Sides and interior are brush finished with 3 coats of semi-gloss polyurethane, while the top has 5 coats. The MDF on the doors has one sprayed coat of white primer (oil based to avoid bringing up the MDF) with a final sprayed coat of mat finish enamel. I need to do one more step, light sand with 320 grit and paste wax the top to get that really fine finish.

While not as easy as Ana makes it look, it turned out pretty well. That hard part on a piece this size is getting all the pieces cut precisely, and I mean with less than 1/32nd difference, to provide a good fit. As it was I had to custom cut the oak opening ends on the doors to account for the small differences in widths at the top and bottom to obtain a nice fit against the sides. Next time I'll triple check all finish dimensions to make those small adjustments in parts before assembly, then triple check again for placement during assembly.

While I'll always see the small "errors", my wife is very pleased with the finished cabinet.

Al King, www.KingTechnologics.com
Farmhouse Chairs

I found a picture of this style of chairs, and I really wanted to make them for my table. I created my own plans and adjusted them until they were perfect. I’ve since made several sets of chairs for other people including this set of 6. 

Built from Plan(s)
Estimated Cost
$25
Estimated Time Investment
Afternoon Project (3-6 Hours)
Finish Used
After sanding down the chairs, I apply a coat of Preston by minwax. To get the color I wipe on the stain gunstock by winwax. After letting it dry for about an hour, I then wipe on a coat of espresso stain. For the finish, I apply coats of a gloss polyurethane by Minwax.
Recommended Skill Level
Intermediate

Comments

Farmhouse Media Cabinet (wall unit)

Submitted by bwblack2 on Wed, 01/15/2020 - 14:34

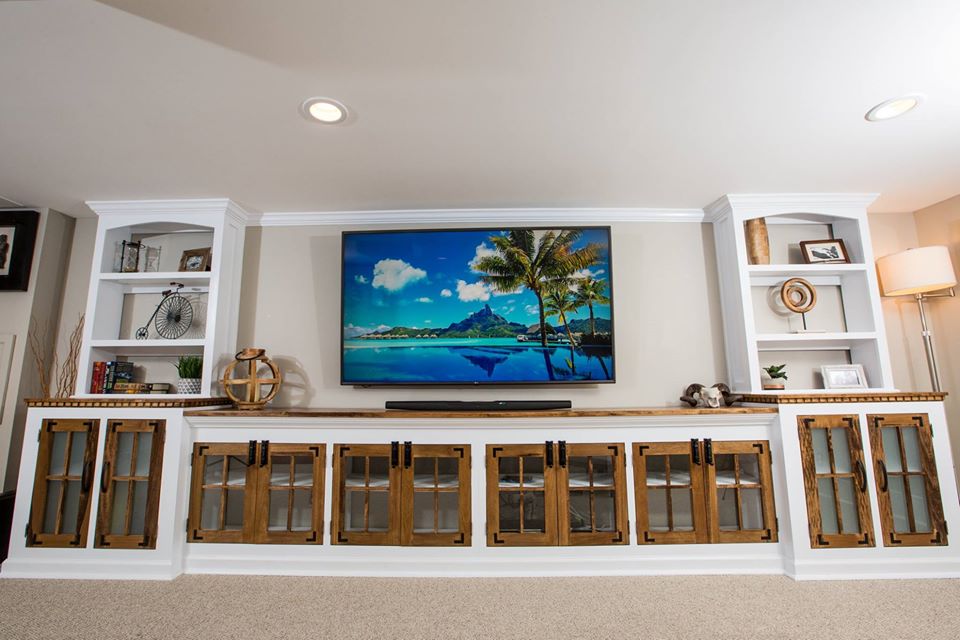
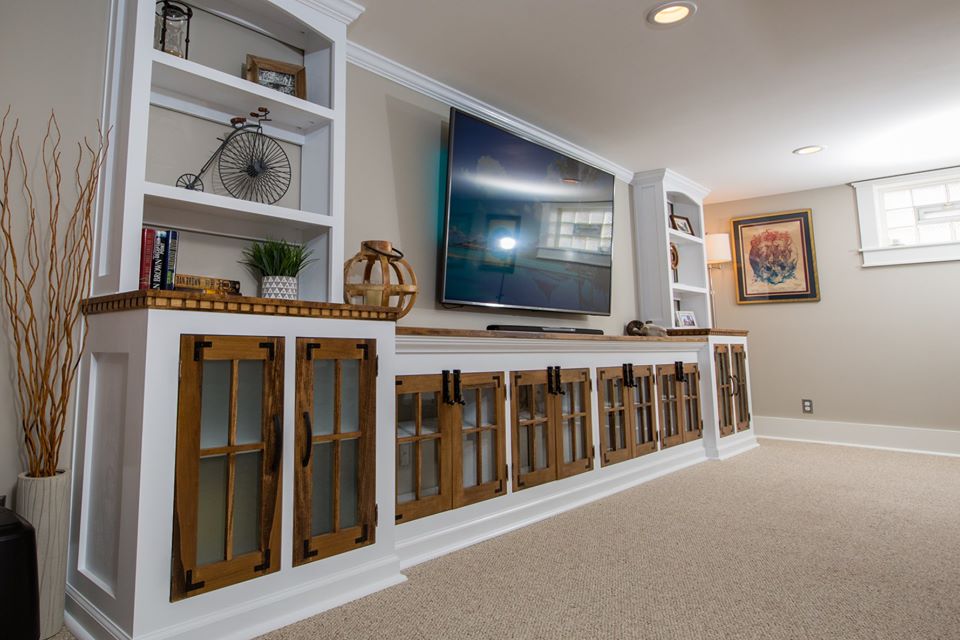
This project started as an idea to build a single Farmhouse Media Cabinet with a "42 tv mounted above it. I quickly realized that this space deserved so much more. Fast forward through weeks of debate and scouring the internet for inspiration, before finally settling on what you see pictured above. The first decision we made was to buy a monstrous 75", then everything else fell in to place from there. The tight stairwell leading to the basement forced me to build this unit in 6 sections (2 farmhouse media cabinets, 2 flanking cabinets, and 2 bookshelves.) It ended up sprawling 17' long when it was all said and done, but it fills the space so beautifully. It was by far the largest project I've ever tackled, but it was totally worth the hard work. Big shout out to Ana White for the inspiration!! 

Estimated Cost
$1200-$1500
Estimated Time Investment
Week Long Project (20 Hours or More)
Finish Used
Minwax(Early American), and Behr Premium Plus Ultra (Maui Mist)
Recommended Skill Level
Intermediate

Comments

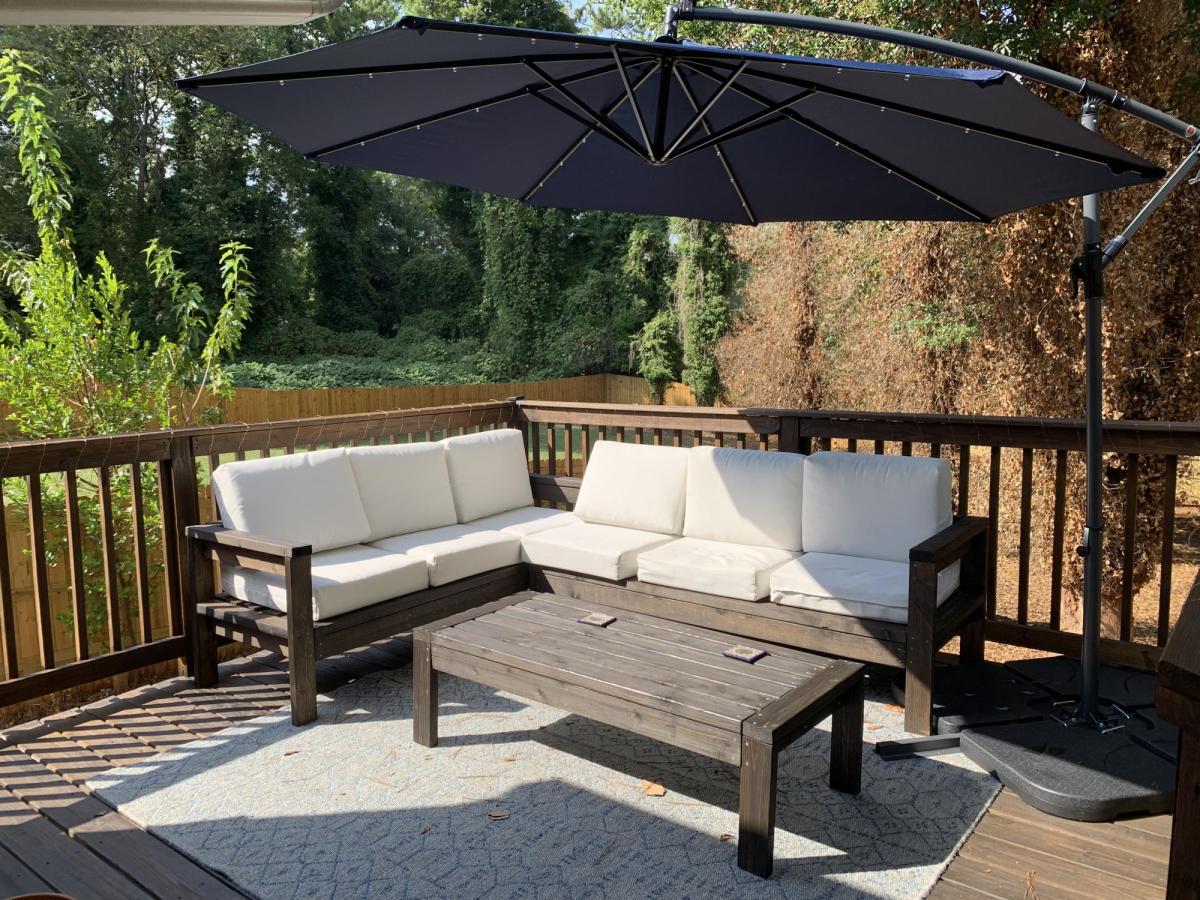
Outdoor Sectional

Submitted by rachelmlee on Sun, 01/26/2020 - 20:23

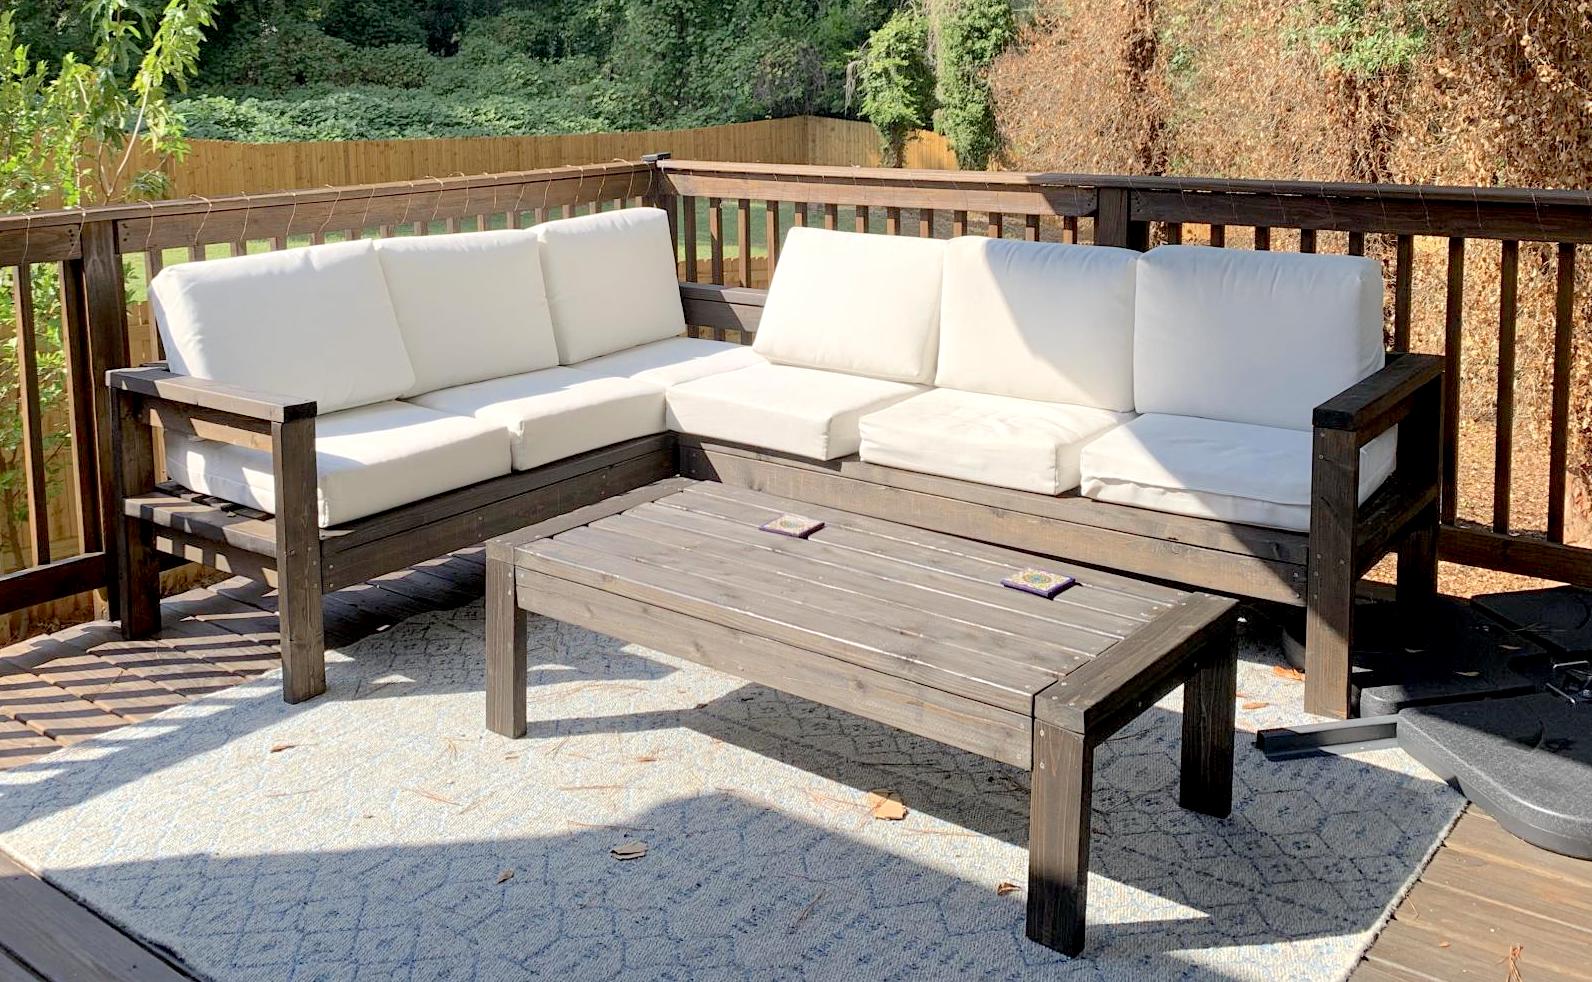
This was my first real woodworking project and was so much fun! I use my deck much more now and am excited to build more!

Estimated Cost
$500 (with cushions)
Estimated Time Investment
Week Long Project (20 Hours or More)
Finish Used
Varathane Jacobean stain
Recommended Skill Level
Beginner

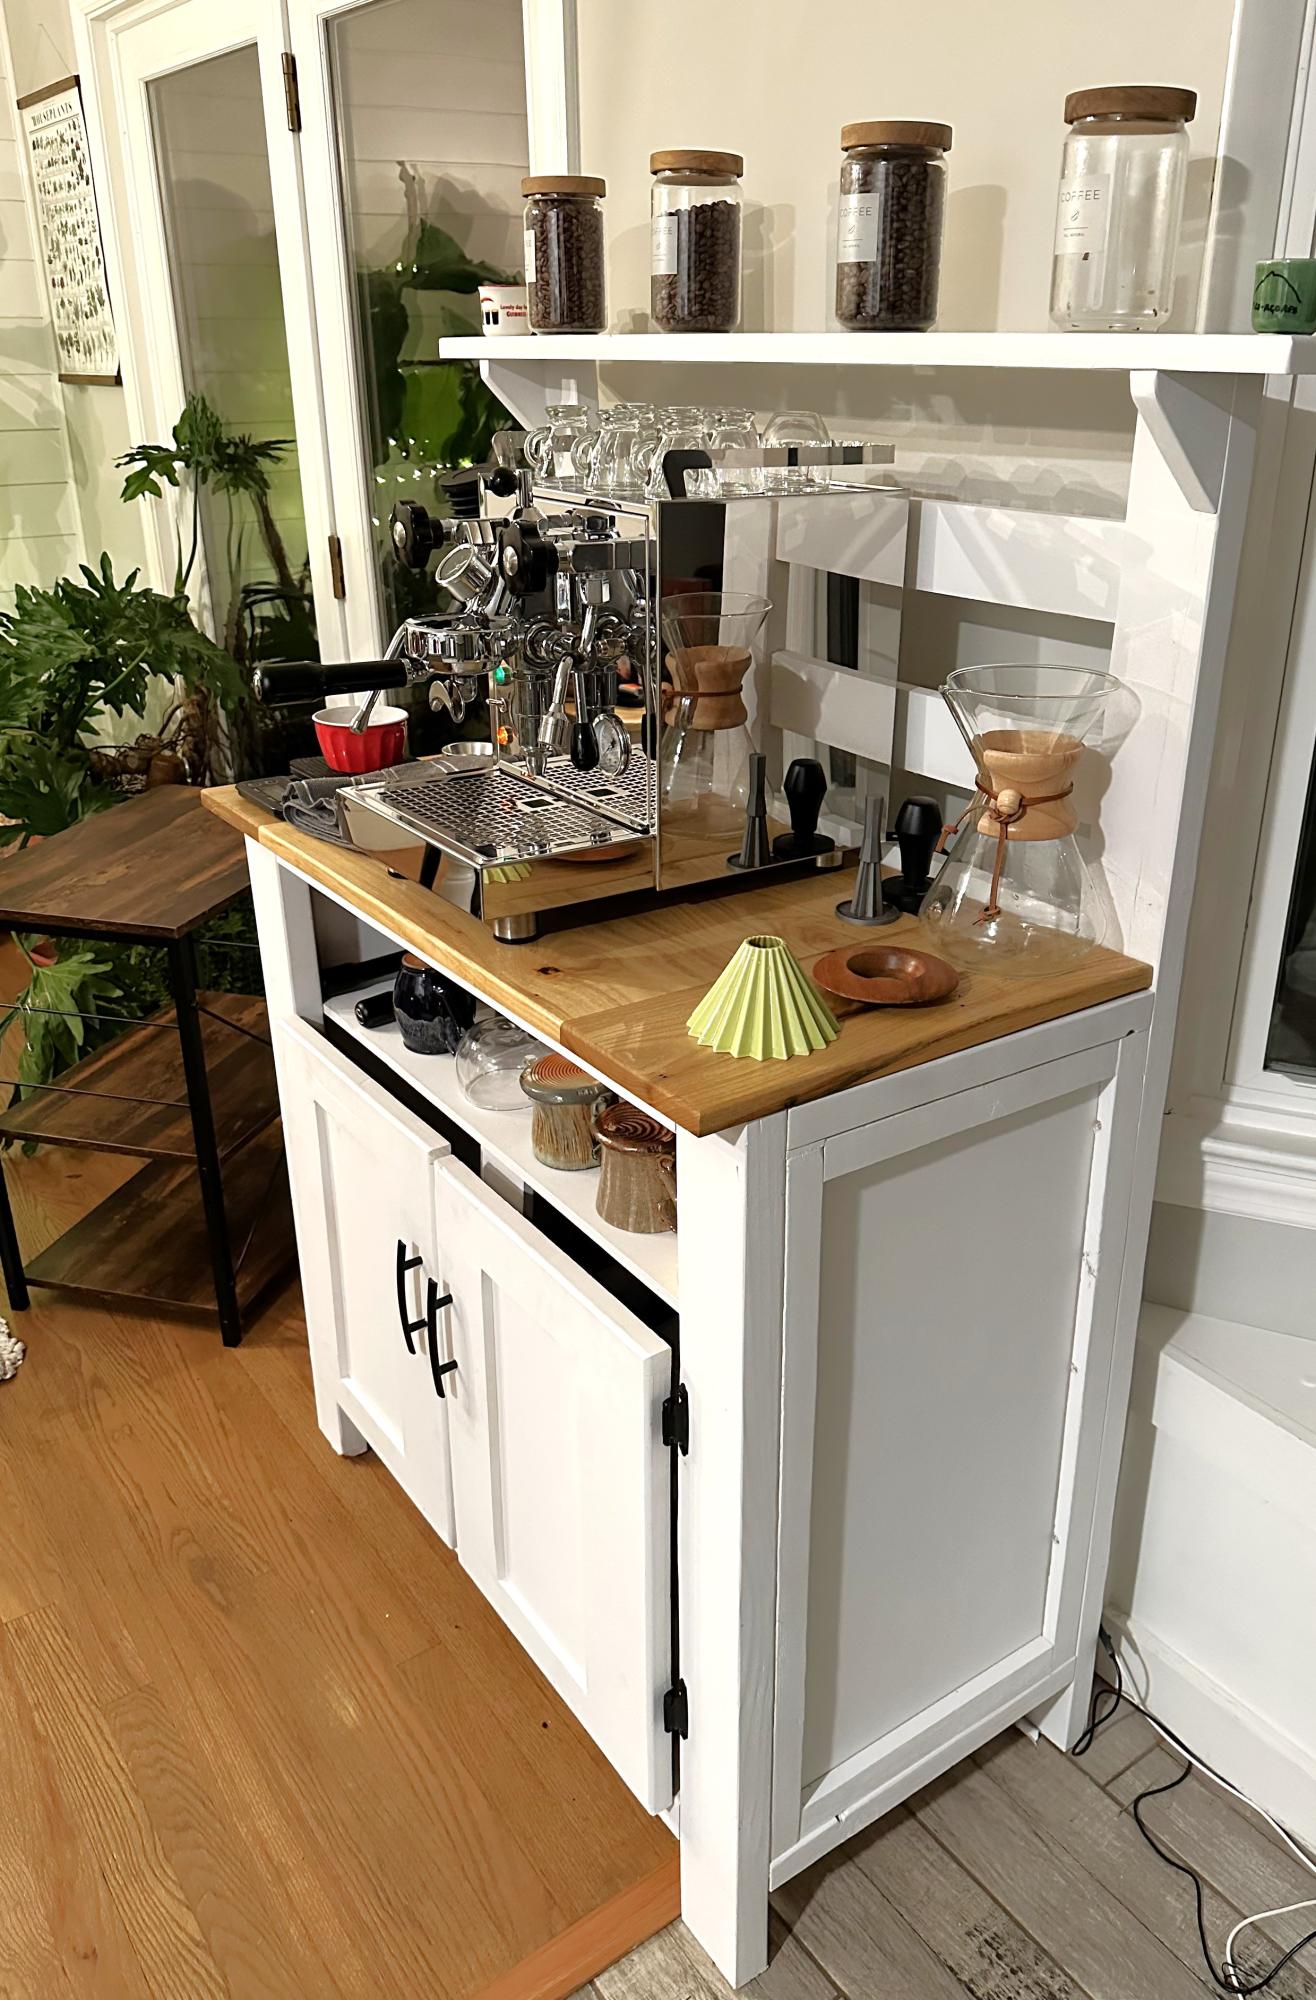
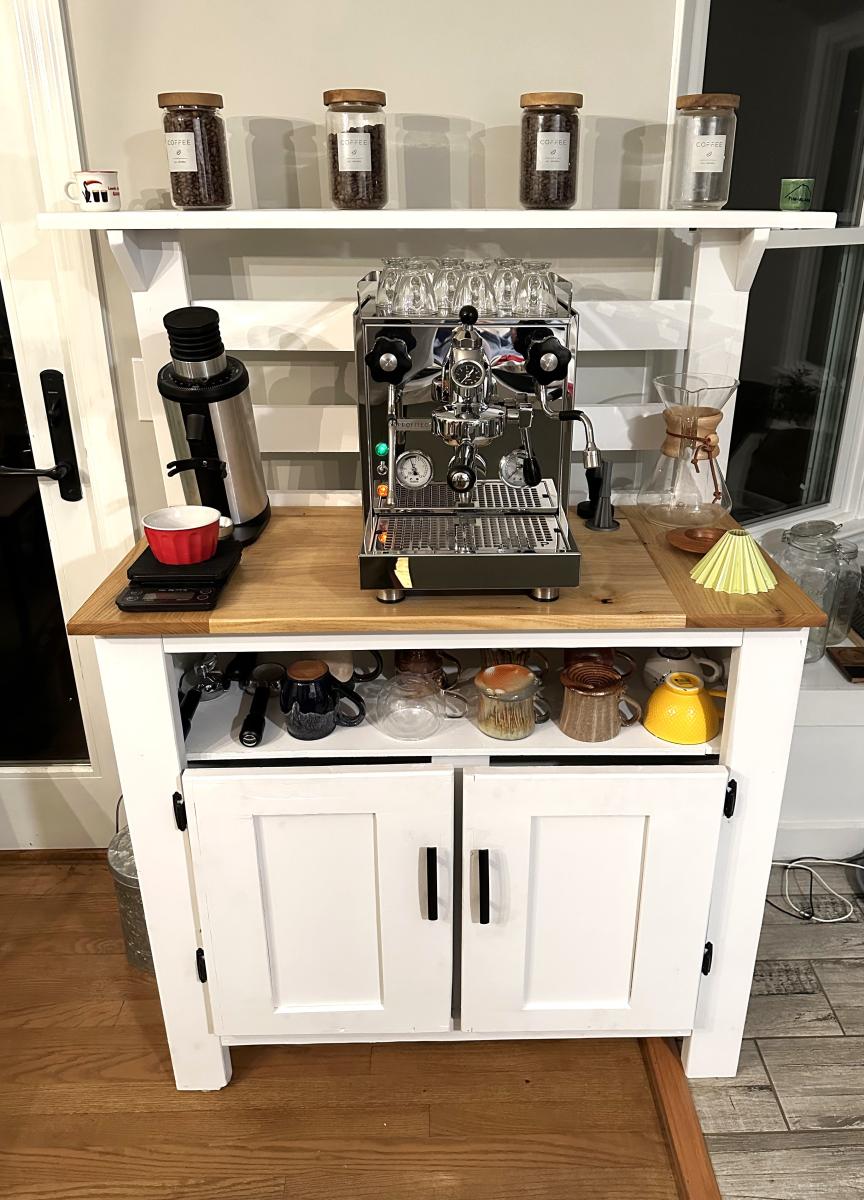
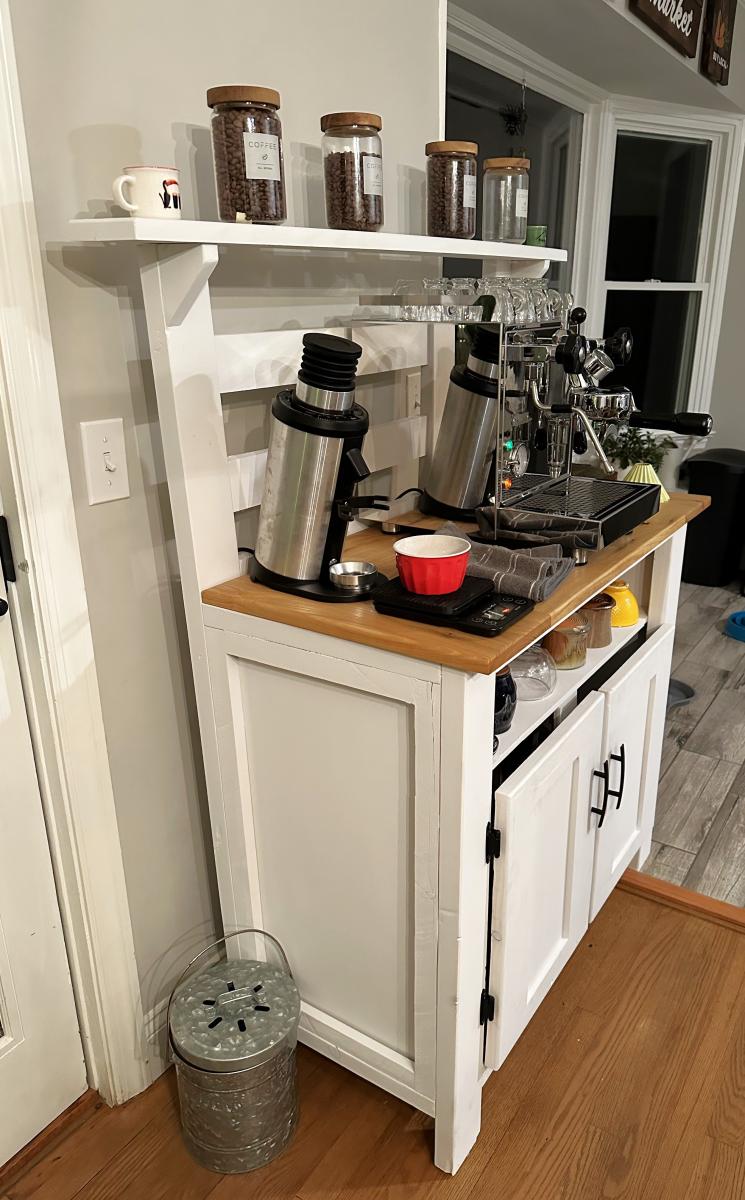
DIY Home Coffee Station

Submitted by Anonymous (not verified) on Thu, 11/02/2023 - 08:14

Had a bunch of scrap wood from other projects and random pieces we found in our barn after we moved into our new house so decided to make a new coffee bar to use it up. Modified the Potting Bench plans and pretty happy with how it turned out!

Nate B

Built from Plan(s)

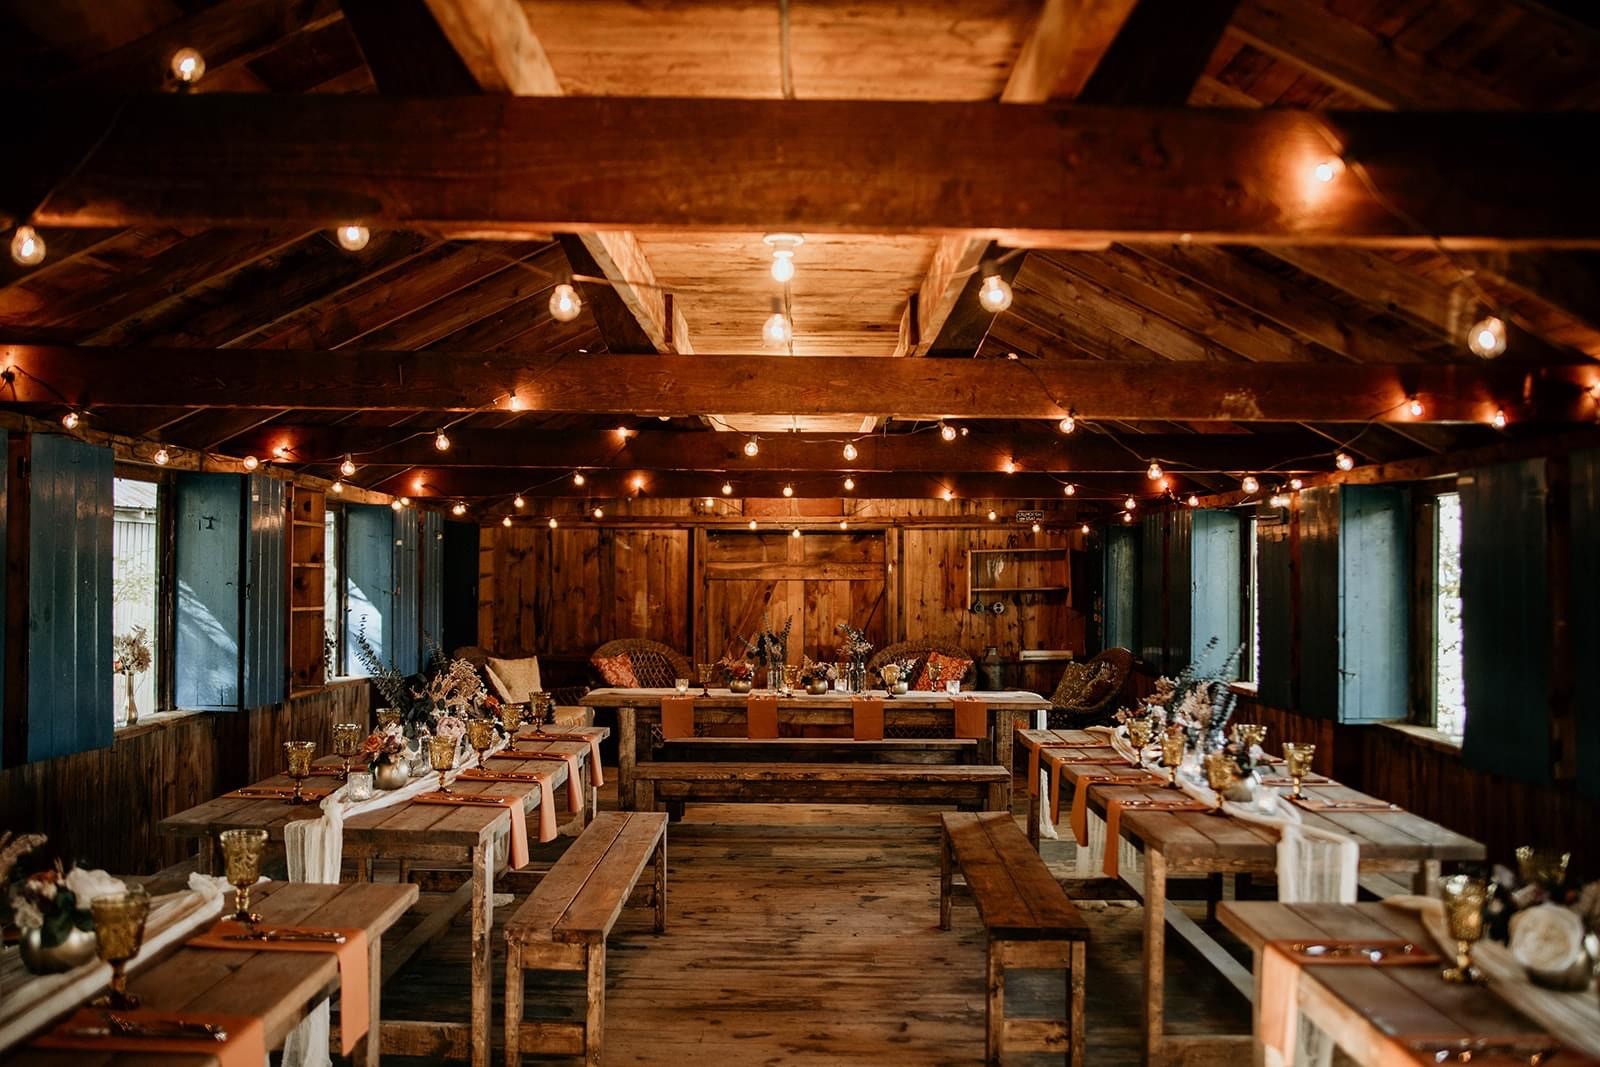
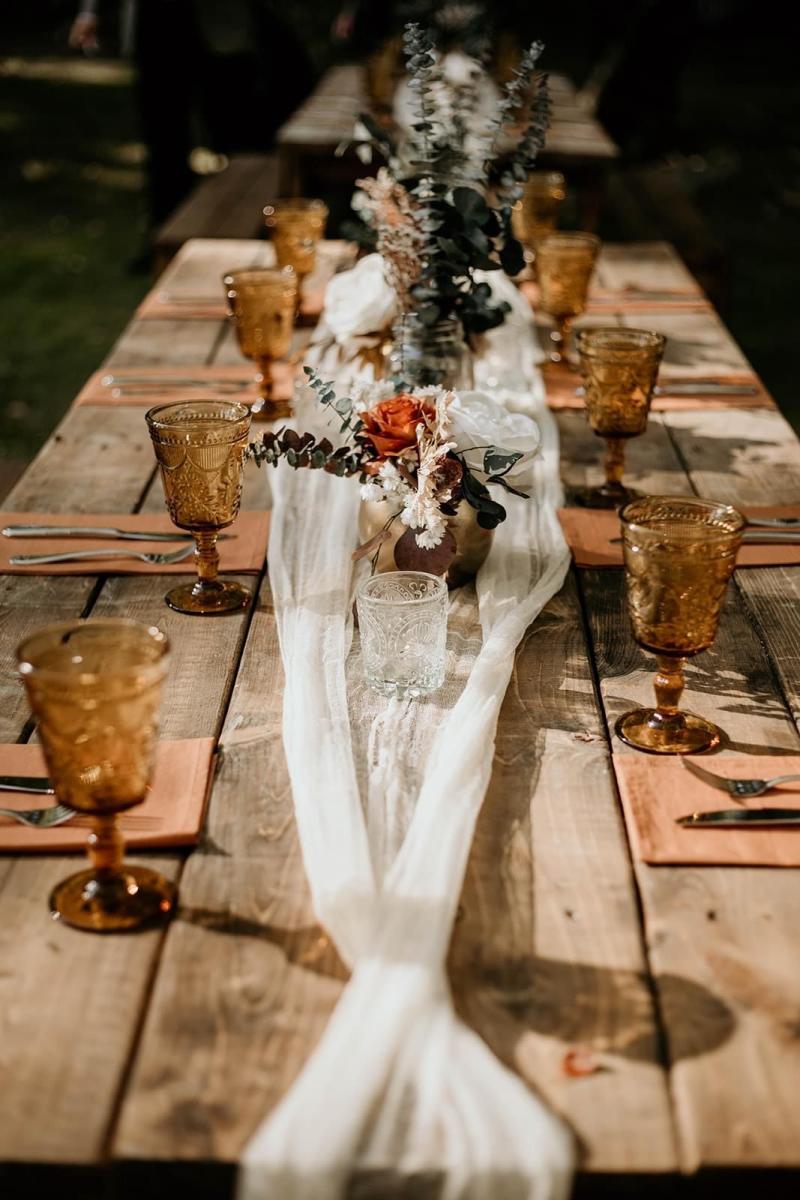
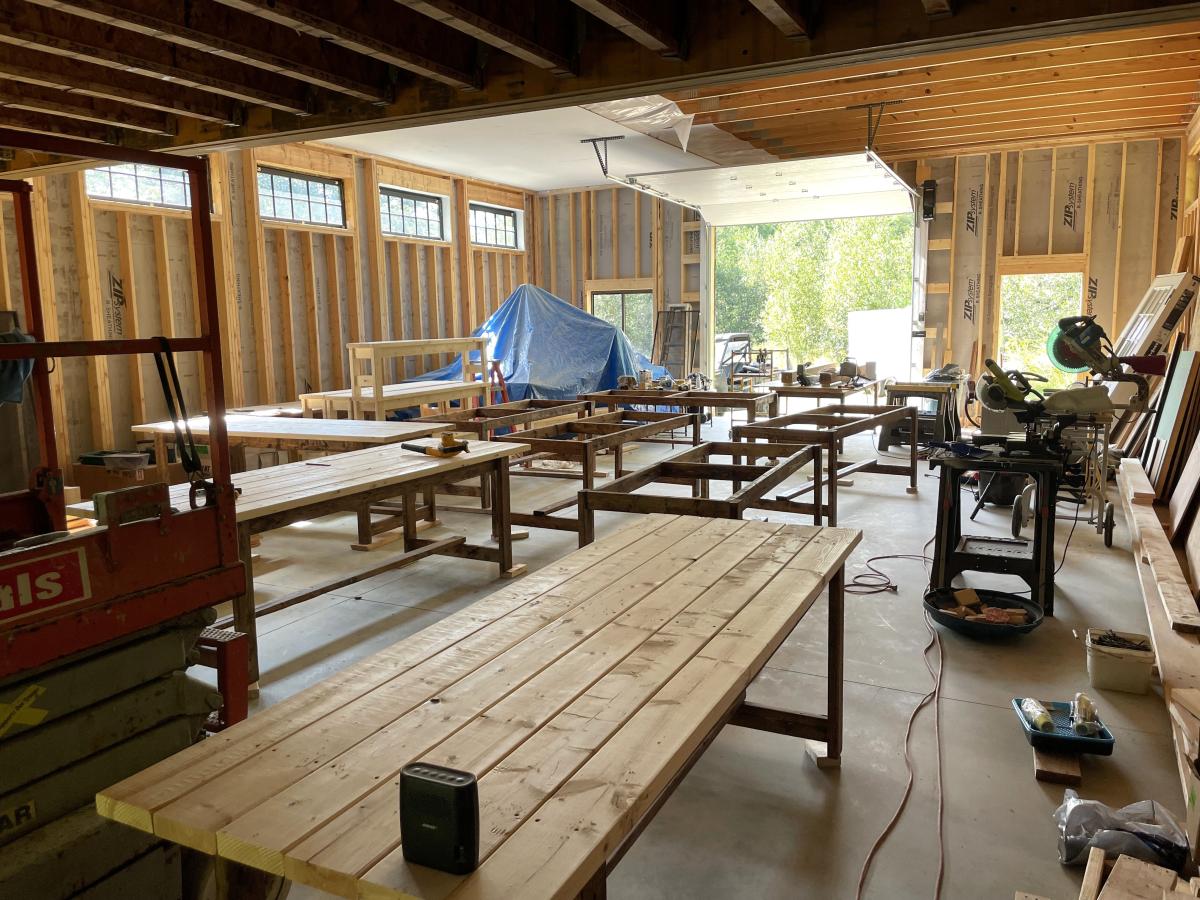
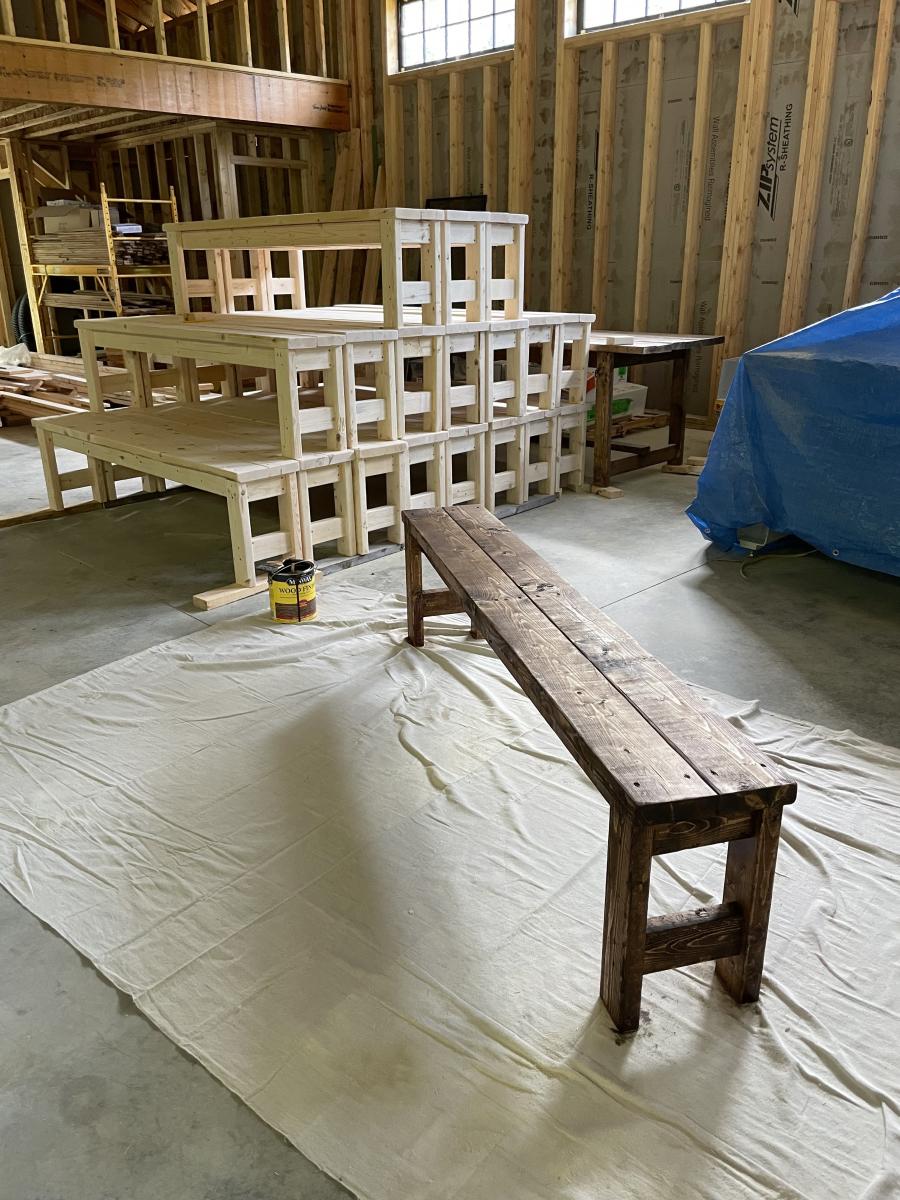
Beginner Farm Table & Benches

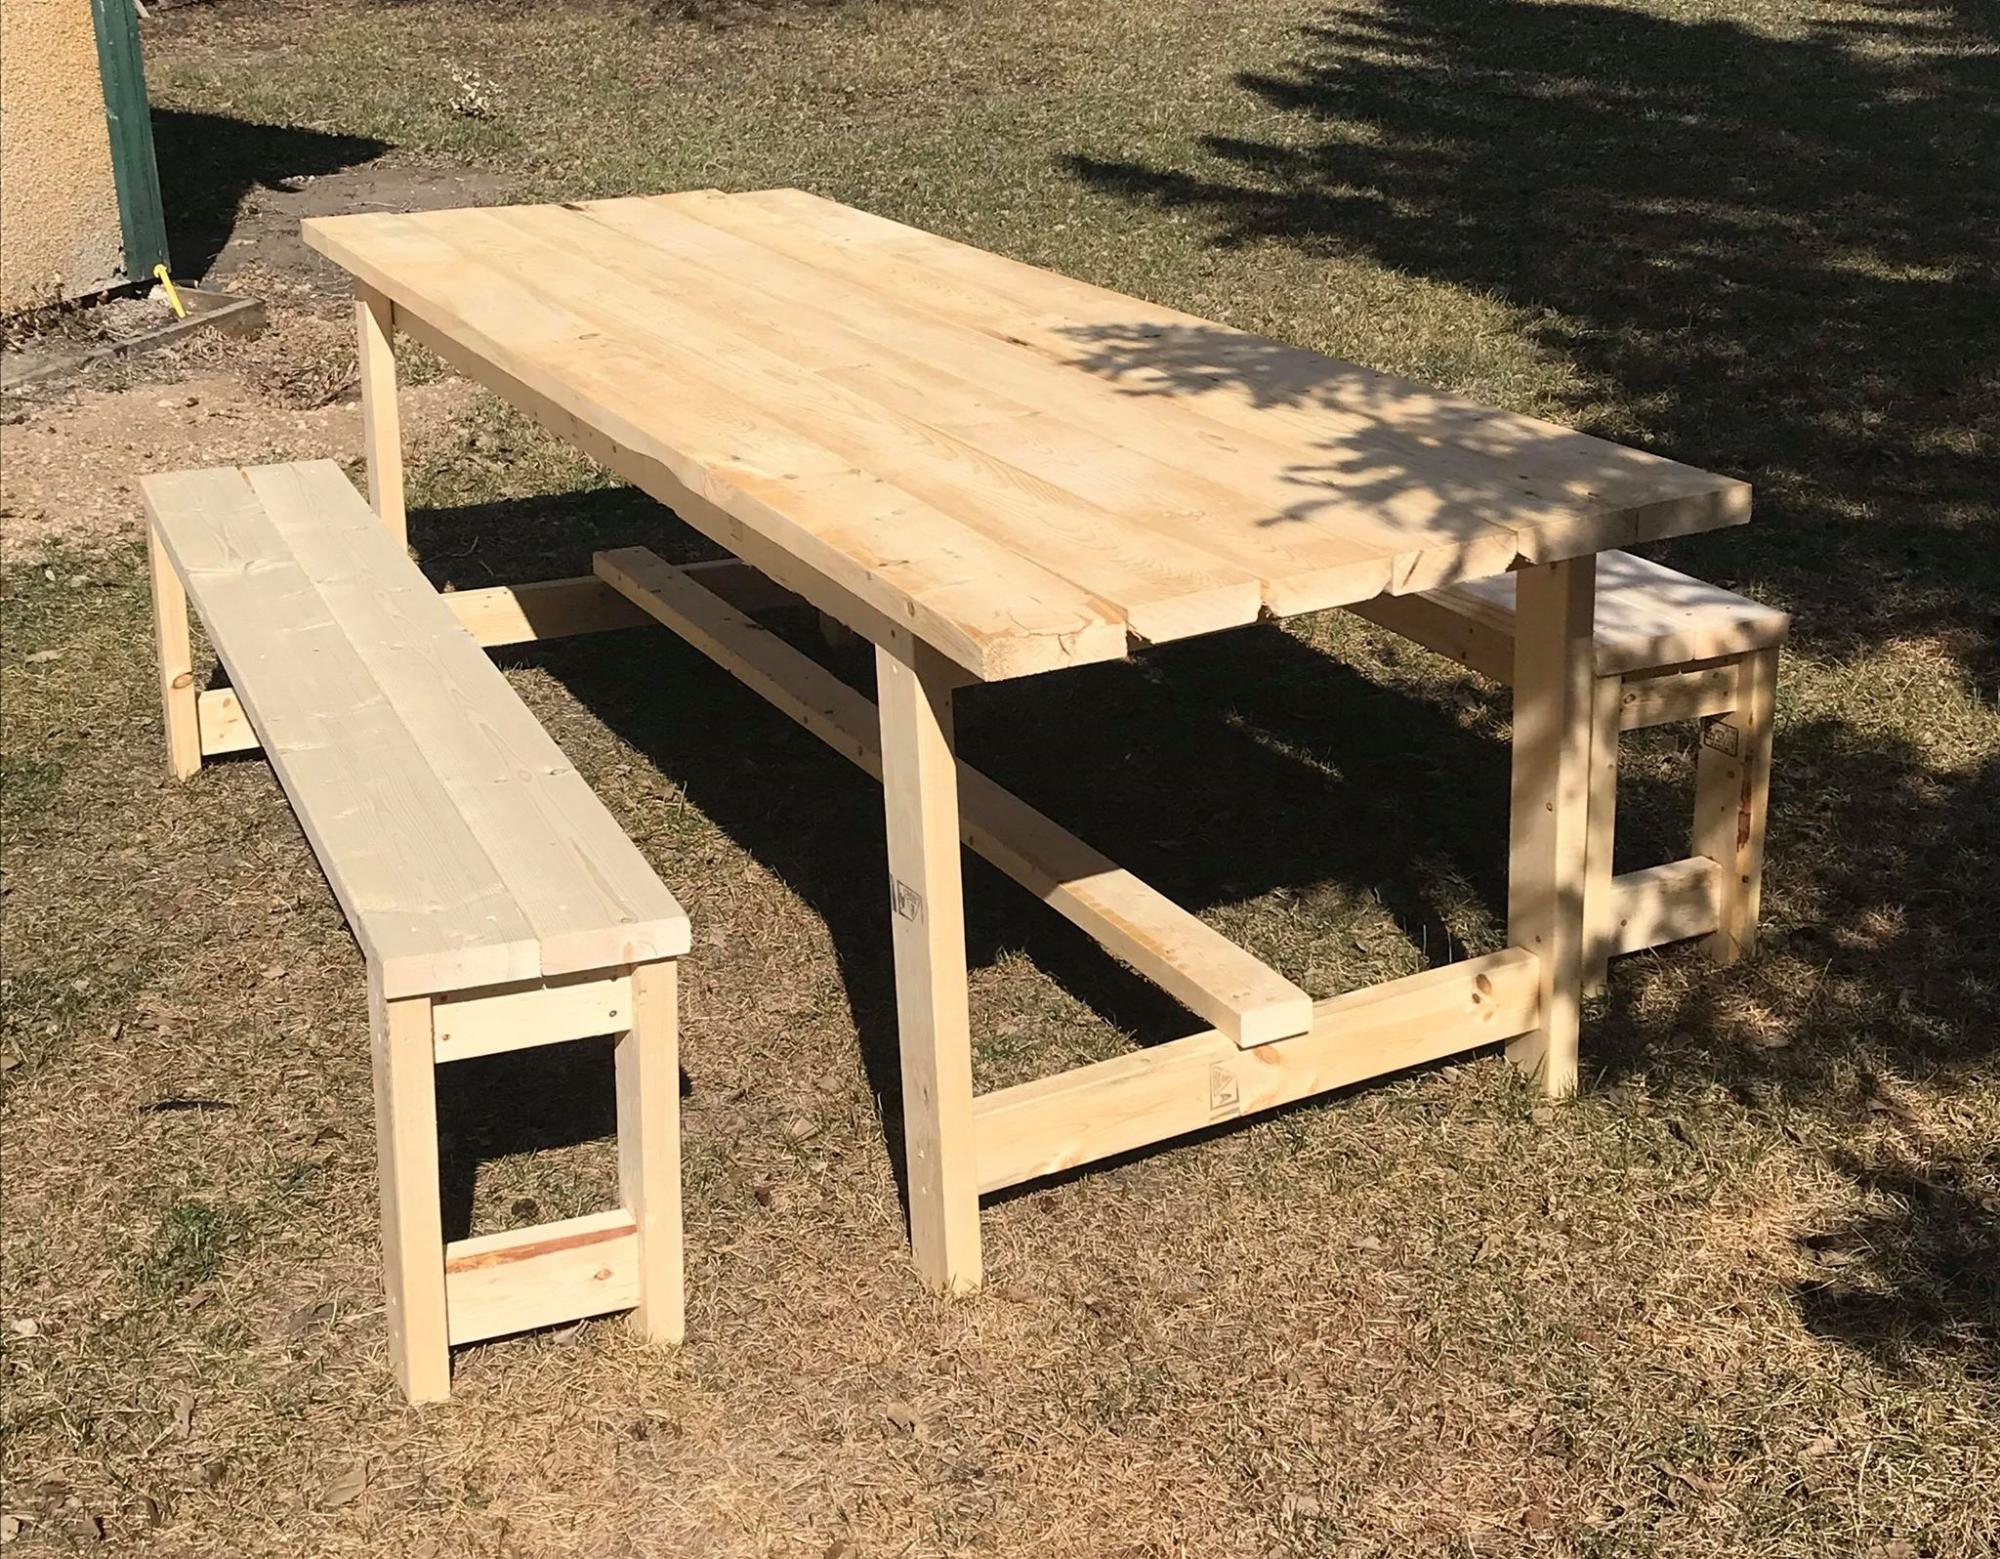
This was my first time building anything! The plans were so easy to follow along! Once I master some things like this, I can work on fine tuning things a bit more so I can build some more intricate plans. Thanks so much for your website! My kids are loving the BBQ's outside at the table!

Estimated Time Investment
Afternoon Project (3-6 Hours)
Finish Used
I haven't added a finish yet but will be soon.
Recommended Skill Level
Starter Project

Comments

Beryl

Tue, 06/02/2020 - 15:09

re the farm table. your cut list calls for 8 2 x 4 at 28 1/2 inches but the plan actually only needs 4 of them. The pics do not show you doubling the 2 x 4s for legs. Am I missing something.

Truss Table

Submitted by Anonymous (not verified) on Mon, 01/08/2024 - 10:12

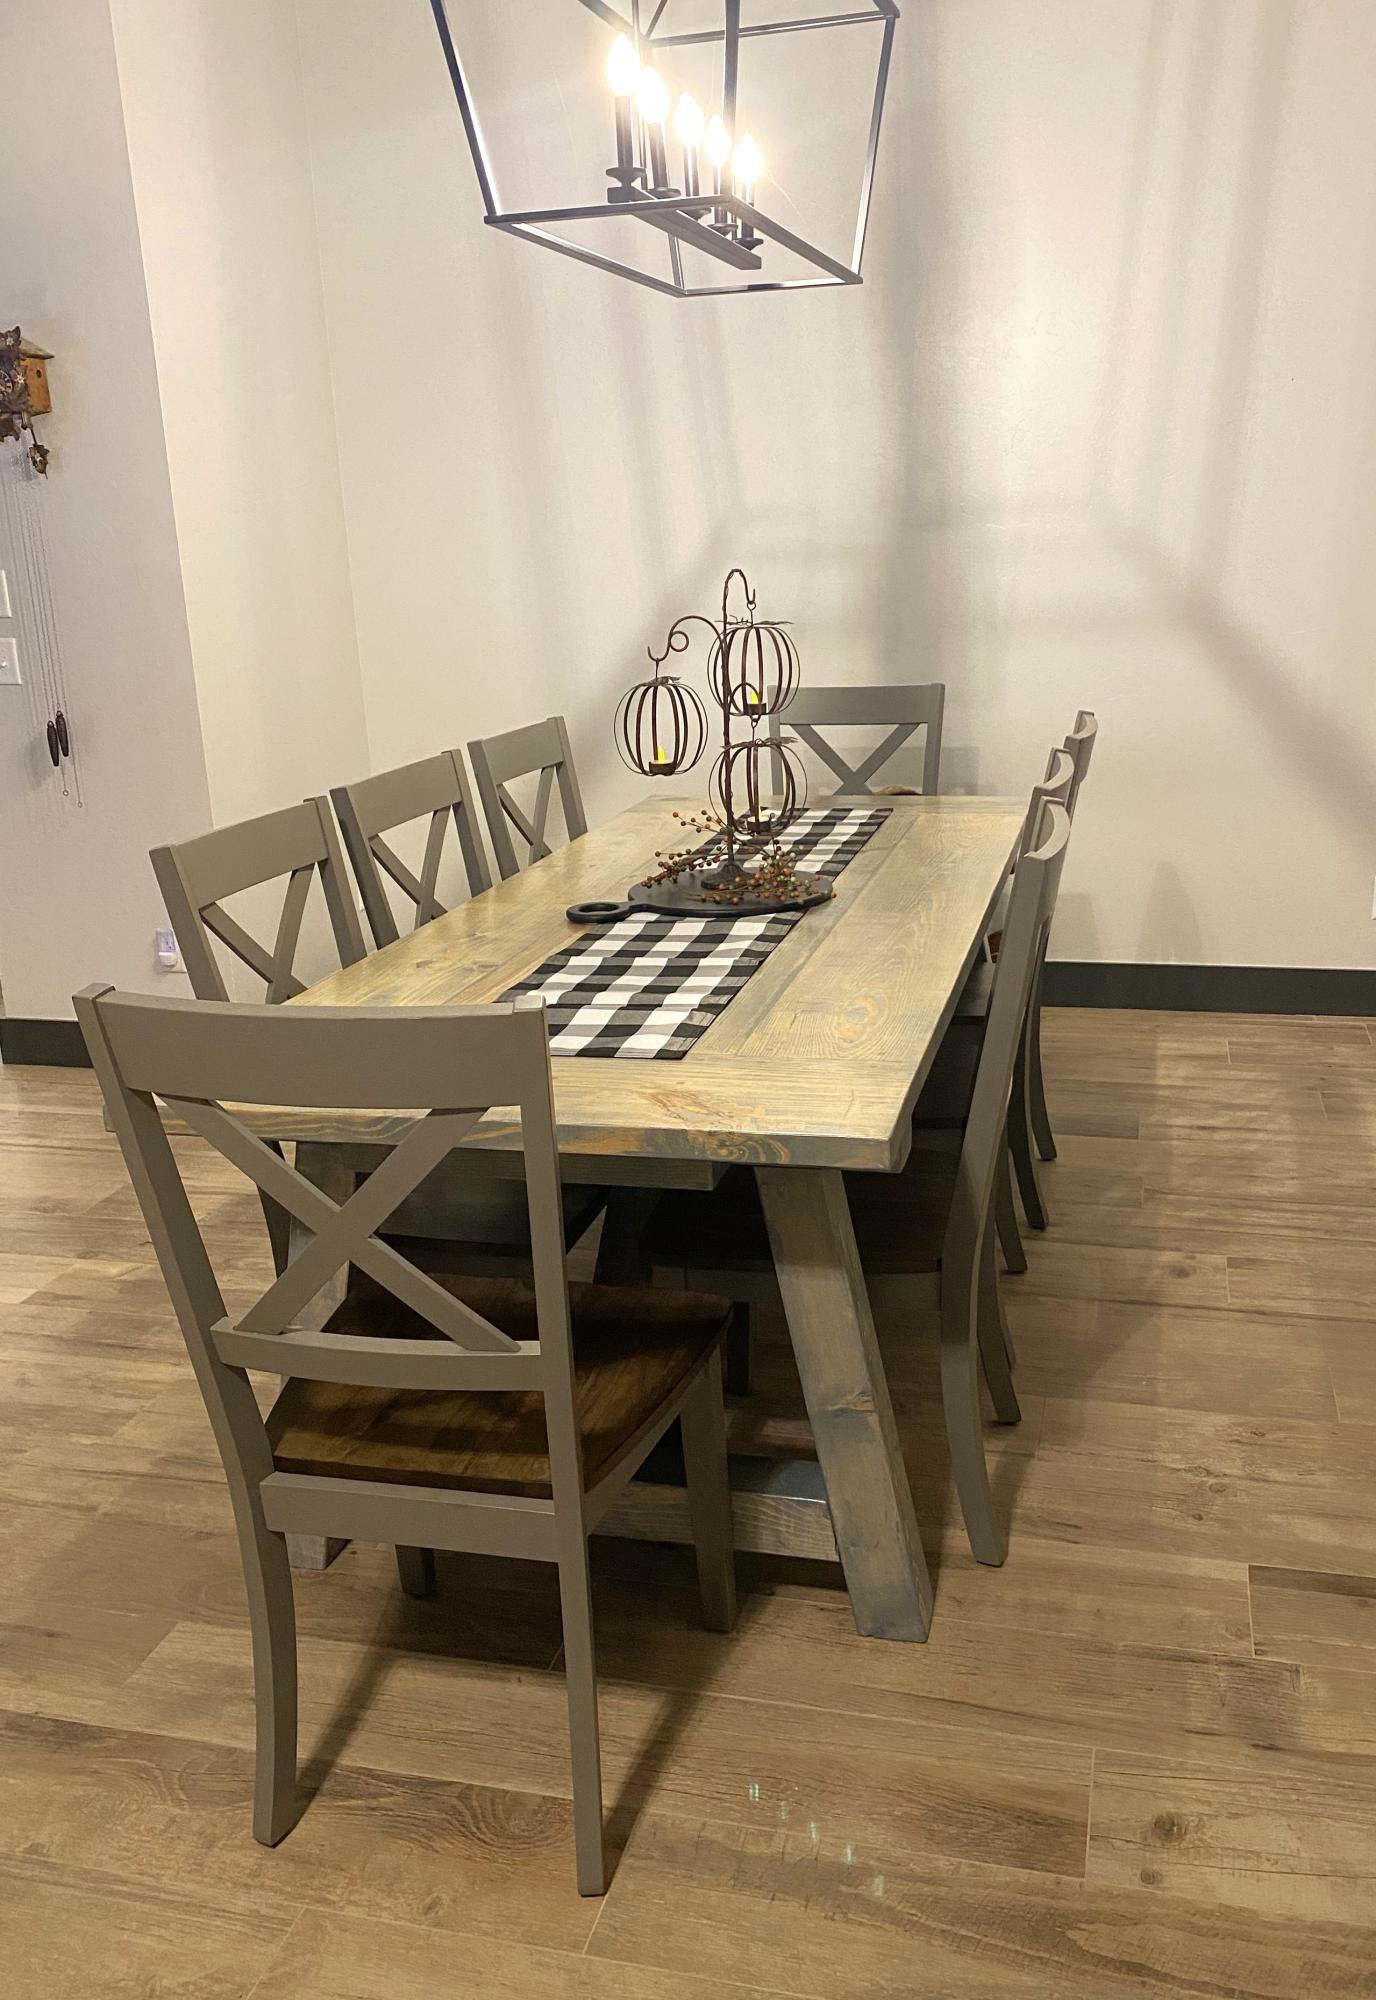
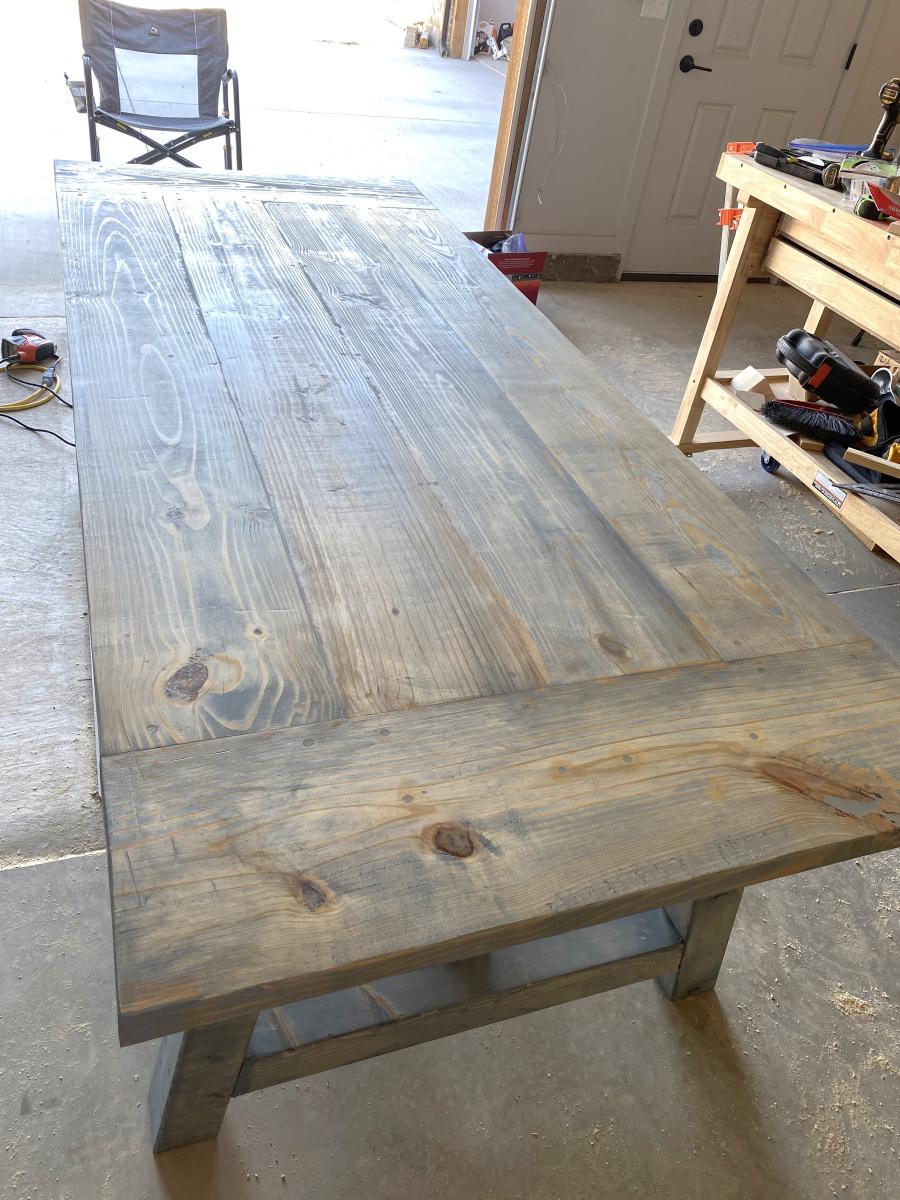
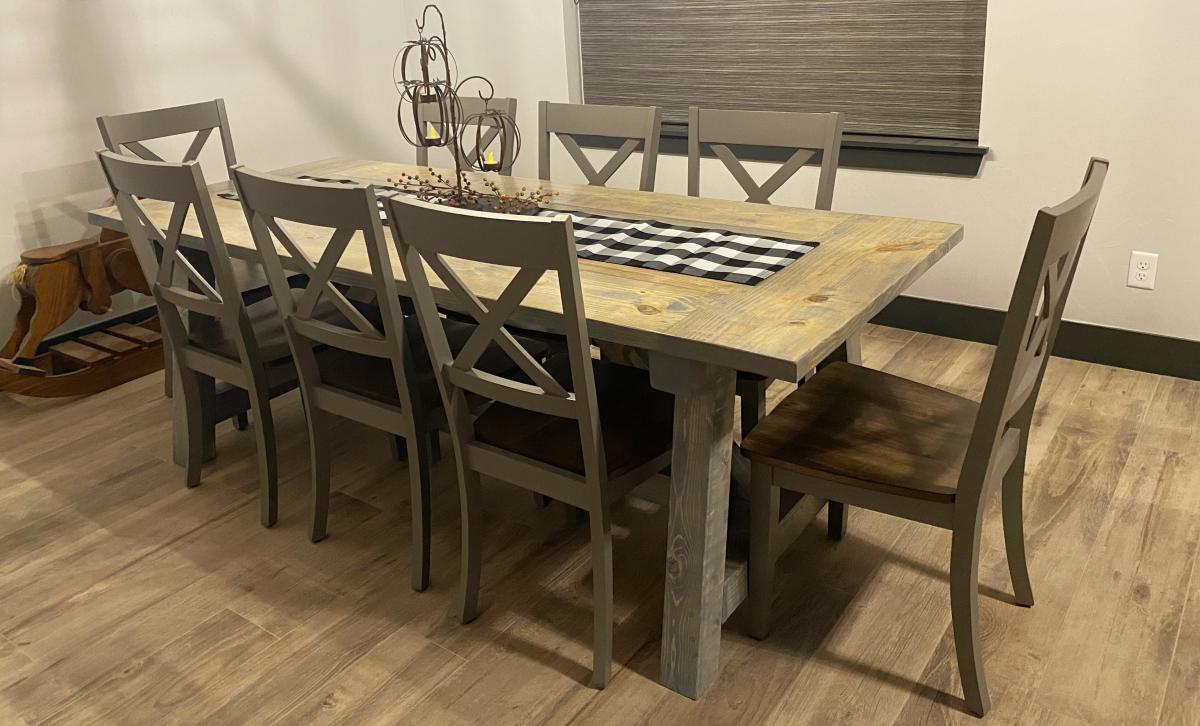
Our 4x4 Truss Beam Table made by my husband for our new house. Stain is Minwax slate gel stain.


Built from Plan(s)

Comments

Modified Simple Rolling Bar Cart

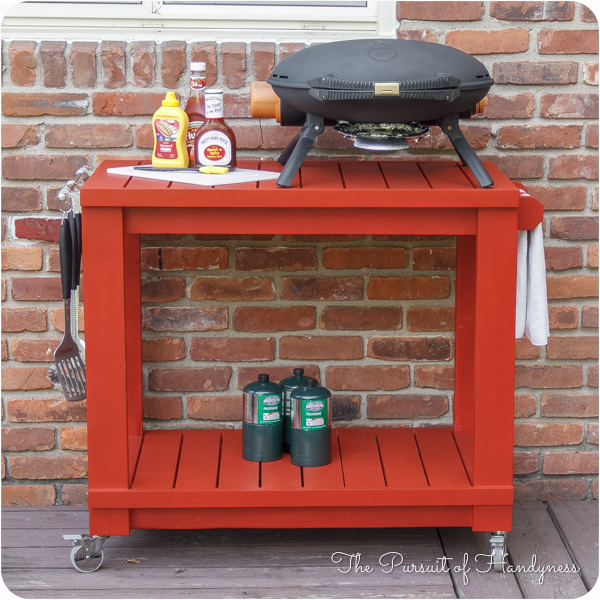
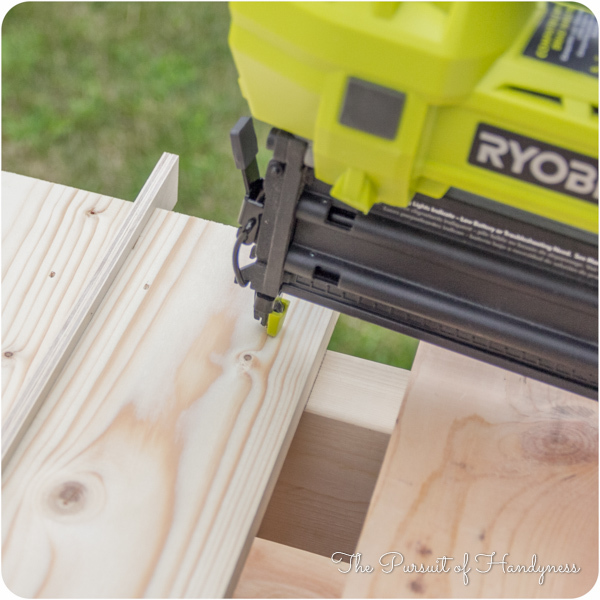
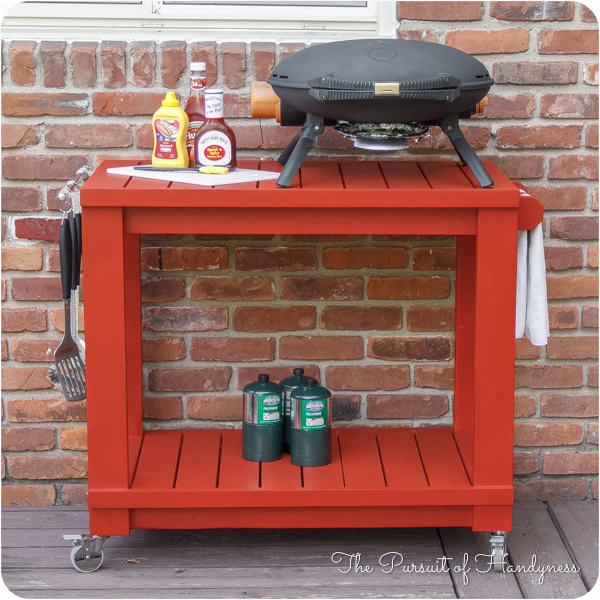
I honestly think Ana is a mind reader. Whenever I need plans for a particular piece of furniture, they magically appear on her site. Of course if she was a true mind reader, everything will be exactly as I need it requiring no modifications. That's what makes her plans so amazing. I can build bigger and better because I've learned to modify her plans to fit my current needs.

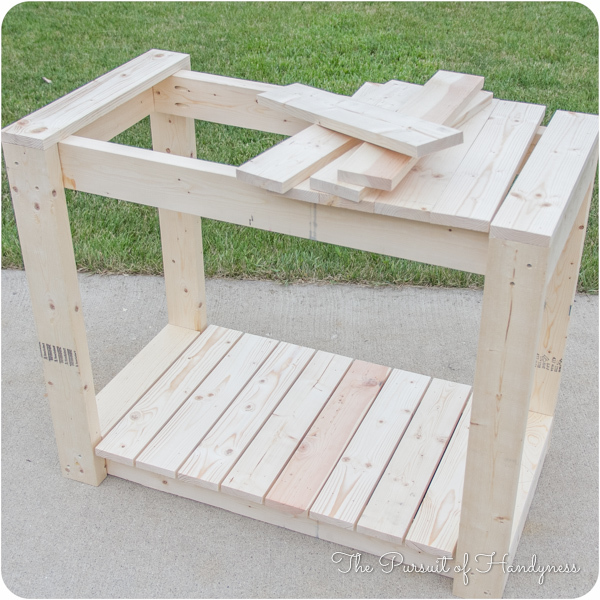
This Cart was no exception. I had to make mine a few inches deeper and change the height of the legs and it was a piece of cake. I put this together in less than 2 hours and finishing was easy too.

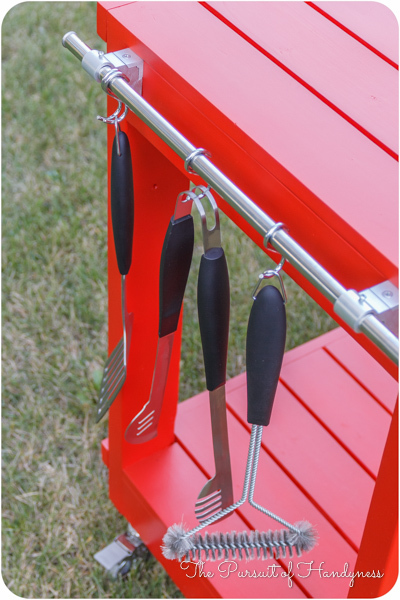
I did a blog post all about what I did differently including how I constructed a towel bar instead of the pipe. Check it out at www.thepursuitofhandyness.com
Built from Plan(s)

Estimated Cost
$25 Depending upon the type of casters used
Estimated Time Investment
Afternoon Project (3-6 Hours)
Finish Used
Oil Based Primer & Rustoleum Painters Touch Spray Paint in Paprika Satin
Recommended Skill Level
Starter Project

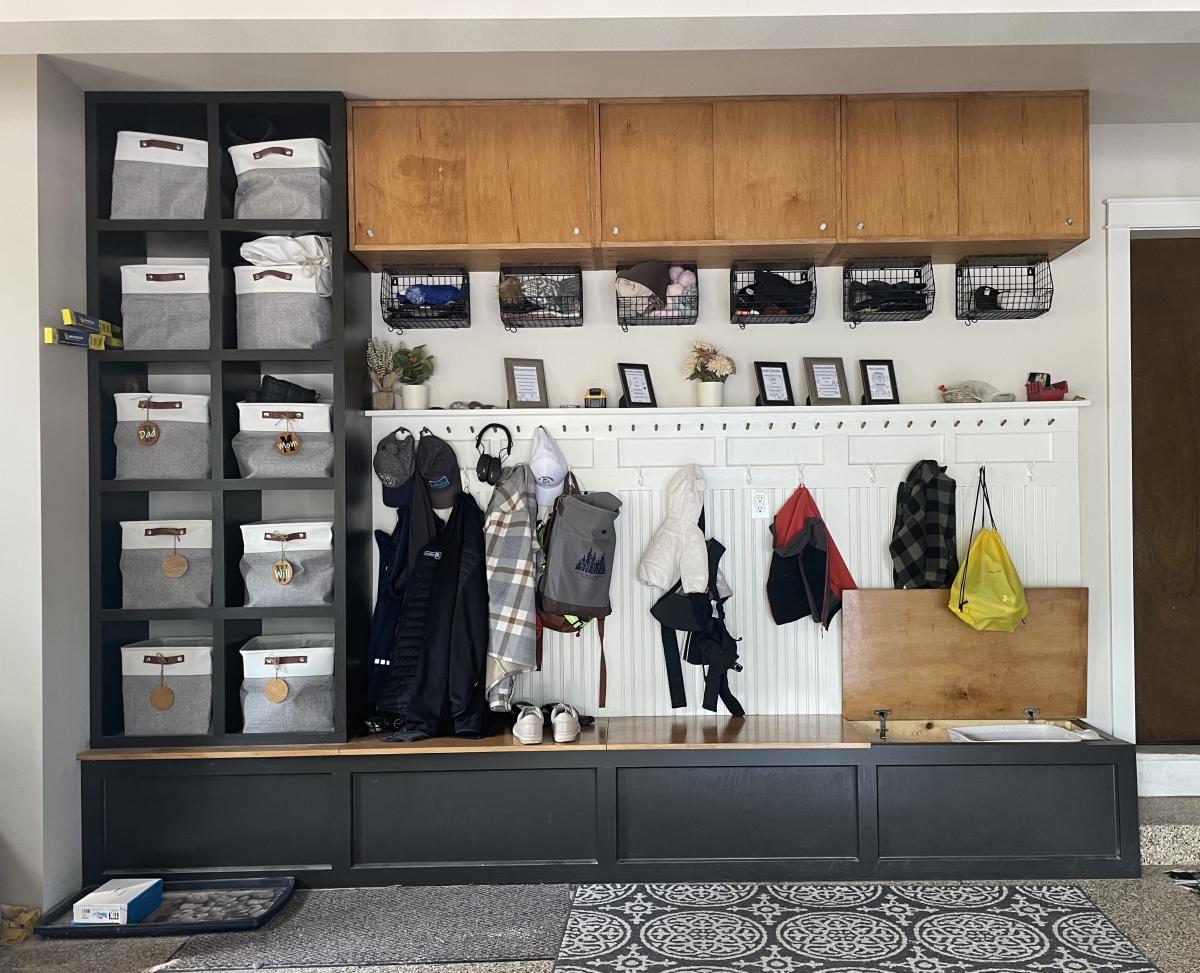
Family Mudroom Storage System

Submitted by Anonymous (not verified) on Thu, 10/03/2024 - 07:55

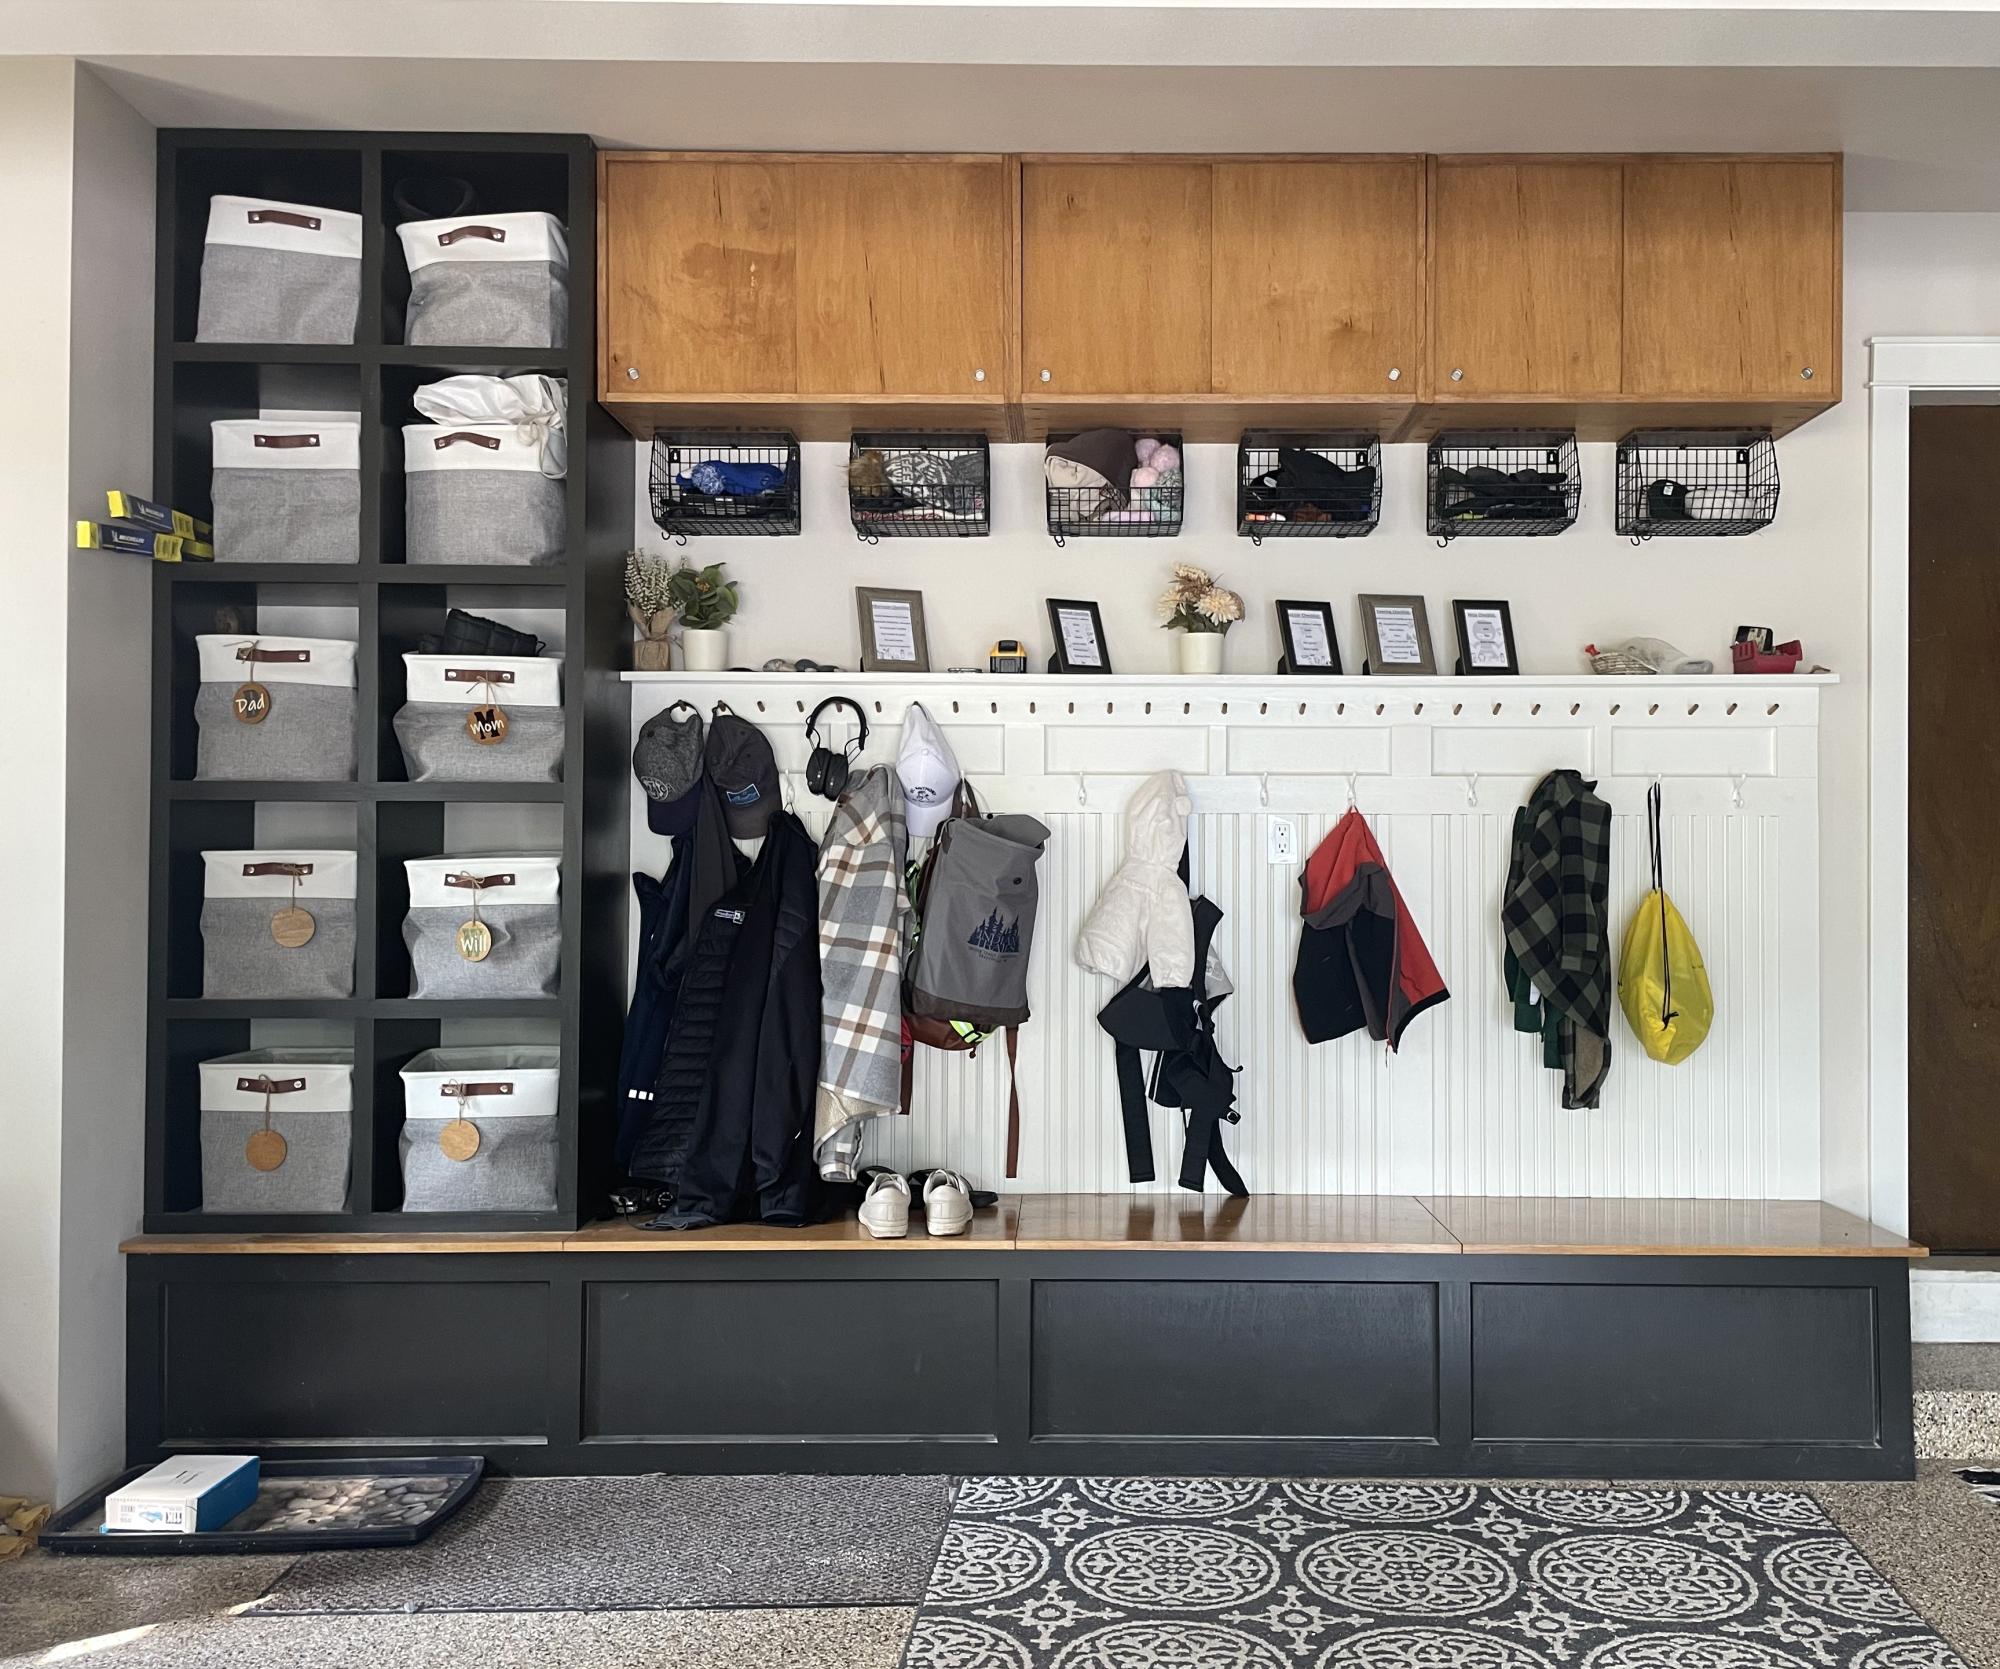
Took this plan as inspiration for our garage remodel. This is the back wall of our 2-car garage. Each kid ended up with their own section complete with hooks for coats and backpacks, baskets for hats and mittens, the bench storage for sports gear, and their own shoe cubby off to the left. This bench was a game changer for school nights! - Lindsey M

Comments

Seasonal And Holiday

Farmhouse Doll Bed

Submitted by TeamR-K on Tue, 12/11/2012 - 13:04

My handy husband whipped this little bed up from the leftover wood of the rustic "X" end table! I love it so much, a great toy / newborn prop!! I wanted to finish it with the steel wool/vinegar method, but it was too late, he already painted it. I love it just the way it is! Thank you for the awesome plan!!

Estimated Cost
$15 - or free if you use leftover pieces of wood
Estimated Time Investment
An Hour or Two (0-2 Hours)
Finish Used
Paint-Beautitone Satin Finish
Recommended Skill Level
Beginner

Comments

spiceylg

Wed, 12/12/2012 - 05:26

Nice build, but the baby steals the show. What an absolutely precious baby and picture! The stuffed lamb is adorable, too, lol!

5 tator tots (not verified)

Tue, 12/18/2012 - 11:37

Our baby is due in a few weeks...makes me want my husband to build this just for pictures! Adorable baby!

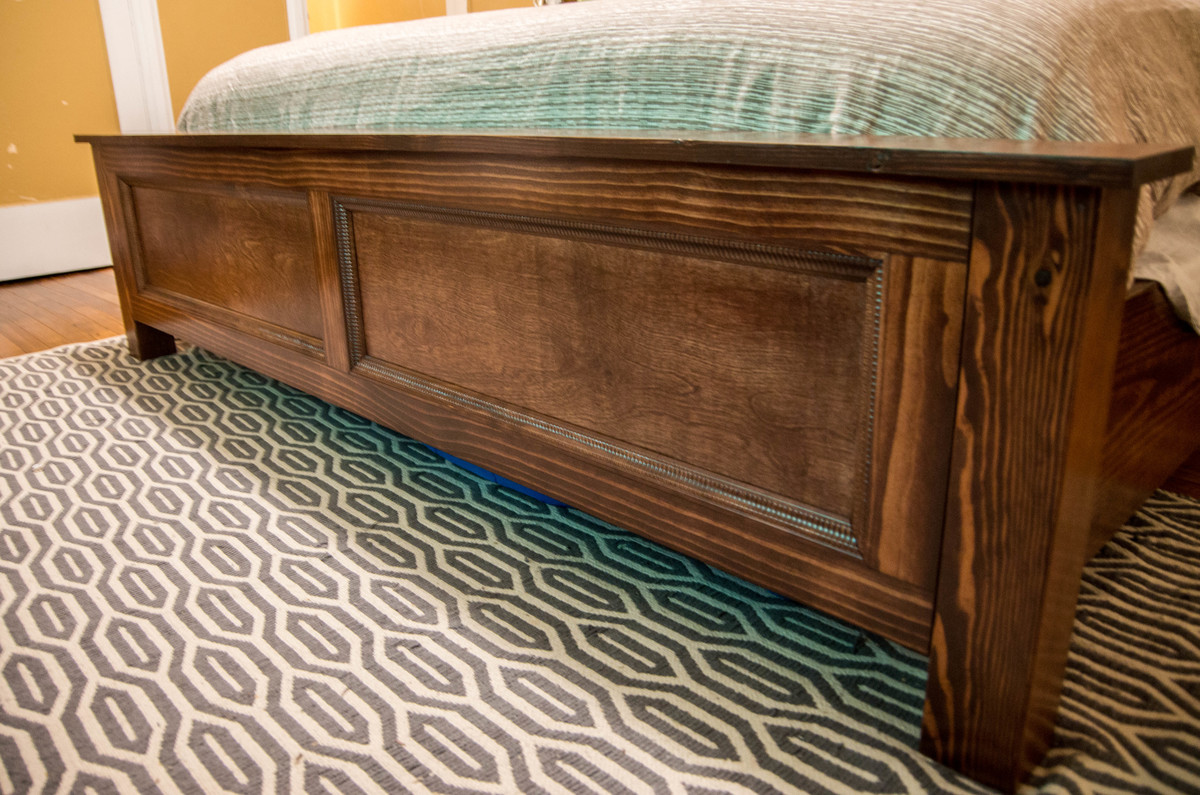
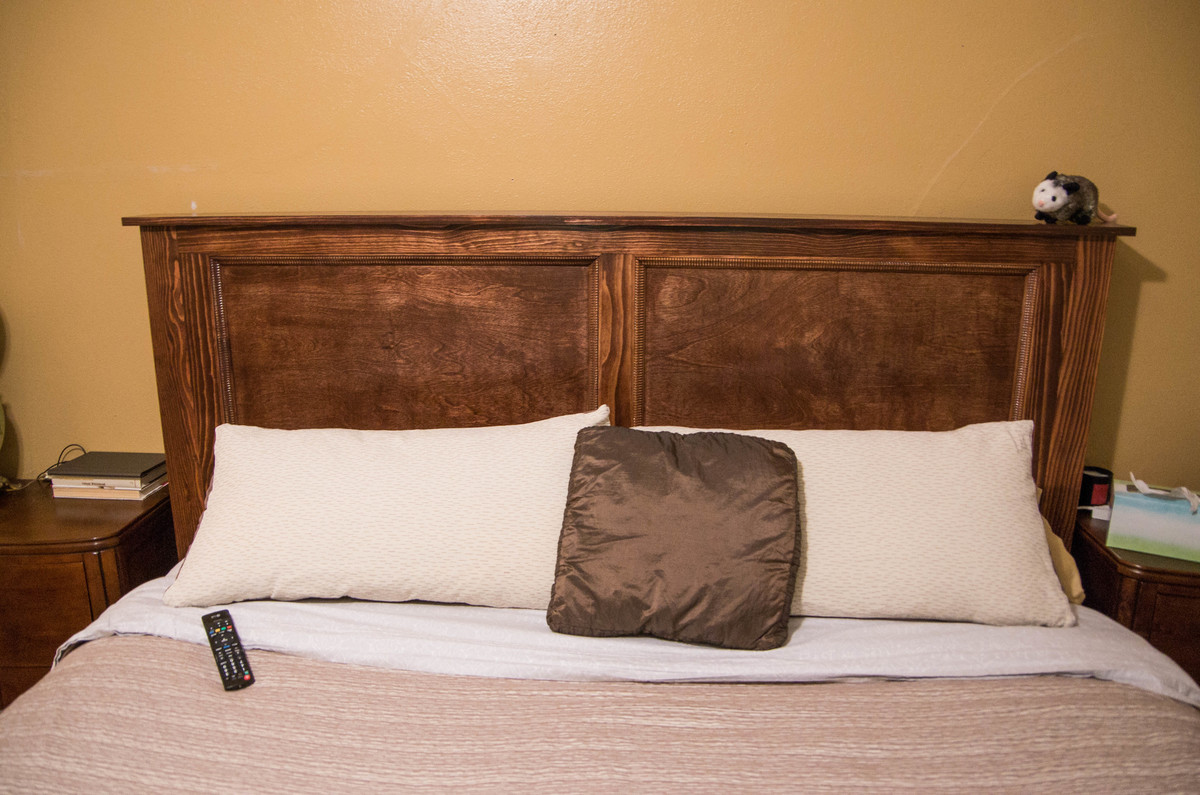
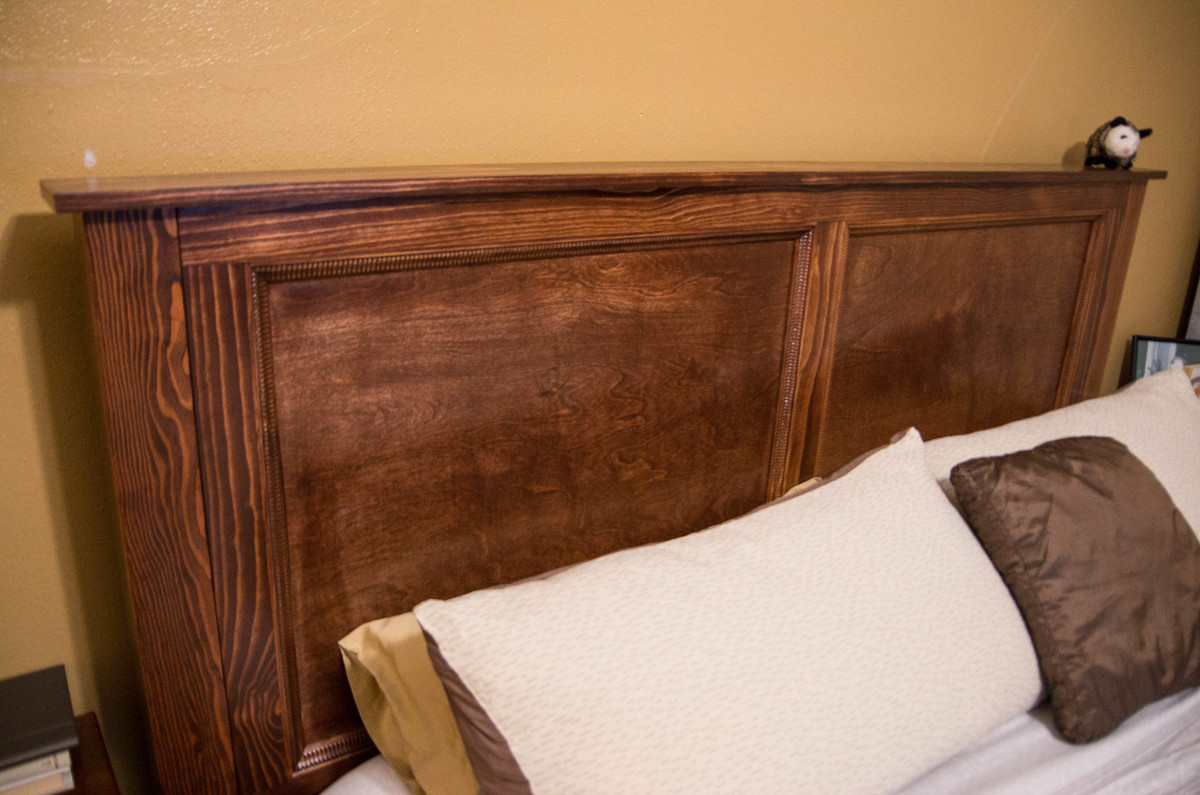
Cassidy King Bed

Submitted by Anonymous (not verified) on Mon, 01/16/2017 - 18:19

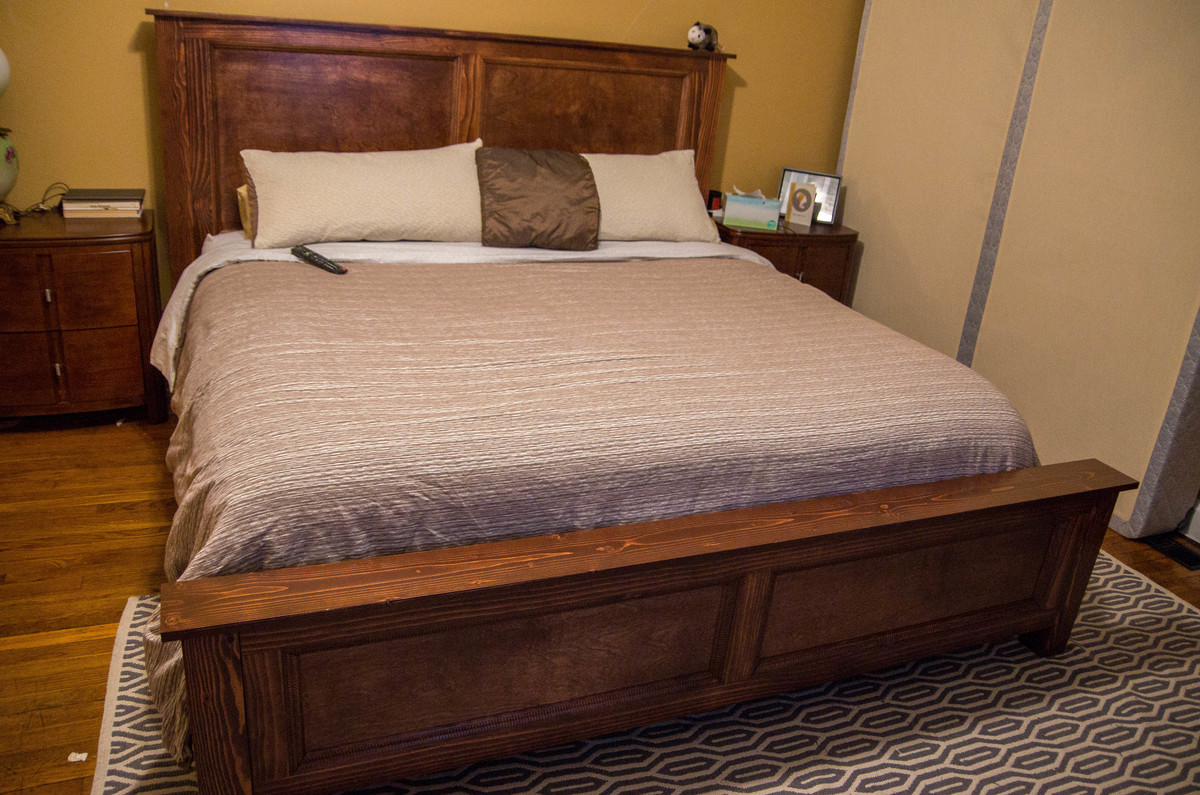
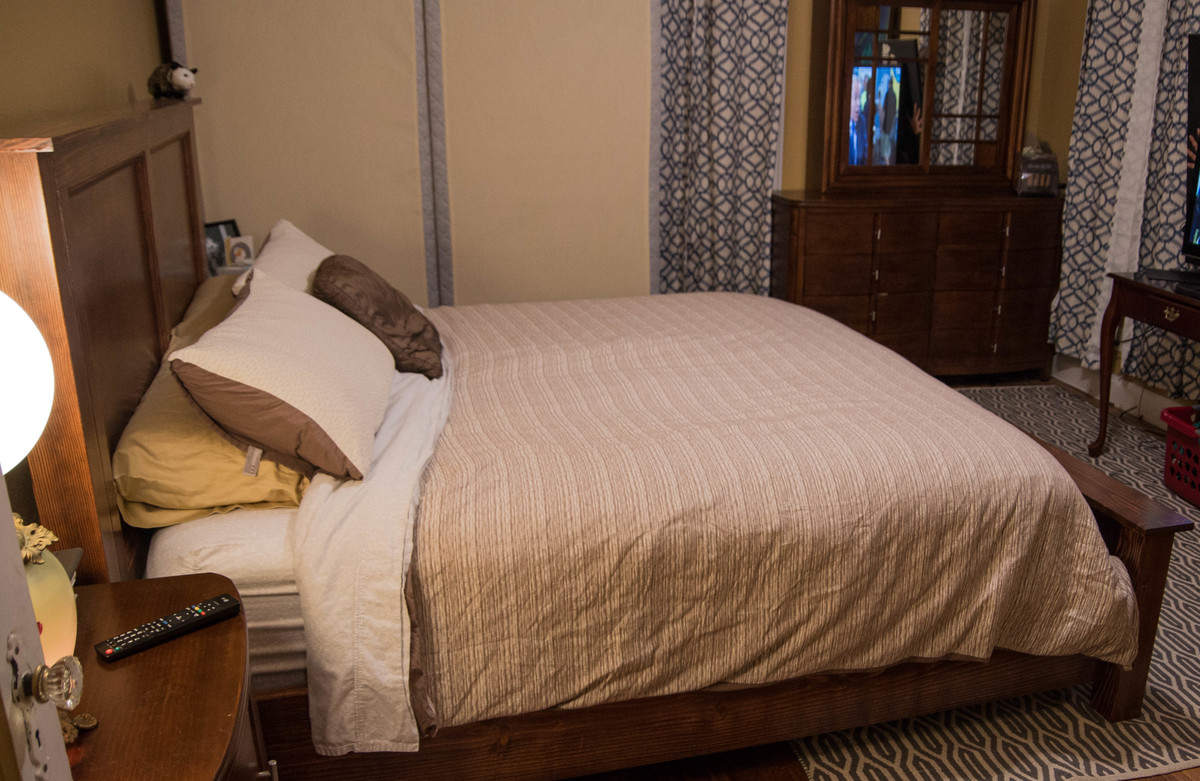
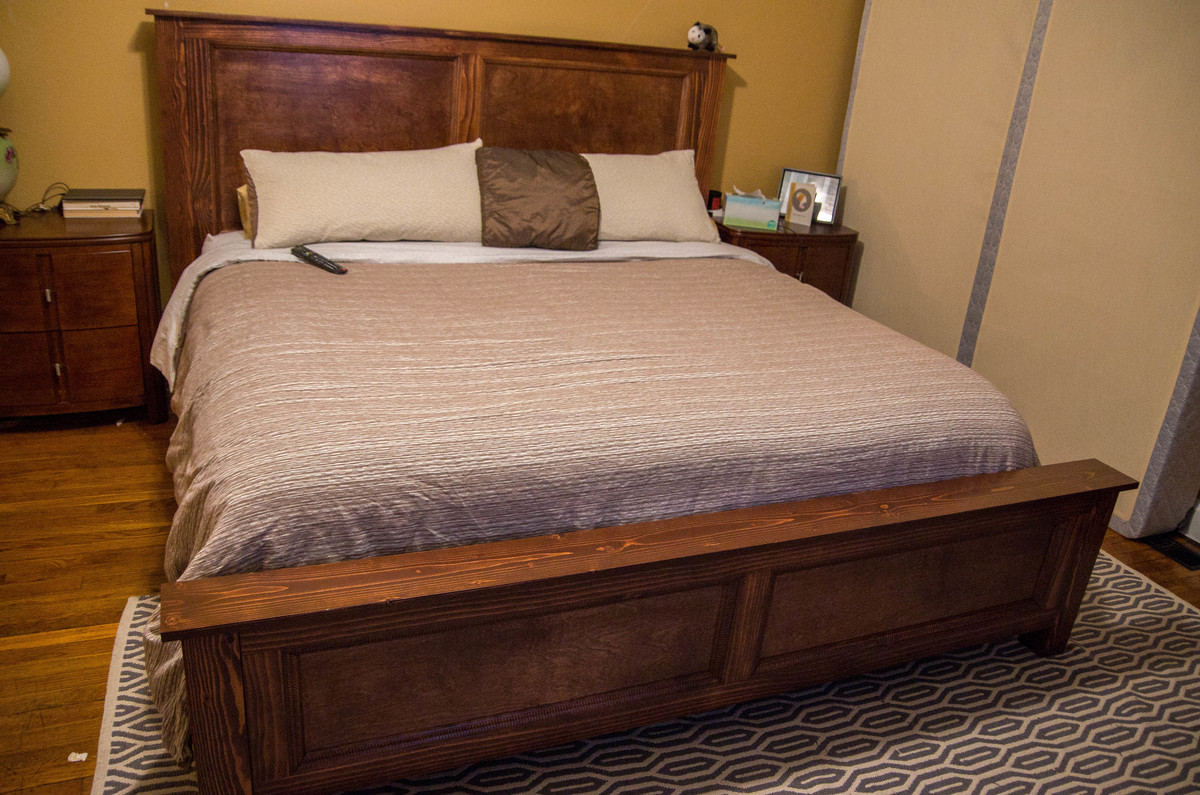
We executed the Cassidy King bed plan to the letter apart from the shims decoration on the head and footboard. We opted for trimming both the head and footboard with some simple trim to keep the design clean. We also used 2x12s for the side rails and added extra frame supports to ensure the bed was extra sturdy, and it is rock solid! As you can see from some of the pictures after putting the bed together using our box springs we felt it made the mattress look too high. We then decided to put down ¾ inch plywood and take out the box springs (our mattress is really thick, nearly 18’’). All in all, we are very pleased with how this plan turned out. Thank you, Anna, for your awesome plans! This is the third project we have made from your site and all of them have turned out true to the plans and looking really nice.  

Built from Plan(s)
Estimated Cost
$200
Estimated Time Investment
Week Long Project (20 Hours or More)
Finish Used
Sherwin Williams Classic Cherry stain and Sherwin Williams Poly
Recommended Skill Level
Intermediate

Ana's Loft bed w/o the stairs

Submitted by Anonymous (not verified) on Tue, 04/18/2017 - 12:38

I fell in love with the loft bed but thought the stairs stuck out too far for my daughter's room so I revampd the plan just a bit to add three 'stairs' in the platform rather than the standard stairs in the plan.

I got started on the project on a Friday night, got my cuts made, my pocket holes drilled and pieces sanded for an early start Saturday morning, everything went together like a dream - though it would have gone MUCH faster if I had had a second set of hands; I had to balance all of the long peices on other peices to try and get them attached and it took much longer than it had too! 

It was all together, the holes filled and first coat of primer on by Saturday afternoon - I used Zinsser primer so the knot's did not bleed through. Sunday morning I was painting and it was in place and decorated by Sunday night!

Great, easy to follow plans (as always) Ana - thank you, I have one VERY happy daughter!

Estimated Cost
Approx $150
Estimated Time Investment
Weekend Project (10-20 Hours)
Finish Used
paint
Recommended Skill Level
Beginner

Farm table

Submitted by Anonymous (not verified) on Sat, 04/22/2017 - 20:25

Thanks for the plans!

Estimated Cost
$200
Estimated Time Investment
Weekend Project (10-20 Hours)
Finish Used
Minwax dark walnut
Minwax Gloss polyurethane
Recommended Skill Level
Intermediate
Back