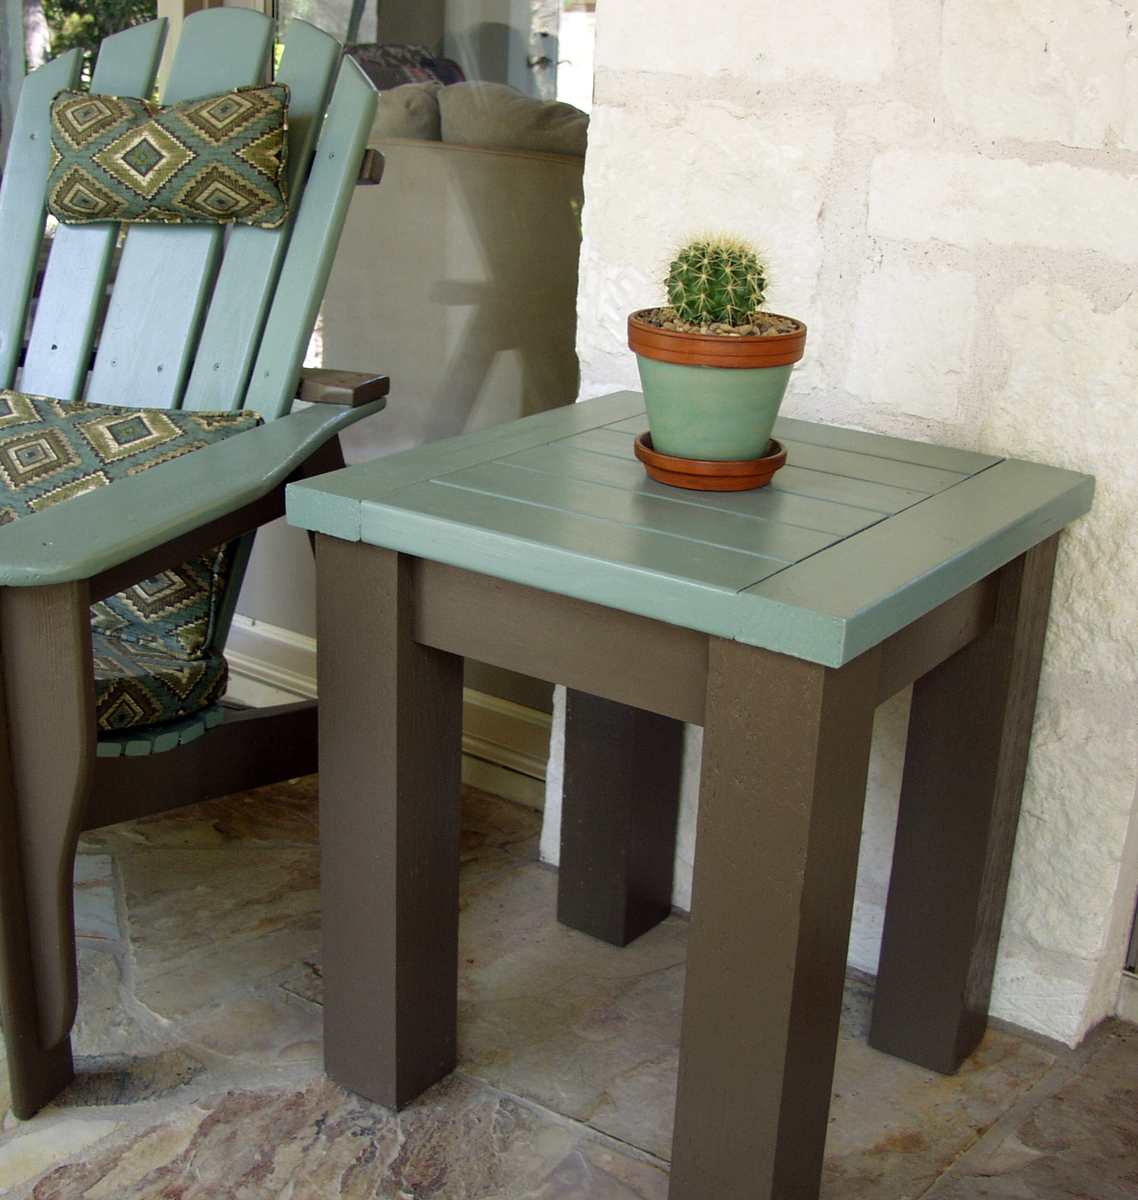
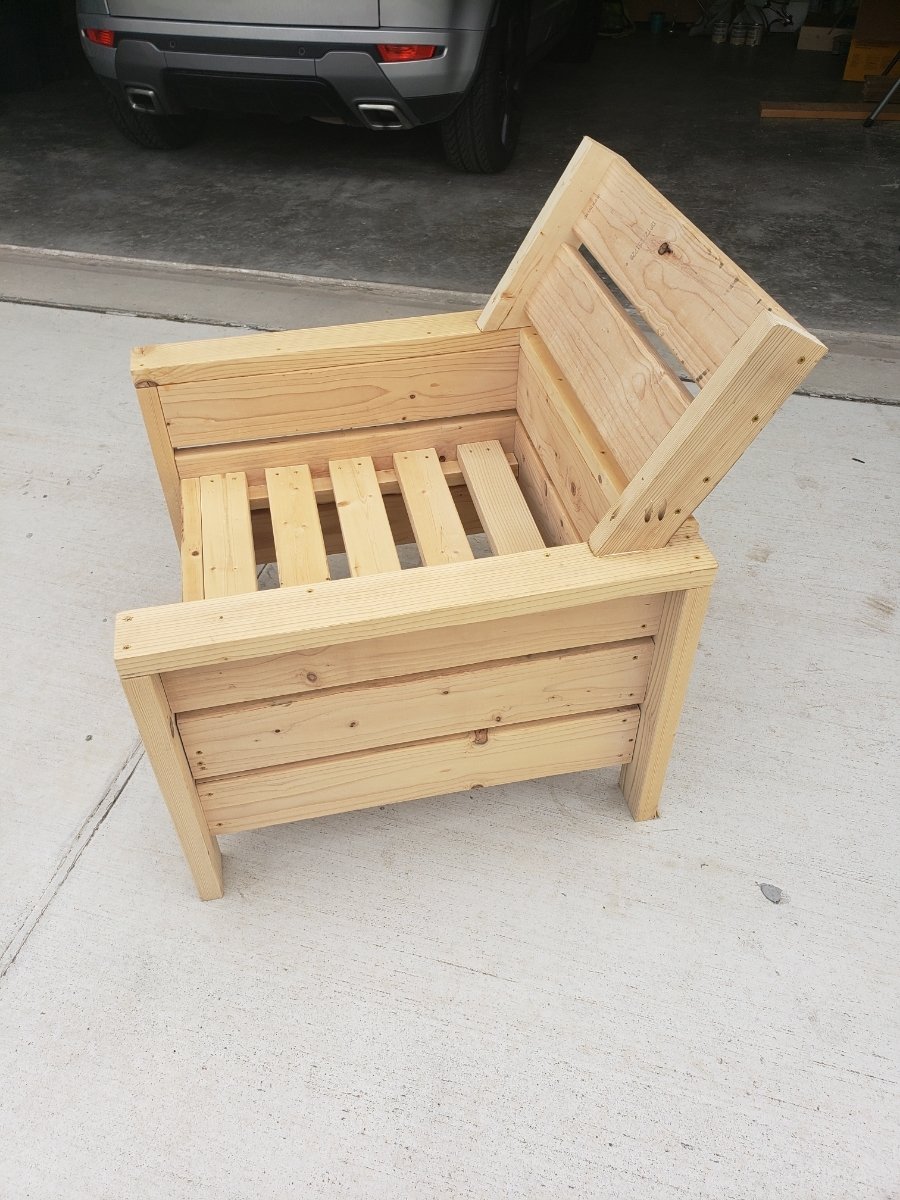
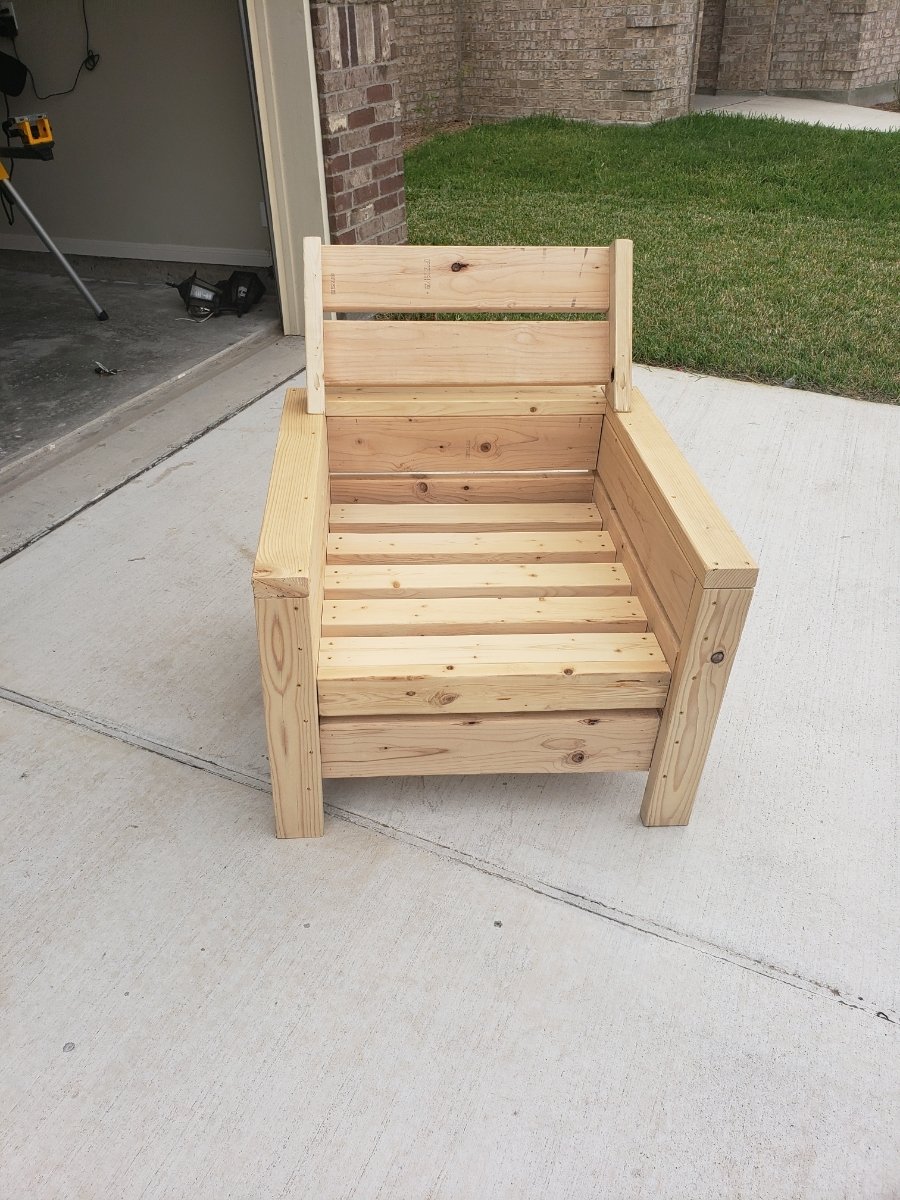
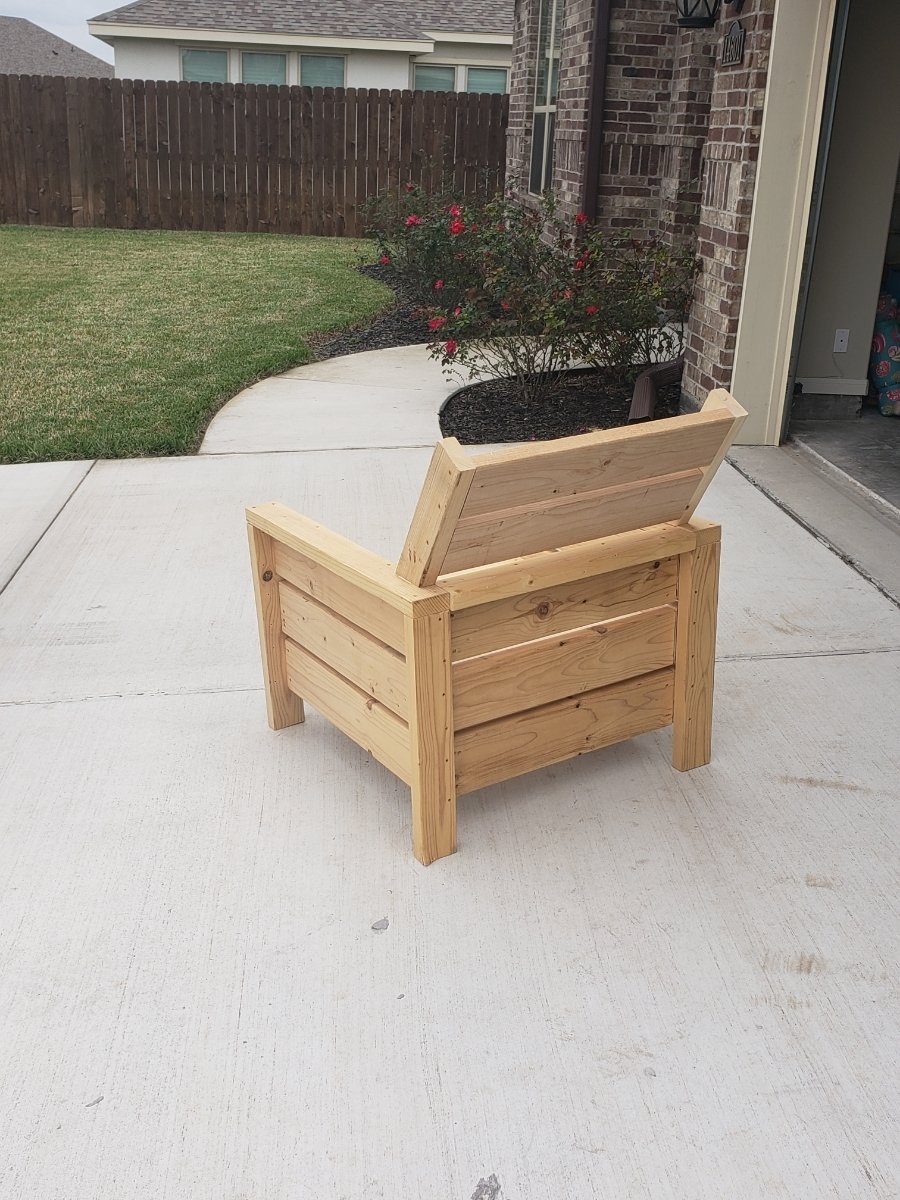
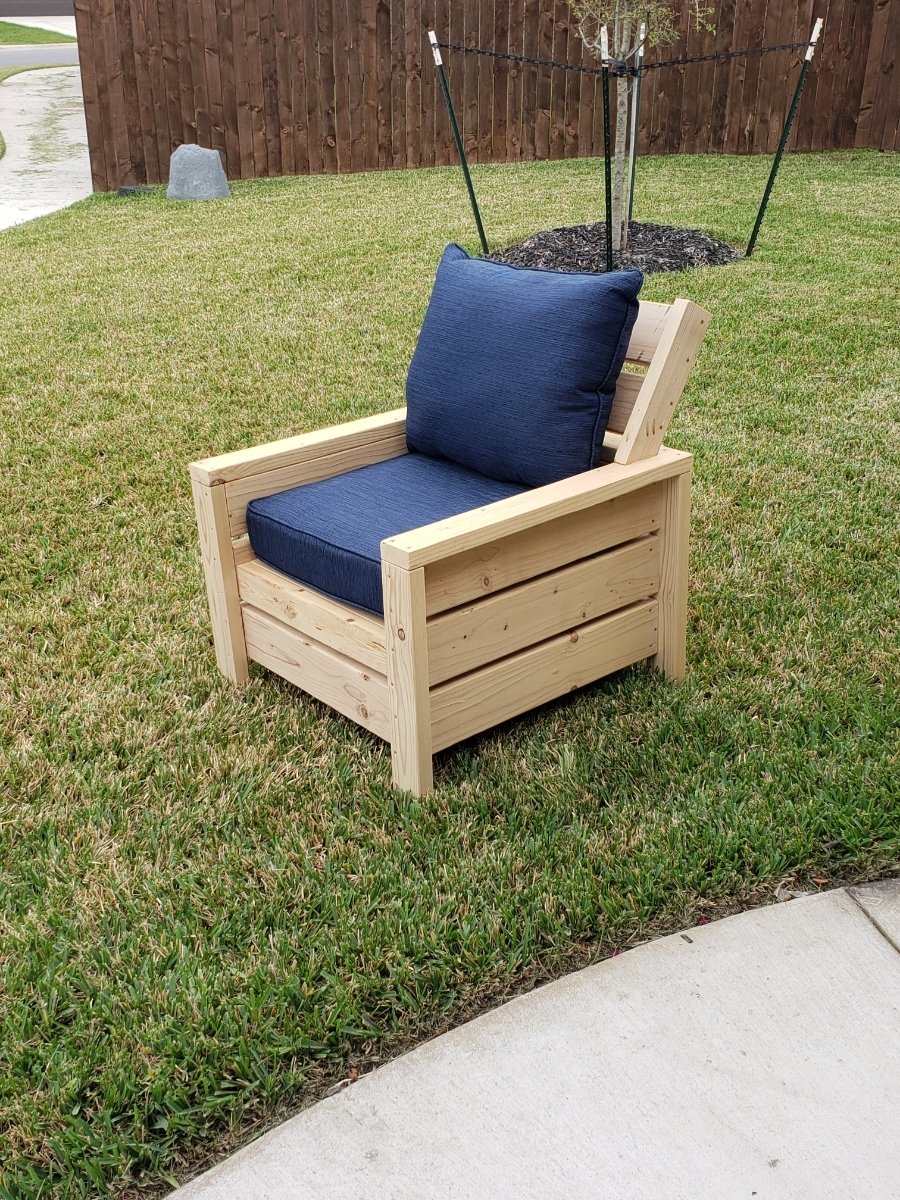
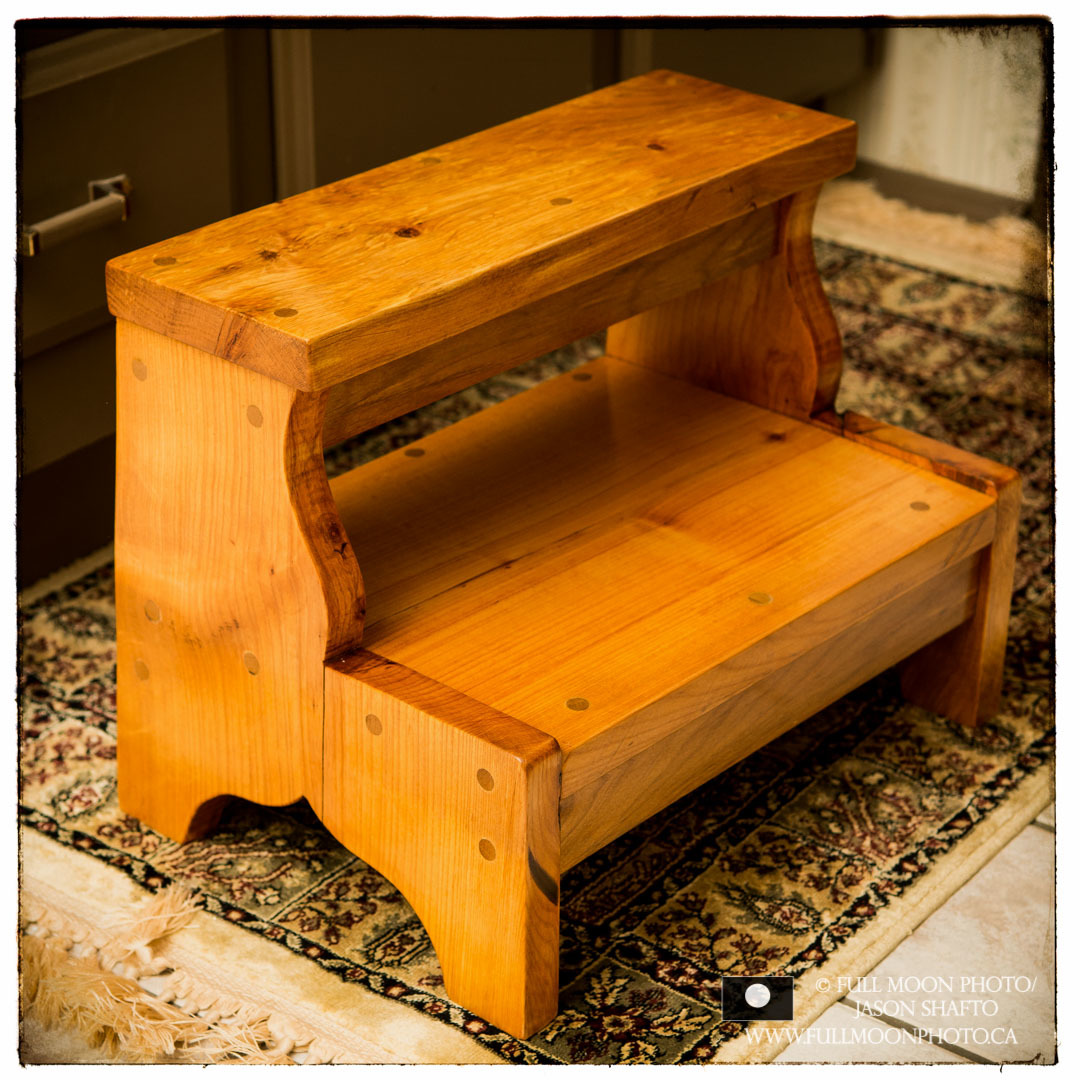
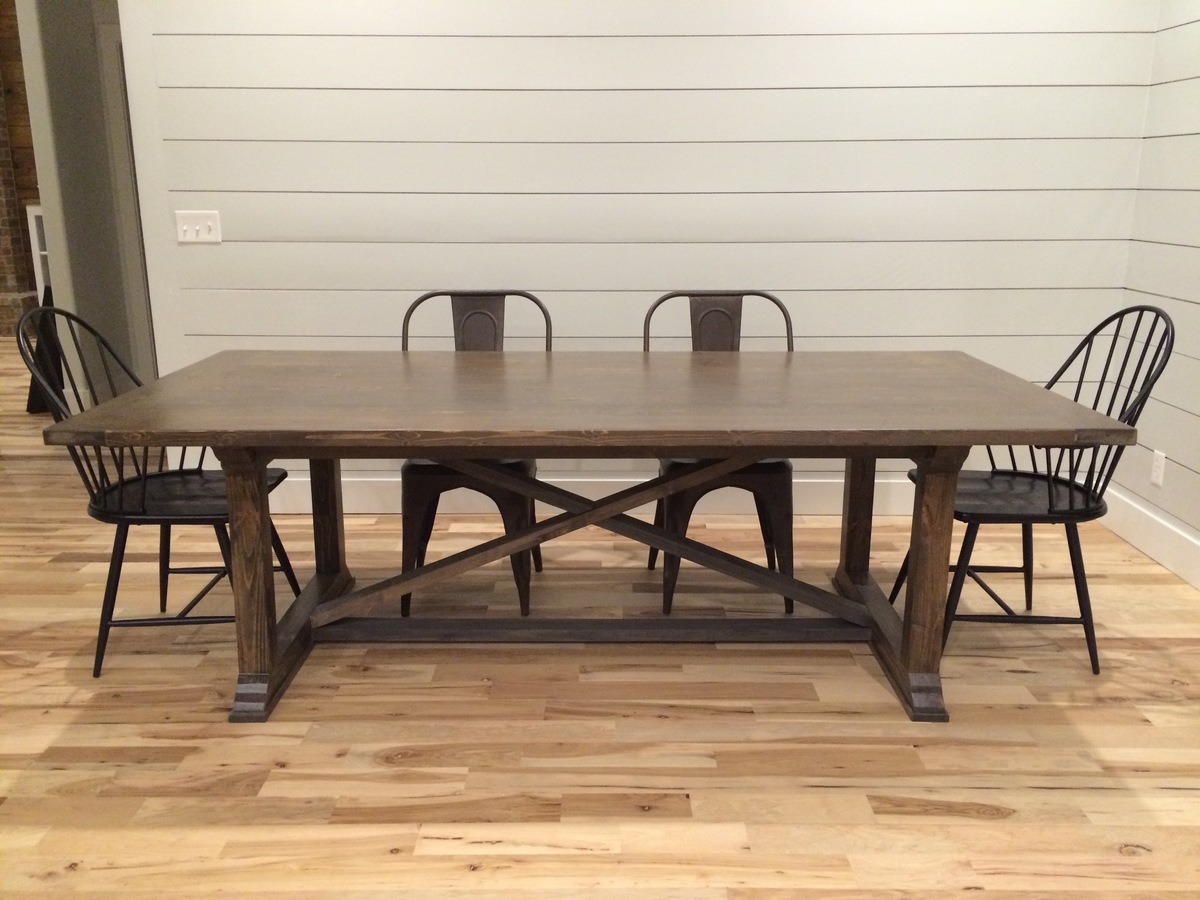
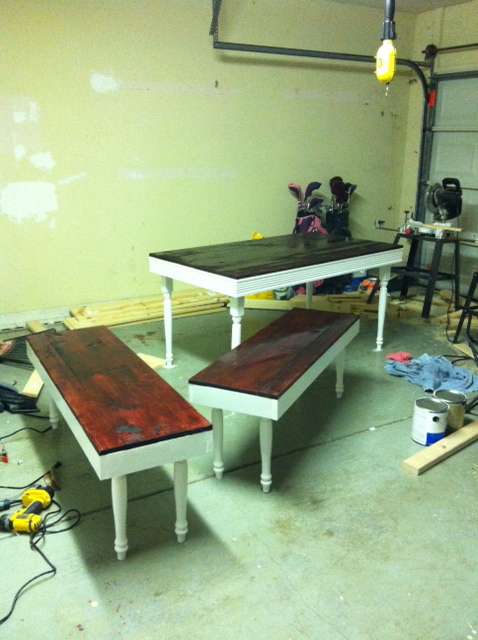
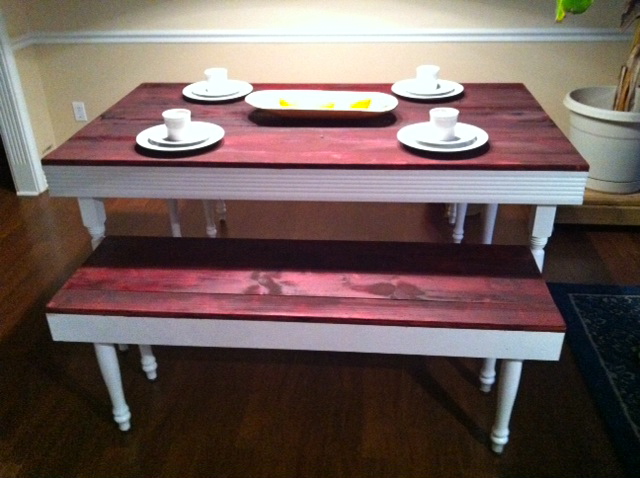
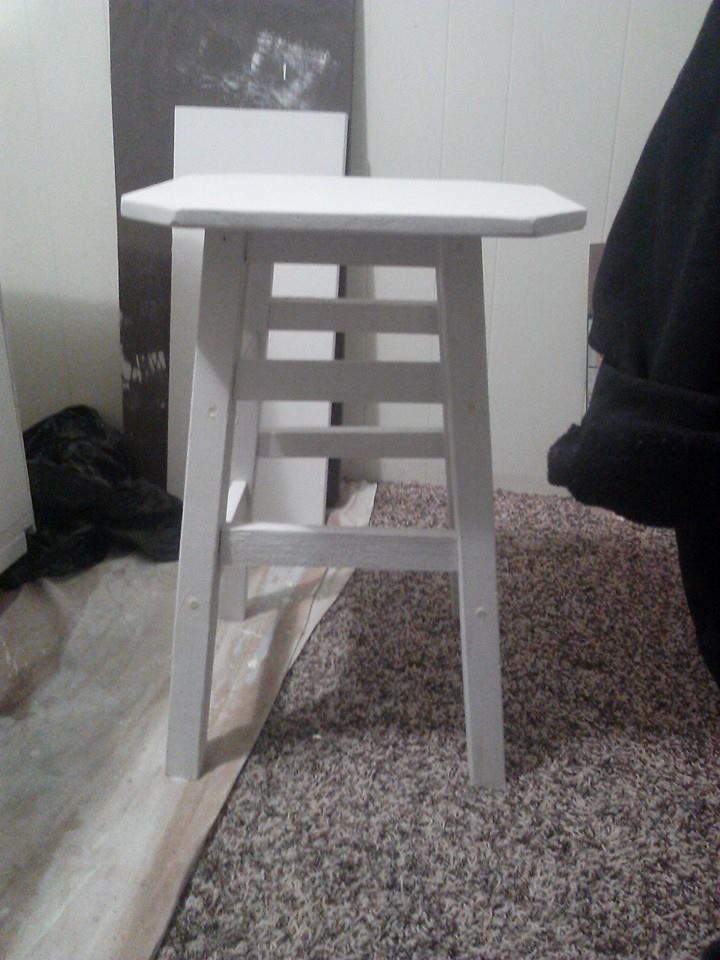
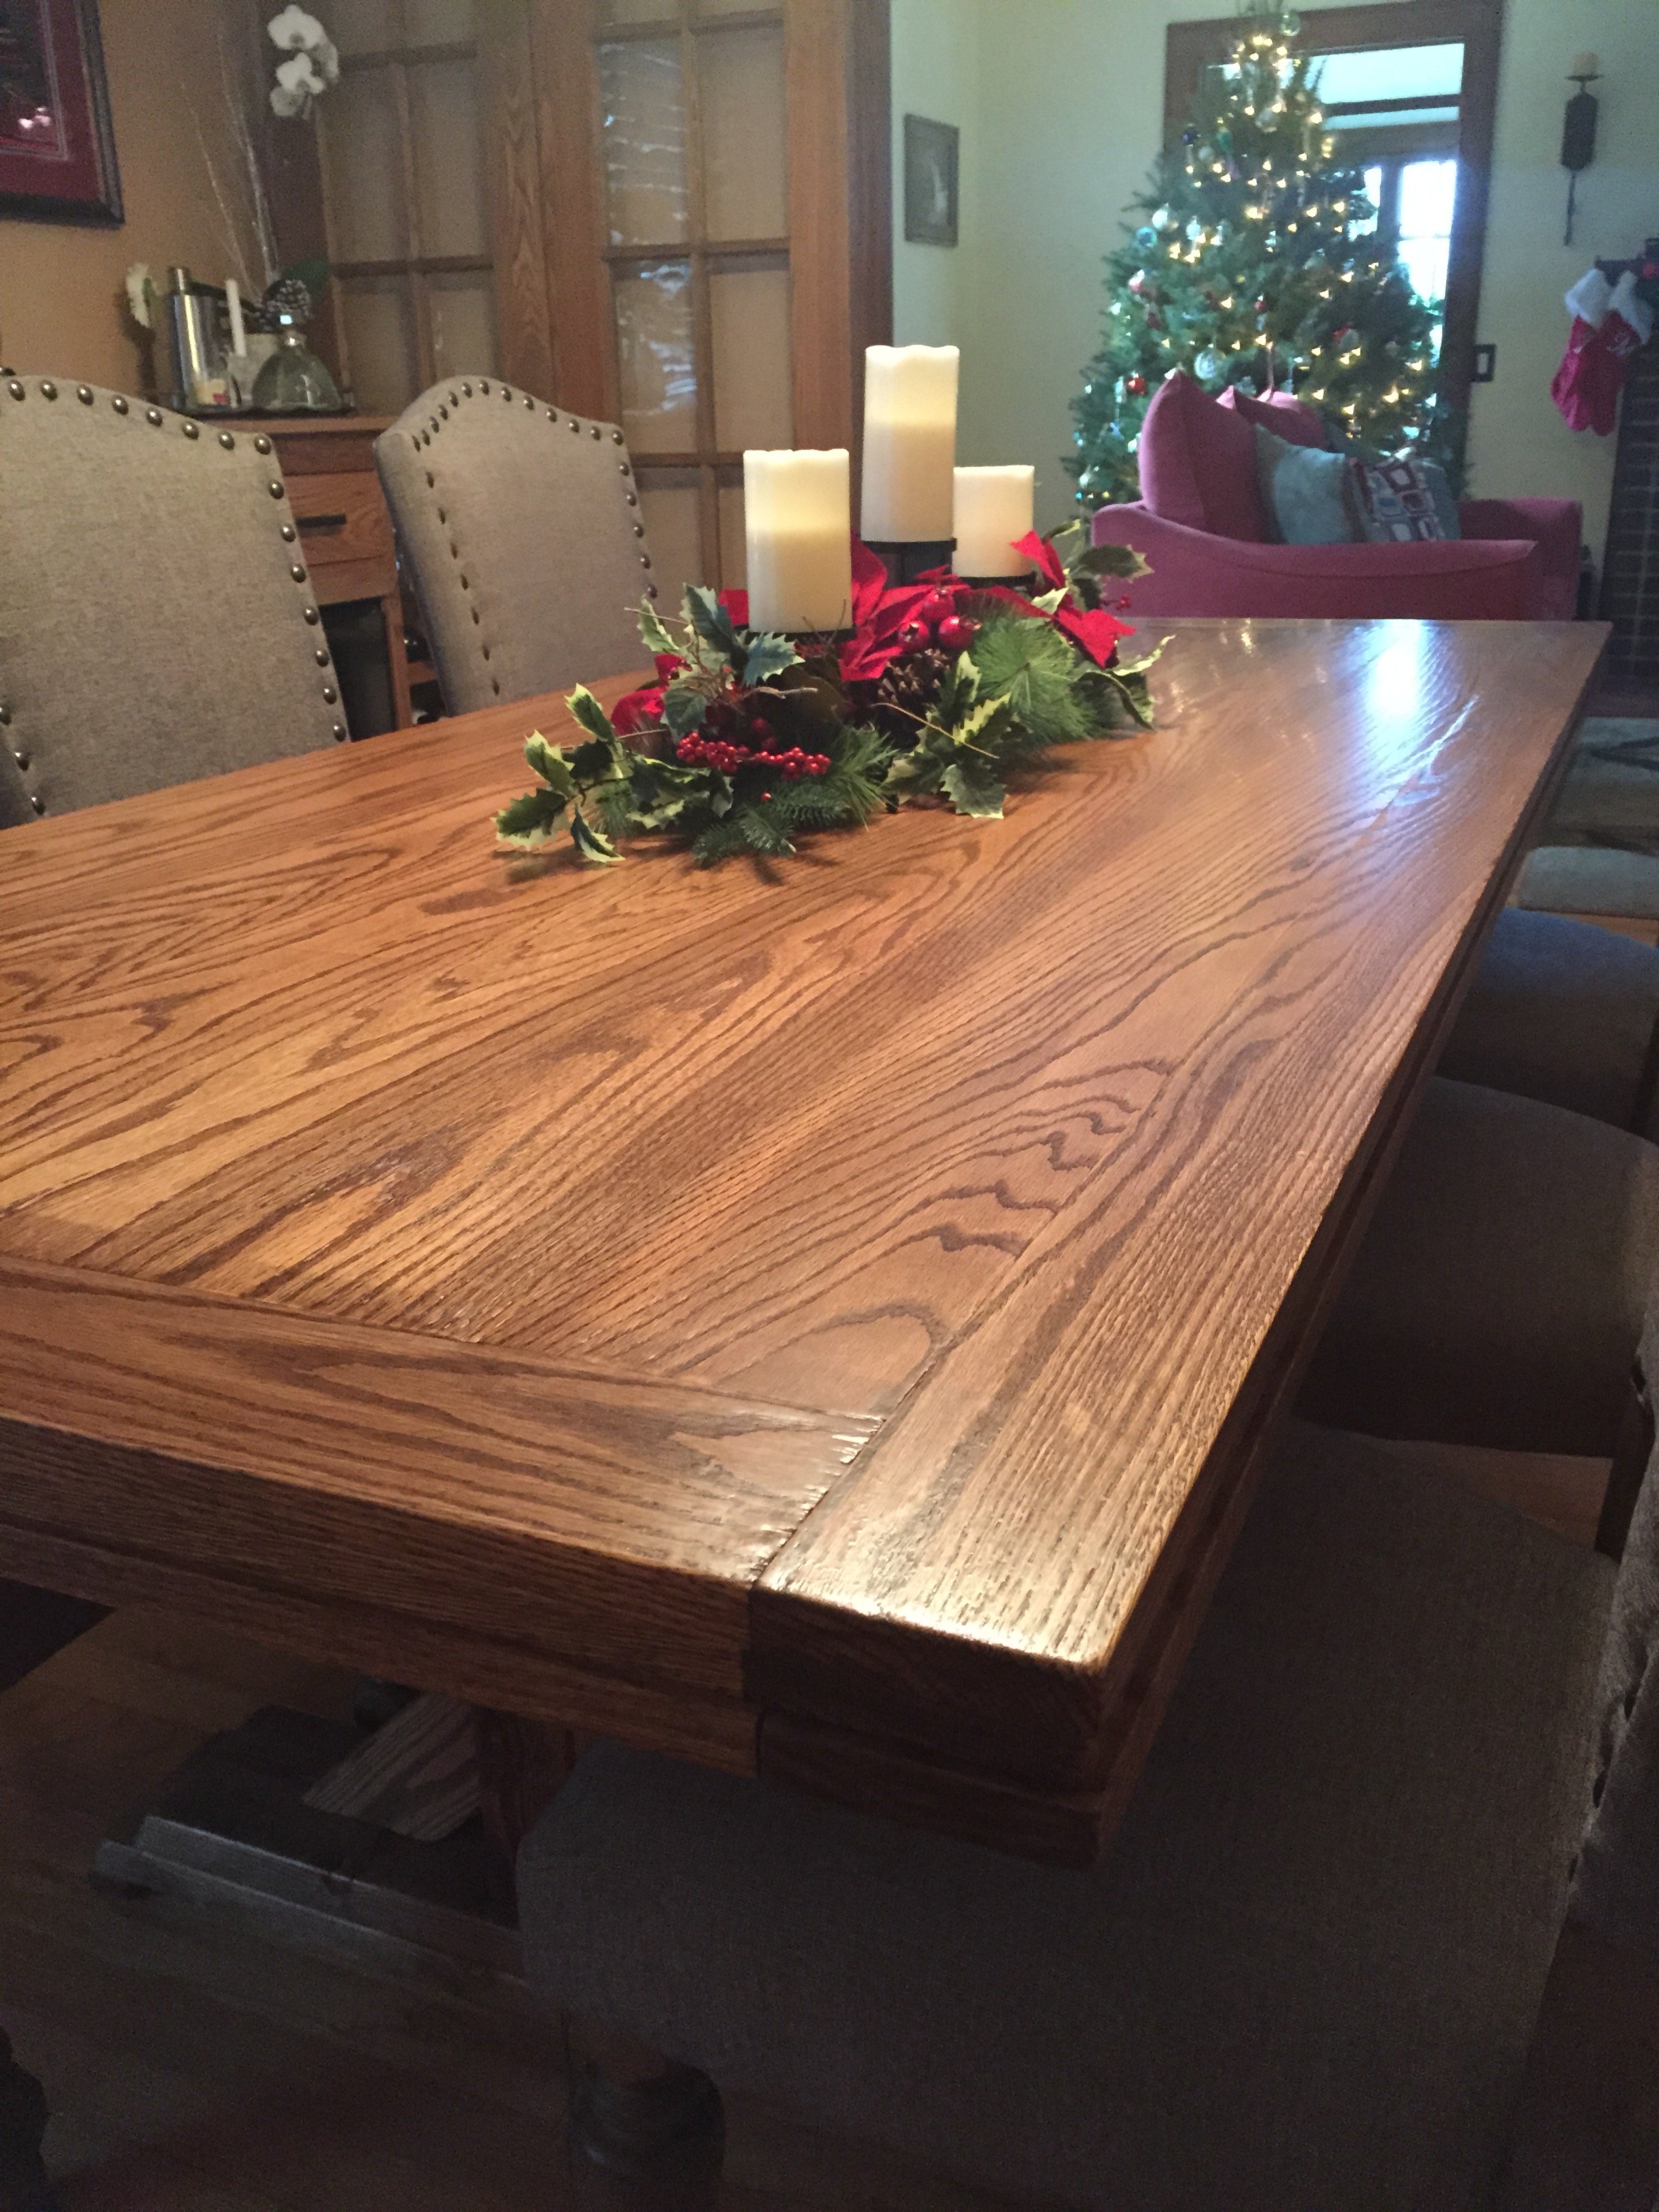
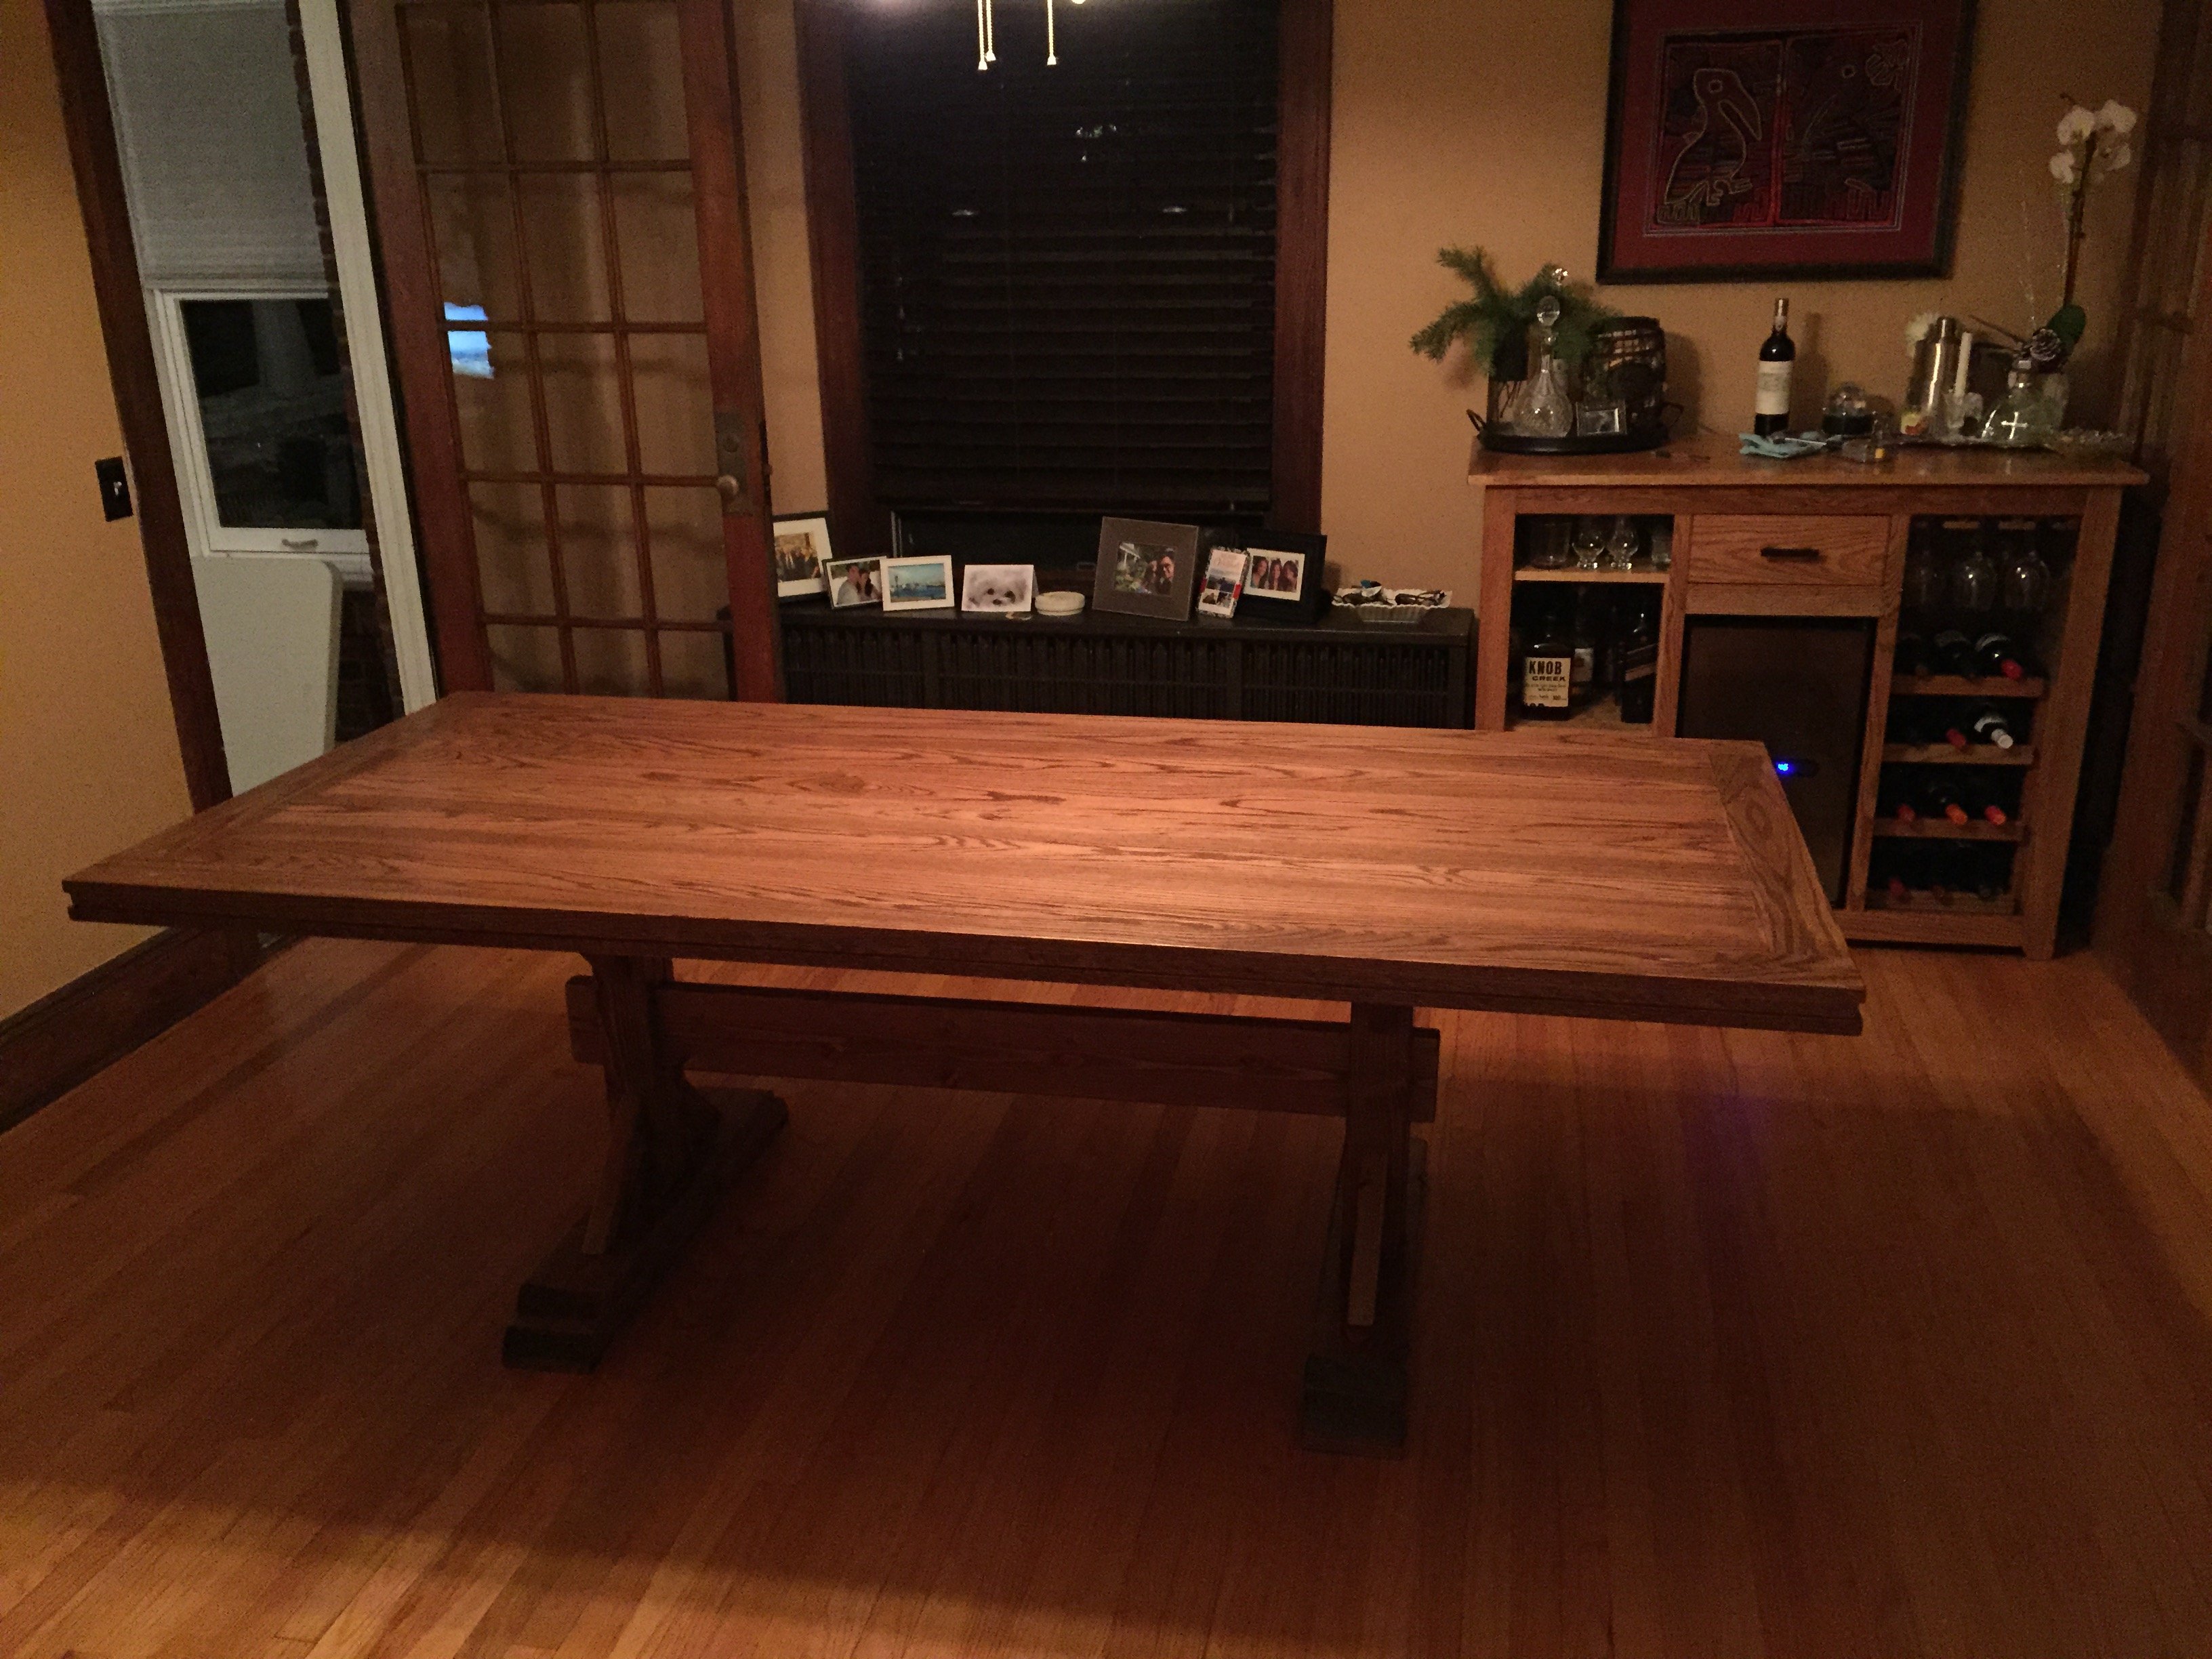
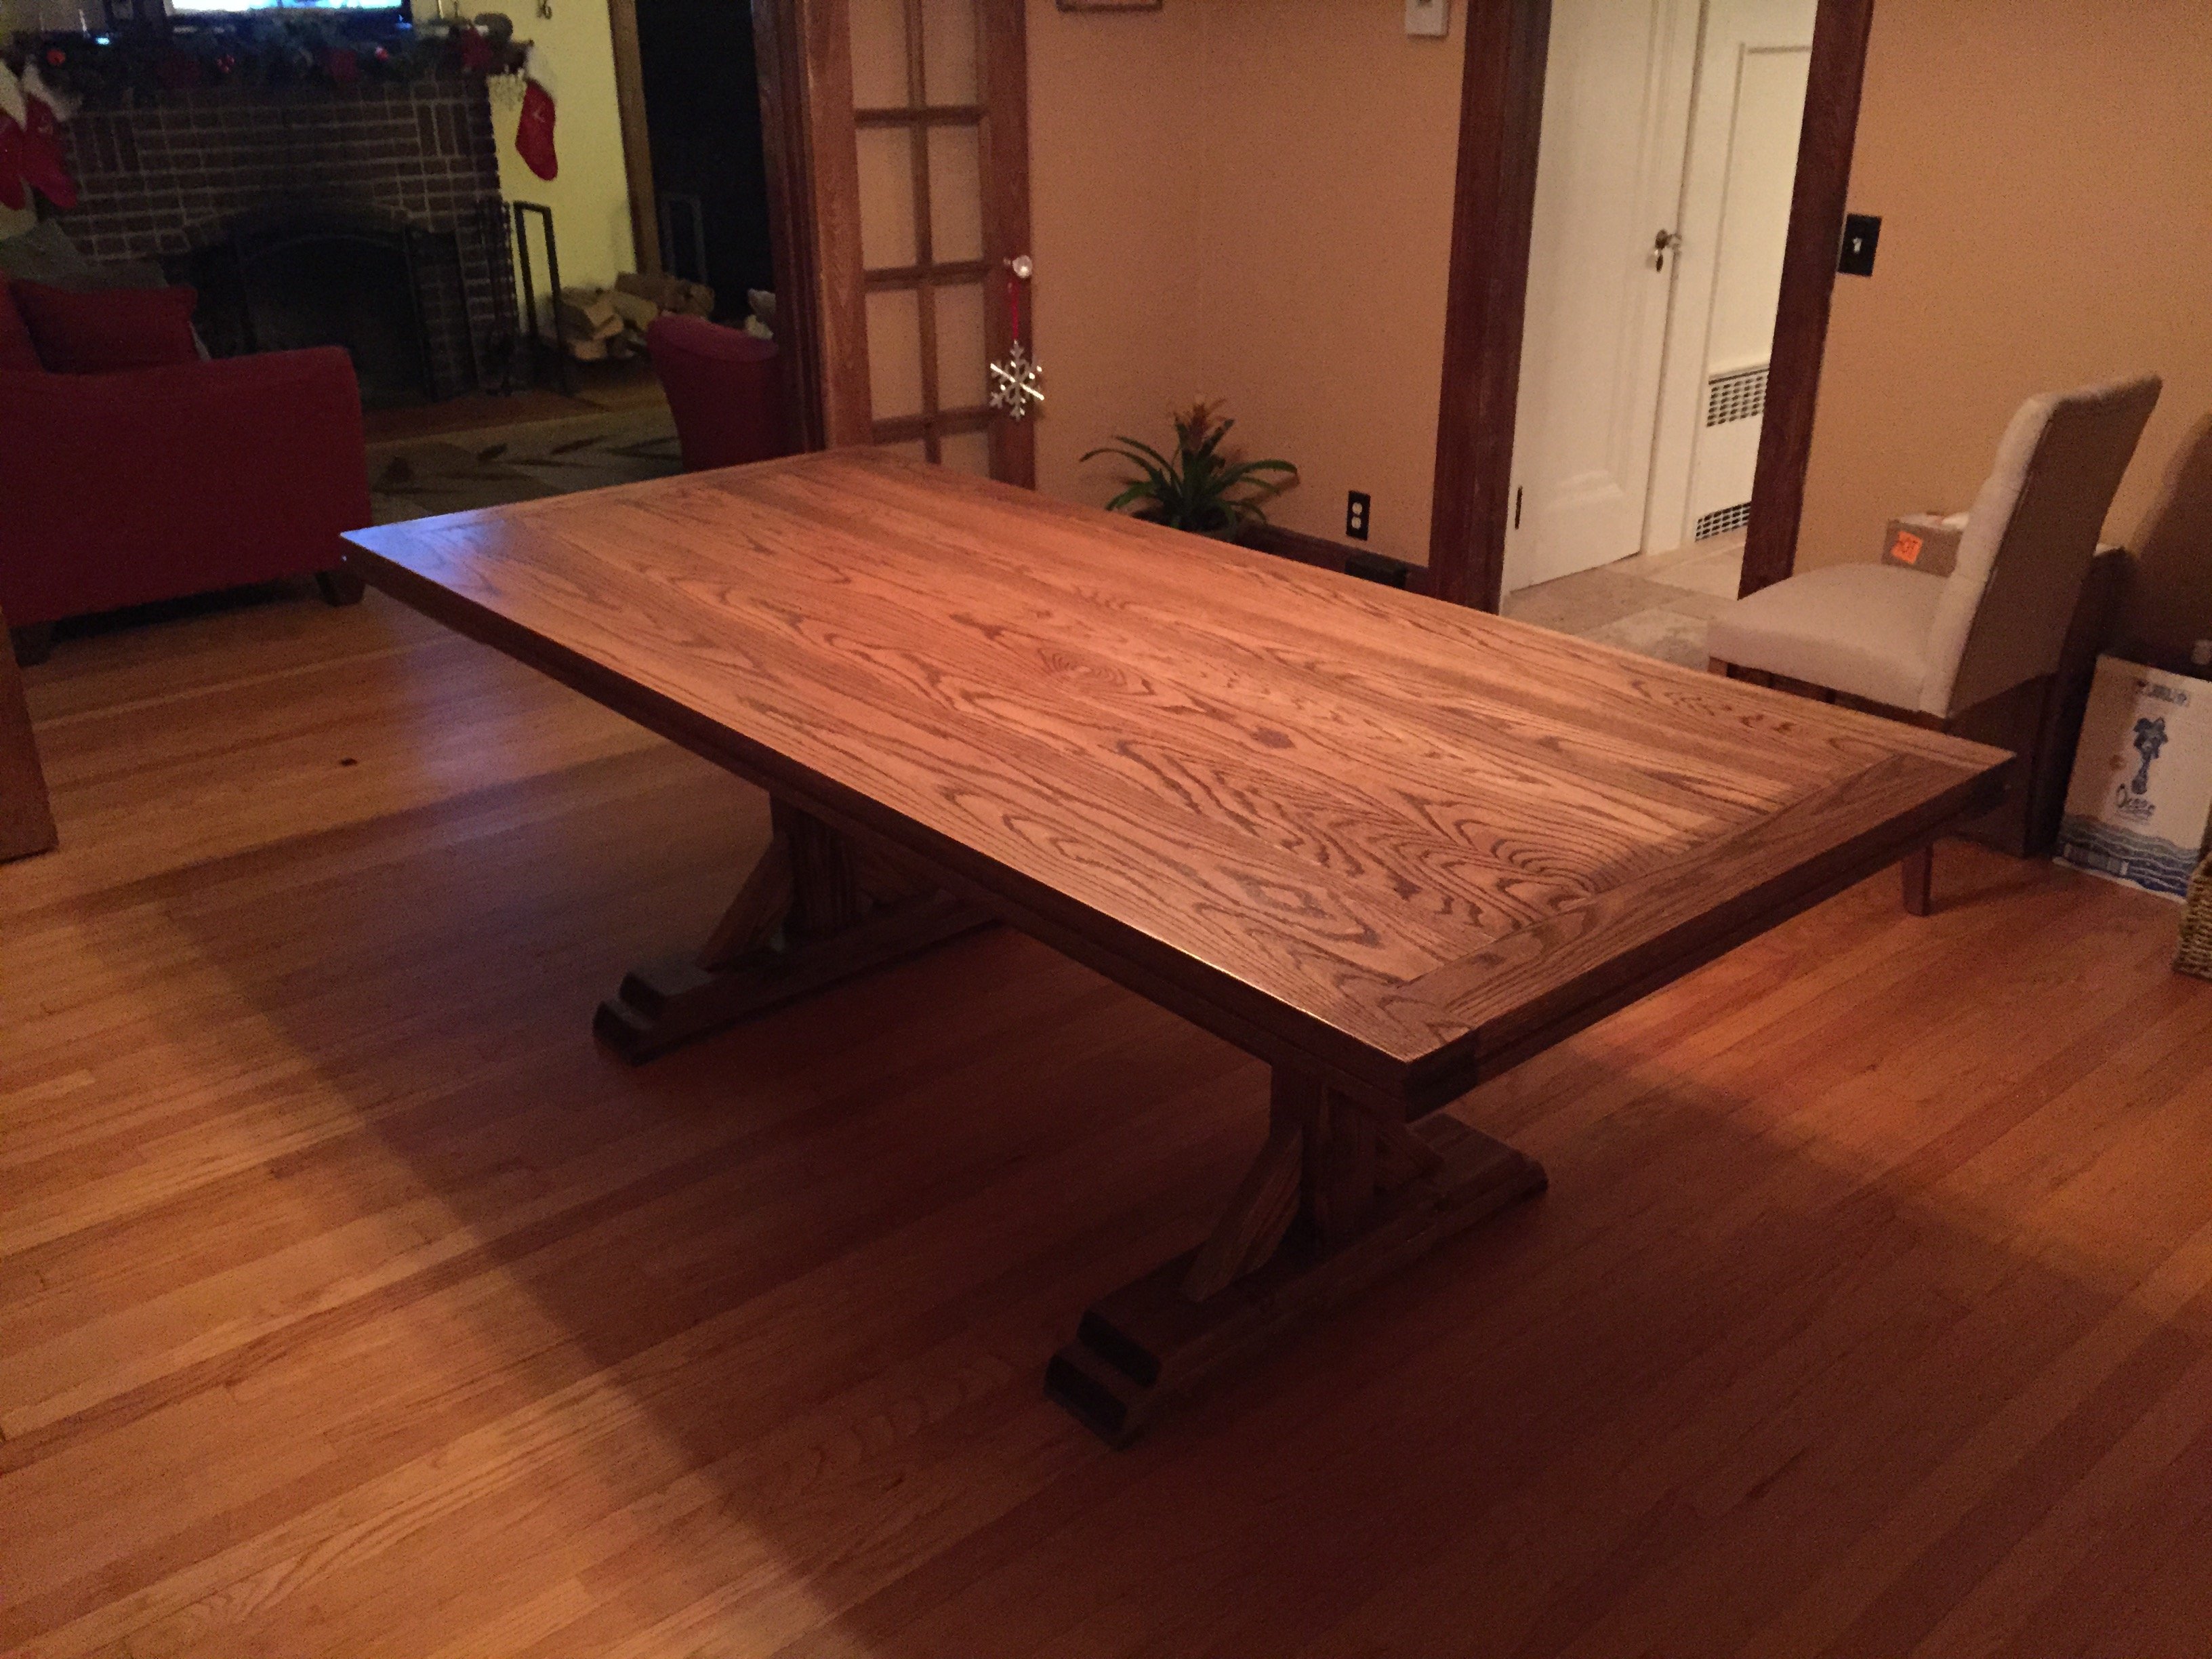
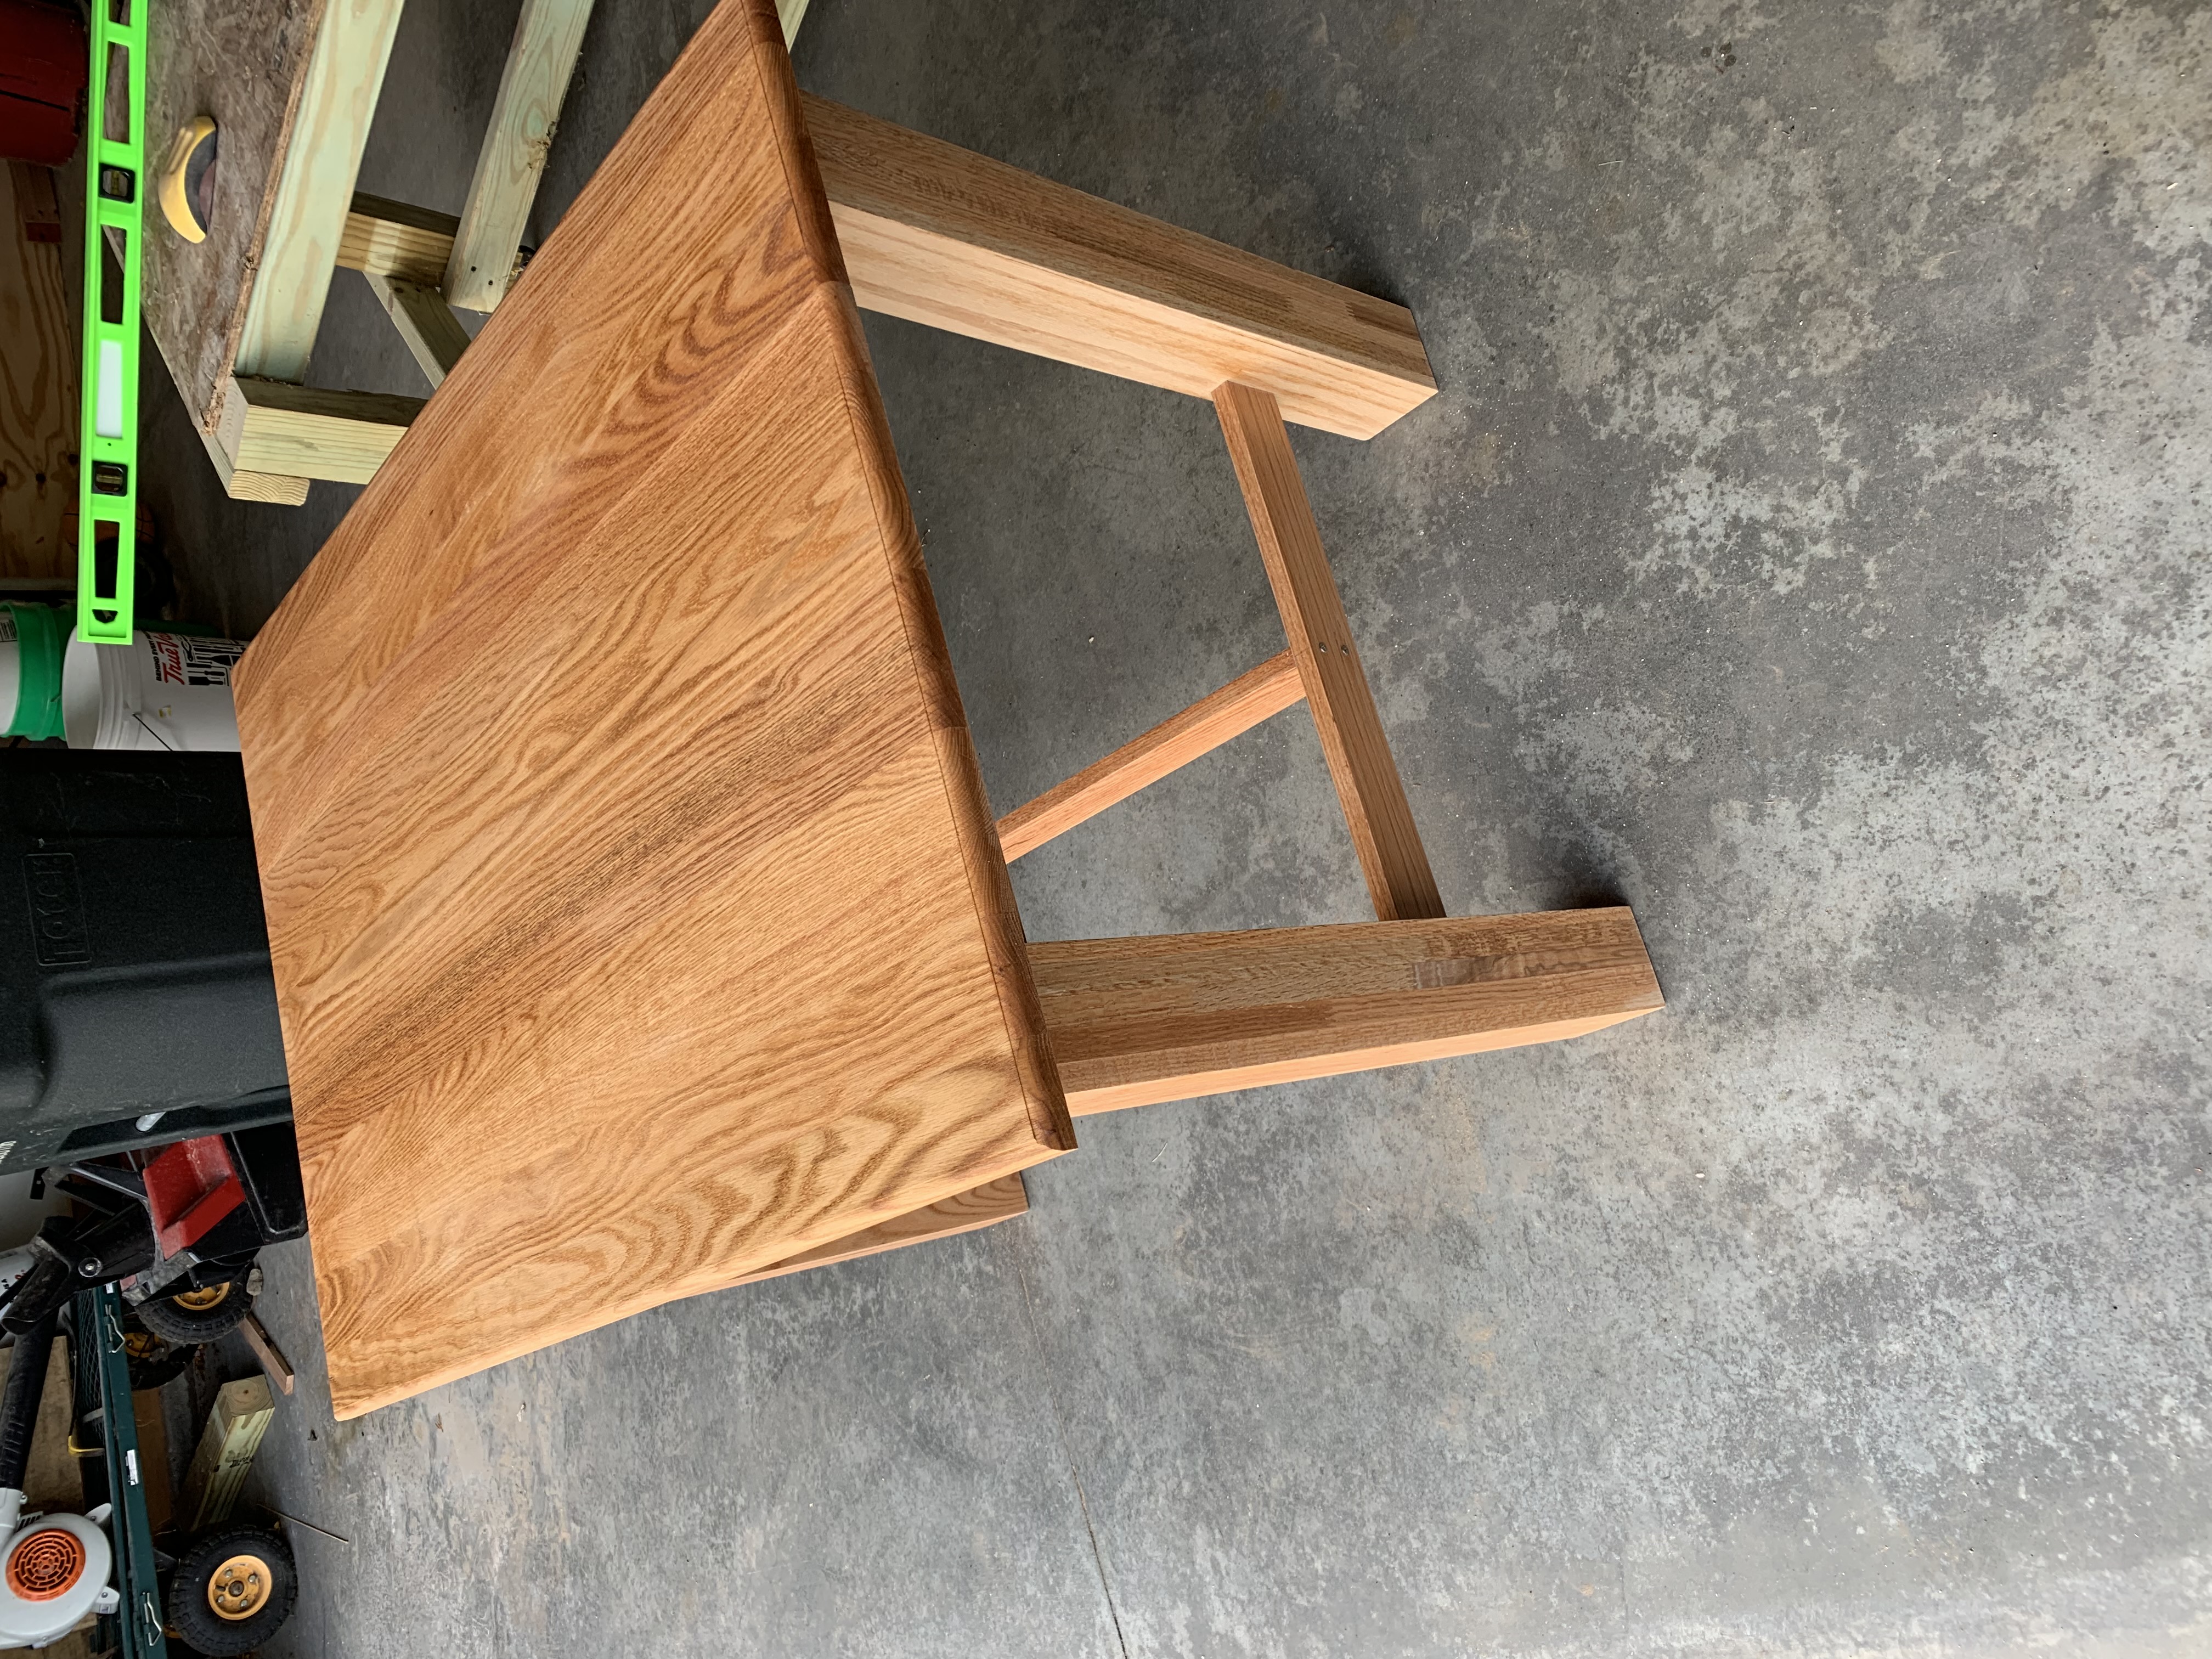
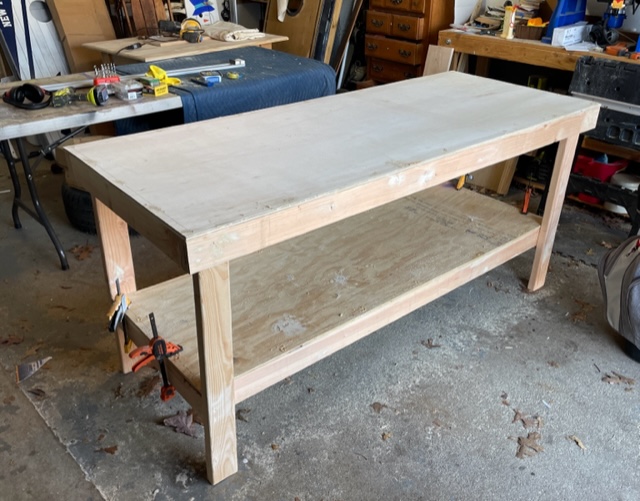
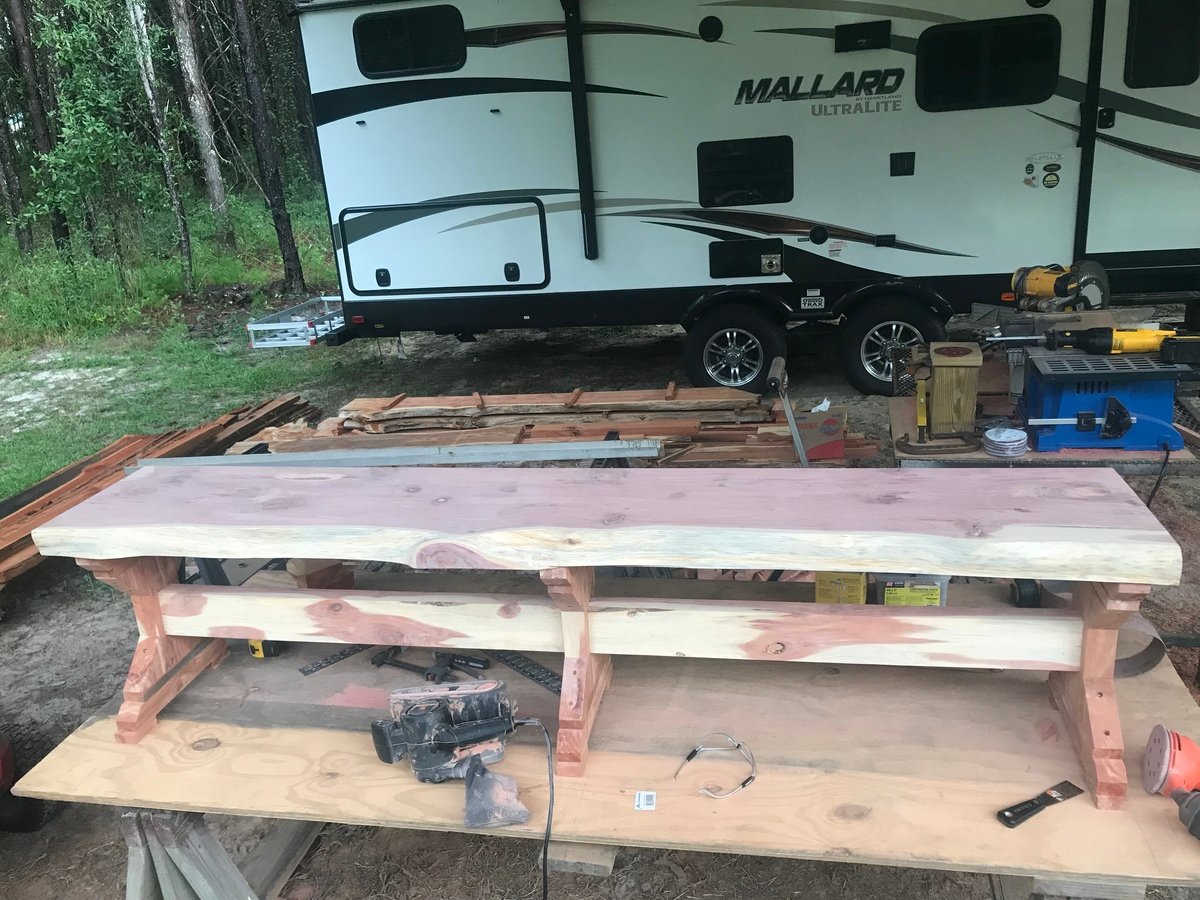
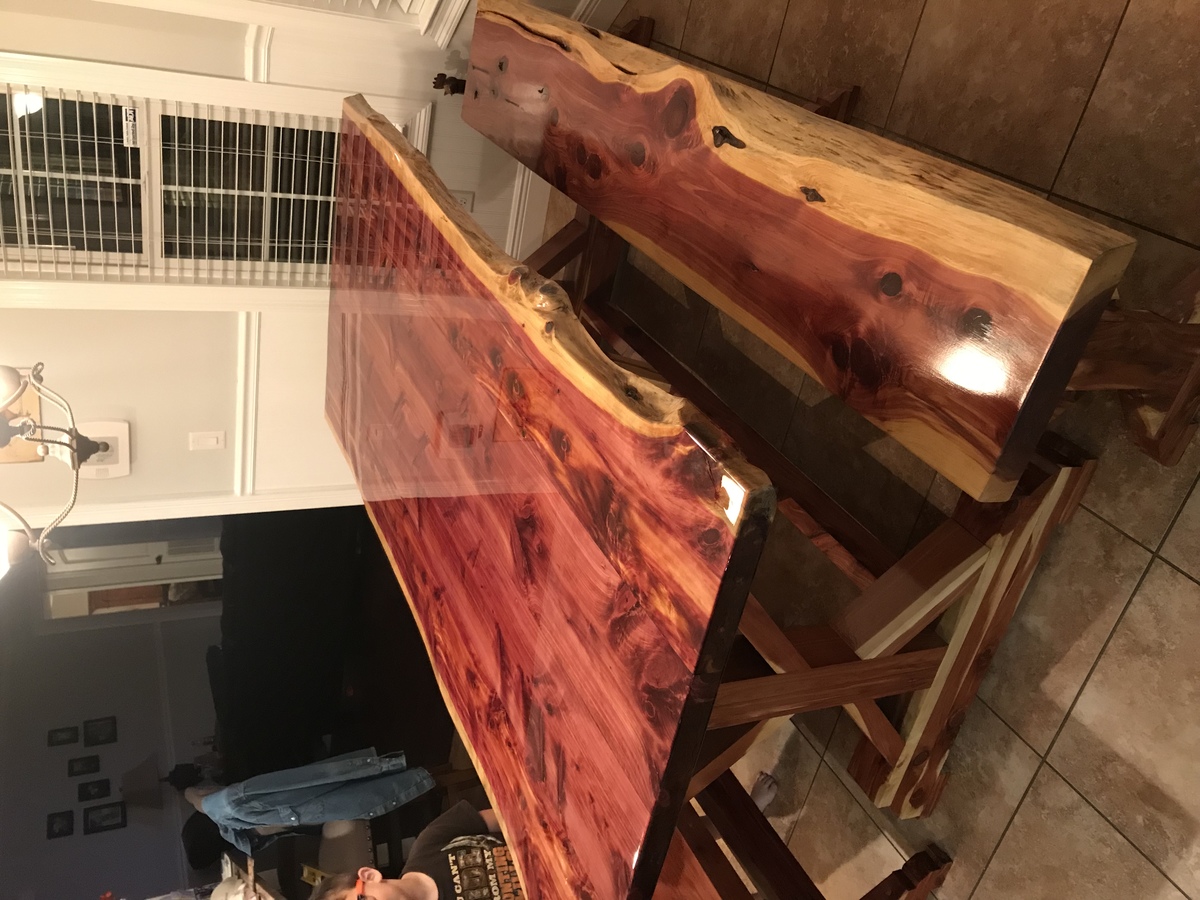
Cedar farmhouse table
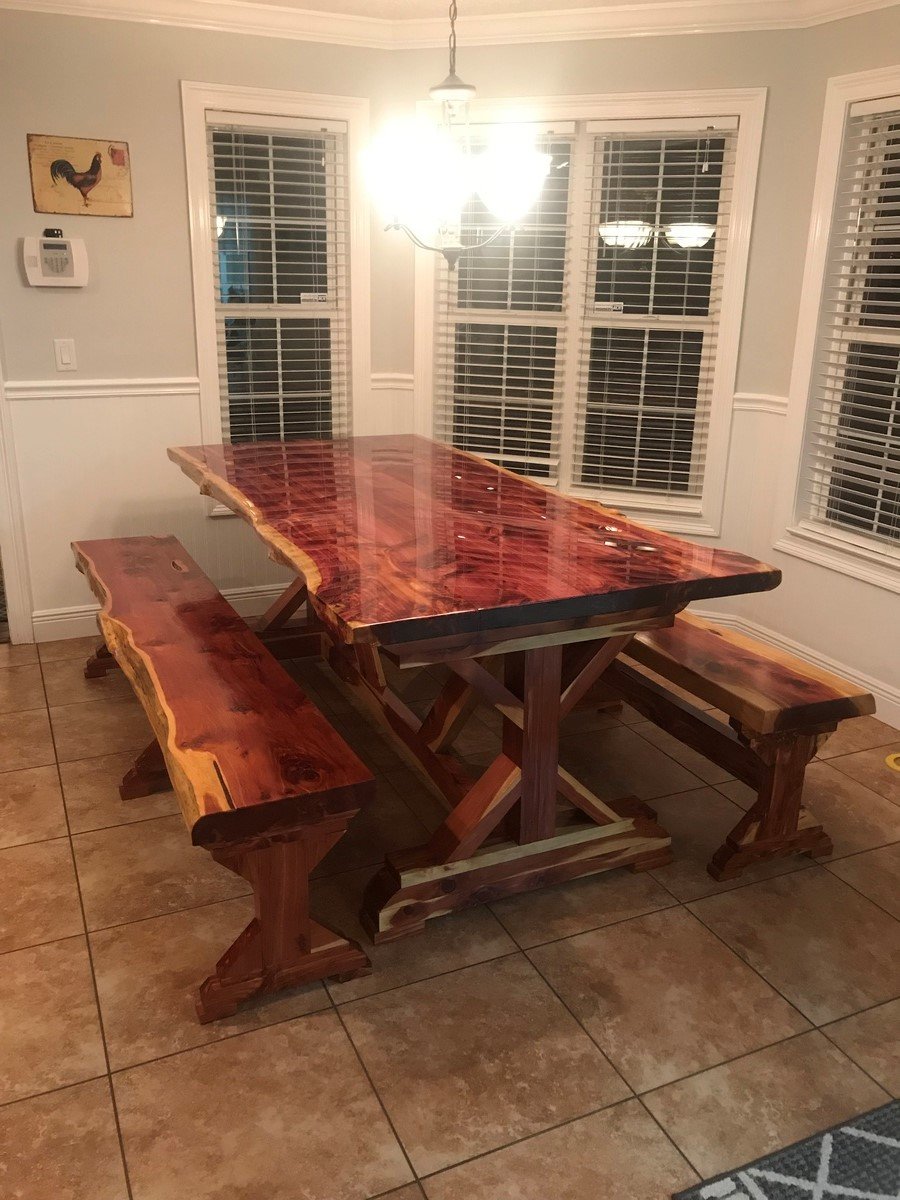
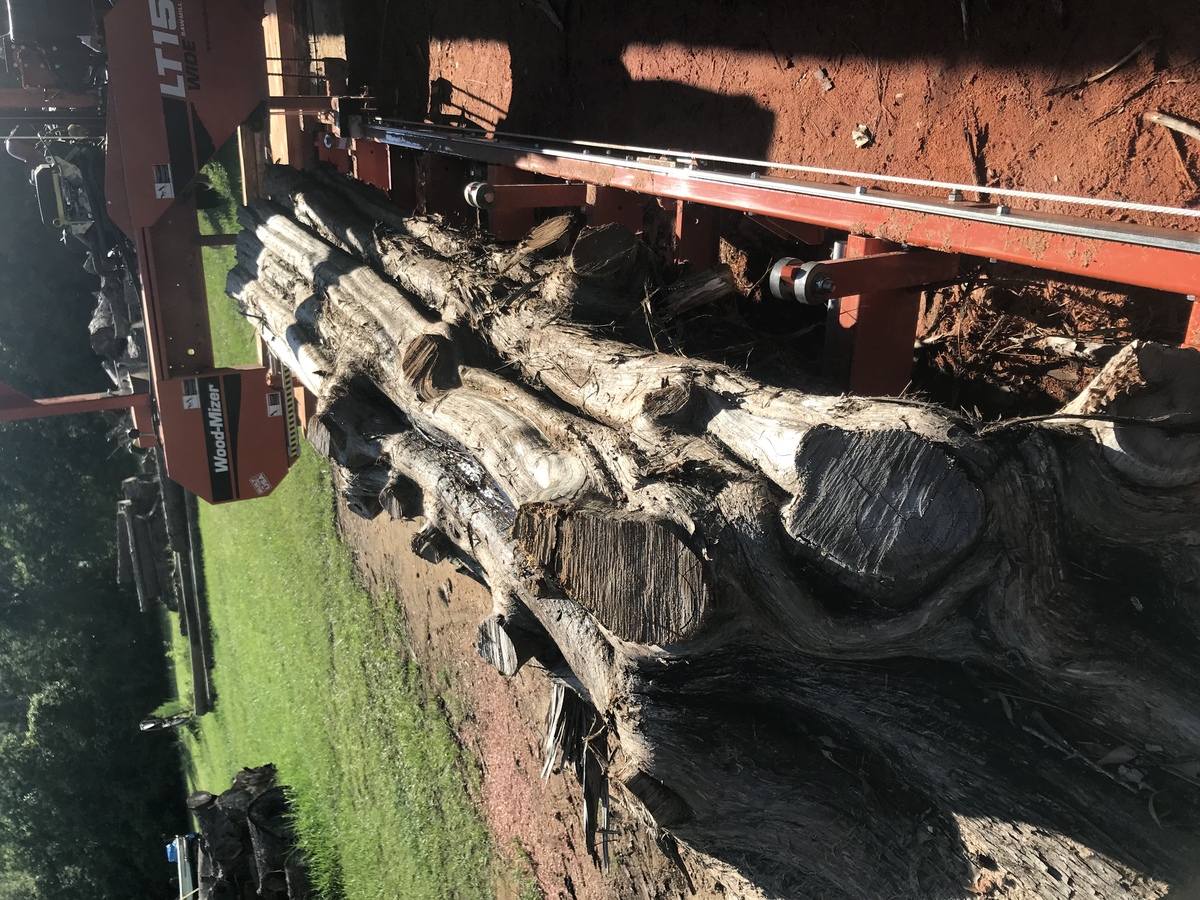
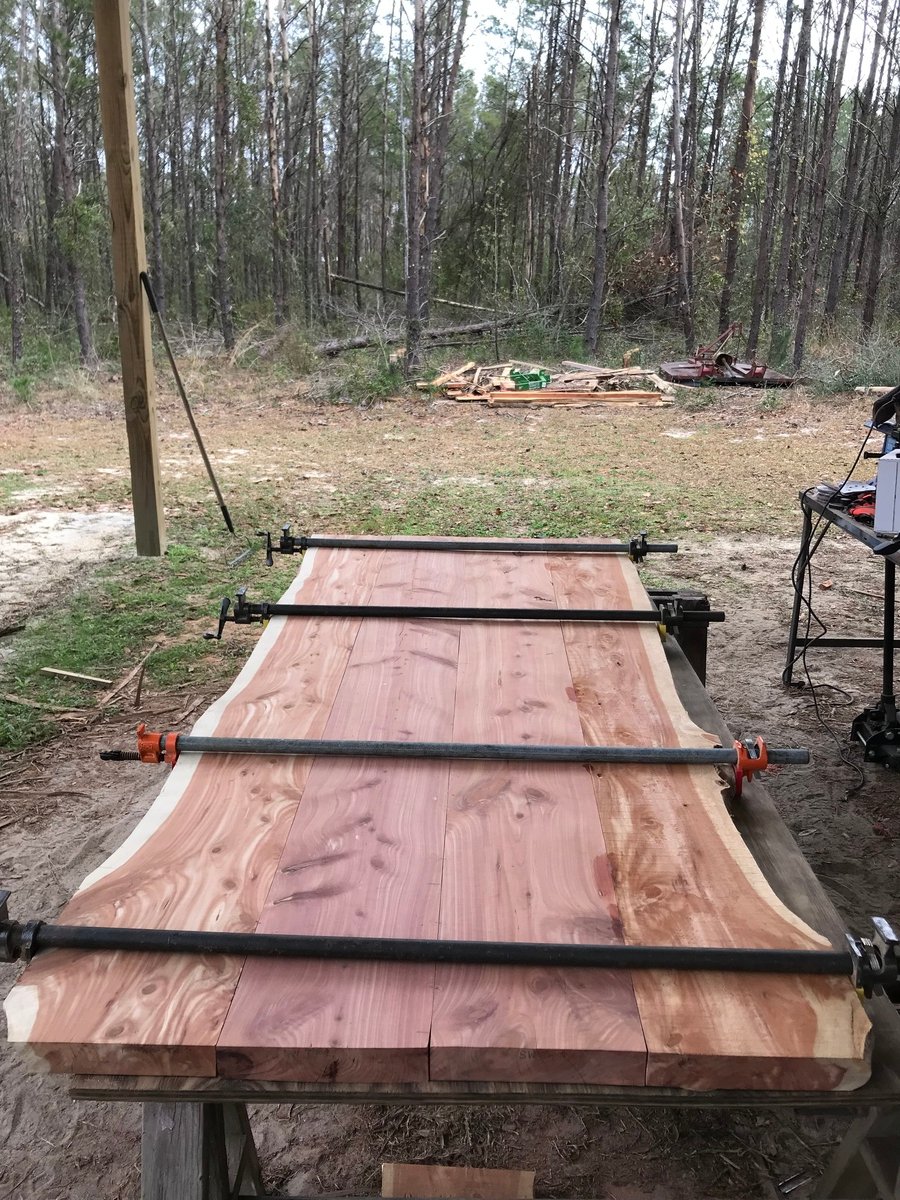
Really enjoyed this project, every piece was made from slabs cut from cedar. Thanks for the plans.

Built from Plan(s)
Estimated Time Investment
Week Long Project (20 Hours or More)
Recommended Skill Level
Intermediate