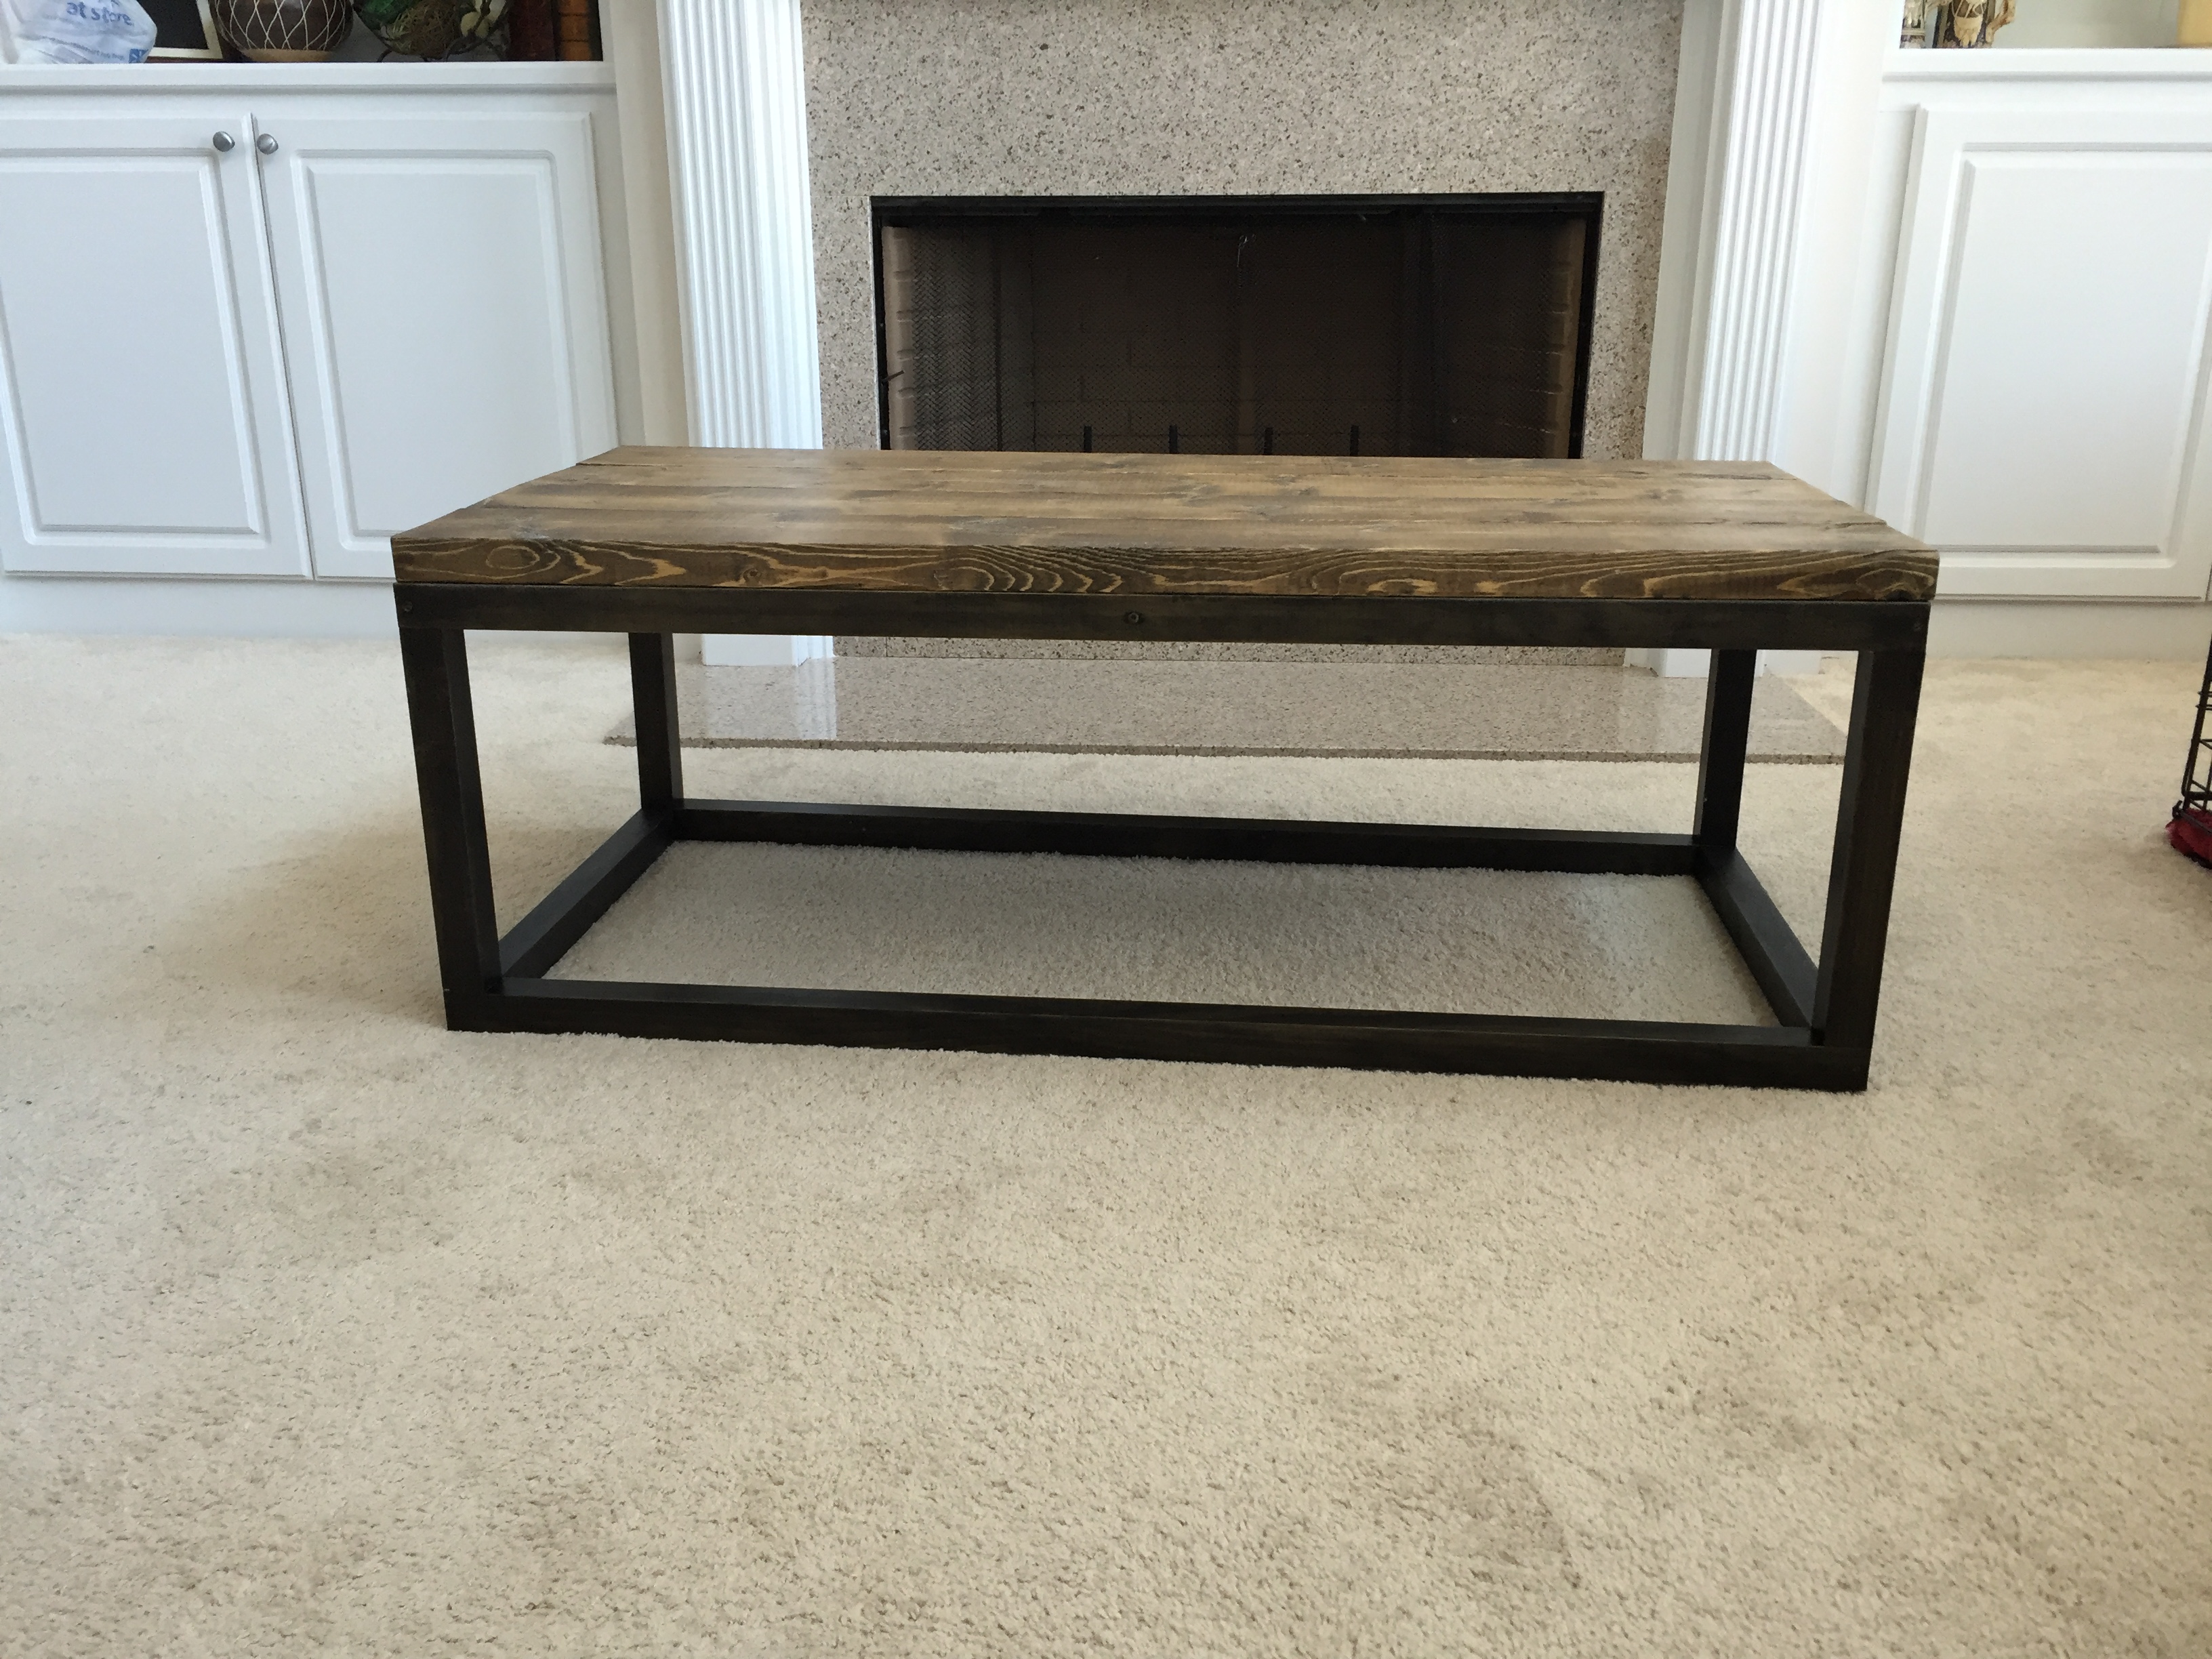
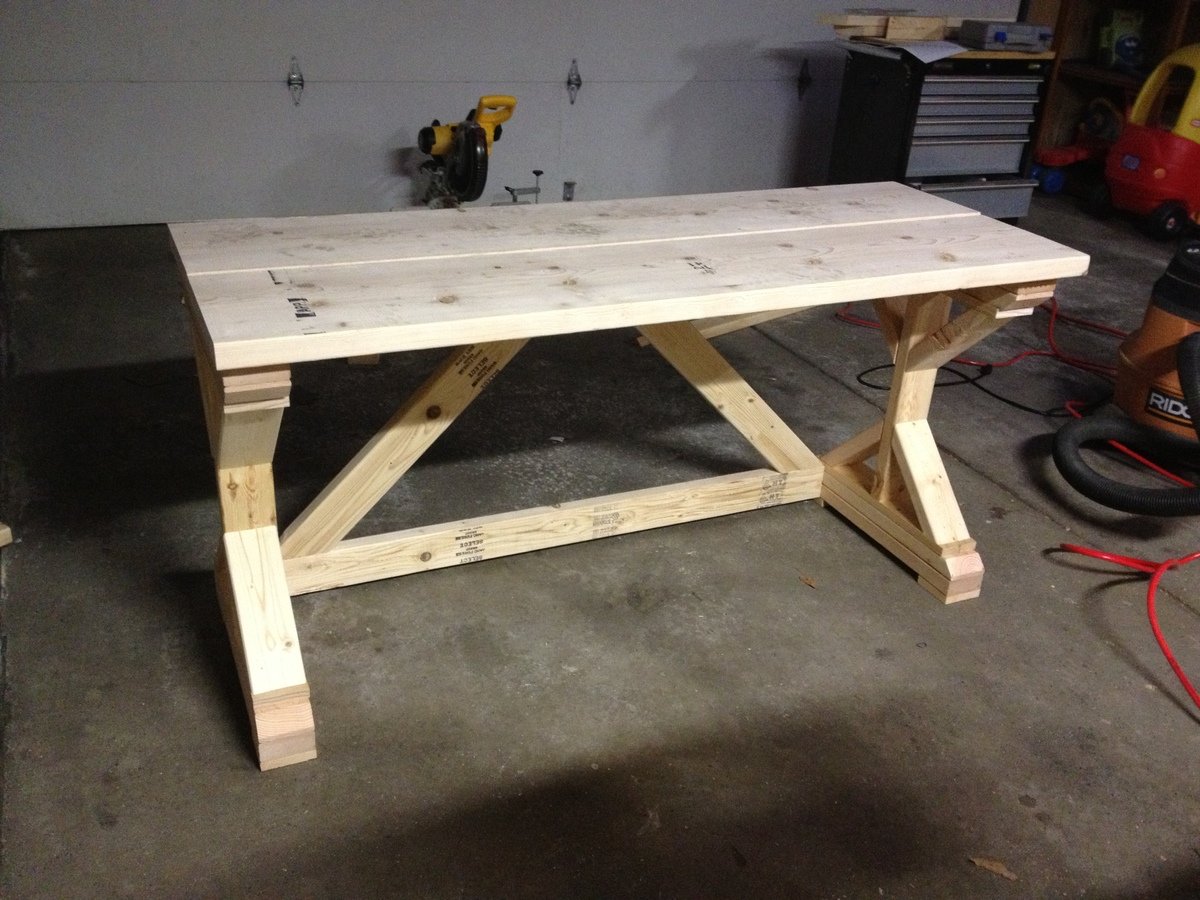
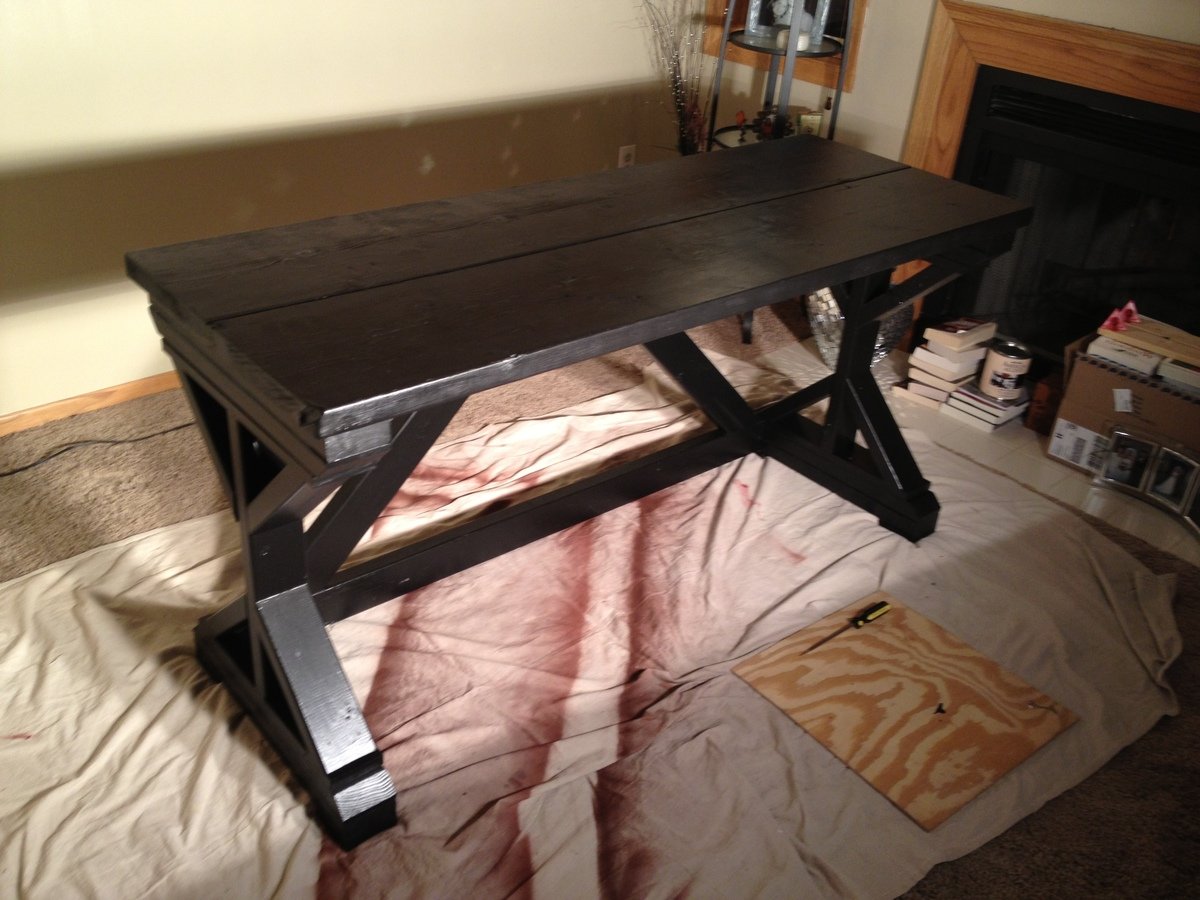
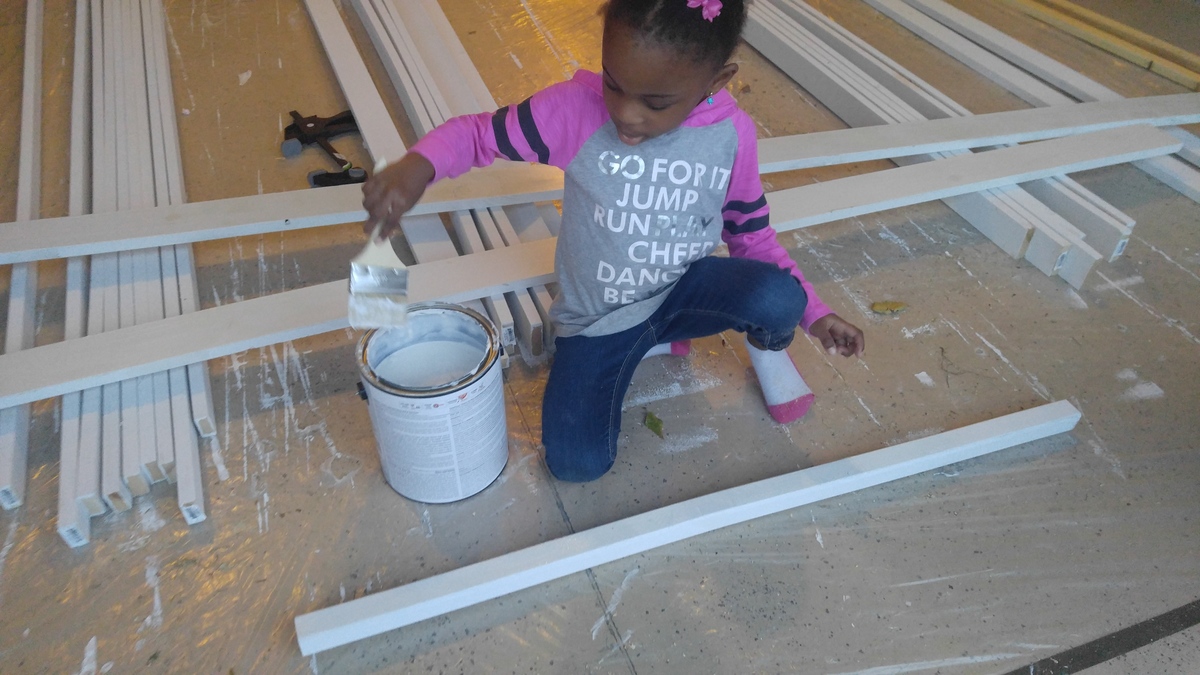
This was my second-built project after finding Ana's wonderful site - the first being the Rustic-X coffee table. After learning how to use a miter saw, jig saw and kreg pocket hole jig for the first time by watching Ana's video tutorials as well as several others available on the web, I built up the confidence to attempt a media console for my three video-gaming boys.
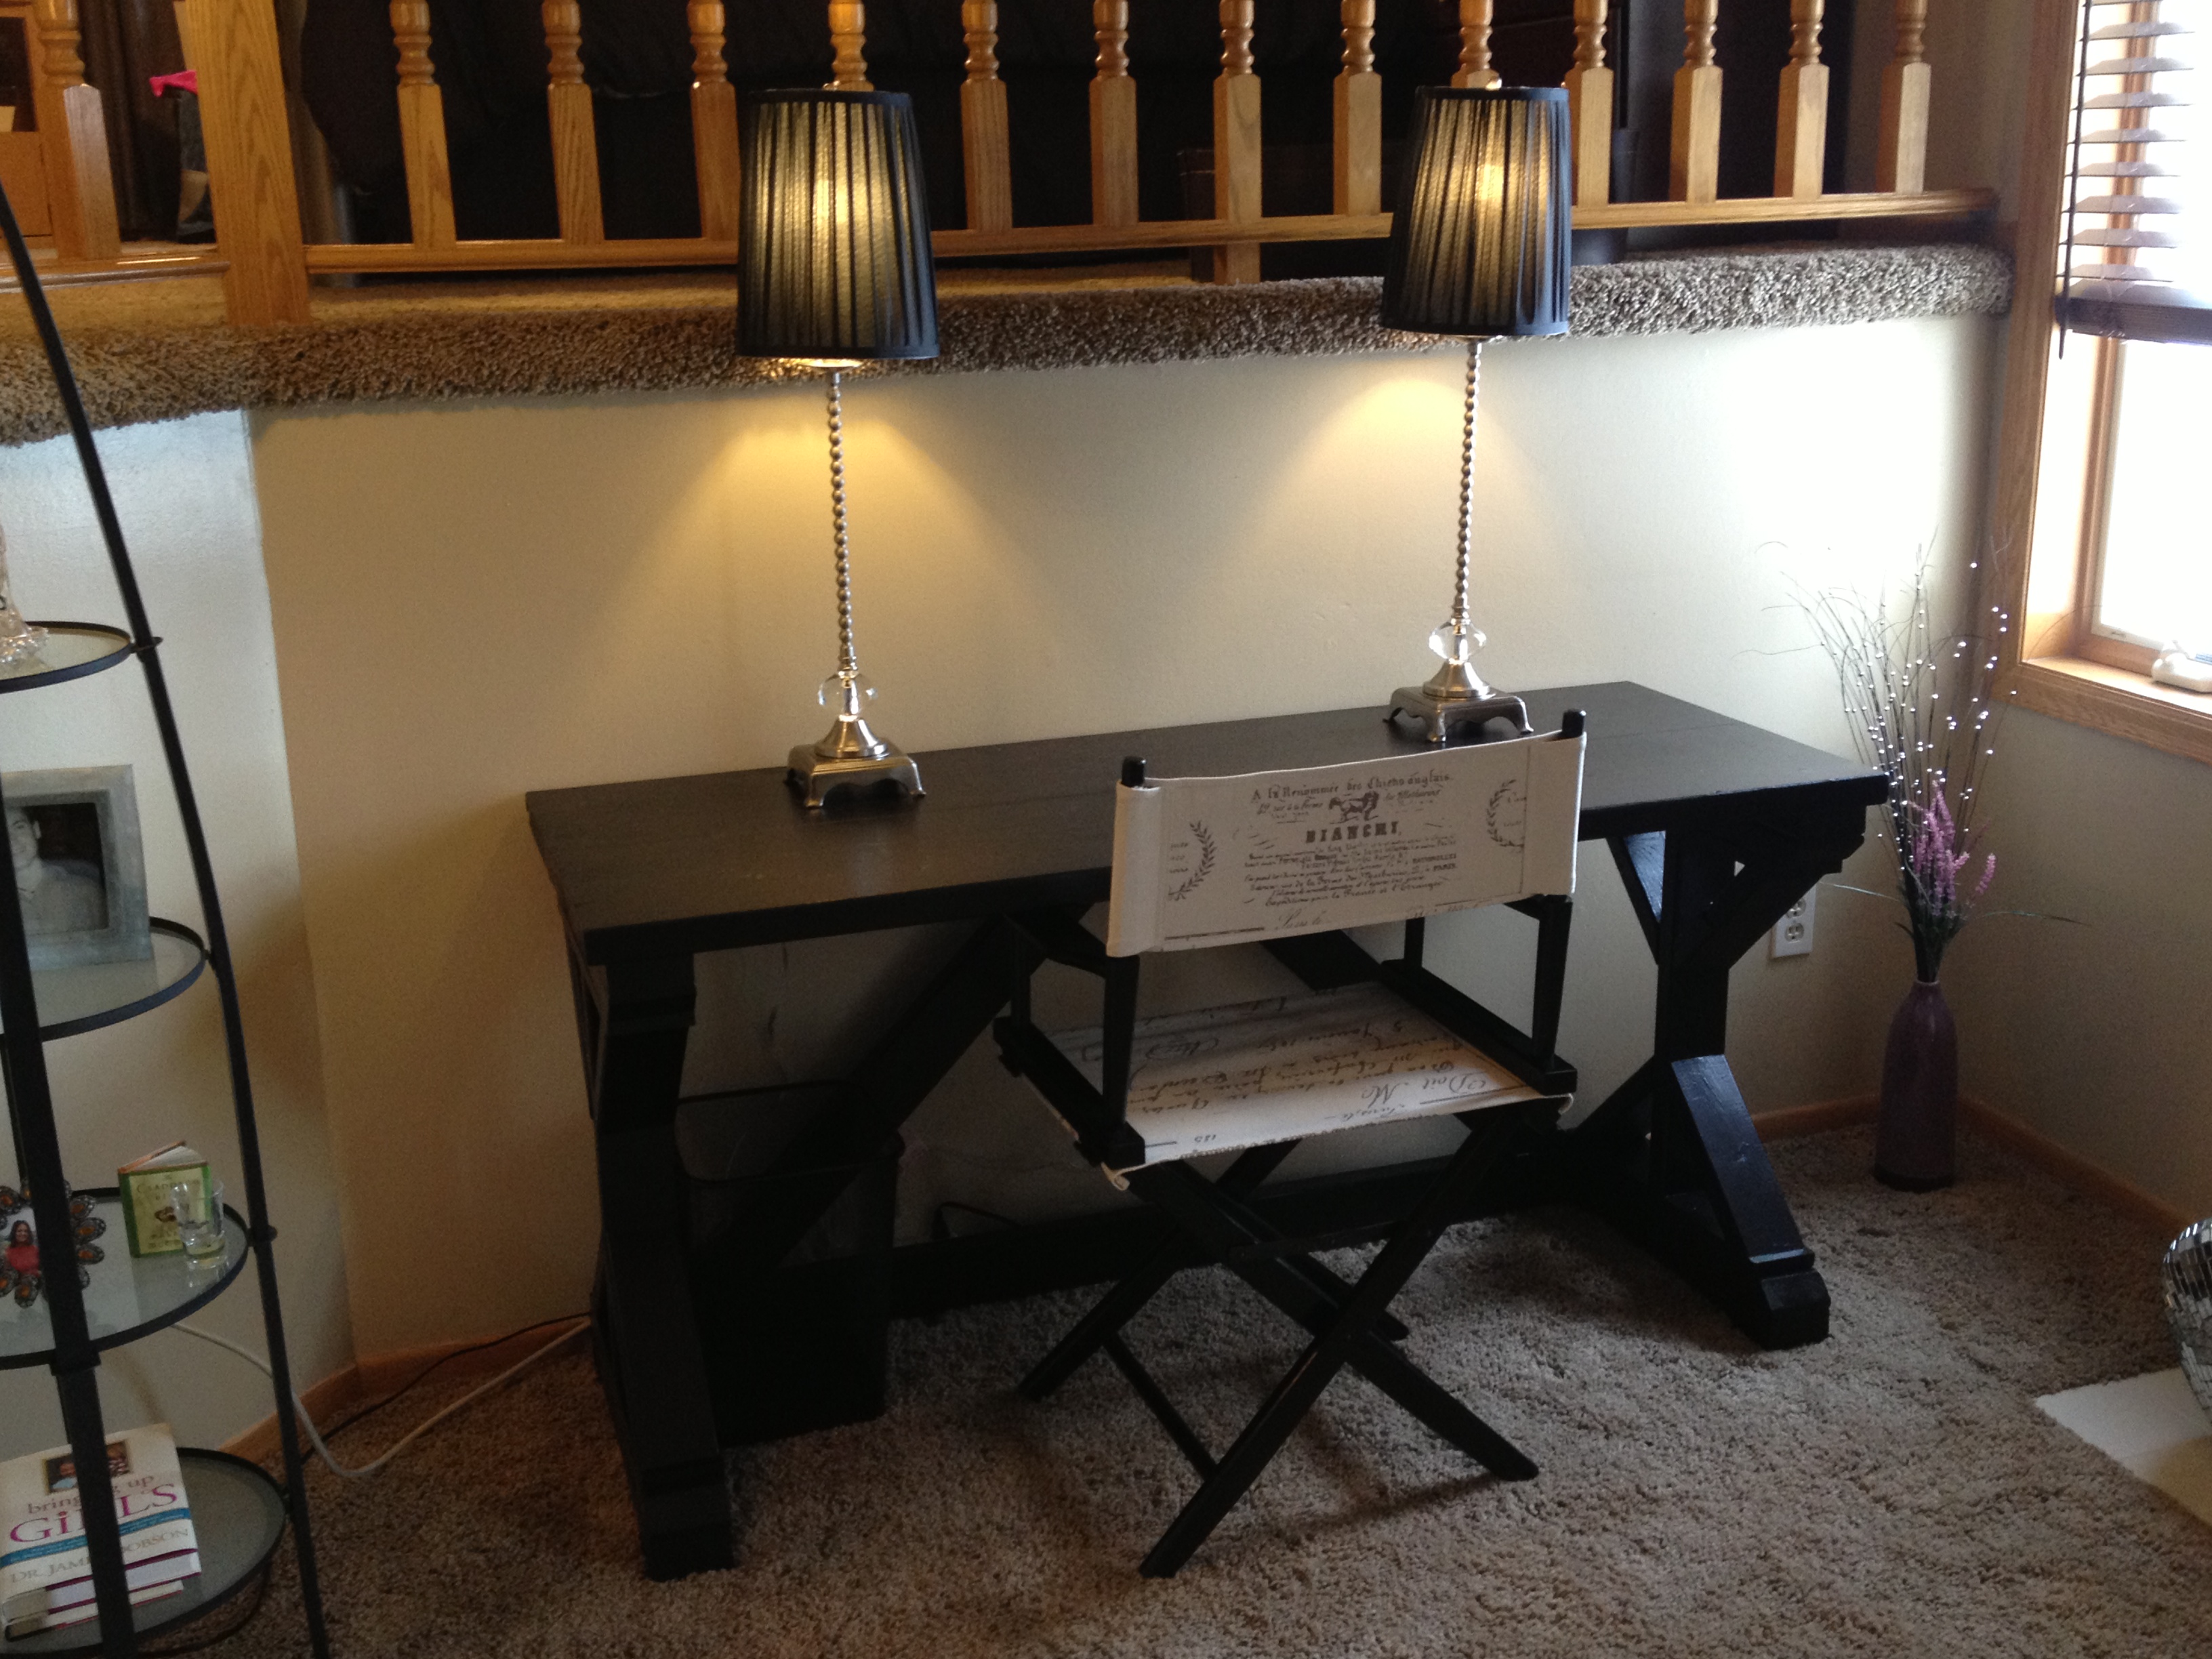
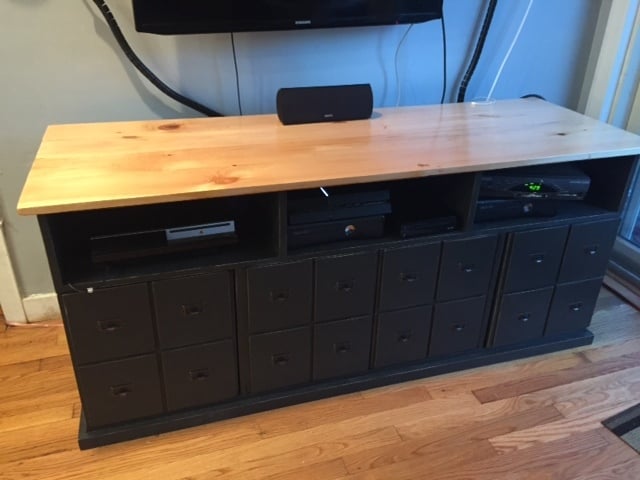
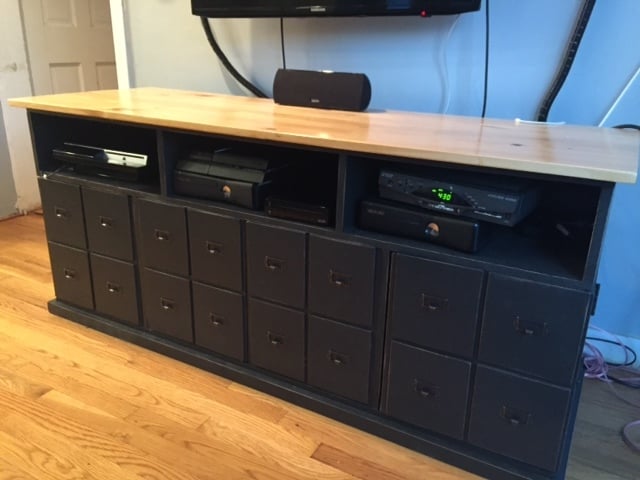
I pieced together a design plan for the console using the general design of Ana's Apothecary Console Plan, together with the incredibly helpful plans and instructions detailed on 2Crafty4myskirt.blogspot.com. Kind of like mixing together pieces of different recipes, I was able to create a design that had the length of Ana's console, plus 2Crafty's wonderfull side-storage doors for all of the boy's video games.
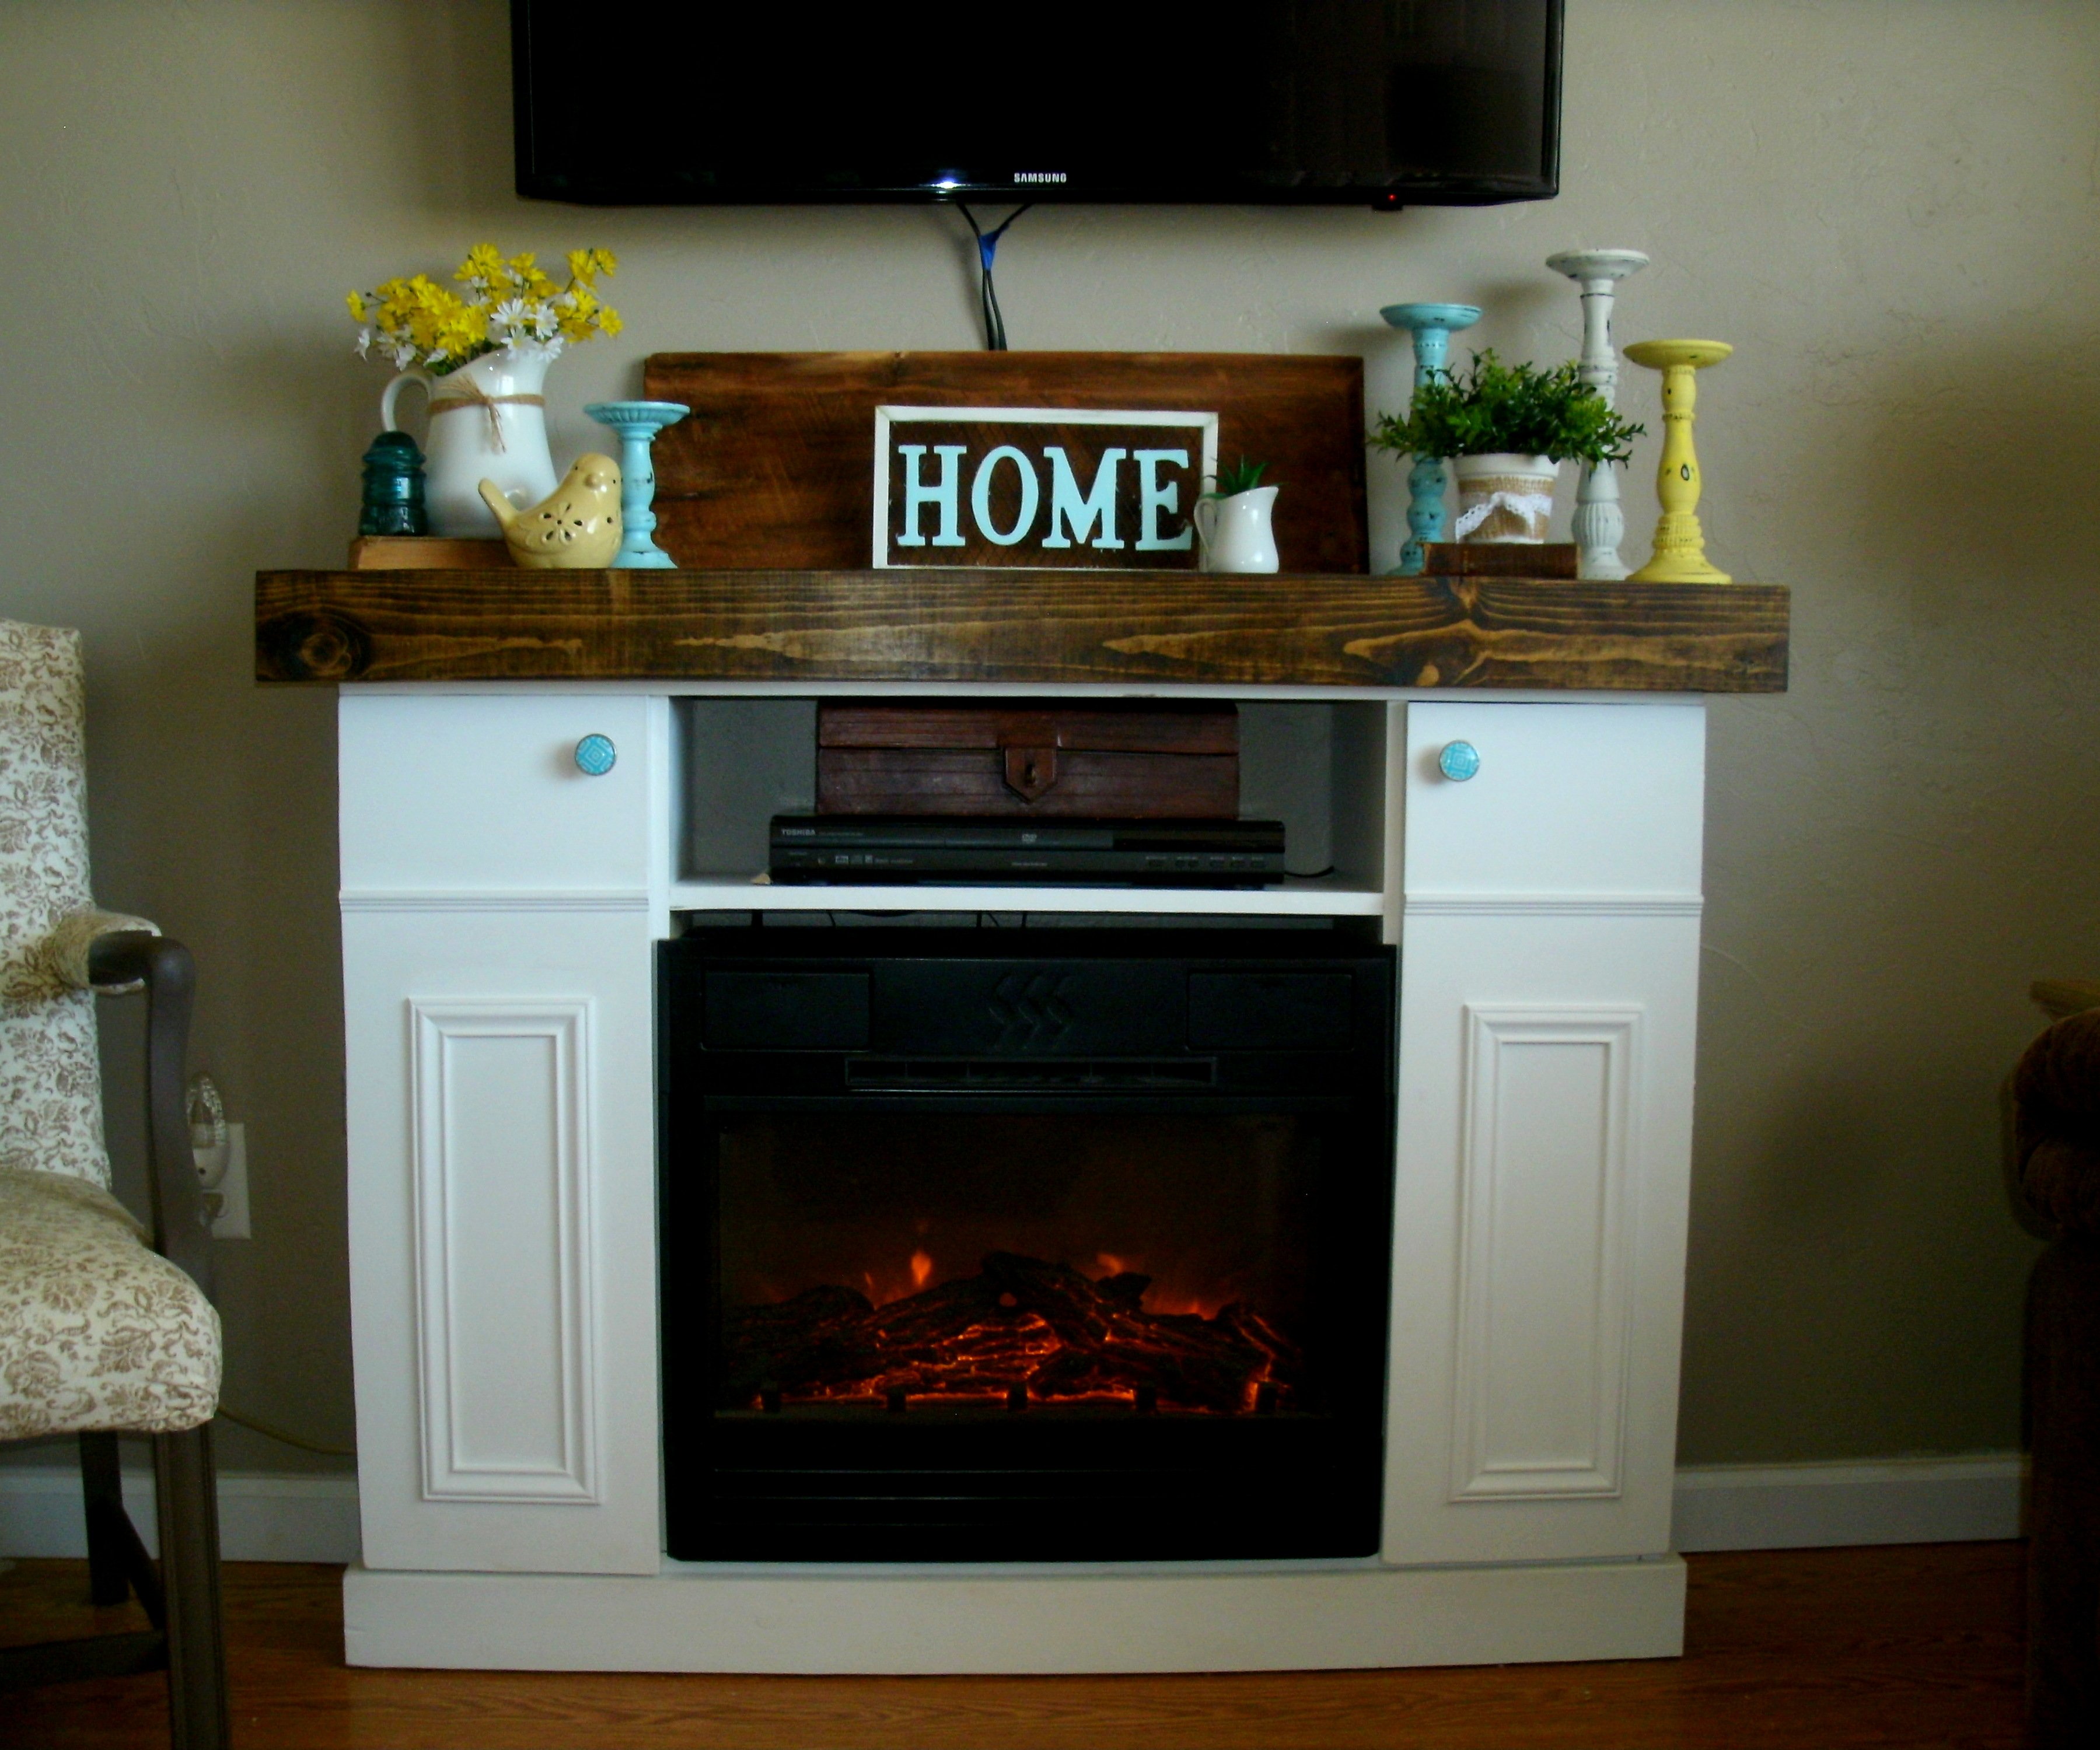
As set forth in detail below, I used Ralph Lauren's Carbon paint for the entire unit, and Minwax Red Chesnut Wood finish to distress the edges. I used Pecan Minwax Polyshades Stain & Polurethane for the table top. One of the most helpful pieces of advice from 2Crafty was to leave attachment of the back and top of the unit until they are separately painted and stained.
I finished the false fronts with antique copper (bronze) cabinet label holders (2 1/2") which I purchased online at D. Lawless Hardware online.
As a beginner, I had a steep learning curve in learning how the tools worked (safely), and so it took me about 40 hours all in to finish the project. While my sons helped along the way, my husband didn't actually set eyes on the project until it was complete. He was stunned at how beautiful it was - and that I had in fact created what he calls the "center-piece" of our family room from a pile of lumber purchased at Home Depot. He is full of helpful suggestions of what I should make next!
Thank you Ana for providing me with the tools, skills and confidence to produce a piece of furniture that I am very proud to point to and say "I did that!"


Comments
Ana White
Thu, 12/04/2014 - 22:38
I love your style! This
I love your style! This looks awesome!