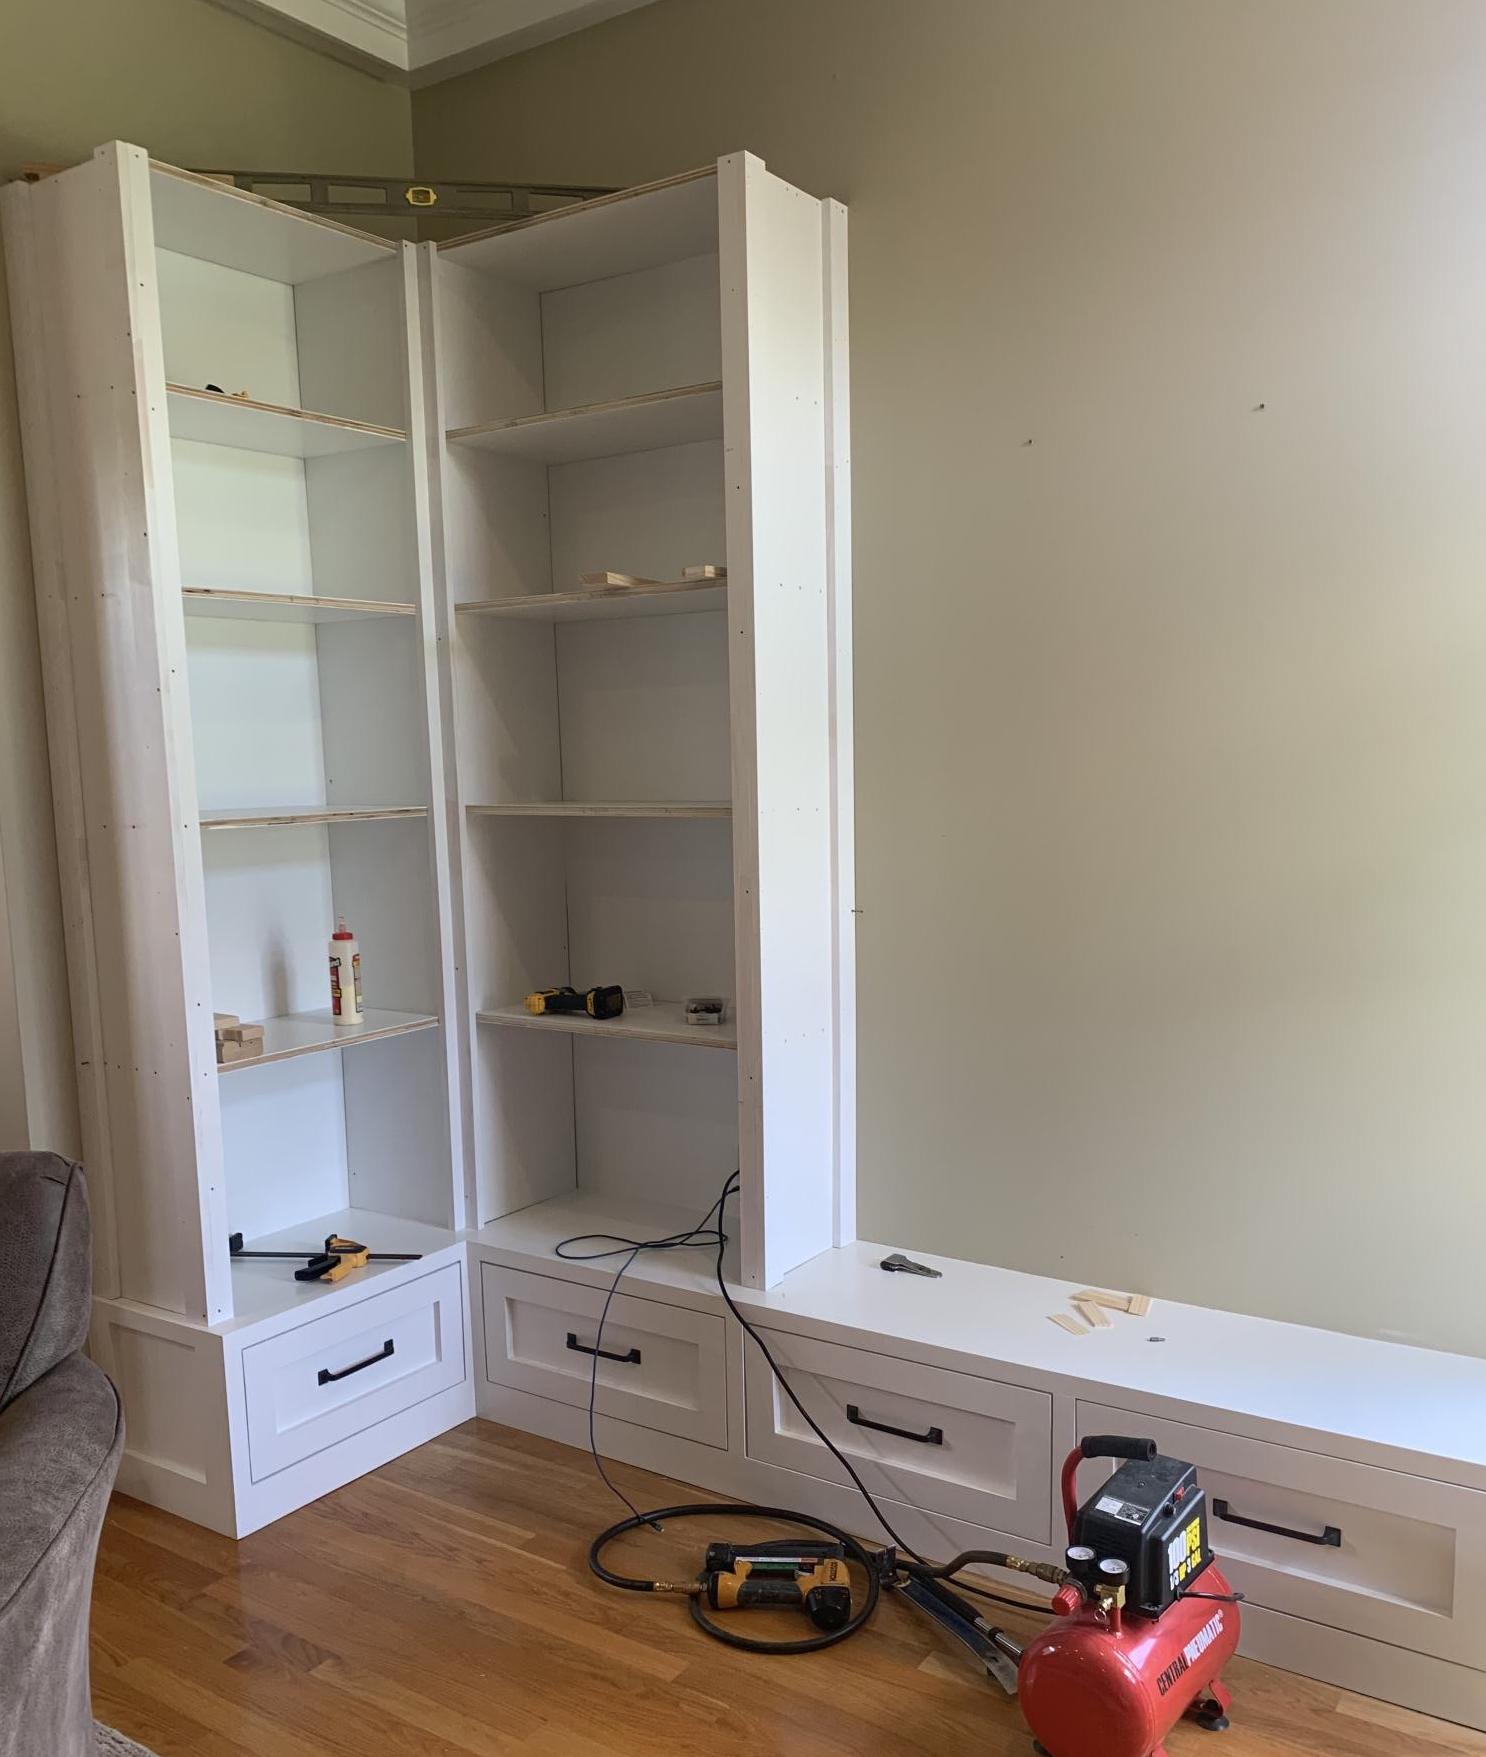
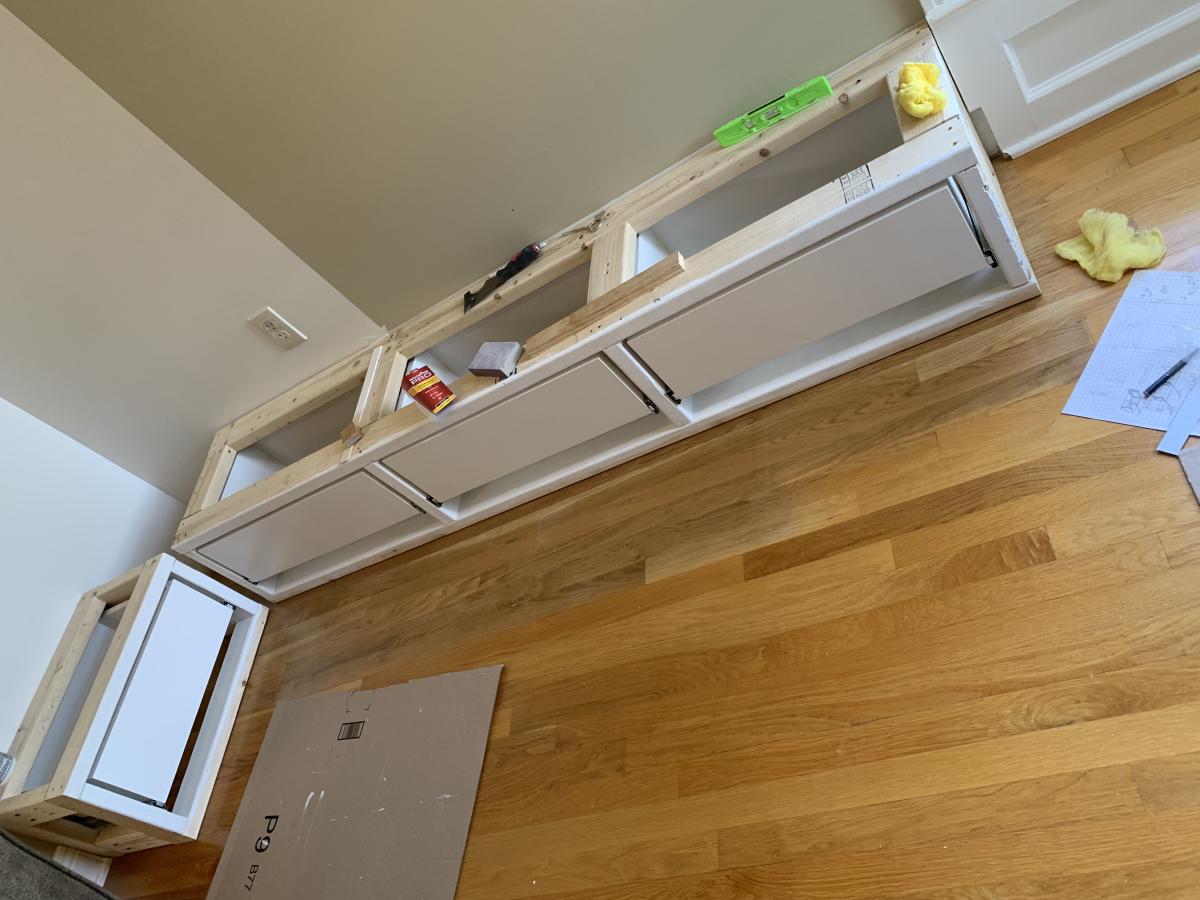
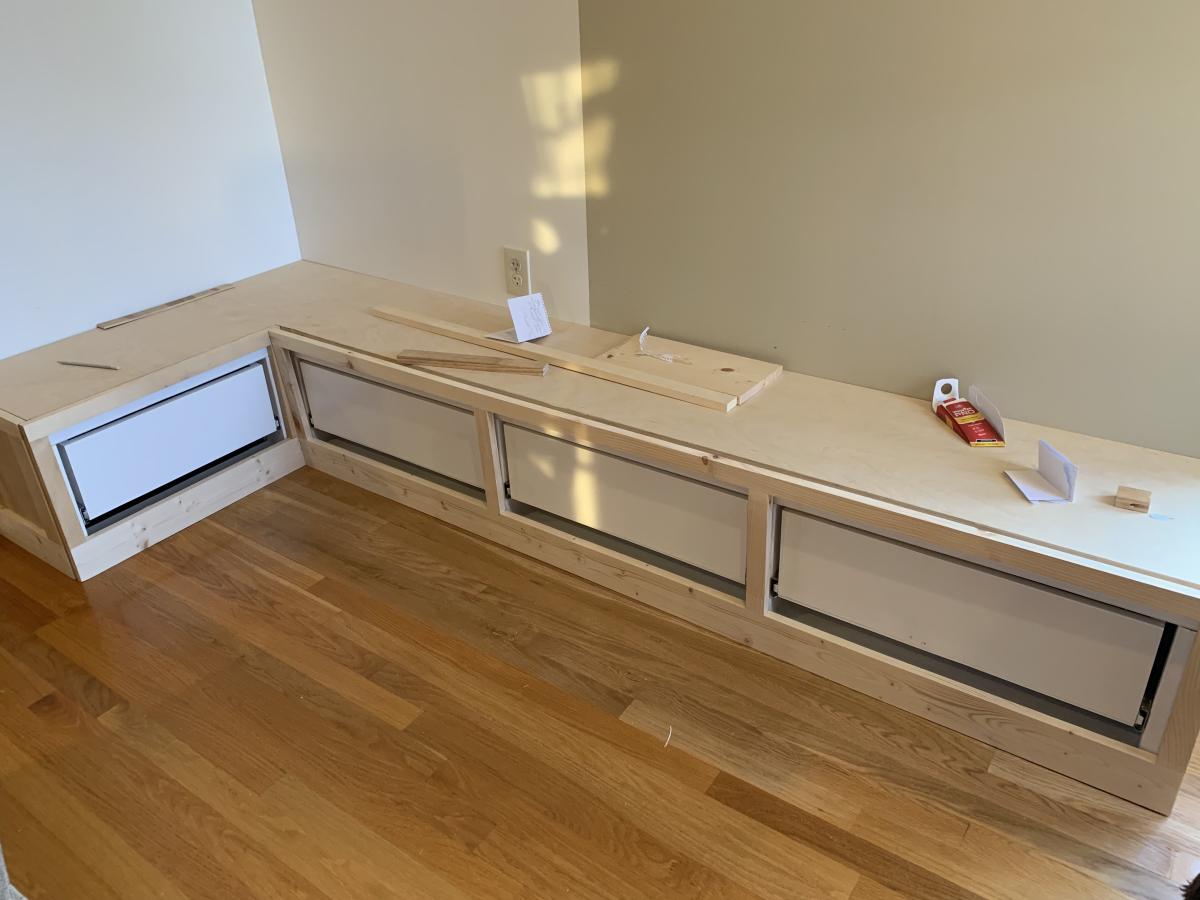
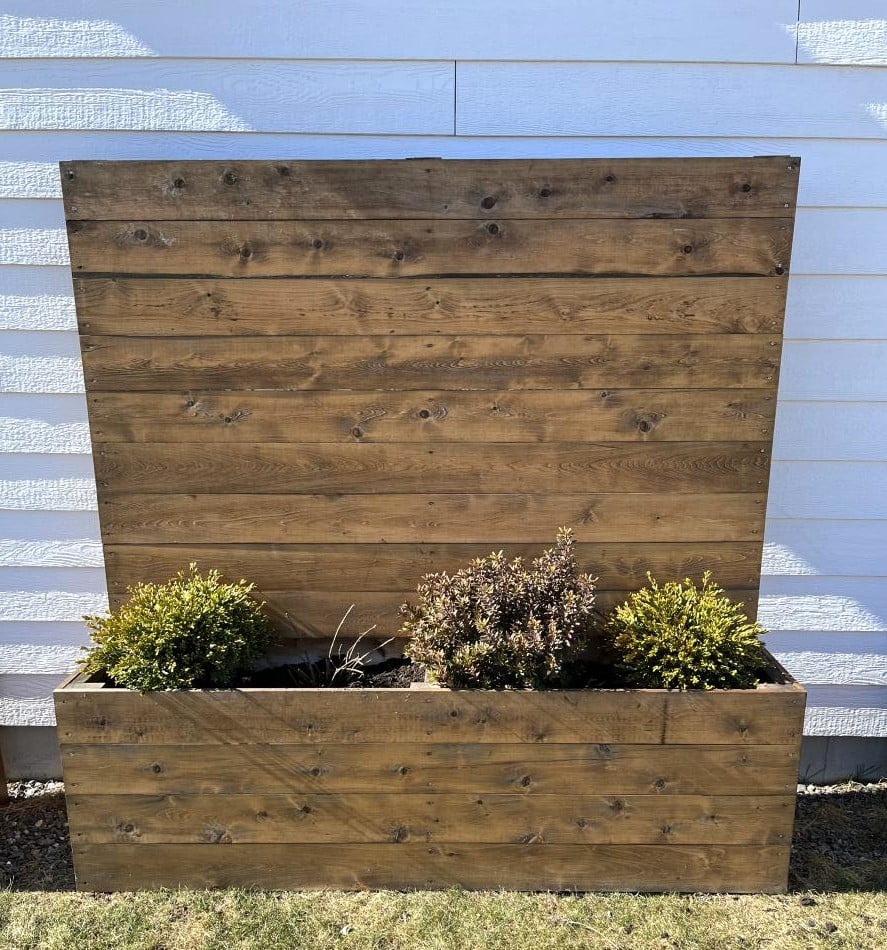
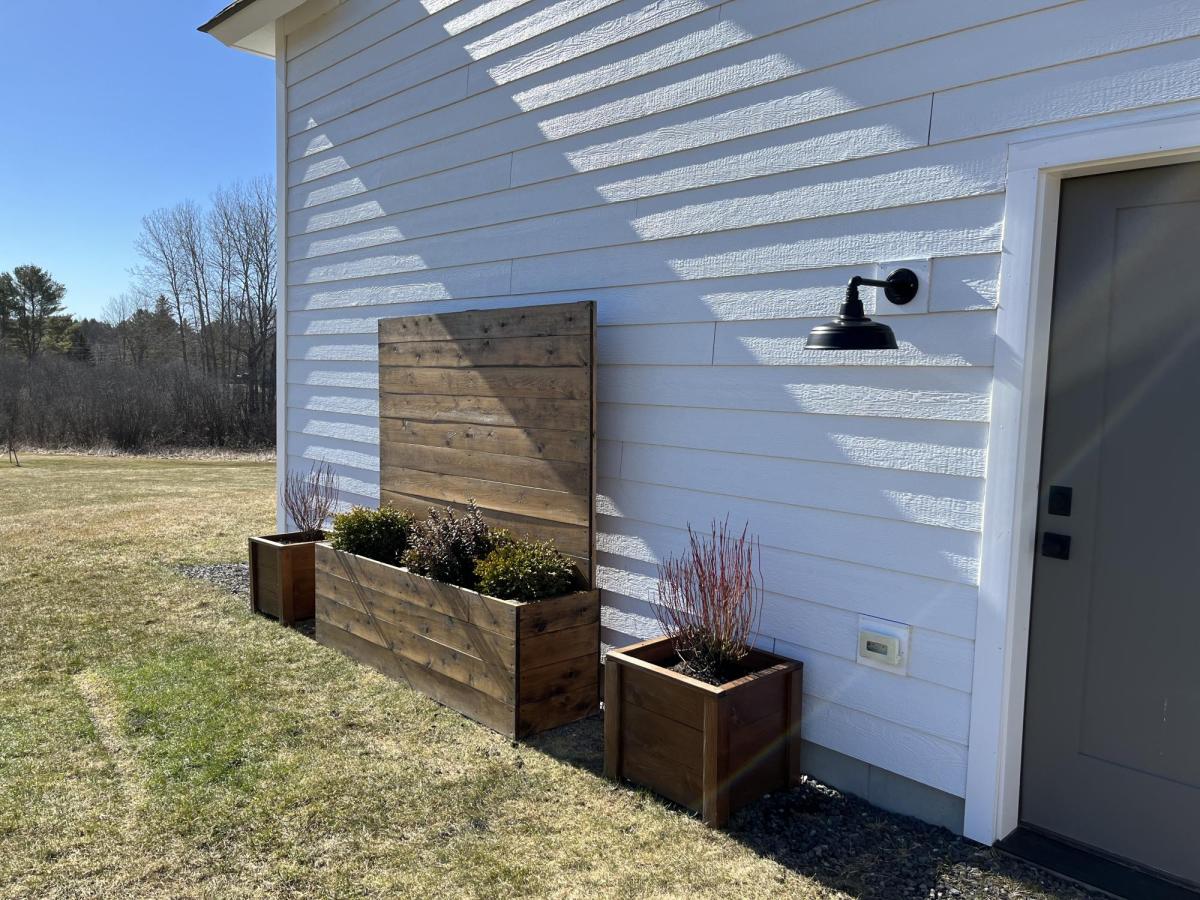
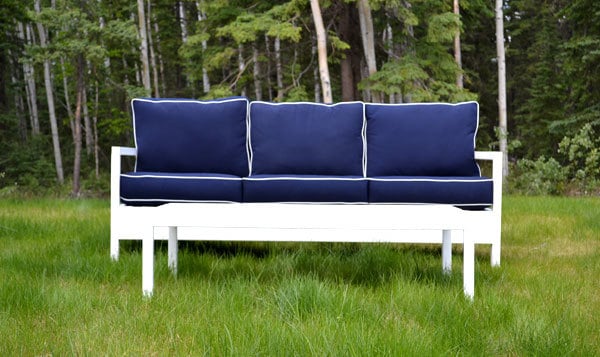
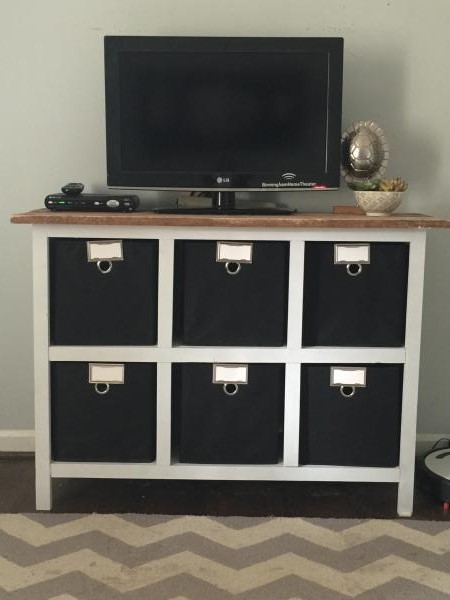
Community Brag Posts

Tv console

Submitted by Anonymous (not verified) on Sat, 01/12/2019 - 23:16

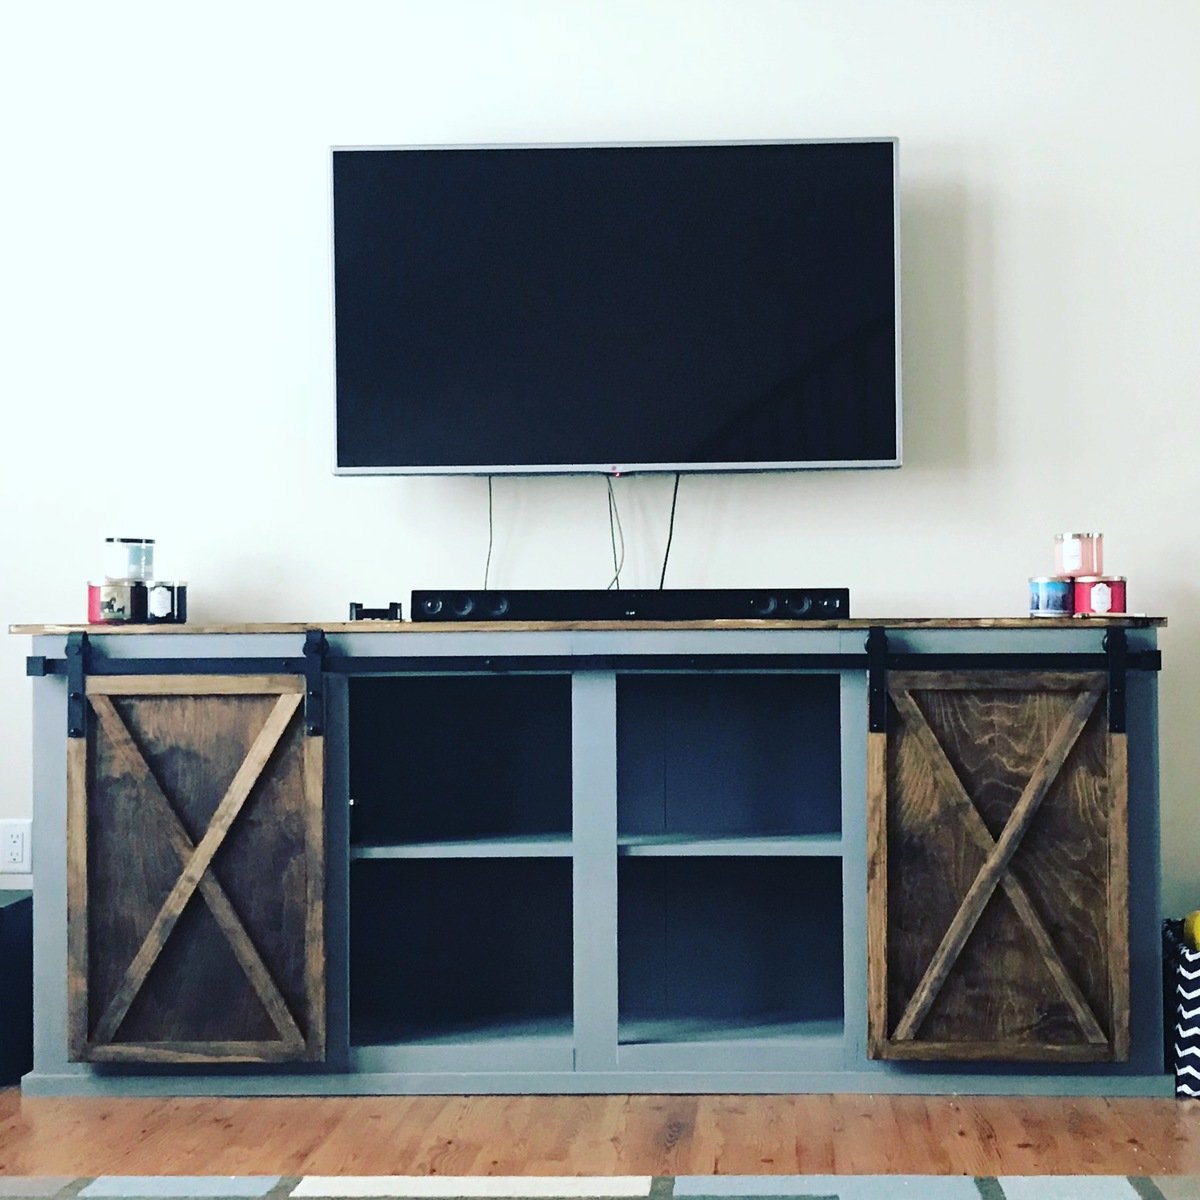
This project was fun. The hardest part was trying to find barn door hardware. I did end up finding one on amazon but it was still too long and had to cut it down. Very doable in a weekend.

Built from Plan(s)
Estimated Time Investment
Weekend Project (10-20 Hours)
Finish Used
Mission oak gloss
Rust-Oleum gray chalk paint
Recommended Skill Level
Intermediate

Take off of cubbies/with drawers

Submitted by Anonymous (not verified) on Wed, 02/08/2023 - 09:00

Thanks for the inspiration! First time building something this massive. I have 10 foot ceilings. Bookcases are about t 9 foot tall.

Built from Plan(s)

Comments

Ana White Admin

Wed, 02/08/2023 - 15:43

Superb job, this looks amazing! Thanks for sharing. Would love to see it when it's all finished!

Patio tables

Submitted by Anonymous (not verified) on Fri, 03/03/2023 - 05:06

Fun and easy project. If I did it again I would definitely follow the directions to stain the wood first. My first Ana-White project. I’m hooked!

Built from Plan(s)

Comments

Farmhouse storage bed w/drawers (king)

Submitted by Anonymous (not verified) on Fri, 03/10/2023 - 11:51

Seen this awesome plan on Anas site and had to build it in KING SIZE. The drawers are enormous, the bed is rock solid. I love it

Comments

Planters!

Submitted by Anonymous (not verified) on Fri, 04/14/2023 - 03:50

These planters are exactly what we needed to warm up this blank siding! The smaller planters are made from pine, the larger from cedar.

Comments

Seasonal And Holiday

Twin over Full Bunk Beds

Submitted by bohman825 on Sun, 01/08/2012 - 15:47

I wanted my kids to have more space in their shared room, but I did not want to pay a ton of money for a new bunk bed. My husband and I found a plan for this bunk on Ana-White and fell in love with the design. It turned out so great that we will still be using it in our next home whether it's needed or not. We did change a couple of things on the plan that we didn't care for. The first is that we added a side rail for safety. Secondly we also traded the 1x6 boards on the head and foot boards for 1x4s on the top but kept the 1x6s on the bottom.

Estimated Time Investment
Weekend Project (10-20 Hours)
Finish Used
Stain: Colonial Maple and polyurethane.
Used a sponge brush to apply stain and dry cloth to wipe off. Used a brush to apply poly.
Recommended Skill Level
Intermediate

Comments

Tony (not verified)

Mon, 01/09/2012 - 06:31

The guardrail looks great. How did you attach it to the corner post?

bohman825

Mon, 01/09/2012 - 17:39

With pocket screws on the bottom and then one screw through the 1x4s into the post before the 2x4 on the top goes on. And then the 2x4 is screwed onto the 1x4 and post with trim screws.

NicoleS (not verified)

Fri, 03/23/2012 - 04:36

How much did it cost you to build this bunk bed? I'm wondering if we can build this one as it turned out great looking!

NicoleS (not verified)

Fri, 03/23/2012 - 04:37

About how much did it cost to build this bunk bed? I'm wondering if we can build it since it turned out great looking!

Jillian (not verified)

Wed, 03/28/2012 - 13:02

Cost us about $300 and over an entire weekend of time spent on this project.
It's not for beginners. My husband has had many many years of experience in carpentry and woodmaking.

Good luck to you.
Also, he changed a few things in the plans we found in order to make it look better.

Thank you

Jillian

Jillian (not verified)

Wed, 03/28/2012 - 12:59

Cost us $300.00 to make and almost non-stop making it for the whole weekend. And then stained for hours.
This is with many years of experience in construction and woodmaking.

This is not a beginners project and then expect it to look amazing.
My husband changed these plans a bit to make it look better than the other ppls that we've seen on here.

But, good luck to you and make sure to have plenty of room and time.
Also, we had to make this bed in 10-15 different pieces and put together in the bedroom we wanted it in. There is absolutely no way it will fit otherwise.

Jillian

bohman825

Sun, 04/08/2012 - 15:26

Yes you'd just have to change measurements for queen instead of a full.

rdaneel

Sat, 10/25/2014 - 22:25

I don't see how you could put the fill/twin over a queen since the queen is longer.  Obviously you could spin the queen around and make it an L-shape but then you are looking at a different build.

Jesse and Jillian (not verified)

Thu, 12/06/2012 - 09:53

Yes any size would work as long as you have the room and the extra materials.

rdaneel

Sat, 10/25/2014 - 22:28

I really like the look of this ... I'm going to try to replicate!

What does the bottom of the guard-rail look like?  Did you space out your slats a little more than the original design?  I like the 2x4 topper instead of the 1x6.

hmagnani

Sat, 02/28/2015 - 16:46

We made this bed over the course of a week, both of us have extensive experience in woodworking and building. Ours is very wobbly on the long axis. We had a friend who is a structural engineer come in and take a look. He offered suggestions to shore it up and nothing really worked. The 3/4" overlap is not enough to secure the side rails, imo, and we used a variety of brackets to make it not wobble, to no avail.

This bed is coming apart in a few weeks and will be stored. If it is ever used again, it will be as two separate beds. I spent about $400 on this. My son never felt safe sleeping on the top bunk and has slept on the bottom exclusively.

Just my $0.02.

Six cube shelf

Submitted by Anonymous (not verified) on Sat, 02/20/2016 - 12:06

Really fun project. My dividers were a little off, but for kiddo storage- it's not too shabby. Bins were on sale at target. Because I trimmed the whole case out in 1x2s- 11x11 was the size I needed. The labels were extra, but totally worth the cost in my opinion. Loved this project and love the organization it brings!

Built from Plan(s)
Estimated Time Investment
Day Project (6-9 Hours)
Recommended Skill Level
Beginner

Doll High Chair

Submitted by angiemicn on Wed, 02/08/2012 - 01:20

I love this design, Ana has created the perfect toy, esp to give as Birthday presents! The size is perfect, very sturdy, I put mine together with Kreg Jig. I've made 7 so far, the first time I made it, I didn't have a 1x8, and ended up Jigging 2 1x4's together. Worked so well, I do it every time now. I like to make these, fully sanding the piece before I put it together, and letting my niece or whoever is recieving it, paint it themselves. It's a great way to spend an afternoon with your aunt
Blog is under construction, I will be posting additional high chairs as I make them

Built from Plan(s)
Estimated Cost
15 if I bought the wood, use scraps and leftover screws
Estimated Time Investment
Afternoon Project (3-6 Hours)
Finish Used
Kilz primer, and semigloss paint. This is a project I let the kids paint, and I always tell them, "It always dries different." When they go down for their nap or bed, I come behind and touch it up.
My nieces have used glitter pens to write their names on them, and I've spray Poly'd which holds up well
Recommended Skill Level
Intermediate

Comments

Mimi's Faux Mantle with bookshelves

Submitted by JoshuawG09 on Wed, 05/25/2016 - 18:15

Made from the modified Mimi's Faux Mantle design from another brag post.

Estimated Cost
$350
Estimated Time Investment
Week Long Project (20 Hours or More)
Finish Used
I used Valspar furniture paint. However, I will never buy it or use it again. It's just over priced paint.
Recommended Skill Level
Beginner

Comments

laurenwalker

Tue, 12/19/2017 - 22:01

Are you able to tell me how wide this is from the end of one bookcase to the other? I'm trying to find out if it will fit in my living room. Thanks!

Built in closet

Submitted by AndyH on Mon, 06/13/2016 - 19:14

Built in closet to replace builder grade wire wracking.  Closet is approximately 11 feet by 5 feet.  consists of two shoe racks with 7 shelves each.  6 large drawers and 4 small drawers.  Two hanger sections with storage  above them.  End wall has hanger for longer items and storage above and a cabinet with shelves.

Yet to finish the floor.

Estimated Cost
$1000
Estimated Time Investment
Week Long Project (20 Hours or More)
Finish Used
Sherwin Williams Extra White satin paint.
Recommended Skill Level
Intermediate

modified bench swing

Luv your site. Took your bench swing plan and modified it a bit (shortened depth) and then created a small pergola to hang it from. Just need to stain/poly to finish it off. Thanks for your plan and website it is very inspiring.

Estimated Time Investment
Weekend Project (10-20 Hours)
Recommended Skill Level
Beginner

Laundry Room Storage and Organization

Submitted by Anonymous (not verified) on Thu, 06/20/2024 - 10:33

When looking for ideas/plans for designing my mudroom I came across Ana’s plans for the bench with drawers. I’ve NEVER built anything like it, or cabinetry, or anything like that type of stuff, but with her videos and plans I was able to design my own layout and make it all completely by hand and by myself. I’m in love with how it turned out!! Her designs/plans are so easy to follow and customize!! I can’t wait to do more in my house.

Mikishea Mauss on Facebook

Built from Plan(s)

Puppet theater

Submitted by petera on Fri, 12/28/2012 - 12:03

I was able to use the lemonade stand plans for GRACE'S TOWN to make a puppet theater for my kids.

Estimated Cost
$50
Estimated Time Investment
Weekend Project (10-20 Hours)
Finish Used
Minwax golden oak stain
Recommended Skill Level
Beginner

Two-tone Large Cube Shelf

Submitted by Anonymous (not verified) on Tue, 02/21/2017 - 09:43

Large cube shelf made to fit 13" cubes or milk crates, for my two and a half year old son. For the larger cubes, I added 2" to the measurements for each cube, so 6" to the horizontal and 4" to the vertical measurements. Total shelf measures 46.5" wide by 35" high by 13.5" deep.

Built from Plan(s)
Estimated Cost
$75
Estimated Time Investment
Day Project (6-9 Hours)
Finish Used
Body: white latex primer, two parts paint to one part water.
Trim: special walnut stain
Everything: Minwax Paste Wax
Recommended Skill Level
Intermediate

Adirondack chairs

Submitted by Anonymous (not verified) on Sun, 01/17/2021 - 18:39

Thanks for the awesome plans Anna! God bless.

Eddie Jimenez

Comments

Seasonal And Holiday

Floating bench for entryway alcove

Submitted by msantos116 on Tue, 02/23/2021 - 11:20

I was looking for some inspiration to clean up our small entryway room in our Cape Cod style home in Worcester, Massachusetts that was typically used for recycling and dirty shoes. These plans were very easy to follow and really spruced up the room quite a bit.

I used standard pine 2x4's for the frame and 1 inch boards for the bench platform and upper shelf features. The platform consists of four boards (3 1x6 boards and 1 1x5 board) that were glued together and sanded down. This was finished with Minwax Colonial Maple stain (a few coats), a couple coats of satin polyurethane, and then sanded down for a nice smooth finish.

I used a couple of 2x4's behind the vertical face below the shelf, giving it some depth and better stability.

Cast iron hooks were found on etsy, ebay, and Amazon.

Estimated Cost
$75-$100
Estimated Time Investment
Weekend Project (10-20 Hours)
Finish Used
Minwax Colonial Maple stain
Minwax satin polyurethane
Automotive turtle wax for a smooth shine
Recommended Skill Level
Beginner

Outdoor 2x4 Sofas

Submitted by Anonymous (not verified) on Mon, 04/24/2017 - 07:11

Super simple build! Thanks for the plans!

Built from Plan(s)
Estimated Cost
$120 for wood (per sofa), $12 for screws, $25 for water seal, $150 for cushions (per sofa)
Estimated Time Investment
Day Project (6-9 Hours)
Finish Used
Sanded with 120-grit sandpaper, two coats of Thompson's Water Seal (transparent).
Recommended Skill Level
Beginner

Comments

Farmhouse Dining Set

Submitted by Nor7 on Wed, 03/18/2015 - 10:22

This was a bit more work than I anticipated but I think it turned out great. The quoted buy list was a little off so I had to make an additional trip to the hardware store.

I used the Fancy X Table plan and the Fancy X Bench plan to make this set. Since I wanted it only 6' long I had to do some modification to the plan but not much.

I also designed the table top into two pieces that fastened together through the center piece so I could take it apart easily and fit it though a standard door.

Estimated Cost
$120 (since there were two benches and the table). I found the wood in my area to be a little more expensive than quoted on the plan. Particularly the 2x10's.
Estimated Time Investment
Week Long Project (20 Hours or More)
Finish Used
MinWax - Dark Walnut. To get the finish even I had to invest ALOT of time into sanding. I had to use 60 grit in some spots to even out the factory cuts but most of it I was able to go over with just 220 grit. DON'T FORGET TO SAND THE ENDS!
Recommended Skill Level
Intermediate

Comments

MrCoffee

Wed, 03/18/2015 - 13:35

Wow, this table and bench set came out awesome. I love the finish. What you ended up creating having only spent $120 is incredible when you think about how much these things cost in a furniture store. Good work.

Wine oak barrel Adirondack chair

Submitted by Medickep on Thu, 05/30/2013 - 12:11

I got some oak barrels from a local vineyard and decided to try making some adirondack chairs. It was harder than I thought it would be, but well worth it!! The stain was a little darker than I thought it be, but it's rubbing off on me!

predrill, predrill, predrill, and learned a valuable lesson in predrilling, as solid wood under strain cracks easy when using 2 1/2" deck screws!

I need to whip out the nice camera and stop using my cell phone for finished products!

Estimated Cost
Around 100.00 dollars per chair (depends on cost of barrel!)
Estimated Time Investment
Weekend Project (10-20 Hours)
Finish Used
I used Cabot's Australian timber oil. Not the cheapest product out there, but they actually recommend one coat only and no sanding necessary for future coats. Once it stops beading water, just clean the chair and than reapply! It penetrates deep and forms a wax protective layer that repels water! This is why I chose not to varnish the item!!
Recommended Skill Level
Intermediate

Comments

spiceylg

Fri, 05/31/2013 - 05:16

I never heard of using wine barrels in this way! I love it. It came out fabulous!

Medickep

Fri, 05/31/2013 - 05:34

Thanks you. People make a lot of stuff out of wine barrels. Chairs, stools, Tables, candle holders, and even serving platters!

Joni

Fri, 05/31/2013 - 06:57

This is awesome! Very cool design. It looks very comfortable! Thanks for the tip on the Australian timber oil; I never knew what would be the best finish for an outdoor piece.

Joni

Fri, 05/31/2013 - 07:03

This is awesome! Very cool design. It looks very comfortable! Thanks for the tip on the Australian timber oil; I never knew what would be the best finish for an outdoor piece.

Medickep

Sat, 06/01/2013 - 11:38

It is very comfortable, especially with a glass of wine. I chose the finisher I did because I live in Oregon with a lot of rain!!

Why does everyone's post, including my own show up as duplicate?

Medickep

Sat, 06/01/2013 - 11:38

It is very comfortable, especially with a glass of wine. I chose the finisher I did because I live in Oregon with a lot of rain!!

Why does everyone's post, including my own show up as duplicate?

acd4476

Sun, 07/21/2013 - 17:05

Awesome chairs! Beginning to think I need to make some as well. Did you have plans for this project or follow a generic adirondack chair plan?

Foldable Farmhouse Rustic Dining Table

My wife wanted a portable farmhouse style rustic dining table that she could take to photoshoots and other events. I started with a top made with 2x6s and make the legs with 4x4s and the rest with 2x4s. Stain is dark walnut with a clear coat on top.

The legs are attached with door hinges and can fold into the top for more portable use. There is also a board that can be inserted in the bottom slots so that when in use the legs can not fold in.

So far the rustic dining table is working out great, although this table is VERY HEAVY and needs 2-3 strong people to carry it around. I have also made a lighter version using 1x6 tops and all 2x4 frame and legs.

Photos courtesy of Jennifer Blair Photography Designed by Amber Veatch Designs

Estimated Cost
150.00
Estimated Time Investment
Weekend Project (10-20 Hours)
Finish Used
Miniwax Dark Walnut
Recommended Skill Level
Intermediate

Comments

Juanita_r

Wed, 06/12/2013 - 04:15

Oh I really hope that you are able to put these modified plans up!!! A foldable farmhouse table.... what will they think of next!

Unicorn1960

Sat, 10/22/2016 - 17:21

I cannot find the plans for the tiny house drawers any where.  Can someone please point me in the right direction.  Thank you! 

Back