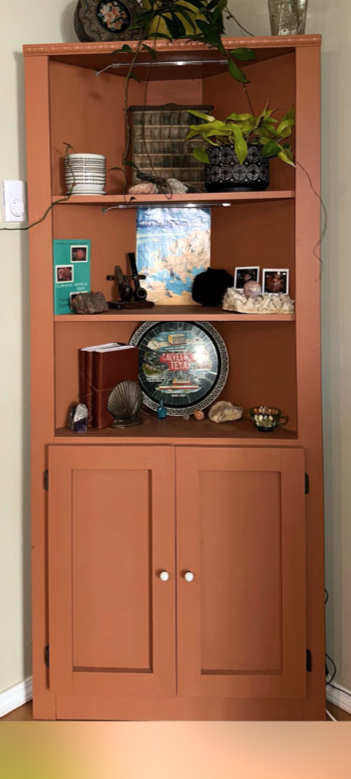
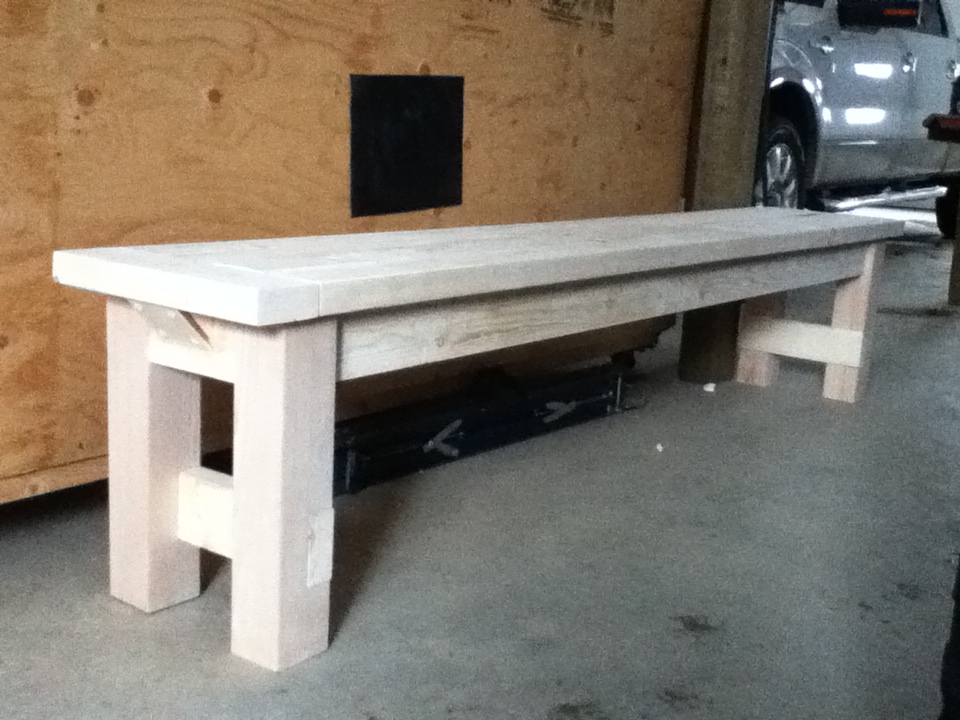
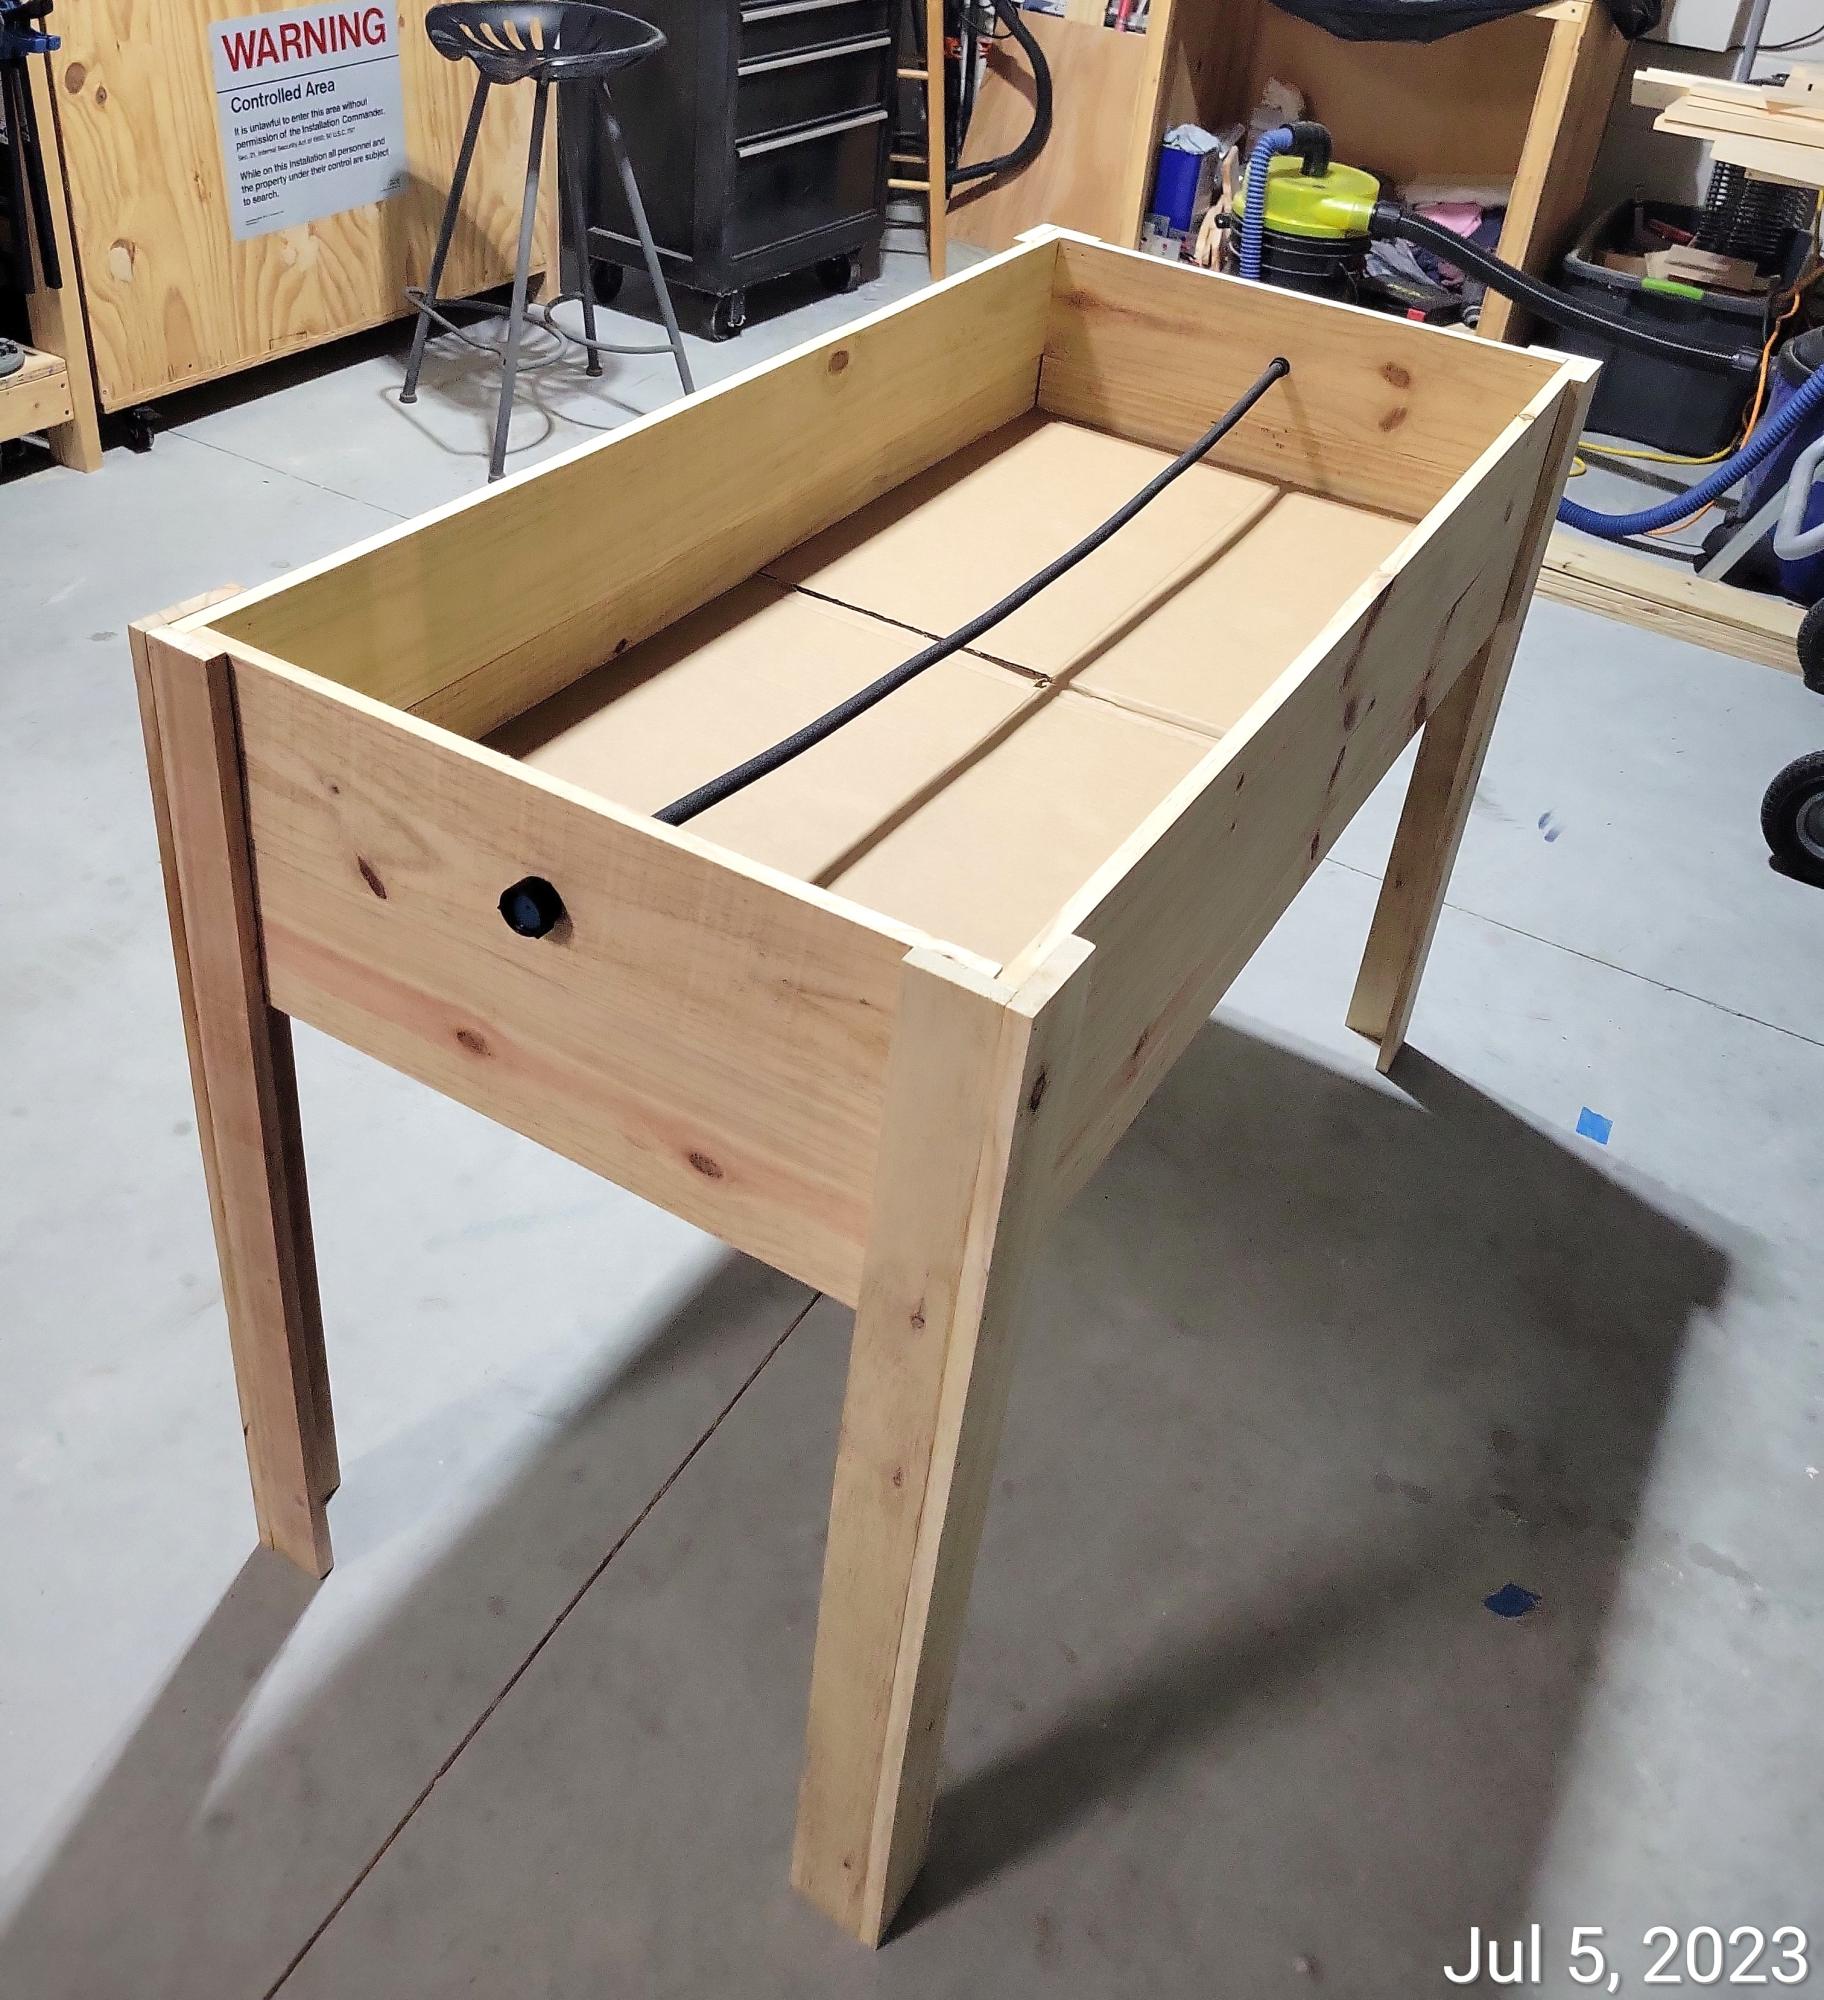
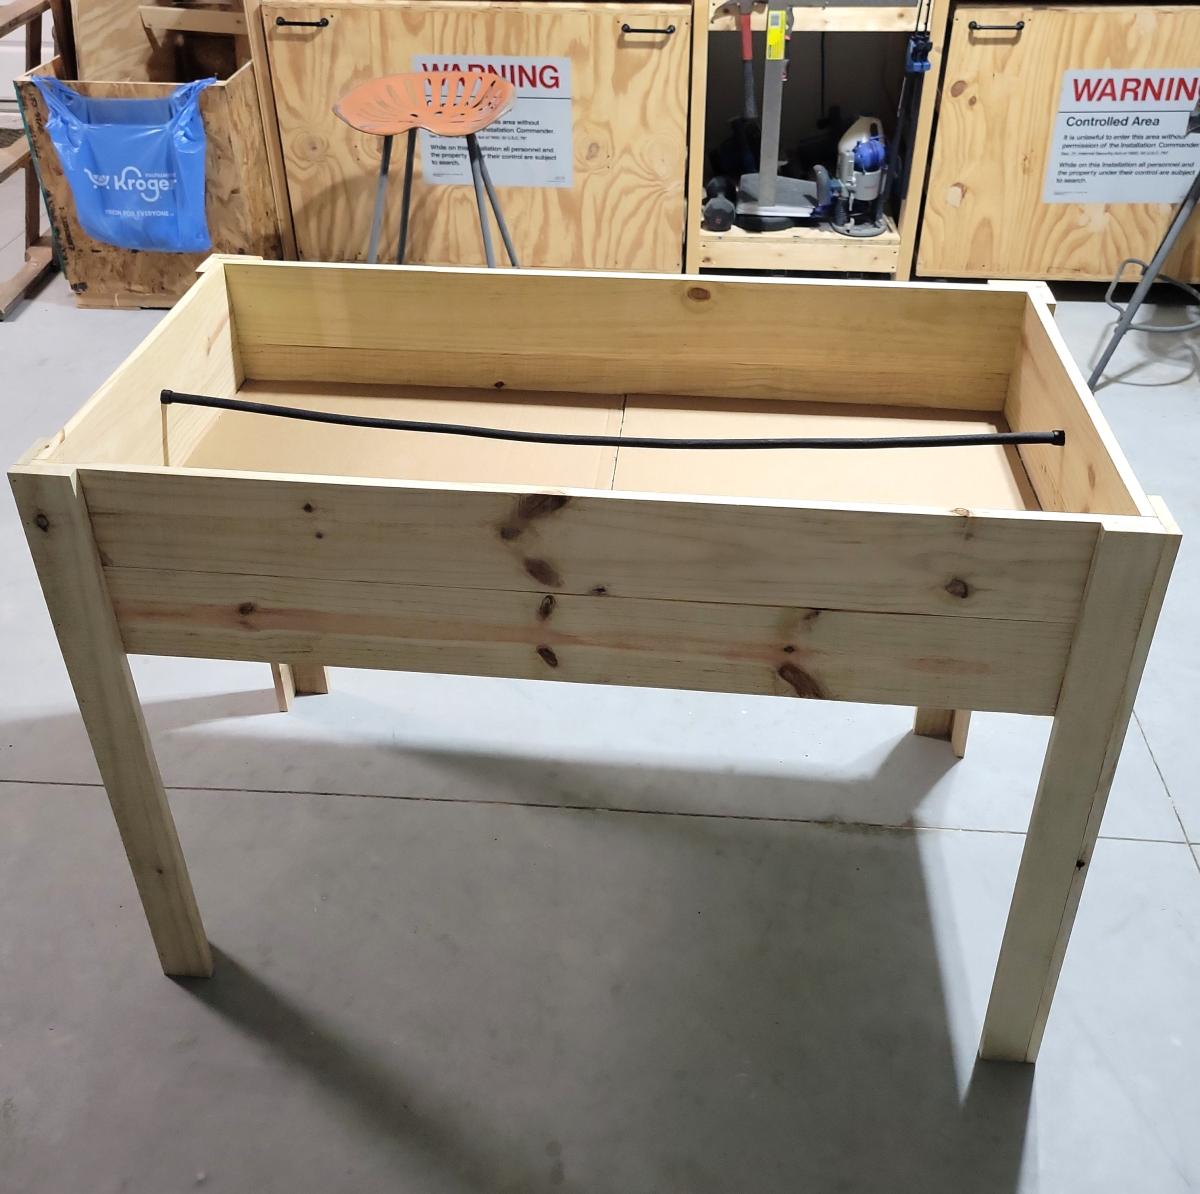
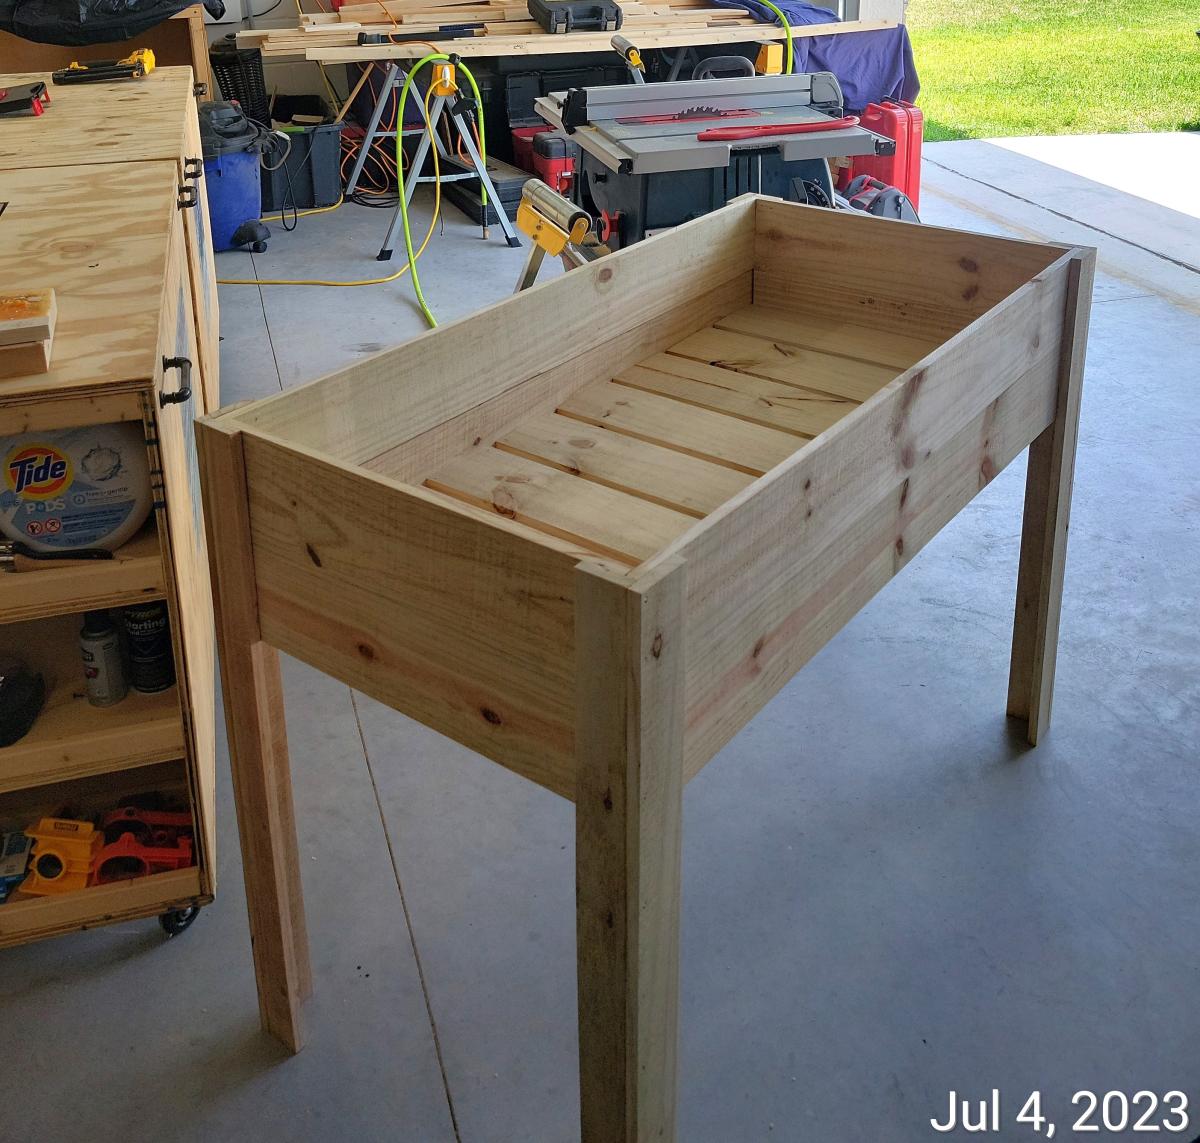
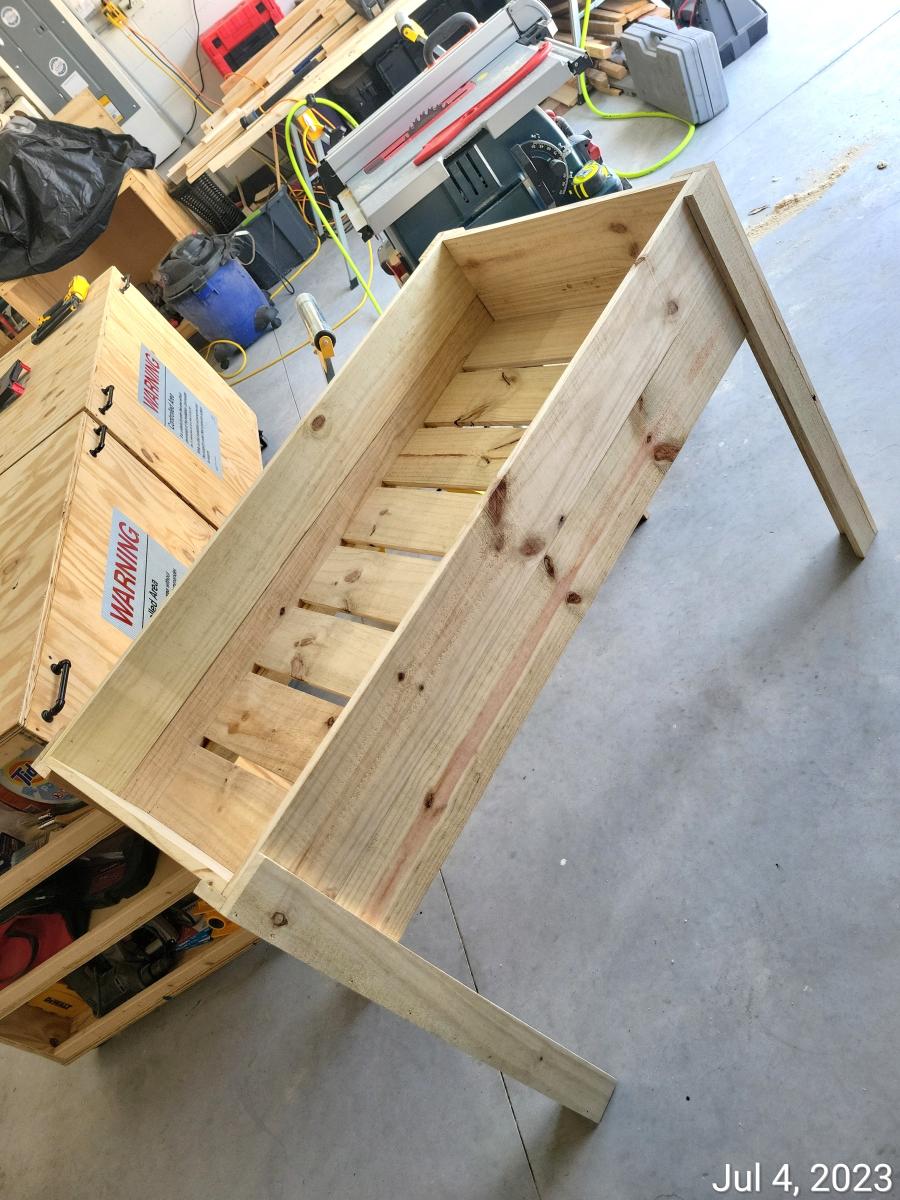
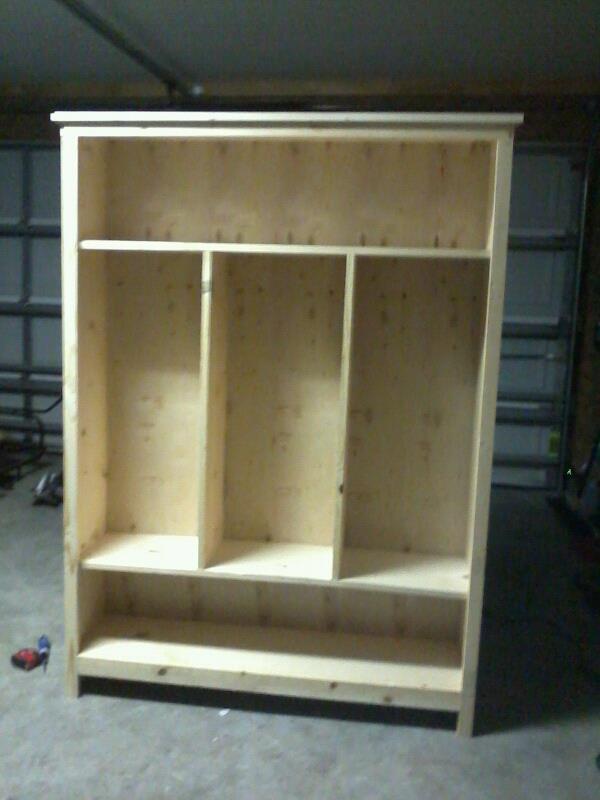
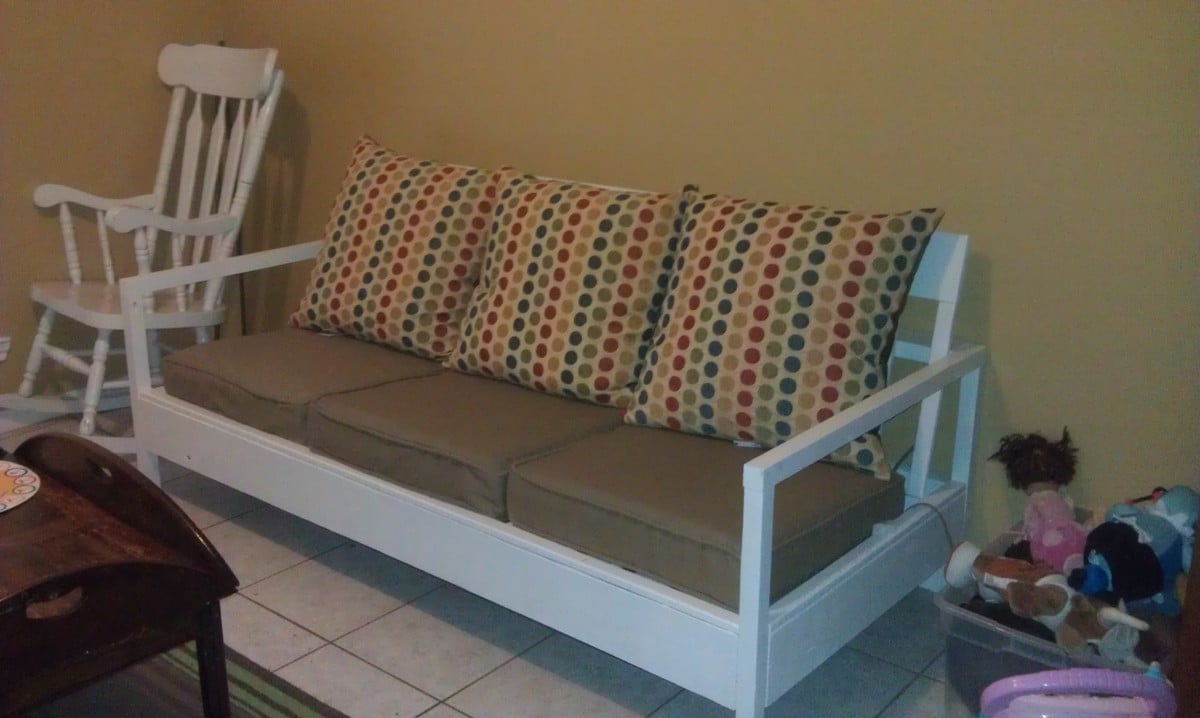
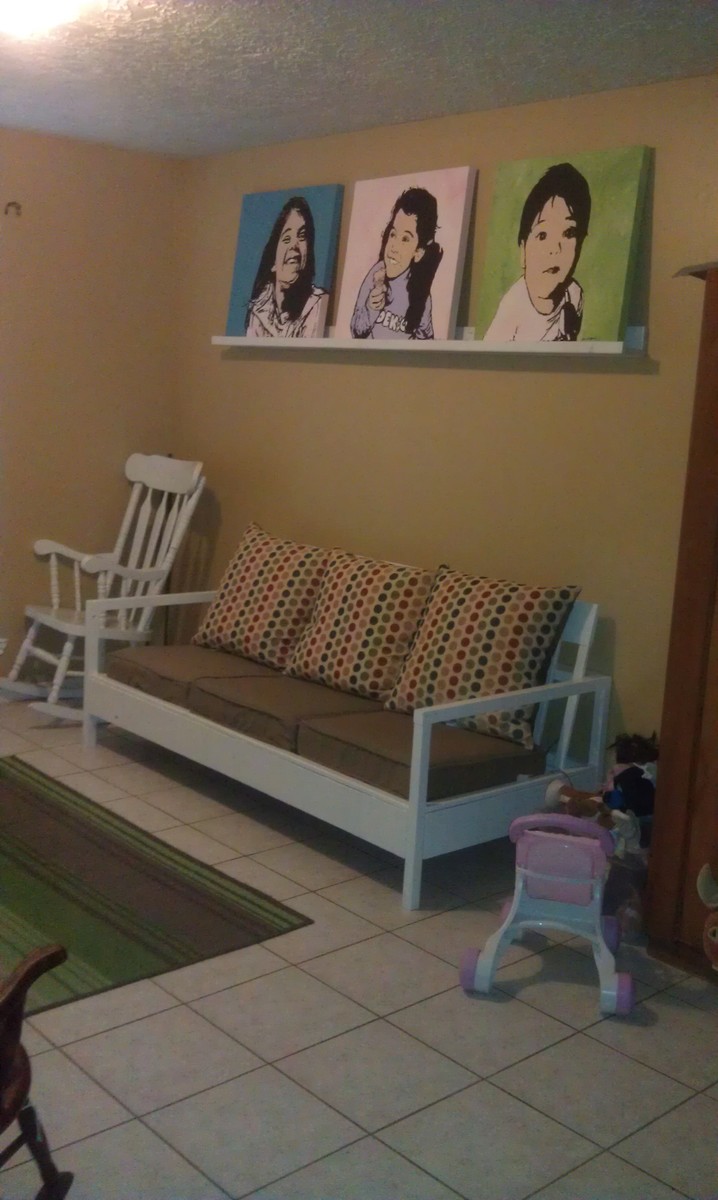
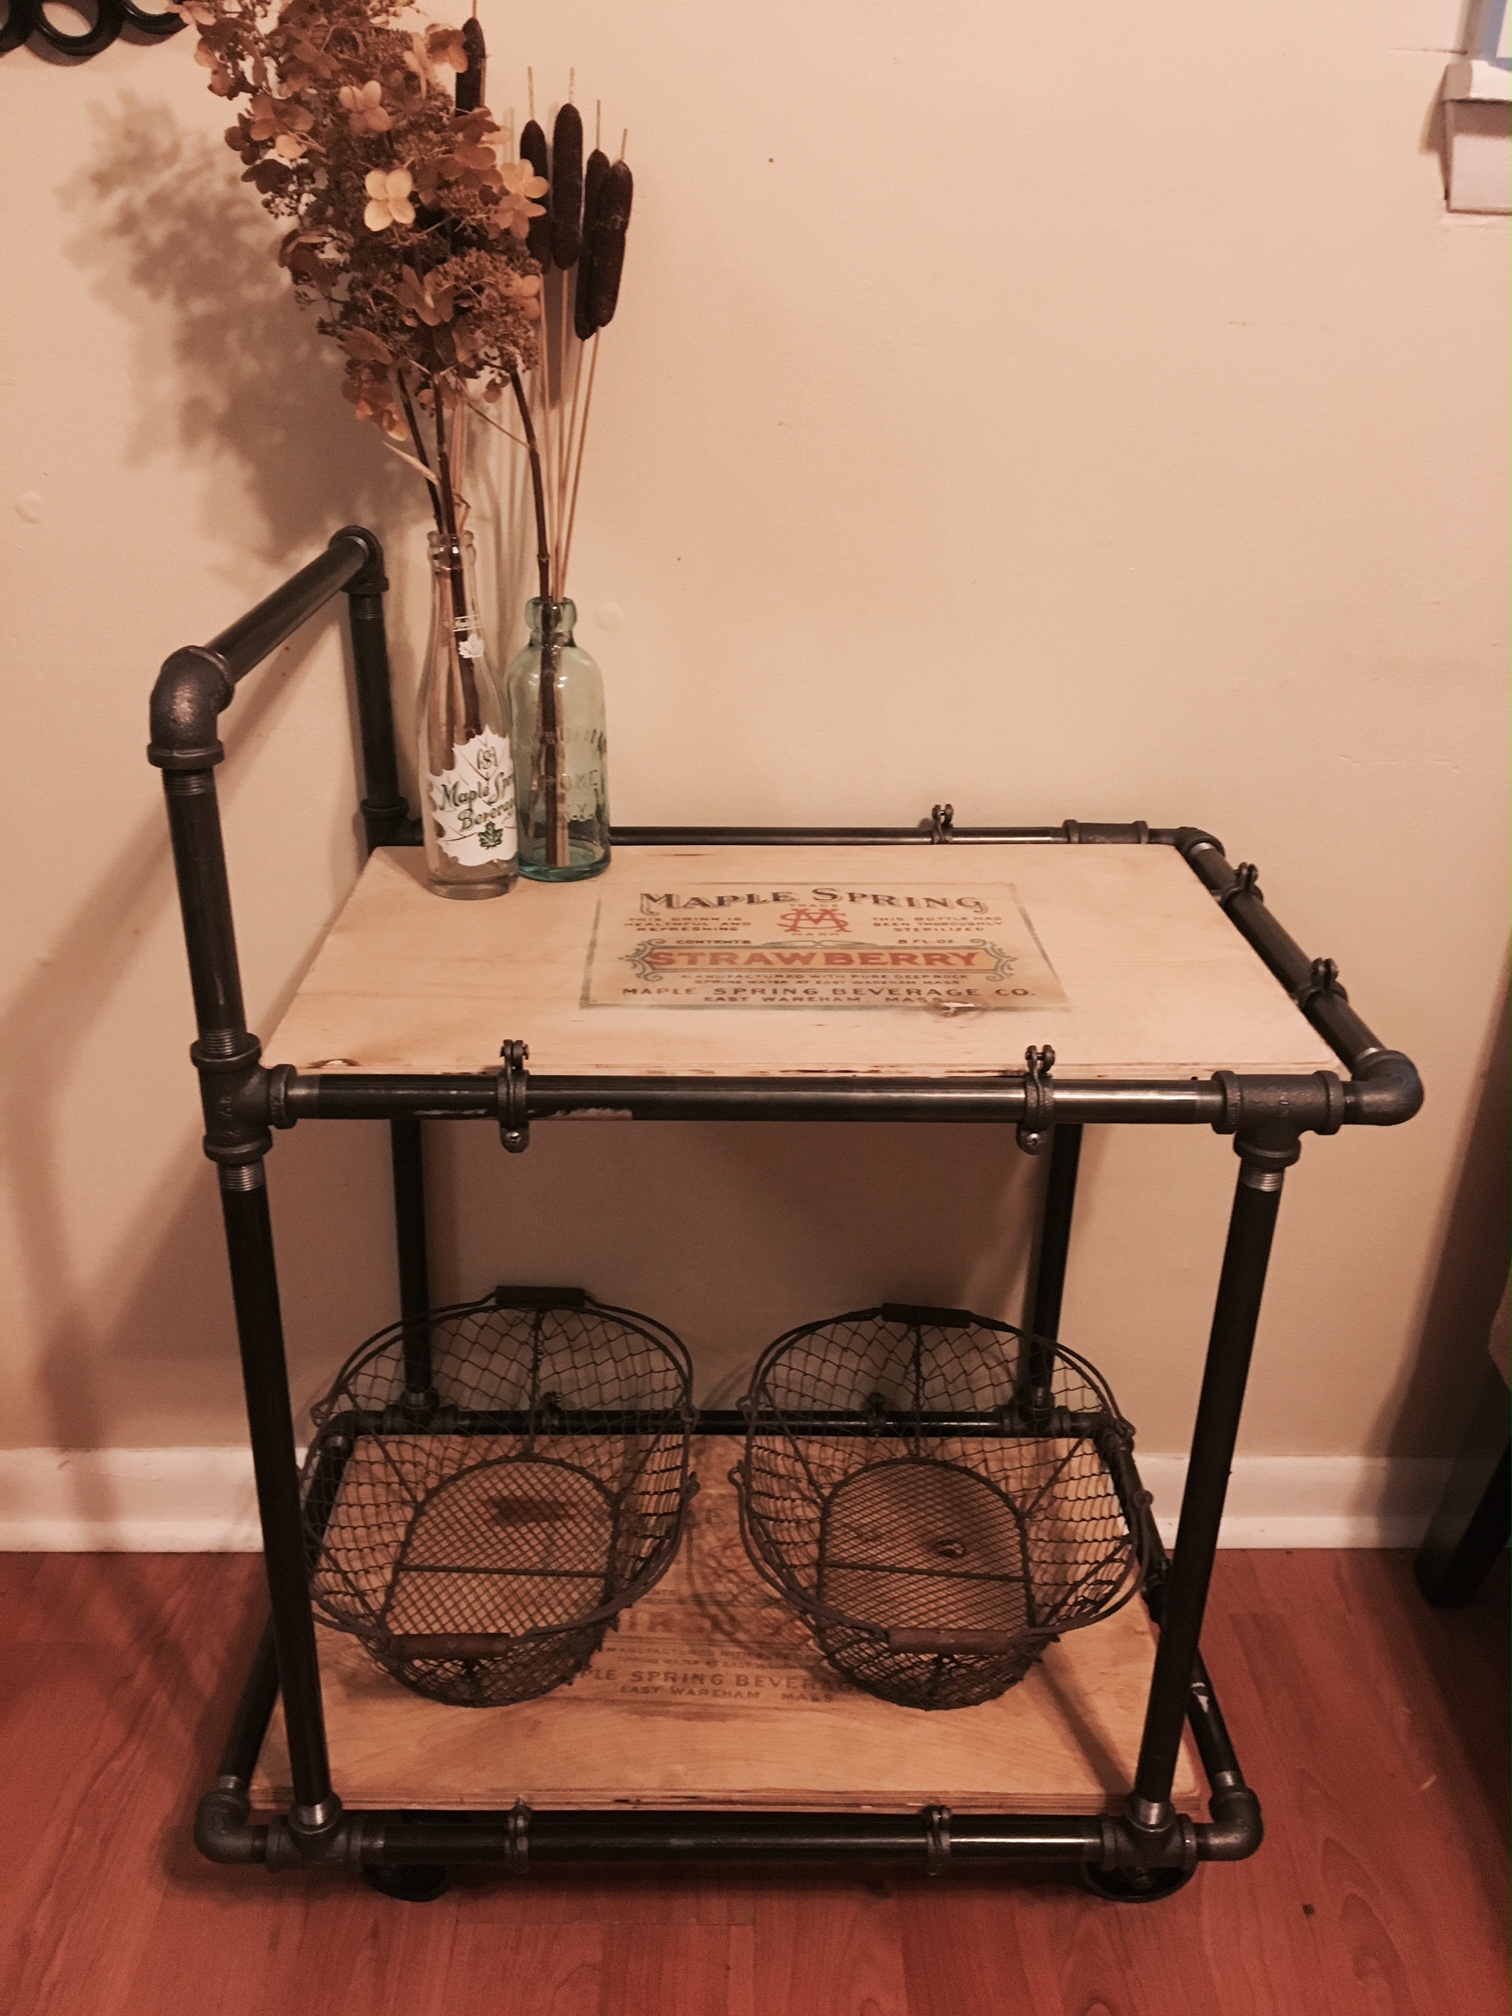
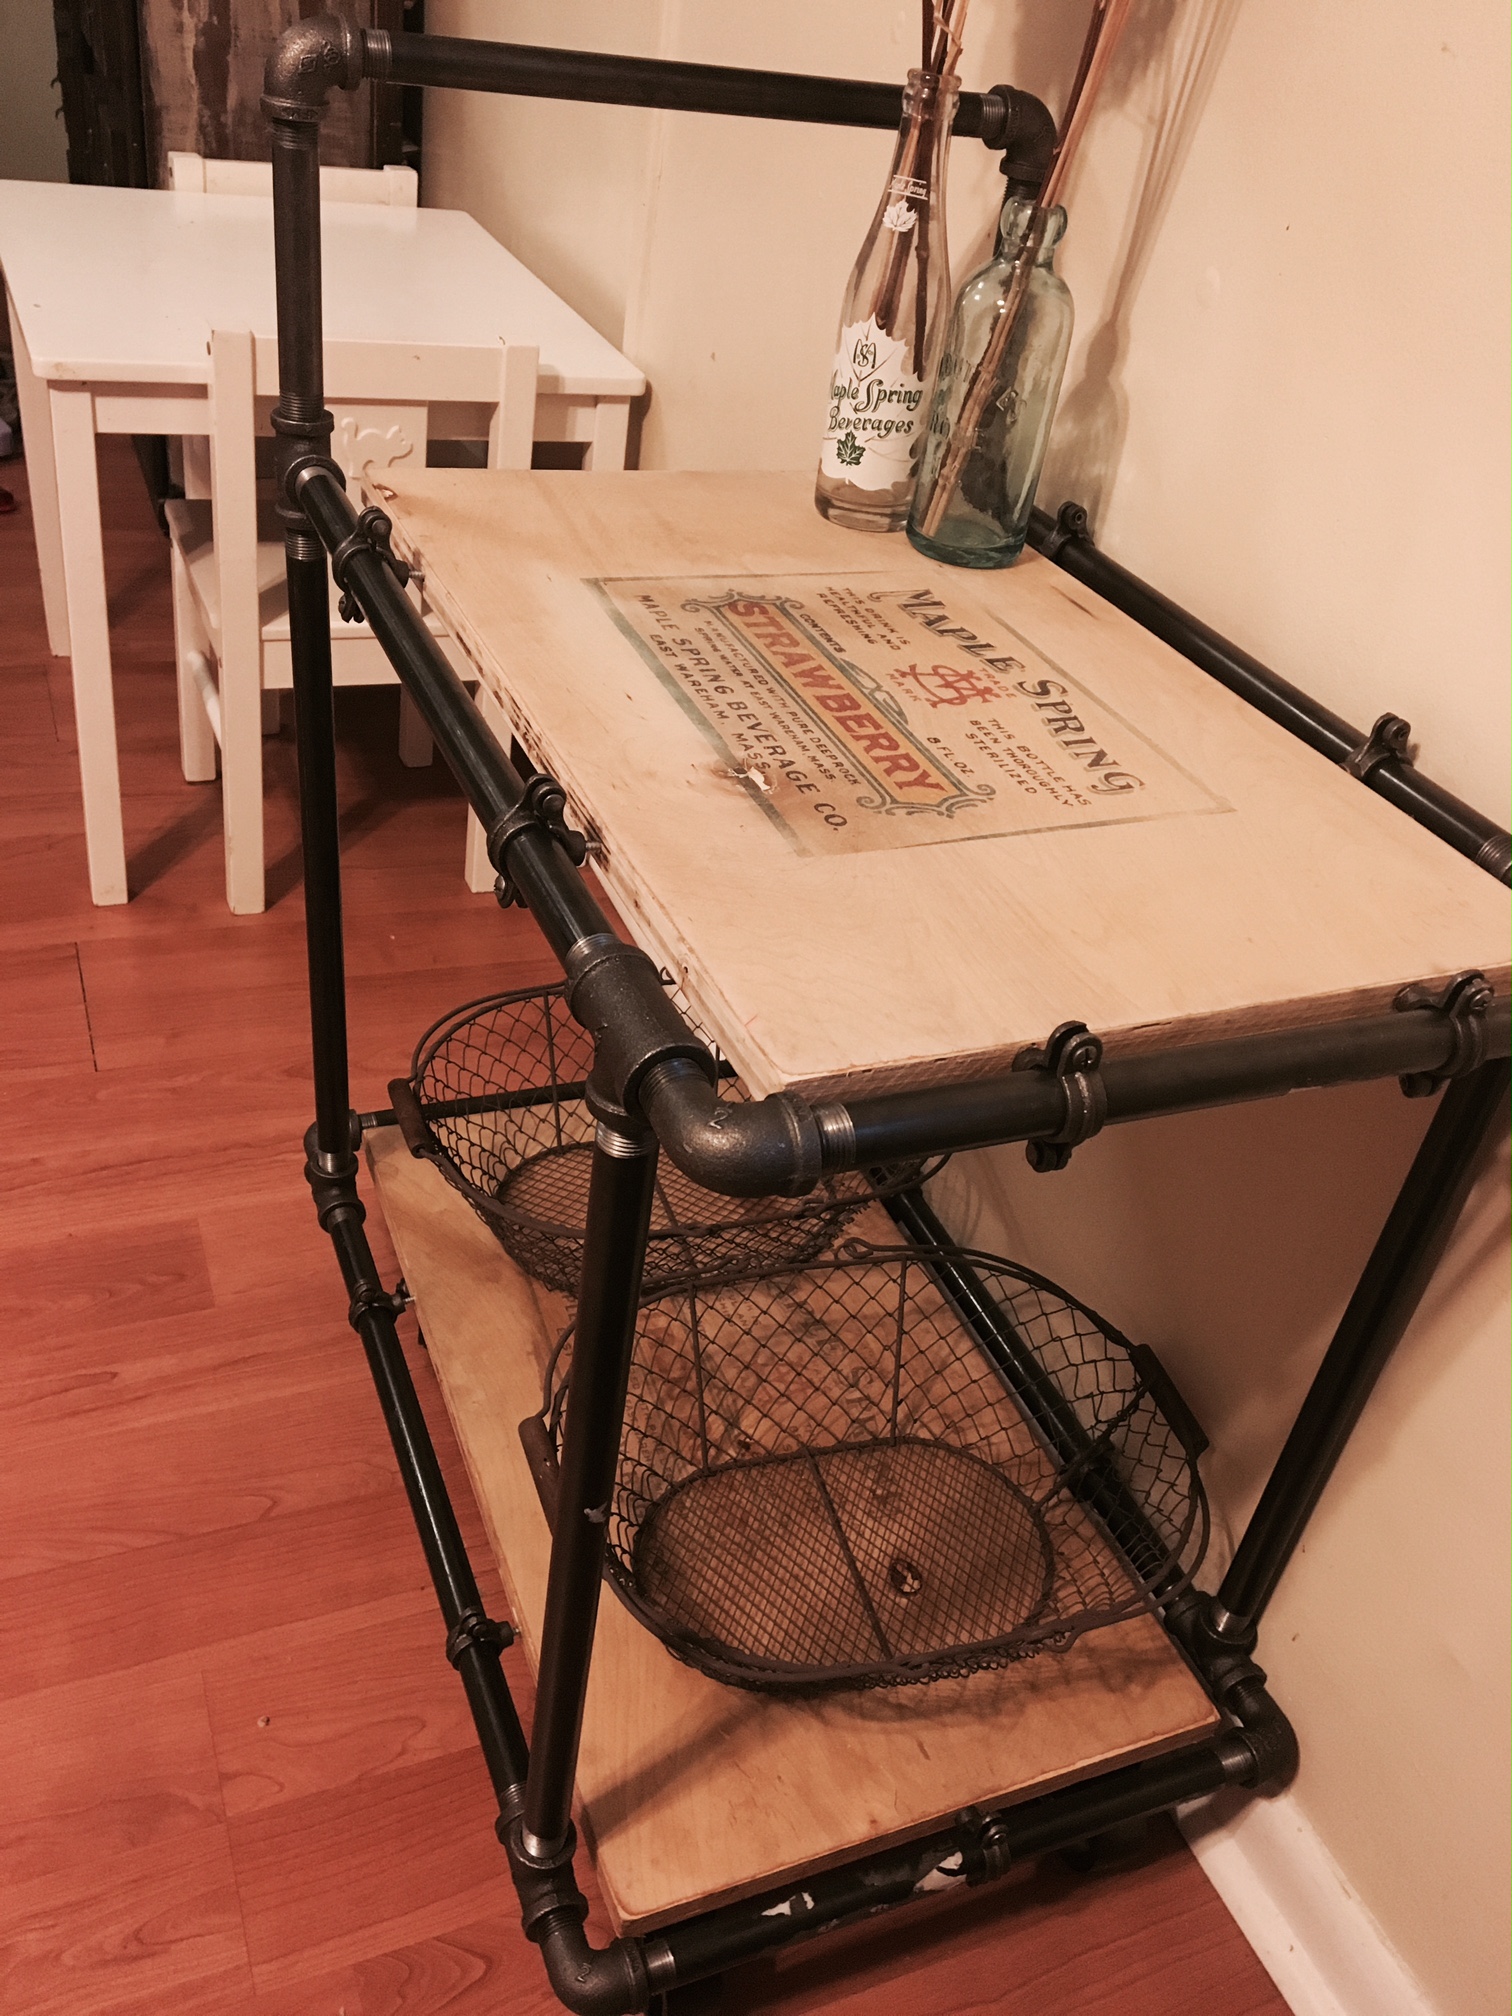
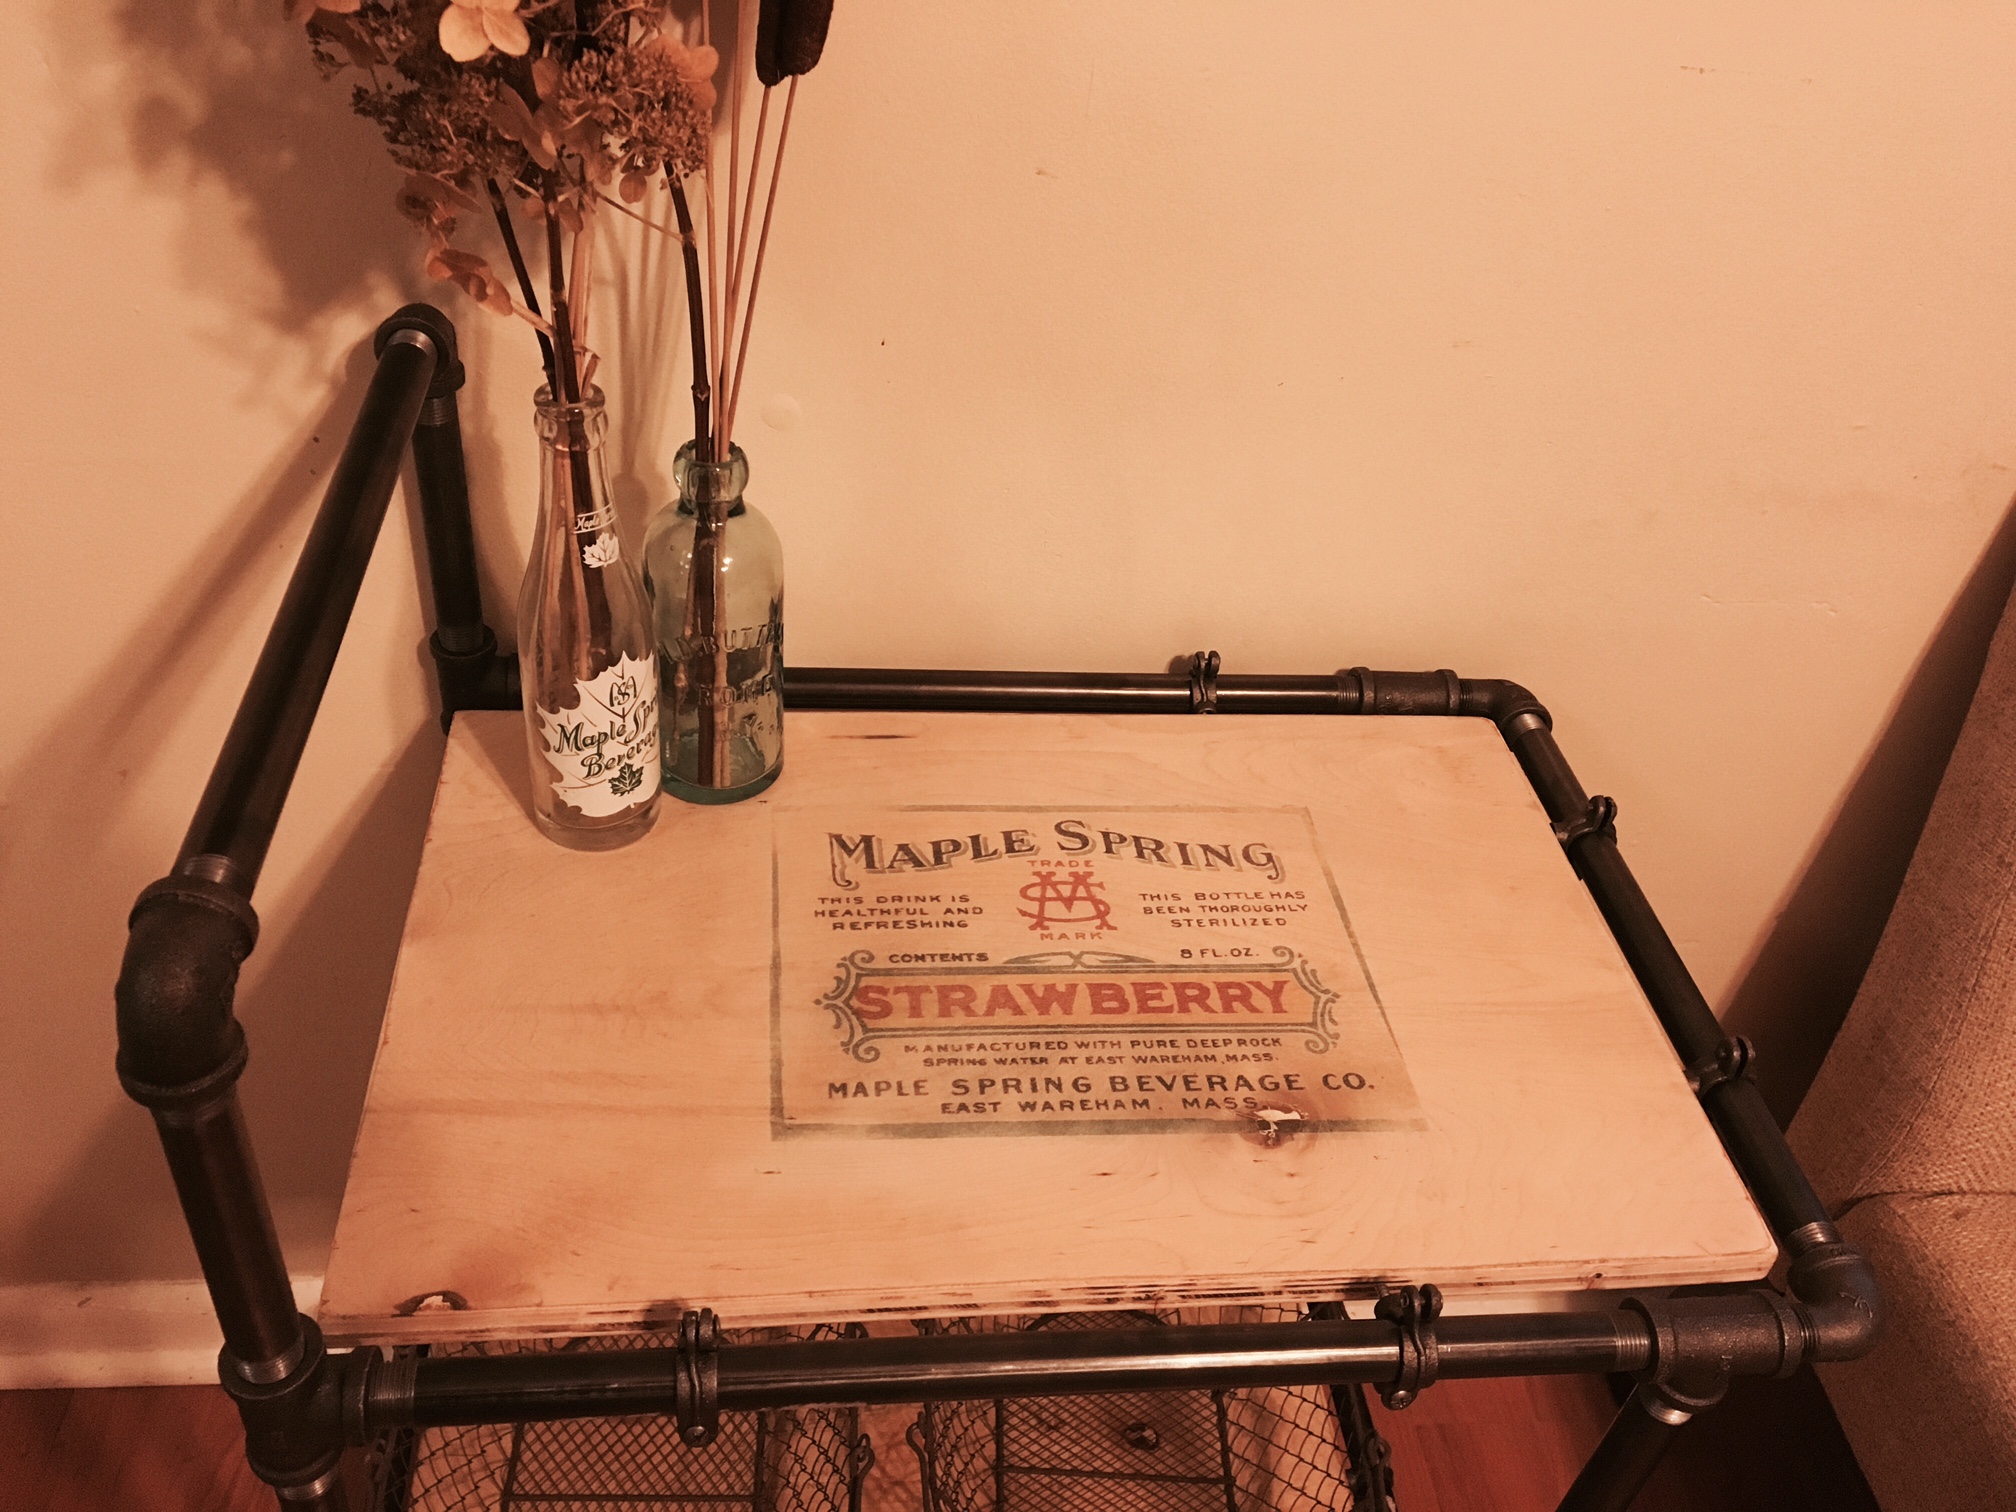
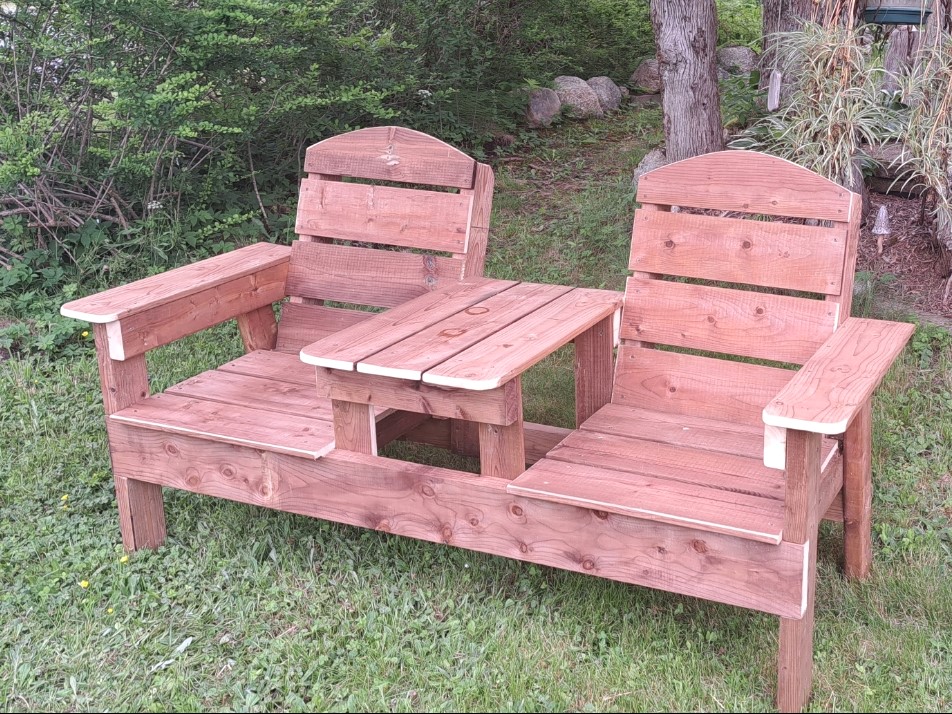
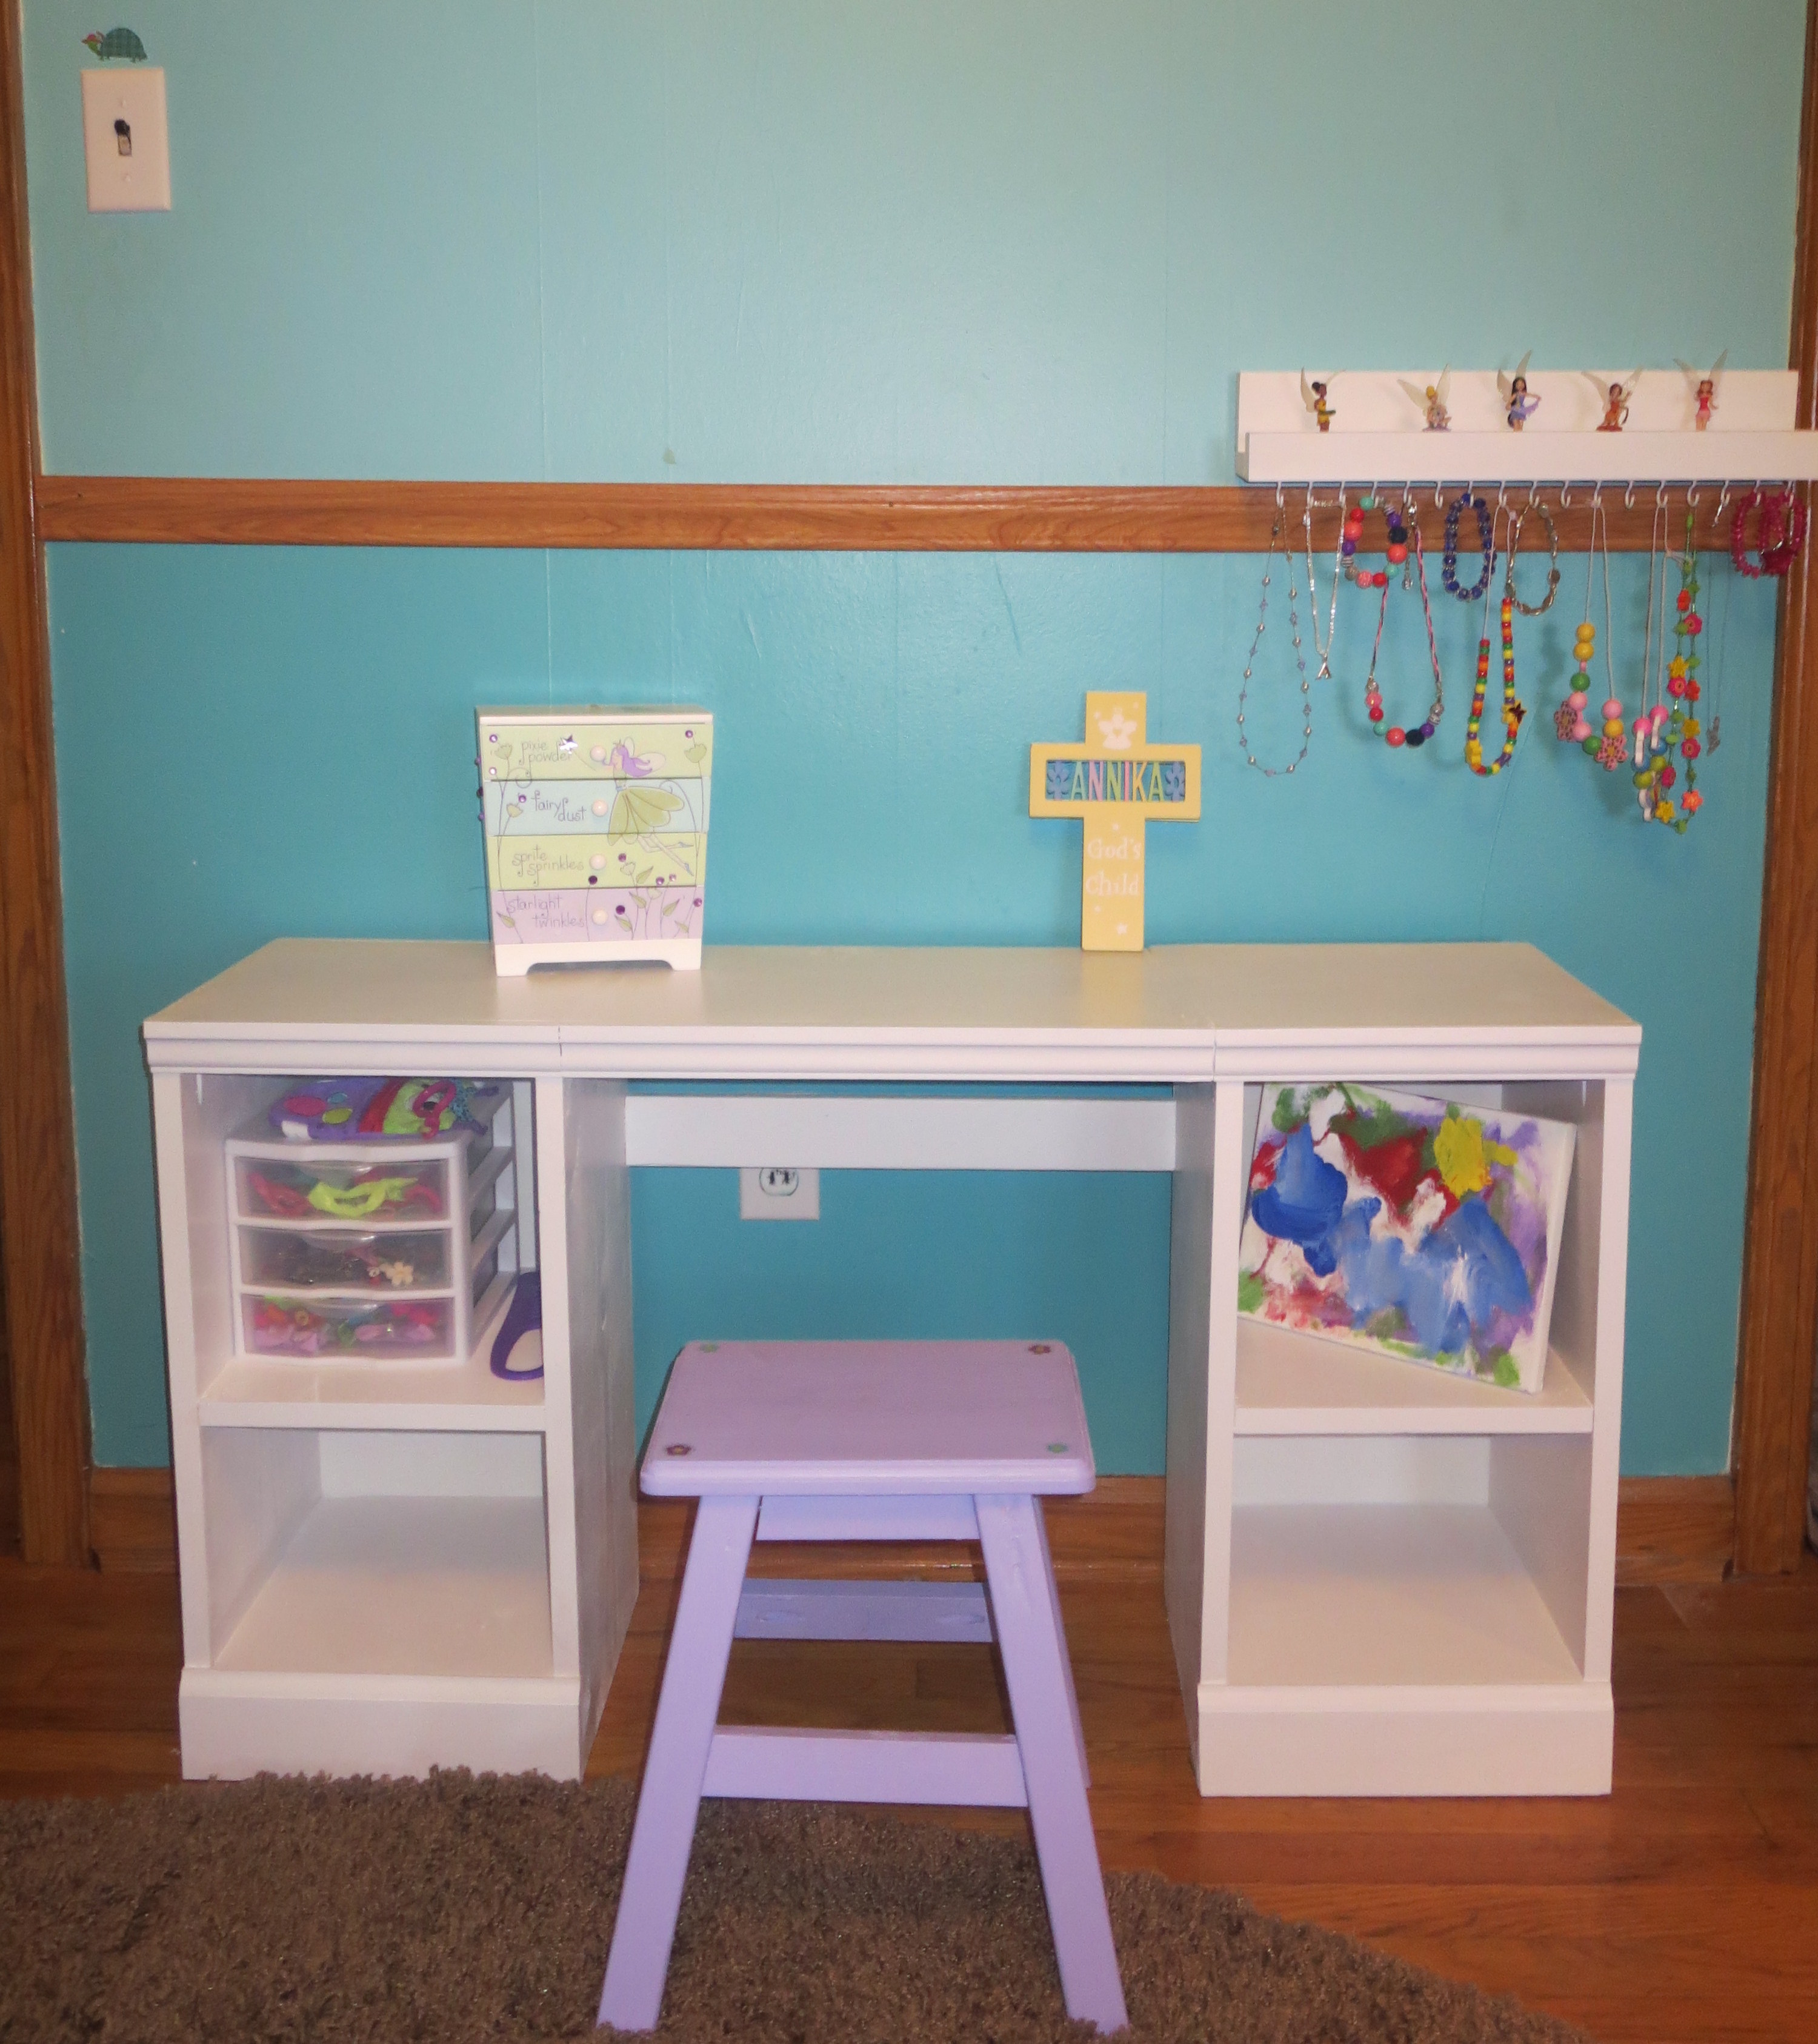
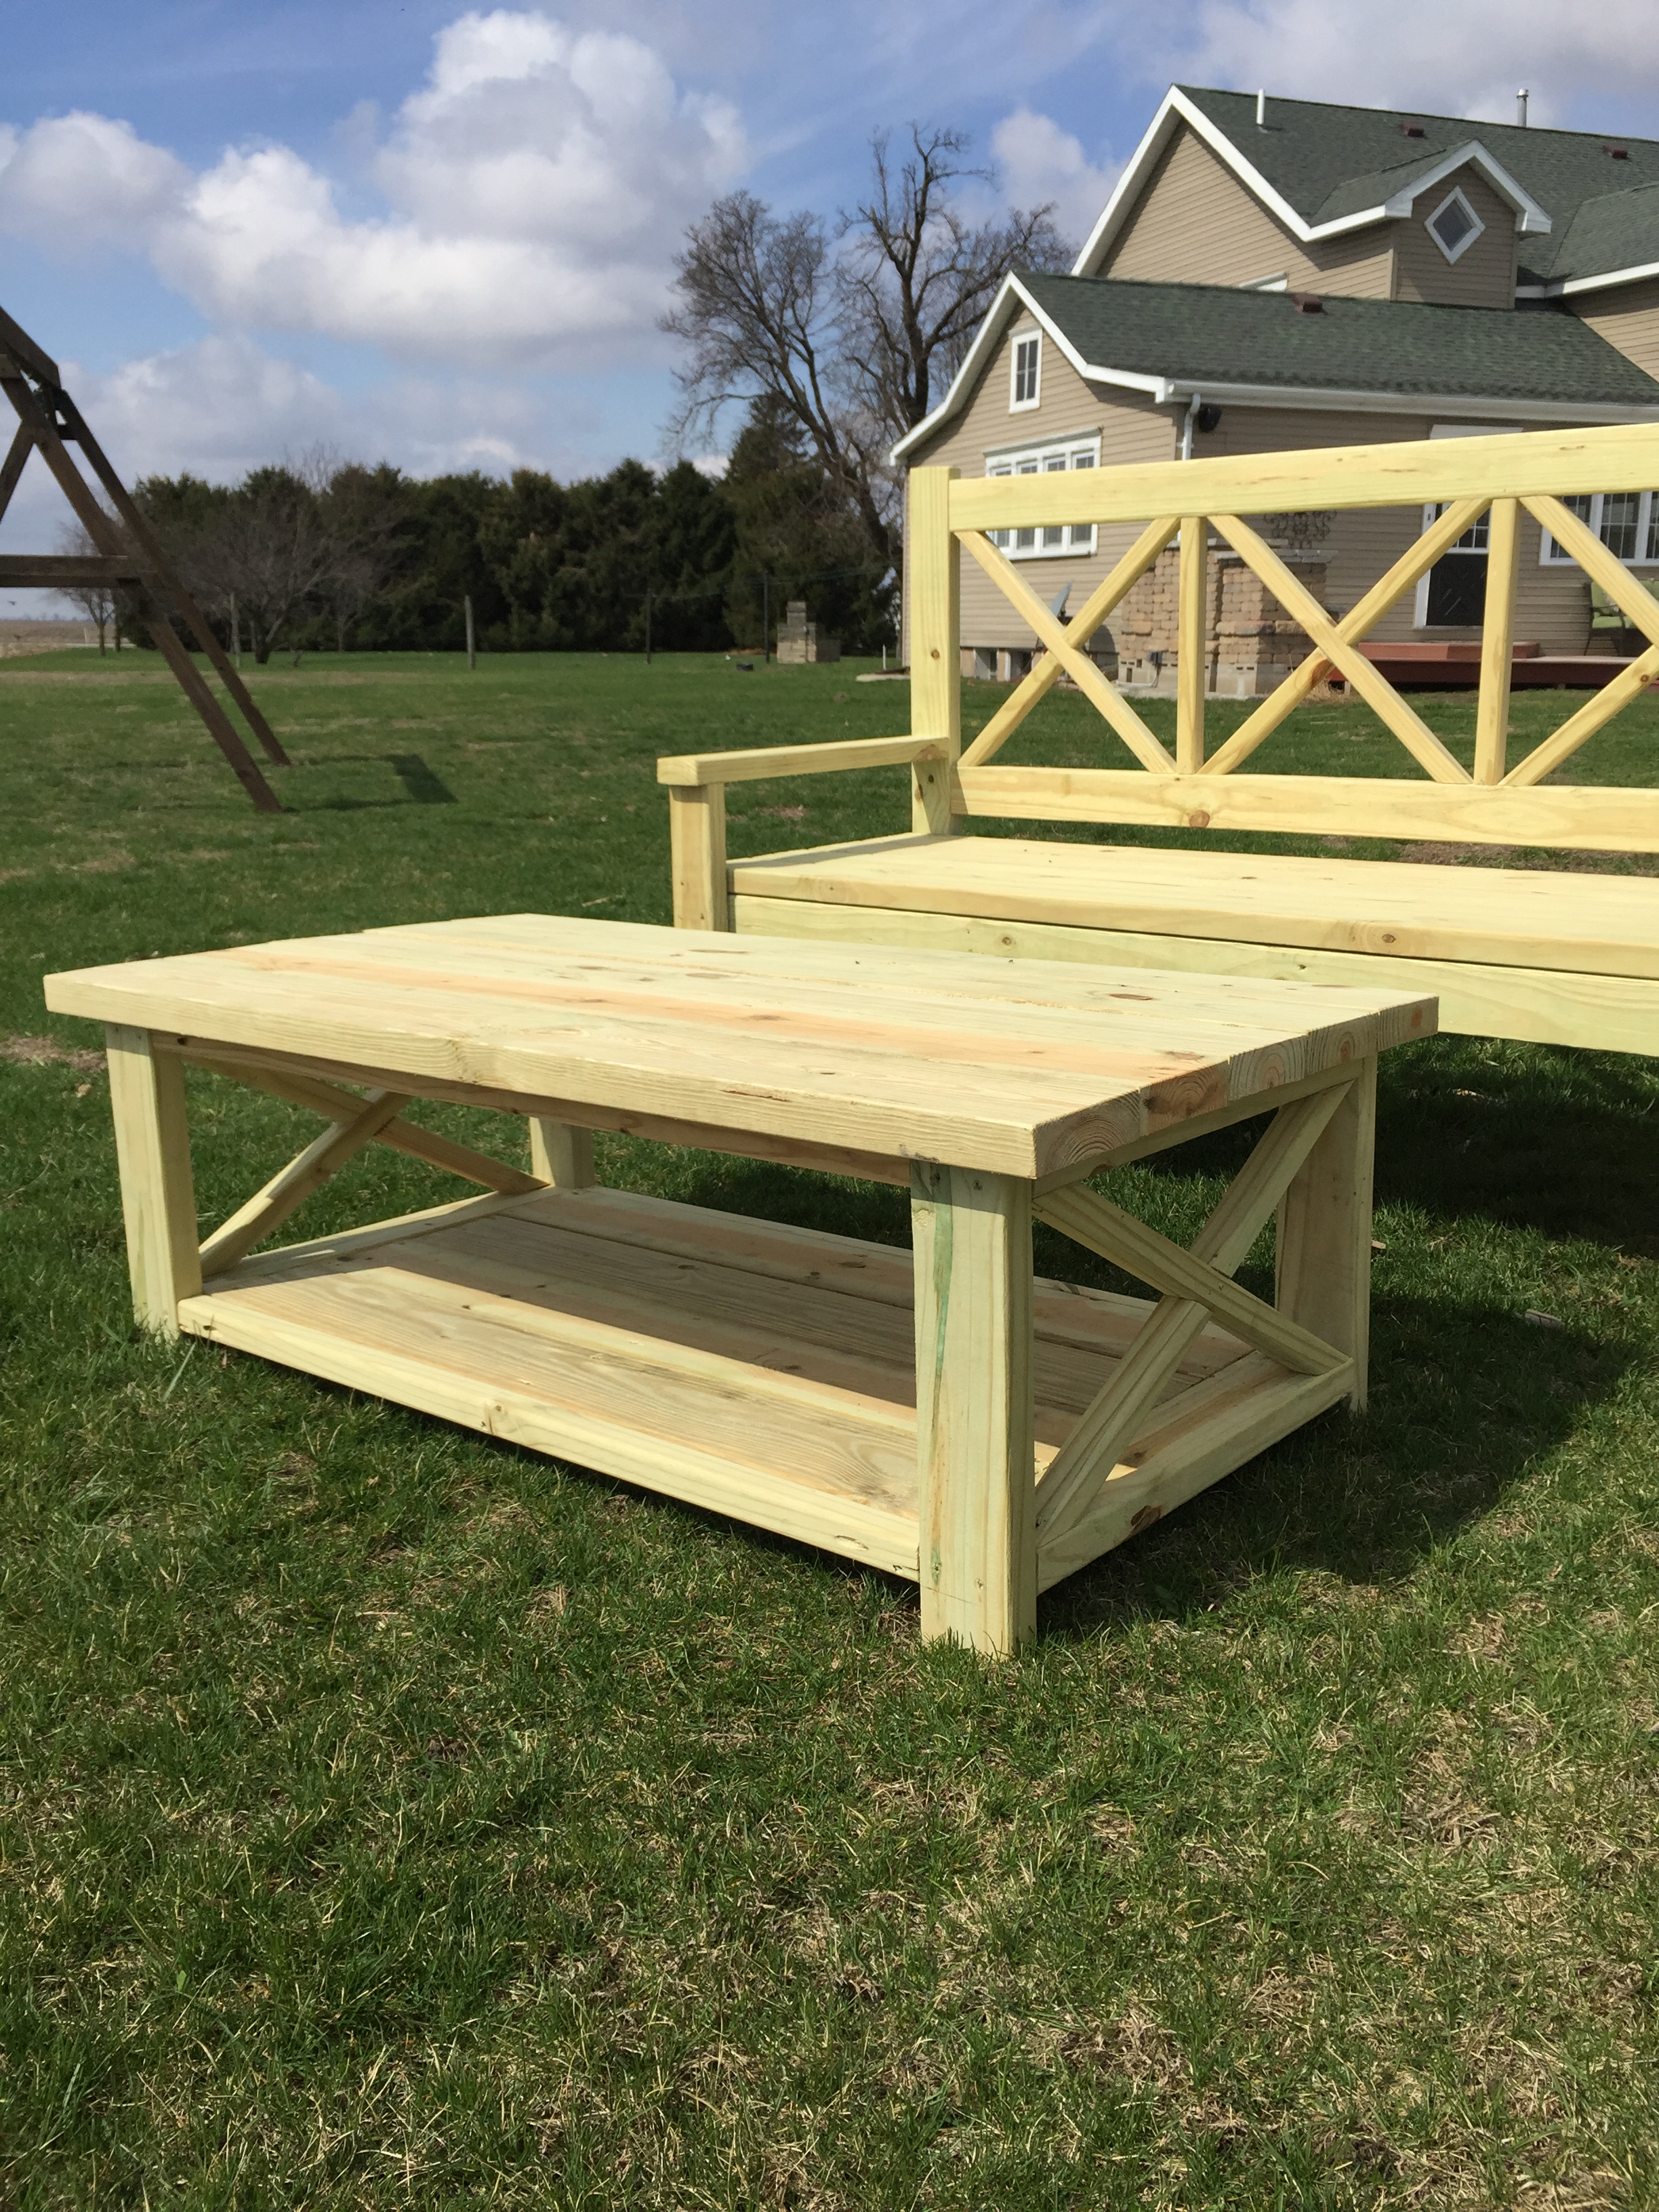
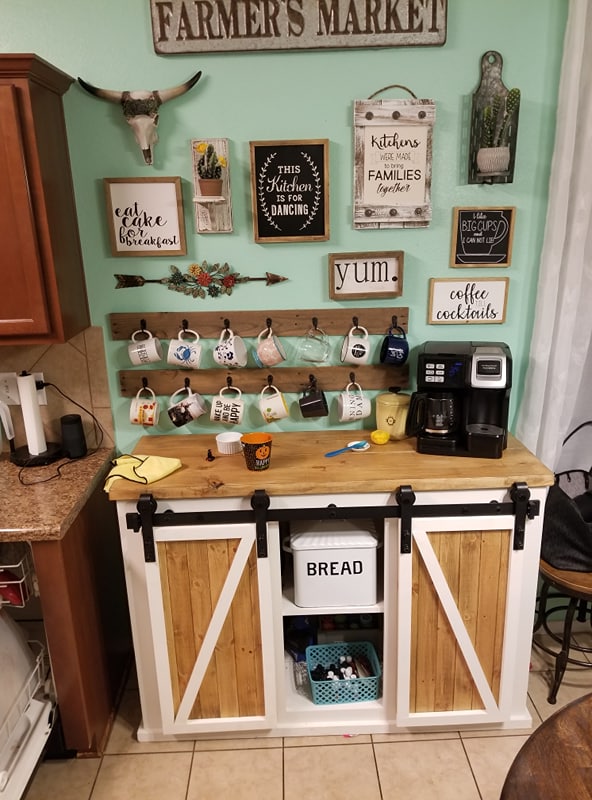
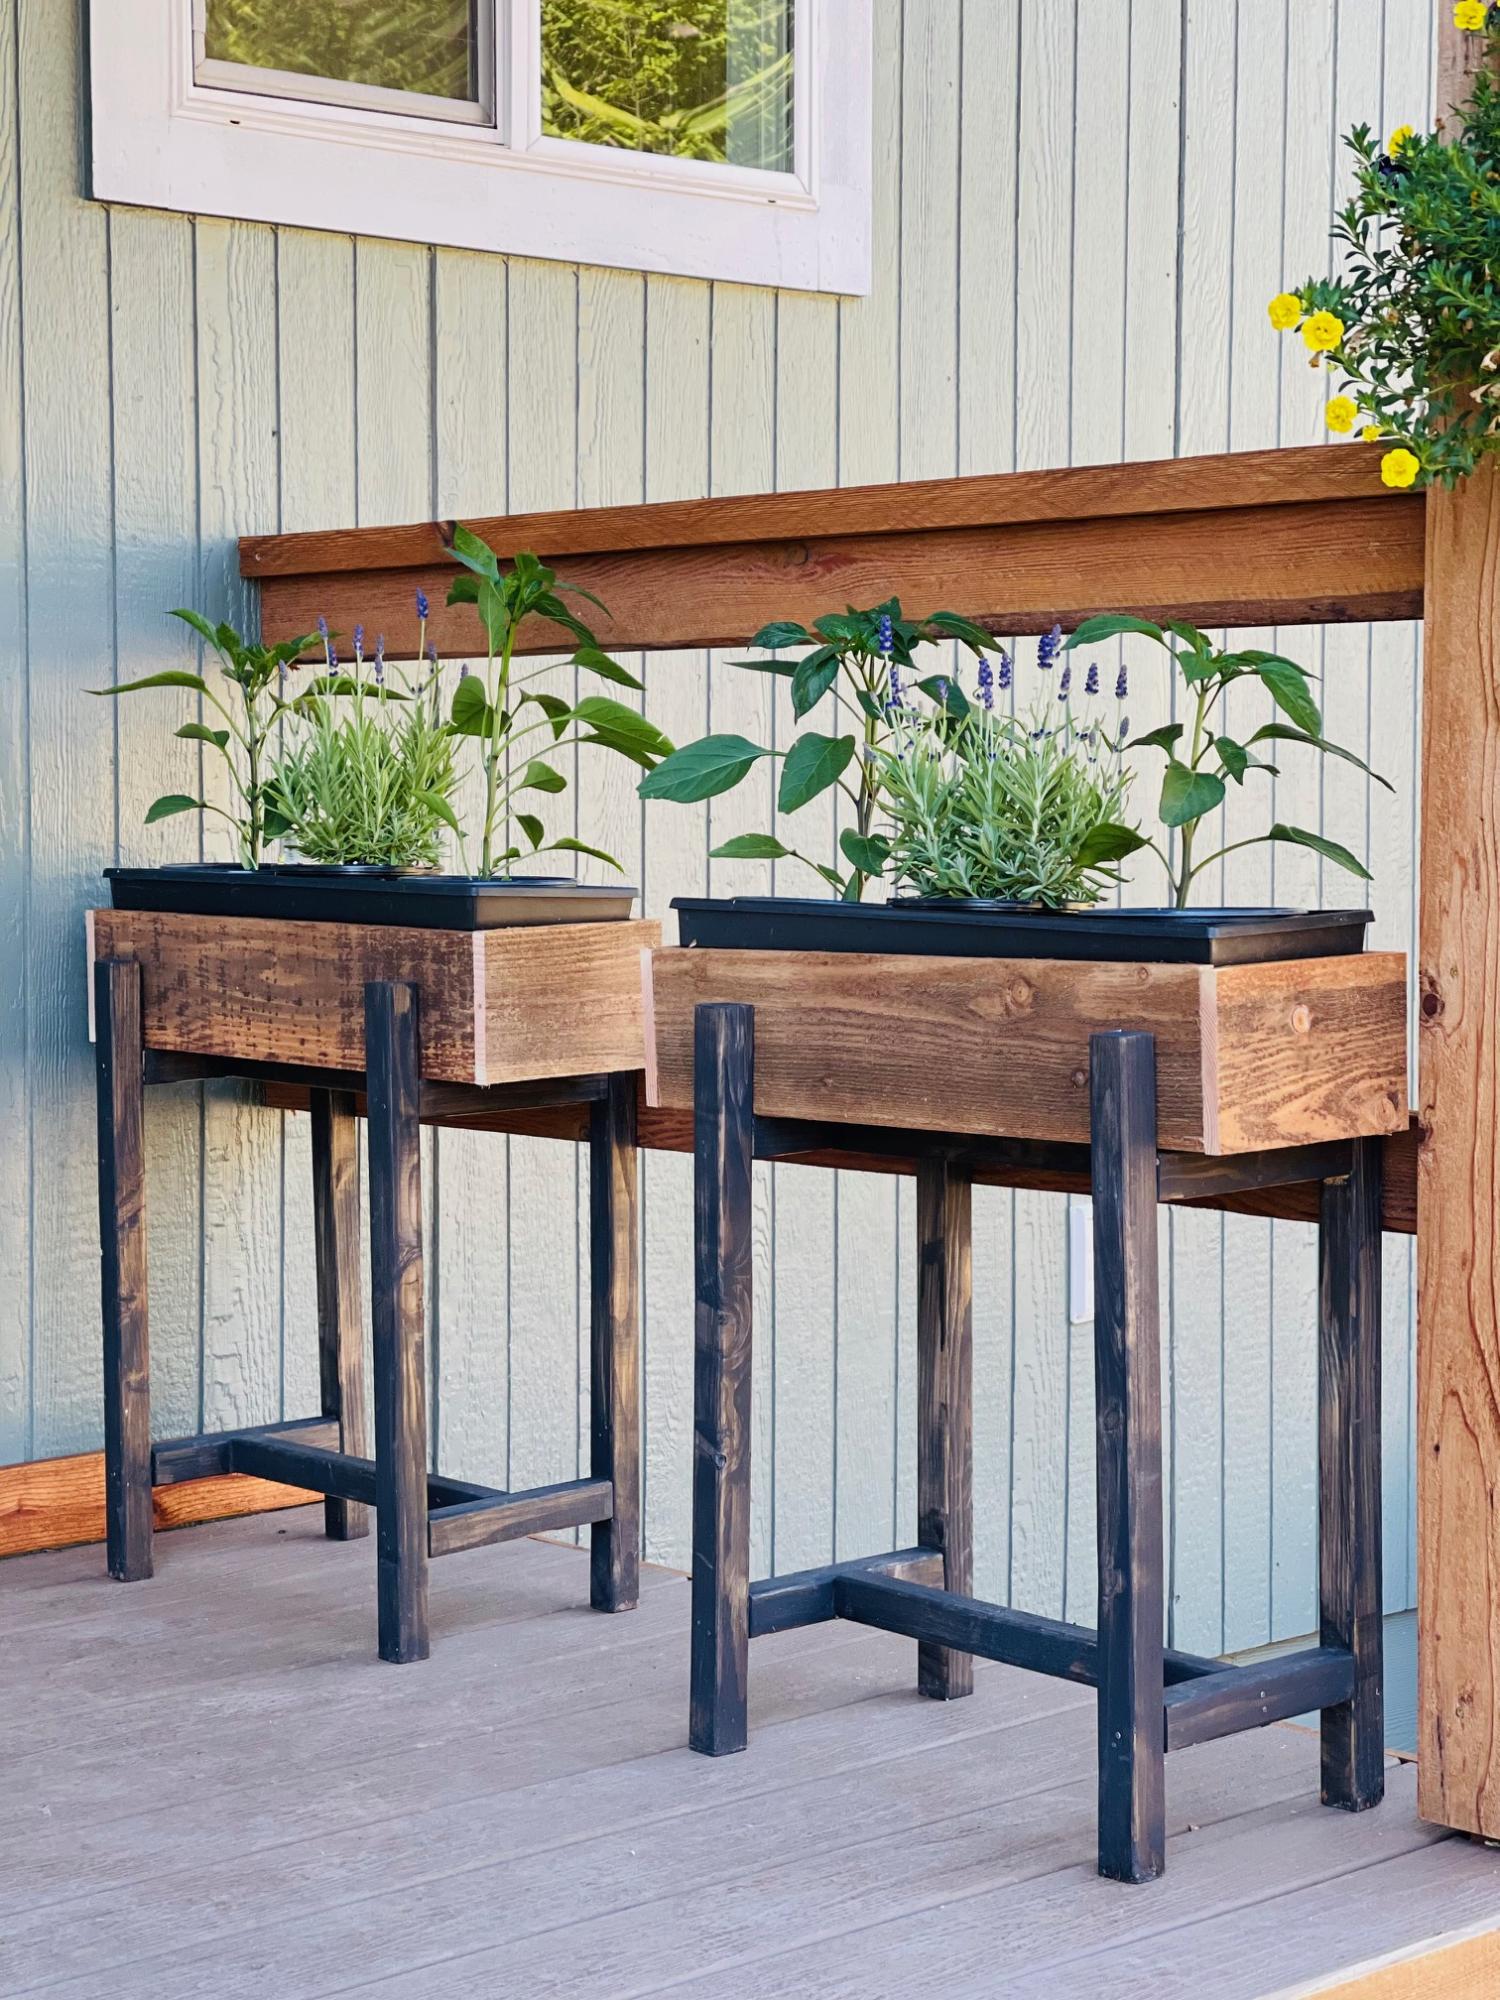
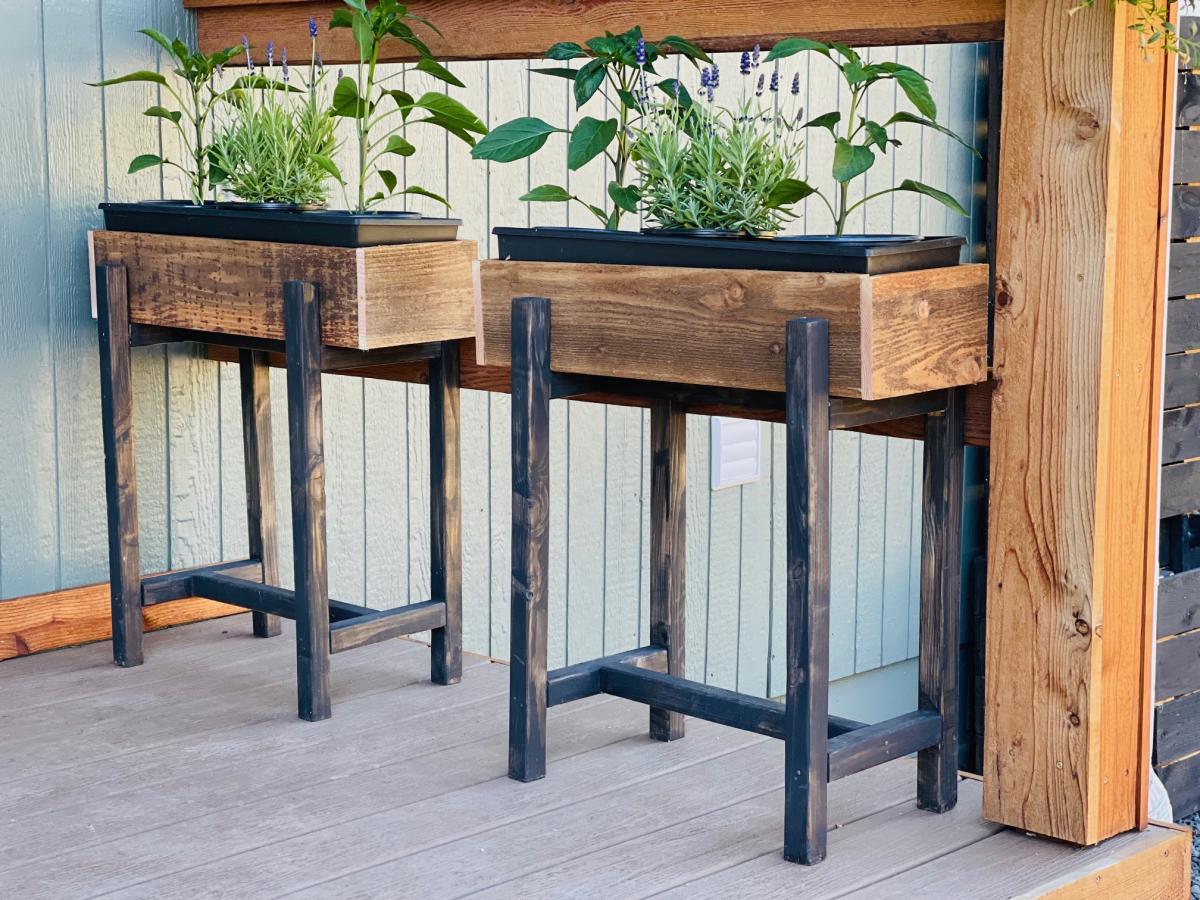
Luggage Rack

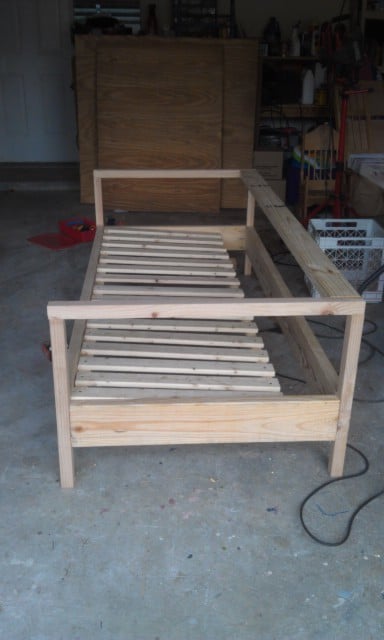
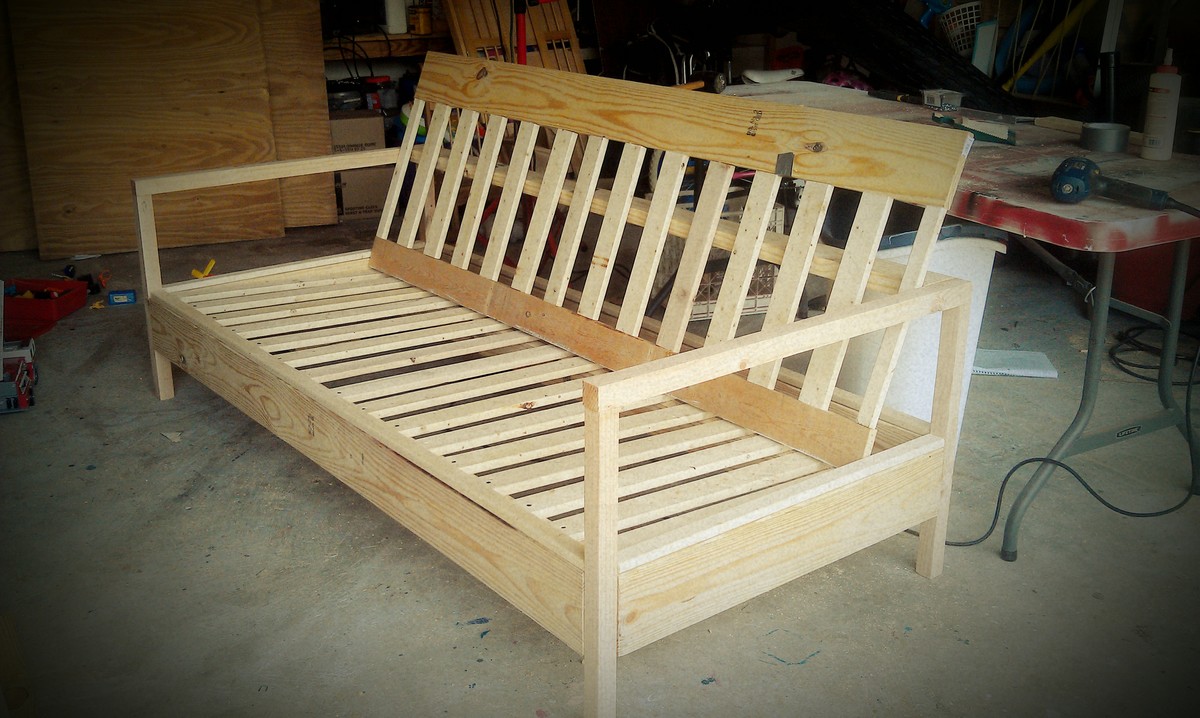
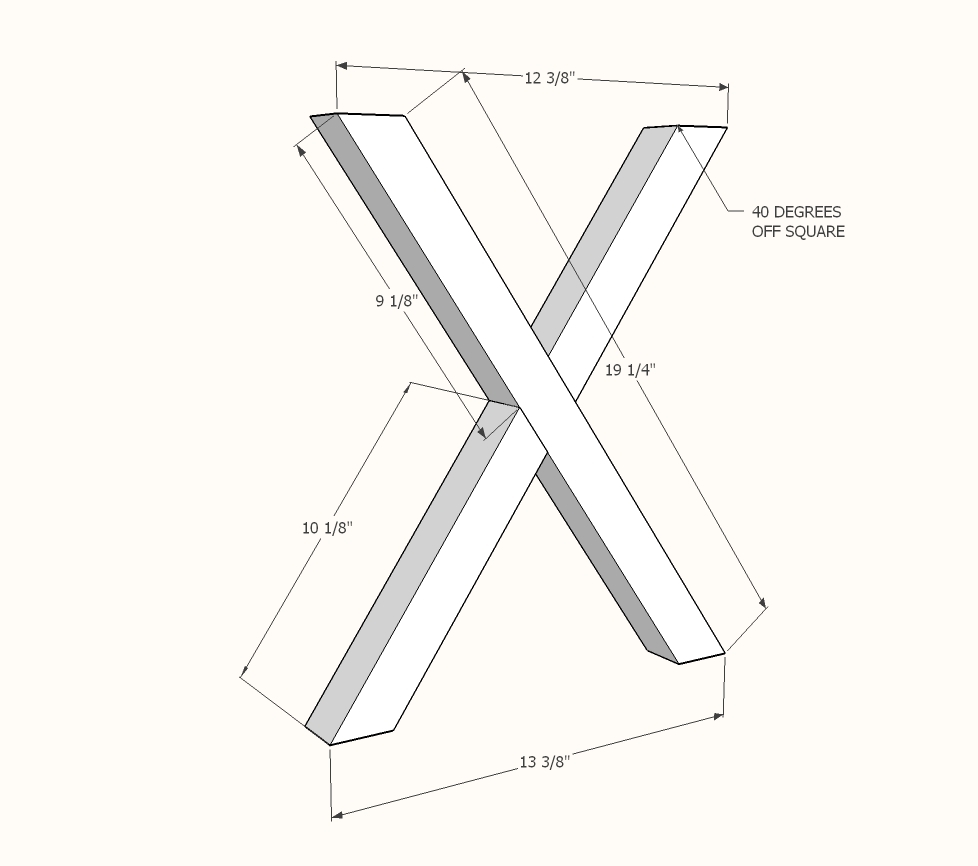
Turned out great! Problem with the plans: written instructions for legs say 35 degree angle but the diagram shows 40 degree angle. Which one should it be?
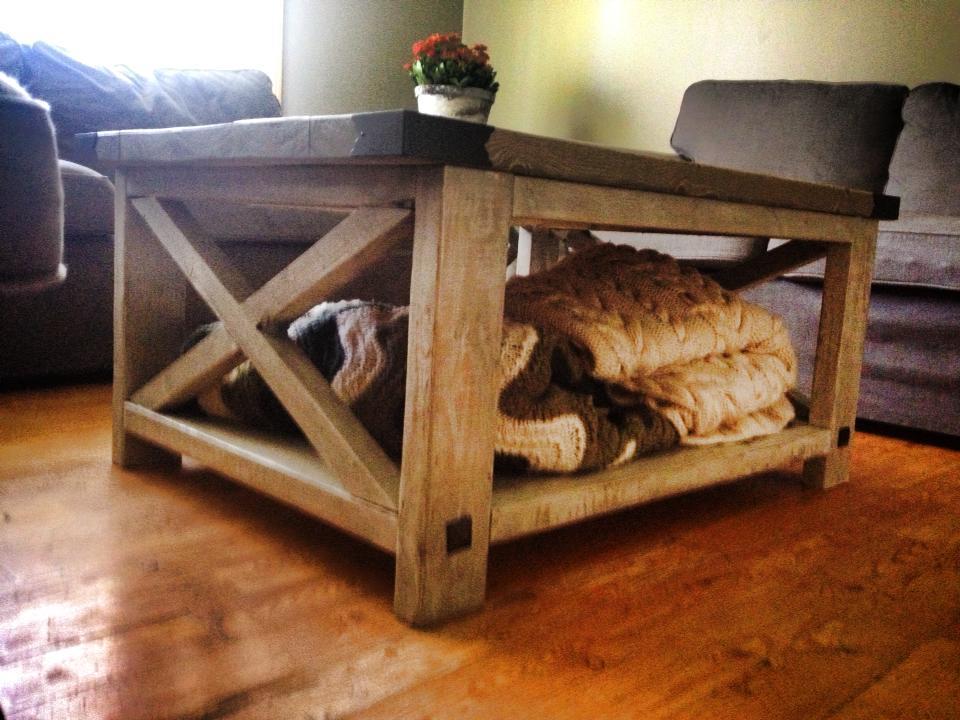
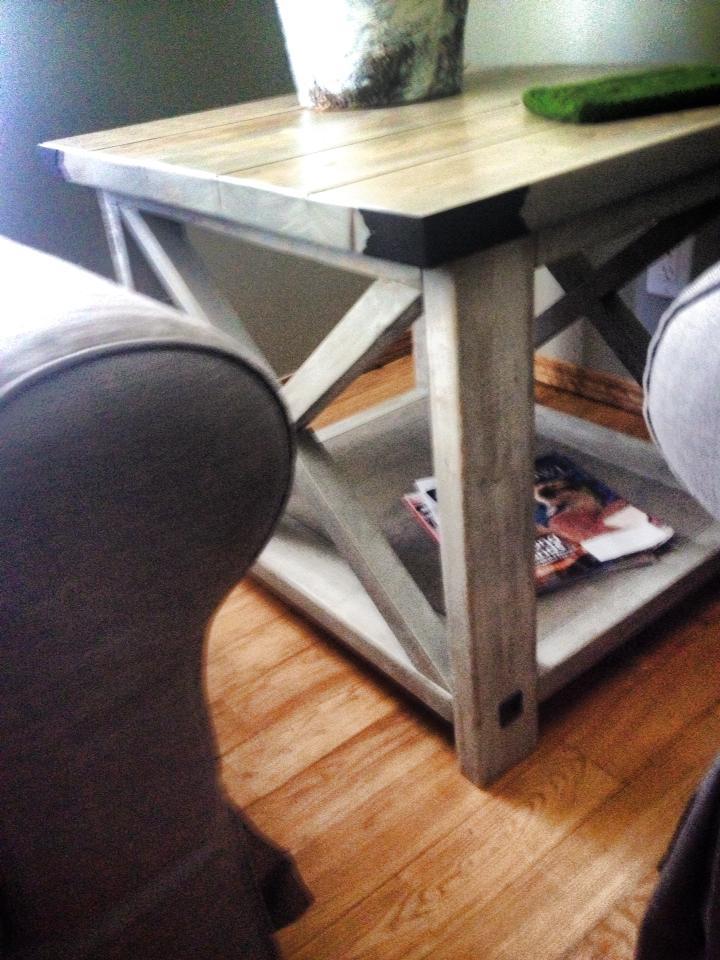
Built from Plan(s)
Finish Used
Used a white stain on legs and brown stain with dry brushed gray stain on top. Sealed with poly.
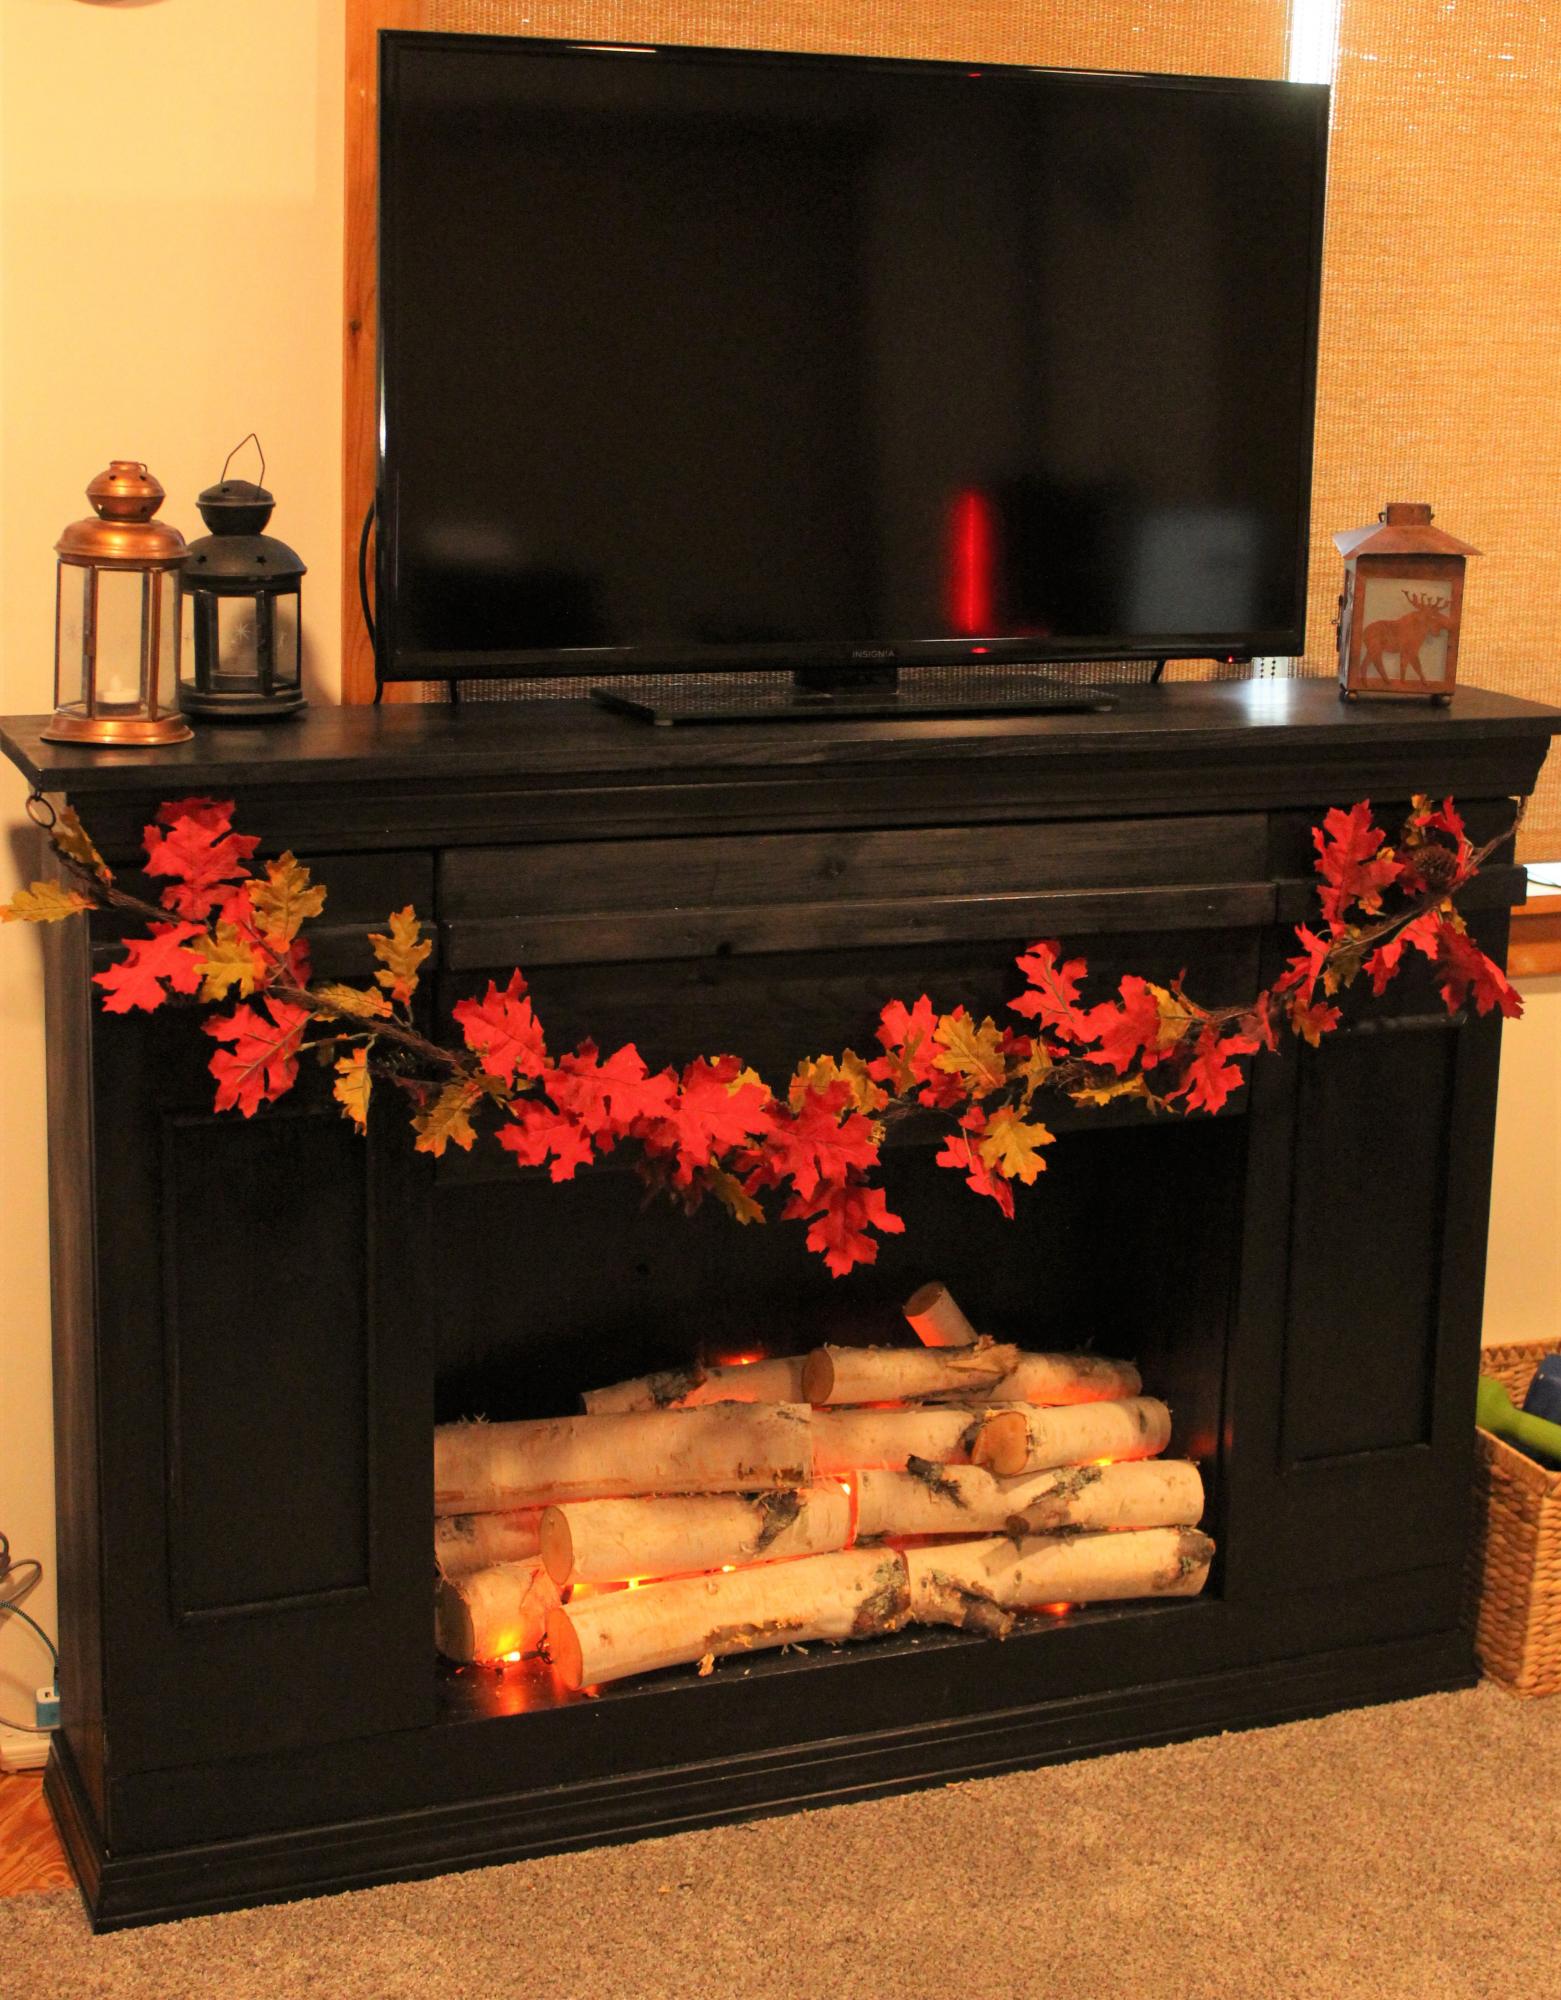
Recommended Skill Level
Intermediate