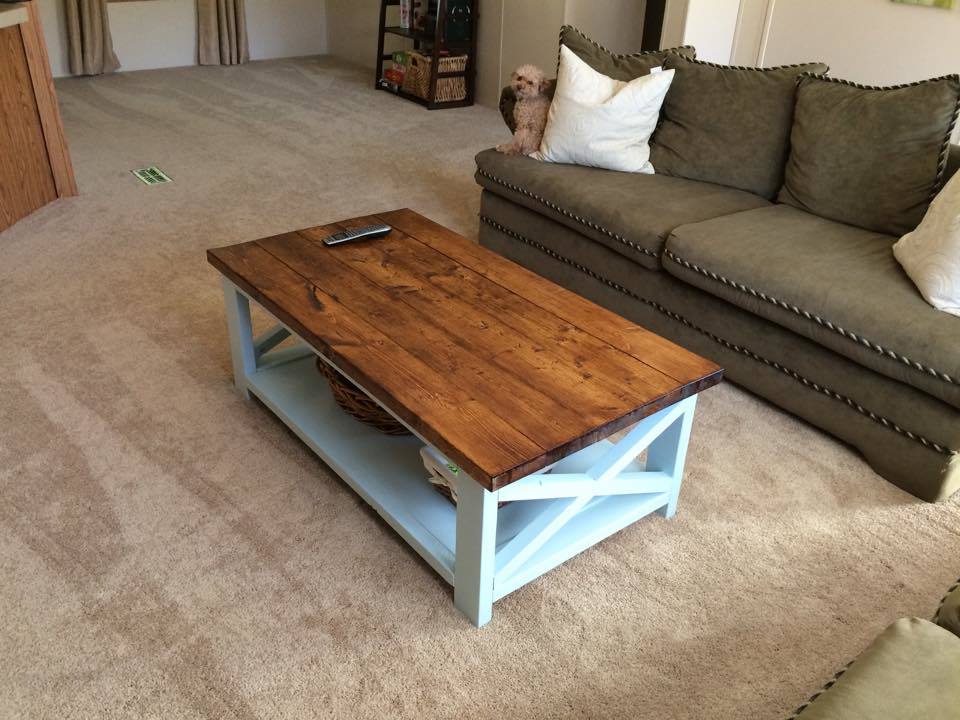
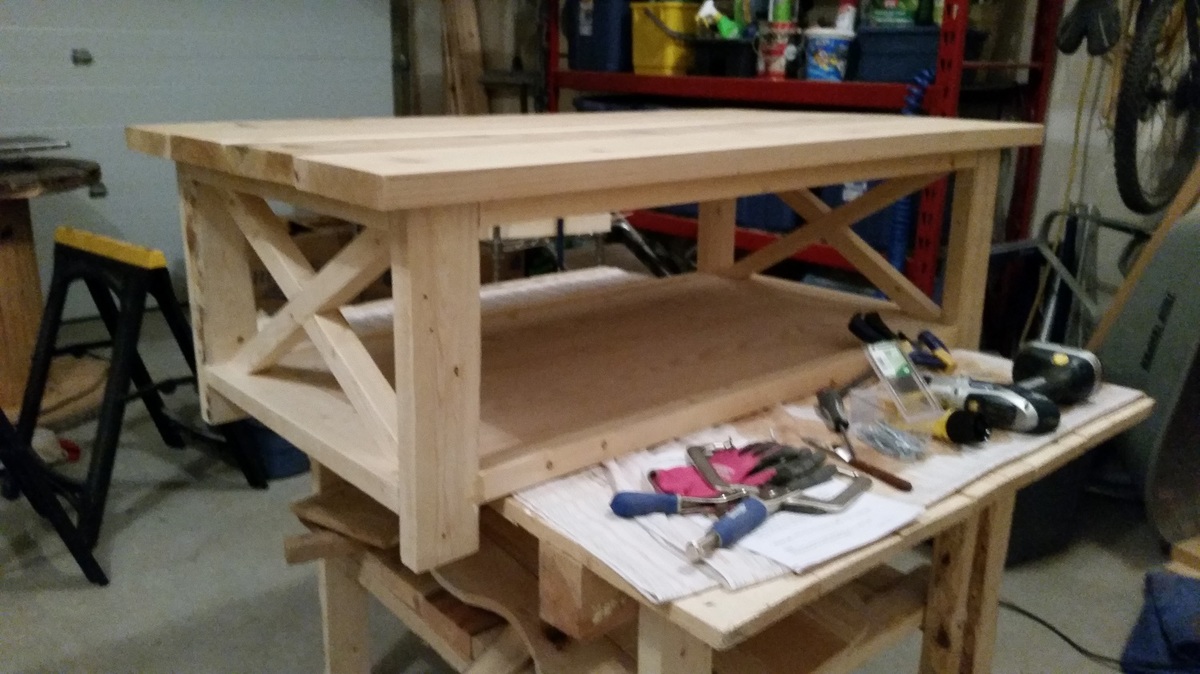
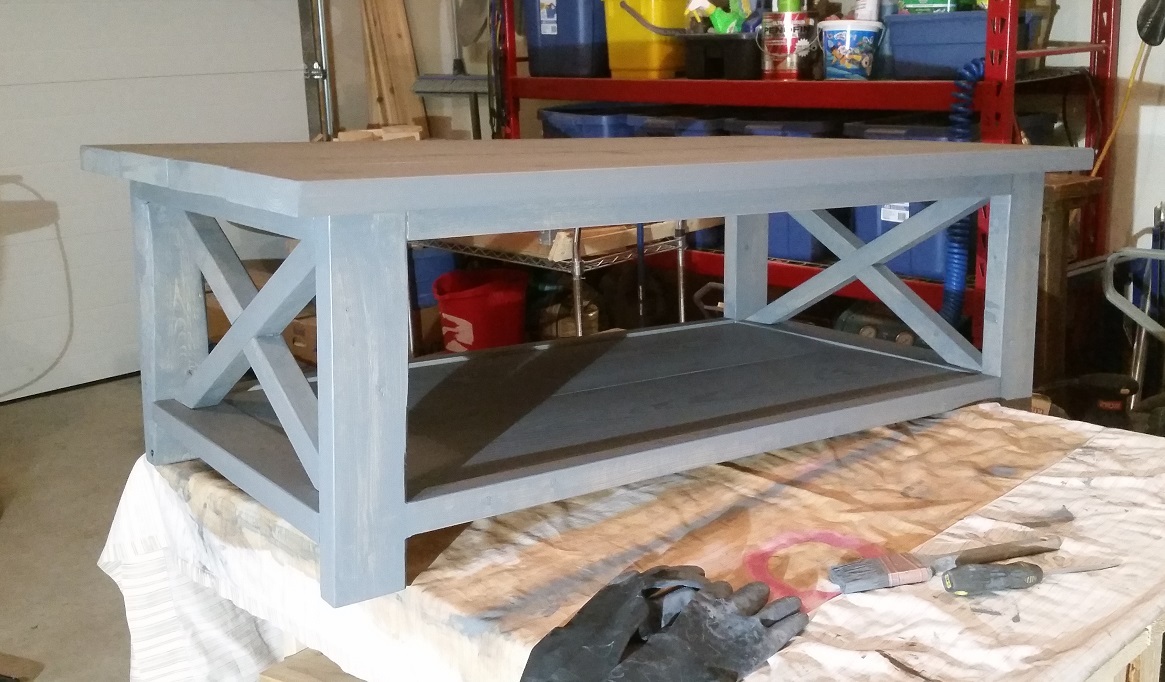
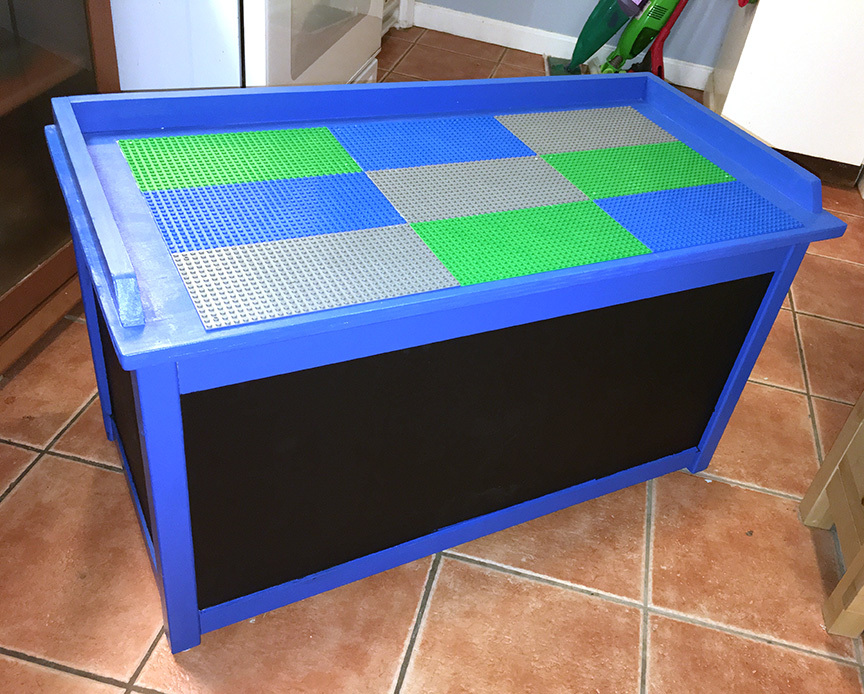
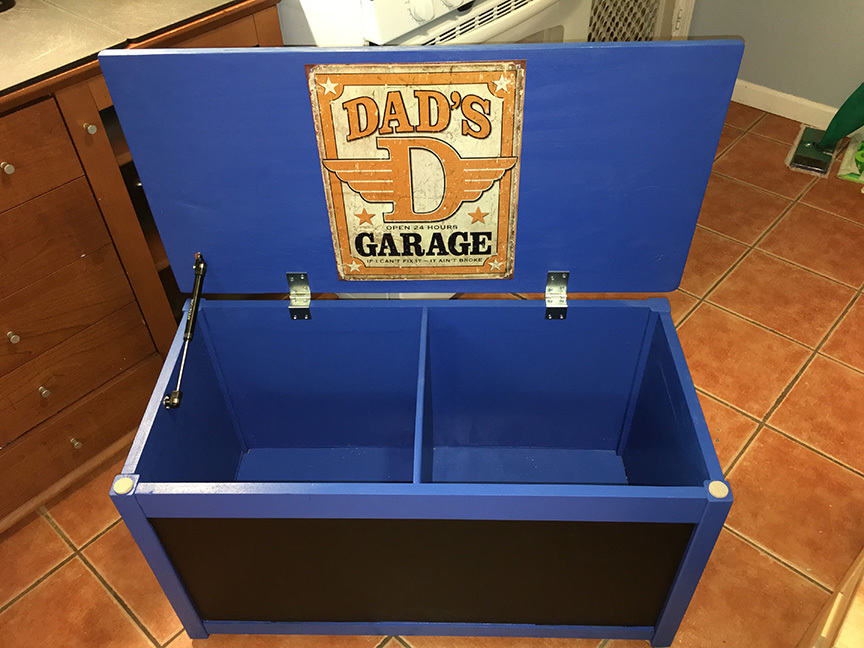
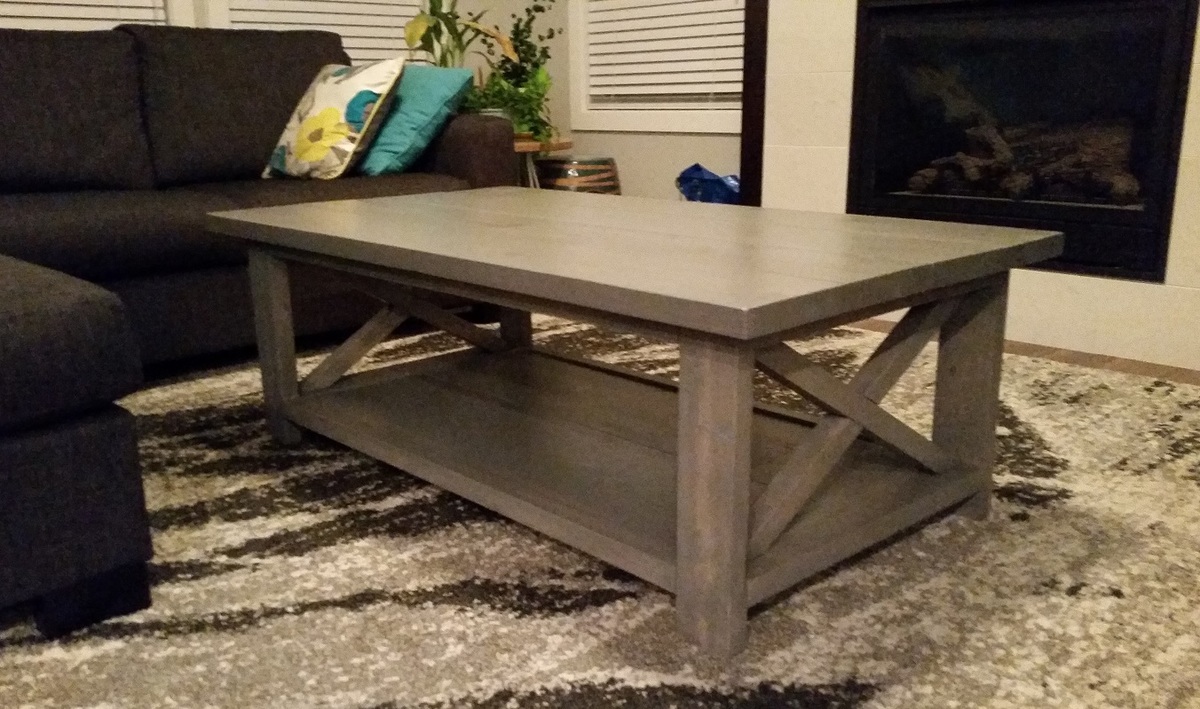
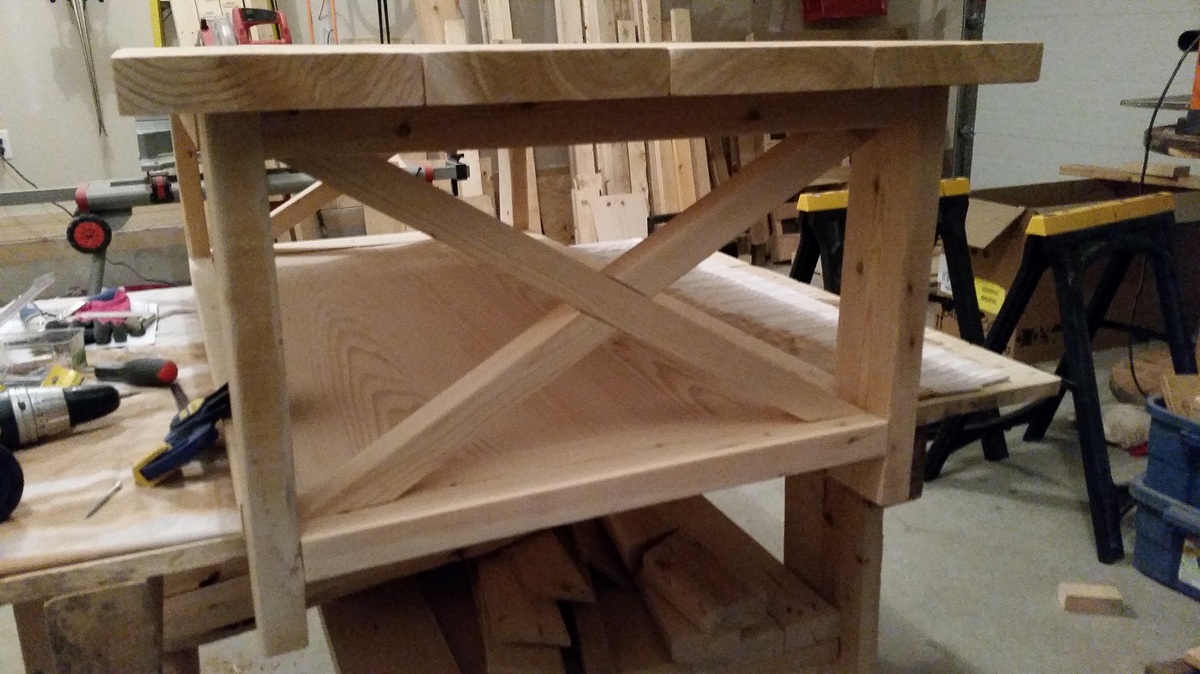
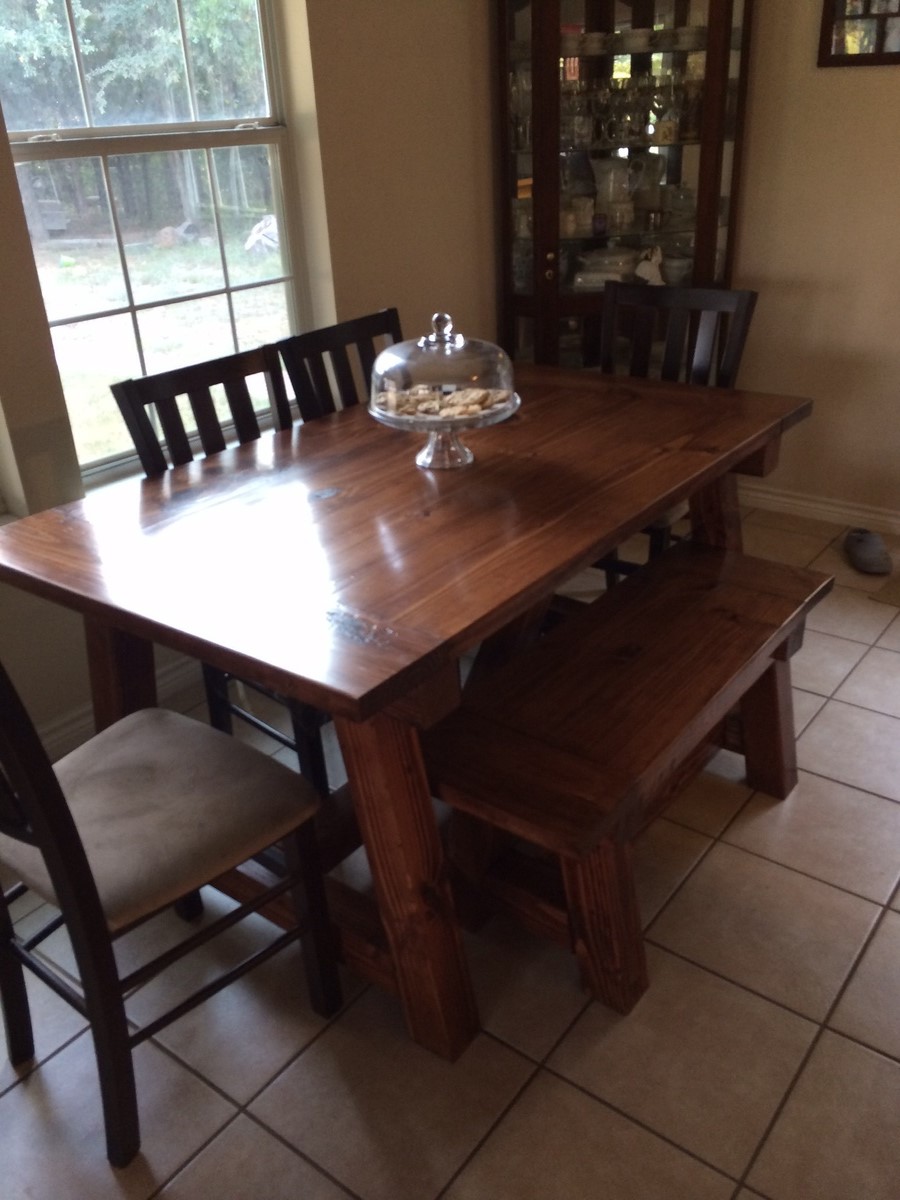
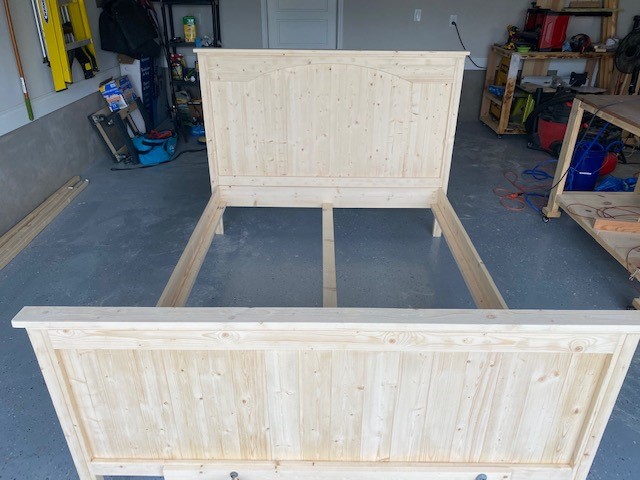
This was my FIRST DIY piece of furniture and I am thrilled with the outcome!
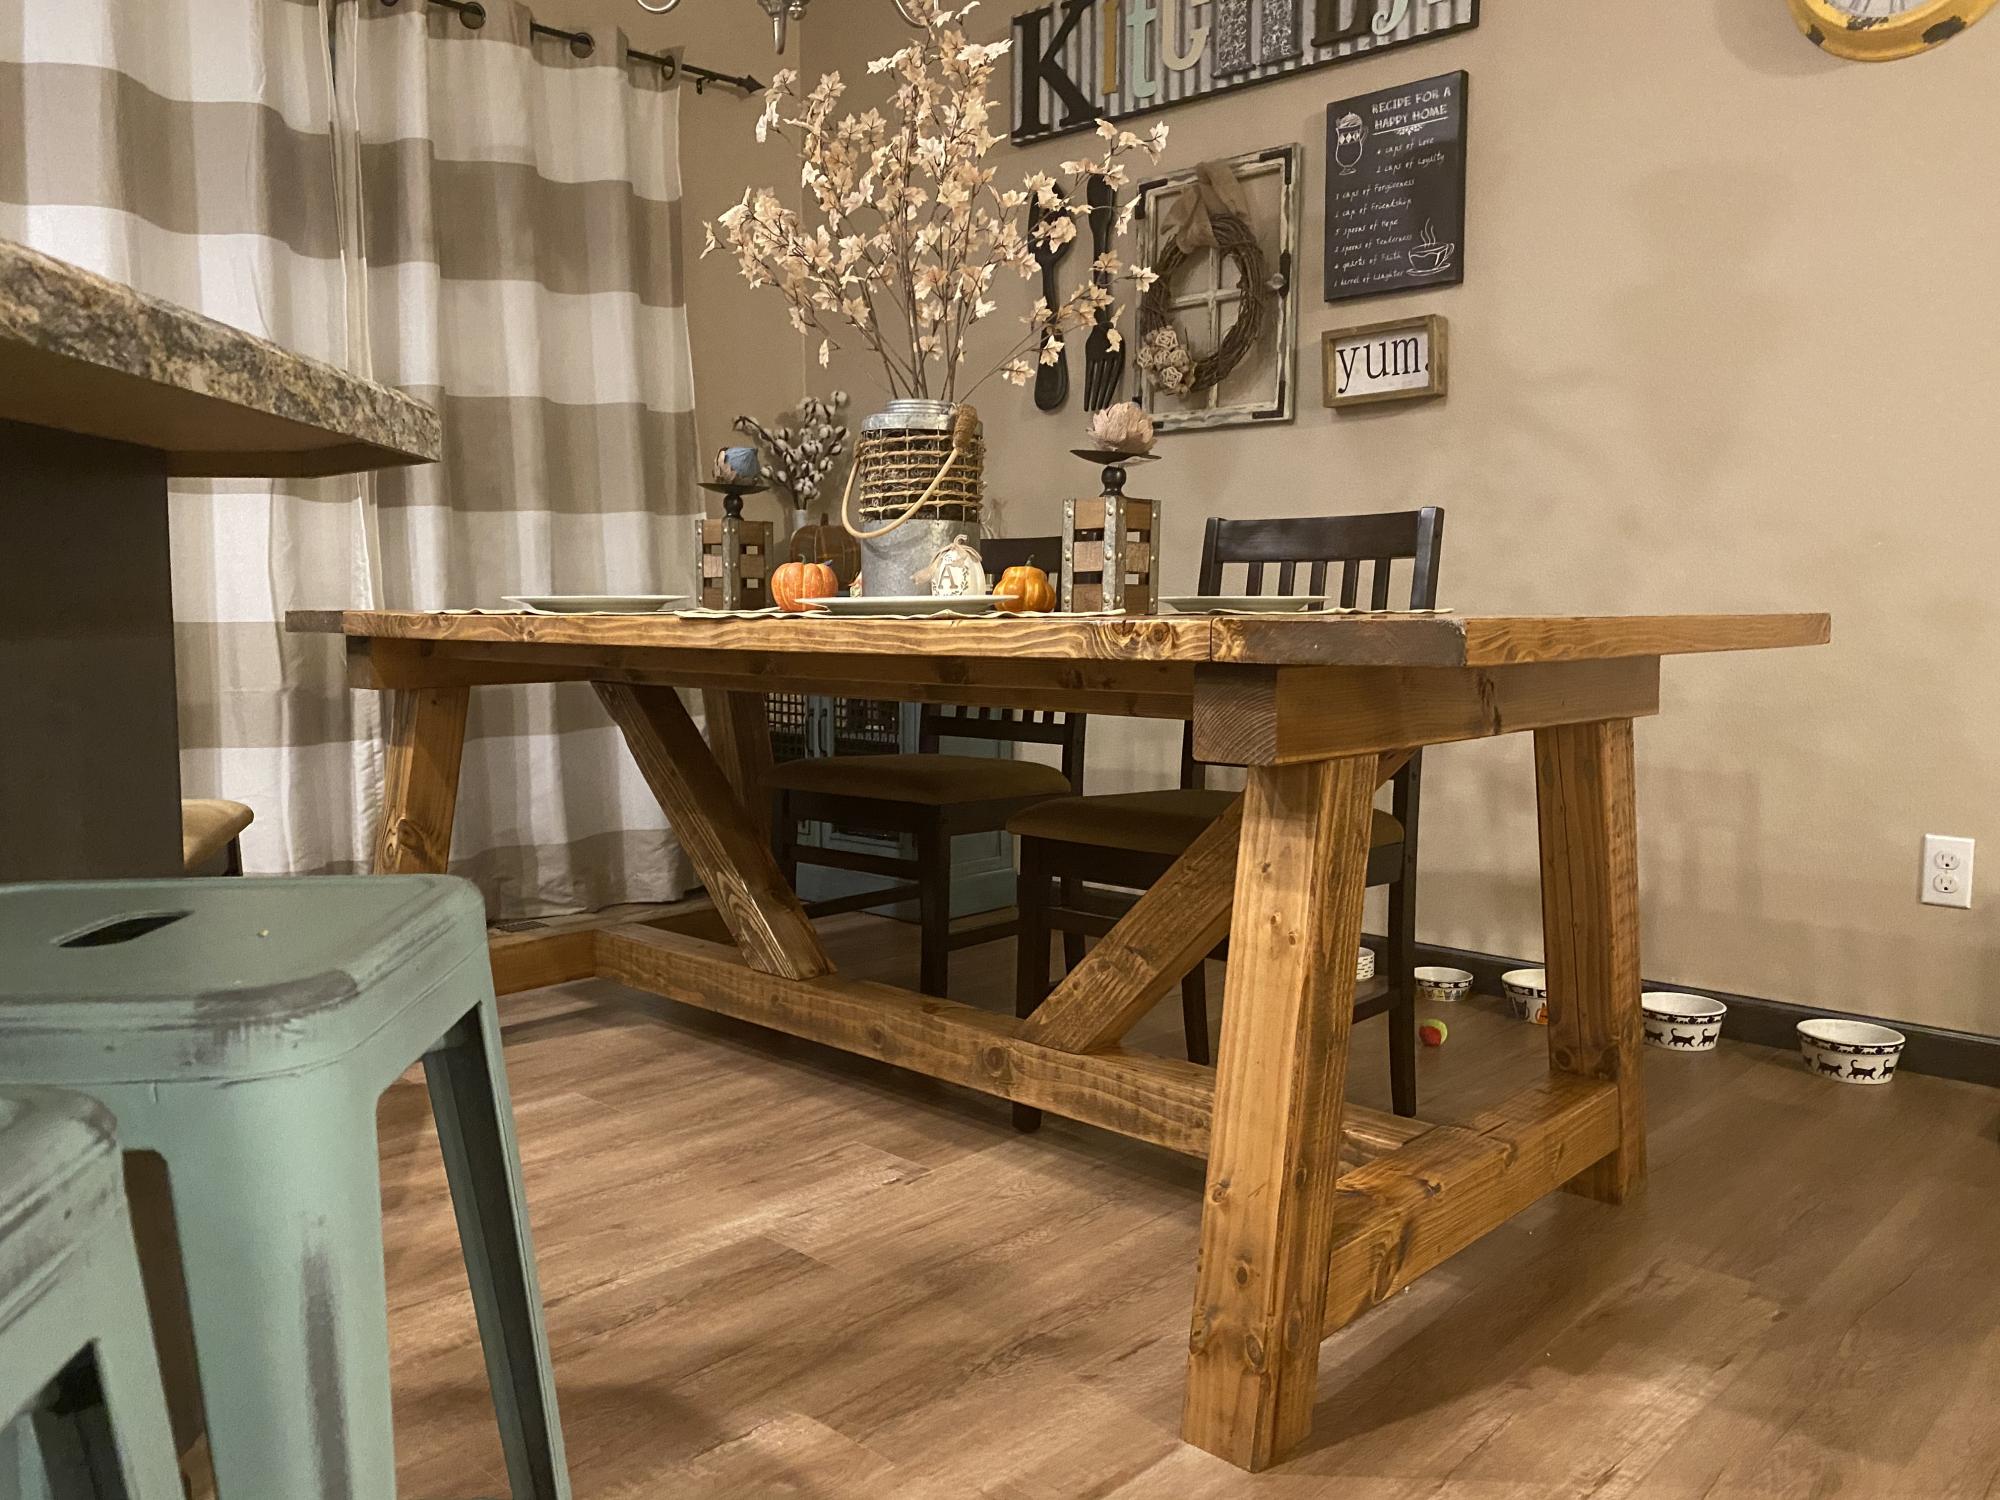
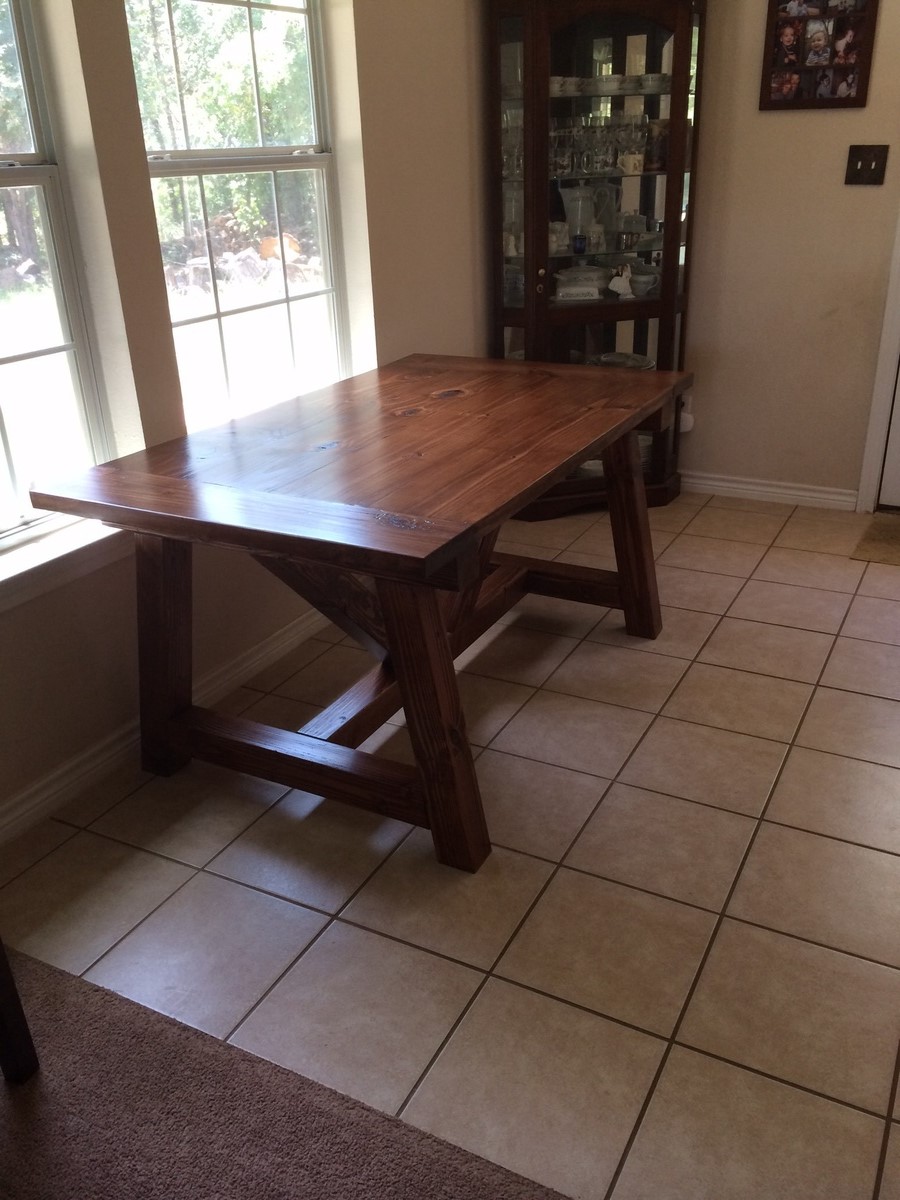
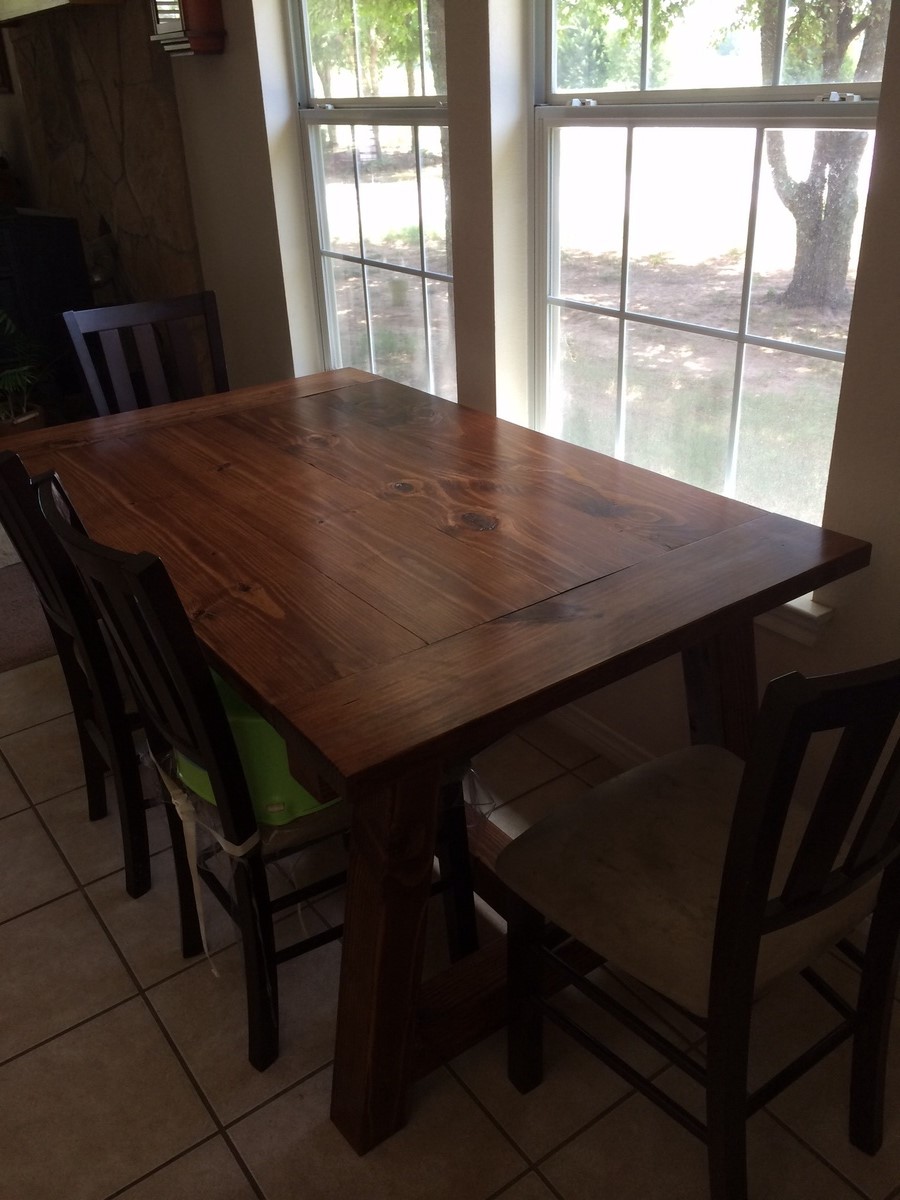
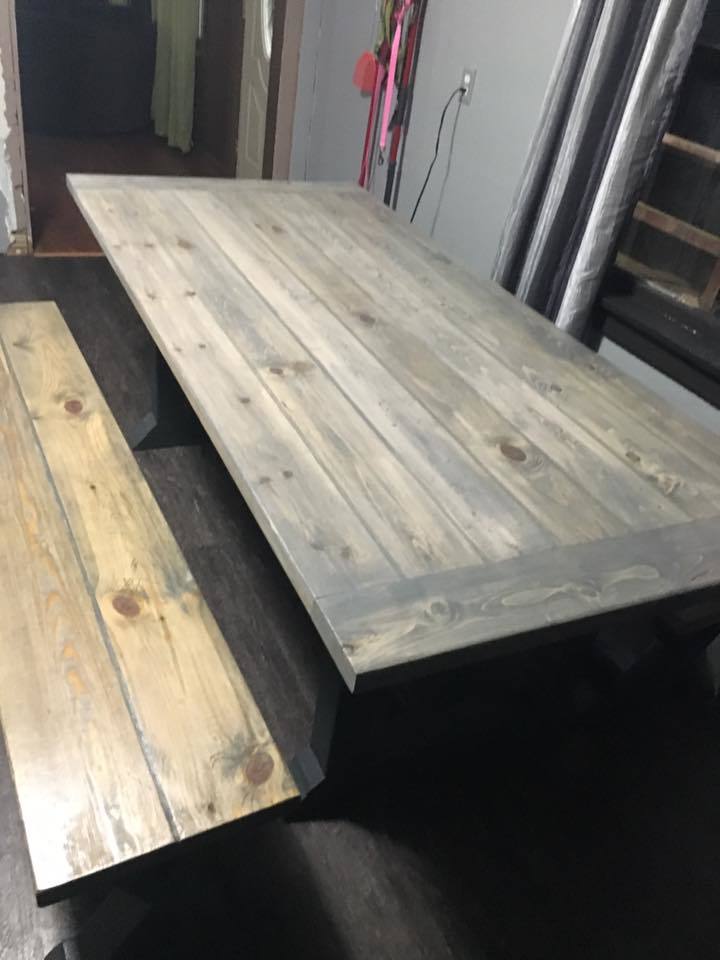
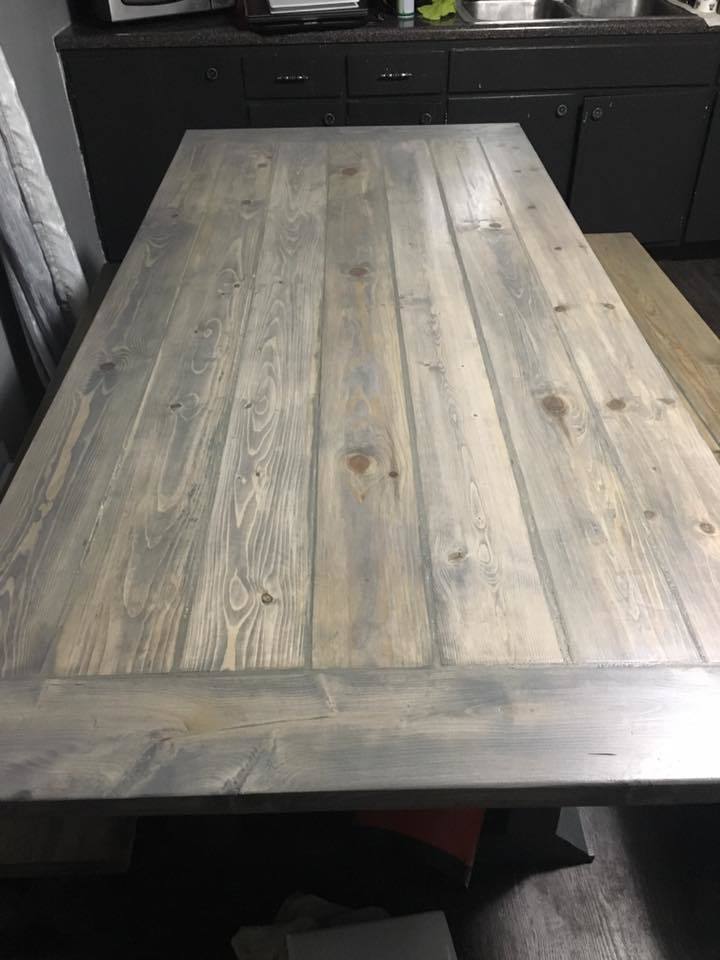
Since I am not really one to go for the rustic cottage look I wanted this DIY coffee table to have a bit more of a modern feel. I chose a grey gel stain to do the job. It gave the table a thicker stain but I am still able to see some of the wood grain beneath it.
I also have two young boys that play on this table so I gave it three coats of Poly on it for some protection. But the best part of this table is that it can get all dinged up and it just makes it look better!
Ana White has the best tutorials & free plans to get a crafter to switch to the dark side and become a DIYer!
I did a full blog post on my progress throughout with a lot more pictures.
Estimated Cost
$50 For Materials I didn’t want to spend too much on a first attempt build. Thankfully we had some extra fence boards for the top enough 2×4’s hanging out in the garage so I only had to buy 2×2’s, the bottom board for the table, Screws, Stain & Polyurethane
Estimated Time Investment
Weekend Project (10-20 Hours)
Finish Used
Varathane Gel Stain in Weathered Grey
Non Yellowing Poly, three coats as I have two boys that are eager to play on this thing!
Recommended Skill Level
Beginner