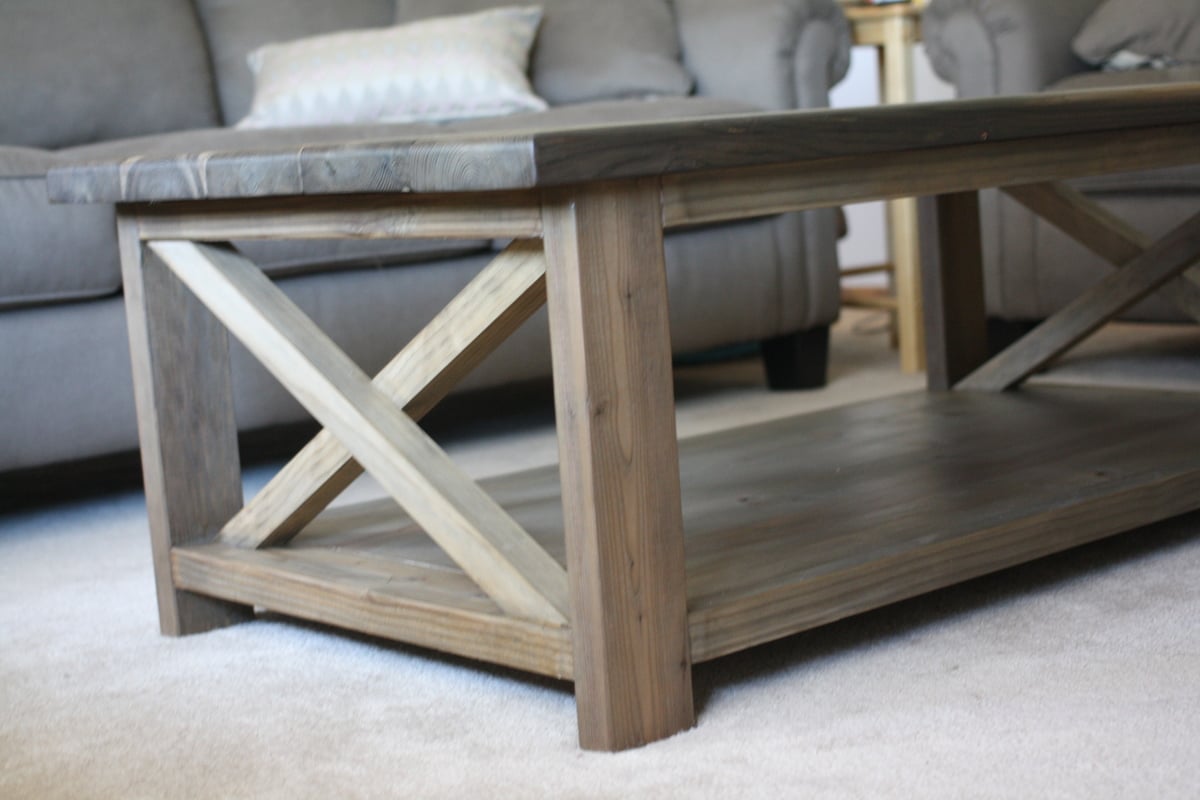
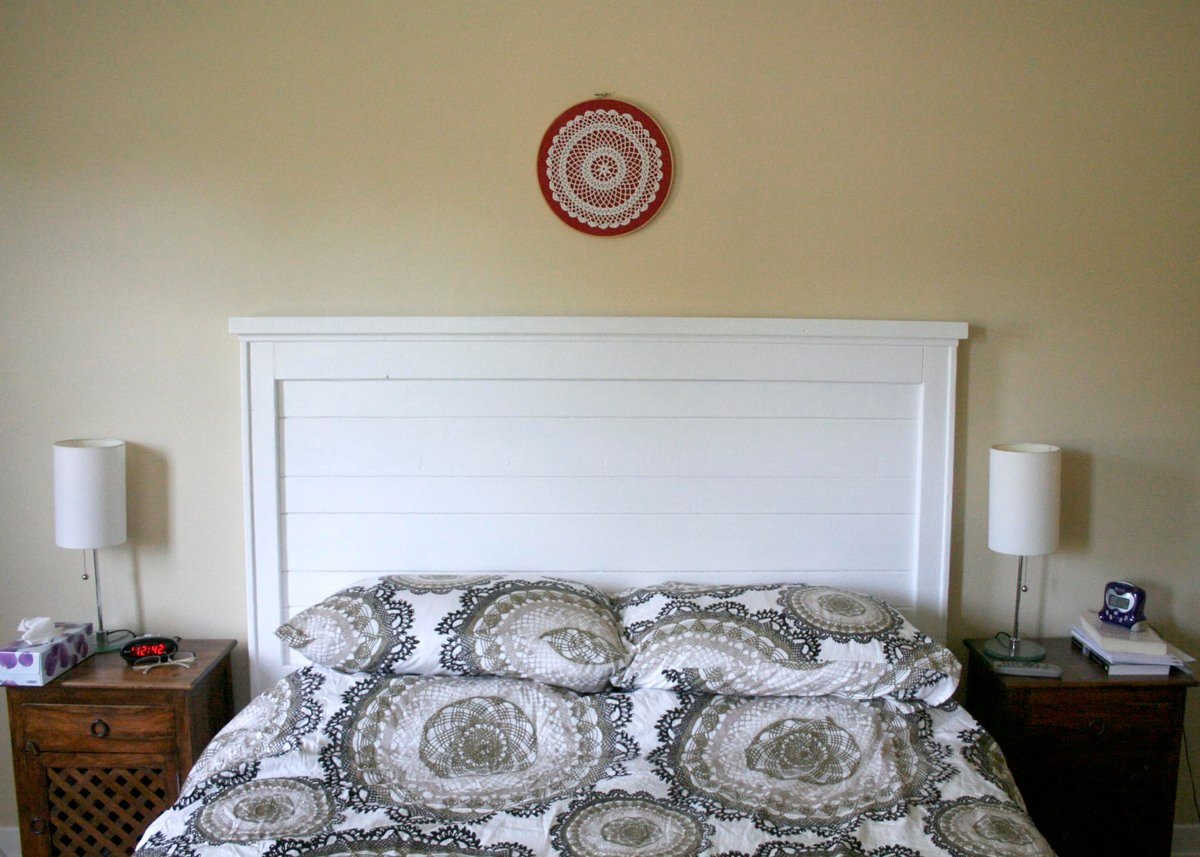
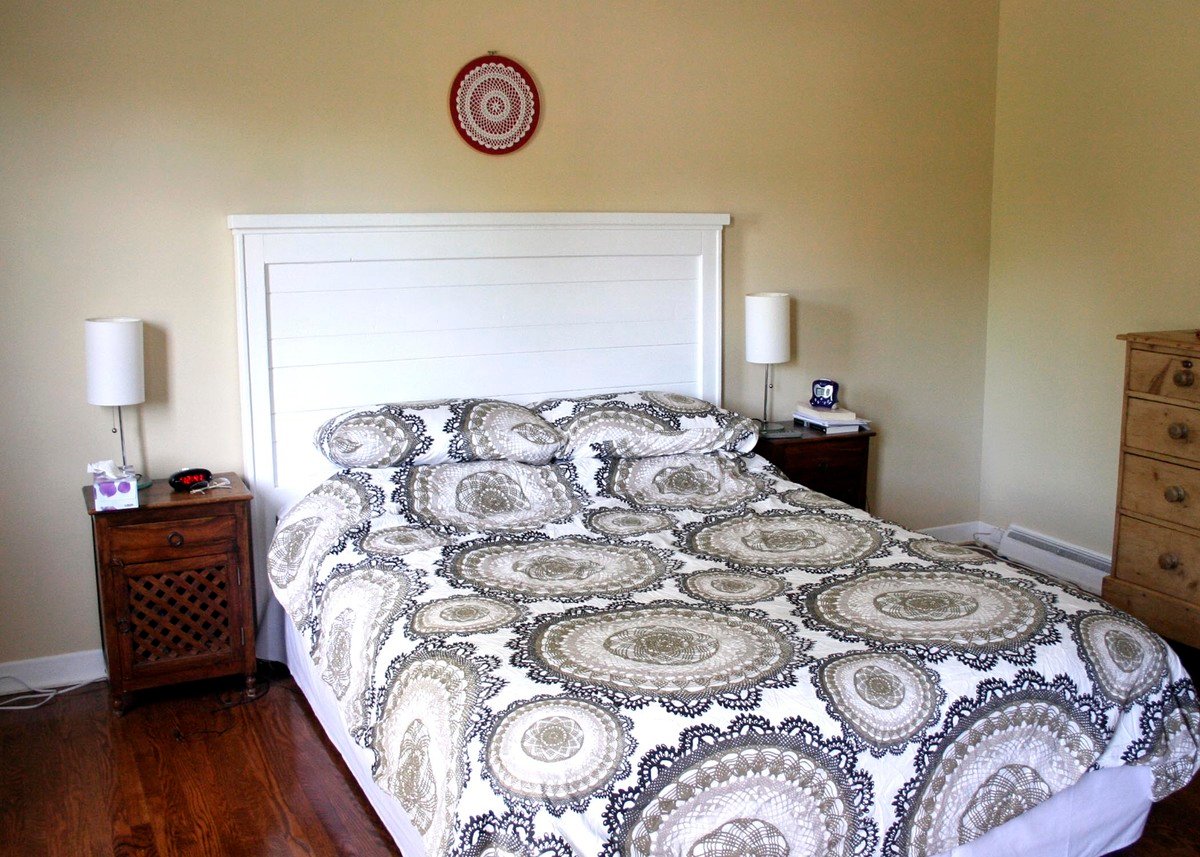
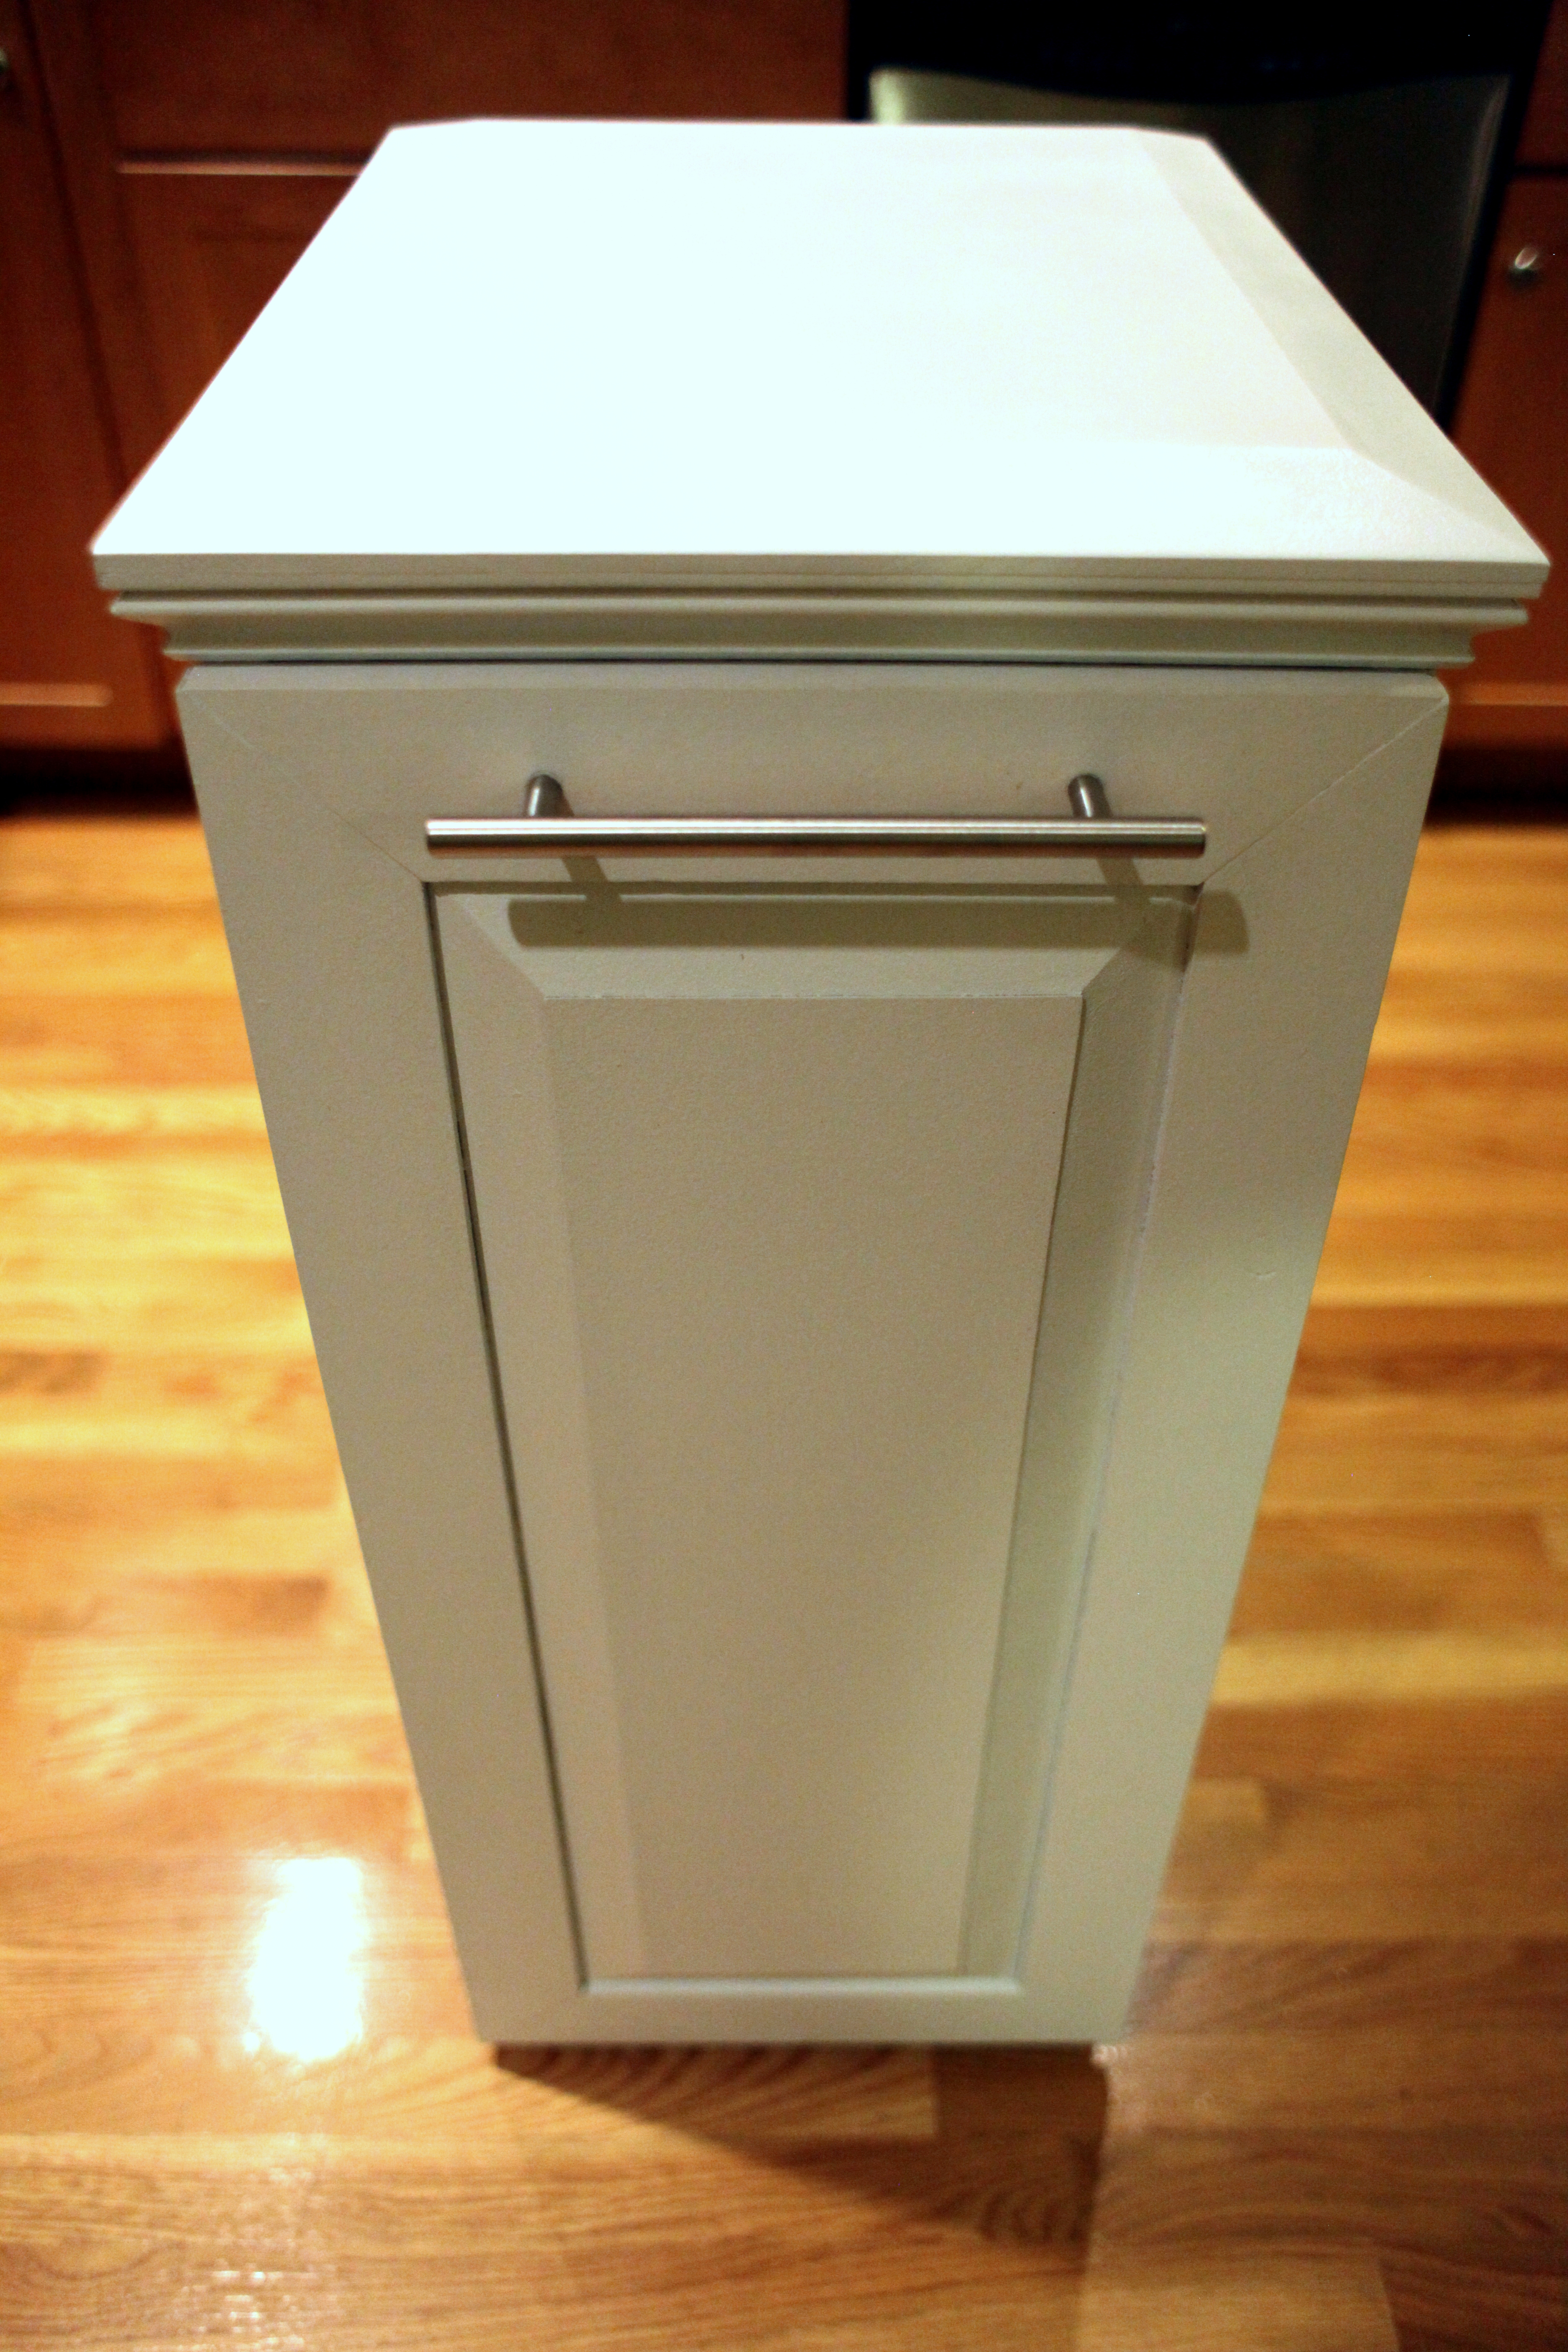
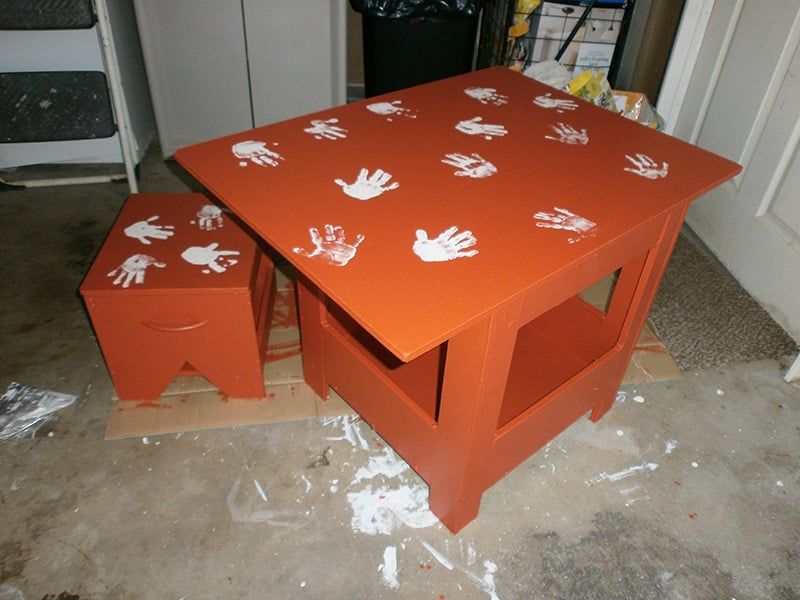
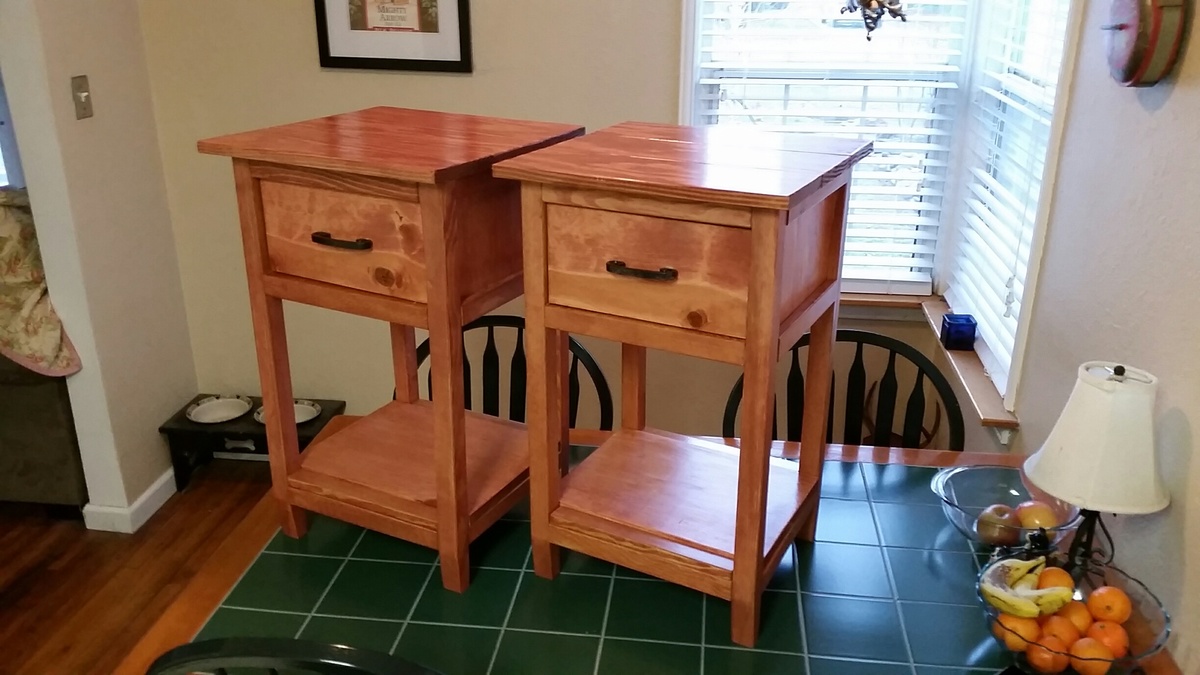
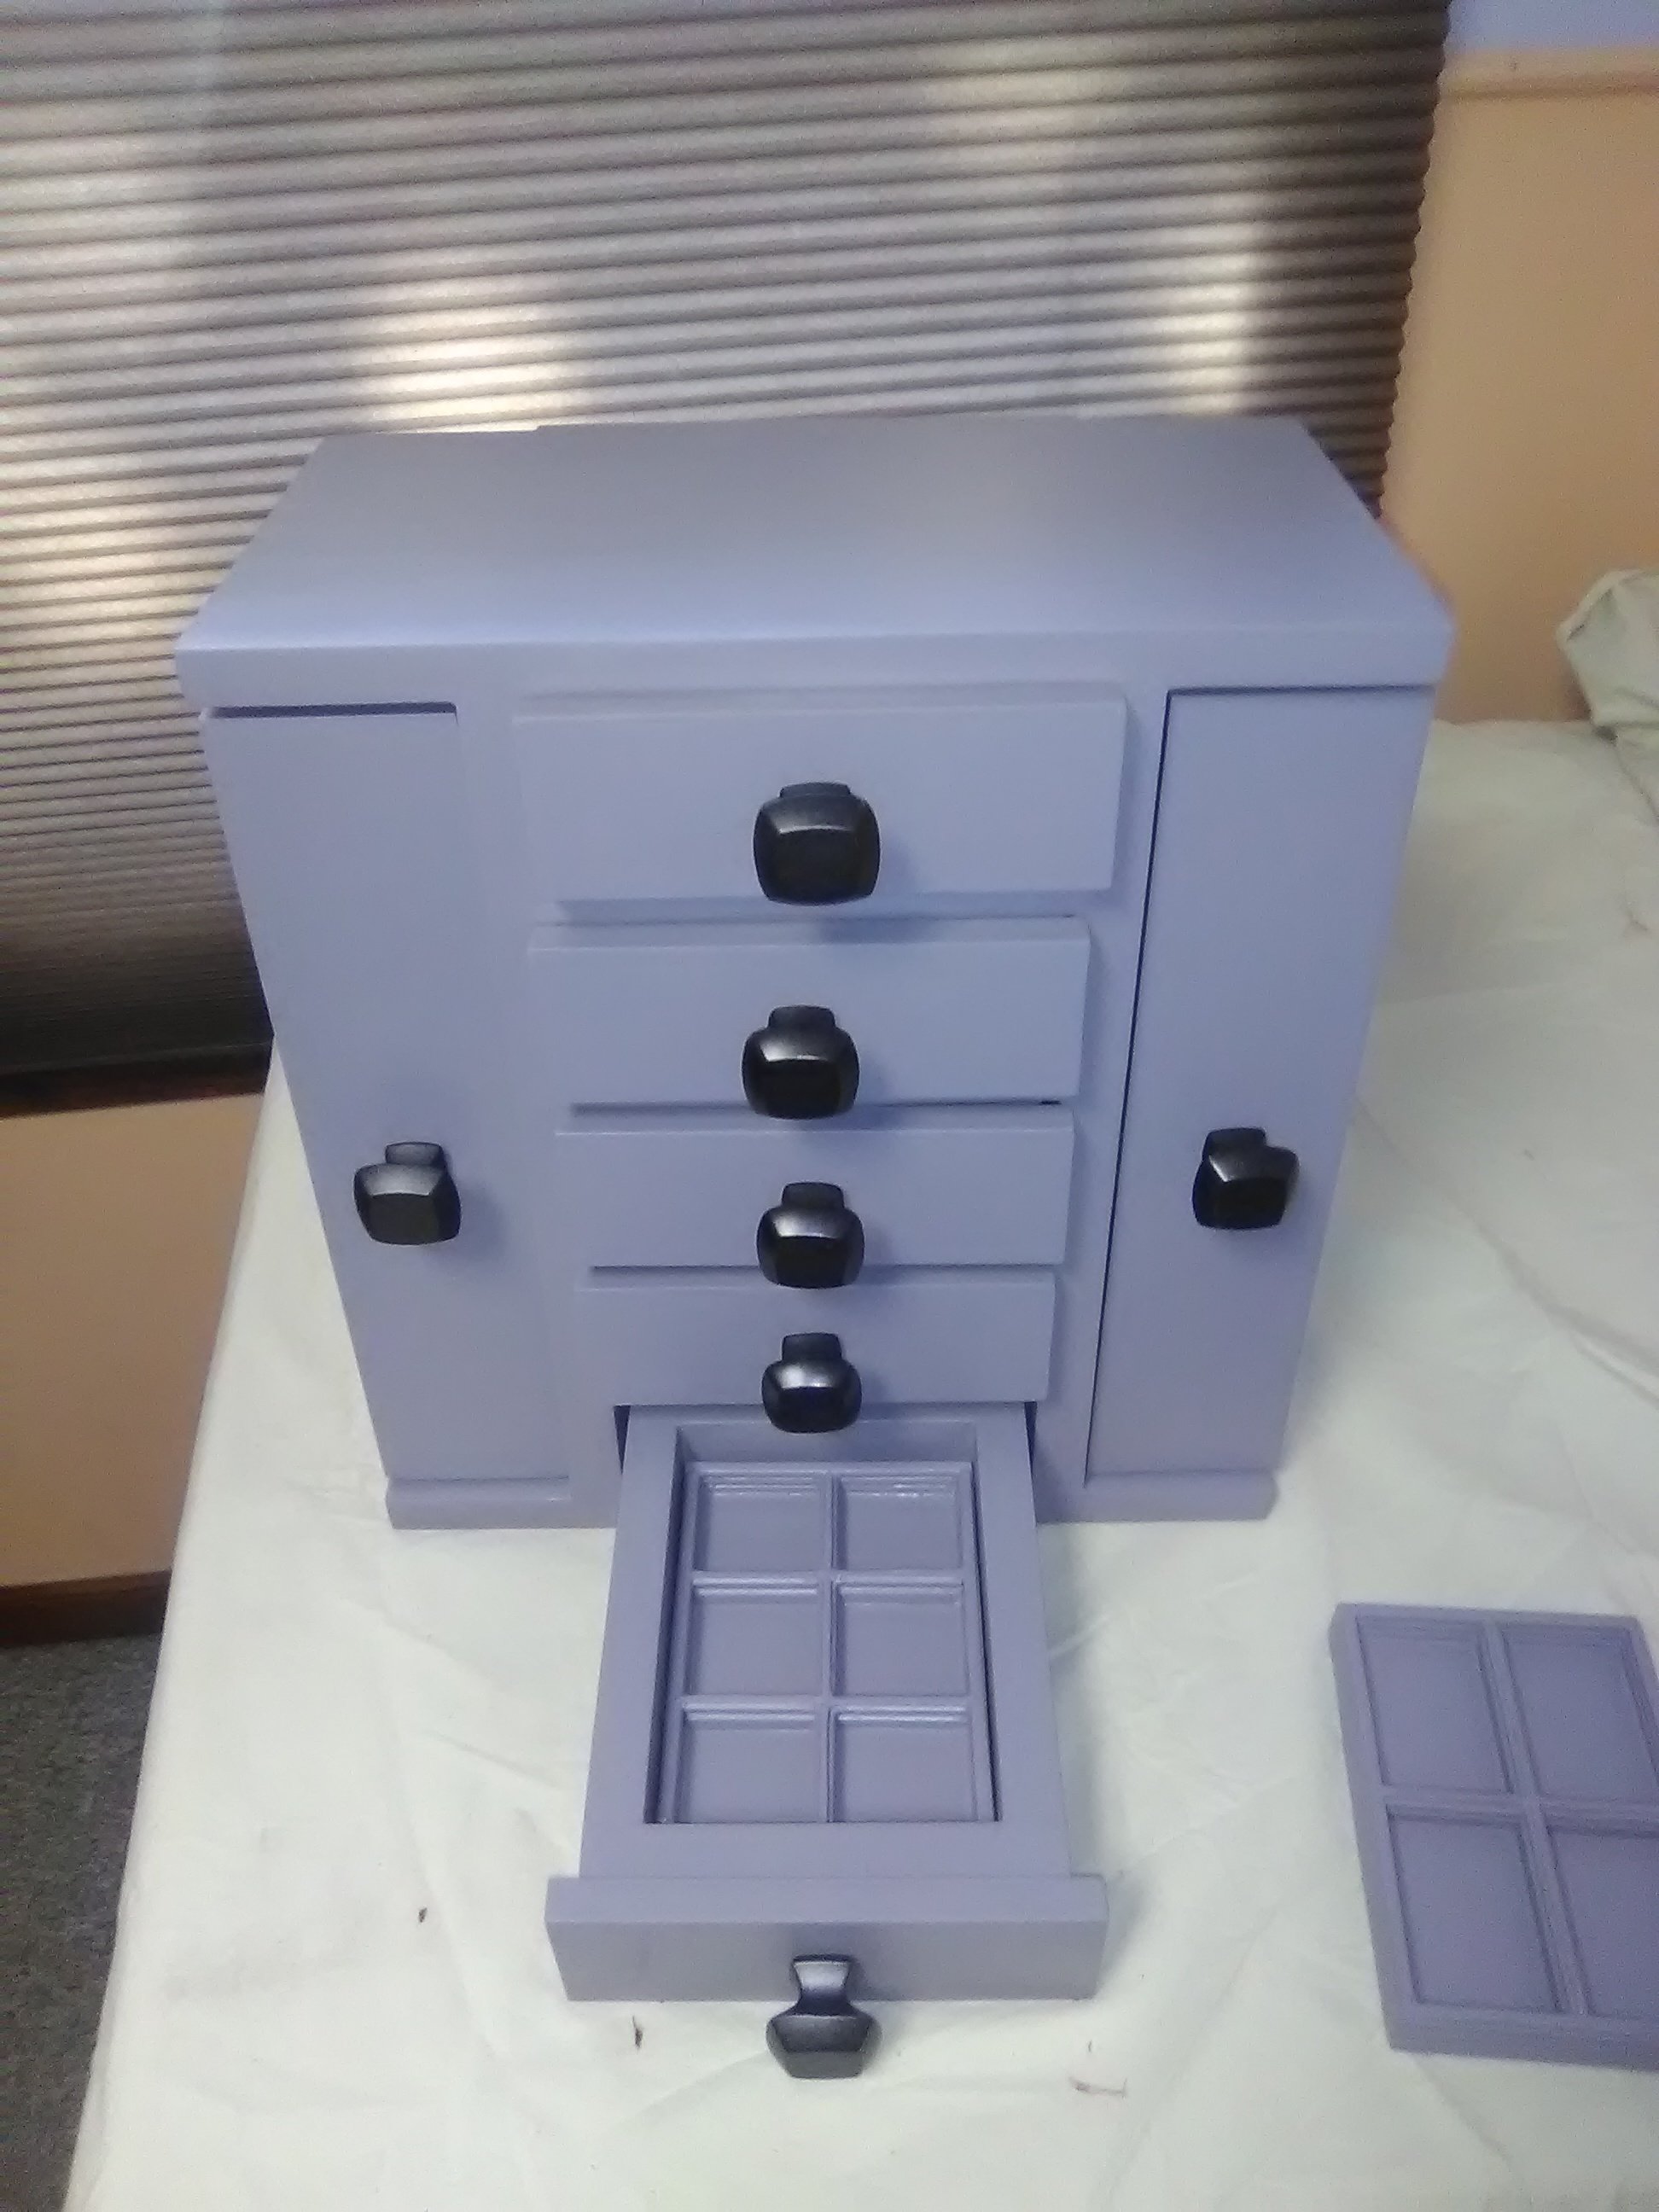
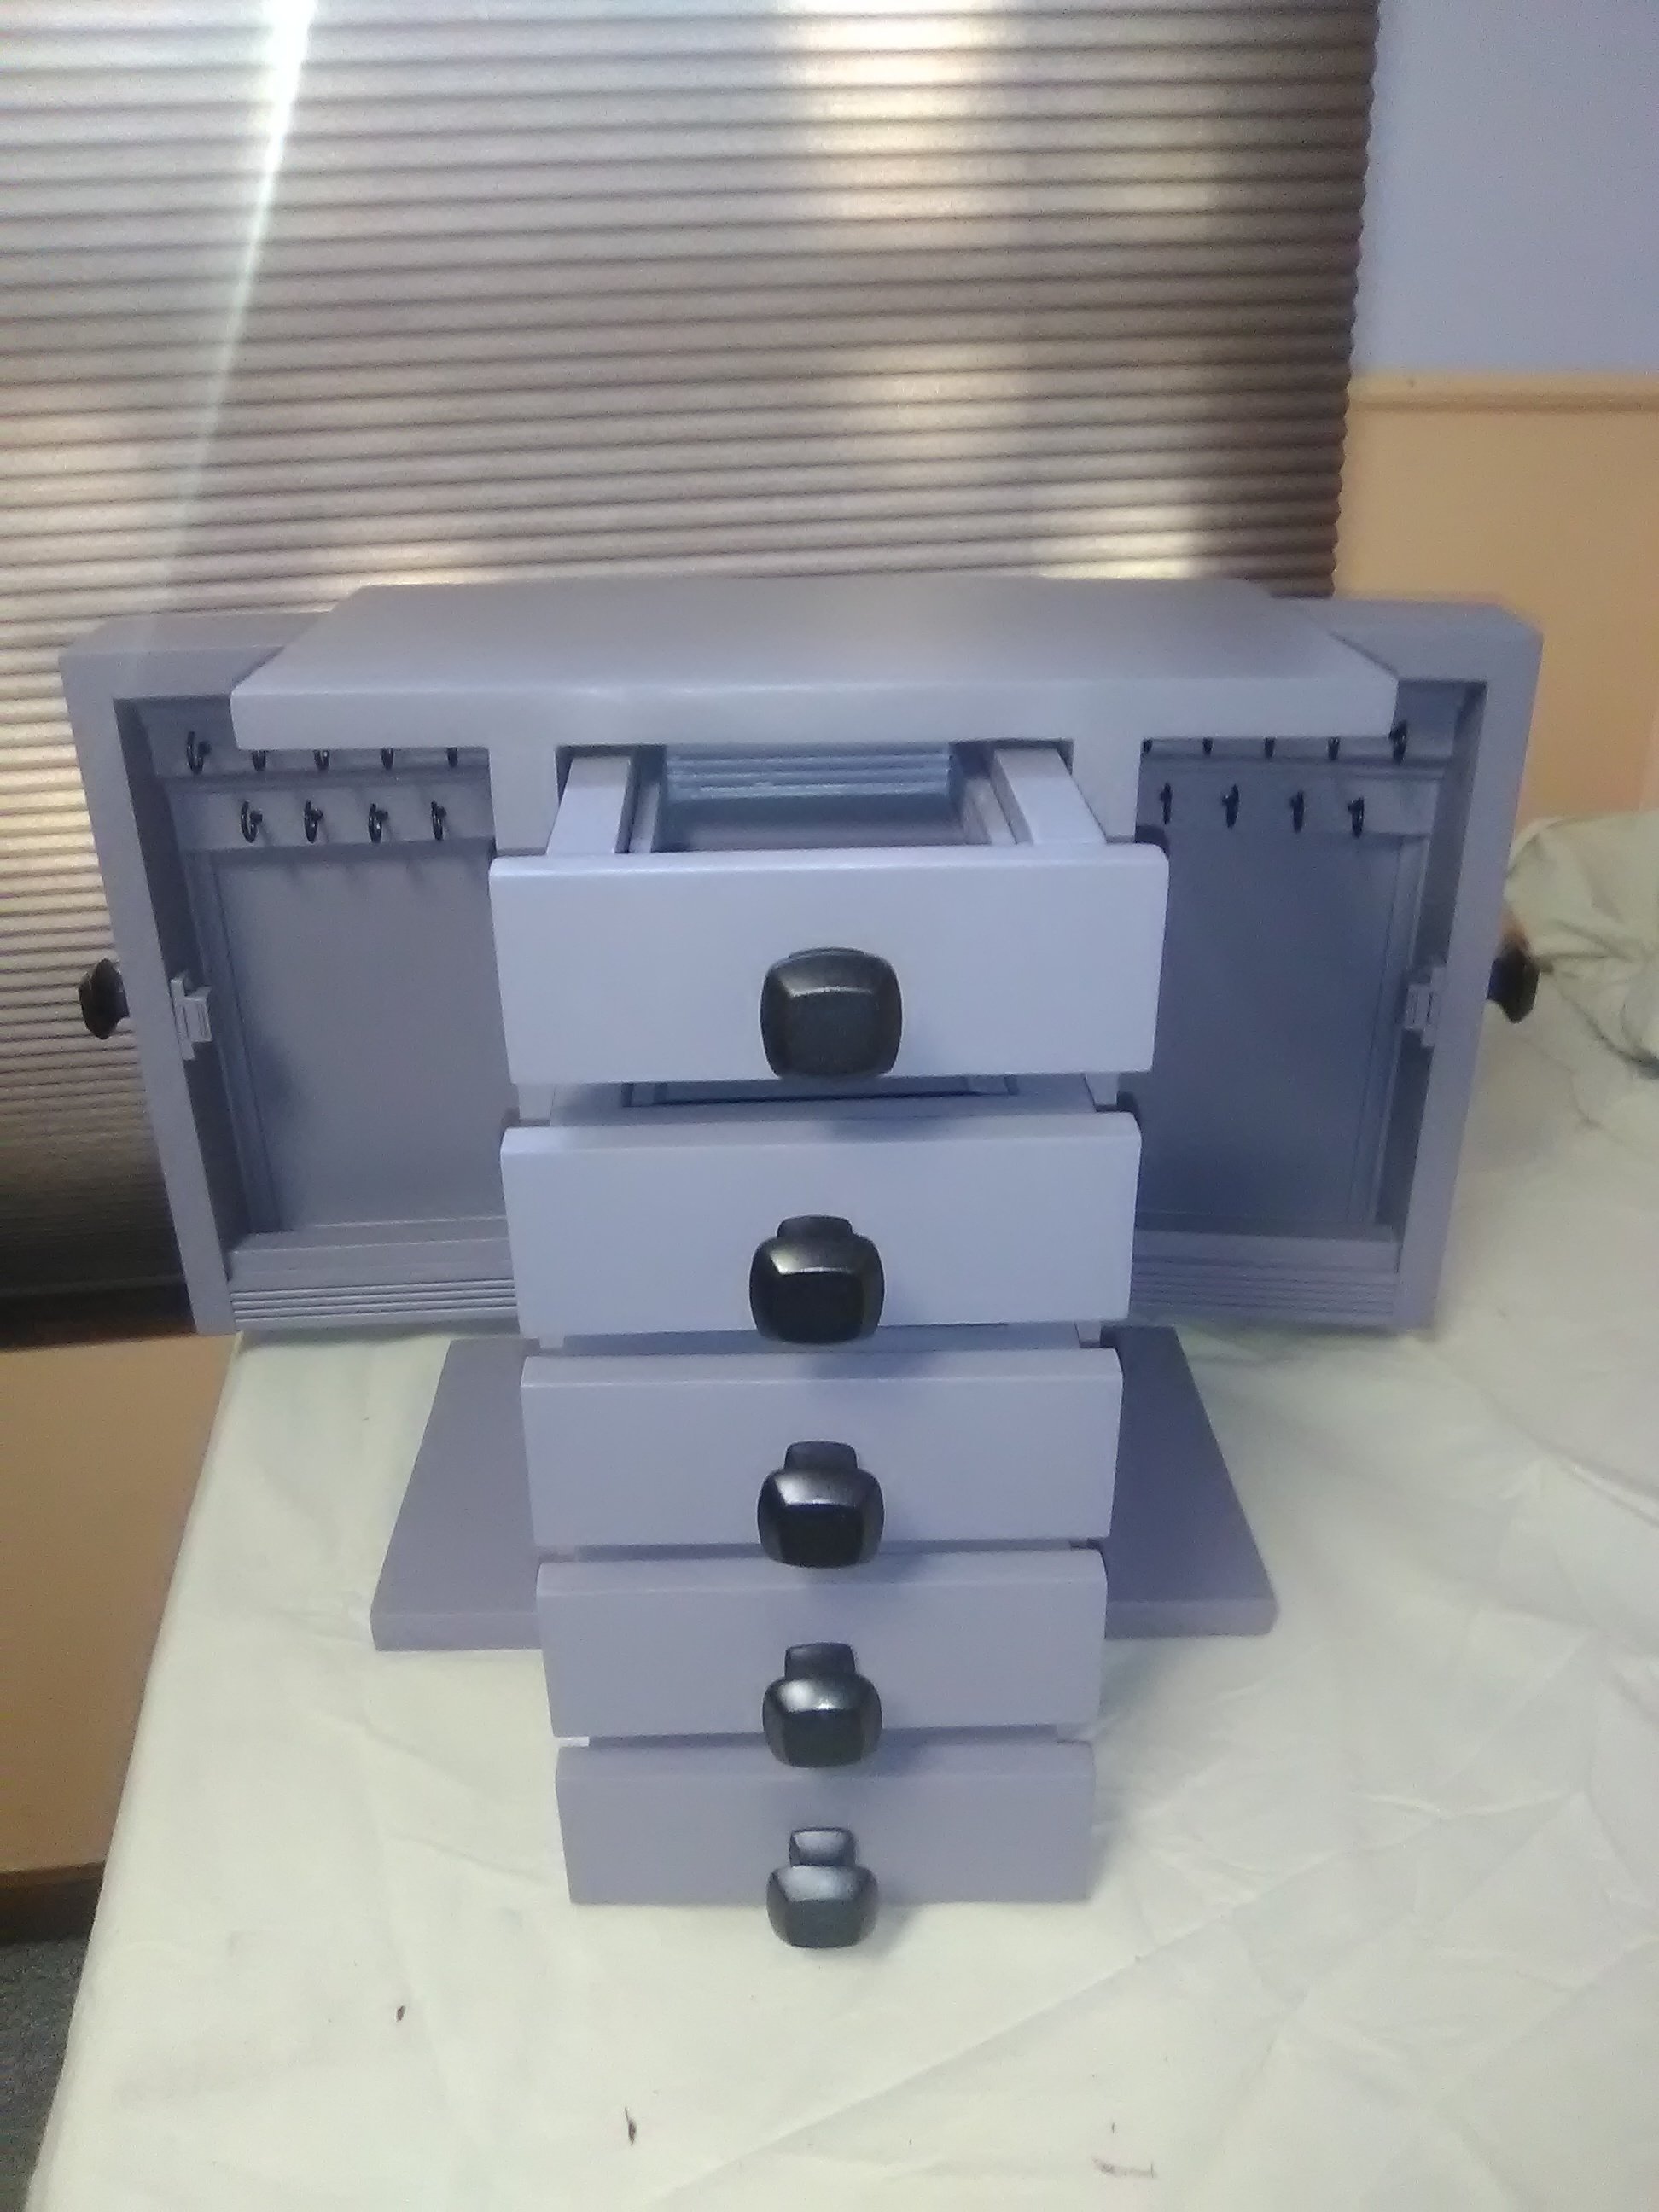
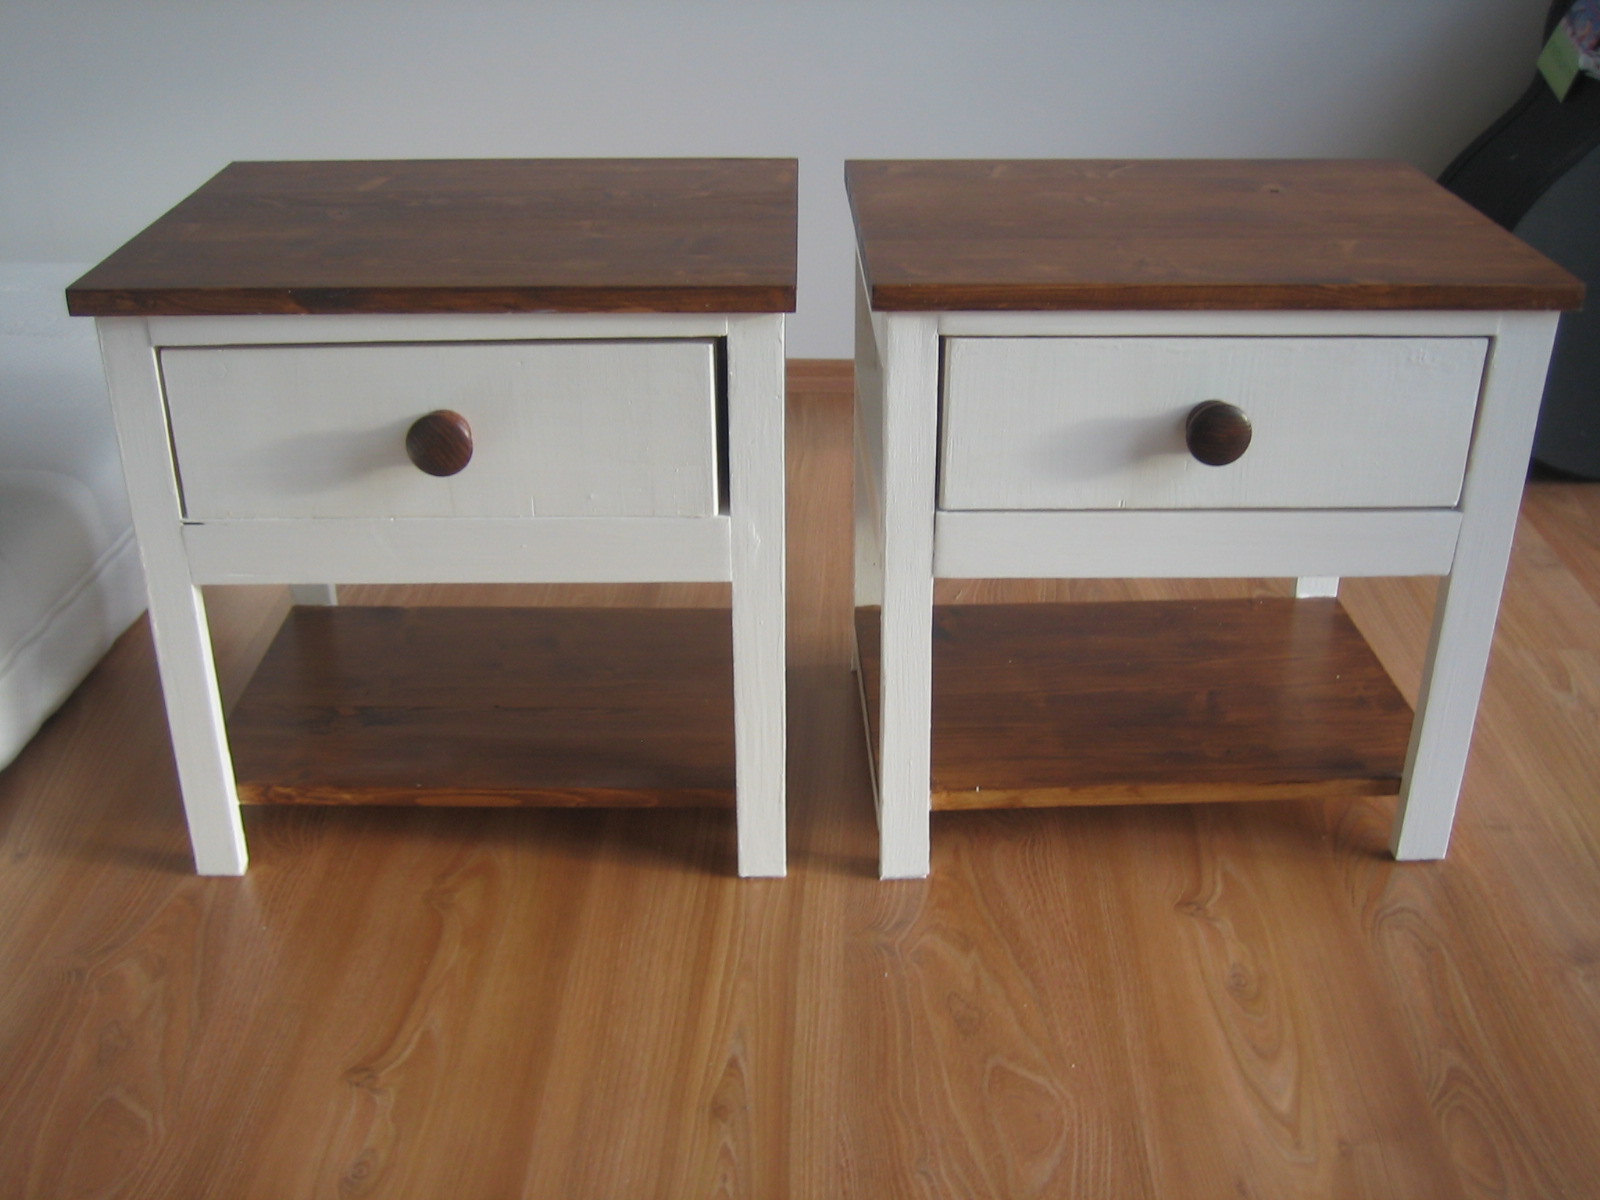
Bedside Tables
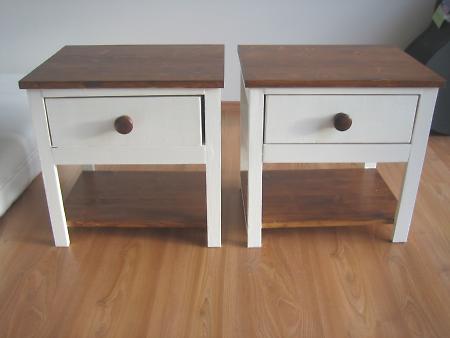
I built two of these bad boys!
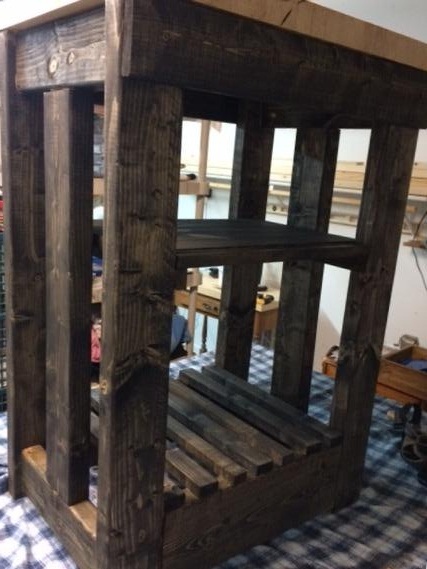
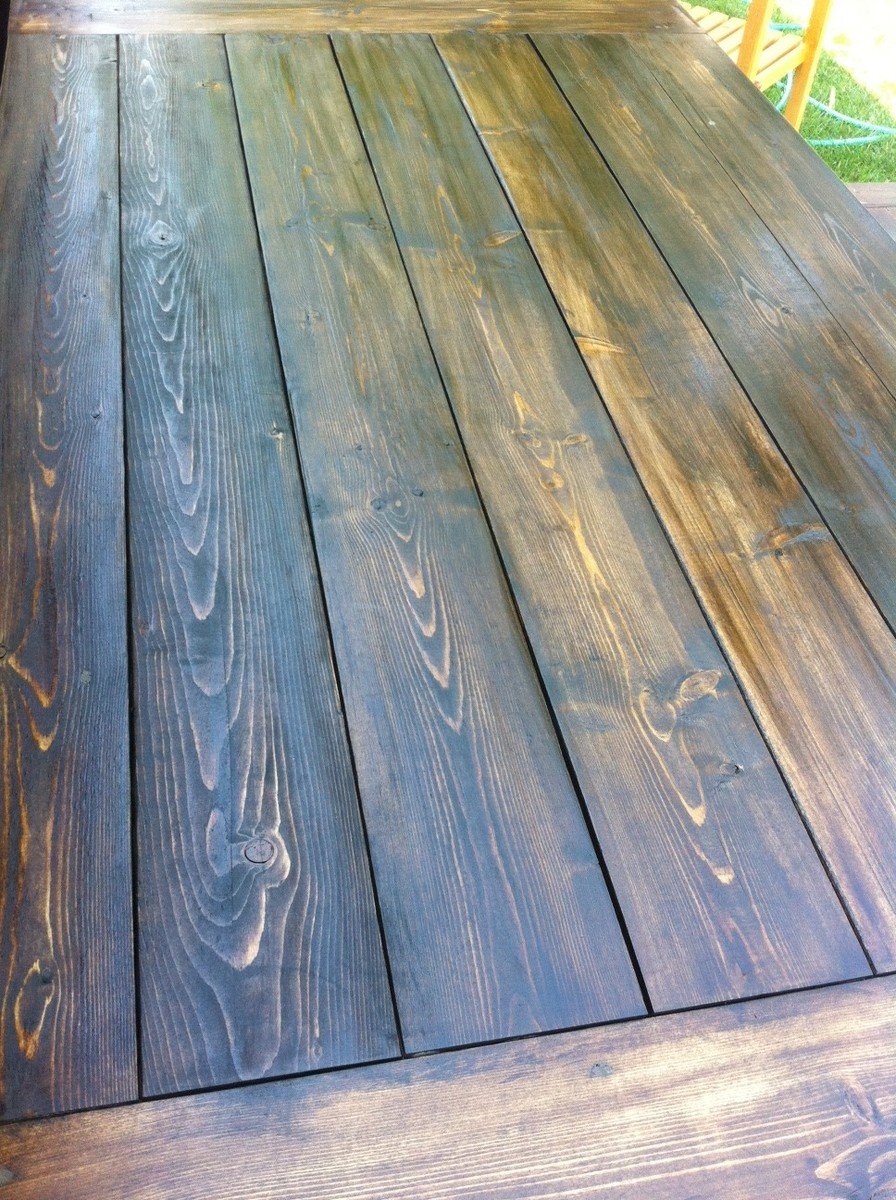
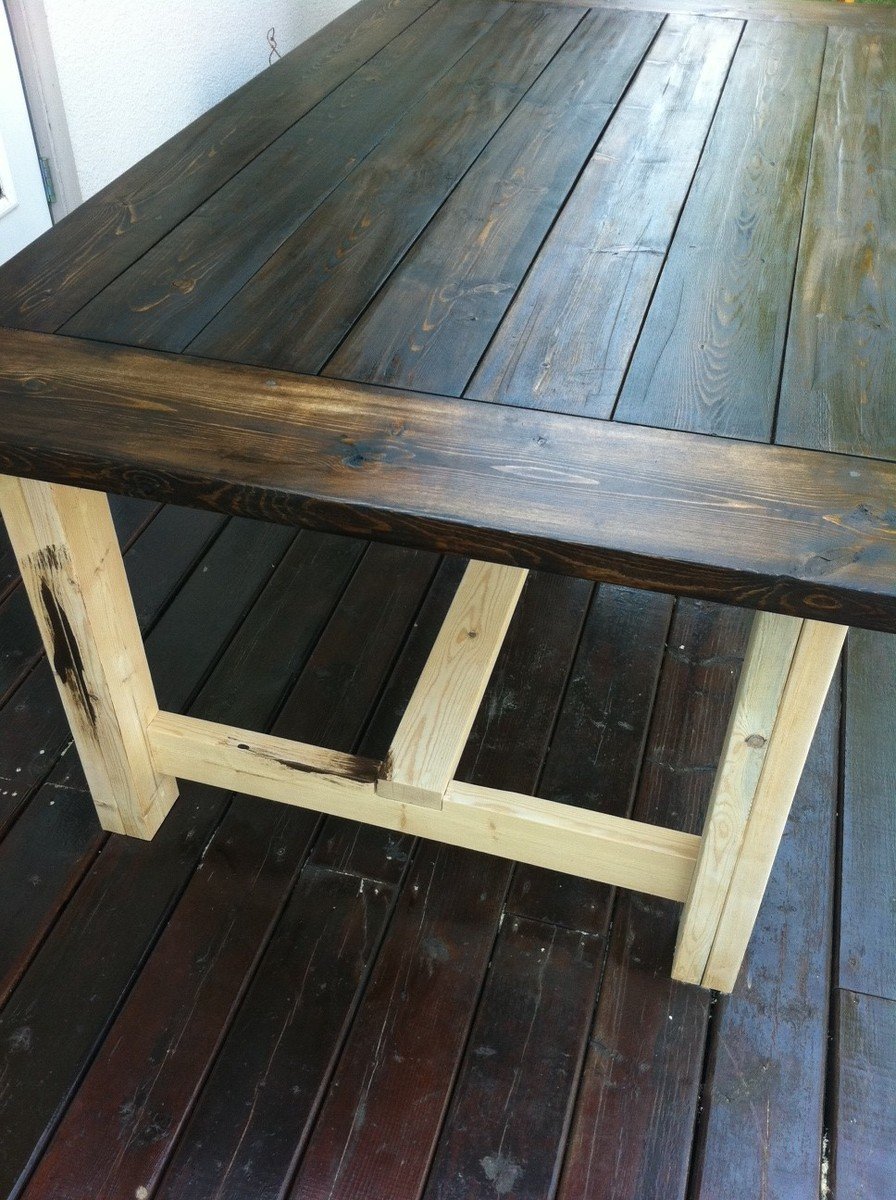
I used the cheapest spruce wood as I knew I was going to paint them.
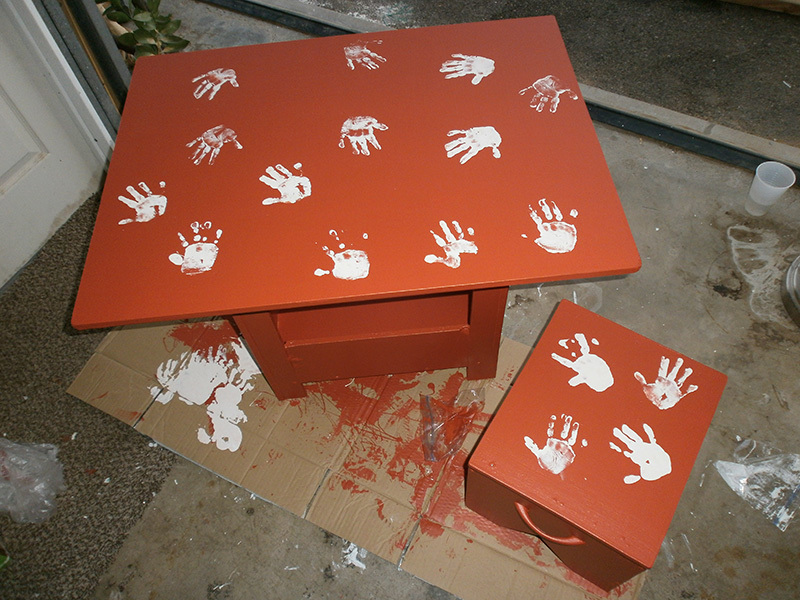
Not sure how much everything cost in the end - maybe €50. Am making 2 beds to go with them too but they'll be a little longer in the pipeline!
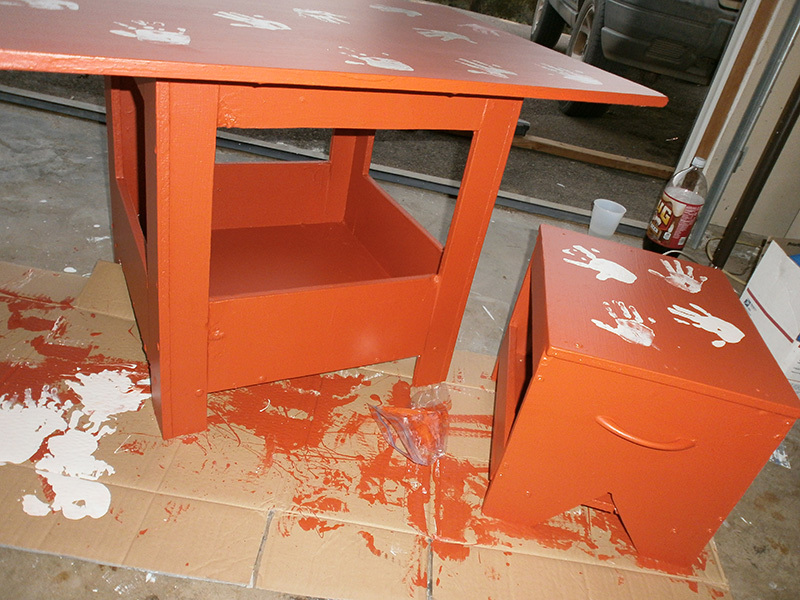
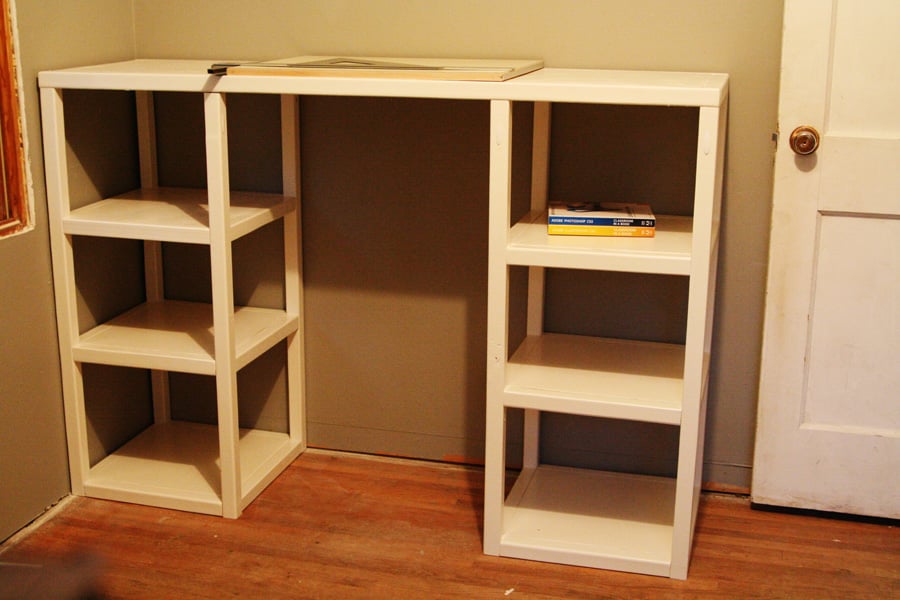
I cut the wood myself using my circular saw and joined the wood with pockethole screws.
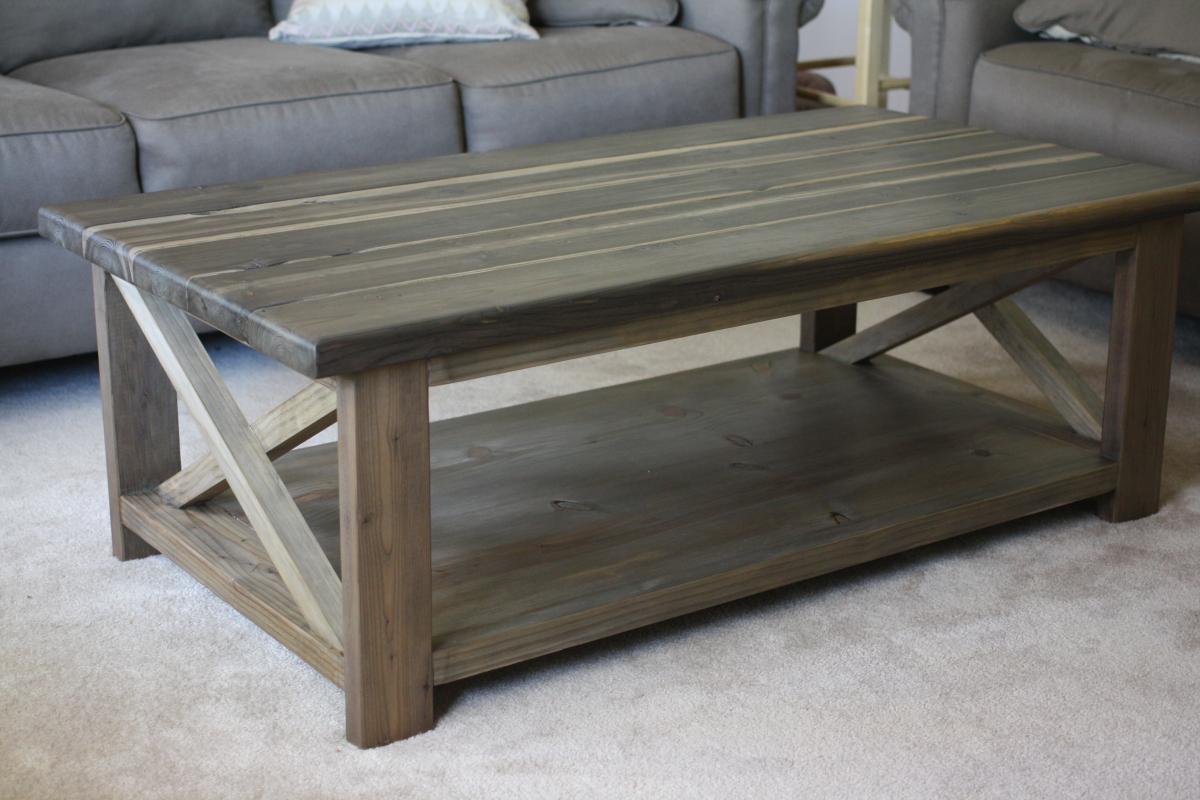
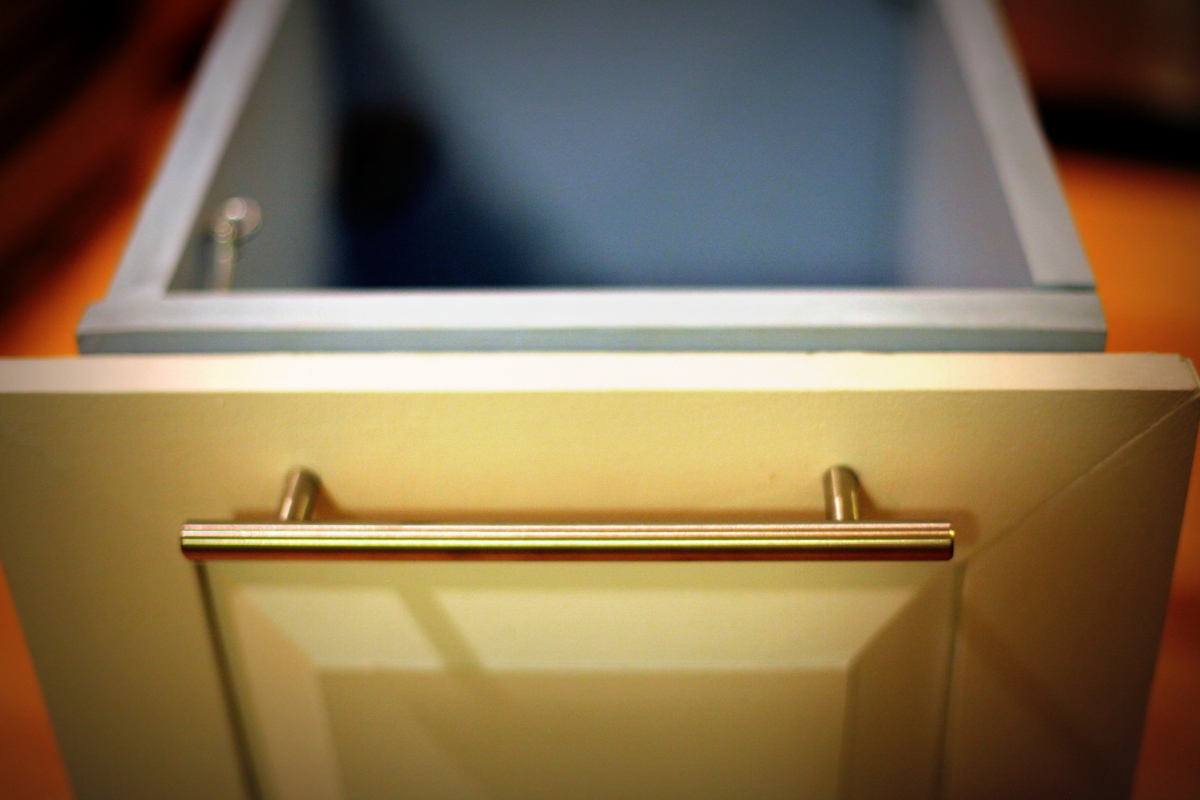
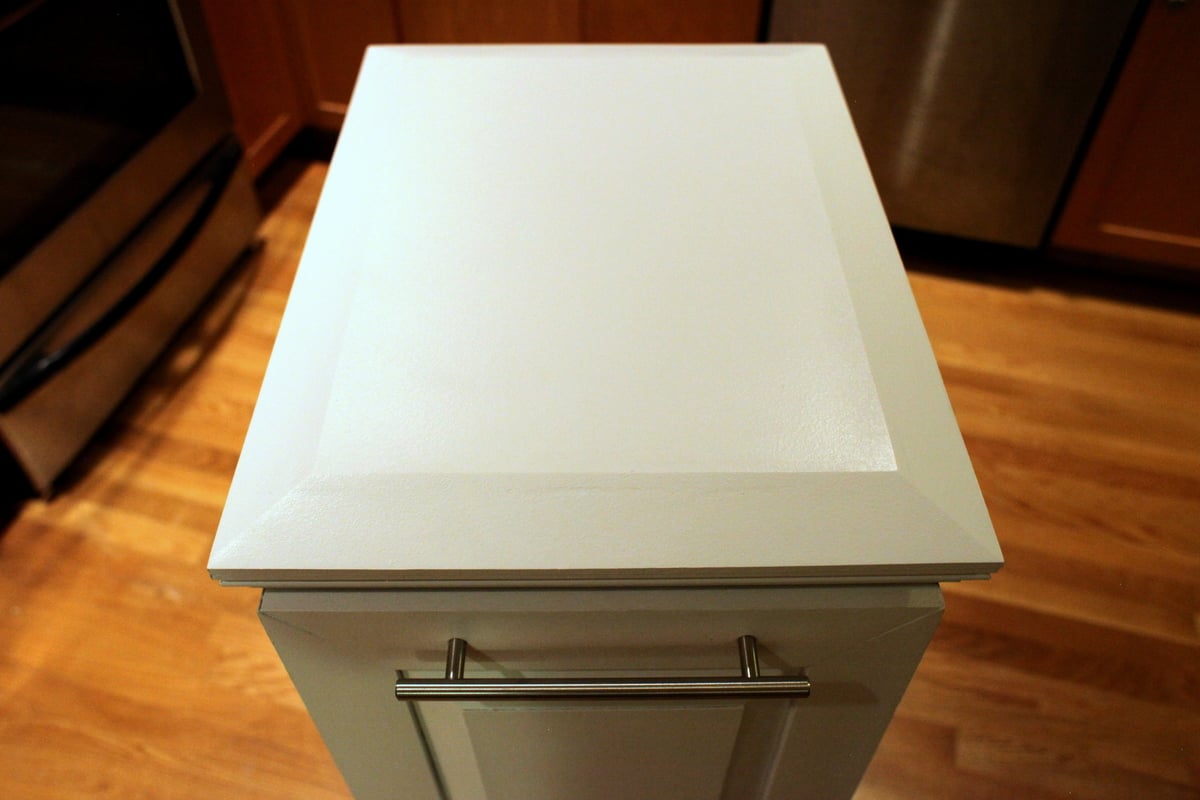
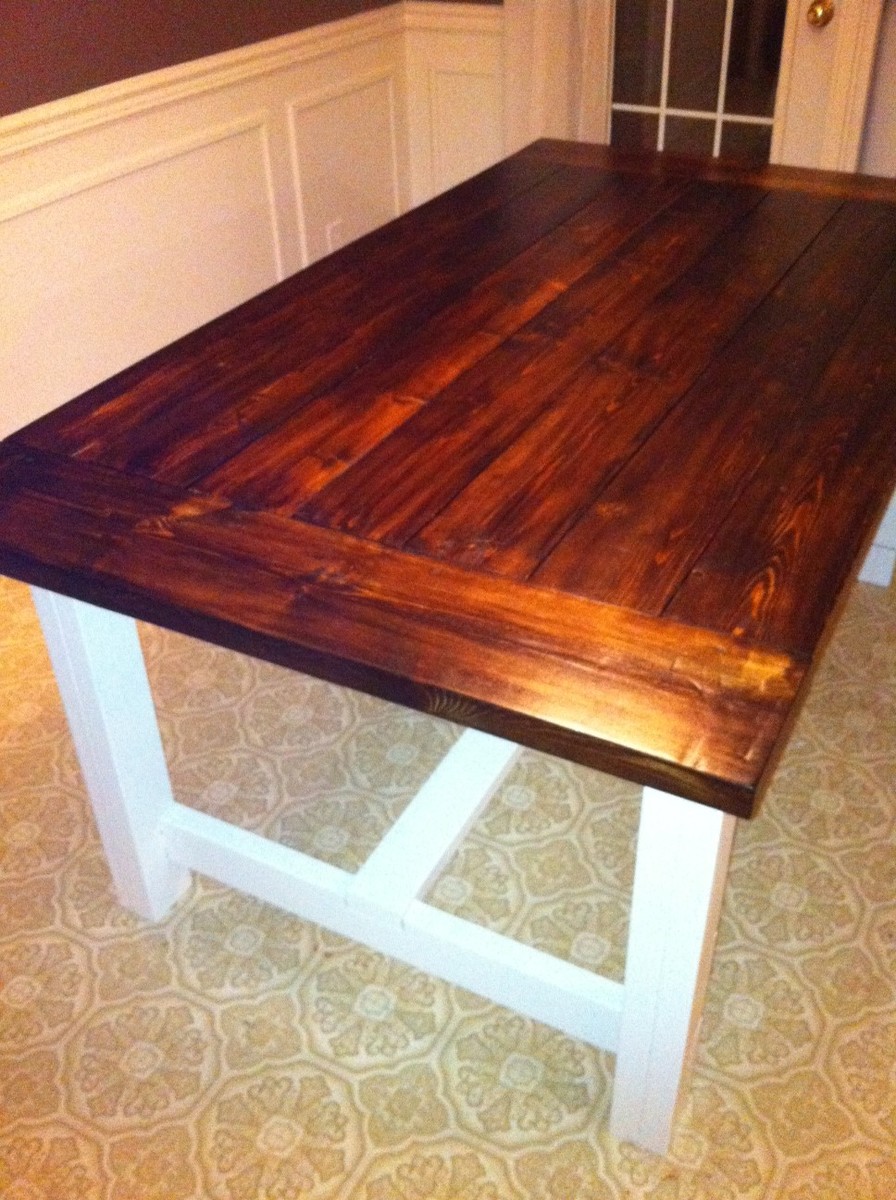
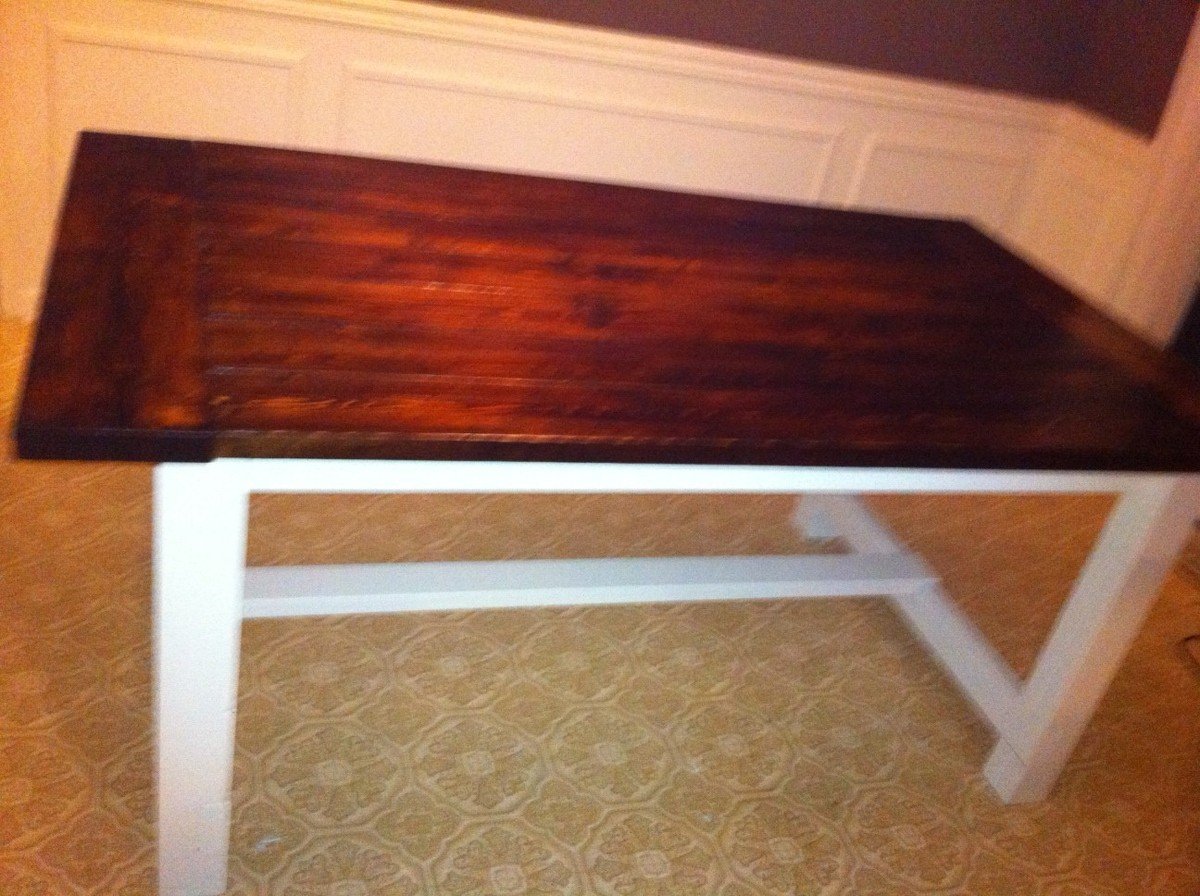
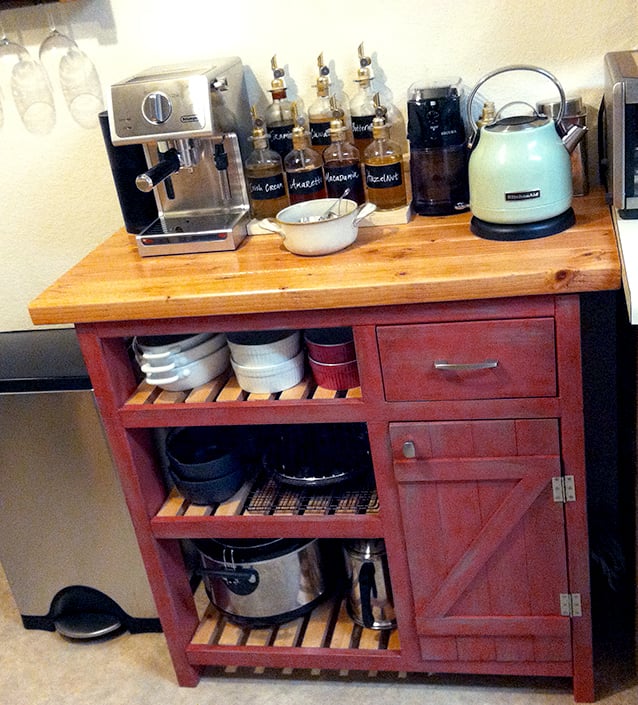
I painted the tables white and then used a chestnut brown woodstain on the table tops, shelf and knob.
Hard to say how long it took me as I just did a bit every now and again when I had a bit of time.

Built from Plan(s)
Finish Used
White paint and chestnut brown woodstain
Recommended Skill Level
Starter Project