Community Brag Posts

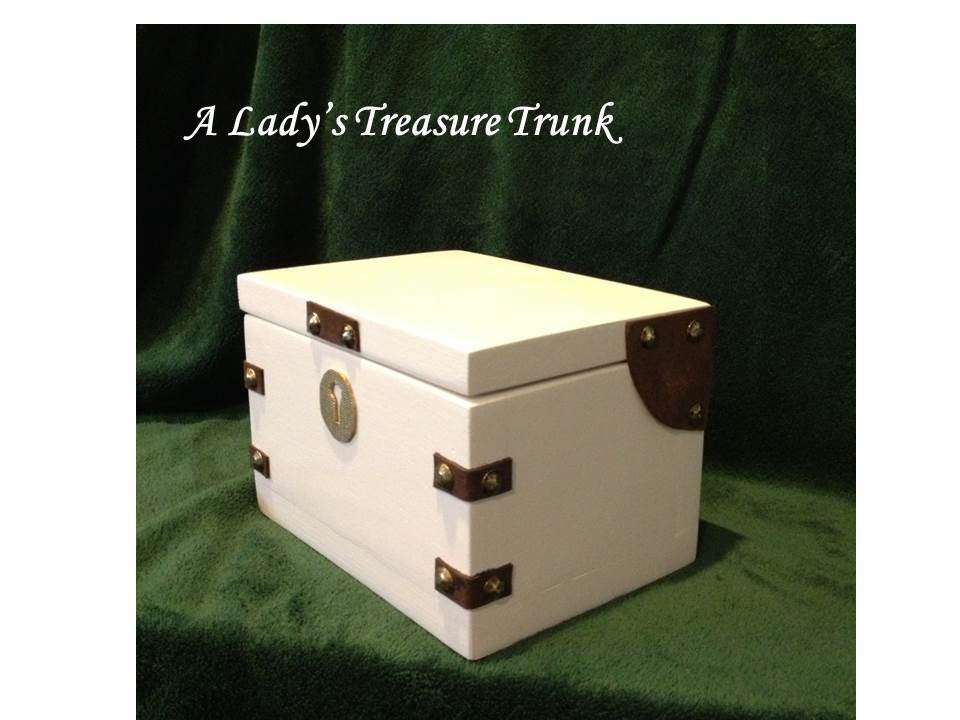
A Lady's Treasure Trunk
Submitted by JoanneS on Mon, 09/16/2013 - 14:32

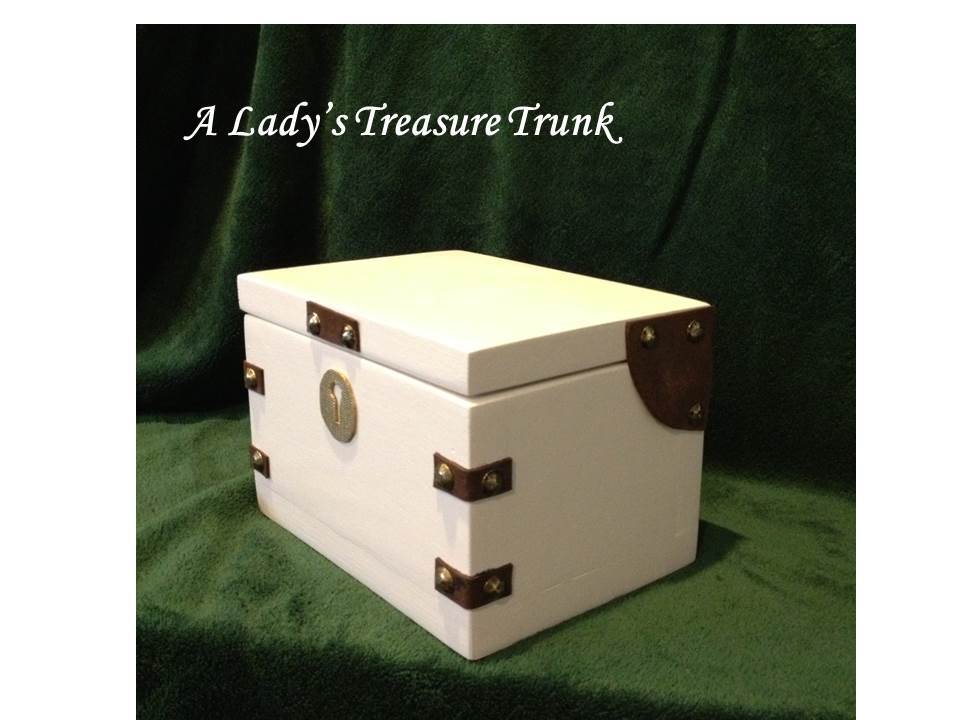
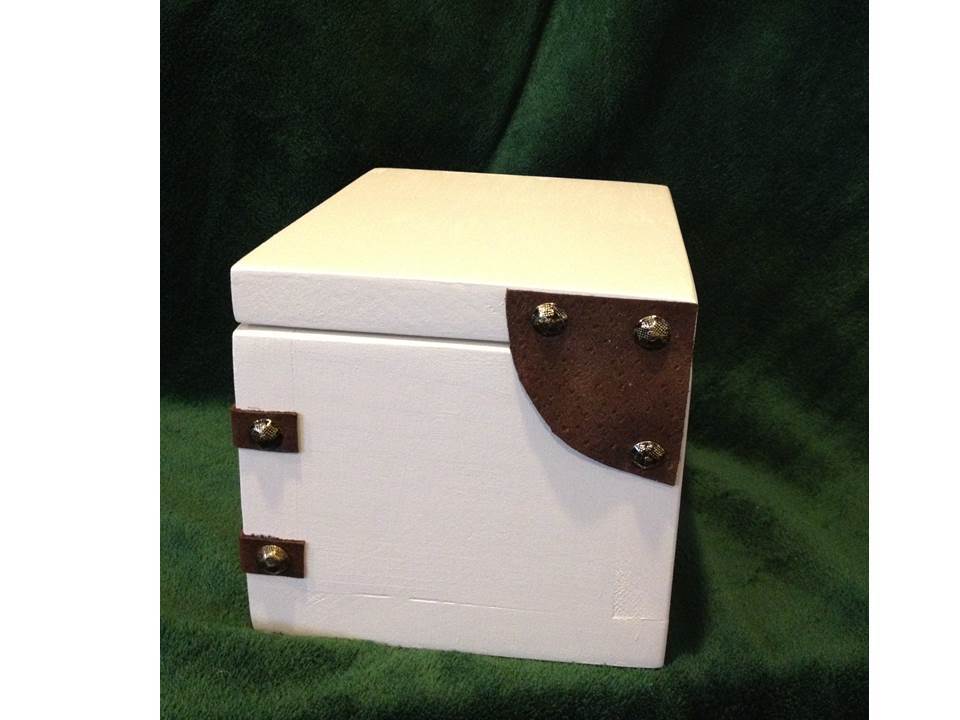
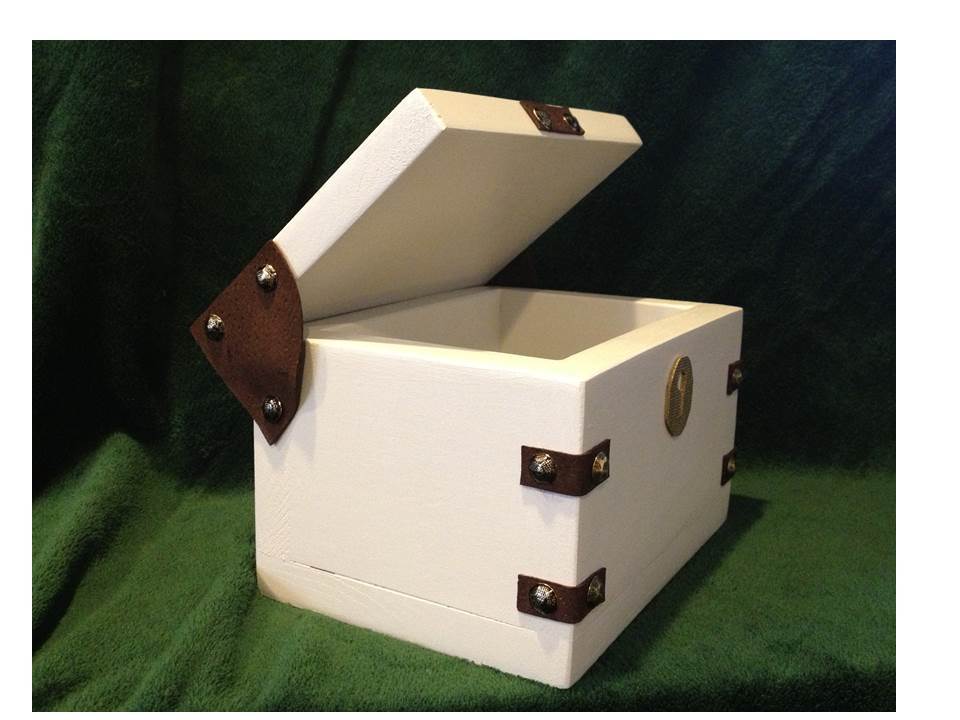
This is my vision of what a fine lady’s treasure trunk might have looked like back in the days of pirates. It is made from the Pirate’s Treasure Trunk plan. I used another alternative hinge for this one. It is a 2 ¼” radius quarter-circle of heavy craft leather, attached to the box top with some super glue and decorative furniture nails. The bottom acts as the pivot, and is attached with a furniture nail.

The decorations are made from craft leather, and attached with super glue and furniture nails. The keyhole escutcheon is made from a piece of foam shelf liner, cut to the shape of the keyhole template from the plan, and spray painted gold.

The finish for this is 2 coats of Clark & Kensington paint (white, with a little brown stain mixed in to make it a cream color).

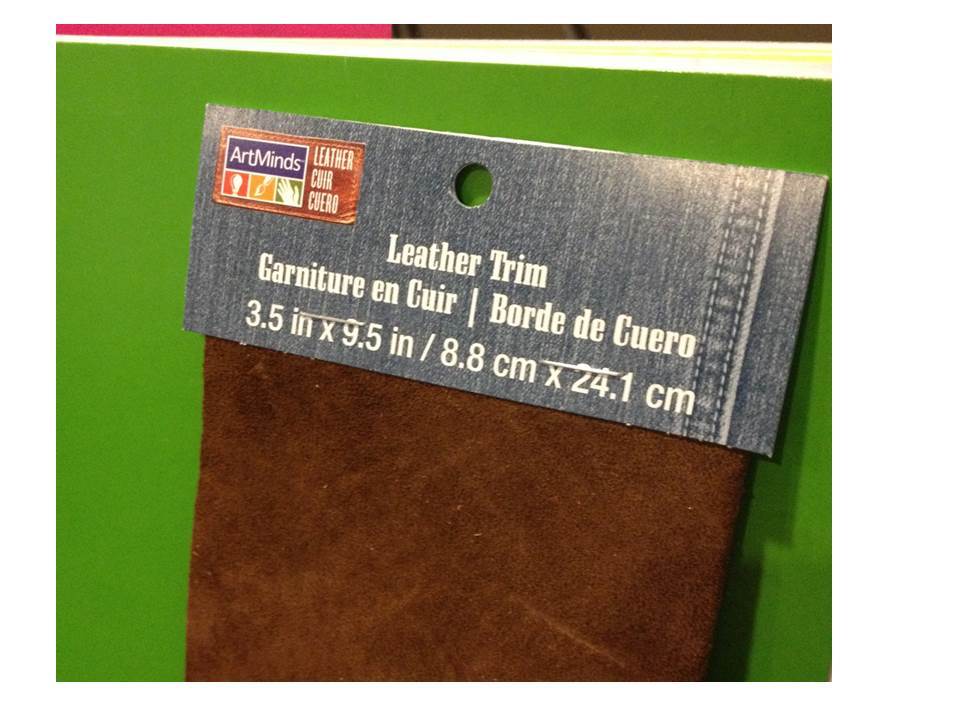
This build was nearly free – the furniture nails were left over from the prototype build, the wood was scrap, and the paint was left over from previous projects. The craft leather is from Michael’s (cost was about $3.99 - I think it was on sale, but couldn’t find it on the web site to attach a link, so a picture of the packaging is attached).

I’ll be using this one for trinkets, and it’s not going to get heavy use, so this was a good project for trying out the leather hinge idea. I’ve wanted to try that for a while. Not sure how durable it will be over time, but I think it looks cool. :)
Built from Plan(s)
Estimated Cost
Wood (free - scrap). Finish (free - left overs). Craft Leather: $3.99
Estimated Time Investment
Afternoon Project (3-6 Hours)
Finish Used
2 Coats Clark & Kensington paint (white with some brown stain added to make a cream color). Topcoat: Minwax polycrylic in satin. Trim: craft leather and furniture nails. Keyhole escutcheon: Gold spray paint.
Recommended Skill Level
Beginner

Comments

yurra-bazain

Tue, 09/17/2013 - 03:18

I love how you added text to your photos! =D It communicates the idea behind your plan so well. :) The leather has a fascinating look on this one; I do so like it in white and with the softer leather; truly a lady's touch. :)
JoanneS

Tue, 09/17/2013 - 17:51

Or as they say in pirate-speak: Thank ye so much! I be glad ye like them! Many hearty thanks fer postin' a comment! :)
JoanneS

Wed, 12/03/2014 - 18:28

Yes I think that is a very good idea!  I'm going to try that for the next one I do with leather.  Thanks for commenting!  :)
Handmade by Tessa

Submitted by Anonymous (not verified) on Thu, 01/10/2019 - 18:22
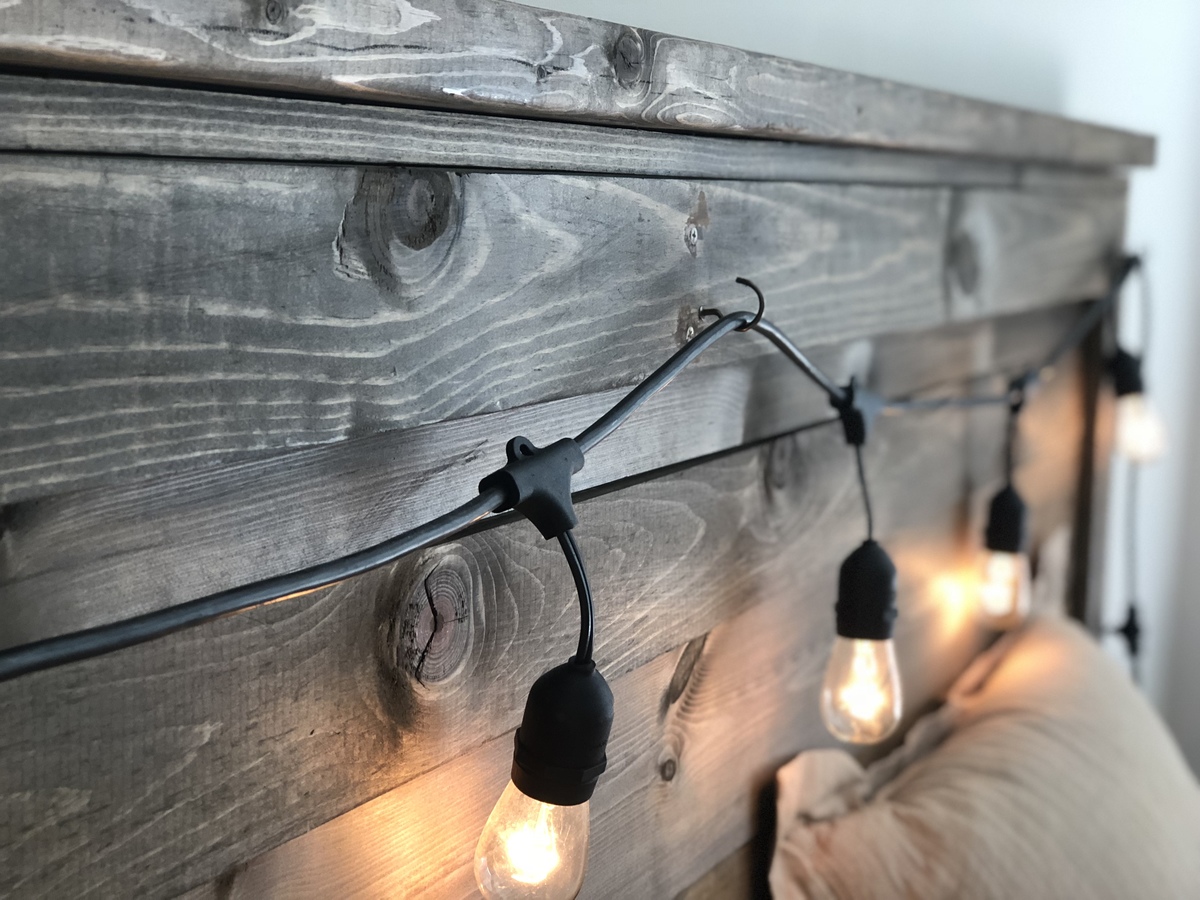
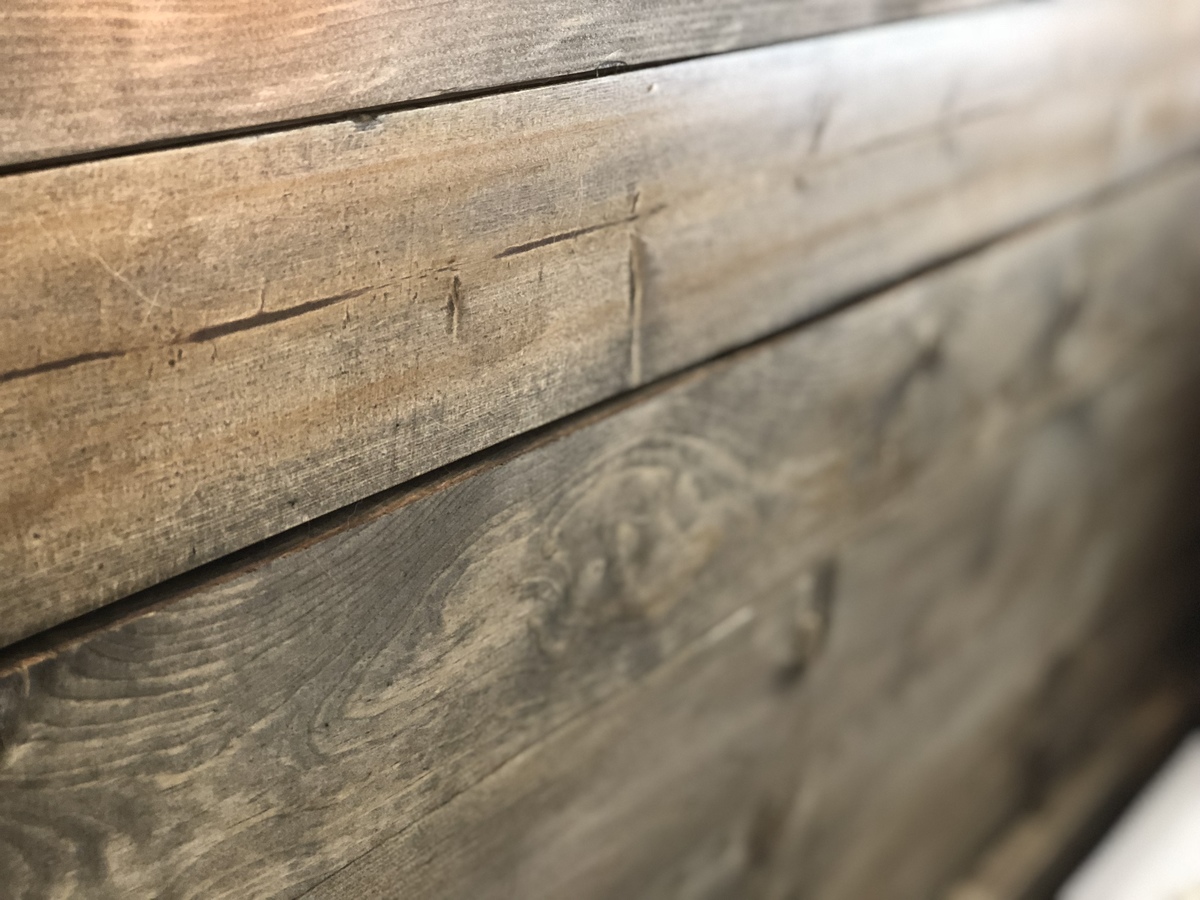
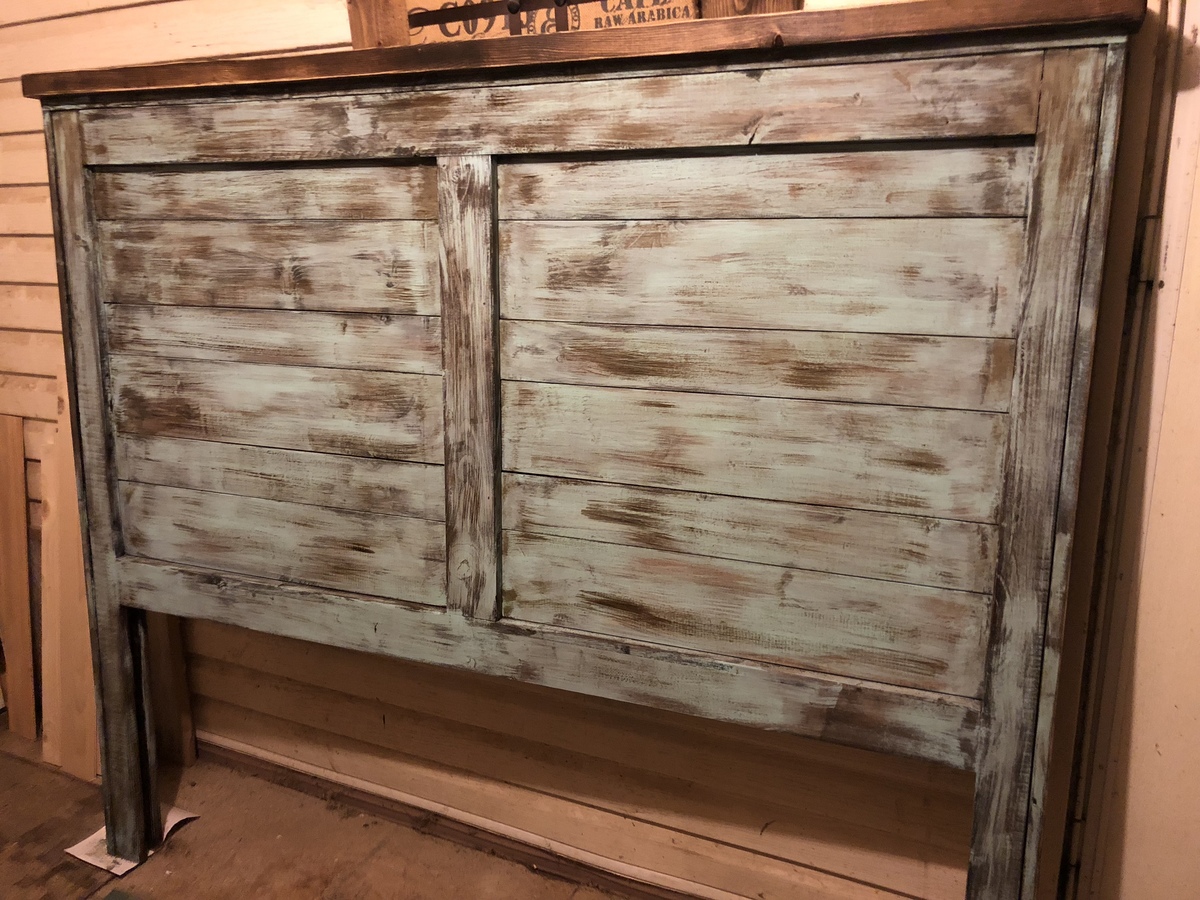
Reclaimed wood headboard. Cost: $100. Time: 4 hours. 

Recommended Skill Level
Starter Project

Master Bedroom Transformation

I have a large master bedroom, but a severe lack of furniture. I love love love my king bed, but couldn't find any night stands to meet my needs or budget. So I built the farmhouse bedside tables! I love how large and tall they are, adequately flanking my large bed. I missed the mark on matching the stain color of my bed, but I worked so hard on these tables, I still love them.
I call this a master bedroom transformation because I also painted, added new bedding, and new lamps during this project. I'm so excited for my husband to come home from his month-long business trip to see all that I have accomplished in his absence!

Built from Plan(s)
Estimated Cost
Approximately $100 for both tables.
Estimated Time Investment
Weekend Project (10-20 Hours)
Finish Used
Minwax Golden Oak Stain and Minwax Semi-Gloss Polyurethane.
Recommended Skill Level
Beginner

Farmhouse Table

Submitted by lmorlok on Wed, 09/18/2013 - 16:00

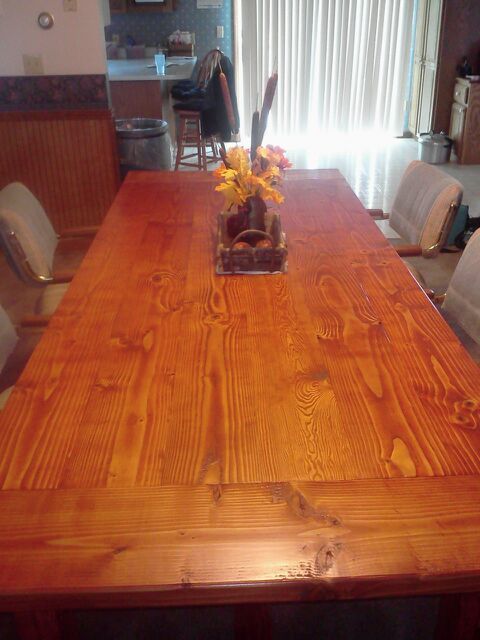
I made this with the help of my dad. This was my first project and it turned out so well! Such a great addition to the house, it really warms up the room. So glad I found this!

Estimated Time Investment
Week Long Project (20 Hours or More)
Recommended Skill Level
Intermediate

Yellow Washer Dryer Pedestals

Submitted by Anonymous (not verified) on Mon, 01/14/2019 - 05:43

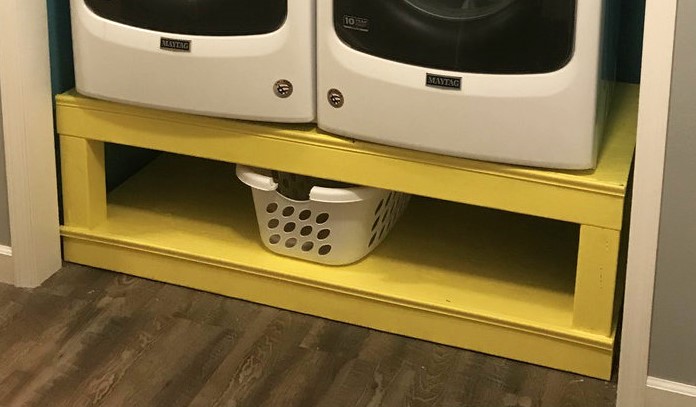
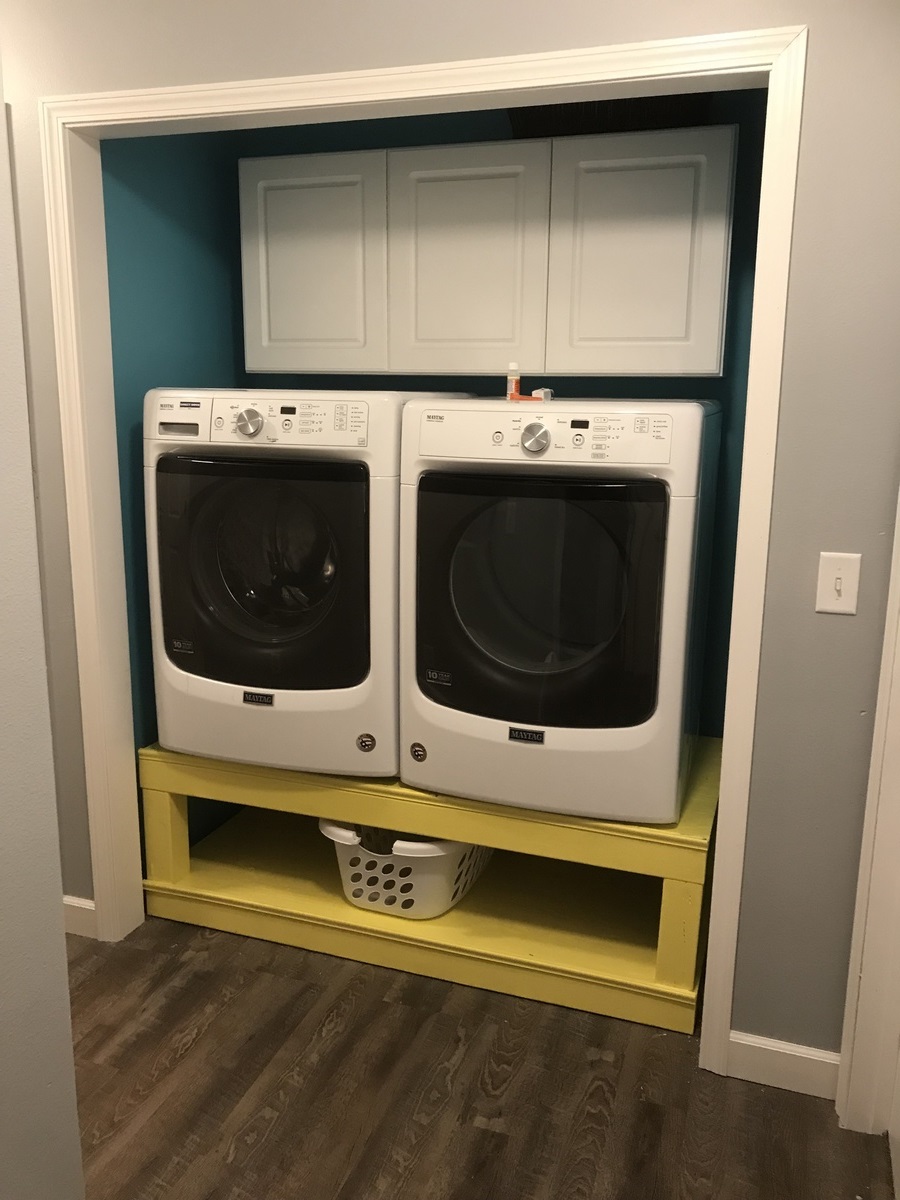
Built off Sausha’s Washer/Dryer Pedestals Plans, project was easy and quick.  We removed closet doors to the hall laundry (gross), installed new trim & installed a cabinet overhead.  Came out pretty great.

Estimated Cost
$75
Estimated Time Investment
Afternoon Project (3-6 Hours)
Finish Used
Yellow Paint
Recommended Skill Level
Beginner

Bedside Tables

Submitted by takahler on Wed, 08/31/2011 - 10:03

This is our very first building project from plans. We loved them. Our first night stand twisted because our 2x2s weren't as straight as we thought they were. With a few times of repositioning them, it turned out fine. The 2nd night stand went together much quicker and easier.

We are hooked! Thank you Ana for great plans!

Estimated Cost
$52 each
Estimated Time Investment
Weekend Project (10-20 Hours)
Finish Used
Dark Walnut Stain and polyurethane
Recommended Skill Level
Intermediate

Comments

Jewelry Boxes

Submitted by yhaas on Sat, 11/28/2015 - 06:55

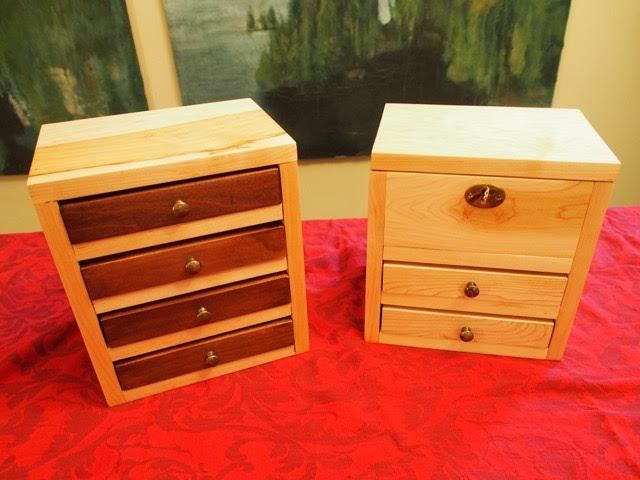
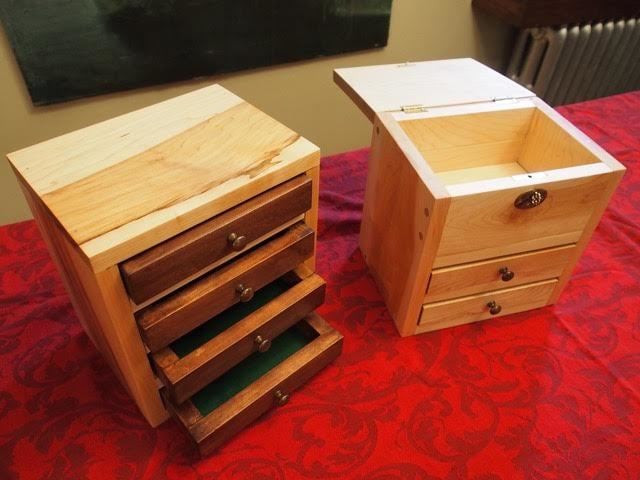
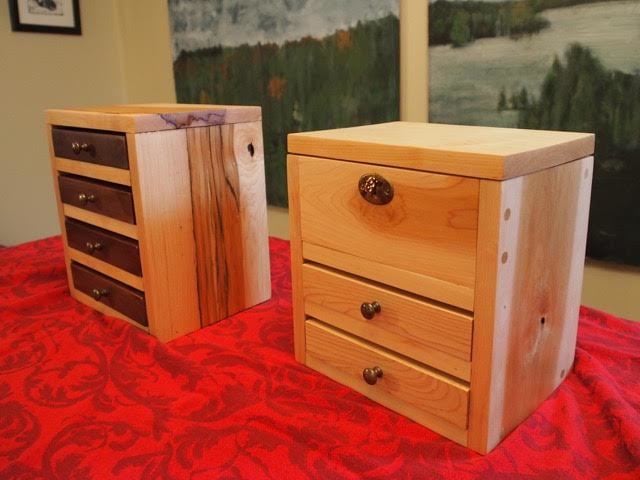
I made these boxes for my daughters for Christmas. I used maple, and I rabbeted the drawers and backs so that the plywood would sit flush. On the first box, I attempted to join with dowels, but as a novice, that didn't work well, and I converted to a few countersunk screws. On the second box, I used glue and nails as the plan suggested, which was much better. Installing the box hinges and lock was the most finicky part of the project.

Built from Plan(s)
Estimated Cost
$150
Estimated Time Investment
Weekend Project (10-20 Hours)
Finish Used
The dark wood is stained with Goudey stain - San Miguel Oak. Goudey is a family-run Toronto business, and they make beautiful stains. For the finish, I used Tried and True varnish oil. Hardware was from Lee Valley Tools.
Recommended Skill Level
Beginner

Comments

JoanneS

Wed, 12/02/2015 - 14:28

Gorgeous jewelry boxes!  You did a beautiful job, and I'm sure your daughers will love them!  Love the finishes too!

Aged turquoise

Submitted by Anonymous (not verified) on Sat, 01/19/2019 - 09:09

Aged rustic turquoise 

Built from Plan(s)
Estimated Time Investment
Day Project (6-9 Hours)
Finish Used
To be auctioned
Recommended Skill Level
Beginner

Cabin Bed

Submitted by coskam14 on Fri, 11/18/2022 - 17:29

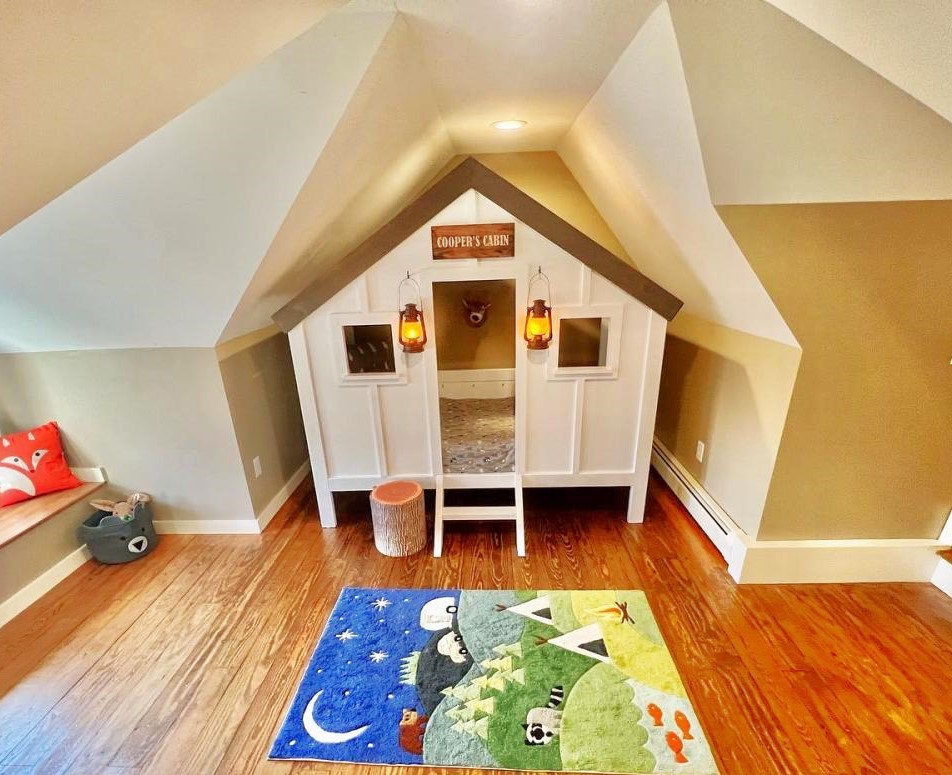
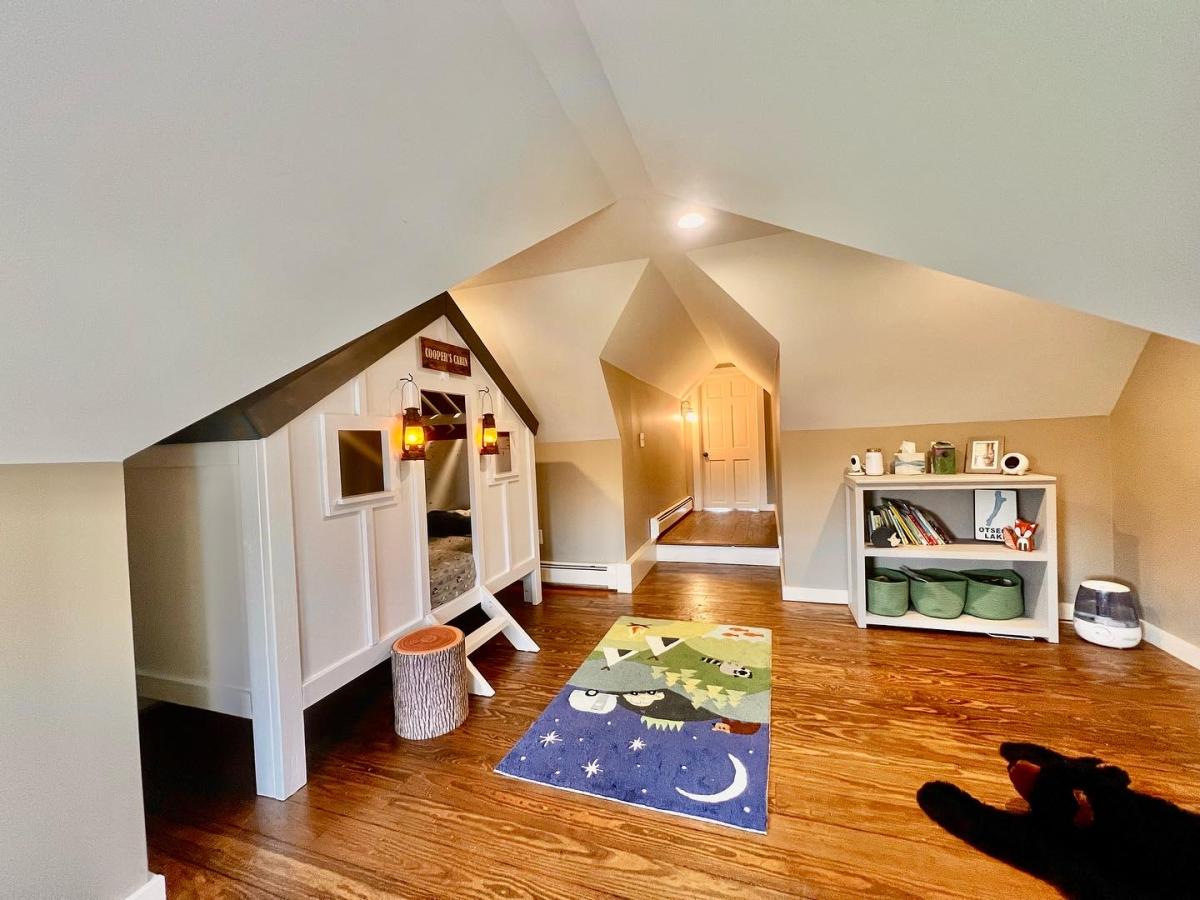
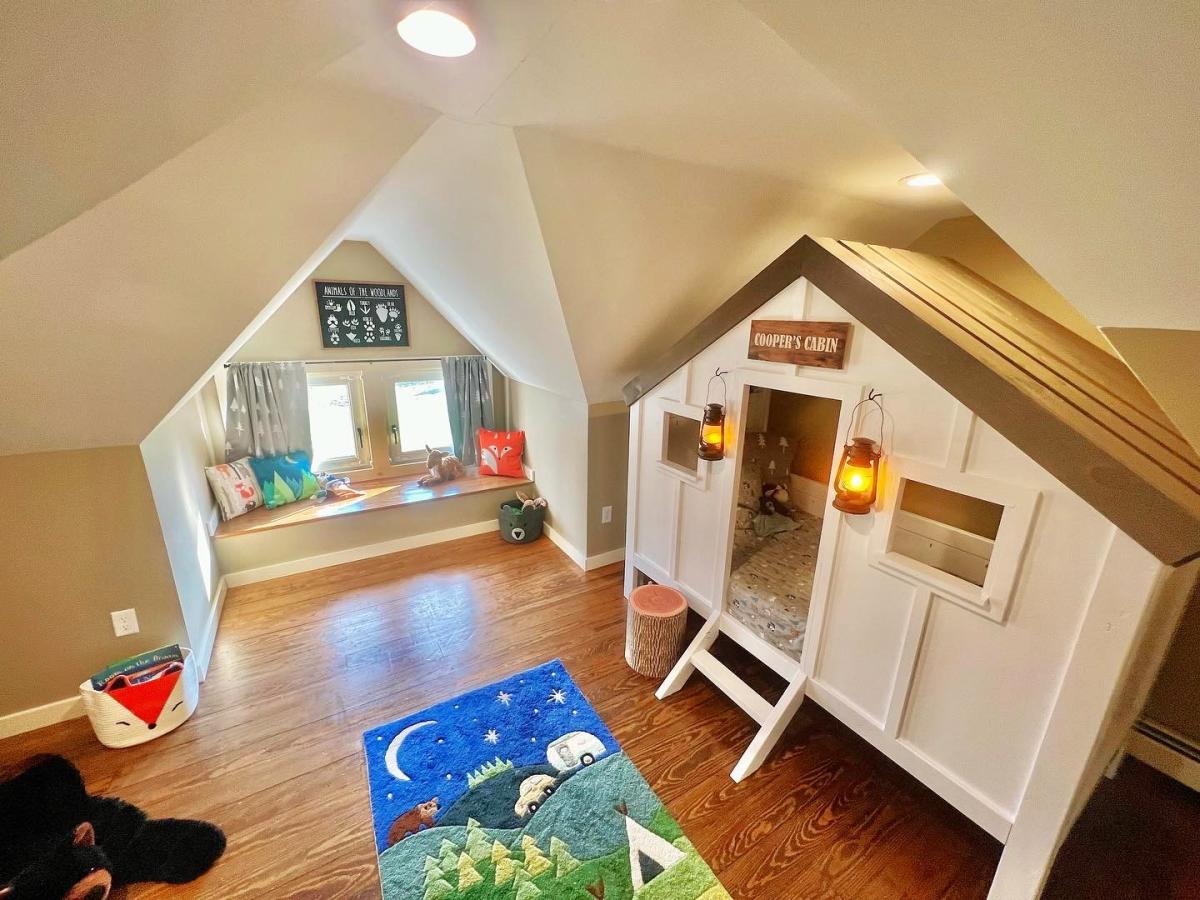
Cabin Bed for toddler. Alternate take on the Jen Woodhouse bed. Built to fit the space

Built from Plan(s)

Comments

step stool #2

kids step stool made using scraps, personalized with name and flowers

Estimated Cost
$0
Estimated Time Investment
Afternoon Project (3-6 Hours)
Finish Used
1. prime
2. two coats Behr watermelon
3. satin poly
Recommended Skill Level
Beginner

Comments

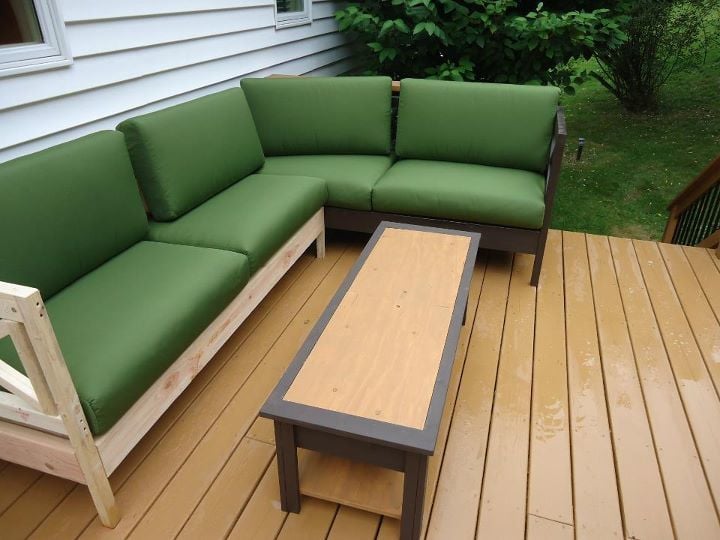
West Elm Outdoor Sectional

My husband surprised me by making this sectional after I found the plans on your site. THANK YOU! We love it! It's been the centre of many cocktails and conversations over the years!
Note: cost includes the cost of the outdoor cushions which were purchased at Lowes Canada and slightly modified.

Estimated Cost
$800.00, including cushions
Estimated Time Investment
Weekend Project (10-20 Hours)
Finish Used
Left as is. This sectional sits outside all year long (we store the cushions indoors over the winter).
Recommended Skill Level
Beginner

Farmhouse table

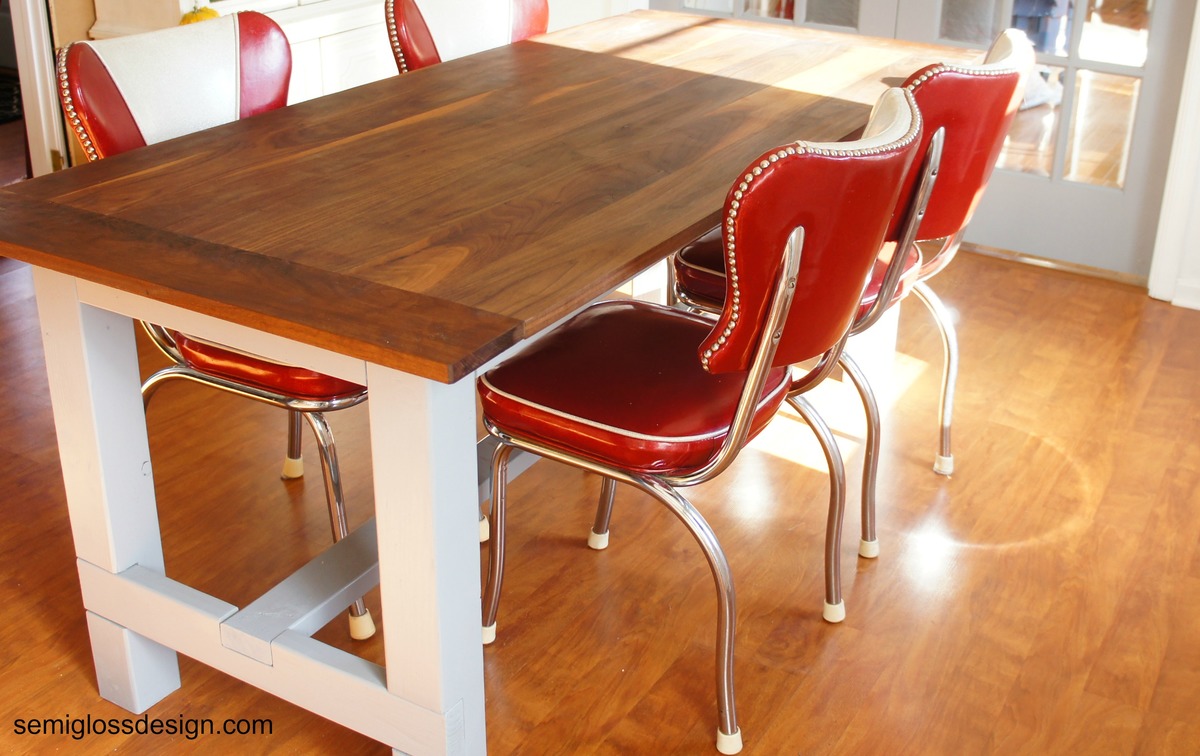
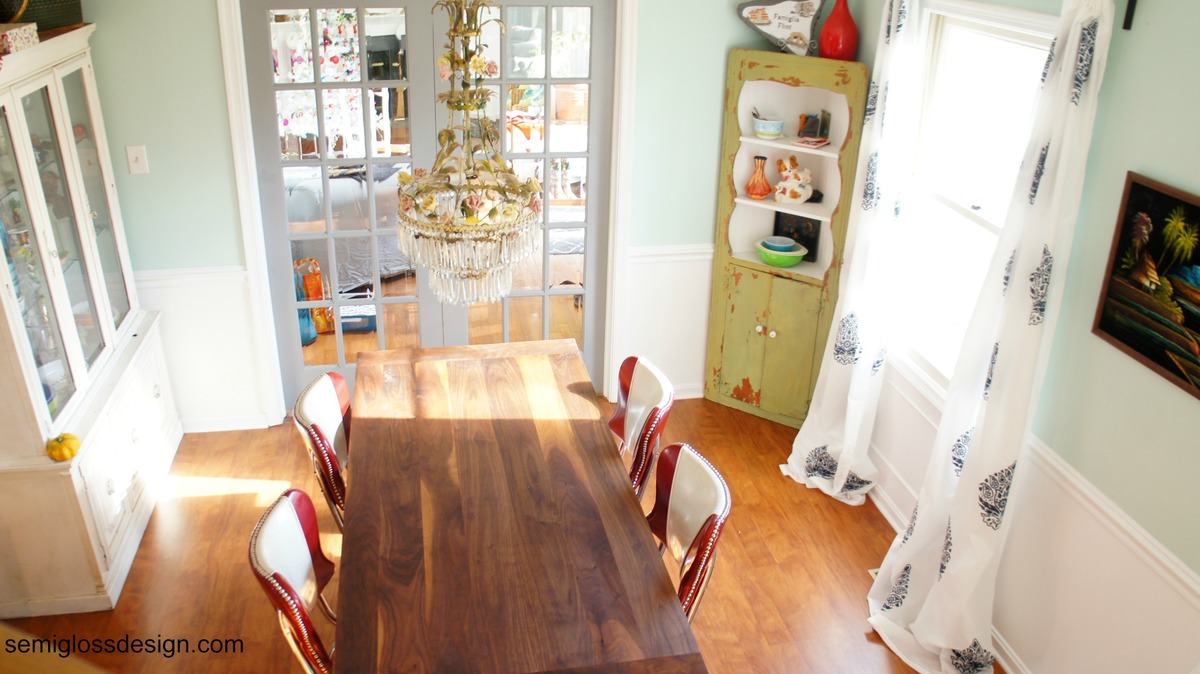
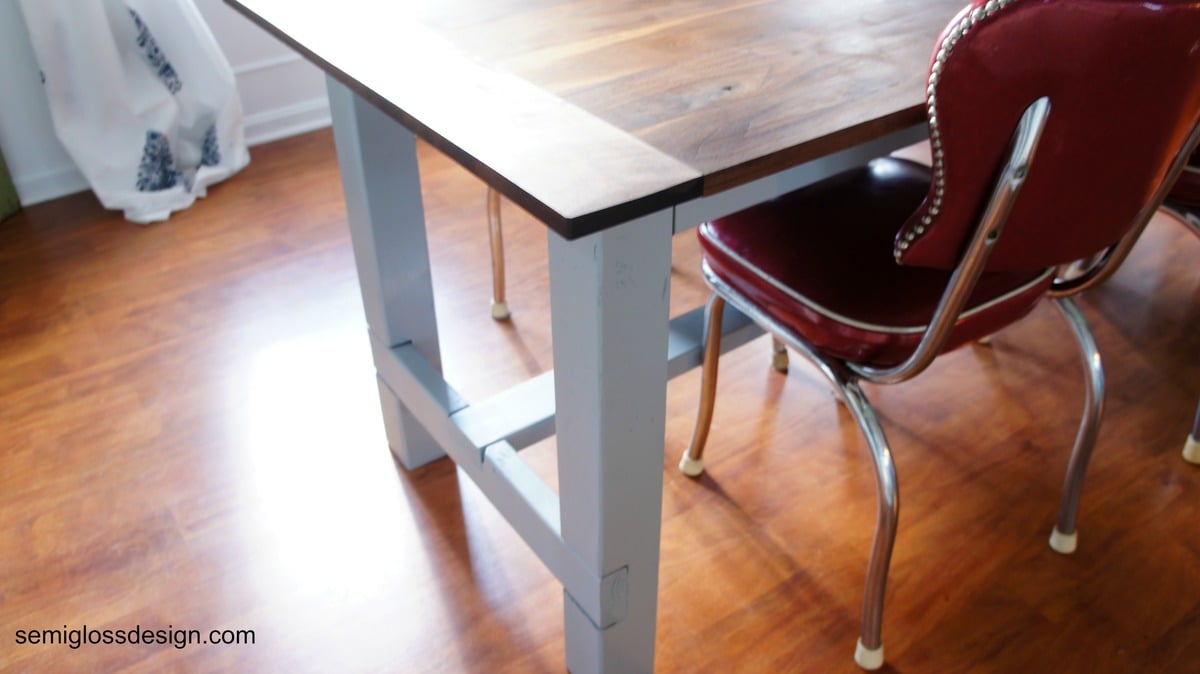
My husband built this table, making slight alterations to the plan to make it smaller. He also picked out beautiful walnut planks from a local exotic wood shop. This made the top have slightly different dimensions, too. The top is finished with teak oil and wax. The bottom part of the table was painted a solid gray. We're thrilled with the results. It's so sturdy!

Estimated Cost
About $300. The walnut cost more than typical lumber. It's worth it.
Estimated Time Investment
Weekend Project (10-20 Hours)
Finish Used
Teak oil in Medium, Howards wax and feed on top. HGTV Sherwin Williams paint in flannel gray
Recommended Skill Level
Beginner

Modified salsa console buffet

Submitted by Anonymous (not verified) on Tue, 01/22/2019 - 16:25

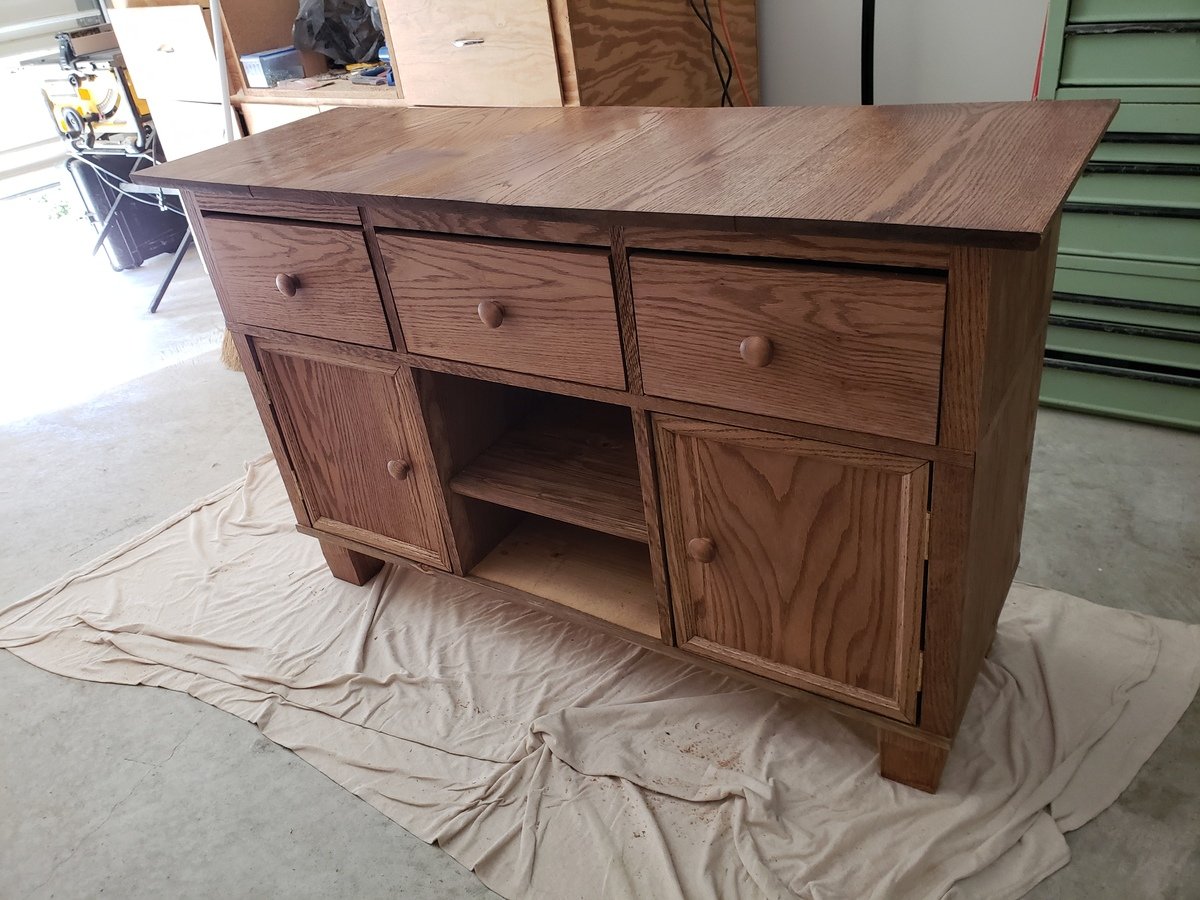
Made a little smaller than original plans and completely out of oak  

Built from Plan(s)
Estimated Cost
400 (oak is expensive)
Estimated Time Investment
Weekend Project (10-20 Hours)
Finish Used
Minwax early american.
Recommended Skill Level
Intermediate

Weatherly Sofa Sectional and Mom's Lego Table

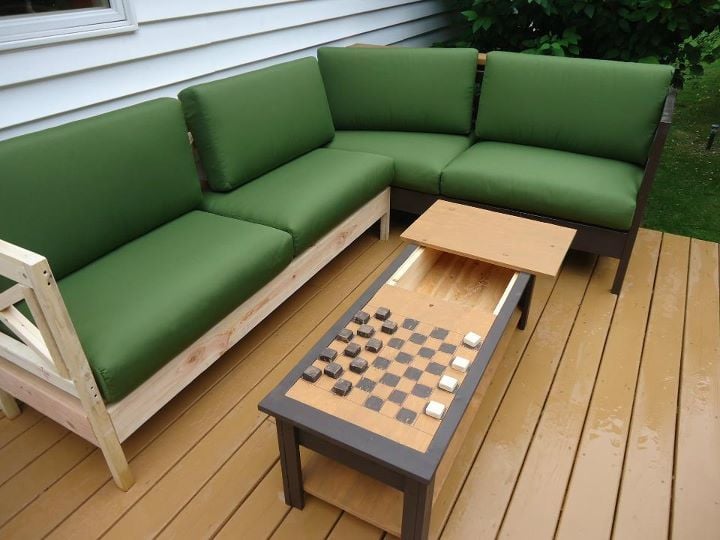
Two weatherly sofas butted up against each other make a great sectional! The "Lego" table has a checkerboard on the bottom of one of the removeable table top sides, and the other acts as a water table for the little one to splash around in. Thanks so much for the plans! These were all fun projects!

Estimated Cost
$360 for wood, stain and cushions.
Estimated Time Investment
Weekend Project (10-20 Hours)
Finish Used
Water based stain.
Recommended Skill Level
Beginner

Comments

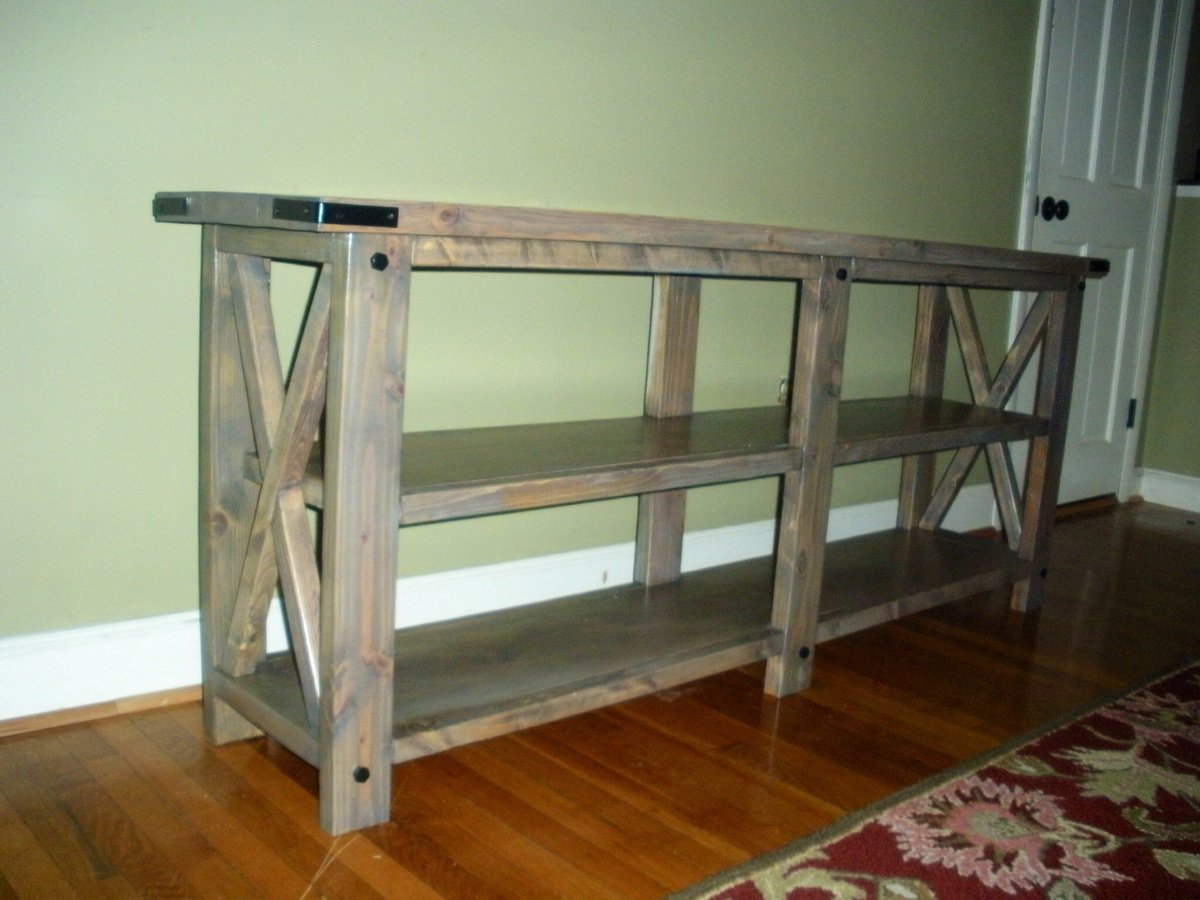
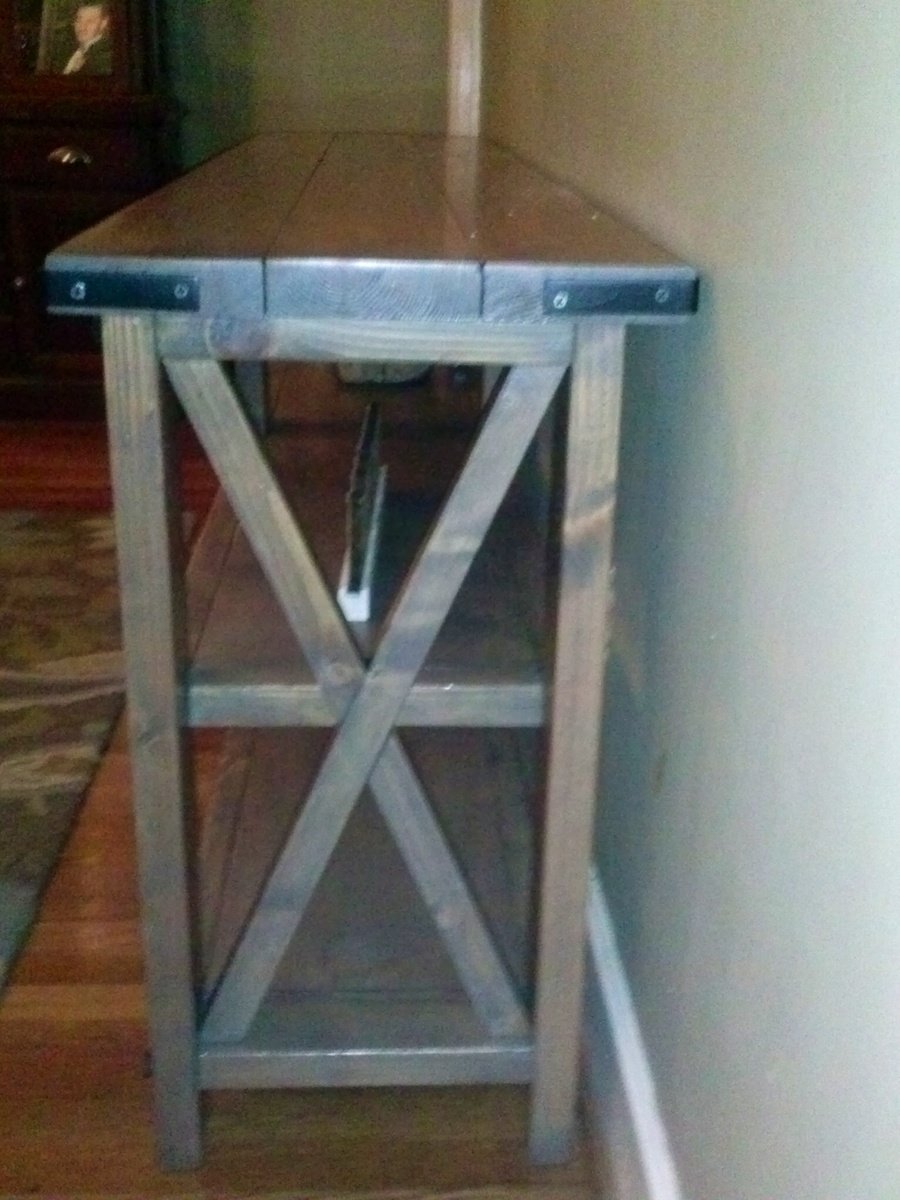
Rustic X Console Table

This was one of my favorite projects!!!  I never could of completed this project without the guidance of Ana's blog and Hilary From the Friendly House. Thank you!!!

Built from Plan(s)
Estimated Time Investment
Weekend Project (10-20 Hours)
Recommended Skill Level
Intermediate

Rocket bookcase

Submitted by Anonymous (not verified) on Tue, 01/29/2019 - 16:02

My son saw this project and wanted a rocketship.  I was also tired of piling up his books on the floor.  The only wood I bought for it was 1/4" ply for the back as I used leftover 3/4" plywood for the bookcase itself.  Fairly easy with a Kreg, it just took a little while to finish all of the painting.

Built from Plan(s)
Estimated Time Investment
Day Project (6-9 Hours)
Finish Used
the only paint I bought for this was the red - just bought a sample of Behr's MPH in Satin. I used leftover Behr National Anthem (originally purchased for a dresser that I made my son) and some shade of white that Ihad used on closets (eggshell sheen but can't remember the exact color).
And of course, Zinsser Bullseye primer.
Recommended Skill Level
Beginner

Modern Comfort Outdoor Sofa

Submitted by LinzFritz on Fri, 09/09/2011 - 18:45

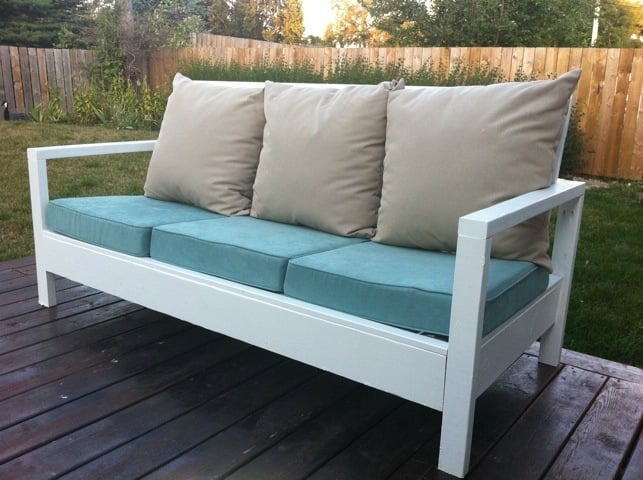
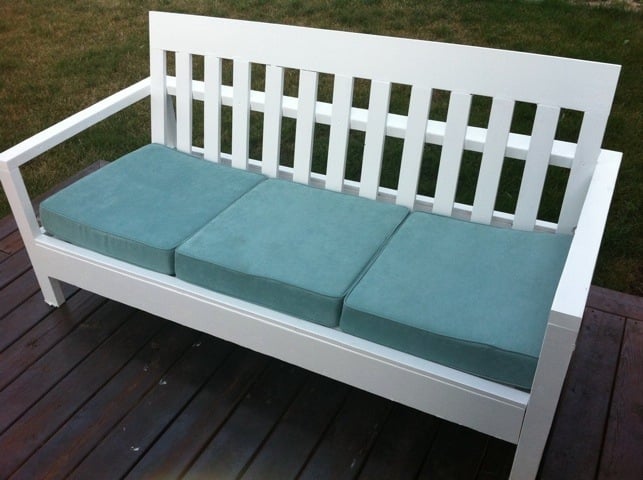
I built this sofa in one day, and painted it the next! I procrastinated all summer, and now that it's almost fall I decided to finally build it so that I could relax on the sofa in the back yard for the last month of nice weather here in Winnipeg. The plans were fantastic, the only problem I had was finding 24x24 cushions. The closest I could find were 22x22, so I adjusted the plans accordingly. It turned out well but I prefer it without the back cushions because that way there's more lounging room. Thank you so much for the plans!

Estimated Time Investment
Day Project (6-9 Hours)
Finish Used
Rustoleum glossy white outdoor paint
Recommended Skill Level
Beginner

Comments

SingleMomThriving

Mon, 09/12/2011 - 08:56

Good idea to look for the cushions first and adjust accordingly. I love the color you chose to... works very well with the white sofa and warm wood deck. I agree that it is more inviting without the back pillows... That way you can see the wonderful detail of the back

karisaija

Tue, 05/12/2020 - 11:30

Beautiful!
I am so confused. Multiple people who have built this mention Ana's being 24 x 24. I can not find any plans for 2 x 4 sofa or couch with 24 x 24" cushions. I have spent days searching the interwebs.....

Seasonal And Holiday

My Very First Project

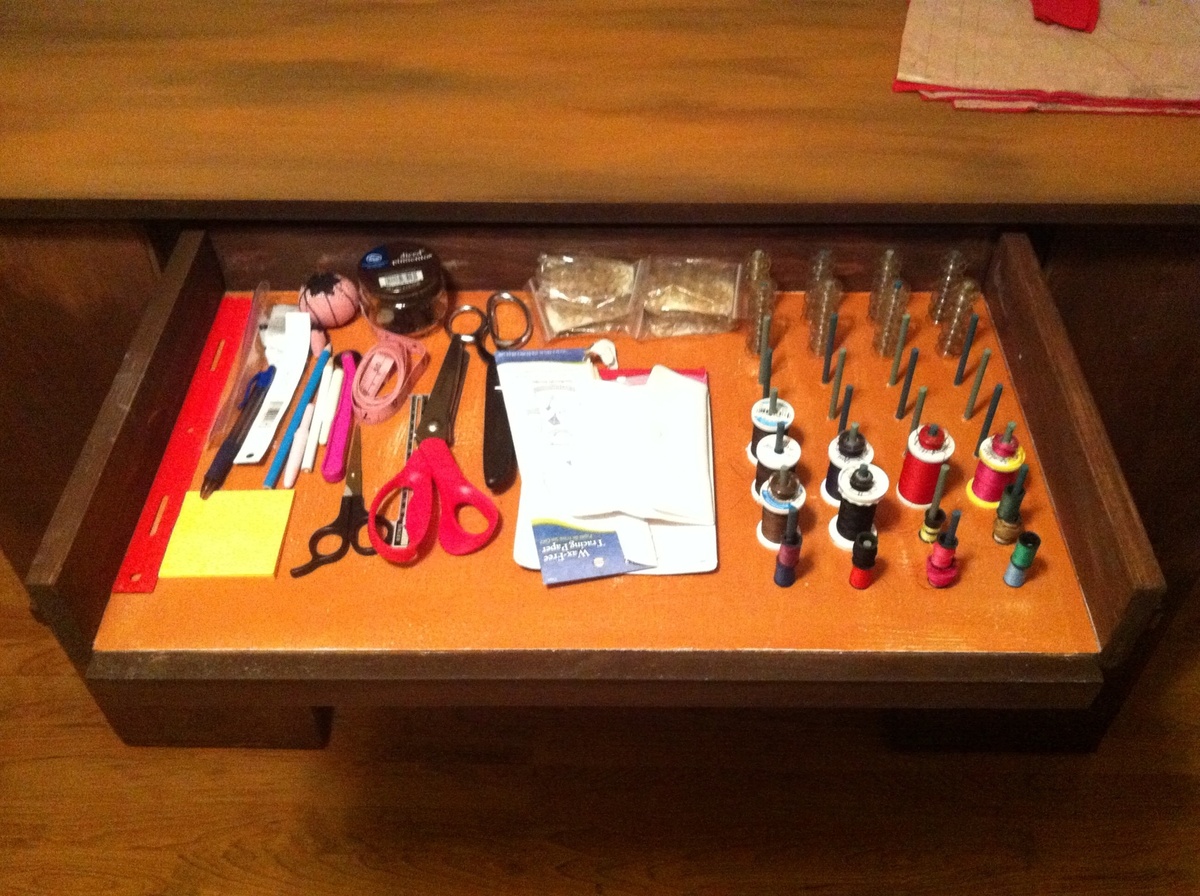
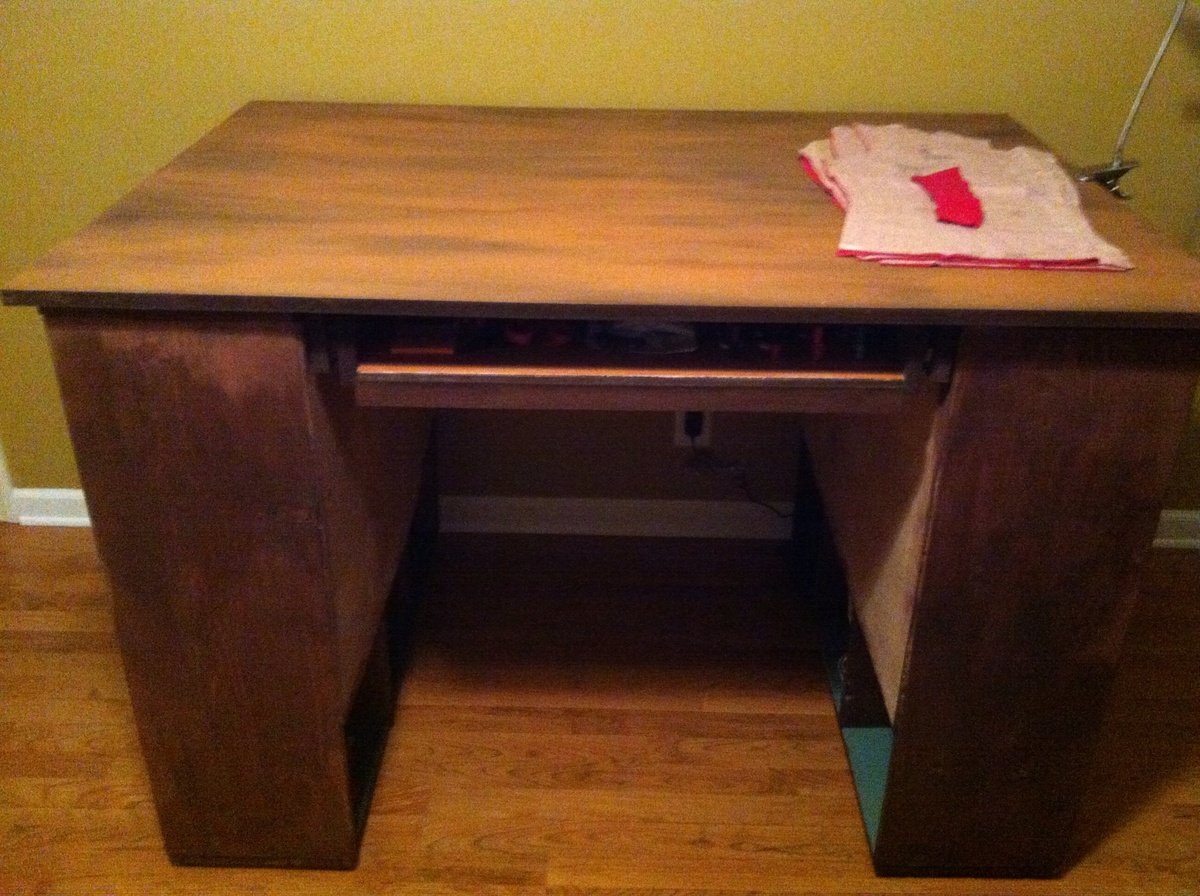
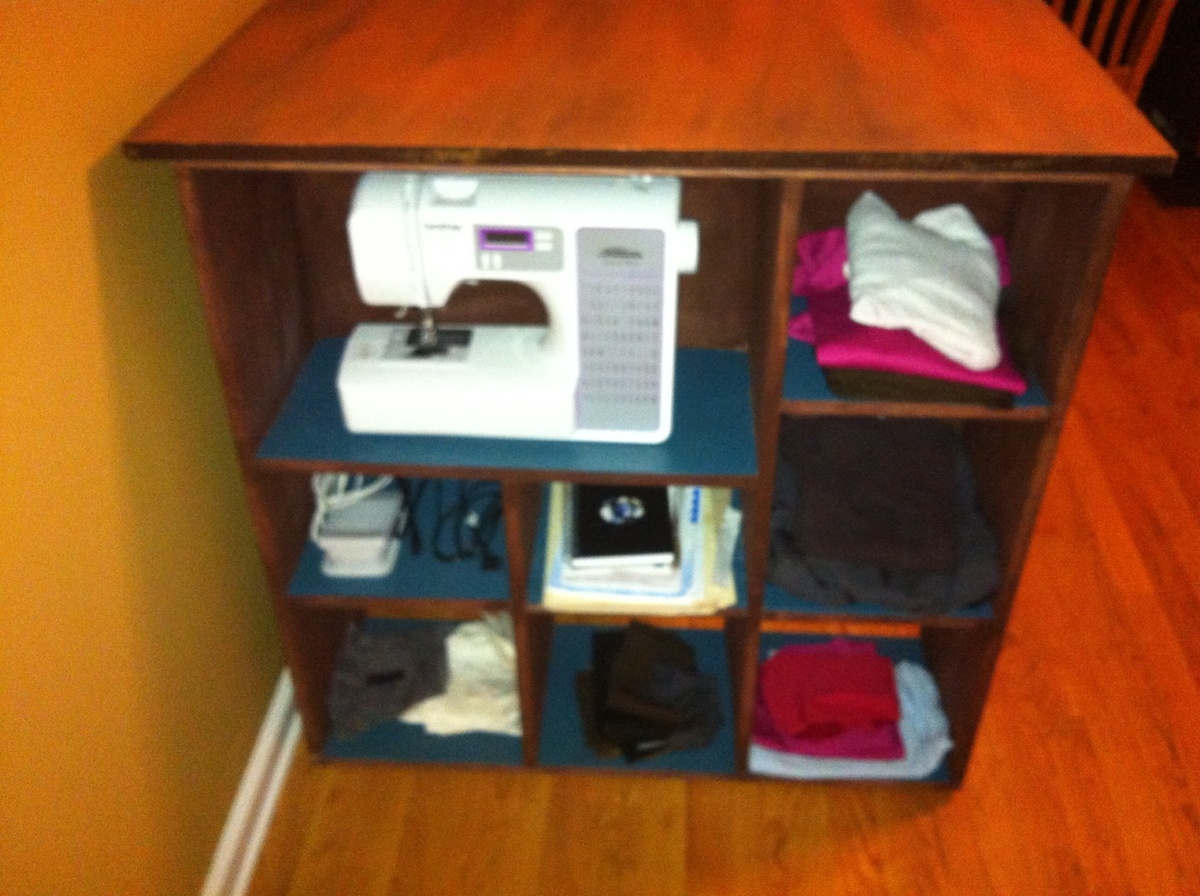
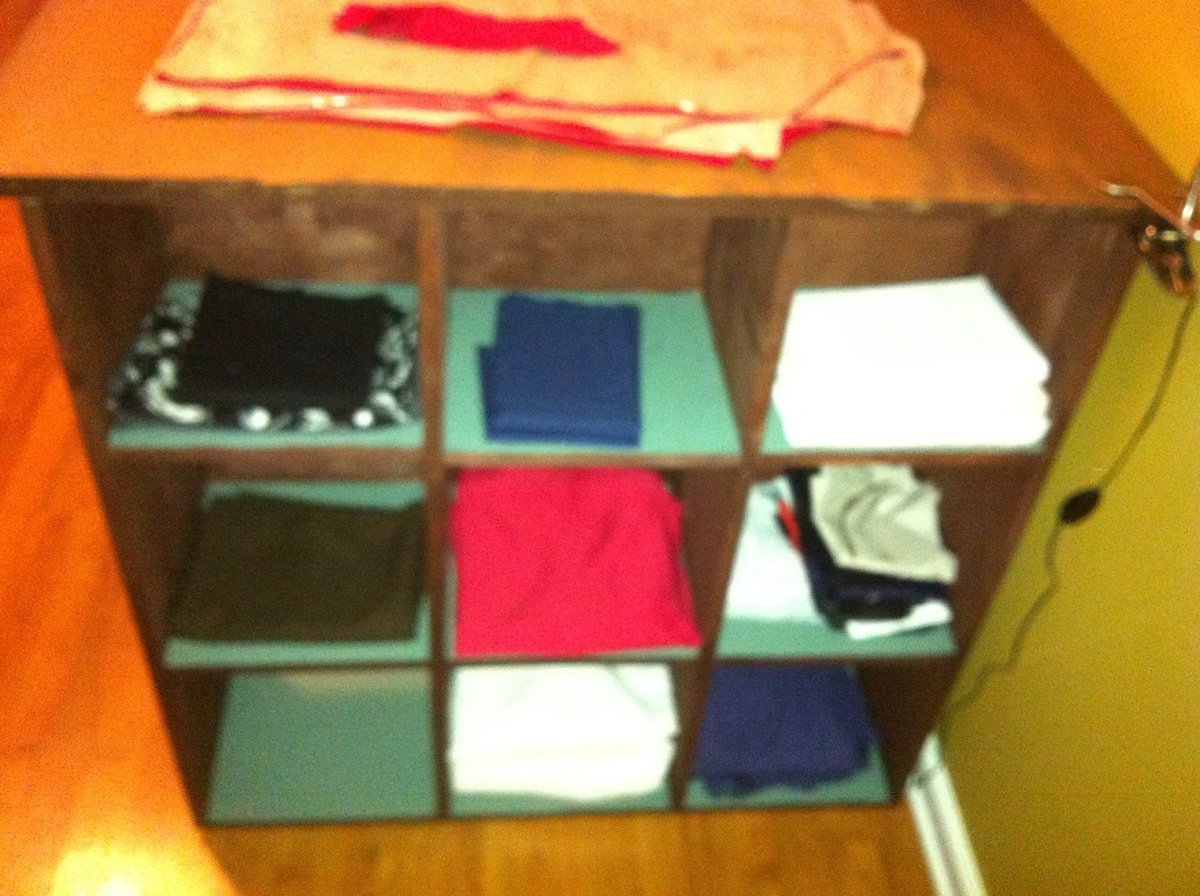
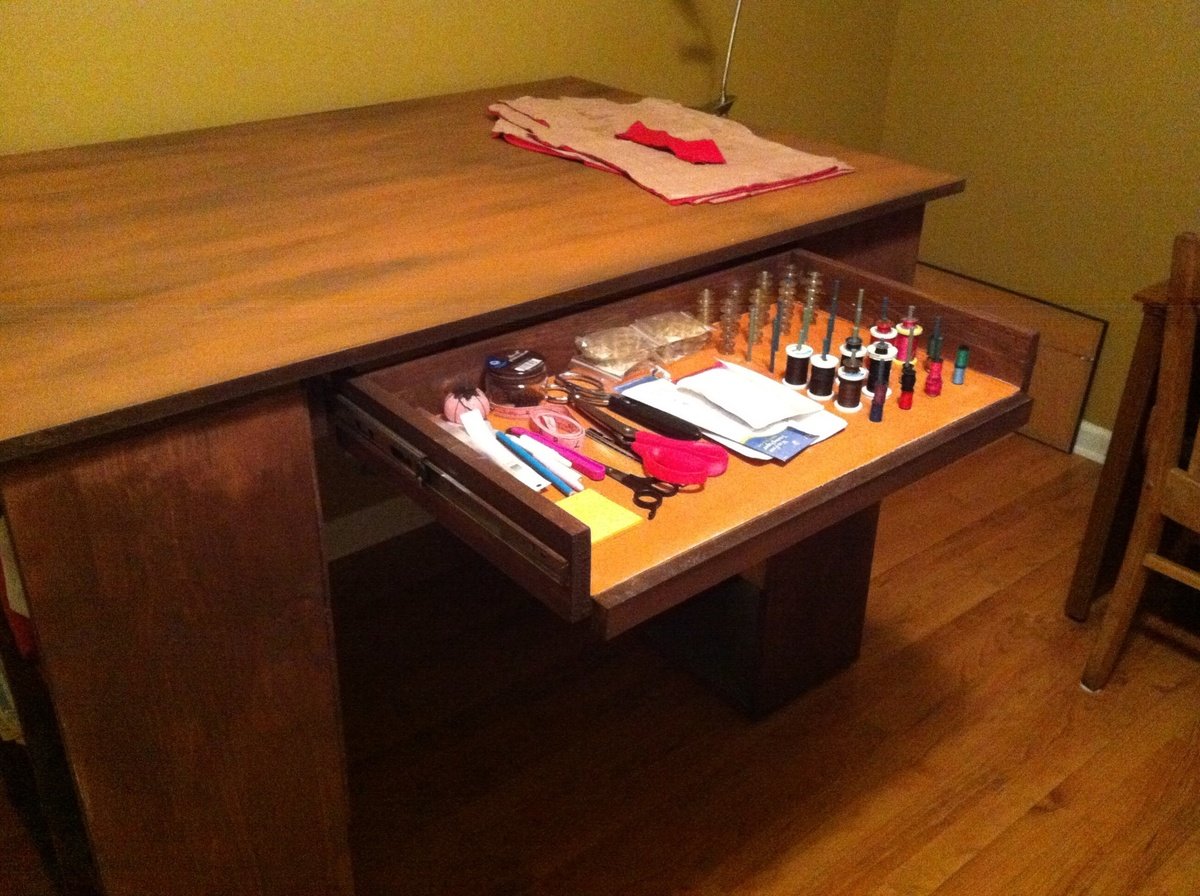
I modified one of the cubby book shelves for storing my sewing machine, altered the plan to have only 1 drawer since it will be against the wall and added dowel pegs to the drawer to hold thread spools.
This was very challenging but well worth it. I am excited because I was able to make this. Thank you!

Estimated Cost
$320
Estimated Time Investment
Week Long Project (20 Hours or More)
Finish Used
Wood stain and enamel paint
Recommended Skill Level
Beginner

Comments

deskchairnow

Tue, 10/08/2013 - 02:53

My first project was really very tough. When we work on raw furniture or old home furniture, then we should take care about the damage of our important or valuable furniture items. It is really very exciting and good feeling time for all beginners.