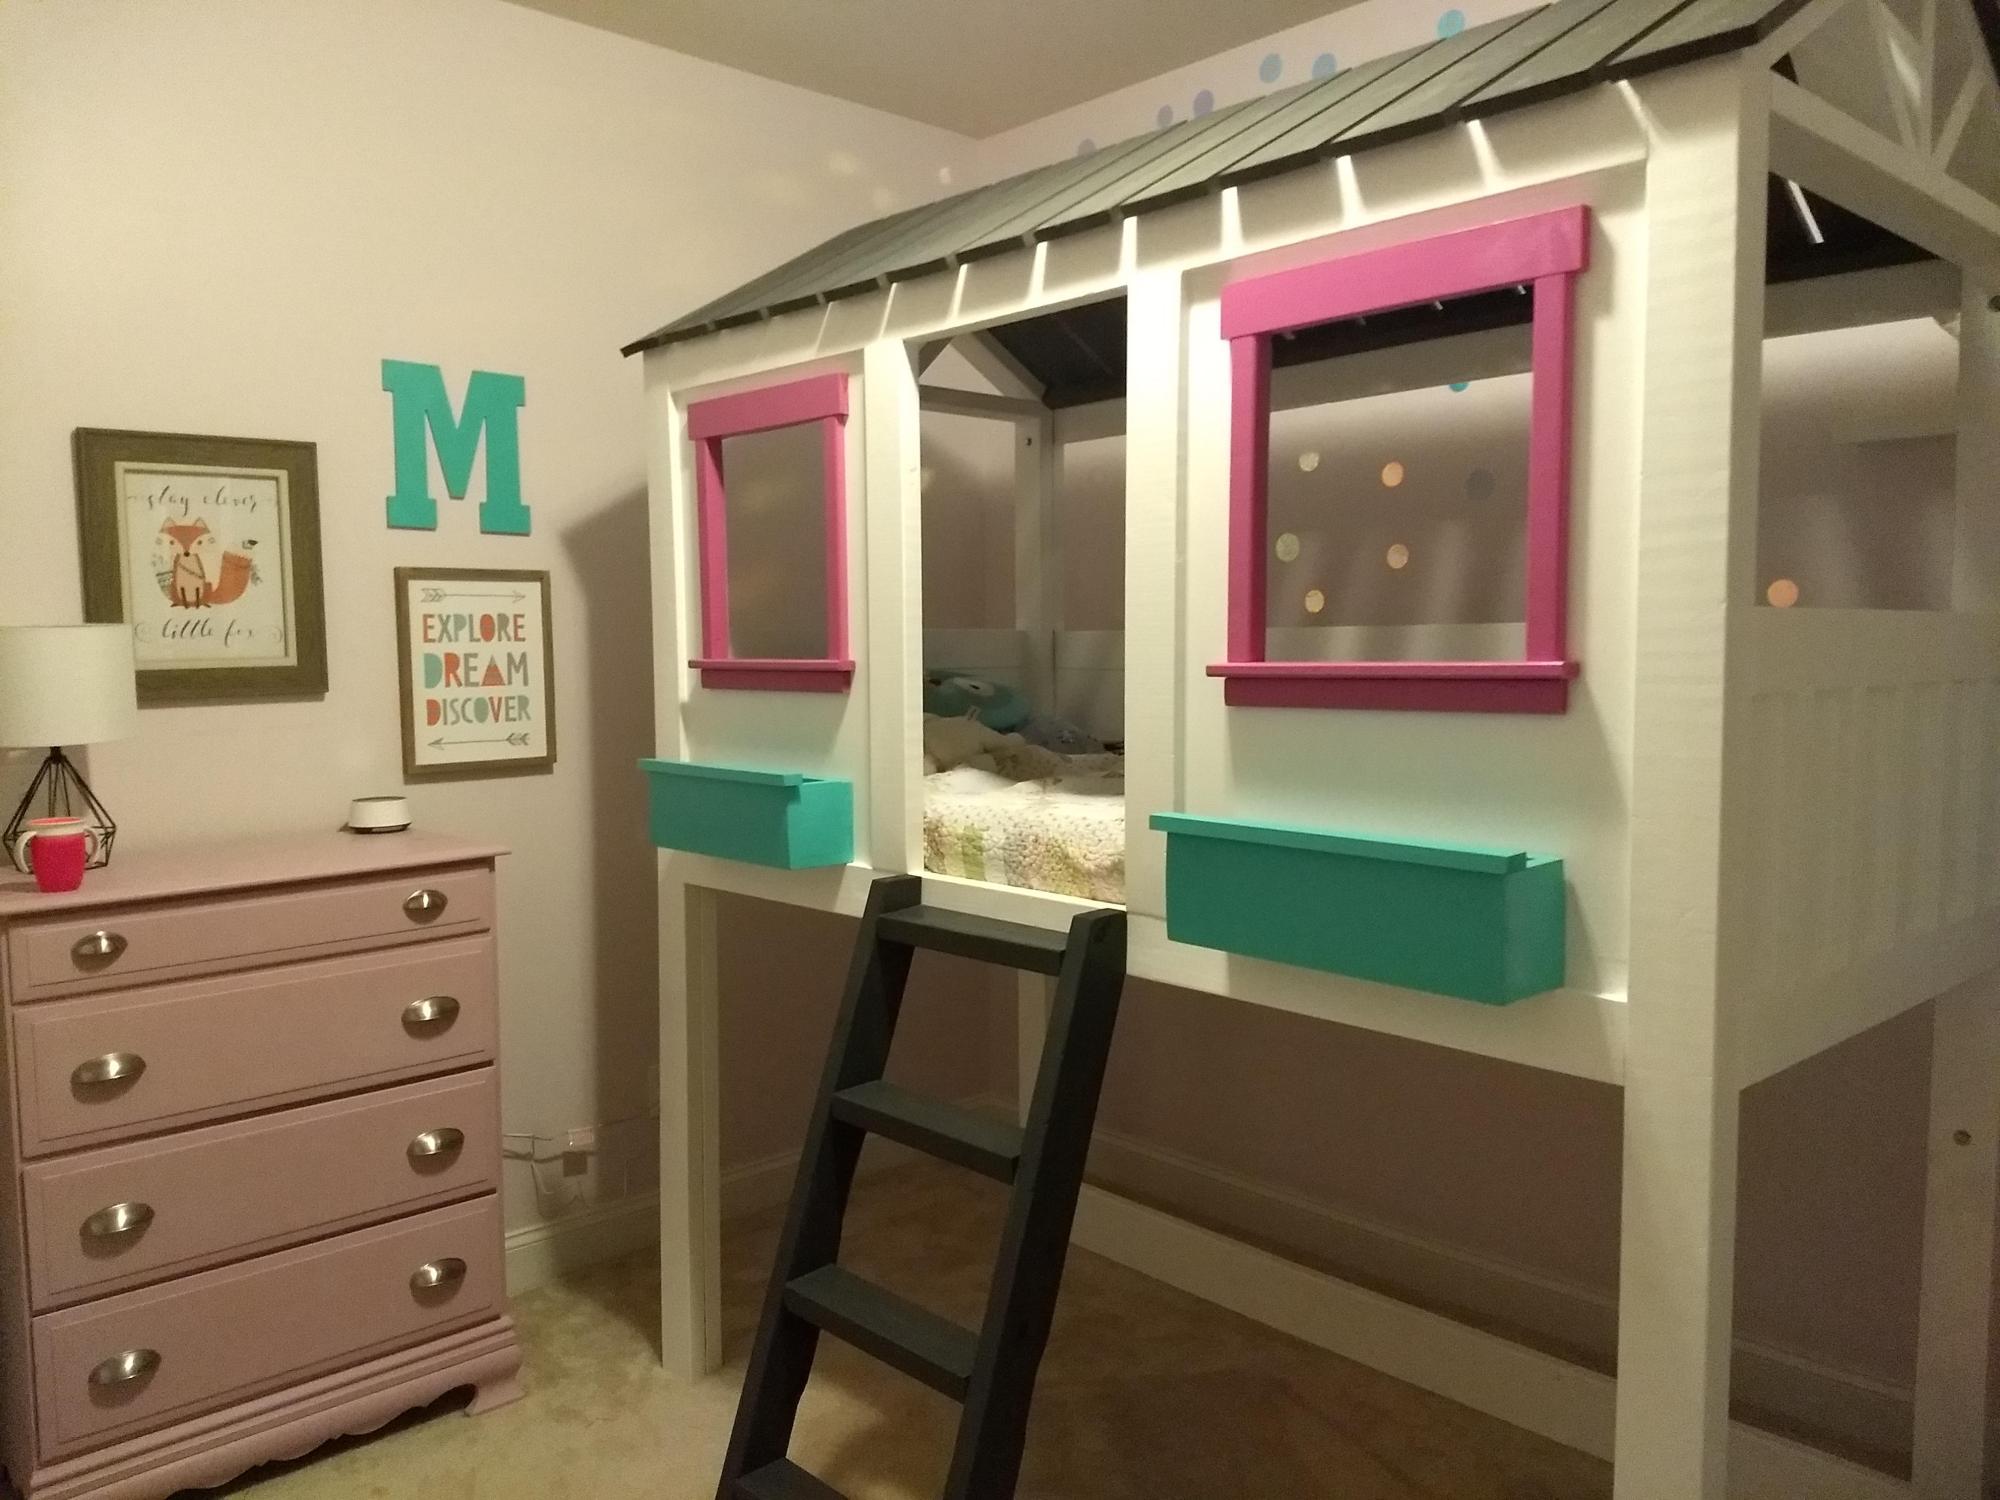
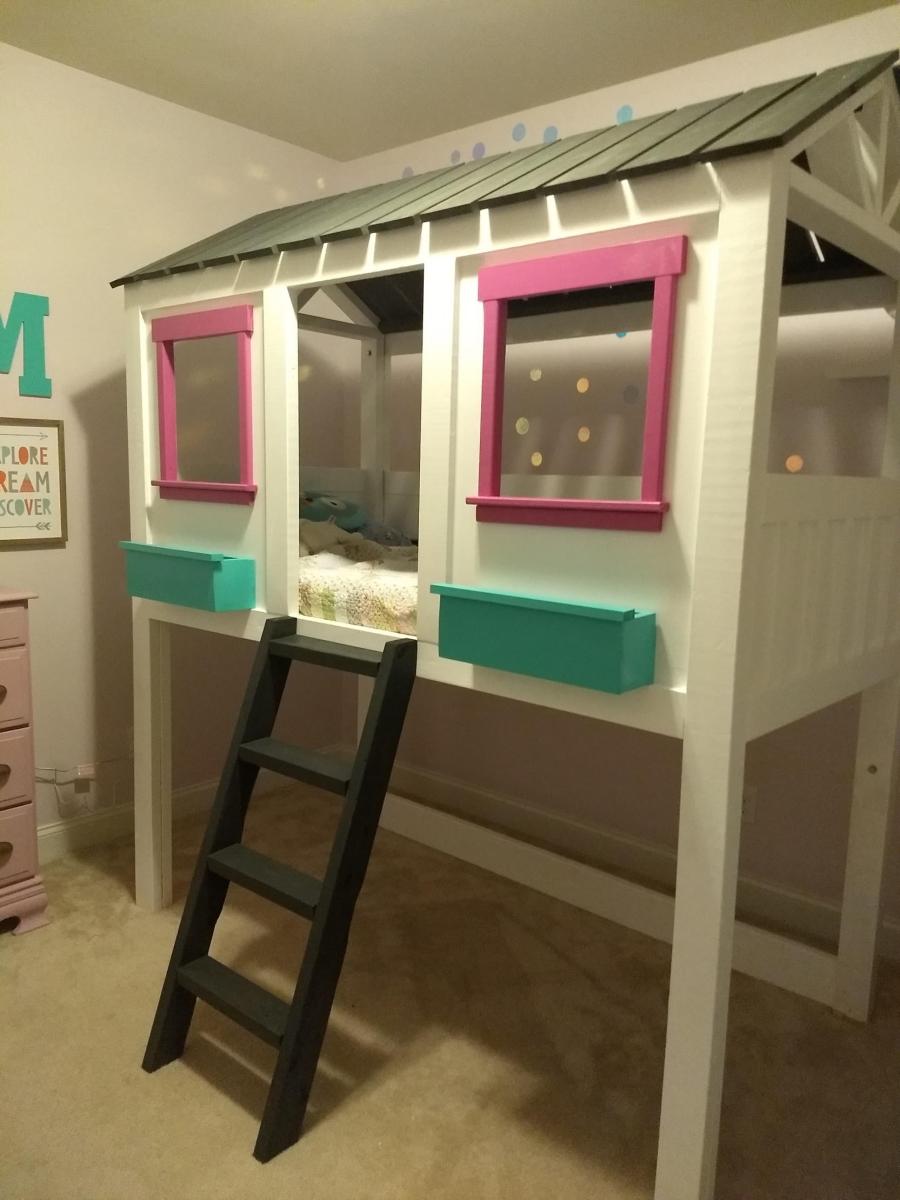
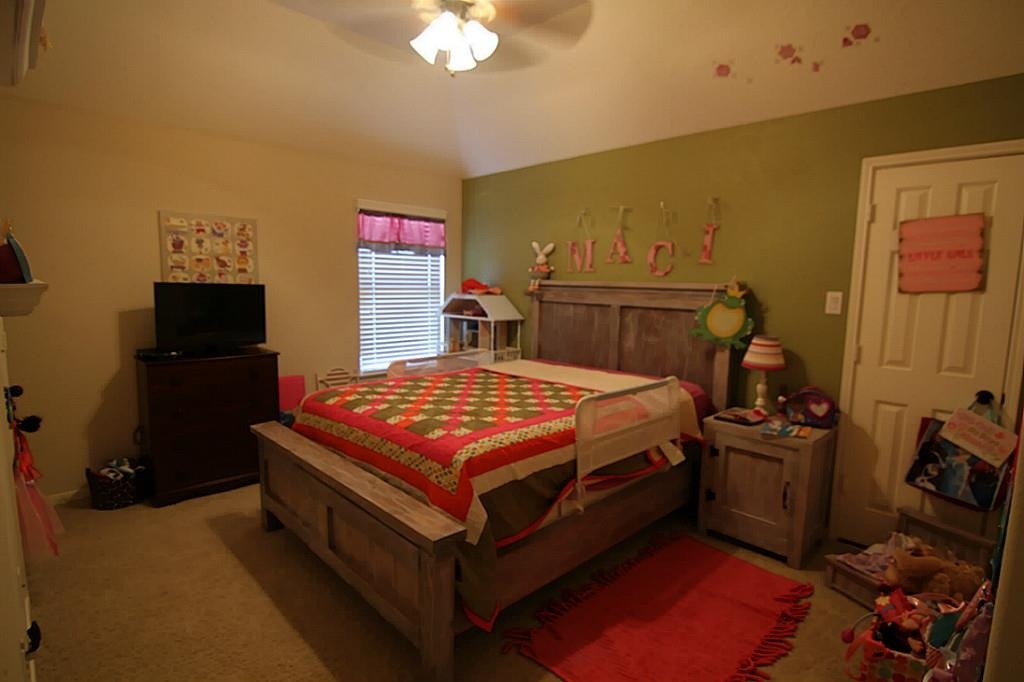
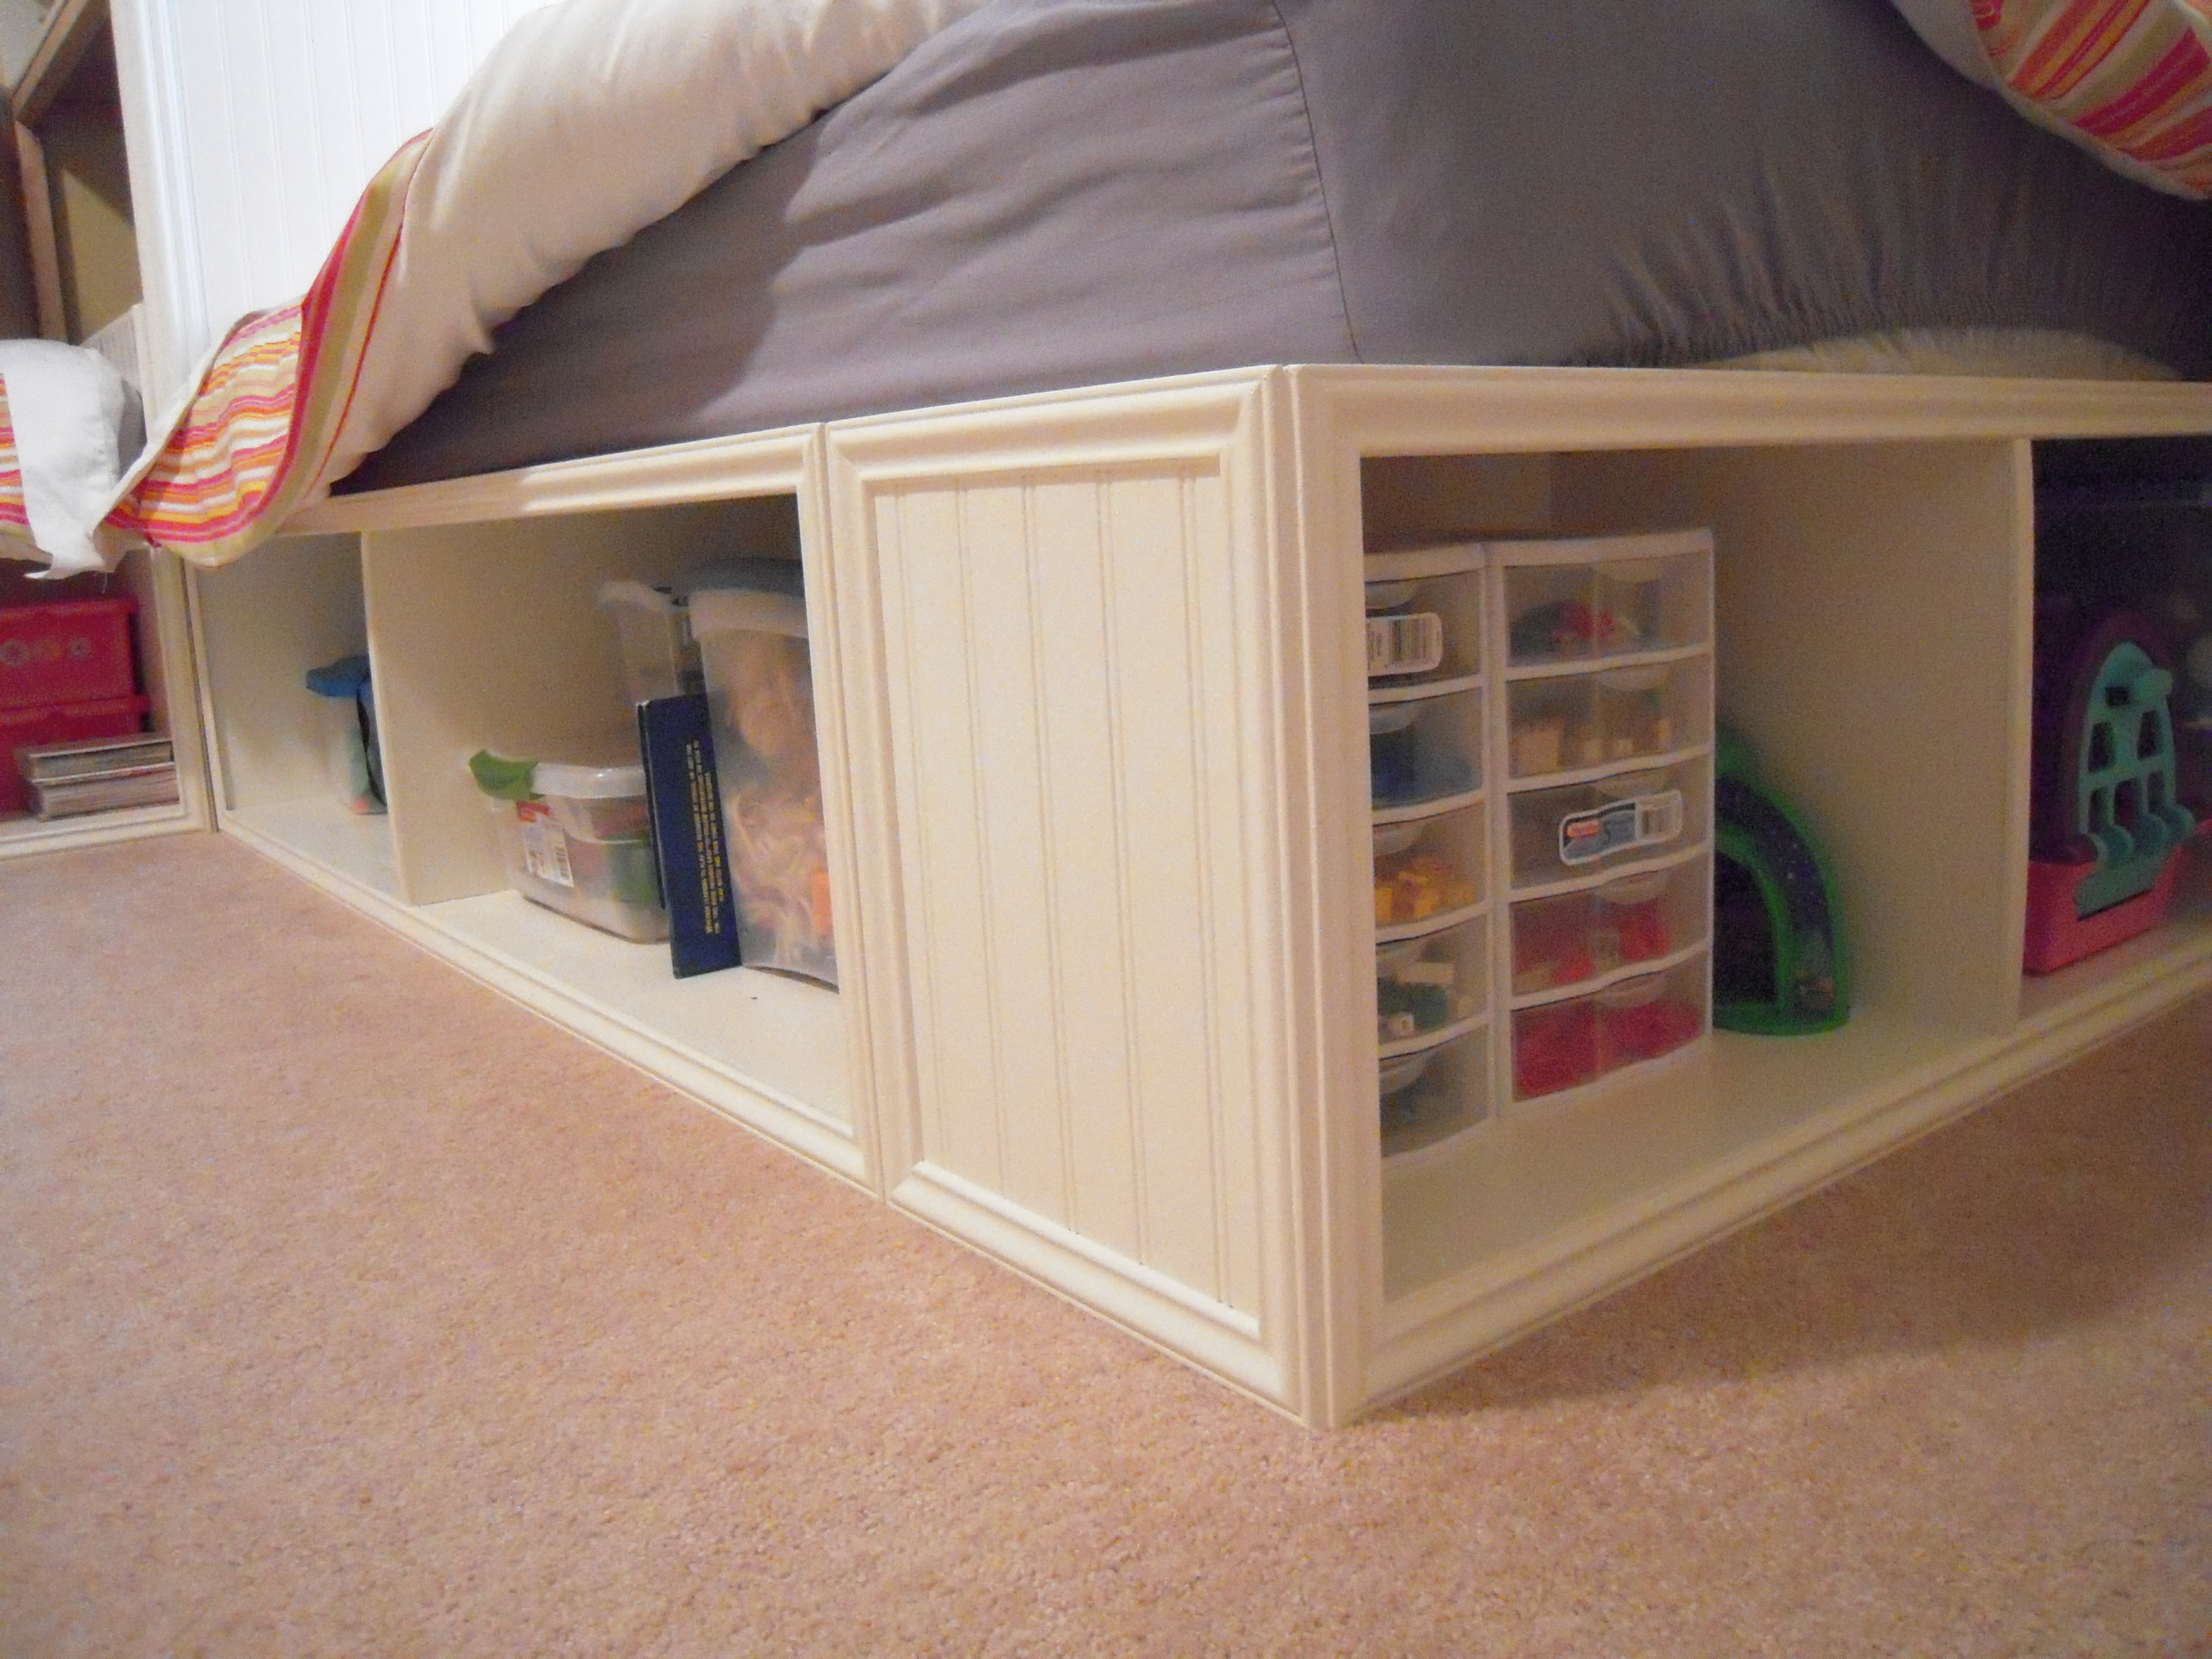
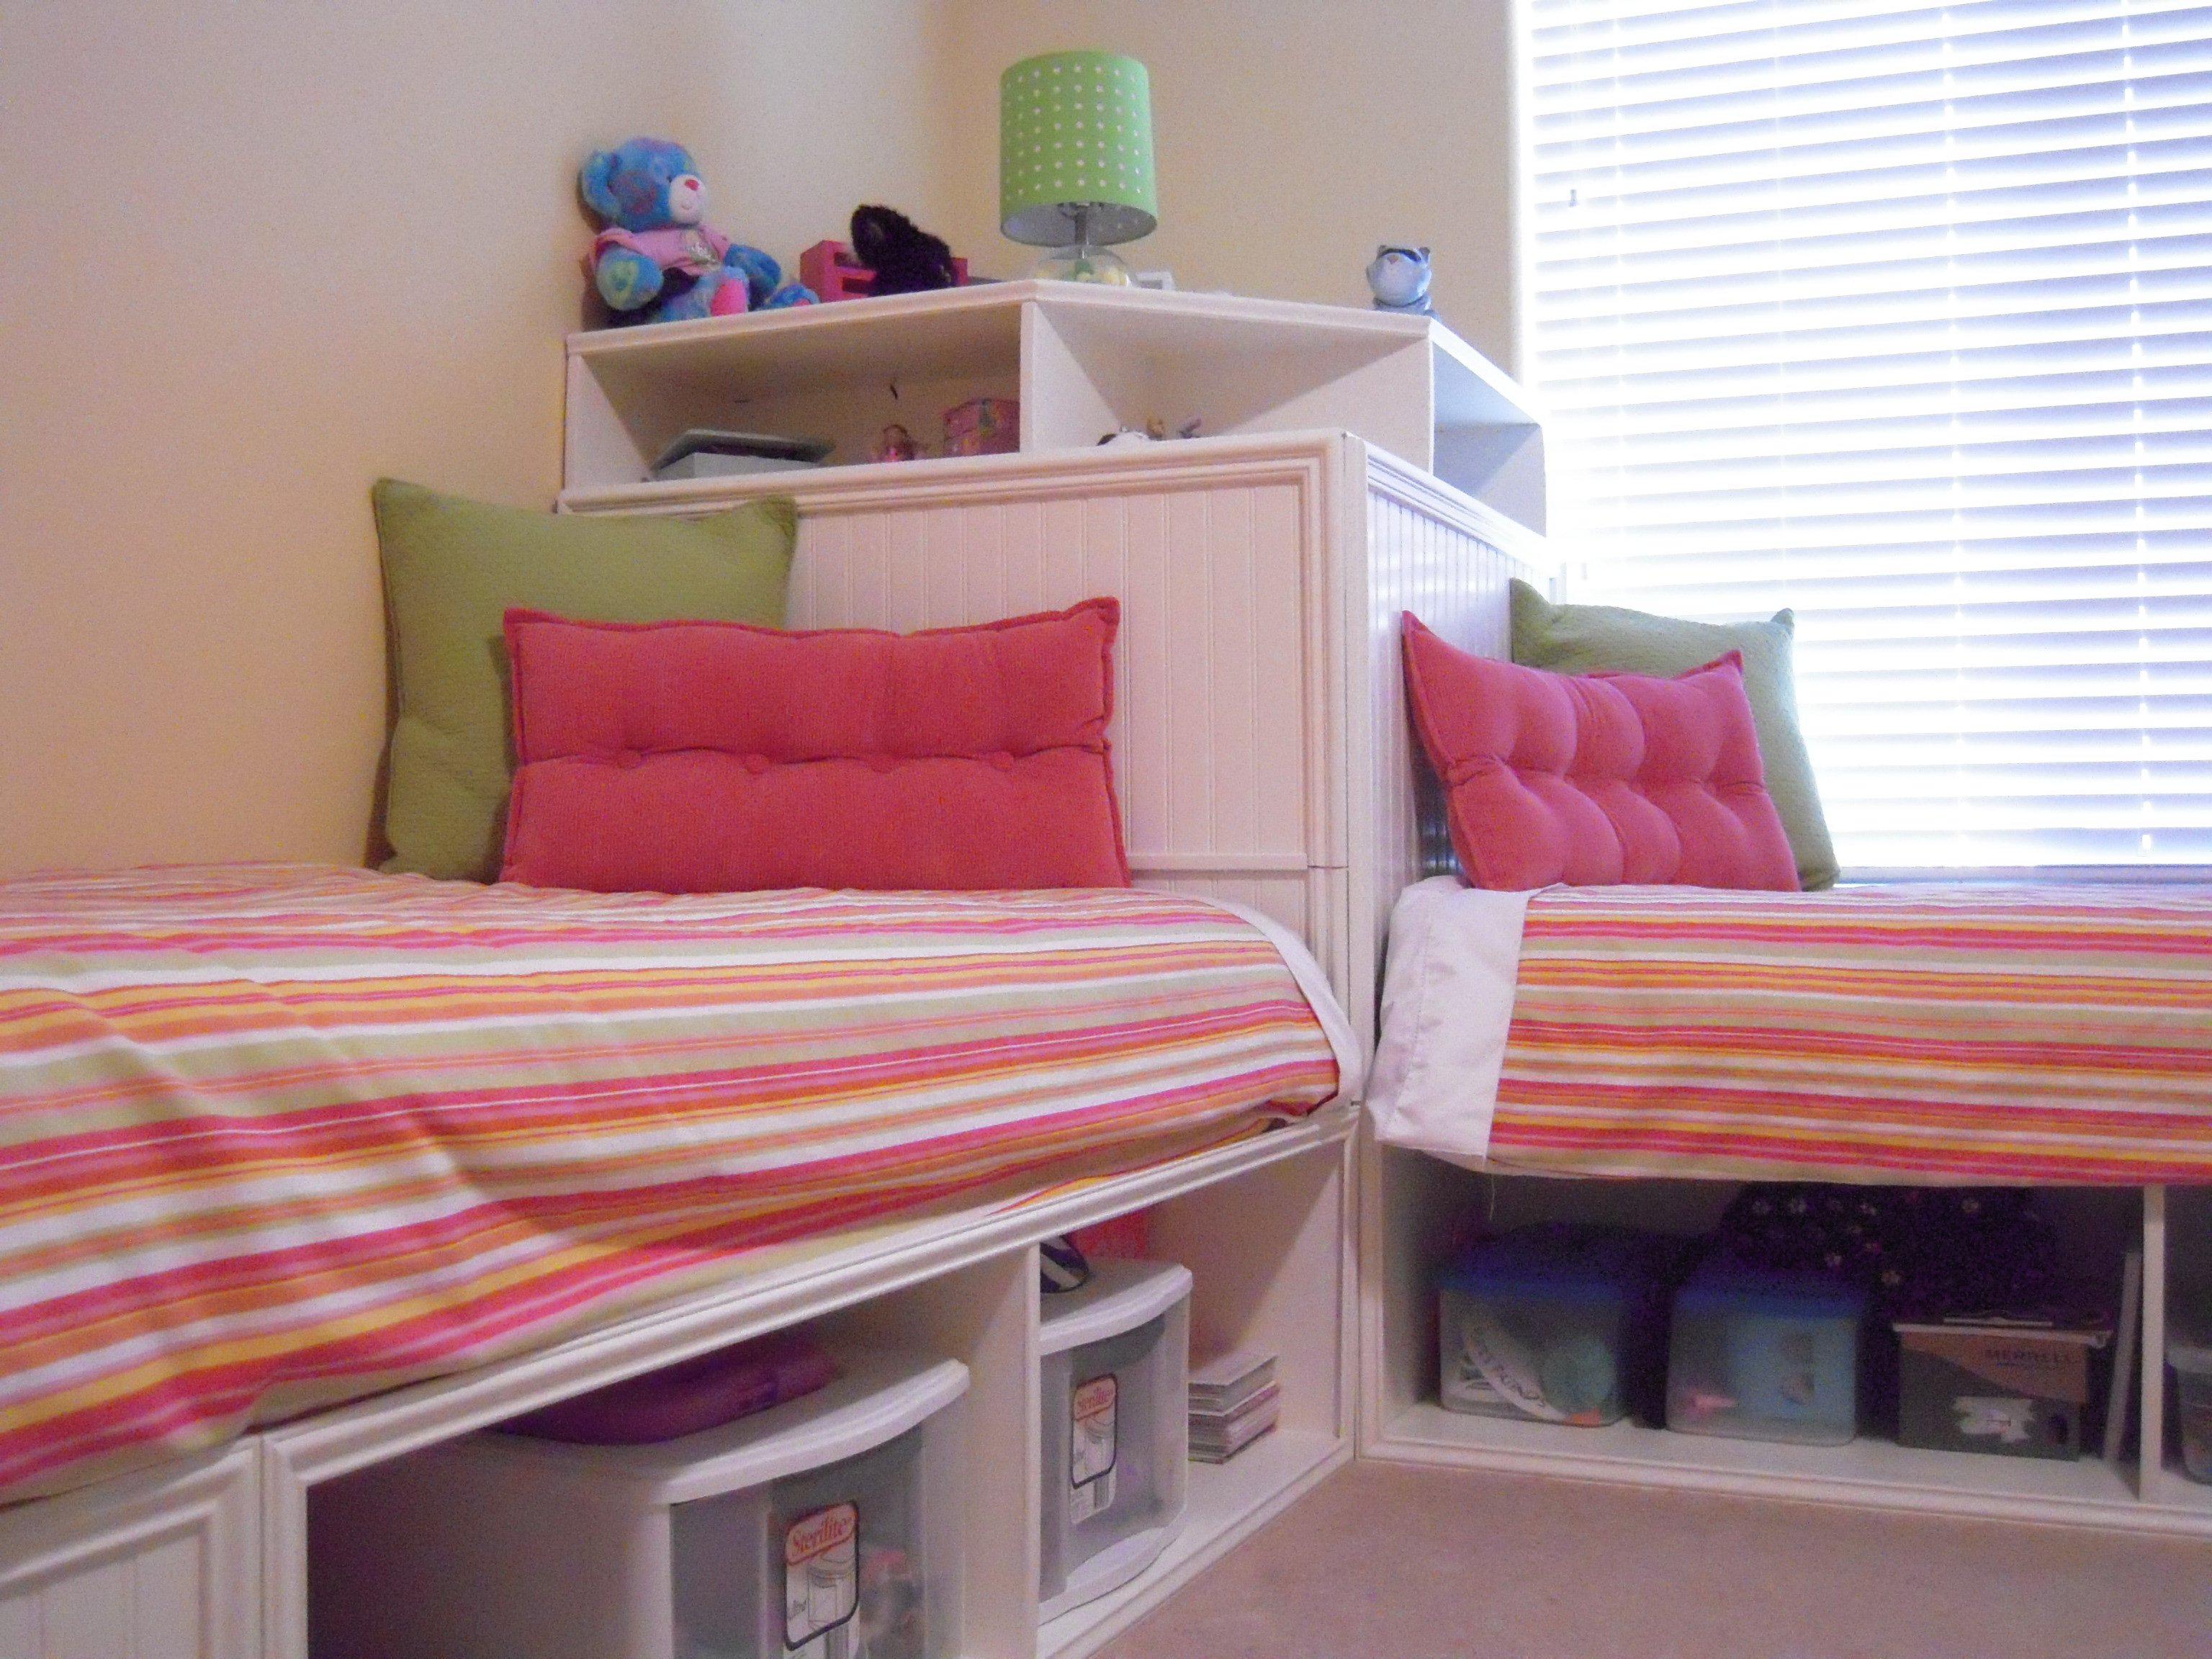
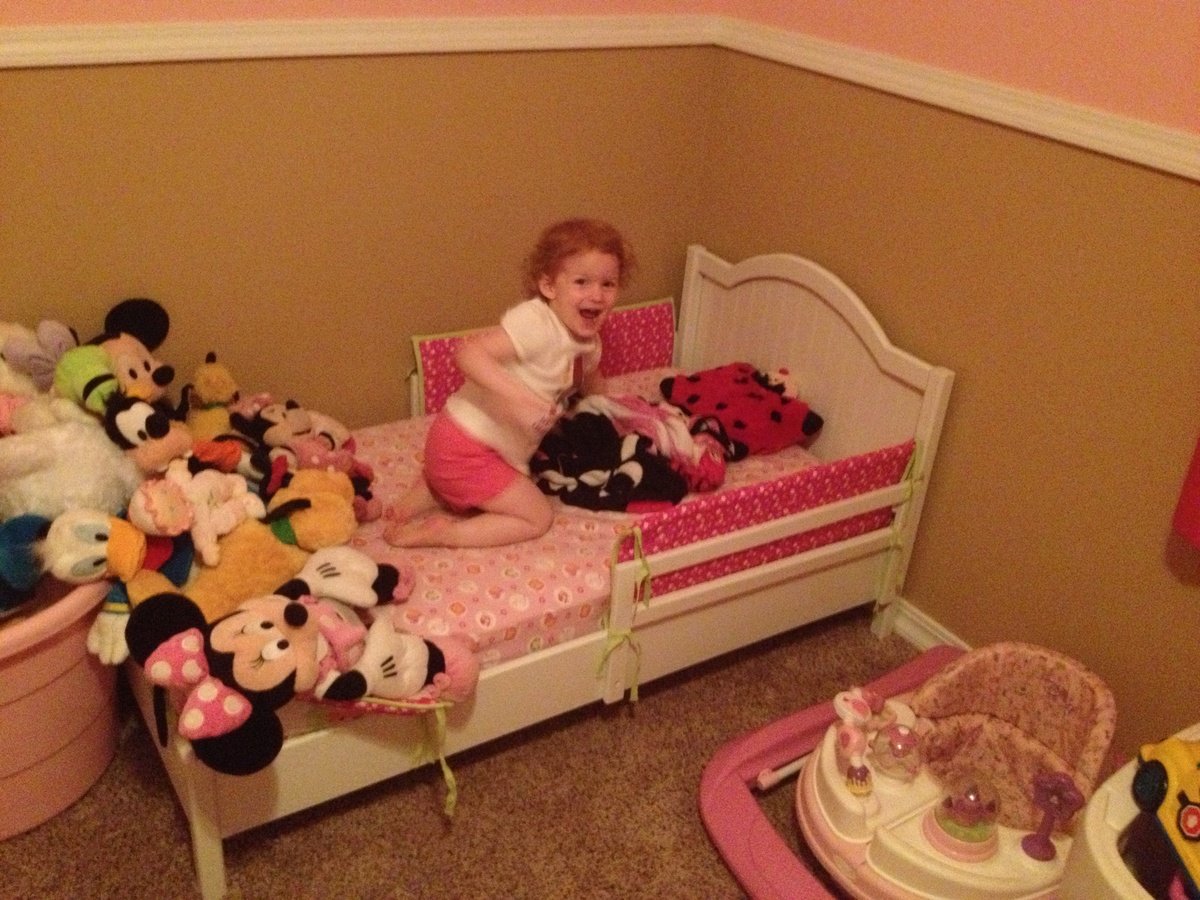
Community Brag Posts

Toddler Bed

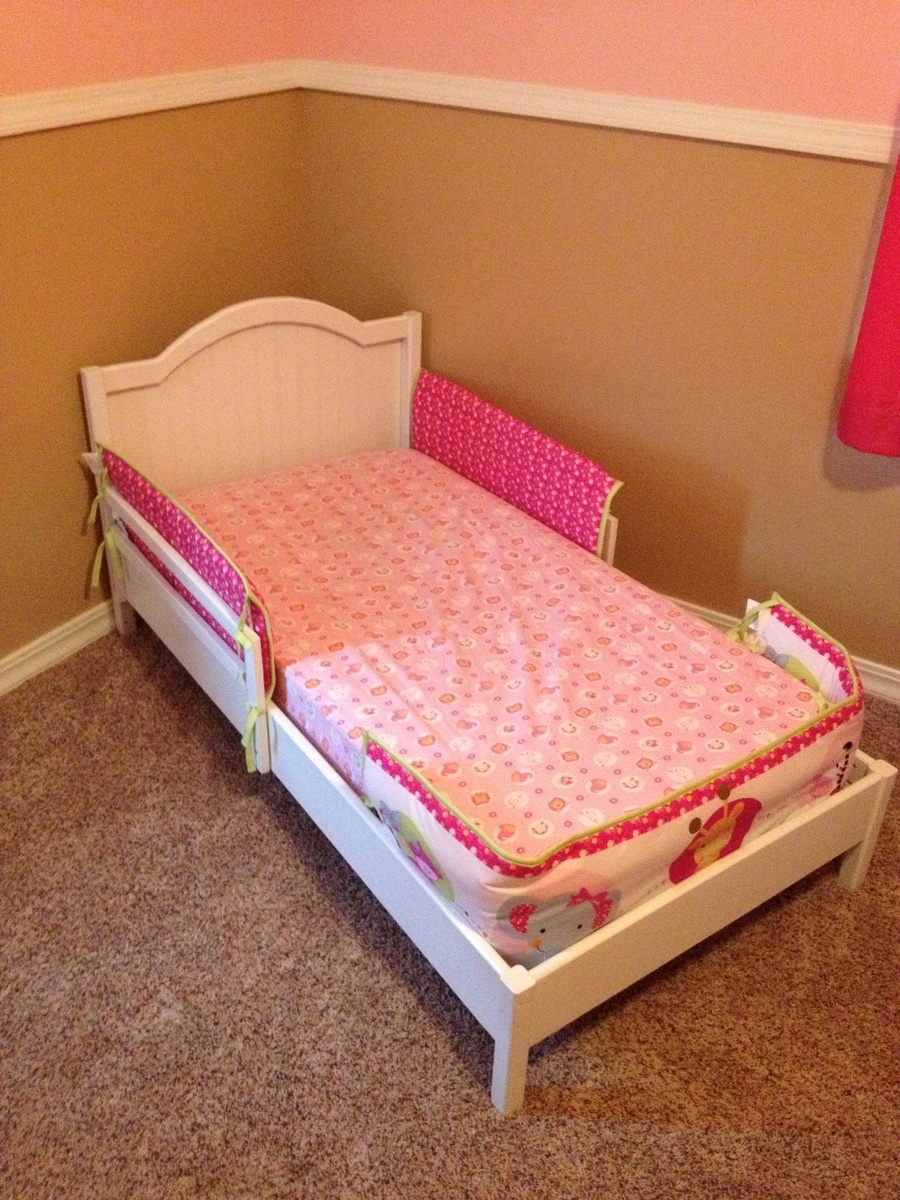
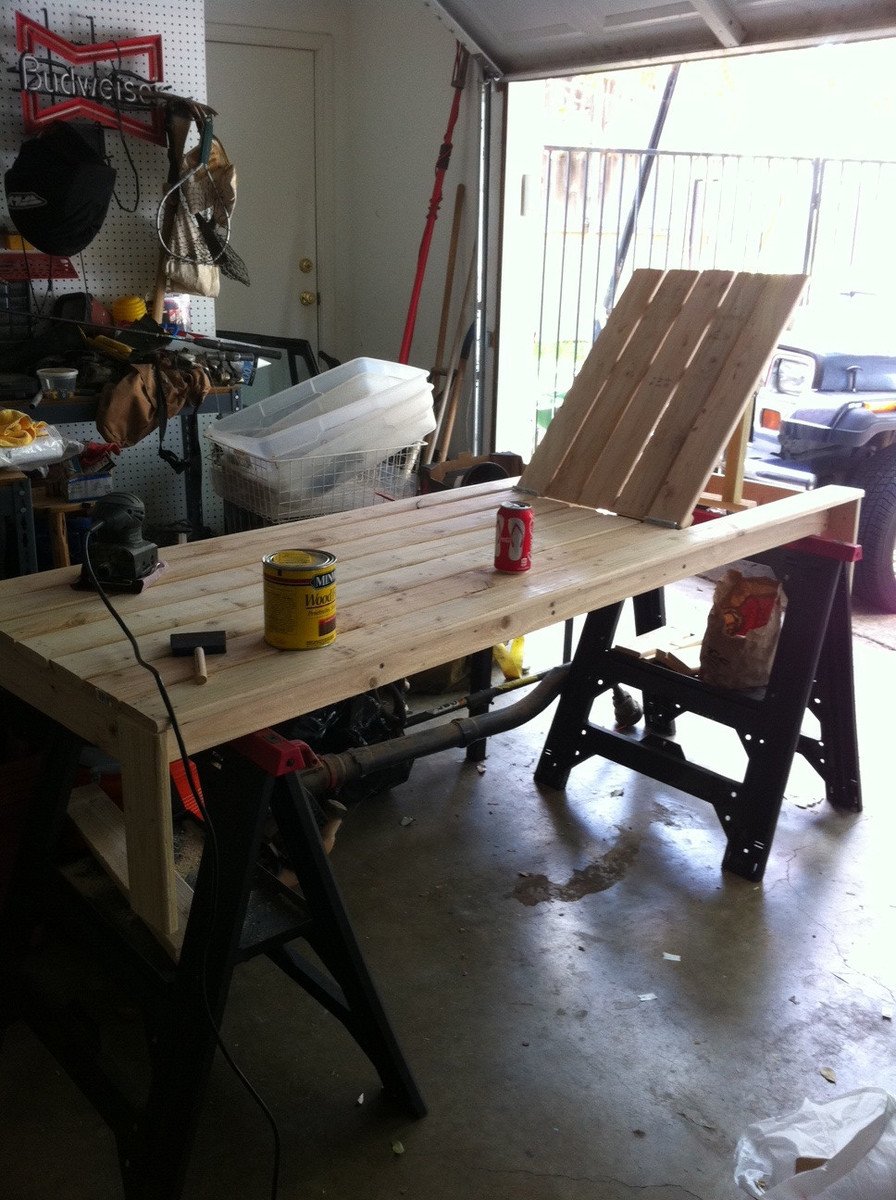
I needed a new toddler bed for my daughter because we have another baby coming soon. Instead of spending $60 on some rinky-dink bed from the store or pay way too much for a quality bed, I decided to try this project. I was able to use quality or standard pine for the entire bed (with a lot of sanding) so we saved a lot of money. Be sure to use dimensions specific to the bed and not what was listed. For the curved top, I recommend cutting and sanding a template out of MDF and then using a template router bit for the actual piece to be used. Great plan and cost savings!! Thank you, Ana!

Estimated Cost
30
Estimated Time Investment
Week Long Project (20 Hours or More)
Finish Used
Paint and clear coat by Rustoleum.
Recommended Skill Level
Intermediate

Rustic x Console

Submitted by BnDRoller on Tue, 08/25/2015 - 05:31

My wife has been wanting this project for months. Had to shorten the size to fit our wall. Thank you Ana for such easy to follow guidelines.  

Built from Plan(s)
Estimated Cost
Approximately $75
Estimated Time Investment
Weekend Project (10-20 Hours)
Recommended Skill Level
Beginner

Kitchen Counter Height Table

Submitted by Sue Hill on Mon, 04/09/2018 - 15:53

This counter height farmhouse table fit my space perfectly. I made it narrower than Ana's table but the same length, 48" x 27".  Instead of a 3/4" plywood top, I joined five 5/4" x 6 pine boards for the top. The stools fit exactly under the table when I want to use it as a workspace. I can also use both sides of the table if I pull it out. 

Estimated Cost
Hard to say since I had been saving the cedar posts for a few years, so I didn't have to purchase them.
Estimated Time Investment
Day Project (6-9 Hours)
Finish Used
I primed and painted the legs & table.
Recommended Skill Level
Beginner

Modern Farmhouse Kitchen Table with Bench

Submitted by tsibiga on Wed, 06/29/2011 - 05:37

After finishing my Farmhouse Dining Room Table, my brother asked me to build him a new kitchen table. We chose the Modern Farmhouse Design but changed the dimensions to fit his kitchen. I also used the same building plan to create a matching bench.

I've documented the construction of the table here: http://www.tommyandellie.com/Site/Home/Entries/2011/6/20_Modern_Farmhou…

And I've documented how I did the finish here:
http://www.tommyandellie.com/Site/Home/Entries/2011/6/23_The_Finish_Mov…

Creating the table legs was the hardest step for me. I used a combination of pocket holes, biscuits, and wood glue. I also rounded off all the edges with my router. For the table I added corner blocking.

Built from Plan(s)
Estimated Cost
$140
Estimated Time Investment
Day Project (6-9 Hours)
Finish Used
Semi-gloss Valspar White on the base. Special Walnut on the table top. And then the base was lightly sanded/weathered and then I used the Special Walnut ontop of the paint. And then I finished off the table top with two light coats of Briwax (light brown).
Recommended Skill Level
Intermediate

Comments

tsibiga

Thu, 06/30/2011 - 04:46

I should also mention that I made the table as two separate pieces. The tabletop was always kept separate from the base since I was going for this two tone finish. Upon delivery to my brothers house, I just centered the tabletop onto the base, clamped it down, and screwed it together.

Jennifer Duckworth (not verified)

Mon, 08/15/2011 - 13:08

Very nice finished product. Quick question-- how tall are your benches? Do they fit between the legs when not in use? I'm trying to find plans for the benches on Ana-white's website, but not finding exactly what you built (although I know you made some adjustments).

Thank you.
Jen

tsibiga

Fri, 08/19/2011 - 05:14

Thanks for the comment

The bench height sits at approximately 17" (a somewhat standard chair height) and I allowed for a 6" gap on both sides of the bench so that it can be tucked comfortably under the table. I then used those dimensions along with the Ana White plans to create the bench.

I've got a pretty detailed write-up here....if you'd like to check it out;

http://www.tommyandellie.com/Site/Home/Entries/2011/6/20_Modern_Farmhou…

Thanks,

Tommy

jessabender

Fri, 01/27/2012 - 12:32

What a beautiful set! Great job! I'd like my husband to build us a table like that, but he is hesitaant to do so because he worries the top will not be sealed well enough to withstand spills and be foodsafe. What is your take?

tsibiga

Mon, 01/30/2012 - 14:42

You can always use poly or shellac on the tabletop if you'd prefer. A couple coats of that and you'll be good to go.

Pantry Spice Rack

Submitted by SaraLodise on Tue, 08/06/2013 - 13:35

Love this simple plan! I took down a wall in my kitchen and, when cleaning out the cabinets, I found crazy amounts of spices. With this it's so easy to see all of them and find the one you want.

I did shift the shelves to make two 3 1/2" shelves and this made the bottom shelf 9" for some taller things. I found that I could not fit my shorter spice containers in the very top shelf due to the hanging board in the back of it. The hanging board may have been thicker than used in other's builds.

Built from Plan(s)
Estimated Cost
$30
Estimated Time Investment
Afternoon Project (3-6 Hours)
Finish Used
Primer & some left over interior paint from previous house owners.
Recommended Skill Level
Starter Project

Comments

OptimusGoof

Sun, 01/11/2015 - 12:55

I love how you shifted things around to accommodate for the bottom taller items. I need something exactly like this so I can tame the wild animal that is my pantry. Thank you for the inspiration. Great build!

RandyW

Sun, 01/11/2015 - 14:46

Is that a solid door? If not, how did you anchor it?

Farmhouse Queen Bed & Kentwood Night Stand

I built this Farmhouse Queen Bed & Kentwood Night Stand for my Granddaughter. She loves it !

Estimated Cost
$300
Estimated Time Investment
Week Long Project (20 Hours or More)
Finish Used
Minwax water based stain in "Coffee", and then used Minwax white washed pickling to finish.
Recommended Skill Level
Intermediate

Comments

DIY Outdoor Storage Bench

Hi friends!


Jen Woodhouse here popping in to share with you an outdoor furniture option for you. This DIY Outdoor Storage Bench has served me so well. It's still in great condition after being outside, and has a huge added bonus of storage as well. The fretwork detail on the back makes it look extra fancy, but those angled cuts are all at 45 degrees, so this project is totally doable. Be sure to tag me @jenwoodhouse if you share photos of your build on social media!


You can get all details and the free plans on jenwoodhouse.com!


Estimated Time Investment
Day Project (6-9 Hours)
Finish Used
Clear exterior-grade polyurethane
Recommended Skill Level
Intermediate

Comments

Twin storage beds and modified corner unit (secret storage)

Submitted by k slampa on Sat, 07/02/2011 - 22:17

I loved doing this project. I used Anna's plans but modified them just enough to help be with my biggest problem, stuffed animals! :) I increased the height by eight inches and cut one of the bead board panels just above the mattress. Next I attached the top panel using a piano hinge. Finally, I reinforced the bottom panel with an extra piece of 1x1 (horizontally) so that my daughter can climb in to and out of the corner unit and not crack the bottom bead board panel. She now has a place to put all her stuffed animals and as a bonus a new "secret hiding place.

To spruce up the storage beds and corner unit I added moulding to the front of everything and then painted everything cream colored to match her dresser. The molding took extra time, but it was well worth it! Because I increased the height of the corner unit I also added a thin piece of plywood behind each piece of bead board (heard boards) to help reinforce it and would support the weight of someone leaning back on the "head board". All in all it was a great project to work on, Anna's design plans were easy to read and allowed me to make adjustments when necessary without any trouble.

Estimated Cost
$700-$800 total
Estimated Time Investment
Week Long Project (20 Hours or More)
Finish Used
Latex high gloss paint
Recommended Skill Level
Intermediate

Comments

stcarroll

Thu, 07/07/2011 - 12:36

This is so perfect! The trim makes it all look very professional. I love the idea of the door and utilizing the extra storage...something we all need more of! I also built the storage beds, but my girl's room isn't big enough for the corner unit, but if we ever move and they have a bigger room I will be back to look at you design for the corner unit! Good job!

Bookshelves from Kids Storage Leg Desk

Submitted by Ktosaka on Wed, 08/07/2013 - 19:58

I created this pair of bookshelves from the Kids Storage Leg Desk plan for my two older children to help relieve their book clutter. I used the larger boards from a pallet and a couple of boards I scored at the local ReStore that had been abandoned from a bed frame for $4. With stains I had on hand, I think we did this for around $5. The pallet wood was shorter than the lengths given in the plan, so these book shelves were made at the height of 1/2 of a pallet board or about 22". They work great for what we need and when the kids outgrow these, I have one kid still under the age of two that can use it as a desk and all we'll need is to add the desktop.

Built from Plan(s)
Estimated Cost
$5
Estimated Time Investment
Afternoon Project (3-6 Hours)
Finish Used
1. One coat of Watco Danish oil in cherry with a couple of coats of quick drying Minwax polyurethane.
2. One coat of Minwax provincial stain with a couple of coats of quick drying Minwax polyurethane.
The pallet wood really soaks in the stain so wiping it off didn't do much to lighten it up.
Recommended Skill Level
Beginner

Bathroom Vanity

Submitted by stacynabby on Mon, 08/31/2015 - 21:09

I have only one small bathroom in my house built in 1946. I couldn't find a vanity on the market that was big enough or small enough to fit, so I built my own based on a design from the Decor and the Dog blog page.


Estimated Cost
~$200 inlcuding vessel sink and hardware
Estimated Time Investment
Weekend Project (10-20 Hours)
Finish Used
Minwax American Colonial
Recommended Skill Level
Intermediate

Small table and benches

Submitted by sylvialh on Fri, 05/25/2018 - 11:28

I found the table to be pretty wobbly so I reinforced it with some triangulation and I moved all the legs into the centre so the triangulation wouldn't get in the way of people sitting on all sides. 

Recommended Skill Level
Beginner

Comments

sylvialh

Fri, 08/27/2021 - 05:25

I found that when the benches flexed a bit it would pinch my skin so I don't recommend this design! but none the less this set lasted me ten years and I learned a lot from it. Yesterday I took it all apart (easy enough since I didn't use glue - one of the reasons it was wobbly), and turned it into four stools and a planter. This project was an ana white gateway drug, one of my first projects!

DIY Chaise Lounge Chairs

Submitted by jroubinek on Wed, 07/06/2011 - 10:44

This was my very first project to take on with Ana's plans. It took a little longer than I would have liked only because I got frustrated and put it to the side for a MONTH. I realized how important it was to pre-drill my holes and then got the motivation to get back to it. Once I got started again, it was finished in NO TIME! I still need to stain one of them, but I couldn't be happier with the result.

Estimated Cost
$60
Estimated Time Investment
Weekend Project (10-20 Hours)
Finish Used
I used Wood Conditioner to make sure I didn't have to worry about blotchiness. Then I used a paintbrush to apply Minwax's Dark Walnut stain.
Recommended Skill Level
Beginner

Comments

geophyrd

Sun, 07/31/2011 - 07:55

I'm right in the middle of building one of these. My problem is that the 2x4s specified are 2" thick...having to rip them down and that took a lot of guts. Did them all except the long boards. Going to do those later today (if I don't melt) and when my wife can give me a hand.

How did you rip them to size?

Also, did you use a router table to round the edges?

MichelleC

Fri, 07/20/2012 - 09:21

These look great! Geophyrd...do you mean 2x2's? You just use the ones straight from the store, also referred to as furring strips...that will save you a lot of time and stress rather than ripping down 2x4's. When the plans say 2x2's, they aren't going to actually be 2", and the plans don't say that they have to be 2". Ana writes the plans as simply as possible without us having to do complicated steps like ripping down boards thank goodness!

Shoes cubby/bench modified from rolling cubby bench plan. Thank you!

This is my first attempt on woodwork. I have modified size a little bit to make it fit to our entry way. Plan is very easy to follow, Thanks Ana!

Built from Plan(s)
Estimated Cost
$30-$50
Estimated Time Investment
Afternoon Project (3-6 Hours)
Finish Used
Rustoleum
Recommended Skill Level
Beginner

Comments

Picture ledge

Easy-peasy! Painted in a constrating color for a great look on the wall...

Built from Plan(s)
Estimated Time Investment
An Hour or Two (0-2 Hours)
Recommended Skill Level
Starter Project

Simple outdoor dining table variation

Submitted by Hudsonic on Thu, 07/12/2018 - 02:35

I liked the variations of the simple table. Kept the same dimensions as the plan. Made chairs based on simple Harriet chairs

Built from Plan(s)
Estimated Cost
$70
Estimated Time Investment
Weekend Project (10-20 Hours)
Finish Used
Olympic maximum stain and sealer.
Recommended Skill Level
Beginner

Class/School Auction Projects

Submitted by jendon on Tue, 05/03/2022 - 15:32

This year my 2nd-3rd class built the Modern Park bench for the school auction. They sanded, stained, and set the screw for the seat and back.
I also made two Adirondack chairs with matching stain.
Both projects had two coats of poly and really shined. They were a hit at the auction and the kids and families really appreciated the experience and final products.
Thank you Ana for making plans simple to follow and new skills learned each time.
Blessings,
Jennifer

Comments

jendon

Mon, 05/16/2022 - 18:33

My students really enjoyed it and many picked up a tool for the first time. I like planting seeds in their heart and mind for the future!! Blessings, Jennifer

jendon

Mon, 05/16/2022 - 18:33

My students really enjoyed it and many picked up a tool for the first time. I like planting seeds in their heart and mind for the future!! Blessings, Jennifer

Monika

Sun, 03/31/2024 - 14:30

I've been helping with our class auction project, and it's been a fun experience. But balancing schoolwork and project deadlines can be tough. That's why I found this article finance.yahoo.com/news/pay-essay-top-5-safe-105019899.html on safe essay services helpful. It saved me time and stress, allowing me to focus on both my studies and the auction project.

King Easy Build Headboard

Submitted by Grohsie on Sat, 07/09/2011 - 08:21

Loved creating this- I was worried that it wouldn't come out well and I wasn't prepared for the amount of time it took to pick out my supplies, but it's done and I love it! Thanks for the plans and for everyone's brag photos- I loved seeing that others had done it and hoped I could, too.

Estimated Cost
$130
Estimated Time Investment
Day Project (6-9 Hours)
Finish Used
Minwax Dark Walnut (2 coats) and water-based polyurethane (2 coats).
Recommended Skill Level
Starter Project

Comments

Sherry Maraci (not verified)

Mon, 08/06/2012 - 14:12

This is absolutely stunning - I can't wait to make one of my own!

New coffee table for the LR

Submitted by ewhitten on Mon, 08/12/2013 - 06:59

While my wife was away for the weekend, the boys (3 year old twins) decided to surprise her with a new coffee table! We had to get rid of the old IKEA one due to its sharp edges... we've already had one ER visit and nine stitches! A few notes/things I learned: * Pay attention to which side of the wood you leave facing out. A lot of my boards had one smoother side and I accidentally put those face-down. Meant a lot more sanding. * A belt sander would have made this a lot easier. * I took care to round all the exposed outer edges with the sander. A router would have been better for this, as it took a lot of care to make sure they were even. * It's going to get about three coats of polyurethane now, but I still would recommend coasters. This thing is HEAVY. It will probably outlast me. :)

Built from Plan(s)
Estimated Cost
50
Estimated Time Investment
Day Project (6-9 Hours)
Finish Used
Skipped the wood conditioner and used Rustoleum Ultimate Wood Stain - Kona (black/brown)
Recommended Skill Level
Beginner