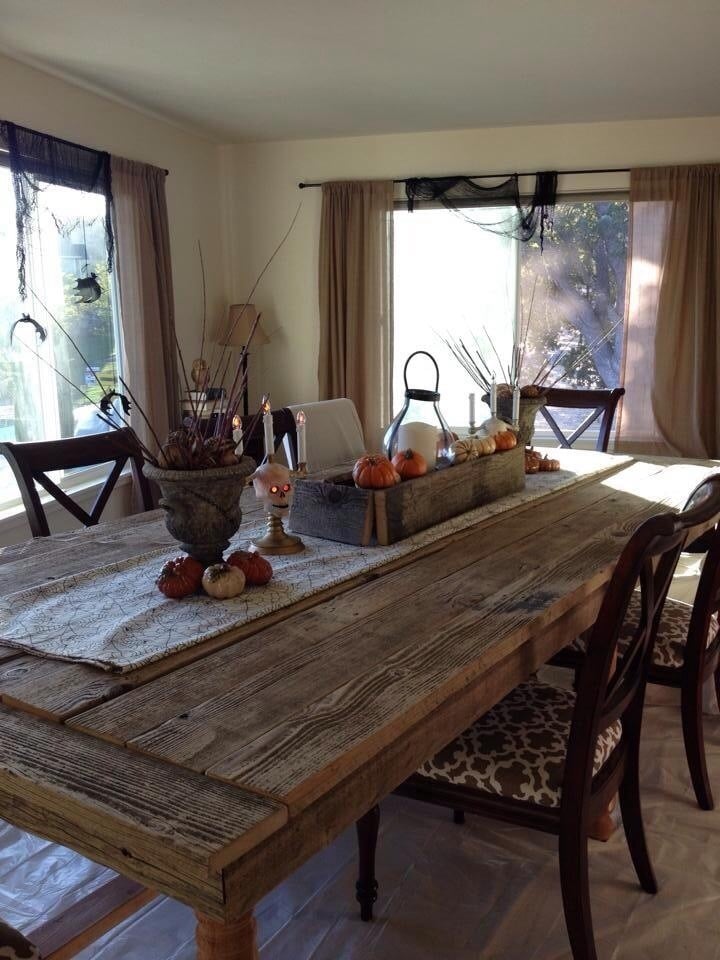
Wood Pumpkin Treat Holder
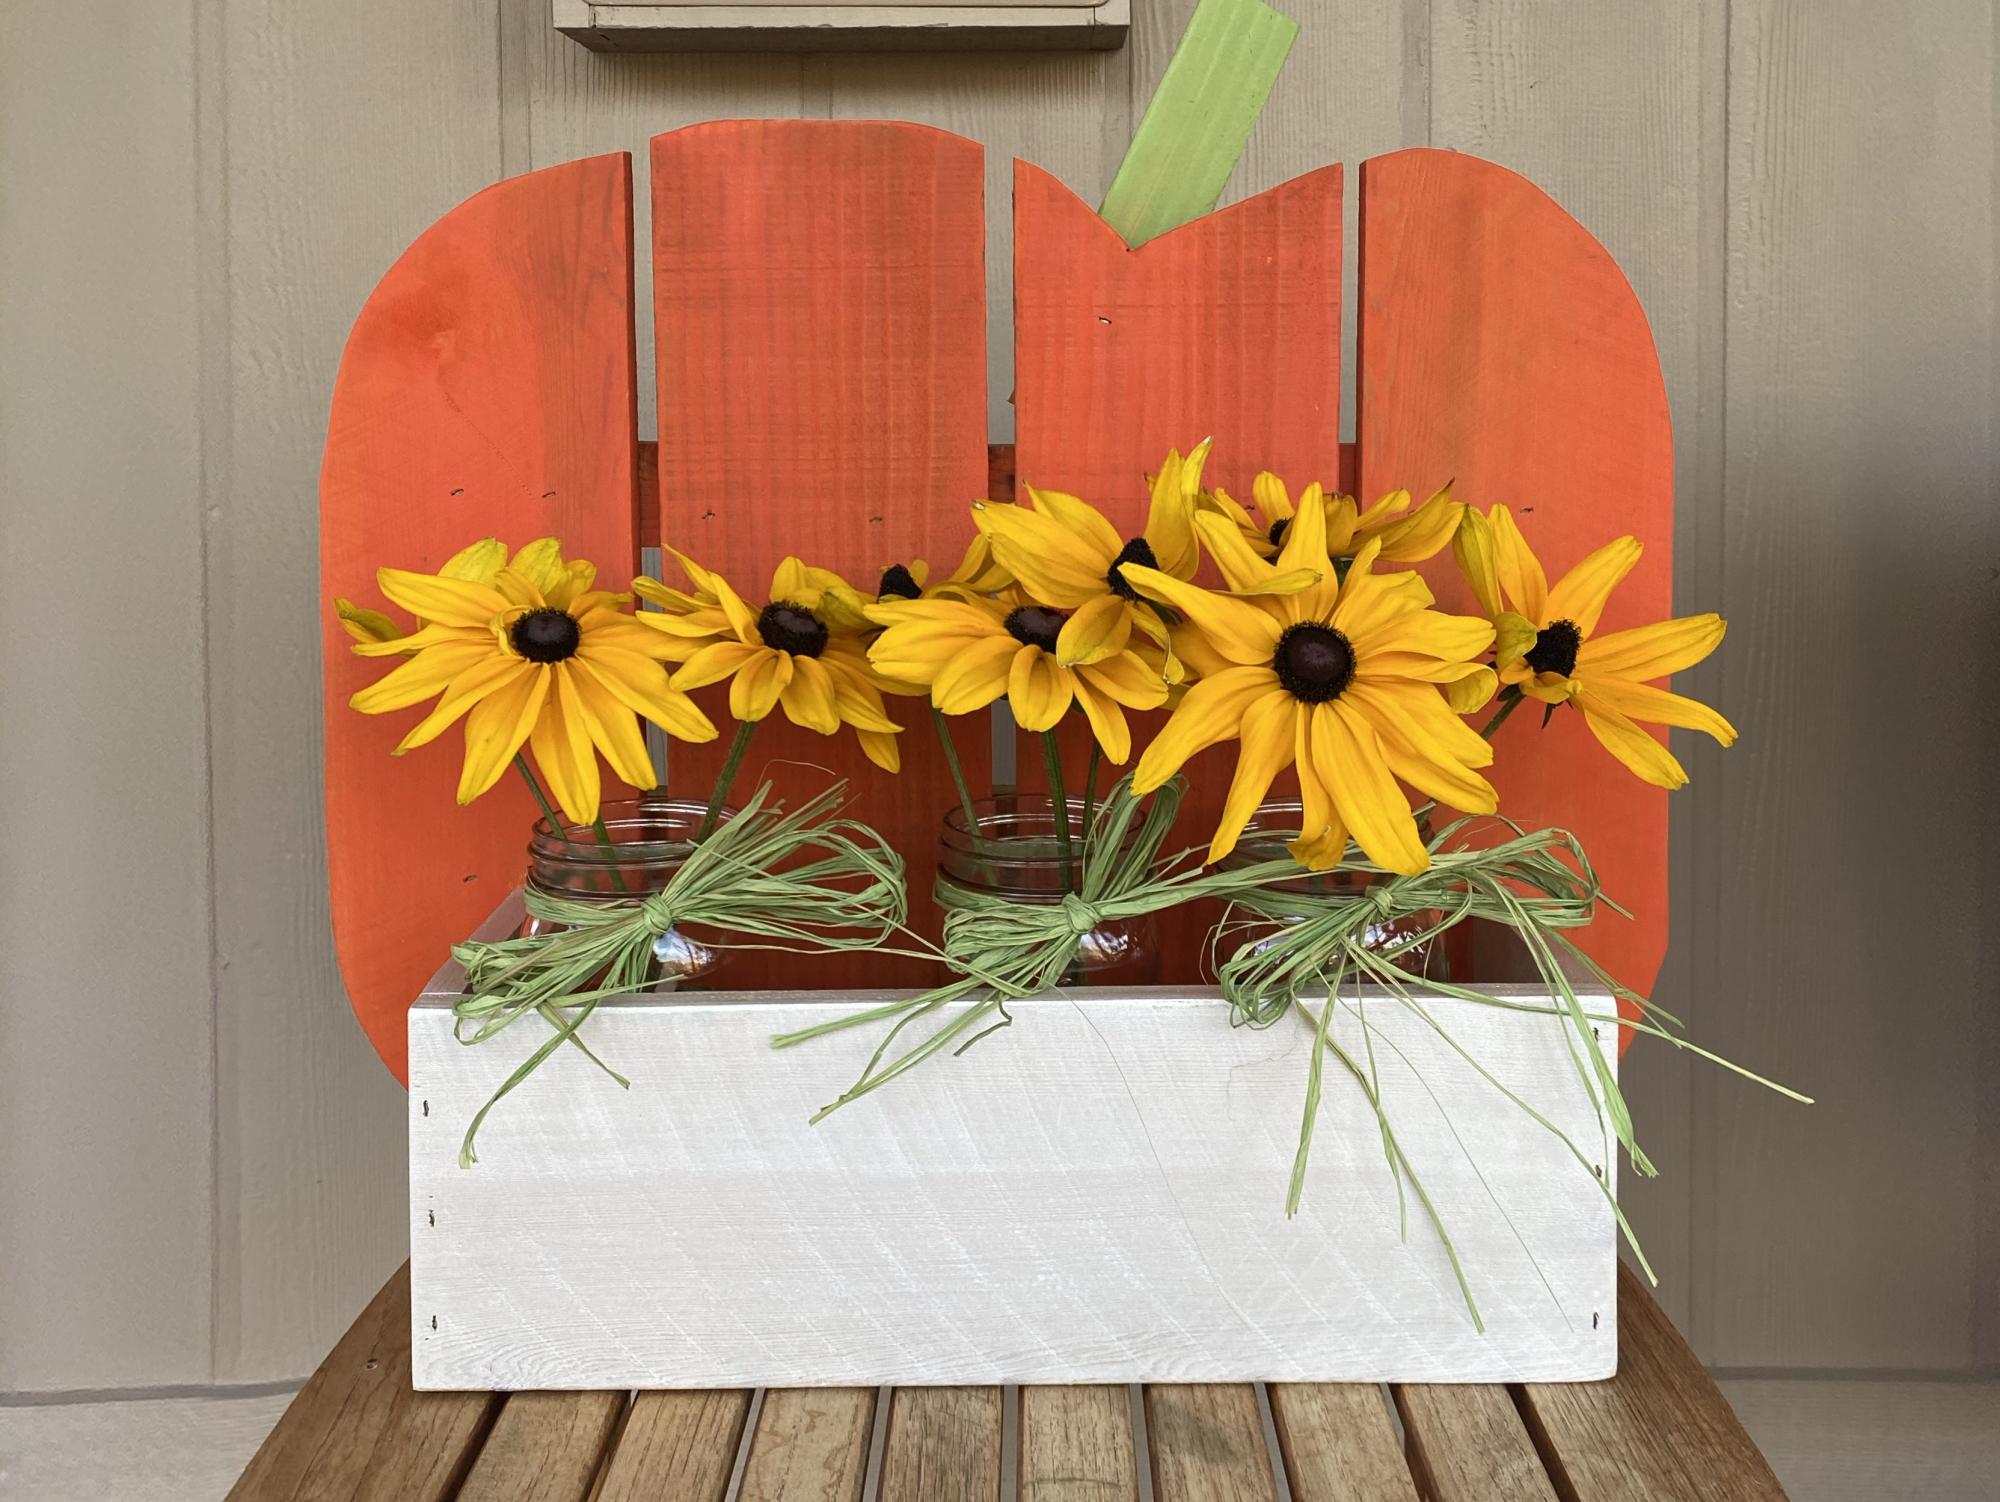
This was my first woodworking project and it was fun and easy. A few words of advice though...painting the wood first is a good idea. I did not so it took a bit more time. Using glue instead of staples would make the finish much nicer as you can see my staples, but it is rustic so that's okay. Thank you Ana!
Built from Plan(s)
Estimated Cost
$0. I had the materials on hand from scraps of previous fencing projects
Estimated Time Investment
An Hour or Two (0-2 Hours)
Finish Used
Water-based craft paint I had on hand. I added water to thin it so that the wood grain would show through.
Recommended Skill Level
Starter Project
Seasonal And Holiday


Comments
Ana White Admin
Wed, 10/21/2020 - 10:03
That was fast!
So cute, love your take on it!