Community Brag Posts

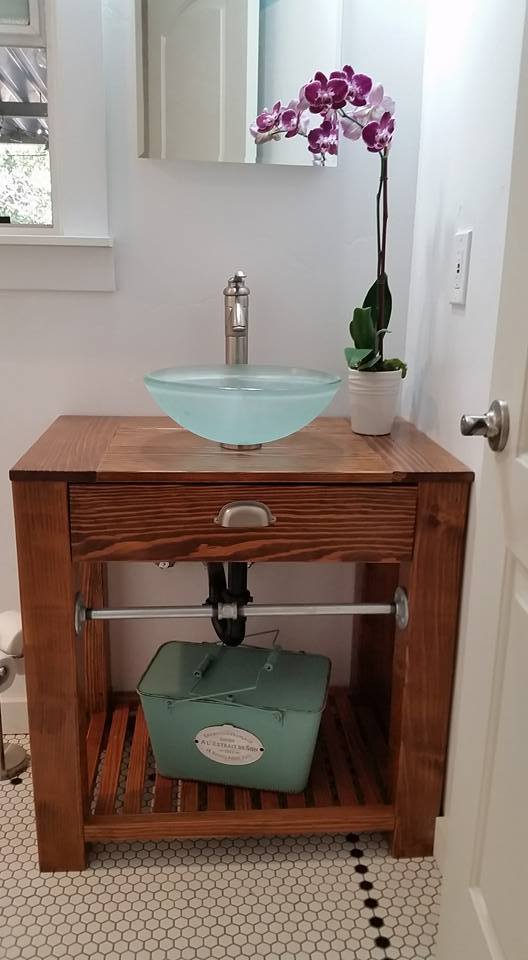
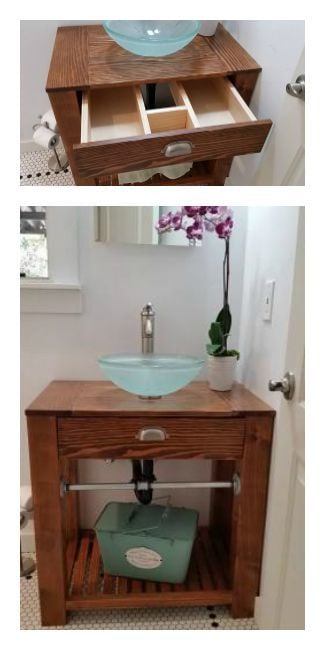
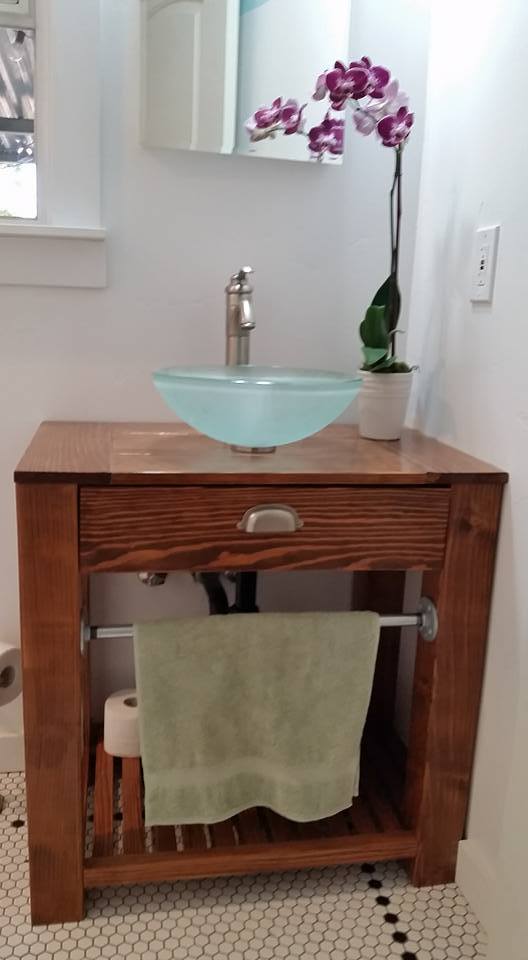
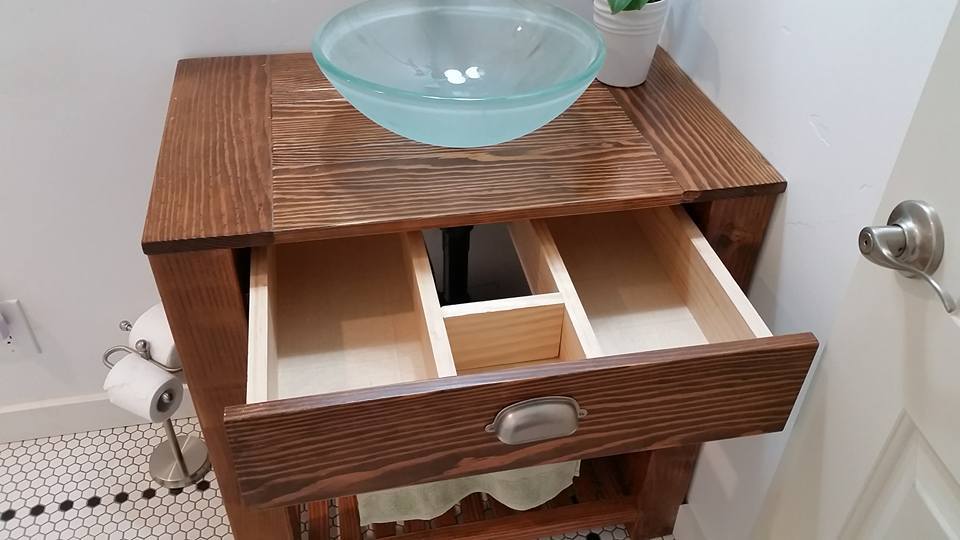
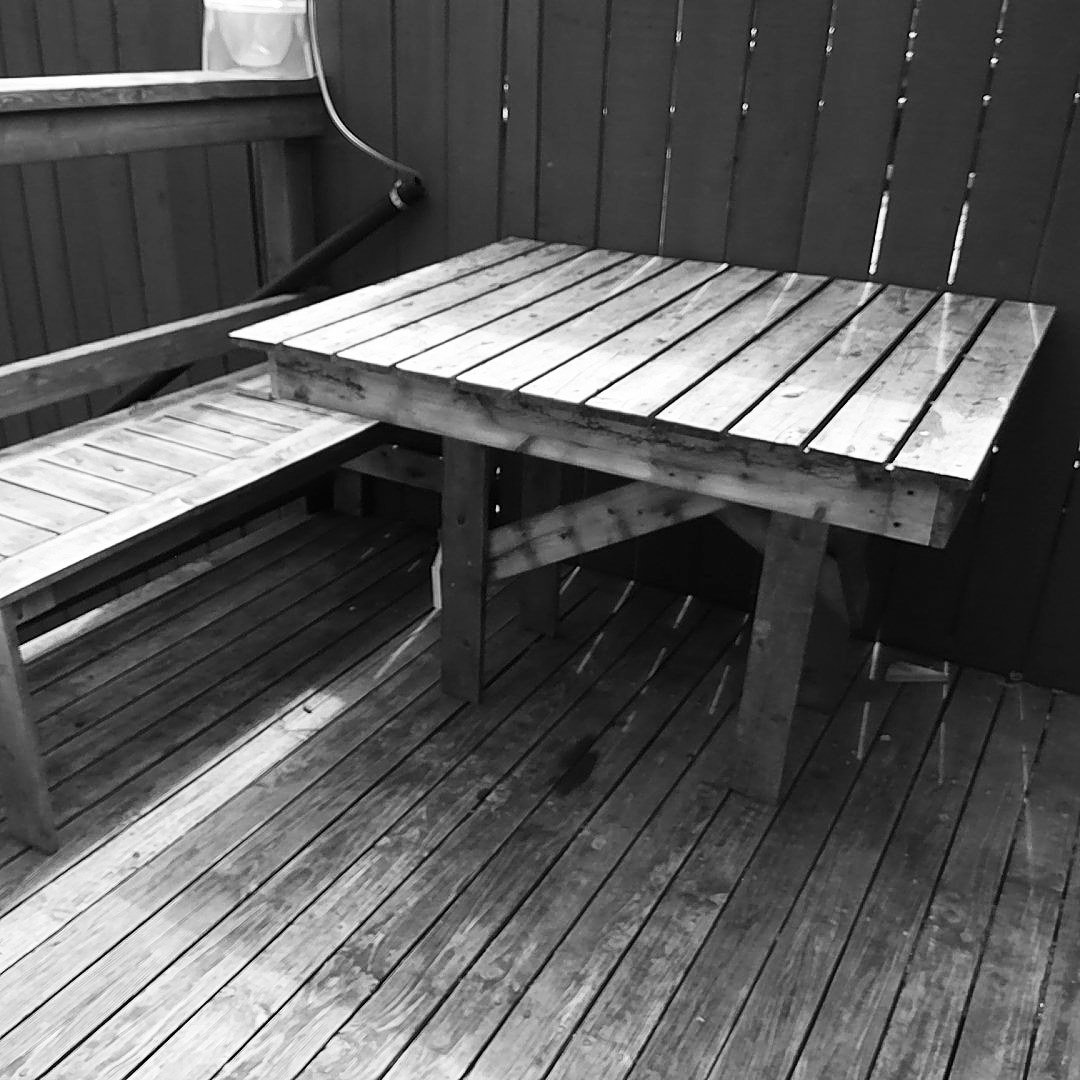
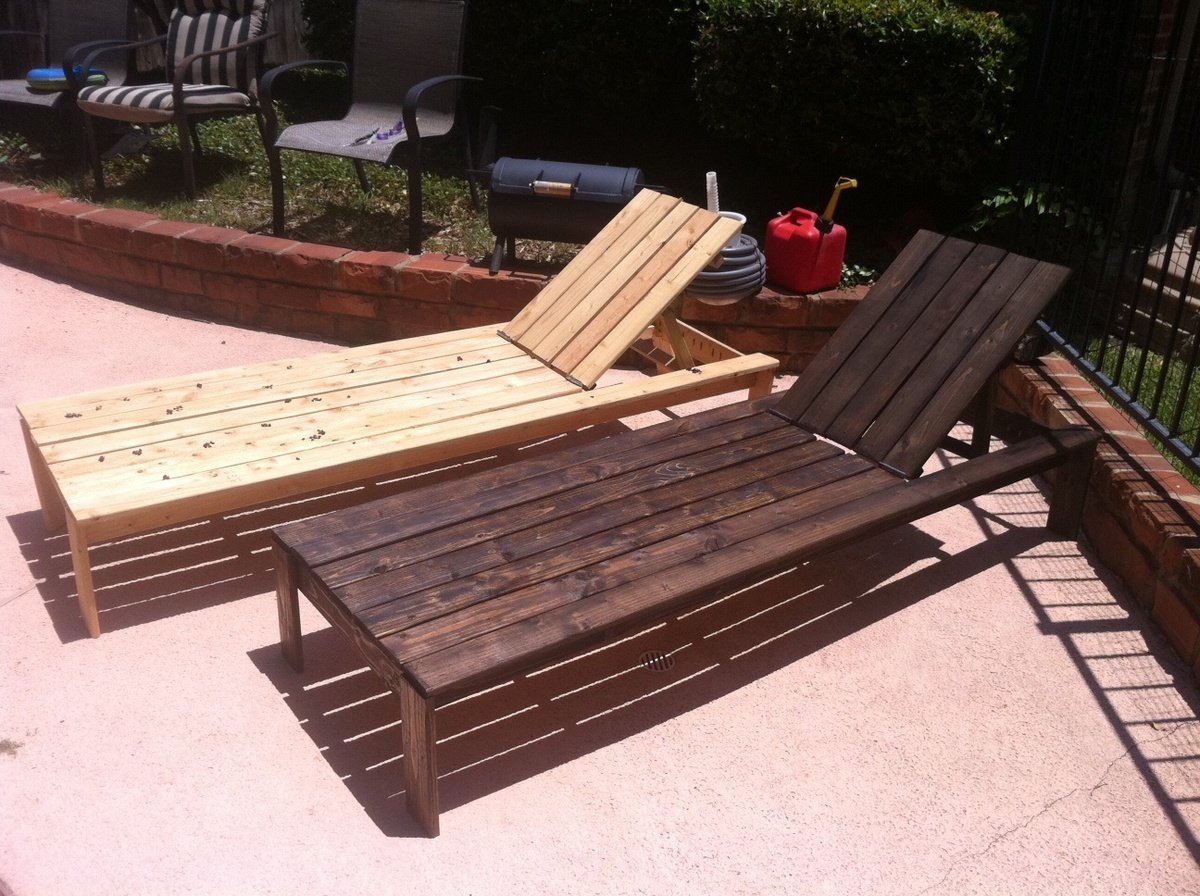
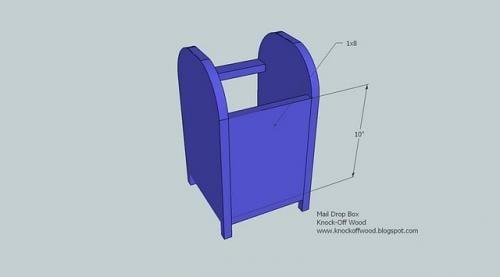
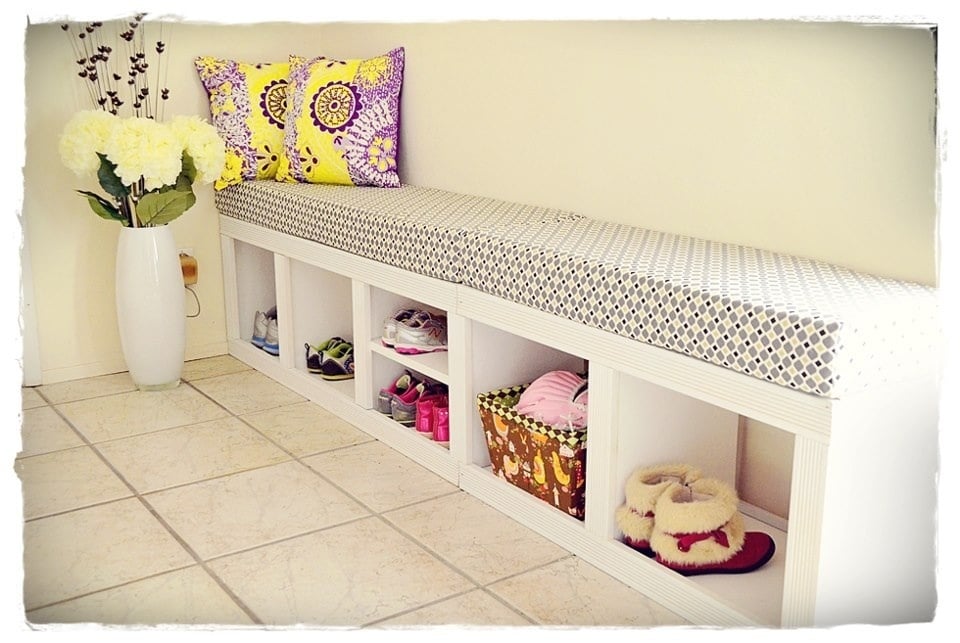
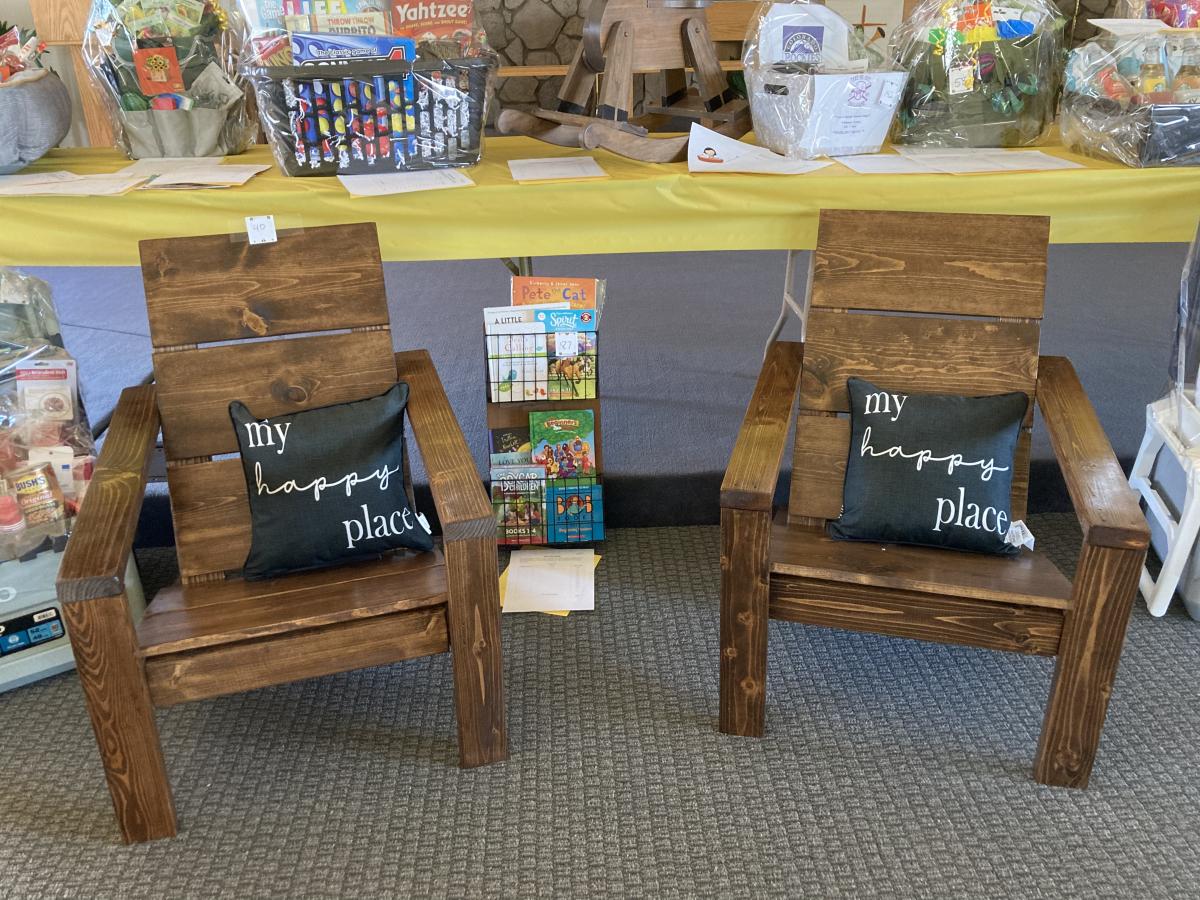
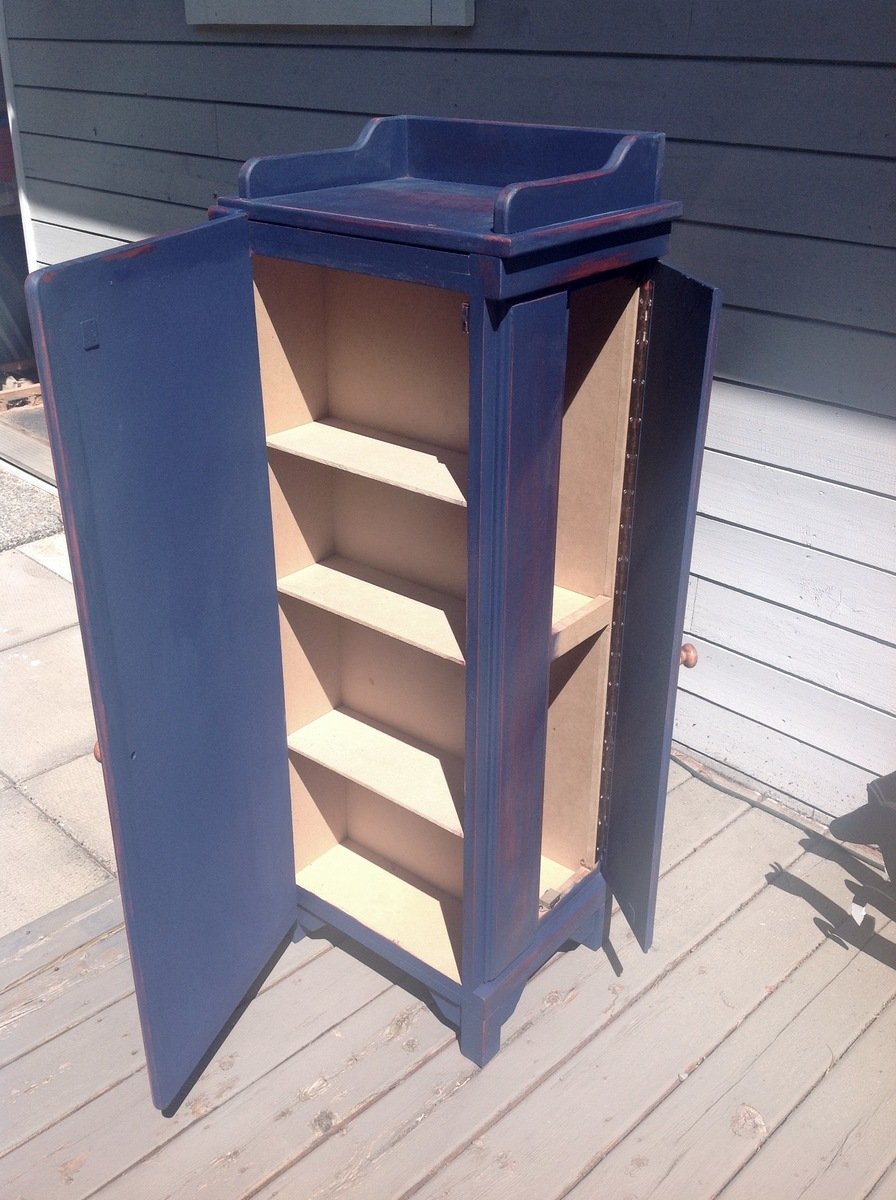
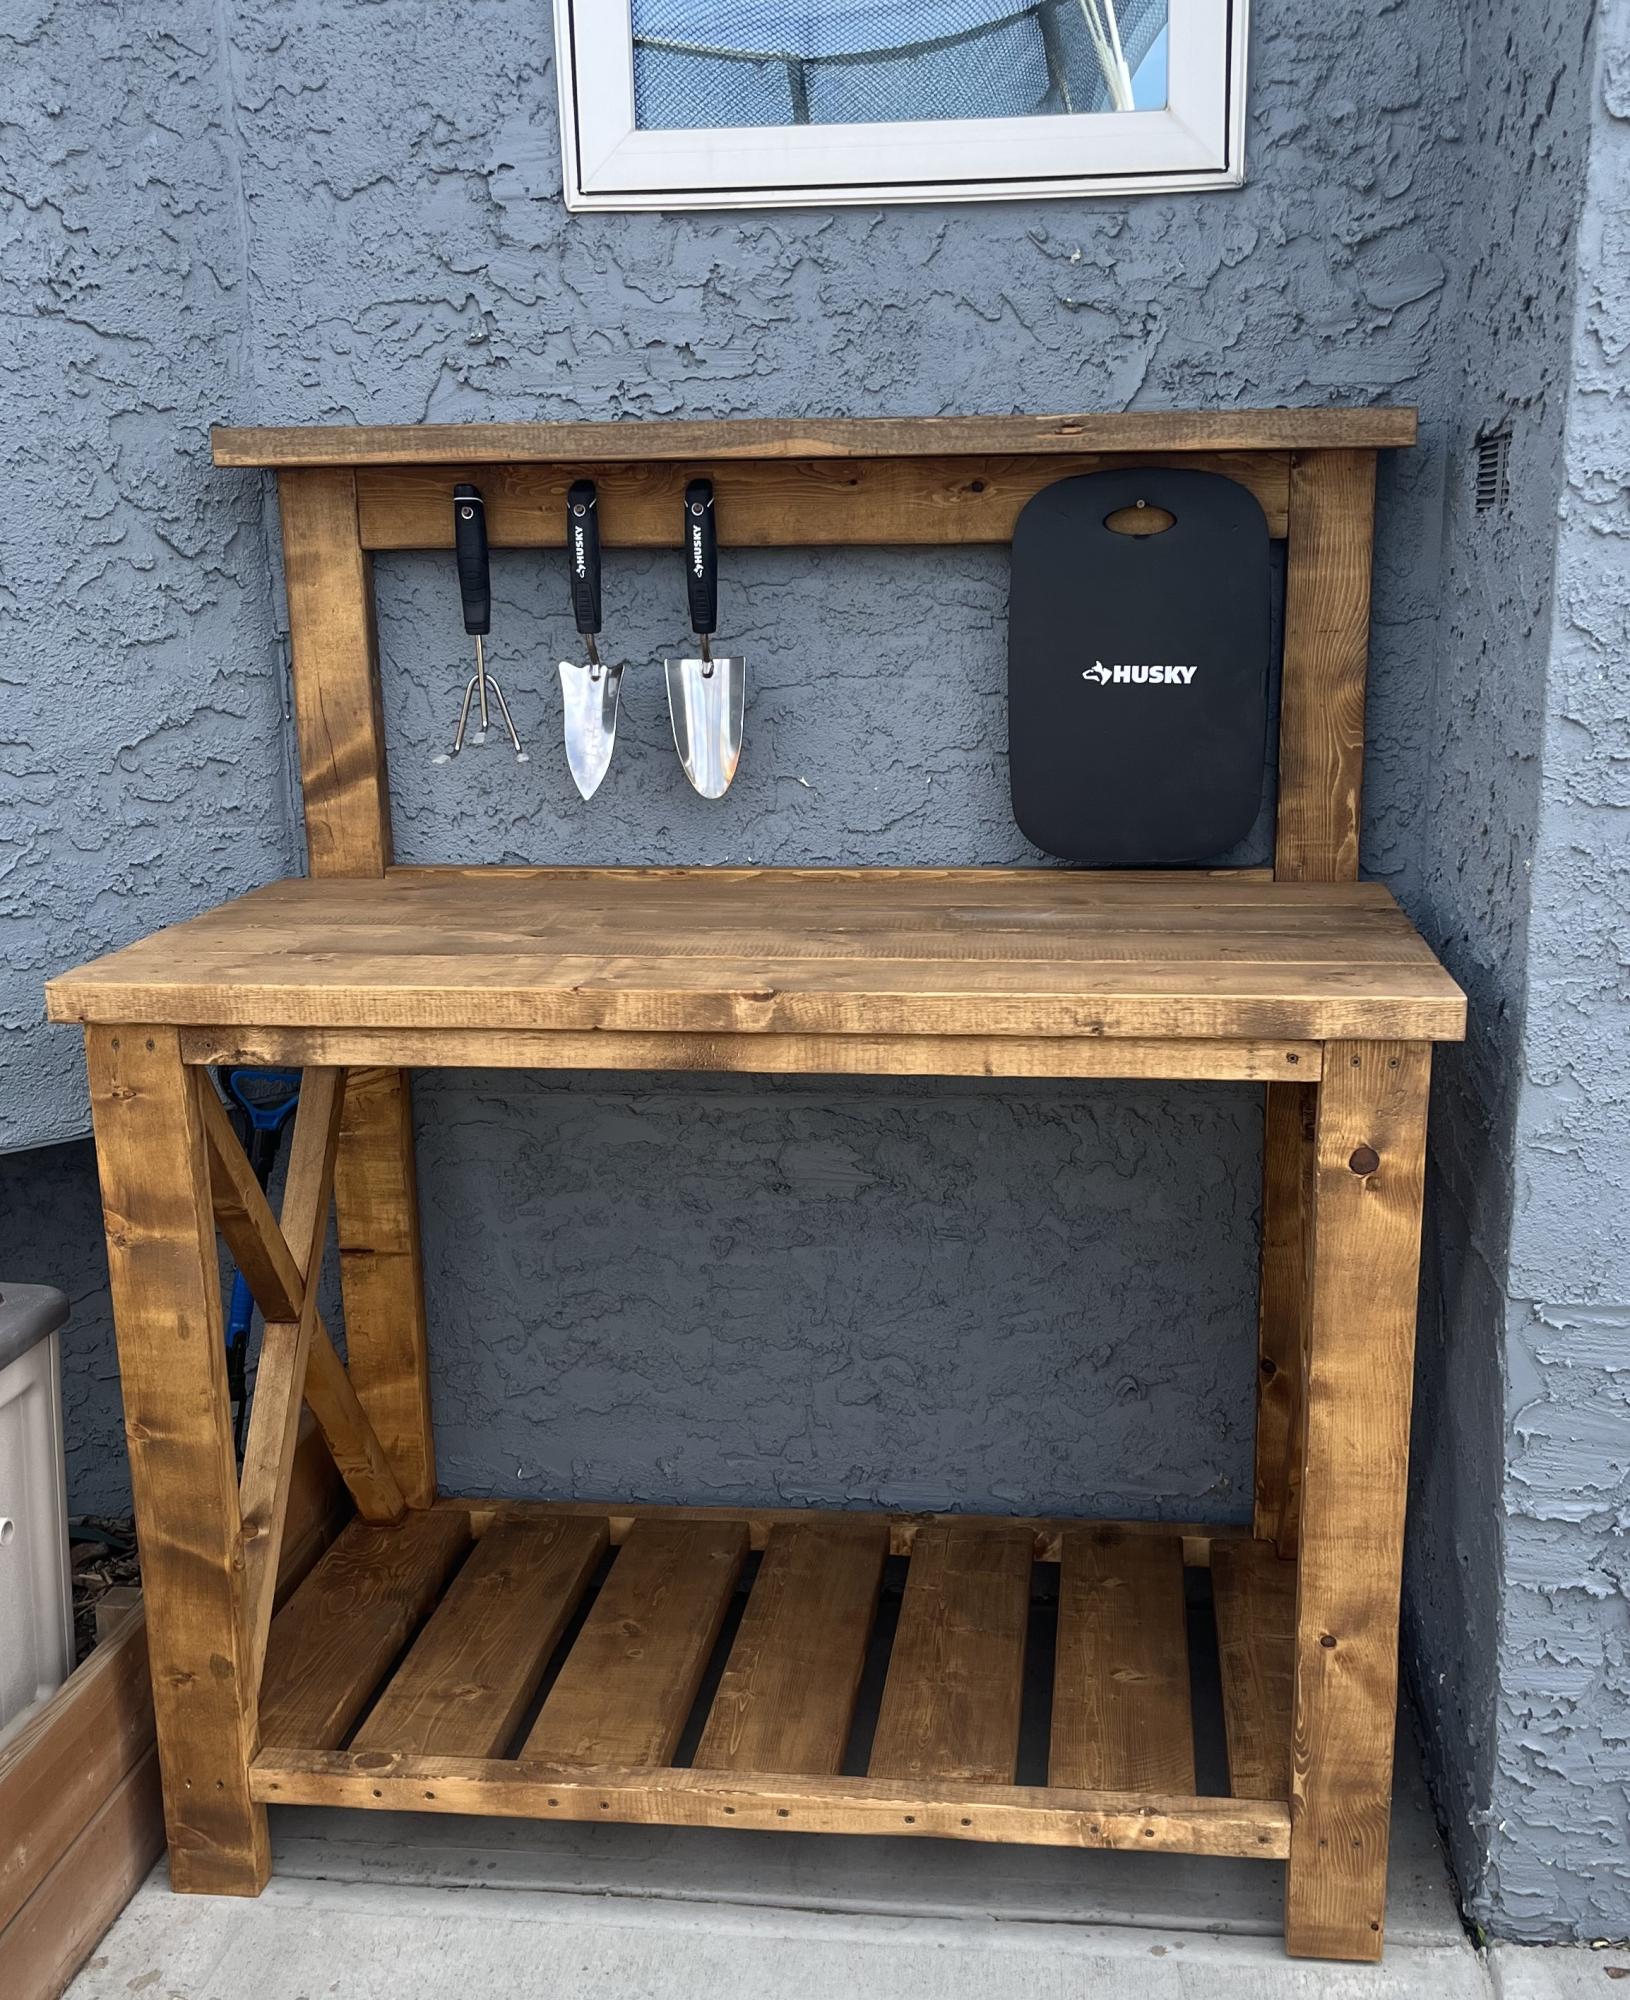
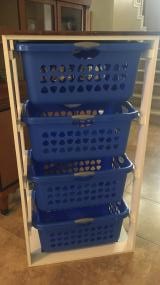
Bookshelves from Kids Storage Leg Desk

Submitted by Ktosaka on Wed, 08/07/2013 - 19:58

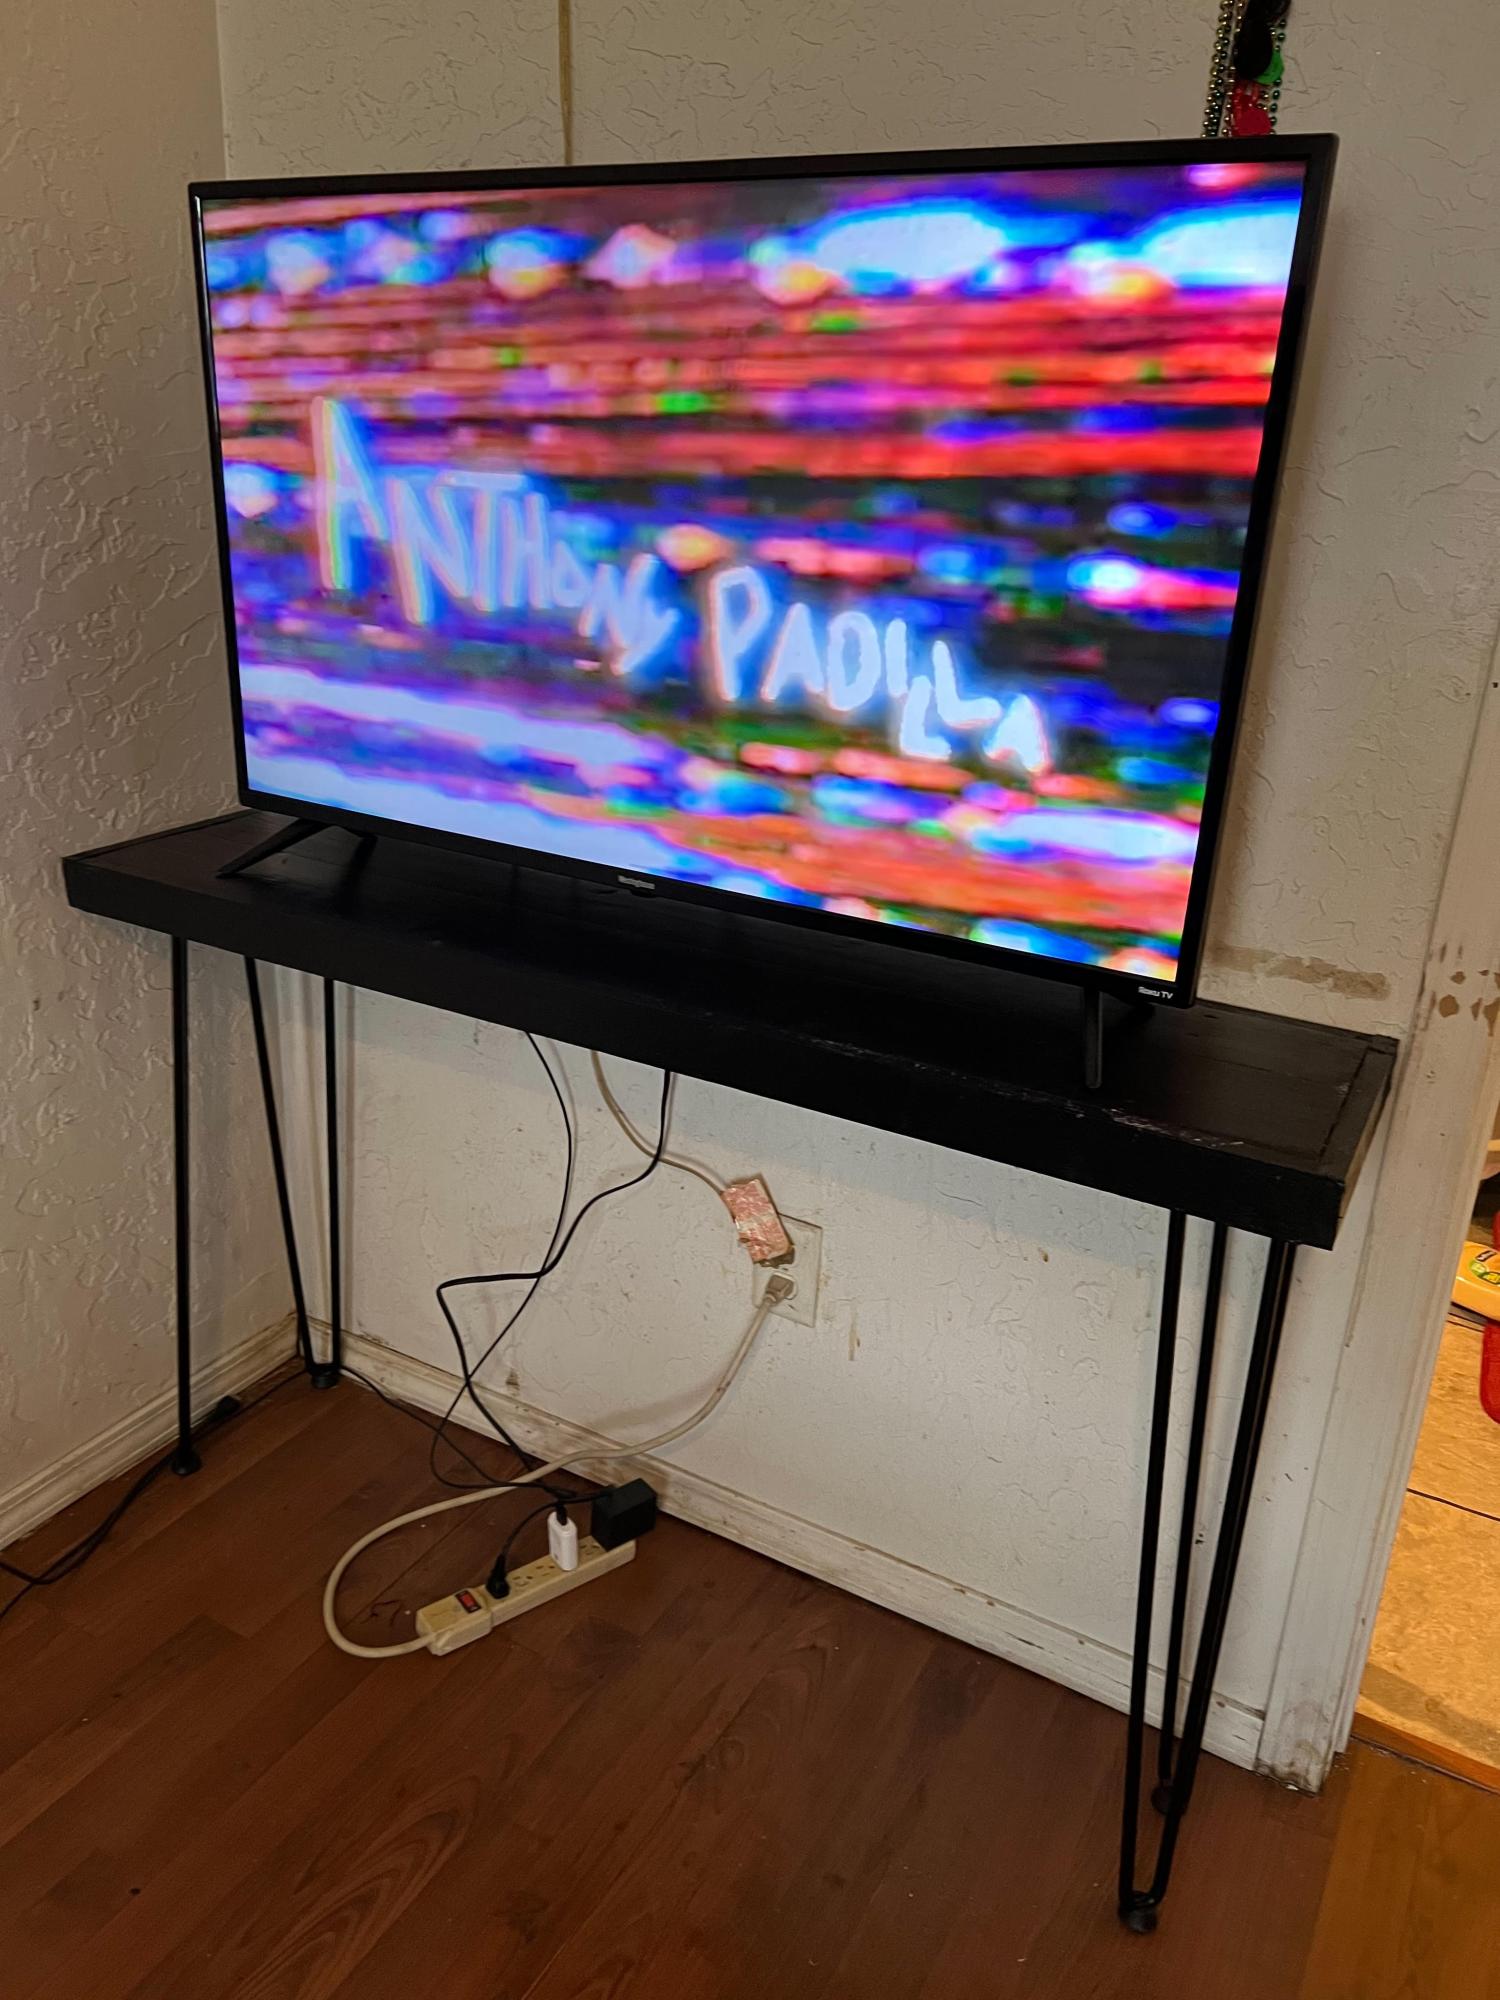
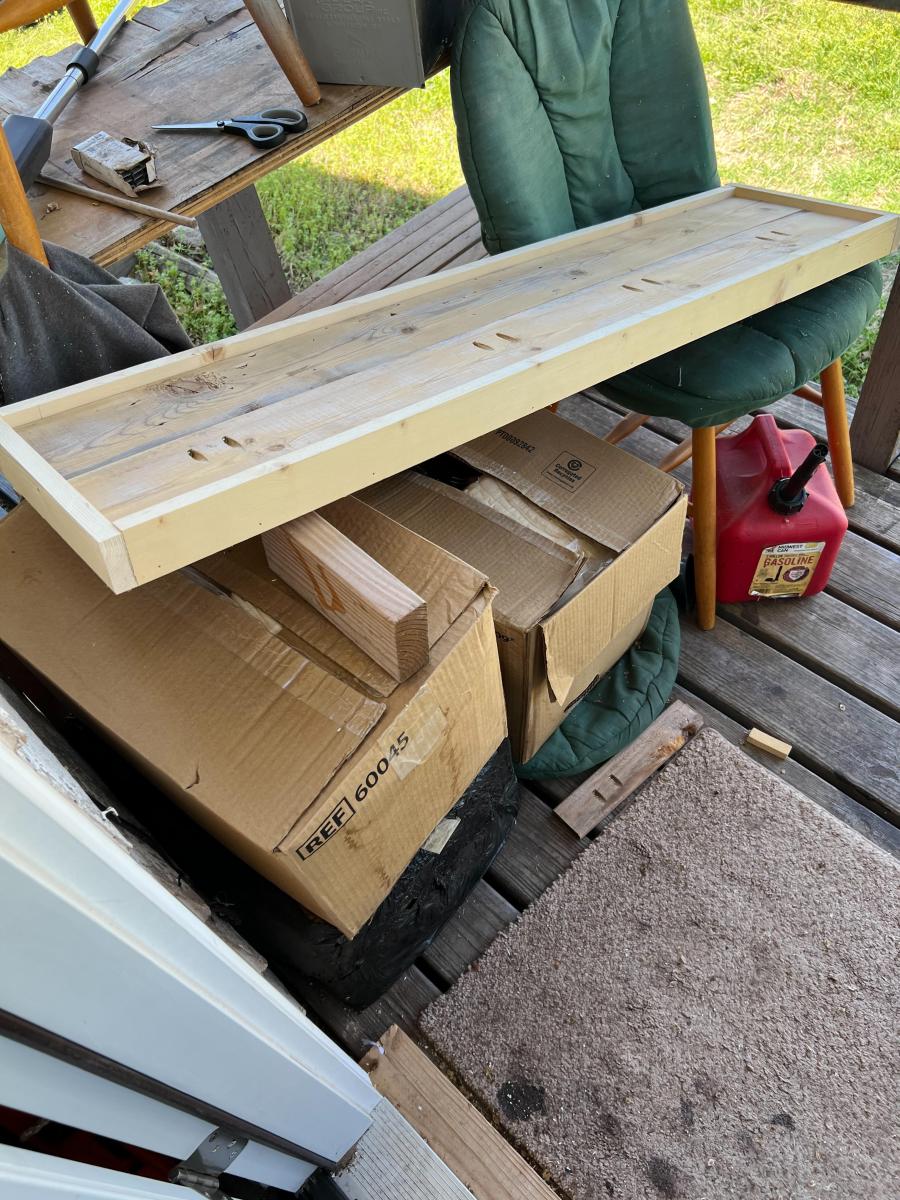
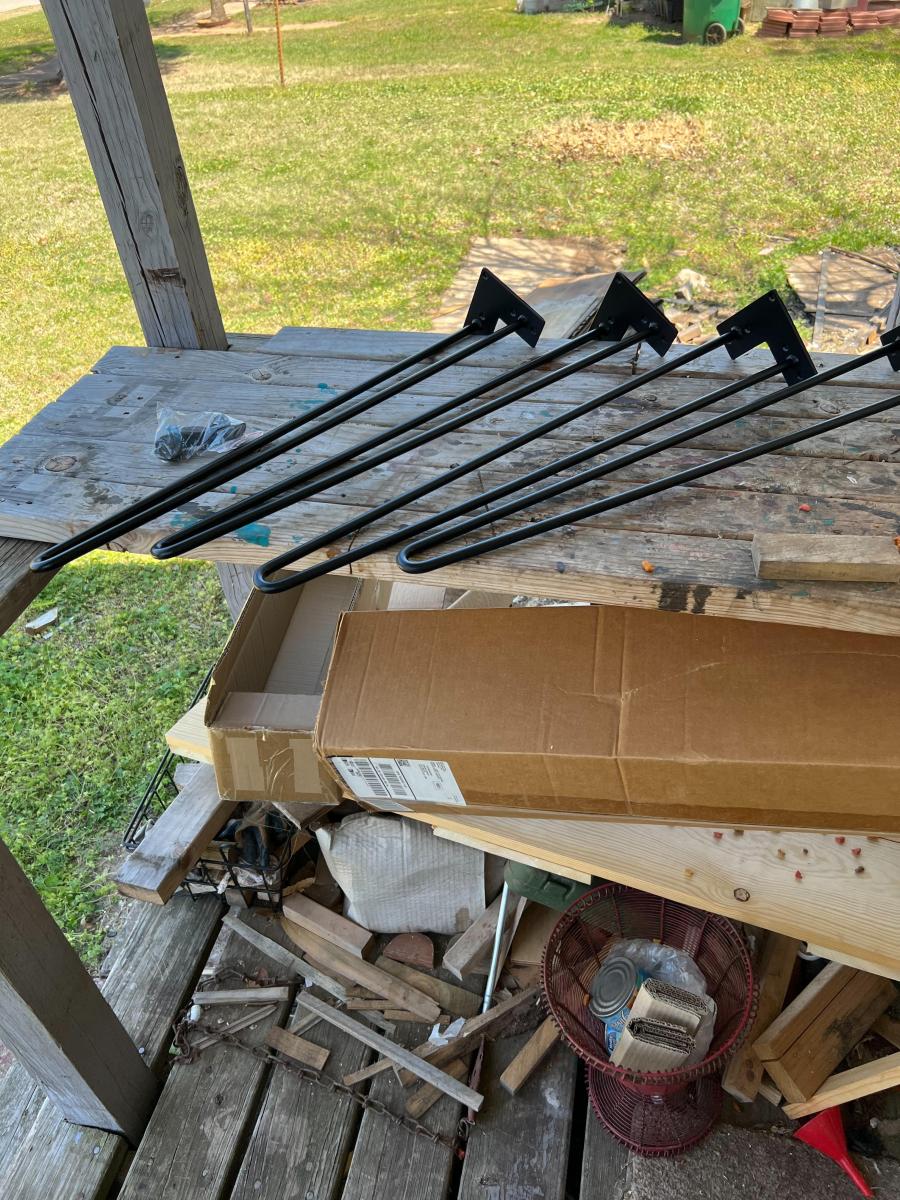
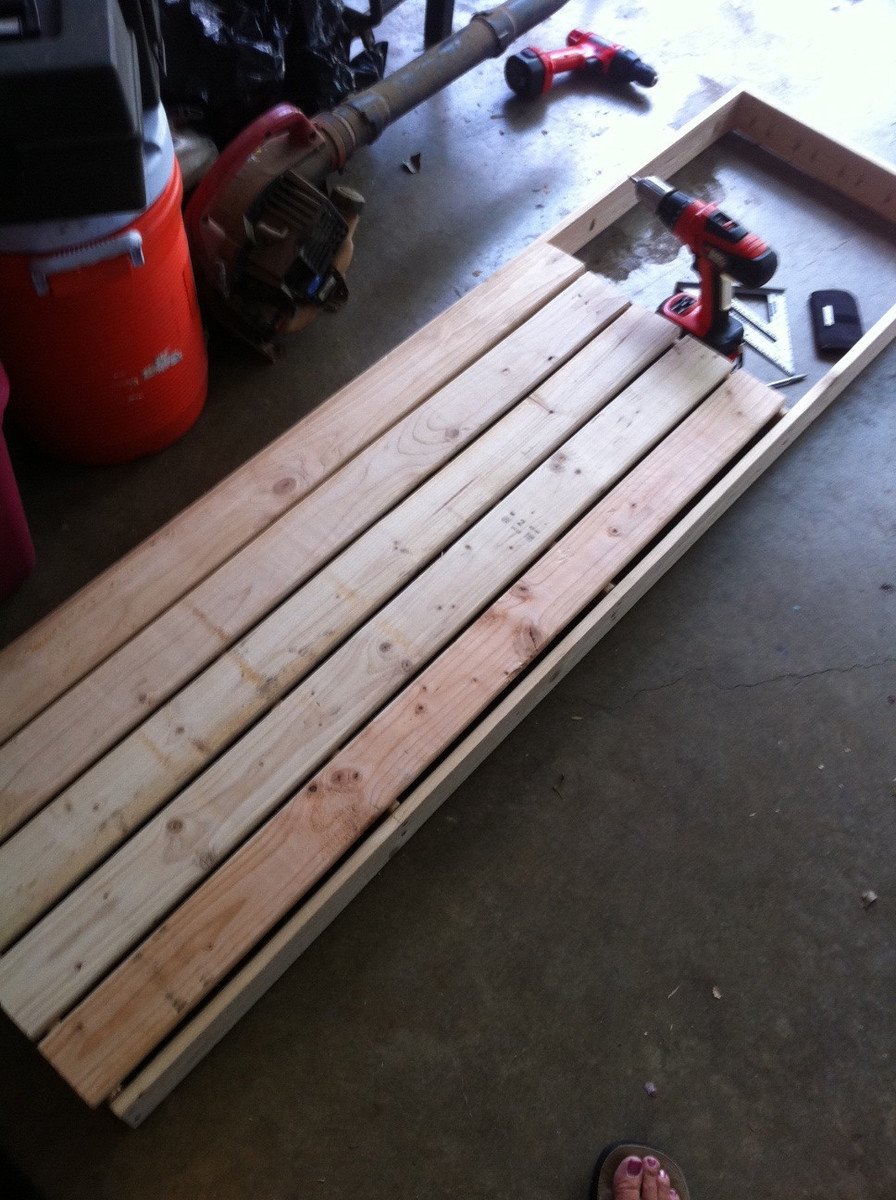
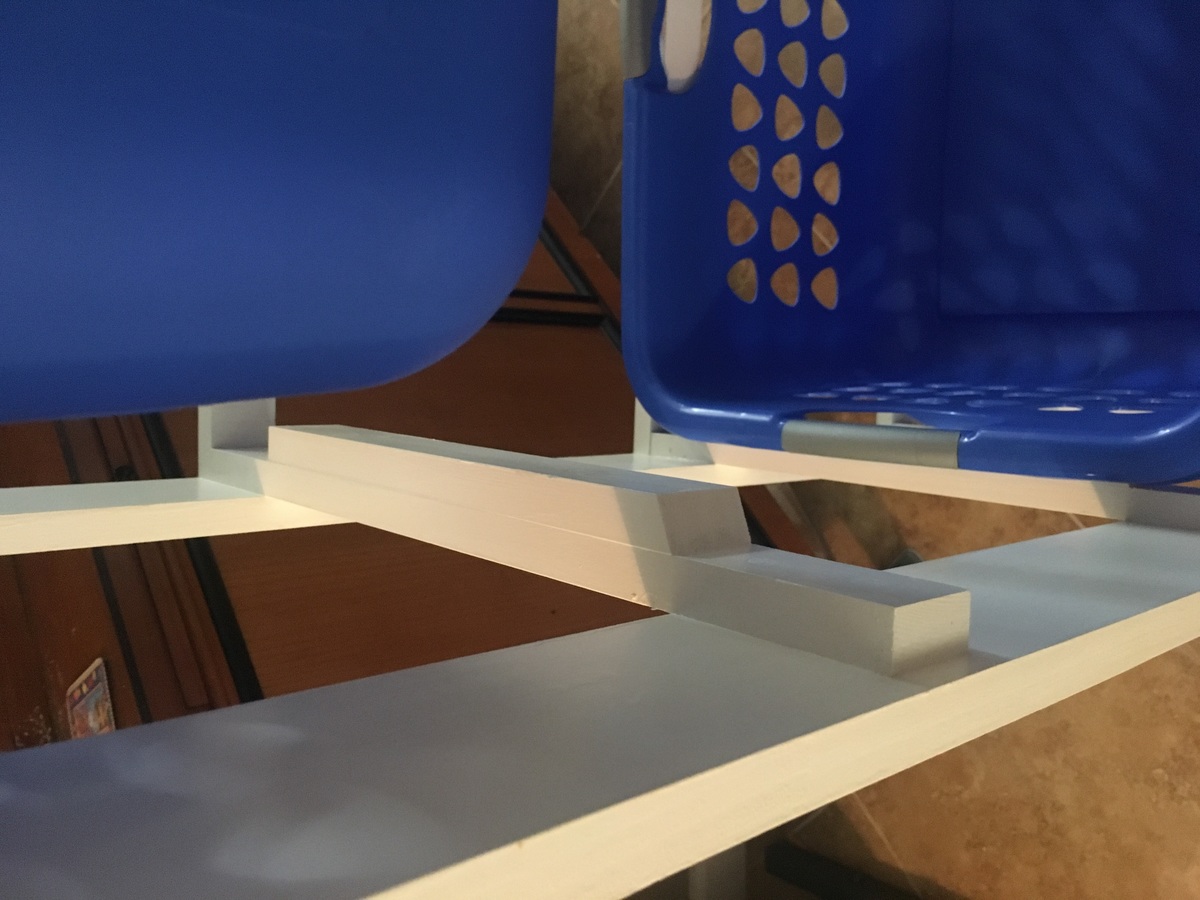
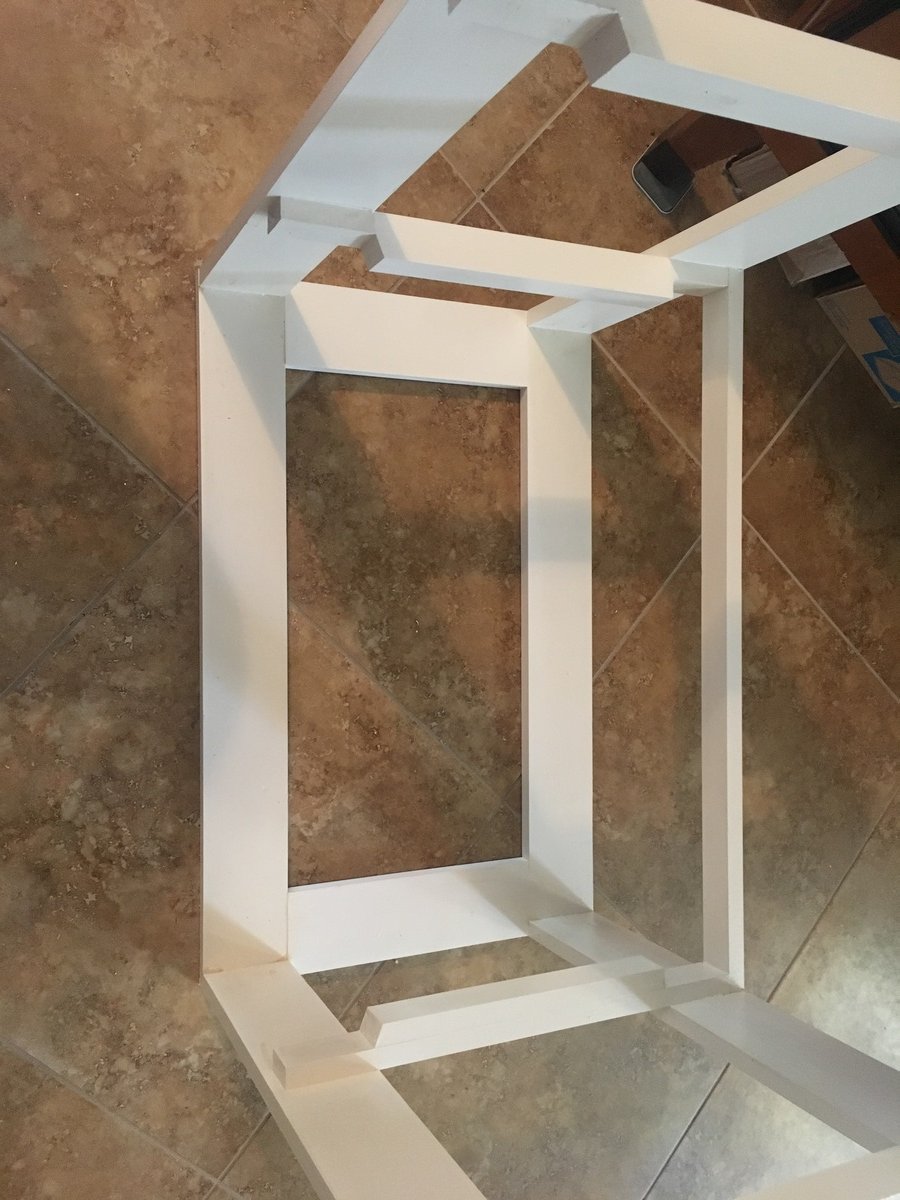
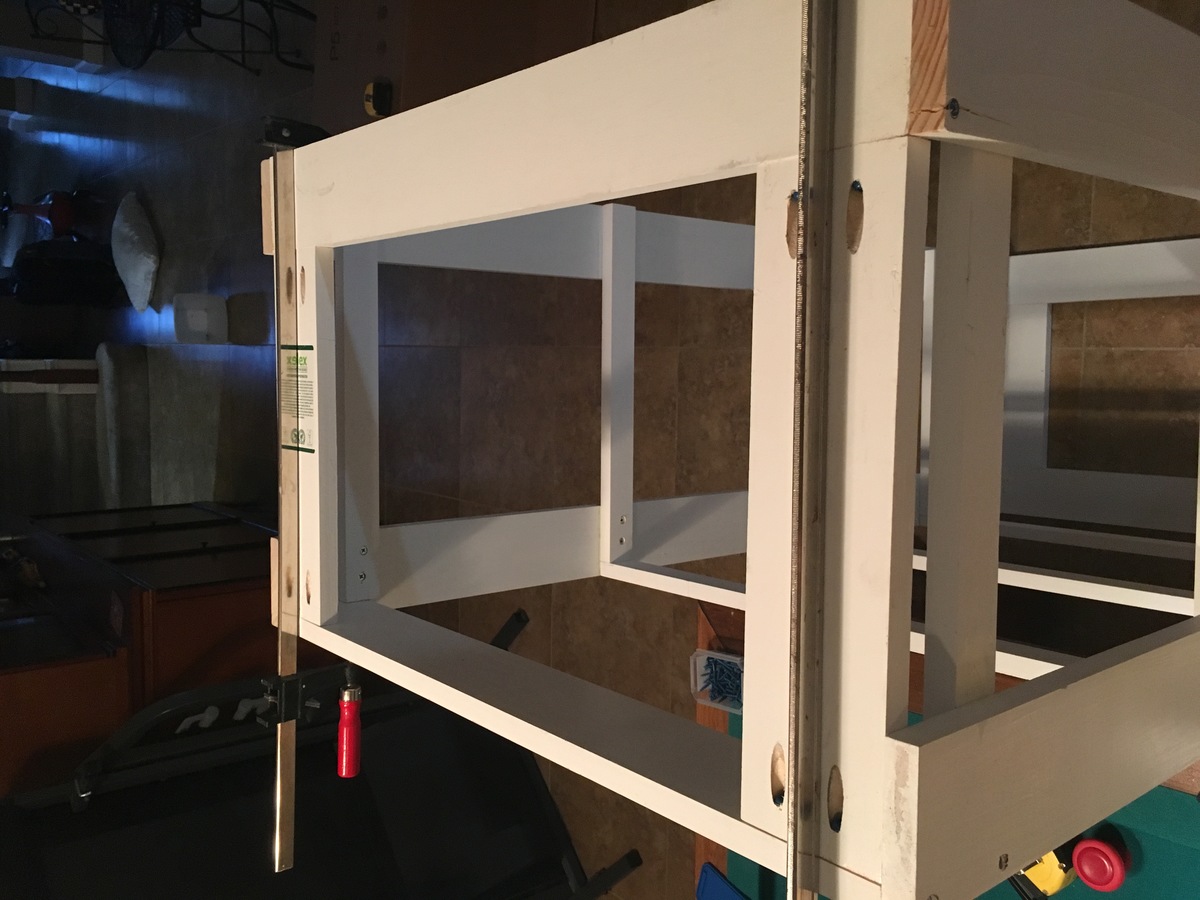
I created this pair of bookshelves from the Kids Storage Leg Desk plan for my two older children to help relieve their book clutter. I used the larger boards from a pallet and a couple of boards I scored at the local ReStore that had been abandoned from a bed frame for $4. With stains I had on hand, I think we did this for around $5. The pallet wood was shorter than the lengths given in the plan, so these book shelves were made at the height of 1/2 of a pallet board or about 22". They work great for what we need and when the kids outgrow these, I have one kid still under the age of two that can use it as a desk and all we'll need is to add the desktop.
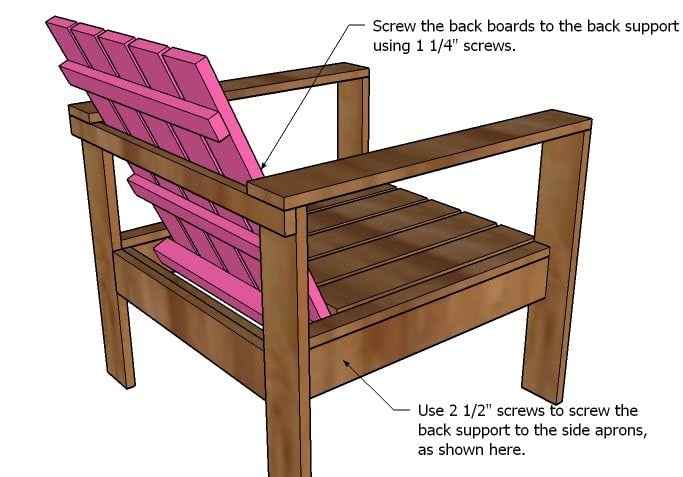
Built from Plan(s)
Estimated Cost
$5
Estimated Time Investment
Afternoon Project (3-6 Hours)
Finish Used
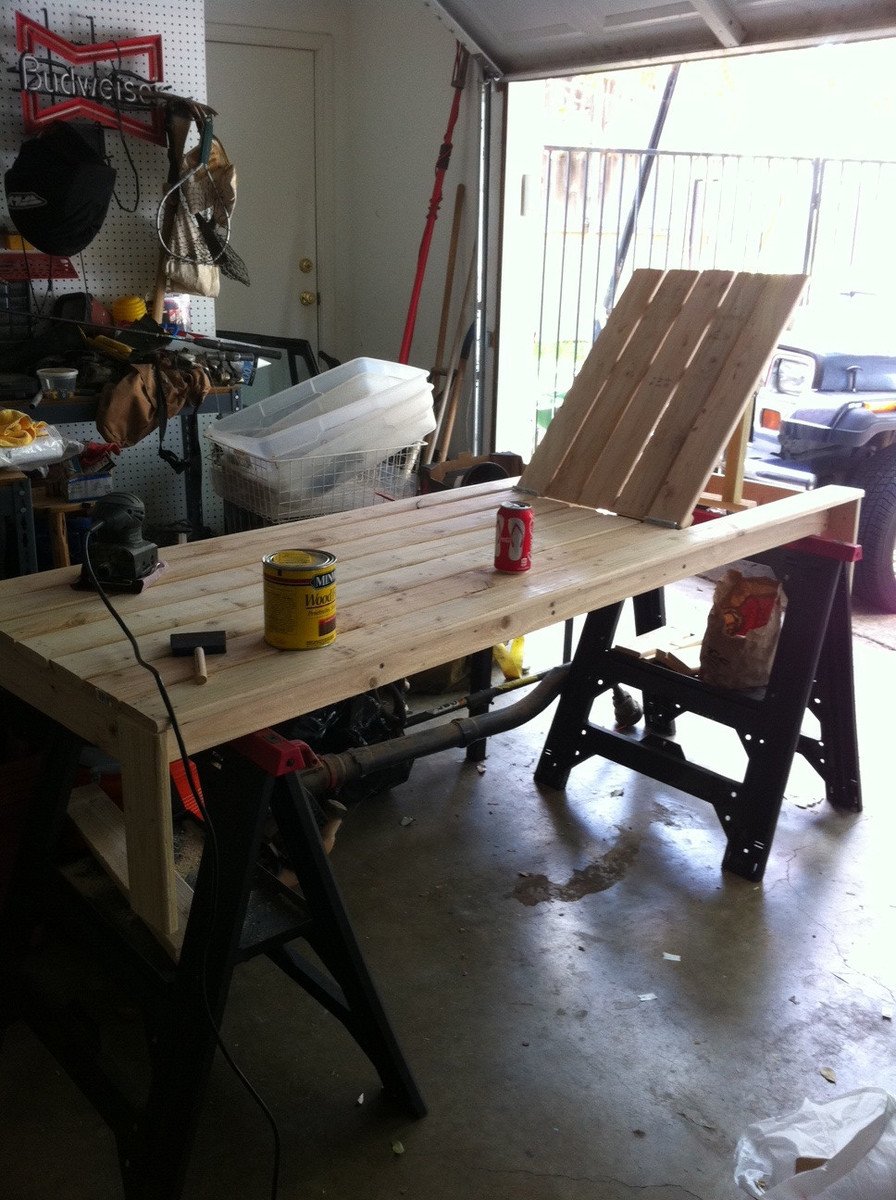
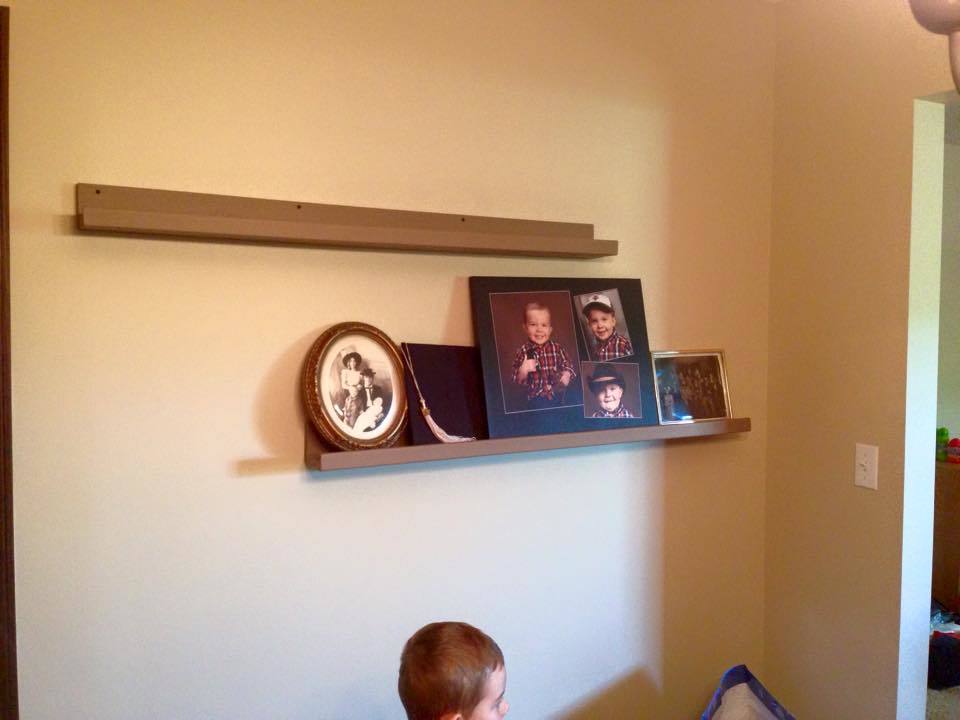
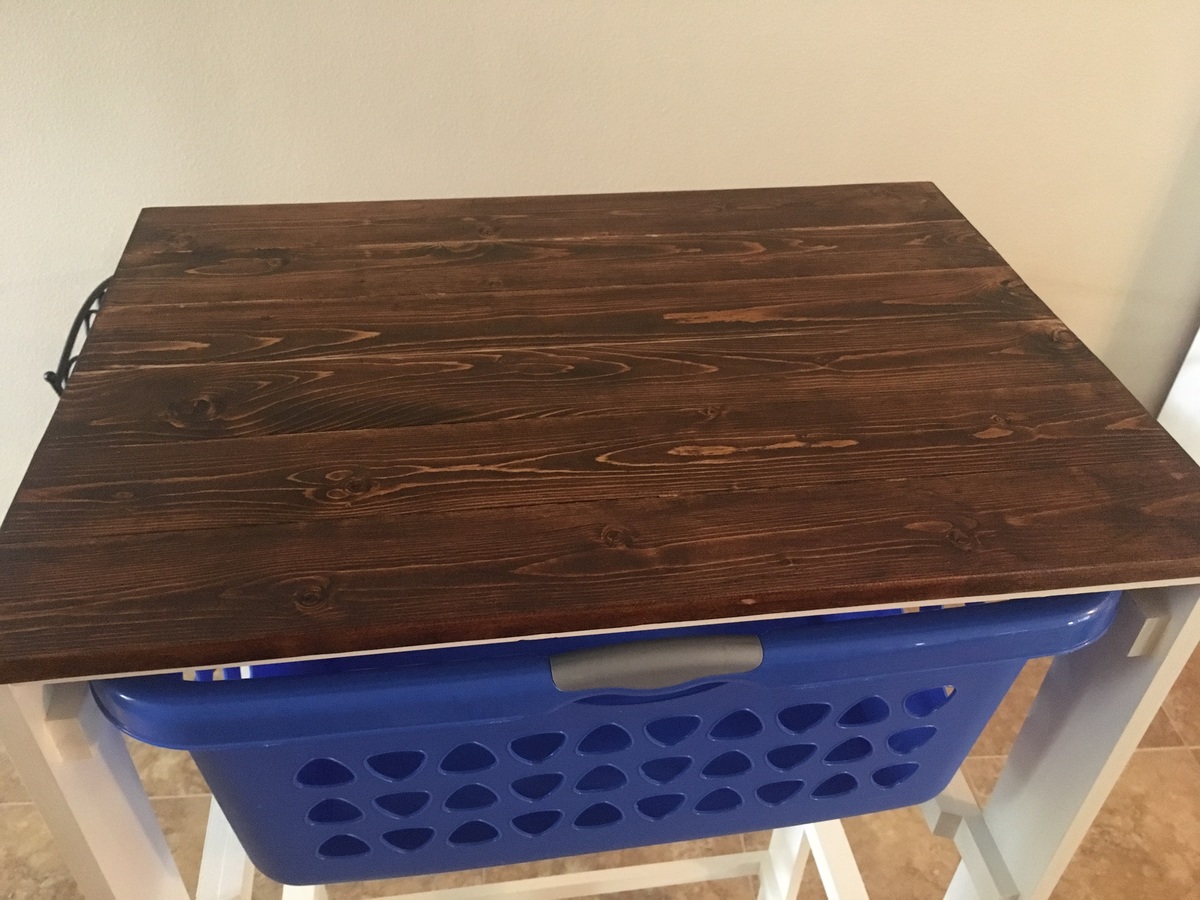
1. One coat of Watco Danish oil in cherry with a couple of coats of quick drying Minwax polyurethane.
2. One coat of Minwax provincial stain with a couple of coats of quick drying Minwax polyurethane.
The pallet wood really soaks in the stain so wiping it off didn't do much to lighten it up.
Recommended Skill Level
Beginner

Bathroom Vanity

Submitted by stacynabby on Mon, 08/31/2015 - 21:09

I have only one small bathroom in my house built in 1946. I couldn't find a vanity on the market that was big enough or small enough to fit, so I built my own based on a design from the Decor and the Dog blog page.


Estimated Cost
~$200 inlcuding vessel sink and hardware
Estimated Time Investment
Weekend Project (10-20 Hours)
Finish Used
Minwax American Colonial
Recommended Skill Level
Intermediate

Small table and benches

Submitted by sylvialh on Fri, 05/25/2018 - 11:28

I found the table to be pretty wobbly so I reinforced it with some triangulation and I moved all the legs into the centre so the triangulation wouldn't get in the way of people sitting on all sides. 

Recommended Skill Level
Beginner

Comments

sylvialh

Fri, 08/27/2021 - 05:25

I found that when the benches flexed a bit it would pinch my skin so I don't recommend this design! but none the less this set lasted me ten years and I learned a lot from it. Yesterday I took it all apart (easy enough since I didn't use glue - one of the reasons it was wobbly), and turned it into four stools and a planter. This project was an ana white gateway drug, one of my first projects!

DIY Chaise Lounge Chairs

Submitted by jroubinek on Wed, 07/06/2011 - 10:44

This was my very first project to take on with Ana's plans. It took a little longer than I would have liked only because I got frustrated and put it to the side for a MONTH. I realized how important it was to pre-drill my holes and then got the motivation to get back to it. Once I got started again, it was finished in NO TIME! I still need to stain one of them, but I couldn't be happier with the result.

Estimated Cost
$60
Estimated Time Investment
Weekend Project (10-20 Hours)
Finish Used
I used Wood Conditioner to make sure I didn't have to worry about blotchiness. Then I used a paintbrush to apply Minwax's Dark Walnut stain.
Recommended Skill Level
Beginner

Comments

geophyrd

Sun, 07/31/2011 - 07:55

I'm right in the middle of building one of these. My problem is that the 2x4s specified are 2" thick...having to rip them down and that took a lot of guts. Did them all except the long boards. Going to do those later today (if I don't melt) and when my wife can give me a hand.

How did you rip them to size?

Also, did you use a router table to round the edges?

MichelleC

Fri, 07/20/2012 - 09:21

These look great! Geophyrd...do you mean 2x2's? You just use the ones straight from the store, also referred to as furring strips...that will save you a lot of time and stress rather than ripping down 2x4's. When the plans say 2x2's, they aren't going to actually be 2", and the plans don't say that they have to be 2". Ana writes the plans as simply as possible without us having to do complicated steps like ripping down boards thank goodness!

Shoes cubby/bench modified from rolling cubby bench plan. Thank you!

This is my first attempt on woodwork. I have modified size a little bit to make it fit to our entry way. Plan is very easy to follow, Thanks Ana!

Built from Plan(s)
Estimated Cost
$30-$50
Estimated Time Investment
Afternoon Project (3-6 Hours)
Finish Used
Rustoleum
Recommended Skill Level
Beginner

Comments

Picture ledge

Easy-peasy! Painted in a constrating color for a great look on the wall...

Built from Plan(s)
Estimated Time Investment
An Hour or Two (0-2 Hours)
Recommended Skill Level
Starter Project

Simple outdoor dining table variation

Submitted by Hudsonic on Thu, 07/12/2018 - 02:35

I liked the variations of the simple table. Kept the same dimensions as the plan. Made chairs based on simple Harriet chairs

Built from Plan(s)
Estimated Cost
$70
Estimated Time Investment
Weekend Project (10-20 Hours)
Finish Used
Olympic maximum stain and sealer.
Recommended Skill Level
Beginner

Class/School Auction Projects

Submitted by jendon on Tue, 05/03/2022 - 15:32

This year my 2nd-3rd class built the Modern Park bench for the school auction. They sanded, stained, and set the screw for the seat and back.
I also made two Adirondack chairs with matching stain.
Both projects had two coats of poly and really shined. They were a hit at the auction and the kids and families really appreciated the experience and final products.
Thank you Ana for making plans simple to follow and new skills learned each time.
Blessings,
Jennifer

Comments

jendon

Mon, 05/16/2022 - 18:33

My students really enjoyed it and many picked up a tool for the first time. I like planting seeds in their heart and mind for the future!! Blessings, Jennifer

jendon

Mon, 05/16/2022 - 18:33

My students really enjoyed it and many picked up a tool for the first time. I like planting seeds in their heart and mind for the future!! Blessings, Jennifer

Monika

Sun, 03/31/2024 - 14:30

I've been helping with our class auction project, and it's been a fun experience. But balancing schoolwork and project deadlines can be tough. That's why I found this article finance.yahoo.com/news/pay-essay-top-5-safe-105019899.html on safe essay services helpful. It saved me time and stress, allowing me to focus on both my studies and the auction project.

King Easy Build Headboard

Submitted by Grohsie on Sat, 07/09/2011 - 08:21

Loved creating this- I was worried that it wouldn't come out well and I wasn't prepared for the amount of time it took to pick out my supplies, but it's done and I love it! Thanks for the plans and for everyone's brag photos- I loved seeing that others had done it and hoped I could, too.

Estimated Cost
$130
Estimated Time Investment
Day Project (6-9 Hours)
Finish Used
Minwax Dark Walnut (2 coats) and water-based polyurethane (2 coats).
Recommended Skill Level
Starter Project

Comments

Sherry Maraci (not verified)

Mon, 08/06/2012 - 14:12

This is absolutely stunning - I can't wait to make one of my own!

New coffee table for the LR

Submitted by ewhitten on Mon, 08/12/2013 - 06:59

While my wife was away for the weekend, the boys (3 year old twins) decided to surprise her with a new coffee table! We had to get rid of the old IKEA one due to its sharp edges... we've already had one ER visit and nine stitches! A few notes/things I learned: * Pay attention to which side of the wood you leave facing out. A lot of my boards had one smoother side and I accidentally put those face-down. Meant a lot more sanding. * A belt sander would have made this a lot easier. * I took care to round all the exposed outer edges with the sander. A router would have been better for this, as it took a lot of care to make sure they were even. * It's going to get about three coats of polyurethane now, but I still would recommend coasters. This thing is HEAVY. It will probably outlast me. :)

Built from Plan(s)
Estimated Cost
50
Estimated Time Investment
Day Project (6-9 Hours)
Finish Used
Skipped the wood conditioner and used Rustoleum Ultimate Wood Stain - Kona (black/brown)
Recommended Skill Level
Beginner

Wall Shelf

I built these 2 shelves for my 2 older children to use when hanging up thier backpacks and for a place to put library books so they don't get lost in the pile of other books laying around the house. I didn't have a convinient stud to attach them to, so my husband used 4 drywall anchors. They seem pretty sturdy. It only took me about an hour to cut and assemble both shelves and cost around $20 to make 2. I did find that the screws that came with the hooks were too long and poked through the back of the front board, but I just used a file to smooth out the tip of the screw so it didn't catch anything. Building this really made me wish I had the Ryobi cordless nail gun. I may or may not have hammered my thumb pretty good during assembly.

Estimated Cost
Estimated cost around $20 for both shelves.
Estimated Time Investment
An Hour or Two (0-2 Hours)
Finish Used
Minwax stain in Honey with spray polyurethane and Sherwin Williams Bedazzled in Satin.
Recommended Skill Level
Starter Project

Comments

Jelly Cupboard

Submitted by Doug B on Mon, 07/23/2018 - 13:38

A neighbour was giving away this home made "blanket chest" the lid lifted up to a 6" deep compartment with a lower compartment having a fake draw front. After debating on how to transform it I cut off the legs & attached them to one side, stood the unit up vertical & turned it into a jelly cupboard with the lid becoming the front door & the fake draw front becoming a side door. Made & attached the top to the cabinet. A little chalk paint & project done in a weekend of free time.

Estimated Cost
$20
Estimated Time Investment
Weekend Project (10-20 Hours)
Finish Used
Red chalk paint base coat with blue over coat sanded to reveal the red.
Recommended Skill Level
Beginner

Farmhouse Potting Bench

Submitted by Anonymous (not verified) on Thu, 05/12/2022 - 11:47

Excellent video. Was able to create this with minor changes to the dimensions.
Was a well received gift for Mother’s Day.

Comments

My $30 Closet Makeover!

Submitted by scokenour on Mon, 07/11/2011 - 12:57

This project is closest to the Simple Closet Organizer, but I wanted to be able to re-use the existing components of the closet. The only purchased materials were one sheet of cabinet grade plywood and dowel rod holders (since I already had paint and screws).

Estimated Cost
$30
Estimated Time Investment
Afternoon Project (3-6 Hours)
Finish Used
sand, prime, sand, paint
Recommended Skill Level
Beginner

Comments

Outdoor Sectional from Redwood

Submitted by ACEarl on Wed, 08/14/2013 - 07:50

I wanted to build this sectional such that it could be used with or without cushions. I modified the backs so that pillows and cushions would not fall through. Because I wanted to use redwood rather than the cheaper pine stock, I had to rip the lumber myself out of 2x4s. This process was a little tedious and required some minor modifications because the stock was slightly thinner than production lumber. However, this saved me money because each cut list resulted in two chairs rather than one. I also built the ottomans, side tables, and potting tables using ana-white plans. Because I dimensioned the lumber myself, this project took considerably longer than the estimate on the plans. This was a fun project that I will enjoy for many years to come.

Estimated Time Investment
Week Long Project (20 Hours or More)
Finish Used
I used Thomson's Water Seal and teak oil.
Recommended Skill Level
Intermediate

Pipe Coffee Table

Submitted by 42jbmayer on Sat, 09/12/2015 - 21:57

Made this pipe coffee table by laminating 3 2x10 boards.  The size of the table is 60in by 27in.  I ripped the sides of the boards down to 9 inches each to square off the sides for a jointed glued table. The pipes were spendy but easy to get and assemble.  Used Minwax special walnut stain.

Estimated Cost
150-170
Estimated Time Investment
Weekend Project (10-20 Hours)
Finish Used
Sprayed Waterborne Lacquer Satin
Recommended Skill Level
Intermediate

Laundry dresser using 1x4 boards

Submitted by Drspear98 on Fri, 08/10/2018 - 10:11

i made a laundry dresser about three years ago, but we had a water filtration sytem installed in our laundry room and I had to build another one to fit the new dimensions. I loved this idea because it’s simple, and more open. I wanted to choose some larger, sturdier baskets, so I chose the Sterilite 2-bushel baskets. I bought them at Walmart. I am not an expert in woodworking, but I am very happy with the results. I accidentally made it a little too wide, but I added another 1x2 to the rack where the baskets hang, and now the baskets fit perfectly. I chose pre-primed pine boards because I hate sanding and I hate painting. The top are just normal 1x4 pines that I glued together and fastened from underneath. I did have to sand those. I also did add a coat of paint that matches my baseboards. All in all, I am pleastly surprised that it turned out.

Estimated Cost
Under $100
Estimated Time Investment
Weekend Project (10-20 Hours)
Finish Used
Stain, latex paint, polyurethane gloss for top
Recommended Skill Level
Beginner

Colorado Backyard Gable Greenhouse

Submitted by Anonymous (not verified) on Tue, 05/24/2022 - 20:17

We started this project last fall with the goal of creating a multi use hobby greenhouse with plenty of space for the kids to get their hands dirty. We purchased the Small Gable Roof Greenhouse plans and made our first (of many) trips to the hardware store. Since becoming homeowners in 2015, we've done countless projects but nothing as big as this. We are still very much learning the nuances of greenhouse growing in Colorado, but that has become a fun experience for our entire family. Since completing the structure, I've found that I'm more interested in making the space more functional than I am in actually gardening. I added a shelf built almost entirely from old pallets, a raised cedar bed and solar powered exhaust fan/lights. Luckily, my wife loves spending time in there tending to the plants! As the summer heat sets in, we will face new challenges of how to keep the space cool. Maybe by adding a shade cloth and misters? Regardless of what the "output" looks like we are loving this new hobby and are looking forward to learning new skills!

Comments

Lap Desk

Submitted by canesa on Thu, 07/14/2011 - 23:29

When we finished our playroom I knew I needed to build the lap desk for their nail salon! It's the perfect size to do nails on and it holds all of their nail polish, files and cotton balls. I didn't add the trays on the side of the desk because we didn't have the space. I think I probably spent more time trying to figure out the hinges than I did building the desk!

Built from Plan(s)
Estimated Cost
I had scrap wood to build this desk so my only cost was the hinges.
Estimated Time Investment
An Hour or Two (0-2 Hours)
Finish Used
White paint for now. I definitely need to bling it up for their salon!
Recommended Skill Level
Beginner

Comments

lollypoppy

Sun, 11/06/2011 - 11:45

Nail salon desk is ingenious!! My daughter would definitely love it. Cute painting on the wall too :)

Modified 2x4 Craft Table

Submitted by JKnight on Sun, 08/18/2013 - 20:31

I needed a microwave cart/table/stand, but couldn't find one at a price I was agreeable with. So naturally I started snooping on the internet. I originally found this plan, http://ana-white.com/2013/05/plans/2x4-craft-table and then modified it to fit my microwave and able to hide my garbage can underneath. I plan on finishing it with a ruffled skirt (to actually hide the can) and stenciling+staining the wood.

Estimated Time Investment
An Hour or Two (0-2 Hours)
Recommended Skill Level
Beginner