20 Sec Tidy Up Coffee Table
![](/sites/default/files/3154836334_1382746753.jpg)
This project should have only taken me a few hours, but with a little one to take care of, I managed to make it take forever!
Super simple plan to follow - absolutely love how it turned out!
![](/sites/default/files/3154836335_1382746753.jpg)
![](/sites/default/files/3154836336_1382746753.jpg)
![](/sites/default/files/3154836337_1382746753.jpg)
This project should have only taken me a few hours, but with a little one to take care of, I managed to make it take forever!
Super simple plan to follow - absolutely love how it turned out!
We used the basic kitchen cabinet plan and my kreg jig for the first time to create a couple of the cabinets and the island in the kitchen. The plans were an inspiration that did not quit. We added the lit up open cabinets above and then framed them all the way to the cathedral ceiling.
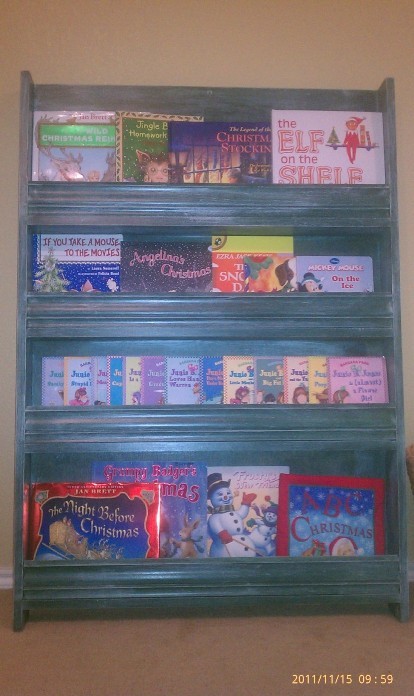
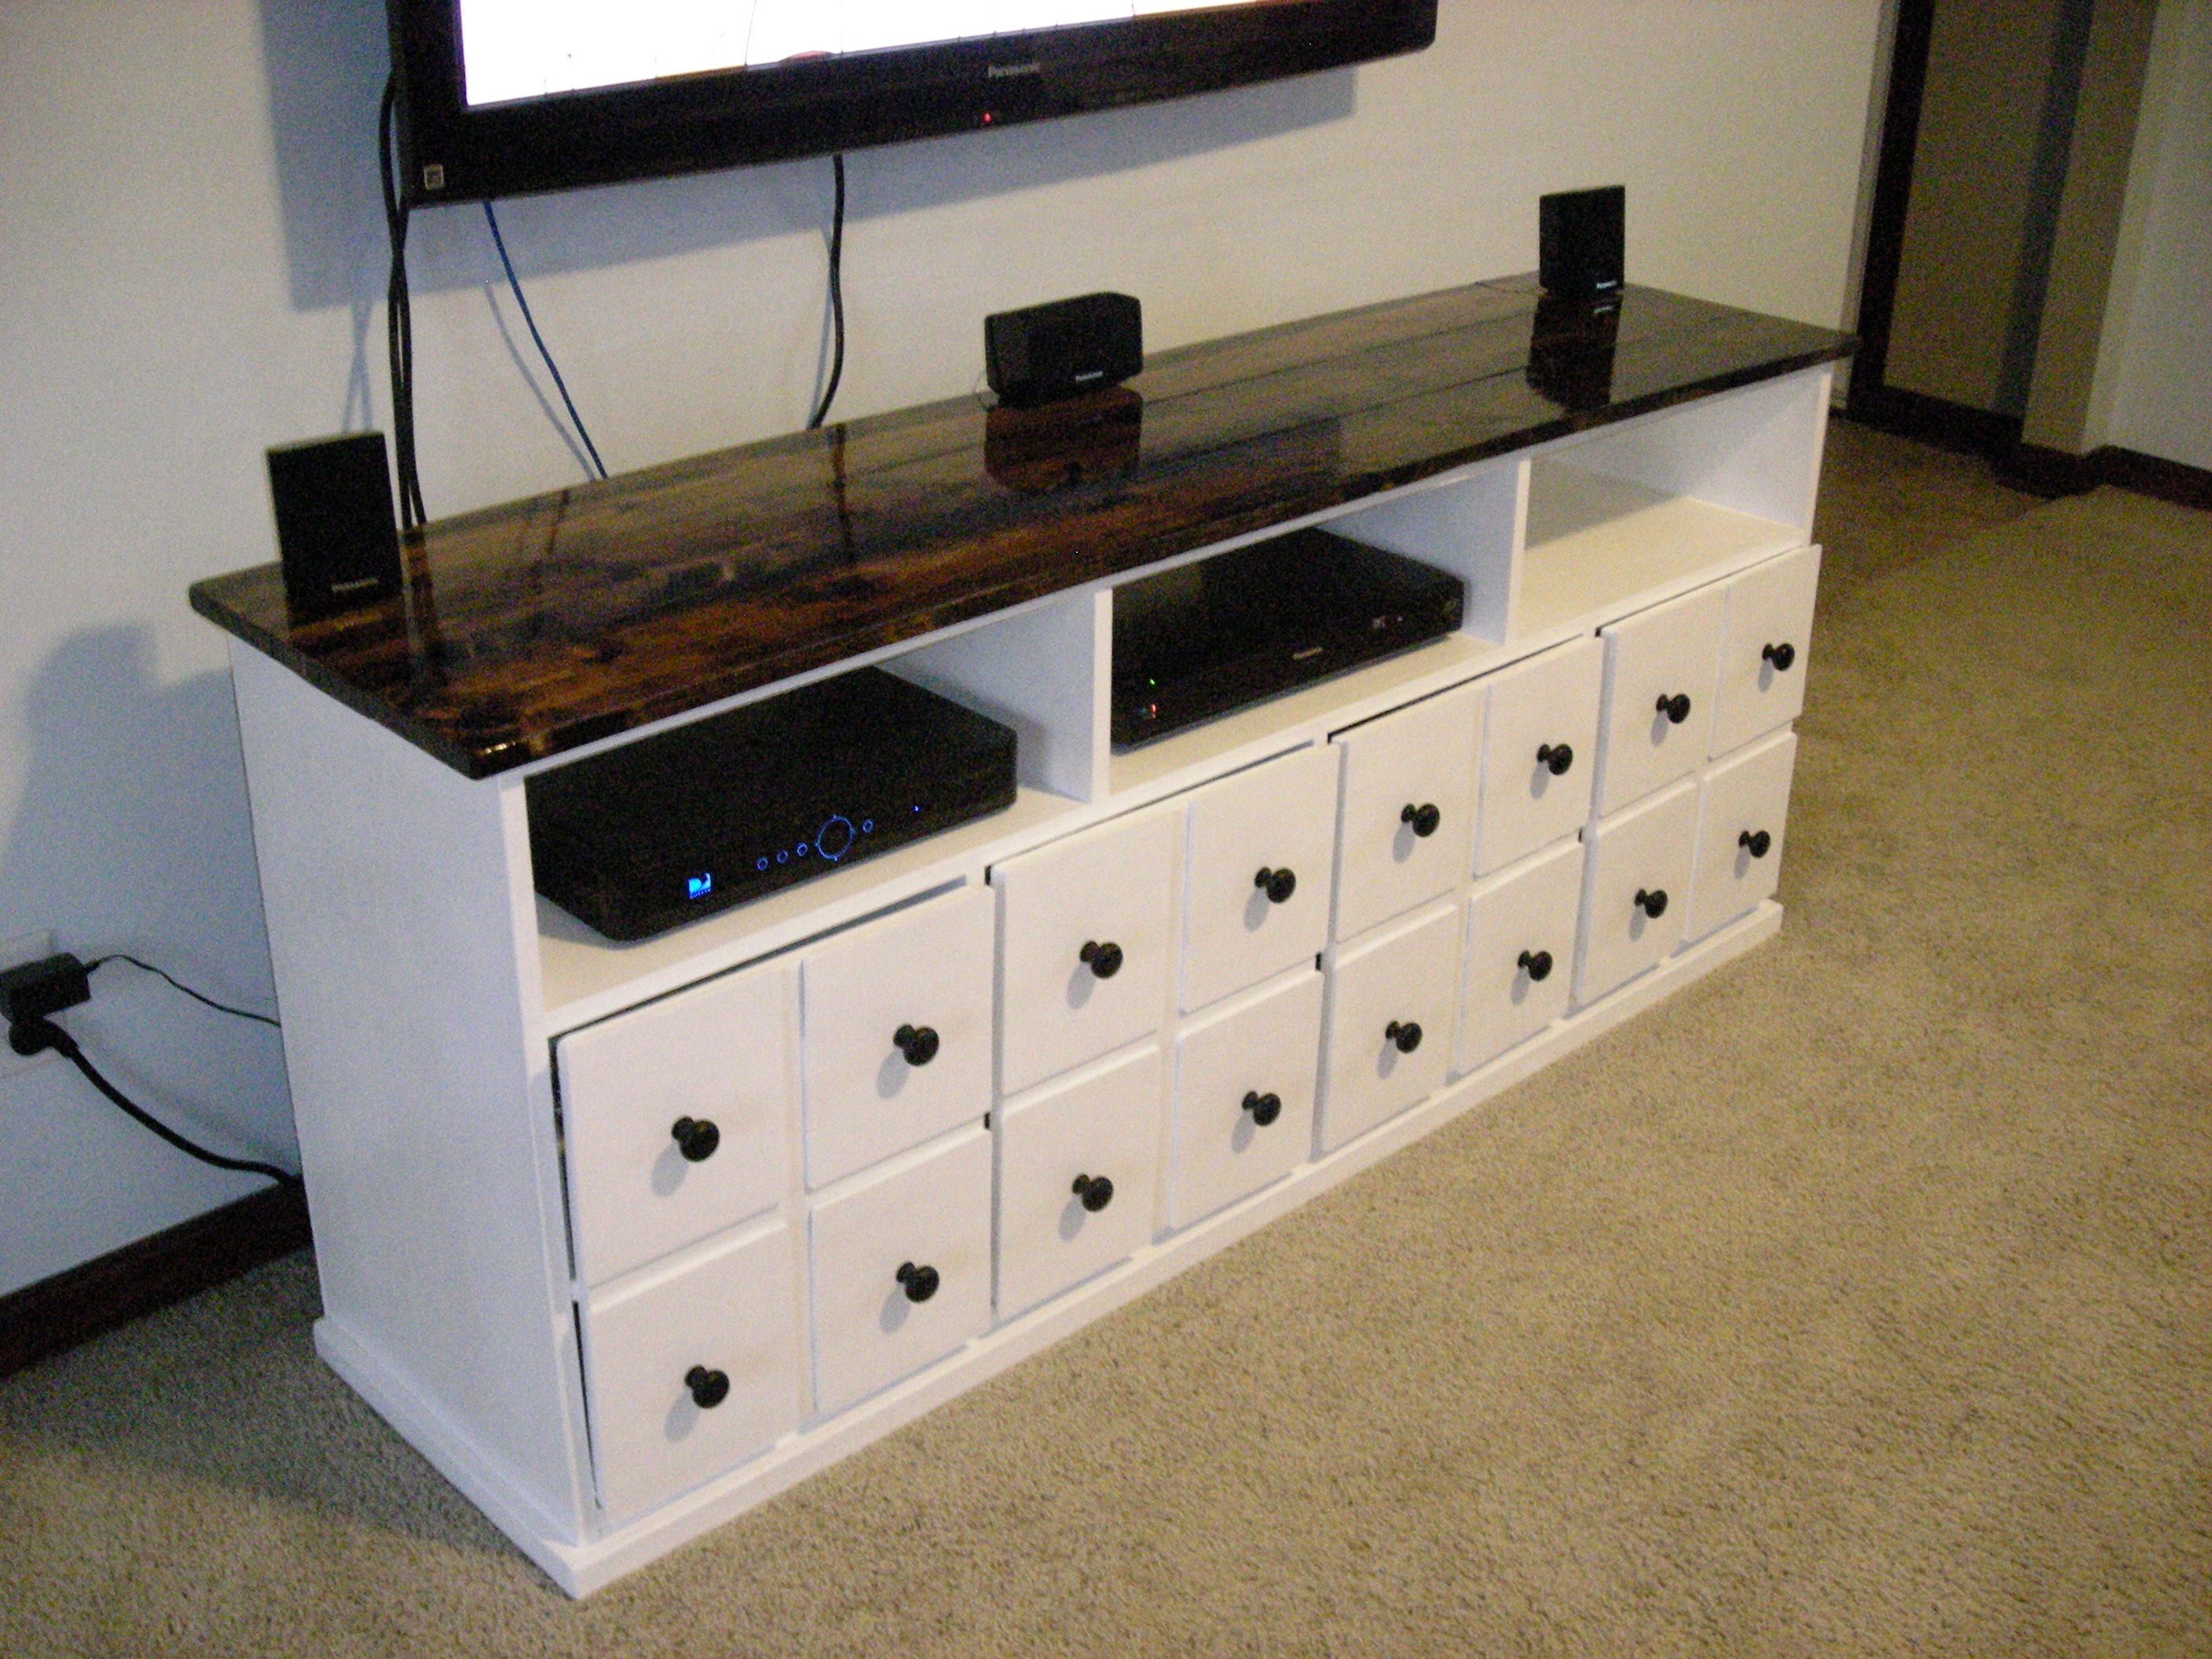
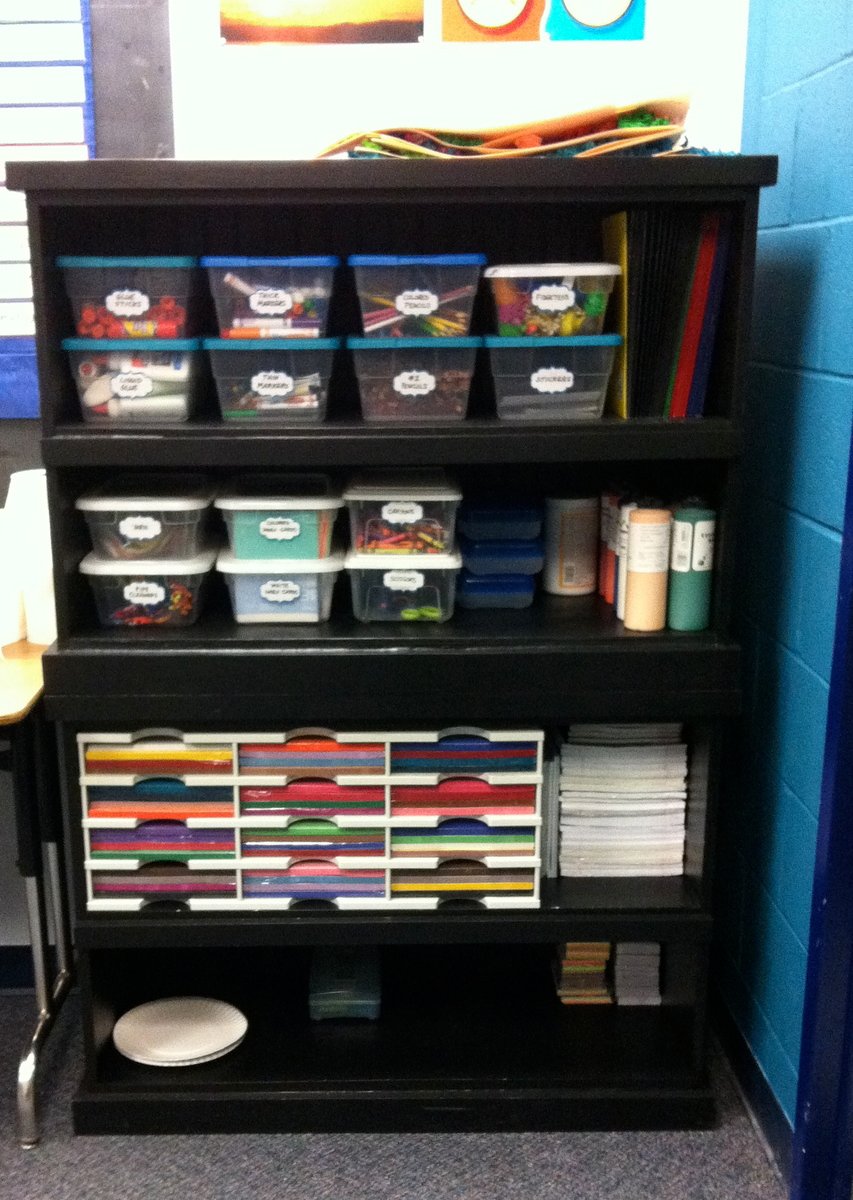
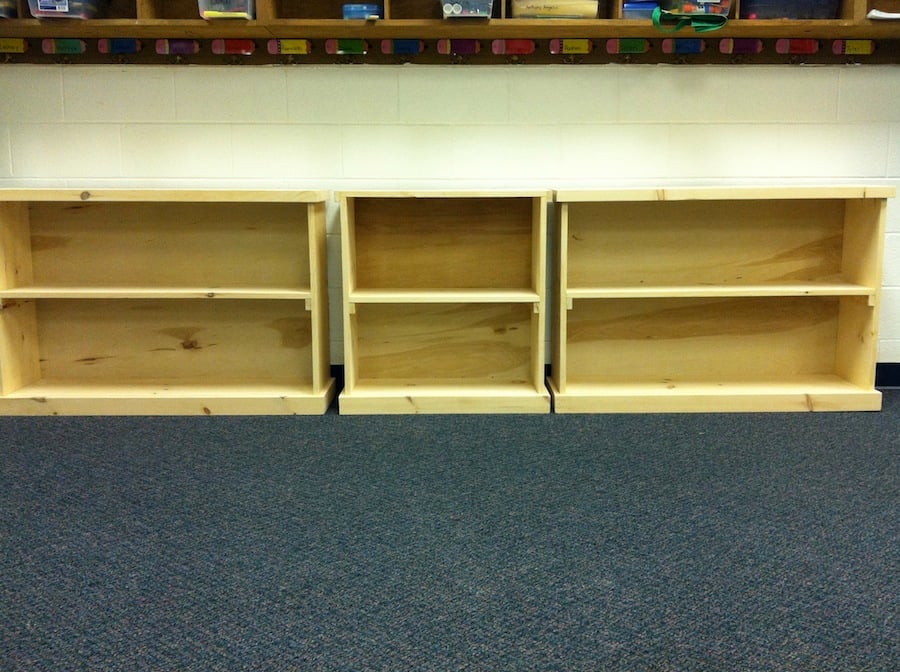
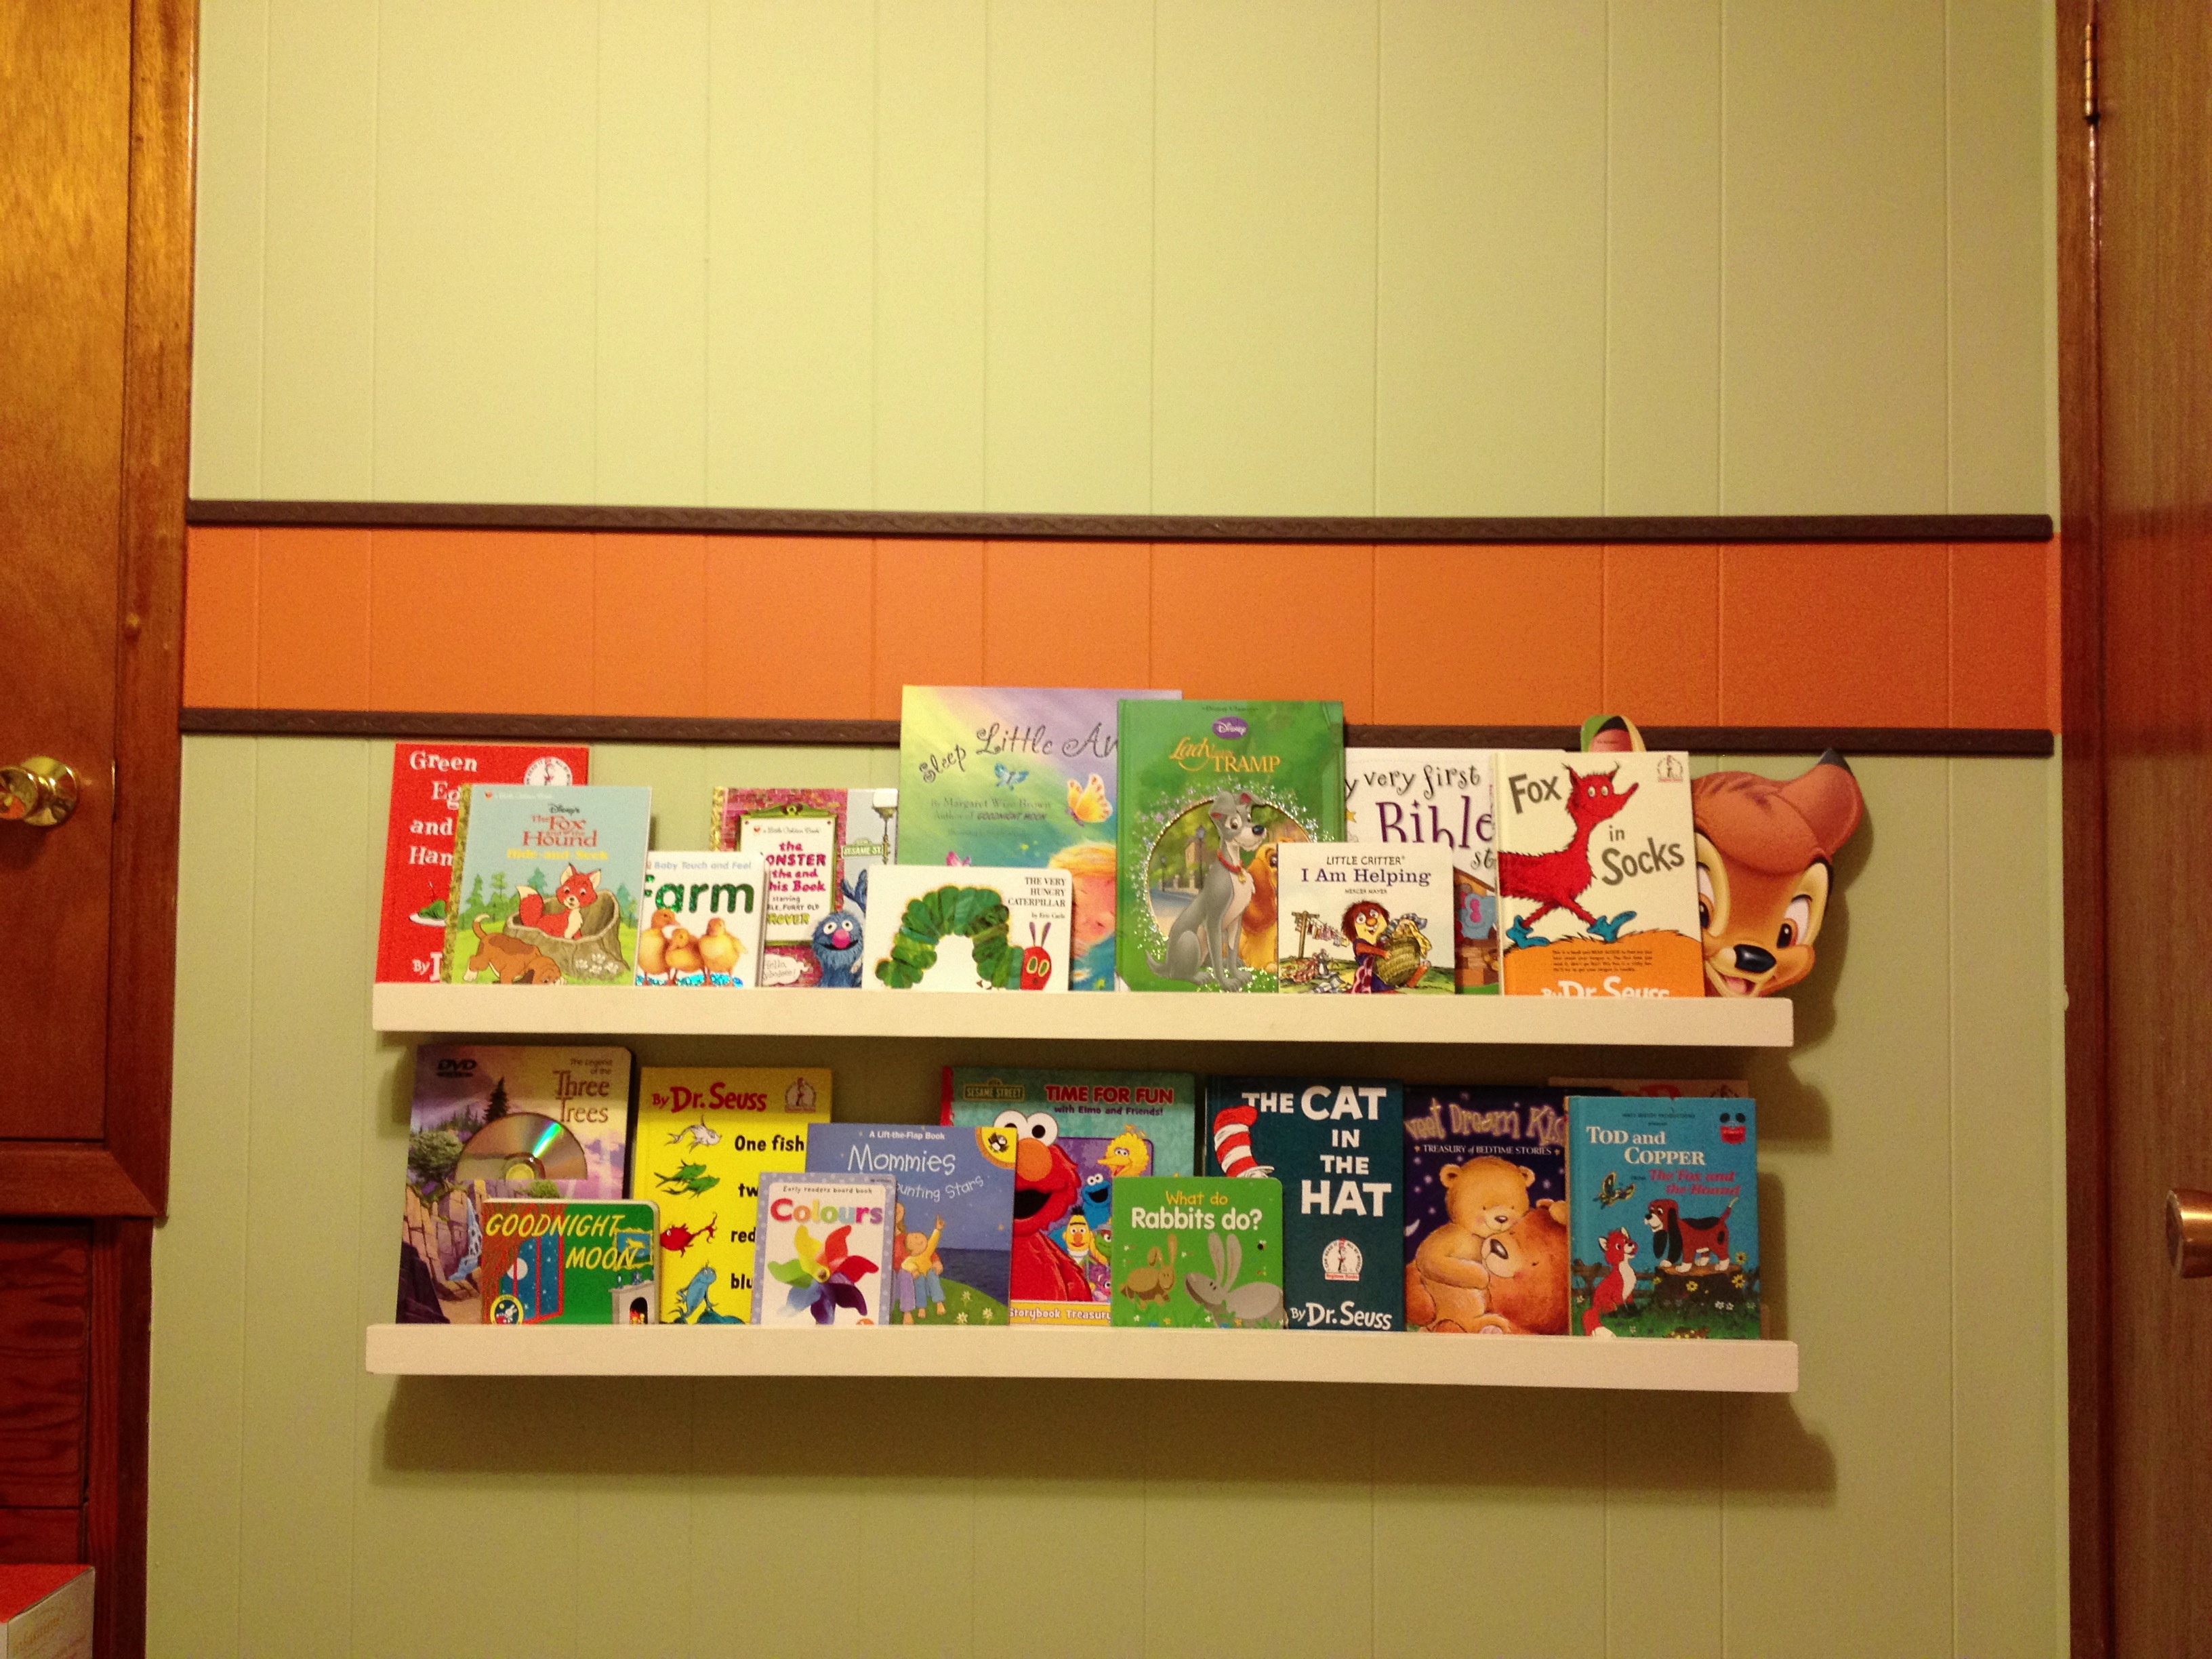
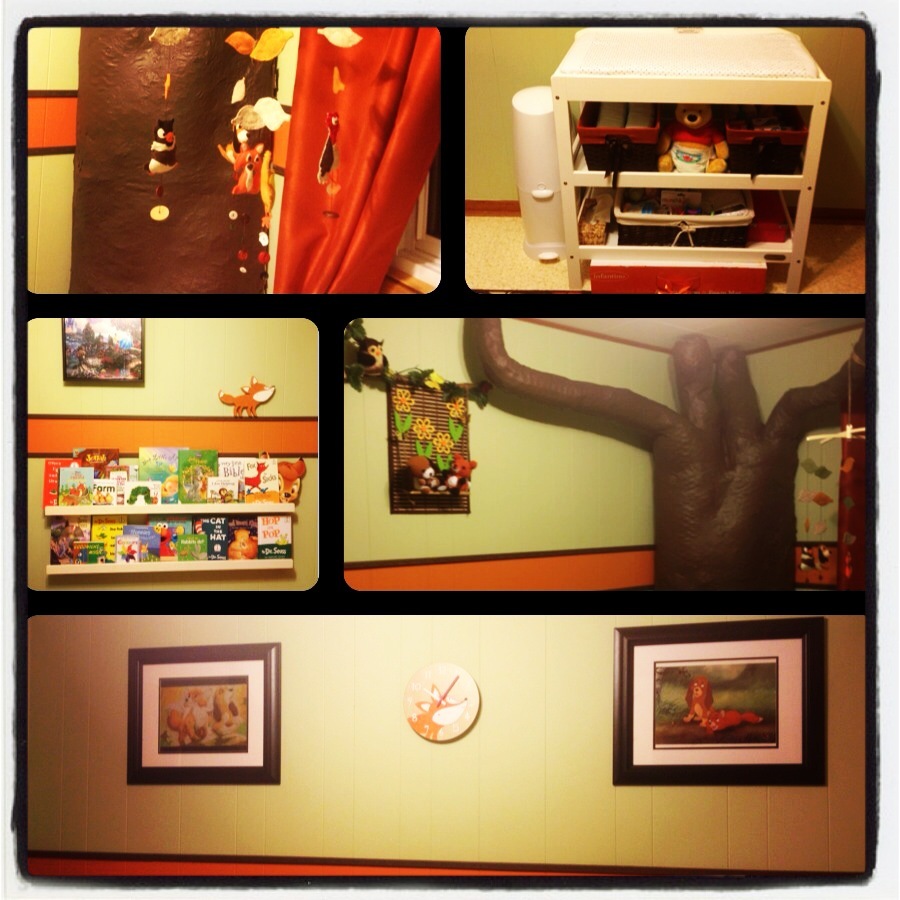
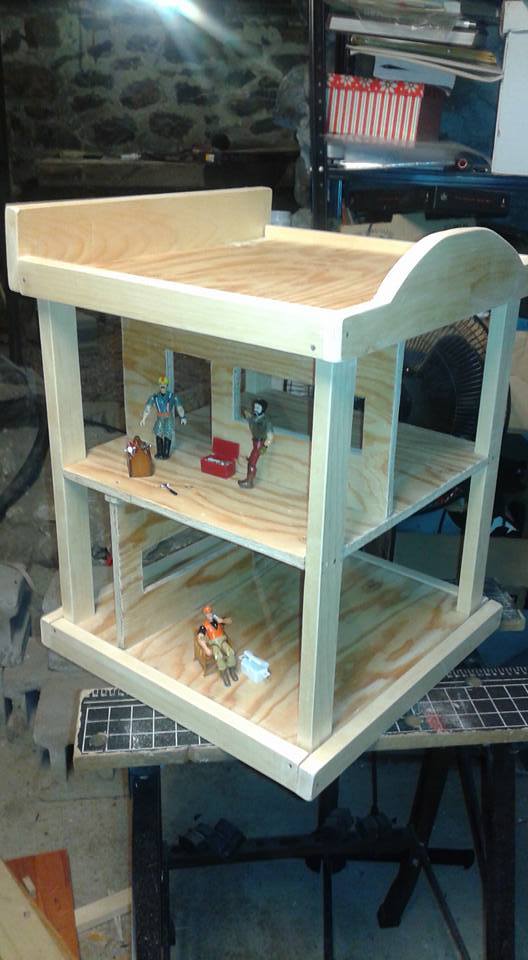
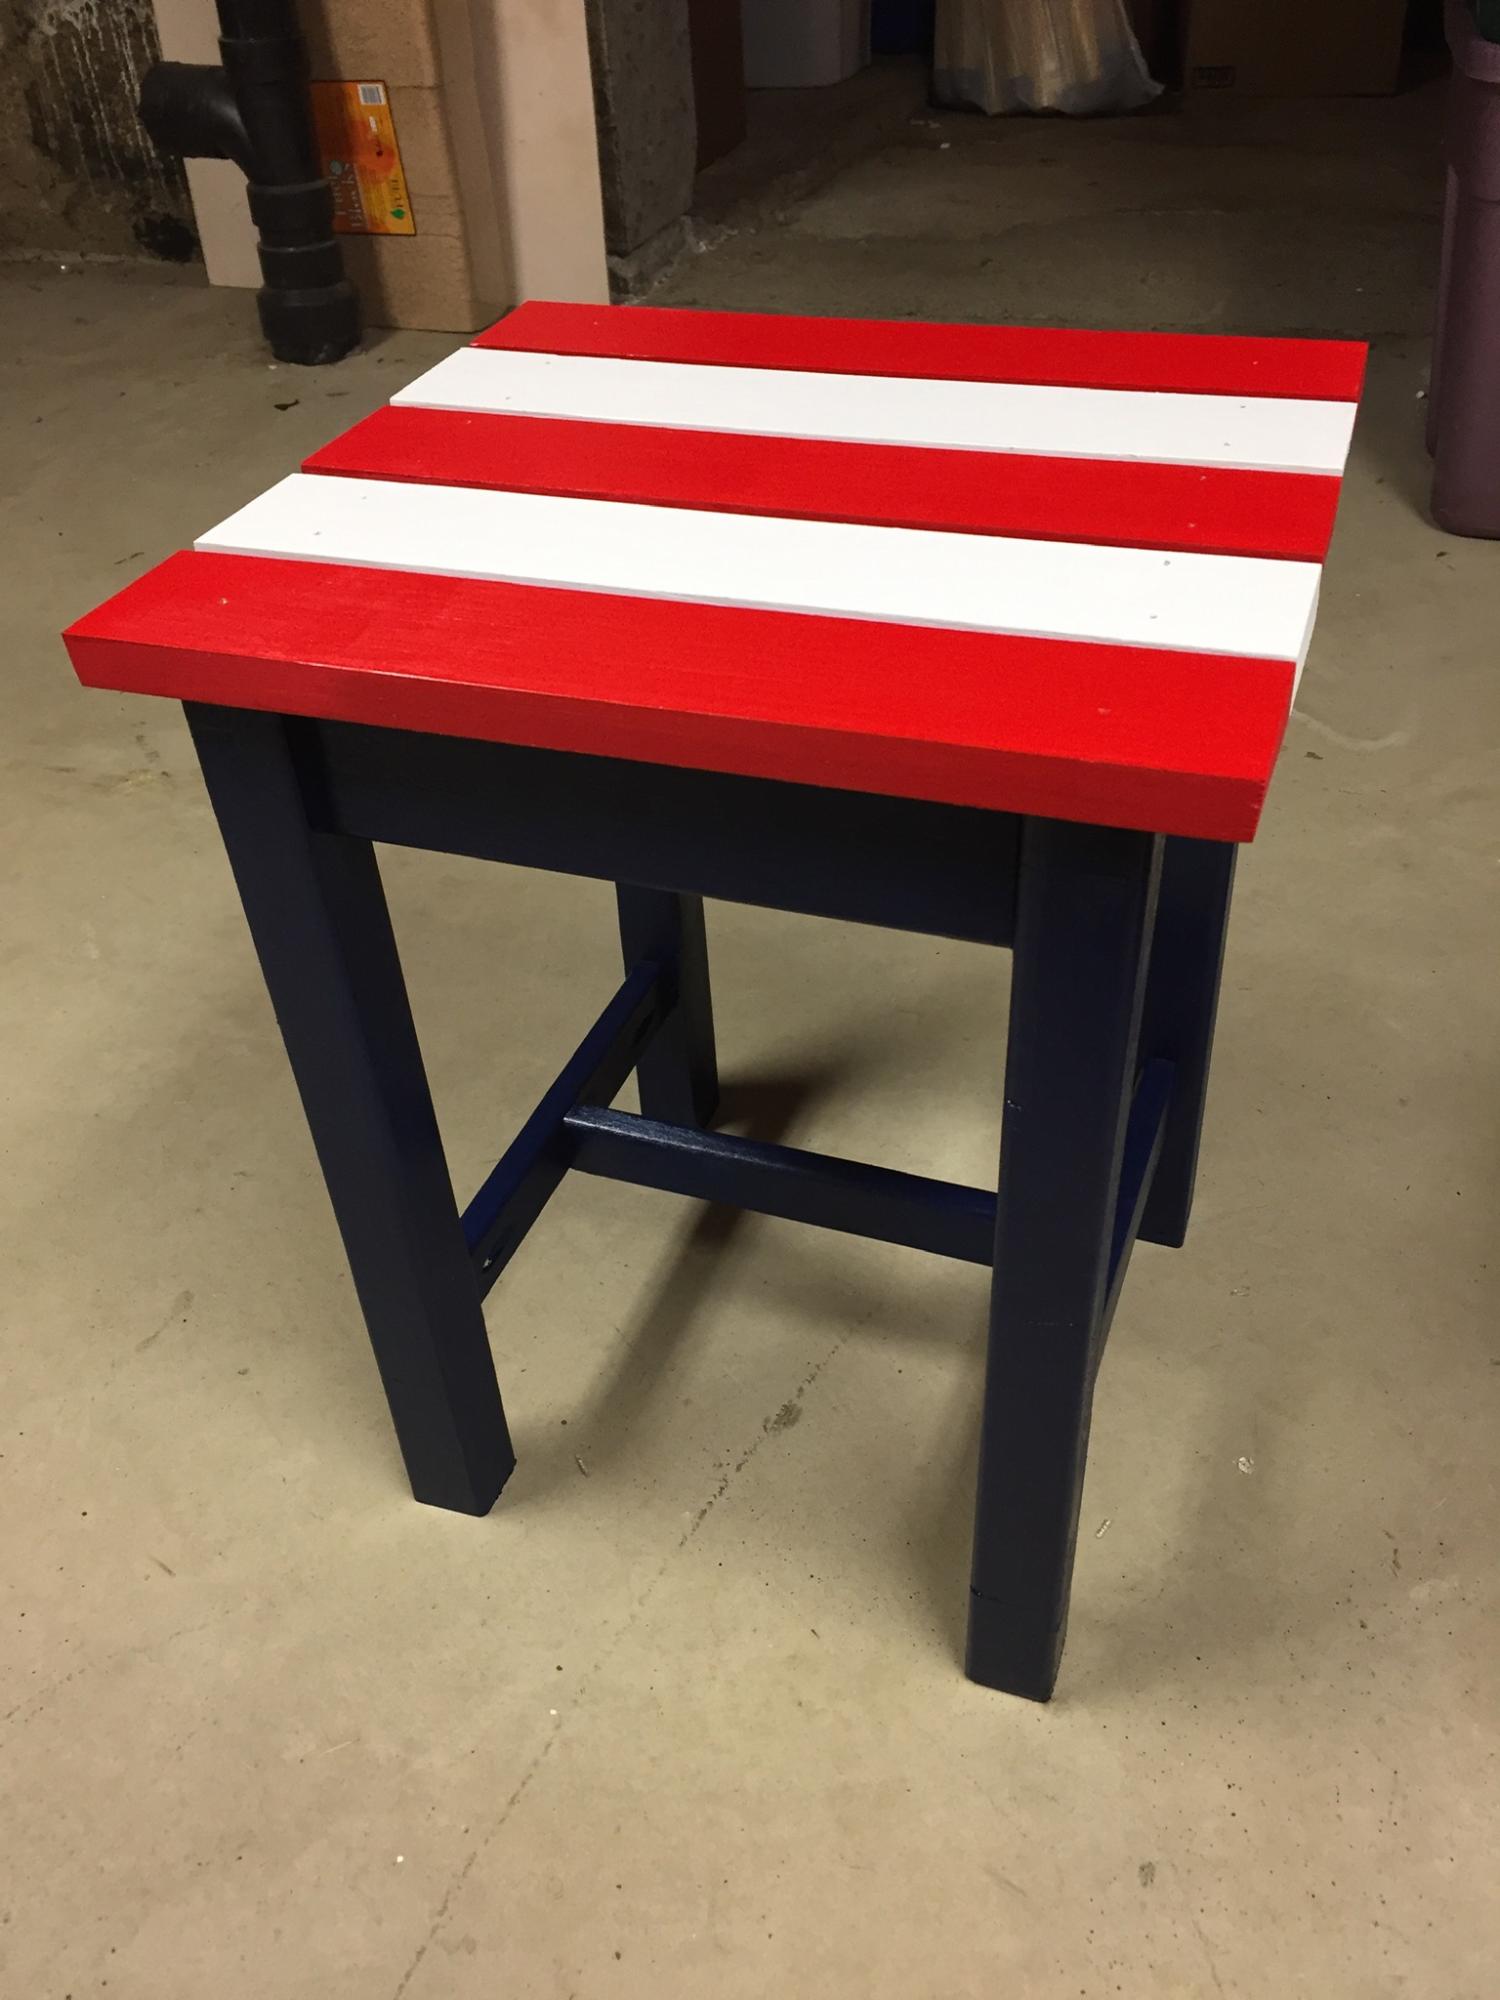
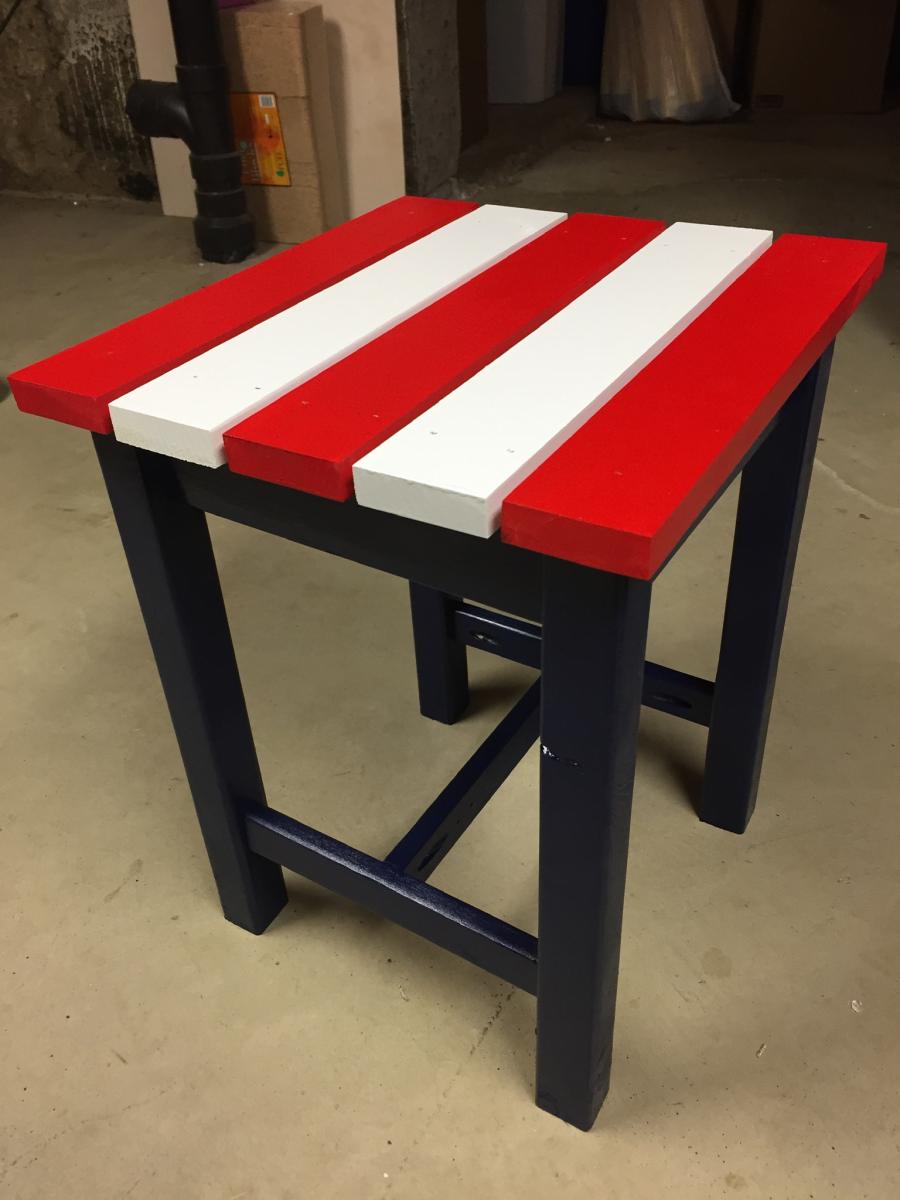
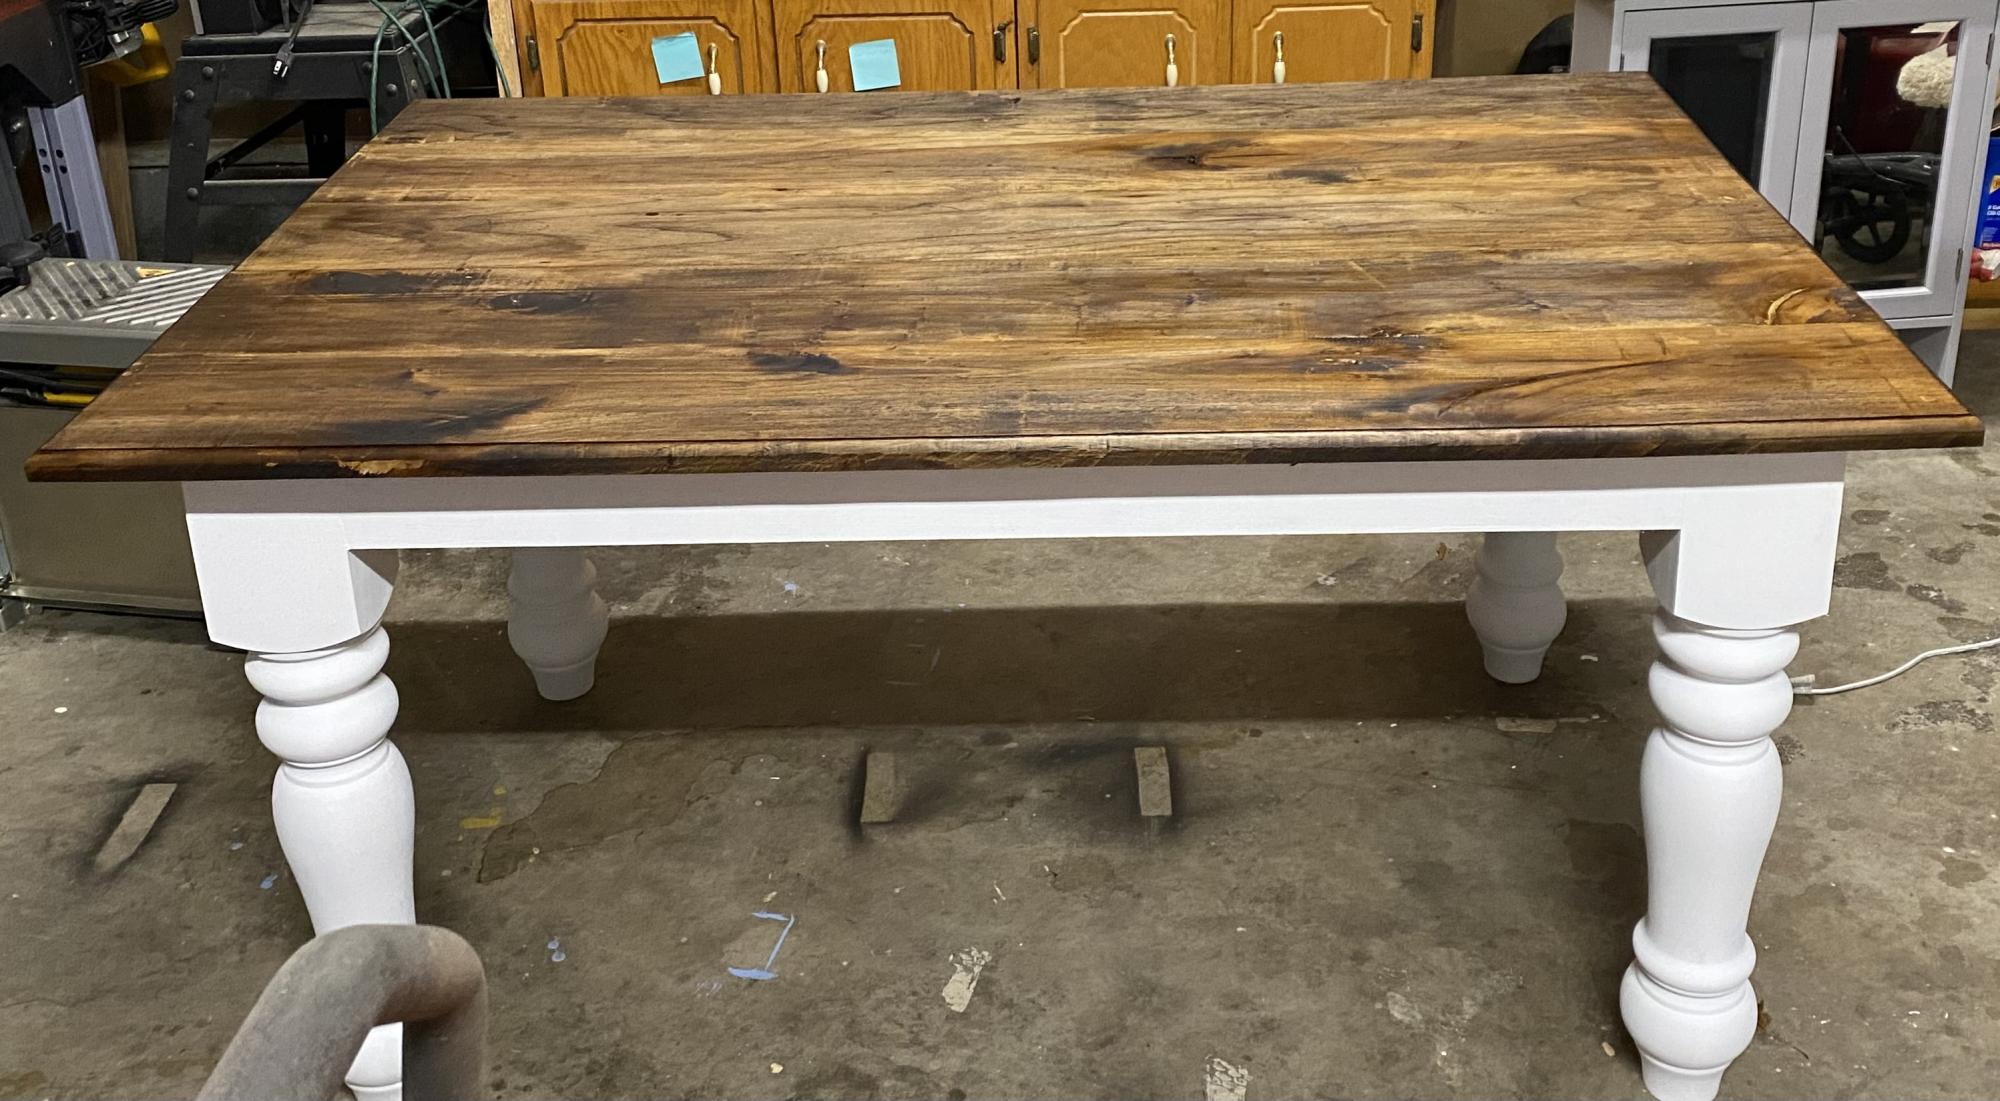
Here is my first attempt at this bookshelf. Don't own a pocket hole jig, so I used screws(1 x4 shelves) and brads(Molding) through side boards. Gotta invest in the Kreg jig for future projects. I used a jigsaw with a guide to cut the back panel. I cut it a little outside the line and sanded it flush with the sides. (no table saw, either)...
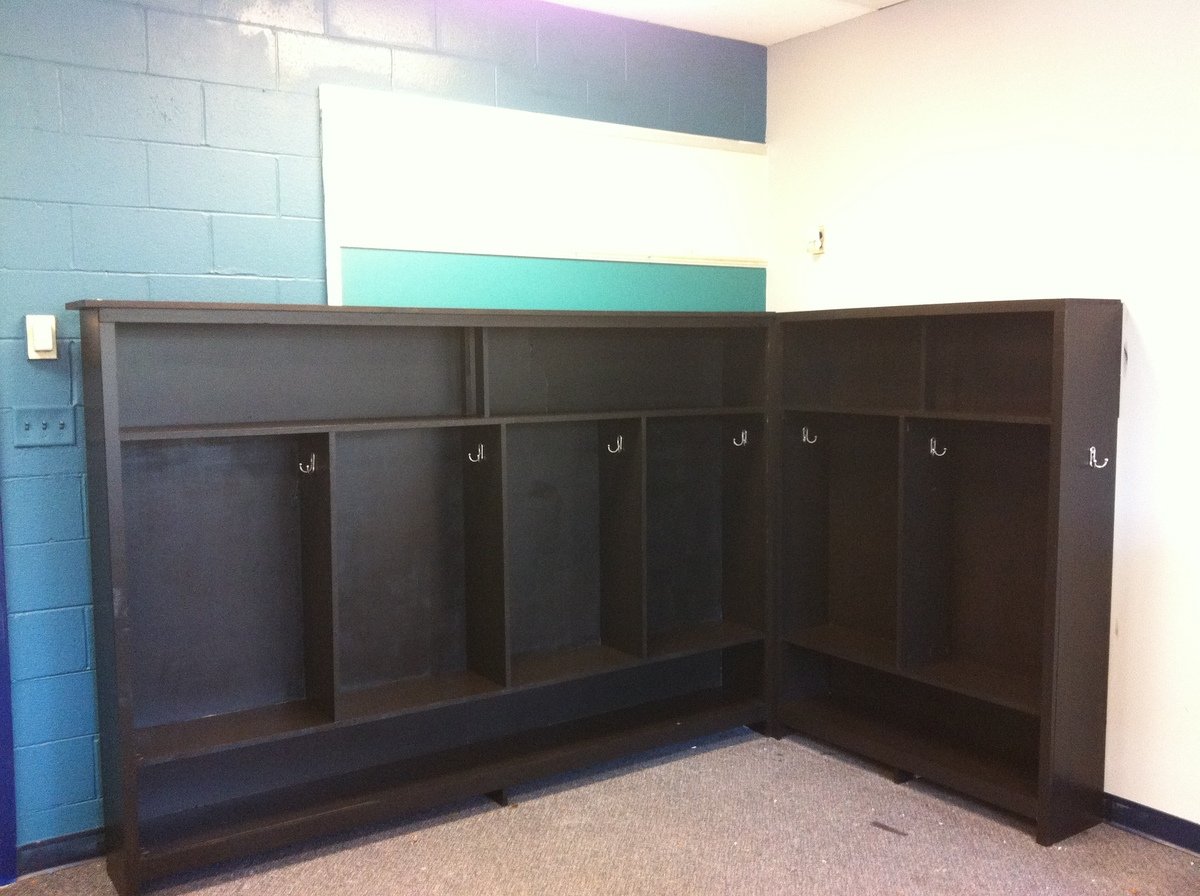
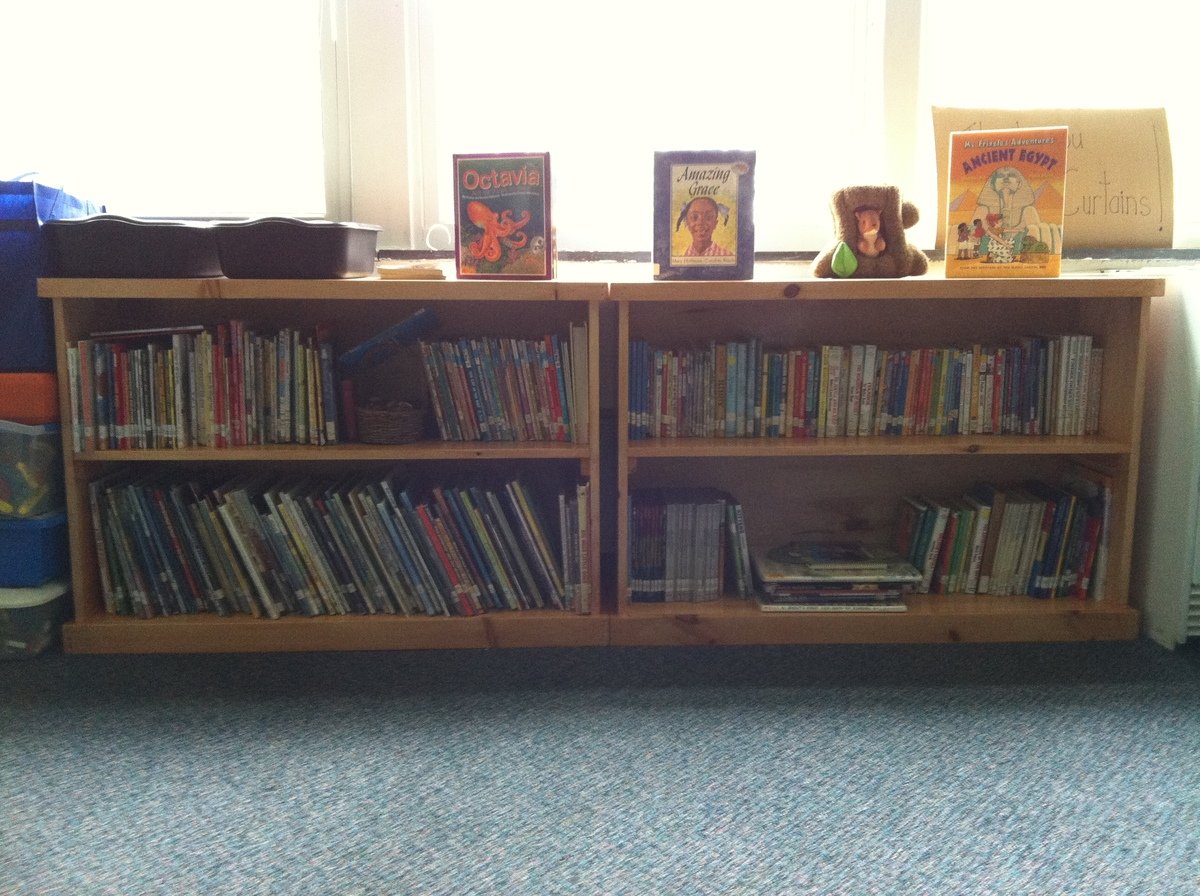
For the fronts, I used molding. I found out that the pre-painted molding, doesn't like to hold paint. Took several coats of the Hunter green to cover sufficiently for the base coat. Time estimate was given for construction and sanding. Thanks for the awesome design Ana. My wife's Kindergarten class should really enjoy this in the classroom along with the Kinder-nook.
This was the first project I had ever built through Ana White. A great table.
Hello Ana, I decided to modernize your project a little ...
This is 3DS MAX ... ;)
Thank you for your work ...
Regards, Serge...
I slightly modified the Rustic X Desk plan to make my L shaped computer desk with a monitor platform! The desk surface is Shou Sugi Ban with an epoxy finish. All made from stock lumber and a lot of pocket hole screws. Thanks for posting your plan Ana to give me the idea! Construct for around $200.
Tue, 03/14/2023 - 18:34
Love your modifications, additions and finish! Thank you for sharing.
I know we've all seen this piece done a lot, but I knew I had to have it as soon as I saw it. I finally got around to making mine. I altered the plans slightly to allow for 4 doors. I also omitted the upper portion of the backing to allow for easy access to component wires. The piece fits perfectly in my space.
Wed, 11/30/2011 - 06:02
I love it!
The dark top looks great with the white.
We recently built a new home, which left us with a lot of empty rooms and not enough furniture to fill them. Loving the look of pottery barn and restoration hardware, we started looking around for ideas. This truss beam table is exactly what we had envisioned for our modern farmhouse dining room. Mike (my hubs) did the building, which took only about 4-5 hours total. Then I did the finishing, which is what took the bulk of the time. We are super happy with our table and it is finished just in time for the upcoming holidays!! Thanks Ana White and Shabby 2 Chic for the inspiration and free plan!
I made this for my grandson's 2 nd birthday. I followed the plans to a T. It did cost quite a bit more than was stated, the wheels alone were $60 but should last a lifetime!
Built these pieces in one day. I made the chair first and decided to modify plans to do the loveseats for lounging. The stain is Honey by Minwax and used an outdoor polyurethane. The seat cushions are 24x24 from Wal-Mart and I waited for a sale at At Home Store for the rest of the cushions.
We had an open pantry that was an eye sore in our updated kitchen. Im 75 years old and I always liked to take on new projects so I thought about building a barn door from scratch. It was a bigger opening than one would think of as a pantry goes (at least I thought as much) . The opening measured 50 x 60 approximately so the door was made 56 x 65. Plenty of door to cover the eye sore. The door was built more or less on our garage floor and up on four saw horses! I had no idea if it was was going to be successful and the staining was yet to come (Gulp) As Ana said just do it. Well the build came out pretty good Squared and level. And I totally suprised myself staining the wood to the color we were looking for. Self help videos are very helpful so Id consider it before starting out. Everything was a process and I took my time. As with some things I have attempted in the past rushing sometimes ended with disastrous results. Oh boy, not to mention a waste of time, materials and money. What I hadnt bargined for with this project was the final weight to this barn door. IT WAS HEAVY. In any event I purchased the hardware for the railing and handles and pretty satisfied the way it came out. I had no plans to work from but settled on a build that I saw from several websites on barn doors.
I am a teacher and my school is a brand new school leasing out an old school building for us to use. The classrooms were completely empty and I needed storage solutions. I didn't have cubbies for the kids to put their belongings in, nor did I have any storage for my own supplies and things for the kids/classroom. So I decided to build "lockers" for them with the additional storage, plus some bookcases to store supplies on. One of my fellow teachers loved them so much, she asked me to build her some - so I did. My classroom has the BLACK "lockers" and bookcases, the Honey colored are my fellow teacher's bookcases.
Tue, 12/06/2011 - 21:55
I'm surprised the district hasn't hired you to create storage for all the classrooms! These are really nice. What lucky kids - and coworkers.
Thu, 12/08/2011 - 10:31
How cool that you did that for your class!!! :) Love it!
In reply to Question by Guest (not verified)
Fri, 08/01/2014 - 15:39
the $350 cost was for everything in the pictures. the plans I used are linked - the main storage is just 2 of the bookcases stacked one on top of the other.
A quick easy project to put a few of the many books that we got for the nursery on display. I love how it turned out, and it barely cost us anything!
Action figure playset built from firehouse playset plans.
Than you Ana, My first time ever that I have made anything - my coffee table taking pride of place. Looking forward to making my next project from your plans.
Sat, 03/25/2023 - 09:24
WOW! This is beautiful, can't wait to see your next project. Thanks for sharing:)
My bigger version of the barnwood frames. They are about 35x31 inches. I used a nail gun for the first time and it sure did make this go faster! I found it was best to build the inside square first and then I cute each piece of the outside square as I went to the fit was as "perfect" as possible.
This coffee table is huge. will be finishing once I build the console table, the last piece of the rustic x furniture I have to build.
Our first major furniture build so the great plan really helped out. Positive feedback from everyone who sees it. We ended up building the "3-drawer open shelf simple entry console" next and modified the design to match this hall tree. We couldn't find baskets that we liked so made the custom crates for storage. On the entry console we built drawers with the crate design on the front.
I love making this table, my take on the Patriotic theme. Sanding and Painting always add time, this is a fairly easy project.
Thu, 06/20/2019 - 14:36
What a fun project, just in time for the Fourth!
This table was made out of Pecan. The legs are pine. I think the basic plan was from Ana-White.com but I am not sure.