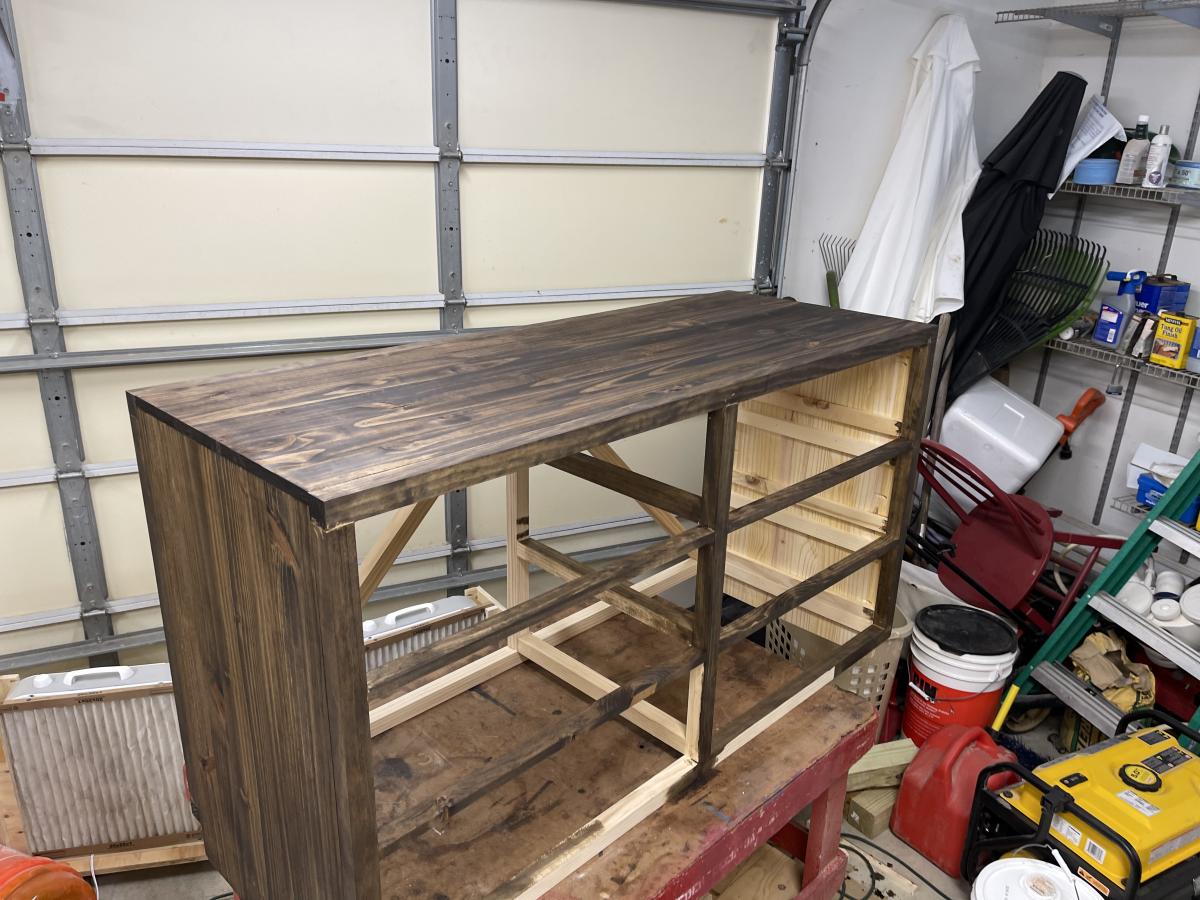
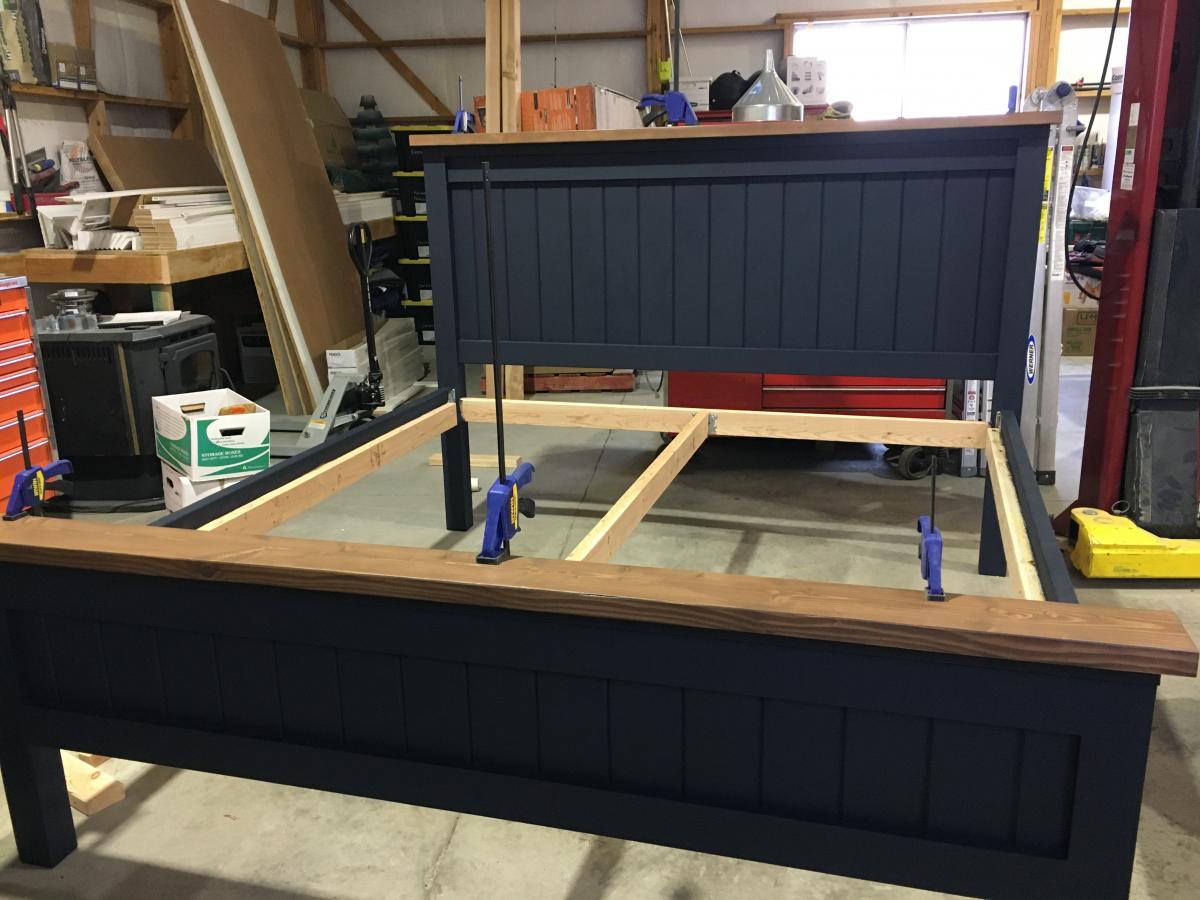
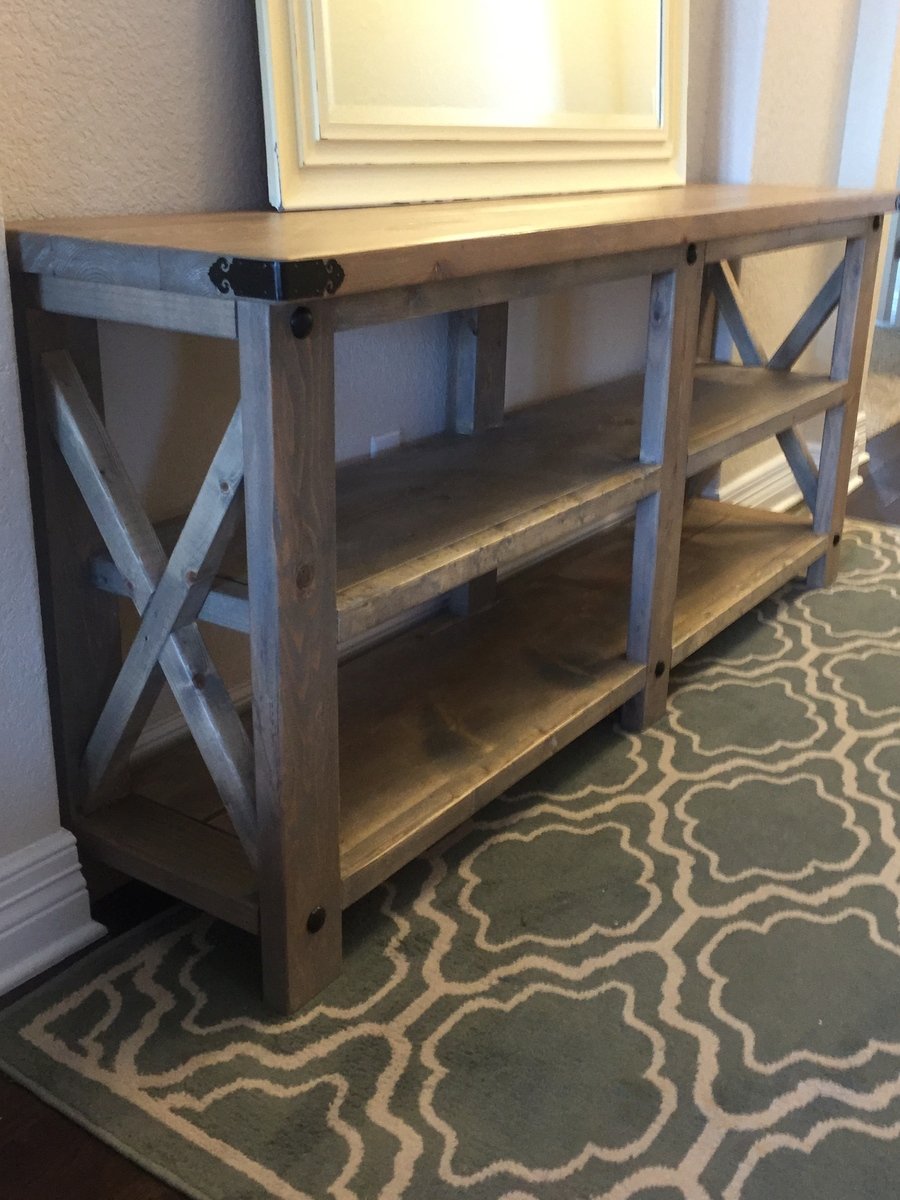
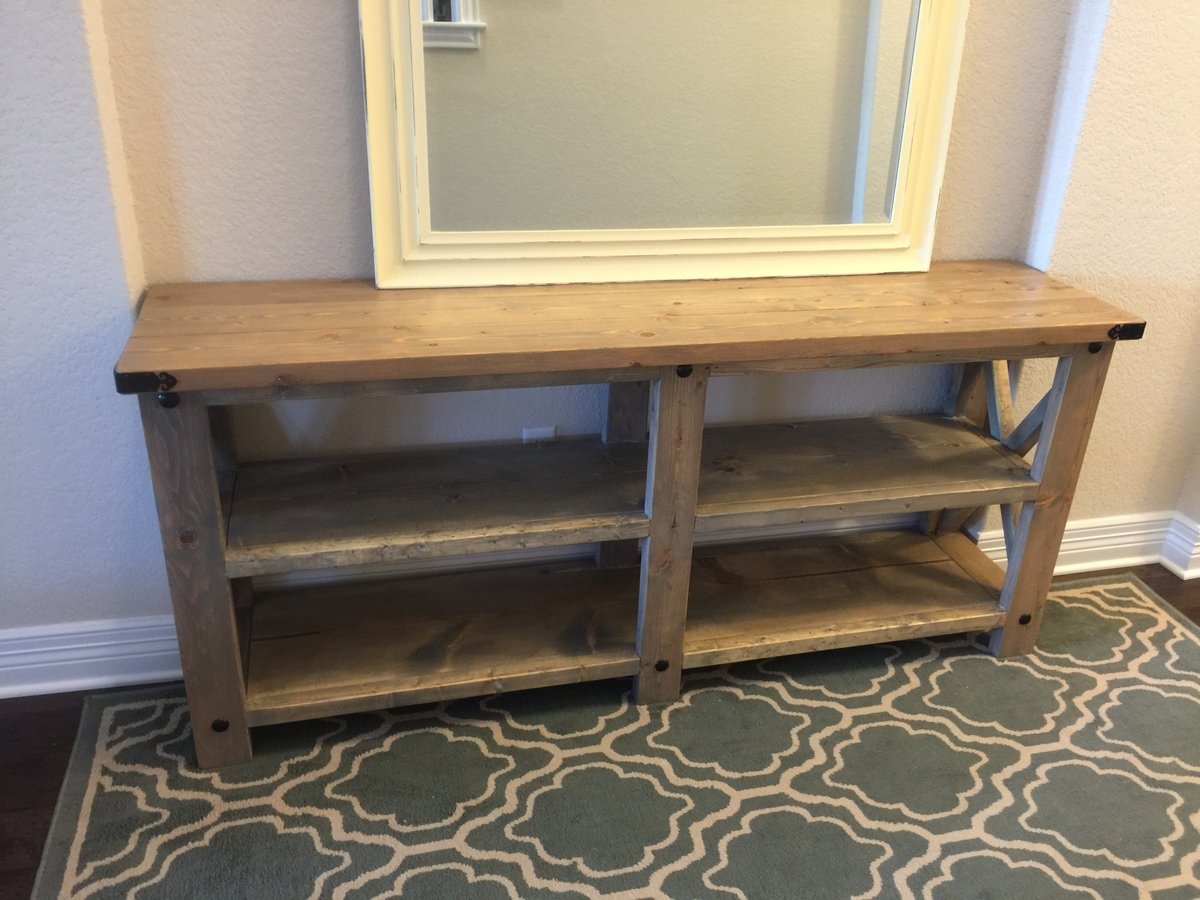
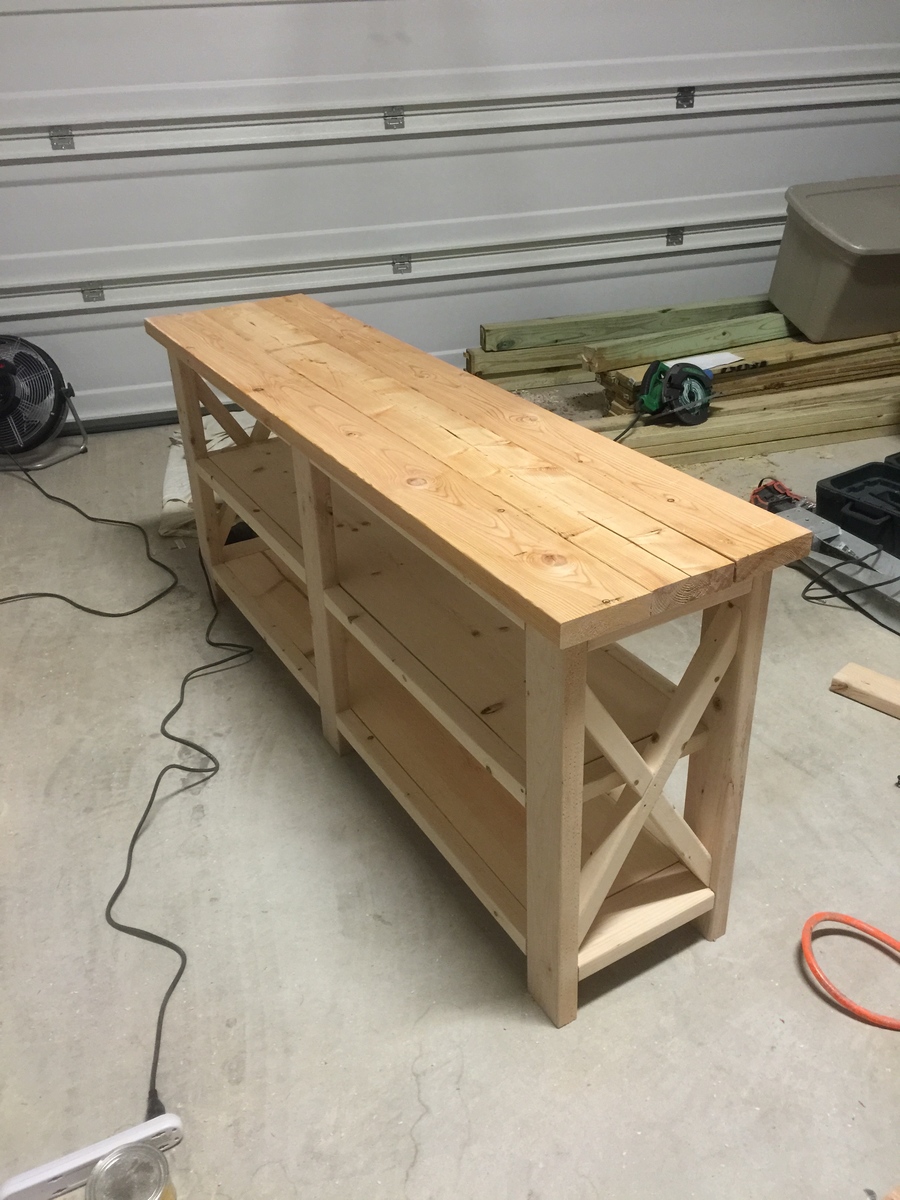
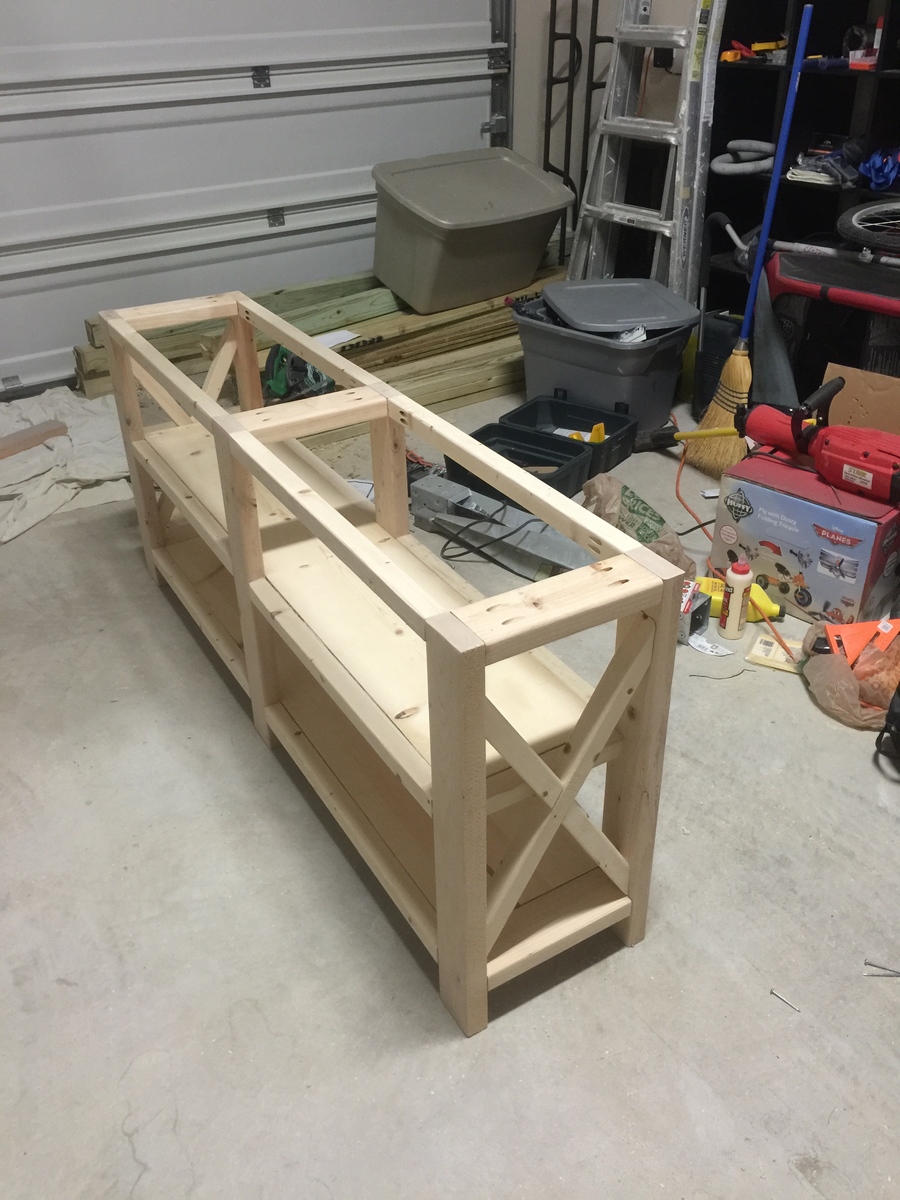
Coffee Table [Modern Farmhouse Collection]
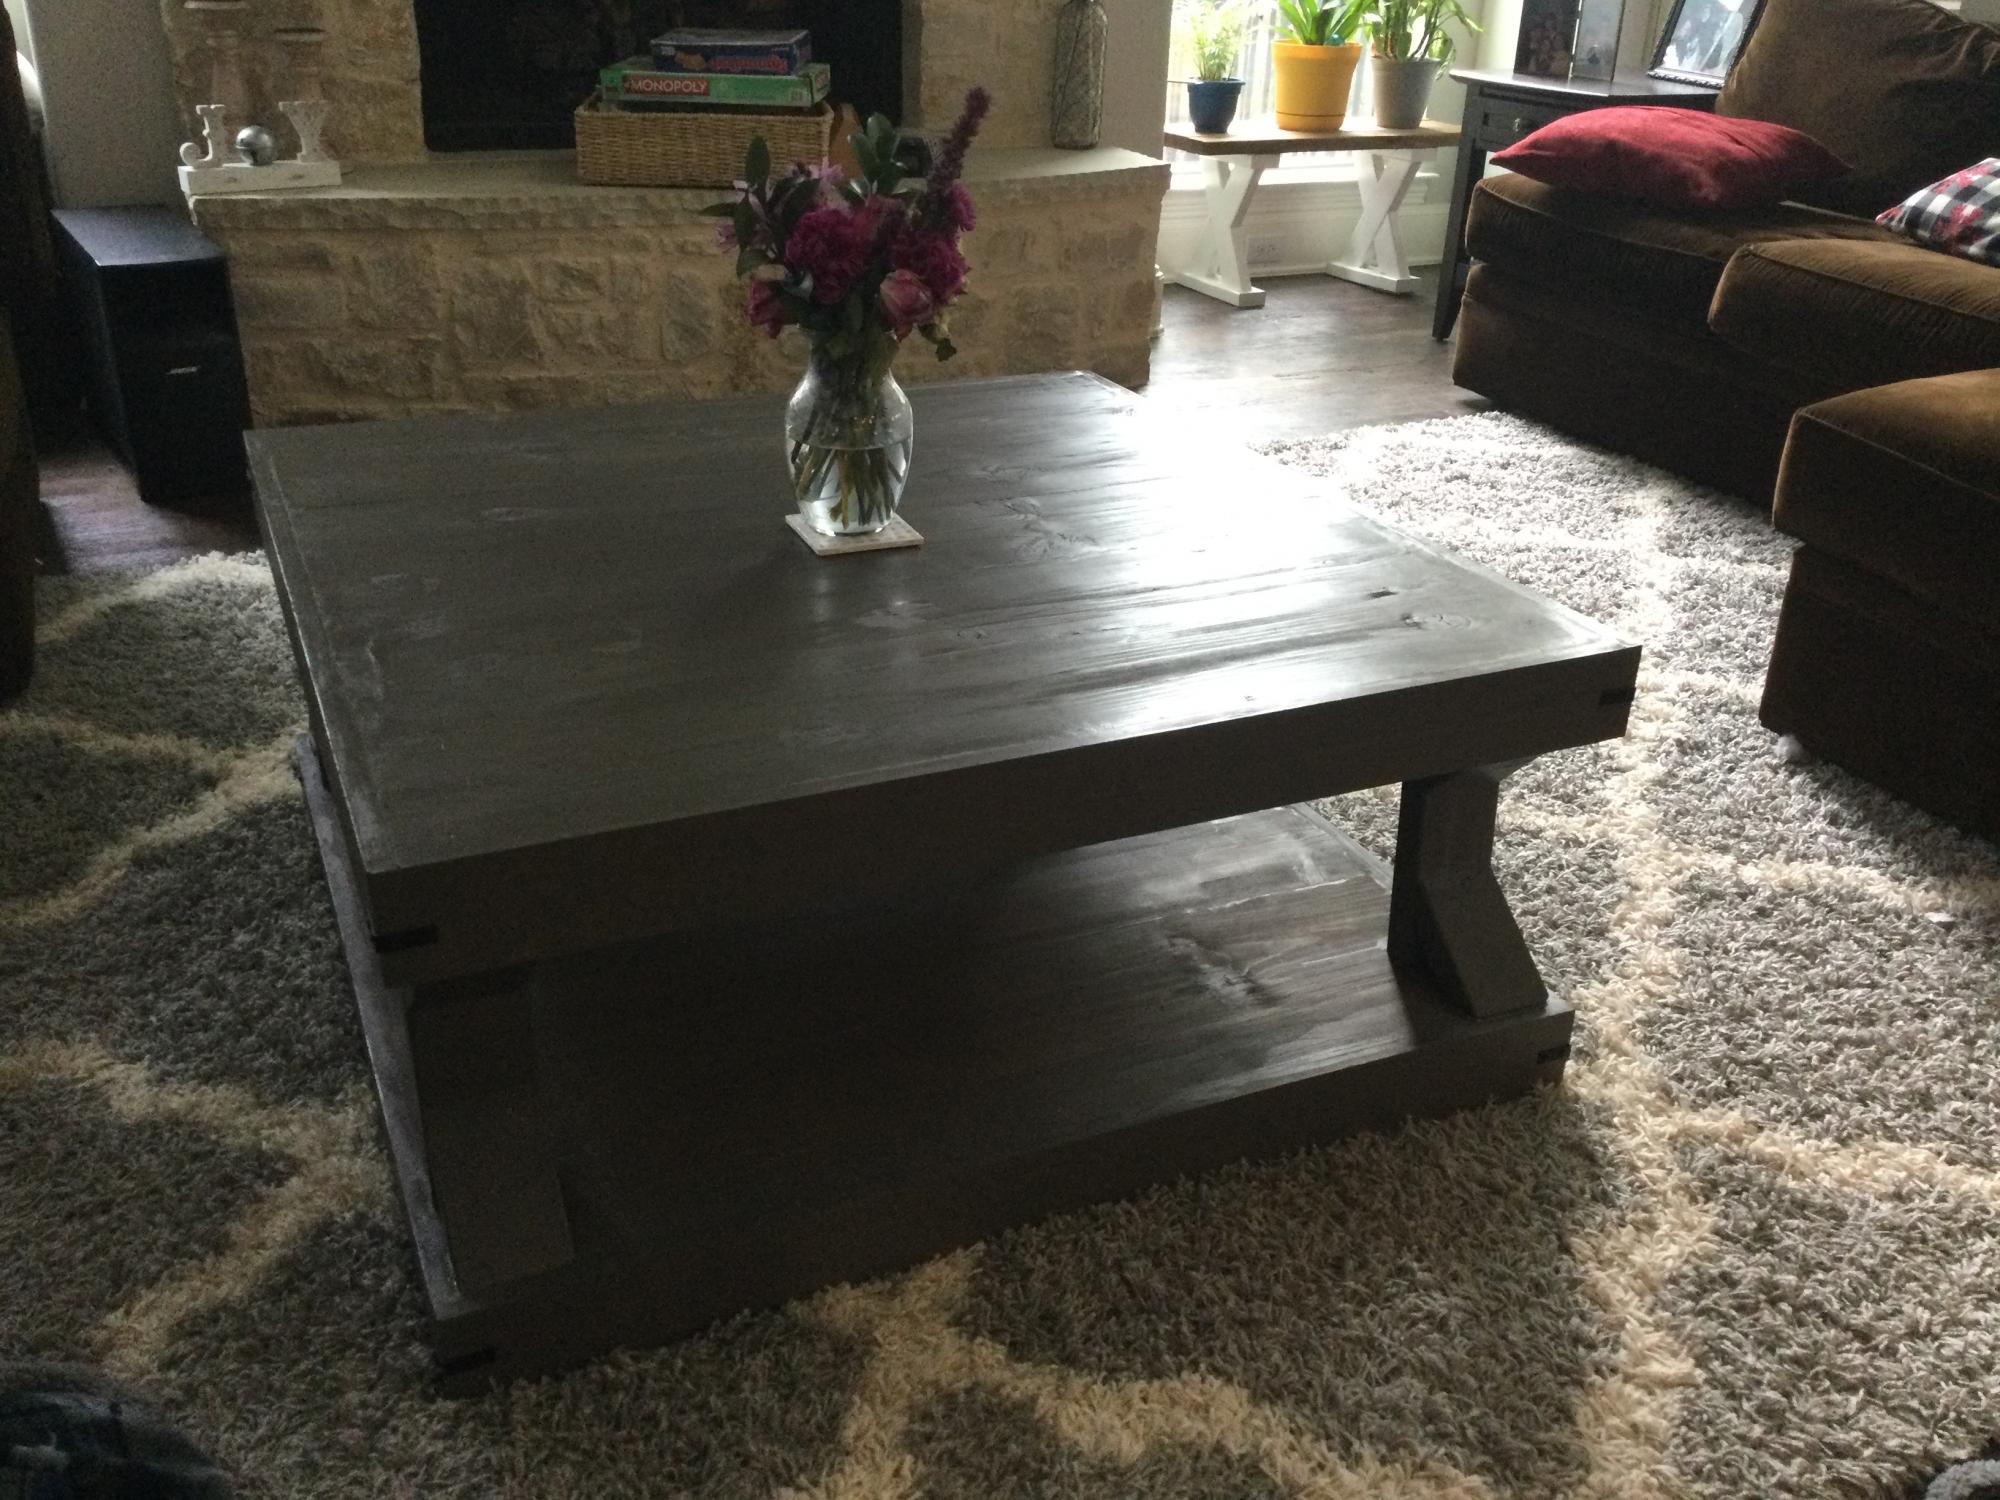
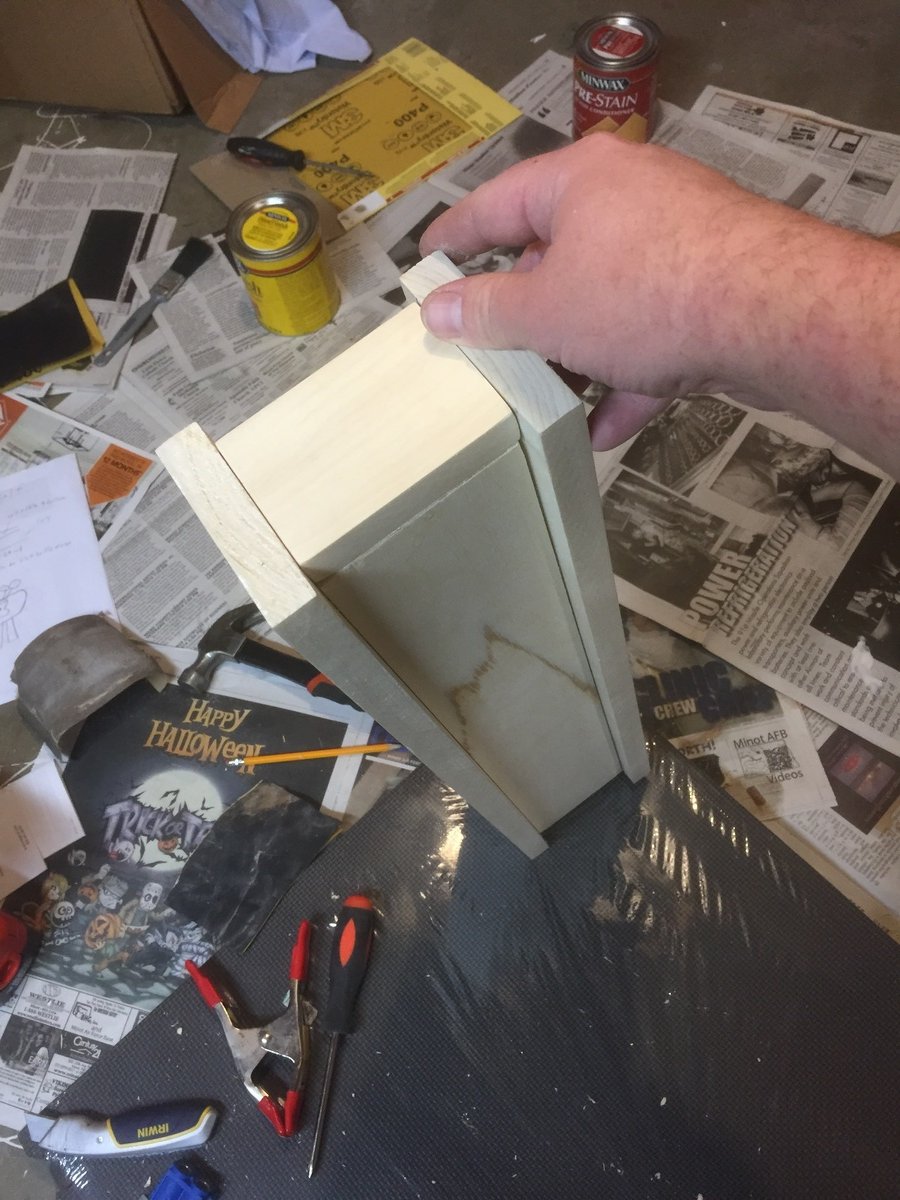
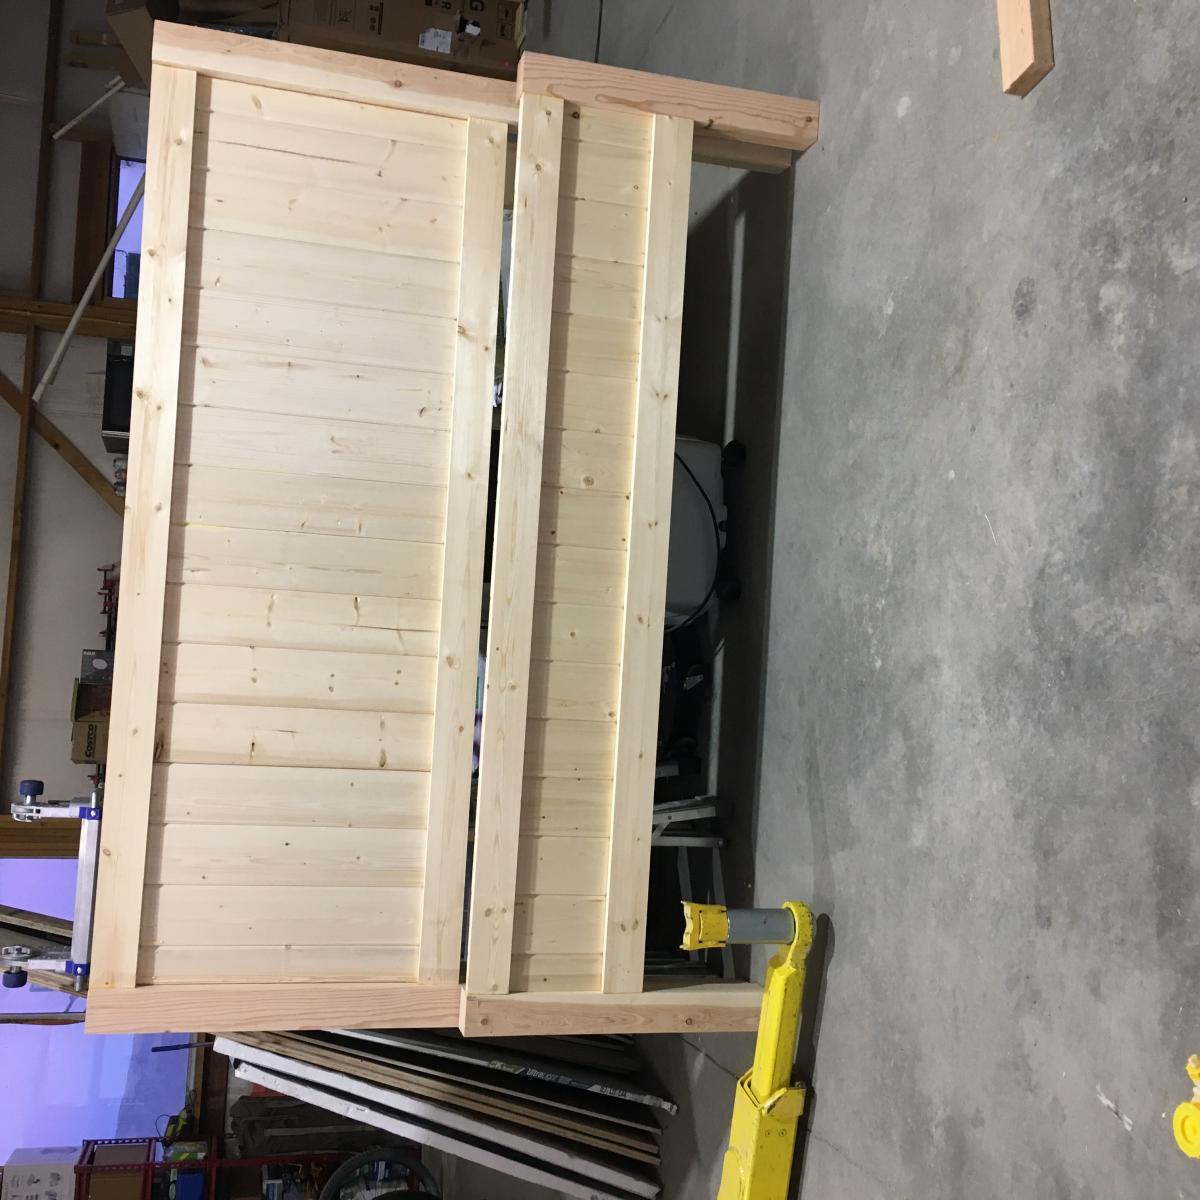
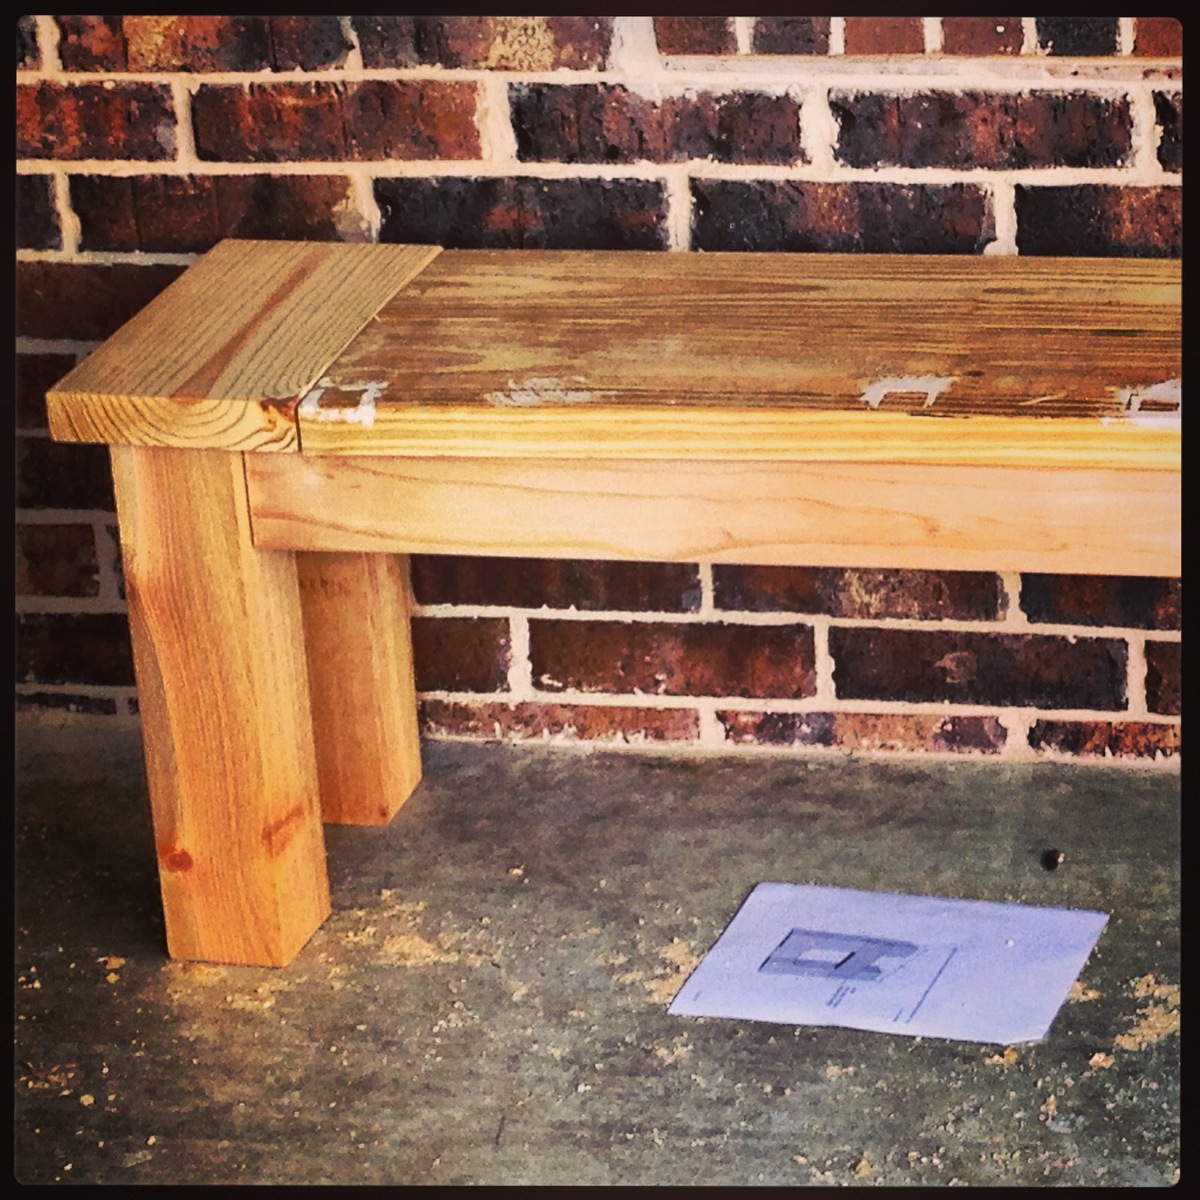
This coffee table was my second woodworking project. I changed the dimensions for a square instead of a rectangle. New dimensions are approximately 40in x 40in. I had to use 1x8x8 kiln dryed boards instead of 1x10x8. As I am new to wood working , it was a learning curve that the 45 degree angles were a beveled cut and not mitered. Overall I thought the plans were easy to follow.
Estimated Cost
$120
Estimated Time Investment
Week Long Project (20 Hours or More)
Finish Used
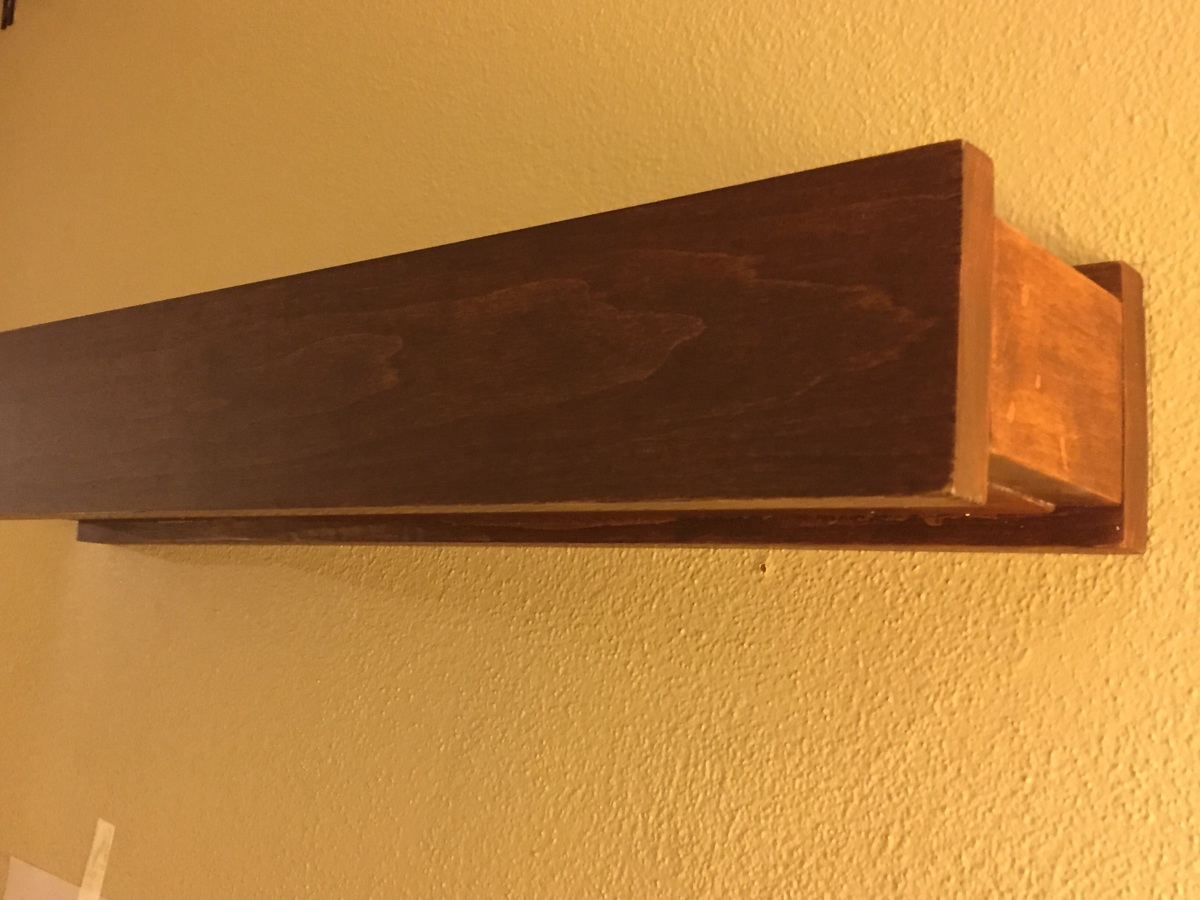
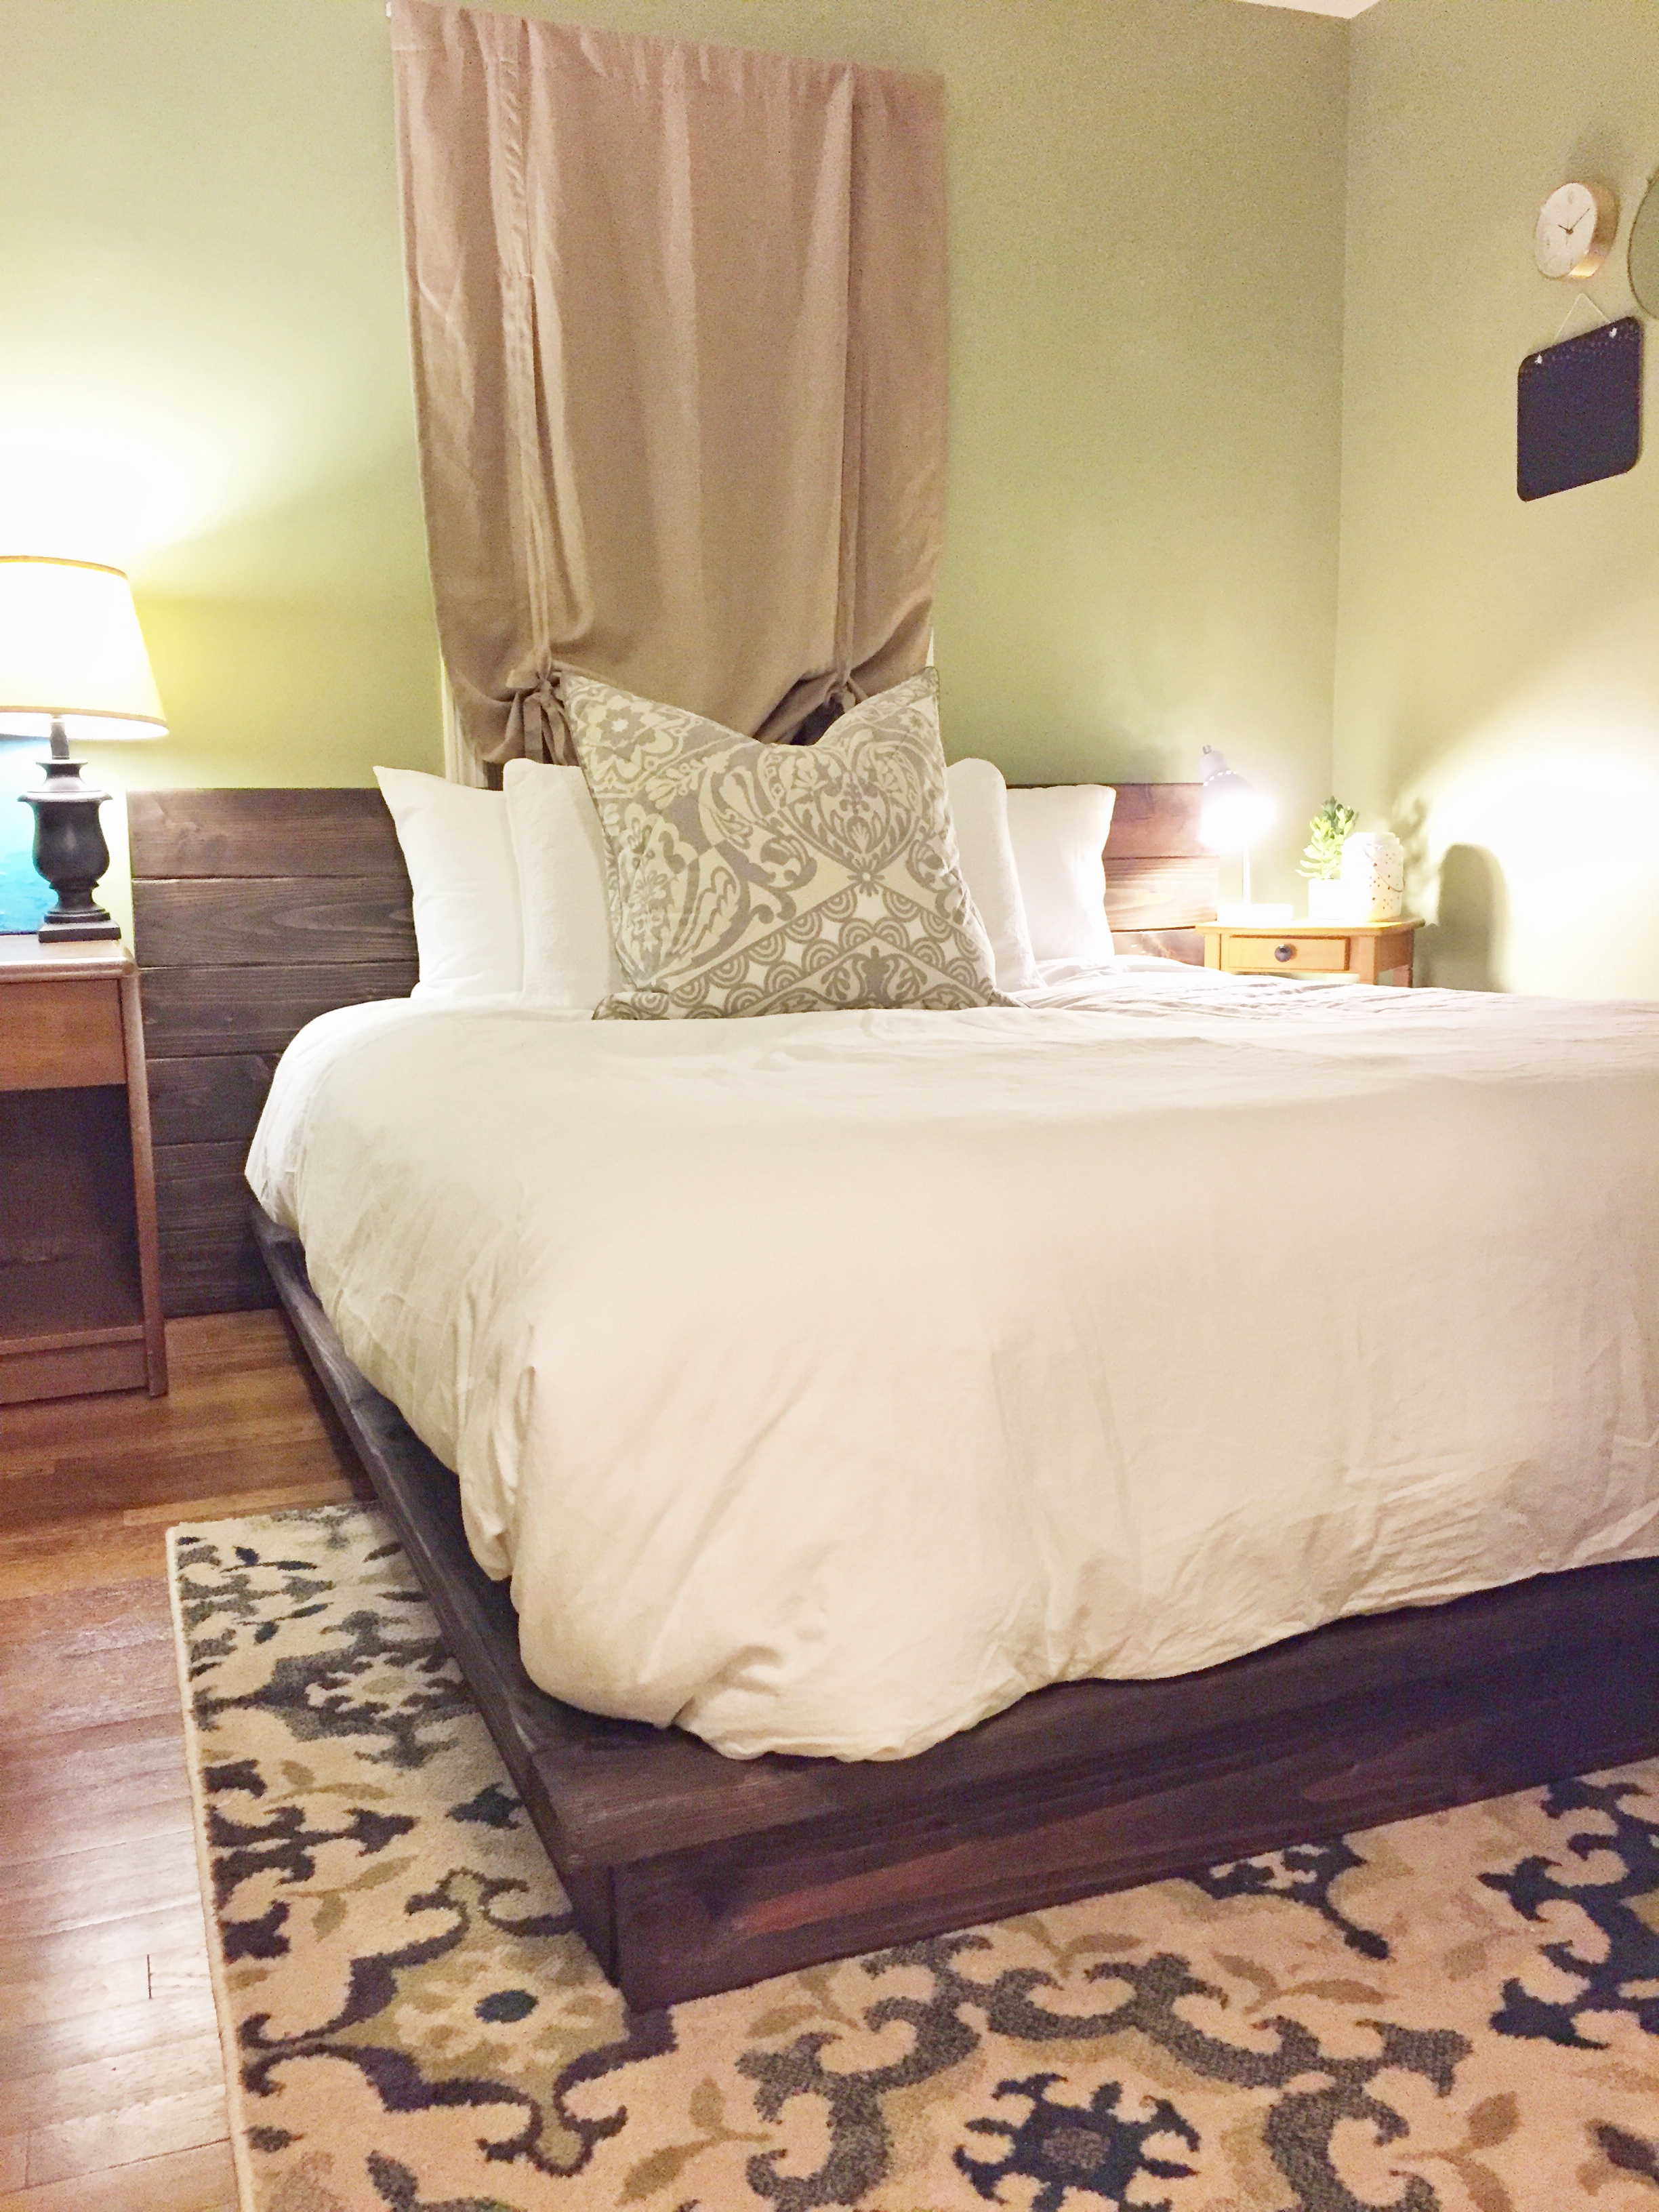
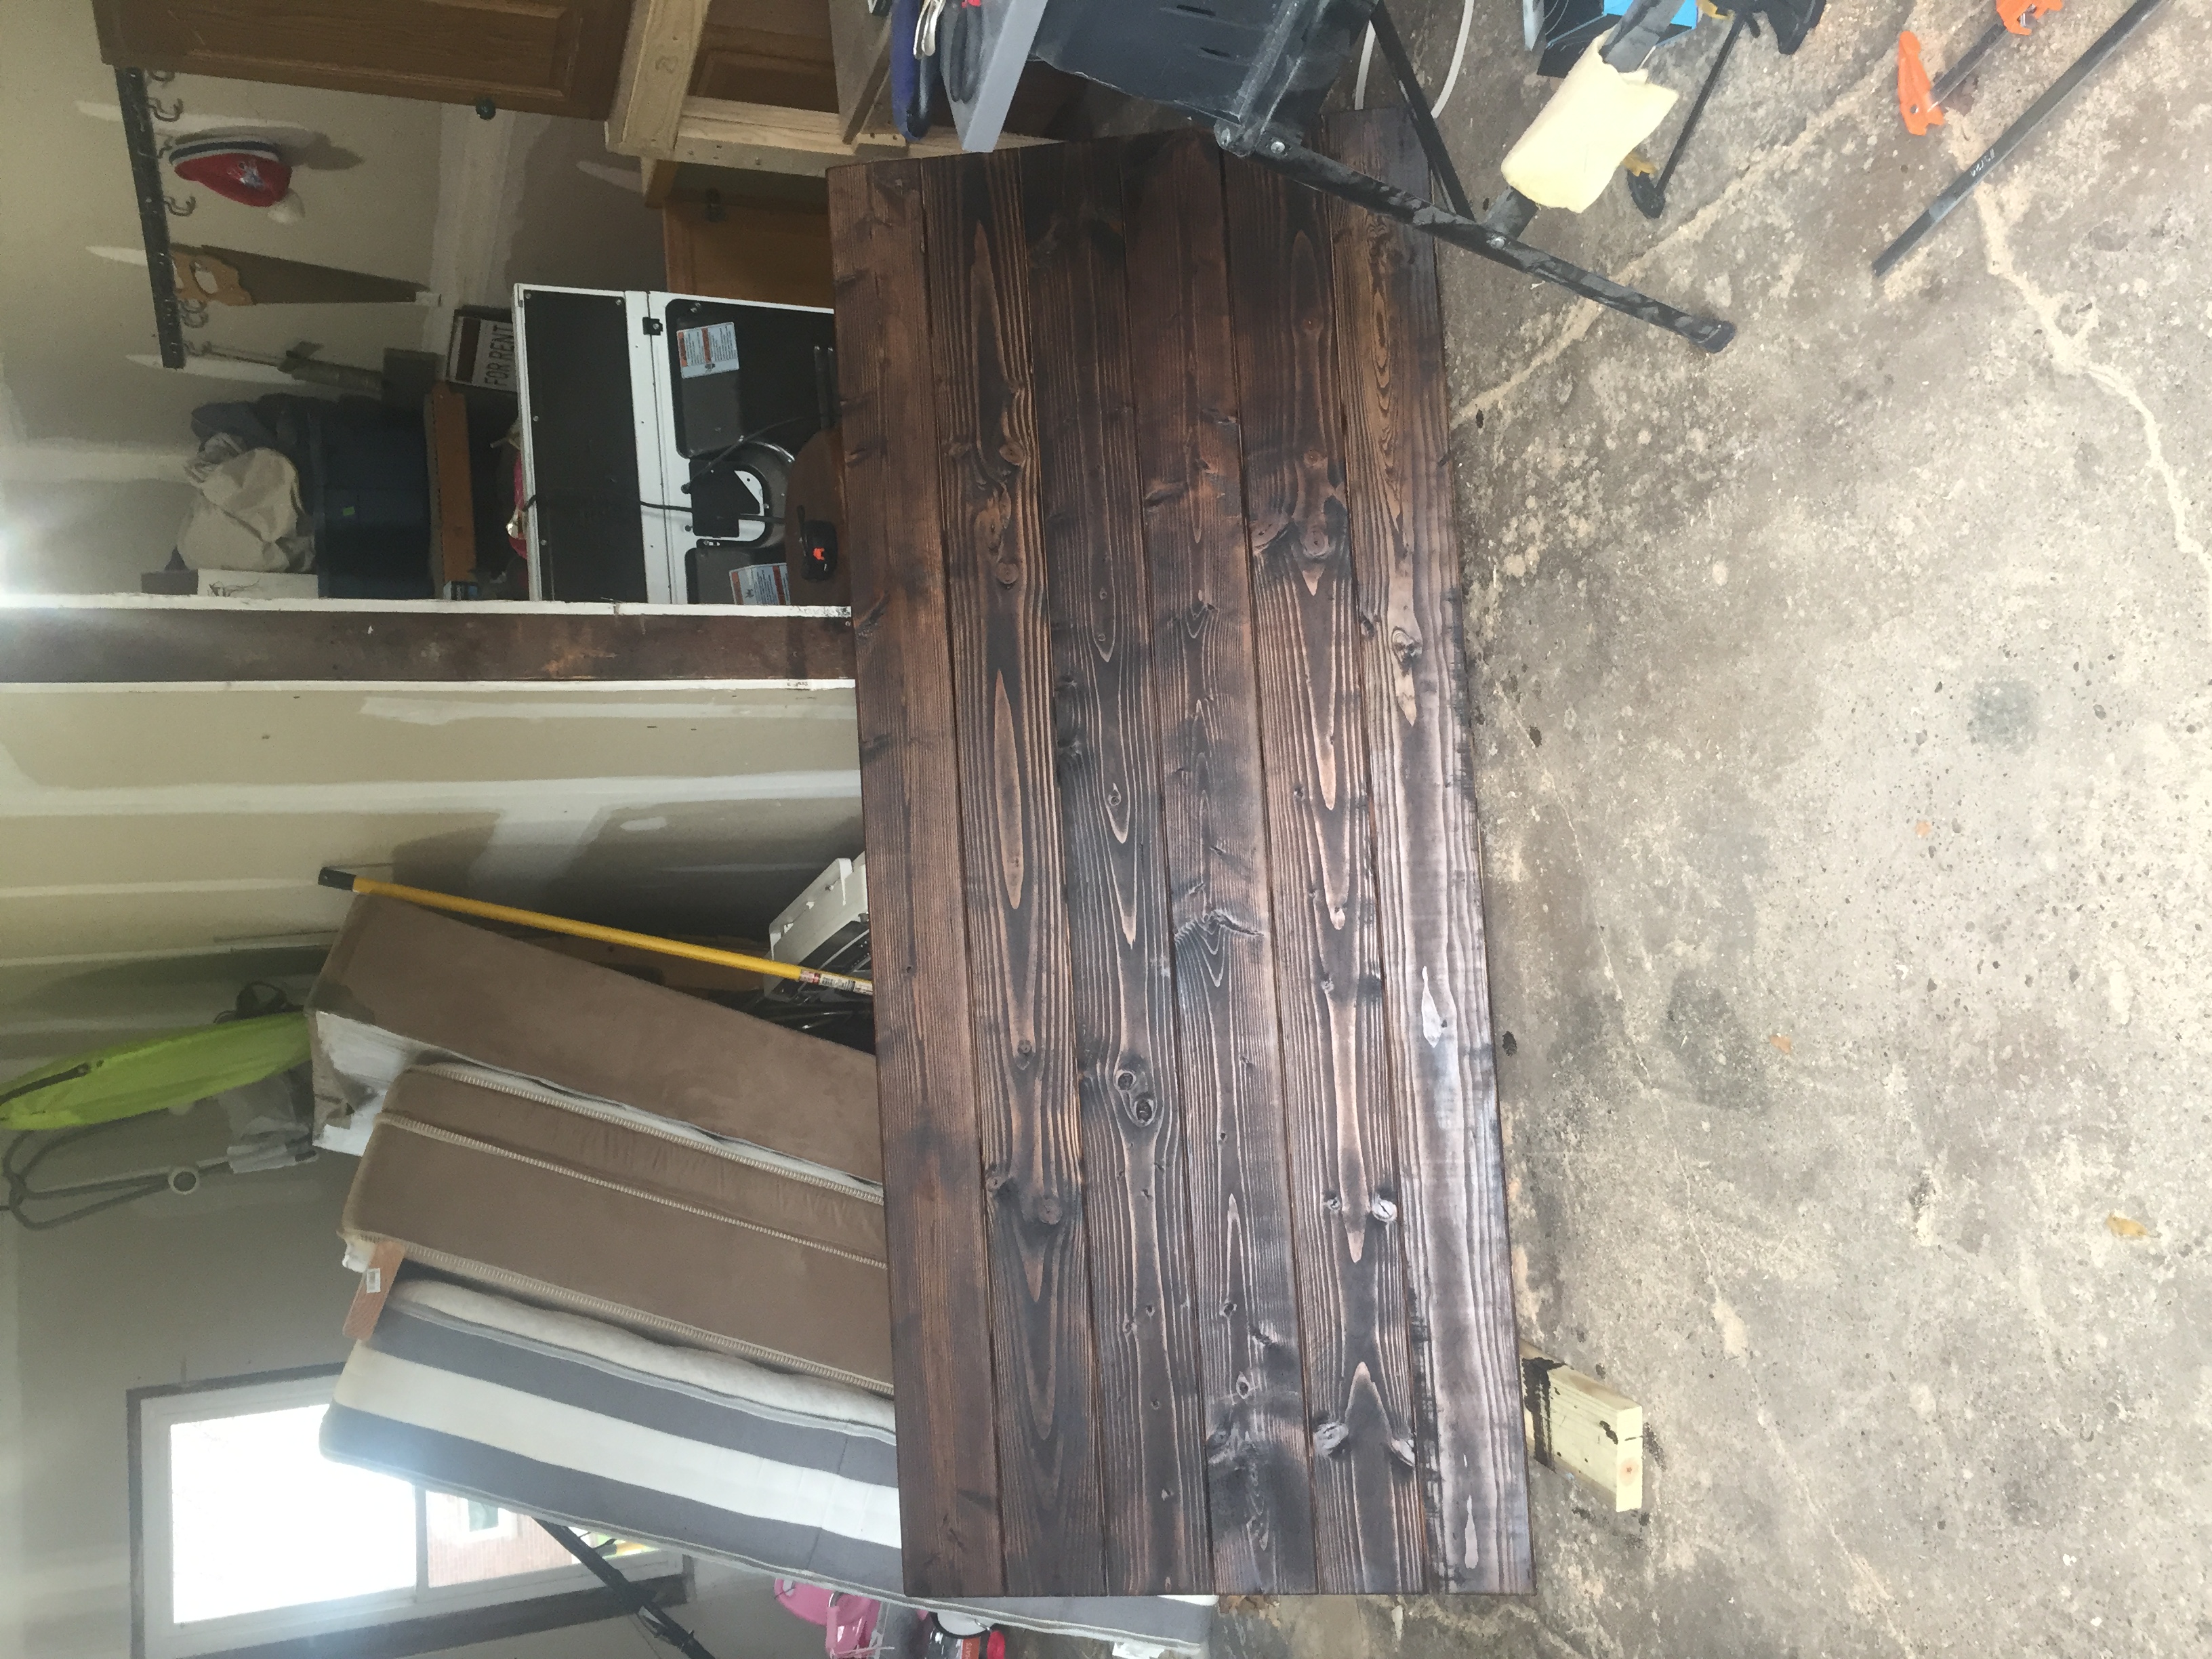
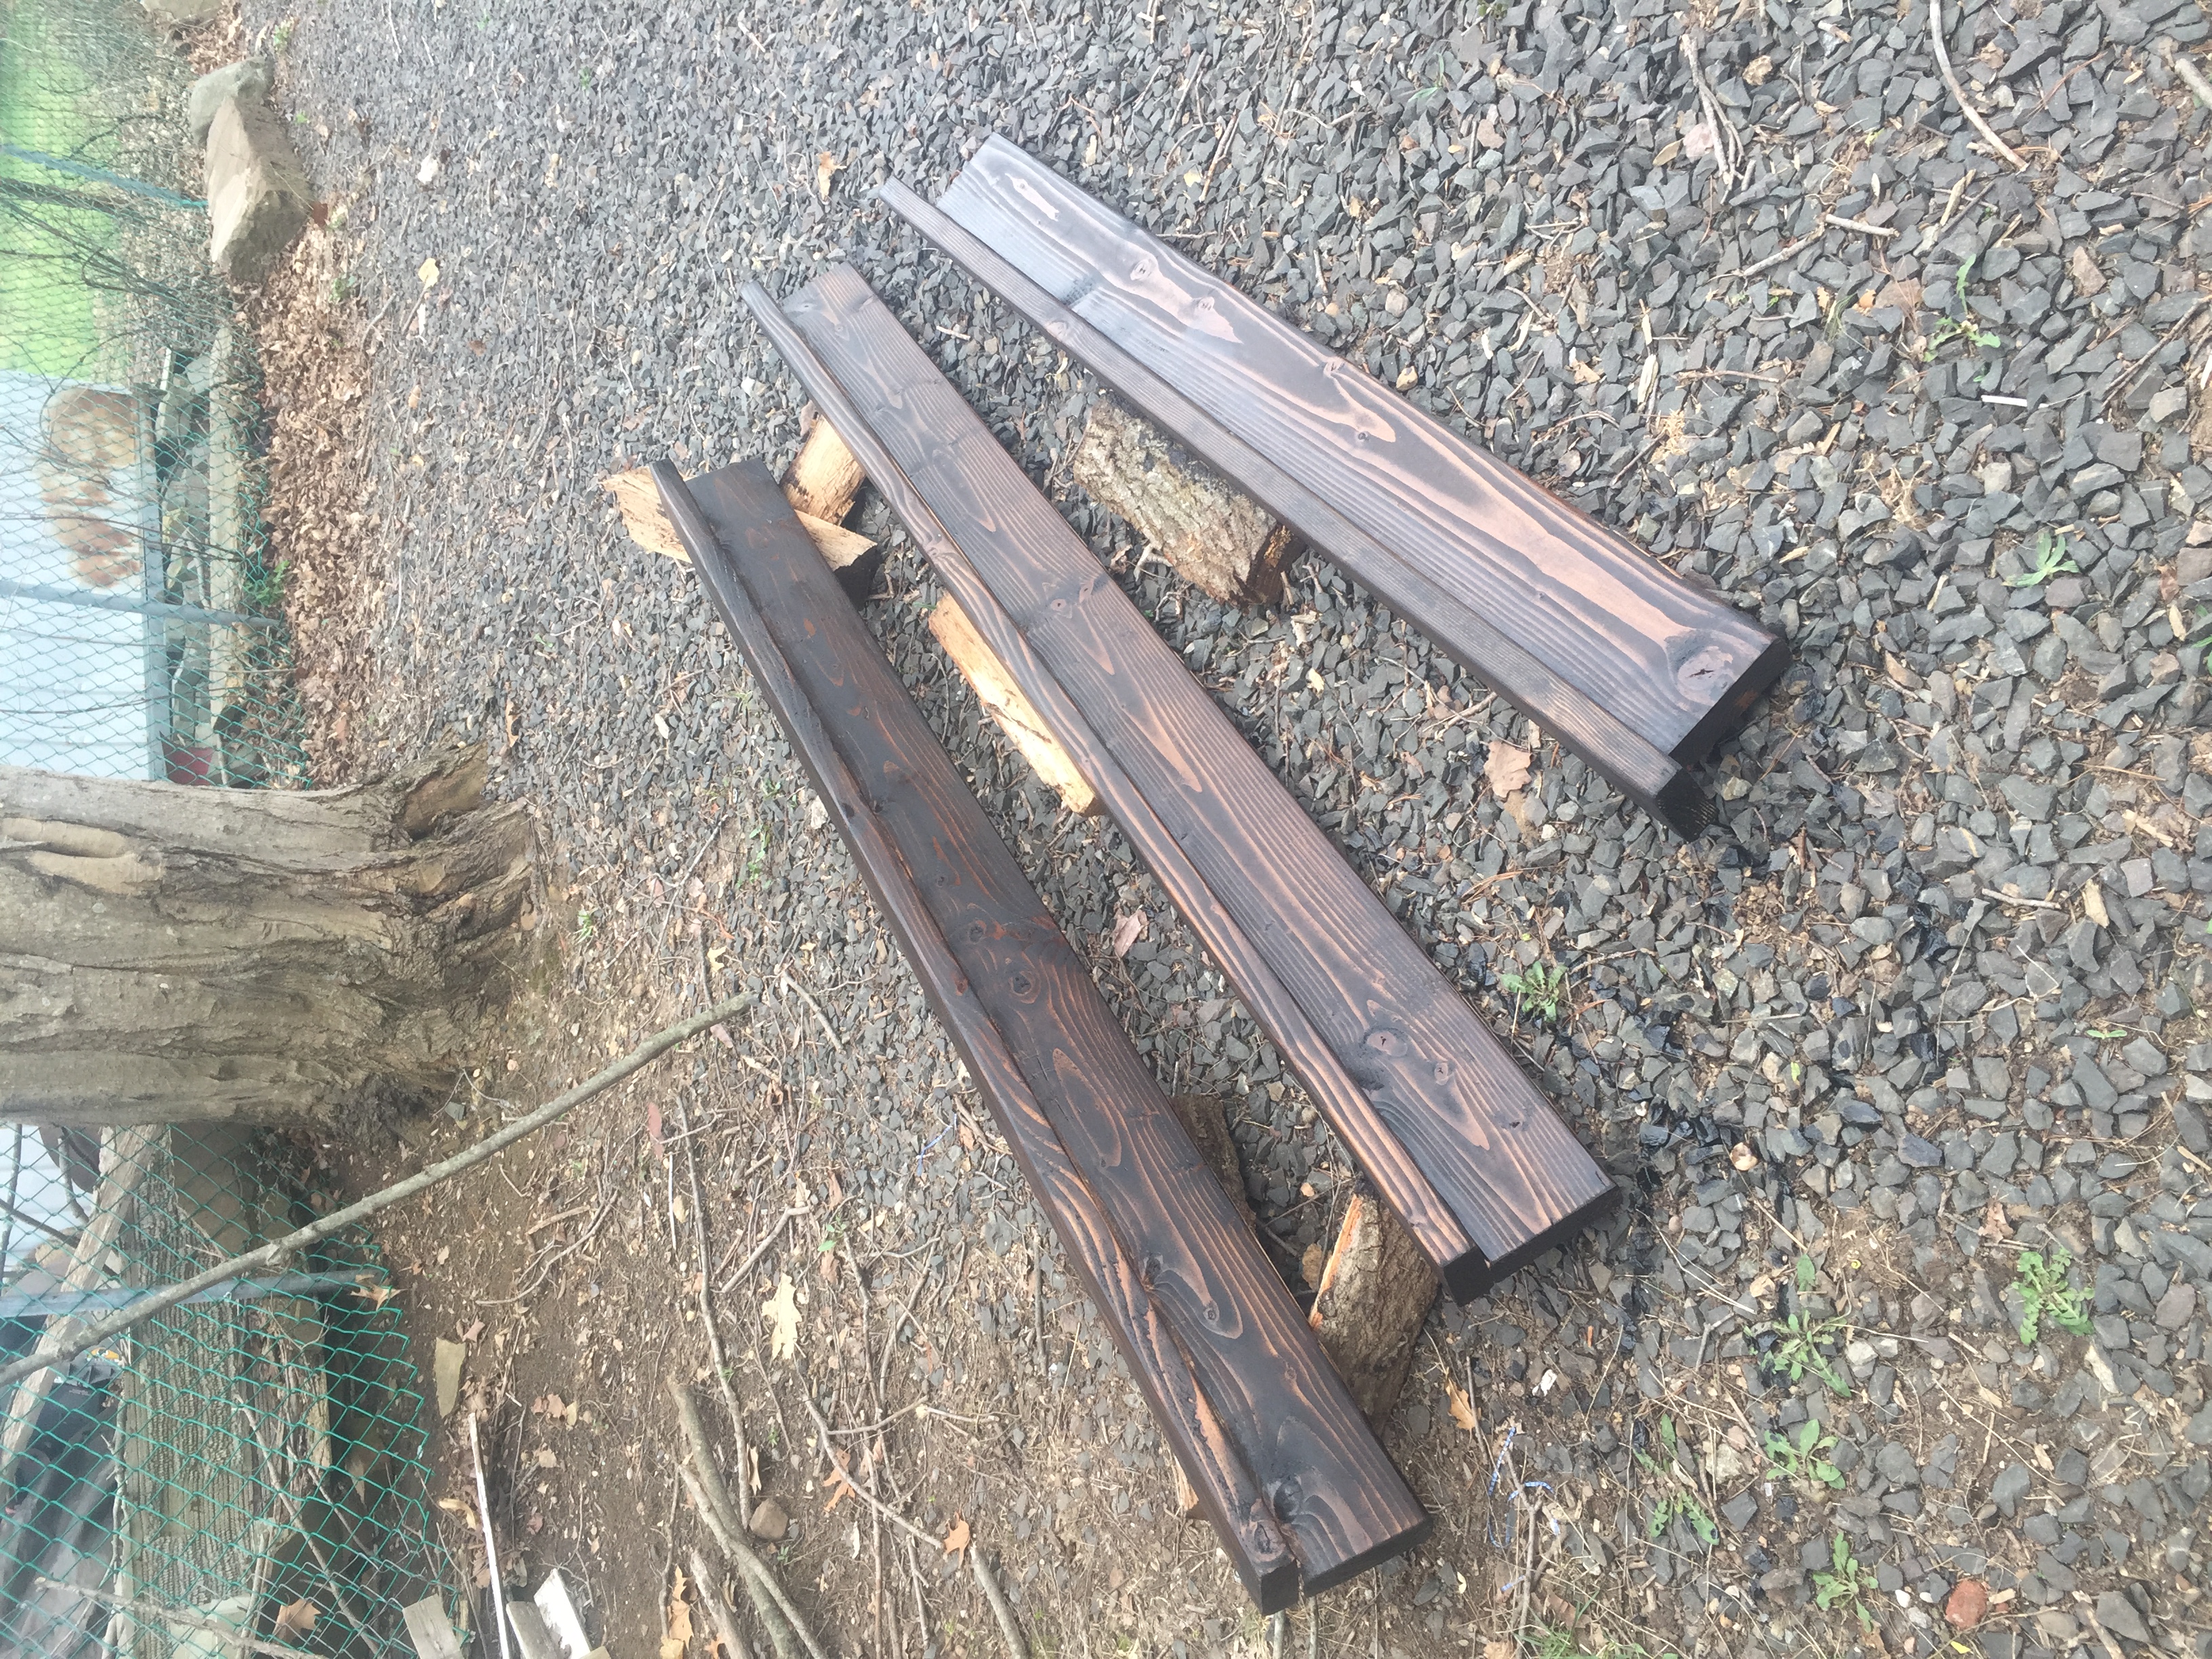
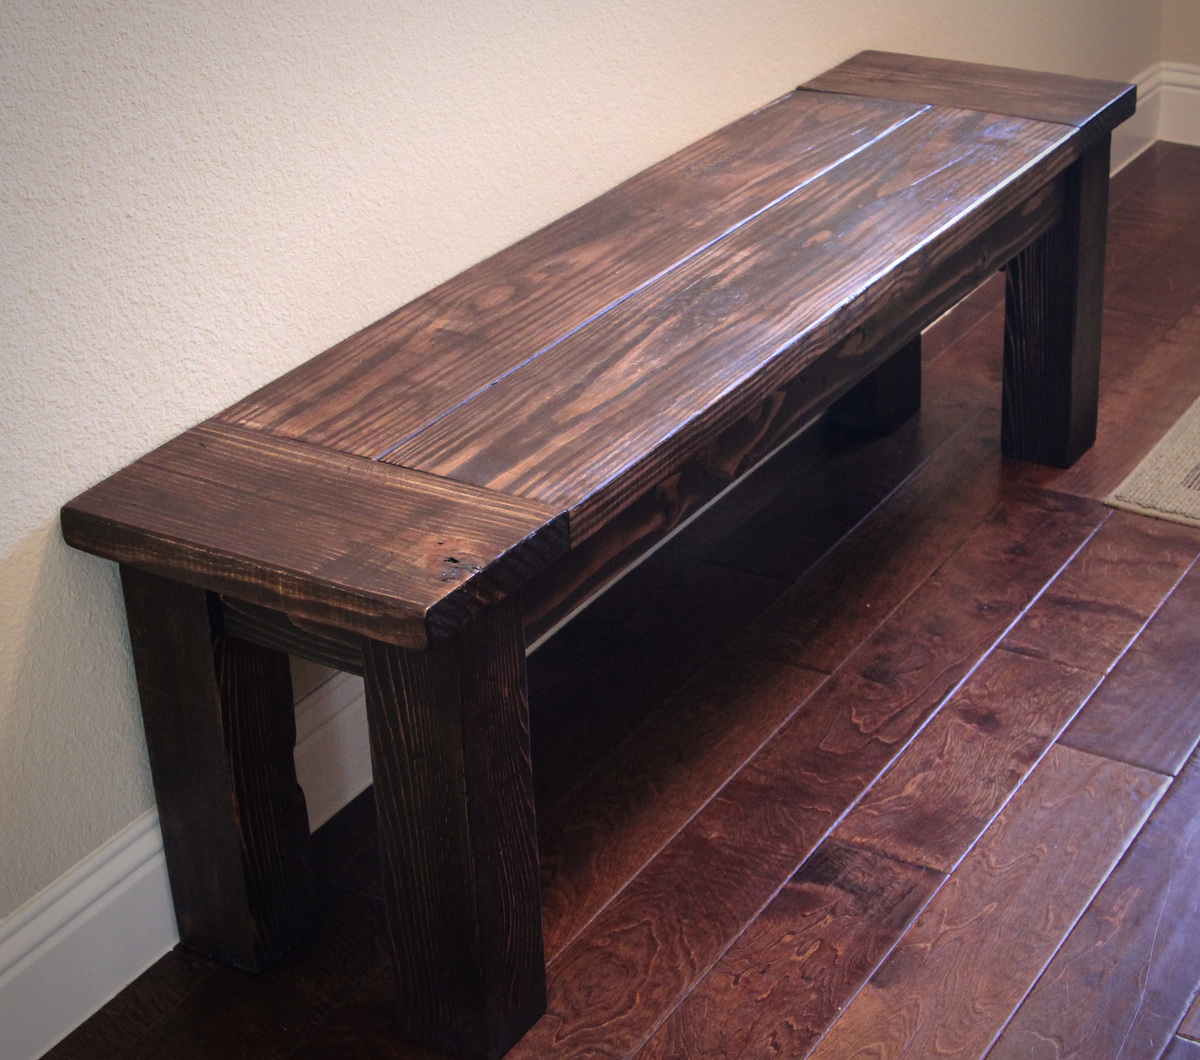
Briarsmoke
This stain turned out much darker than Ana’s table. It is a much darker grey.
This stain turned out much darker than Ana’s table. It is a much darker grey.
Recommended Skill Level
Intermediate