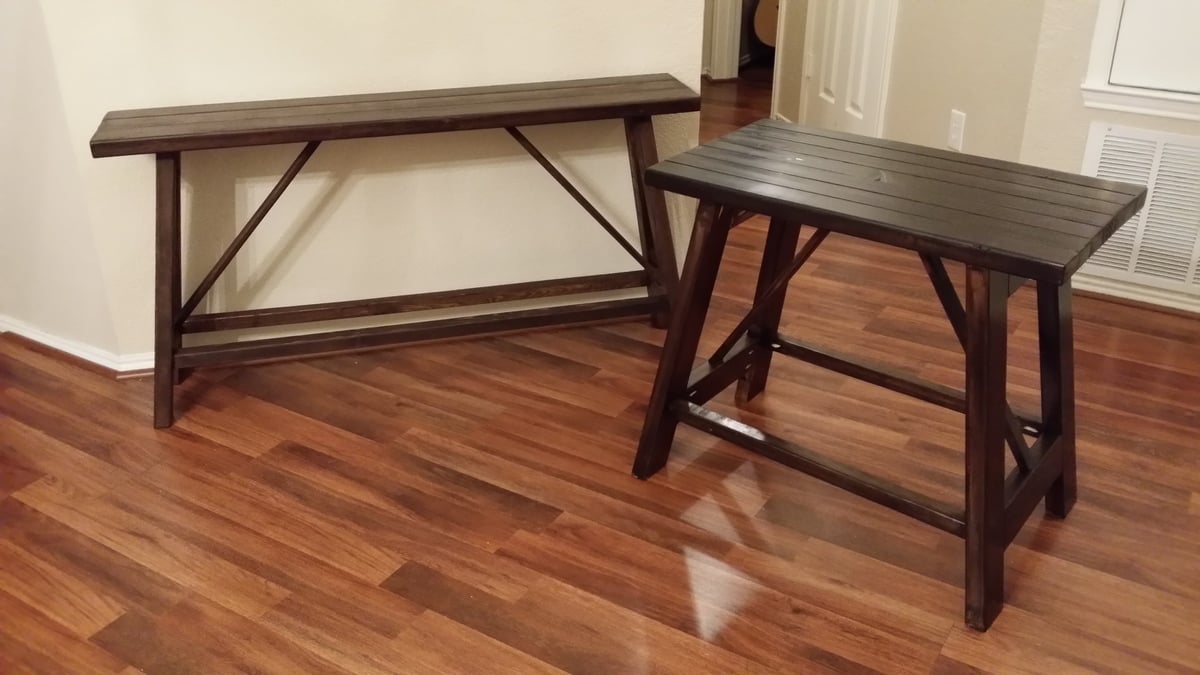
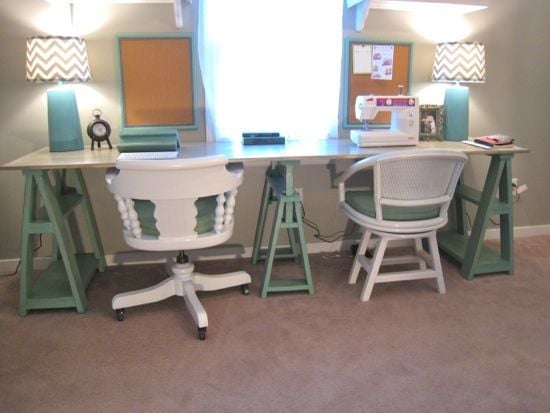
Community Brag Posts

Storage Sofa

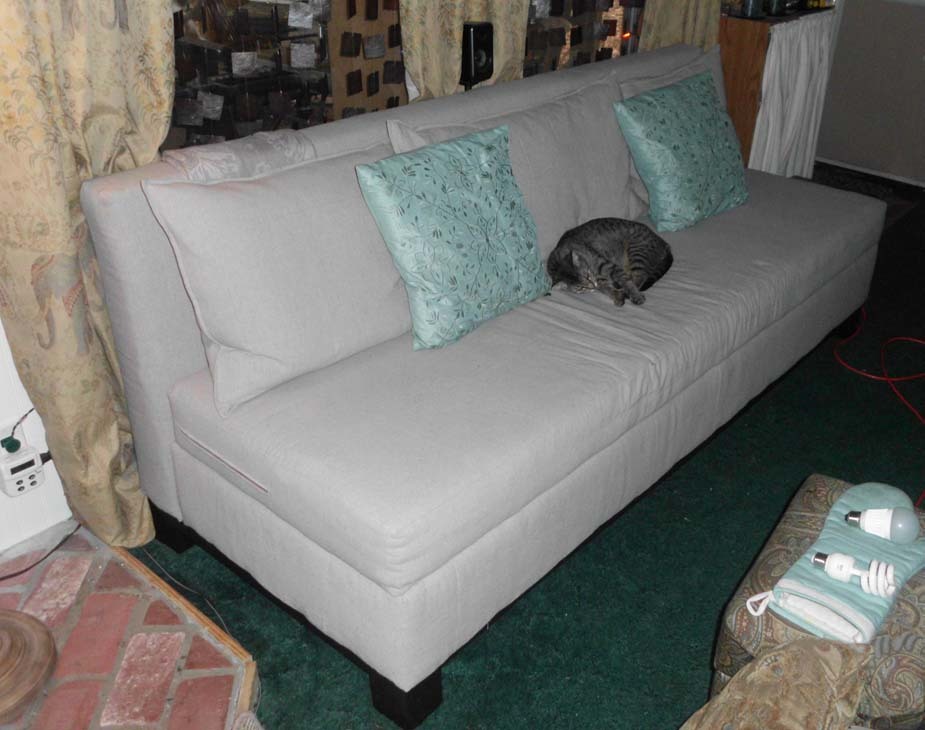
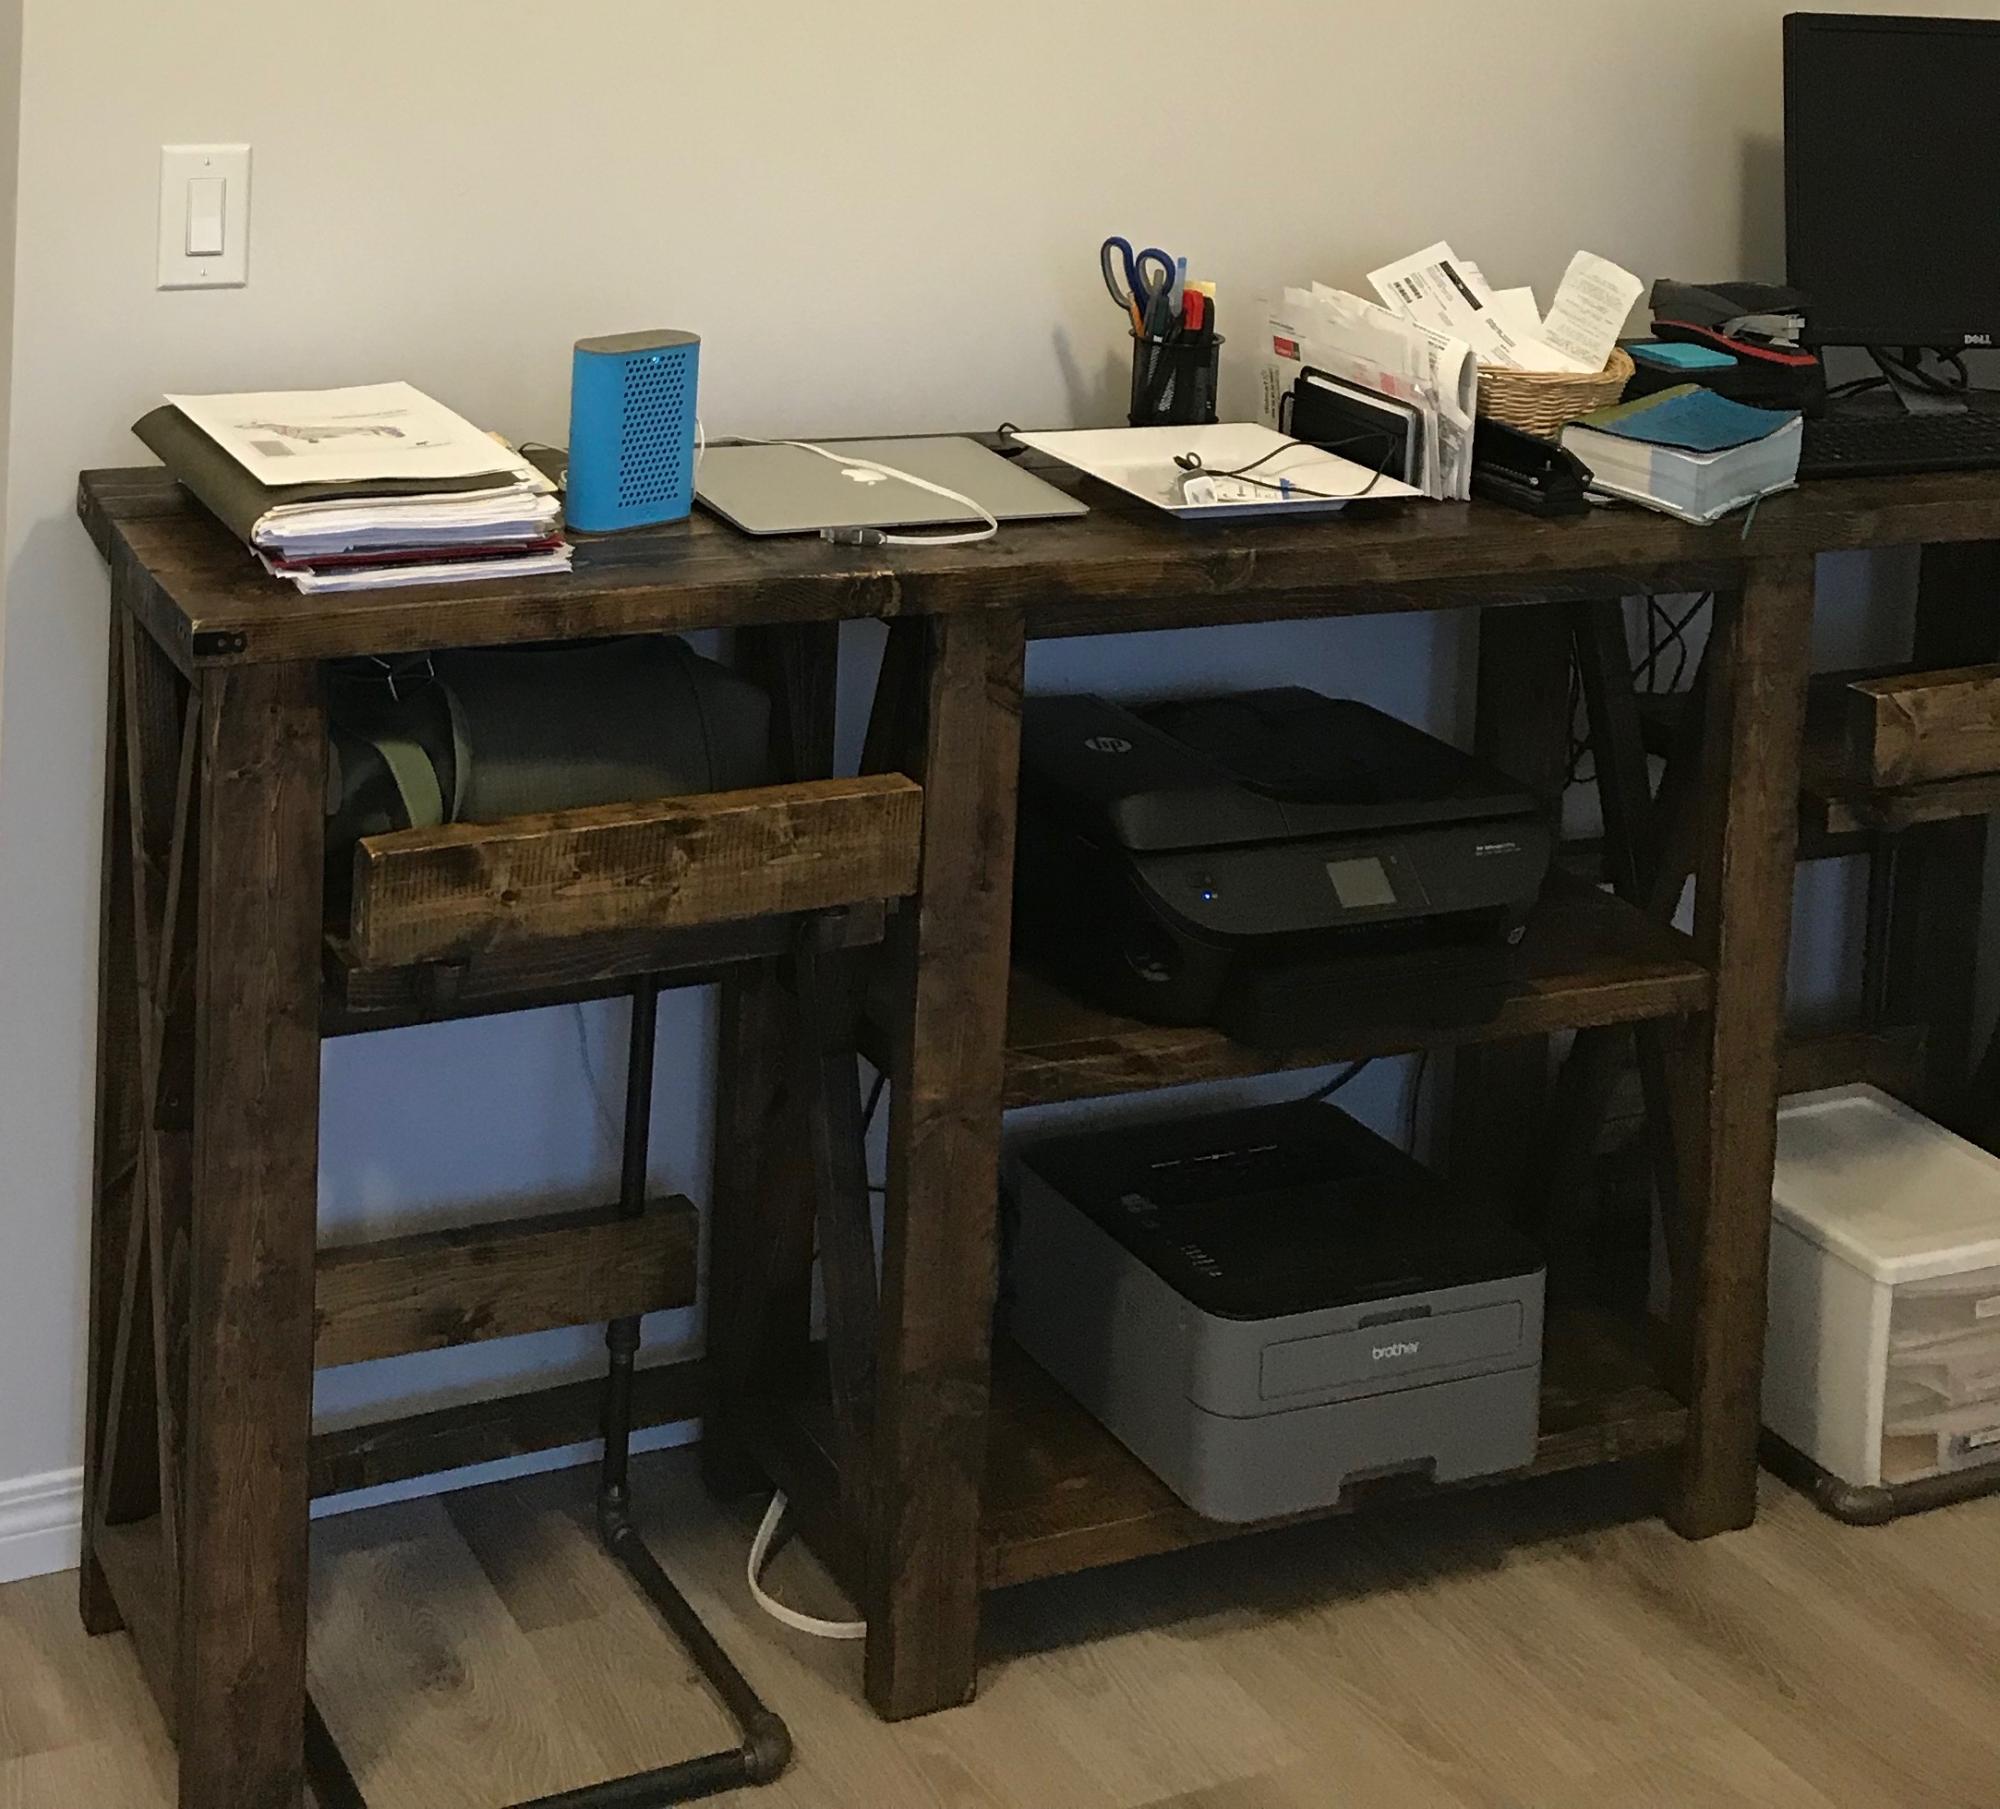
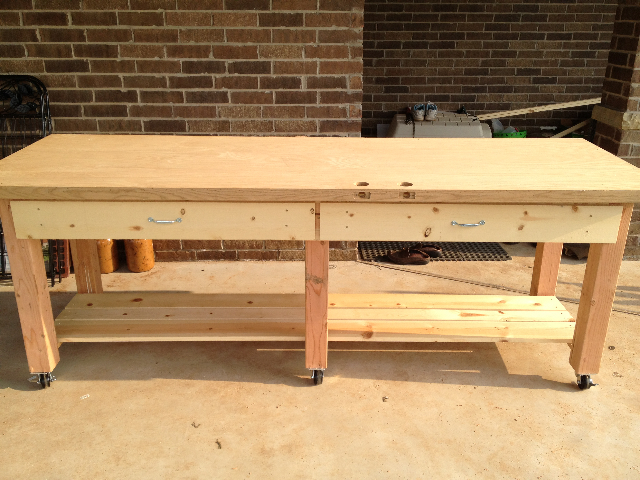
I loved the idea of the storage sofa! Such an easy build and I tweaked the plans to fit my needs... I used 5" high density foam, I lengthened the sofa to 84" (so I wouldn't have any wasted foam and also so my extremely tall son could stretch out on it without his feet hanging off the edge), I used a 2x8 for the box, and used 1/2" plywood for the seat because 1/4" ply was too flexible. I also made the seat with a zippered cover to encase the foam, batting, and plywood. This way, I can easily remove it to wash it. It's my favorite place to sit while I'm working!

Built from Plan(s)
Estimated Cost
Less than $100
Estimated Time Investment
Weekend Project (10-20 Hours)
Finish Used
I used General Finishes Stain in Espresso for the base and legs.
Recommended Skill Level
Beginner

Comments

Rae25 (not verified)

Tue, 05/22/2012 - 13:00

Gorgeous job! Hope mine turns out this well. How much fabric did you end up needing? I plan on making the seat cover removable as well.

Rae25 (not verified)

Tue, 05/22/2012 - 13:04

Gorgeous job, I hope mine turns out as well!
Question, how much fabric did you end up using? I plan on doing the removable cushion cover as well.

Freddy

Fri, 09/06/2013 - 13:21

It is really a fantastic idea to use storage sofa, as it can be used for dual purposes of storage plus sofa. Moreover, it will not occupy much space in the room. Anyway, please click here to see my site.

krystistaheli

Mon, 12/30/2013 - 17:43

Where did you purchase the foam? Was the $100 for just lumber costs or for the entire purchase? Thanks.

Tall corner cabinet with additions

I loved the tall corner cabinet but hate to have my television out in view all of the time so I used the plans and made an additional door opening for the tv. I adore it and now have so much space I chat wait to tackle many more projects!

Estimated Cost
200
Estimated Time Investment
Weekend Project (10-20 Hours)
Recommended Skill Level
Starter Project

Outdoor Sectional

Submitted by rachelmlee on Sun, 01/26/2020 - 20:23

This was my first real woodworking project and was so much fun! I use my deck much more now and am excited to build more!

Estimated Cost
$500 (with cushions)
Estimated Time Investment
Week Long Project (20 Hours or More)
Finish Used
Varathane Jacobean stain
Recommended Skill Level
Beginner

Modified 5-Board Bench

My partner purchased one of these benches for $100 at a shop in Michigan, but we gave up it over a year ago, and have missed it ever since. I decided to make one myself, using project board for the top and legs instead of 1x12s to make it sturdier. The bench will actually be used both indoors and out, but I applied Behr exterior paint to help it weather to elements.

Though it is tough to see in these pictures, the under layer of paint is actually a spring green, while the top coat is bright blue (both custom mixes), and the edges have been sanded. My partner wanted the V in the legs to remain green, and so they are. We're both very happy with the bench, and so glad we found the plans on this site. What a savings!

Estimated Cost
$30
Estimated Time Investment
Afternoon Project (3-6 Hours)
Finish Used
Behr Premium Plus Ultra Exterior Paint (includes primer)
Recommended Skill Level
Intermediate

Medicine cabinet

Submitted by Krisanna79 on Wed, 02/05/2014 - 23:58

3'x3'x6".
Used to store all of those meds and vitamins and bandages for kids, adults, pets, etc.
Pine wood, painted stripe backer board, rubbed bronze hardware, dark stain and distressed white finish, seeded glass, adjustable shelves.

Built from Plan(s)
Estimated Cost
$40
Estimated Time Investment
Weekend Project (10-20 Hours)
Finish Used
Outside:
Minwax English chestnut: one coat.
White porch and trim paint: four coats.
Sand to distress.
Polycrylic spray: two coats.

Inside:
White porch and trim paint: two coats.
Minwax Helmsman urethane (yellowed slightly): one coat.

Backer board:
Taped off lines with painters tape.
Turquoise, white, tan, green acrylic craft paint watered down: two coats each stripe.
Remove tape and sand to distress as desired.
Minwax helmsman urethane: two coats.
Recommended Skill Level
Intermediate

My Brother-in-Law killed it, 1st Build!

Submitted by Anonymous (not verified) on Tue, 05/03/2016 - 16:58

This was my brother-in-law's first build and he killed it. I love this sturdy piece. Best thing in my house right now.

Built from Plan(s)
Estimated Time Investment
Week Long Project (20 Hours or More)
Recommended Skill Level
Beginner

Home Decor

Submitted by Malka on Sat, 02/01/2020 - 15:13

Used a Milescraft Circle Guide to cut the circle, then stained in Minwax Honey and used a Silhouette Cameo for the vinyl wording. 

Estimated Cost
20
Estimated Time Investment
Afternoon Project (3-6 Hours)
Finish Used
Minwax Honey stain
Minwax Polyurethane
Recommended Skill Level
Beginner

Countertop Produce Storage Bin

Submitted by Anonymous (not verified) on Mon, 09/25/2023 - 09:20

My 16-year-old son is home every other day for school with an on-line course he is taking. We started working on projects we both wanted to learn from cooking to woodworking projects. This is the very first project we made. We are both very proud and pleased with the simple directions, minimal tools required, and beautiful results. We used an early American stain and lacquer finish. We have received many compliments on it. Thank you for giving us something to build our relationship and home with.

Elizabeth

Built from Plan(s)

Comments

Armoire

Submitted by Flowerchld on Wed, 04/25/2012 - 15:41

I altered the nursery armoire and made this!

Built from Plan(s)
Finish Used
layers of brown, then green, then off white paint- sanded and topped with a glaze mixed with stain for an antique finish.
Recommended Skill Level
Intermediate

Truss End Table

These were so easy to make. I actually messed up on the smaller one and used the 2x4's on the legs. By the time I realized it, I had to use the 2x3's on the top. I just used more of them. It still turned out great. My wife had me make another one for an empty space we had. I used the same basic layout and just modified my length and width. Thanks for the great plans.

Built from Plan(s)
Estimated Cost
$14 for the small one and $21 for the long one.
Estimated Time Investment
Afternoon Project (3-6 Hours)
Finish Used
Rustoleum Kona.
Recommended Skill Level
Beginner

Kitchen island built from your plans

Submitted by shaysite on Fri, 02/07/2020 - 05:57

Just about finished with the kitchen island. I got a surprisingly good Home Depot to match the look of the milk paint on the pie safe that I have with a dead flat latex paint for not much money. Had some leftover burnt umber age effect glaze. 

I finished the top with a couple coats of Epoxy resin for a nice glasslike finish and added some wrought iron hardware and an oak towel rack. Last thing to do is put furniture wax on the exposed white pine areas. Then I’ll try to figure out how to move it into the kitchen without sustaining any serious injuries, such as a hernia...

Built from Plan(s)
Estimated Cost
$250
Estimated Time Investment
Week Long Project (20 Hours or More)
Finish Used
Latex paint with burnt umber glaze and epoxy resin for the top.

Outdoor Table with Concrete Top

Submitted by Anonymous (not verified) on Mon, 10/02/2023 - 10:25

Fancy X Farmhouse Table in stained cedar with concrete table top. Concrete top made using 4’x8’ melamine coated MDF boards for form, reinforced with welded wire fabric, standard Quikrete concrete mix.

MDeMotte

Built from Plan(s)

Double Saw Horse Workstation

Submitted by tsibiga on Sat, 04/28/2012 - 09:56

I started out following the plans to a "t" and was going to make two of them. I got about half way through the first and decided to just turn it into a double work station. I decided to make the middle sawhorse slightly different for visual interest. I was also worried about how the desktop would line up with our window sill.

www.tommyandellie.com

I documented the whole build process here;

http://tommyandellie.com/index.php/2012/01/22/sawhorse-double-desk-deta…

The paint and distressing is in this post:

http://tommyandellie.com/index.php/2012/01/26/sawhorse-paint-and-distre…

And the stain on the desktop is here;

http://tommyandellie.com/index.php/2012/01/28/sawhorse-steel-wool-aged-…

Estimated Cost
100
Estimated Time Investment
Weekend Project (10-20 Hours)
Finish Used
"Yucca Plant" paint for the sawhorses, gray stain for the desktop, General Arm-R-Seal poly, and Briwax for the desktop
Recommended Skill Level
Advanced

Comments

x end table

Well I combined the rustic x end table with the mimi nightstand and BAM! I had new end table. LOL

Estimated Cost
50
Estimated Time Investment
Afternoon Project (3-6 Hours)
Finish Used
Kona stain, and 4 coats of poly sanded between coats
Recommended Skill Level
Beginner

Comments

Zorro

Tue, 03/11/2014 - 07:34

Dear Woodbuilder, would you happen to have any detailed info for this table. I really like it.
Zorro

x-console with bar stools

Submitted by Anonymous (not verified) on Fri, 02/14/2020 - 15:10

This sofa table (x-console) was built with pine and stained with expresso. we made two bar stools from "home made modern" so kids could use lap tops and socialize with us when we were watching TV.

We have since modified this project to have 3 drawers and a central games storage with hinged door That hardware was salvaged from an old desk we were turning into firewood..

Win Win

Repurposed Lathe Storage Table

Submitted by Anonymous (not verified) on Tue, 10/03/2023 - 08:12

While using lathe it is helpful to have tools at hand. In general my lathe tools have custom racks/holders on wall but it is a nice adjunct to have the little table on wheels that stores underneath the lathe —at my side! 

All parts are recycled wood from scrap box or dumpster!


Door Top Workbench

Submitted by Ji on Sun, 04/29/2012 - 18:57

We had an extra door after building our house. We were not able to get store credit, so we found a some good use for it. After searching the plans here we saw the rolling workbench and decided what to do.

The door was so heavy and long so we modified the original plan and put a middle support. Our plan is based on the "Rolling Workbench with "Drill Holders"".

Estimated Cost
$150
Estimated Time Investment
Weekend Project (10-20 Hours)
Finish Used
None yet. May put a couple of coats of semi-gloss poly, but it is a workbench so not too concerned.
Recommended Skill Level
Intermediate

Comments

Patrick Hosey (not verified)

Sat, 05/05/2012 - 07:07

this is great. i love the 2 drawers and that it is on wheels. great job

Farmhouse Doll Bed x4

I saw the Farmhouse Doll Beds on Ana's Website and knew right away I wanted to make them for gifts for my daughter and my 3 great nieces!!!

I added a few touches to make them my own.

I am thrilled with the way the mattresses I made came out.. and my mom helped with making me the bedding!

Estimated Time Investment
Day Project (6-9 Hours)
Finish Used
White primer and white paint
Recommended Skill Level
Beginner

Comments

In reply to by carongirls

Creations By Erika

Sun, 02/16/2014 - 17:29

Thanks, my mom is the one who made the bedding! I did the mattresses.. which was fun. Got my daughter involved and we even made the buttons. I found matching bedding for the beds.. just different colors! Thanks for the comment!

spiceylg

Mon, 02/17/2014 - 17:42

Love the finishing touches. Please share how you made the mattresses. That part is my weakness and these look perfect!

Creations By Erika

Tue, 02/18/2014 - 11:19

I cut the plywood to fit the bottom of the bed.. I had to drill 1/8 inch holes through the bottom of the plywood to coorespond with placement of the buttons. I then placed foam over the plywood and covered with the material. I pulled material tight over the foam and stapled it to the bottom of the plywood. Lastly I used a button making kit from Hobby Lobby and made the buttons - pulling the string through the mattress with the button attached and pulled it tight. After pulling it tight I used an offset screw underneath the mattress to tie off the string.

Potting Bench

Submitted by Anonymous (not verified) on Fri, 05/13/2016 - 06:44

Hello Ana, this is my second project that I have done according to your plans and surely not my last. I had bought the wood I needed a few months ago and it wasn't until the day before Mother's day that I realized I didn't have anything for the Mother of my three children. I could have made an excuse and told her I was broke from our trip to Key largo and the Grand Cayman islands in April but then I remembered your plans for a neat potting bench. I went to my home office and printed off your plans. Next I cleaned out enough room in my garage to access my tools and benches, four hours later...Boom! Potting bench with a surprised wife. We are going to allow all of the Grandkids (13) to sign it after she decides what color she wants me to paint it. Thank you so much for posting these great projects. After all it is true "Happy wife, happy life"

Estimated Cost
Approximately $50
Estimated Time Investment
Afternoon Project (3-6 Hours)
Finish Used
Undecided as of yet
Recommended Skill Level
Beginner