California King Bed
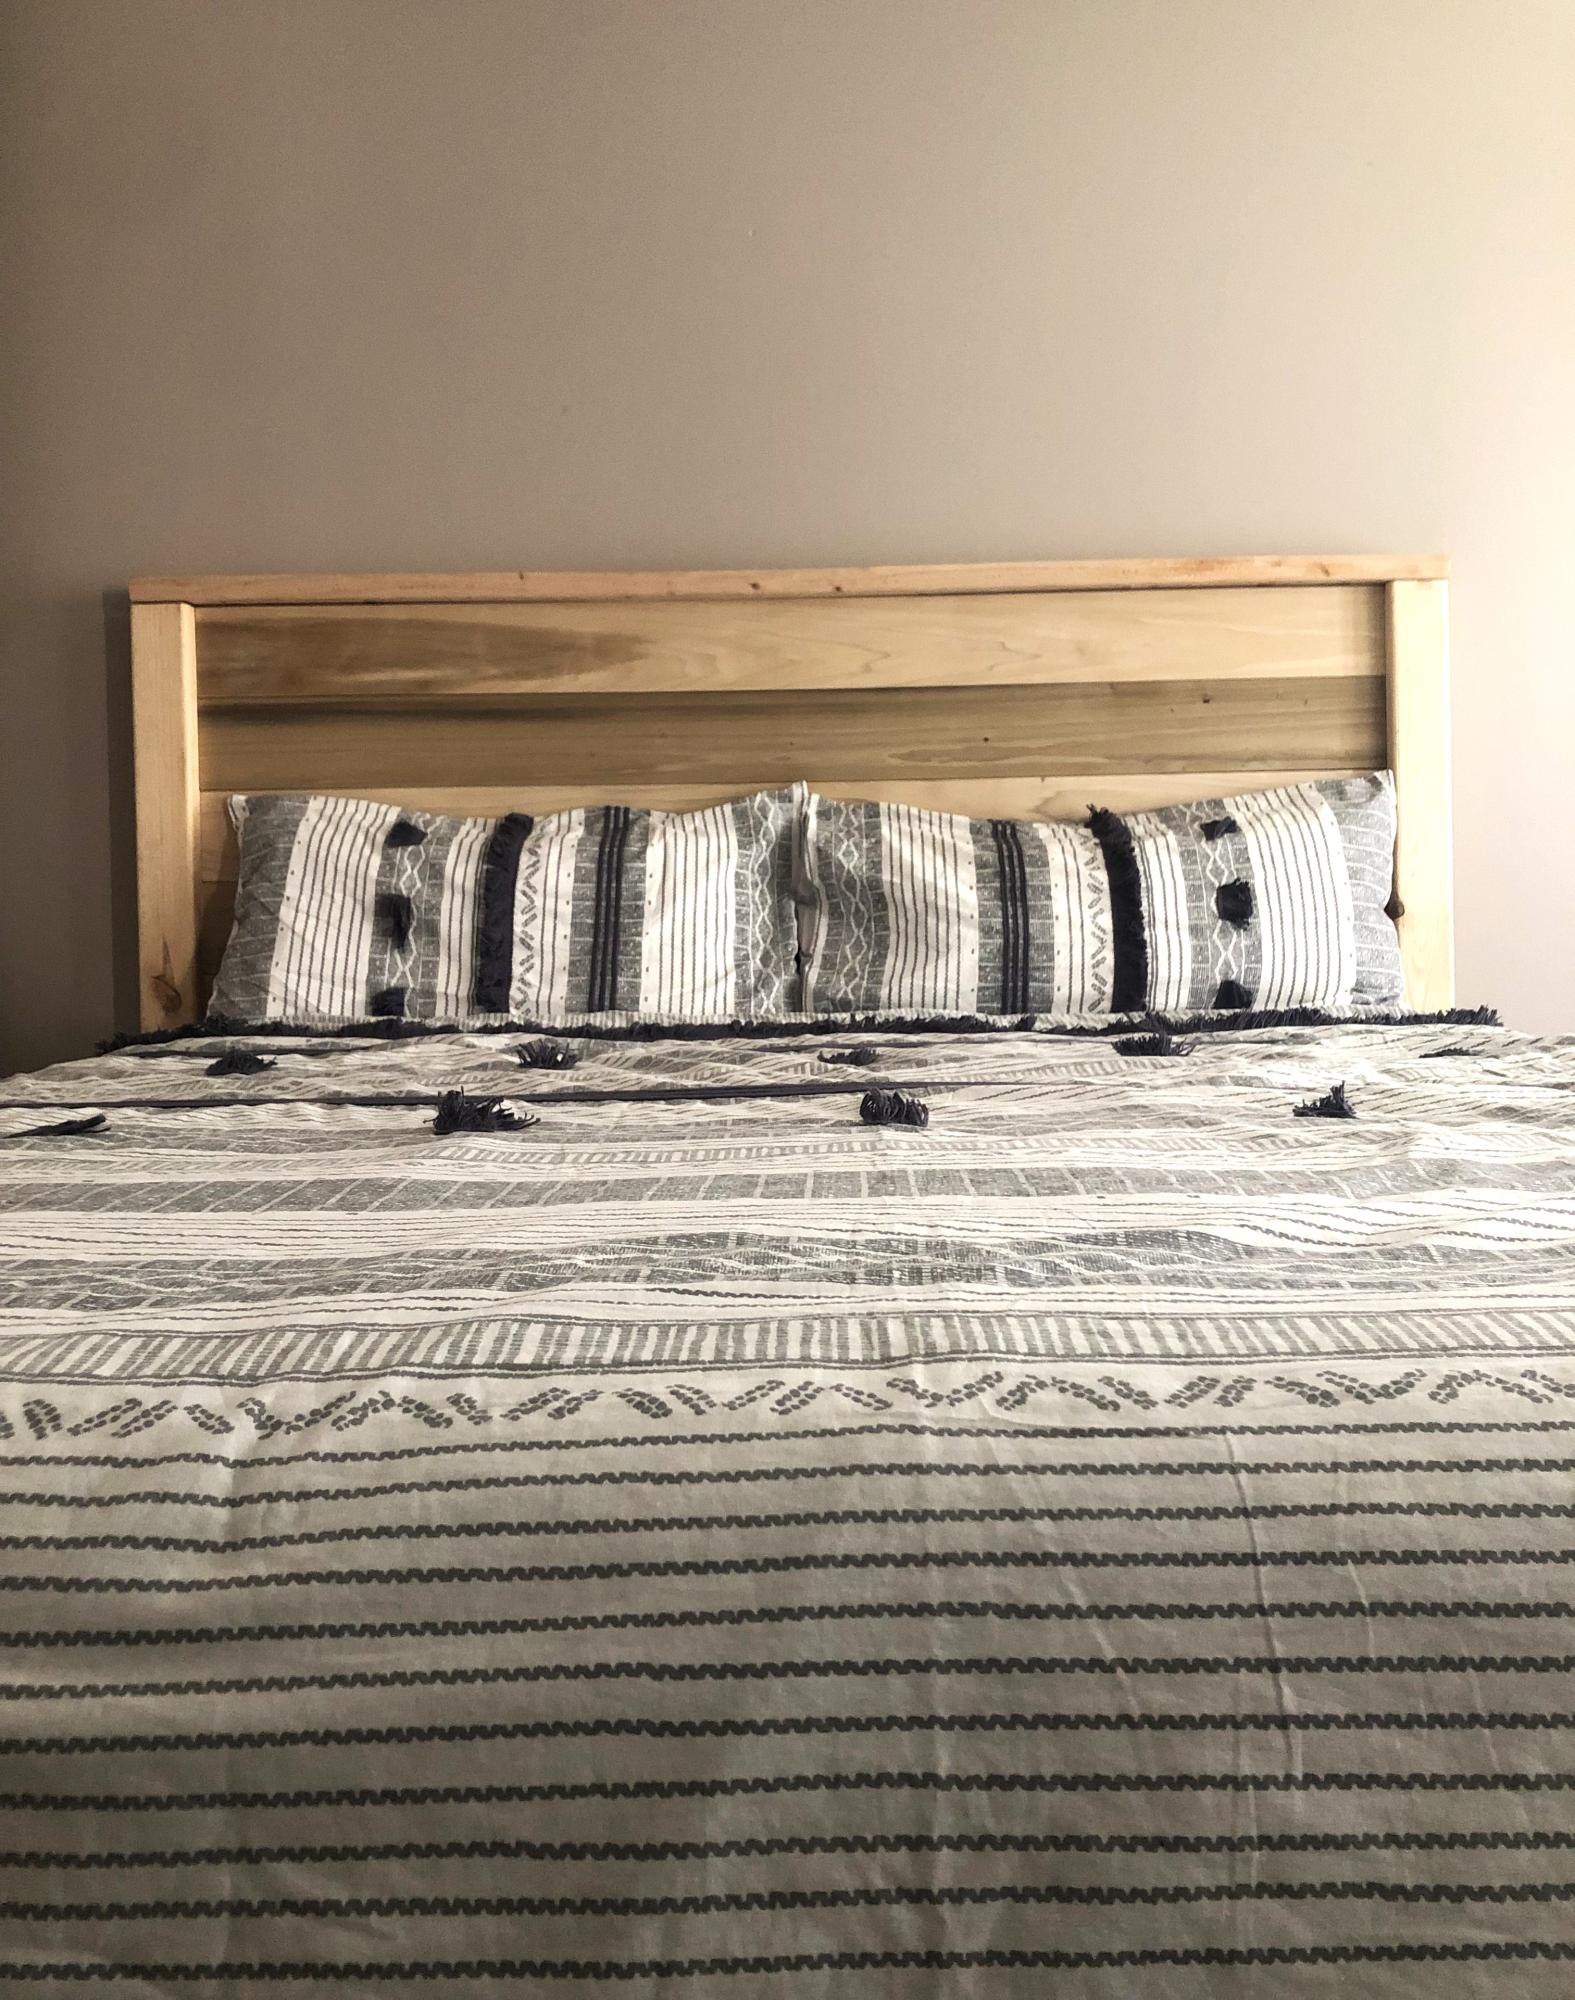
Modern Farmhouse Cal-King.
Marnie

Modern Farmhouse Cal-King.
Marnie
Wine rack made from discarded pallet, with slots to hang glasses
Fri, 01/31/2014 - 08:57
How did you add the wine glass holders on the bottom. I didn't see that in Ana's plans. Please share.
Sun, 01/22/2017 - 11:33
Umm where is the actual instructions
Sun, 01/22/2017 - 12:22
Hi, this is a guest submitted post based off this plan http://www.ana-white.com/admin/structure/views/view/blog/edit Perhaps try this tutorial for the stemware holder http://twineandvines.com/diy-to-try-pallet-wine-rack/
This was an easy project. It took longer to paint and stain than the construction.
Thanks for the plans, this web site is awesome.
Made several modifications to this plan. Wanted the bed to be easy to change sheet, reduced overall height to 48in. The mattress is fairly thick so I increased the rail height to 18in by adding another row on the side rail. The ladder can be located on either end. My munchkin now has a new bed and with some curtains, a new hideout.
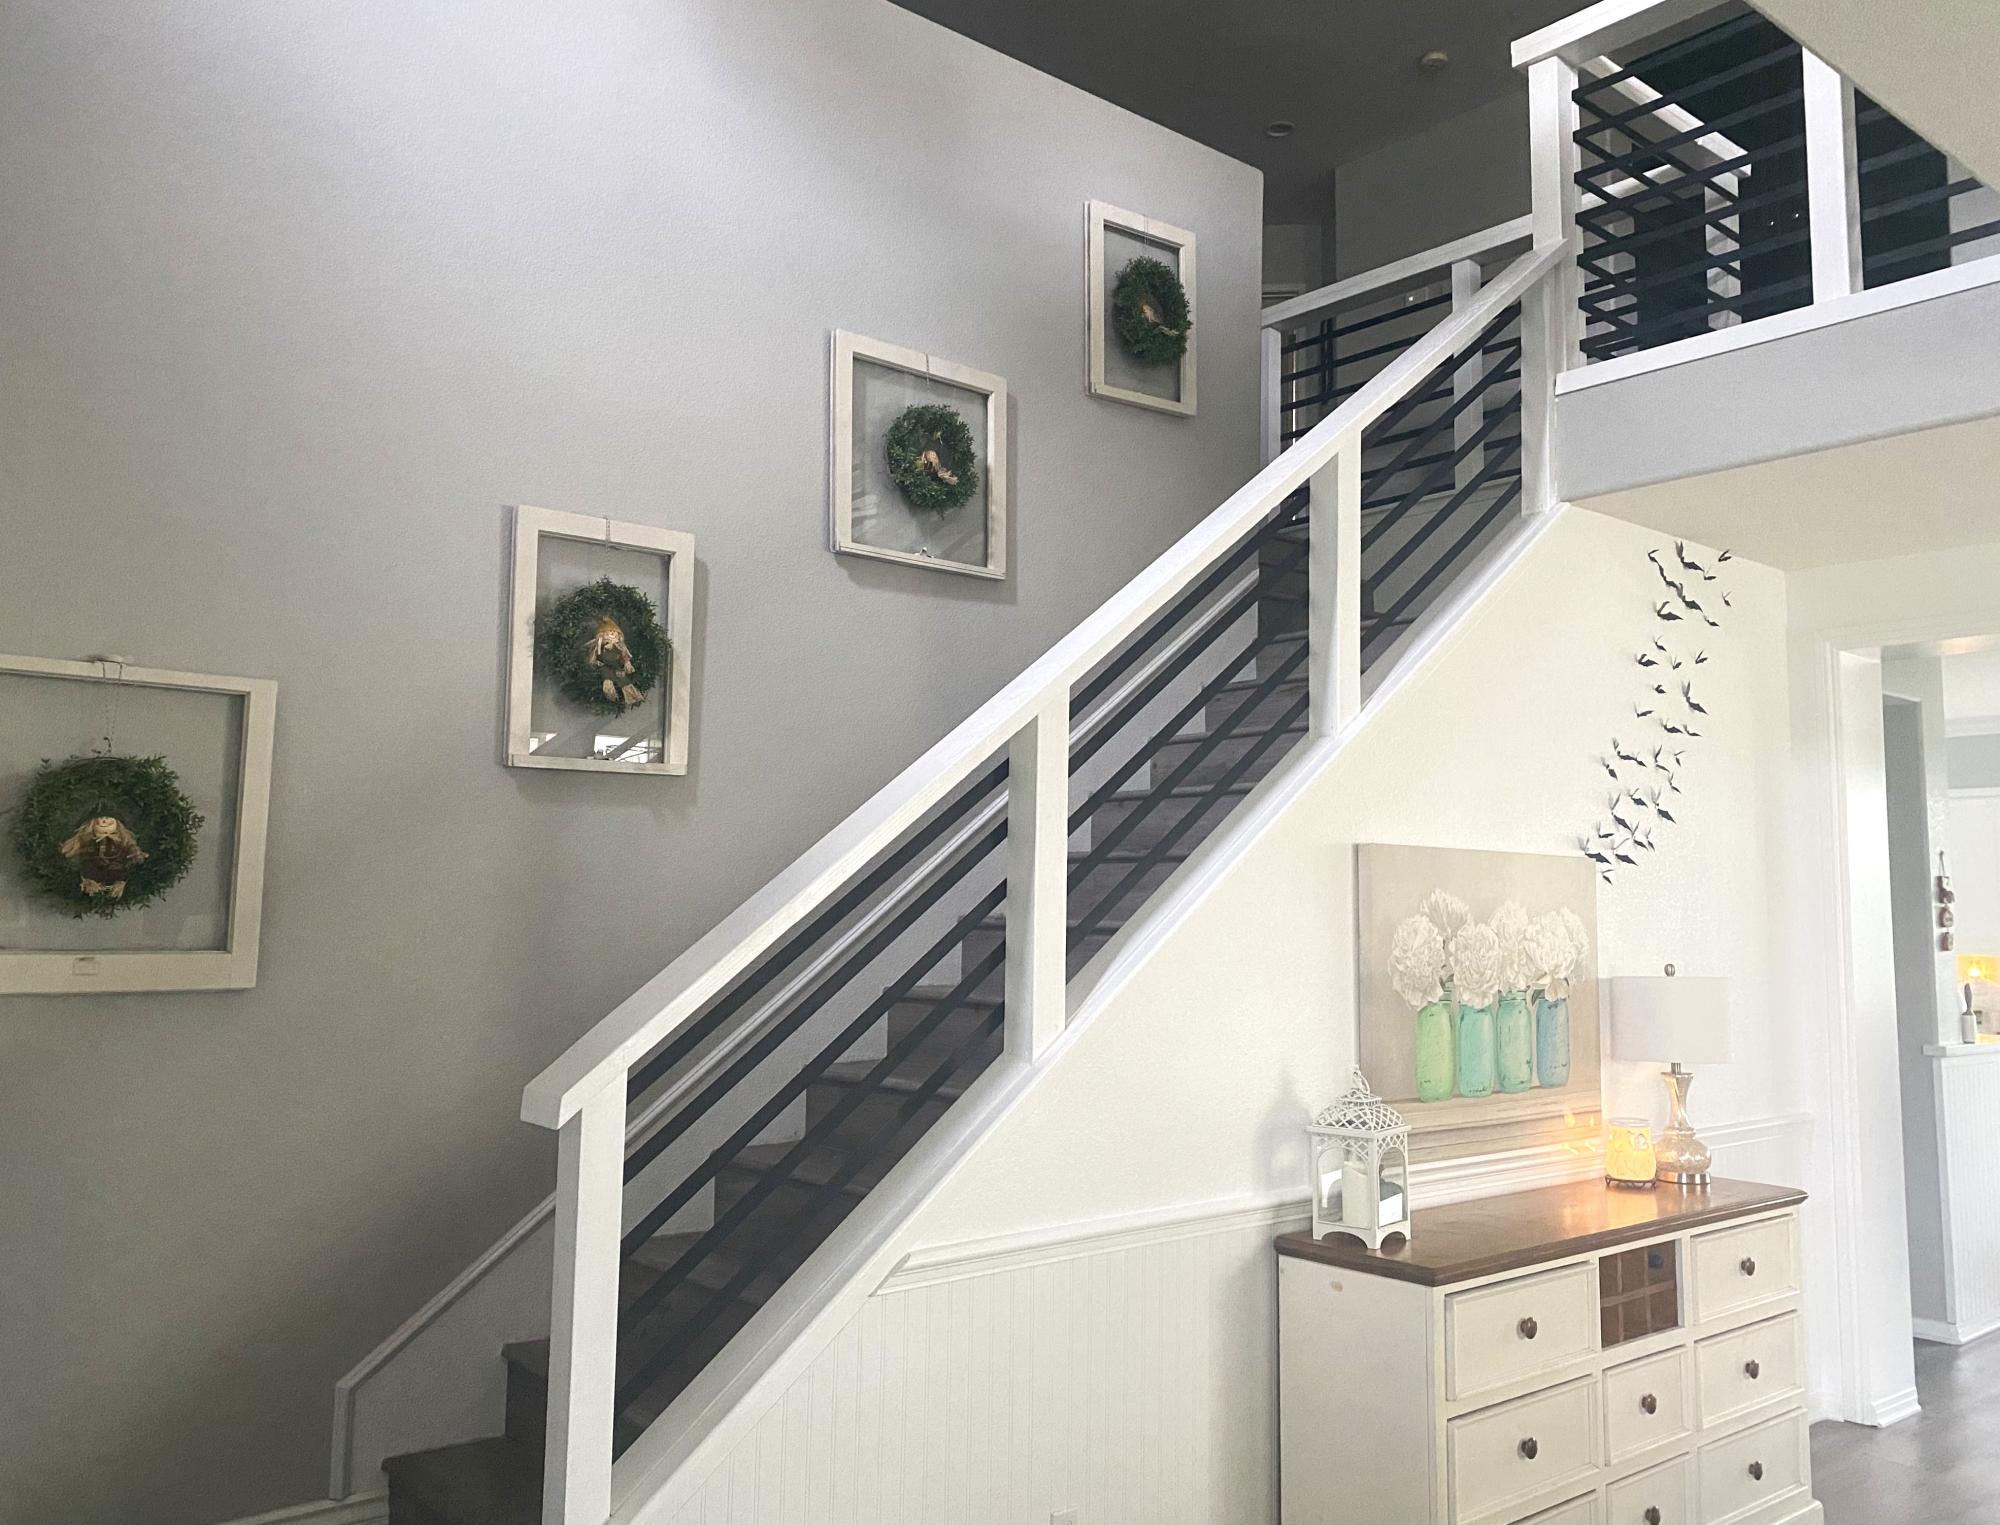
During a home renovation we found out part of our stair rail would need to be replaced and the quote from the contractor floored us. We were searching for an economical way to DIY the stairs and come across your idea. I immediately loved it and we worked to figure out how we could put it together with our limited construction knowledge. The end result exceeded my expectations. I totally love it!
I used the Cottage Media coffee table plans and modified the length and height to suit for the space I needed. Ana's plans were super easy to follow and am pleased with the end result.
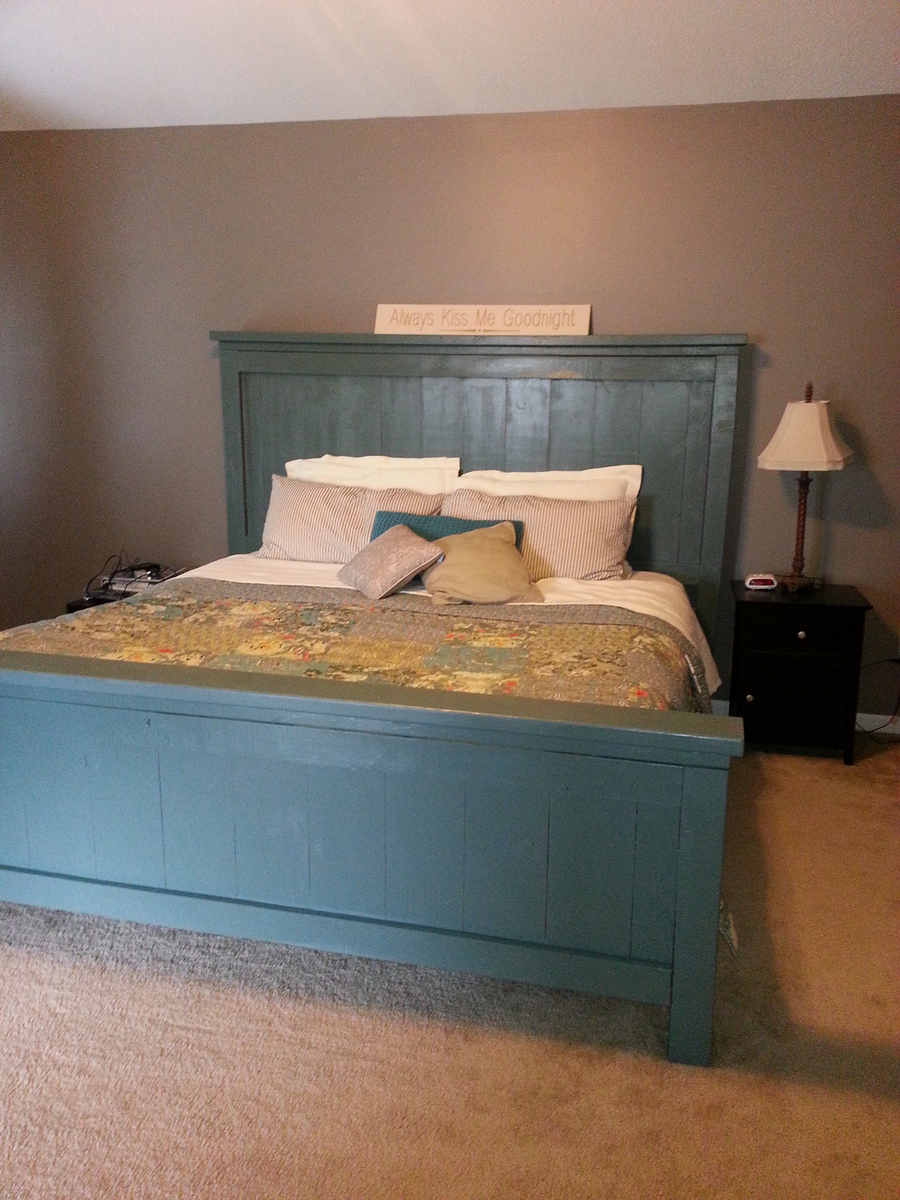
My husband and I built this bed as our first ever project. It was so easy. It took about 8 hours plus painting time. I modified the original King plans by raising both the headboard and foo board 6 inches. This meant every vertical measurement was changed by 6 inches. I am also using a metal bed frame with box spring. We are next going to make the matching nightstands! Super excited to continue building my own furniture!

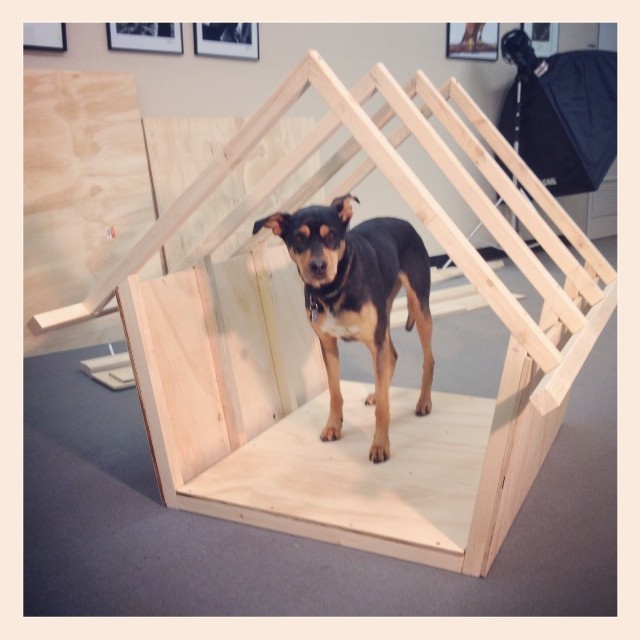
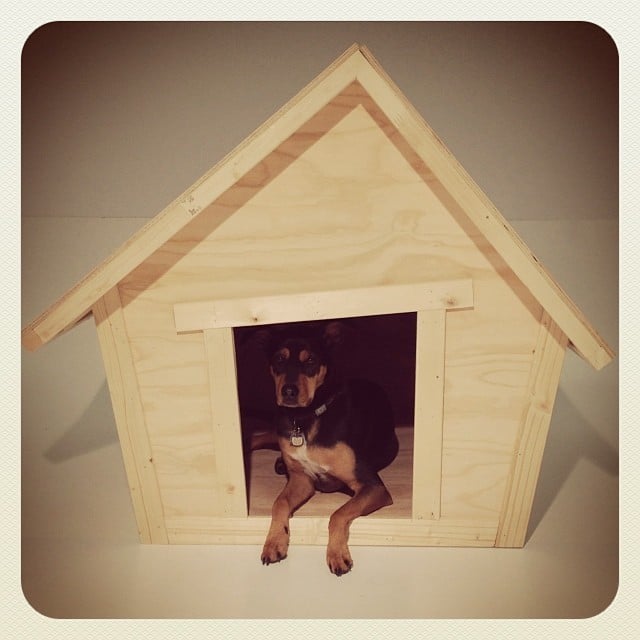
A few years ago I was looking for plans for a dog house to be used as a prop for a seasonal photo promotion. I found these plans and made the house, it was perfect! The promotion was to get a holiday photo of your dog in exchange for a donation of dog food, which was donated to a local food bank. The project brought in over 500 pounds of food!
The plans were super easy to follow and the structure was very soild.
Thanks for all you do!
Ken from Canada
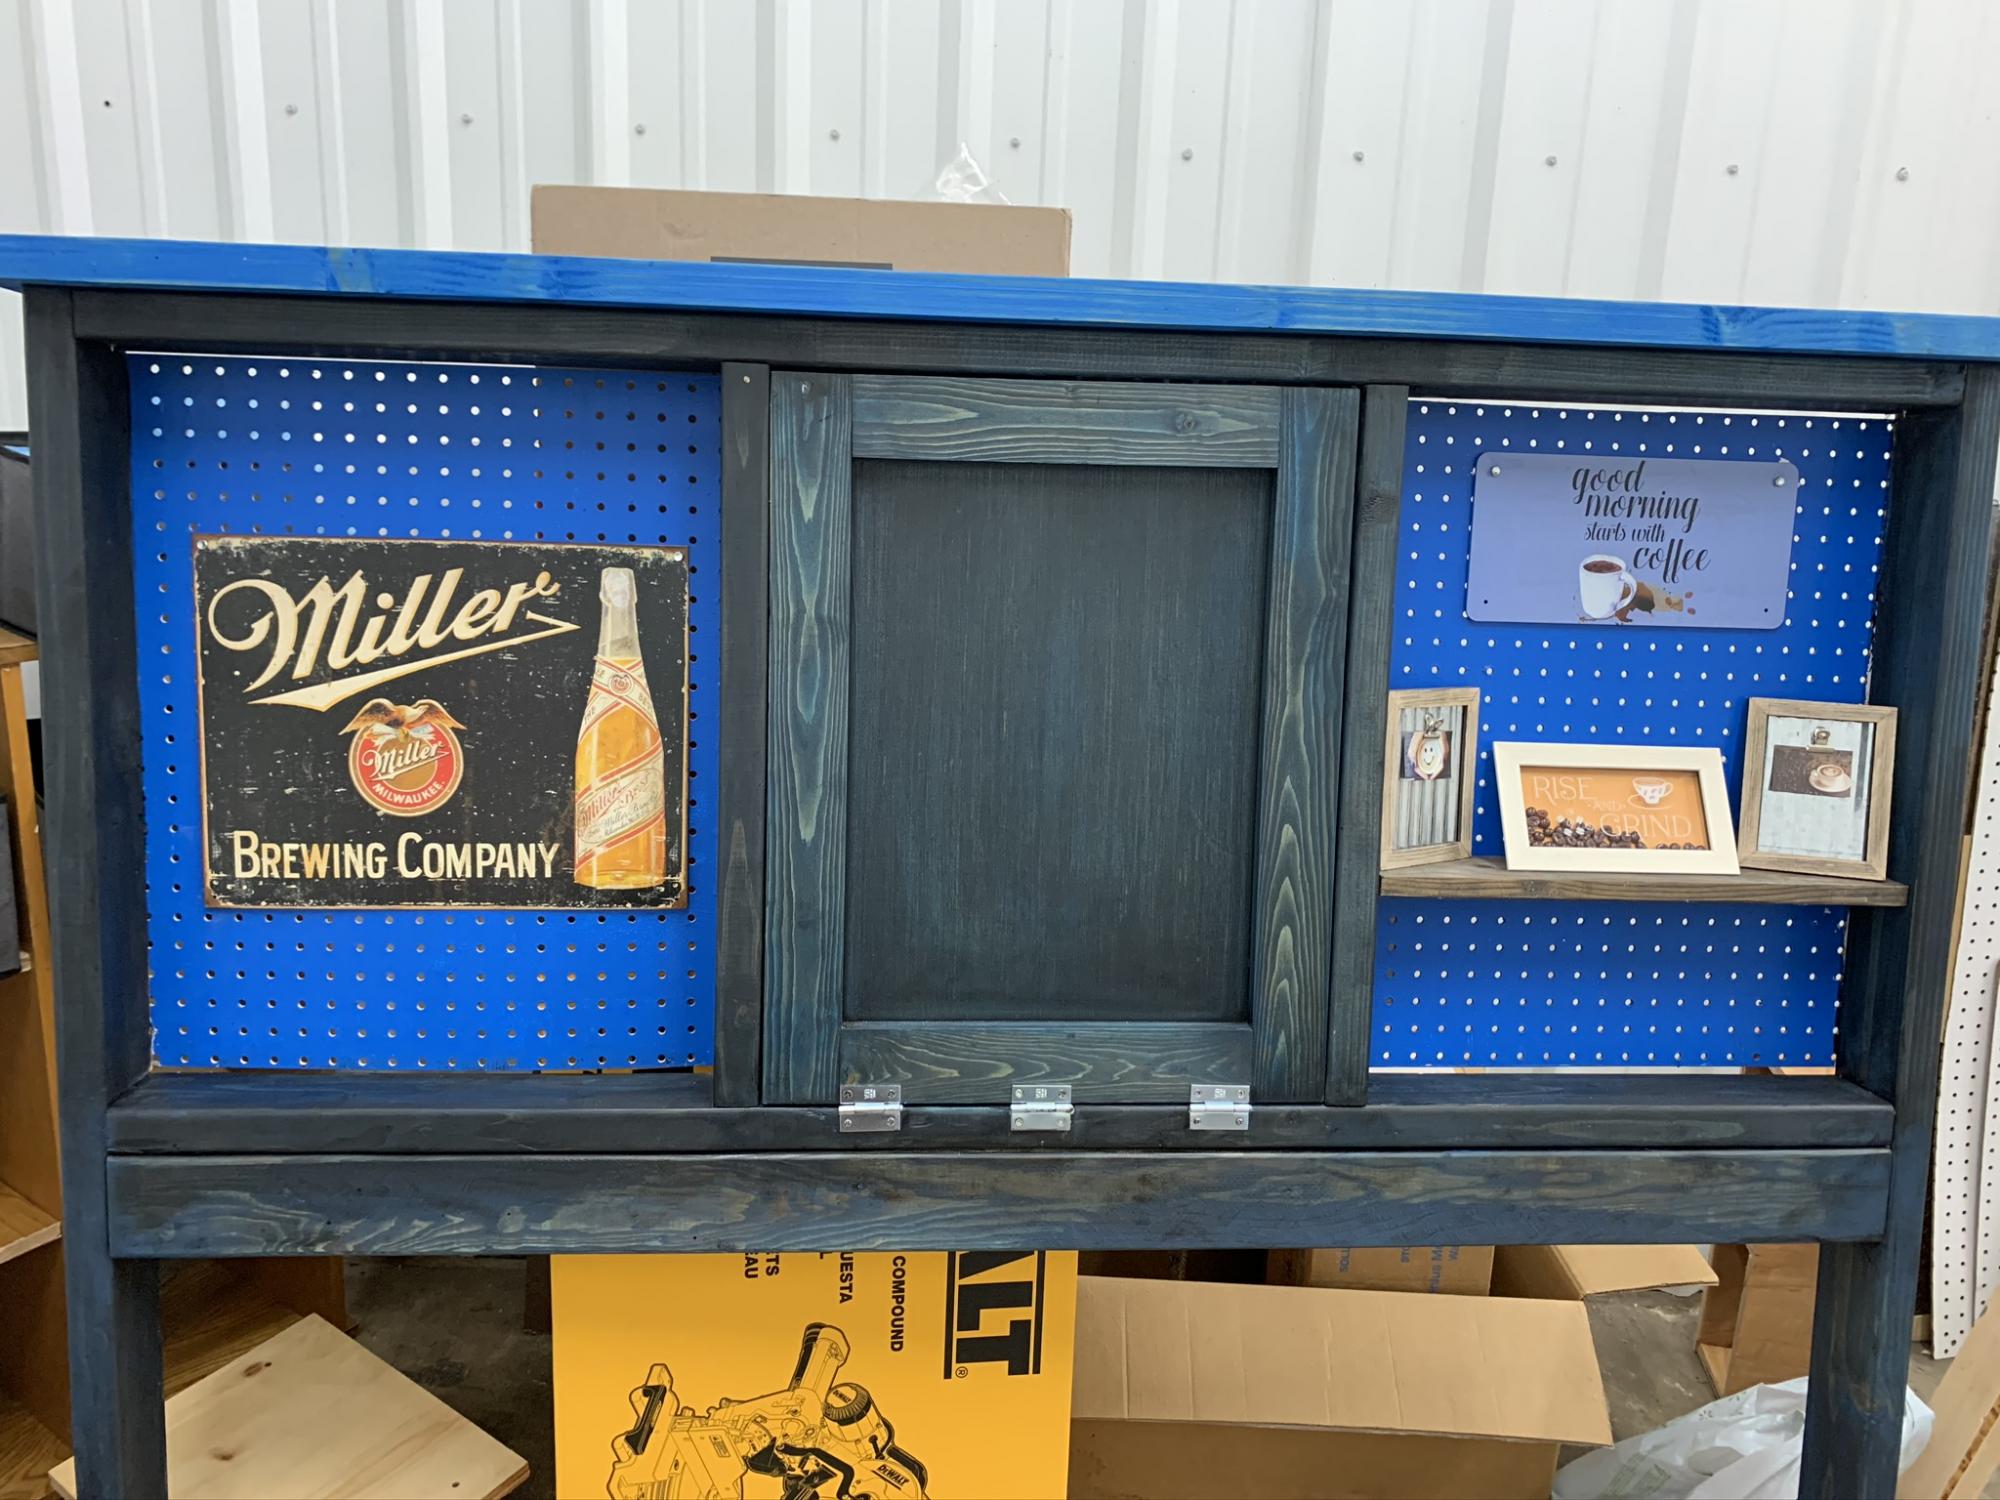
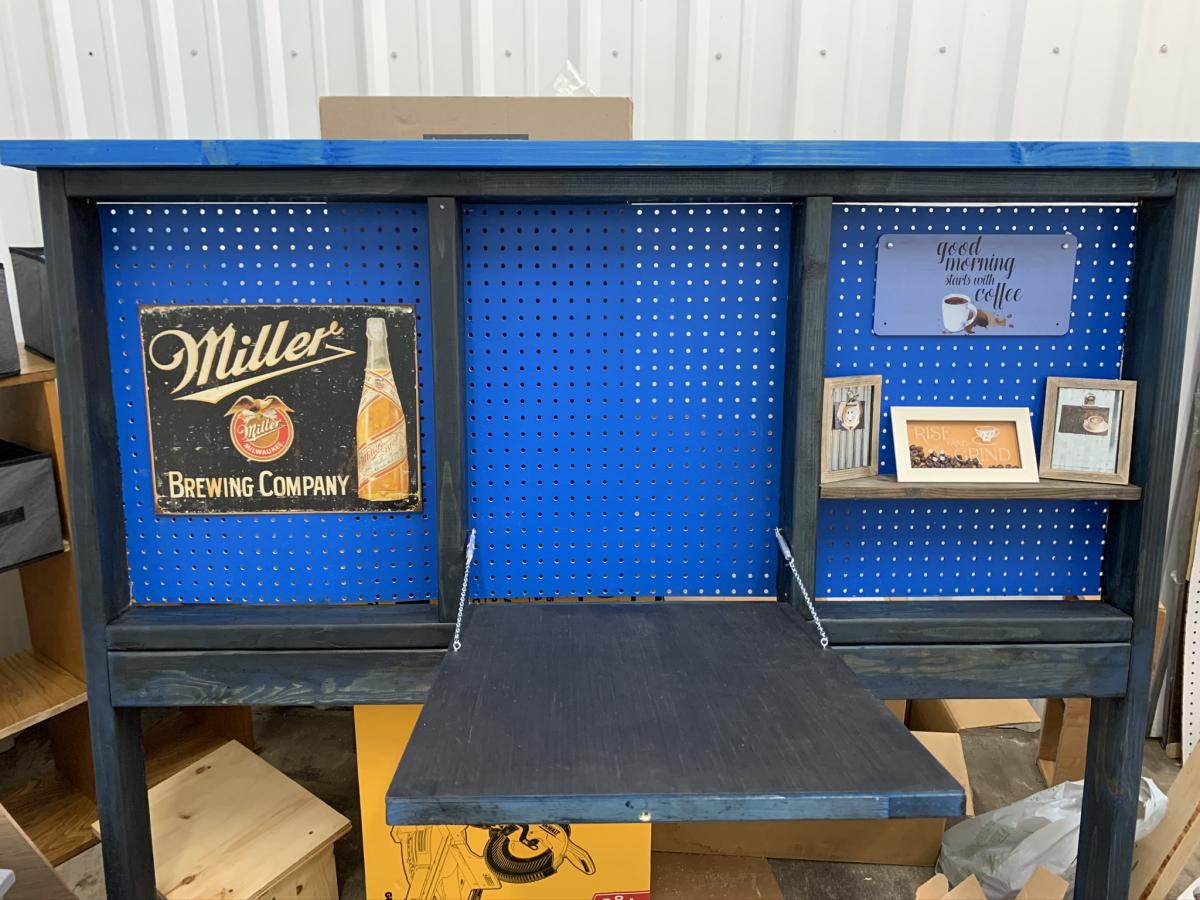
Wow, my 2nd piece of furniture I attempted. A lot of wood filler was involved. My shelves seemed too big, so I just did one, then my back board accidentally got used in “open shop” so I used some left over pegboard. I had fun but spent a lot of time fixing “oops, that doesn’t seem right”. Peg
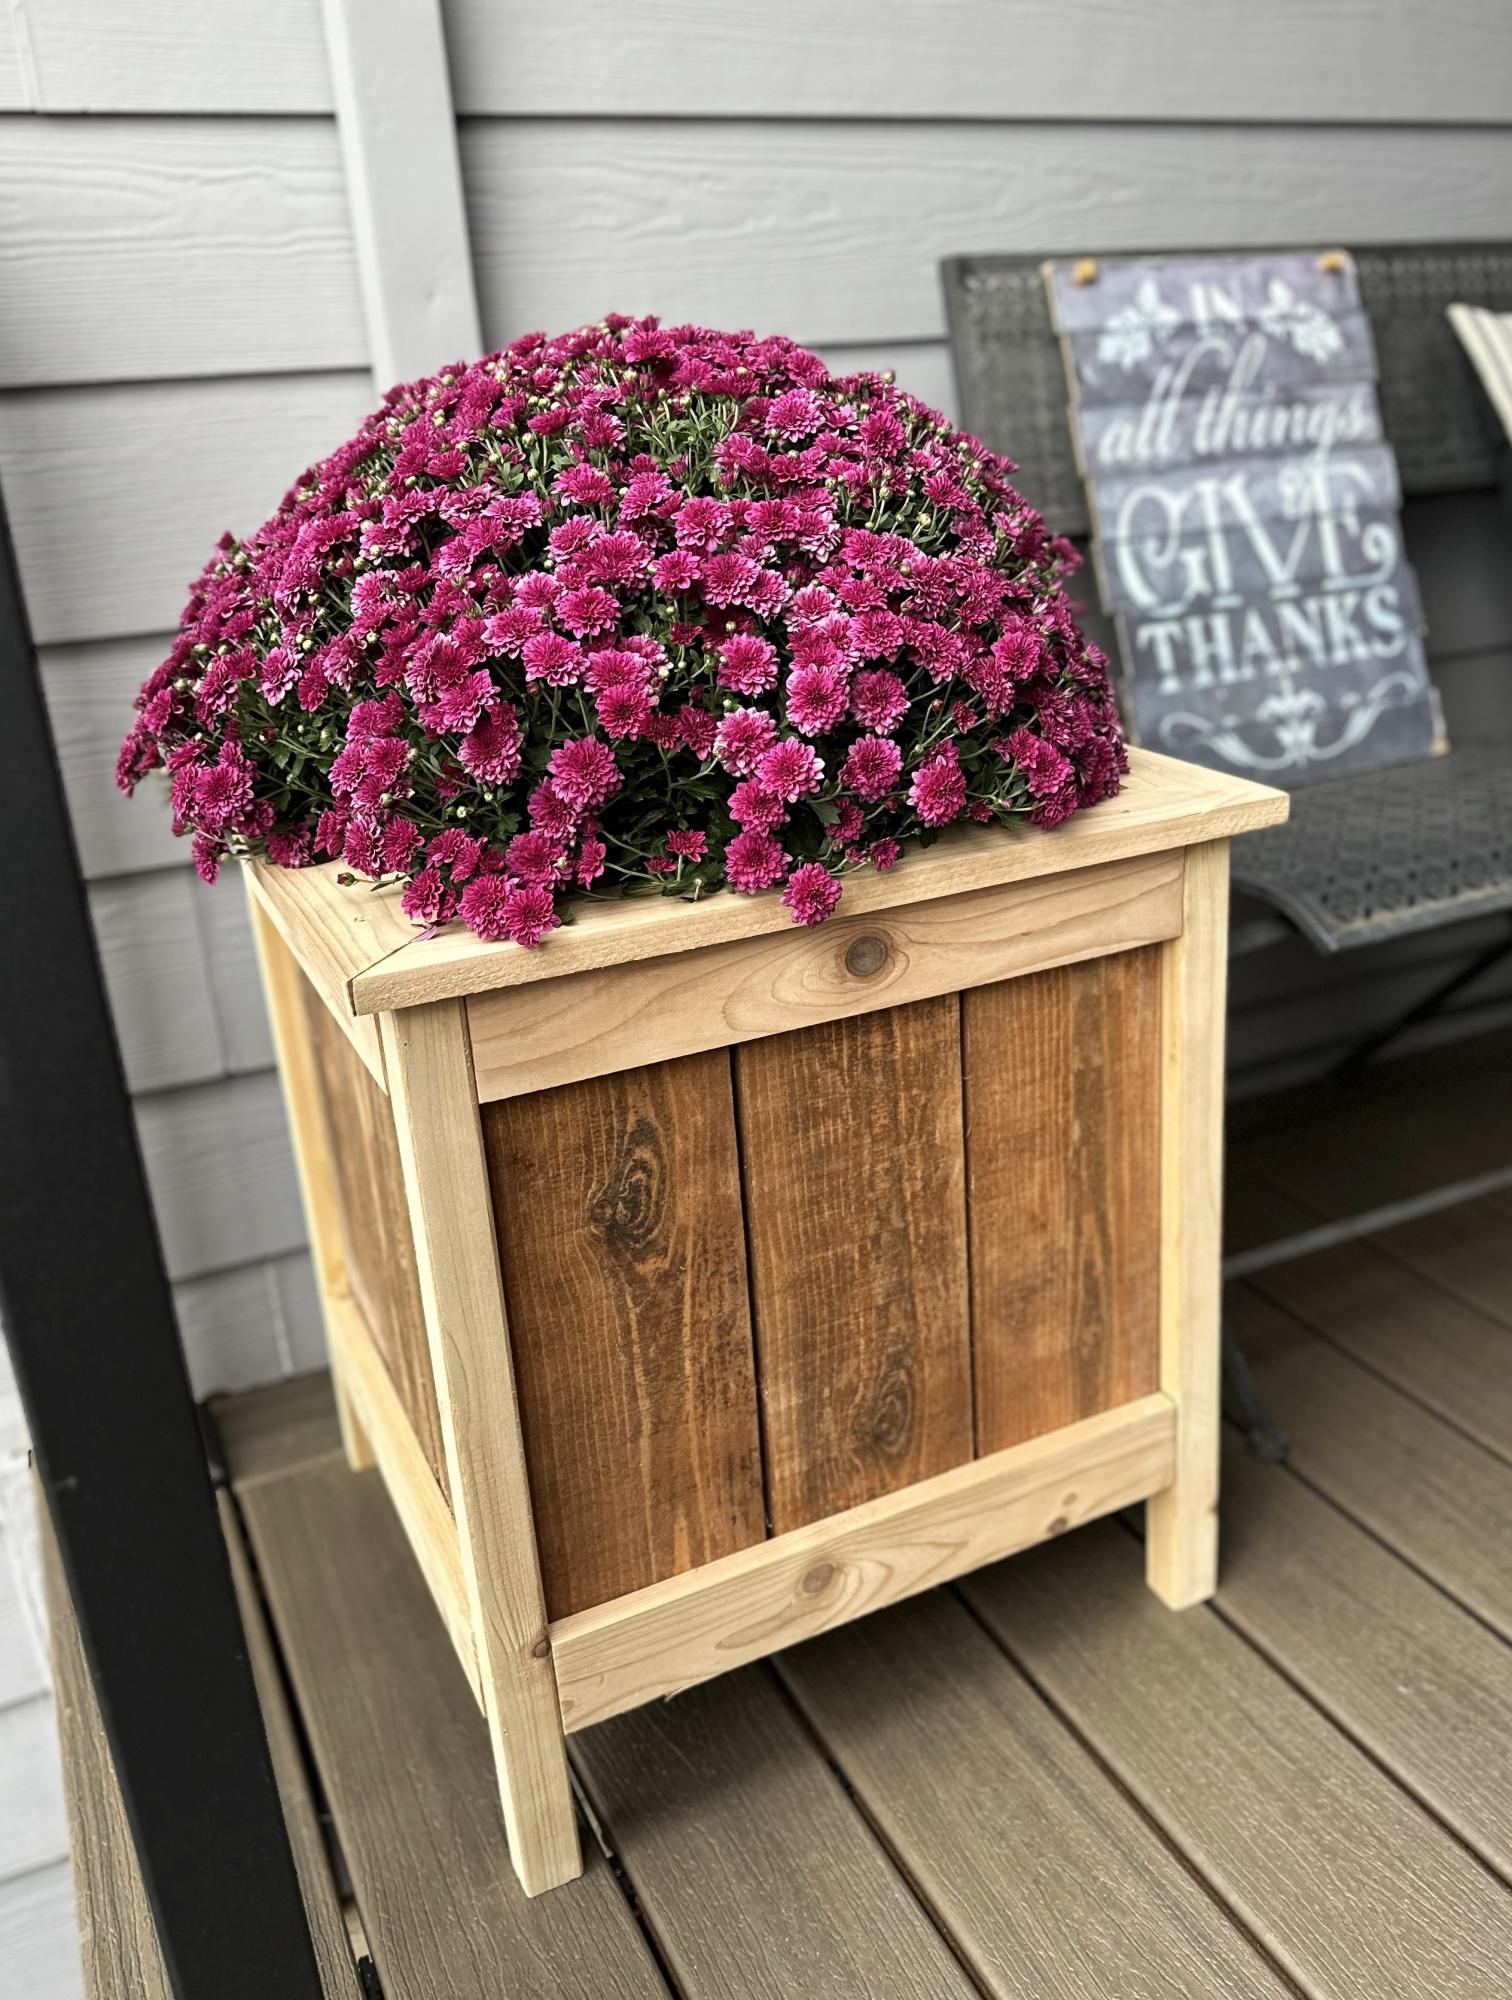
Cedar Planters, my first planter. Thanks Ana!
Caleb
Mon, 09/18/2023 - 15:50
Great first project, can't wait to see what else you build!
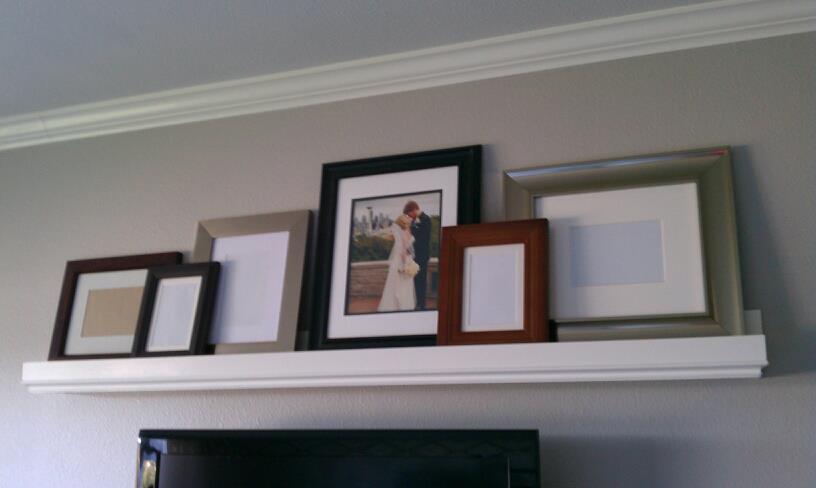
10 dollar ledge with small trim on the bottom (now cost 20 dollars total)
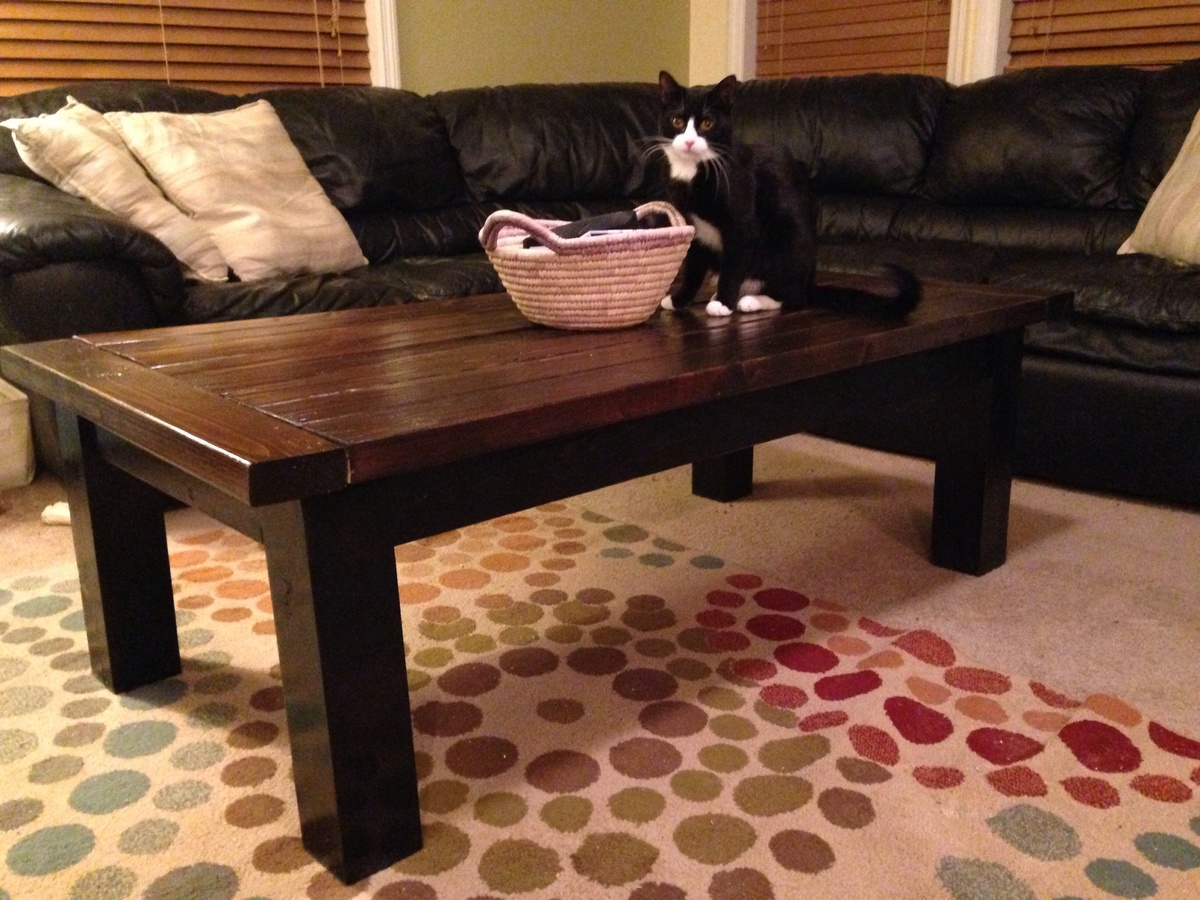
This was my first building project, and I'm very happy with the results. It was a cinch to put together, too. My husband helped me cut the pieces after work one night and then I put it together that Saturday. I decided to do a two tone finish with the legs and apron painted because our local Lowes didn't have 2x4s and 4x4s in the same type of wood, so I was afraid there would be too big a difference in the way they take stain.
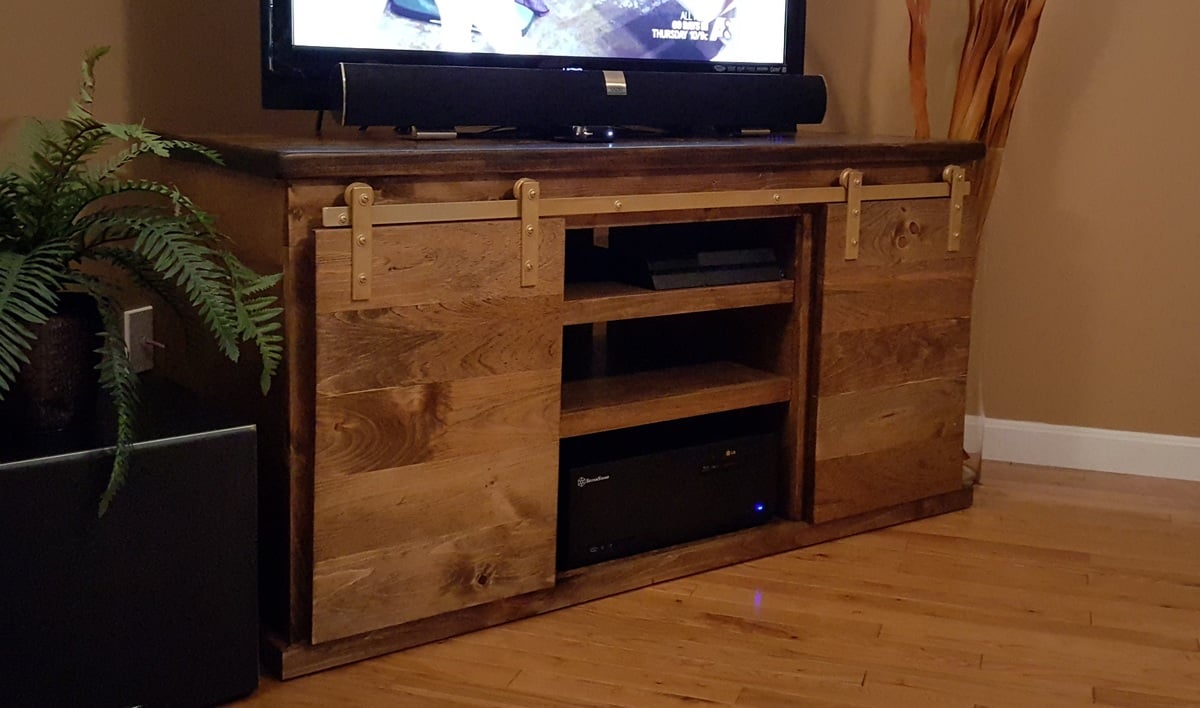
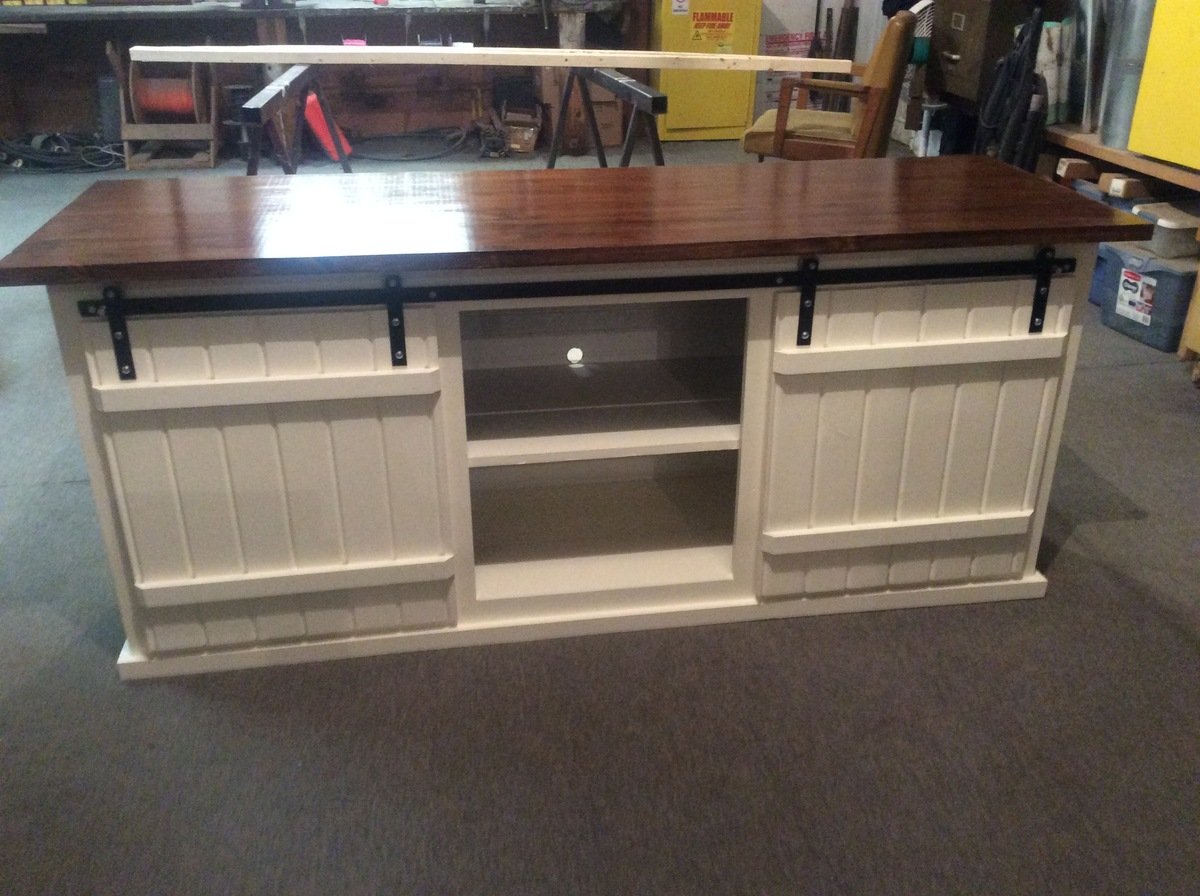
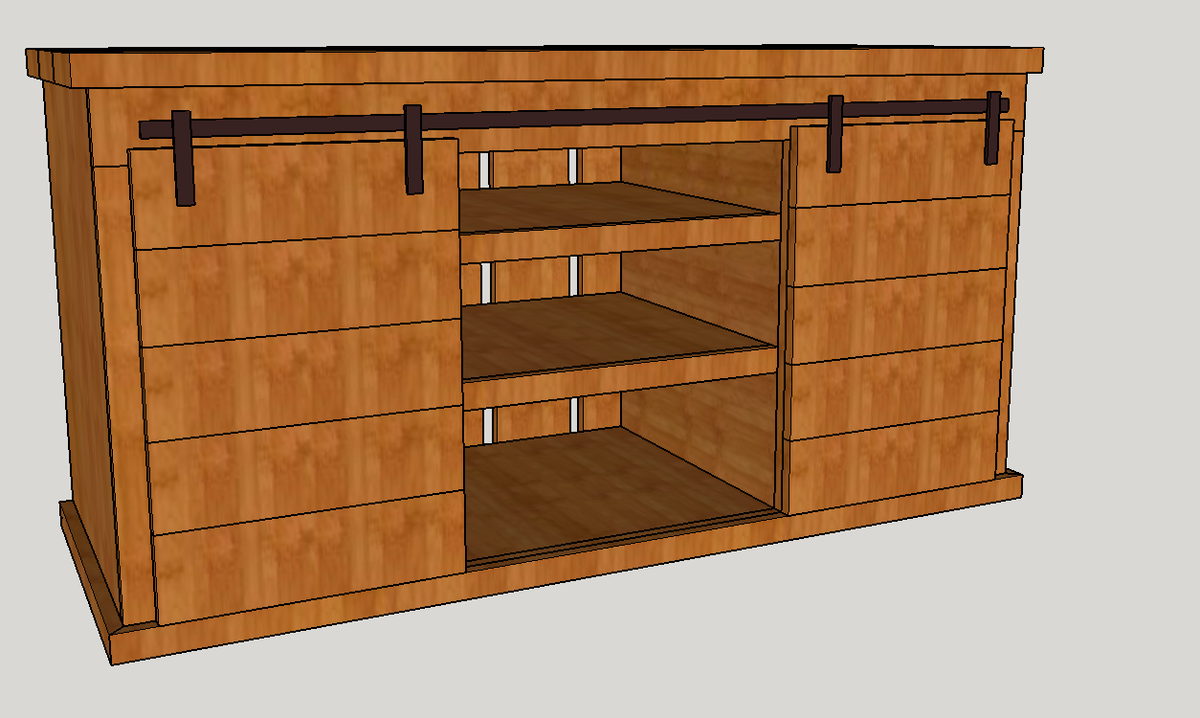
We had a cheapo tv stand made out of pressed board which I felt was one nudge short of collapsing. So decided to build an upgrade. There were a few electronic components I wanted to be in the middle so designed a 3 bay instead of the 4 bay originally posted here. I used the picture from the sliding door hardware tutorial site - but instead of joining the plywood box with kreg screws I instead used Spax MDF screws on the end grain + wood glue (they work great and don't split the plywood at all - no need to predrill either!).
For the shelves, I drilled a buncha pin holes in case I wanted to adjust the height. For the top I used 3 2x6's instead of the 1by used here.
With the backing, I used scrap planks from a couple pallets - I spaced them at about 2 inches to allow airflow for the components (HTPC/ PS4/ modem) as well as the ability to run cords through.
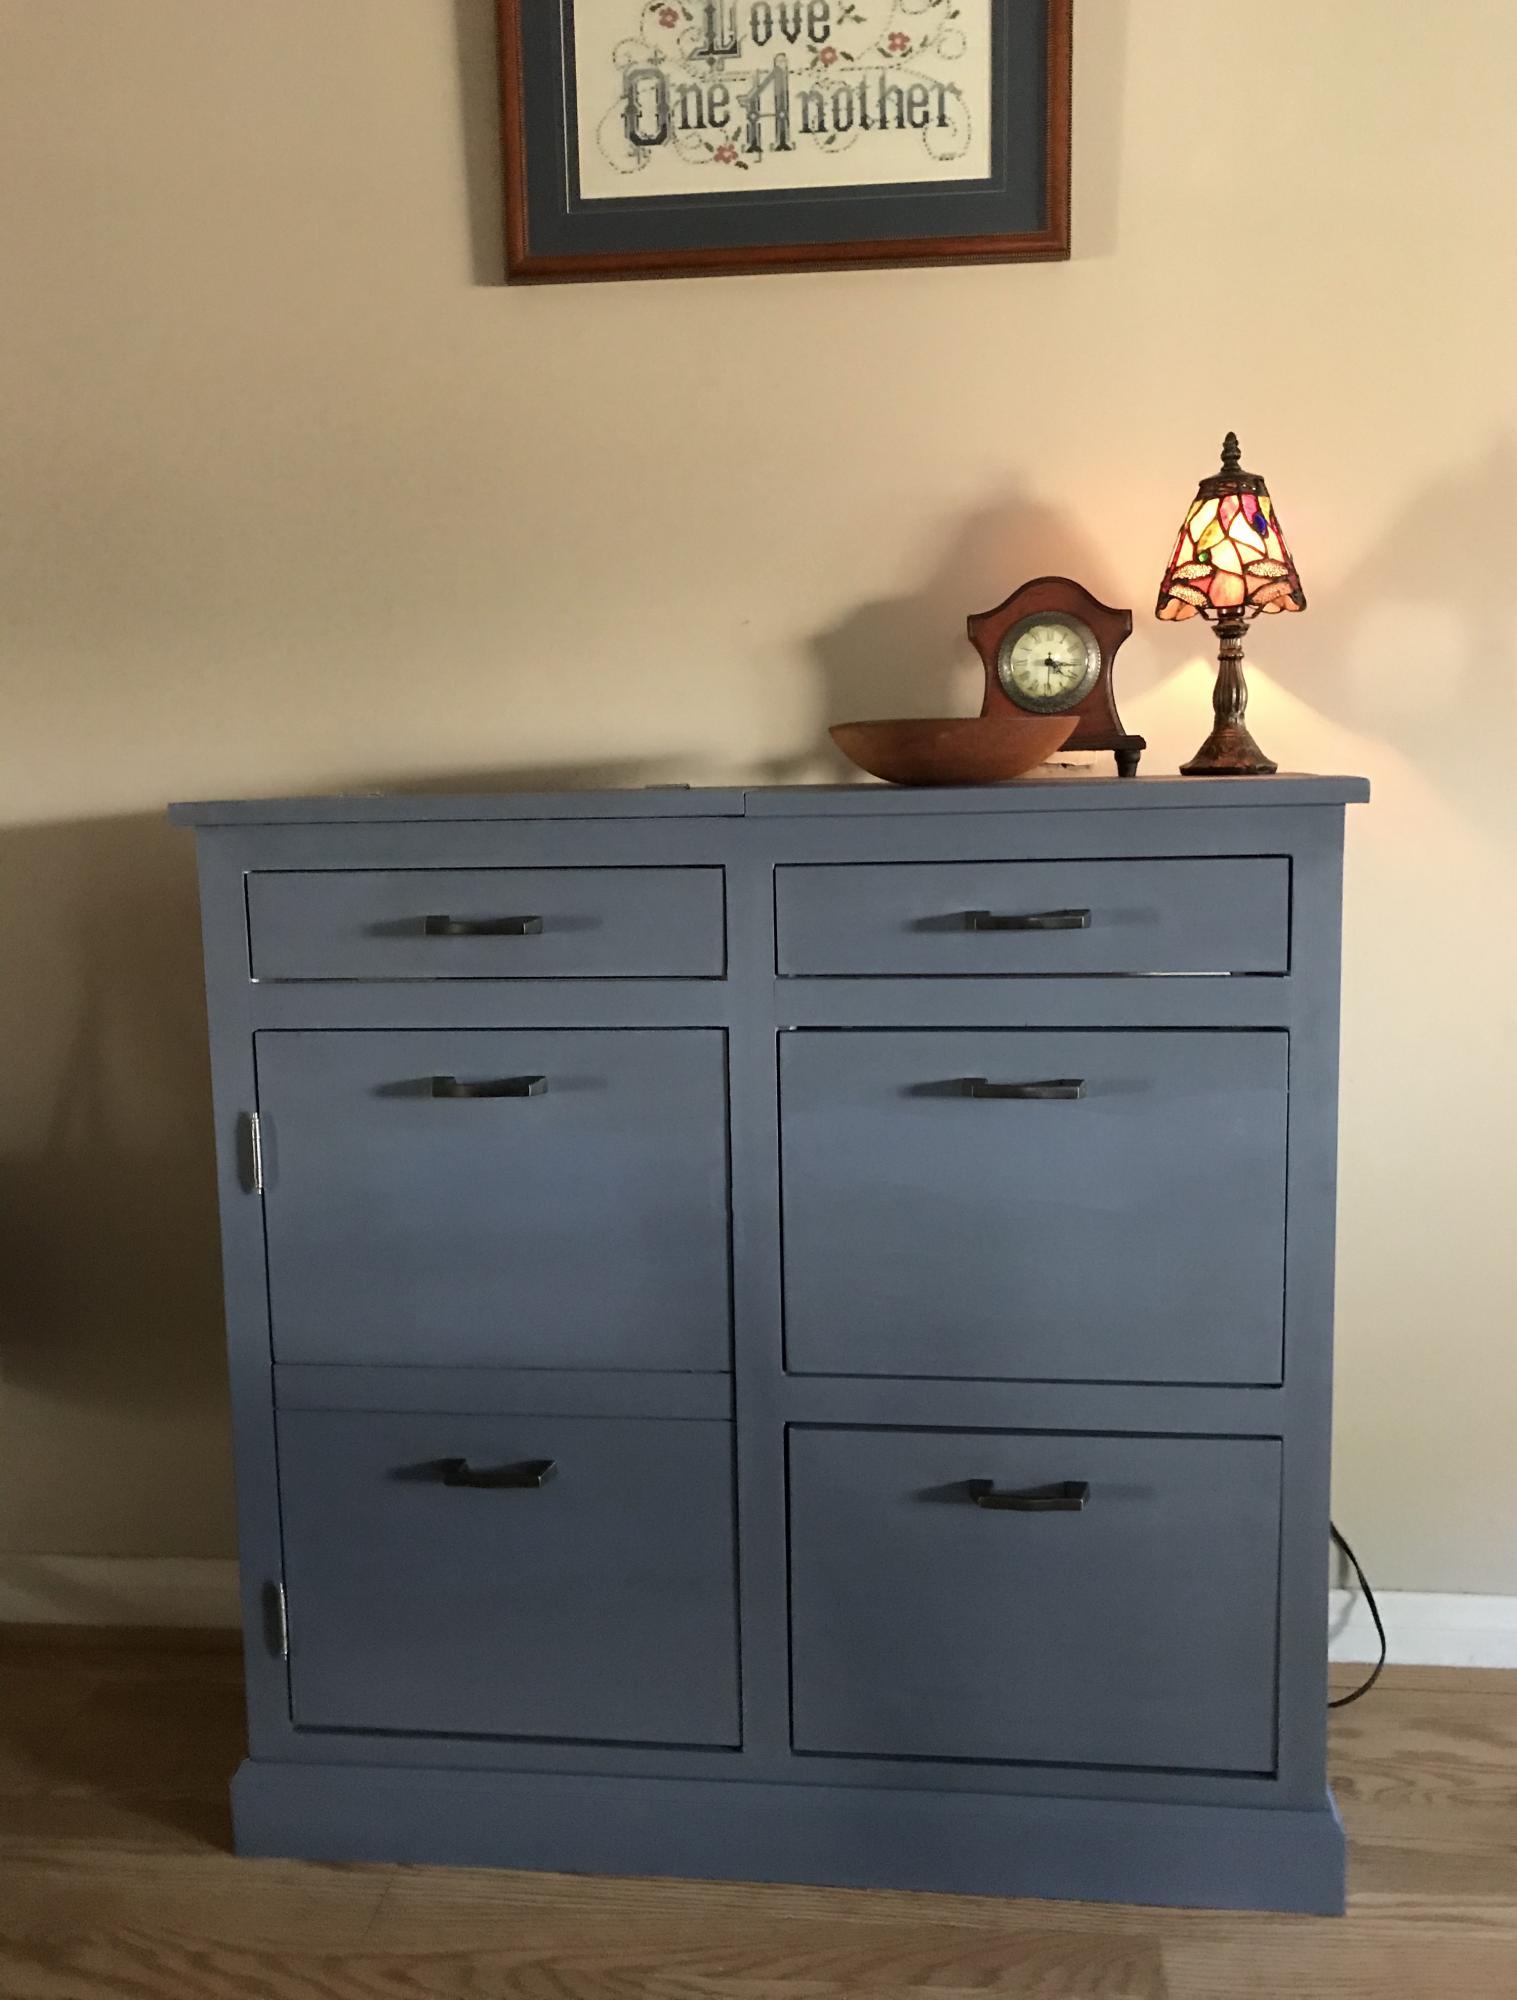
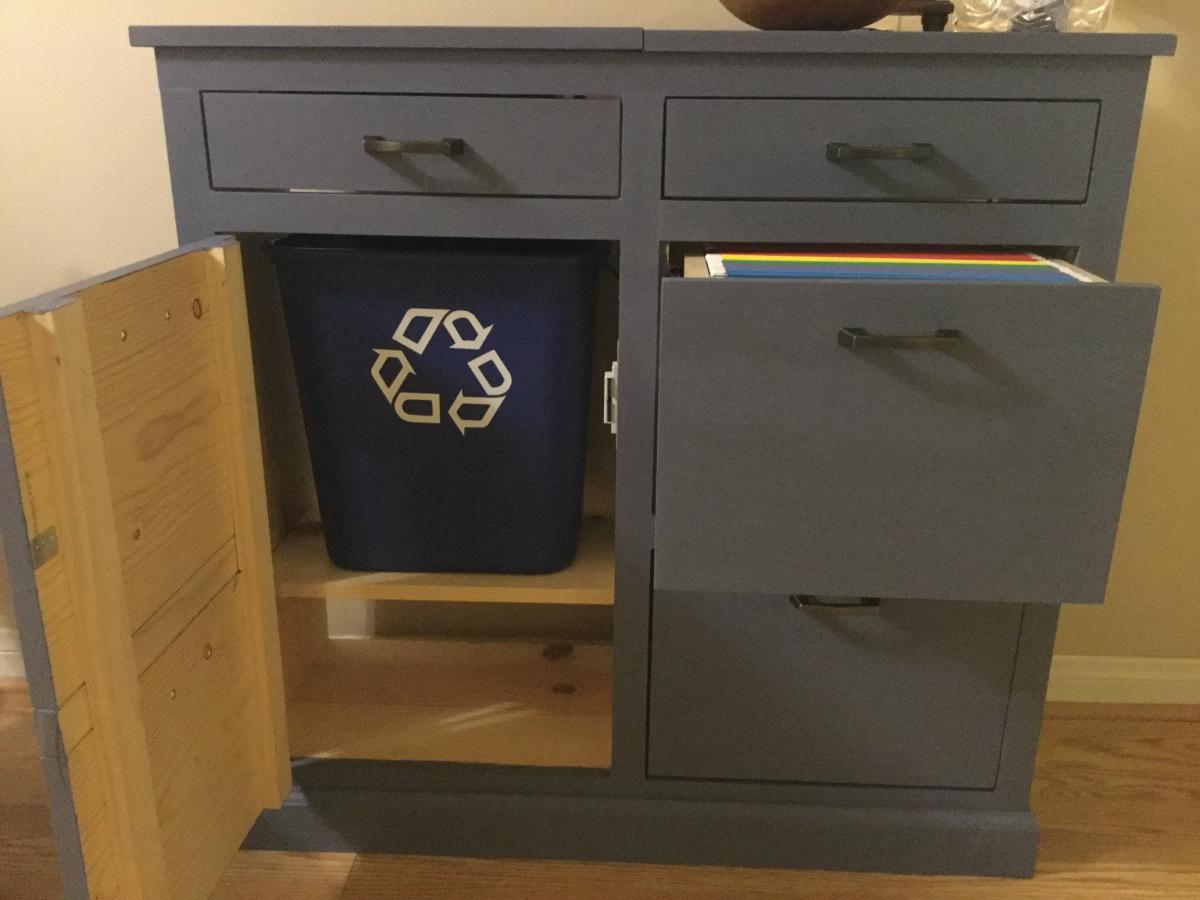
The Mail Boss cabinet with chalk paint and wax finish. Ana White plans.
I worked on this project off and on for two days. I love it! Thank you Ana
Wed, 02/05/2020 - 20:46
Love this & we would like to make it! Want a “command center” to get organized. We have all needed tools. Can you estimate the supply costs for the building materials?
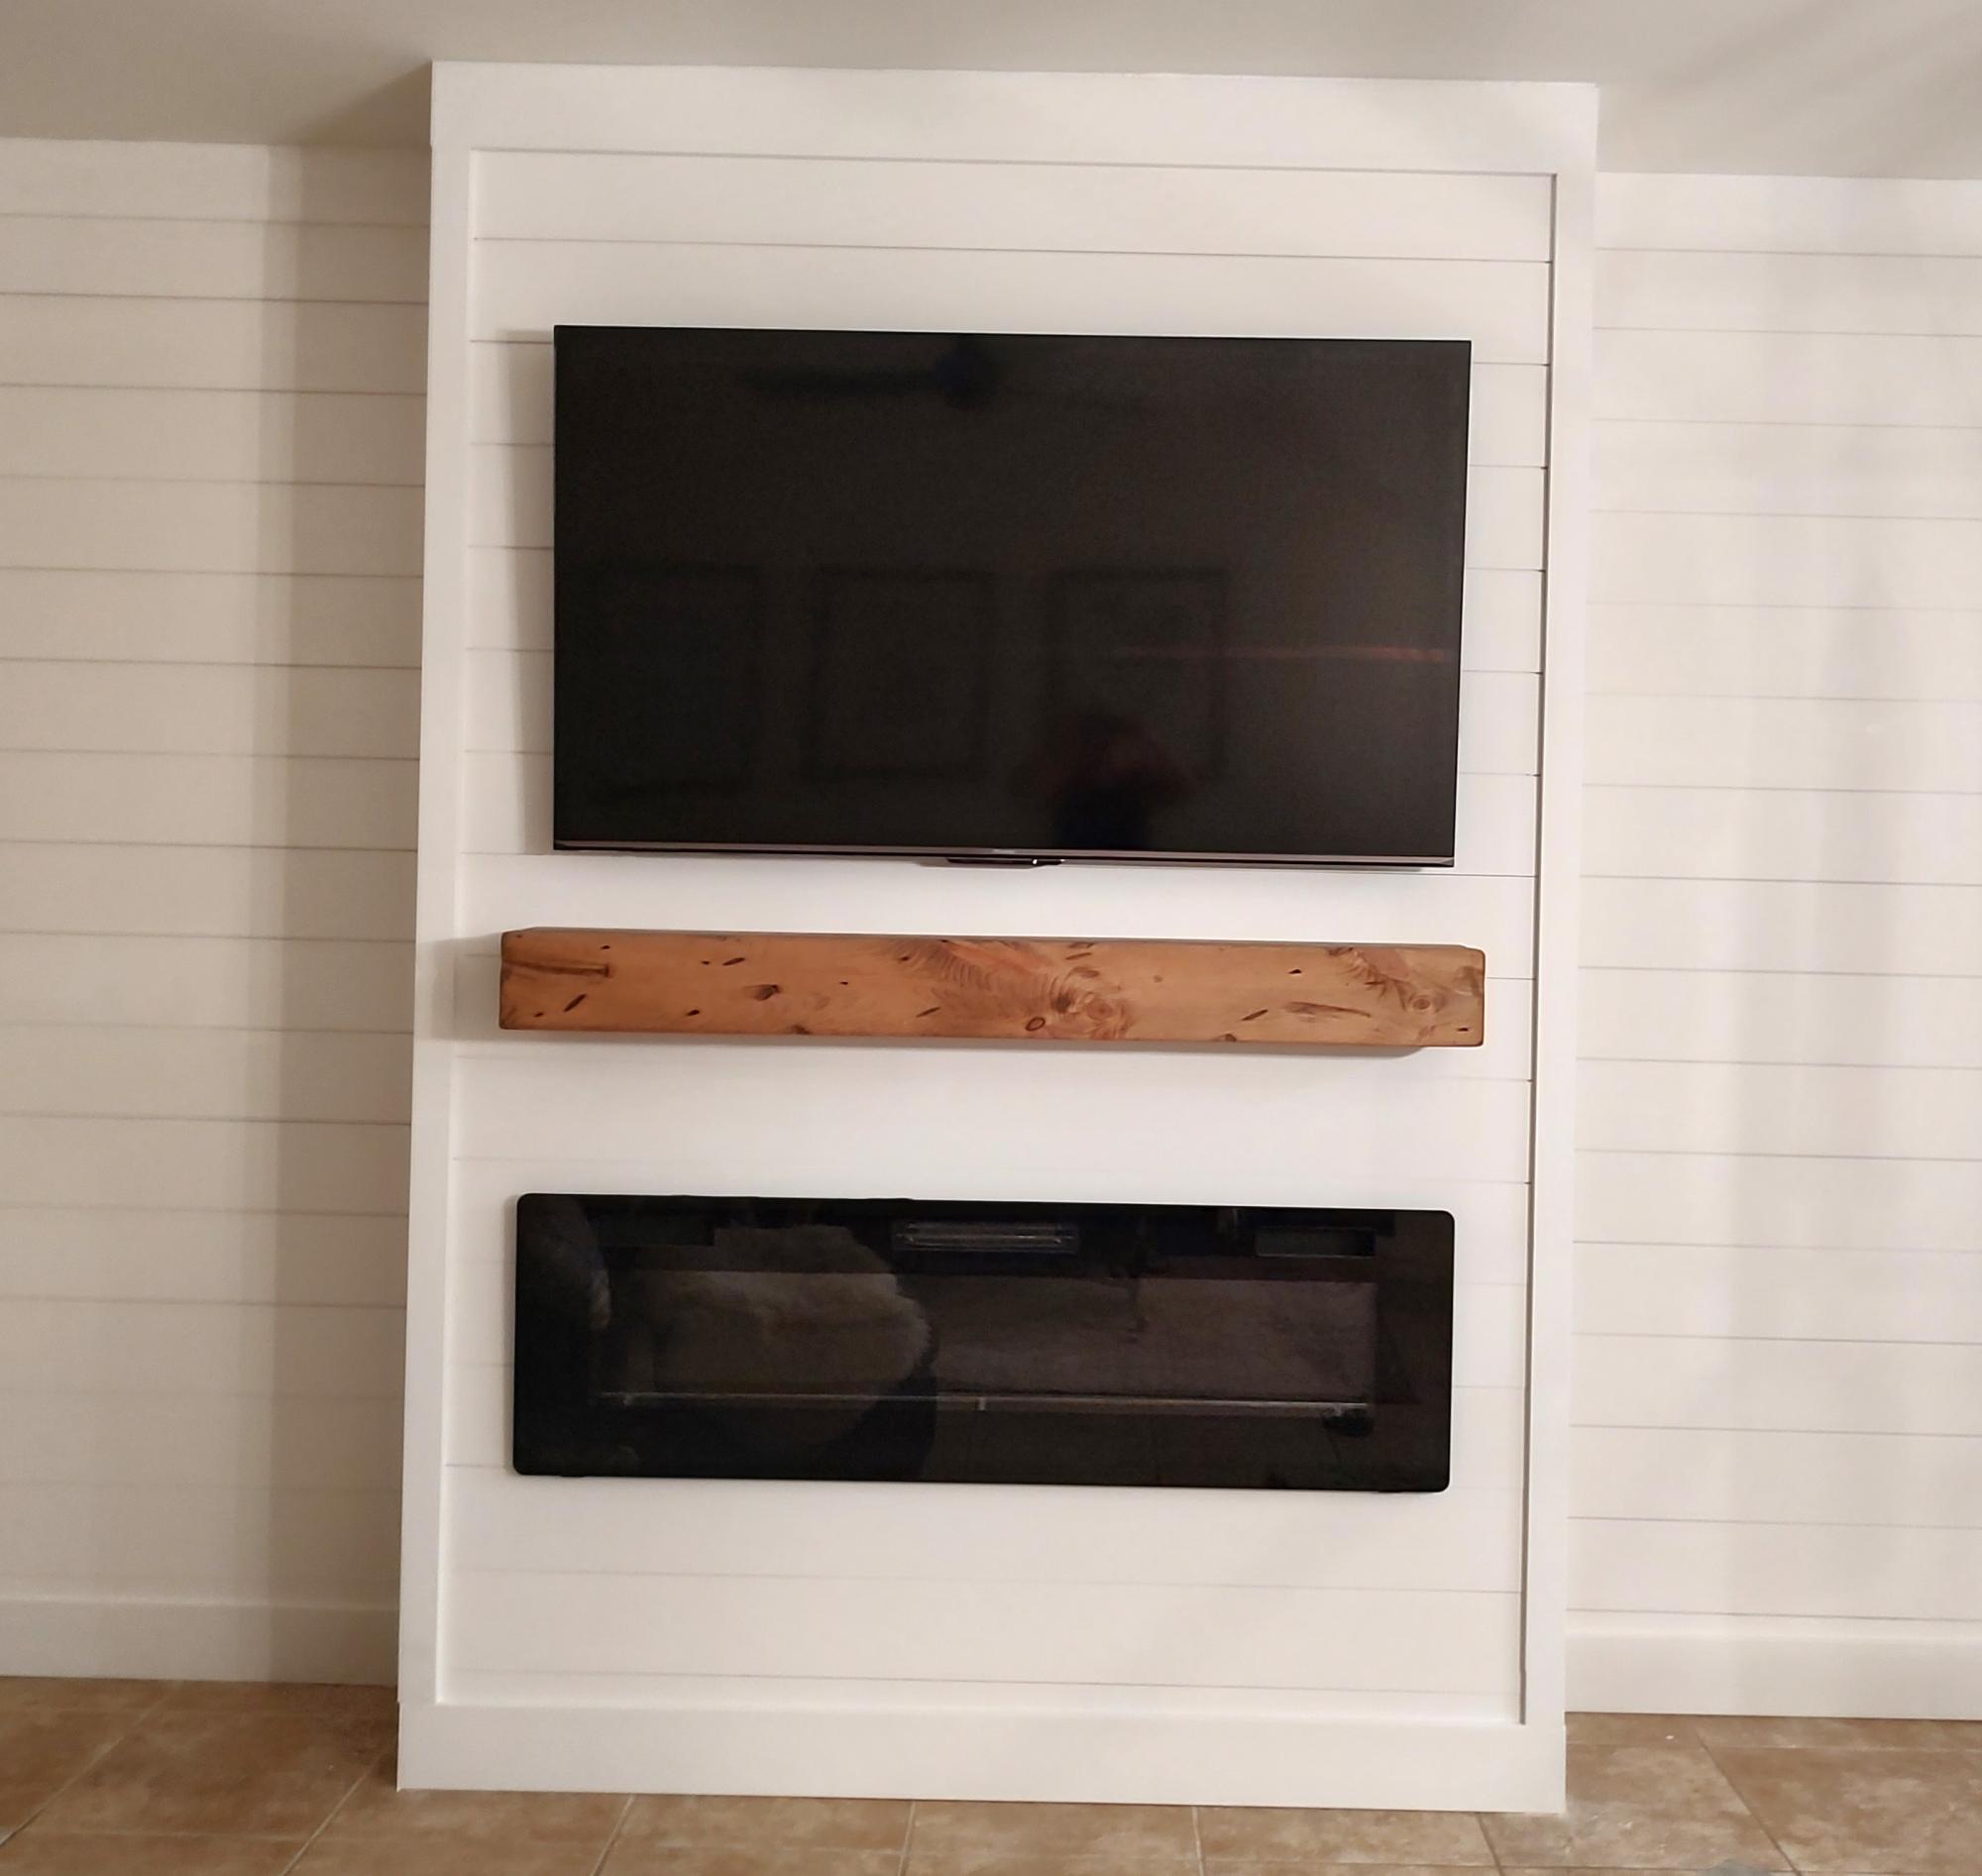
So excited for my new living room space thank you for your great tips!
Kandis white DeCarlo
My mom was looking for a new outdoor table, and asked me to come up with something. I found the link for these plans (http://www.thedesignconfidential.com/2011/04/free-diy-furniture-plans-t…) to knock off Restoration Hardware's $4000 Provence Beam outdoor table. Overall I liked the plan, with the chunkier look of the 4x4's. But there were a lot of errors in the diagrams, and the finished height is 34" which is ridiculously tall for a table. So we took it apart and cut the legs back down to change the finished height to 30". We chose rough-cut cedar for it's look and outdoor properties, not wanting to use treated lumber for a dining table. We couldn't find 2x10's like the plan, so we substituted seven 2x6's just like Ana's plan, but left a 1/2" gap in between so water can drain and not pool on top and rot the wood. Also, since we were working with 4x4's for the legs, we chose heavy duty lag bolts instead of screws to join them together. I love the finished look they give. Overall it's a sturdy, yet lightweight table that my mom loves and has already used for entertaining!


Wed, 04/25/2012 - 10:02
Thanks Brook! It was so much fun to build. I put my dad and husband to work while I was the "project manager" ;)
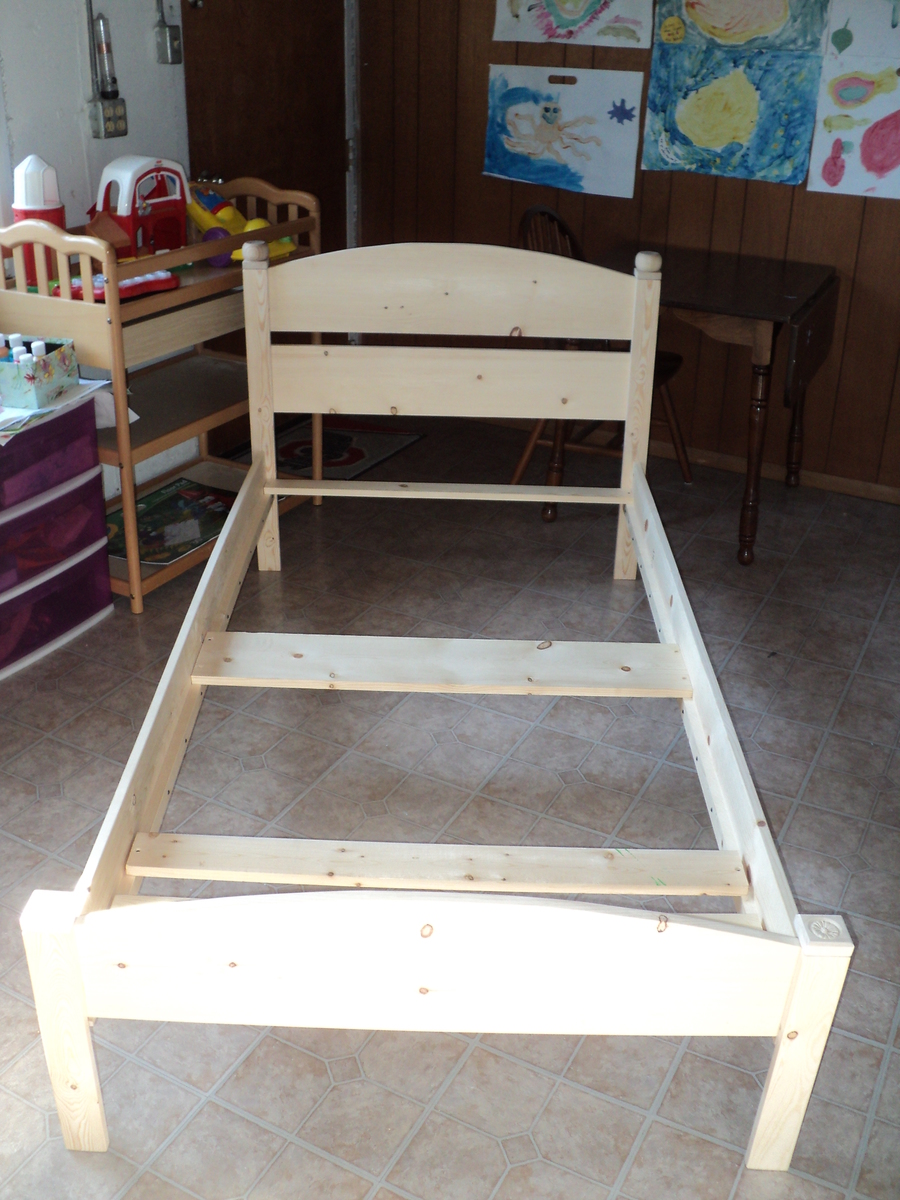
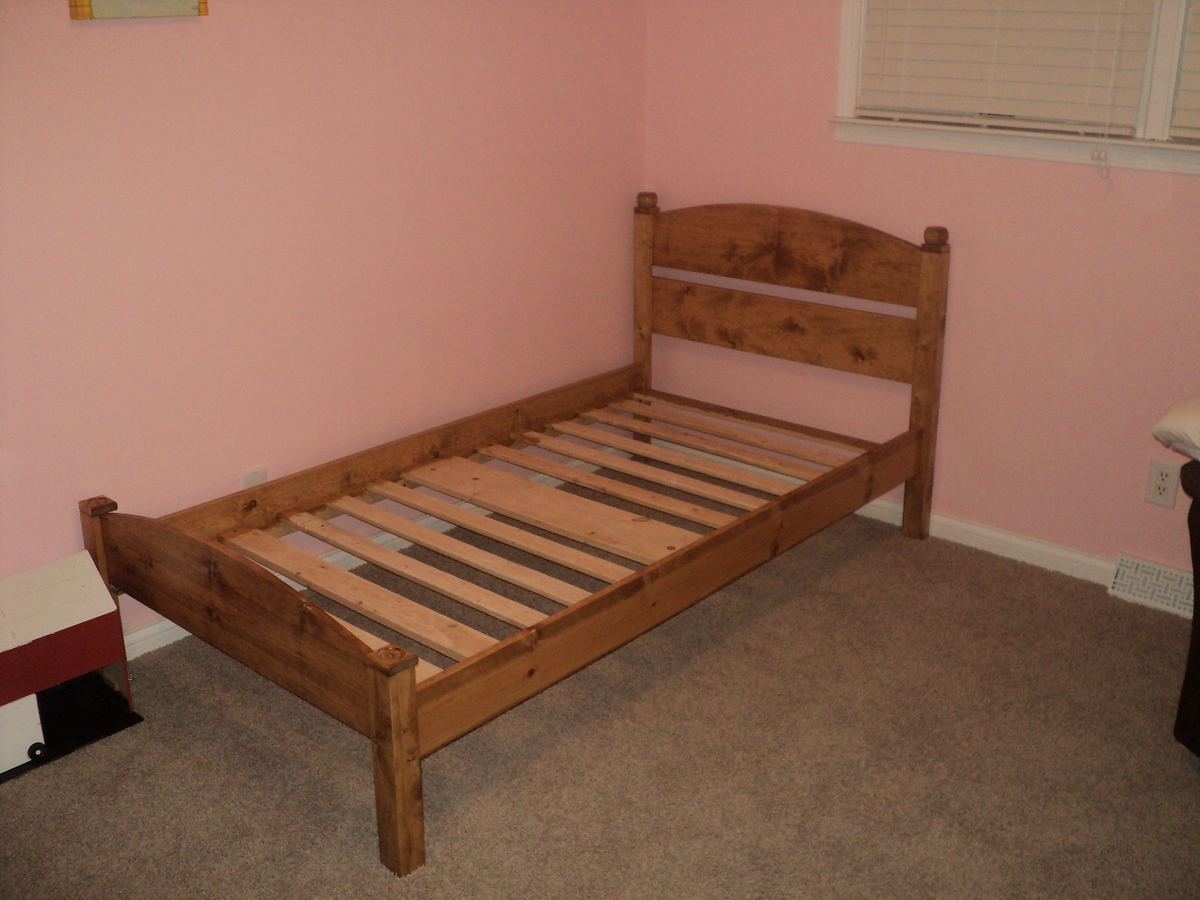
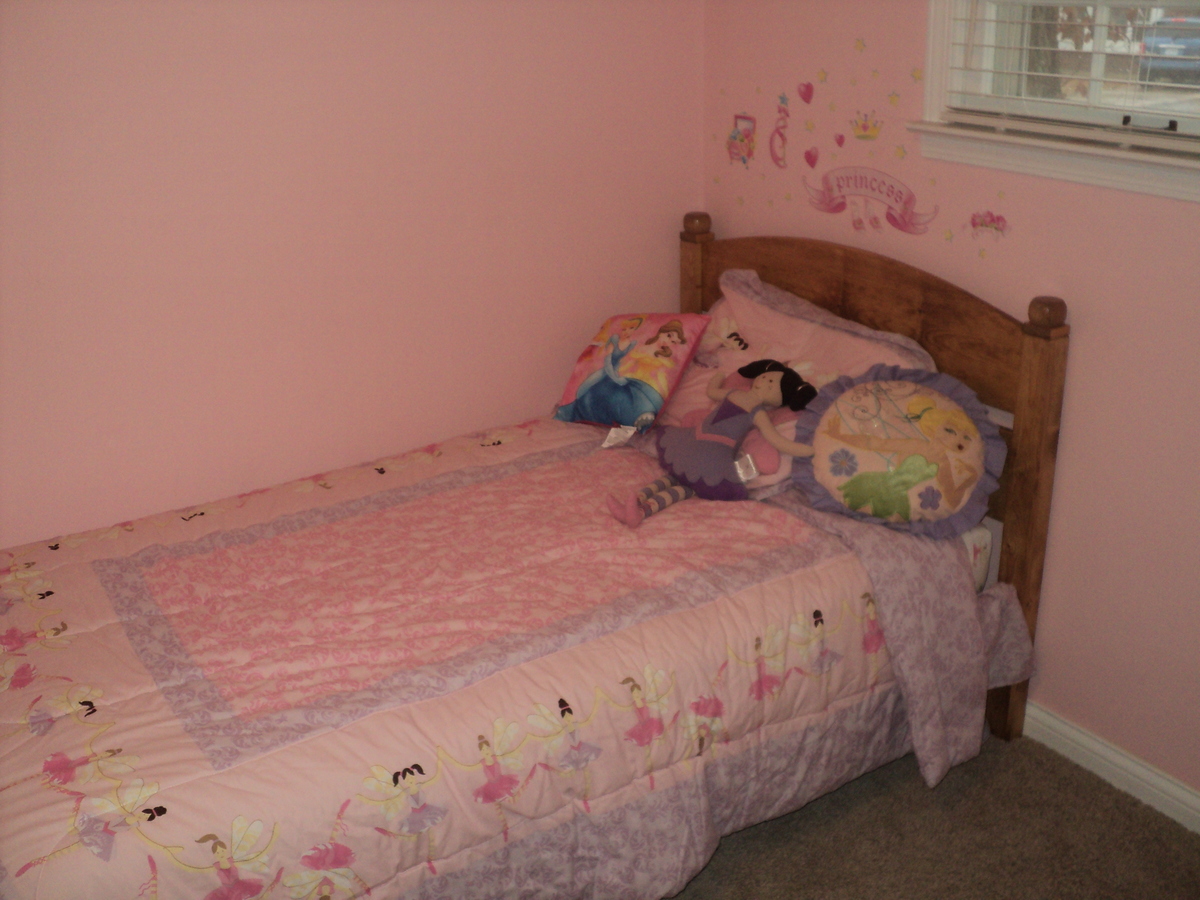
This Pioneer bed took me several weekends this winter, doing a little at a time. It was a challenge for sure because there were a few errors in the plans, but with some improvisation it was easily avoided. This bed is very simplistic but the design allows for some personal flare and variation to be added. Be sure to make precise cuts! Be sure to pick out straight boards!
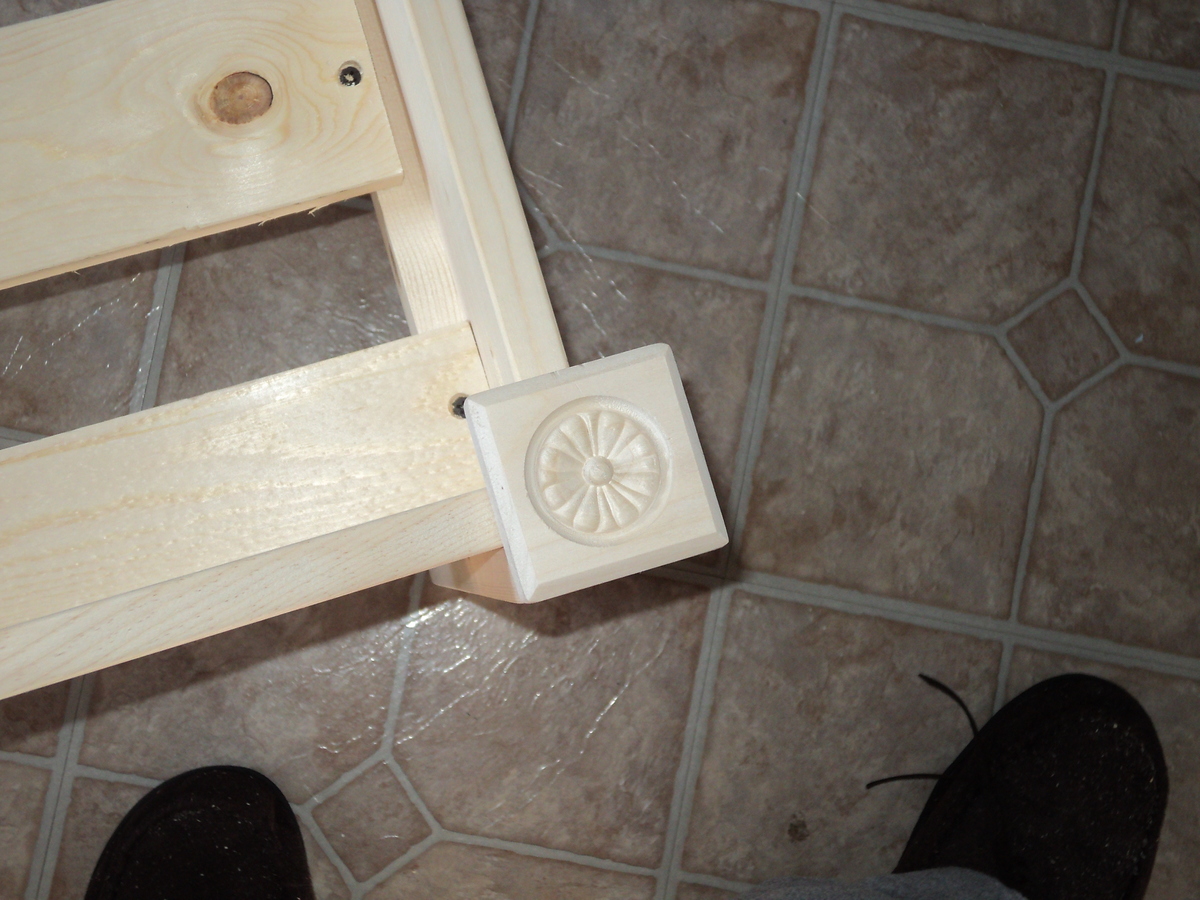
I used specialized software to make the head and foot curves and printed them on paper, then transferred them to the wood. I did not put the two blocks on the headboard posts...because to me it just looked plain silly! I added two bun feet to make it look like genuine bed knobs and they look excellent. Also for the foot board posts I used specialized square pieces of wood found in the hardware store that have a nice design in them doe a decorative look. they indent far enough towards the bed that they actually hold the sheets in place!
I did not paint it. Instead I used a golden oak stain, one coat. Then put two coats of high gloss on it. This also strengthened the soft white pine I used to build it.
I did not follow the part about the slat placement nor where the bed rails should be mounted, as this will vary depending on the thickness of the mattress you get, or if it has a box spring.
I used bolts to hold the bed rails in as well, along with nails and screws.
Sandpaper! Use it a lot!
$65 to build, although I already had nails, glue, sandpaper, stain, and varnish.
My daughter just loves it and I know it will be around for years to come!!! Everyone in my family loves it too. I highly suggest anyone who is looking for a simplistic looking twin bed, and who knows how to take their time and follow directions, to make this bed. Feel free to write me if you need help. [email protected]
Sat, 02/08/2014 - 15:51
Thank you Ana White for such a nice website with great resources for all of us who like to build things ourselves and save a buck or two!
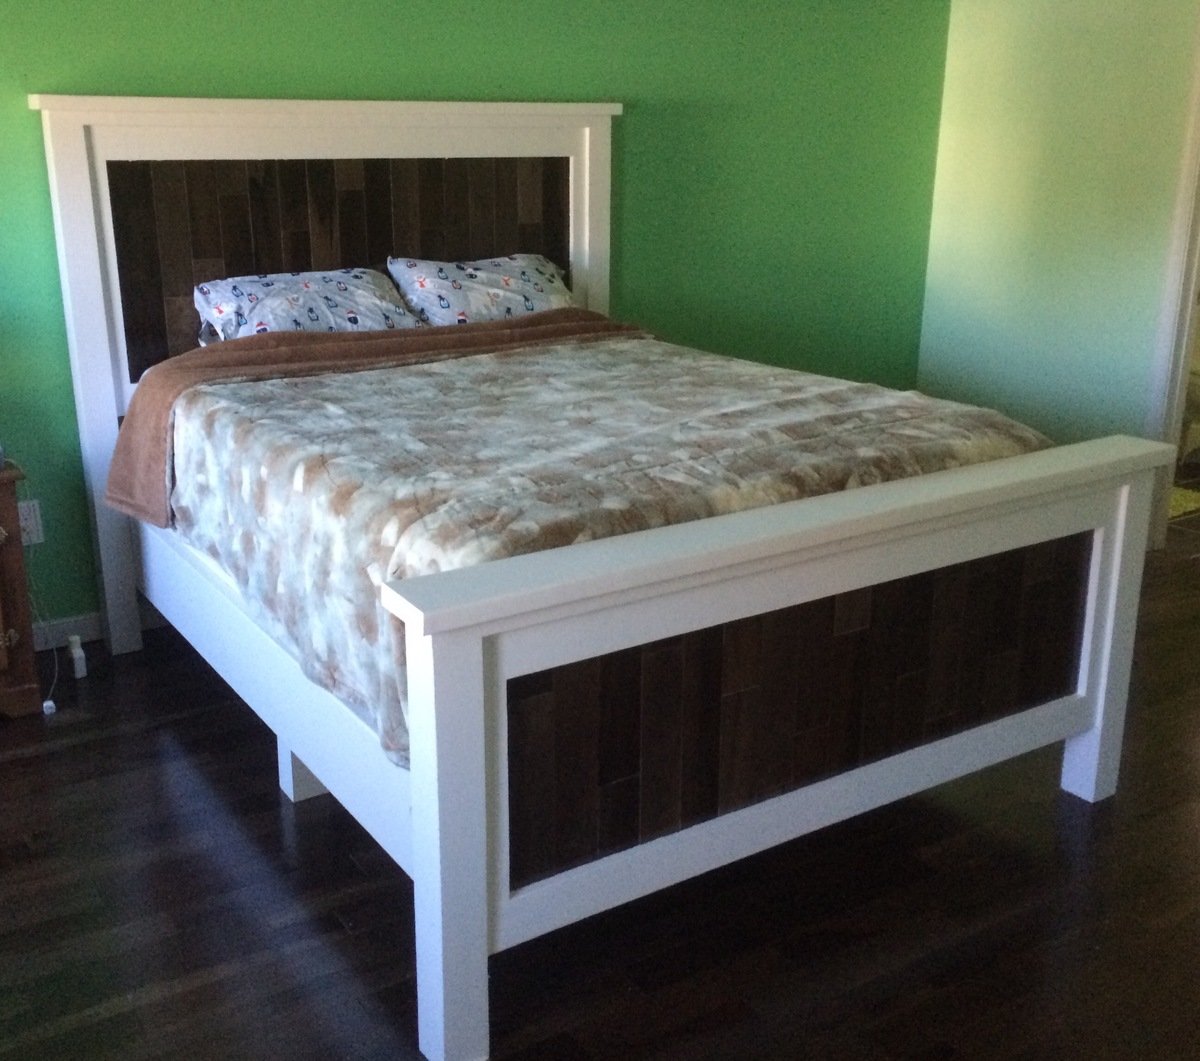
Made the bed using the Queen Farmhouse bed plans as a guide.
Wanted to include my box spring so modified the frame so the bed sits inside the frame. Also had to increase the height of the head and footboard to accommodate the additional height of the box spring.
Added middle legs to the frame, somewhat for support but mainly to make the connect to the head and footboard easier (since I was doing it myself).
Used leftover prefinished fooring for the paneling. Like the contrast with the white, plus really ties it in with the room. Bed came out really well, wasn't sure since I've never used plans from this site before but can now say, will be doing so in the future. Next up, matching farmhouse mini nightstand!
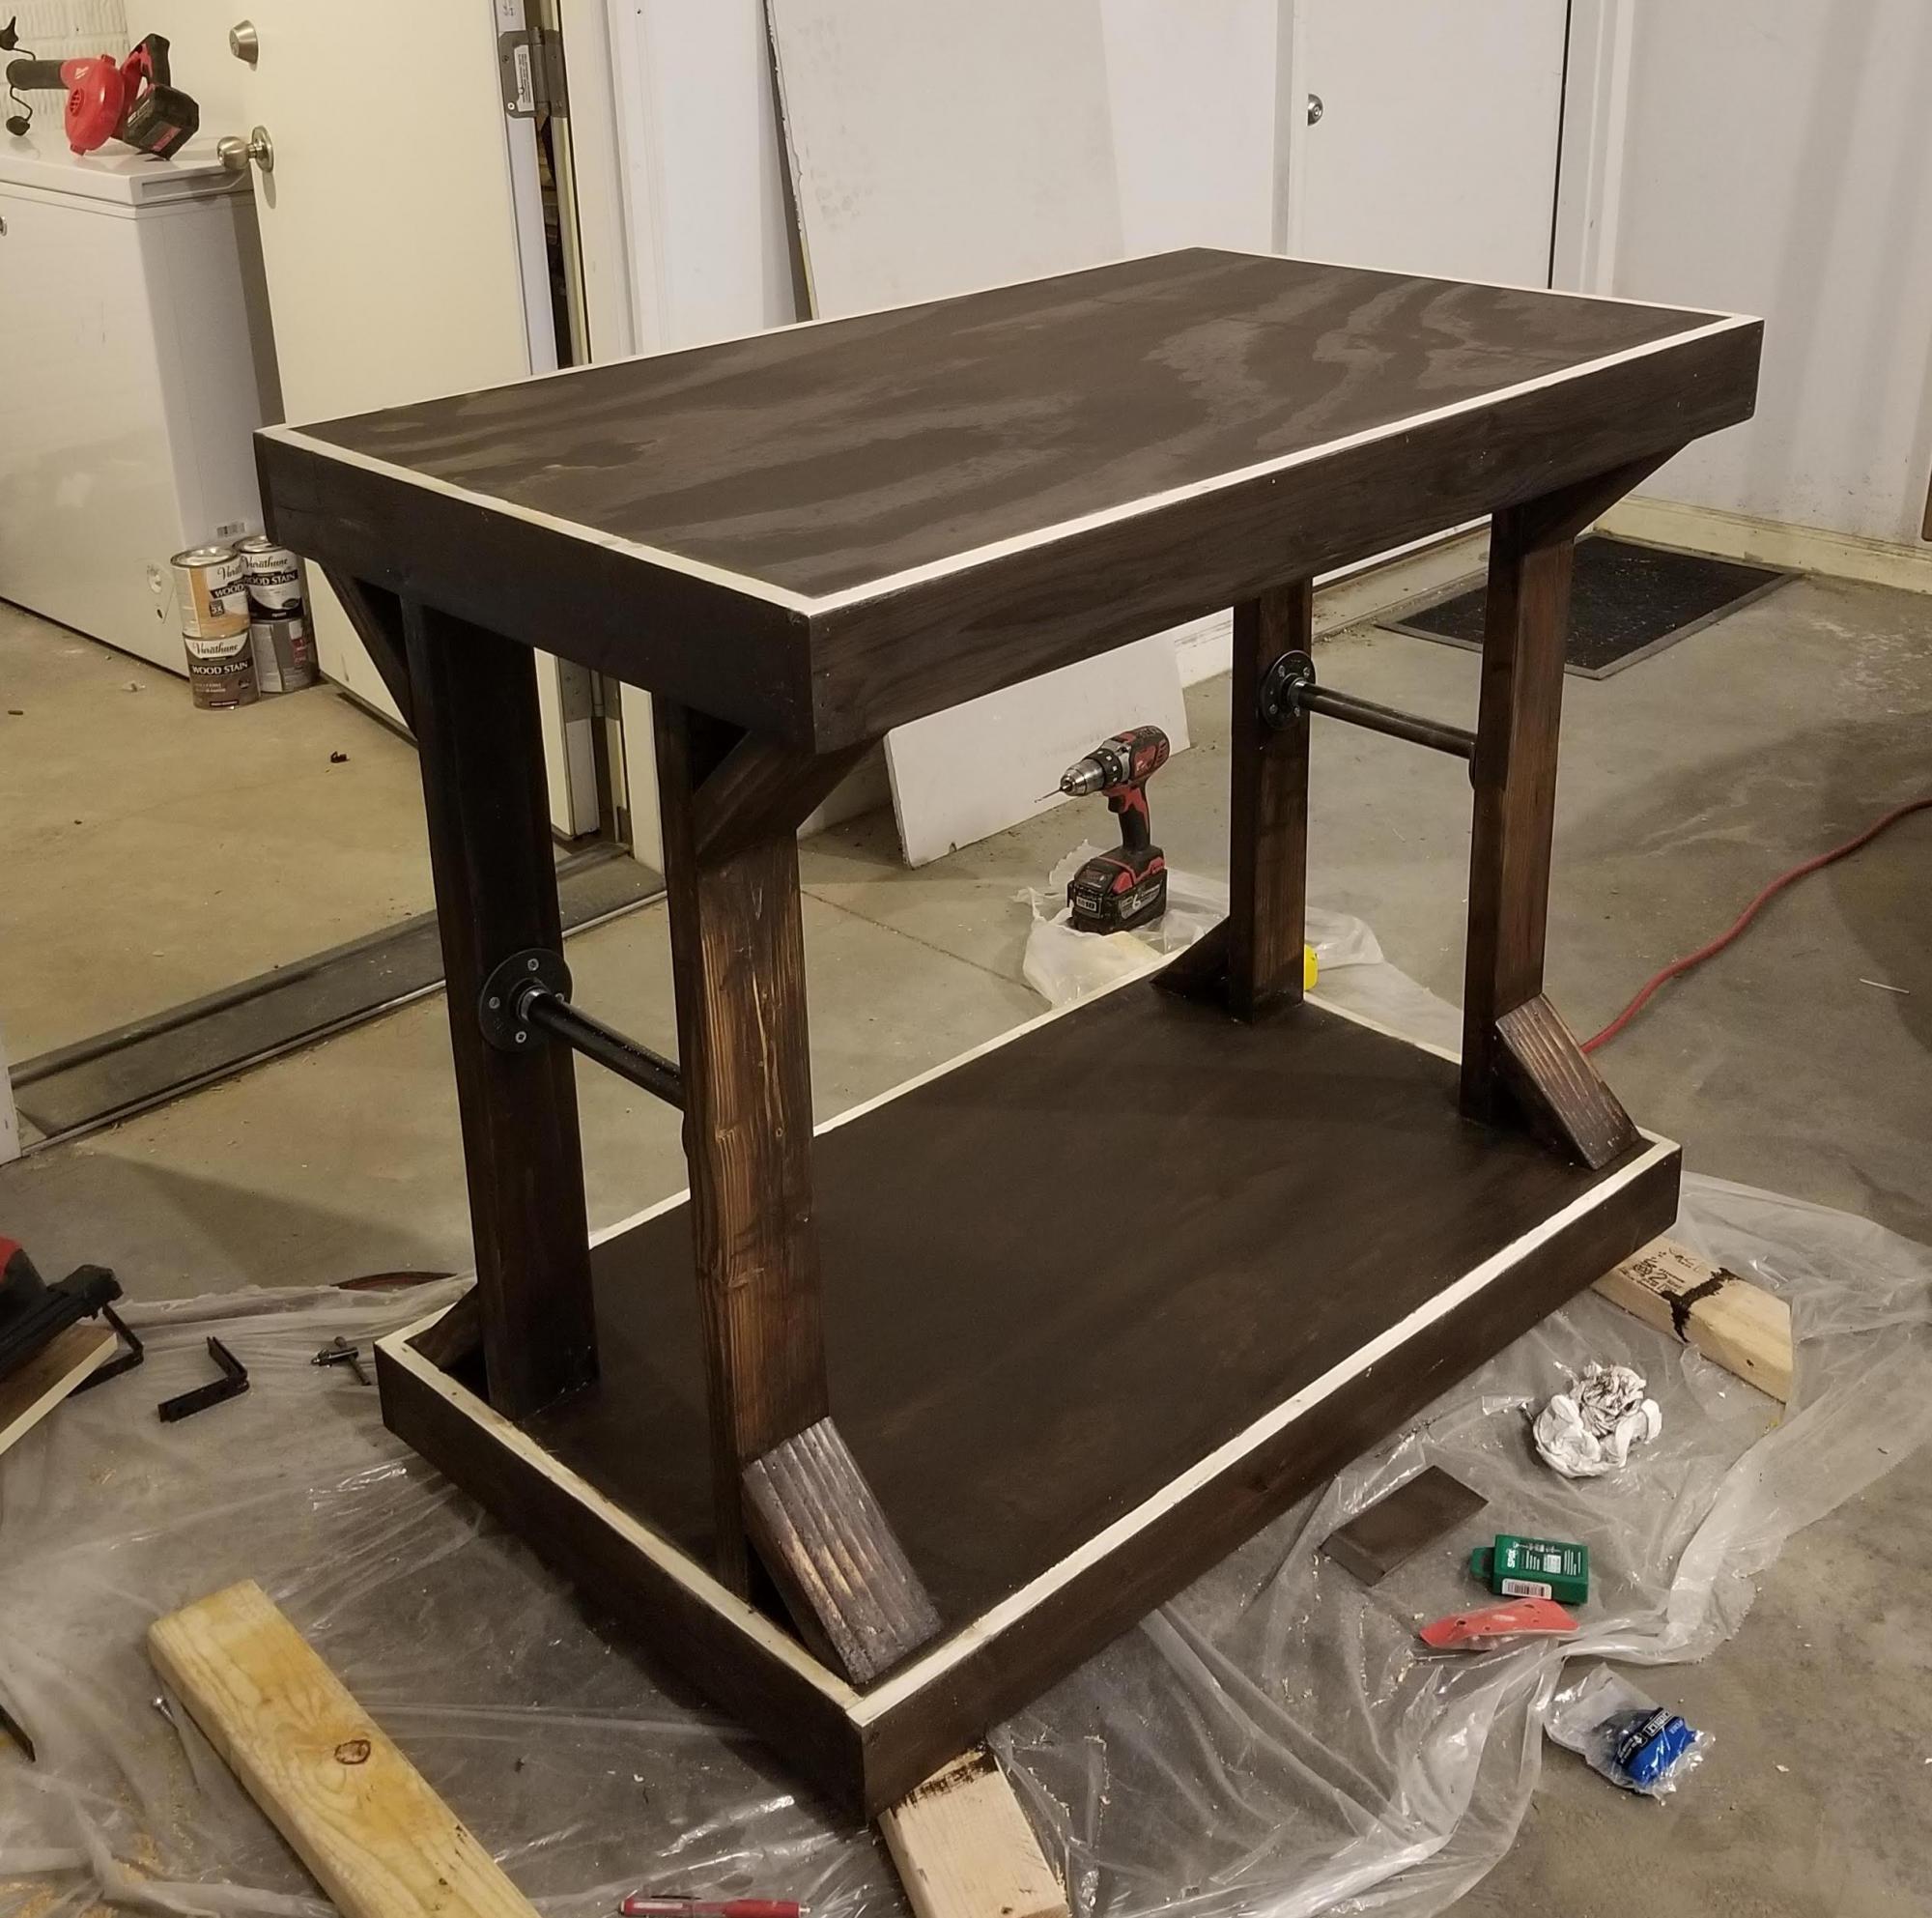
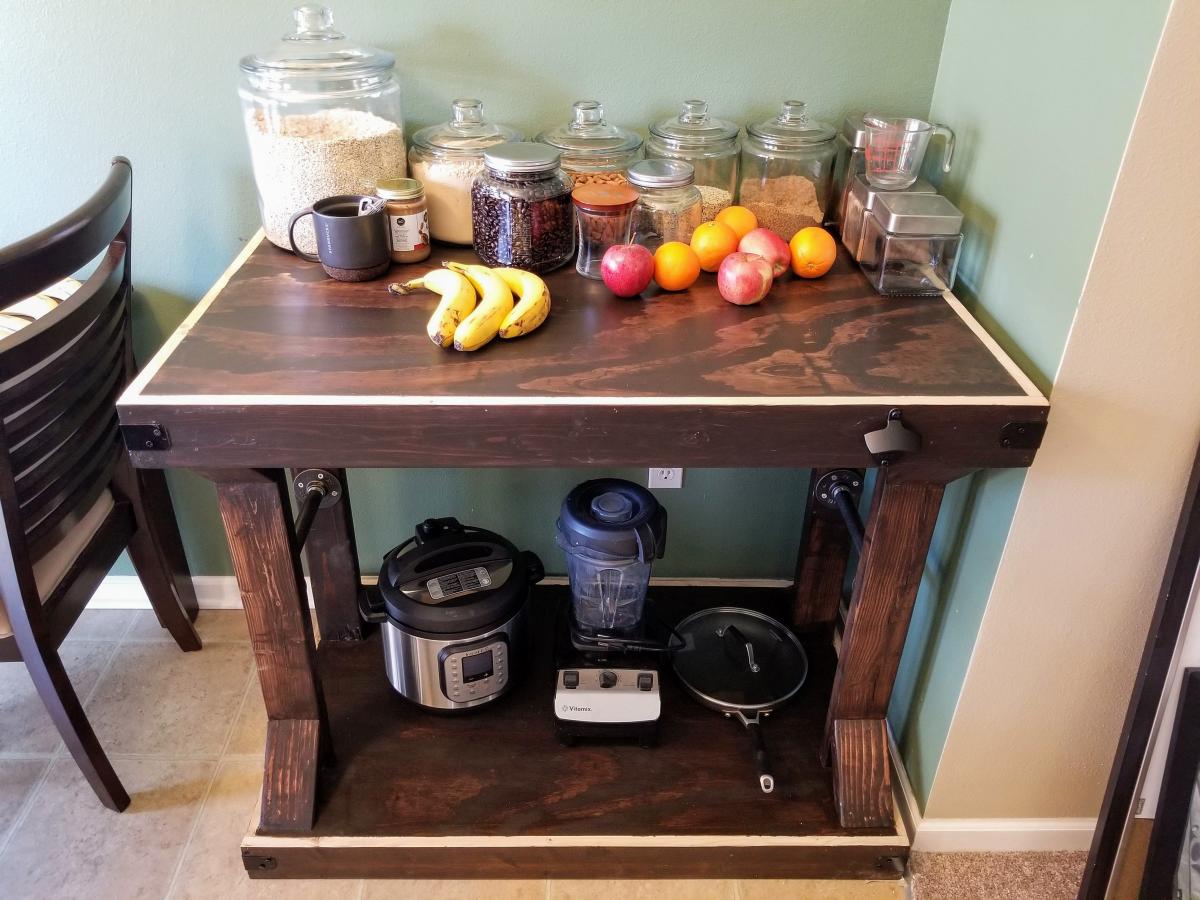
A Fun Saturday build. Went a little heavy on the Kona stain but like the way the table surface came out.
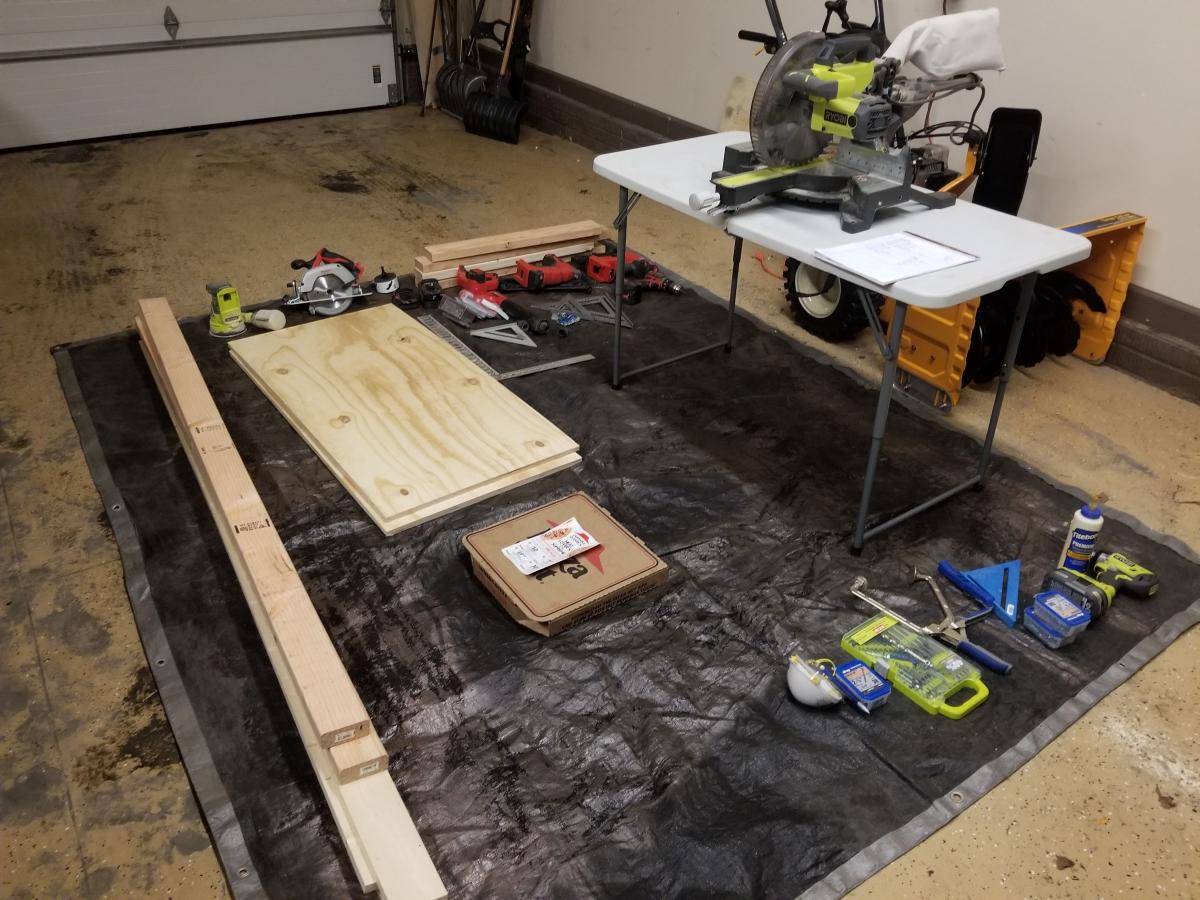
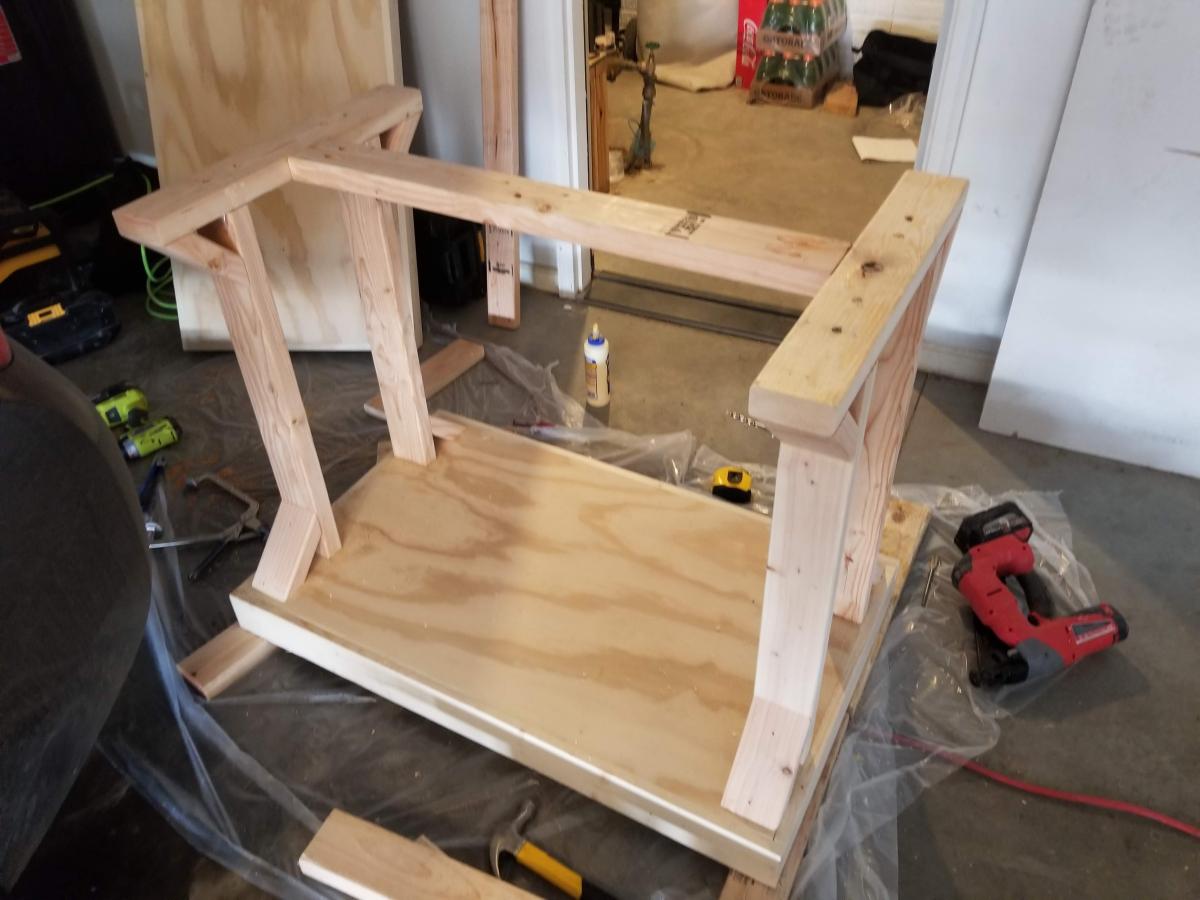
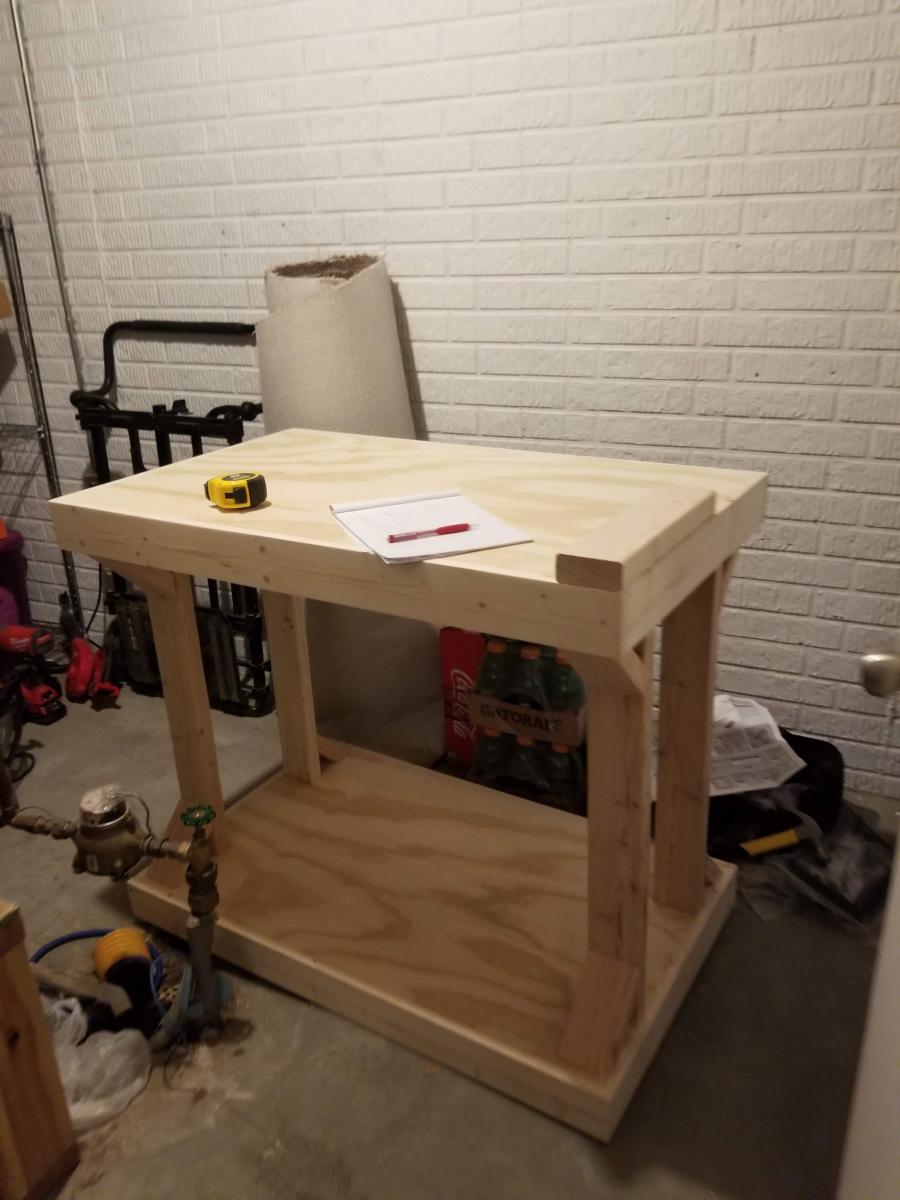
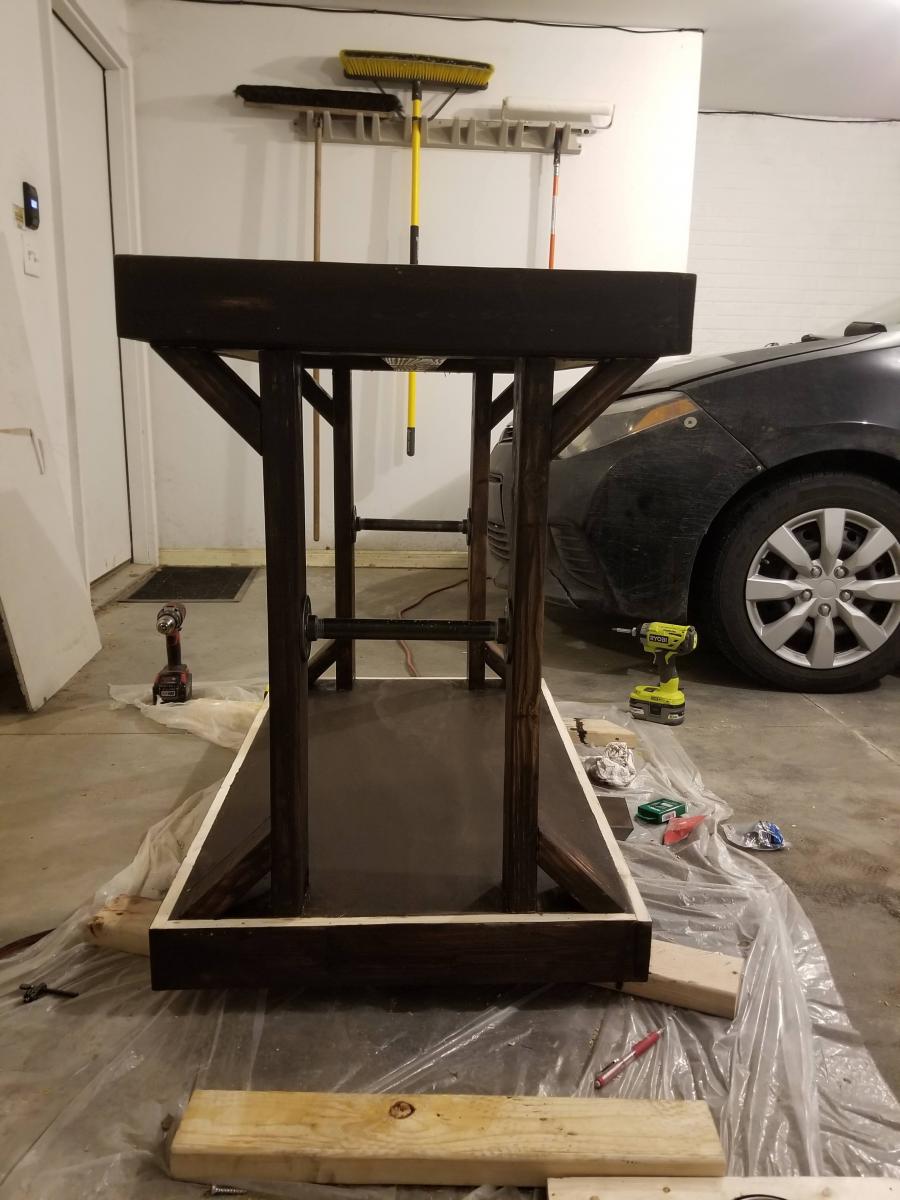
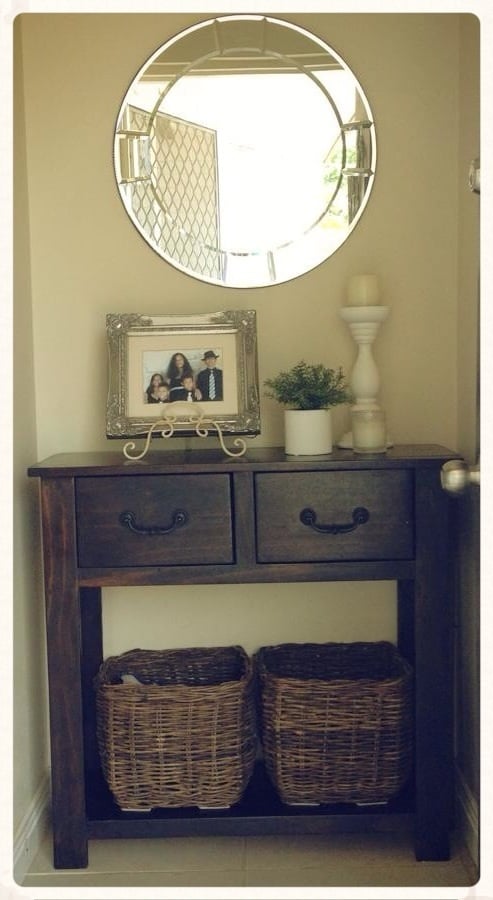
DIY Small console to fit an alcove with floating shelves by thrifyandchicdecor on Instagram
Working on getting furniture done for my kids. Gives me something to do when they are away on visitation. New furniture from a store is too expensive right now & gives me something to work on to keep my mind off of things.
Modified to fit a Twin XL mattress.
Fri, 04/27/2012 - 13:37
Beautiful job! I love the color. I have memories of being gone for weekends on visits and coming home to a newly decorated "Rainbow Brite" bedroom and my mom assembling a waterbed for me on the kitchen floor (it was the eighties); it felt great to know that my mom was thinking about me while I was gone, your kids will not forget those things.
Wed, 05/16/2012 - 09:48
Hi!, i am new to all of this and would love to make this bed for my daughter, could you share the measurements for the twin version? thanks!
Sat, 06/02/2012 - 03:12
Hi, I like this bed for my son, also looking for the measurements for the twin version.Thanks
Sat, 09/01/2012 - 20:31
I built a similar bed for my niece. I designed the boxes slightly different however. I followed the Twin Farmhouse plan but removed one board from the headboard/footboard panels. This narrows the width to accomodate the storage boxes. http://ana-white.com/2012/03/twinning
Sun, 01/17/2016 - 09:17
Hi! I know this question has been posted before and replied to but, for some reason, I can't see the replies so... would anyone mind maybe sharing their converted measurements for a twin sized bed? Thank so much! This will be our first project and I'm sooo nervous!
Sun, 01/17/2016 - 09:17
Hi! I know this question has been posted before and replied to but, for some reason, I can't see the replies so... would anyone mind maybe sharing their converted measurements for a twin sized bed? Thank so much! This will be our first project and I'm sooo nervous!
Fri, 02/05/2016 - 20:20
I made this bed in a twin. The twin mattress is 39x75. That's 21 inches narrower and 5 inches shorter than a queen. So just make the head board, foot board, and slat measurements 21 inches shorter keeping the height the same. The length is five inches shorter but to get three drawer slots the same size I made mine 75 3/4 long. ( 24 1/4 for each drawer slot).