Modified camp loft bed

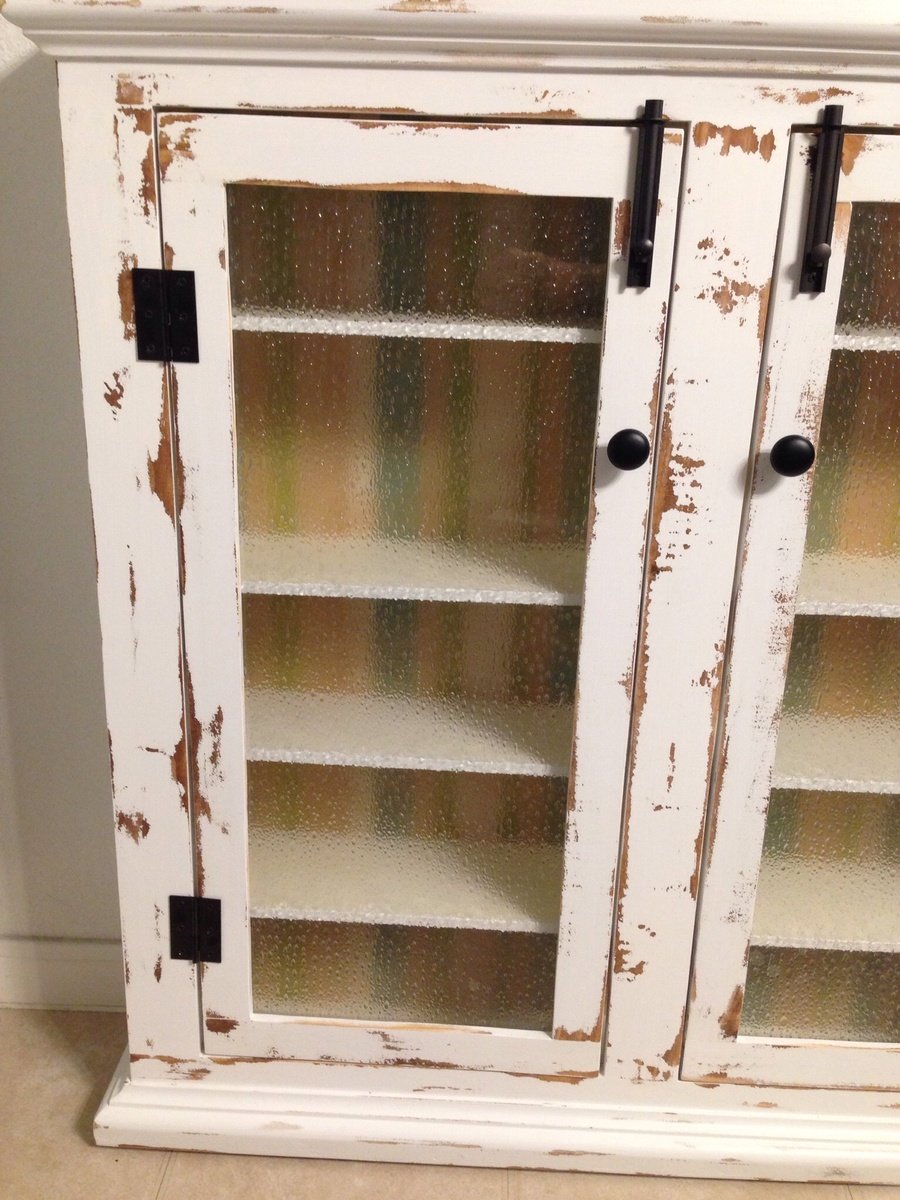
Camp loft bed plan with added headboard/bookcase with built in desk.
Built from Plan(s)
Estimated Cost
$400
Estimated Time Investment
Week Long Project (20 Hours or More)
Finish Used
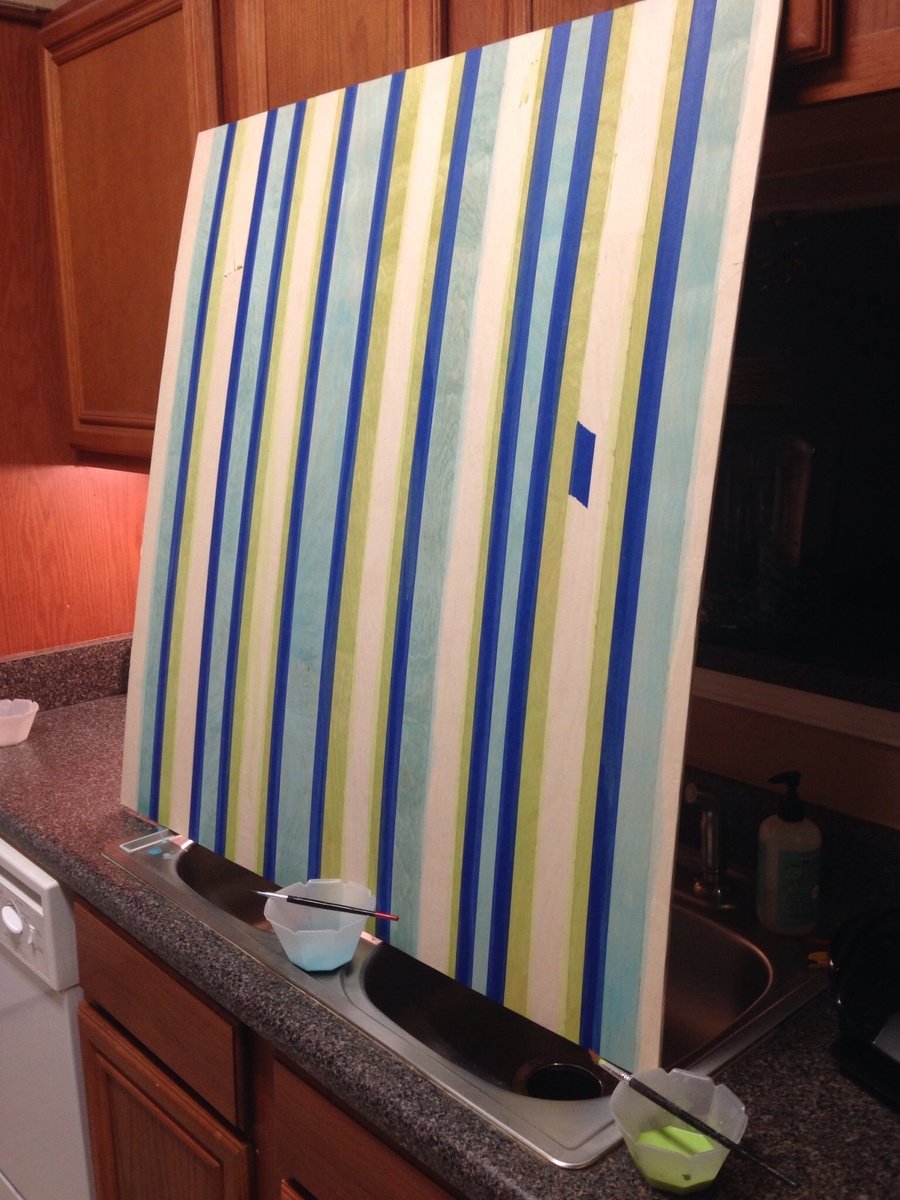
Latex paint with polyurethane top coat
Recommended Skill Level
Intermediate


Comments
[email protected]
Sat, 01/23/2021 - 11:47
ANY SPECIFICS ON THE PLAN…
ANY SPECIFICS ON THE PLAN MODIFICATIONS?
THIS IS EXACTLY WHAT MY DAUGHTER WANTS!
THANKS,
DAN