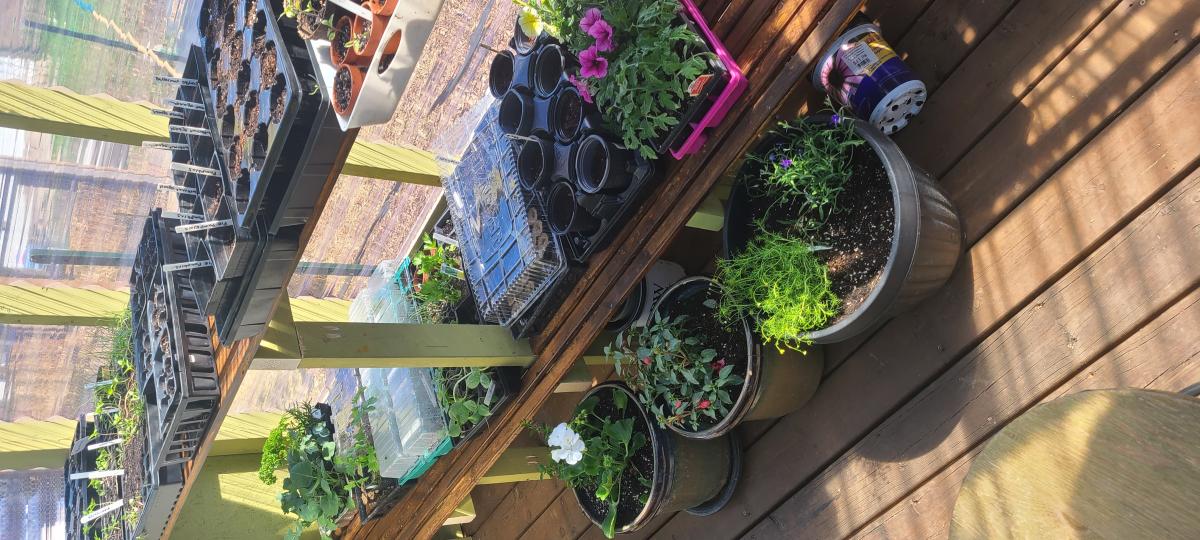
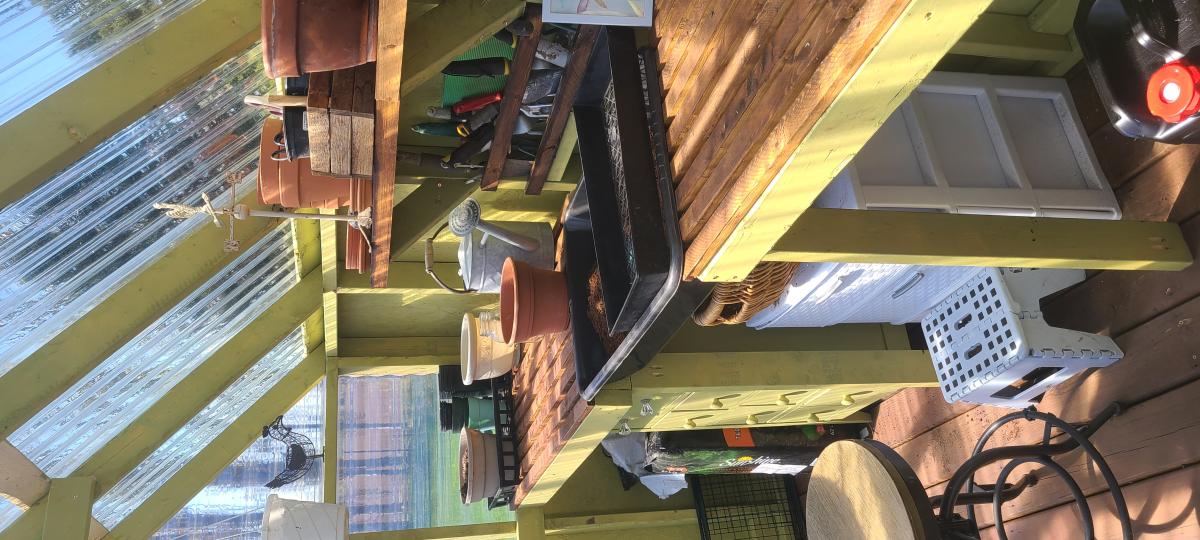
Greenhouse
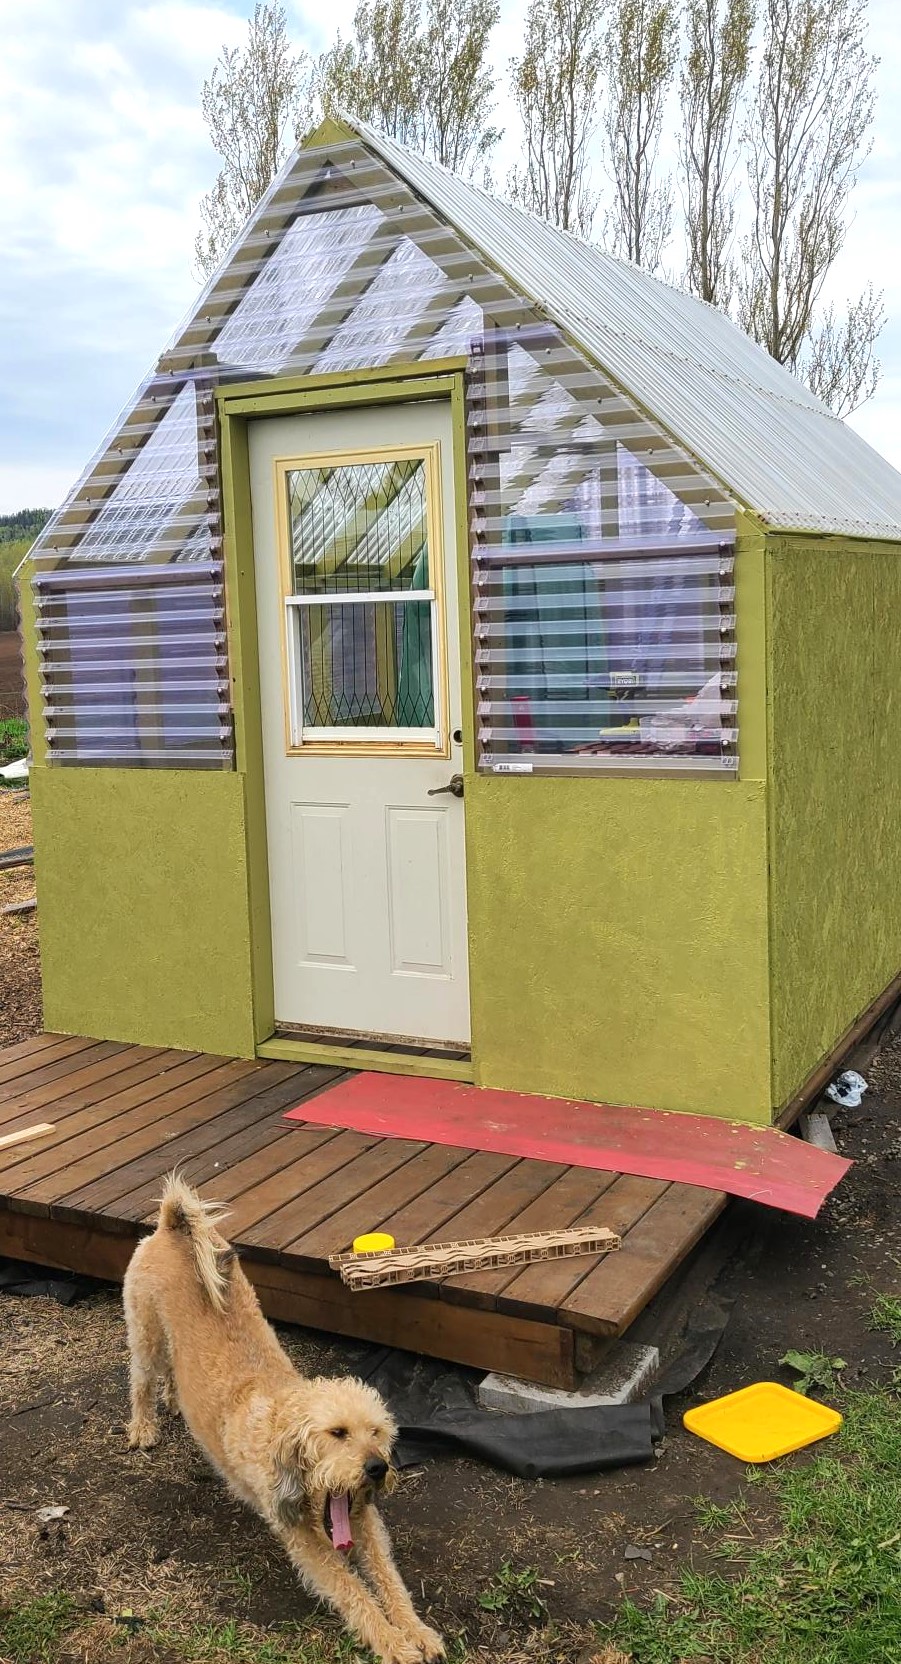
We followed Ana's plans but went 1 ft taller on the pony walls to increase the height. We are so impressed with how it turned out. I'm excited to grow plants in Northwestern Ontario.
Built from Plan(s)
We followed Ana's plans but went 1 ft taller on the pony walls to increase the height. We are so impressed with how it turned out. I'm excited to grow plants in Northwestern Ontario.
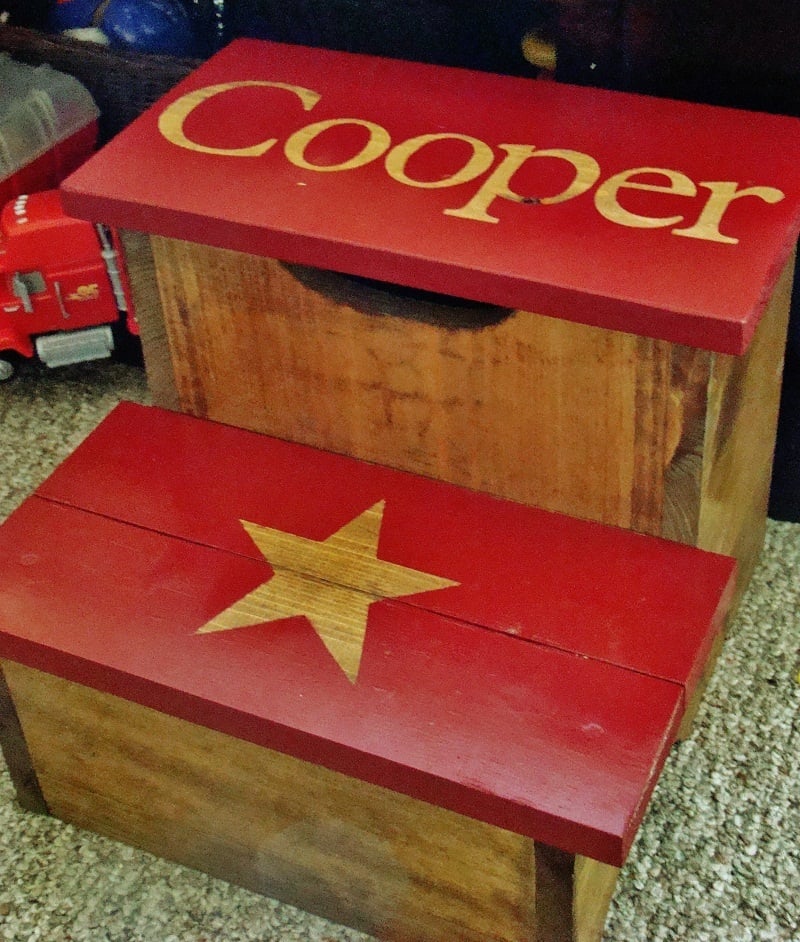
My wonderful hubby and I have done 4 projects from Ana-White.com (a bed, a chair, a shelf, and some storage crates). But this was my first solo project!!! I had a blast making it. And just an FYI - the storage area holds about 563 Hot Wheel Cars (give or take a hundred) lol. My little guy loves being able to climb into his big boy bed all by himself. Thanks Ana!!
Sat, 01/28/2012 - 10:02
And also, how did you do his name and the star? Thanks!
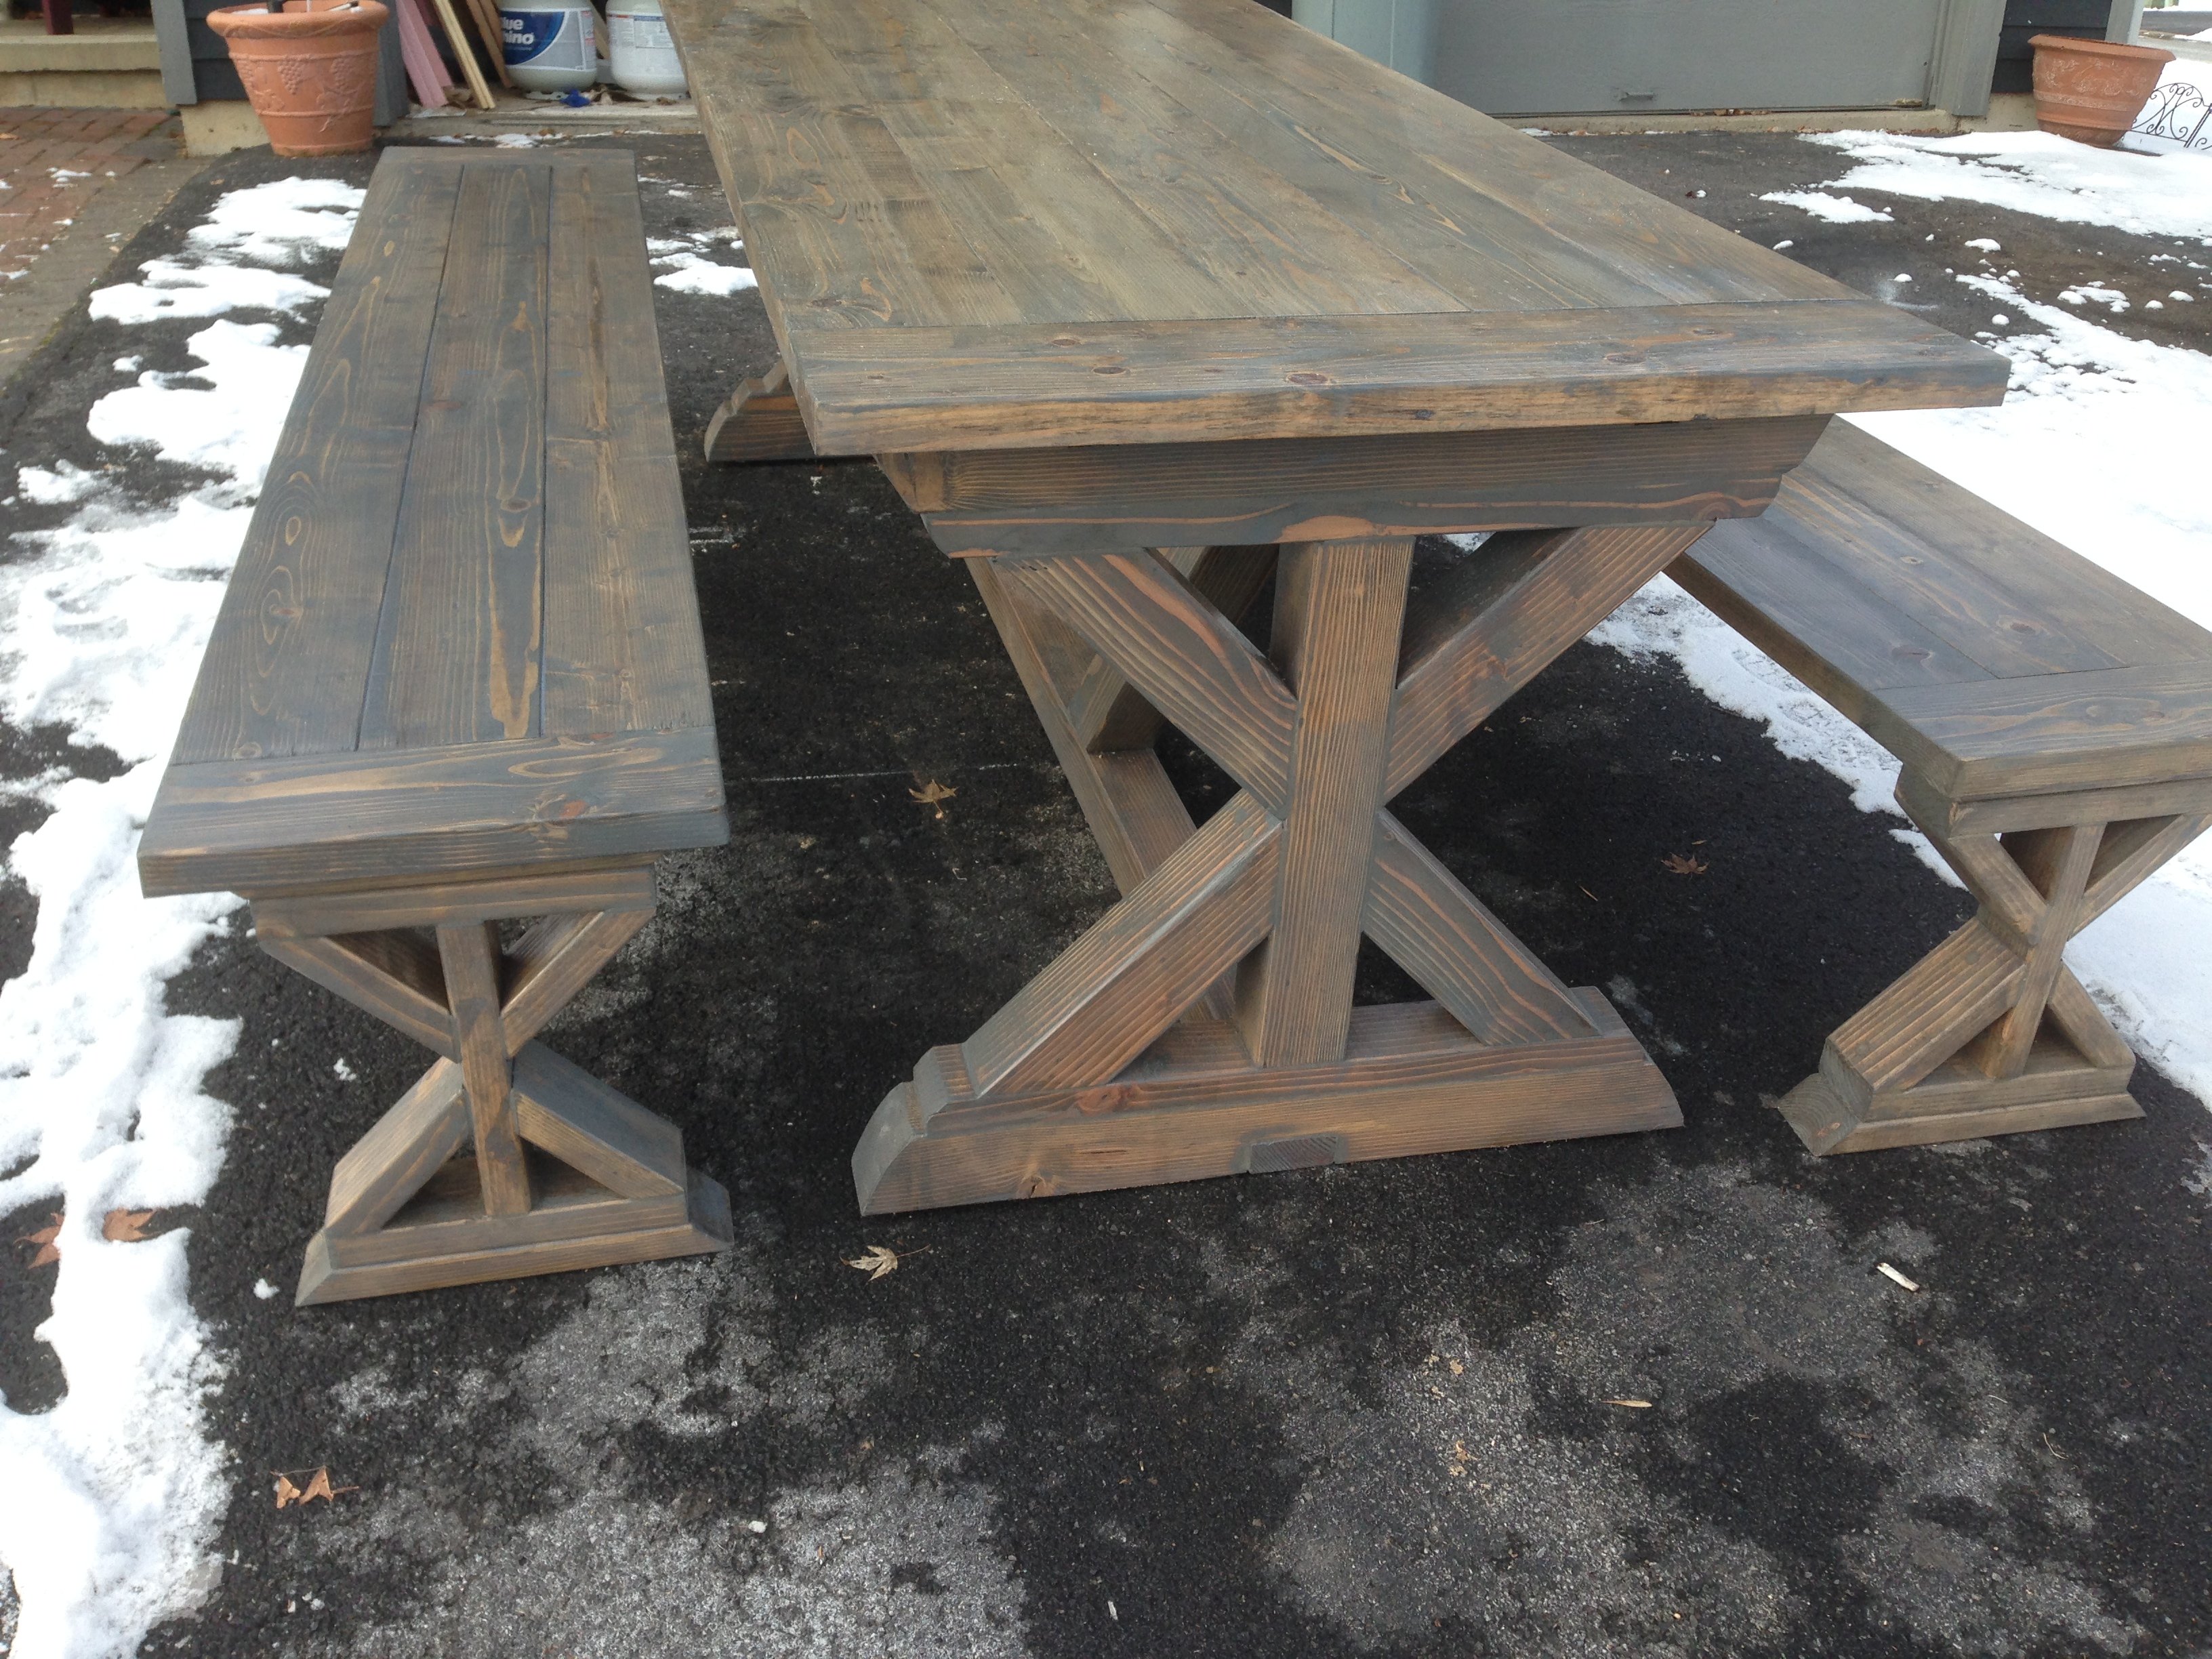
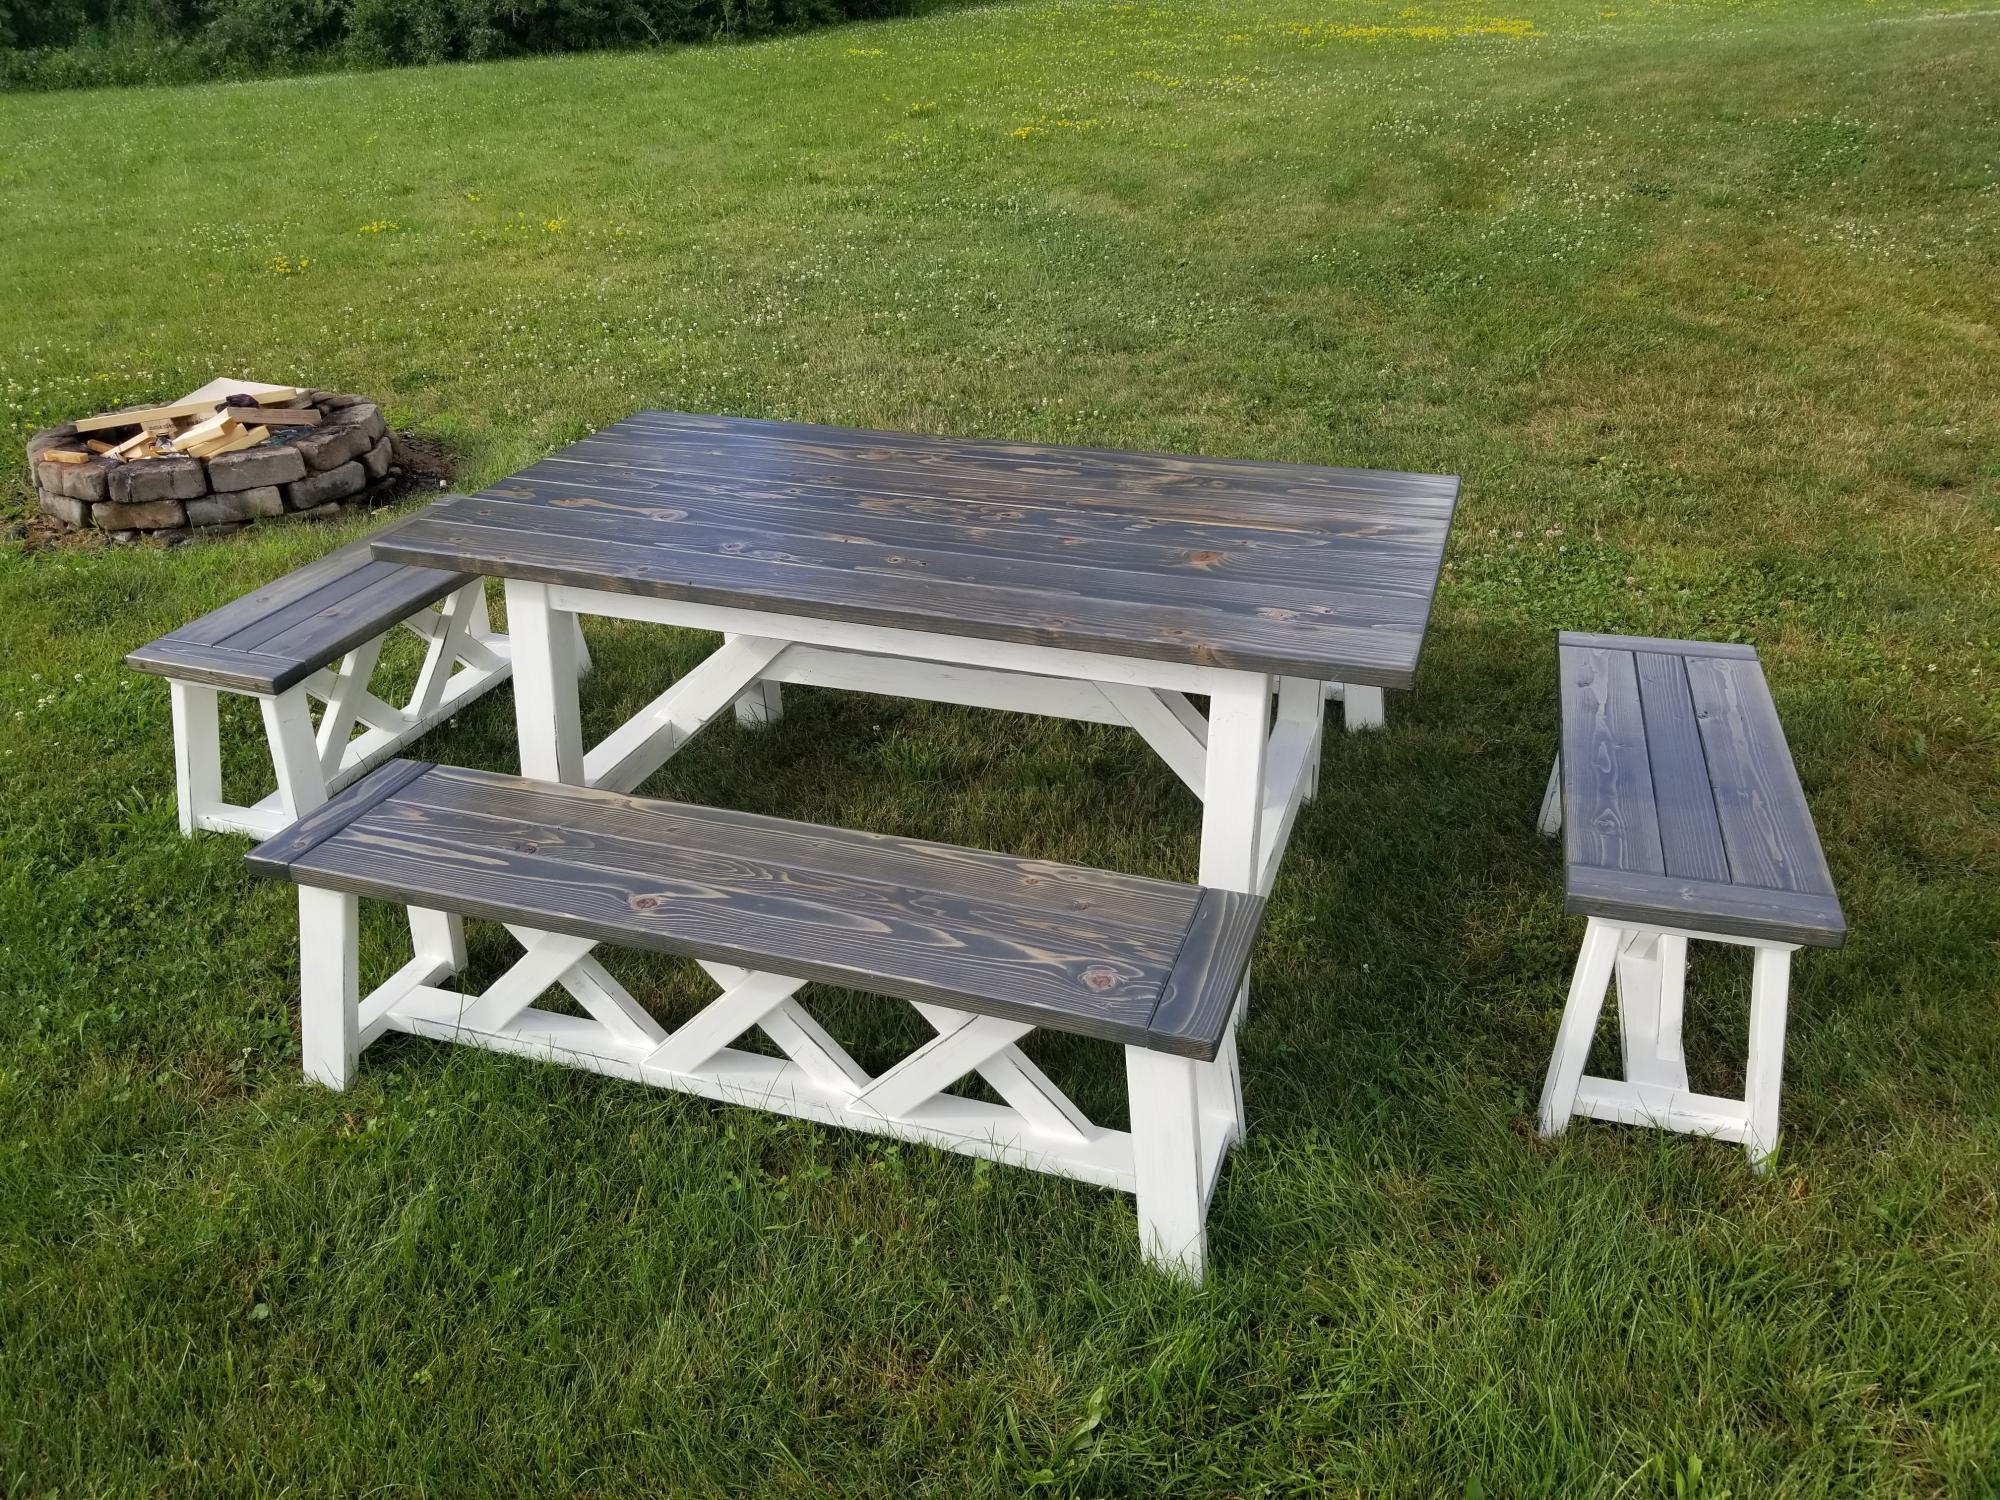
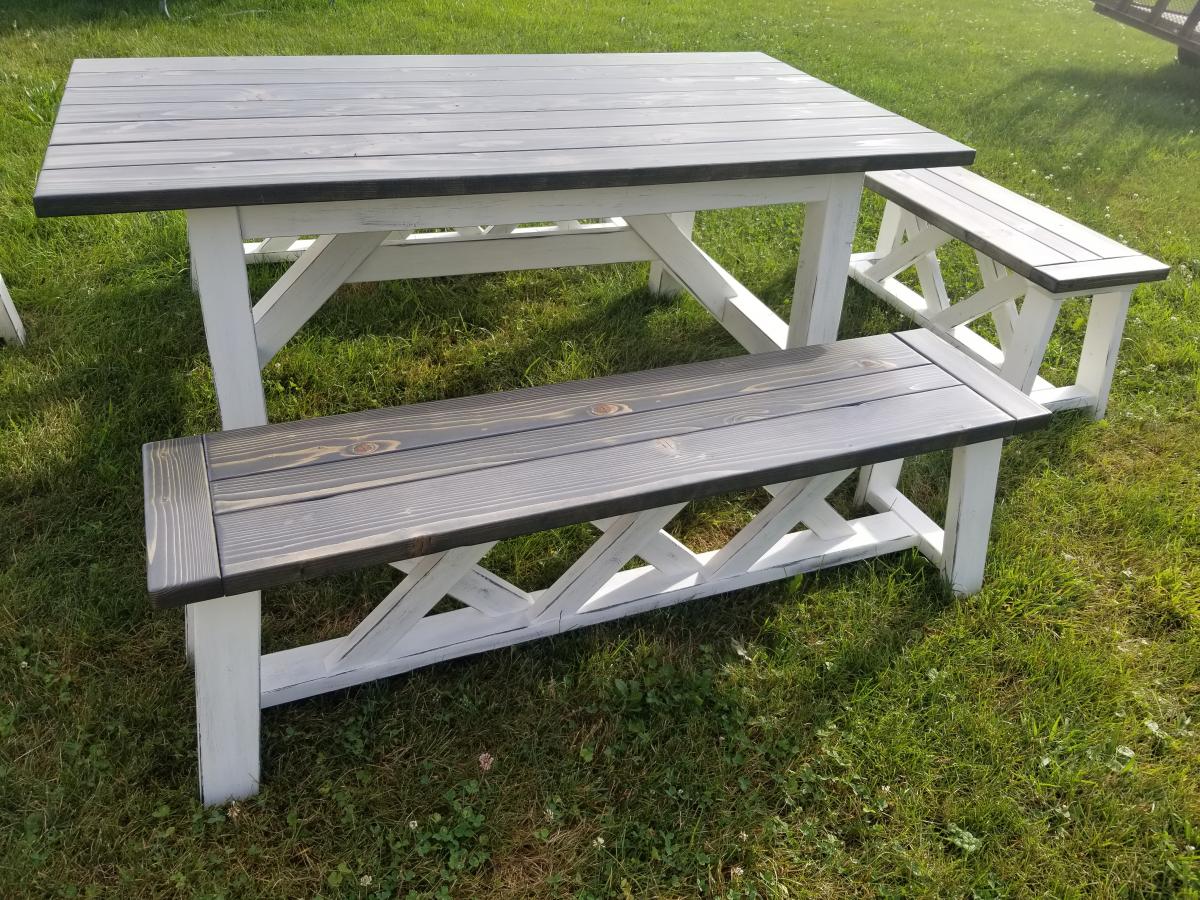
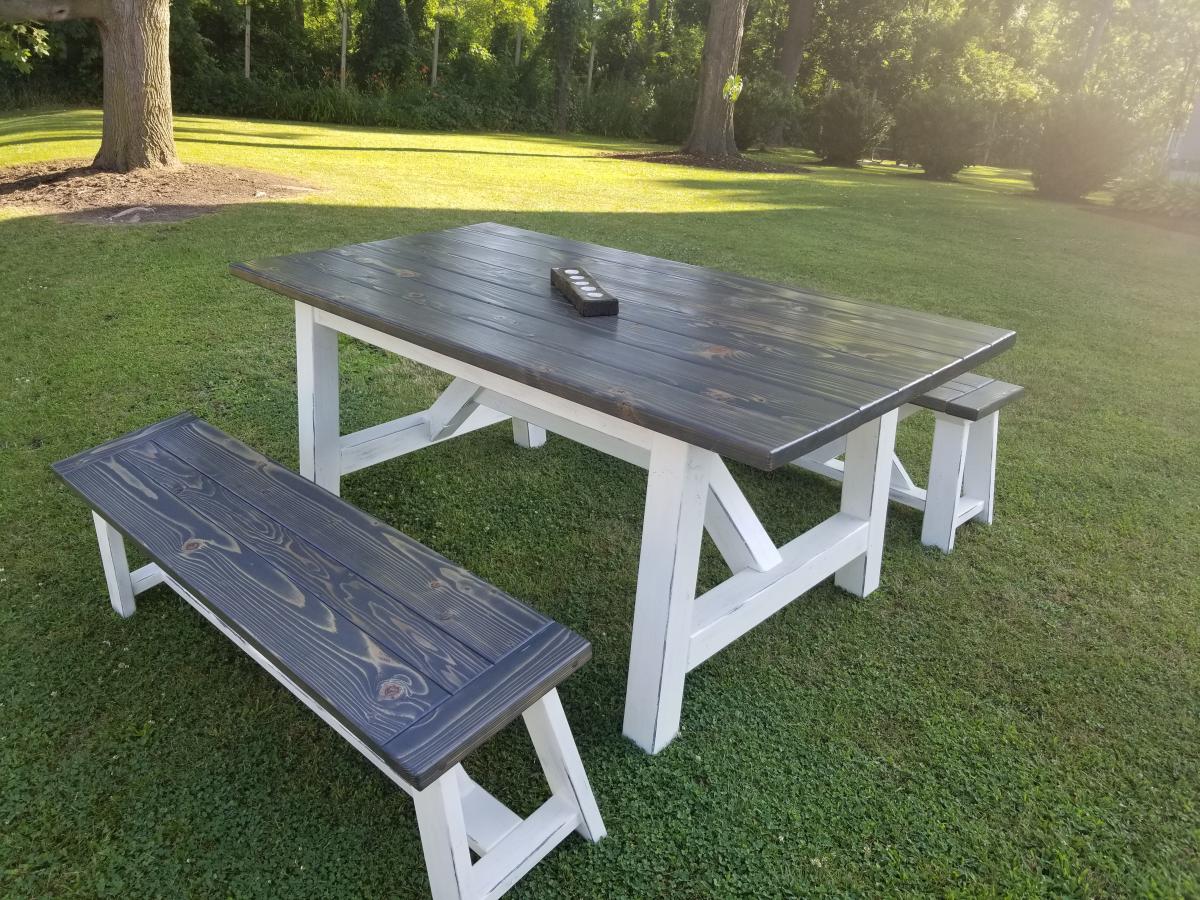
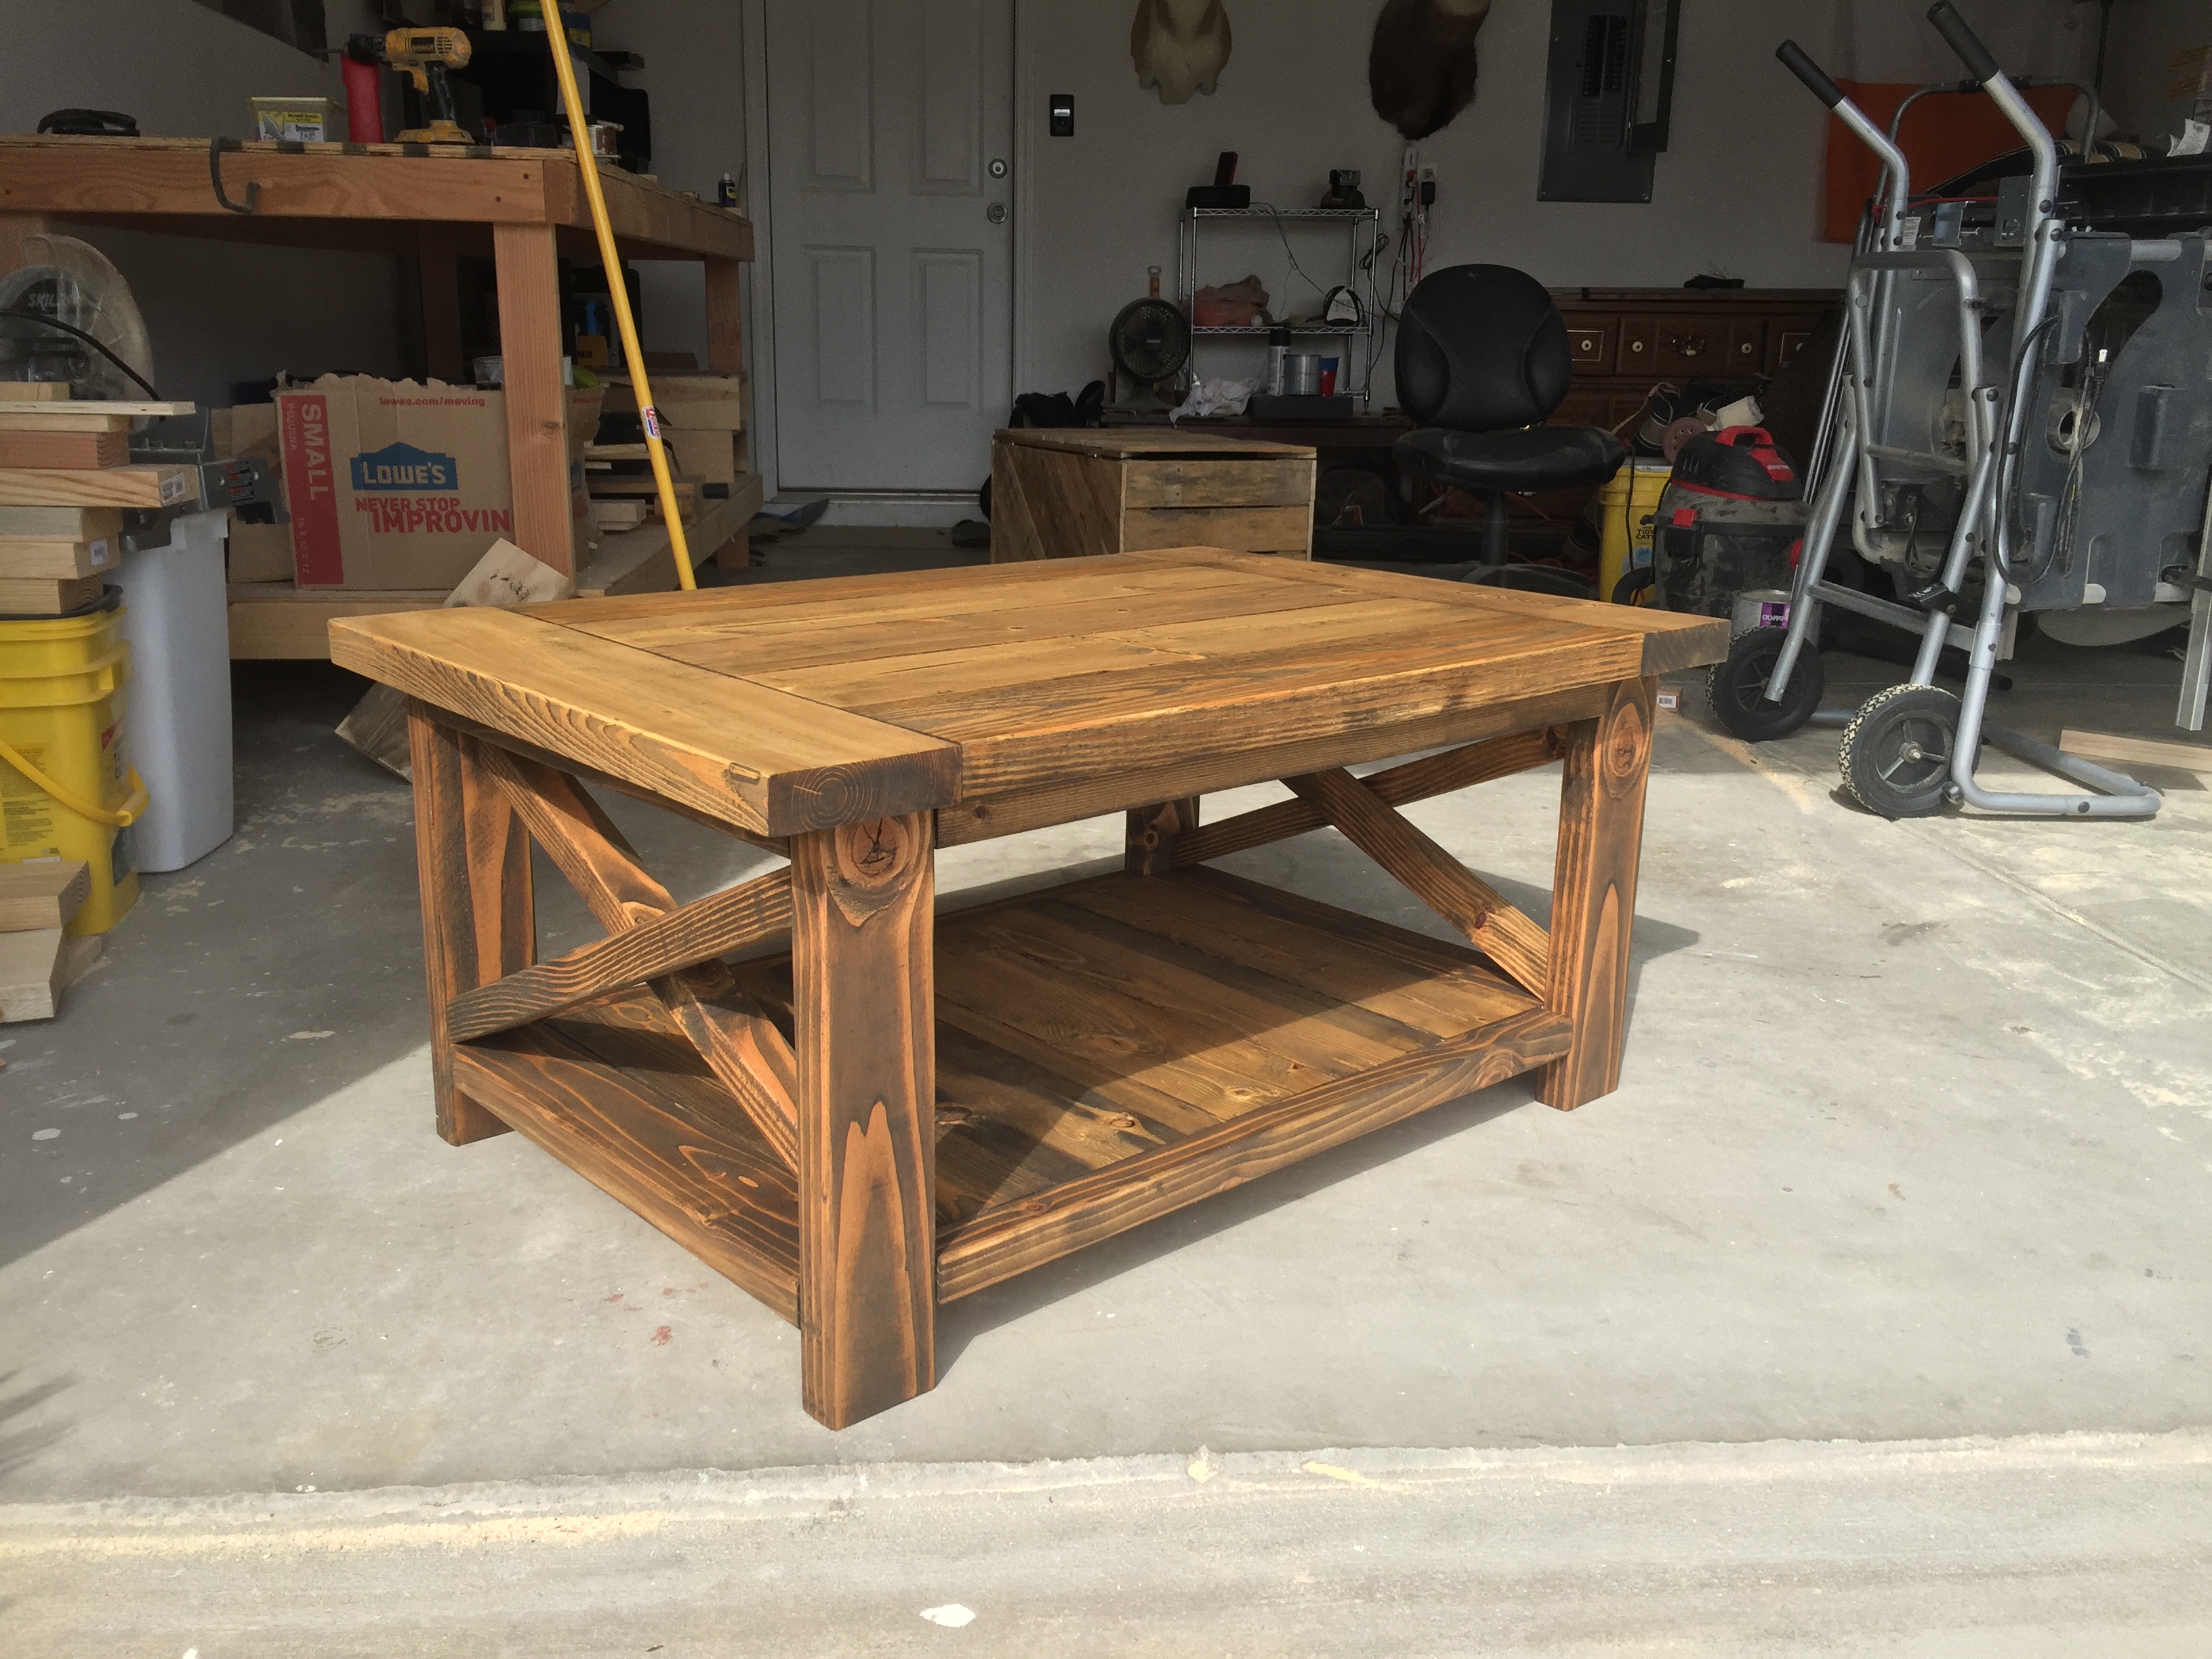
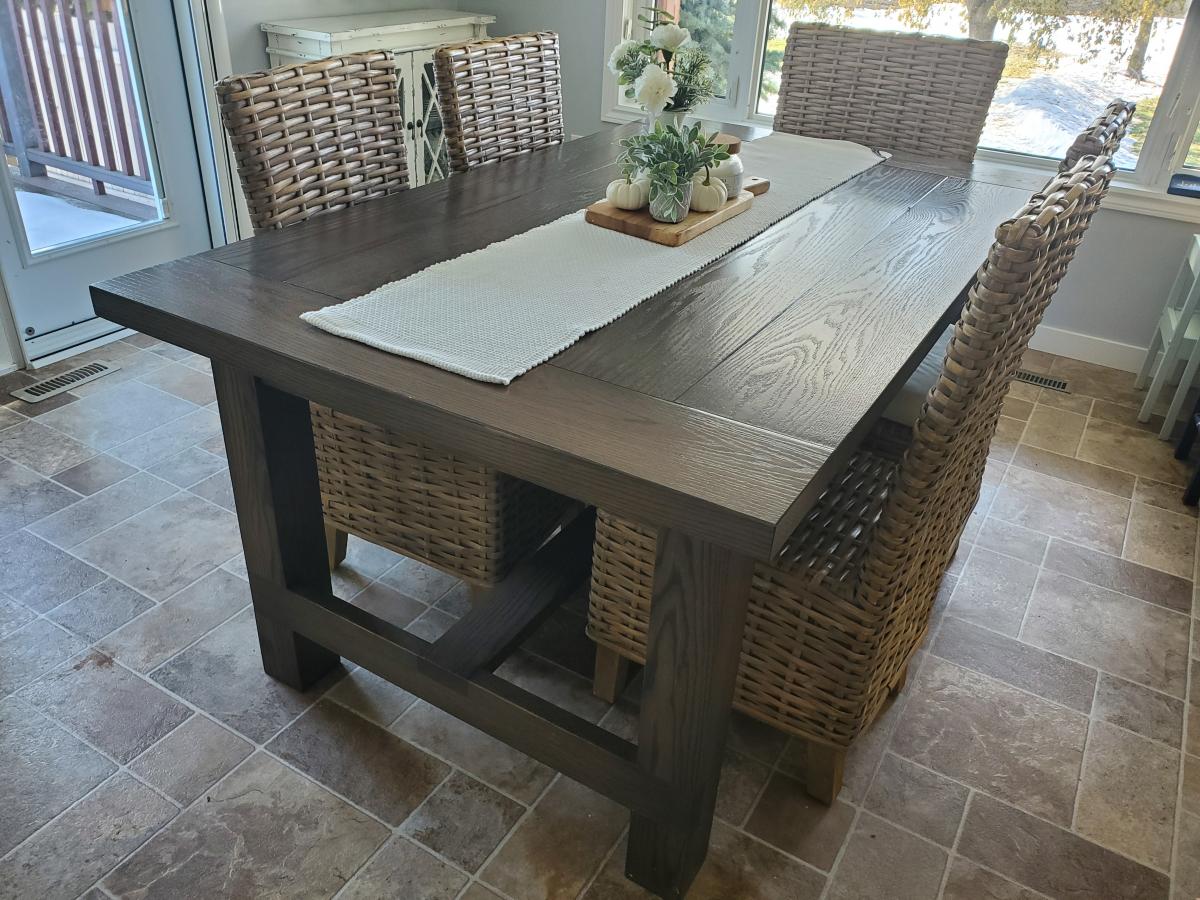
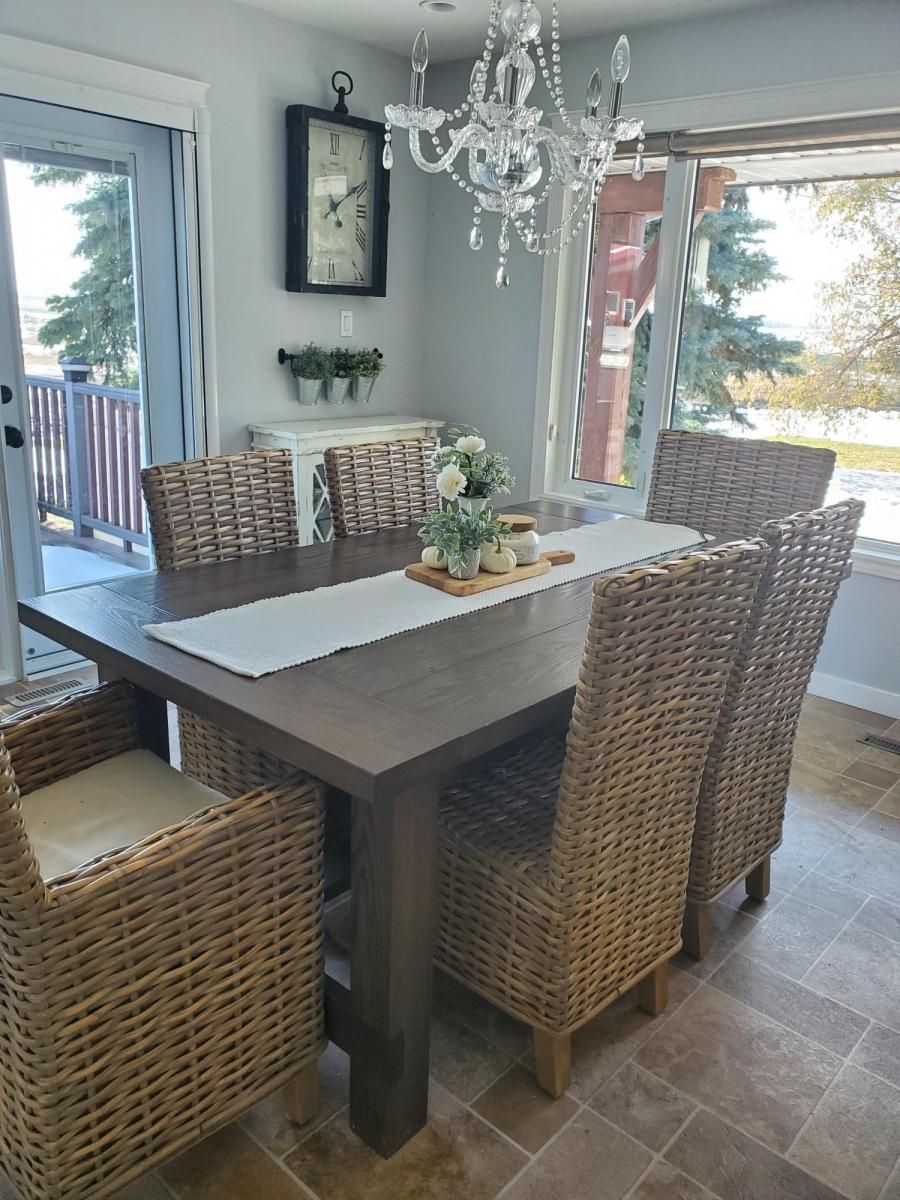
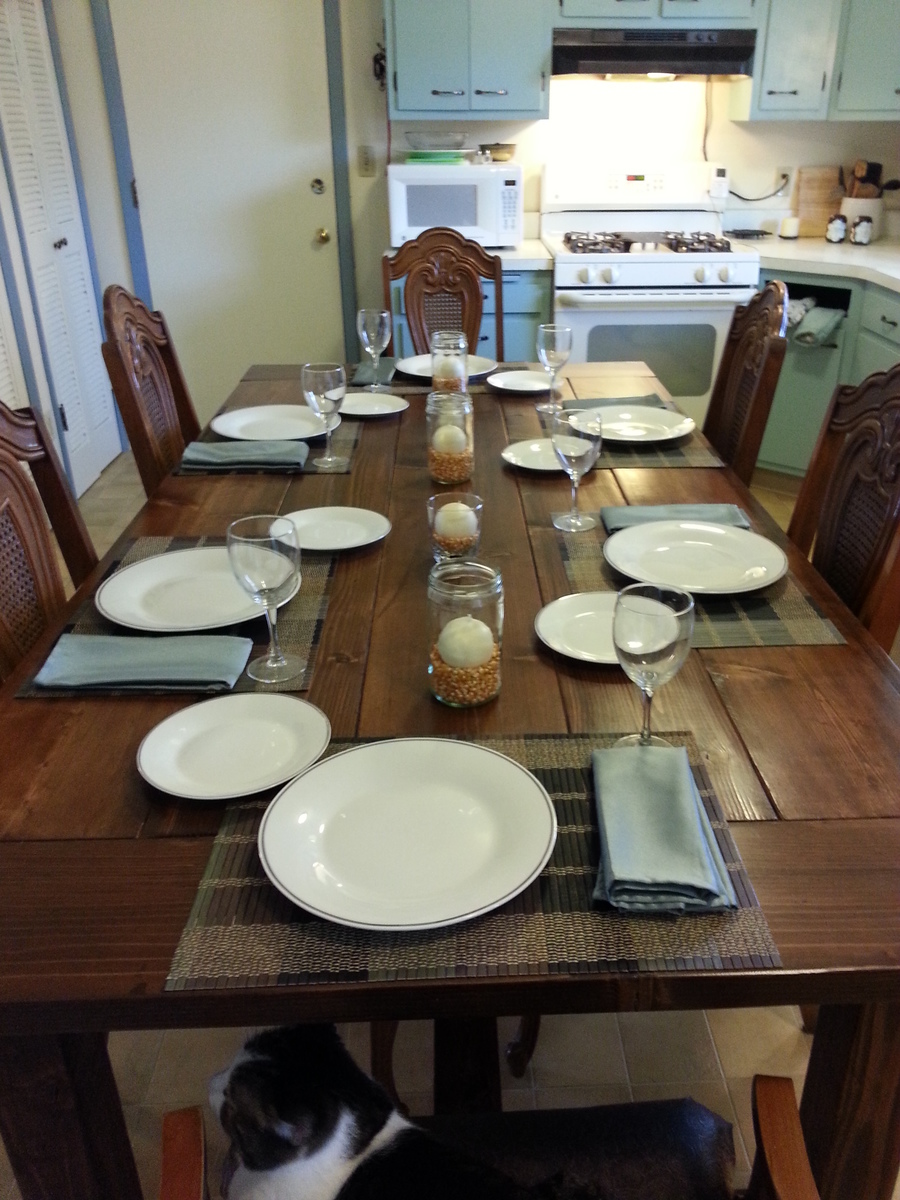
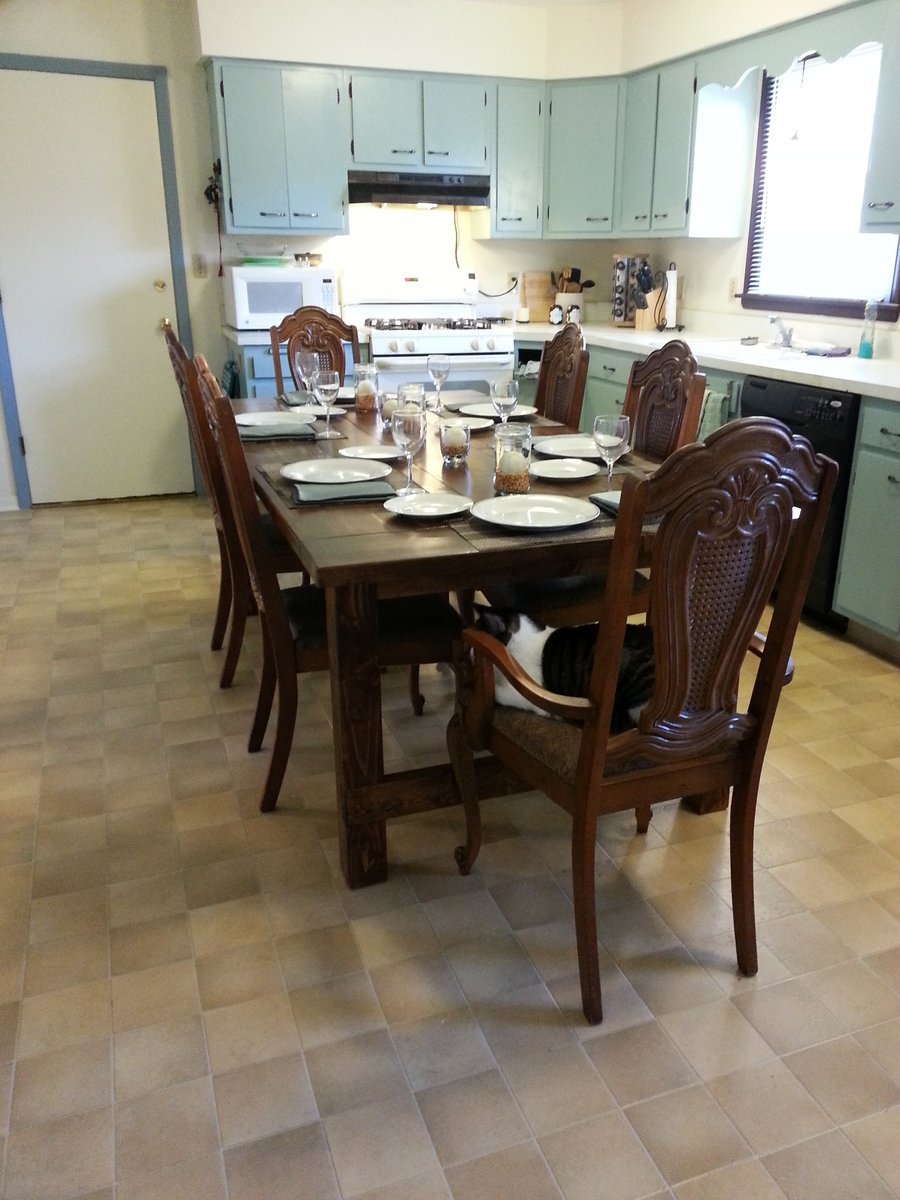
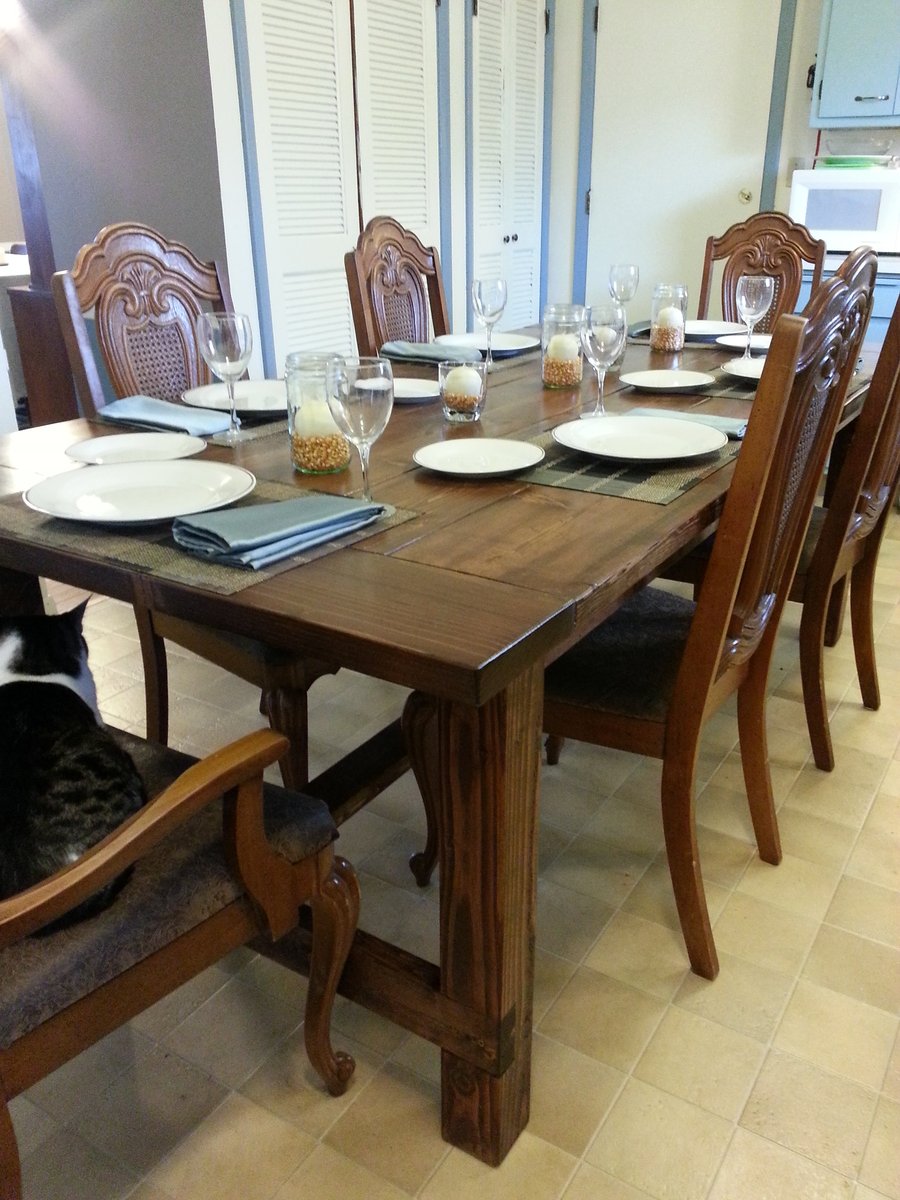
modeled after the Restoration Hardware Salvage Wood X Base Table which at this 8' table listed for $3395 just for the table. LOL
Used the Fancy x farm table plans and used all 4 x 4 on table, and followed plans for benches with 2x4
Mon, 07/14/2014 - 15:27
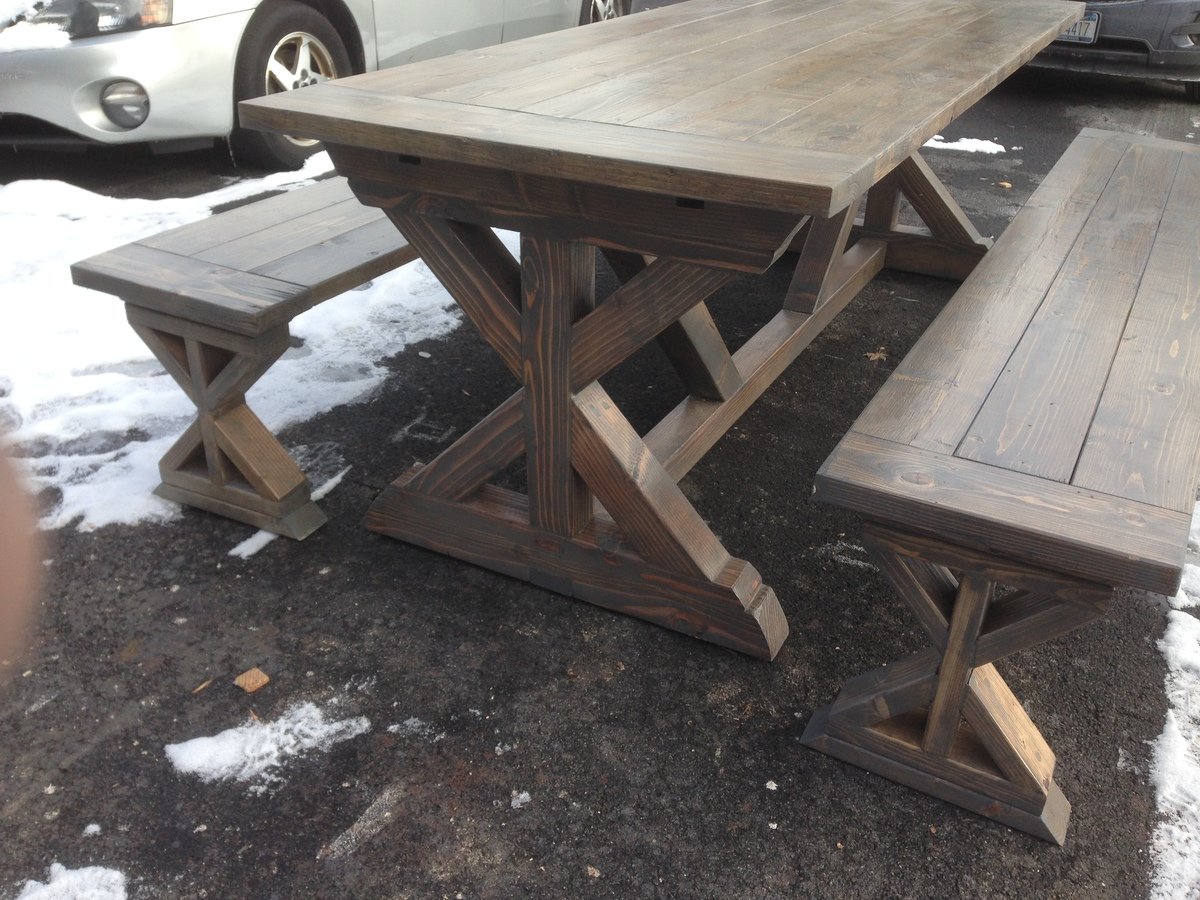
Can u tell me the dimensions of this table? I plan on using 4x4s with a concrete top and nervous it might feel too bulky at 6ft x 2.5ft table

Made the outdoor sectional. The coffee table was made out of left over pieces!

Wed, 10/02/2019 - 09:54
So smart to make the coffee table out of the spare pieces.
Looks amazing!
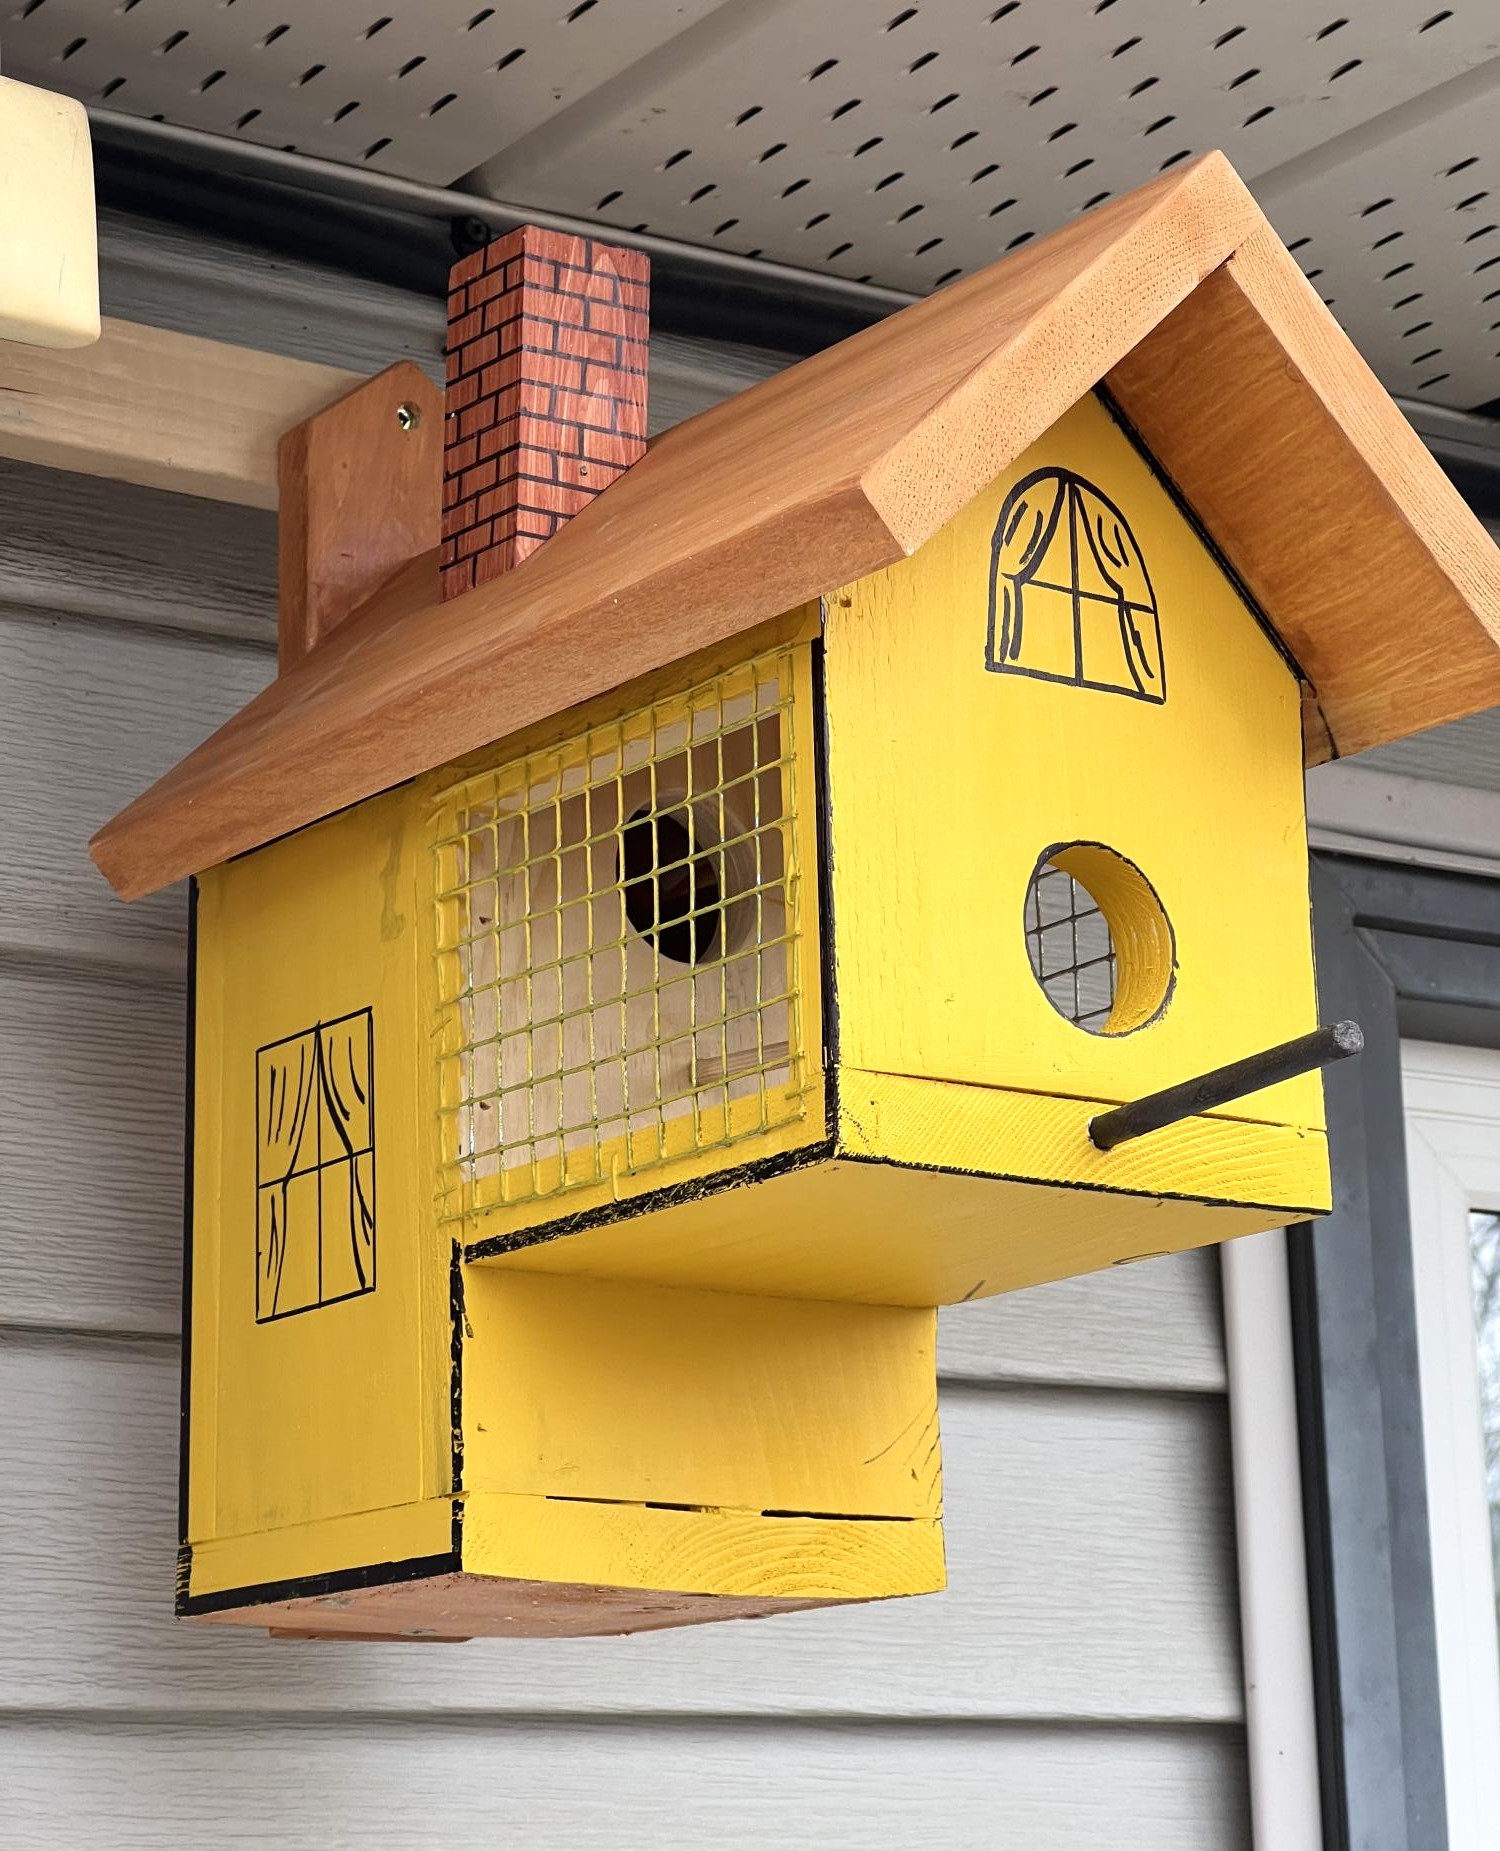
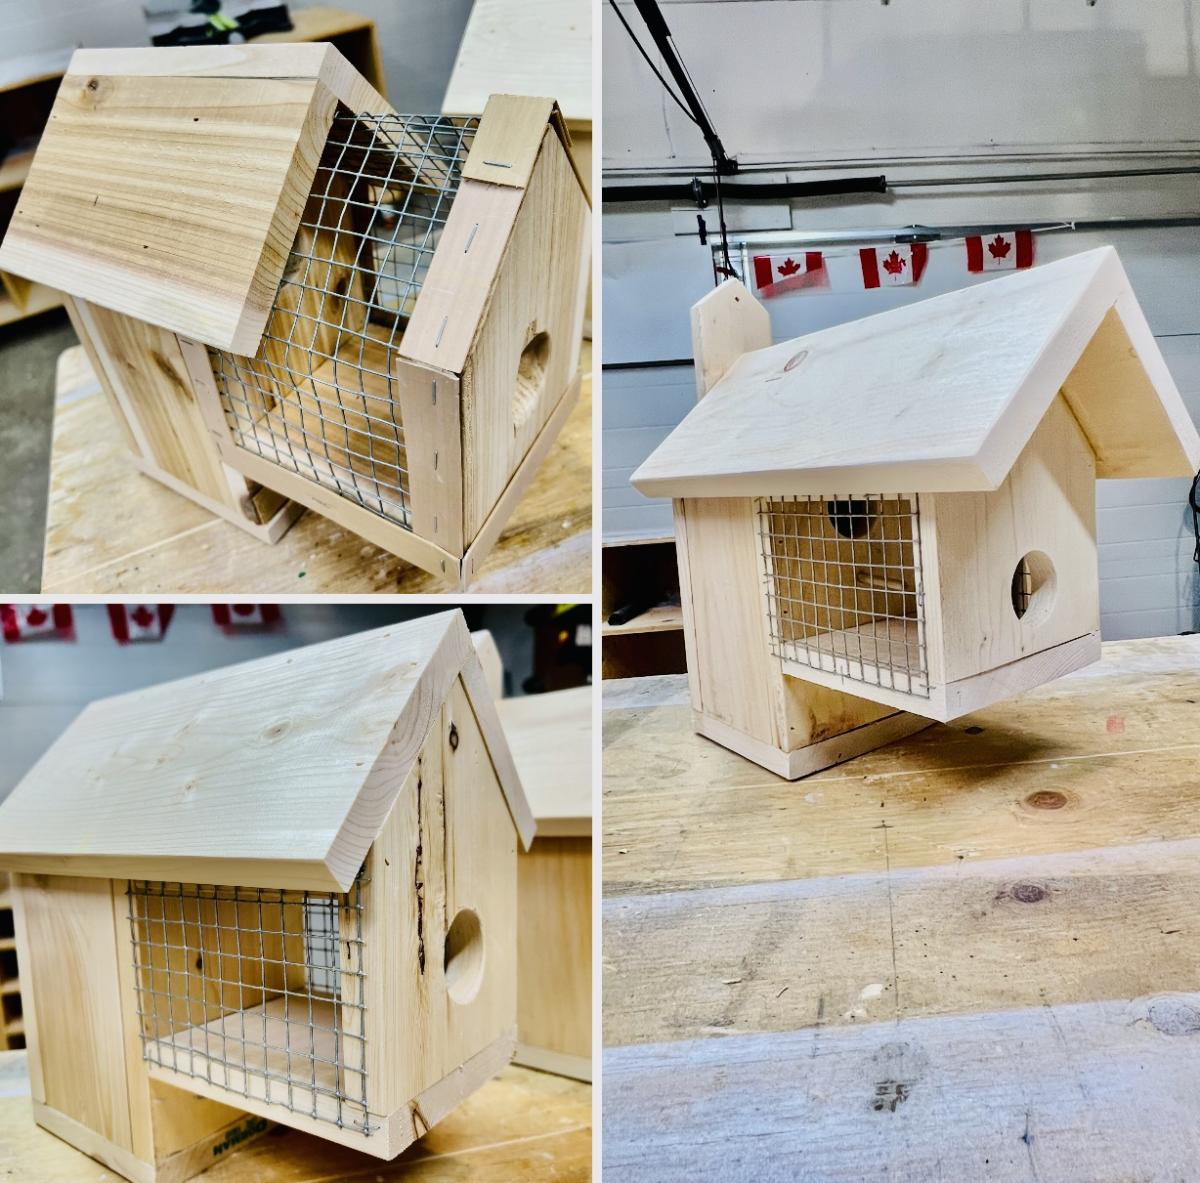
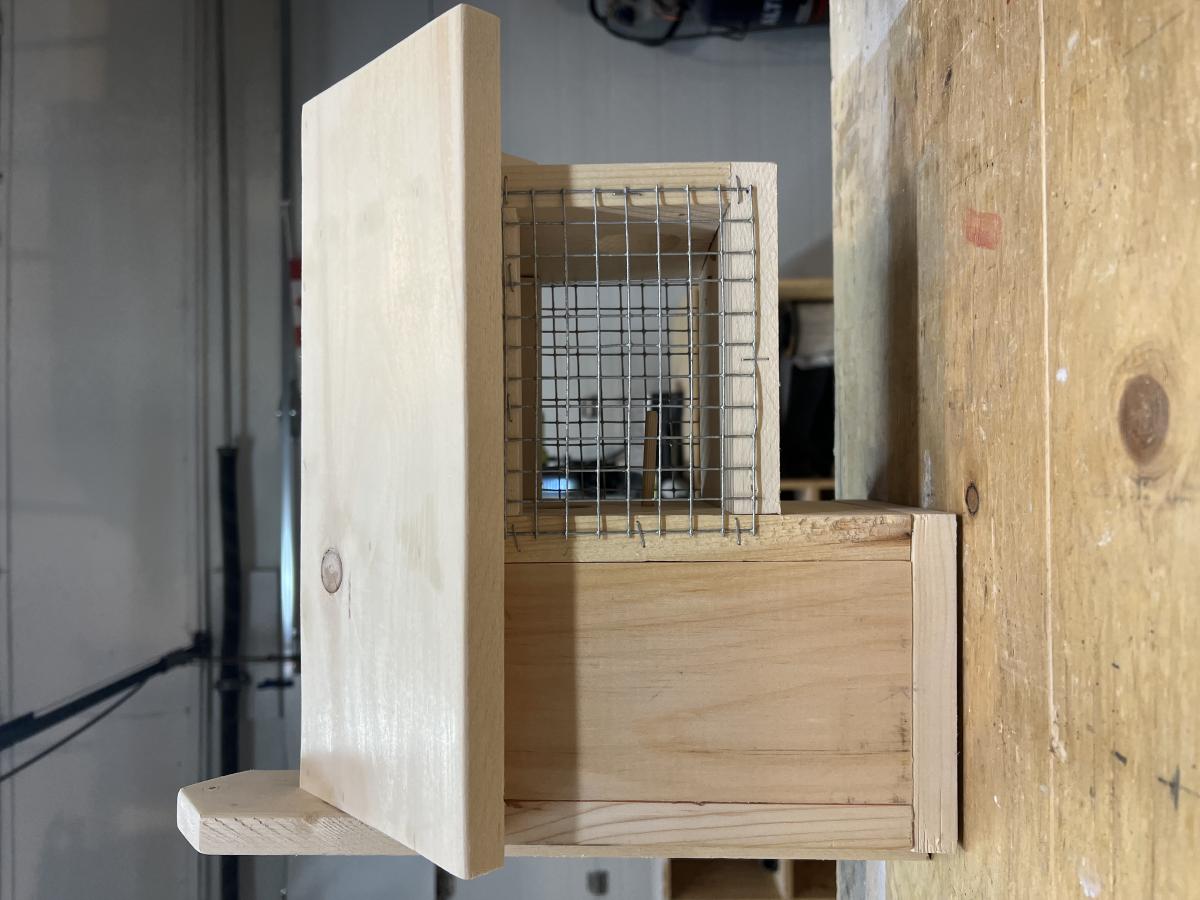
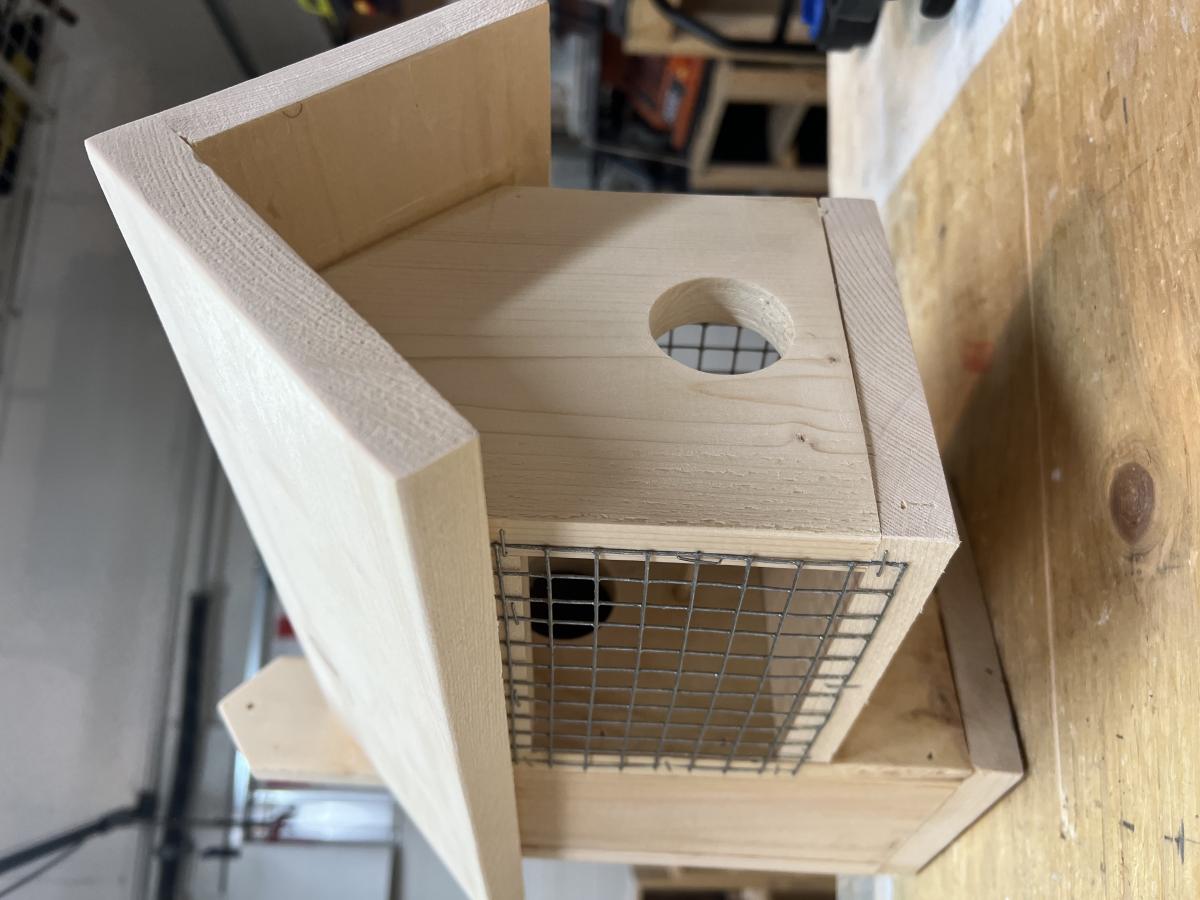
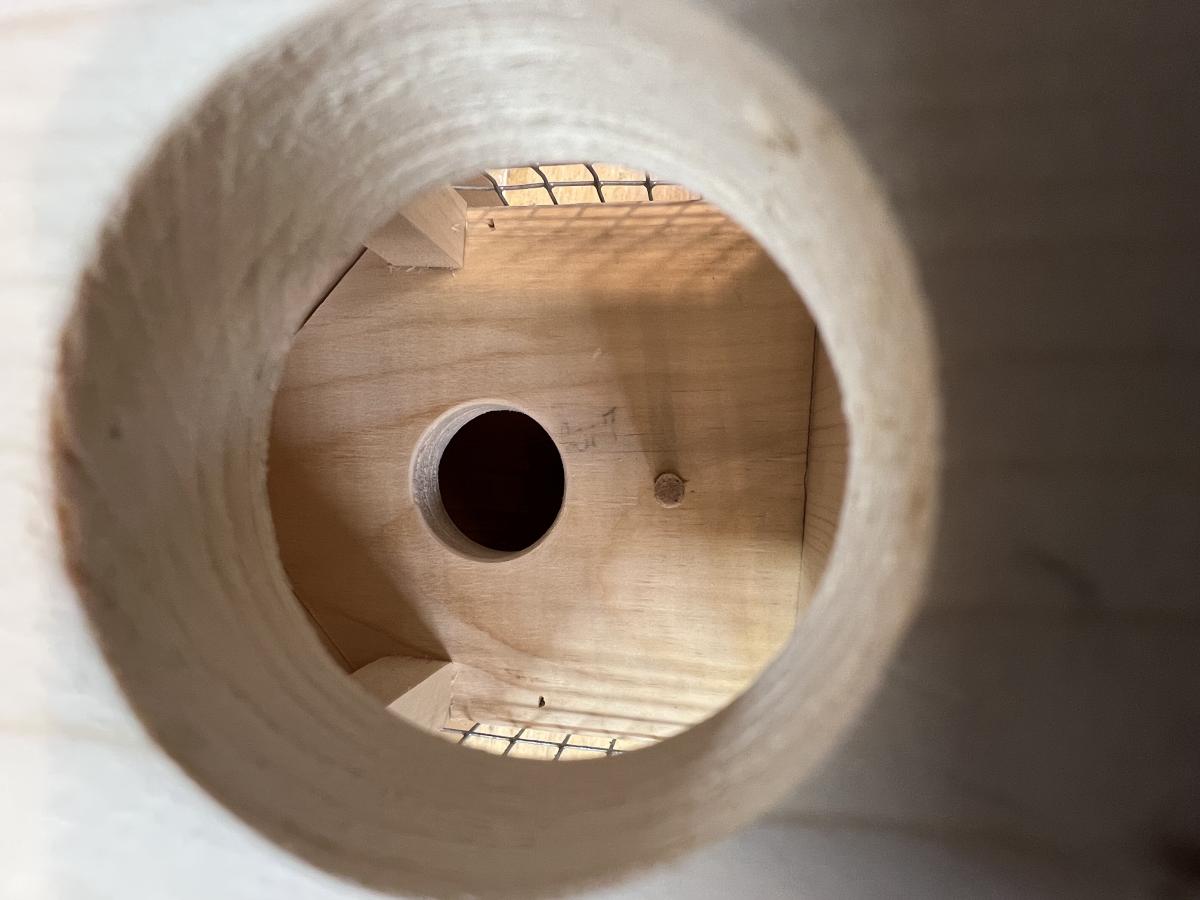
Hi I was tired to see the magpies and flickers destroying the nest and kill the sparrows After days of research i came up with this model that i tested last summer and believe me, it was successfully accepted by sparrows This year i made bunch of them, some different models till i get to the yellow one style that is perfect I really loved it and i'm here sharing it with you guys I will share plan for this bird house in my Instagram next week (June 12)

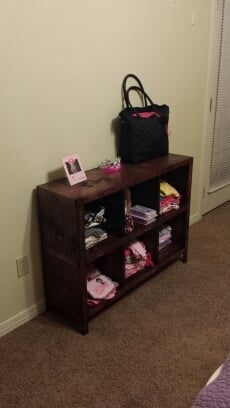
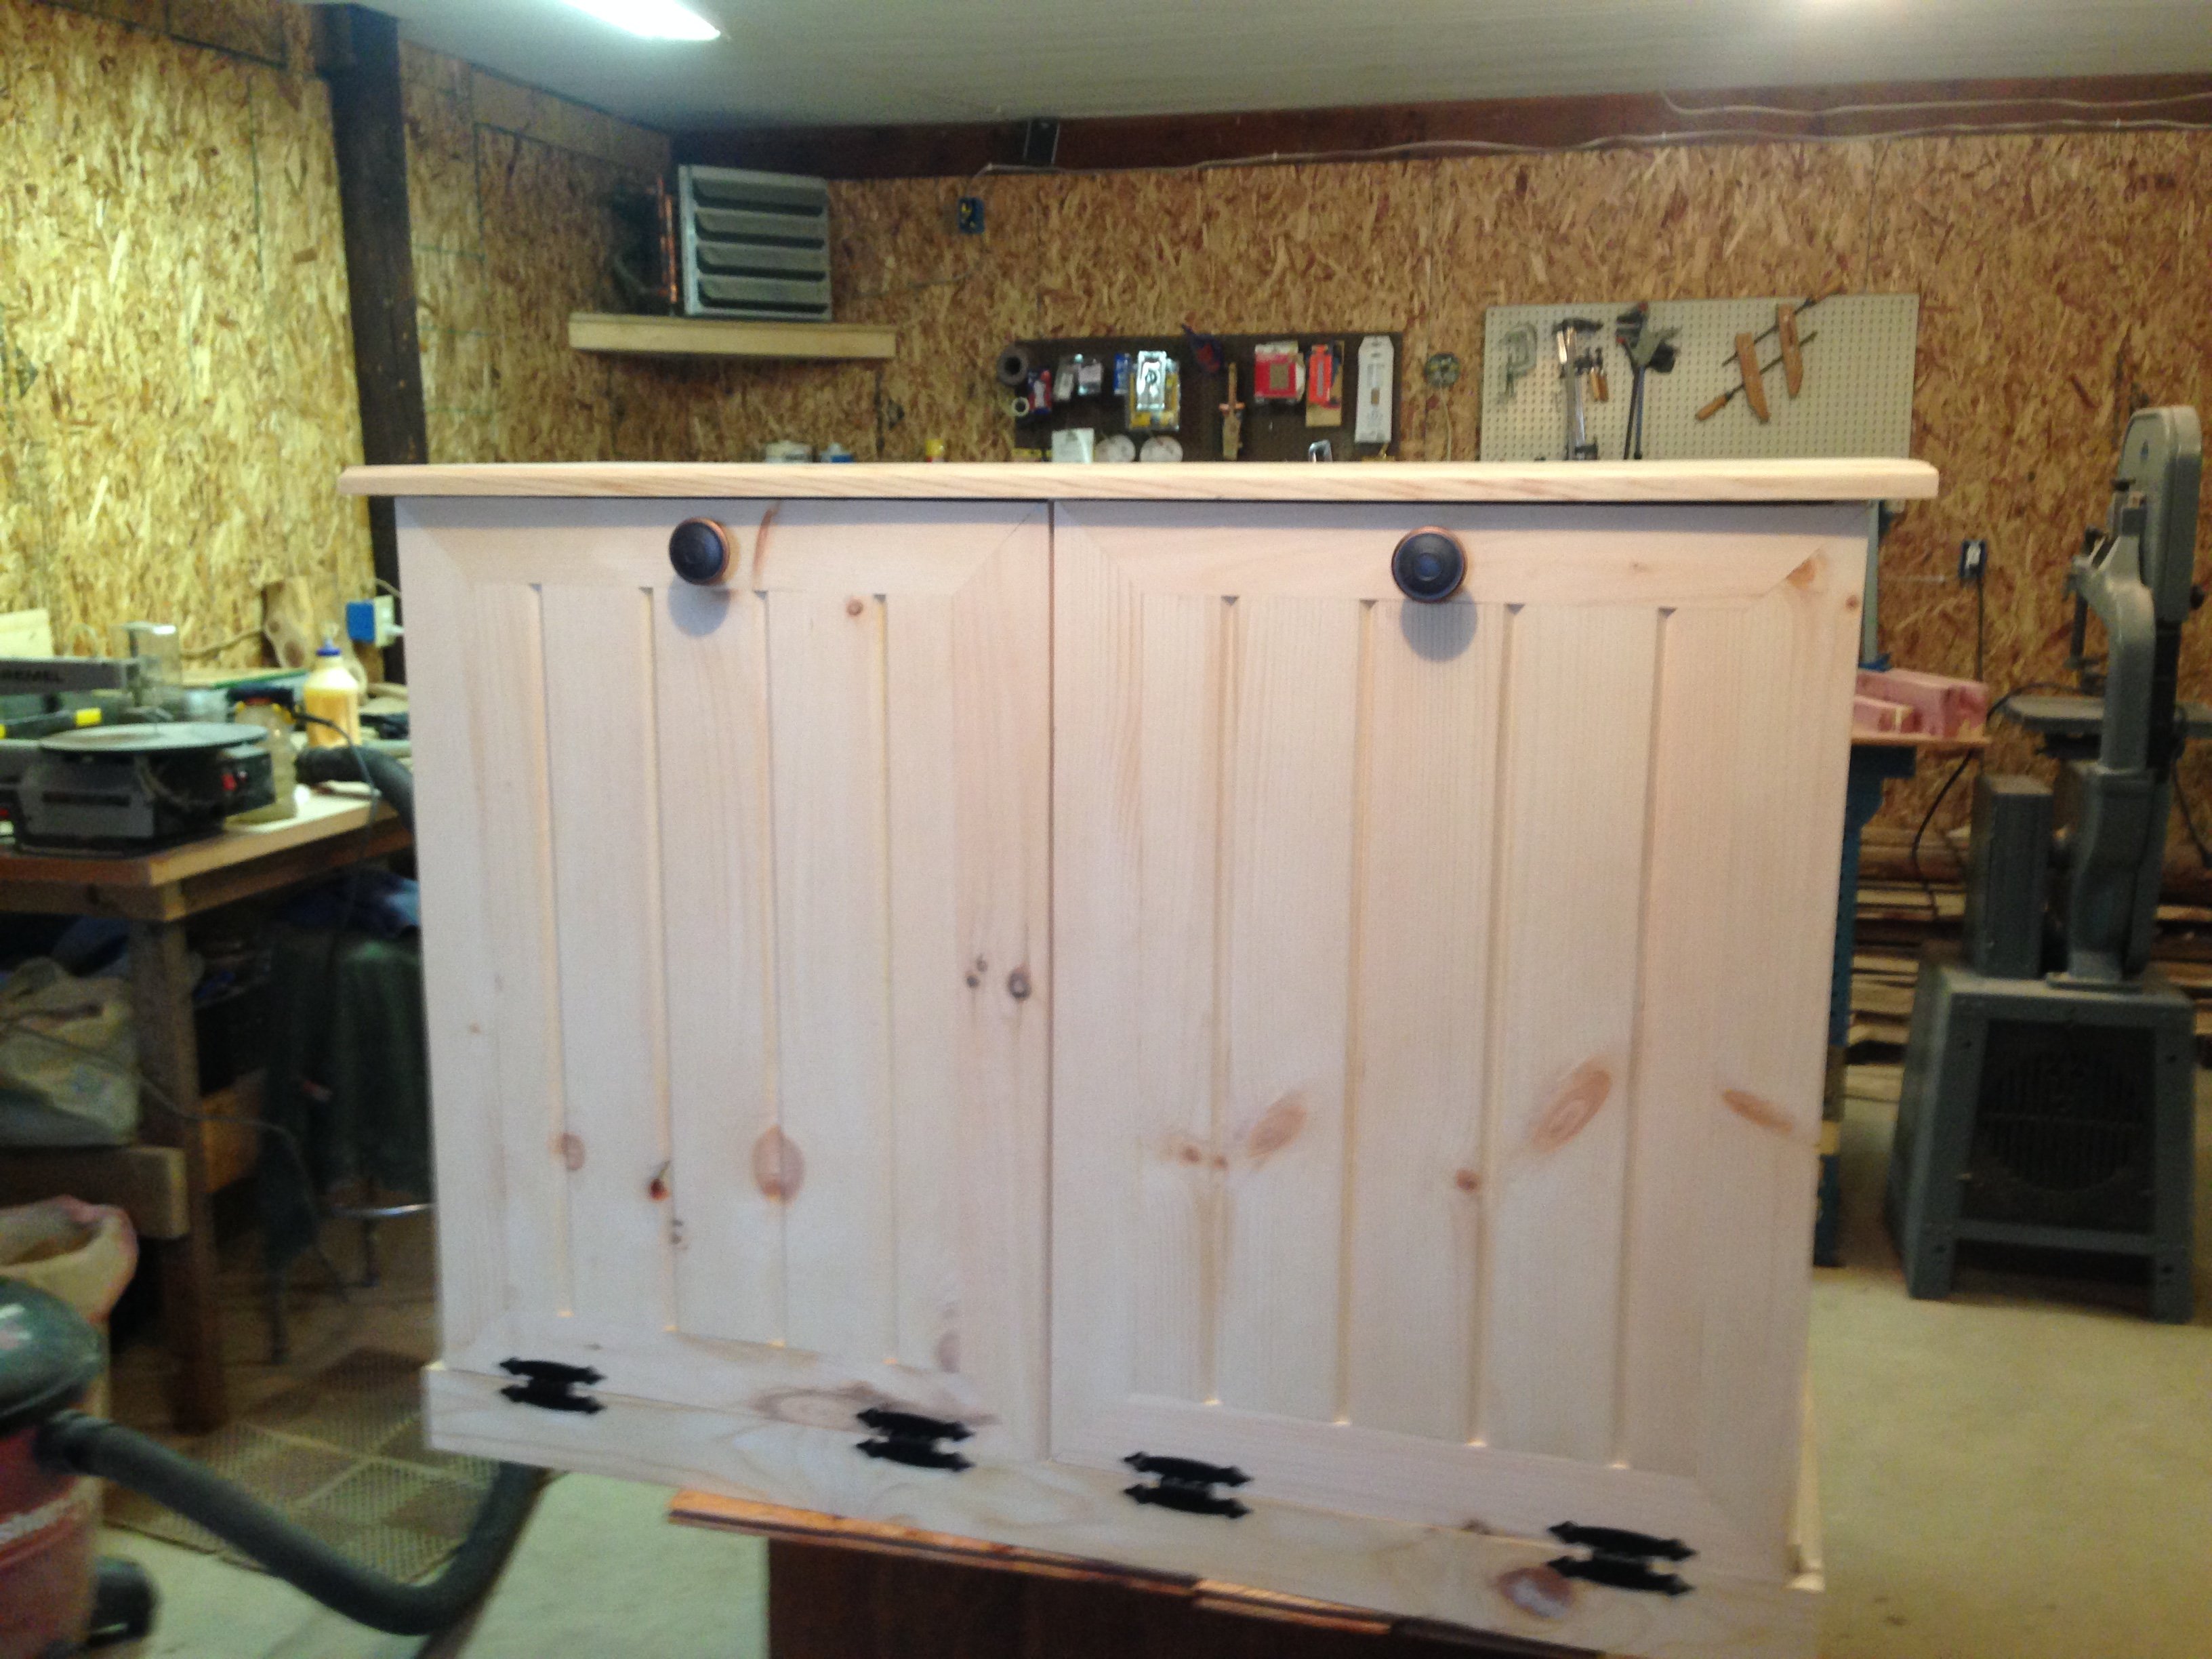
I made this more for baby clothes instead of books. I just got it done a few hours ago, but my wife did not want to wait for the bins to put all of the upcoming baby's clothes in there spot. I ended up ripping the 1x1 into 1/8ix11.5/8 strips to help cover up my screw holes. Thank you Ana for having these plans on your site

built for client
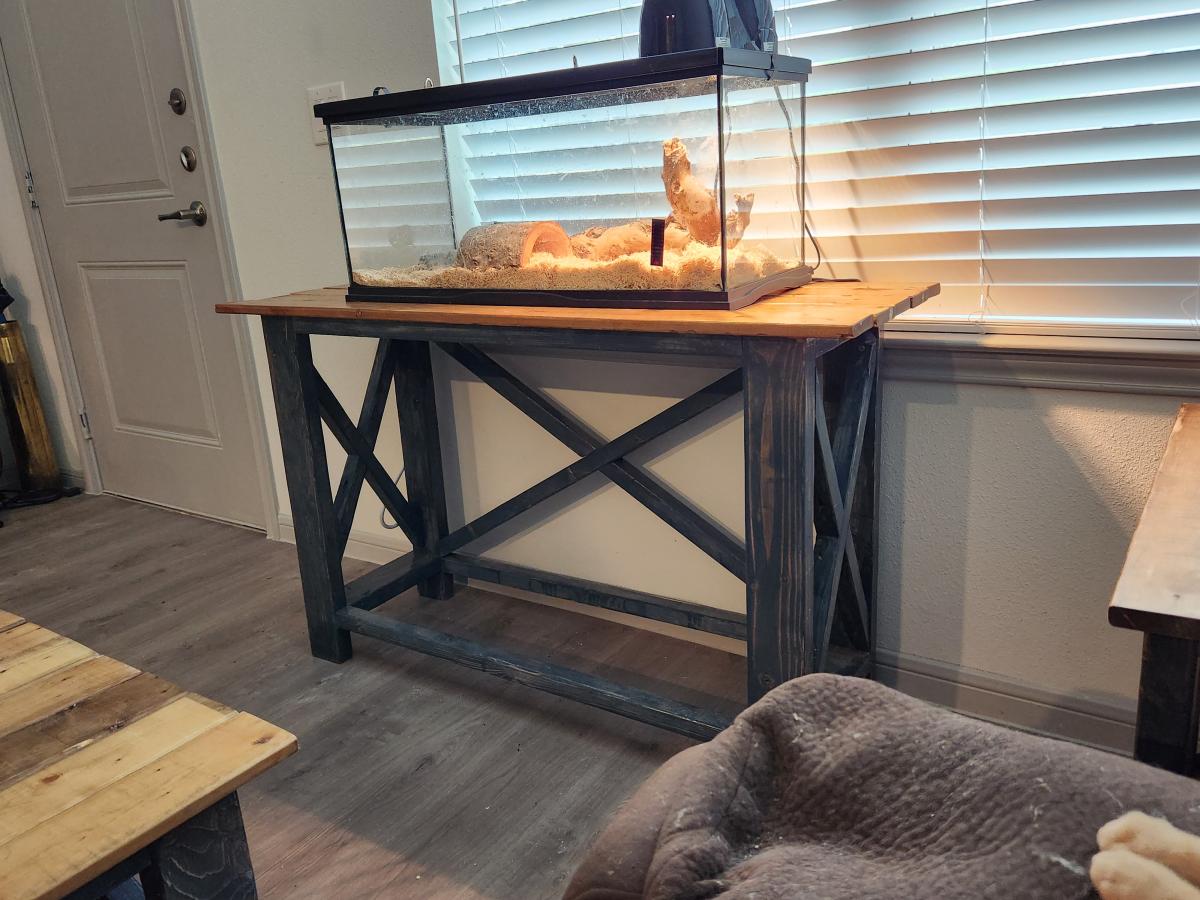
My spin on the 4x4 truss beam table. Fun and rewarding project. I received many compliments on this build.

This is now my fourth project, I built it as a gift for my sisters wedding, she was very pleased! She wanted something white so I went with a Annie Sloan chalk paint, which is pretty pricy I found out ($30-40 per quart) and her clear soft wax to finish. For the top I used a Drift wood finish and a weathered drift wood wax. Because is was a media center I just did fold down faces instead of drawers as in the plan and added some trim that I made on my router table to give it a more antique look. The Build was quite simple however the finishing to give it the right look took quite a bit of playing around!


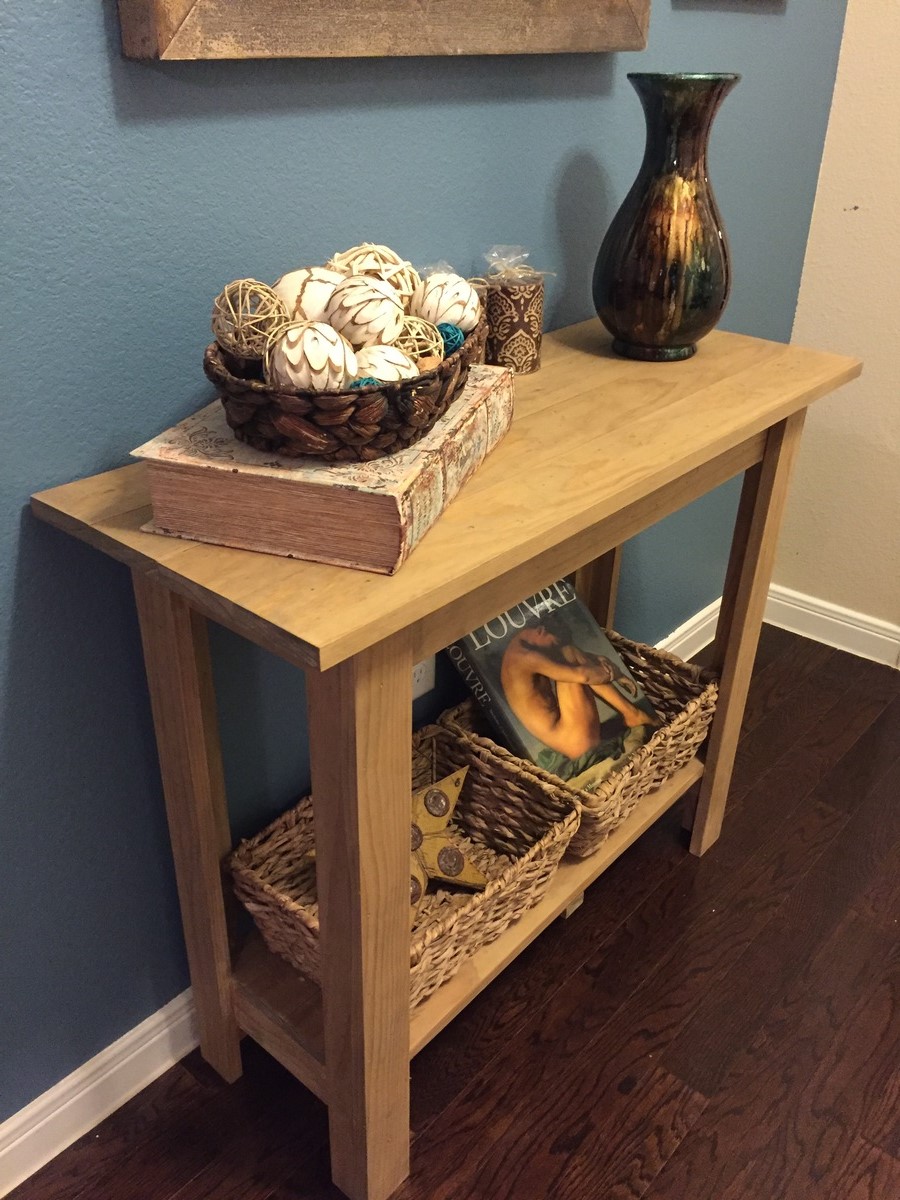
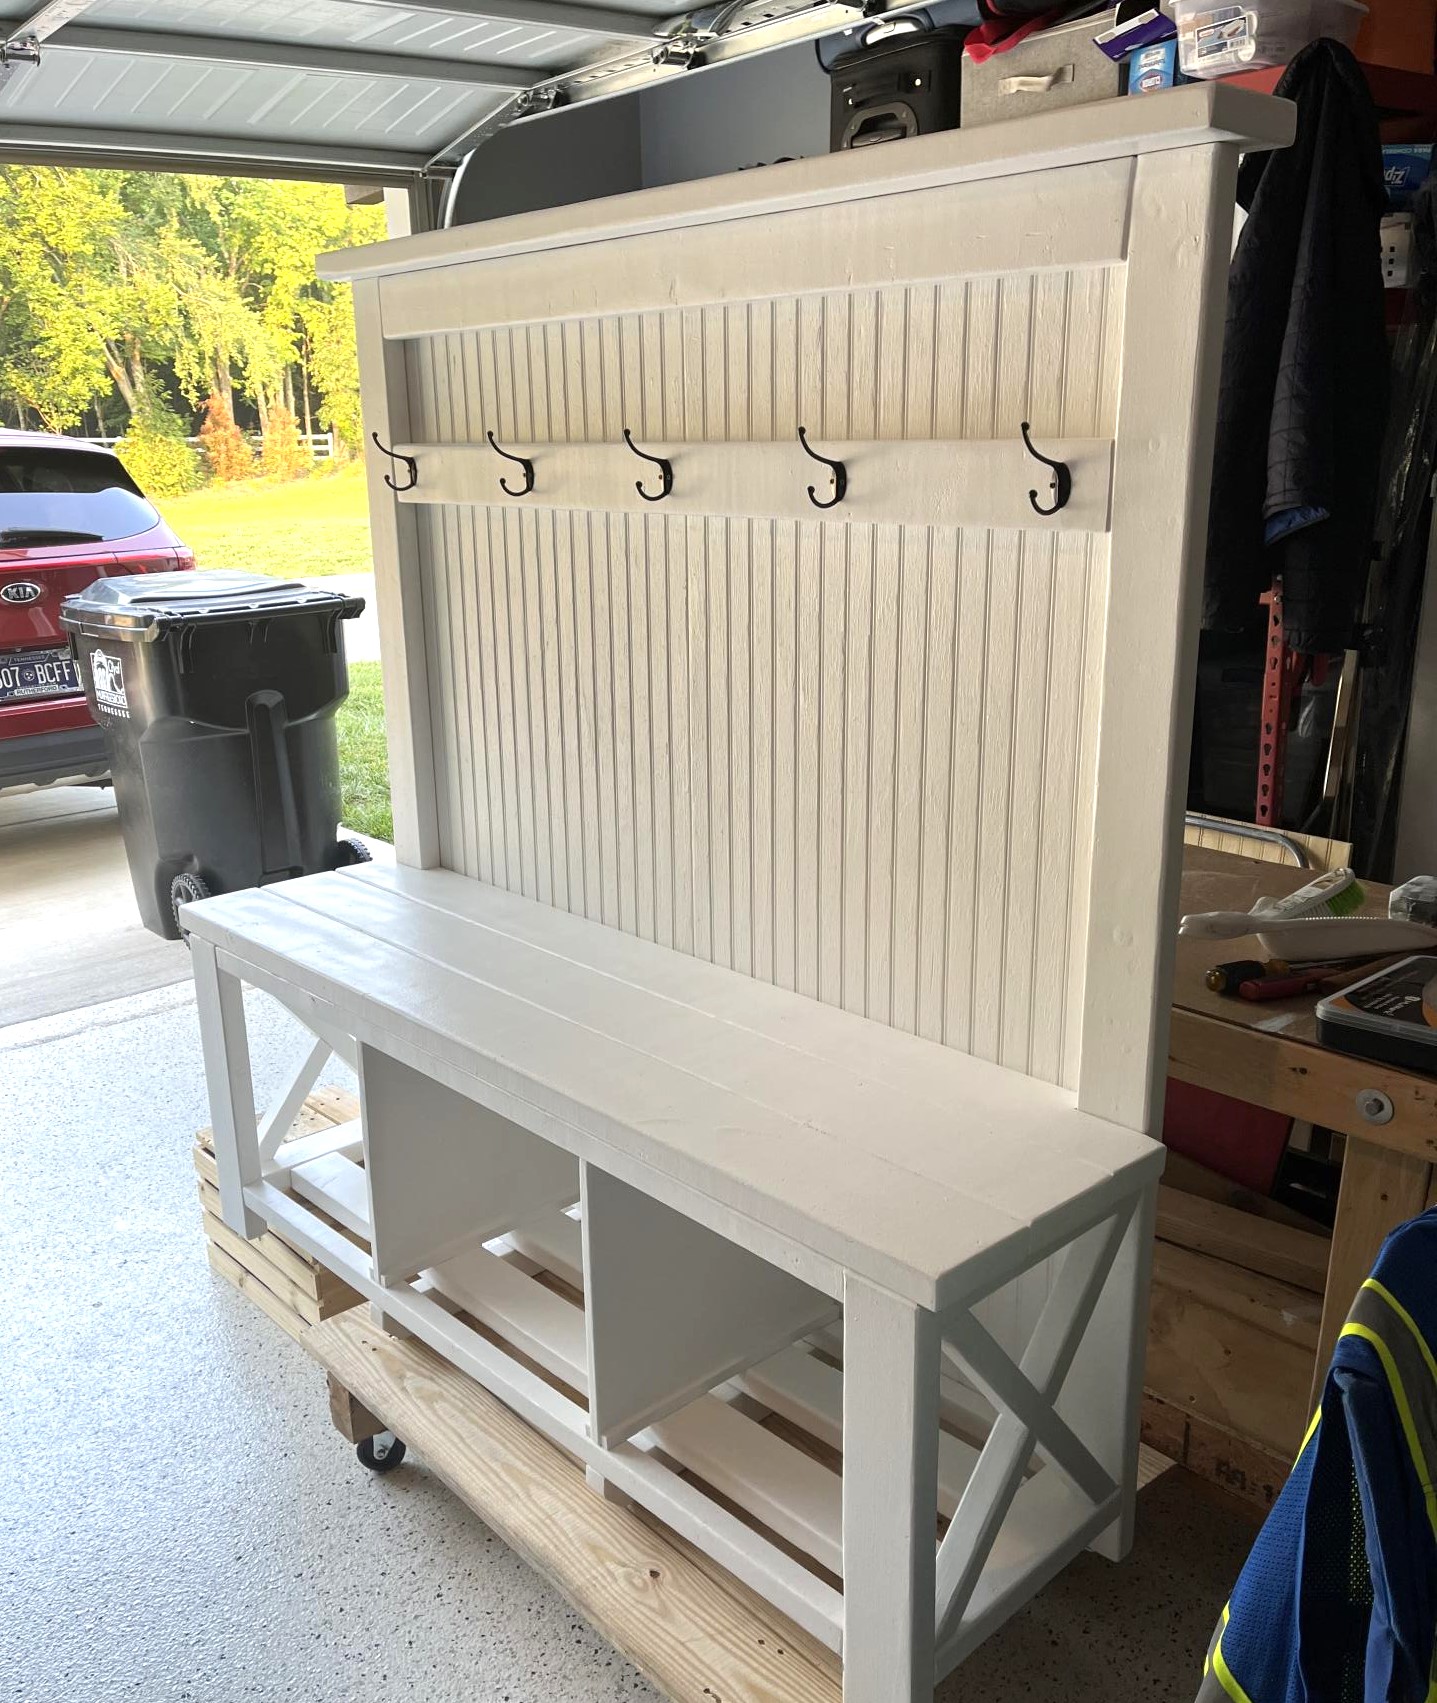
My dad and I built this together. It's perfect for the entry way in my home!
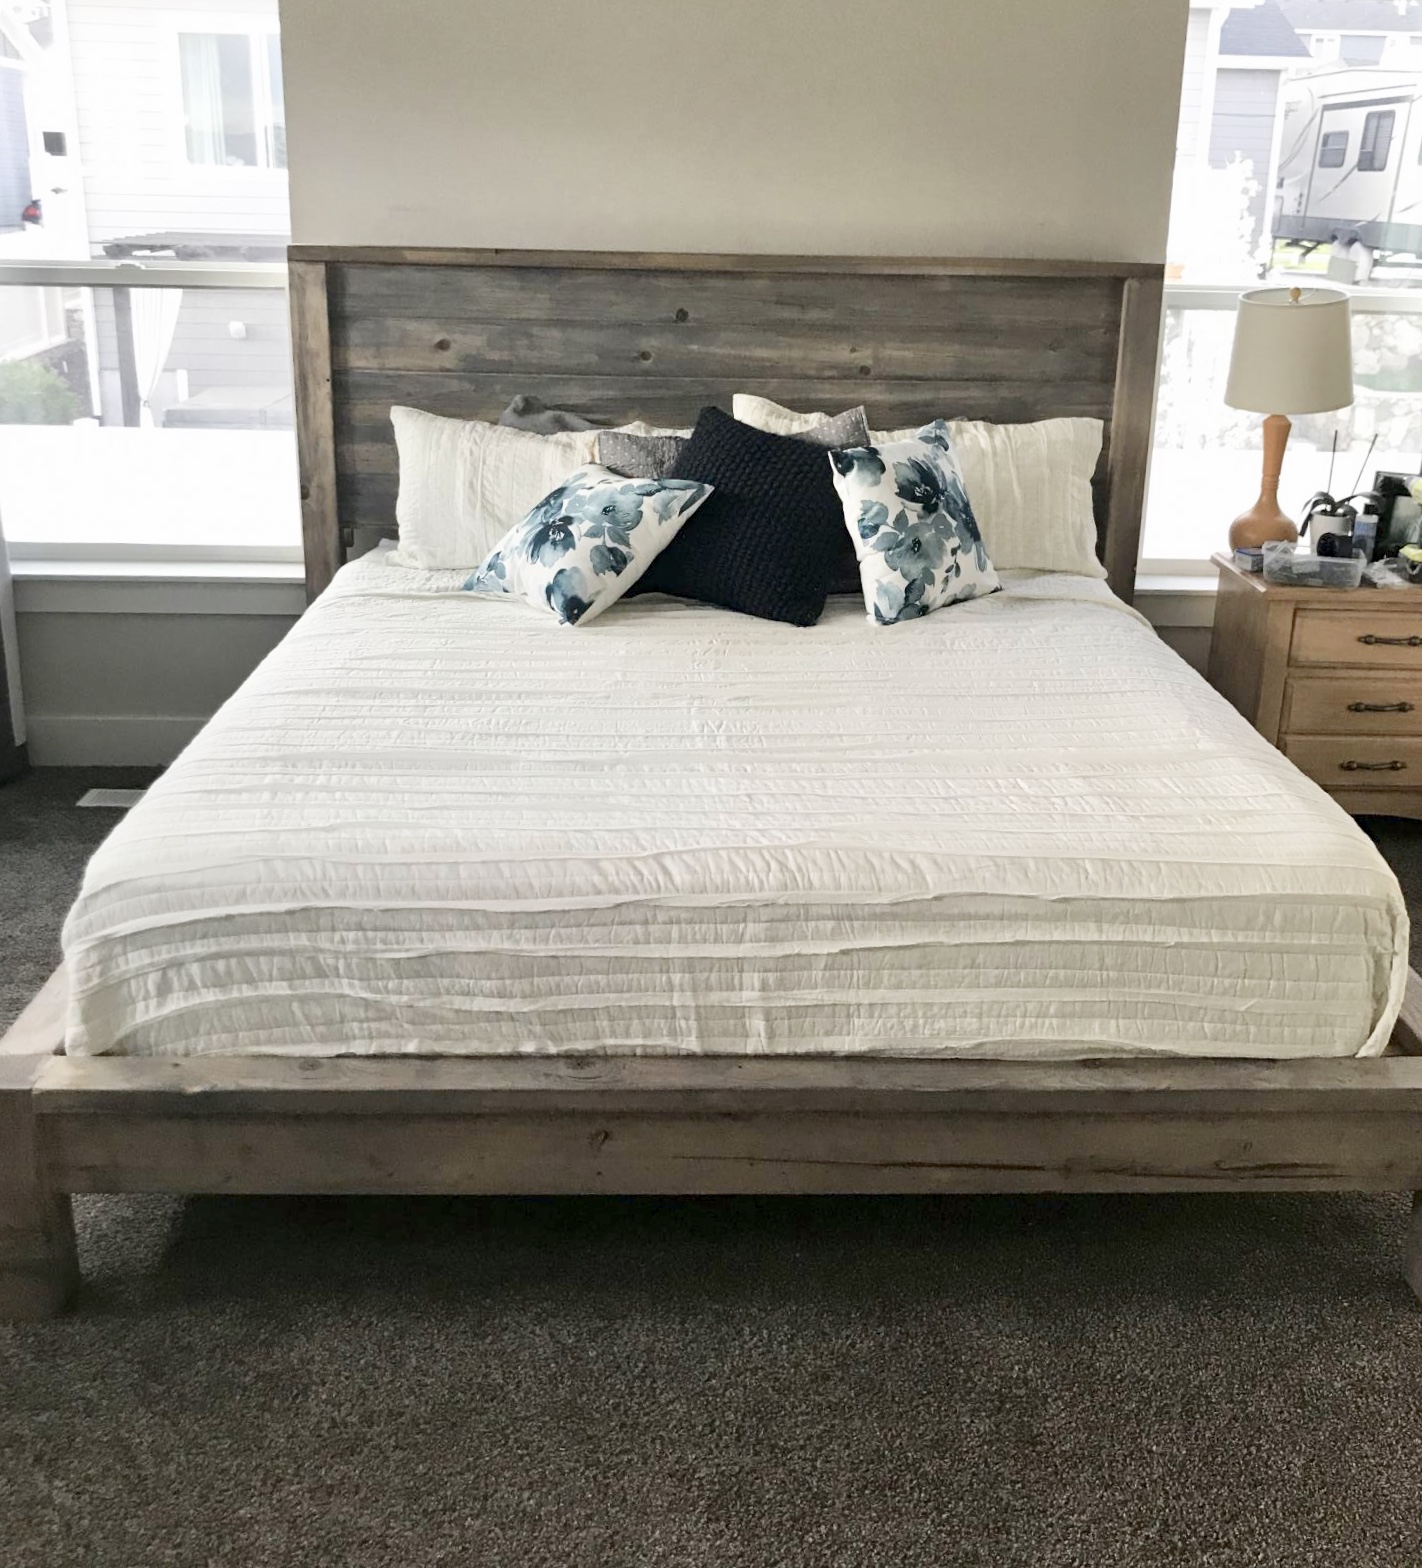
My husband and I have been married for 14 years and have never had a new bed. In fact we have been sleeping on hand me downs our whole lives. I completely fell in love with this bed plan and it was in our very tight budget! We are in heaven. We now have a beautiful farmhouse bed and even a new mattress. We couldn’t be happier with how it turned out.
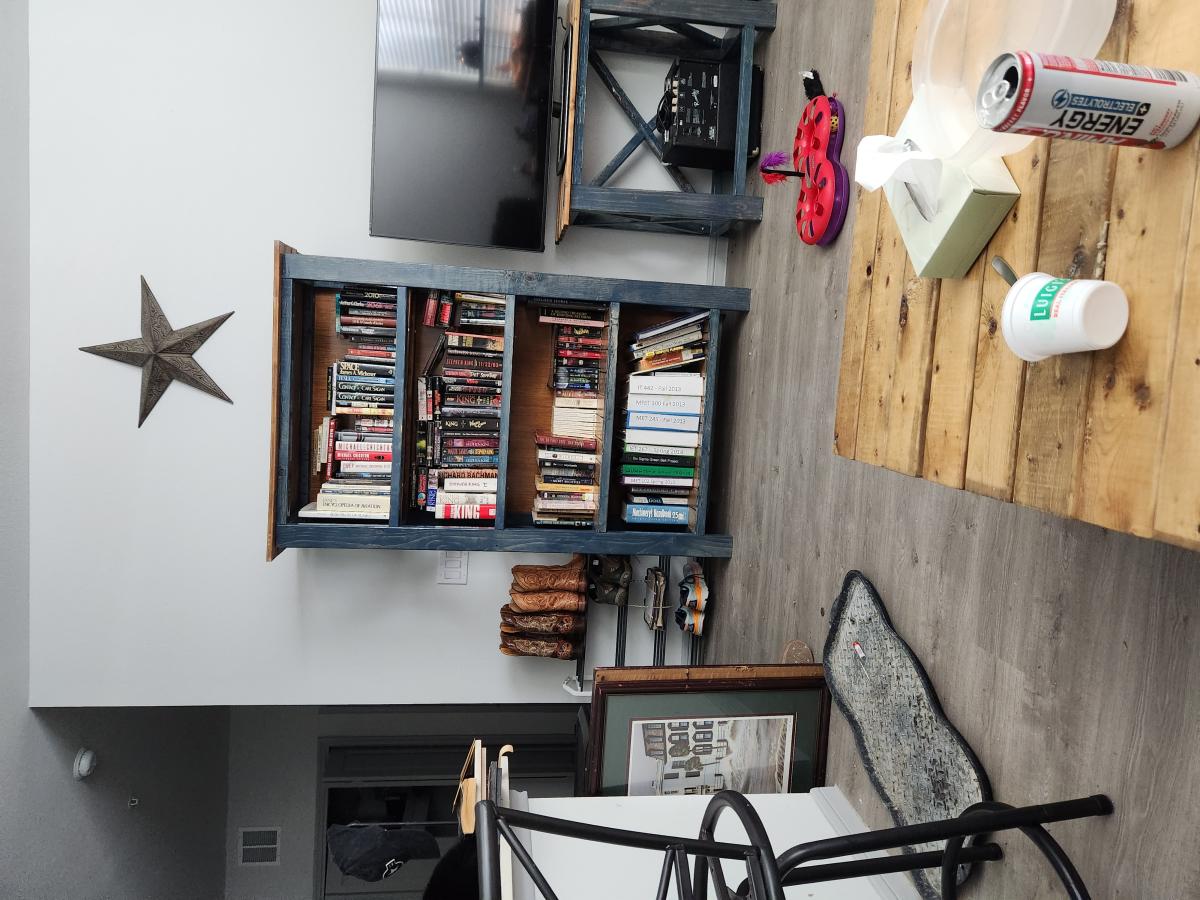
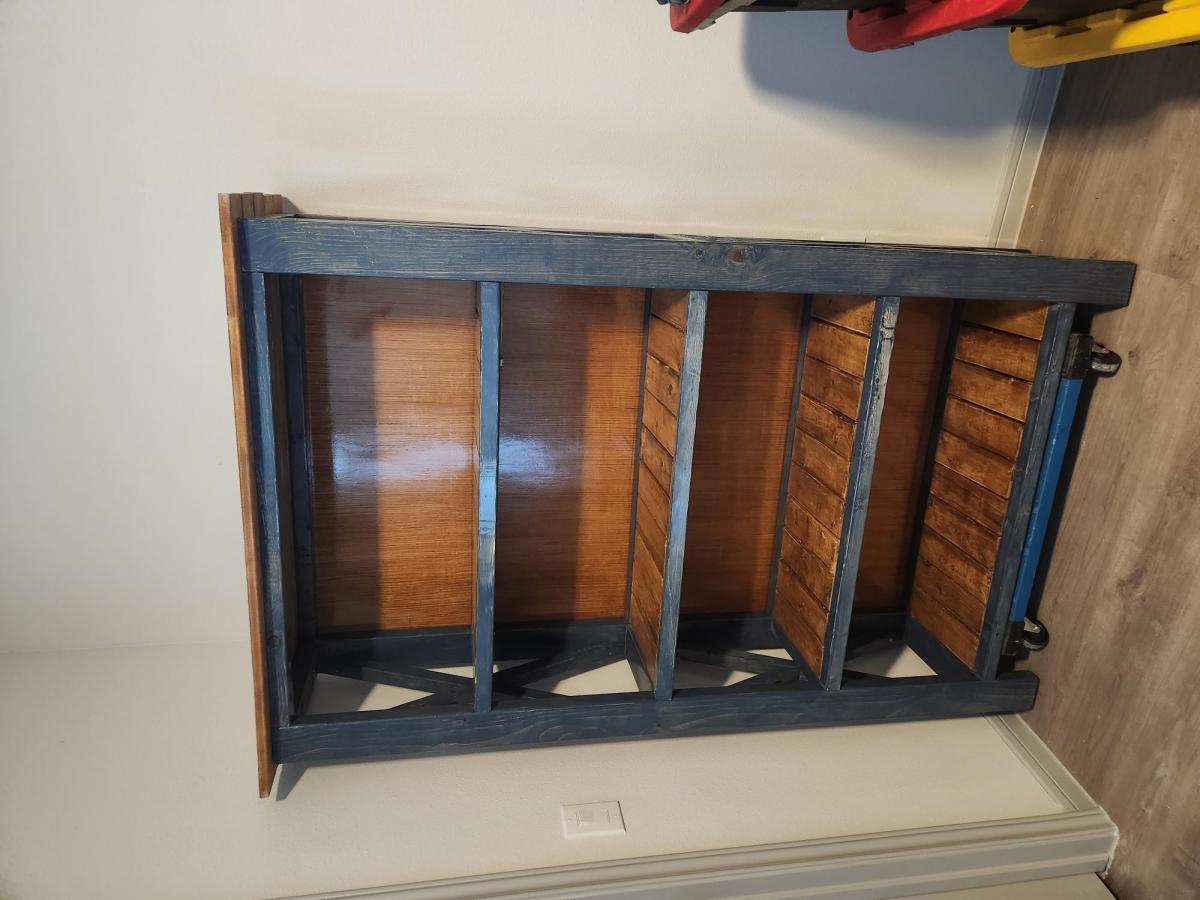
Lots of fun building all of this - very easy to do as well. Built a coffee table, 2 end tables, 2 console tables, and the book case. I changed a couple things up like doing 1x4 instead of 2x6 for the tops, and used the advice on aging/oxidizing the boards as well.

Wed, 06/14/2023 - 10:21
These look amazing and I love your finish choice! Thanks for sharing.
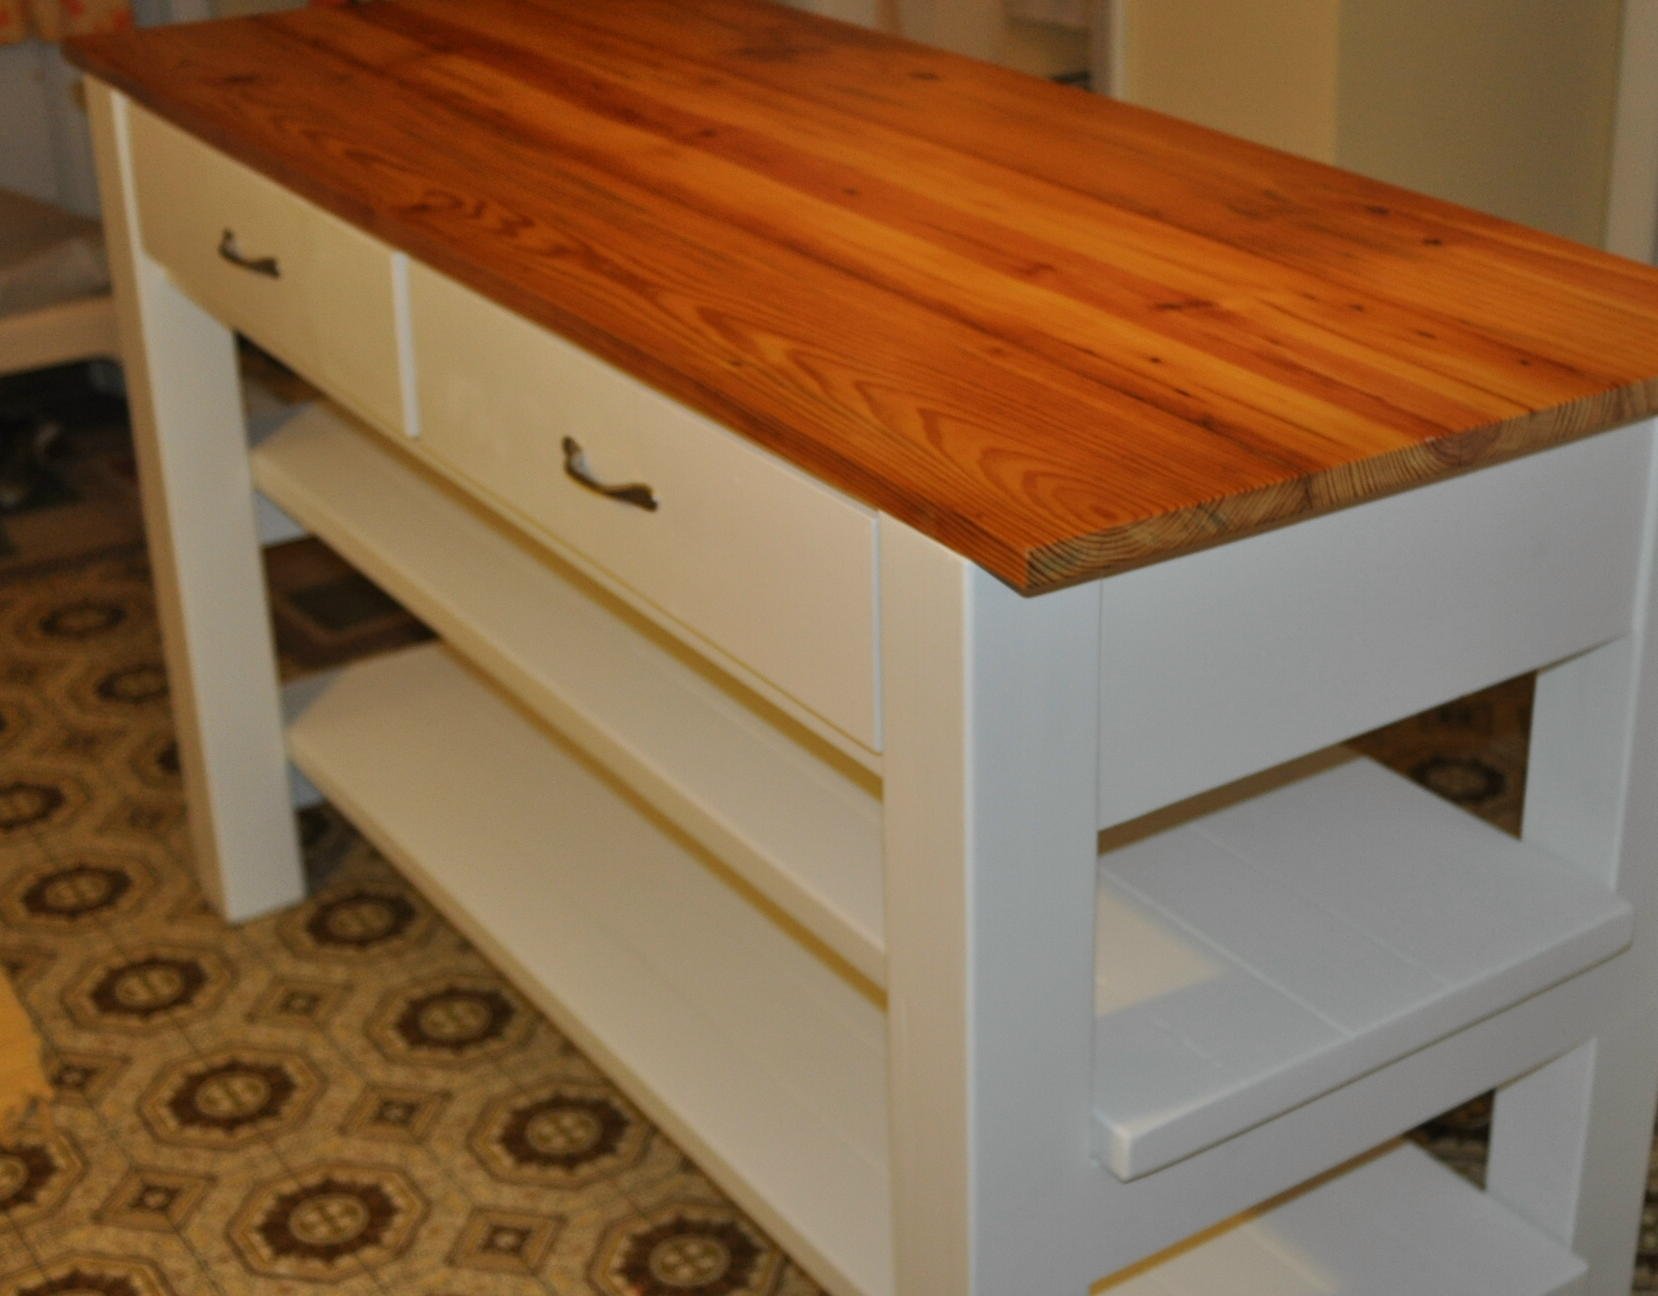
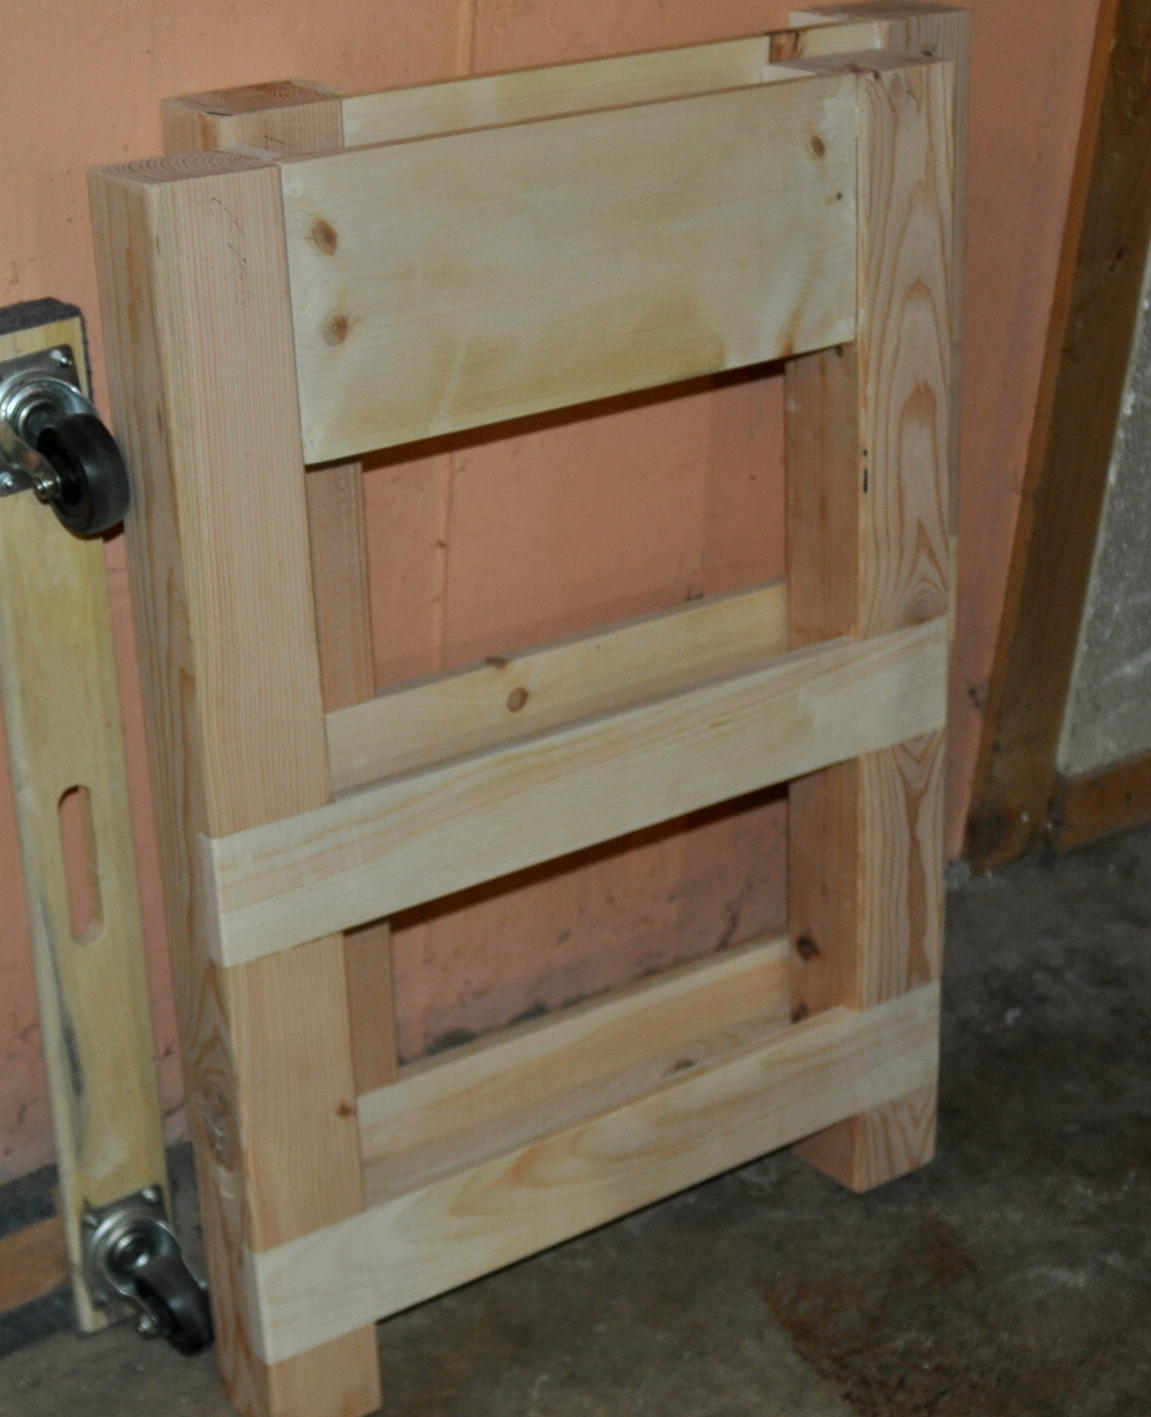
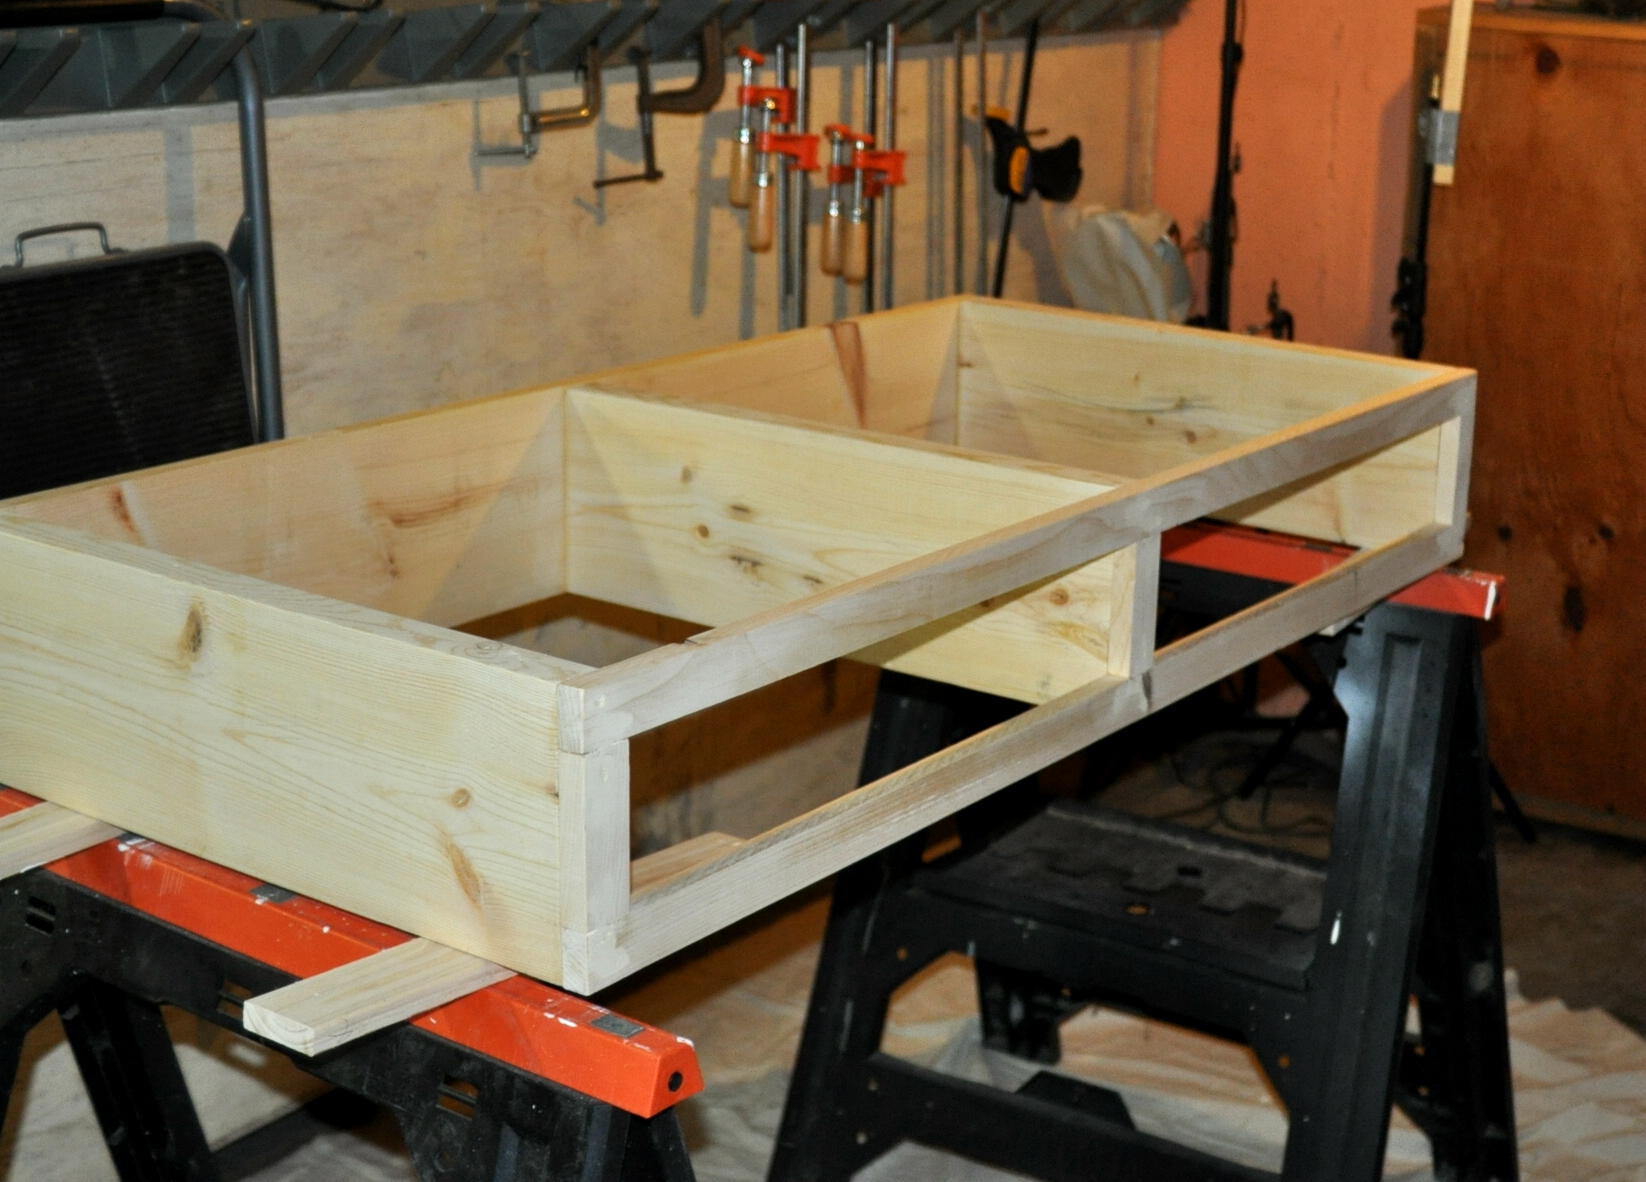
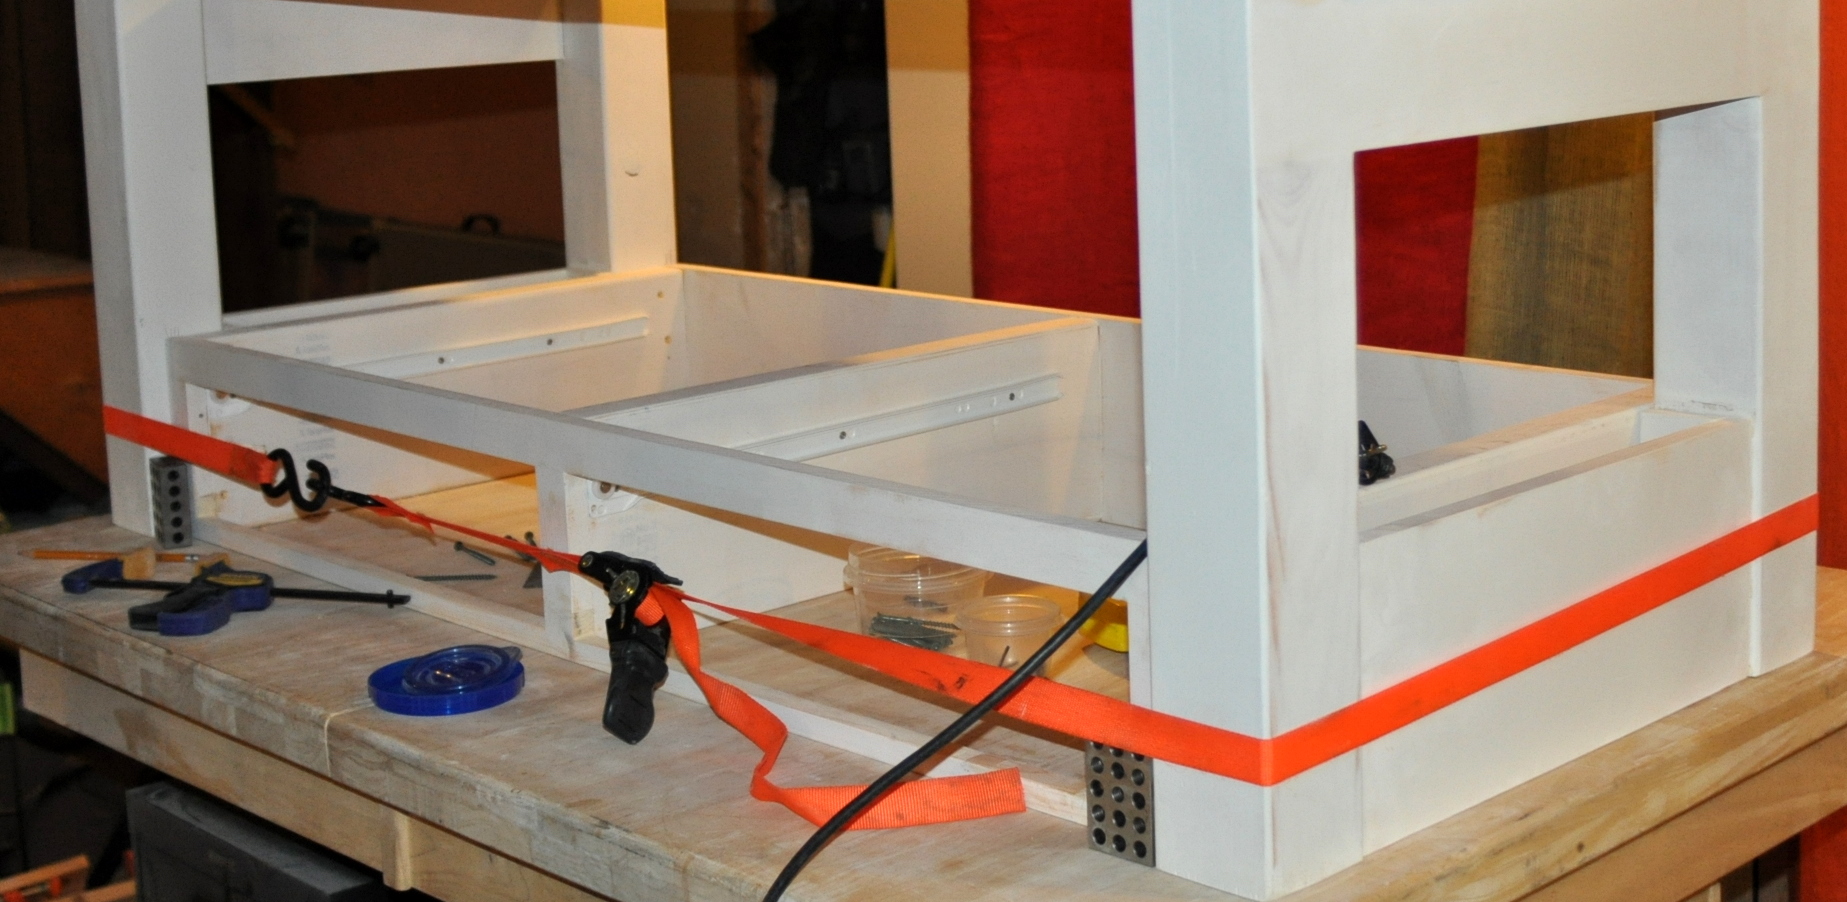
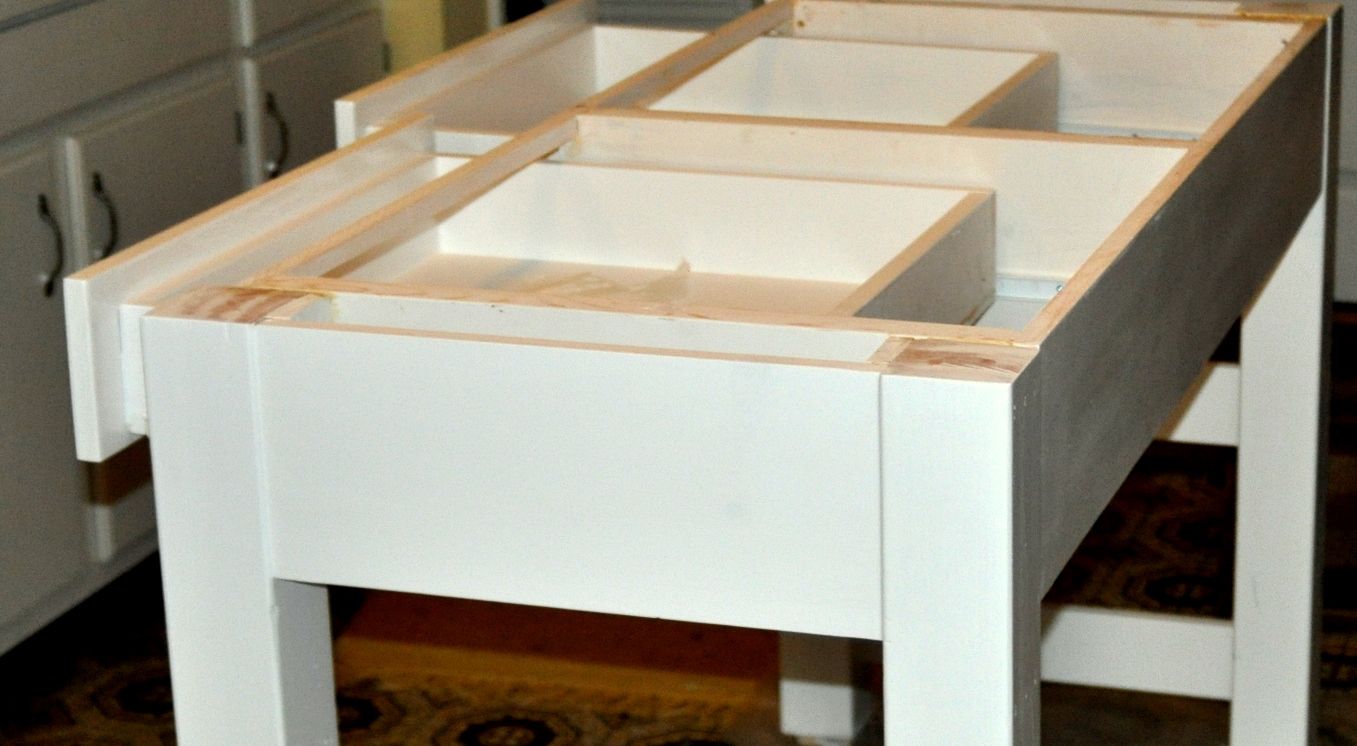
I tripped over some boards in my attic a few times before I realized how perfect they would be for my island! I planed, biscuited, poly'ed the boards and, along with a few other modifications, tada!! My new island! Love it. Now I just gotta get over the "new car smell" long enough to actually use it!


Wed, 02/08/2012 - 18:33
Super job! You gave those floor boards a new life in a beautiful island. This is sure to become a family heirloom. :)
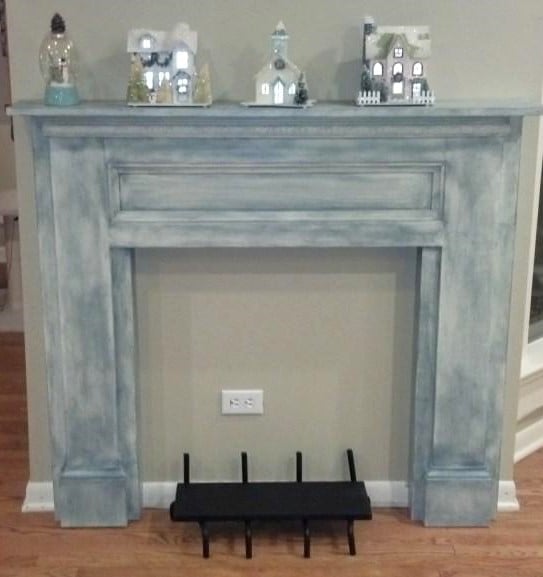
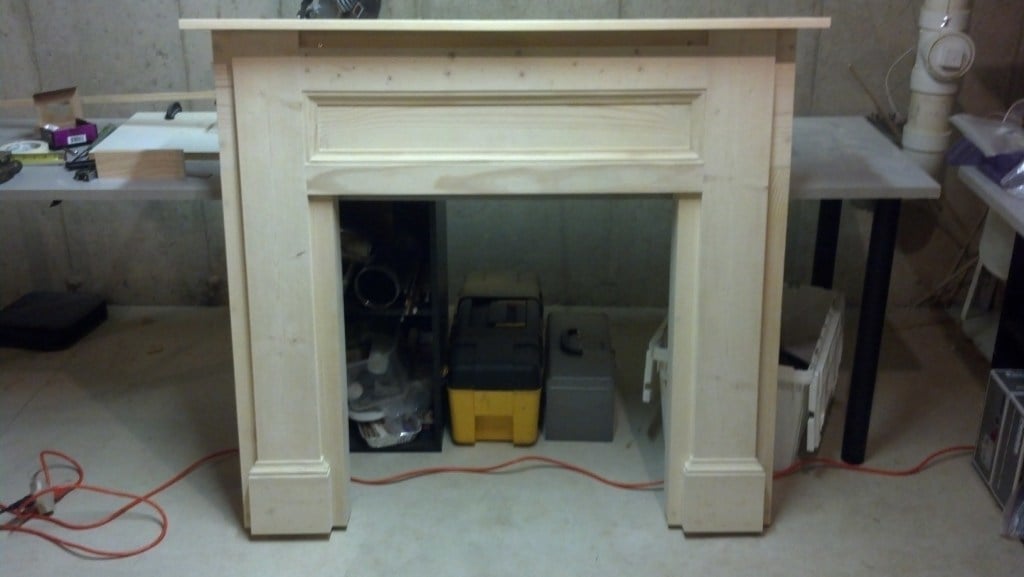
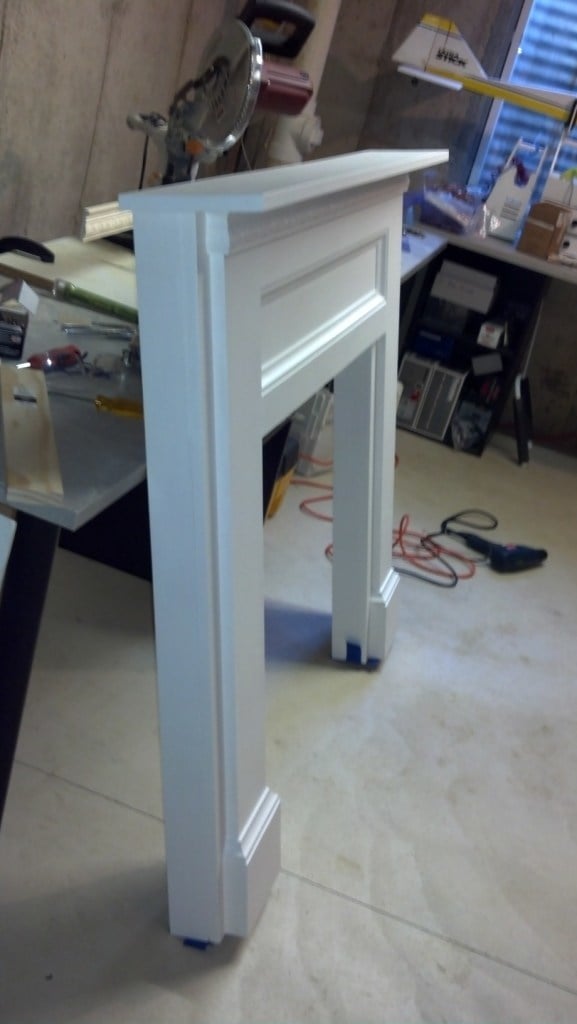
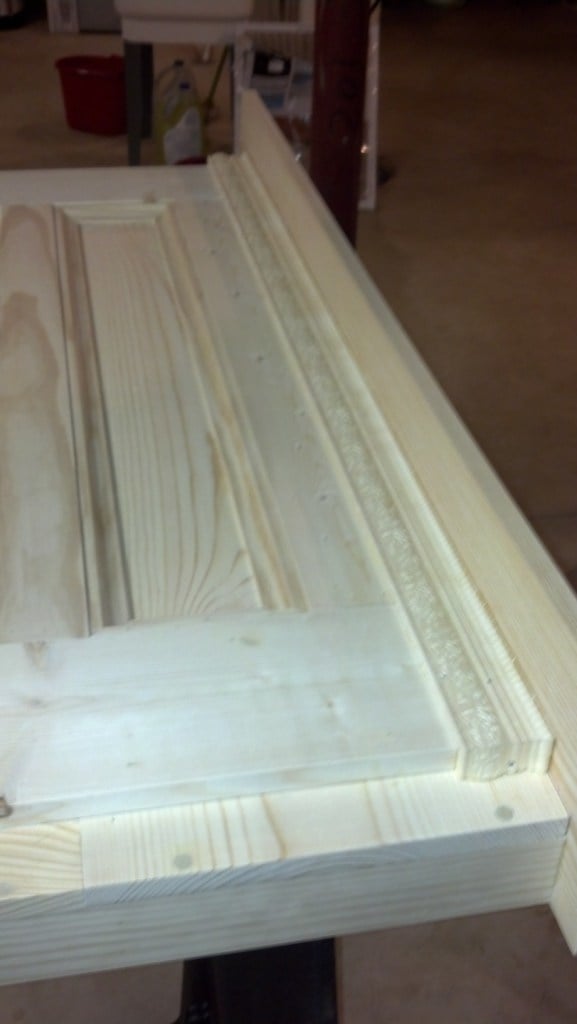
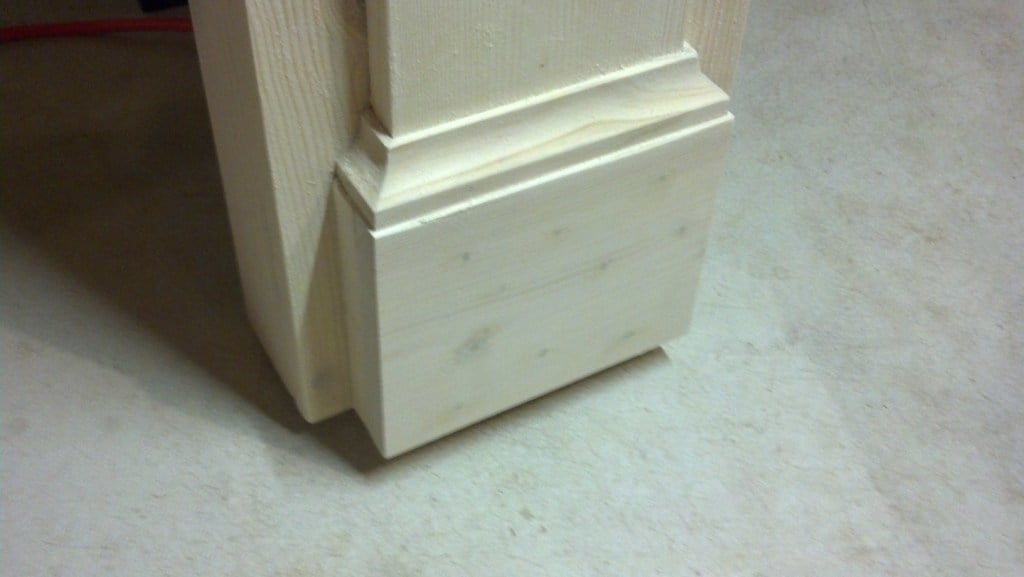
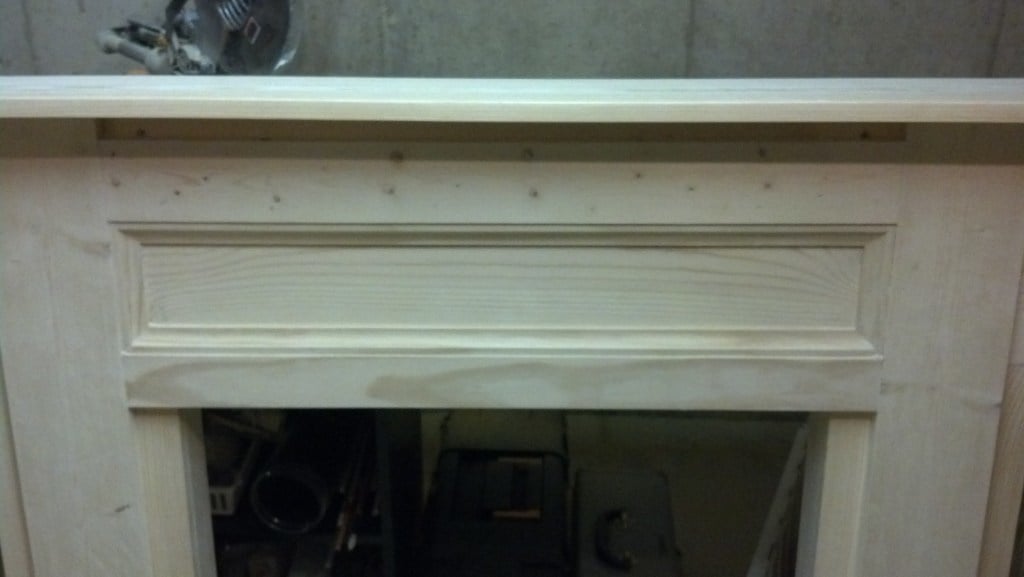
My daughter asked if we could build this together for her new apartment. We had fun putting it together over a month or so. I was easily able to duplicate the plans, even with my limited woodworking experience. I think it came out rather well. It was a lot of fun! We mounted it to the wall with a 1x4 board installed between the fireplace uprights and flush with the back edge of the mantle. I built a mounting bracket by overlapping two 1 inch thick, wide boards 50% and nailing them together. The width of the bracket boards were about 4 inches shorter than the mounting board on the fireplace to allow horizontal adjustment. I screwed the bracket to the wall. The bracket forms a pocket. The fireplace is lifted up and over the bracket so the fireplace mounting board slides into the pocket between the wall and the upper bracket board. I screwed the bracket a bit lower on the wall so the weight of the fireplace is supported by its legs. The bracket just keeps the fireplace snug against the wall. It worked great. Just be sure to screw the bracket into studs. I also removed the base board trim from the wall and cut it to fit around the fireplace. I also cleaned up an old fireplace log grate I had with a wire brush and flat black Rustoleum. I used a scrap piece of board painted flat black to put on the grate as a shelf for candles.
I changed the plans just a little and instead of using the 1x12's on the bottom I used some left over 2x6 scraps. I had to use the table saw to rip one board to fit. I personally think it gives it a better look. also the top of the table I added to butt boards to match the rest of the furniture in the house.

I built this table a few years back when I was just starting off with my woodworking hobbies. It turned out beautiful thanks to the easy-to-follow plan from Ana! This is a gorgeous, sturdy farmhouse table that can look good in any finish, and in any home!
Thanks for being there, love your designs
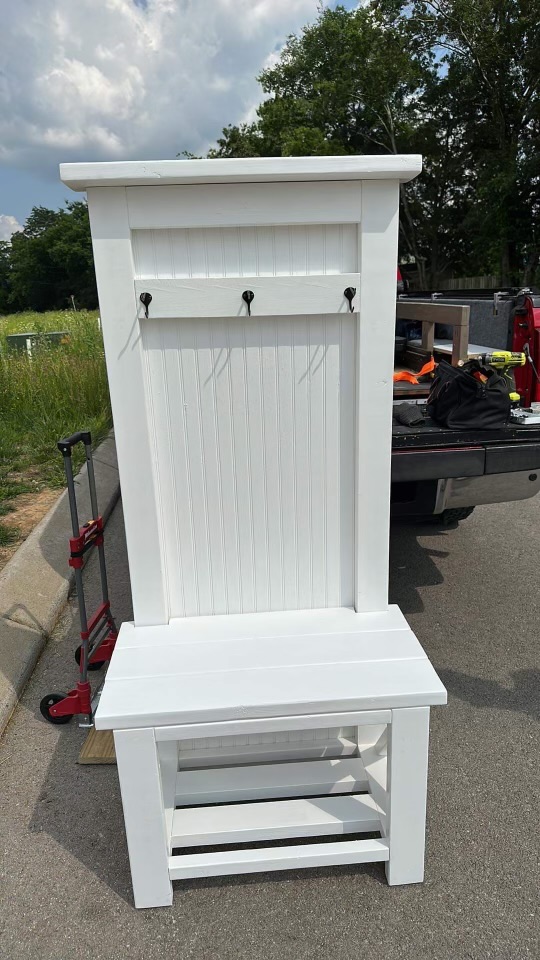
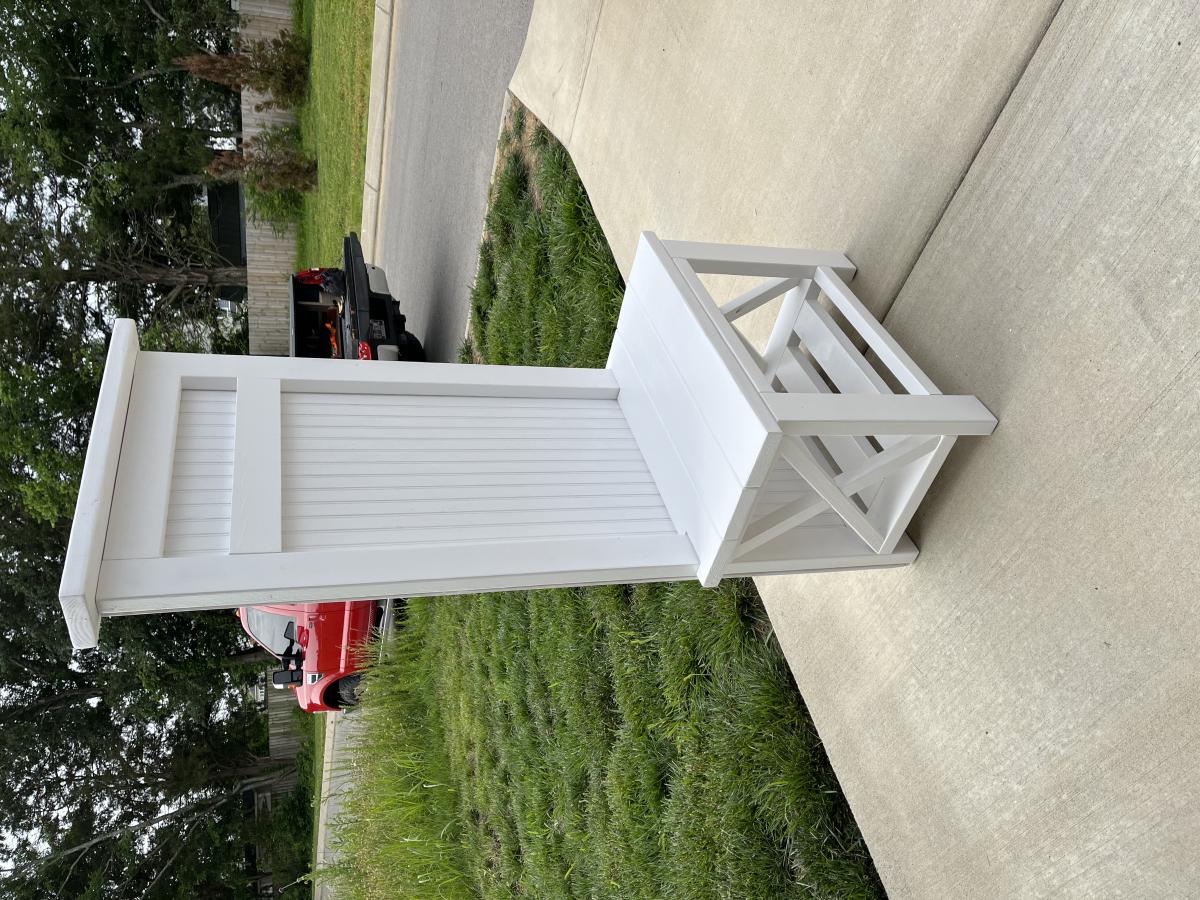
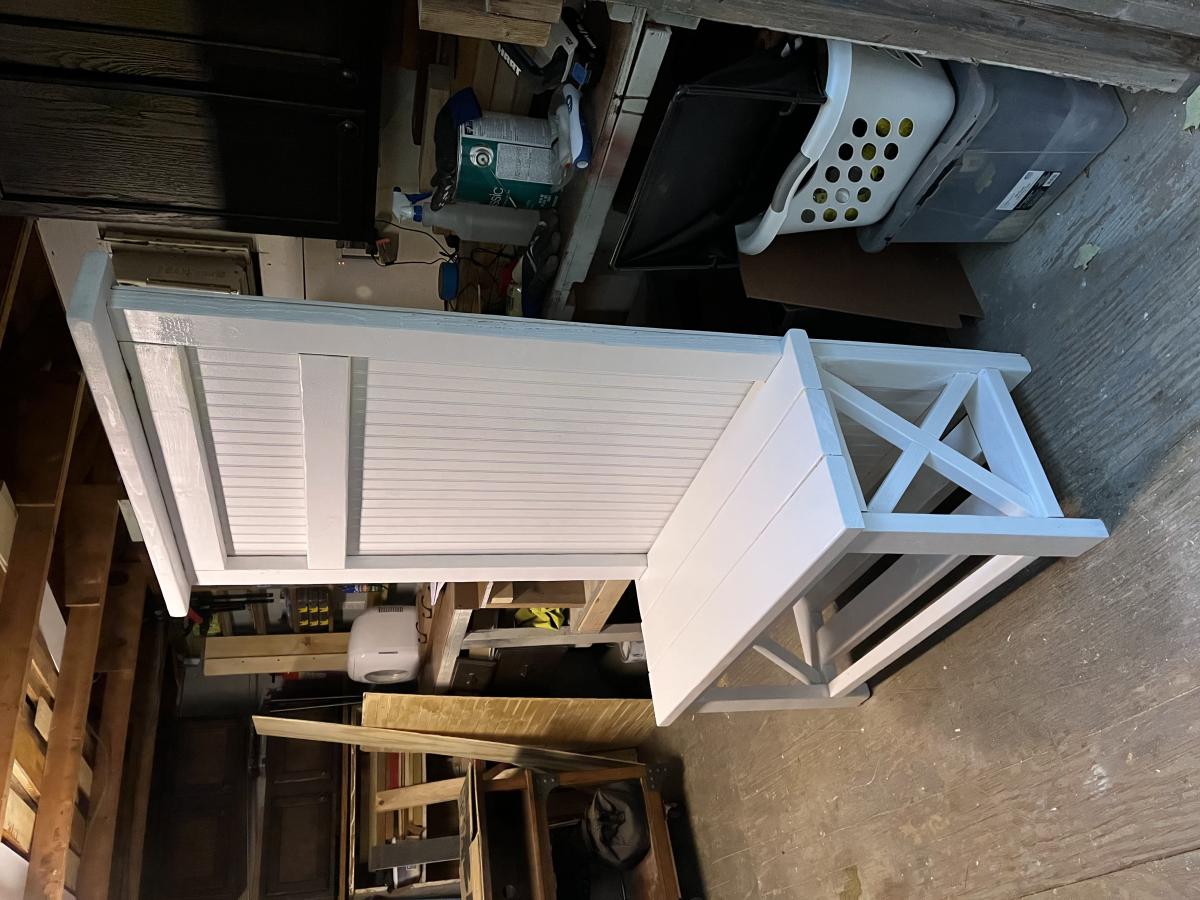
Bench for Grandma!
This is my first build and I learned a lot along the way. I have to say I am very happy I used my scrap before I cut into my "real" wood. Definitely helped with the nerves!~~Sorry for the sideways photos can't seem to get them to straighten out~~
Tue, 12/17/2013 - 11:20
Loved watching you build this table, Panda, and taking pictures for you to look back at! It turned out beautiful!! Can't wait for your next project! - Mom
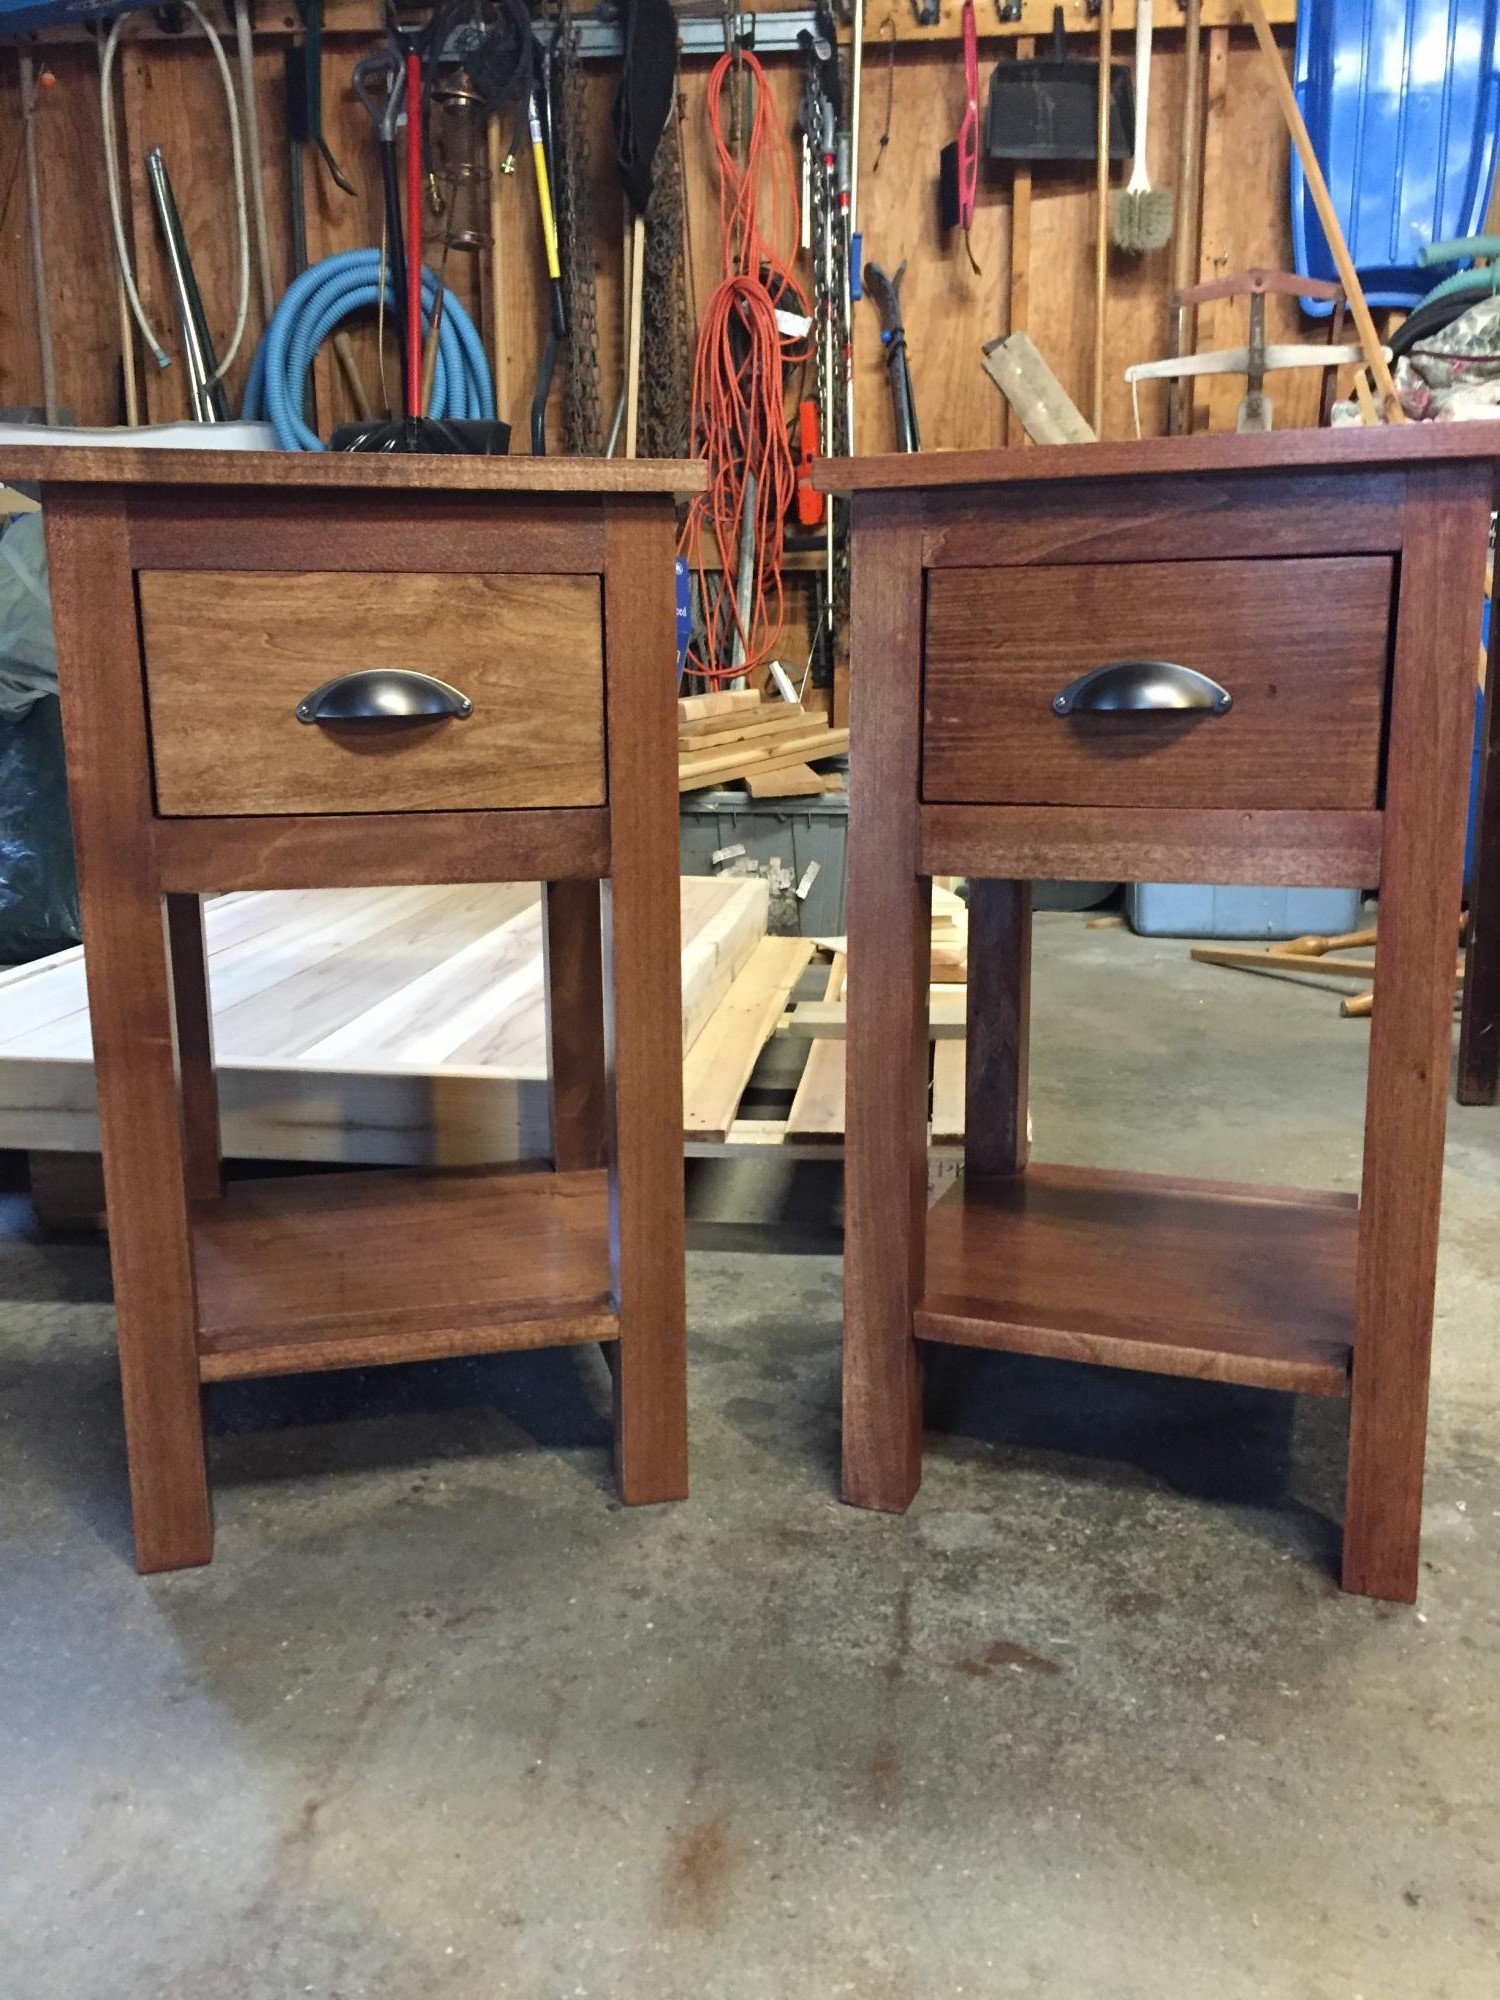
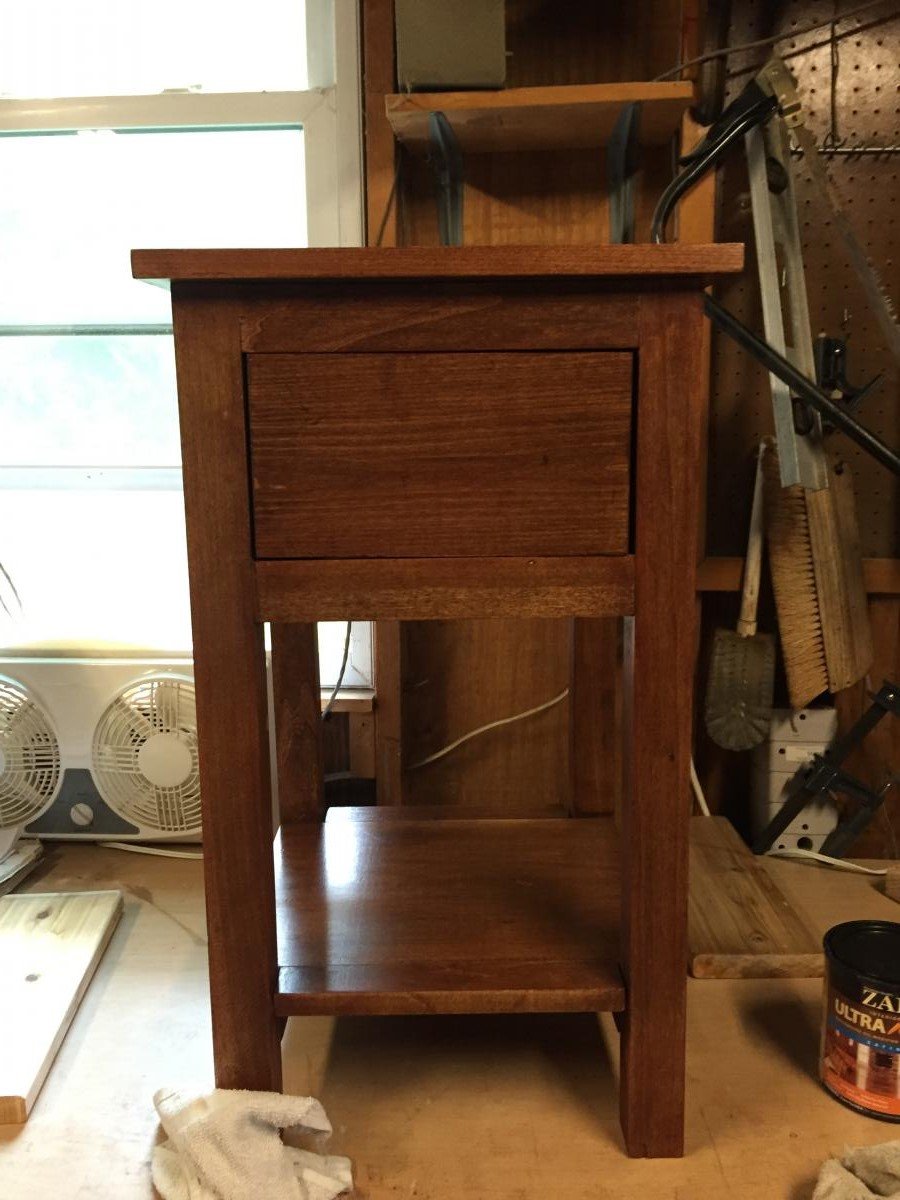
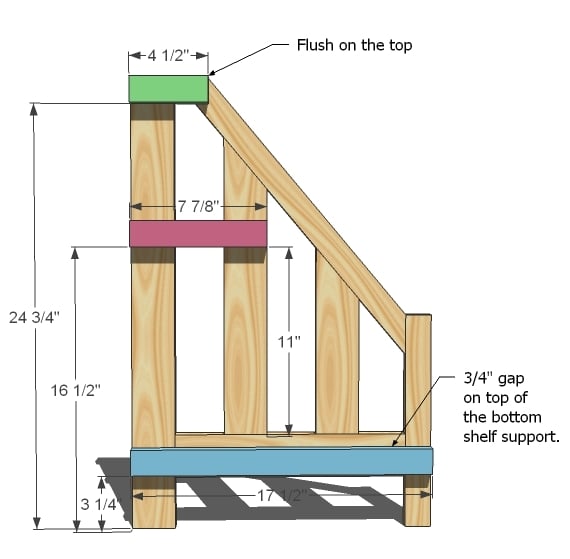
I made these for my daughter’s bedroom it was small and the wanted smaller tables to fit. It was my first attempt at drawers. They are pretty primitive. I use a router and drawer slides now.


Comments
Ana White Admin
Fri, 05/26/2023 - 19:43
Superb Greenhouse!
It looks awesome and love your pup! Thank you so much for sharing.