Reclaimed Post and Plank Bed

Our Post & Plank is grand in both scale and beauty. The large fir posts anchor this bed, and give it a proud, weighty impression.


Our Post & Plank is grand in both scale and beauty. The large fir posts anchor this bed, and give it a proud, weighty impression.

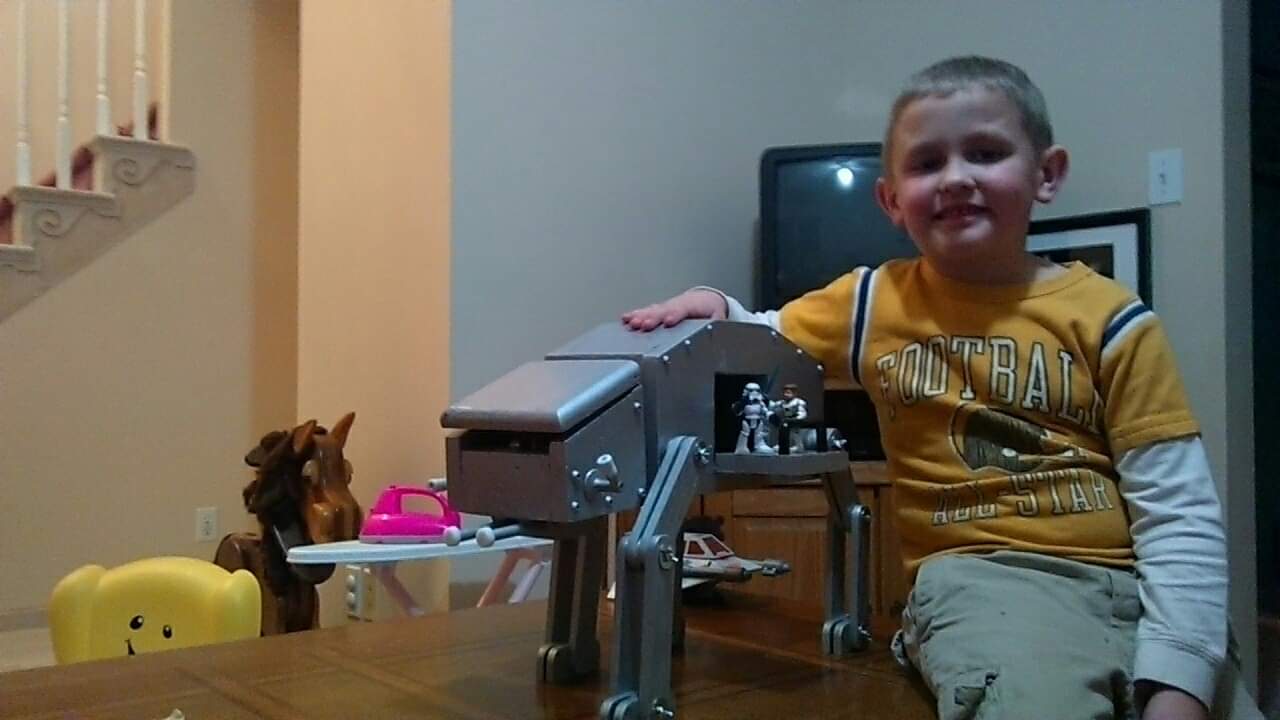
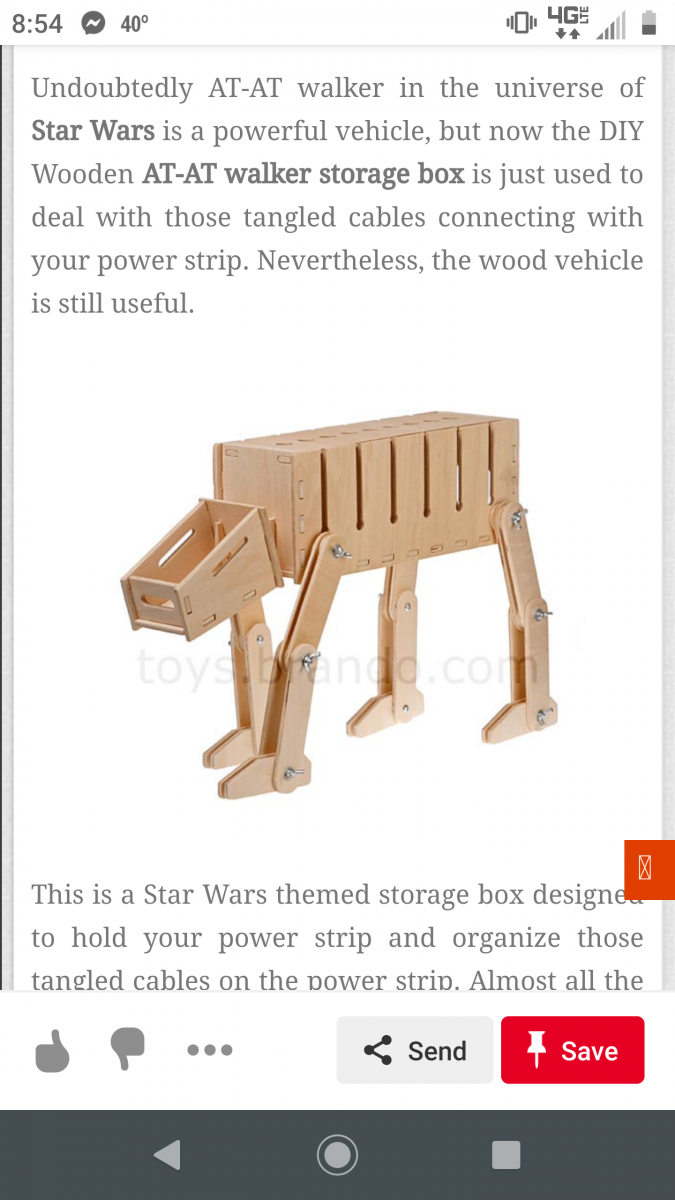
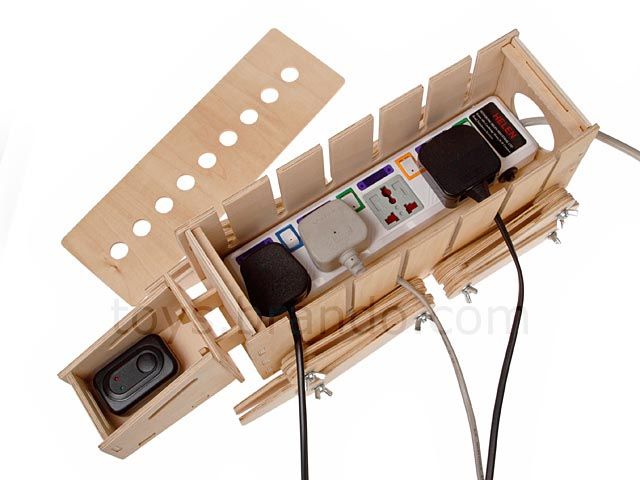
We couldn't find one in the store and my son wanted one for his birthday. I found an example online of a starwars themed charging station and he has played with it for years. Used some scrap wood and most of the cost was hardware and accessories.
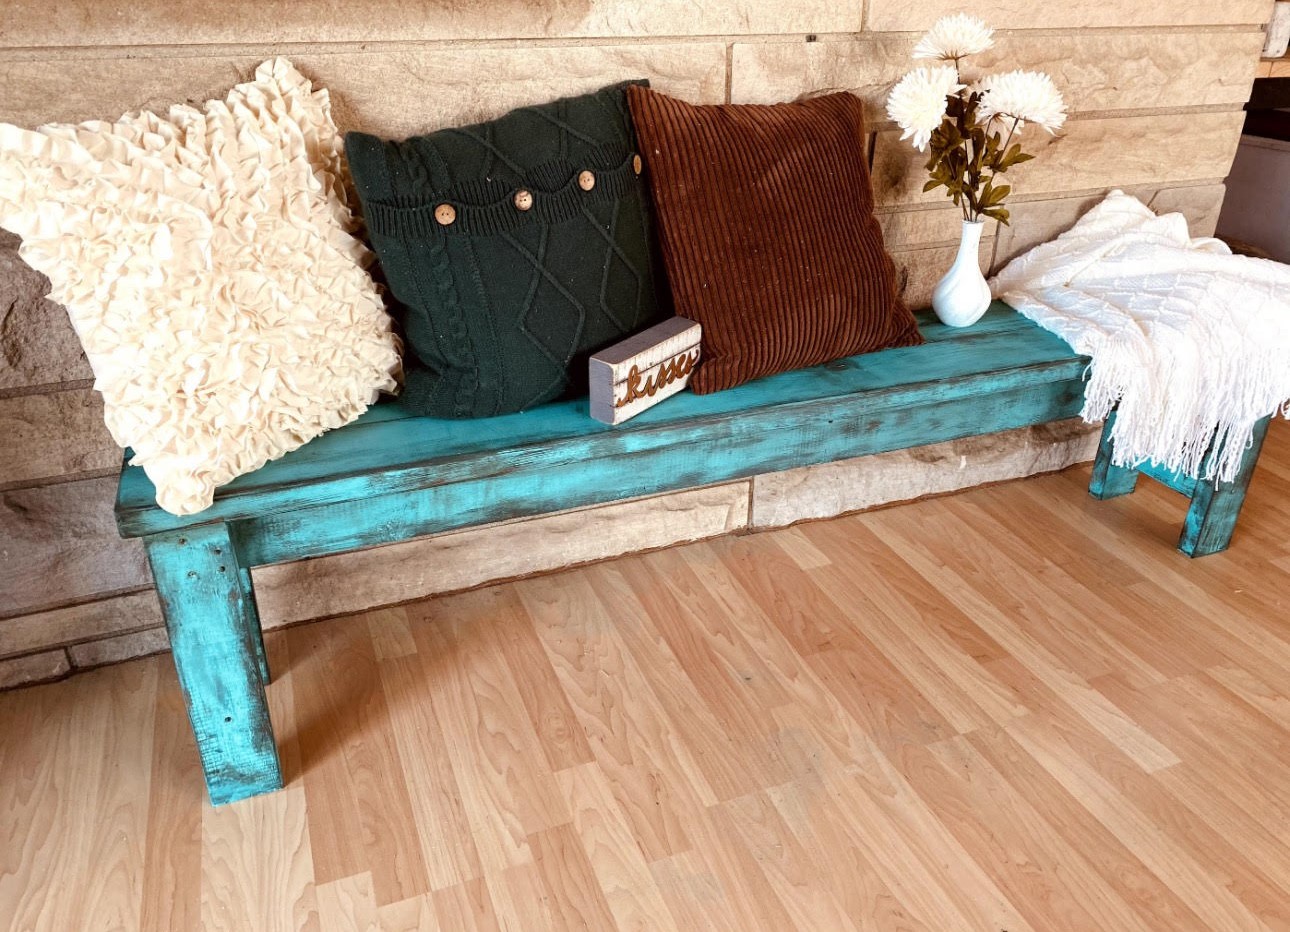
Beautiful farmhouse bench by Leila Adams
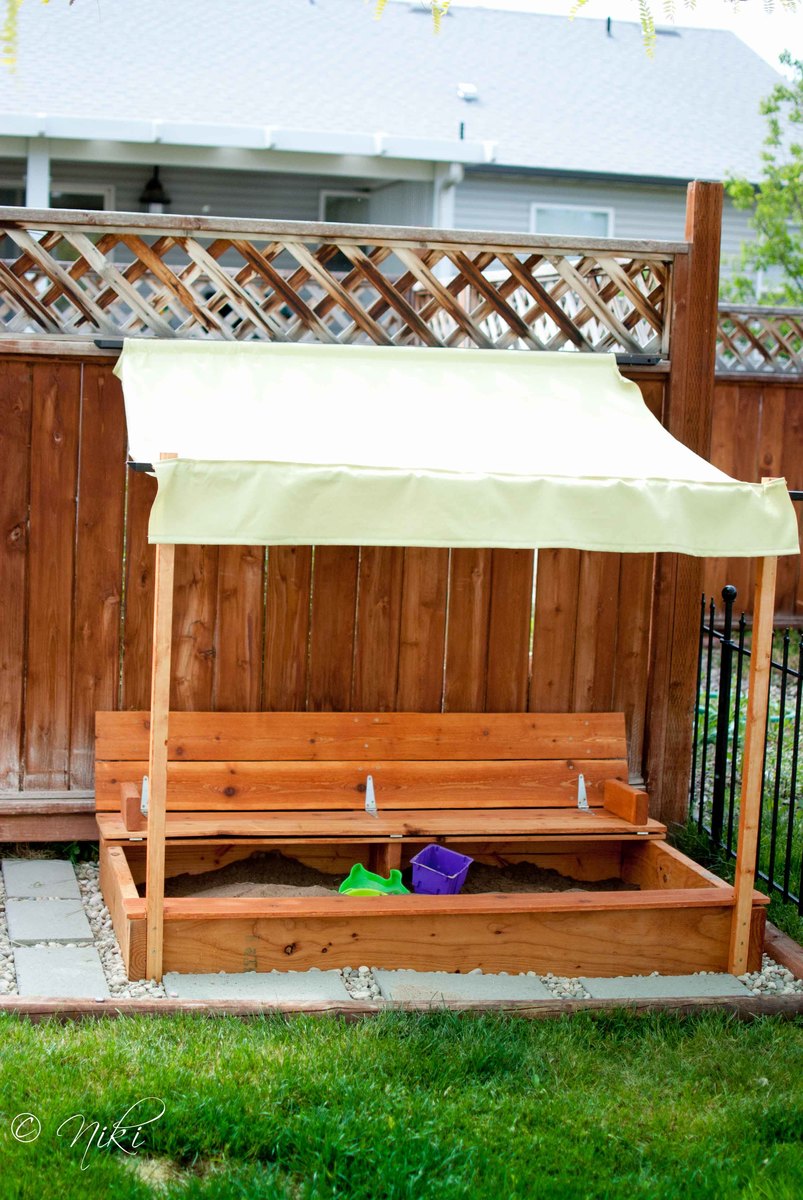
"Cellar? What cellar? We don't have a cellar... Oh, you mean the new sand box! Here, let me get some shade too."
I'm not sure why, but I can never seem to follow plans exactly. I guess that's not entirely true. I CAN follow plans exactly, but I almost never do. Maybe it's some sort of passive rebellion or something, but I usually have to put my own spin on the things that I build. Sometimes it works out in my favor. Sometimes not. This build was a little of both.
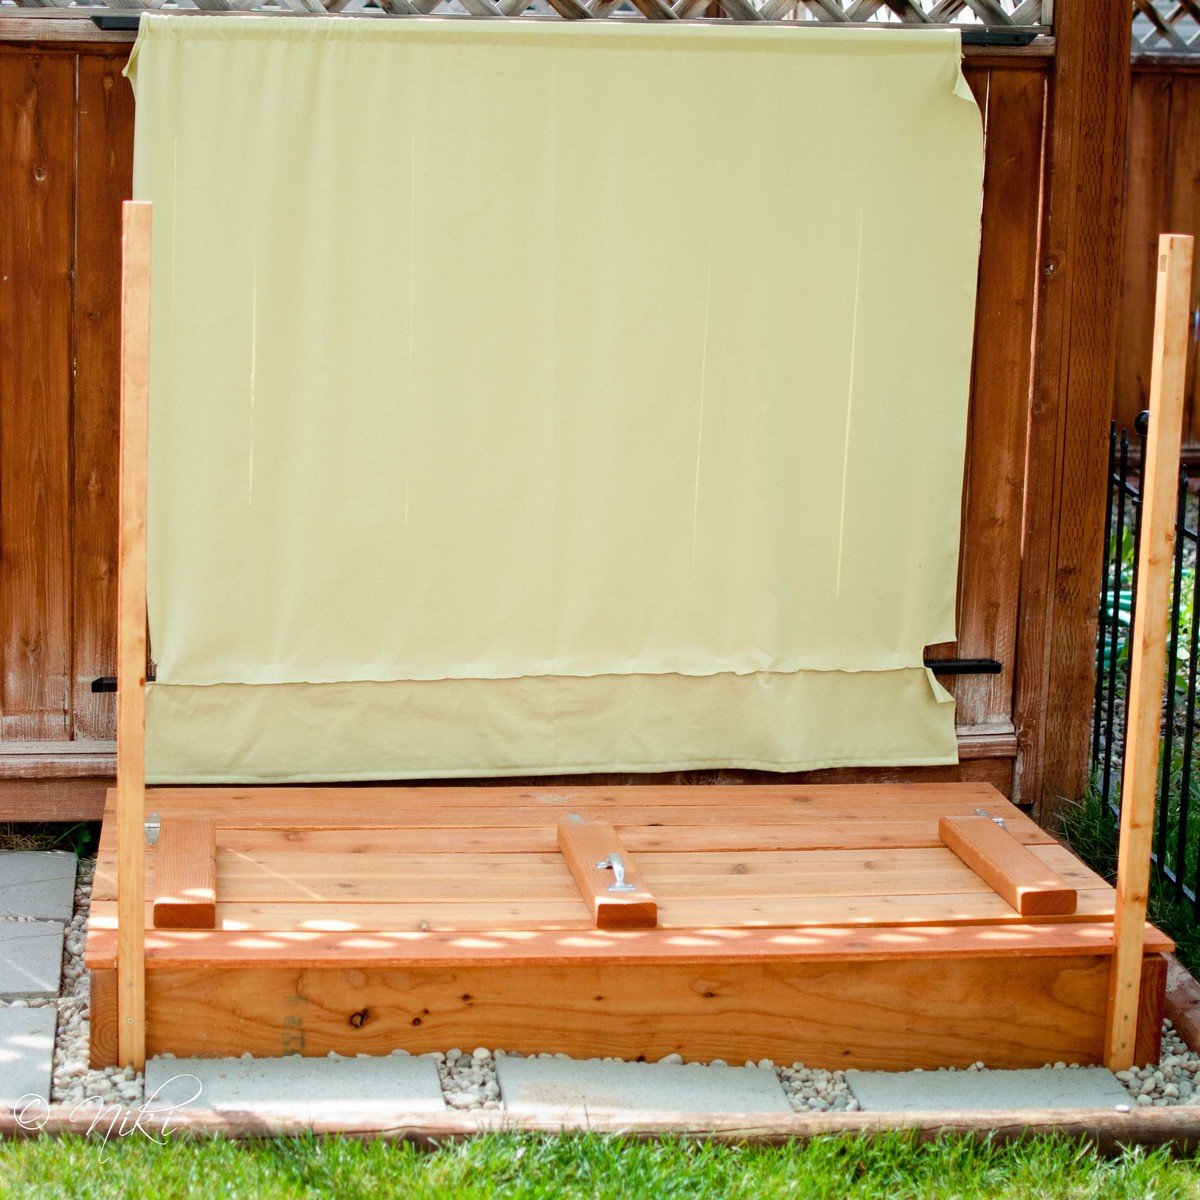
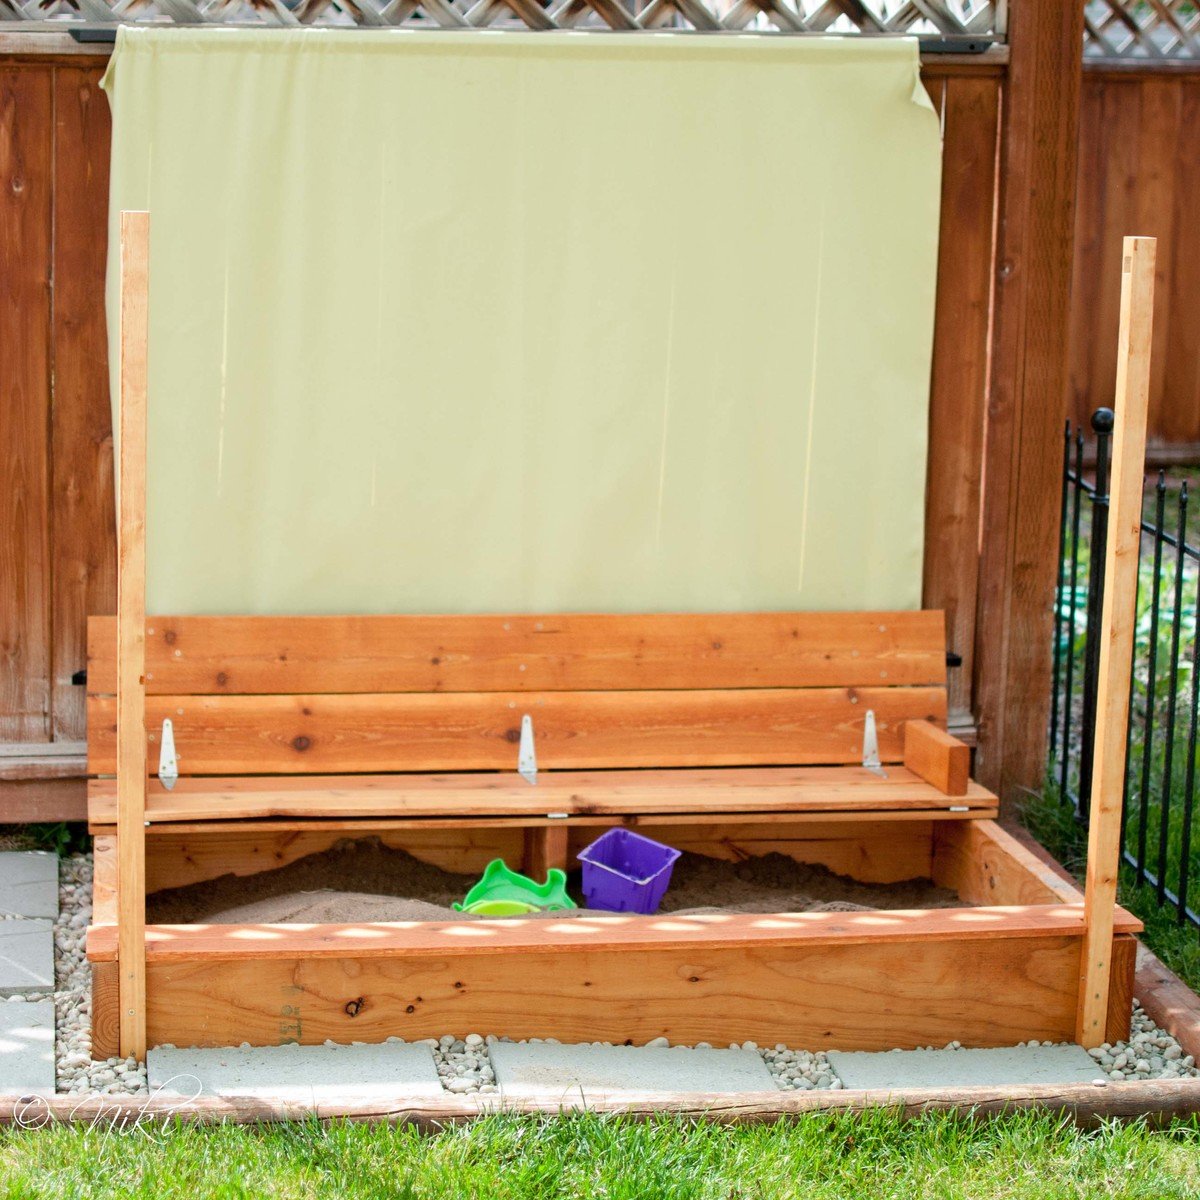
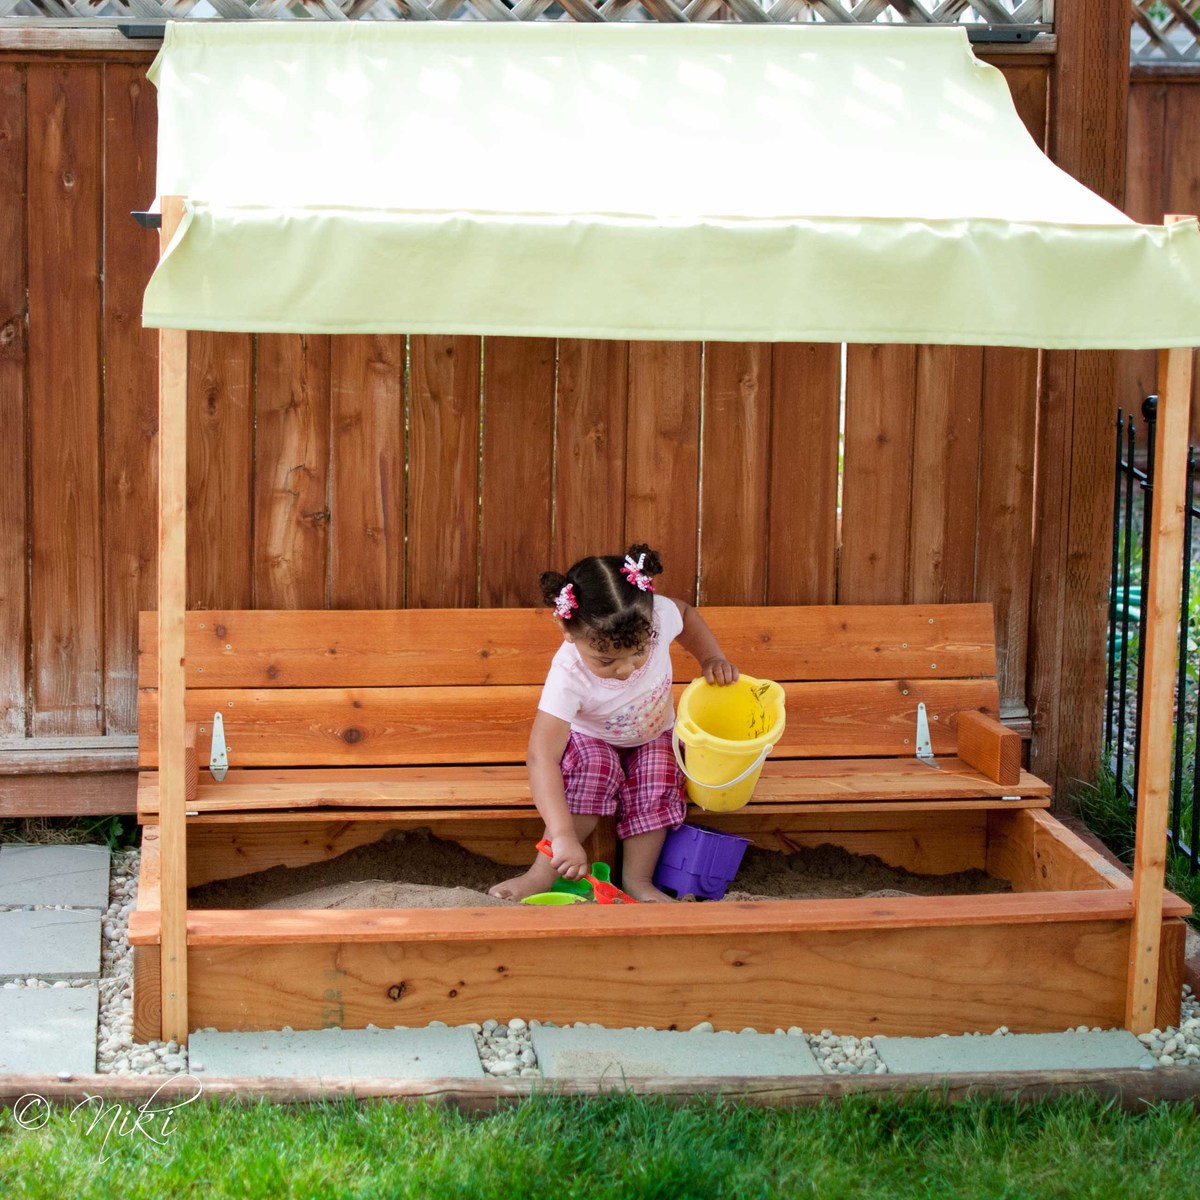
I decided to only build one bench in our sand box. This cut down on a lot of supplies. By making it longer a single bench and making it longer, it covers about the same amount of square feet, just in a rectangle instead of a square. When pricing lumber, I noticed that 2x8's were cheaper than 1x8's. So I went with those instead. It can't hurt to beef up the sides a little, right? This required some easy calculations on the cut list. I also decided to use 1x6 fence planks instead of 1x4 whitewood or pine. The fence planks were cheap, and I figured they would look nice in the back yard. They are also naturally pest and rot resistant. They required extra sanding to take the rough off. However, this is one place that I'm thinking the modification didn't work in my favor. The fence planks are not as thick as the whitewood. This combined with the increased length makes the the top pieces feel pretty weak. I put a little support piece under the bench. I'm quite sure the bench would not have held up well without the support.
Because this is an outdoor piece, I dry fit everything, and then stained everything before assembling it, to make sure all of the edges were well protected.
Cost breakdown (not including canopy)
Fence planks $14
2x8x8 $11
hinges $9
handle $2
stain $10


Thu, 03/07/2013 - 08:49
I just love the changes you made to this sandbox! Can you tell me what you used for the construction of the canopy? Thanks!
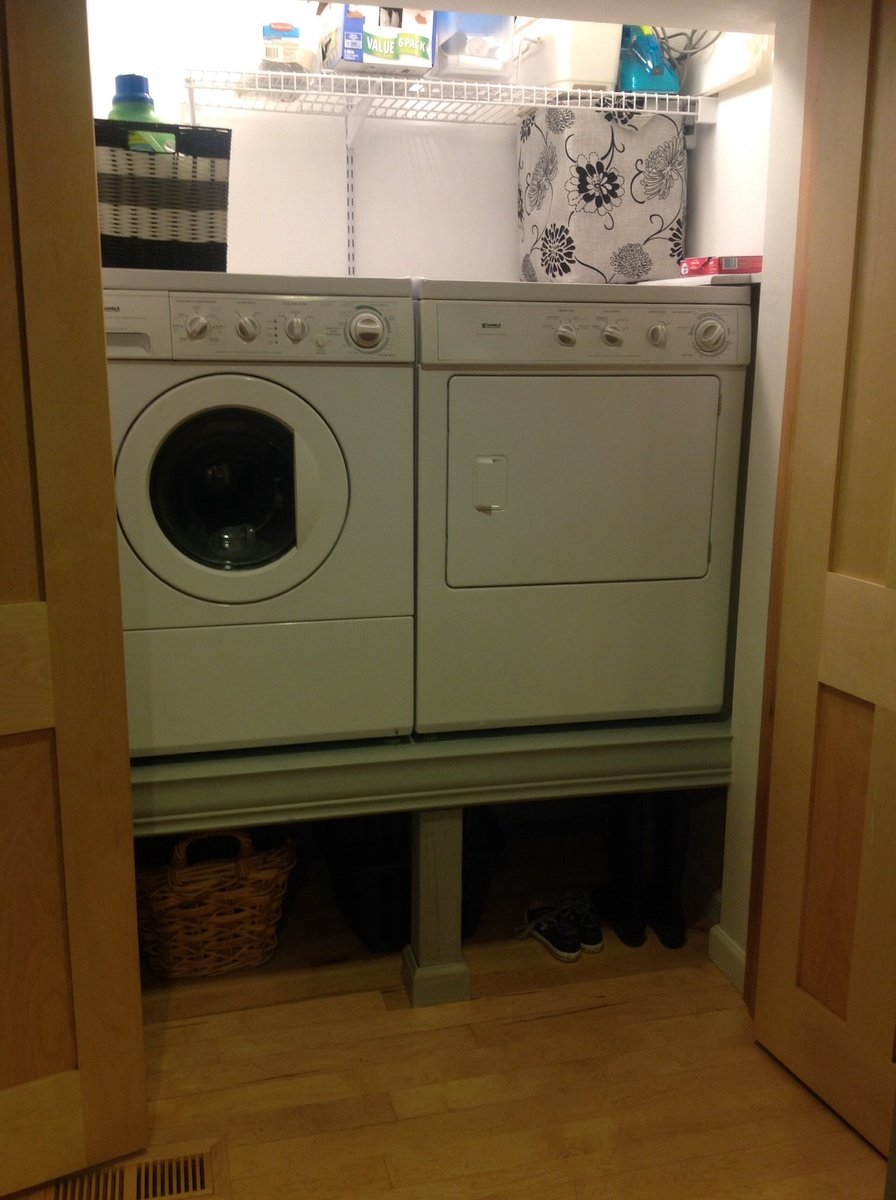
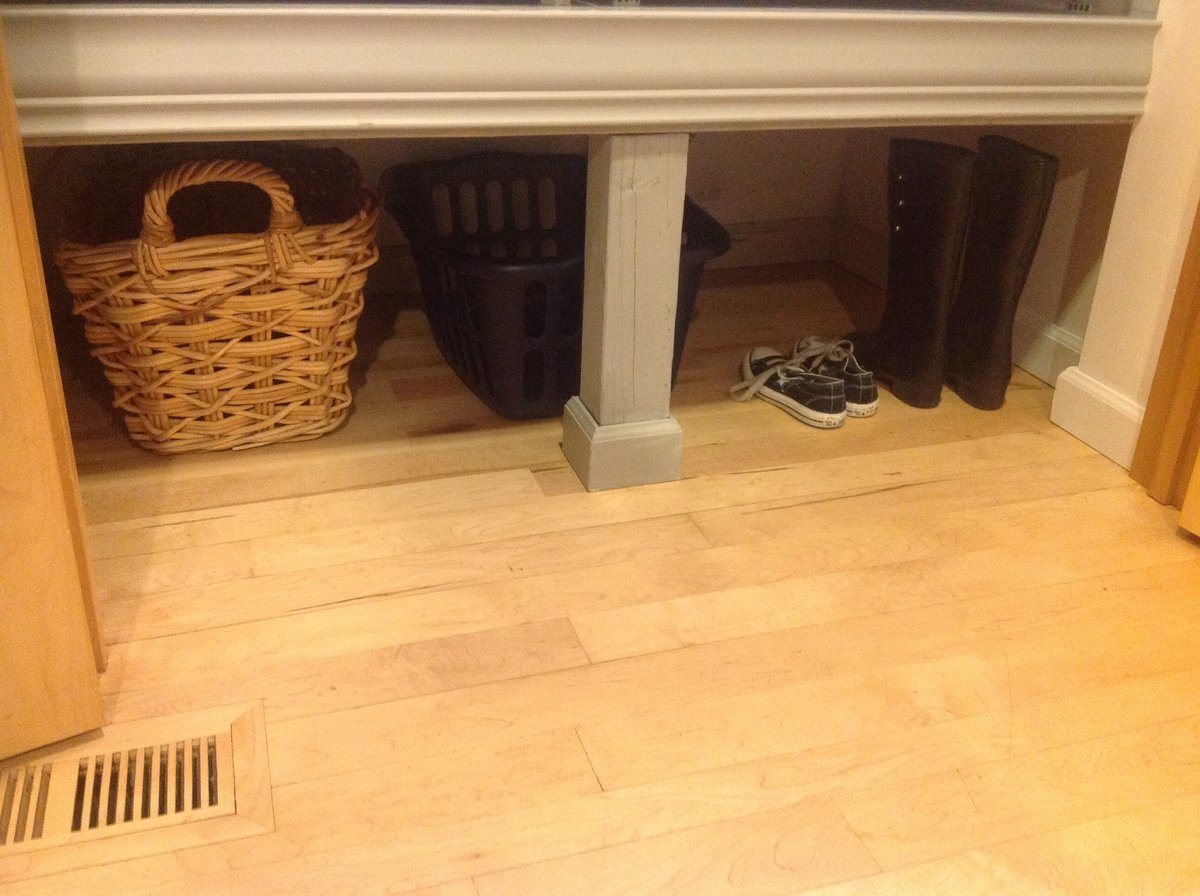
My hubby built this from saushas washer/dryer pedestal plans. He modified it a bit because we needed the storage taller underneath for shoes and baskets. Our closet is right by the front door and it was always a mass of shoes in front of the washer and dryer that you couldn't shut the door! It works great. We have beautiful hardwood floors (that was my hubby's trade for 12 years) and didn't want to cover them up either:)

Saw the basic 'c' looking shape end table on Pinterest, but it didn't have any plans. So I drew up my own plans, used different types and dimensions of lumber, and added the black iron pipe to our design to truly make it our own. These took my quite a while, and were a lot more expensive then I wanted them to be. So these will probably be staying in my home. Lol
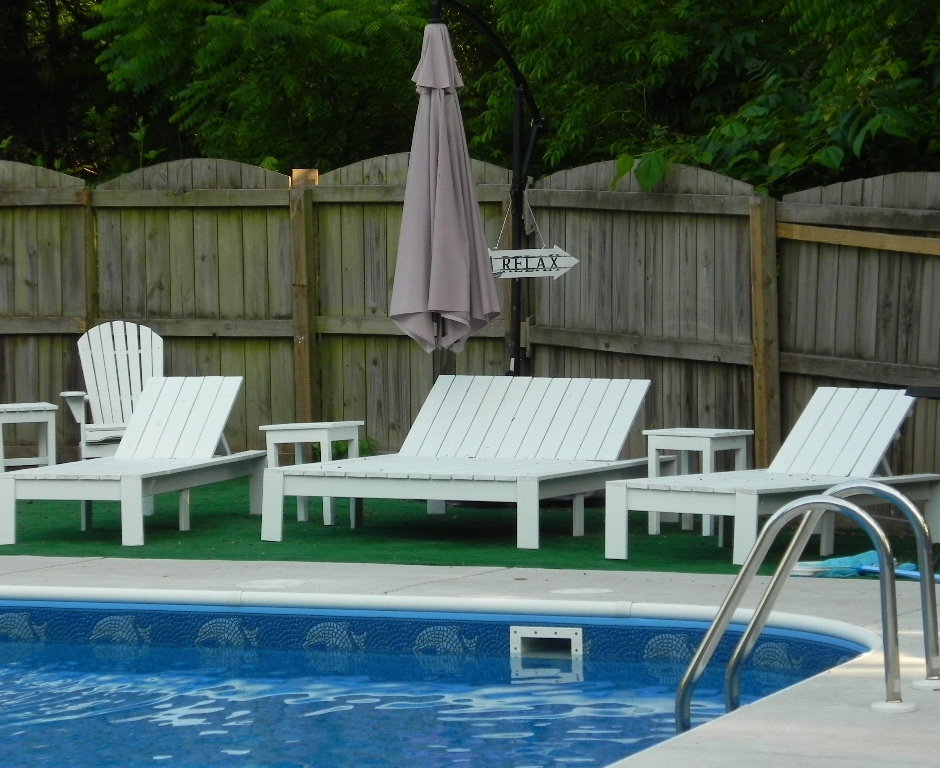
We made 4 of these end tables using all the leftover scrap wood from the loungers. We painted them white so the backyard would look bright.
We made all 4 of them in about 30 minutes. They were so simple. We should have started with them, instead of the loungers since they were a little more difficult for us beginners.
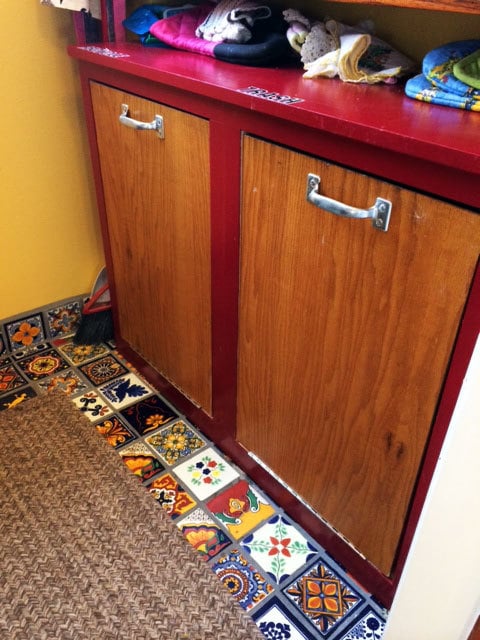
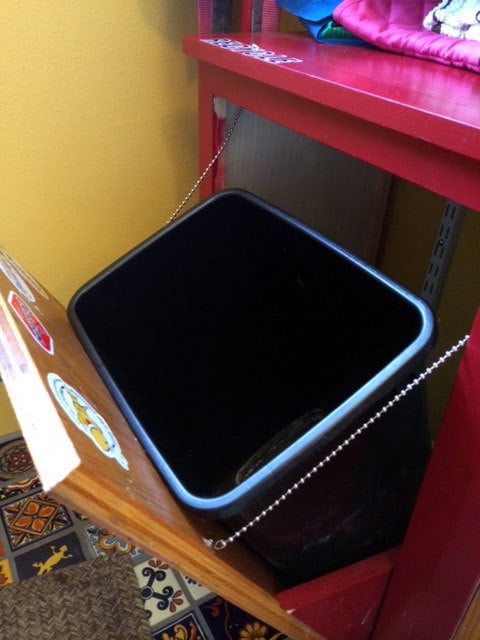
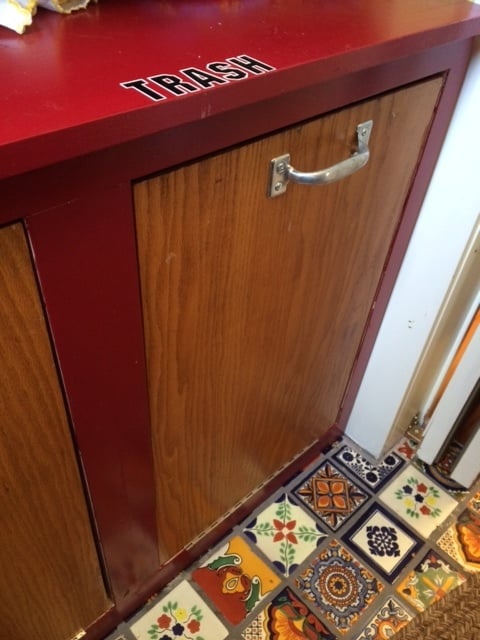
When we built our small mudroom and pantry addition, I new I needed a tilt out trash bin, nothing on the market fit the space the way I wanted. So I of course came here to Ana-white.com :) the "wood tilt out trash can or recycling cabinet plans" were perfect with a bit of hacking I made it fit exactly!
I made 2 cabinets into 1 unit,
used salvage/old cabinet door fronts I cut to size
Painted the box red and kept the oak cabinets all wood grain
Added handles
Added ball chain to keep the doors from falling over.
LOVE this! fits perfect in our mudroom and it was a pretty quick project too!

Built from printers triple console plan.
Jkindle

Thu, 11/16/2023 - 11:53
Absolutley love the finish and hardware choice, thanks for sharing!
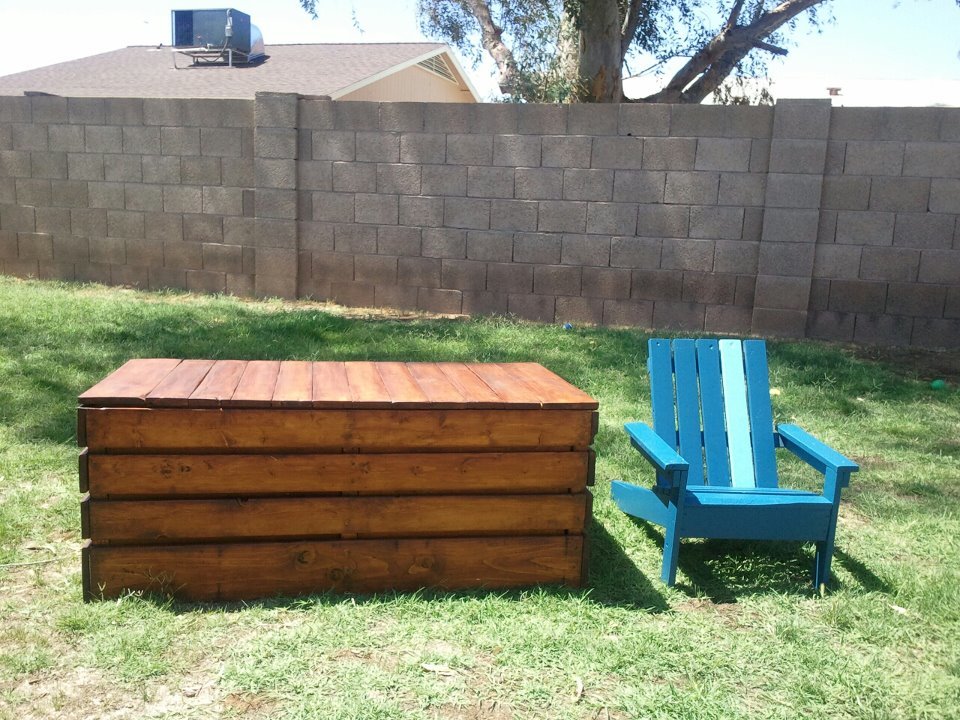
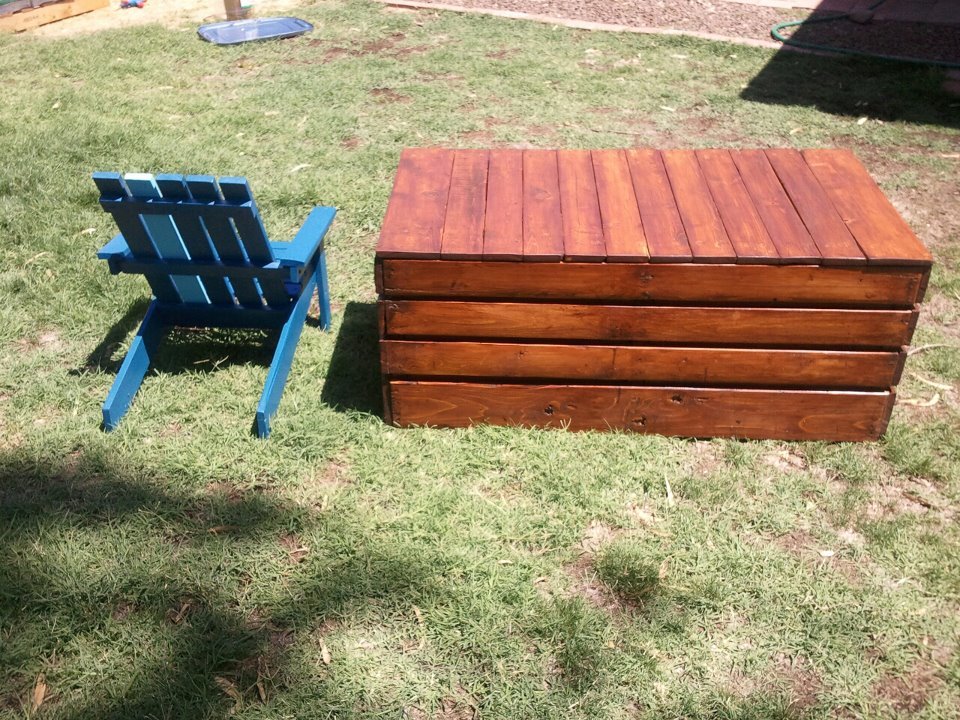
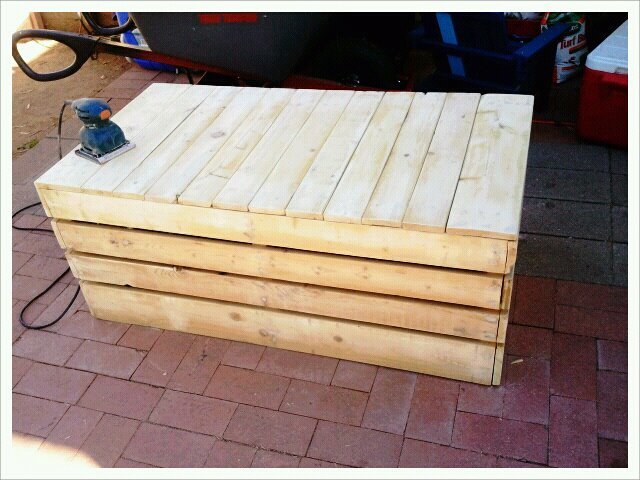
MY PALLET PROJECTS FINALLY COMPLETE!! TOOK SOME TIME TO GET DONE SINCE I HAD TO TAKE APART N DO TONES OF SANDING.. COMPLETELY WORTH IT THOUGH.. THE ADIRONDACK CHAIR I USED PLANS FROM THIS VERY HELPFUL SIGHT. THE STORAGE TABLE BENCH I HONESTLY JUST STARTED BUILDING WITH NO PLANS. FIGURED ITS A BOX WITH A LID, I CAN HANDLE THAT.. LOL WELL I DID AND CANT WAIT FOR THE START OF THE NEXT PROJECT. AND YES IT WILL BE FROM PALLETS AS WELL.
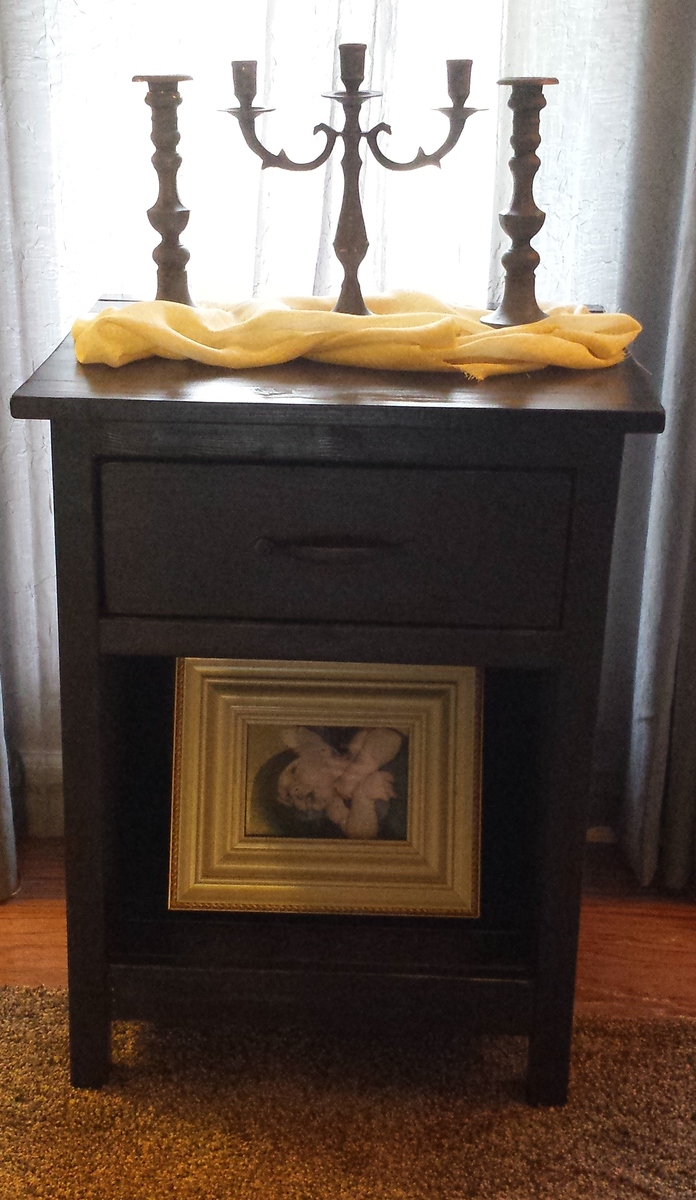
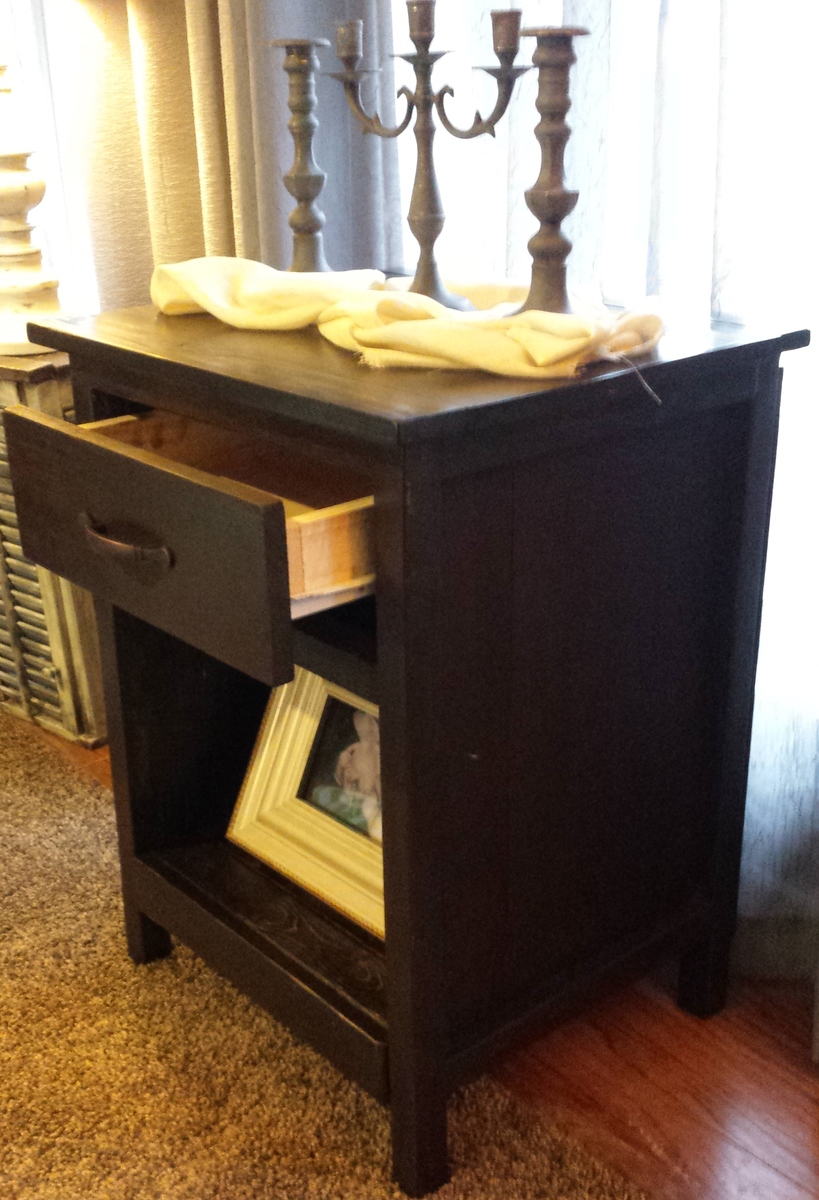
I got scared in the middle of the project and feared that my drawers would not work. I opted for a drawer and a shelf instead of three drawers. I wish now I would have followed through with the plans because the drawer works GREAT! I had a lot of learning opportunities with this project...but all in all, for my first big build...I LOVE IT!!
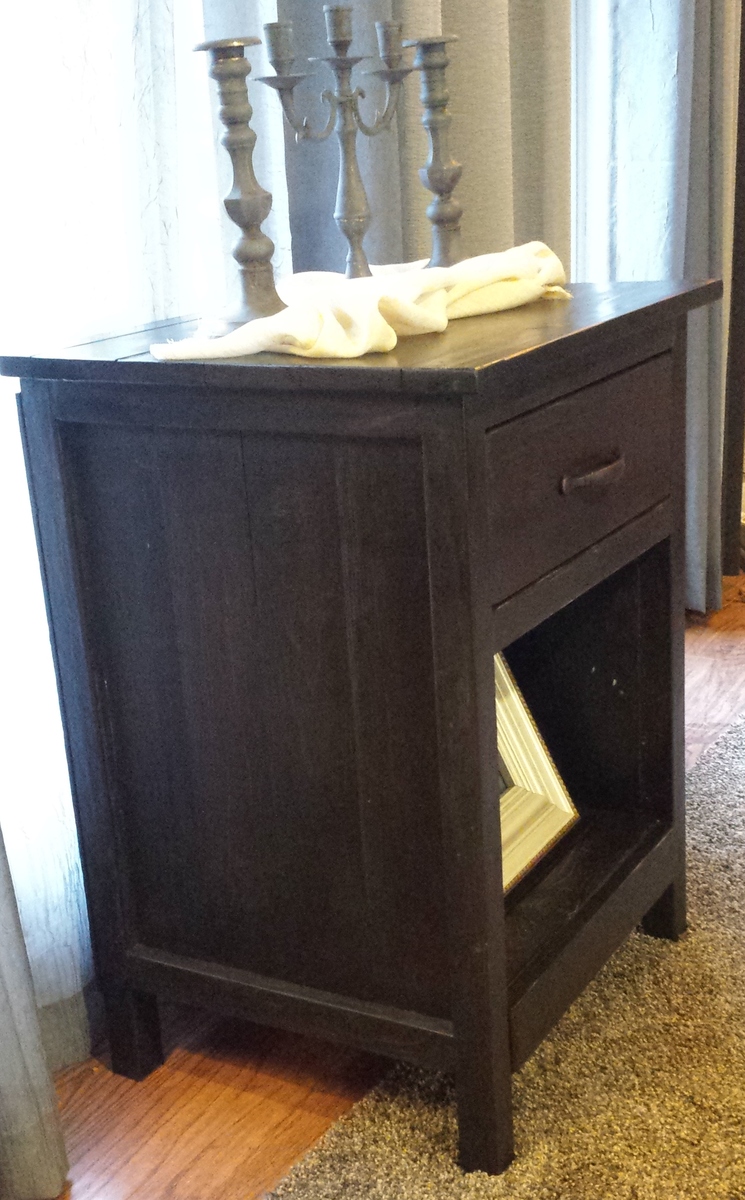
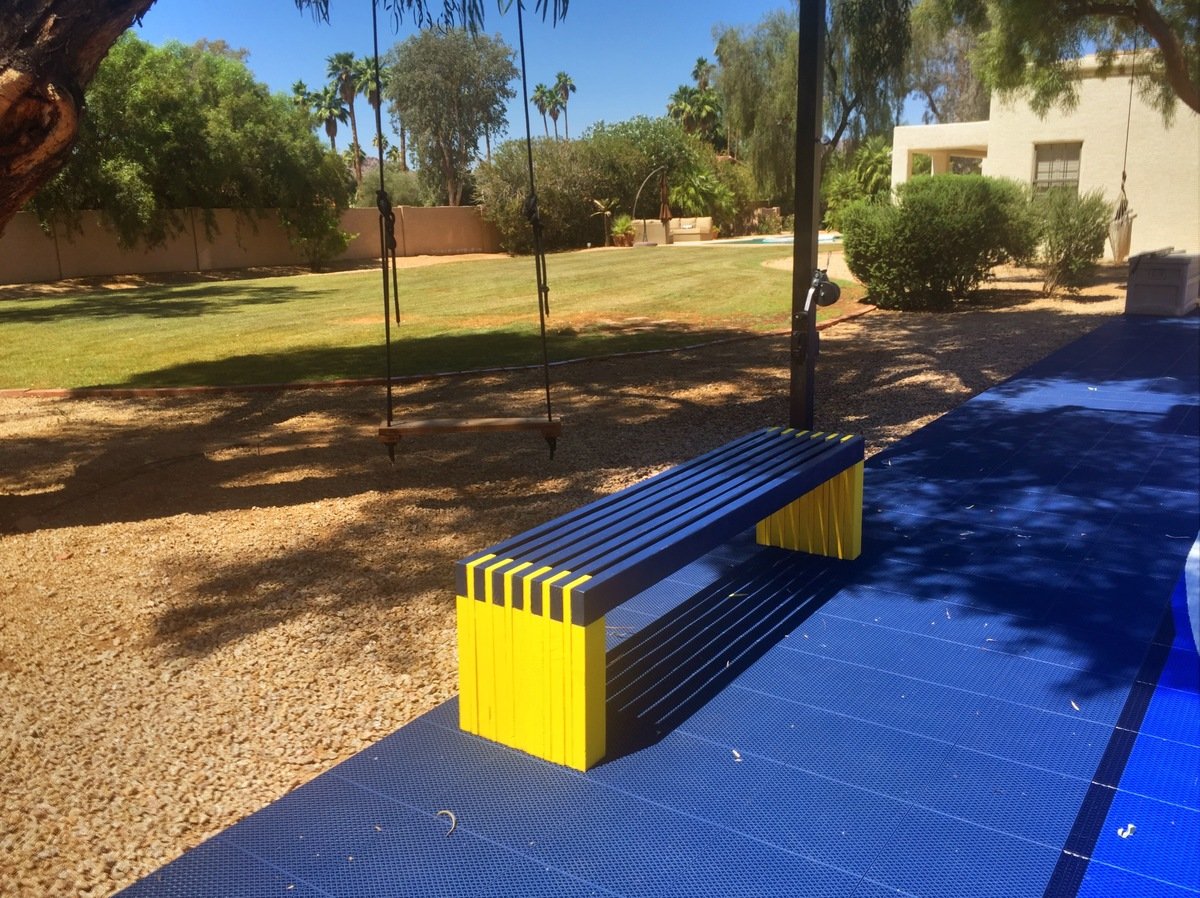
Great design and project! I am working on the second one in my wife's school colors. Thanks!
I built this X console for my kitchen, to replace an ugly cheap wardrobe that previously held my kitchen appliances. This made space for a kitchen organization space too- with calendars above, and bins for the kids' schoolwork etc.
The plan was easy to customize, and a great afternoon build.
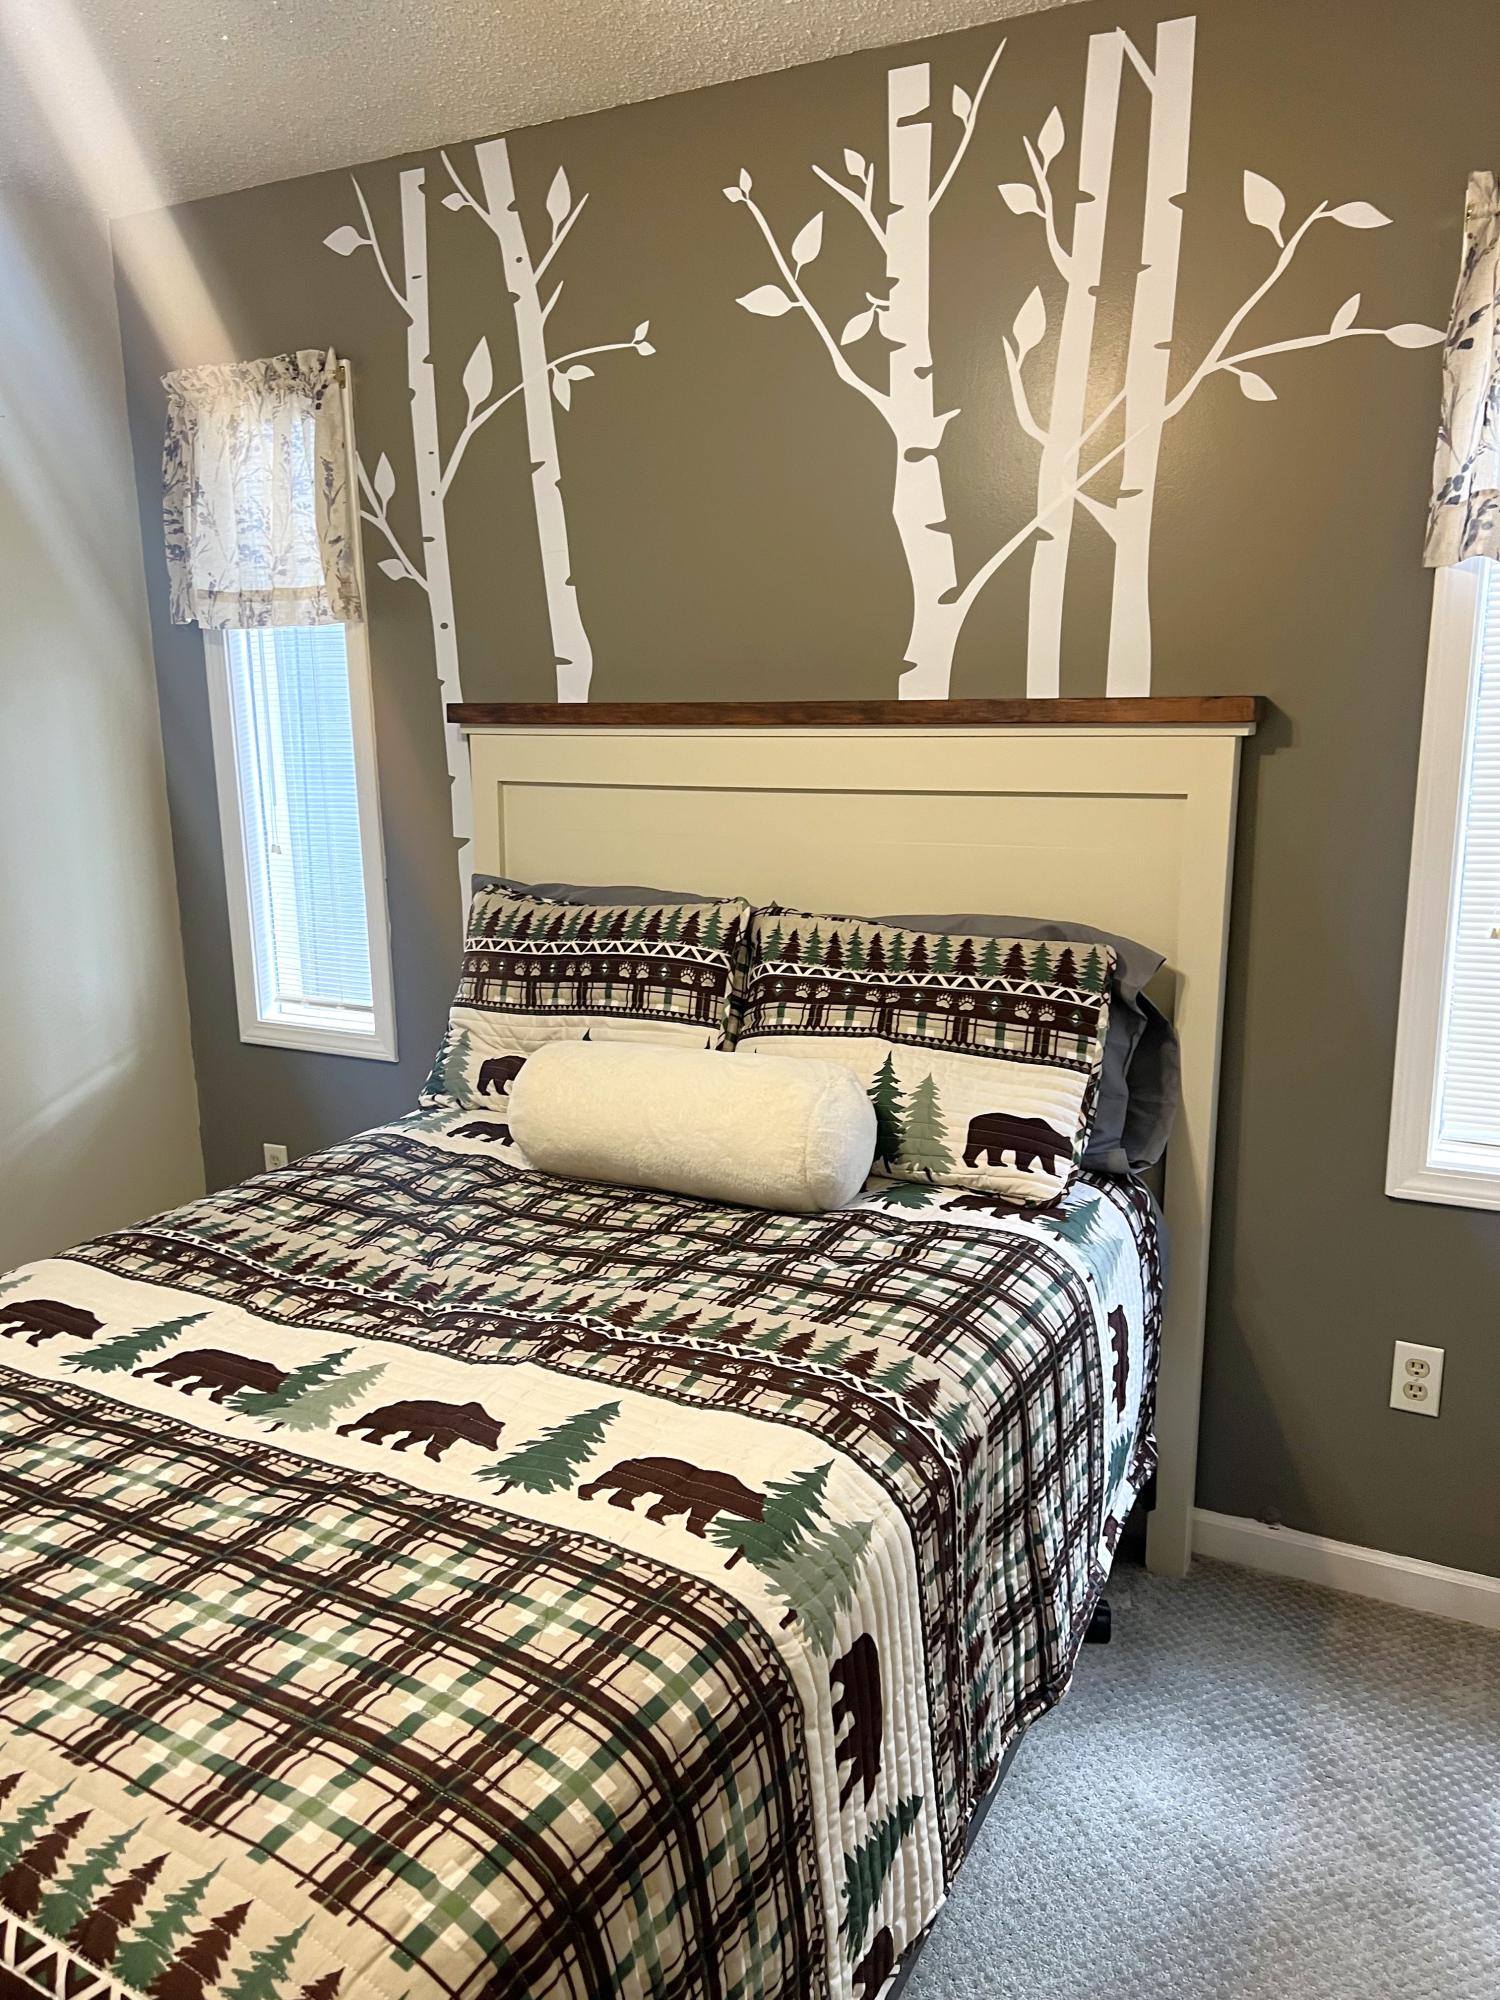
This project was so easy and fun to make. Love the way the instructions are laid out.
David Van Dyk
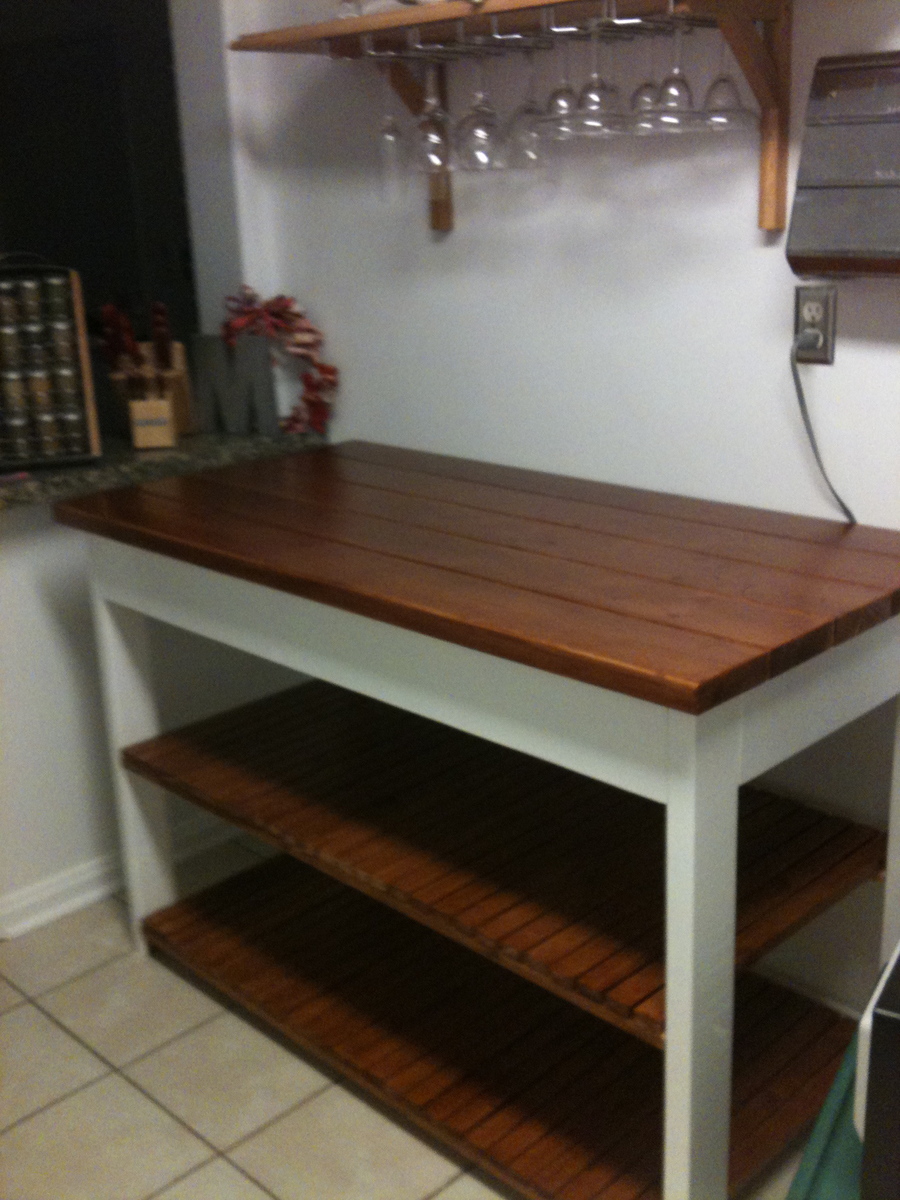
We needed more counter and storage space in our rental house kitchen. We used this kitchen island plan to build a "kitchen peninsula." When it came time to stain the shelves it would have been a lot easier to stain the pieces before we put it together. The tiny space between the slats was difficult to get a paint brush in.
I built a narrow version to fit in our bathroom. We also decided not to add the drawer to this one. We really like this open style for this purpose.
I had all of the wood leftover from other projects so my cost was only for the stain I used.
This is the second time I have used the tapered legs on a project, and I am getting better at making them.
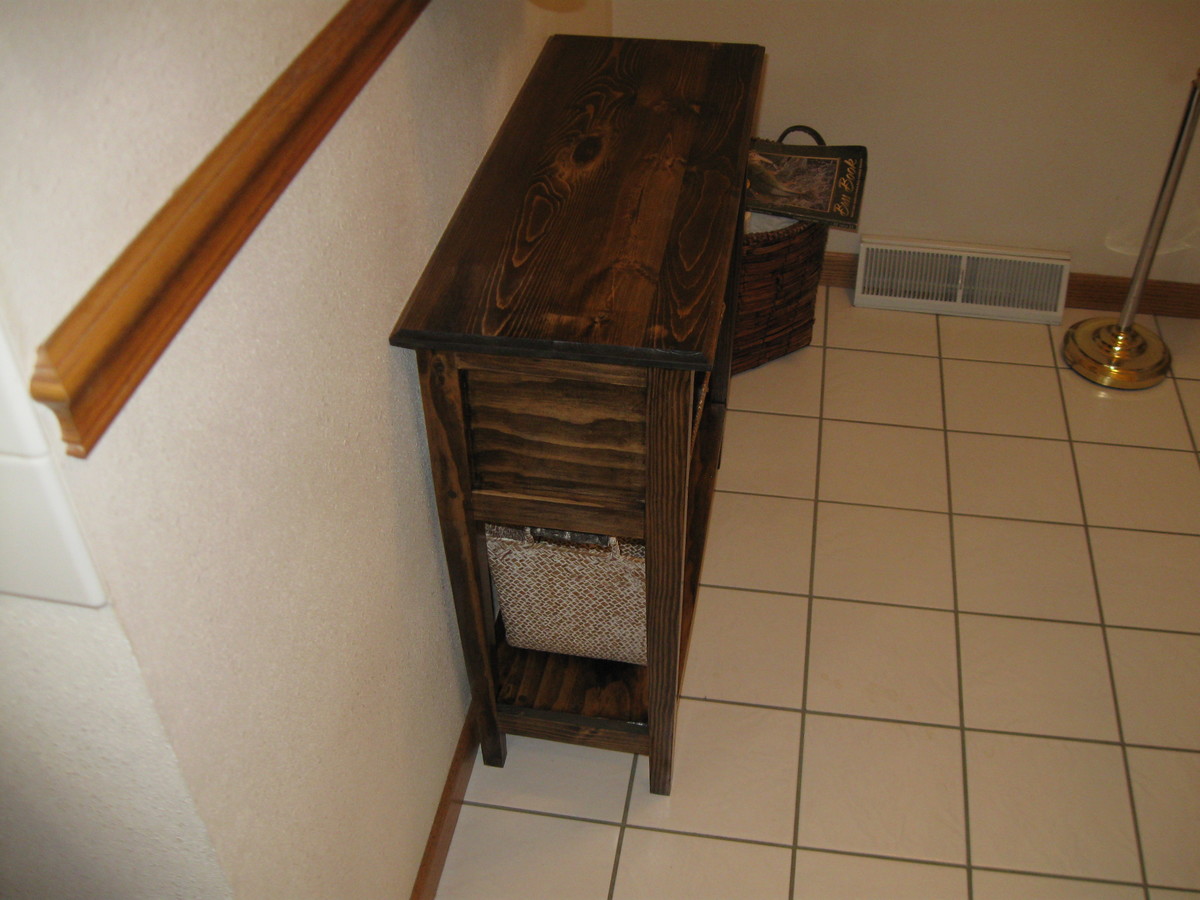
I started with the Fillman Platform Twin Bed plan and made a few modifications.
With a mitre saw, Kreg jig and nail gun, this project is pretty simple to put together. Obviously painting or staining takes some time, but the bed itself can be put together in 1-2 hours.
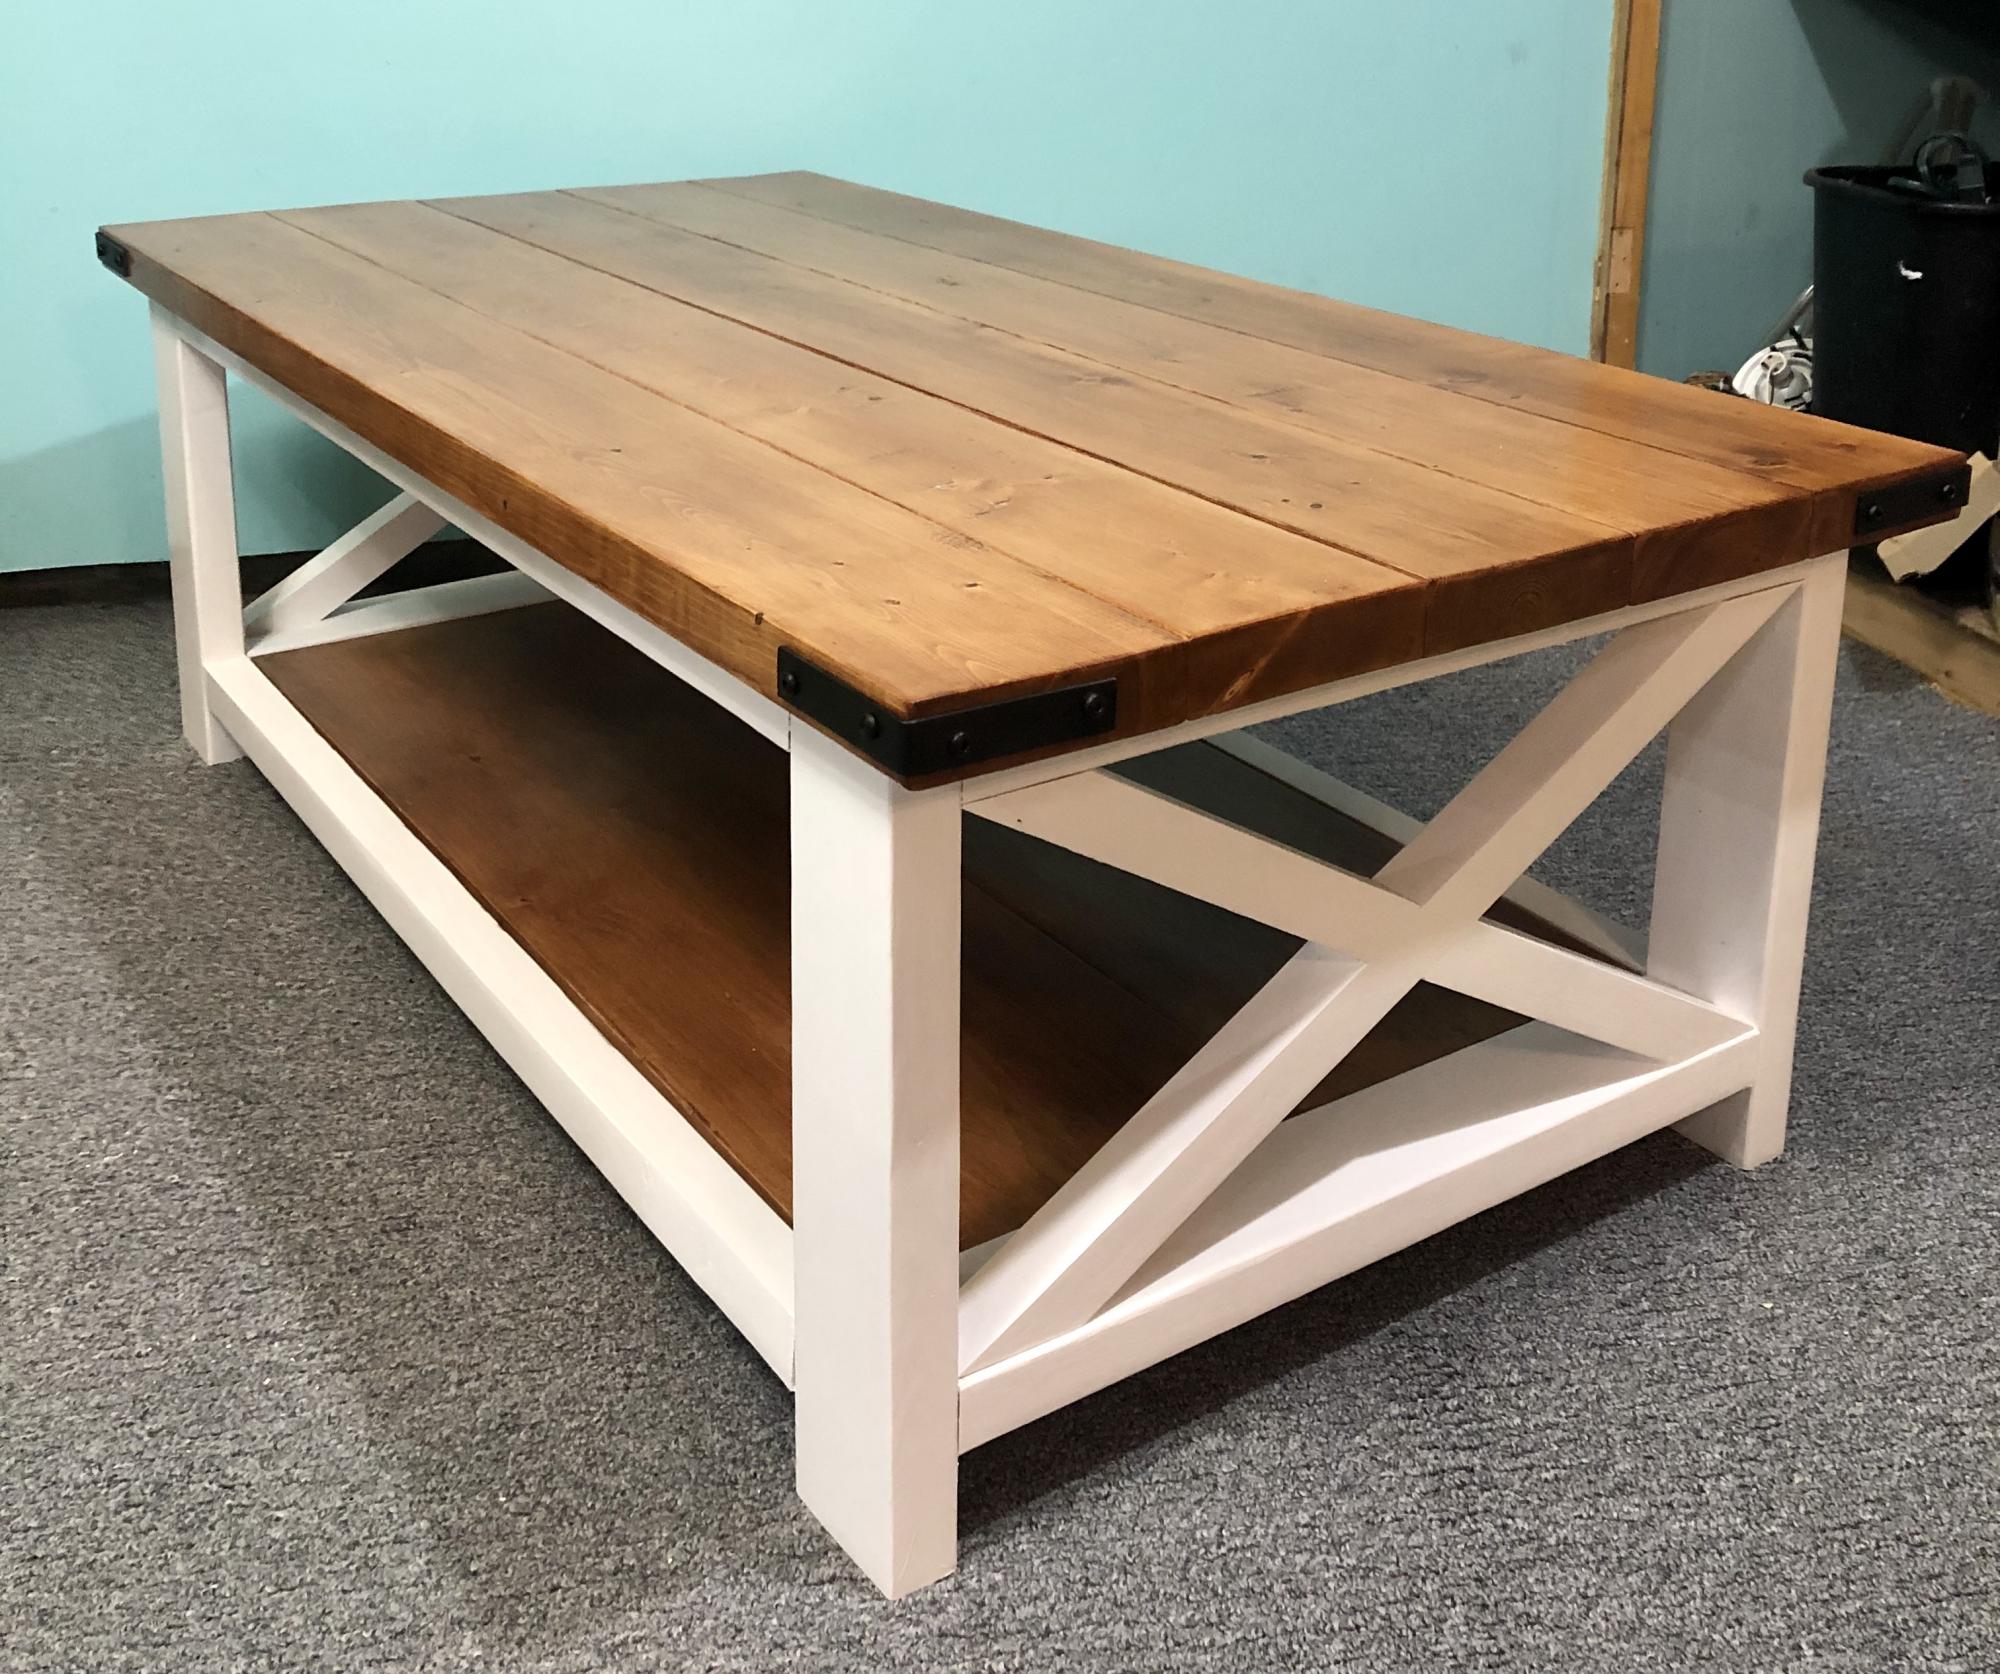
The current Covid-19 Pandemic has allowed me to re-explore hobbies that I have not had the time or resources to enjoy in the past several years. This coffee table is the first woodworking project I have made in nearly 15 years and it felt great to be back! Frame is painted white and finished with polycrilic. The top and shelf are finished with antique walnut and a polyurethane top coat for extra durability. Can't wait for the next challenge!
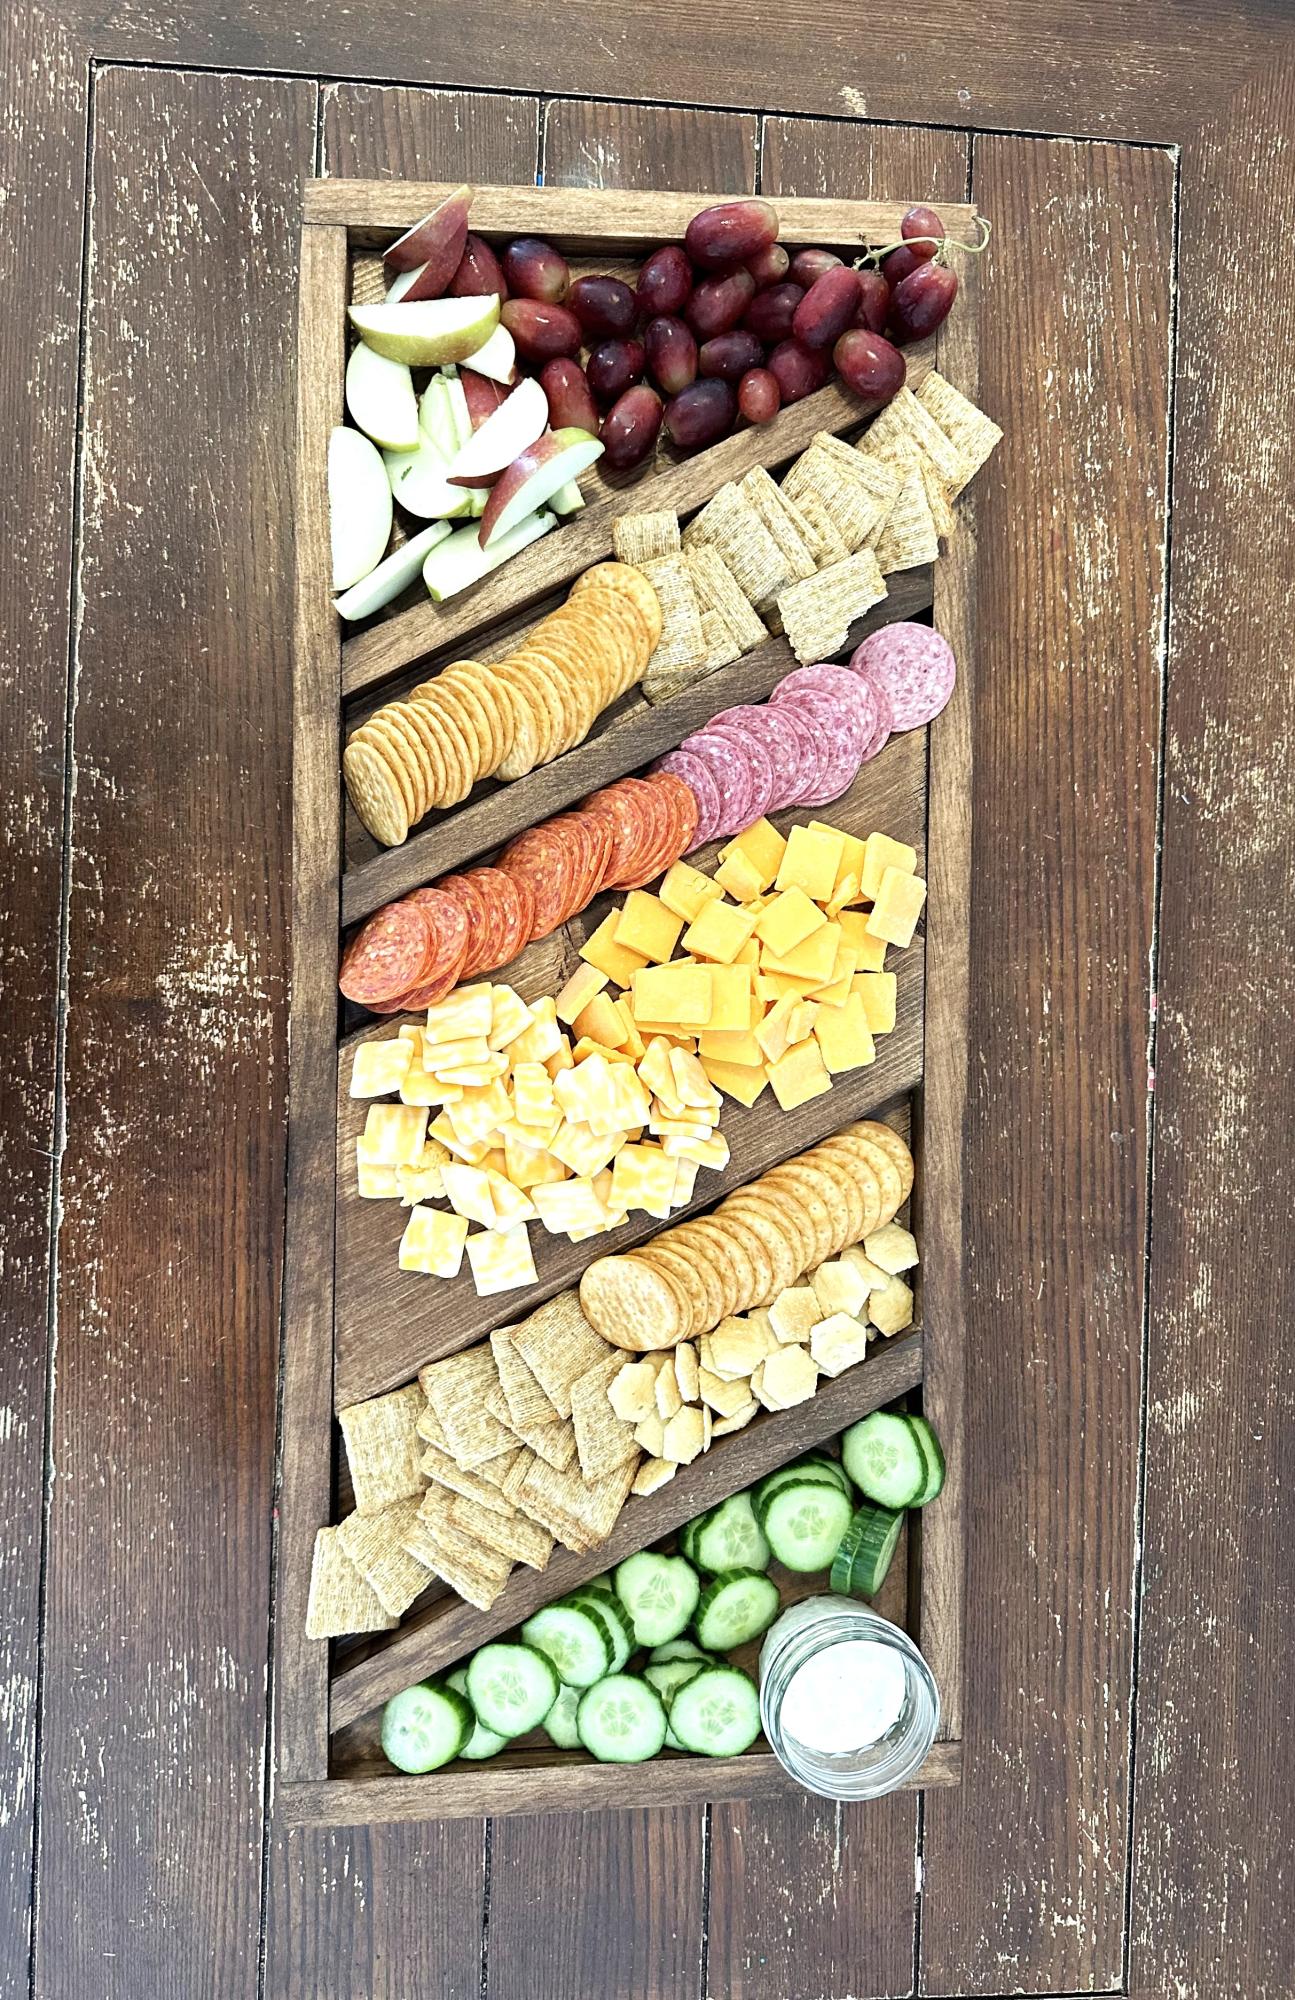
I made this charcuterie board for my niece and her family as a thank you for giving me an old miter saw they were not using… I have made a few now as gifts, and realize ….
Something “ made” means so much more to the recipient,
Because in the making we give our heartfelt generosity…
The stain is Watco food safe finish in hazelnut.
Ltr08