Entry Way Bench
Built this plan and it came out amazing. I used a sheet of siding for the back to really bring out some grains!
Hi! I love Ana White's plans! I used the chunky leg desk plan and added drawers and a flip-up vanity top! :) https://www.instagram.com/bow_and_timber/
We had a couple of these bar stools from our apartment-living days. We didn't have a need from them in our house since we have no bar -- so my husband made a small porch table that we DID need.
You can read about it here: http://crabandfish.blogspot.com/2012/06/fish-made-porch-table.html.
Thanks!! :)
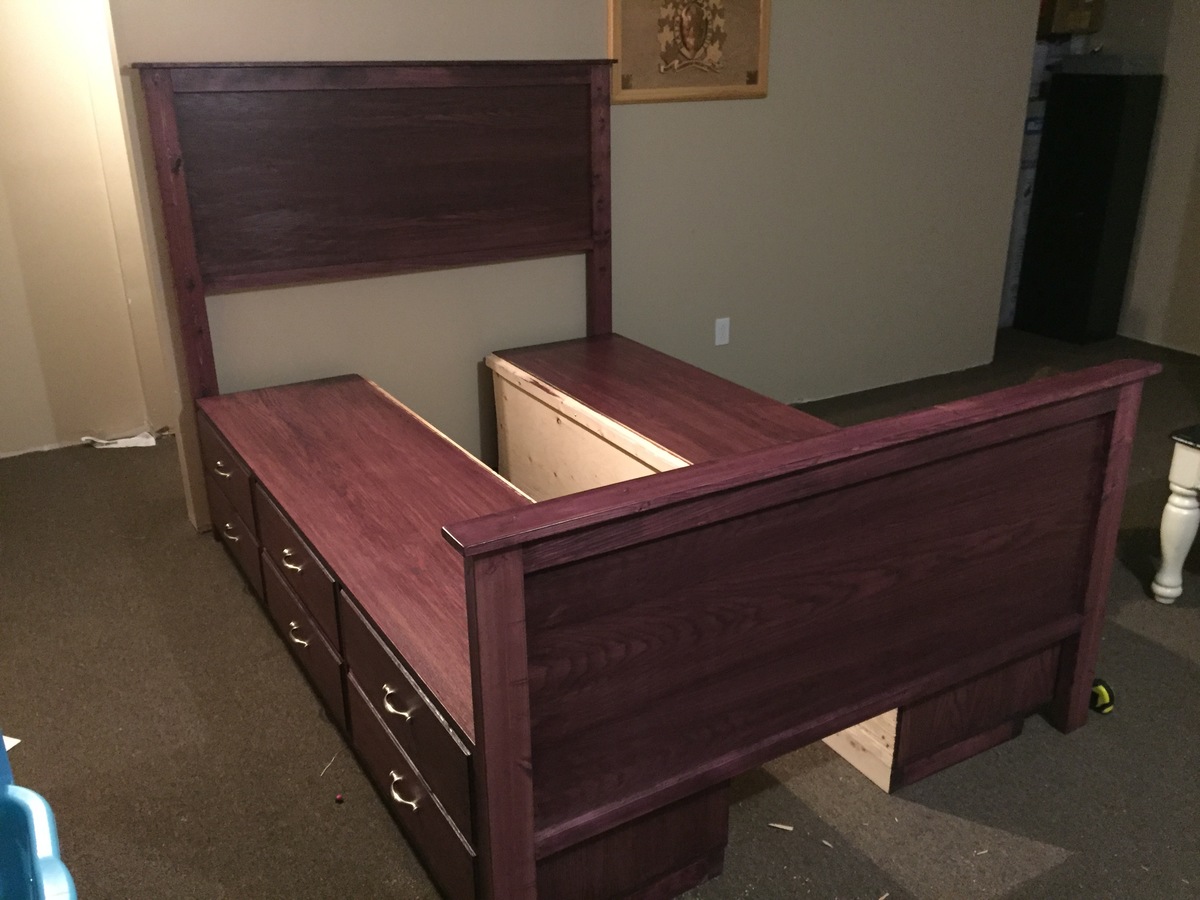
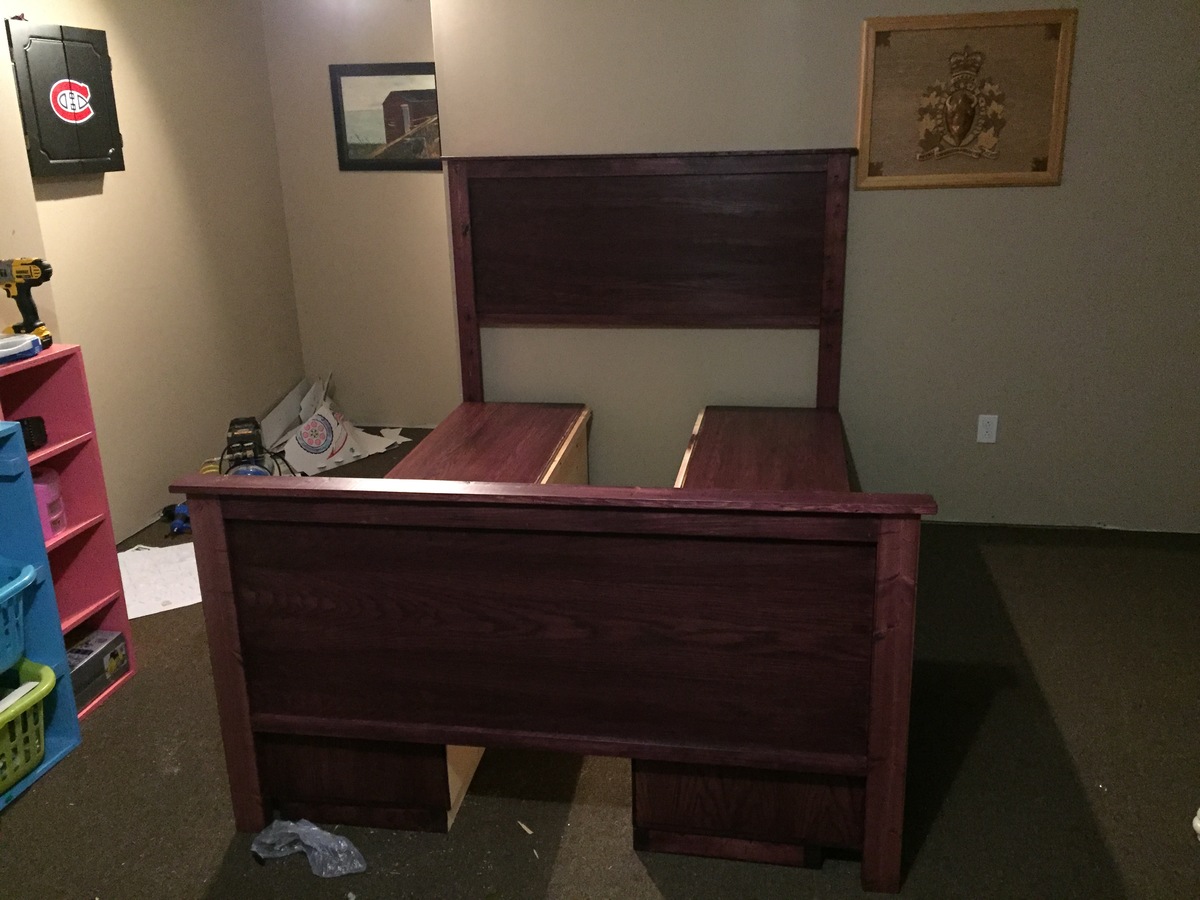
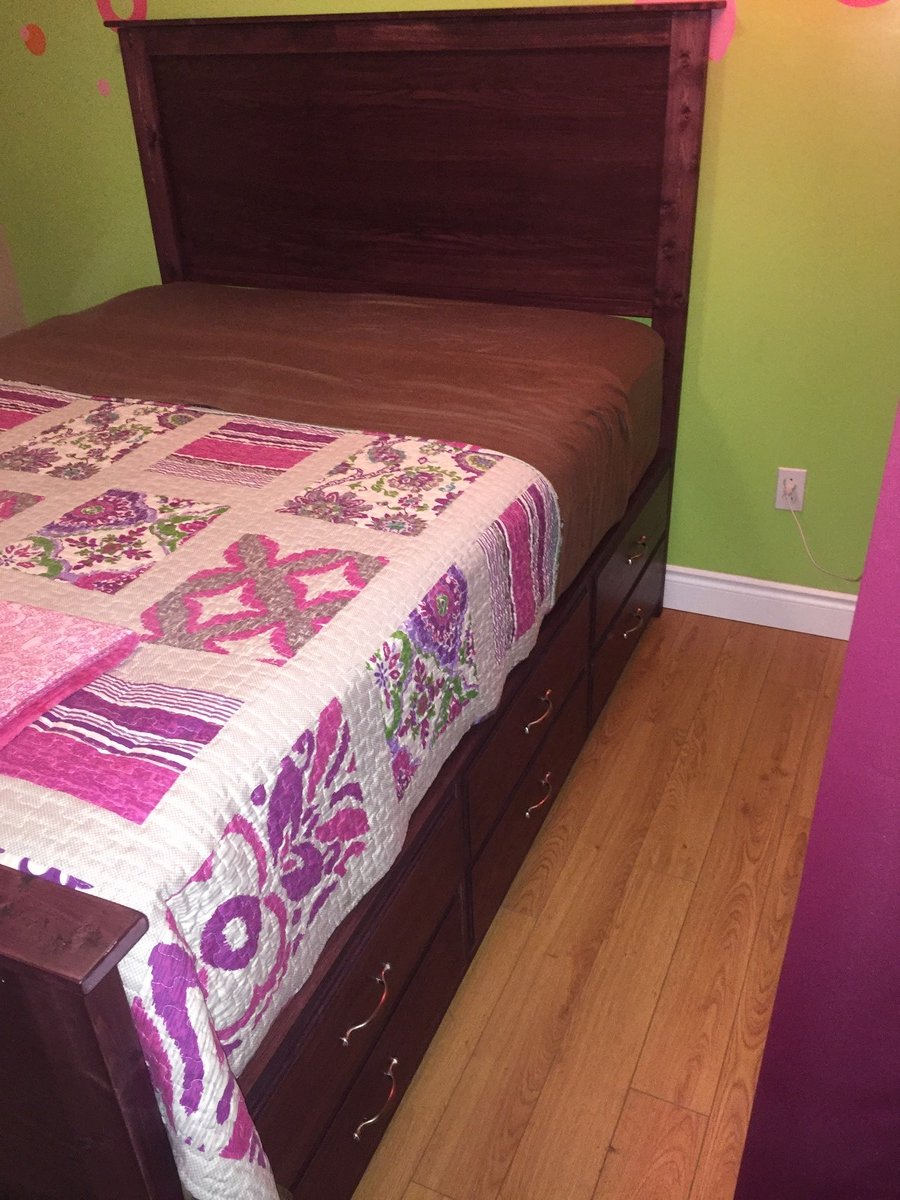
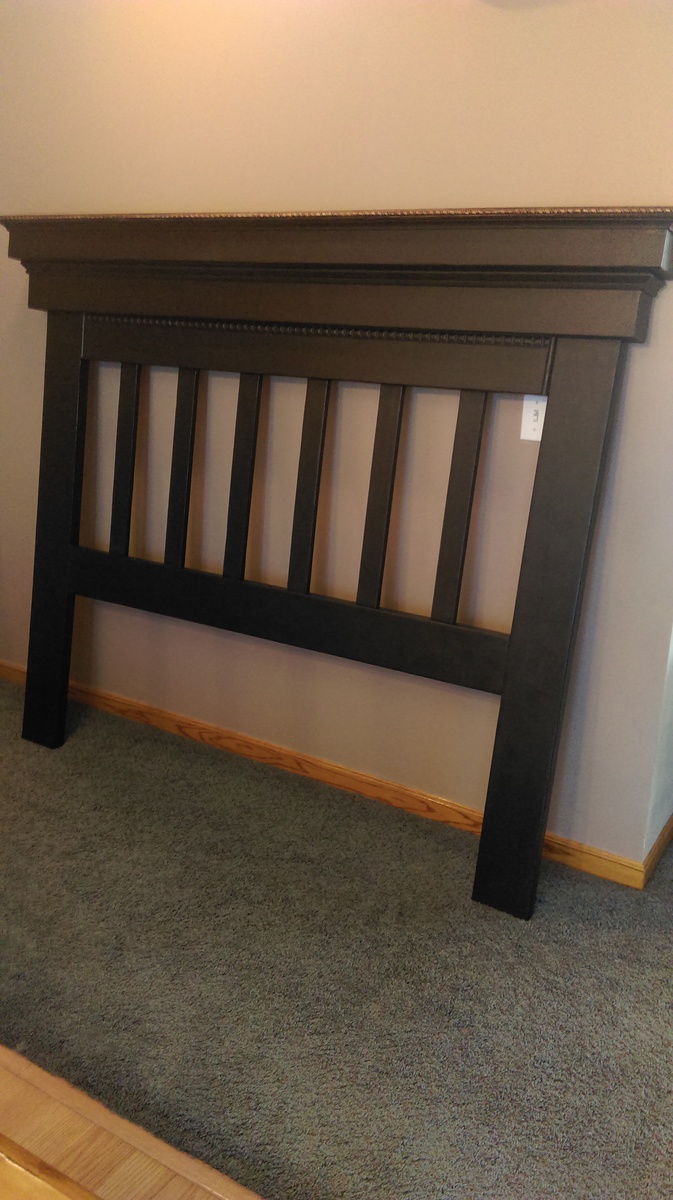
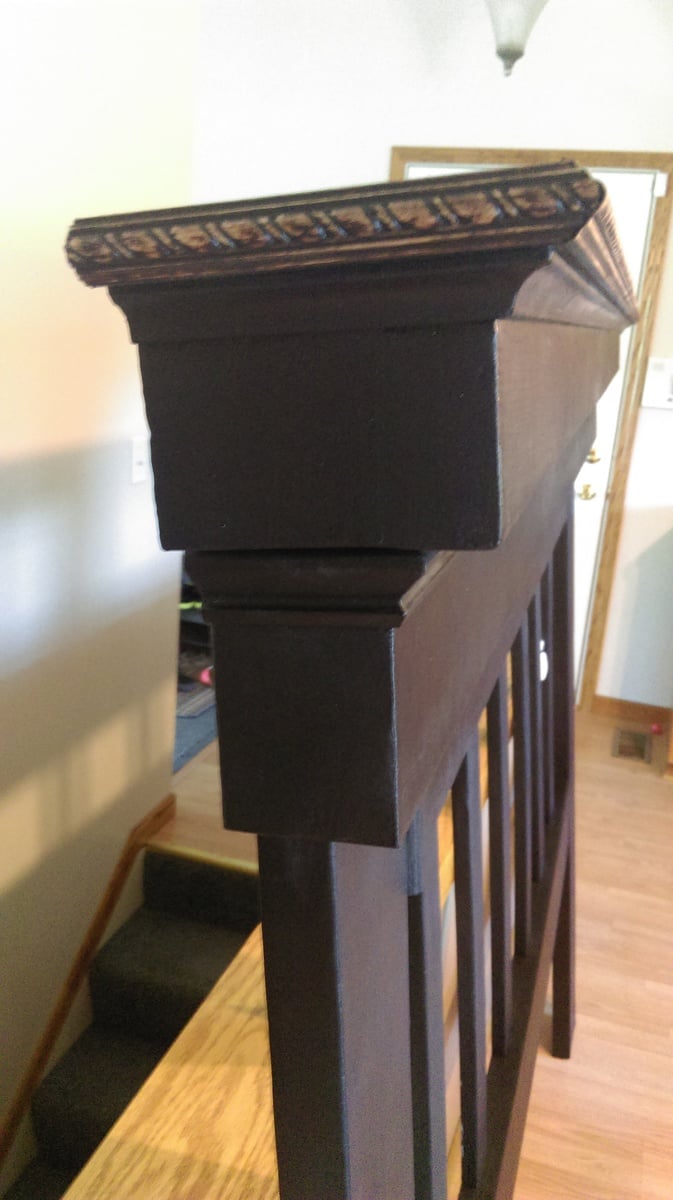
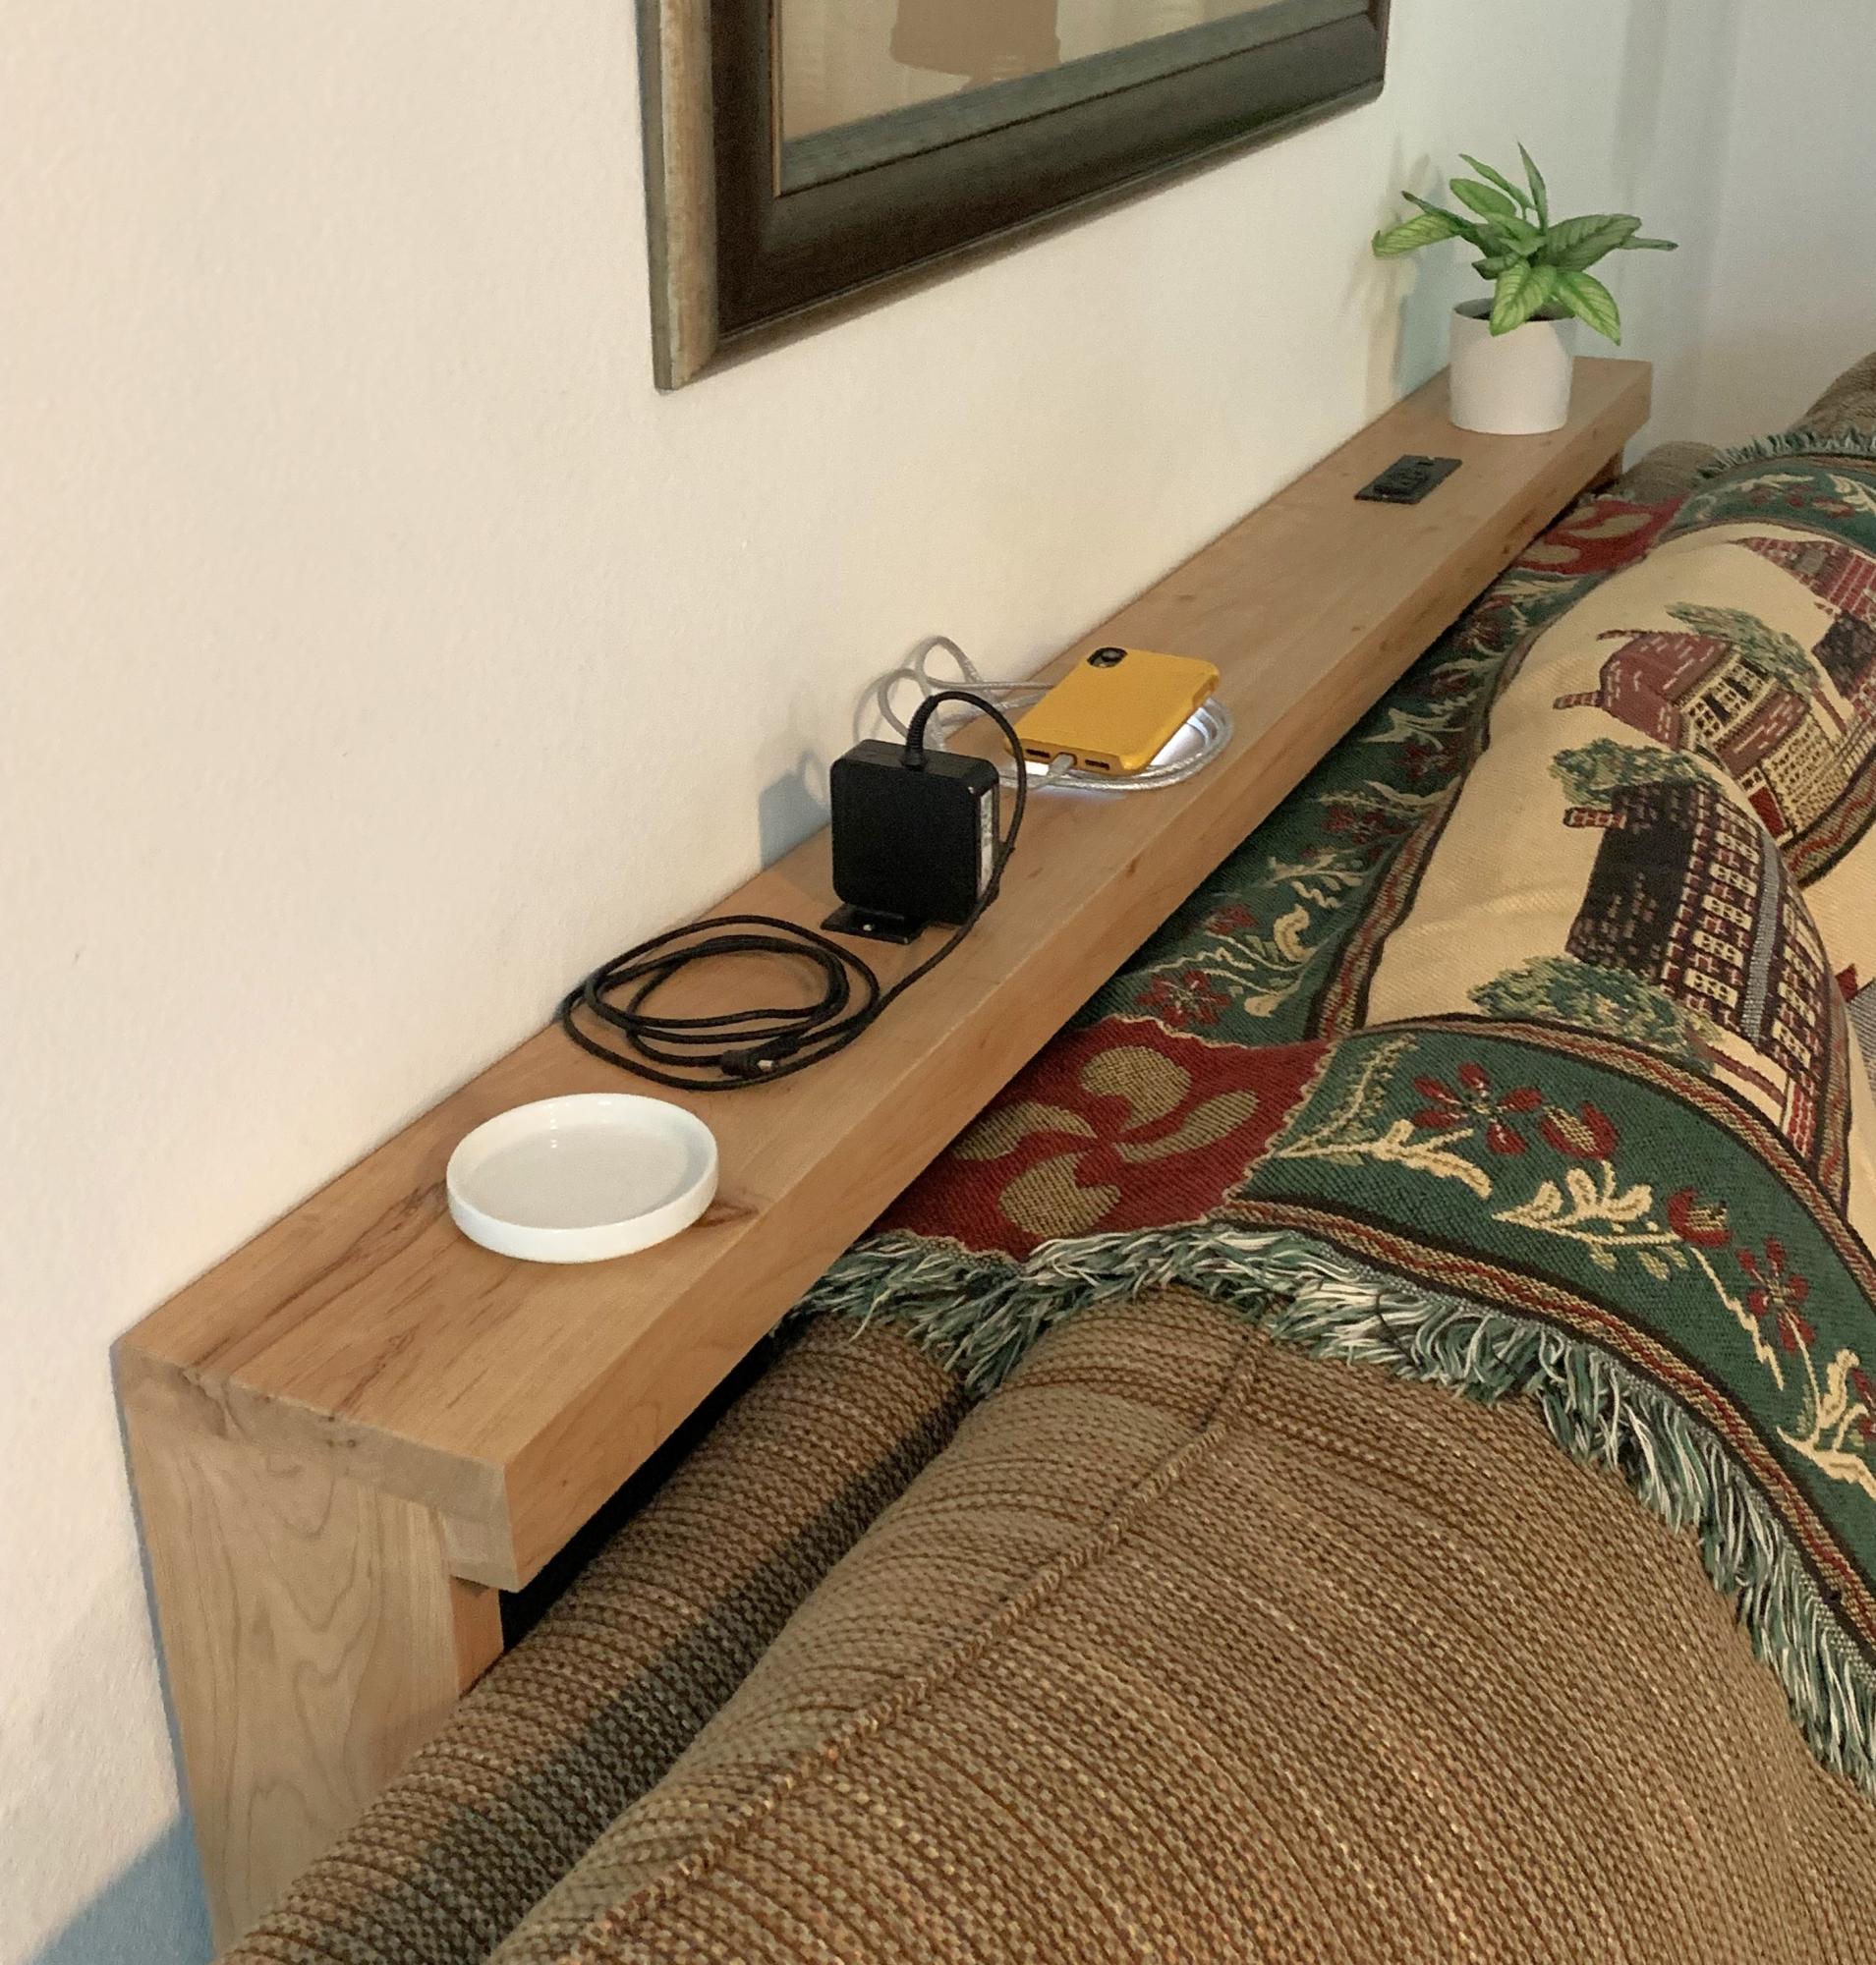
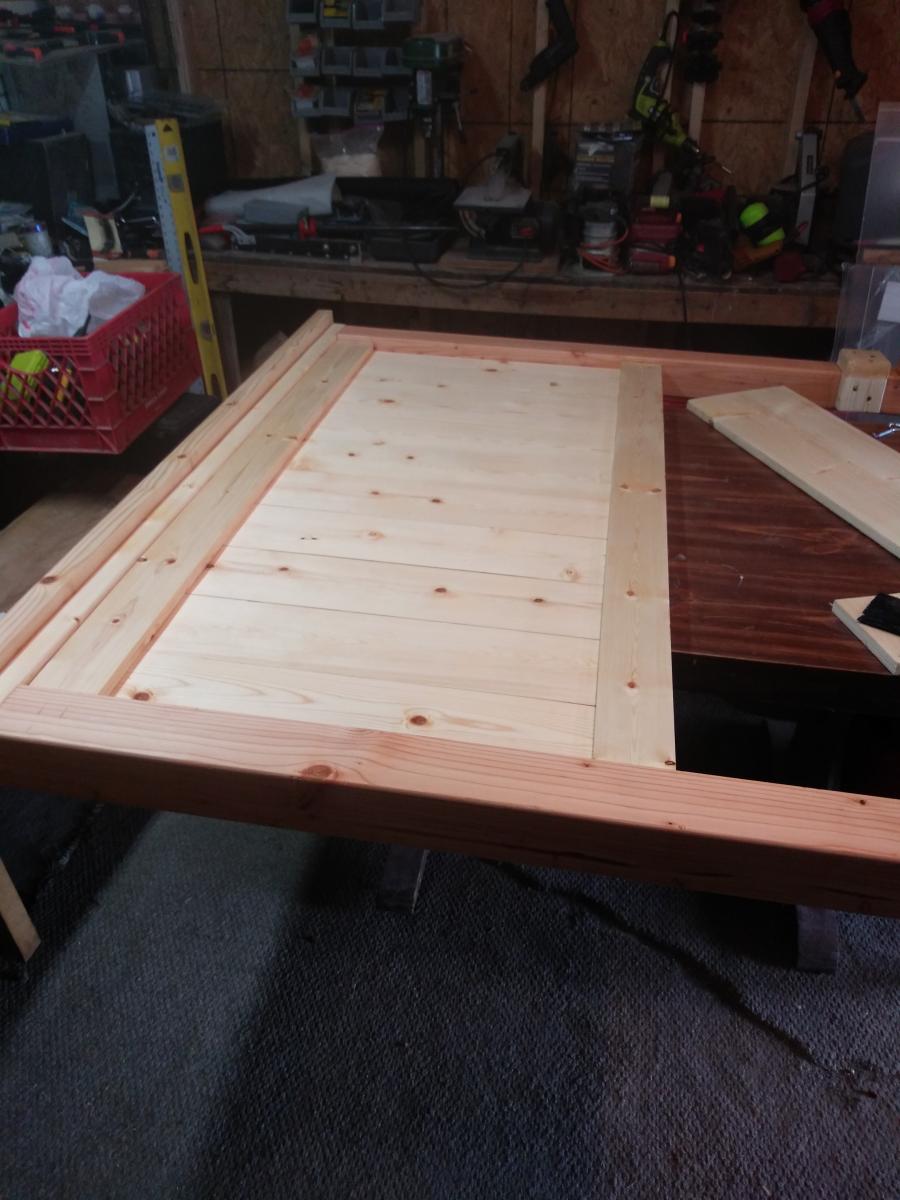
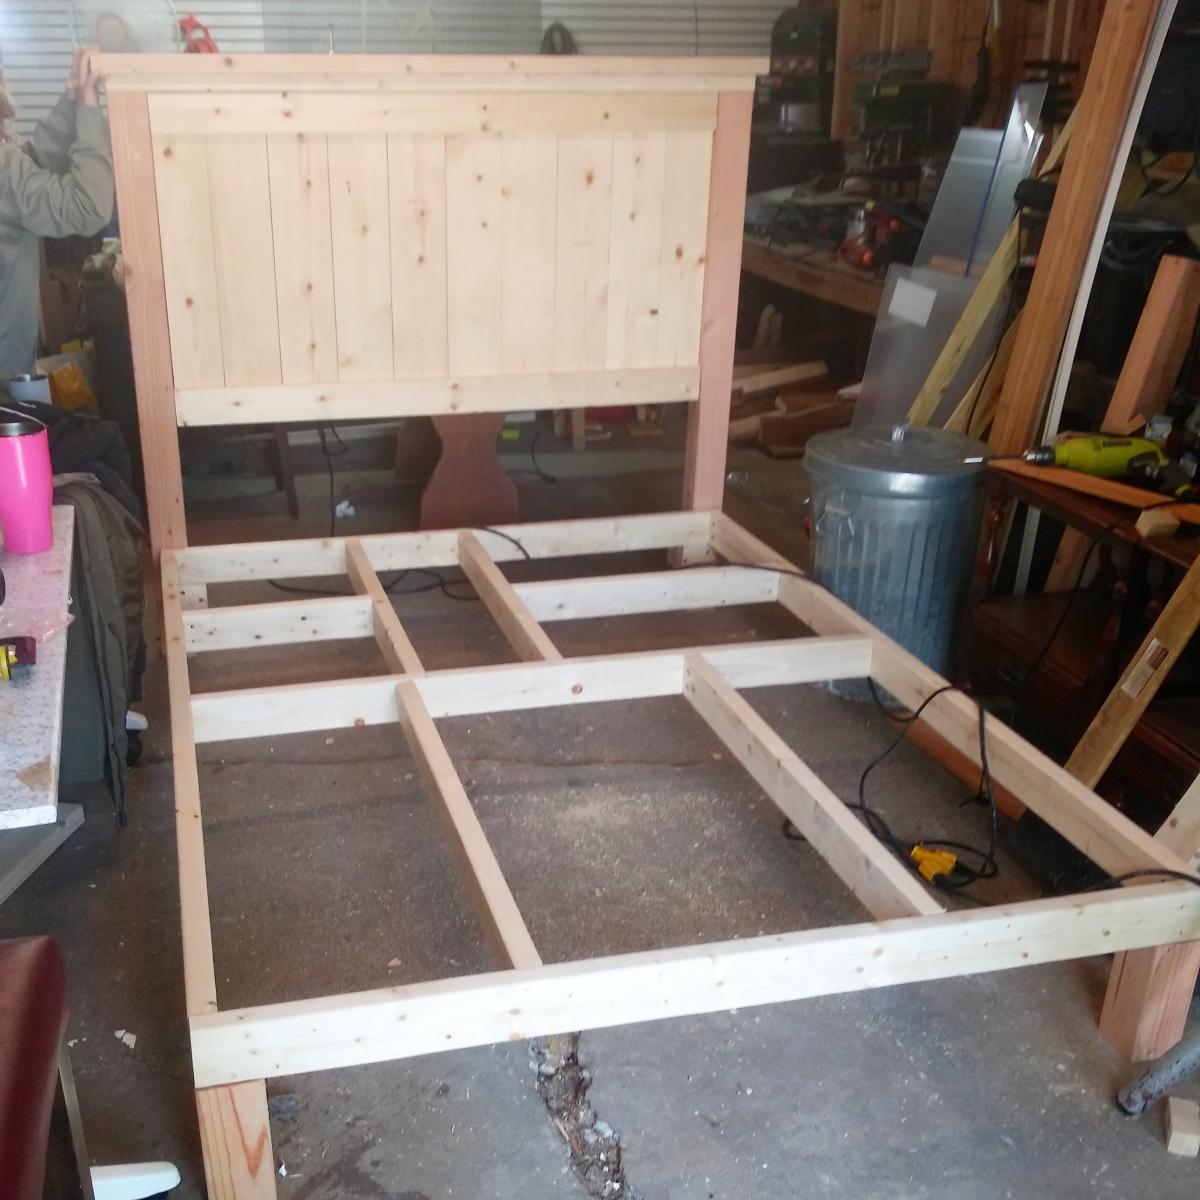
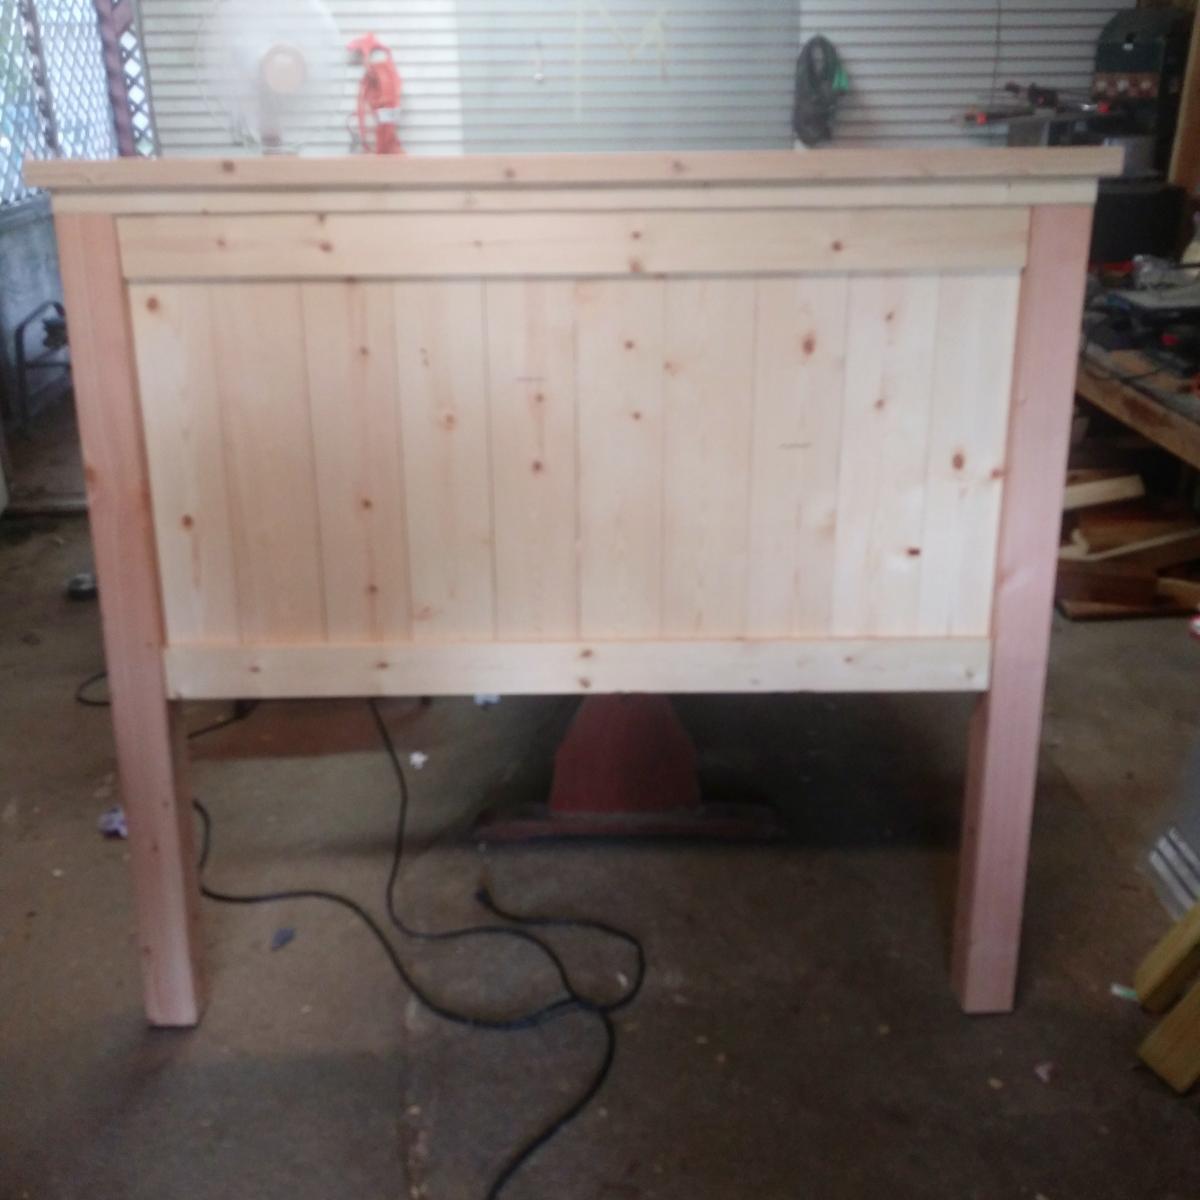
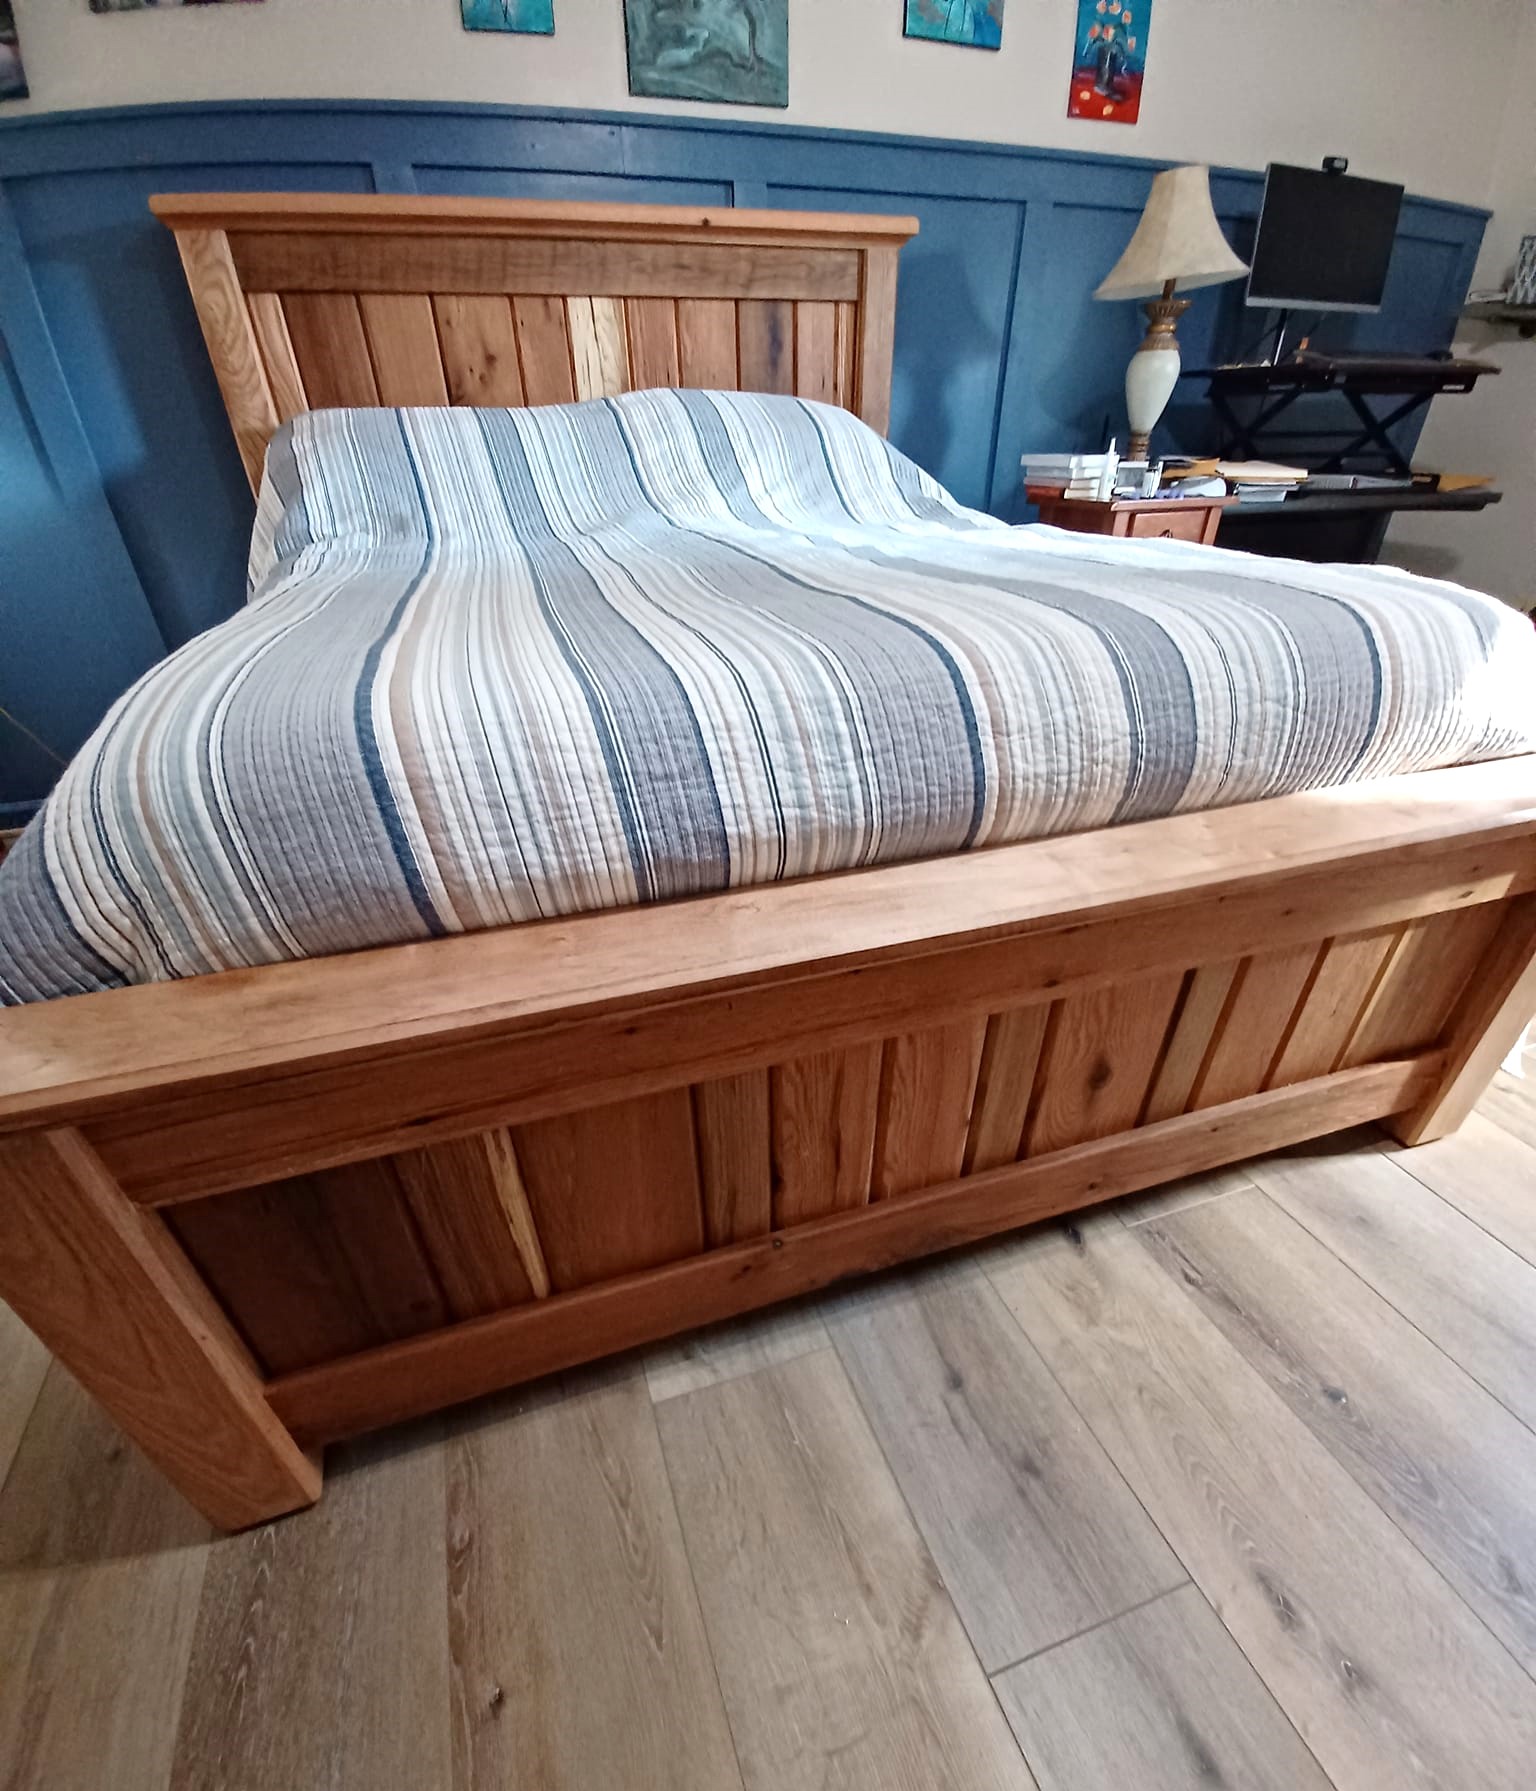
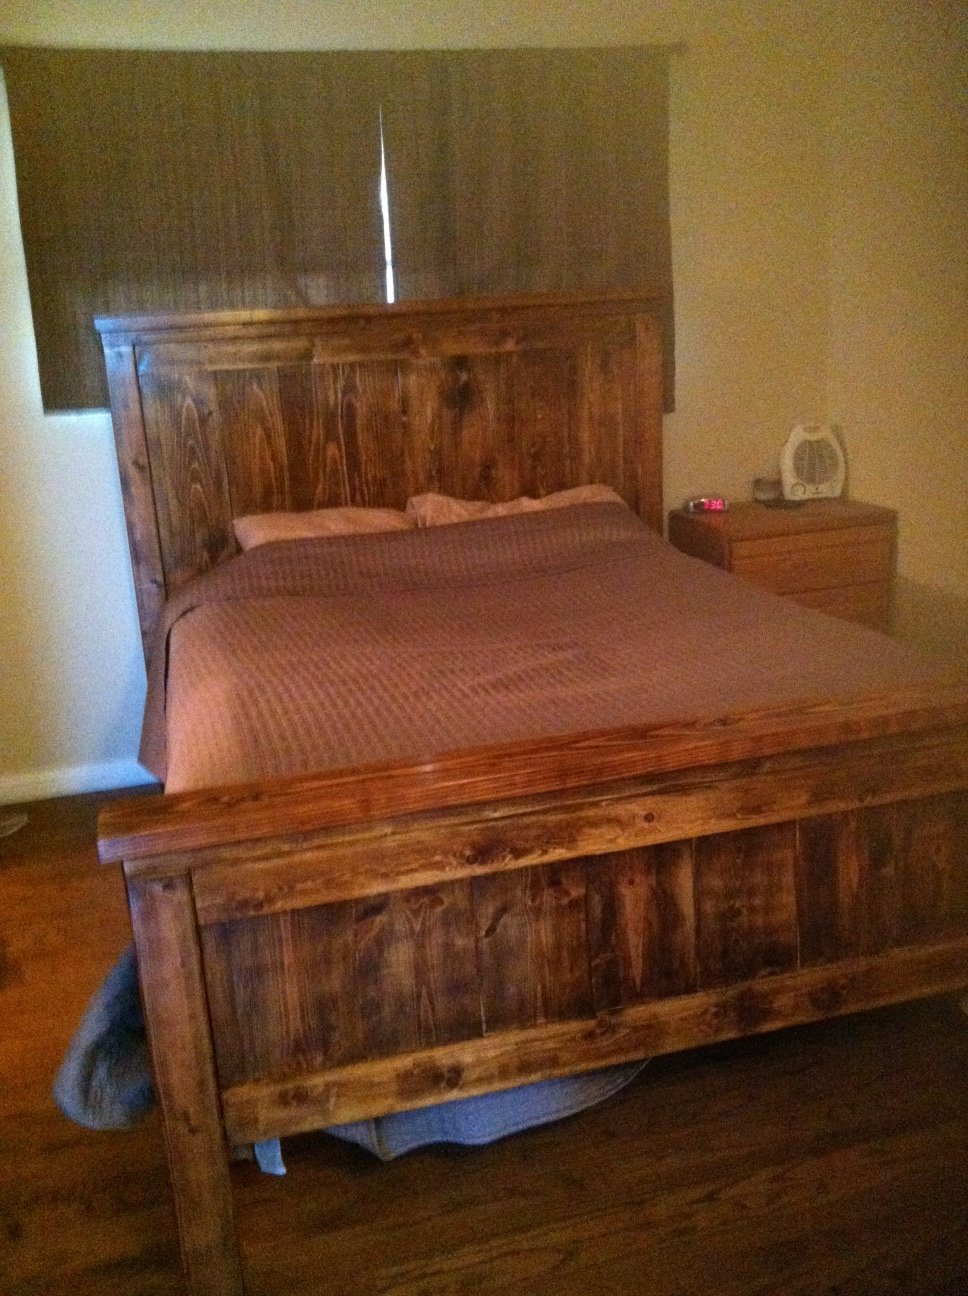
We followed the king sized Farmhouse bed with a few changes. We added 5 inches to the footboard so that it was almost flush with the mattress. This was just a personal preference. The bed went together pretty easy and looks amazing in our room. We LOVE it!
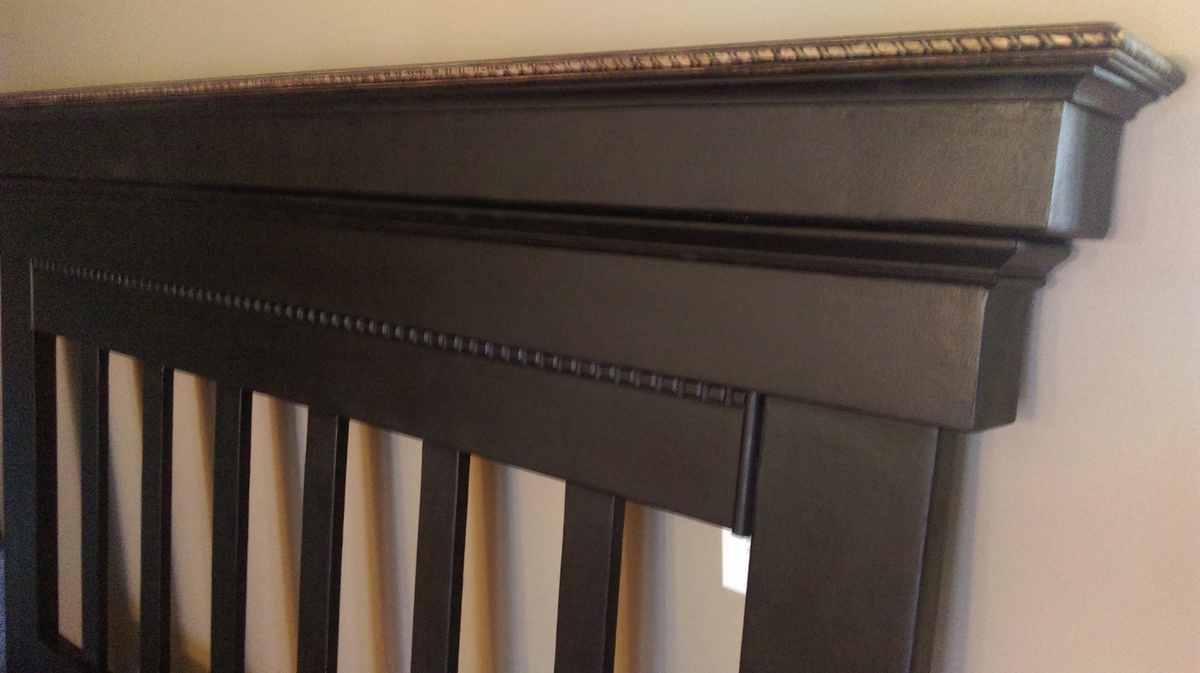
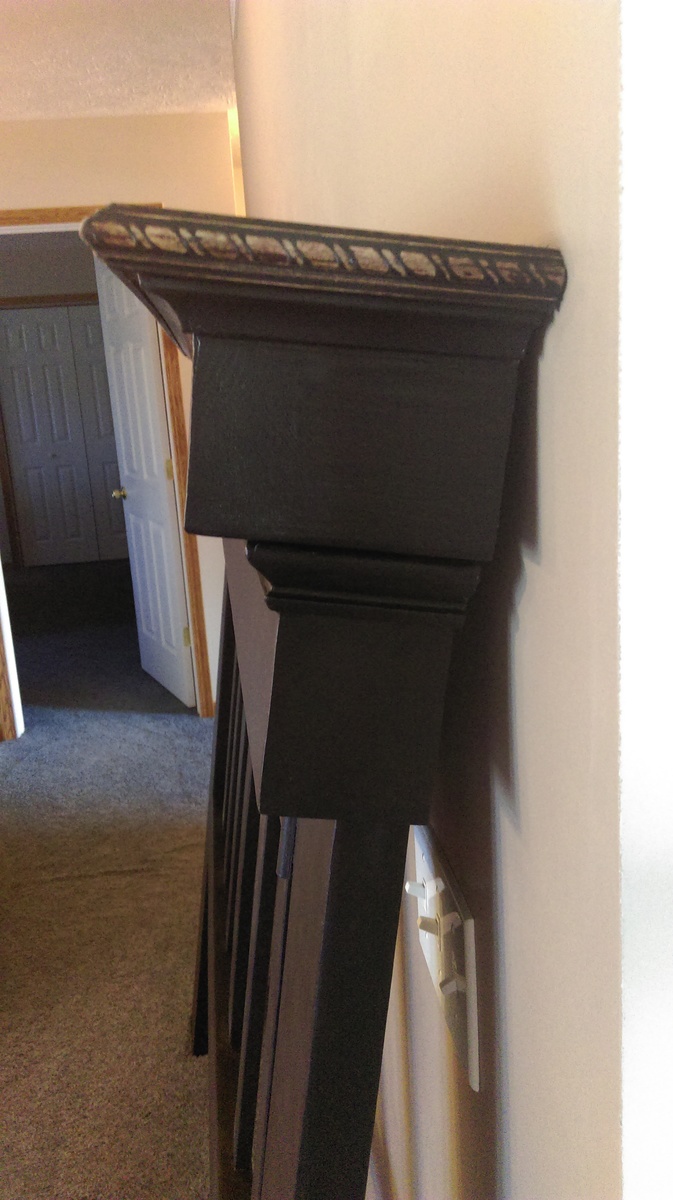
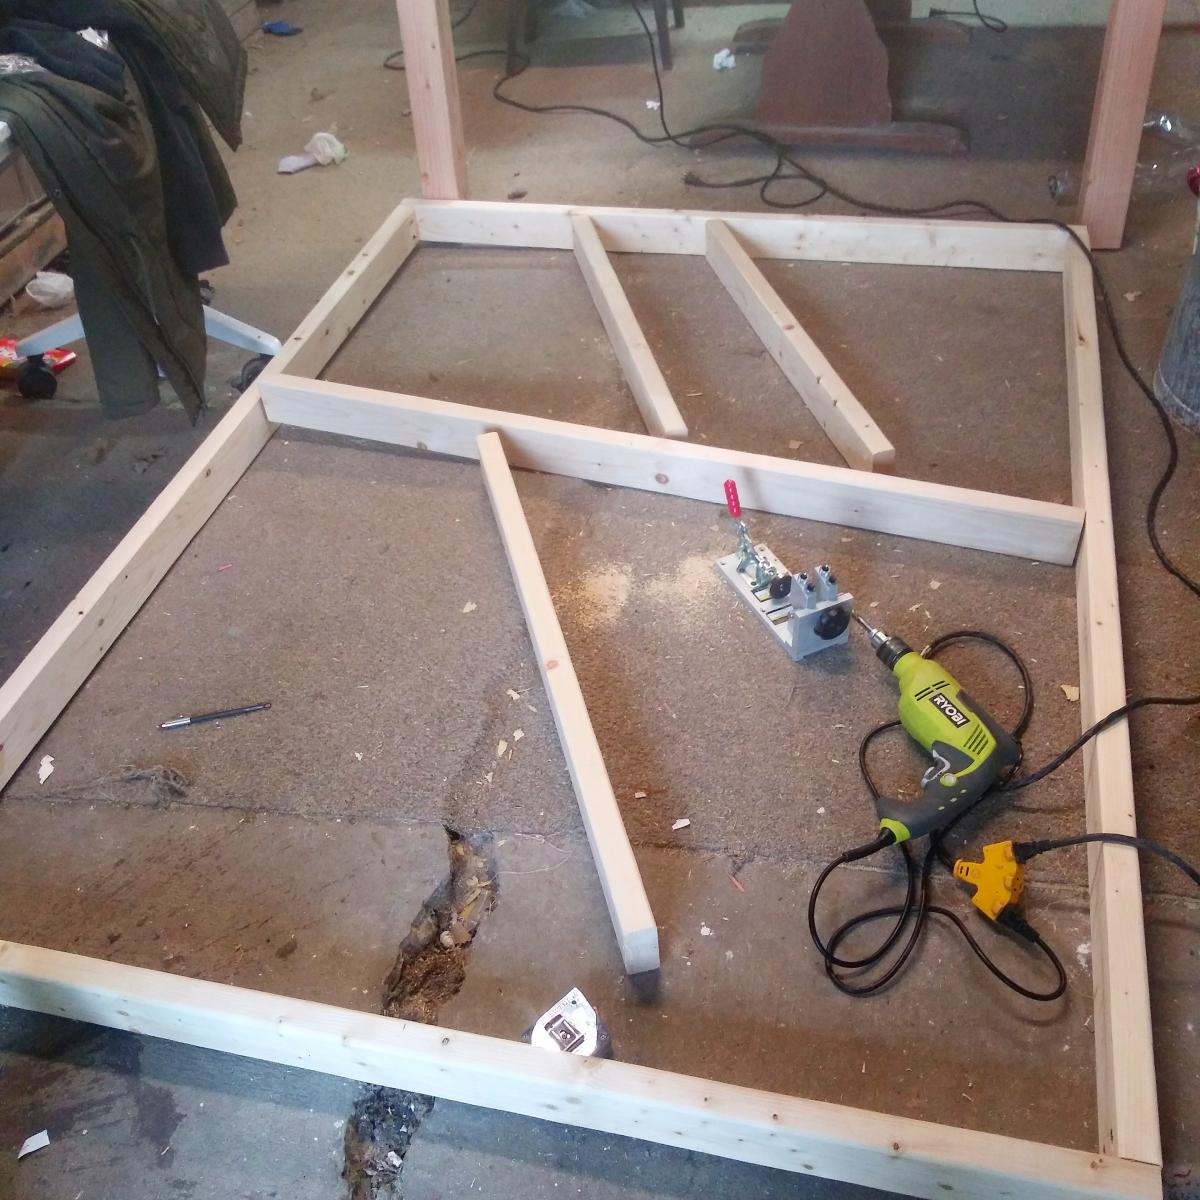
Since we did the king sized plans, the side runner boards do not fit inside of the headboard but we did make them flush with inner edge {attached to the front though instead of to the side}. Since we did this, we had to go and buy brackets to attach the side rails to the headboard and footboard. We also had to go back in and cut off the 3 inches that they add to the side rails for it to be able to be screwed to the inside of the headboard. Just a few minor adjustments and it all came together great.
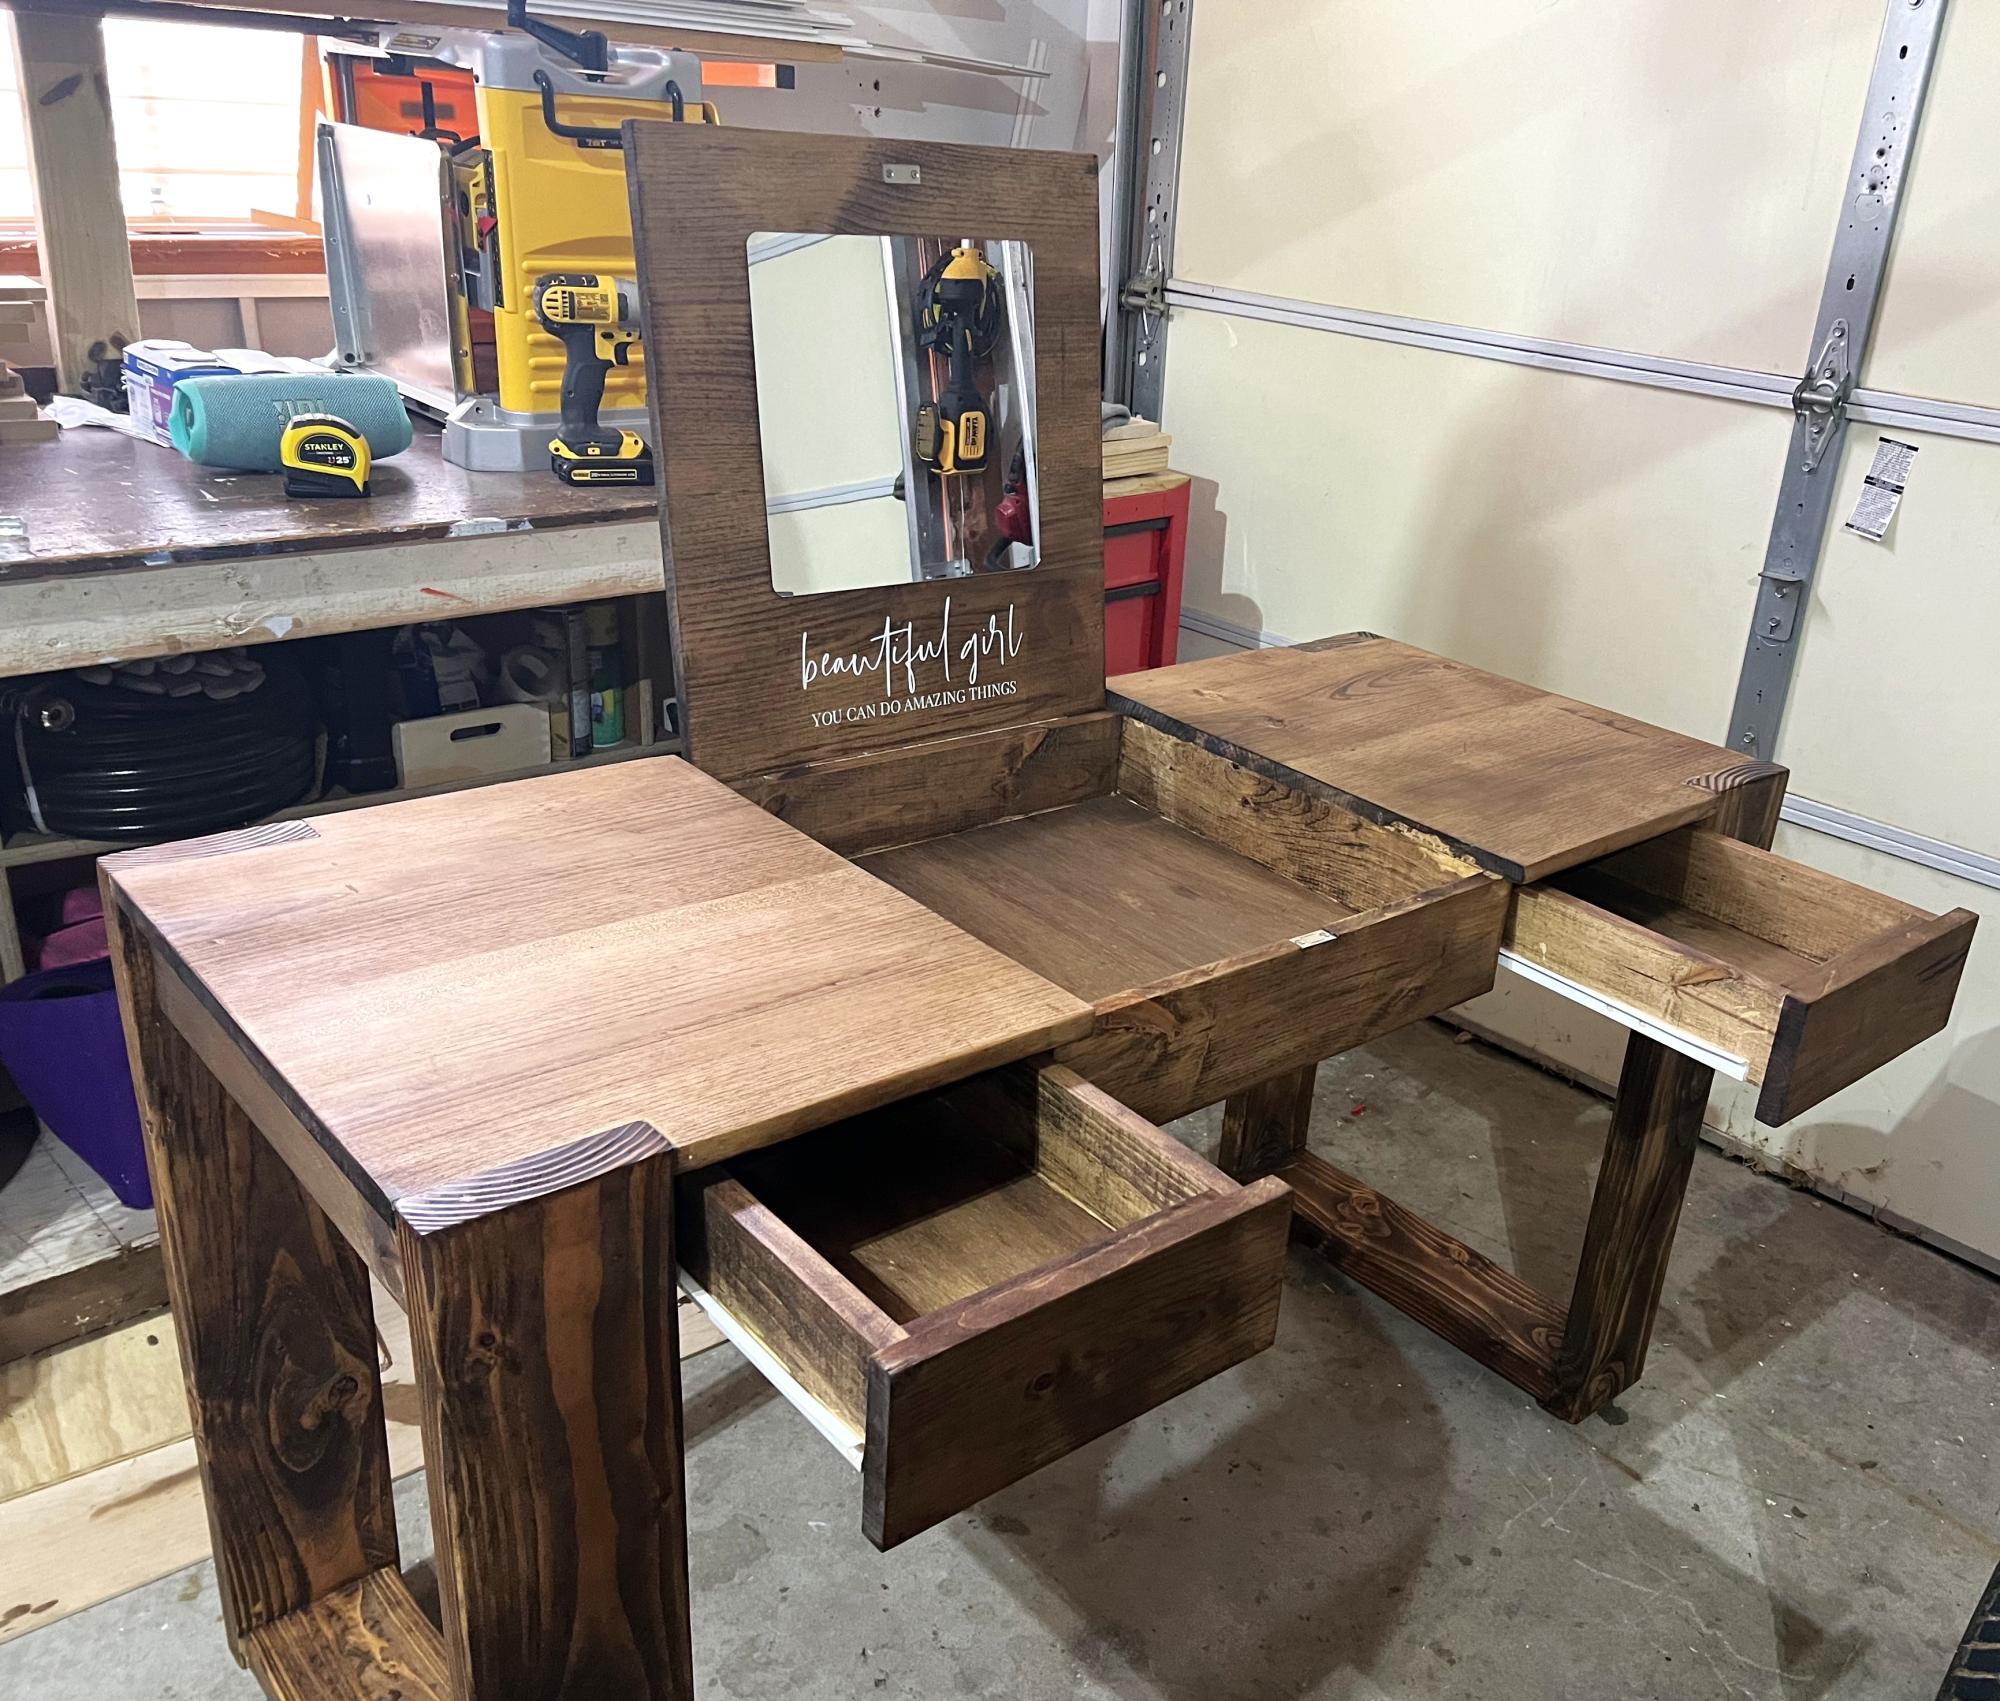
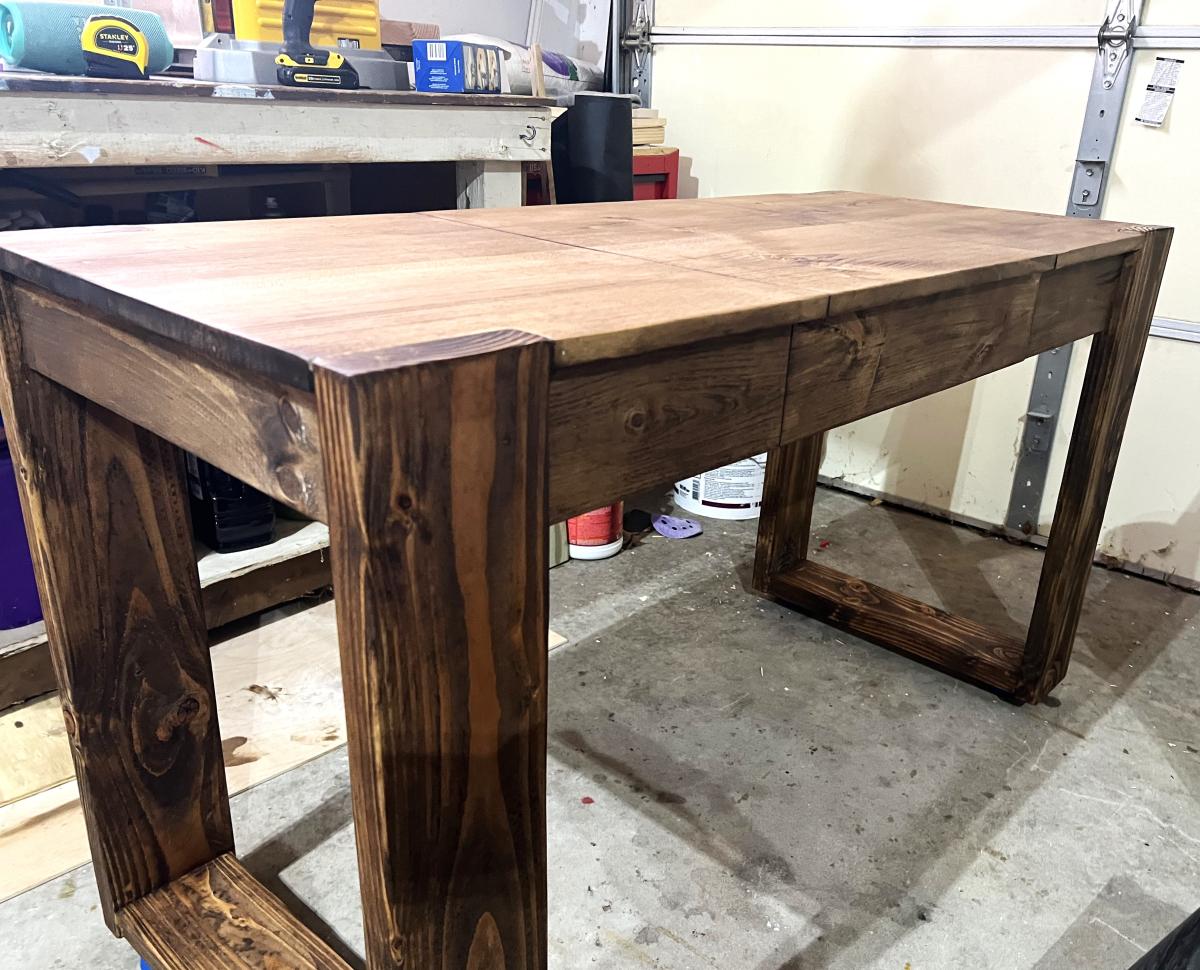
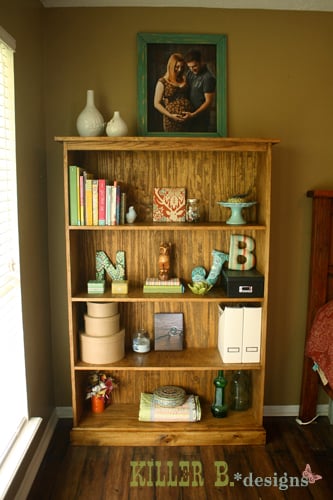
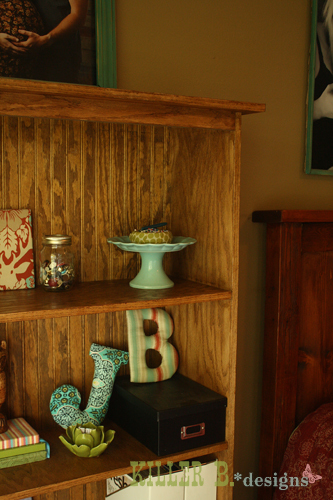
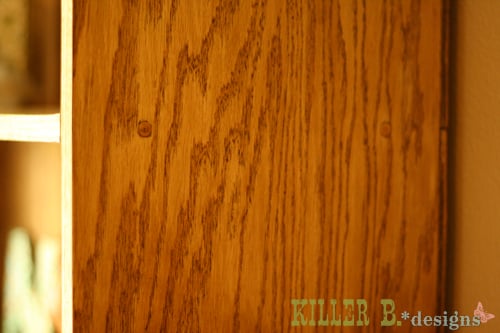
We finished it with minwax dark walnut and two coats of clear coat.
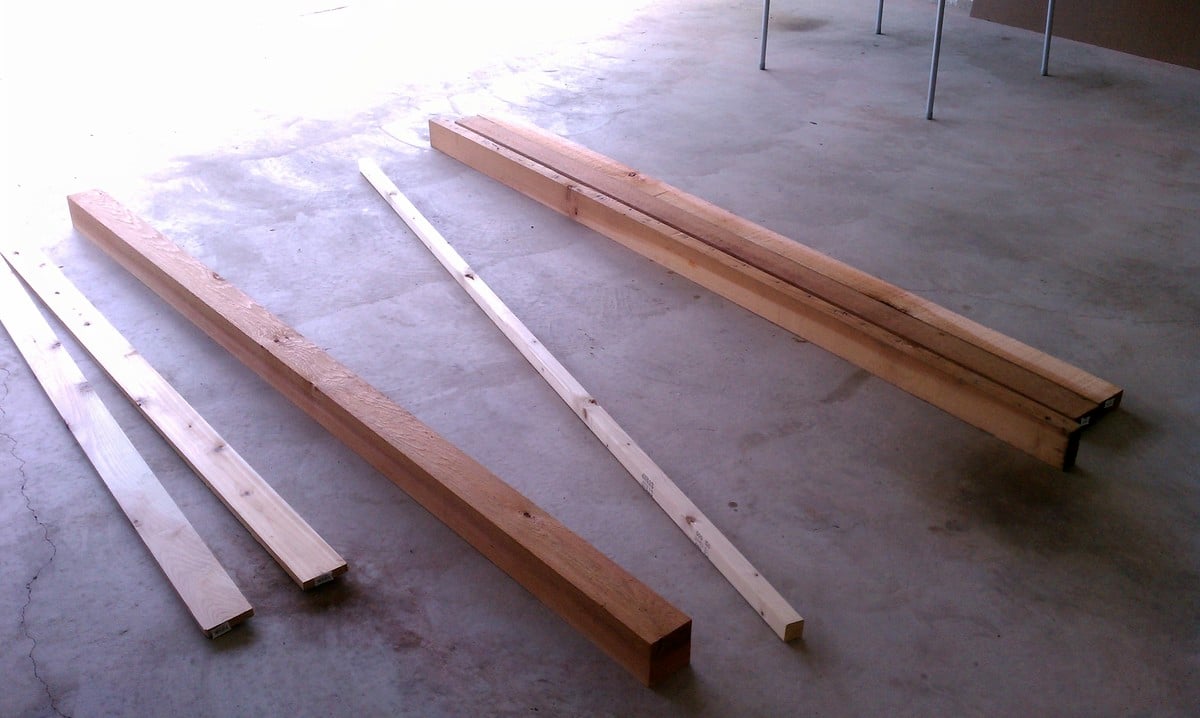
We already had the stain and clear coat so this project cost us about $170 for the wood.
Fillman storage bed made using the plans for the twin. I changed the measurements to fit a queen. This took about 2 and half weeks to build and stain. The head board and foot board were built as pieces and then stained, then put together after as the stain was earlier to apply and avoid blotching. The drawers were straight forward. Thanks to kreg and the rip cut for making it easy to cut the plywood easier to handle. I used about 4 sheets of 3/4 inch oak, 1 sheet of 3/4 inch plywood select for the drawer boxes. Then 1/4 inch plywood for the back and bottoms of the drawers. I used euro slides which I put on after I had the boxes made. I used a router to route the edges for the faces of the drawers. We used a royal mahogany colour for the stain and used 3 coats and then one clear coat. This was a big project for me, and my first big project. I have a few extra pictures that I will upload later showing the building phases. materials used, oak, plywood, pine and spruce lumber for the legs of the head and foot board. I live in a northern community in Canada and material is hard to get here. I used what was available. Estimated that this project costed about 400 to 500.
My son and I made this quick for a gift. Thanks so much for the excellent plans. A couple modifications to use supplies on hand. Turned out great! Remember to fasten seat down before putting on arms.
My daughter has all of the hair tools and accesories and needed an organized place to put it, this worked great!
This project was simple as long as you follow directions. I had some problems with the finish but in the end it all worked out!
Didn't know what to do with the center open square. I didn't want to use plywood, so I used 1x3 slats for a Mission style bed look.
I am not a fan of the unfinished, raw look of the two boards meeting on the sides of the headboard in this plan. So I filled with wood putty and sanded (a lot).
This headboard is very top heavy. I wish I would have tried using 1X4's instead of the 2X4's like I read someone else did.
I enjoyed making these outdoor chairs! I had to make two for when company is allowed to come by again. The plans were simple to follow, and making the cushions was a bit more of a challenge. I ended up having to use a mattress topper cut into 25"x25" squares. I found some great seat covers on Wayfair.
We wanted a shallow table behind our sofa where we could charge our phones and laptops while relaxing in the evening. I used three 1” X 6” pieces of cherry, connected with pocket holes, and put a small gusset in the corners. With a couple of power strips inserted in the top and plenty of polyurethane, that was it!
His Hands
I've never thought that I could build any piece of furniture.. then I found a blog called Shanty-2-Chic and it was two sisters who built any piece of furniture you could think of from Ana White's project plans. So this is my first brag and I'm soo thrilled at how they turned out. Of course it didn't run smoothly the entire time.. I had some bumps along the way (that meaning I had to rebuild a chair like twice to get it right). I really don't know much about different type of work tools and all the different size wood and nails... but I did it and I can't wait for my next project!!
I didn't list the time it took because I did a little here and there.. it took me a month or so to complete! I also didn't have a lot of the tools, so price would include cost of wood and tools. I also would like to mention I used the Kreg Jig to build and I love it and would totally recommend it!
Sun, 07/08/2012 - 09:30
Thanks, I really love it and can't wait to build more!!
I used your plan to create a breeding pen for my little brother's millie fleur d'Uccle. I am using it as a 4H project. Thank you so much for the plans.
This bed is a modified version of the farmhouse queen. Instead of a footboard I allowed the side boards to continue around the foot of the bed. The frame was built to give support and also house the motor and other moving parts needed to lift and lower the head. In the linked text is a video of the bed with the head lifting and lowering on the mechanical base.
Christmas kitchen for my granddaughter using Ana's kids kitchen plans.
Raelyn's Gramma
I got a request to build a taller version of the Tommy Bookcase. The only changes I made to the plans were switching the sides to 60" tall and adding two additional 40" shelves. To save on the cost of buying several 1x12's, I used a sheet of PureBond birch plywood. I didn't want to mess with the Kreg plugs or seeing the holes, so I countersunk screws into the sides and used 3/8" plugs to hide them. For the bottom, I trimmed down a 1x4 to the right width then added 1/2" moulding to the top of it. At the last minute she decided to add beadboard, and I found two quarter sheets at Lowe's on clearance for less than $8. I finished all the rough edges with edge banding. I really like how it turned out! It's a very solid, sturdy bookcase, and for $80 it's a fraction of the cost of the half sized PB one!
Wed, 03/13/2019 - 06:41
What size screws did you use and how many on each shelf? If I use this to make a pantry that backs up to the wall and is fastened to the wall, do I need luan in the back for the strength of the shelves? Could I put in cleats instead?
This was a super easy and fun bench to make.
I ended up having enough 2x4 and 1x4 scraps for the legs and only had to pick up a a couple of 2x4s.
TIP: Others pointed said that you should paint slats before assembly... I highly recommend it as well. It was a bit of a pain trying to get between the slats to prime and paint though would likely be easier w/ a sprayer..
Finished it with some oops paint in a nice color and a 3 coats of spray urethane.
Great beginner project for sure. It may take a couple of days to finish but most of that time is spent waiting for paint/urethane to dry between coats :)
We have a small rustic cabin that needed a clean, functional outhouse. We followed Ana's plans, but with a few modifications to include a Solar gray polycarbonate roof to let in light. We also decided on cedar board & batten for the siding. We look forward to many years of use.
I used discarded lumber from when they built our house a few years ago for the support structure. I only needed the headboard for our new split king adjustable bed. There posts are 2 2x6s sistered together. The top shelf is a 2x6 and the insert is 1x6 tongue and groove (got the idea from the fancy farmhouse bed and loved it!) blue spruce flooring with worm holes. I love it, now to do a mashup of the two nightstands with a drawer and a door 😁Thanks Ana!!!
Ps, my hubby also bought me the Kreg electric pocket hole machine for mother's day for upcoming projects. I didn't even know that was a thing until i saw your video... It's awesome!!
We used Ana’s Farmhouse queen bed plans to build a replacement for our master suite. We did change a few things such as instead of construction grade lumber I used red and white oak and went with dowels and tenons rather than pocket hole screws. I also lowered the height significantly due to us having a really thing mattress with pillow tops. The result has been wel received by 'management' as well as her friends. Thank You Ana!
Back Patio Woodworks
The only thing I did different was I pocket hole screwed each slat together before attaching the top and bottom trim. Took a little bit longer but that's just the way I did it. Not sure if it made it easier or sturdier or just took more time.