Wood Truss Bench

Fun build. Every pic looks like an optical illusion though 😂
Rockowoodworks
Built from Plan(s)
Fun build. Every pic looks like an optical illusion though 😂
Rockowoodworks

Build straight from Ana's plans. Very easy and quick to build. I spent a little longer sanding it a lot. I then just stained it and put two coats of urethane on it.

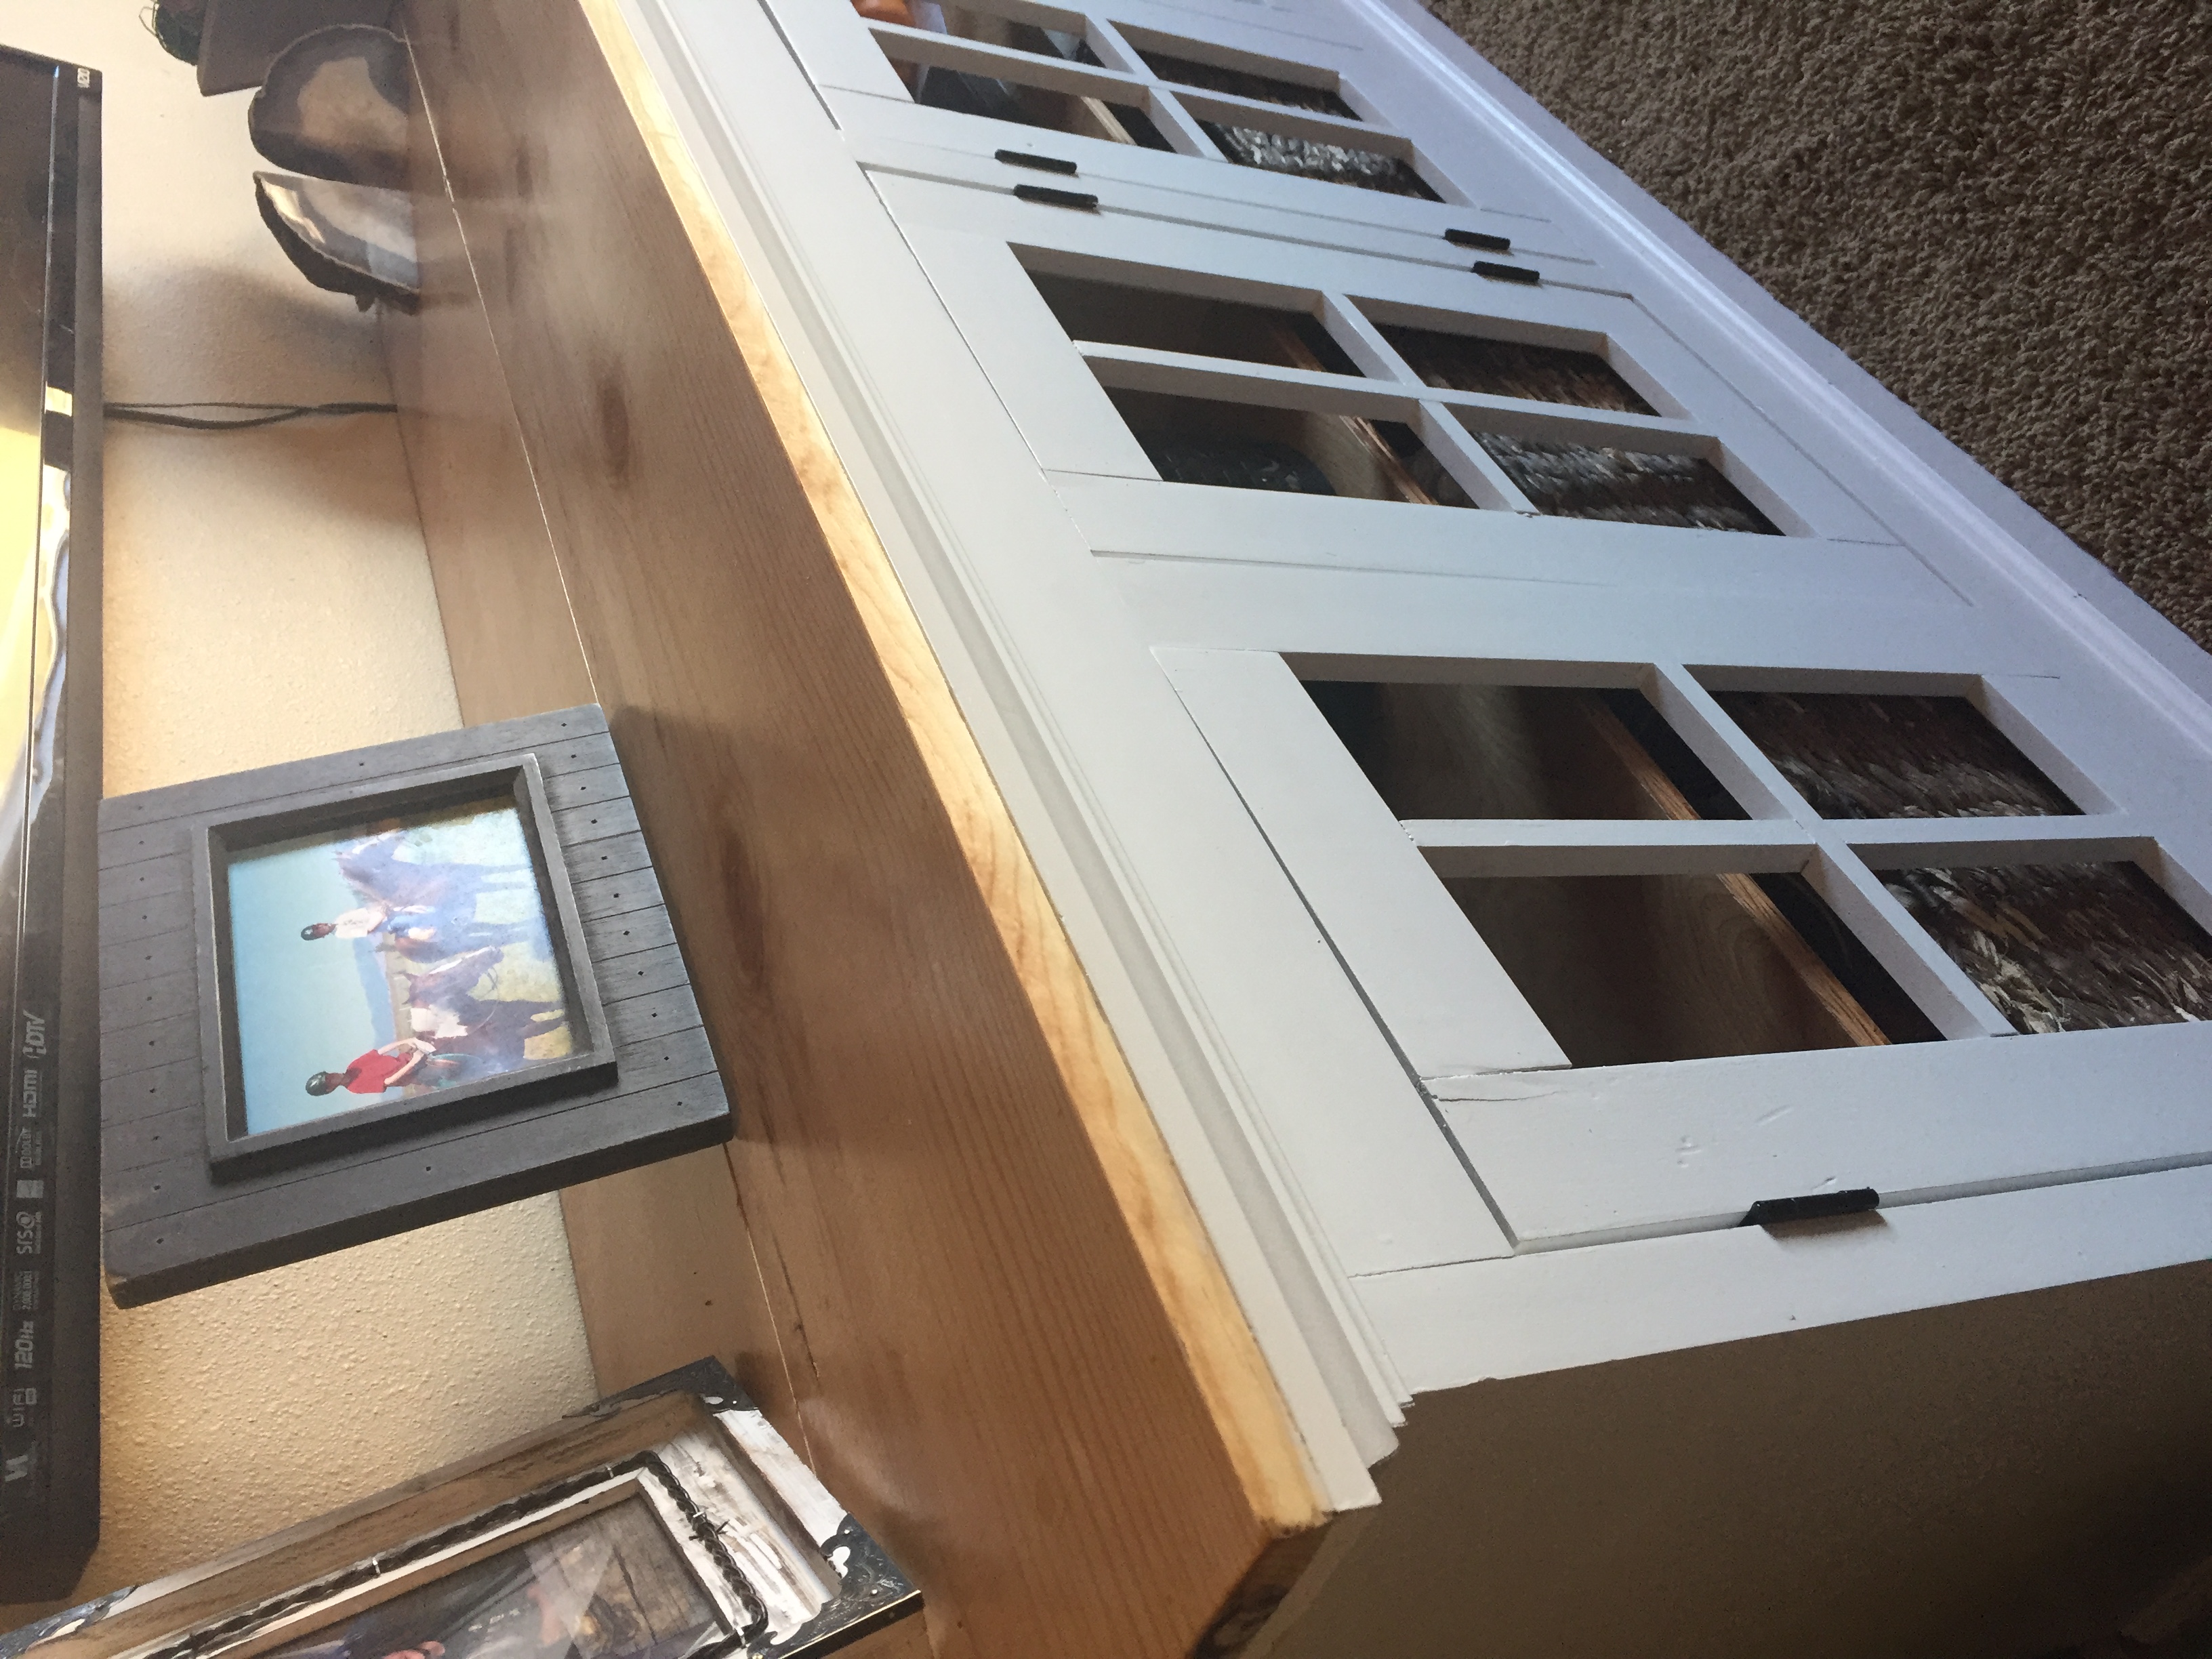
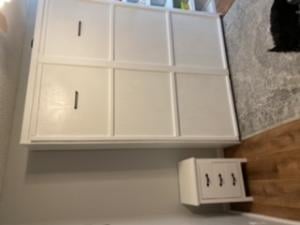
Super excited for my new media cabinet! I painted my cupboard doors white and added L brackets on the inside of the doors for support. I had never worked with crown molding before so this was a great starter project on how to cut crown. My cost was kept down by using supplies such as paint and hardware that I already had.
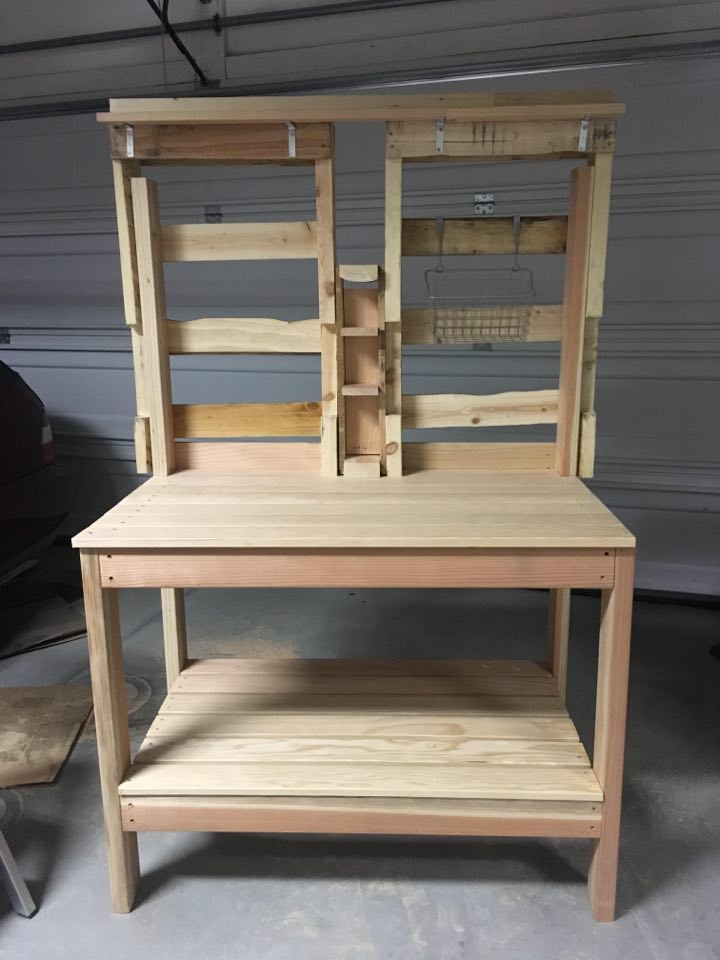
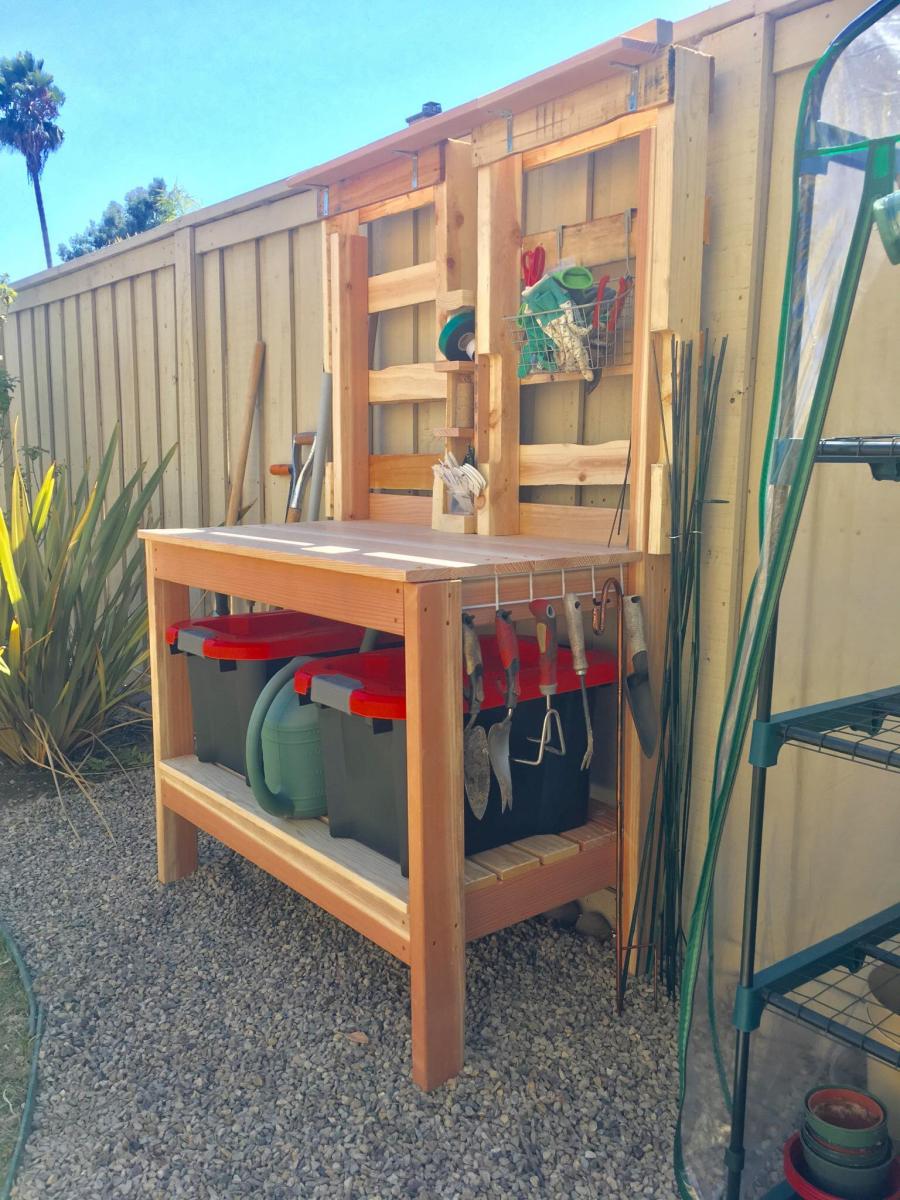
I have built several garden boxes and was lugging my gardening tools back and forth from the garage every day. I found myself with some spare wood and a tall, skinny pallet that I'd gotten from my work when a new conference room TV was delivered several months ago that I'd been trying to find a use for. So I decided to build a potting bench and found the one on Ana White's website and thought I could use what I had to build it. And it worked! I cut the pallet in half that I used to make the back wall and had a small piece of it leftover that just so happened to slide in between the two pallets walls. So I added some leftover scraps and made it into a small shelf for things like twine and plant markers. I couldn't be happier with how it turned out and how it looks in my garden! Looking forward to building more of Ana's projects!
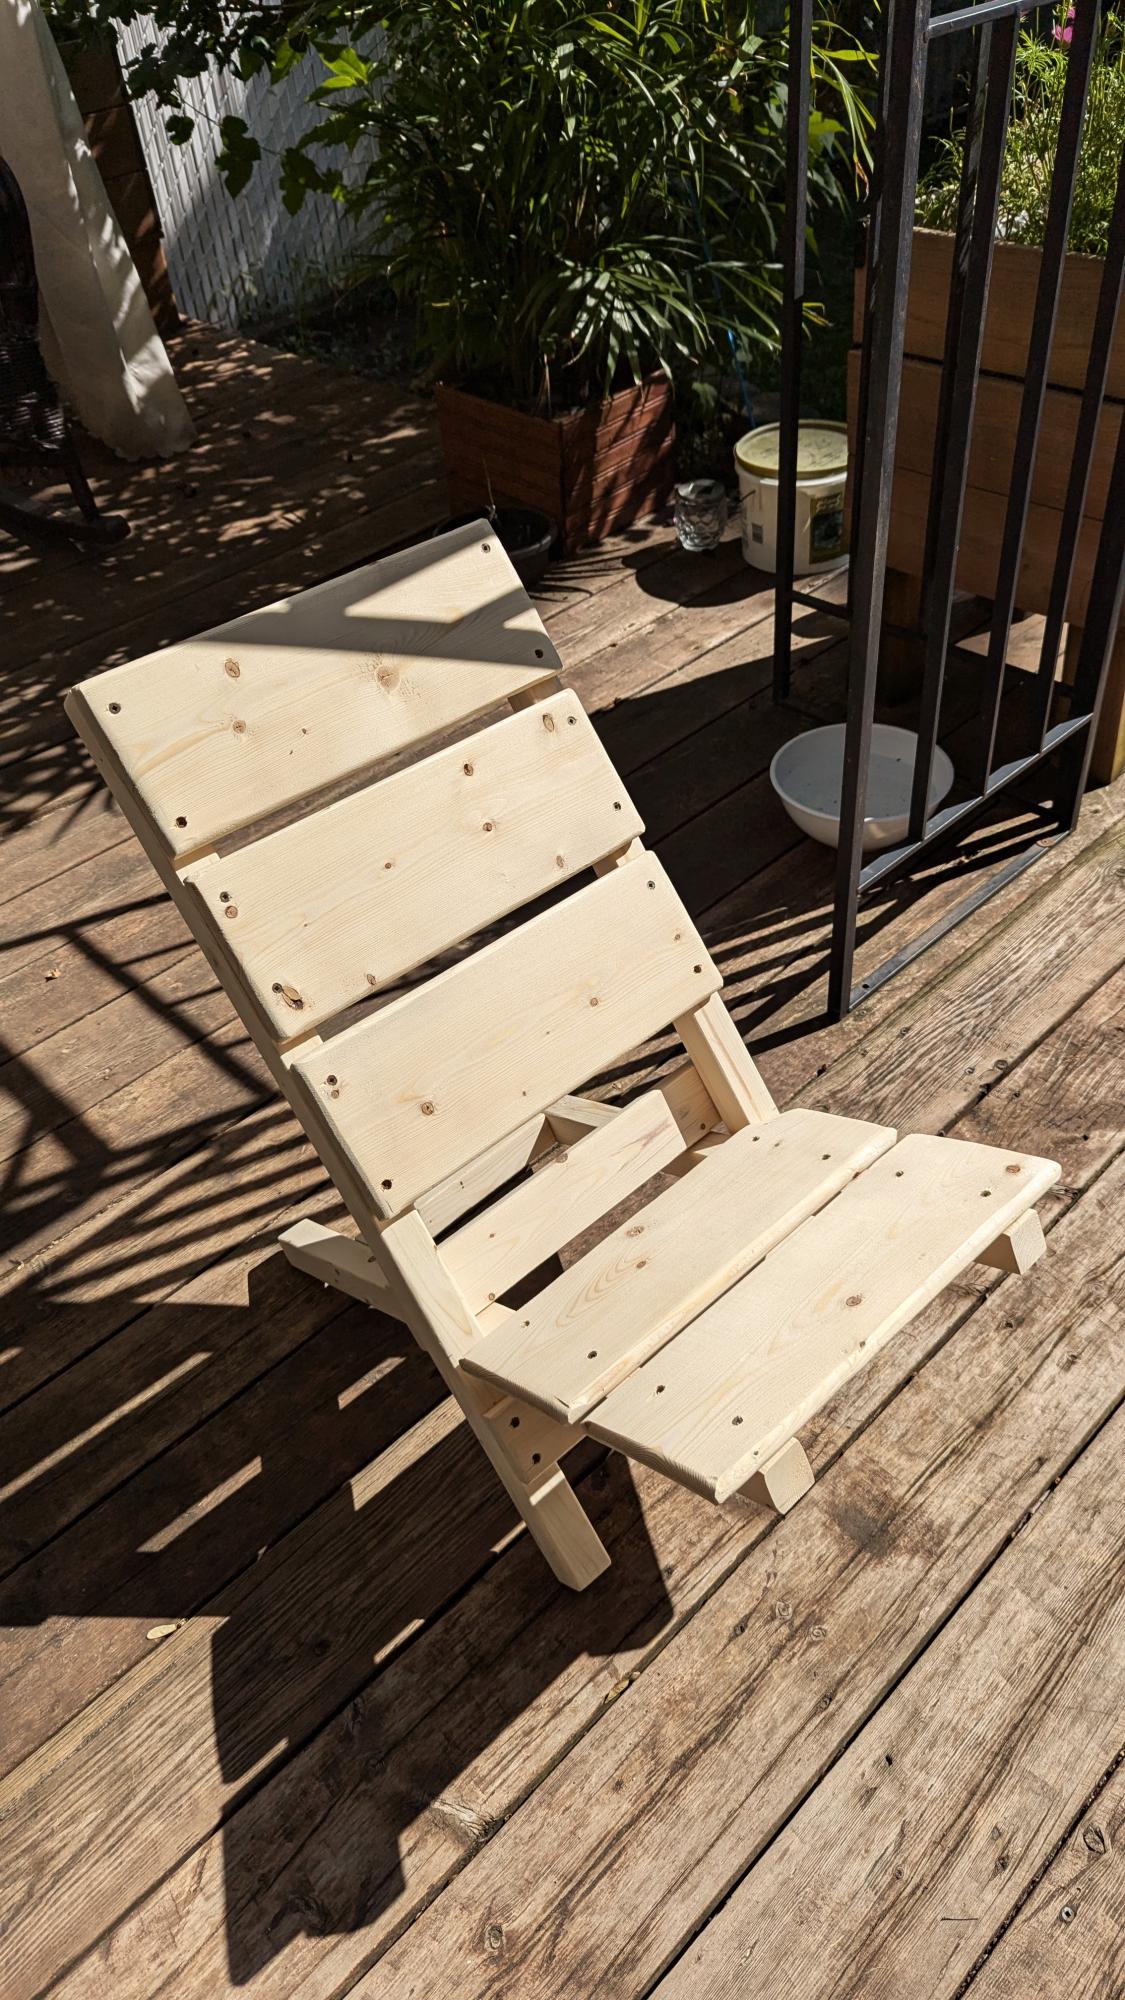
I did this project as directed, but rounded the edges of the boards with a palm router for a little extra finish. I love the result! I'm going to make another one with the backrest a little higher so I can rest my head on it.
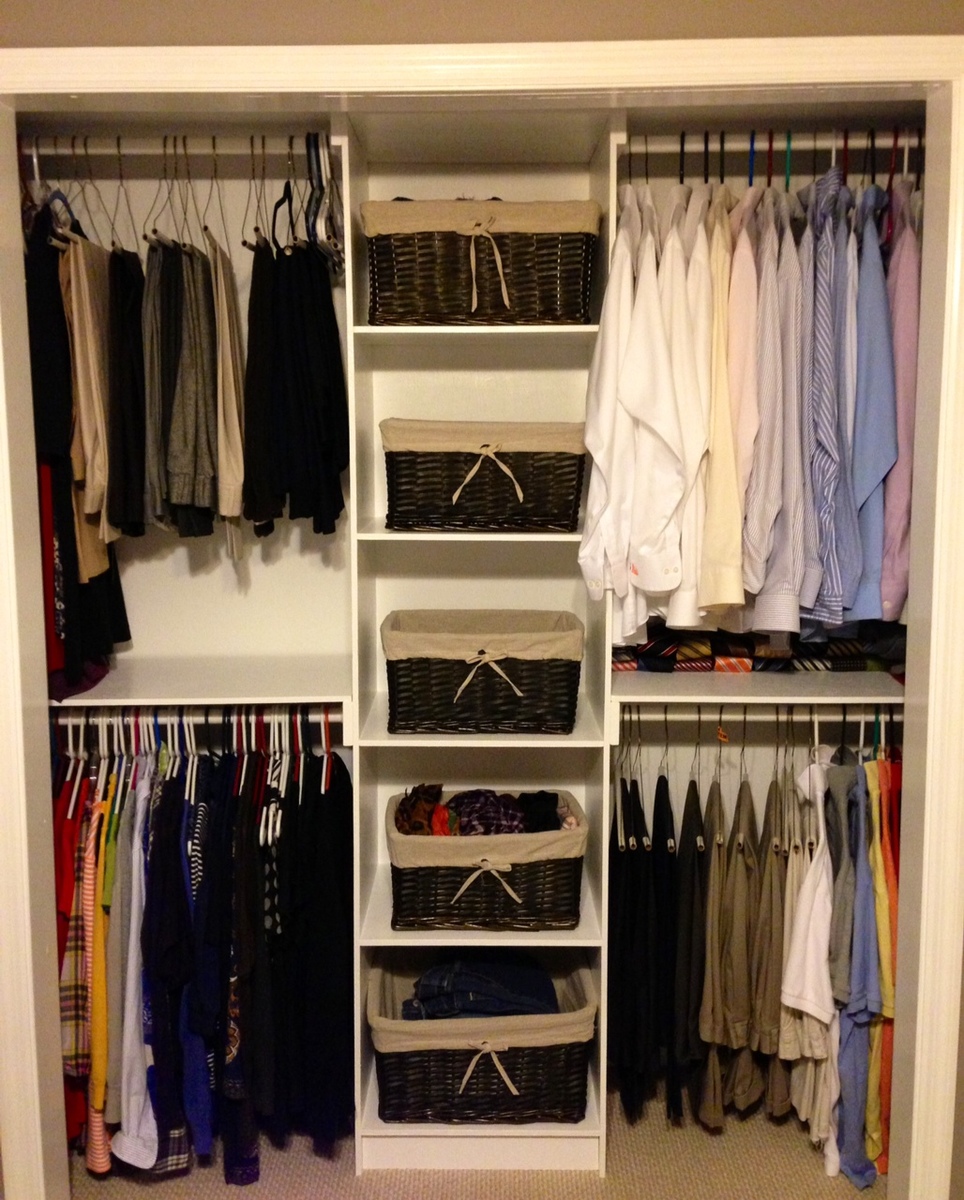
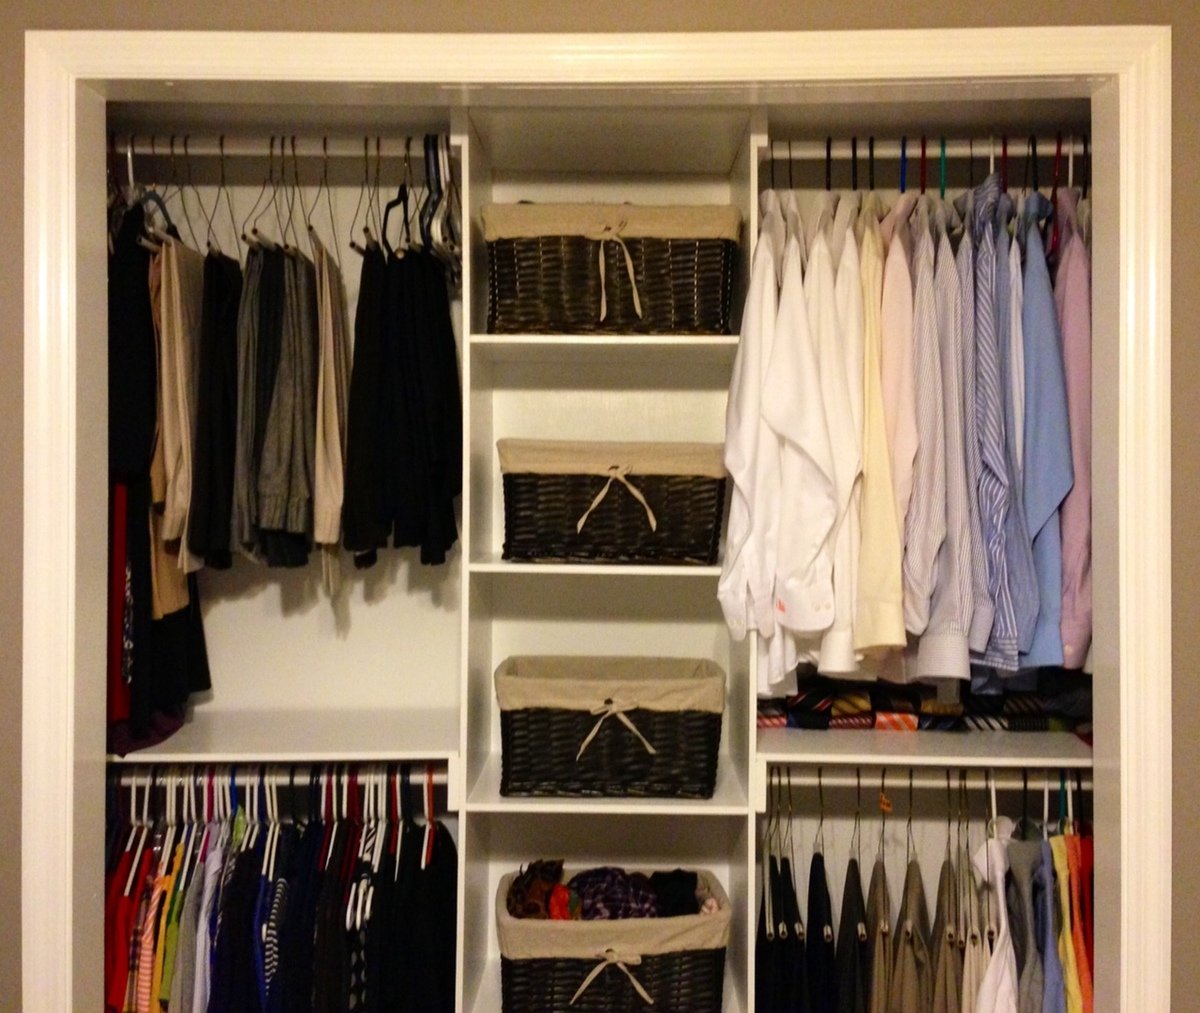
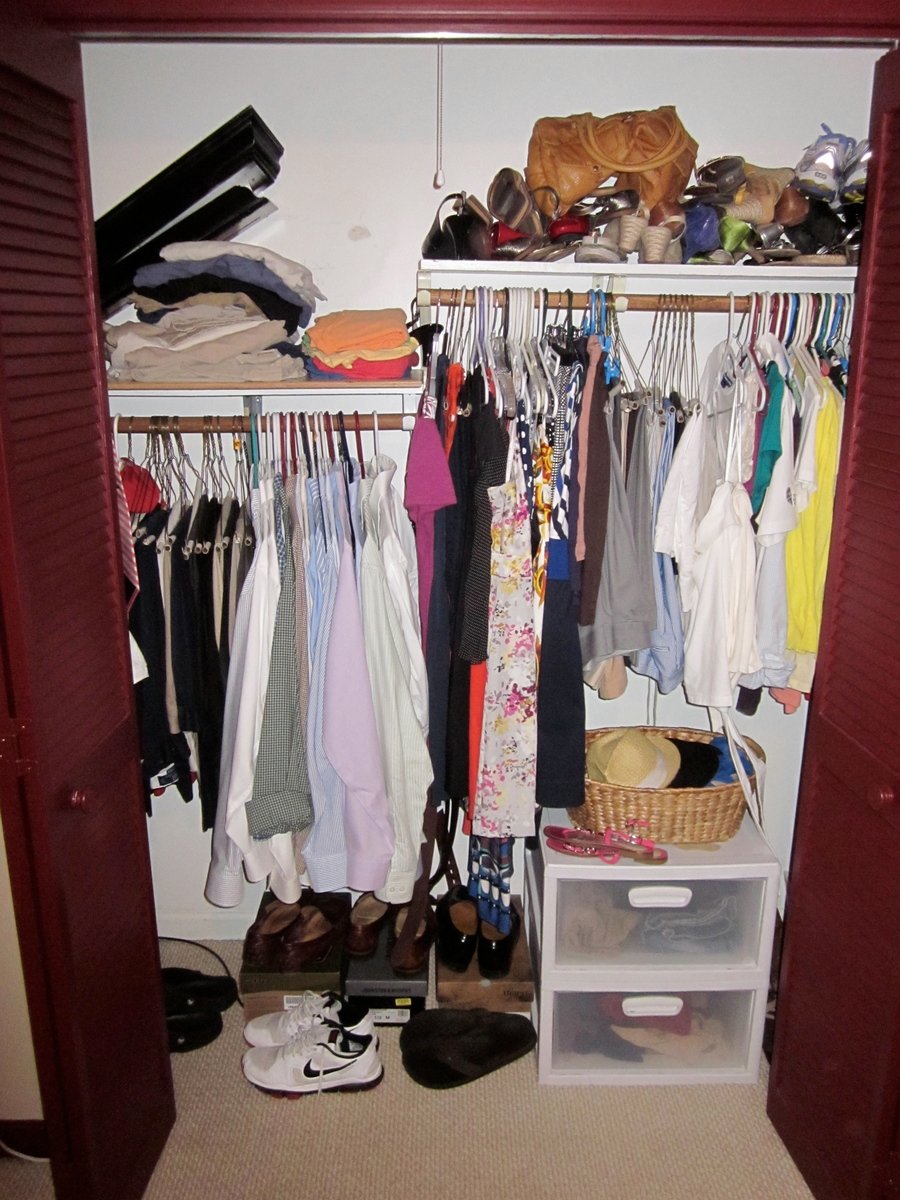
This was mine and my wife's very first woodworking project. Overall, it wasn't bad at all. I thoroughly enjoyed the actual process of cutting the wood and putting everything together. As far as the painting goes, I'd much rather just go on to another woodworking project, but I have to say that all the hard work paid off. Anna's plans helped tremendously. I tweaked slightly just because we wanted our center piece to be a little taller and slightly more narrow. We also added two shelves on each side, for a total of four. For our small reach-in closet, this was by far the best way to go about everything. We definitely have much more room and overall it is a much better use of the space.
I threw in a "before" picture just for fun.
We also just finished the Farmhouse Queen Bed that Anna has plans for, and we will be putting up a brag post on it very shortly.
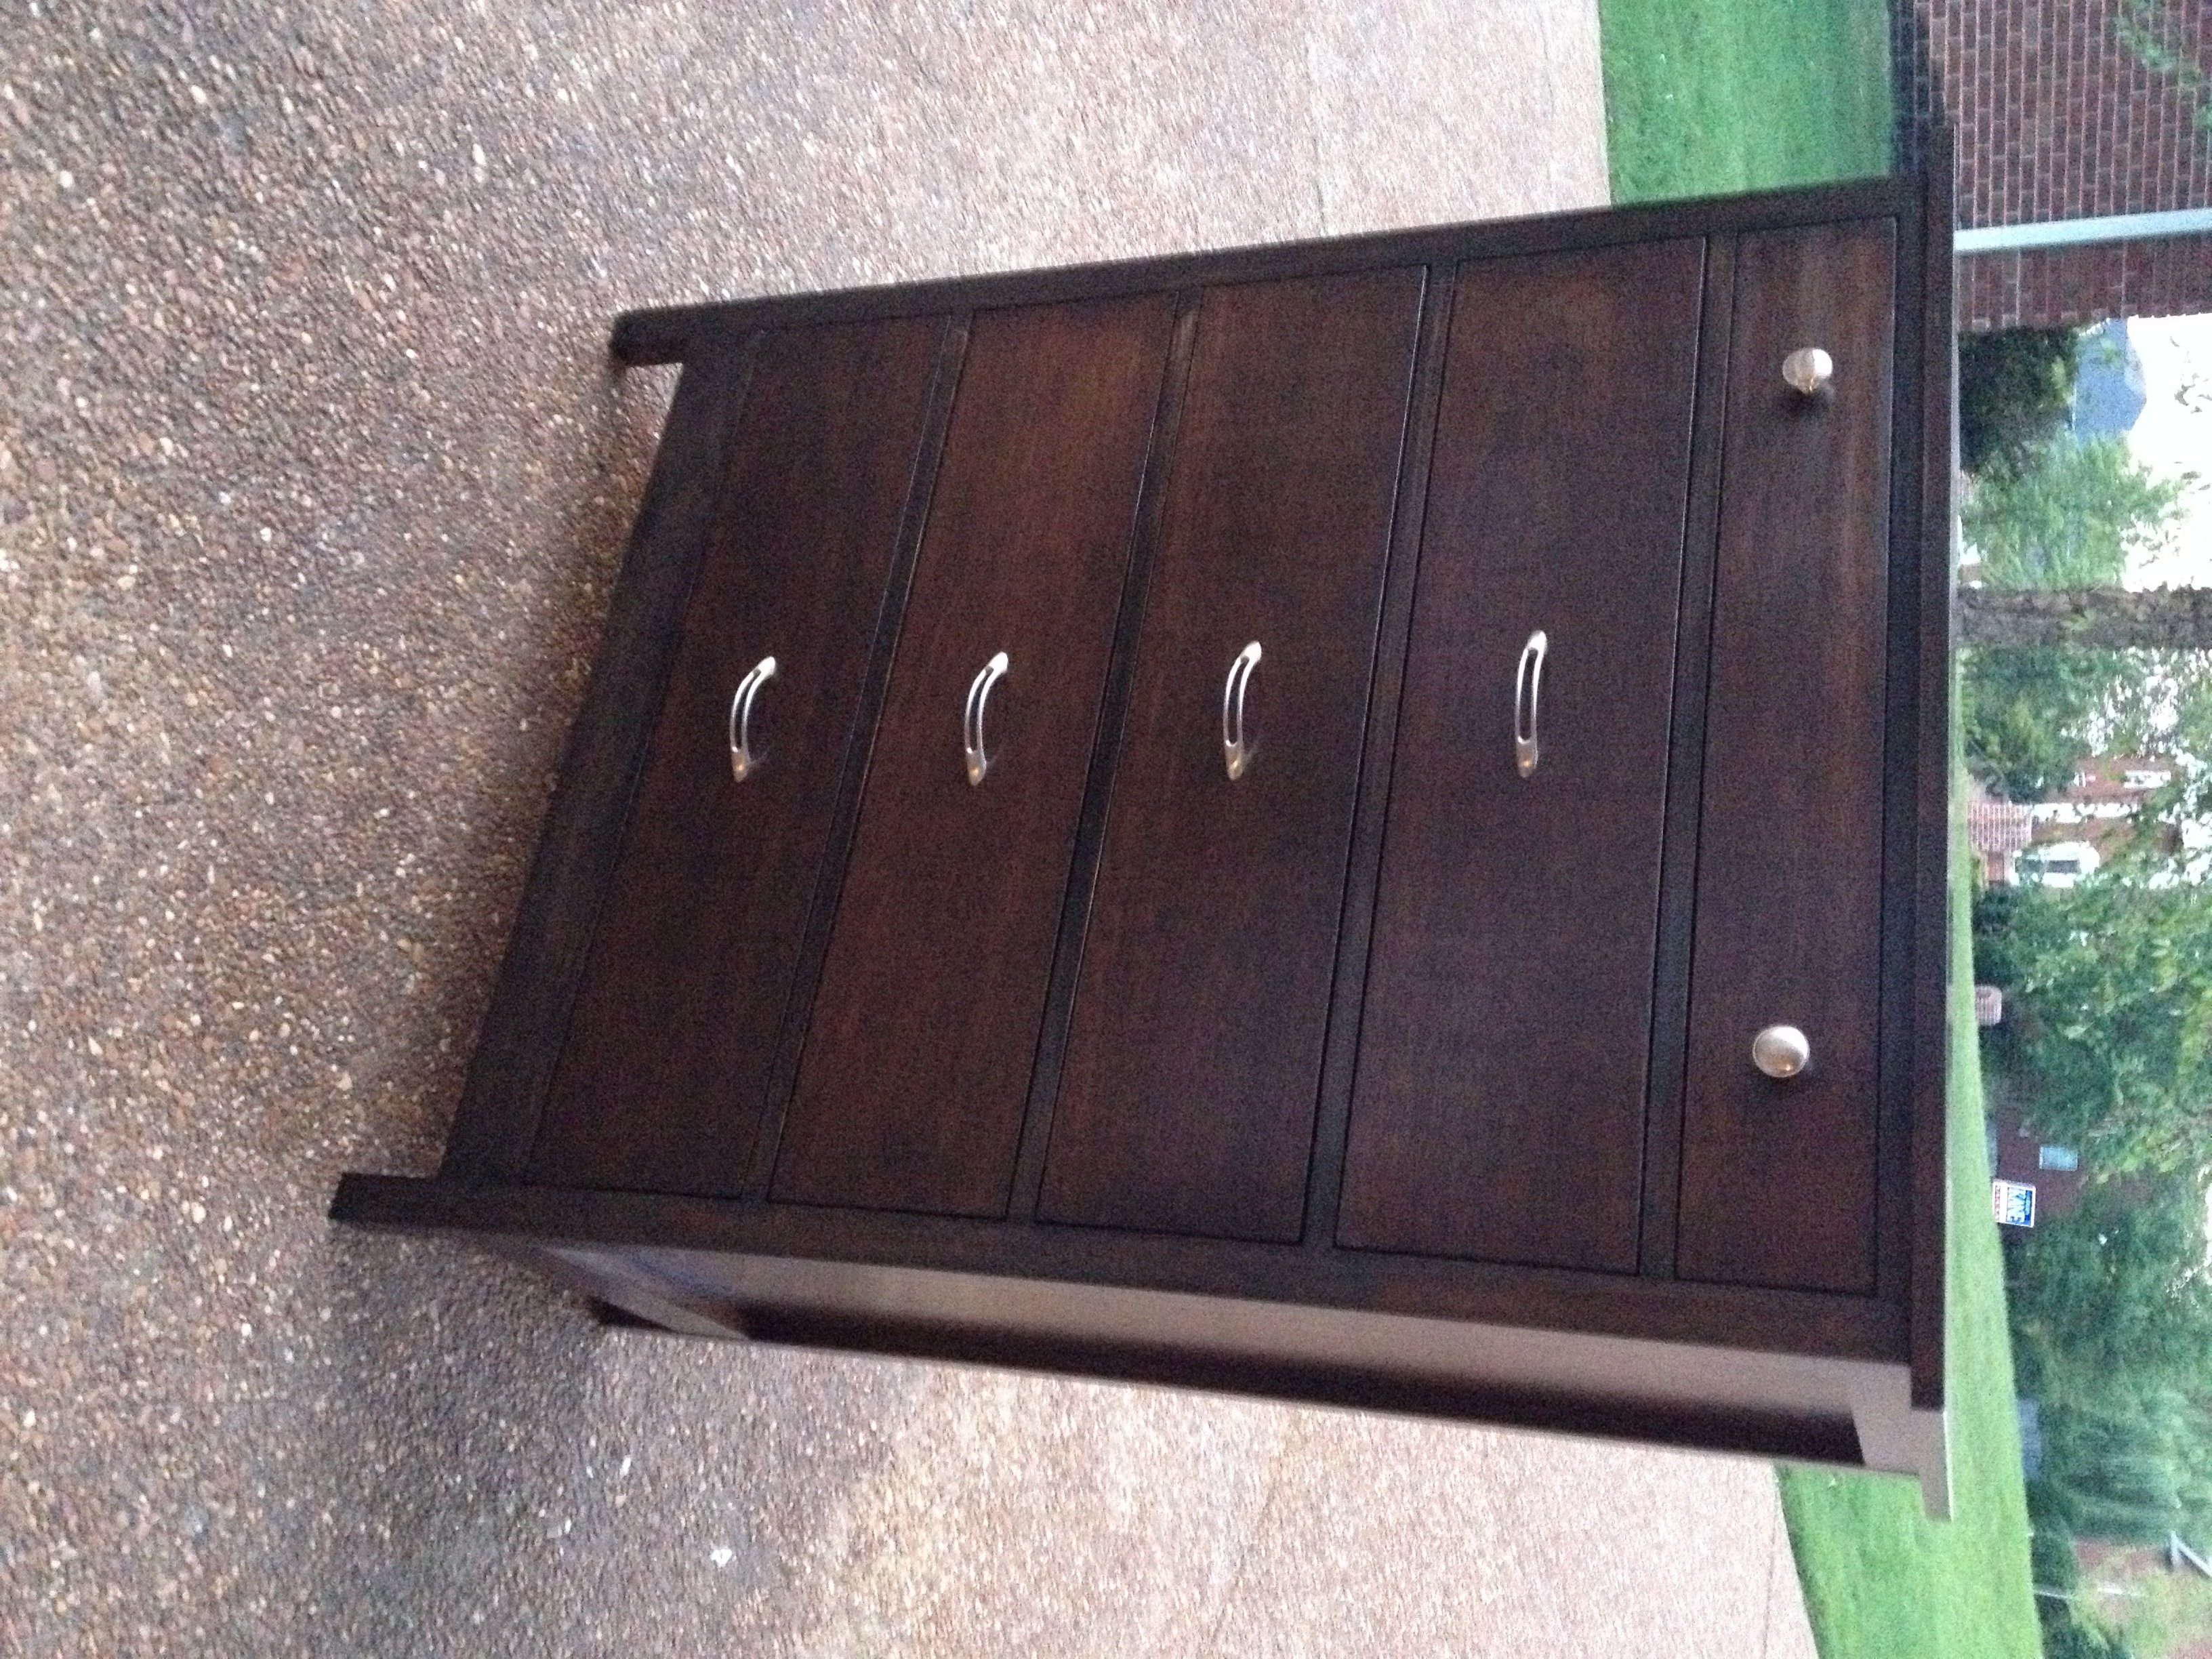
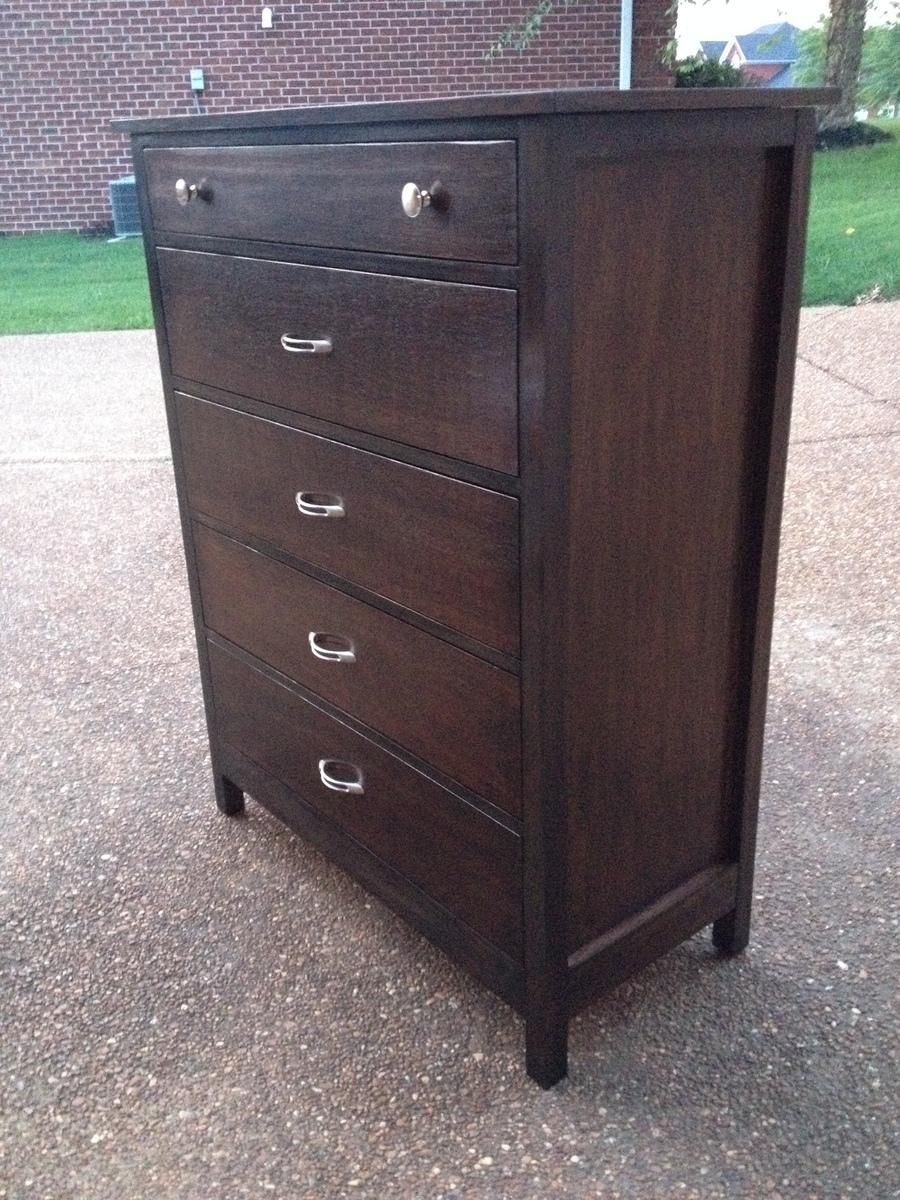
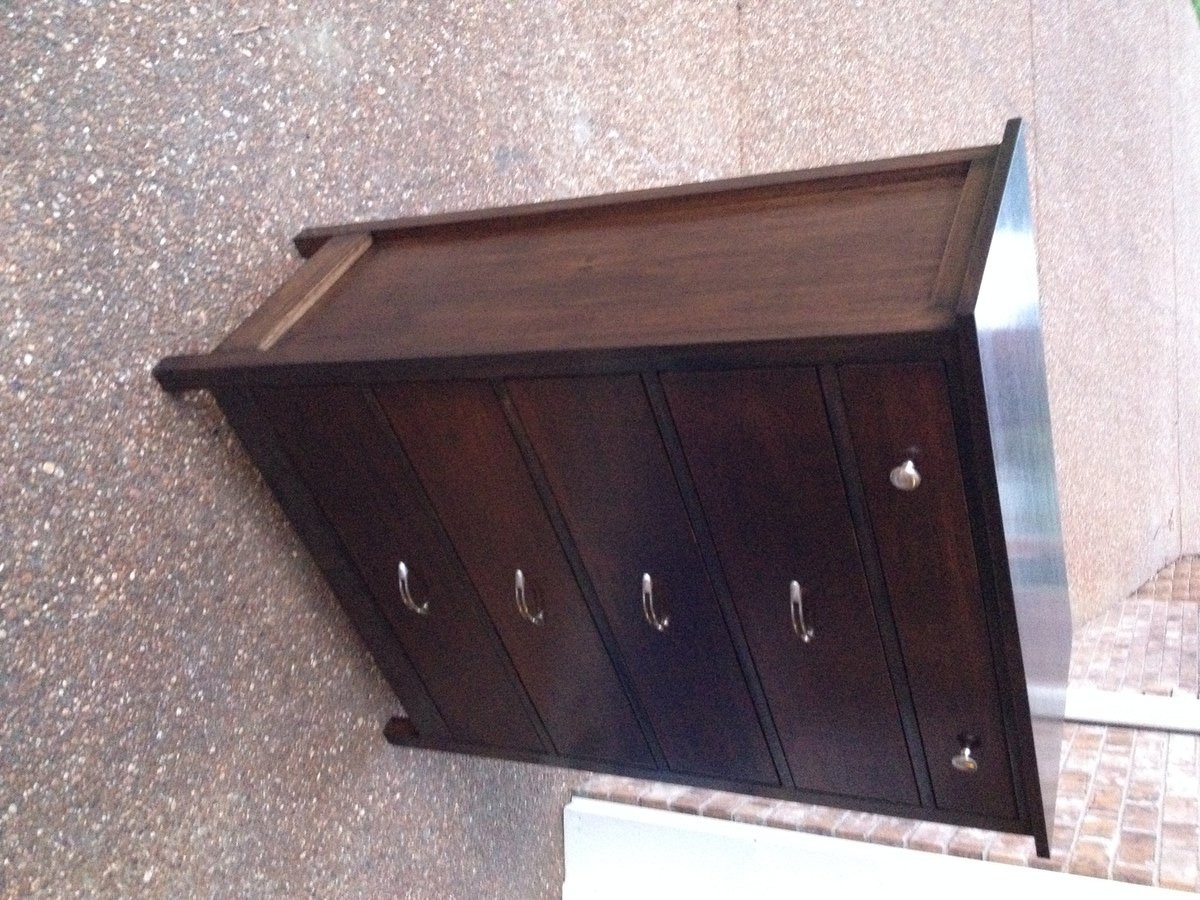
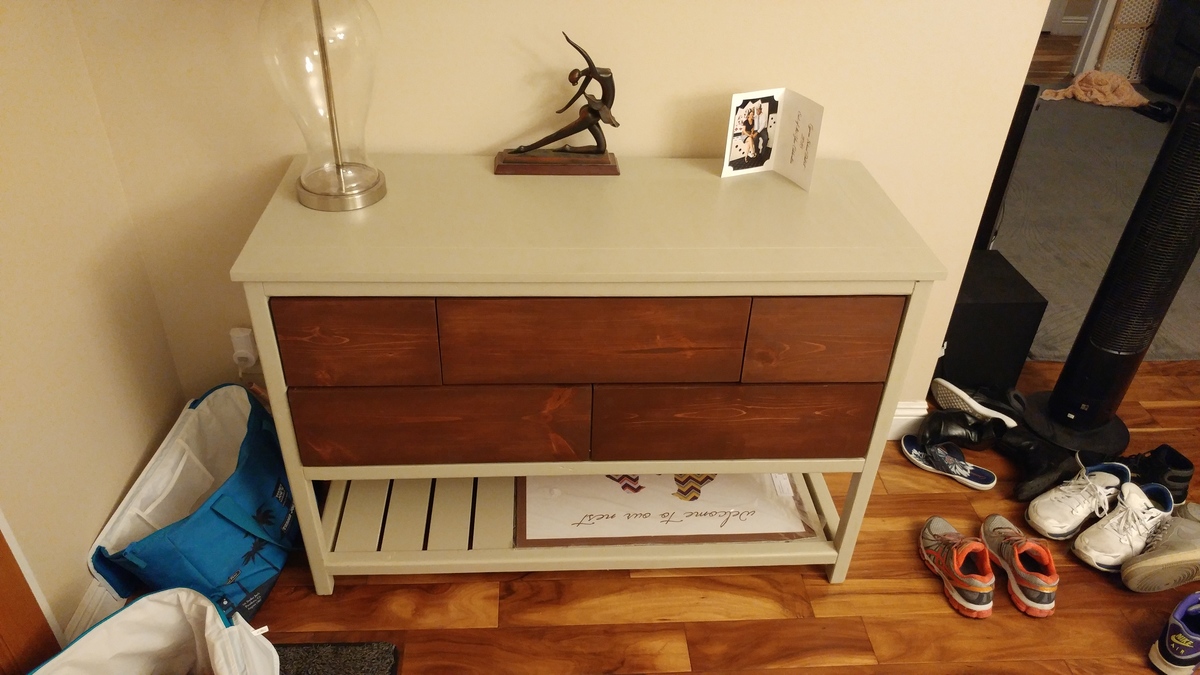
I needed this to be a little taller, so I added another drawer. Other than that, all the other dimensions were the same. I built it in one weekend, but the finishing took about 5 days (for drying time between coats). I was trying to match a baby bed (expresso) so I stained it dark. I also used plywood on the sides, top and drawer fronts instead of pine boards. It really turned out great and matched the bed perfectly.

Mon, 08/04/2014 - 08:52
This turned out so nice, and the finish looks exceptional.
Mon, 08/04/2014 - 08:52
This turned out so nice, and the finish looks exceptional.
In reply to Finish by sharshar1960
Mon, 08/04/2014 - 11:43
No, I didn't alternate. I needed the base color to be a deeper brown so it took 3 coats of English Chestnut. Then 2 coats of Ebony over the English Chestnut, to get the black, layered look. I put each coat on, then wiped it off after a few minutes. On the last layer of Ebony, I only lightly removed the stain. The brown shows through in some areas which is exactly what the bed had. I used the oil-based Minwax.
Sat, 12/06/2014 - 18:40
I used Minwax poly (in the can), satin finish. I brushed it on with a foam brush.
Wed, 10/21/2015 - 11:44
can you comment on the stain with sandeply. did you use sanding sealer?
i have read many a comment on issues with staining sandeply but yours looks awesome.
i like the approach.
Thu, 08/08/2019 - 19:48
hi where is the plan for the taller version of this - looks great!!
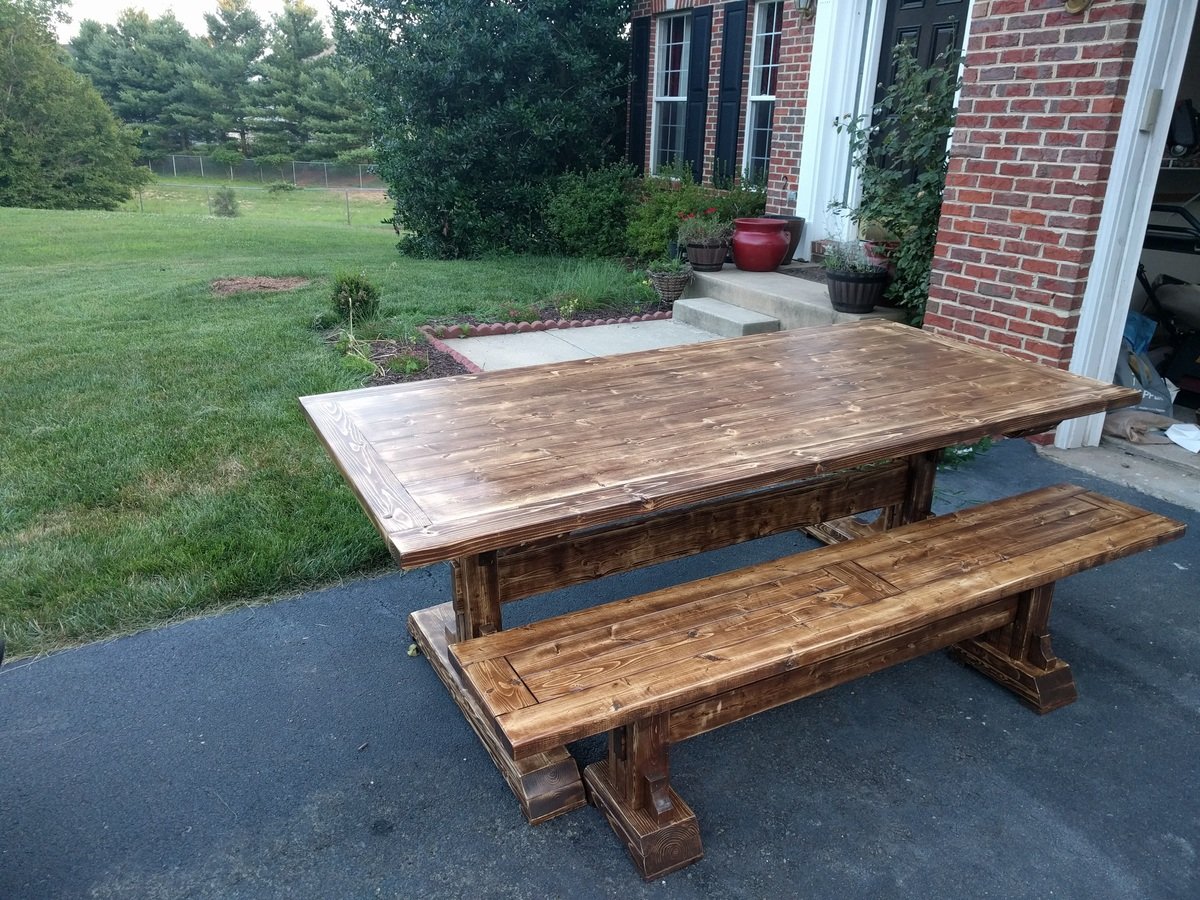
I modified it slightly by leaving off the trim around the perimeter. I also shortened the table to 84" which then only required 2 legs for a custom fit for the mom space. The finish was distressed to conceal heavy use (more like spills :-D) from kids which turned out to be a home run with moms
Check out some tips during my build @ charitybuilds
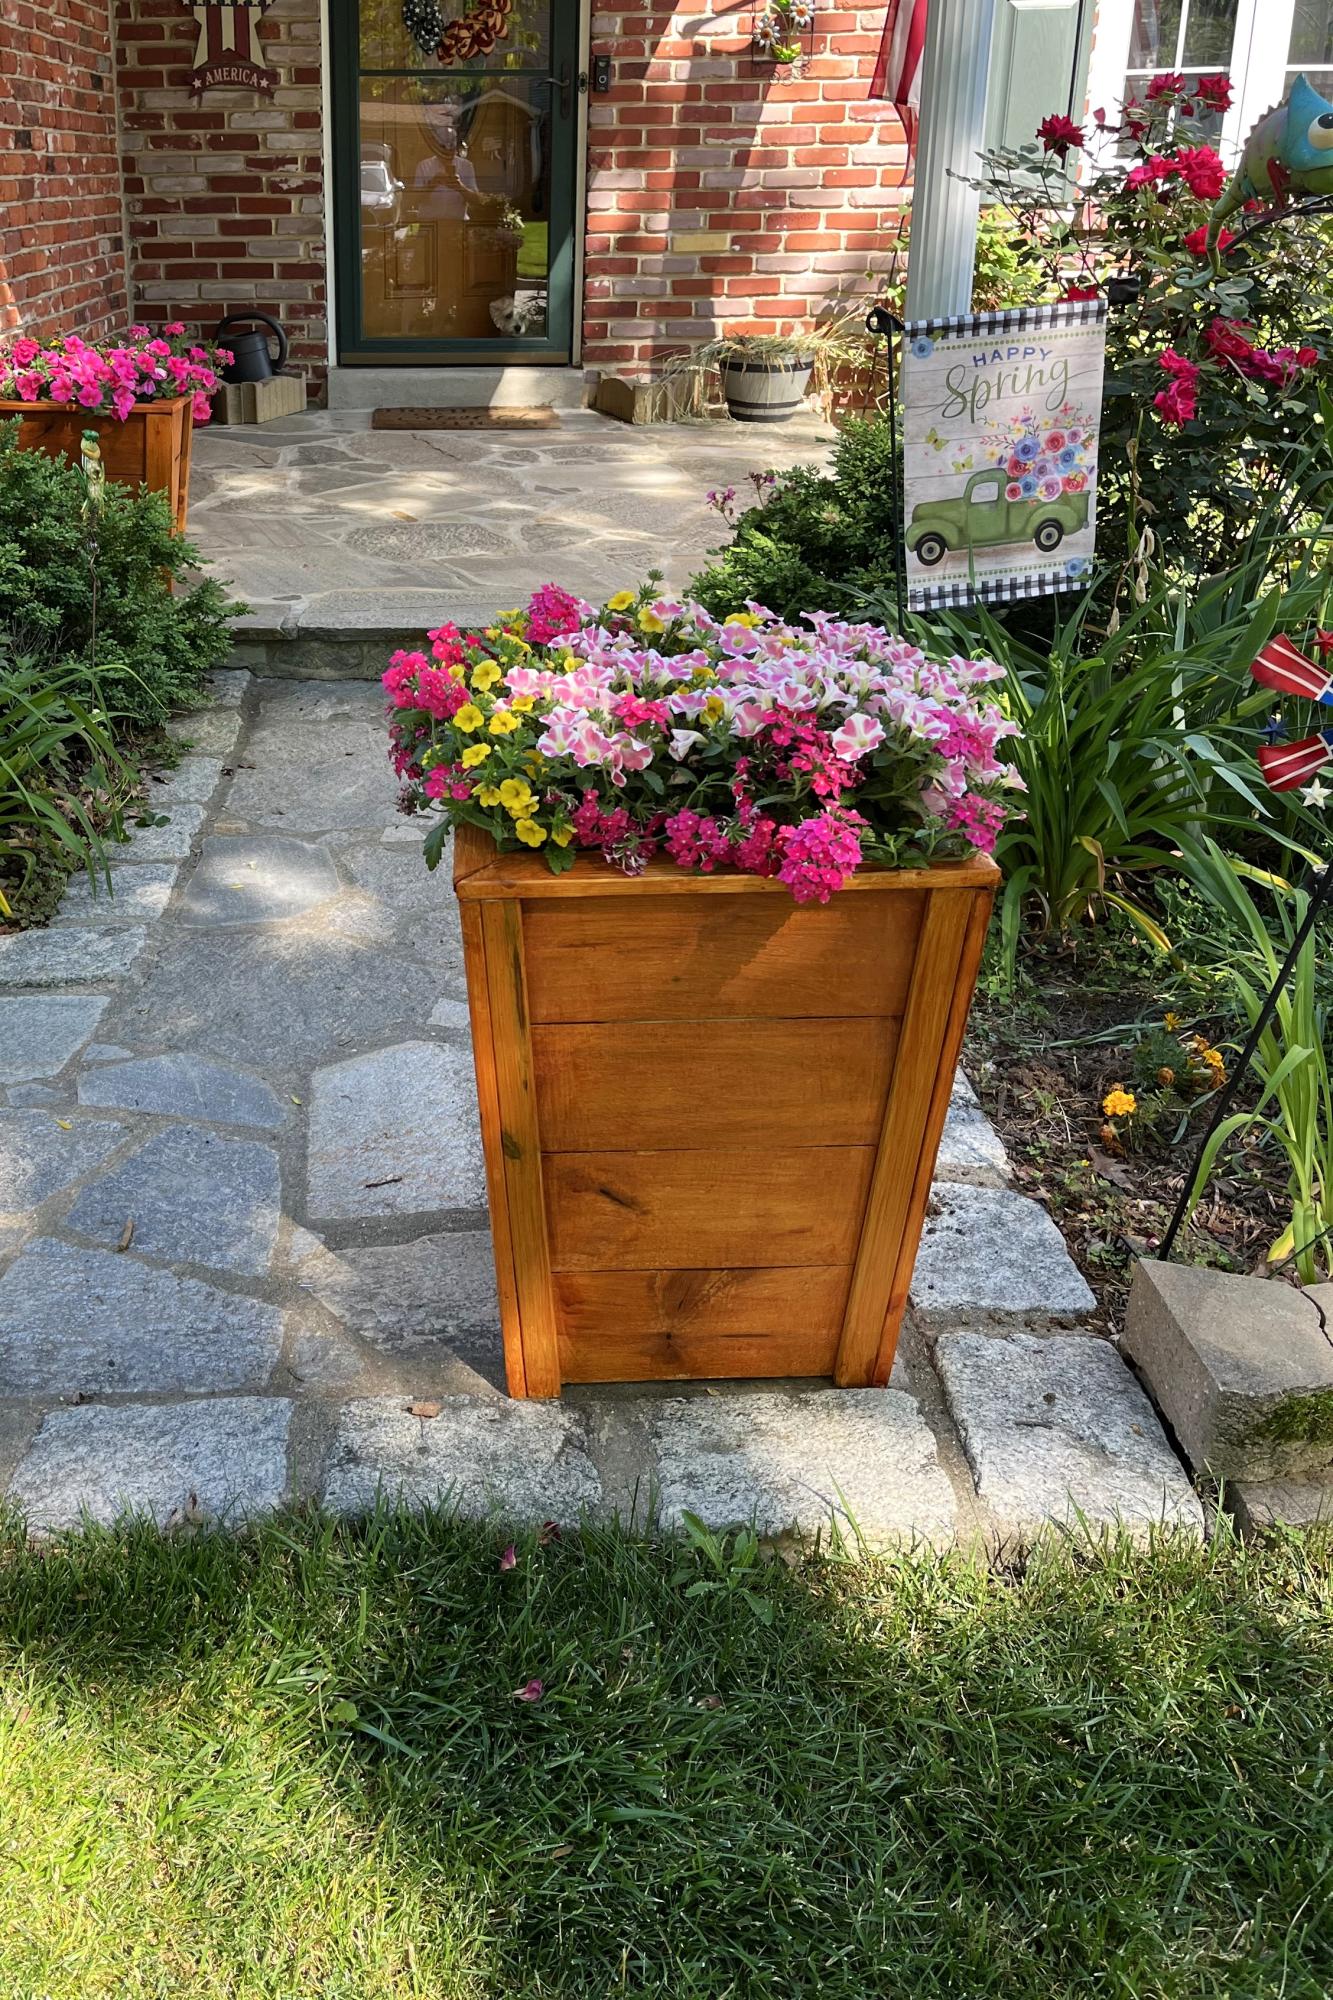
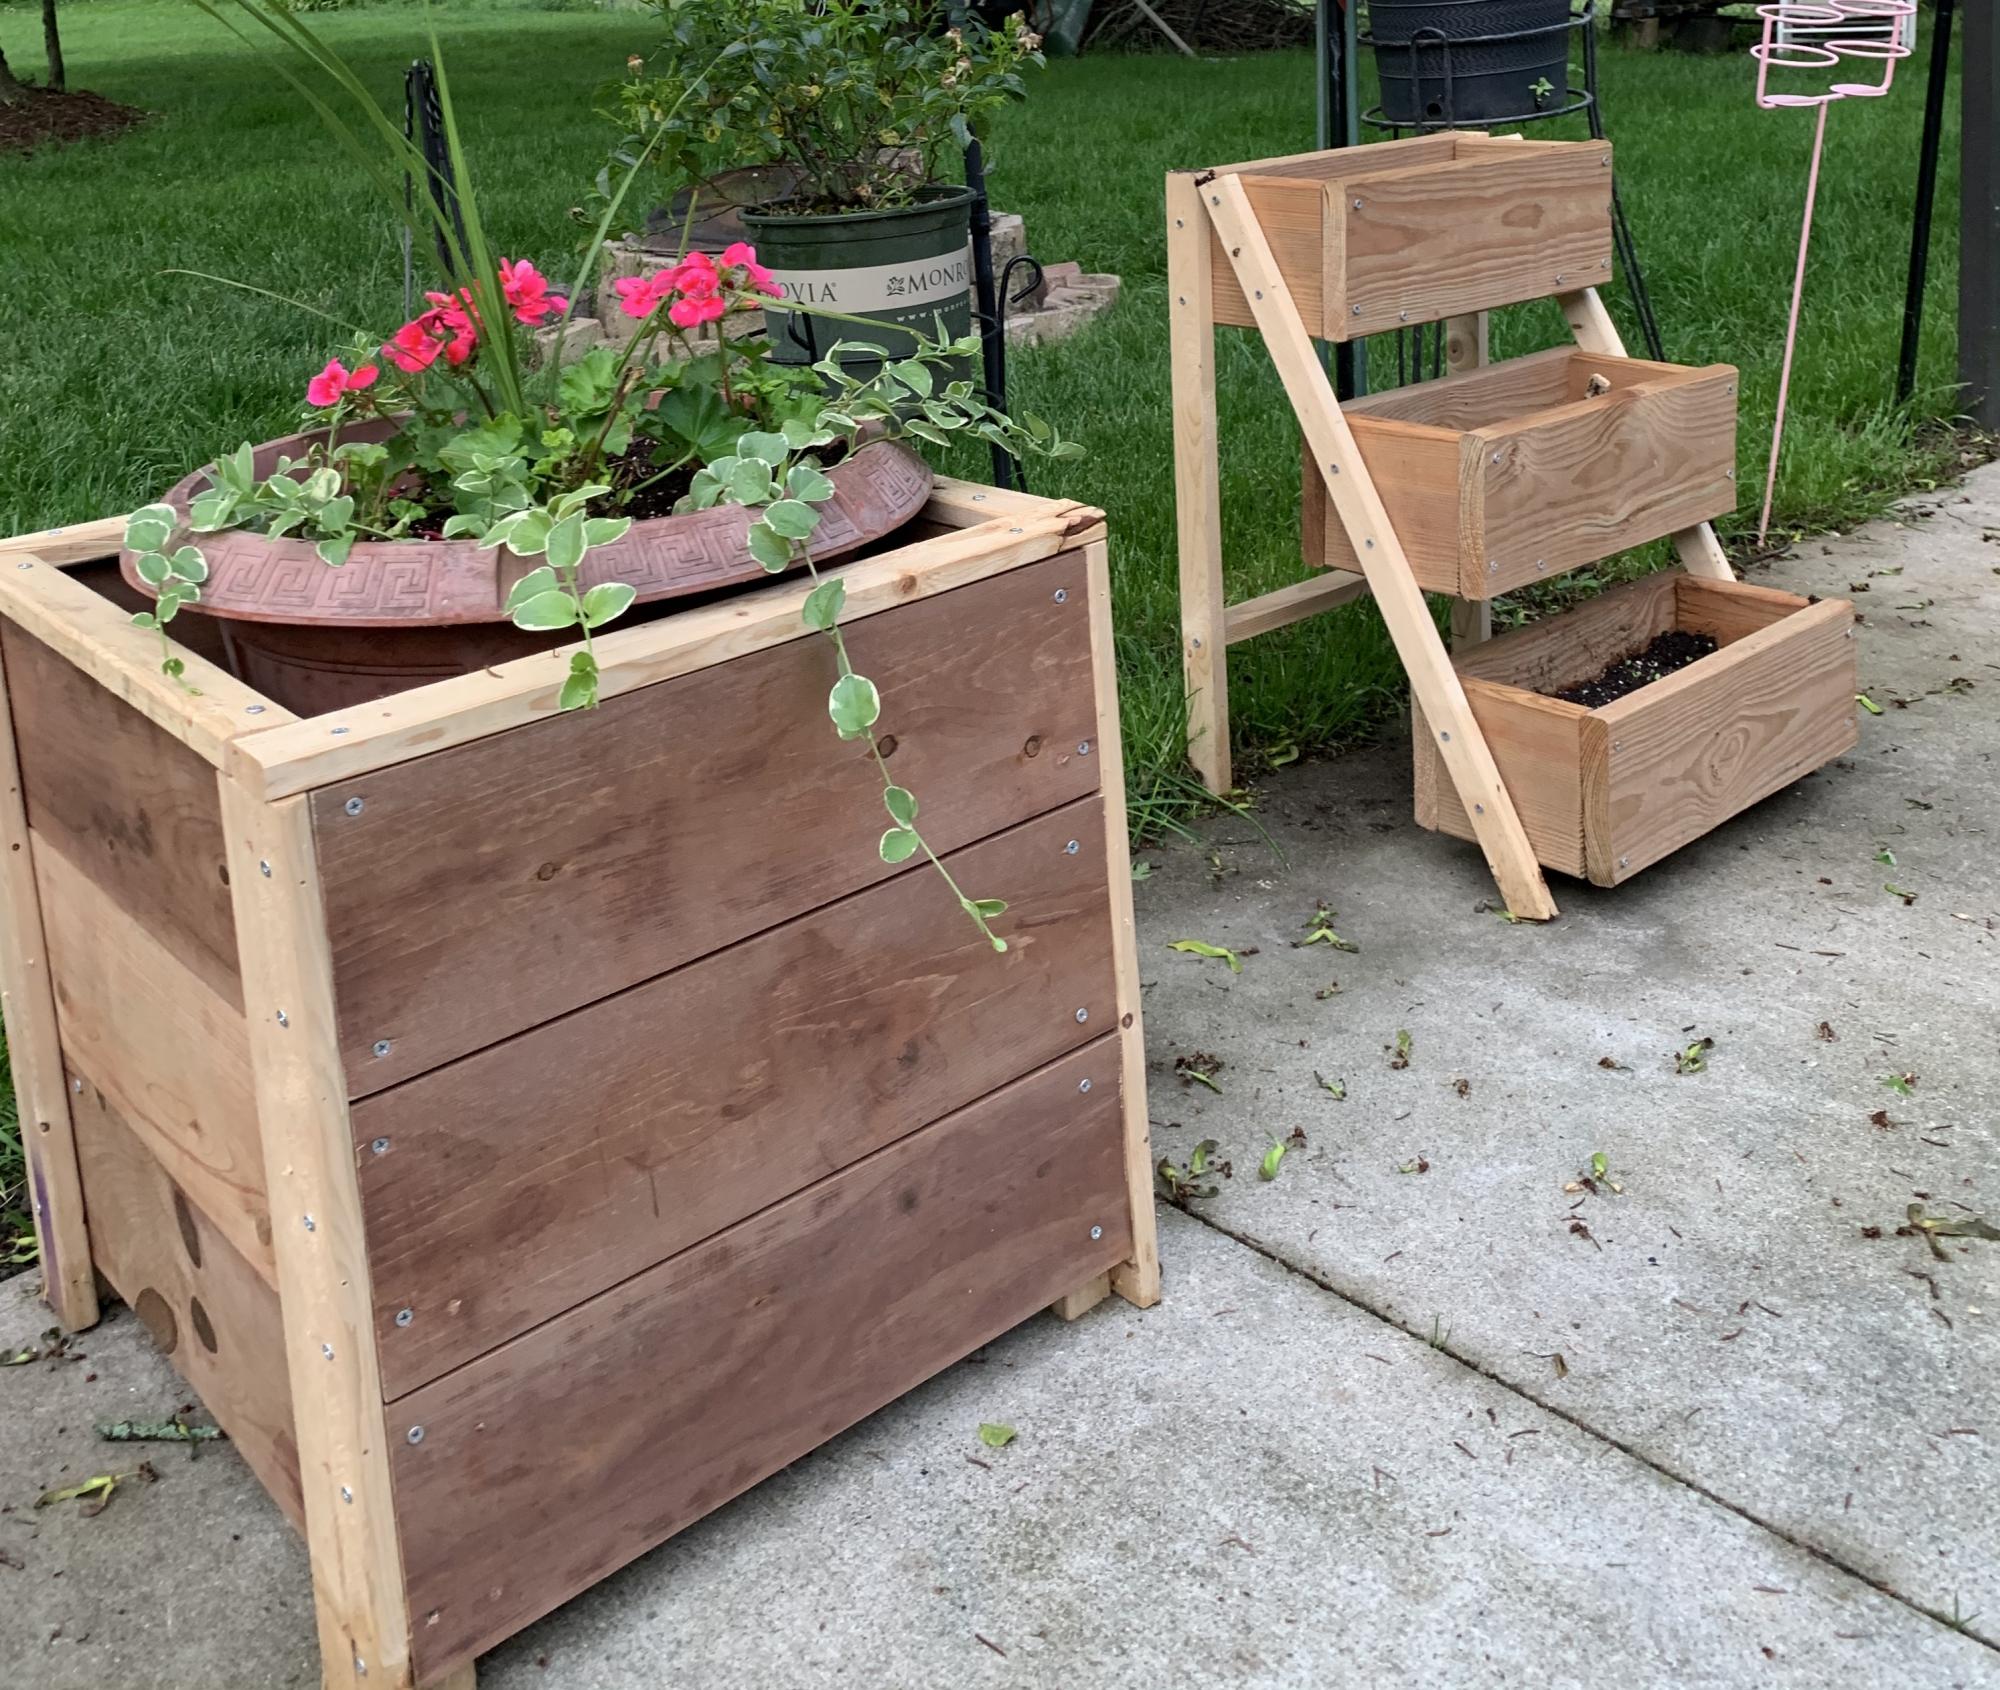
Made the planter boxes. Very easy and the stain makes them look great.
Bruce Gay
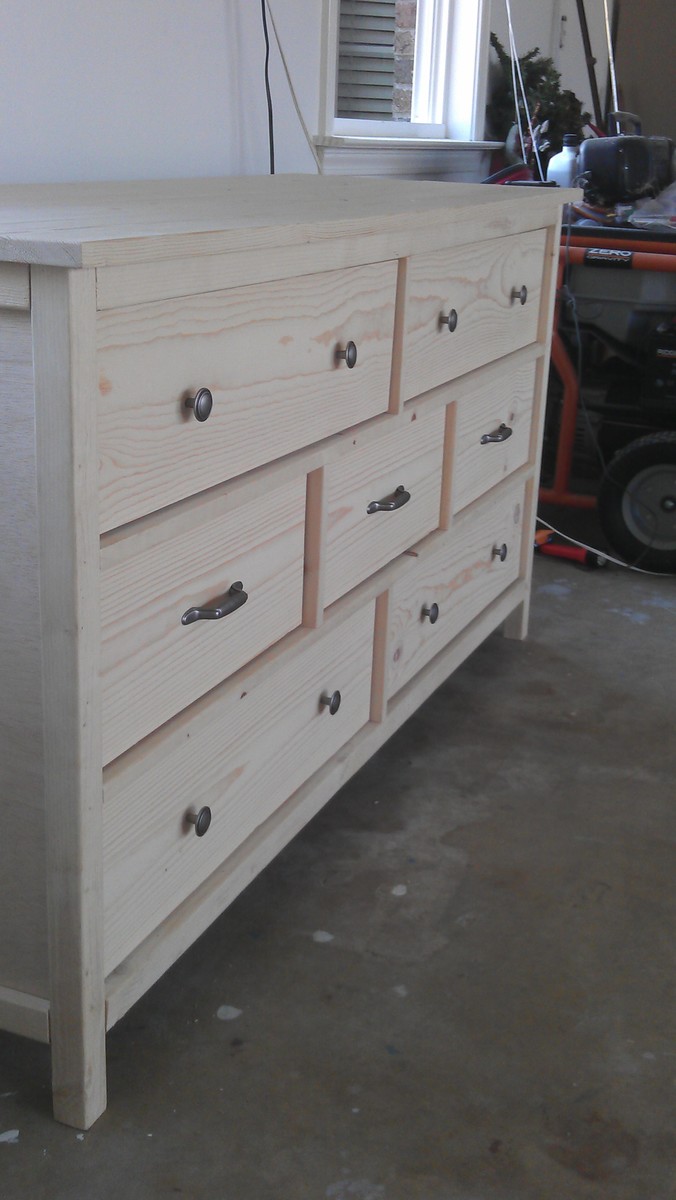
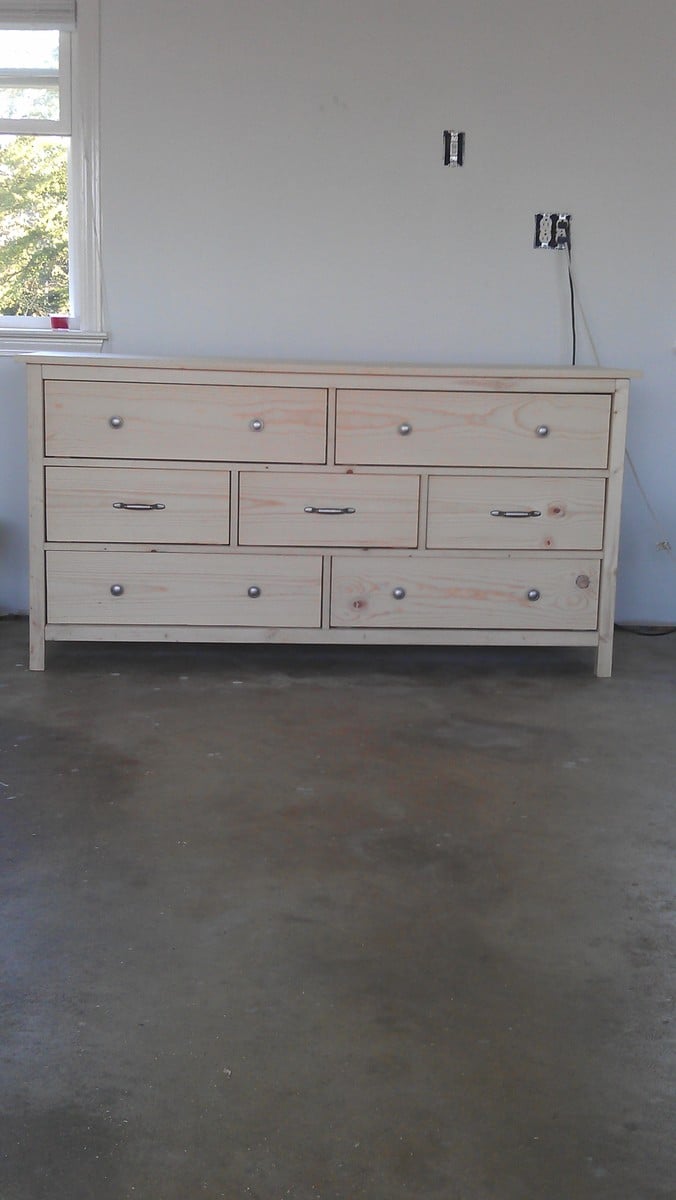
Modified wide cabin dresser with metal full extension drawer slides on the bottom of the drawers. The extra set of drawers on the bottom were added to give more space for storage.
Fri, 10/19/2012 - 18:42
This looks stunning. i think a dark stain would look great with linen.
Thu, 01/31/2013 - 14:04
Beautiful! I was wondering if it would look pretty with the extra drawers on the bottom. I'm building this plan for my son right now, but I might build another with extra drawers for myself!
Sun, 11/23/2014 - 05:29
Your build looks awesome! I'm going to be doing this for my twin daughters room very soon. I was just wondering how you modified the dimensions on the left and right sides. What were the measurements and dimensions of all the pieces since it had to cover all the way to the bottom?
Mon, 01/24/2022 - 18:04
I as well would like the plans to the modified dresser with the drawers on the bottom.
Fri, 02/04/2022 - 11:11
This looks amazing!! Would also love the plans for the extra drawers!! If you don't mind.
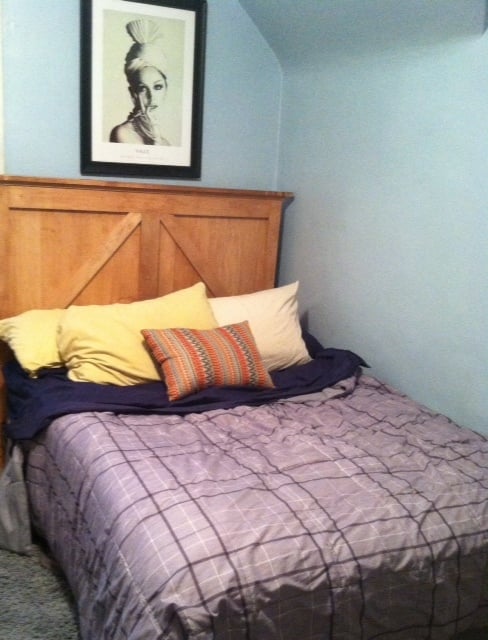
We built this out of solid Maple for my son's 30th birthday. He has a full-size bed, so we had to adapt the queen size plans. It turned out great....he was thrilled...but it was heavy to carry upstairs to his apartment!
This was my first attempt at furnature. I didnt use the best quality wood, and had a hard time finding straight boards at my local Lowes.

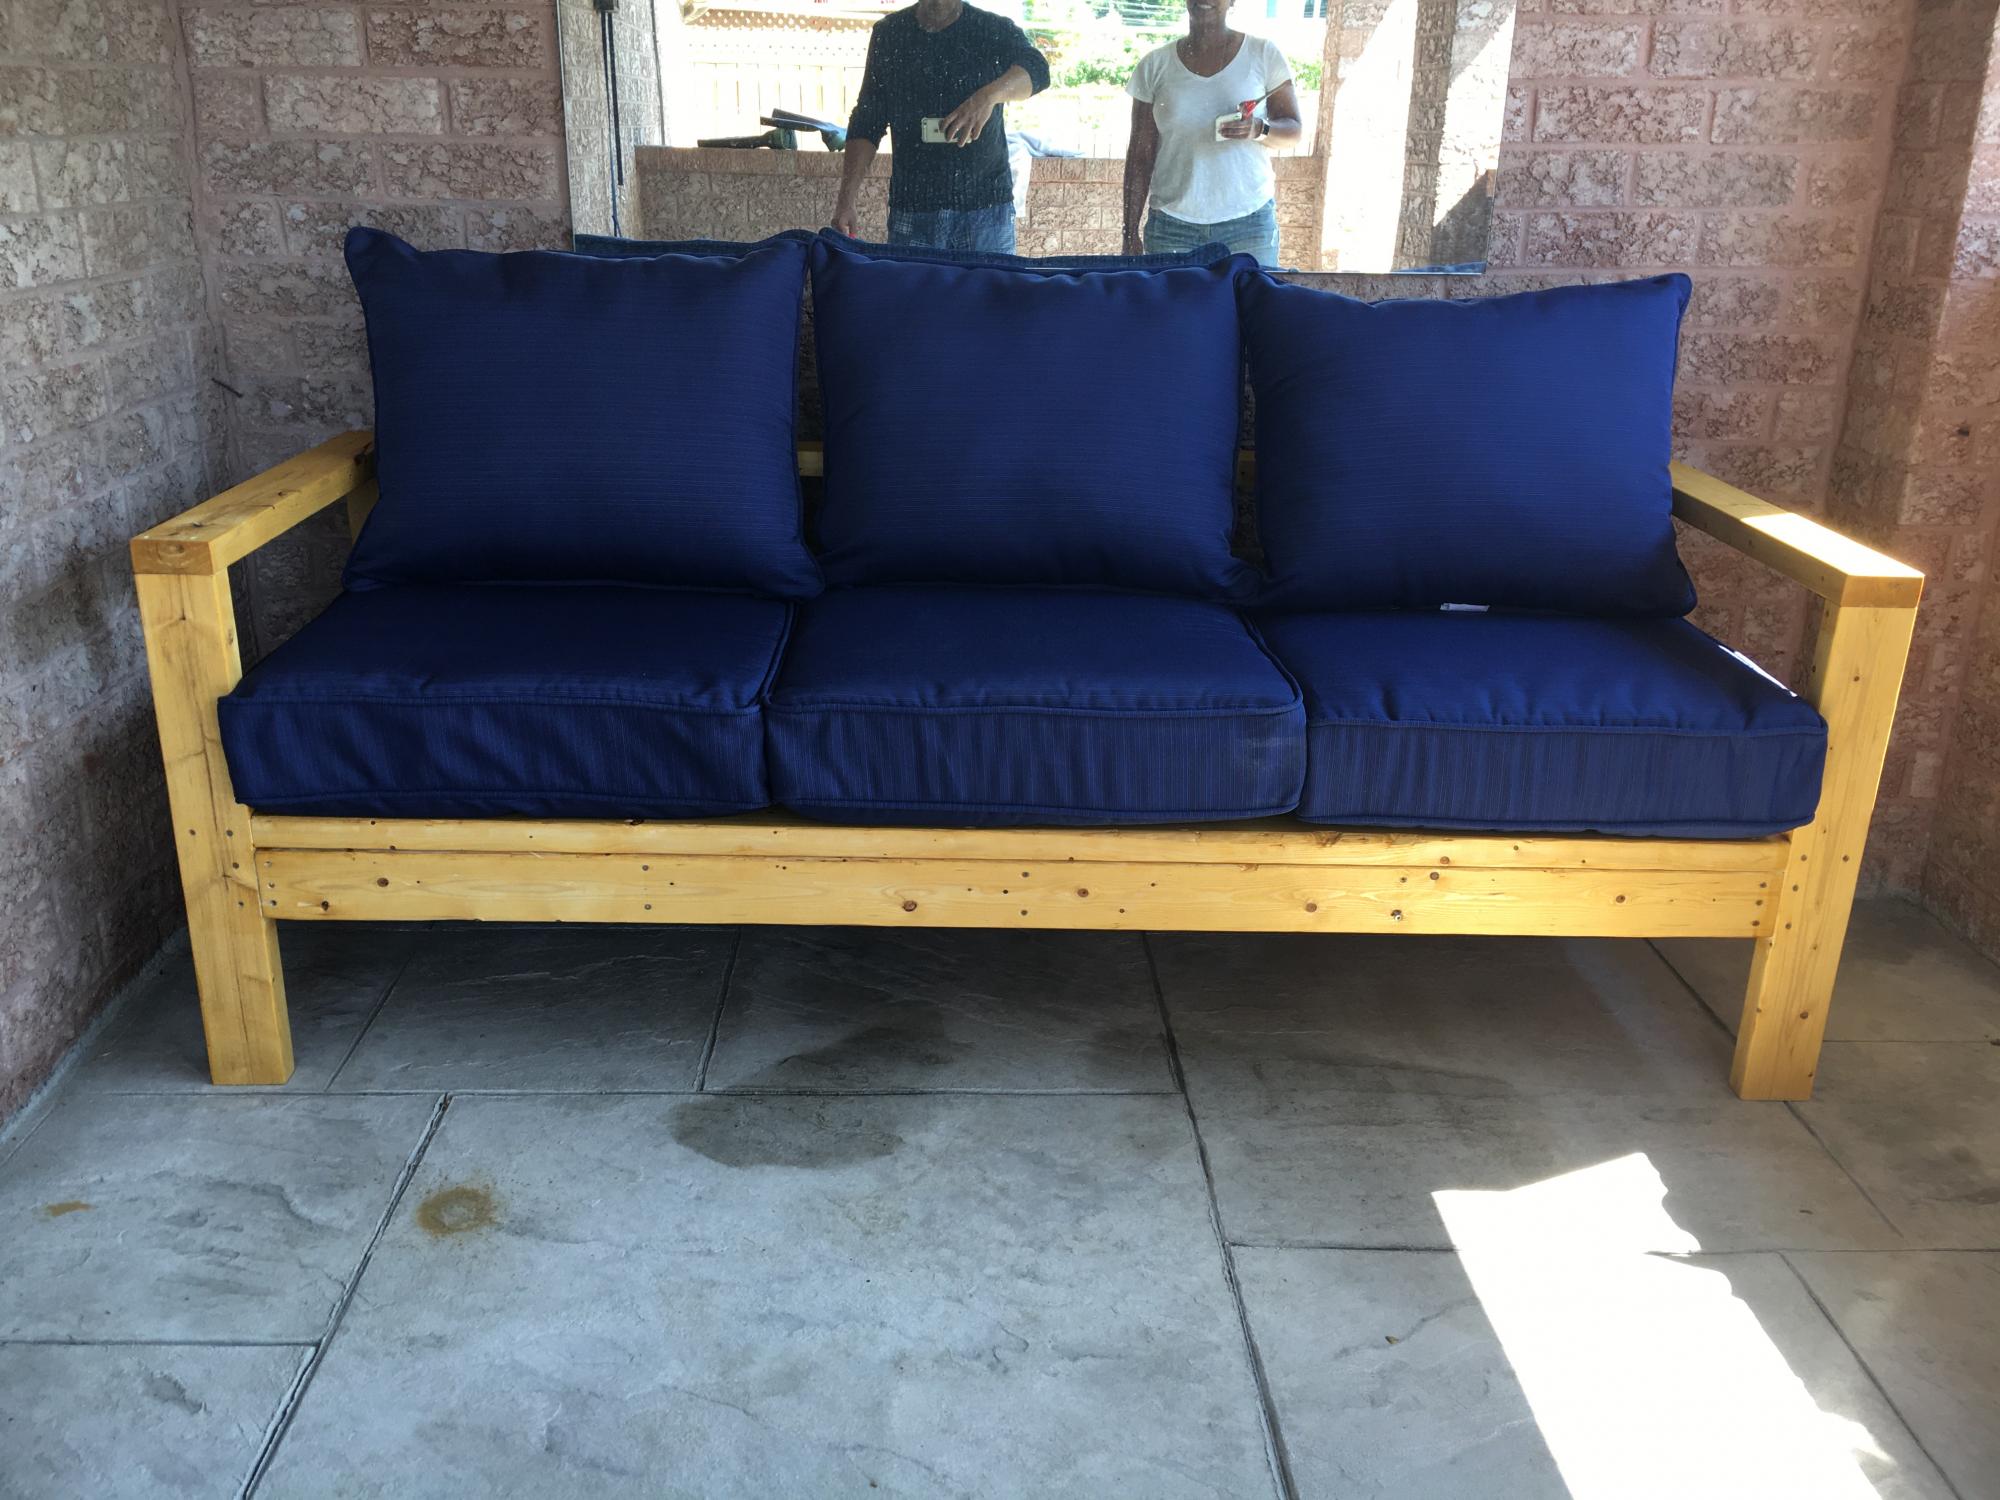
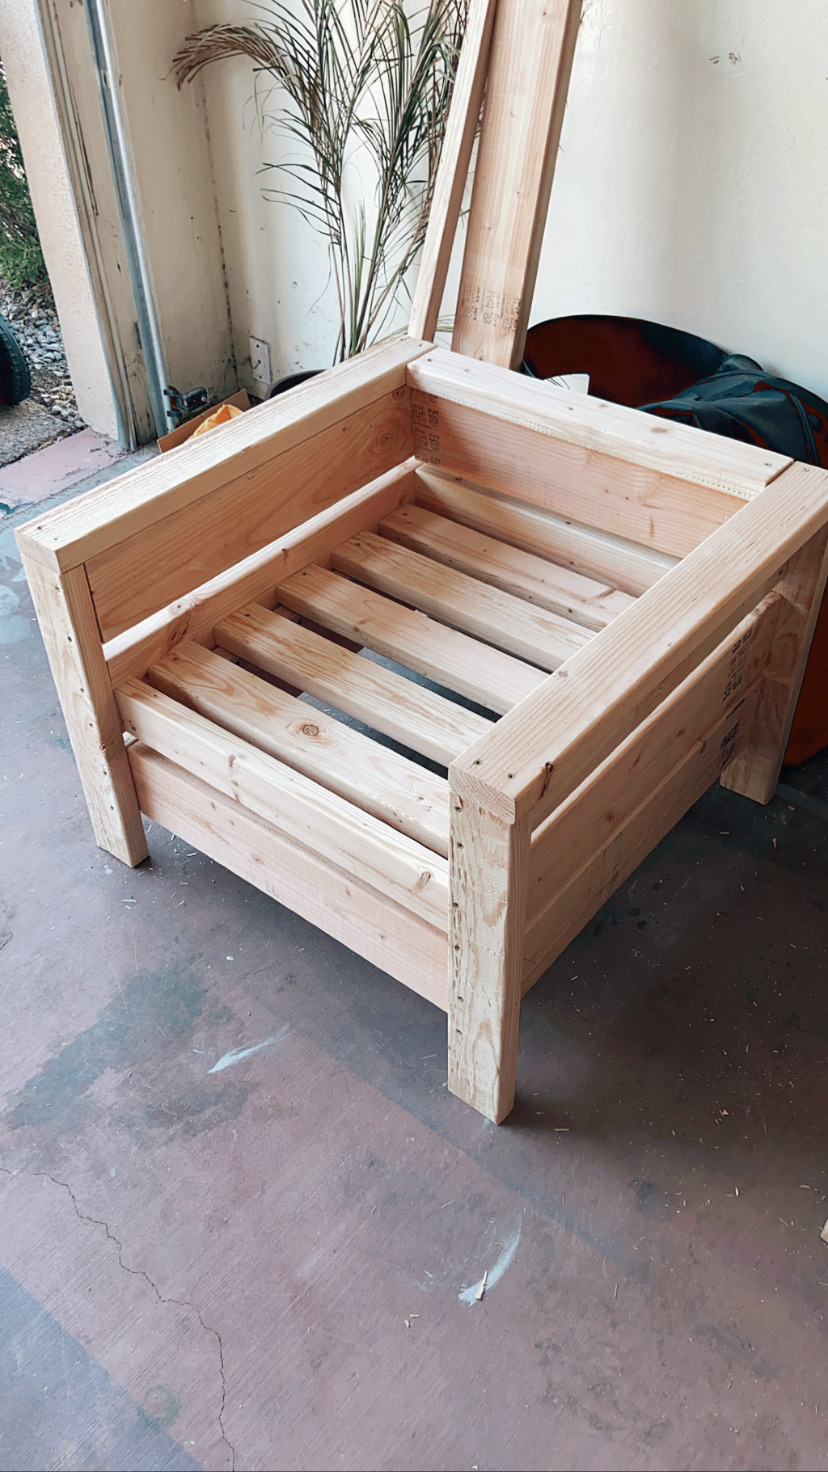
I made this awesome sofa based on the plan. I'm not very good at this stuff however, these plans were great. Easy to follow and gave me a great excuse to buy a mitre saw.
It looks great with the blue cushions. It's quite comfy and a great size.
Now complete - a mod I will make is to add a second 2x4 in front of the back brace as I find it too deep.
I really appreciate you sharing these plans!

Had to adapt sizes slightly as timber in the UK is sold in metres, not feet -so the lengths are slightly shorter but really pleased with the result!
Tracey317

My husband and I are doing a bit of remodeling in our 150+ year old farmhouse - over time we have amassed a not so small pile of old lumber. We hated to see it go to waste so it has been our hobby to try to find ways to reuse. Small projects. Finding this website was a dream. My husband and I are NOT natural carpenters but the plans we found here were perfect for us. Clear, simple, un-intimidating. I've been meaning to make the Library Console Table for a while and before the weather got too yucky to work outside I knew I had to get to it. It cost us zero to make, however, since it is all old barnwood - no two pieces were alike, the wood was a bit warped, dinged and splintery. But with enough sanding and the right paint I think this will be adorable. Husband does not want me to paint it and I might not have but we were forced to use some plywood (we also had a small sheet on hand) and I hate plywood too much to leave it exposed. We'll see.

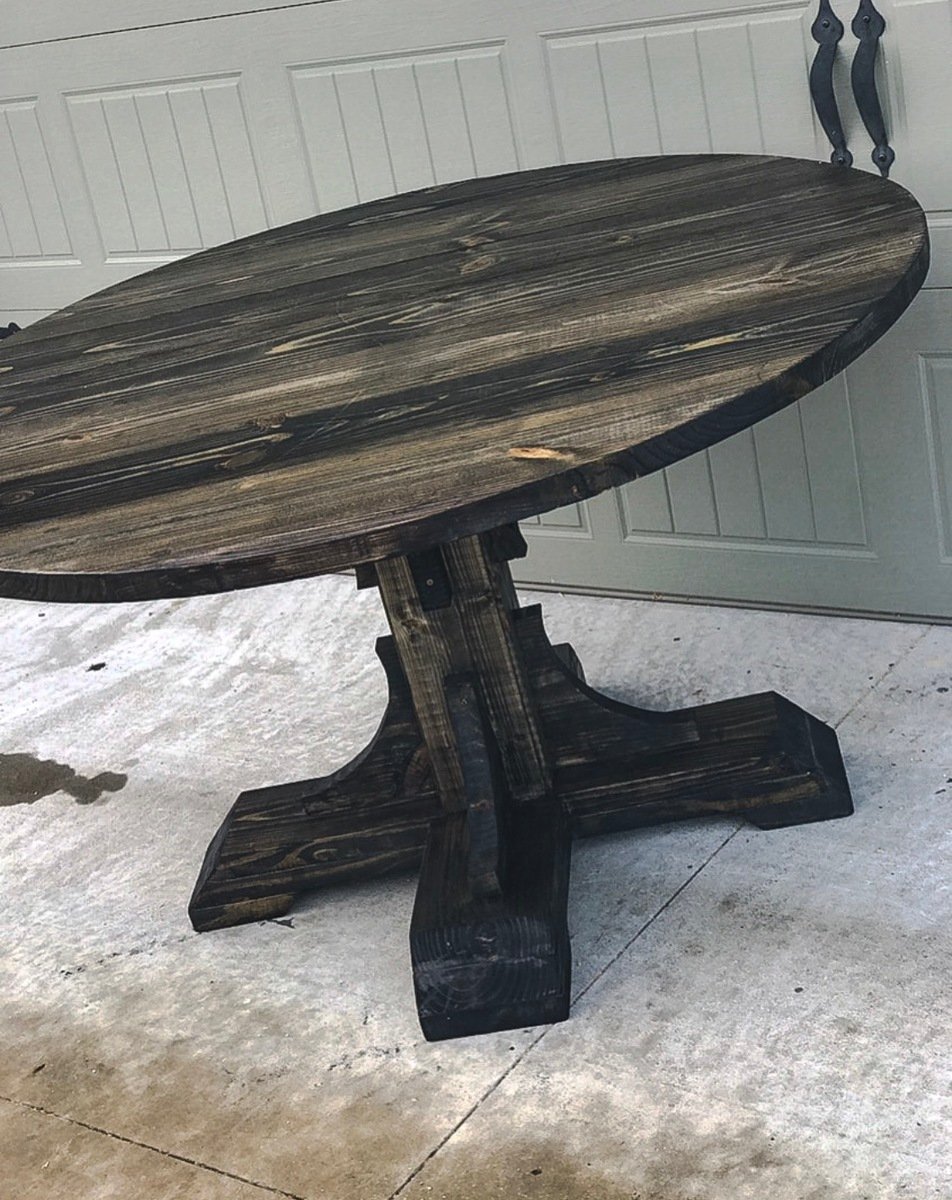
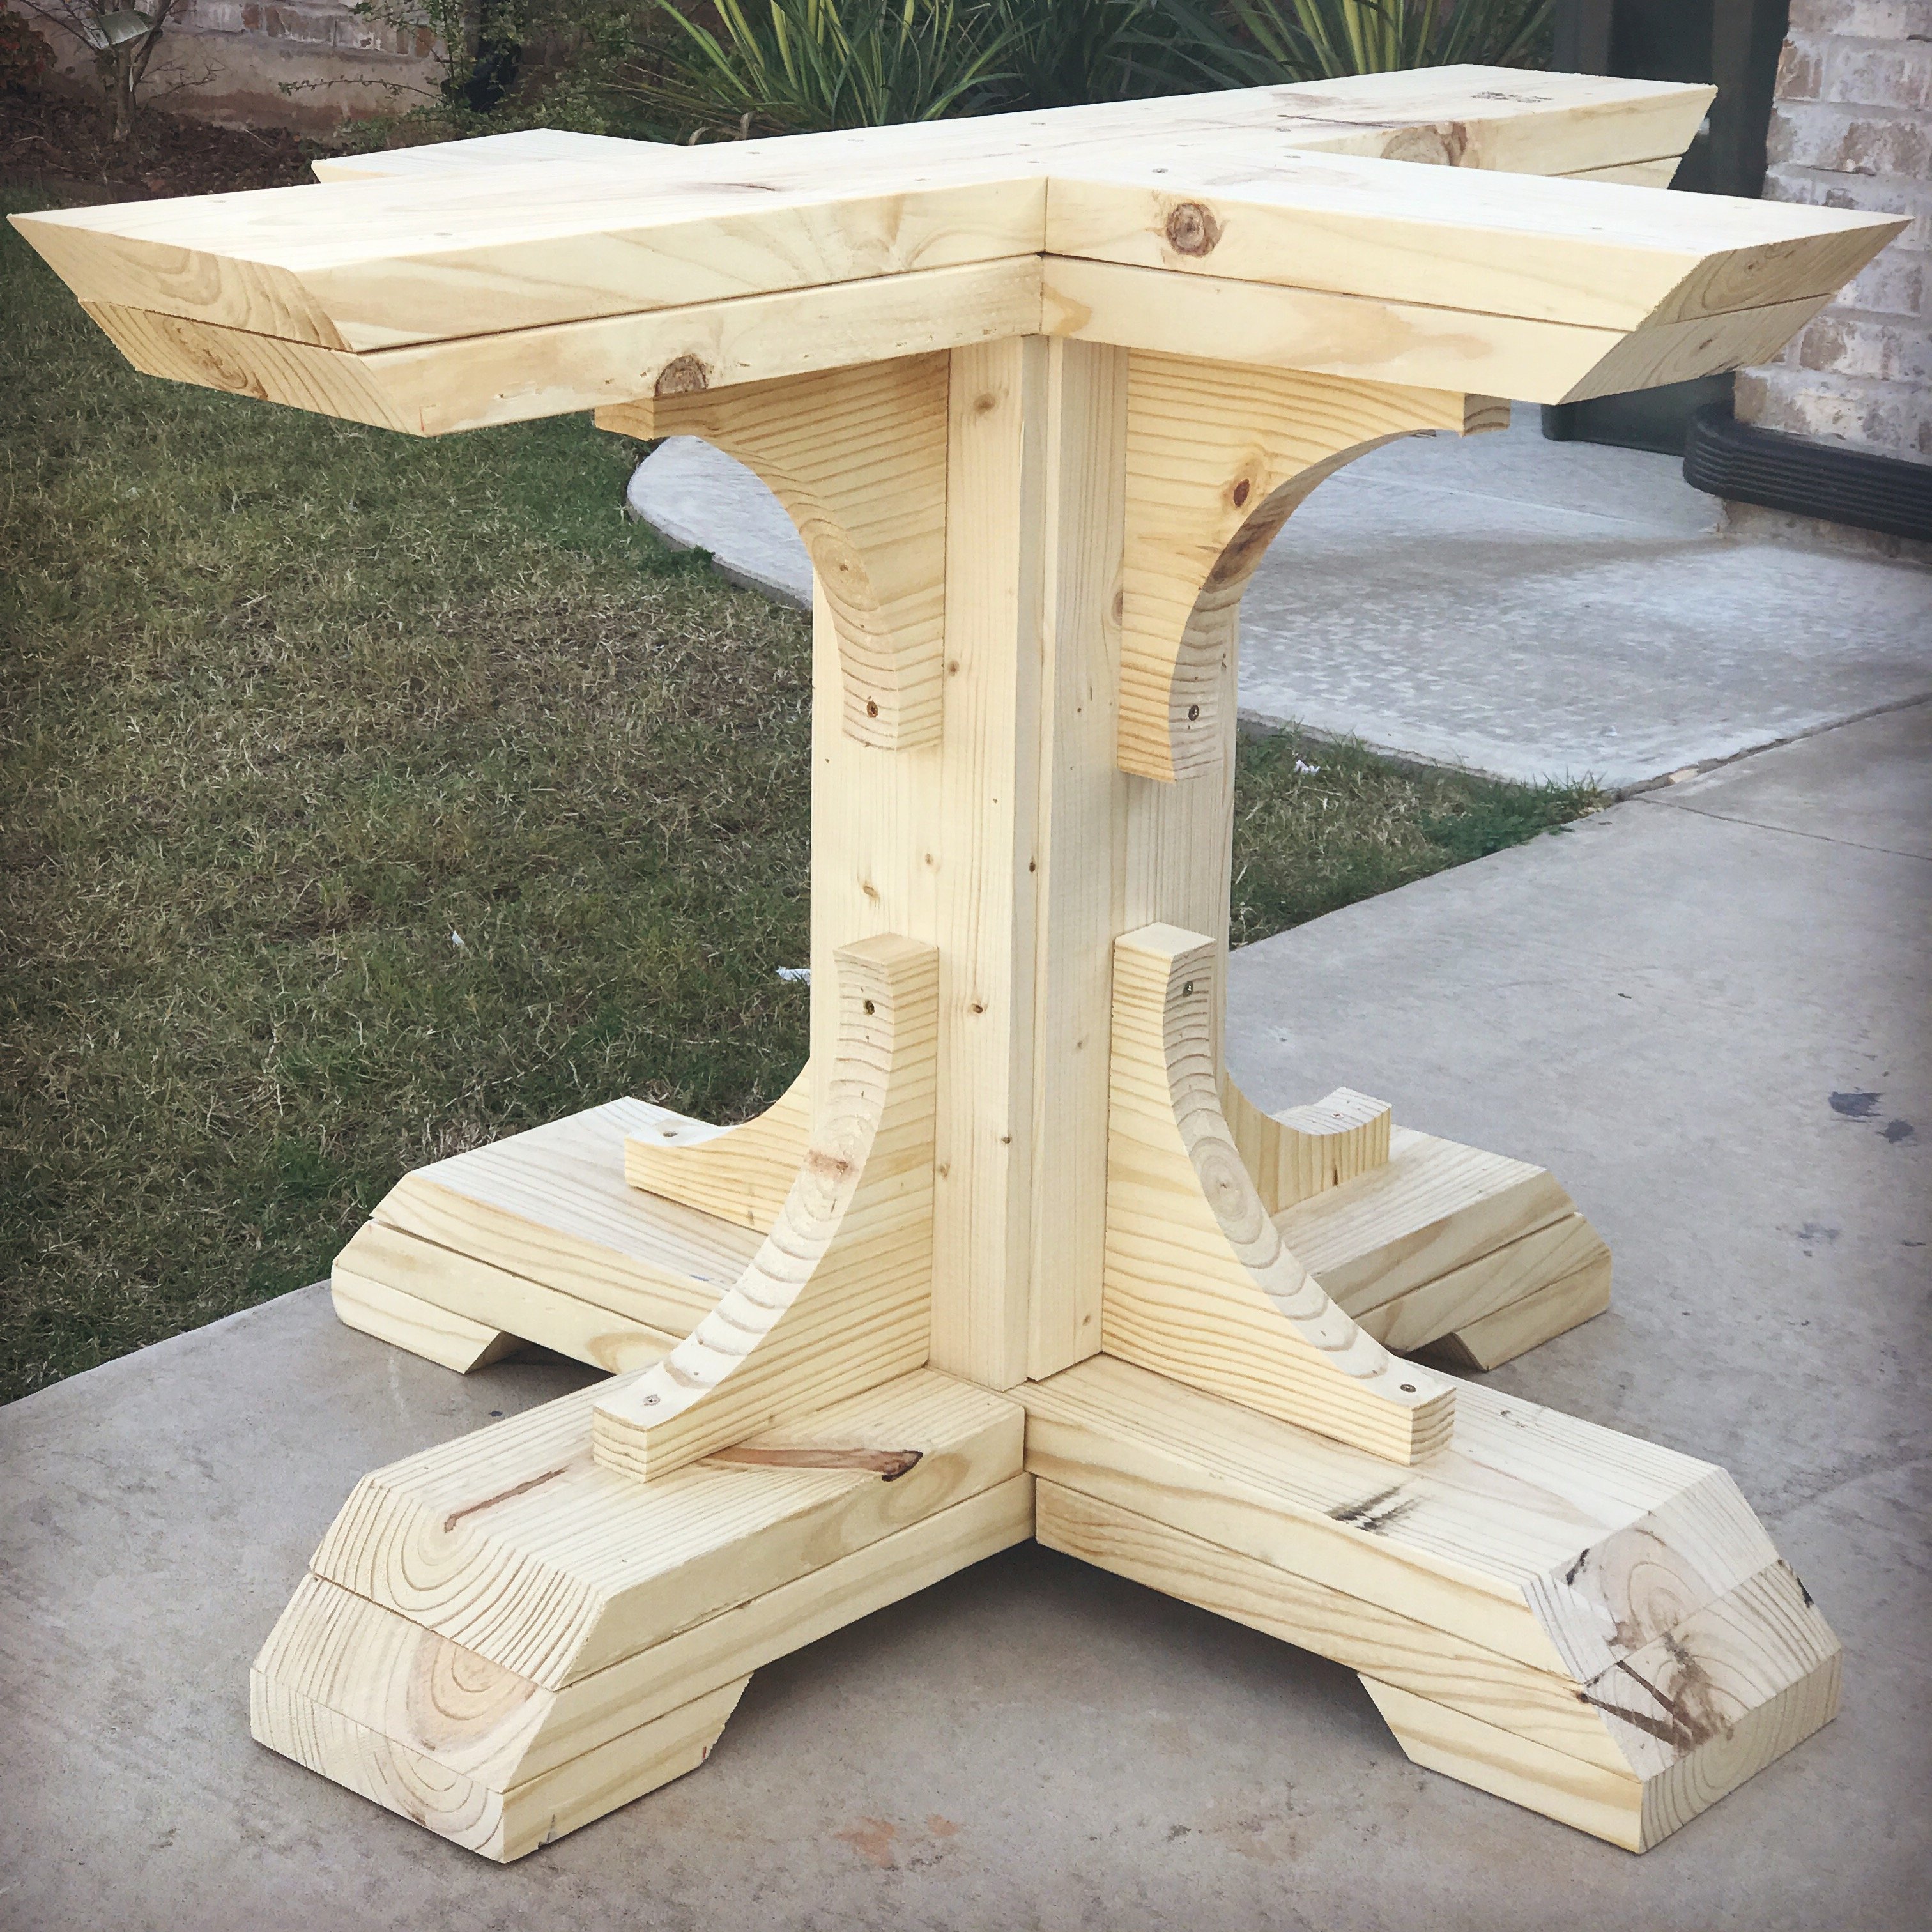
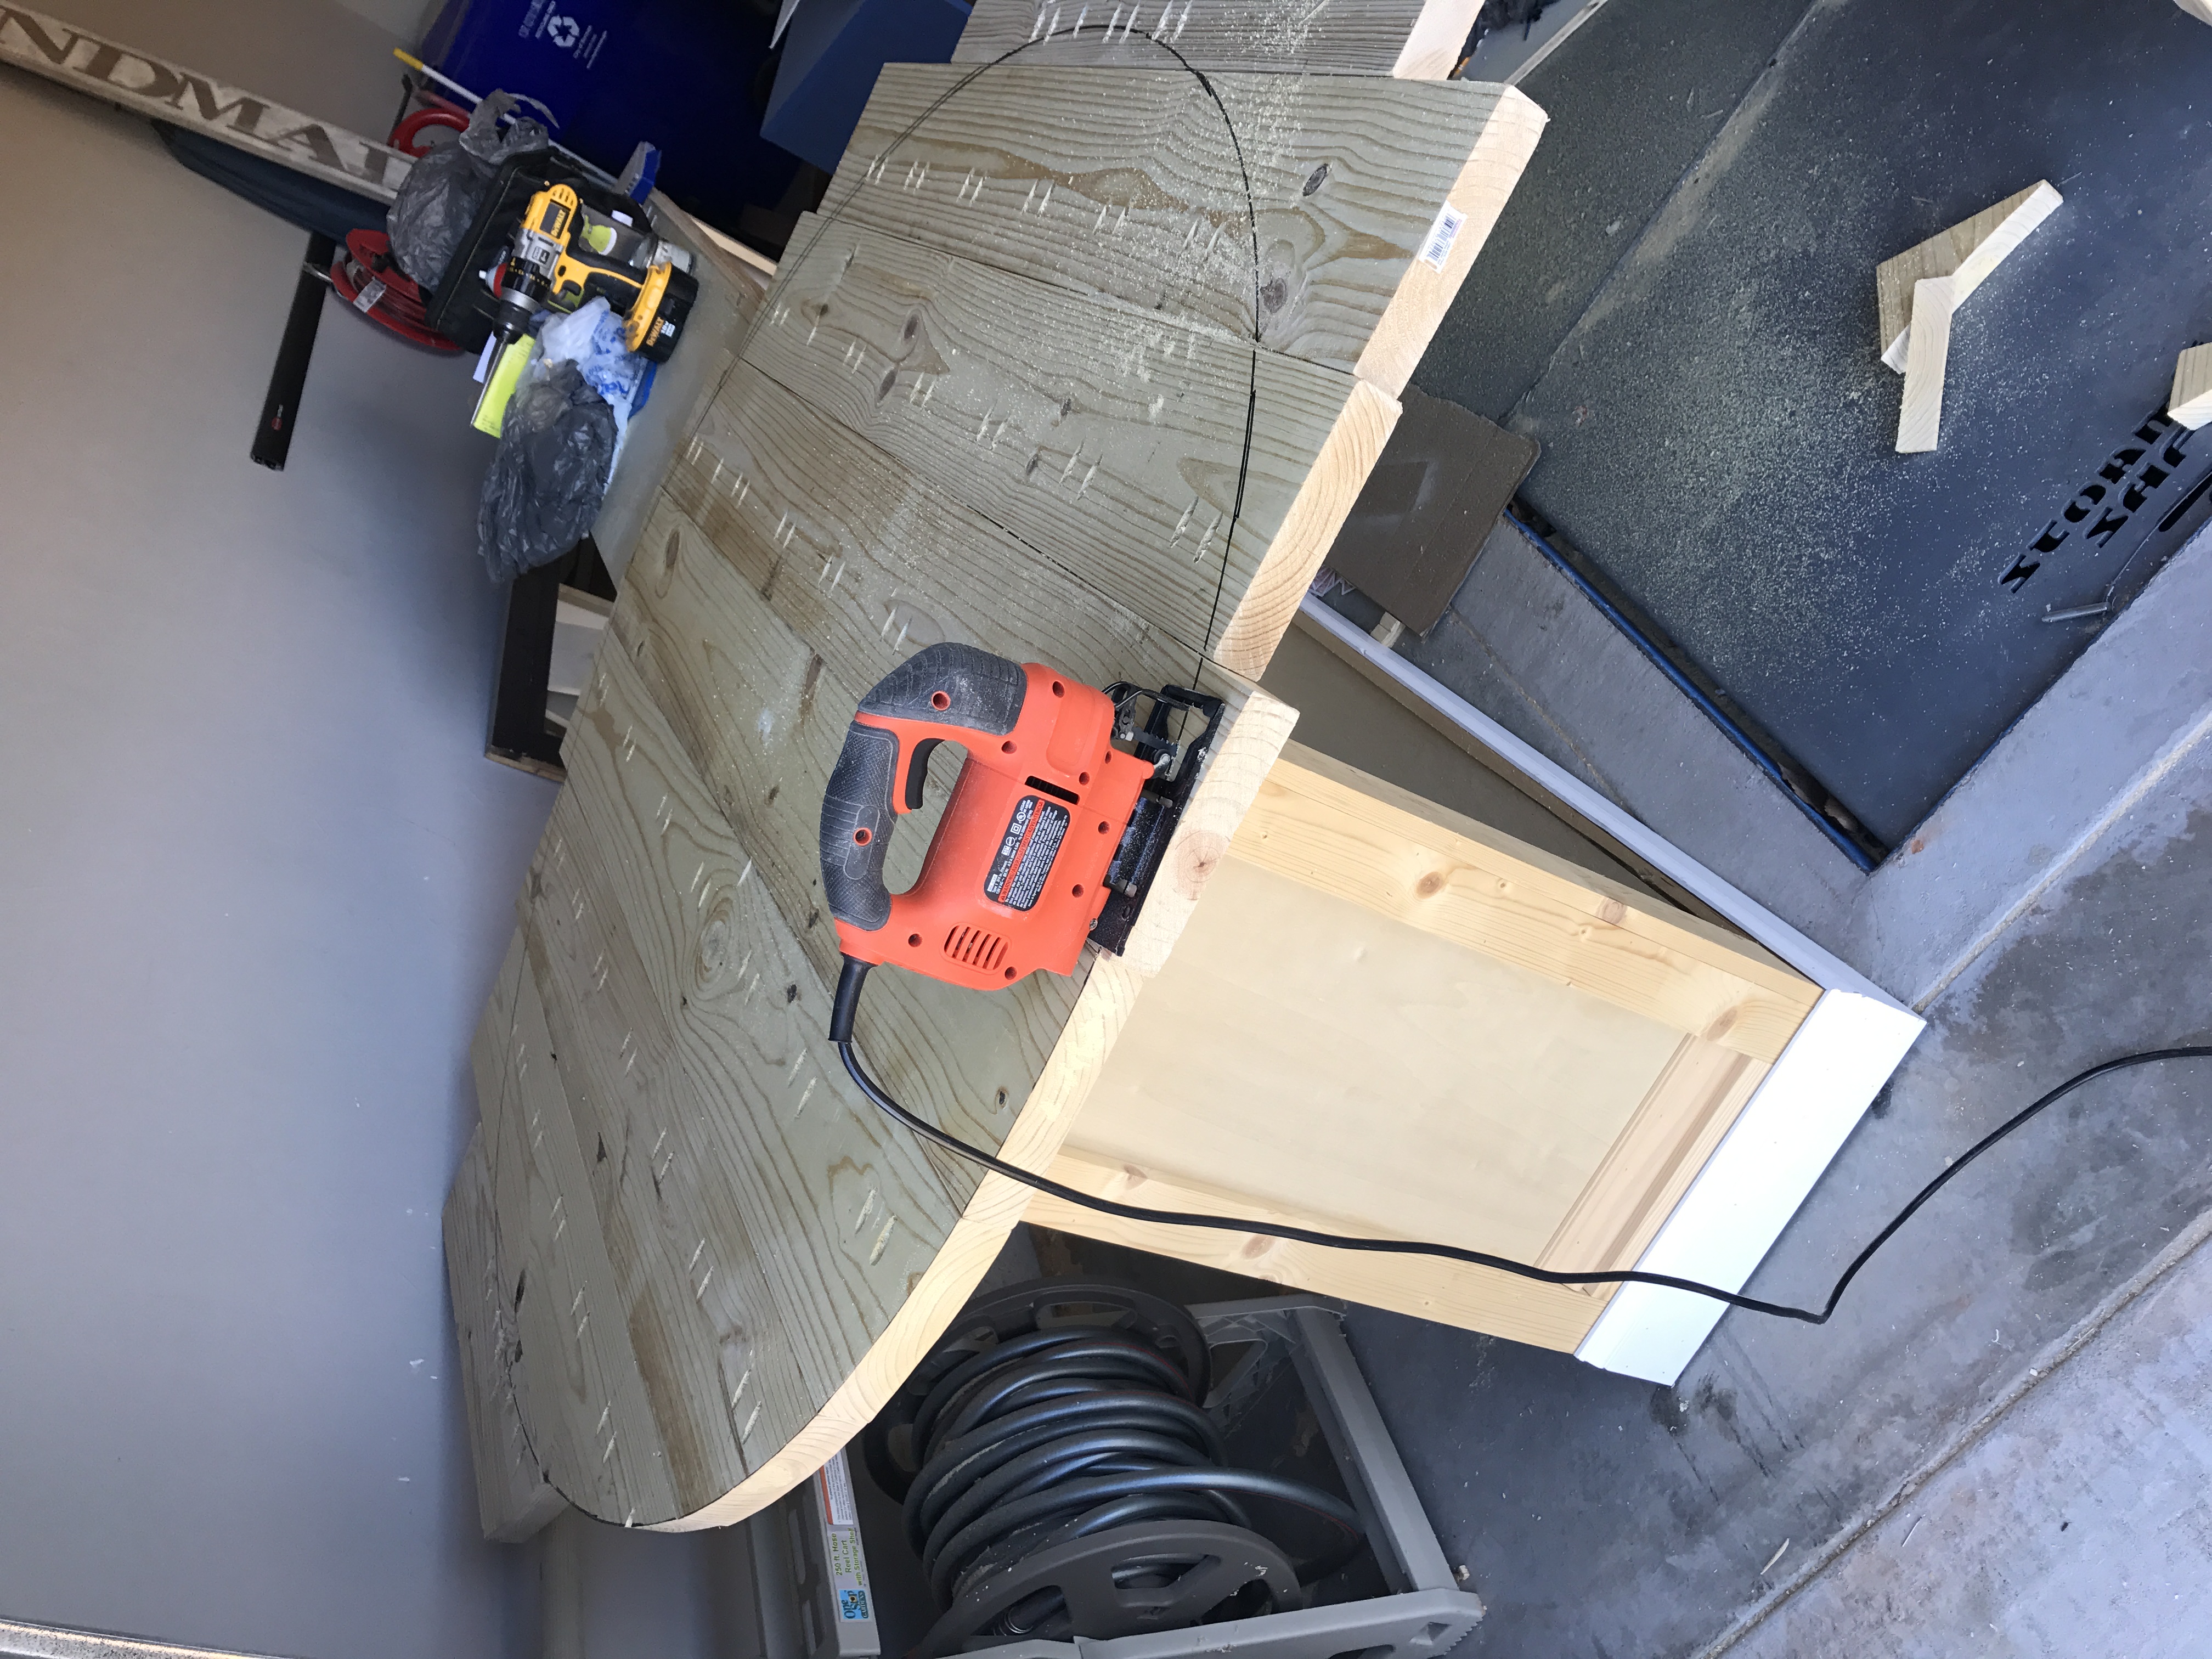
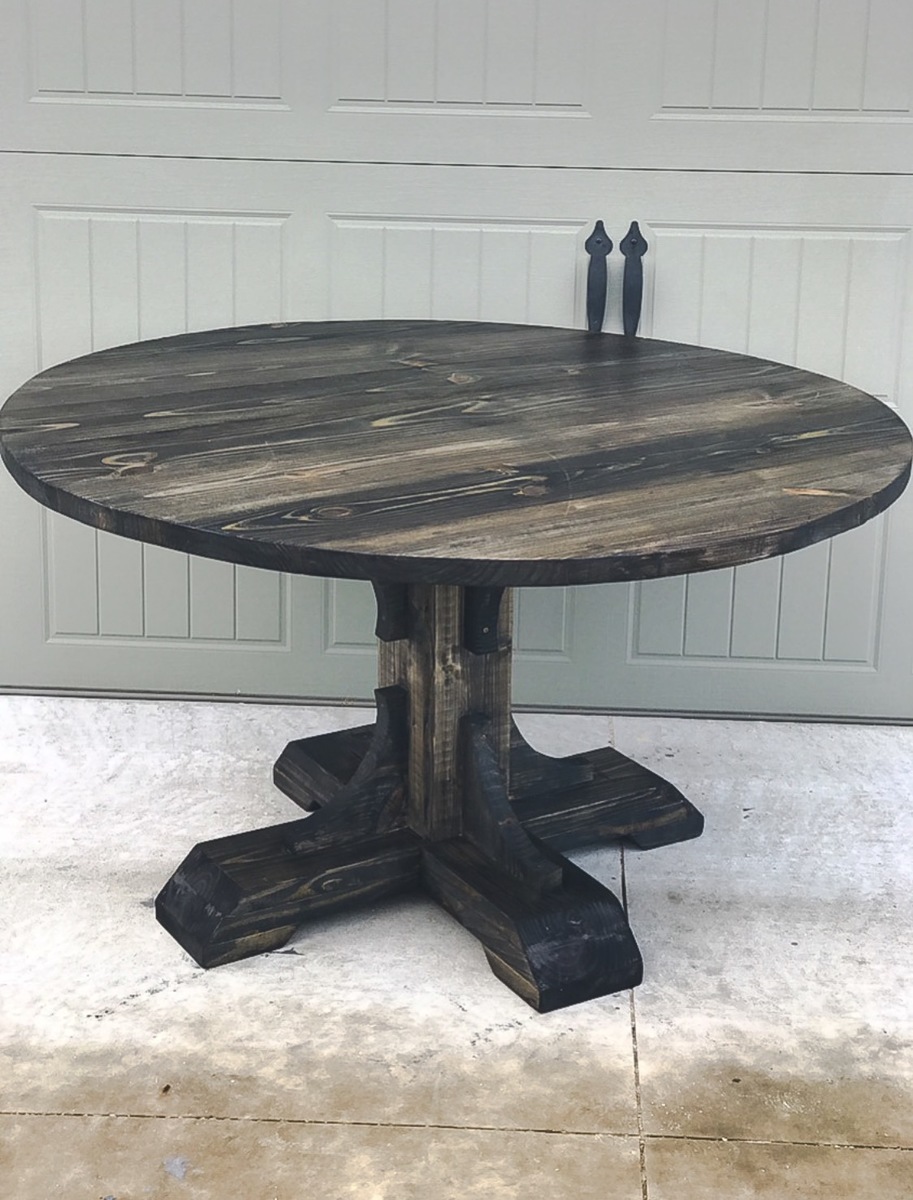
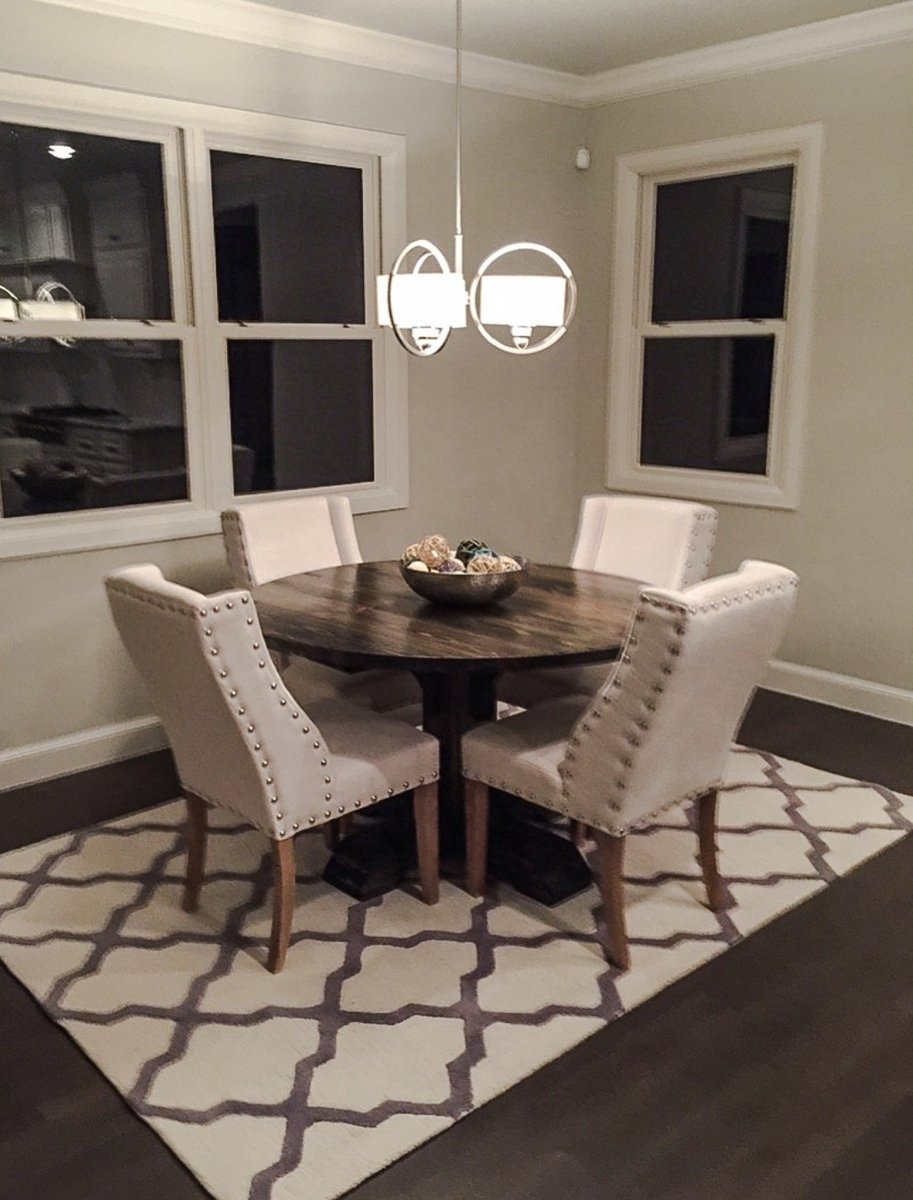
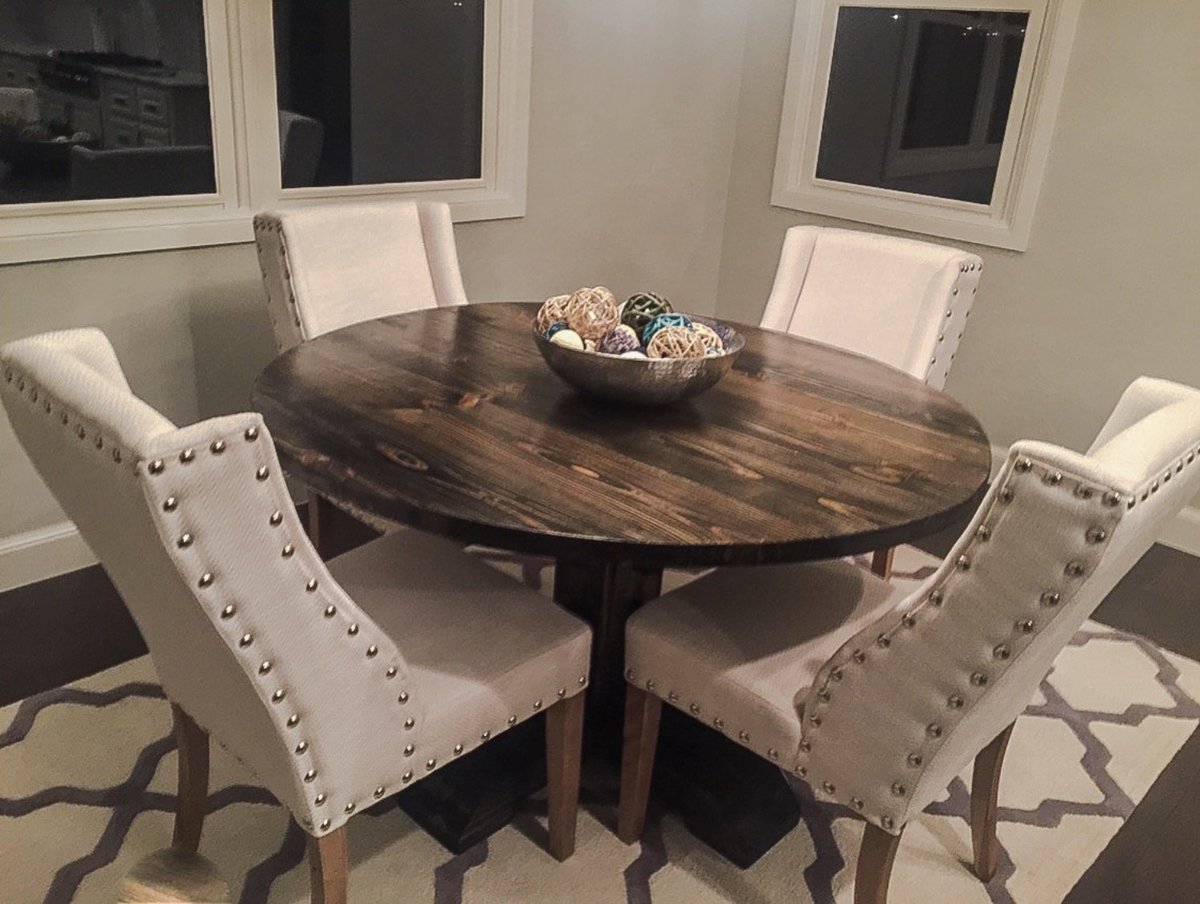
This was such a fun build. Instead of the square table top I opted for a 54" round table top and I also altered the plans for the base. I upped the size for each board used to give it a chunkier look ( Ex: instead of 2x4s, I used 2x6s and so on)
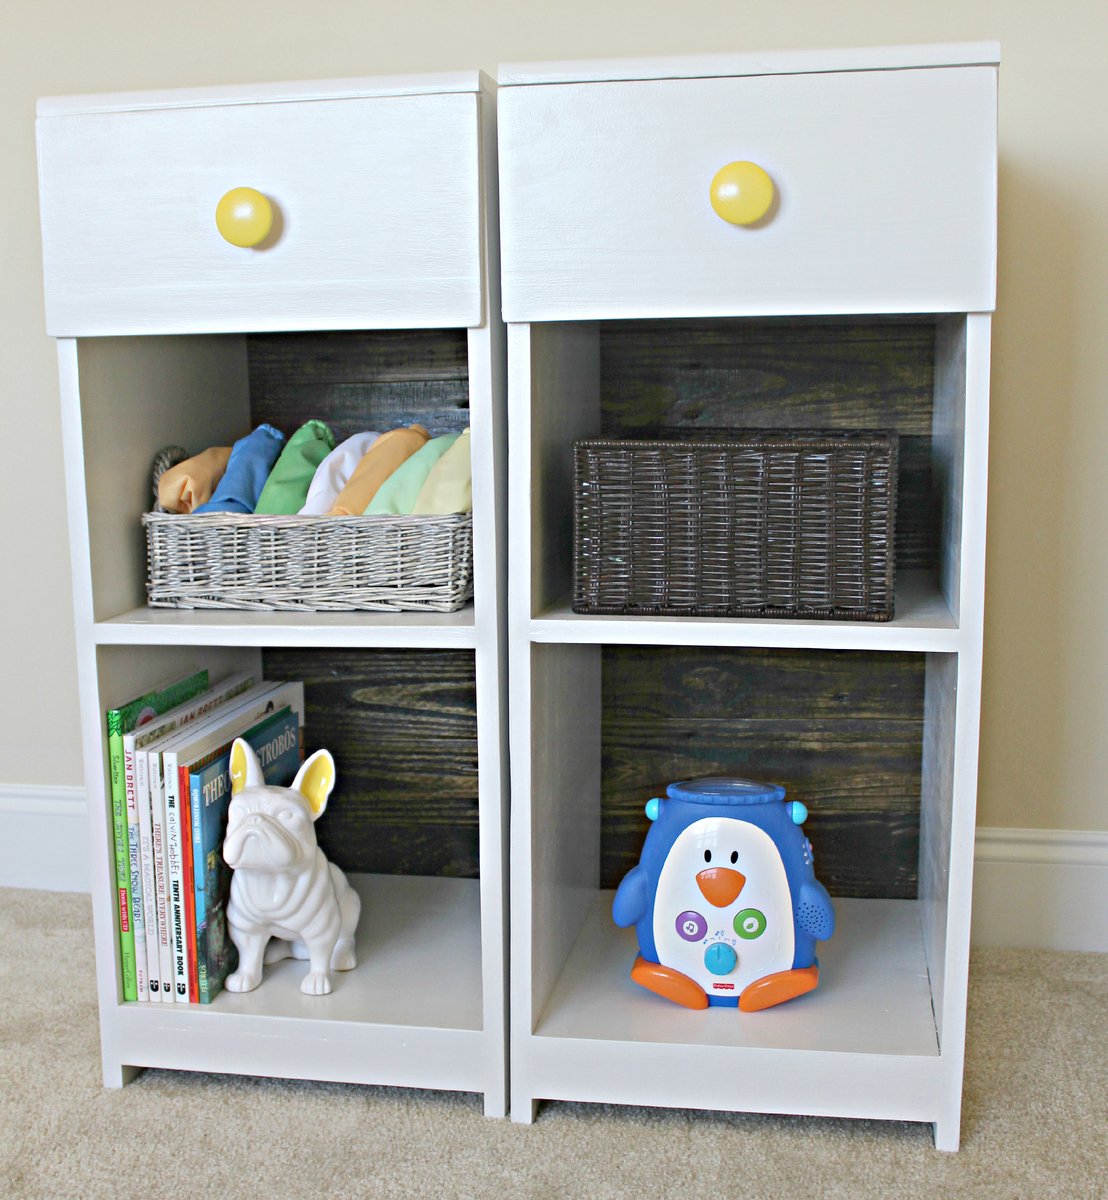
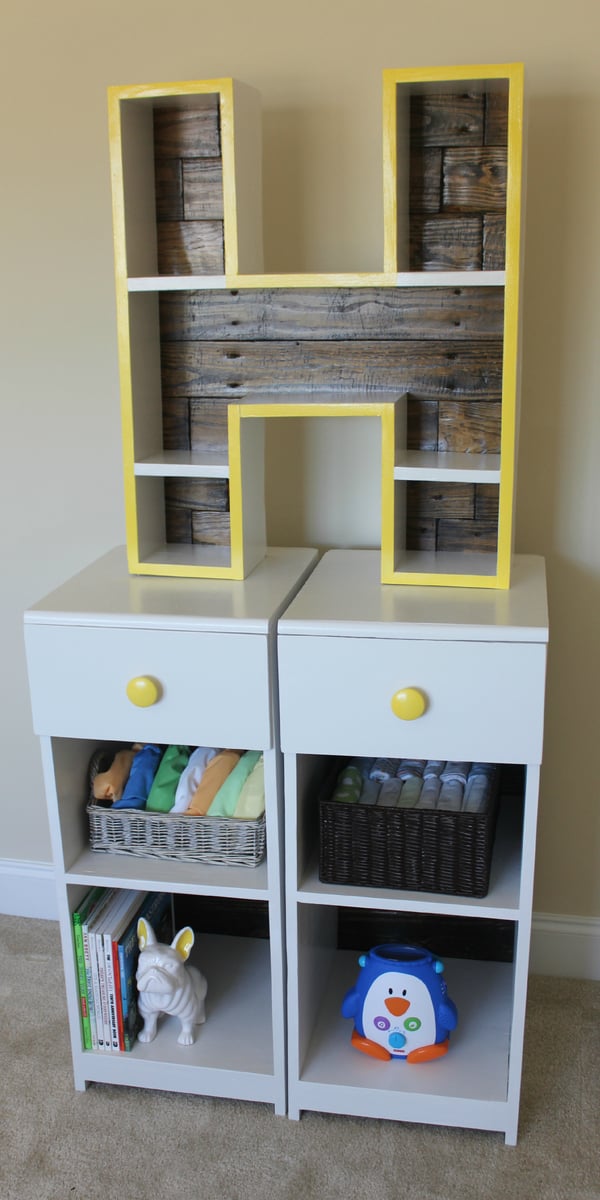
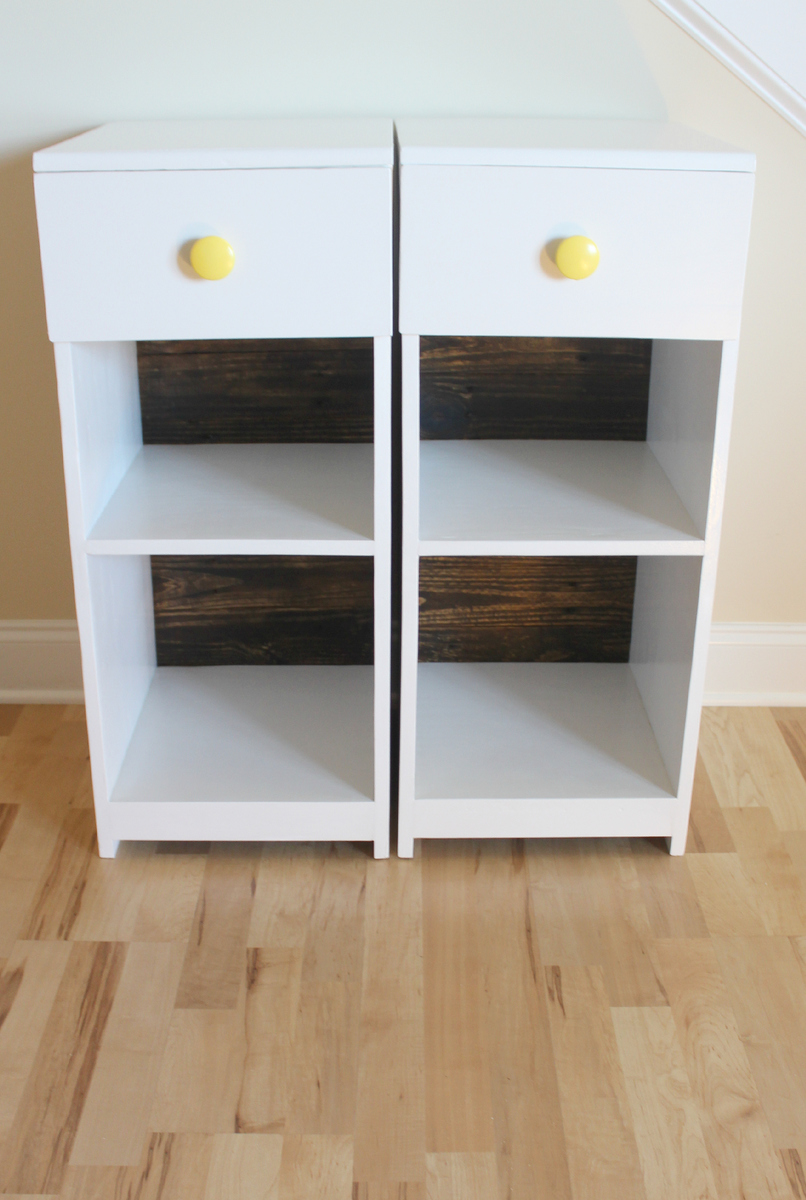
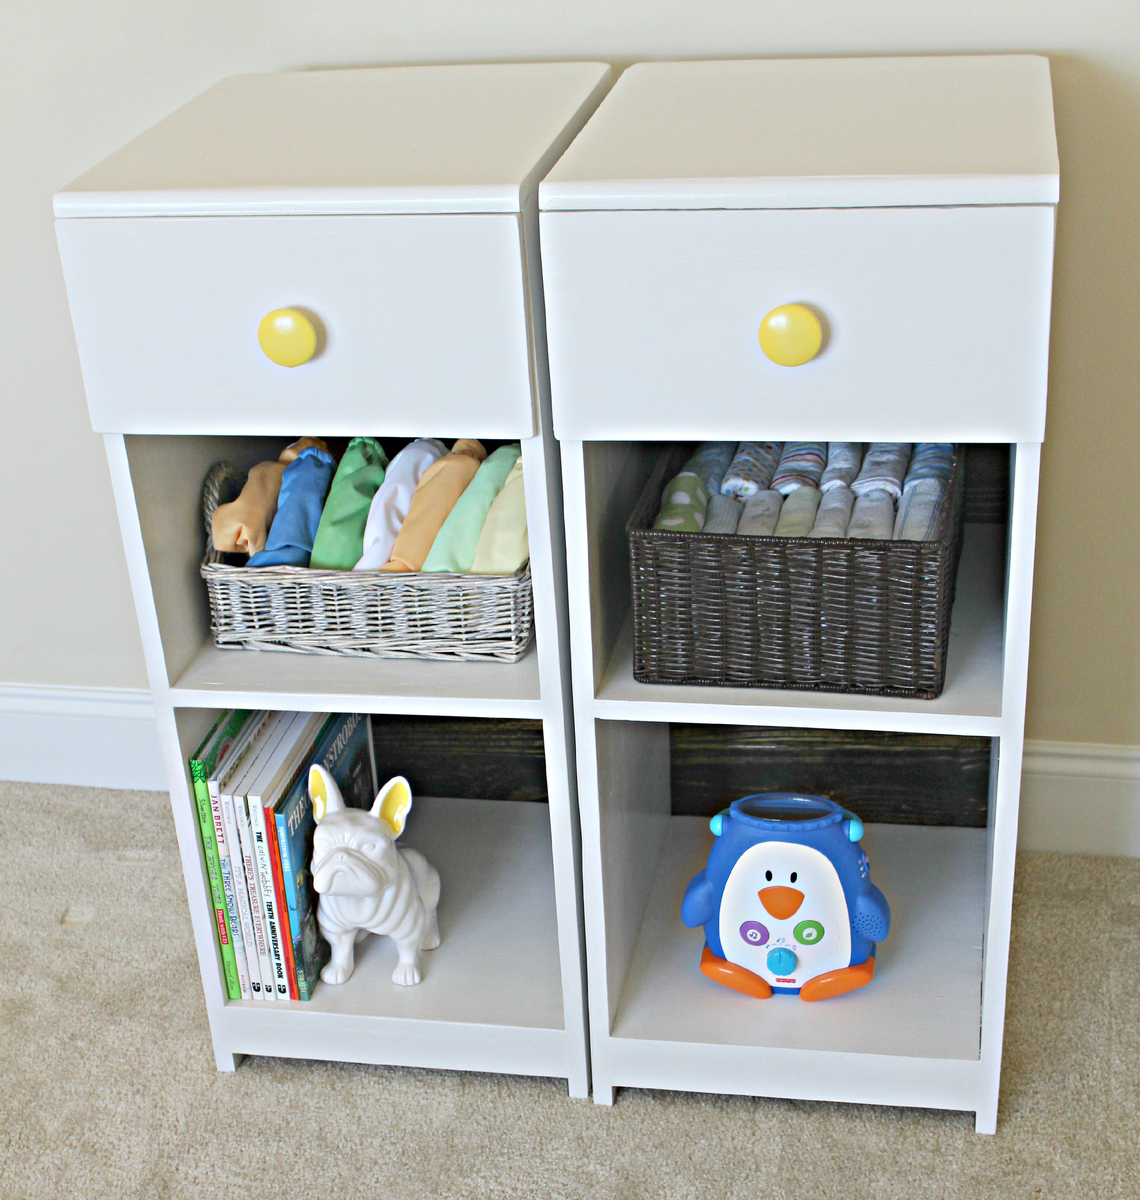
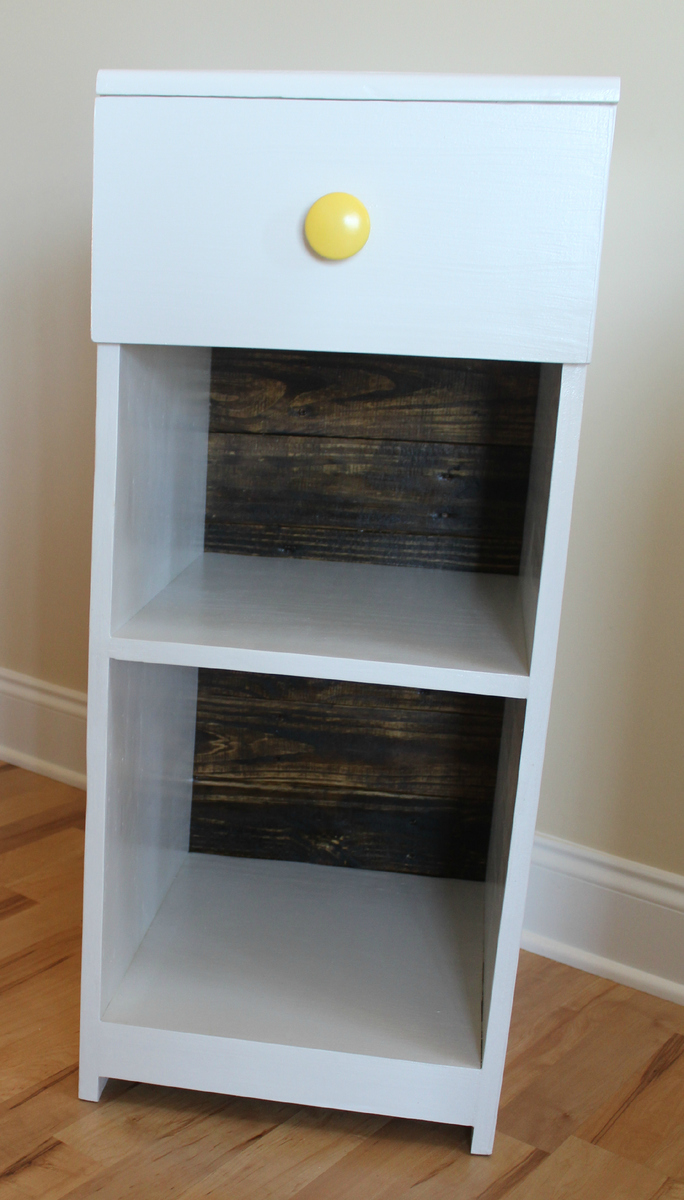
Still working on part 2 and part 3 of this project. We've been eyeballing this project for awhile and are so excited with the results! We love that we can potentially use these as bedside tables in the future.
We wrote out how we did everything on the blog: http://thehuth.blogspot.com/2012/10/madison-changing-table-part-1-side-…
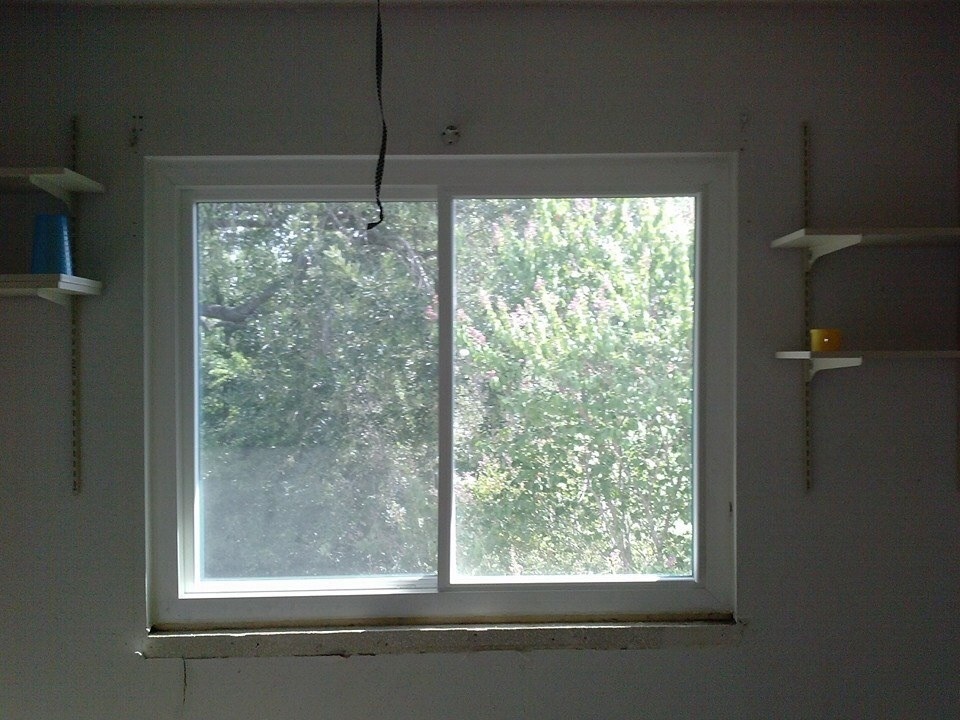
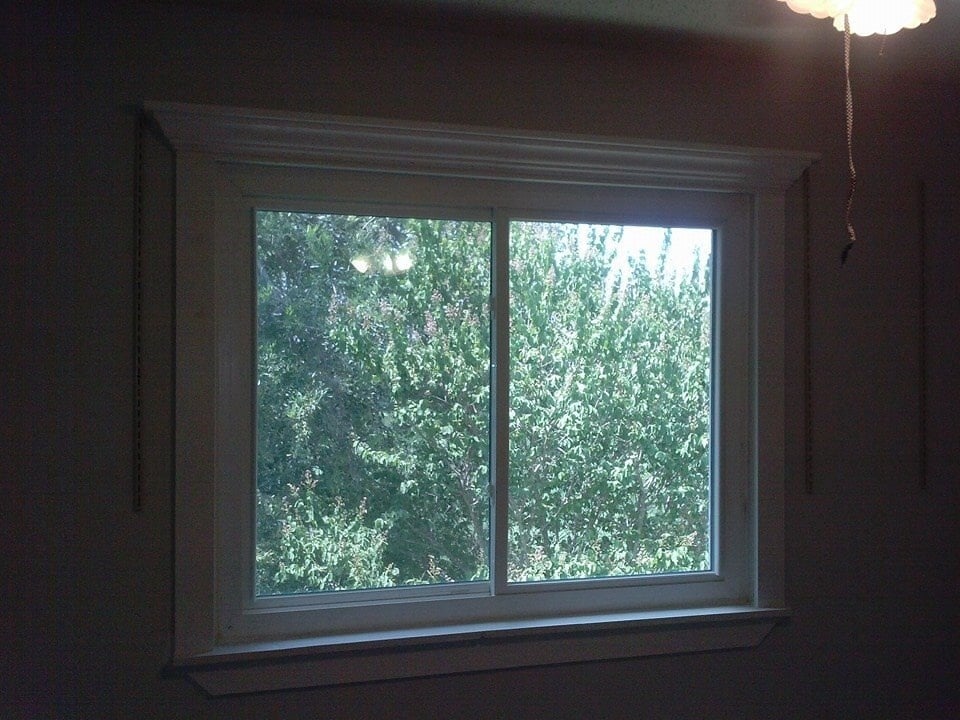
I took the plan for the crown ledges and put it above the window then added pre primed 1x4s as the trim also.


First try at building something. Start up cost in tools is not reflected in the estimated cost. Learned a couple of valuable lessons in cut accuracy and order of work. For us, we will buy/cut/sand/paint/assemble. Dont let Home Depot cut your plywood. They did a terrible job.