Rustic Desk Love! Love! Love!
I originally saw this desk on Pinterest, which led me to this website. My hubby made it for me. LOVE IT!!
Toy box for our soon to be son.
It was a great project for my dad and I.
This is my first "finished" project. It is made of 3/4 inch maple, which I purchased from a big box store. I cut the top boards to 38 1/2 inches long and used seven boards (1x6's) for the top. Using the kreg pocket hole tool, some glue and 2 clamps - I was able to easily join the top. This process took several days because I only had 2 clamps and took my time joining 2 boards at one time. The outer edge of the table is mitred 1x2's so the top looks like it is 2 inches thick, but it is only 3/4 of an inch.
The legs are made of four of the 1x4's glued together and cut to 18 inches in length. The base (apron) is made of 1x4's cut to 30 1/2 inches long and attached to the legs using pocket holes / screws and glue - leaving a reveal edge. I also added two 1x2's in the middle of the base for added strength for the top. The top was pocket hole / screwed to the base.
The finish is Generals gel stain in Java colour - two coats. Then I added three coats of gel polyurethane.
I use the plans as inspiration to build a scooter from scraps I had lying around. I spent about $5 on the can of stain.
This is the third hall tree I made from this site. Love how easy the plans are to follow!
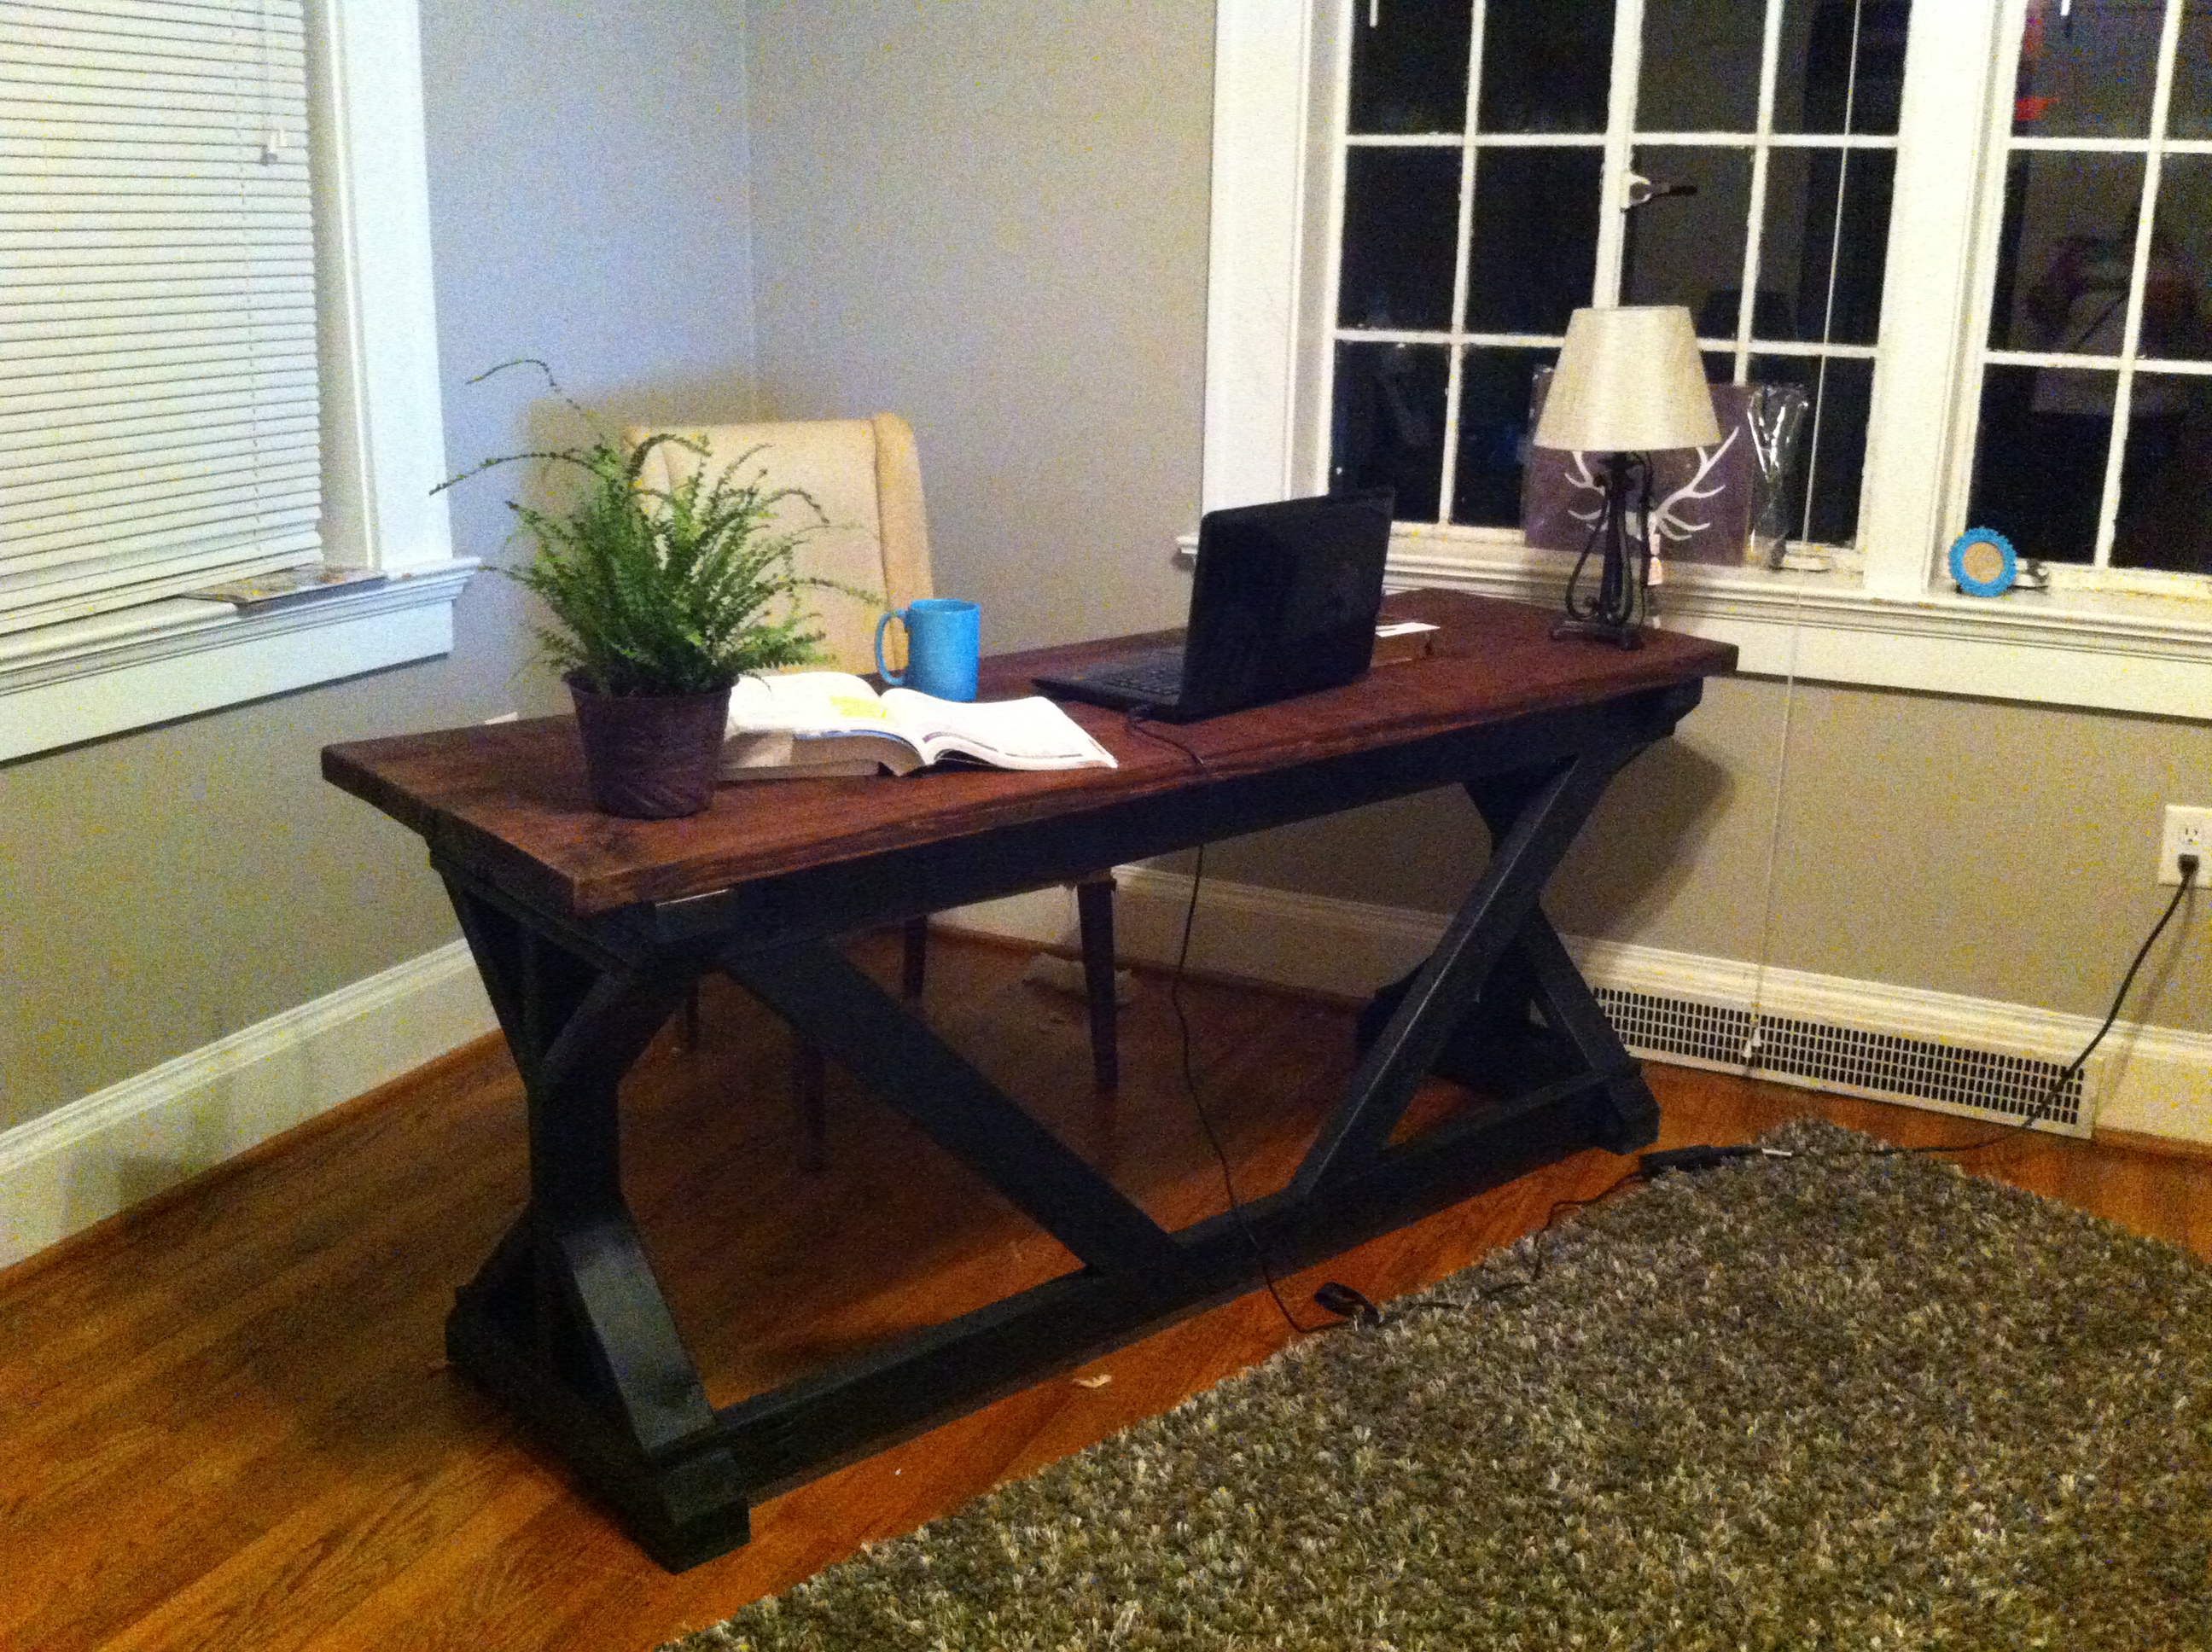
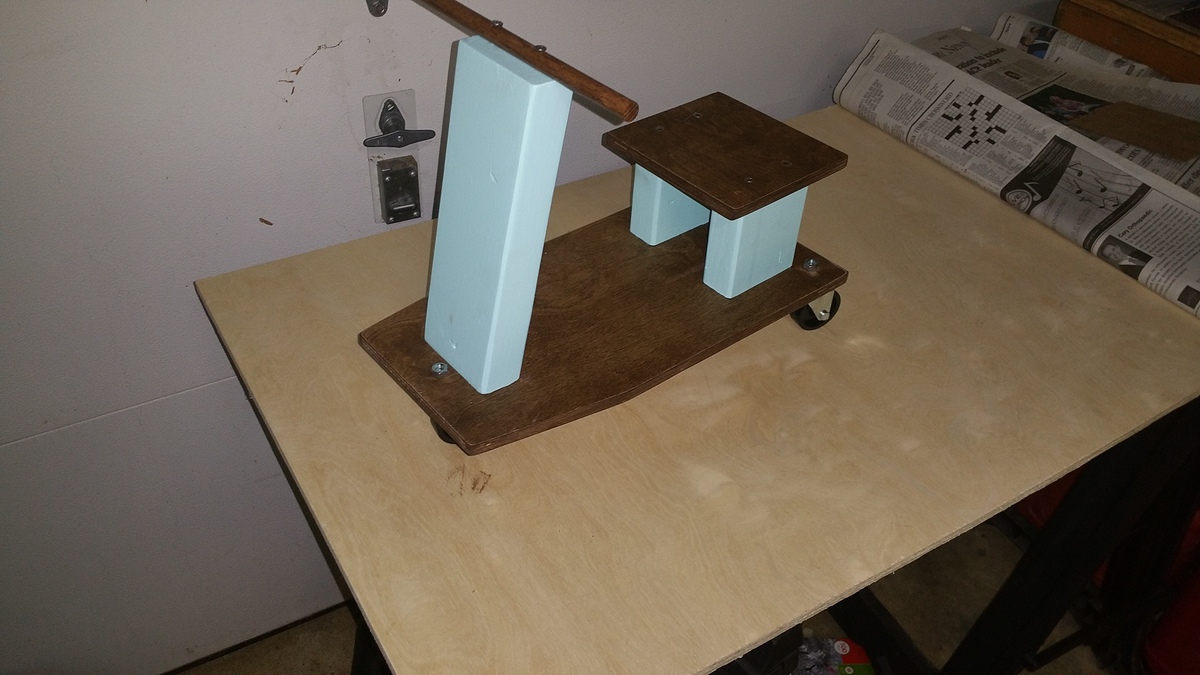
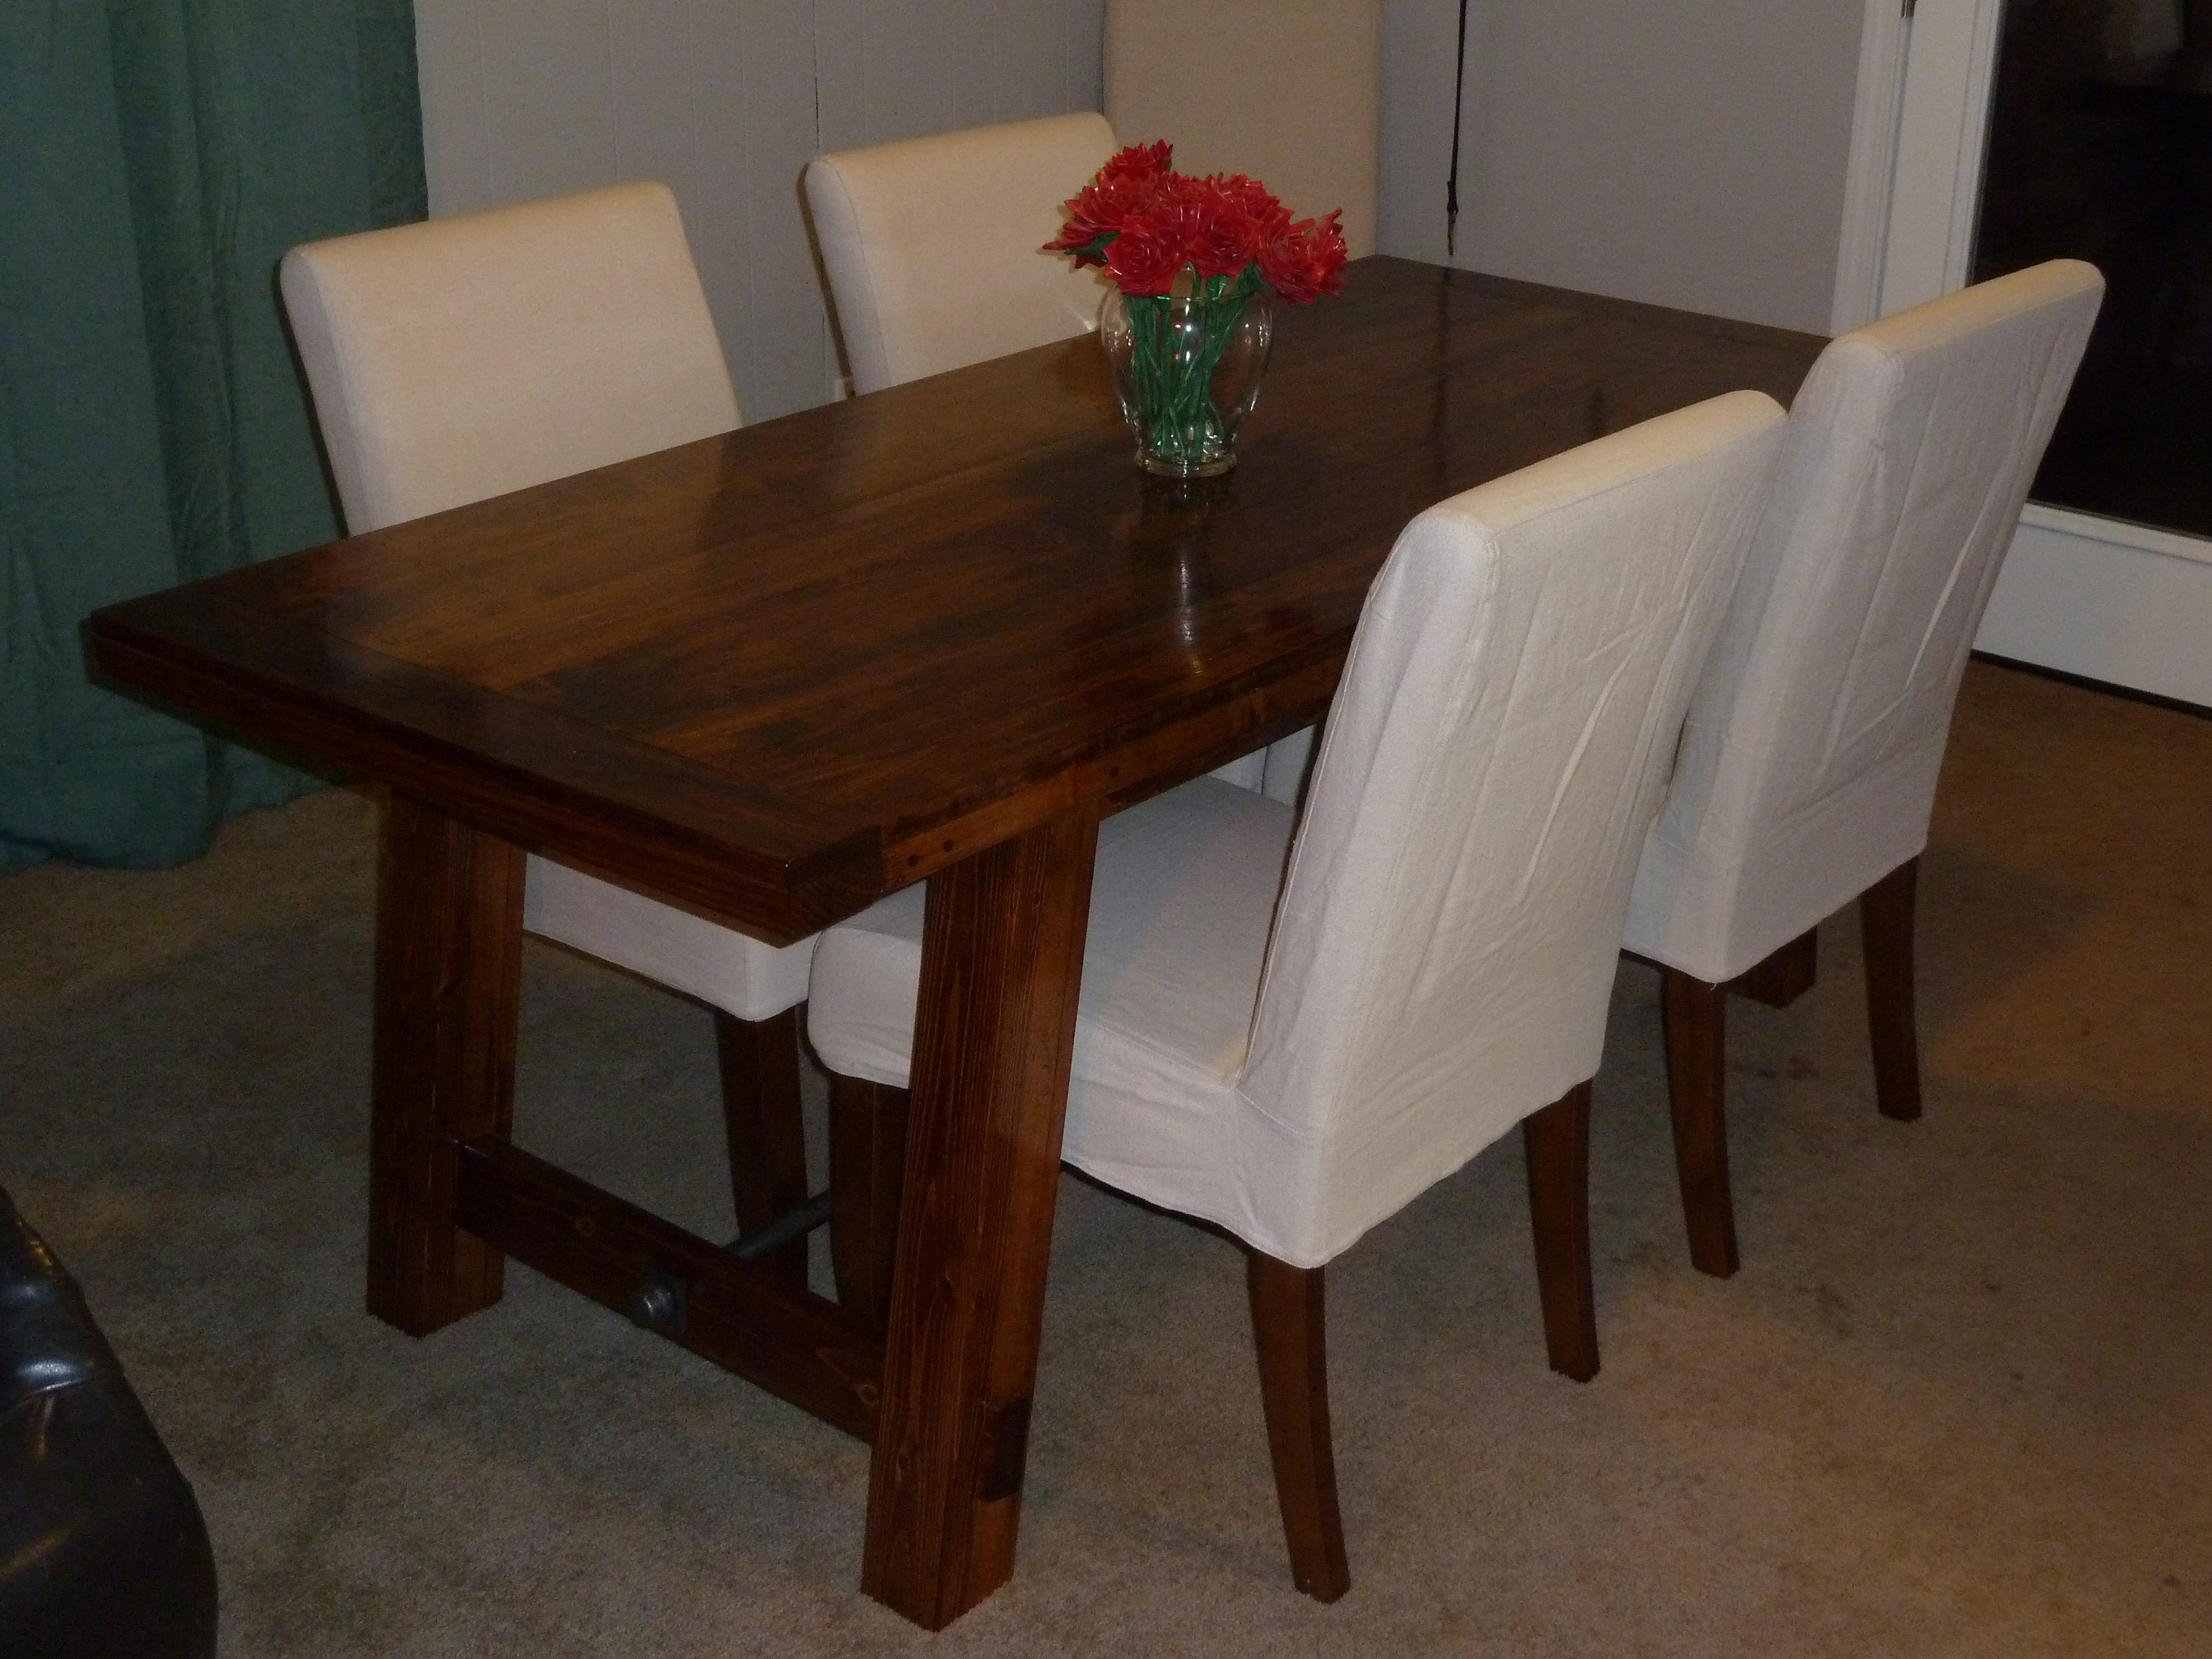
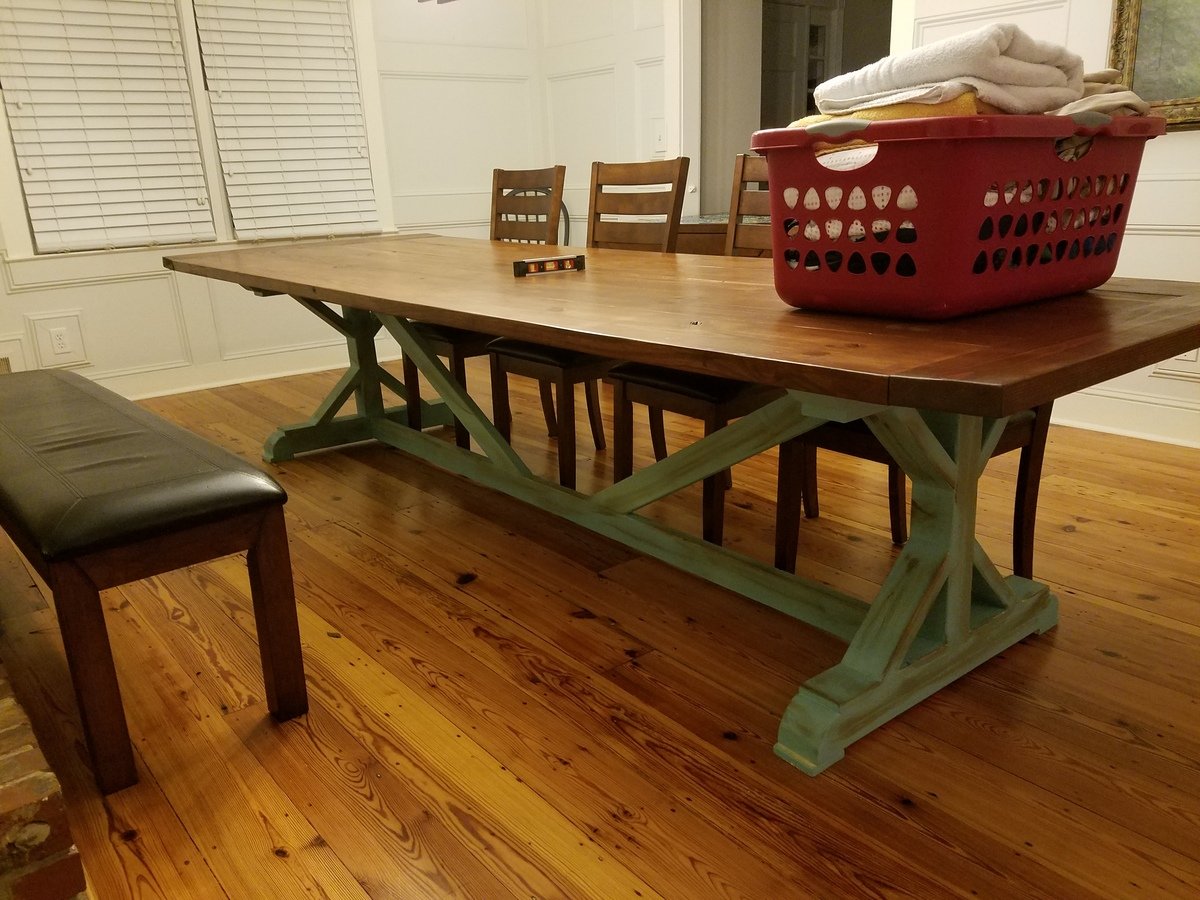
This was our first project from Ana-white. Make sure you notice that the dimensions on the cut list & drawings are different! We went by the cut list. We made a slight change to the frame on the end supports: instead of a 2x2, we used a 2x8. We felt more secure about people/kids pushing down on the edge of the table since we were able to both notch and put two screws into that end piece.
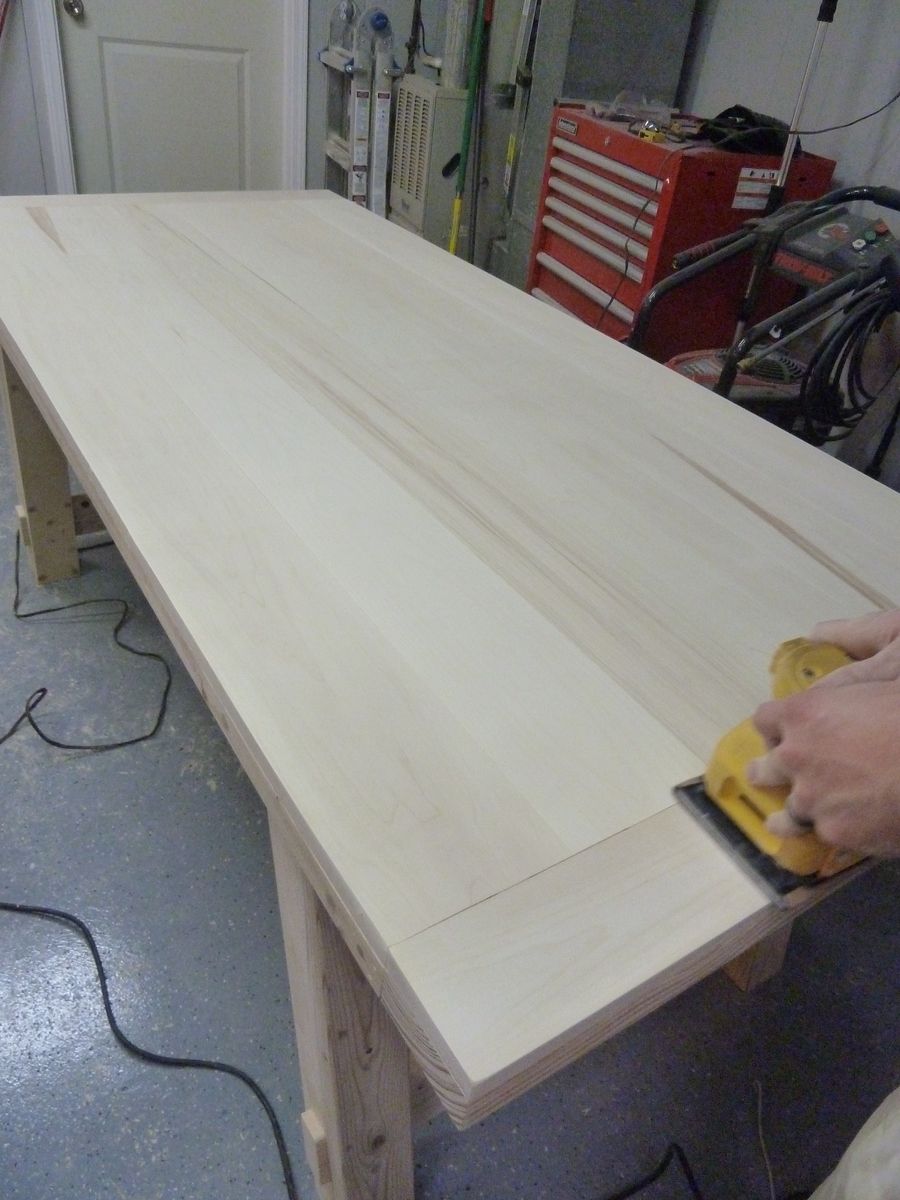
We used Aspen for the top, which I would not suggest. It ended up soaking up the stain very unevenly and blotching, even after using pre-stain.
For hardware, we used a 5 foot black iron pipe from Lowe's. Once we had the table assembled and the holes drilled, we remeasured and had Lowe's trim it by a few inches and re-thread (for free). We also used four square washers from McMaster-Carr (part no. 91128a140) which were $11after shipping.
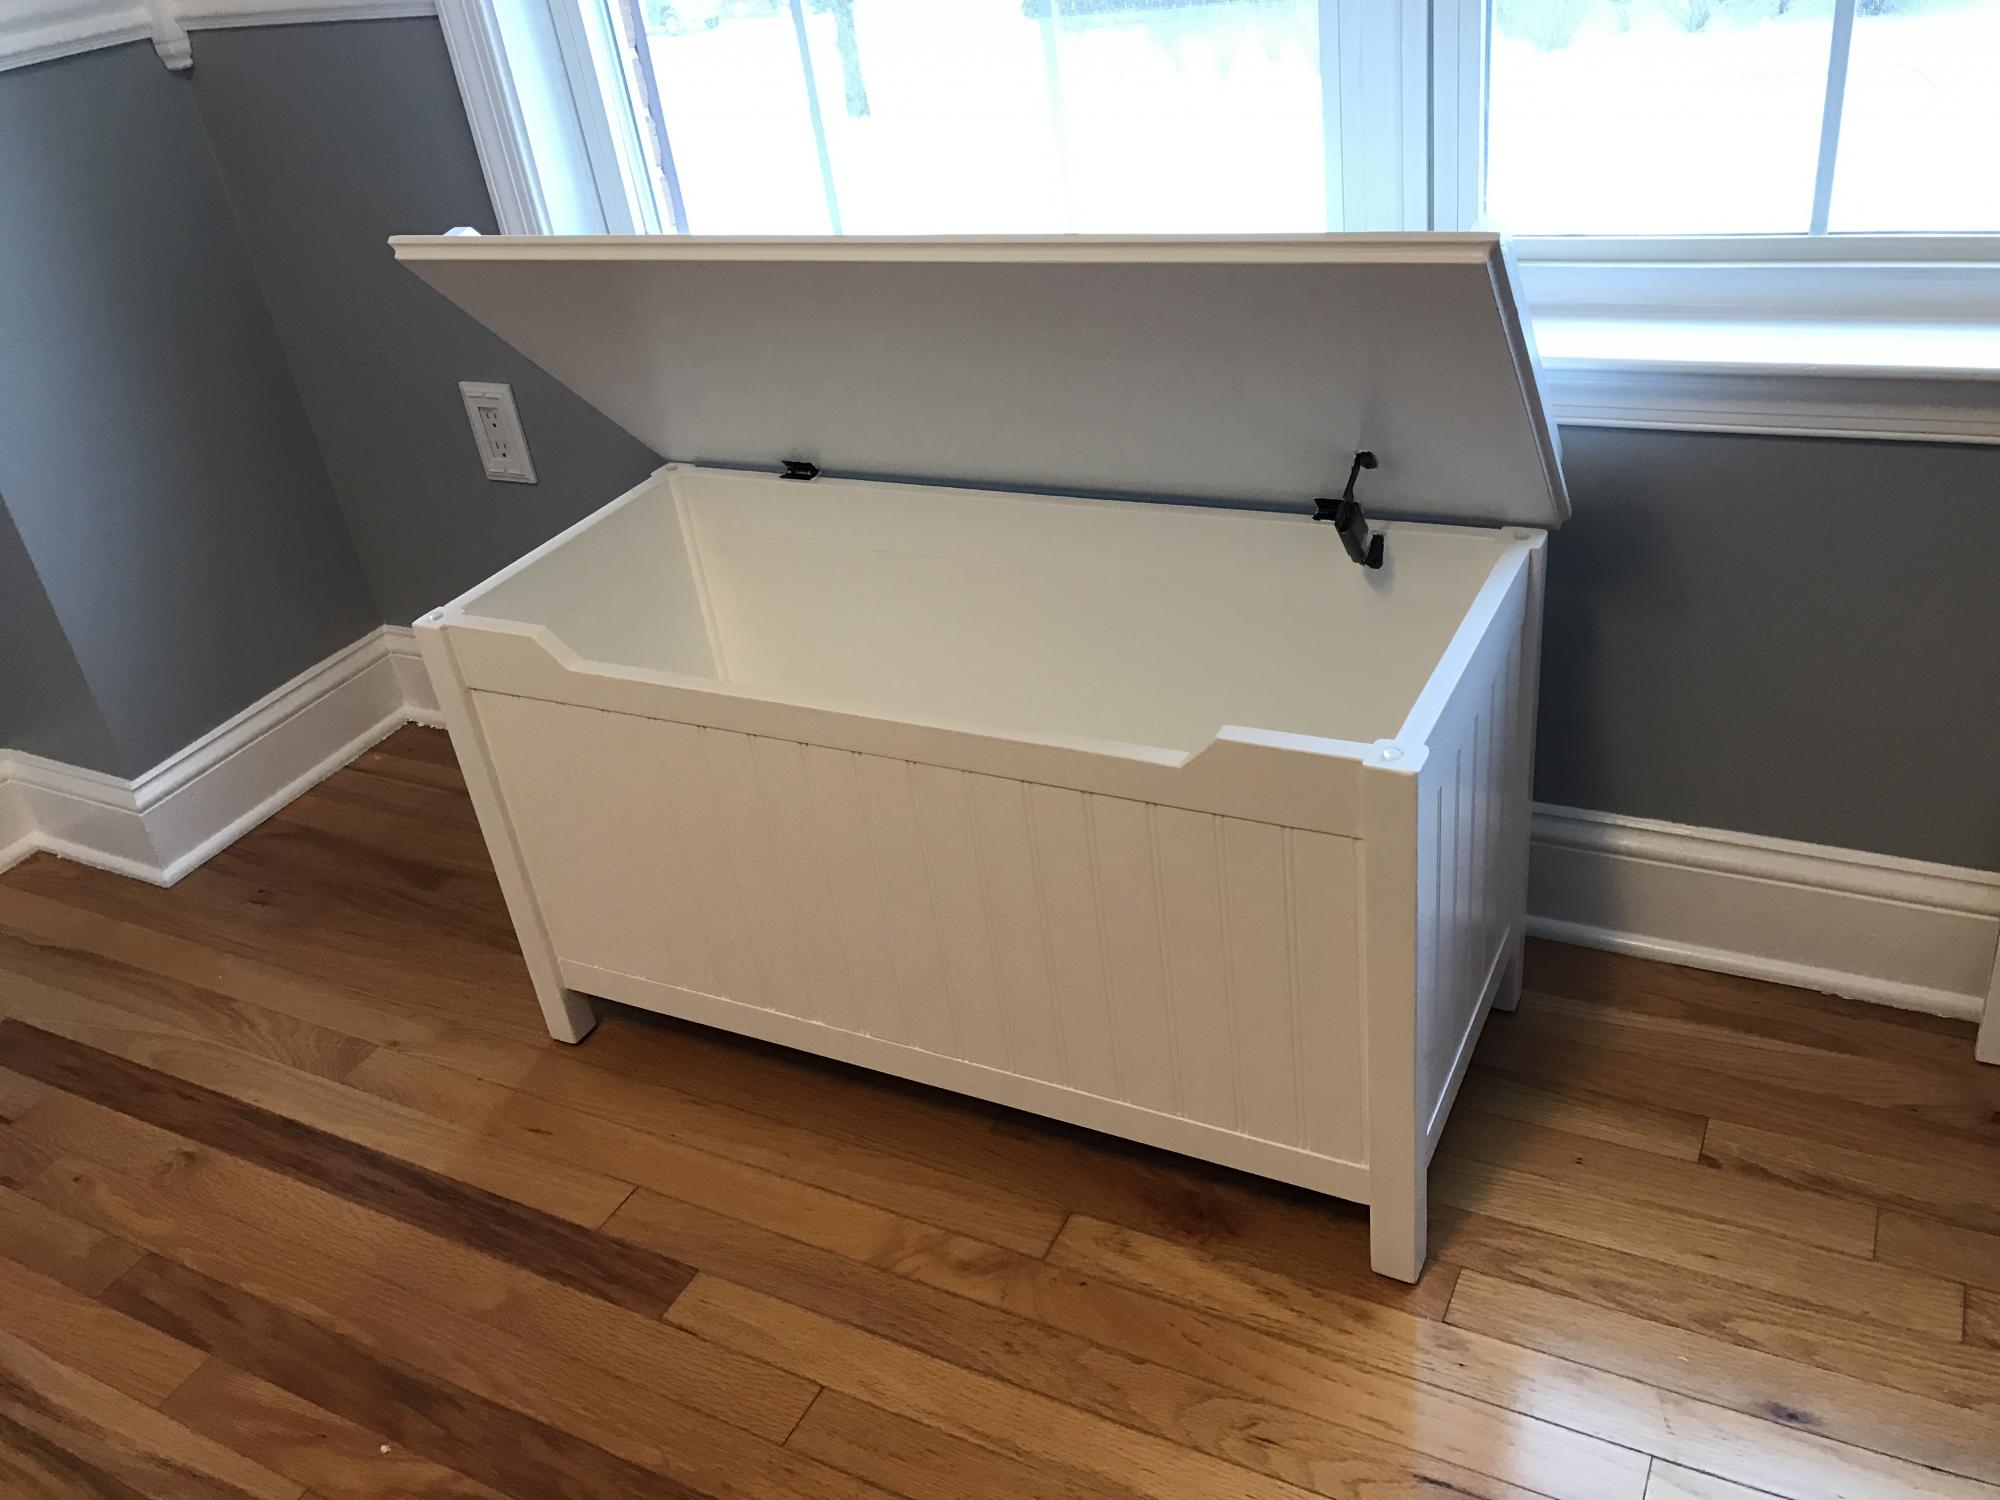
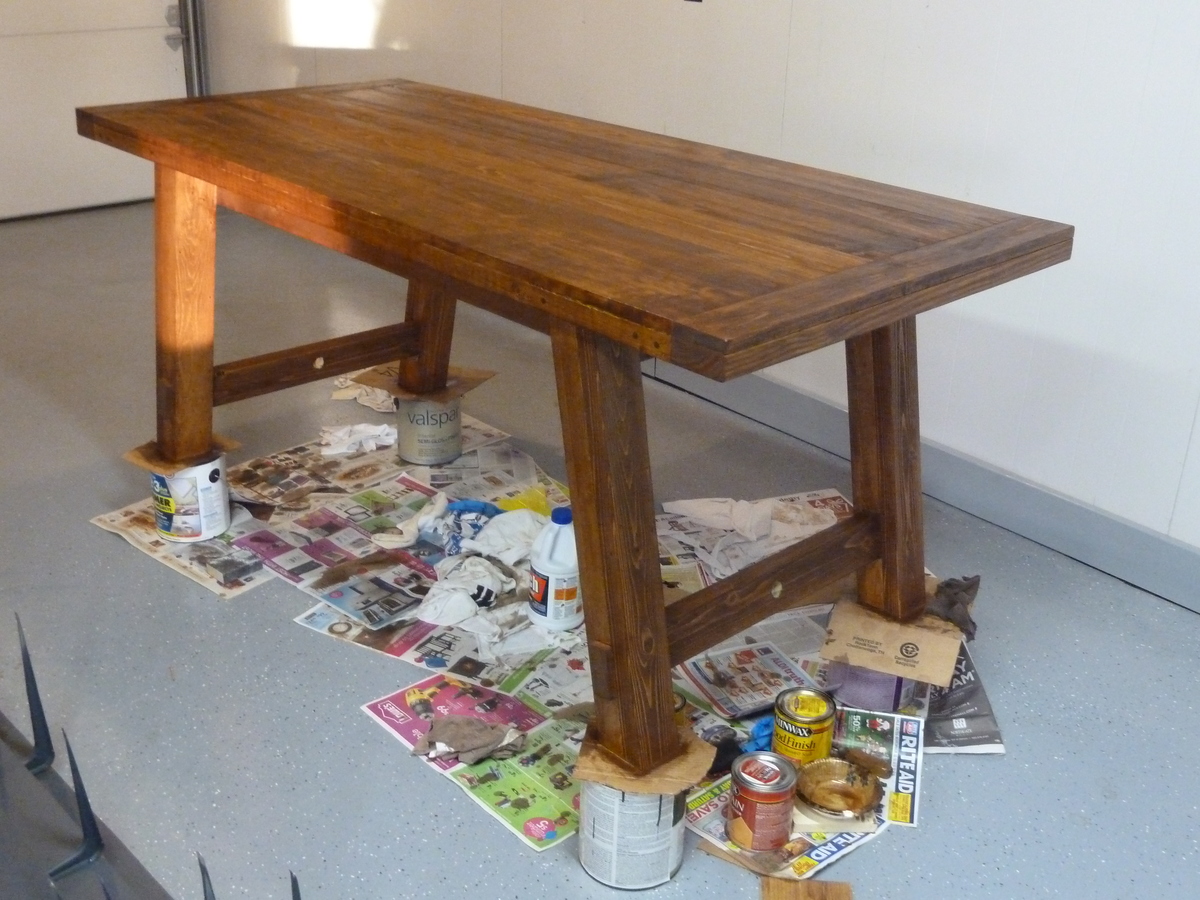
We made our own wood putty out of sawdust, craft glue, and a little bit of the stain that we used for the table. It worked like a charm.
The two of us spent maybe 5 hours for assembly and another 6 for finishing.
After seeing Ana's faux fireplace with the hidden DVD drawer, I knew this idea would be perfect for our master bedroom. My husband added river rocks to make it look a little more real, and installed shiplap above the mantel. I couldn't be happier with how it turned out.
Tue, 01/10/2017 - 18:12
I accidentally added the picture of our faux fireplace without logging in, but my totally awesome husband built this for me, and I love it!
The first time I saw Ana's pallet shelves I knew I had to build them! It took a while but I found the perfect application. A place to hang the kids bibs and our snow pants that are a bit too long for the coat rack, and the bonus shelf for wet hats/mittens or chicken gloves that you don't exactly want in with your clean stuff ;>
Super easy and I love it!
Used plans from your site to build these, great experience, anybody could do this! The cheapest quote I got for these was 6500 cdn. All this including the router bits, stains, materials (pine) and hardware cost less than 1000, the countertop was a juniper tree my grandfather planted when I was a kid.
Great plans for a really useful storage daybed! I modified the plans to include a slat back and rustic x sides, as well as changing the Trundle drawers to a single drawer to fit my exercise equipment. I finished the daybed with stain and chalk paint in old white and Paris Grey distressed for the perfect shabby chic look!
I followed the plans for the Side Street Bunk Beds and added the ladder and guard rail from the Simple Bunk Bed plans. I modified the angle on the ladder so that it wasn't as steep of an angle as called for in the plans. I'm not sure the length for the ladder stated in the plans was correct anyhow as mine came up too short, leading me to modify my angles and not completely scrap my boards. I don't recall the angles I used at the moment. This was a "side" project that I completed this Fall in between the normal duties of mom and being in 3rd trimester of pregnancy! Not a hard build, but a heavy one! I used 1/4" lag bolts for the rails so we could easily disassemble it.
Sanding proved to be a big task. I thought I had skimped a little on this task, but once we applied our paints, it all smoothed out just fine. We distressed it, so it has a slightly rugged look, yet a shiny, satin finish. I didn't focus too much attention in painting the slats and inside rails (one coat of white plus one clear top coat). We sanded down the rails that are exposed to the bottom bunk, and slacked on the ones closest to the floor.
The beds are gorgeous! The picture doesn't do it justice. Well worth the effort and savings as opposed to buying a $1500 bed. Plus, my girls got to see mommy create something practical! When they are old enough, they can help!
Sun, 03/09/2014 - 10:40
This looks amazing, exactly what I need for my girls!! Can you email me these plans to [email protected], Thanks!
Sun, 03/09/2014 - 10:40
This looks amazing, exactly what I need for my girls!! Can you email me these plans to [email protected], Thanks!
Tue, 03/11/2014 - 08:05
The links to Ana's plans are in the post. I changed the ladder dimensions a little, but I don't remember what I did.
Tue, 03/11/2014 - 08:05
The links to Ana's plans are in the post. I changed the ladder dimensions a little, but I don't remember what I did.
This was such a fun project and my daughter loves her baby carriage.
My first project, I built it out of rough cut lumber that I cut on my parents portable sawmill. Took me three weekends to build, turned out pretty good, but I would change how I did a few things.
This is one of three doll beds I made for my nieces and their AG dolls.
Tue, 10/07/2014 - 10:05
Very cute beds! And the comforters are adorable. (I have enjoyed building baby doll beds and high chairs for the granddaughter and great nieces. They're older and now and have the AG dolls, so need to get busy on this bed for them.)
Took me about 2.5 weeks to finish this project (working on it mainly on the weekends when I had some time)! This build was modified to fit our dining space I made the table a little wider at 44" and a little longer at almost 11'!! This was my first furniture build and I am very happy how it turned out! I look forward to building more projects! Please pay no mind that as soon as it came in the house it was being used to fold laundry LOL!! This is the beginning of a new life for my dining room!
Using Ana's Rustic X Hall tree - I modified the size to fit this small space in the cottage in my backyard. It was impossible to find something to fit this space -- and this is one of my first indoor projects; I am a beginner. It was so much fun building! I used pine from a big box store mostly but opted for Bead board for the backing to achieve a farmhouse type look. My daughter lives in the cottage and loves it!! Thanks Ana for the sweet plans!!
Here is my fist whack at this bed for my son. I am starting the one for my daughter as well, but am modifying the design to have storage stairs.