DIY Red Storage Sofa
Thanks Ana White for the blue print to an awesome storage sofa. I used the similar dimensions except mine is a bit shorter in width (60 inches wide). Now I just need to find awesome pillows to go with it.
Thanks Ana White for the blue print to an awesome storage sofa. I used the similar dimensions except mine is a bit shorter in width (60 inches wide). Now I just need to find awesome pillows to go with it.
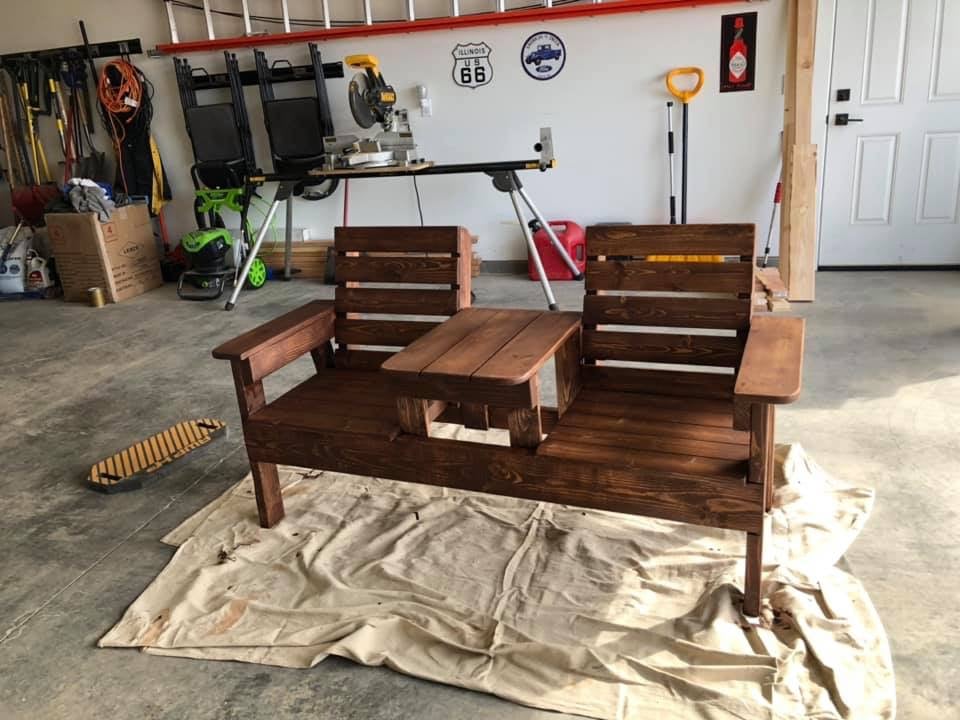
Ana sent us the plans for this bench and it worked out great!
Mon, 06/03/2019 - 11:34
This looks awesome! Thank you so much for sharing, great job! I love the table in the middle
Thu, 09/16/2021 - 06:32
How can I get plans for this? I love the idea and want to build these for my fire station.
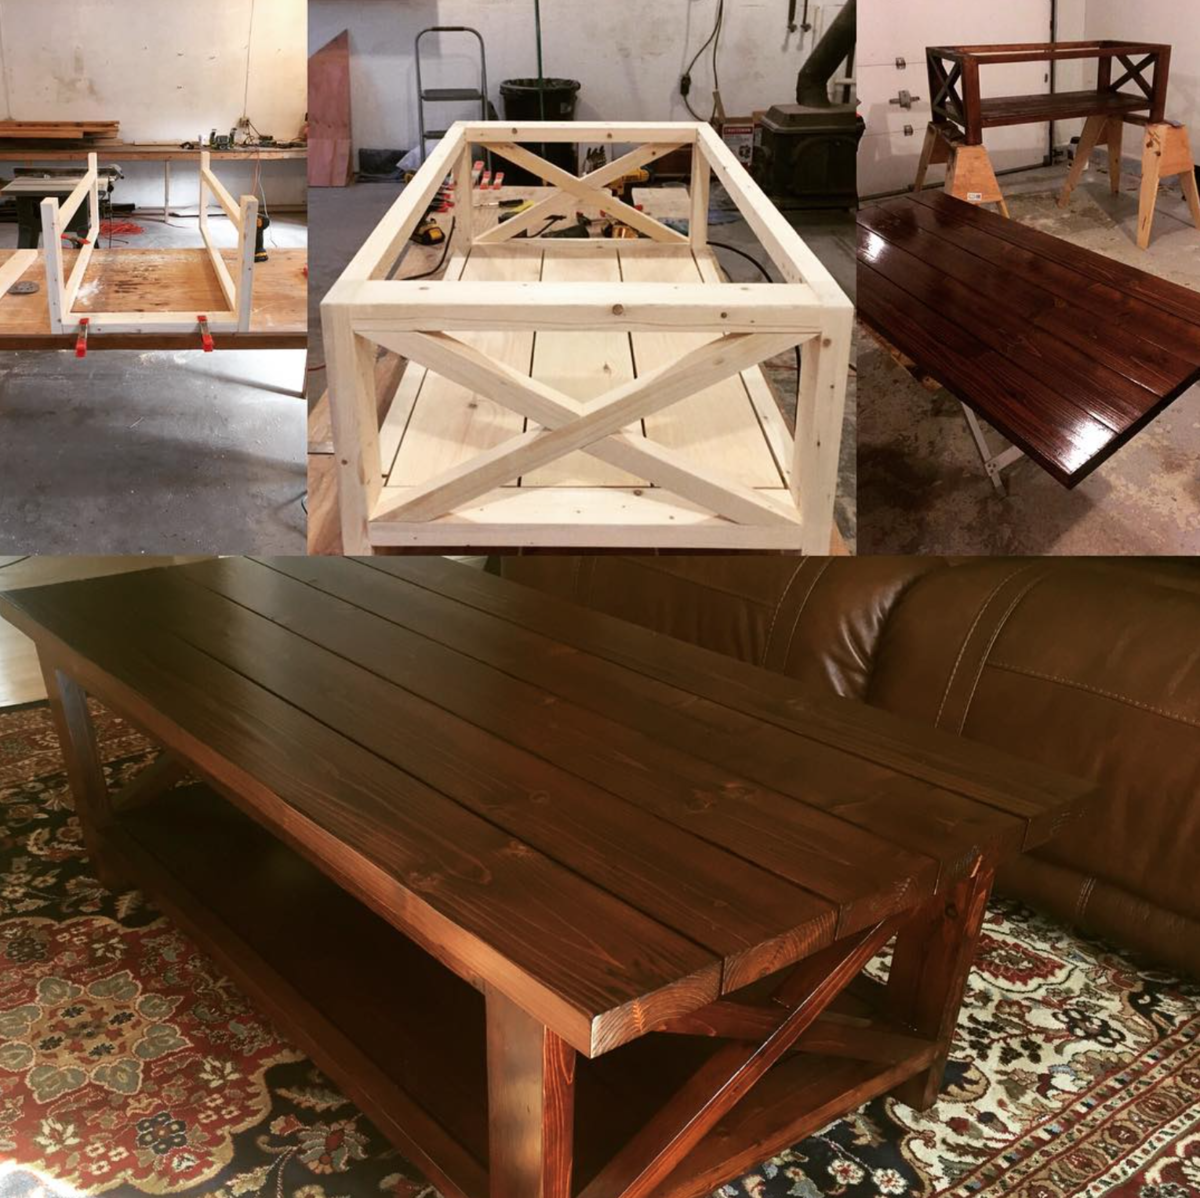
I used Mission oak stain with a satin finish. Picked out the straightest and best looking lowes 2x6's and did a lot of sanding. Came out wonderful and I love it! So easy. Built it in 1 afternoon and two days to finish inbetween coats.
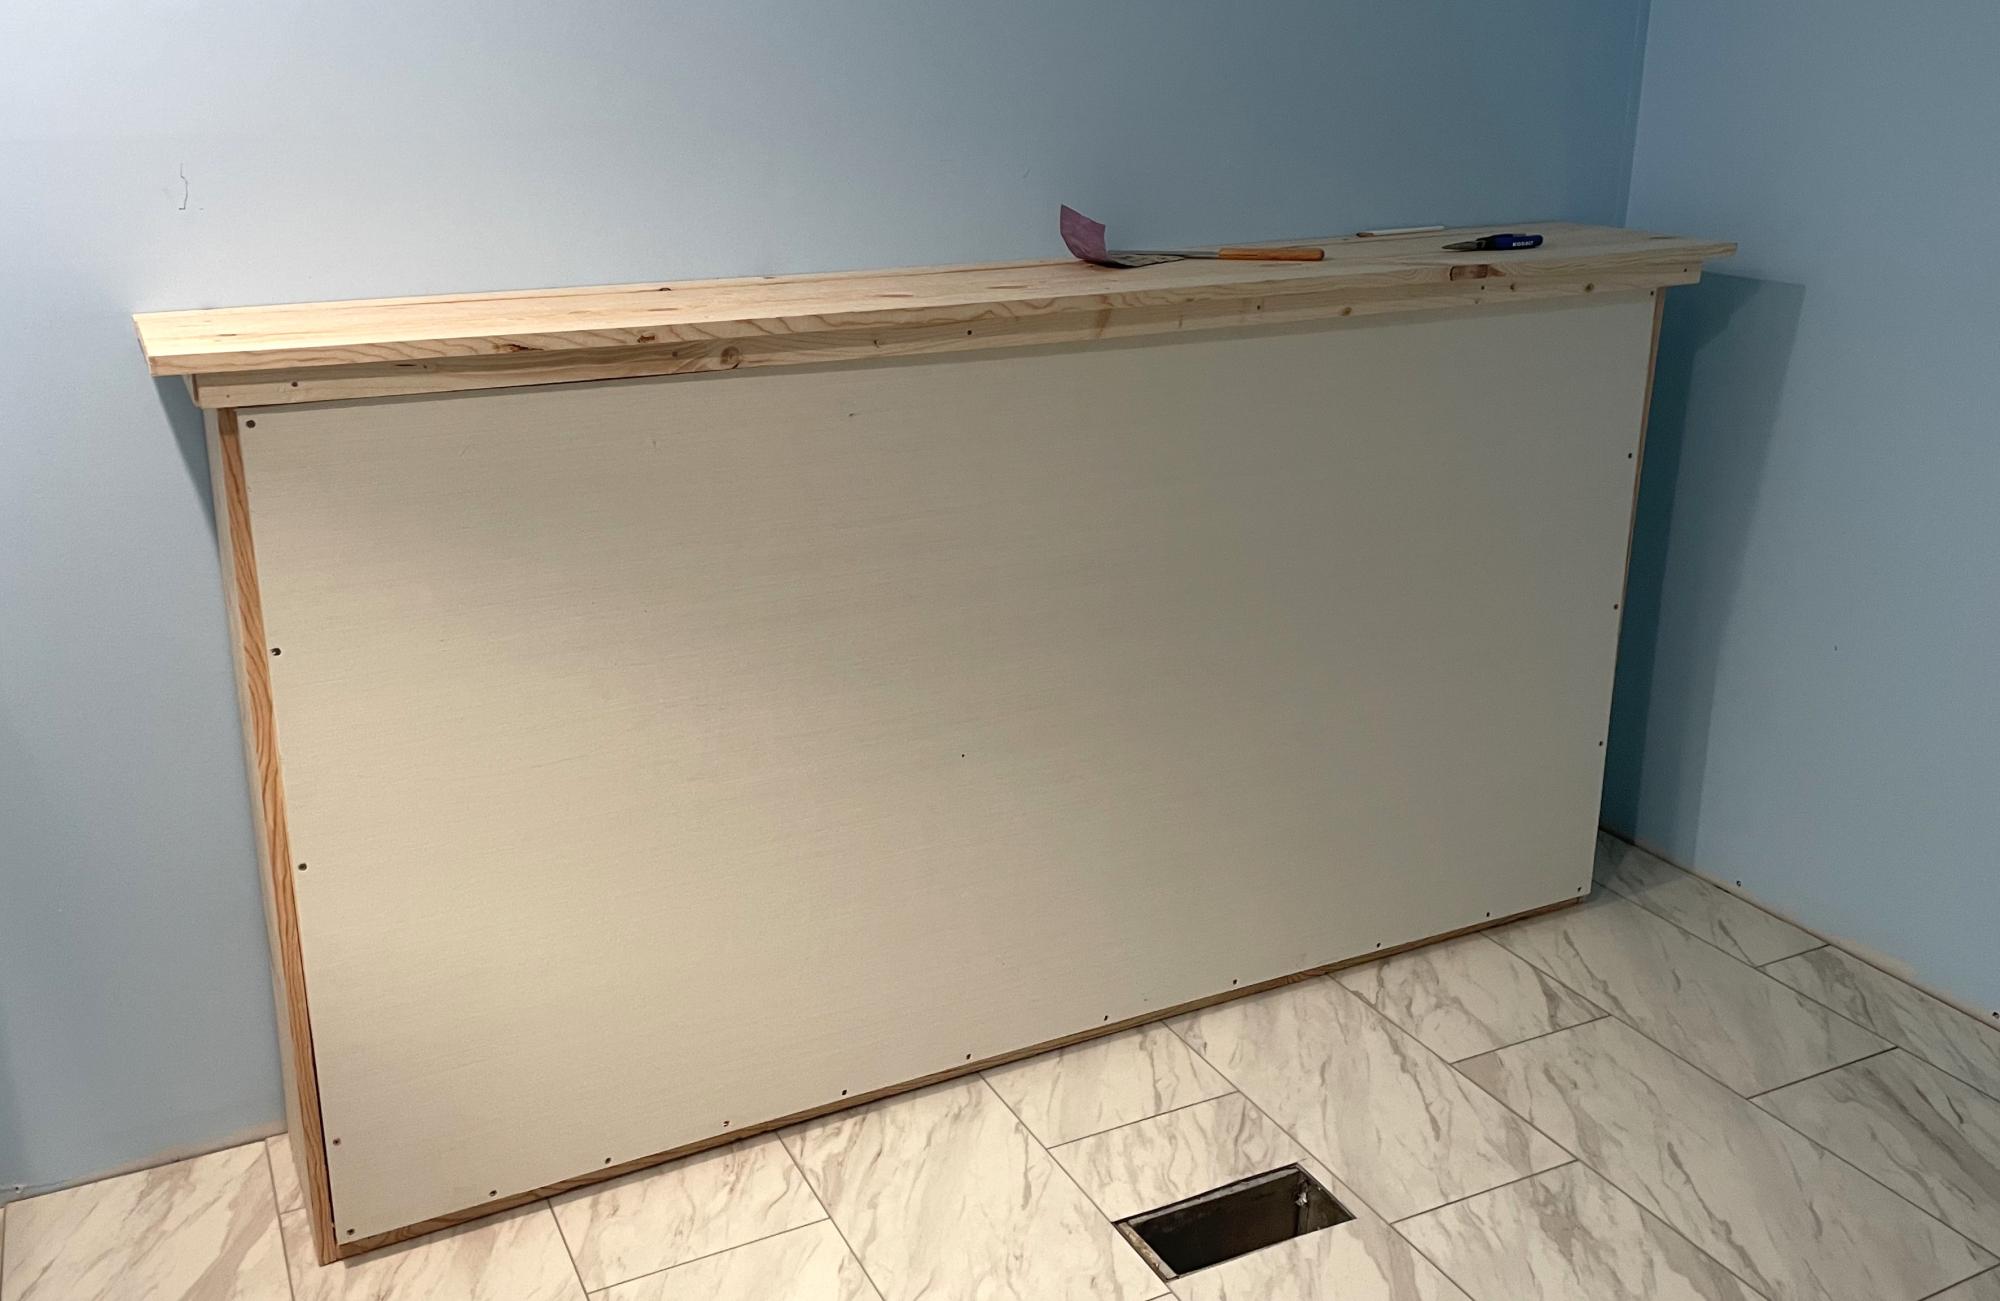
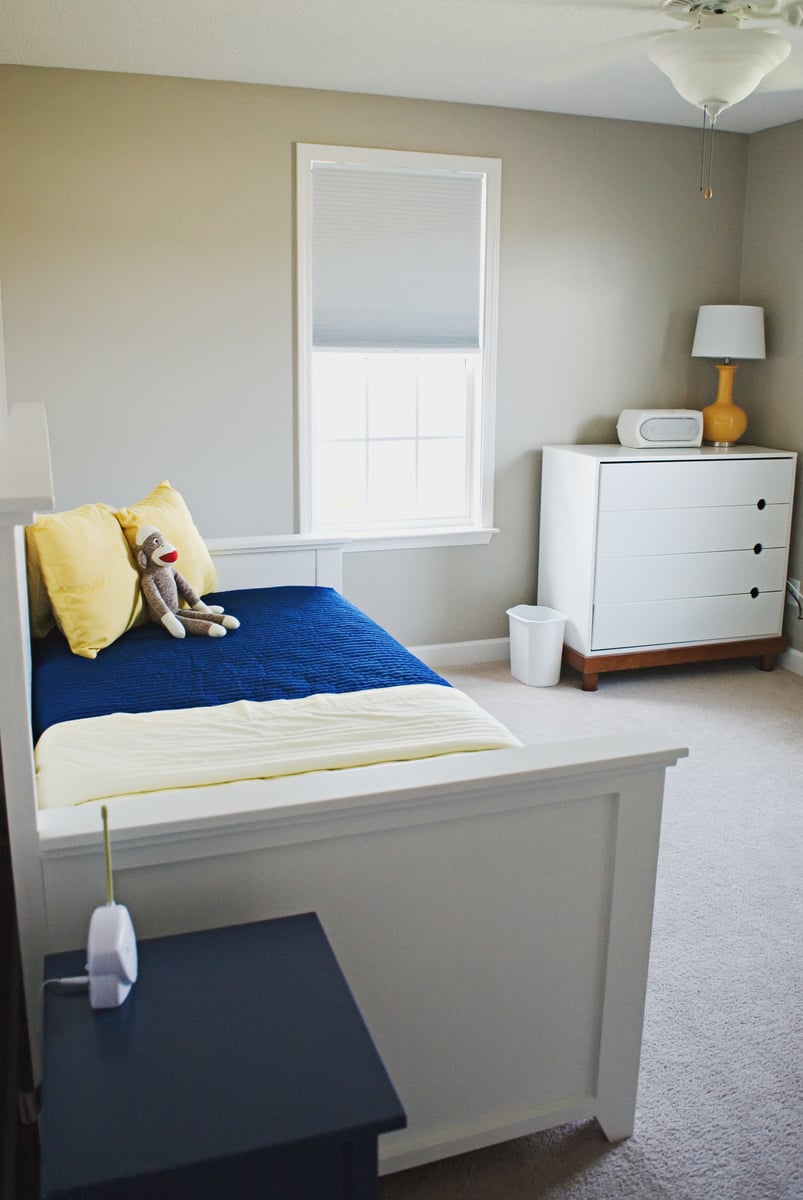
We are remodeling our 3 bedroom house into a 4 bedroom. In doing so, my youngest is getting the smaller room. We decided to go with a Murphy bed to allow more play time space. I do not particularly like the fact that this bed doesn’t sit off the ground but overall love the simplicity of making it. We turned it horizontal and just love the overall product. I can mot wait to make something else from this site!
Tams
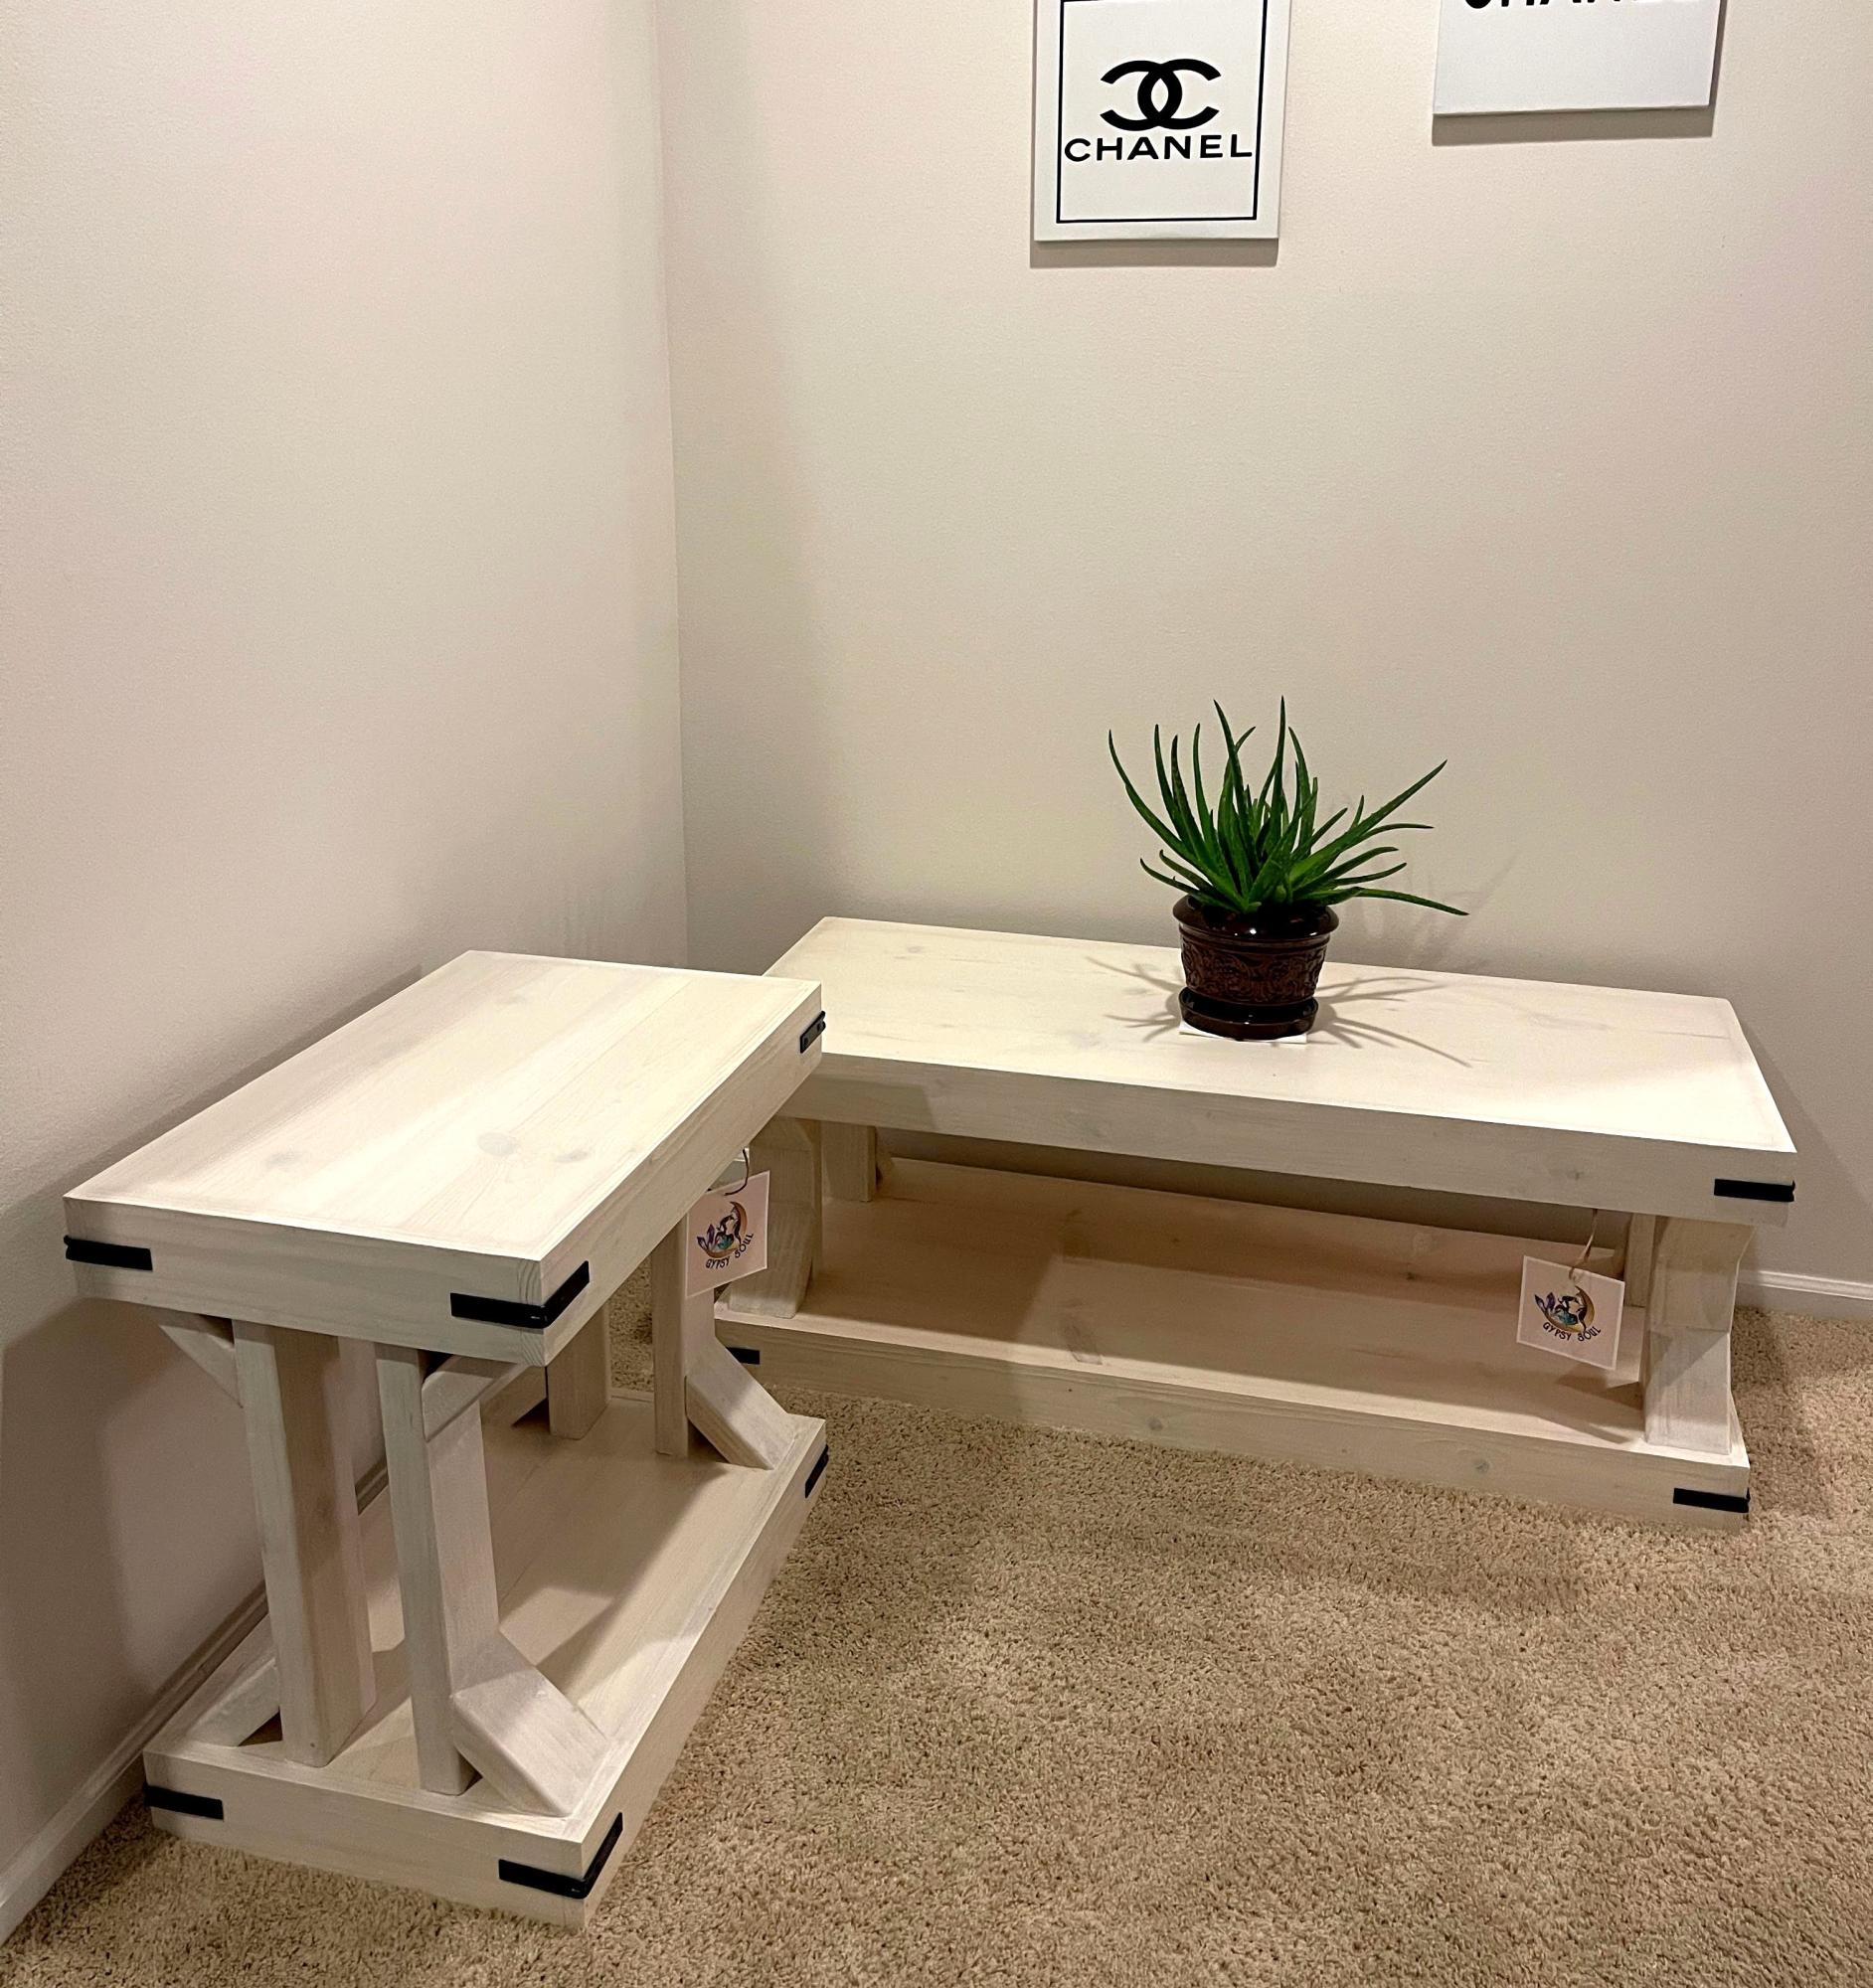
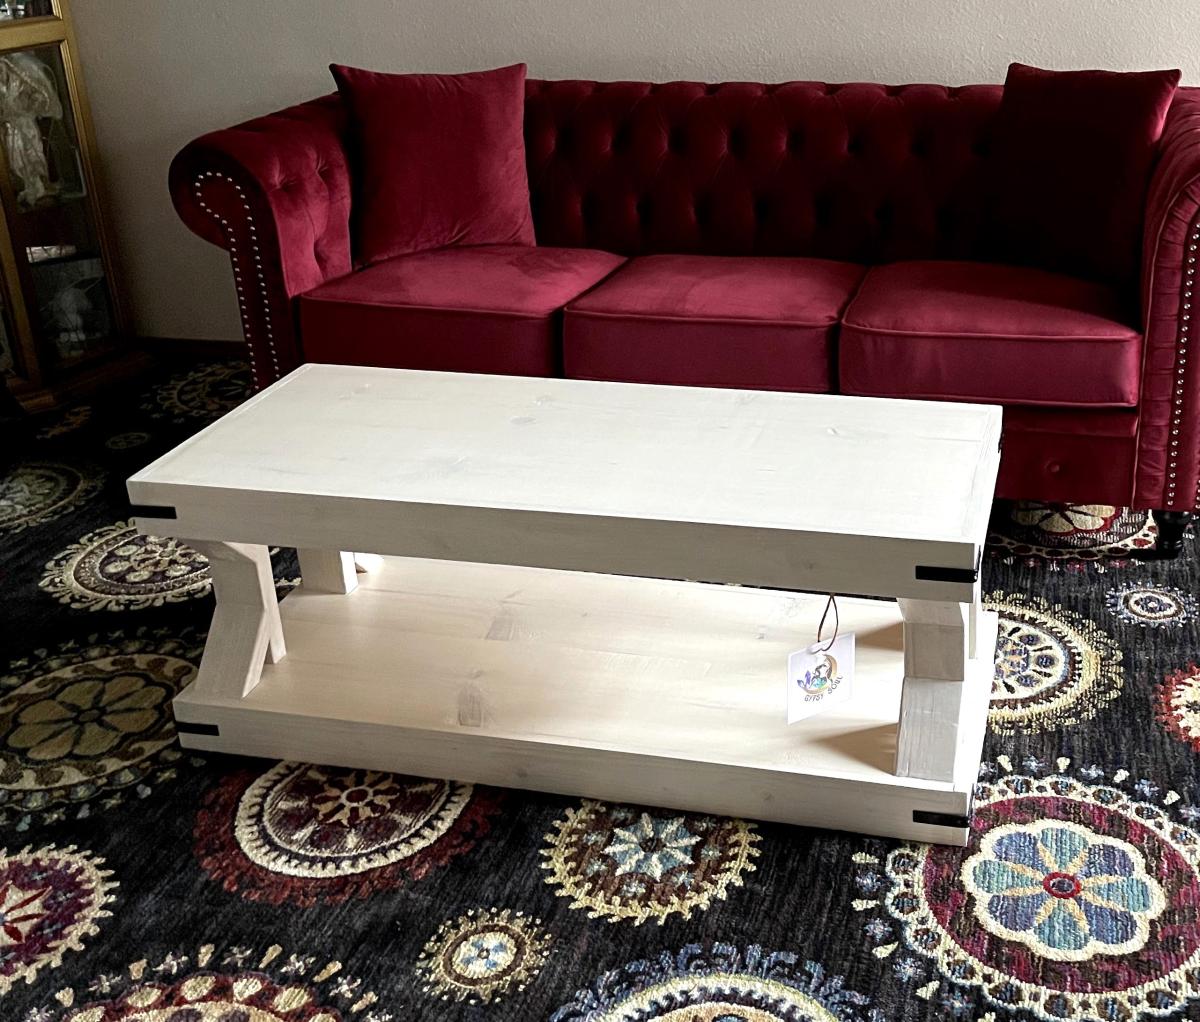
Ana White's plans are super easy and fun to do! I made these for my mom and I really enjoyed doing it. It’s an antique white water base stain.
David Marks
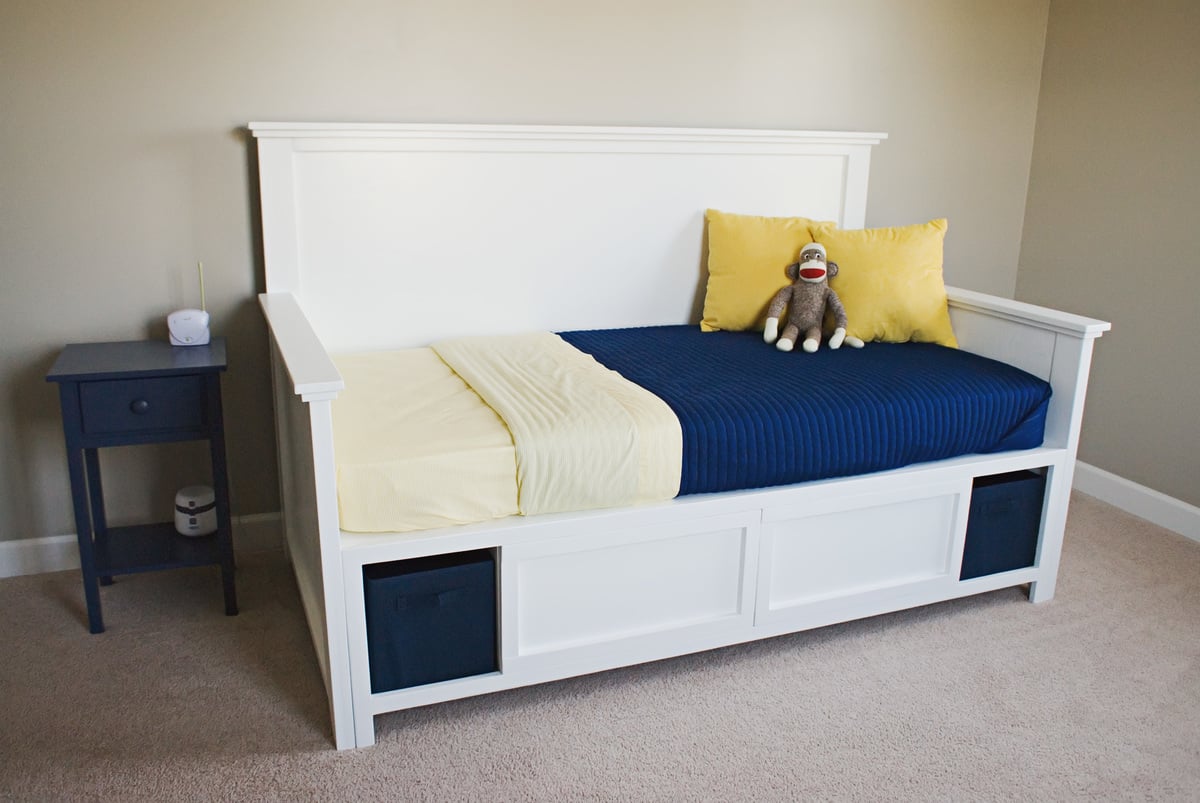
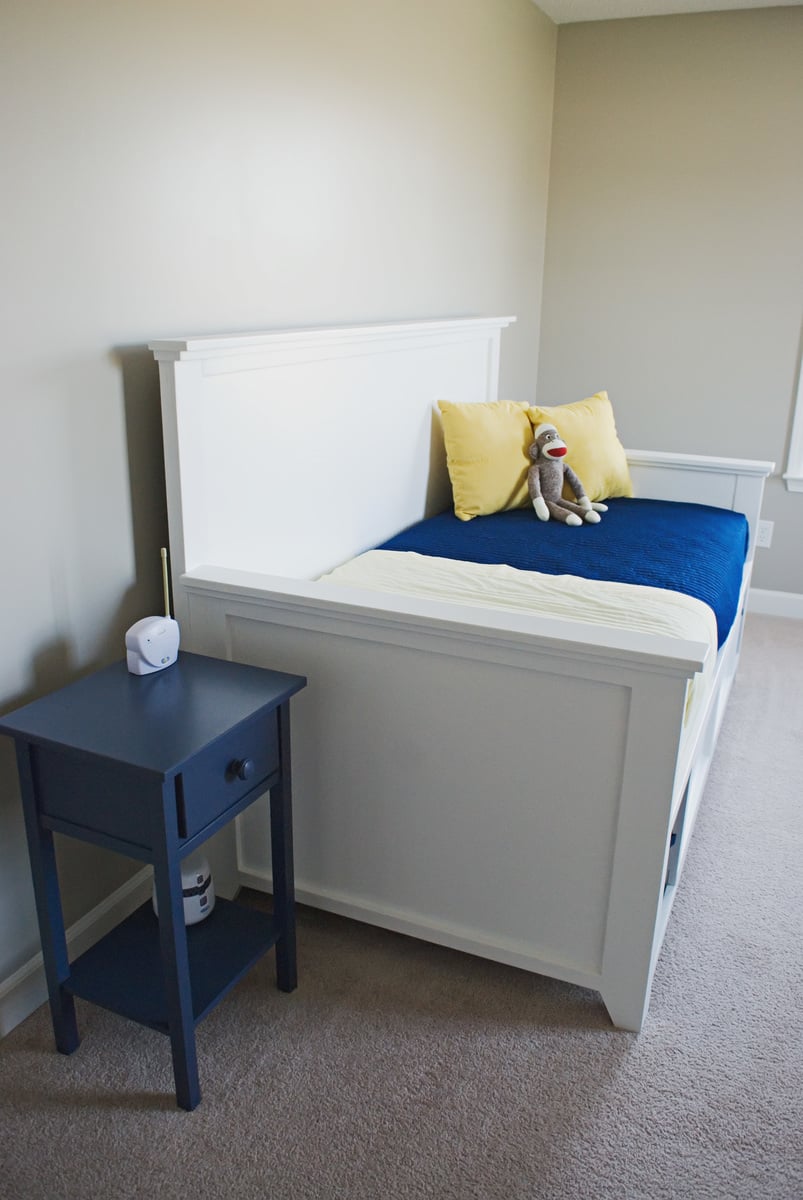
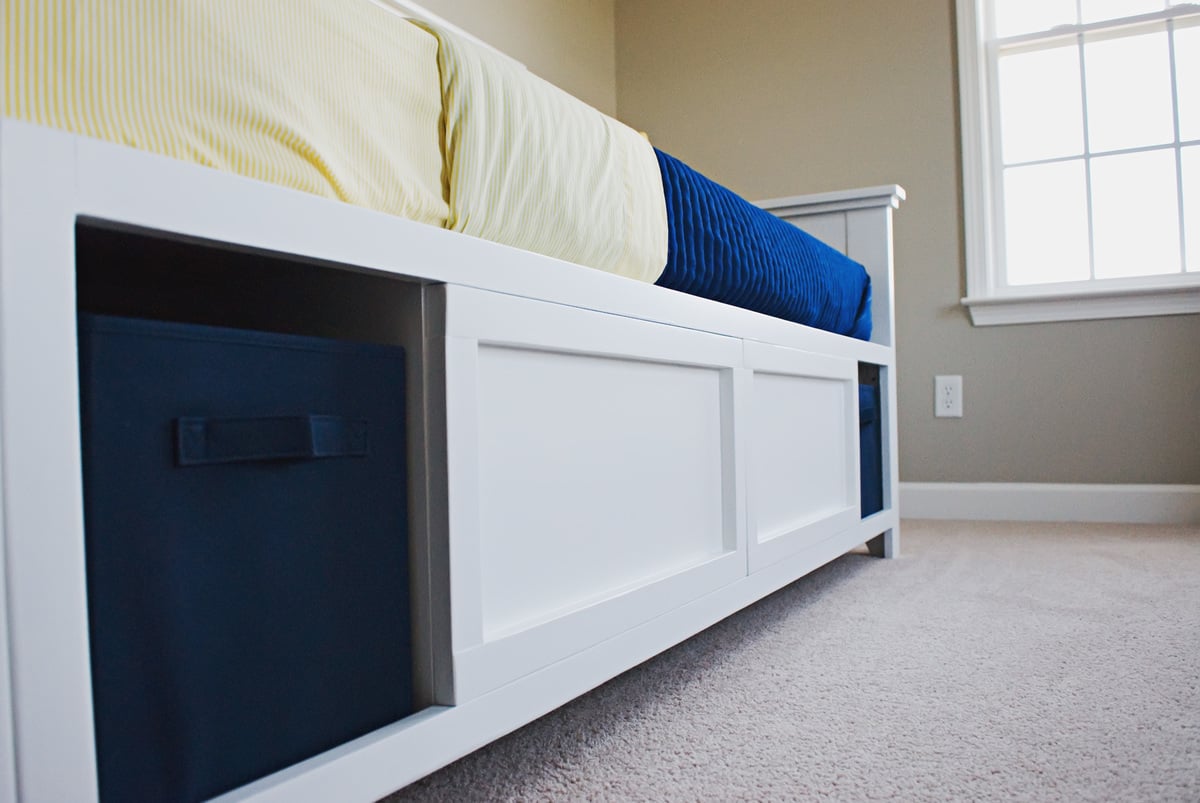
This is our second bed from Ana and definitely our favorite. This bed is one nice, sturdy piece of furniture. It went together easily and everything was right on. We did make a couple changes. Instead of putting two legs on the end of the bench in back, we put three - one where the center divider is and one on the dividers on each side of the center. We changed it so you wouldn't be able to see the bench legs from under the bed. It worked perfectly! Also, we added a 1x4 top trim to the back and arms instead of just stopping with the 1x3. Thank you so much for saving us hundreds of dollars!
Tue, 06/18/2019 - 13:47
What a beautiful room! Thank so much for taking photos and sharing!
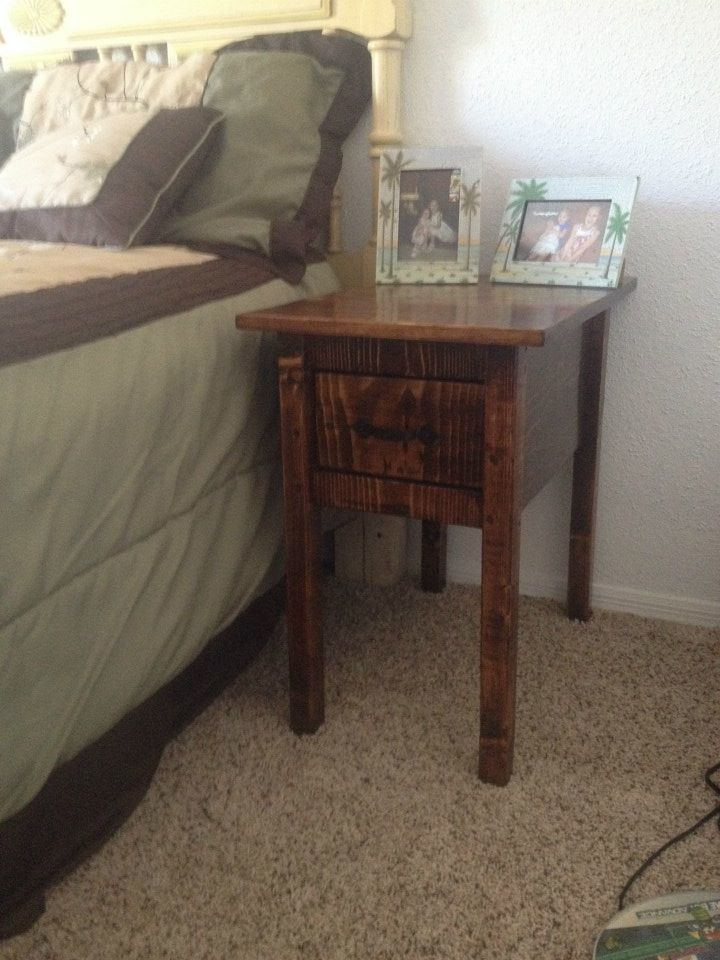
This was my 4th woodworking project and boy did I learn a lot! I was dead set on building something with a drawer and also with staining it. My first for both. For one of my first wood projects, I think it turned out cute =) It's a definite improvement on my first 3 projects!!
The plan was great, I changed up the top a little but not by much. Otherwise followed it pretty step-by-step. I did not do pocket holes (a Kreg Jig is my next purchased).
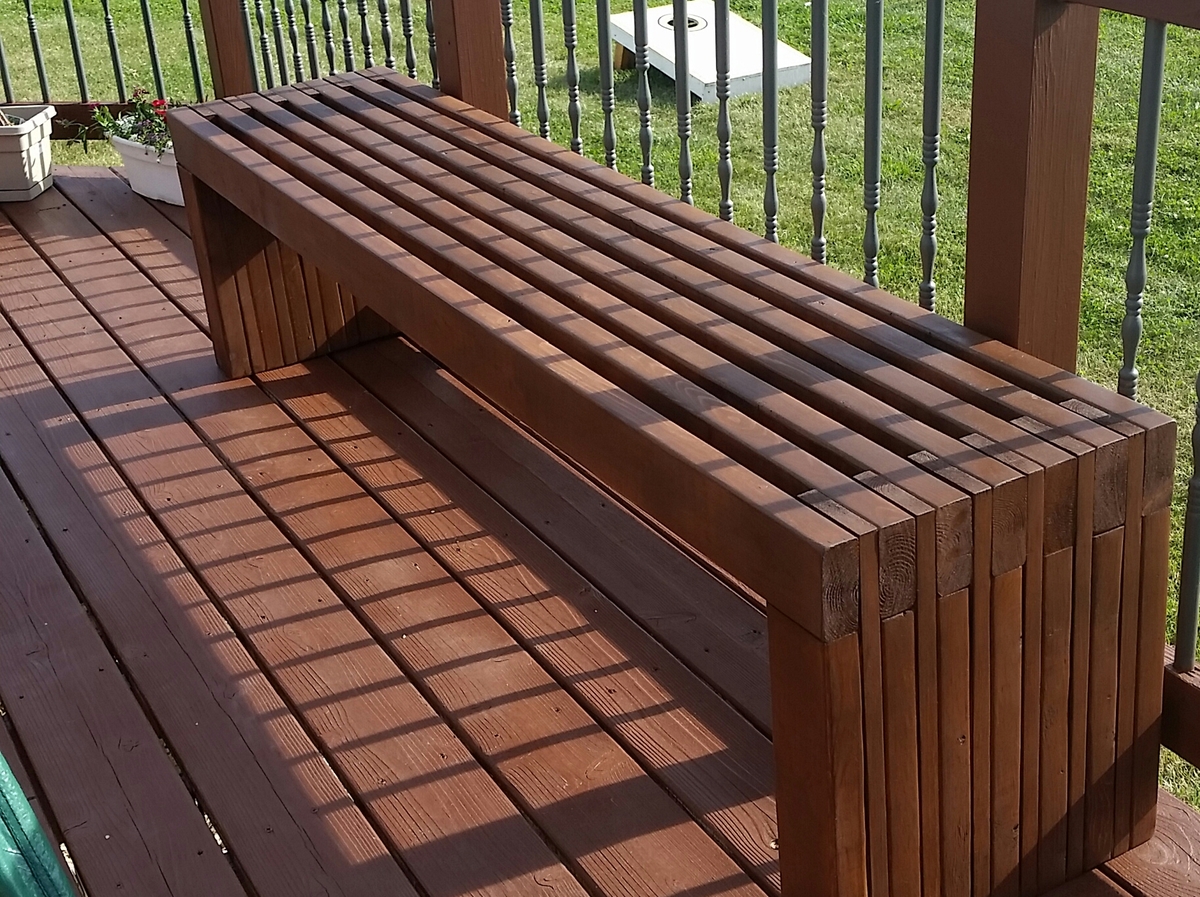
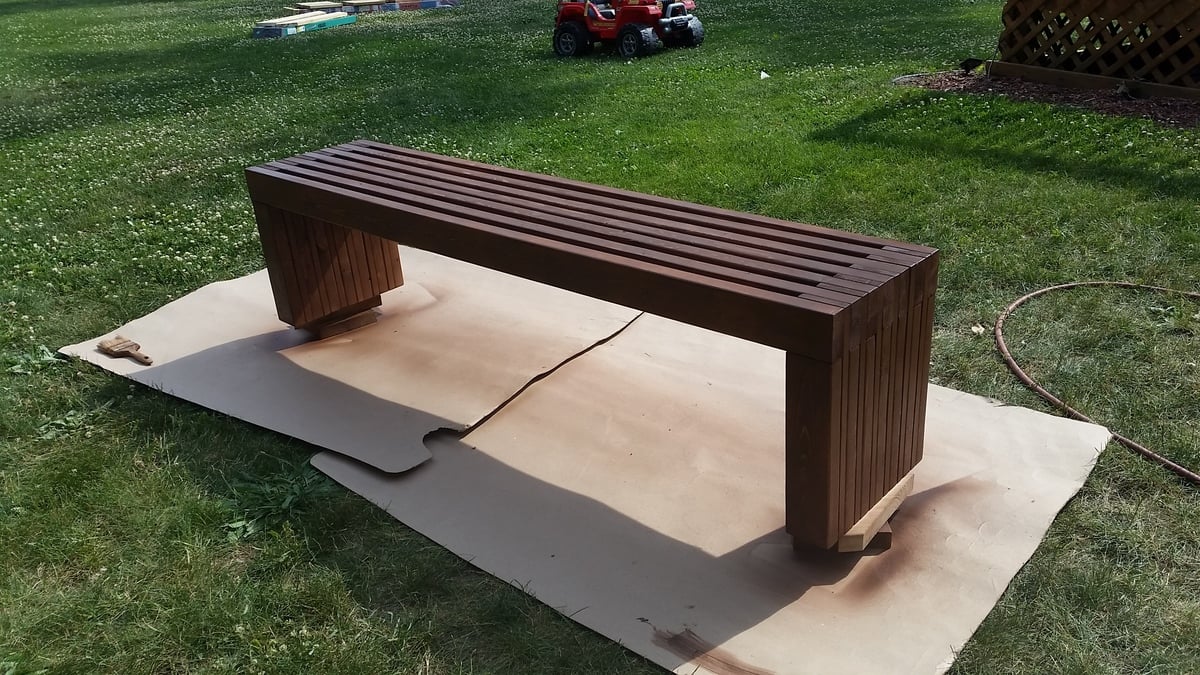
I made this for my sister the day before her house warming party. It was a pretty easy build. I used wood glue and 2" nails. Using a nail gun, this came together pretty quickly. I do wish that I had wide enough clamps to hold everything in place while it dried, because there were a few gaps due to some imperfect boards. I used 104" stud length boards, so I only need to purchase 7 instead of 9. this was enough to make the cuts for the top and both leg pieces from each board. the price was the same and we had limited space in our van for boards, so this was a better option for us. I used a sprayer hooked up to an air compressor to apply the stain and was able to get in between the slats fine with this method, brushing over it as I sprayed. Luckily I chose the same color as her deck not knowing, so it matches great. Now I need to make one for myself! :)
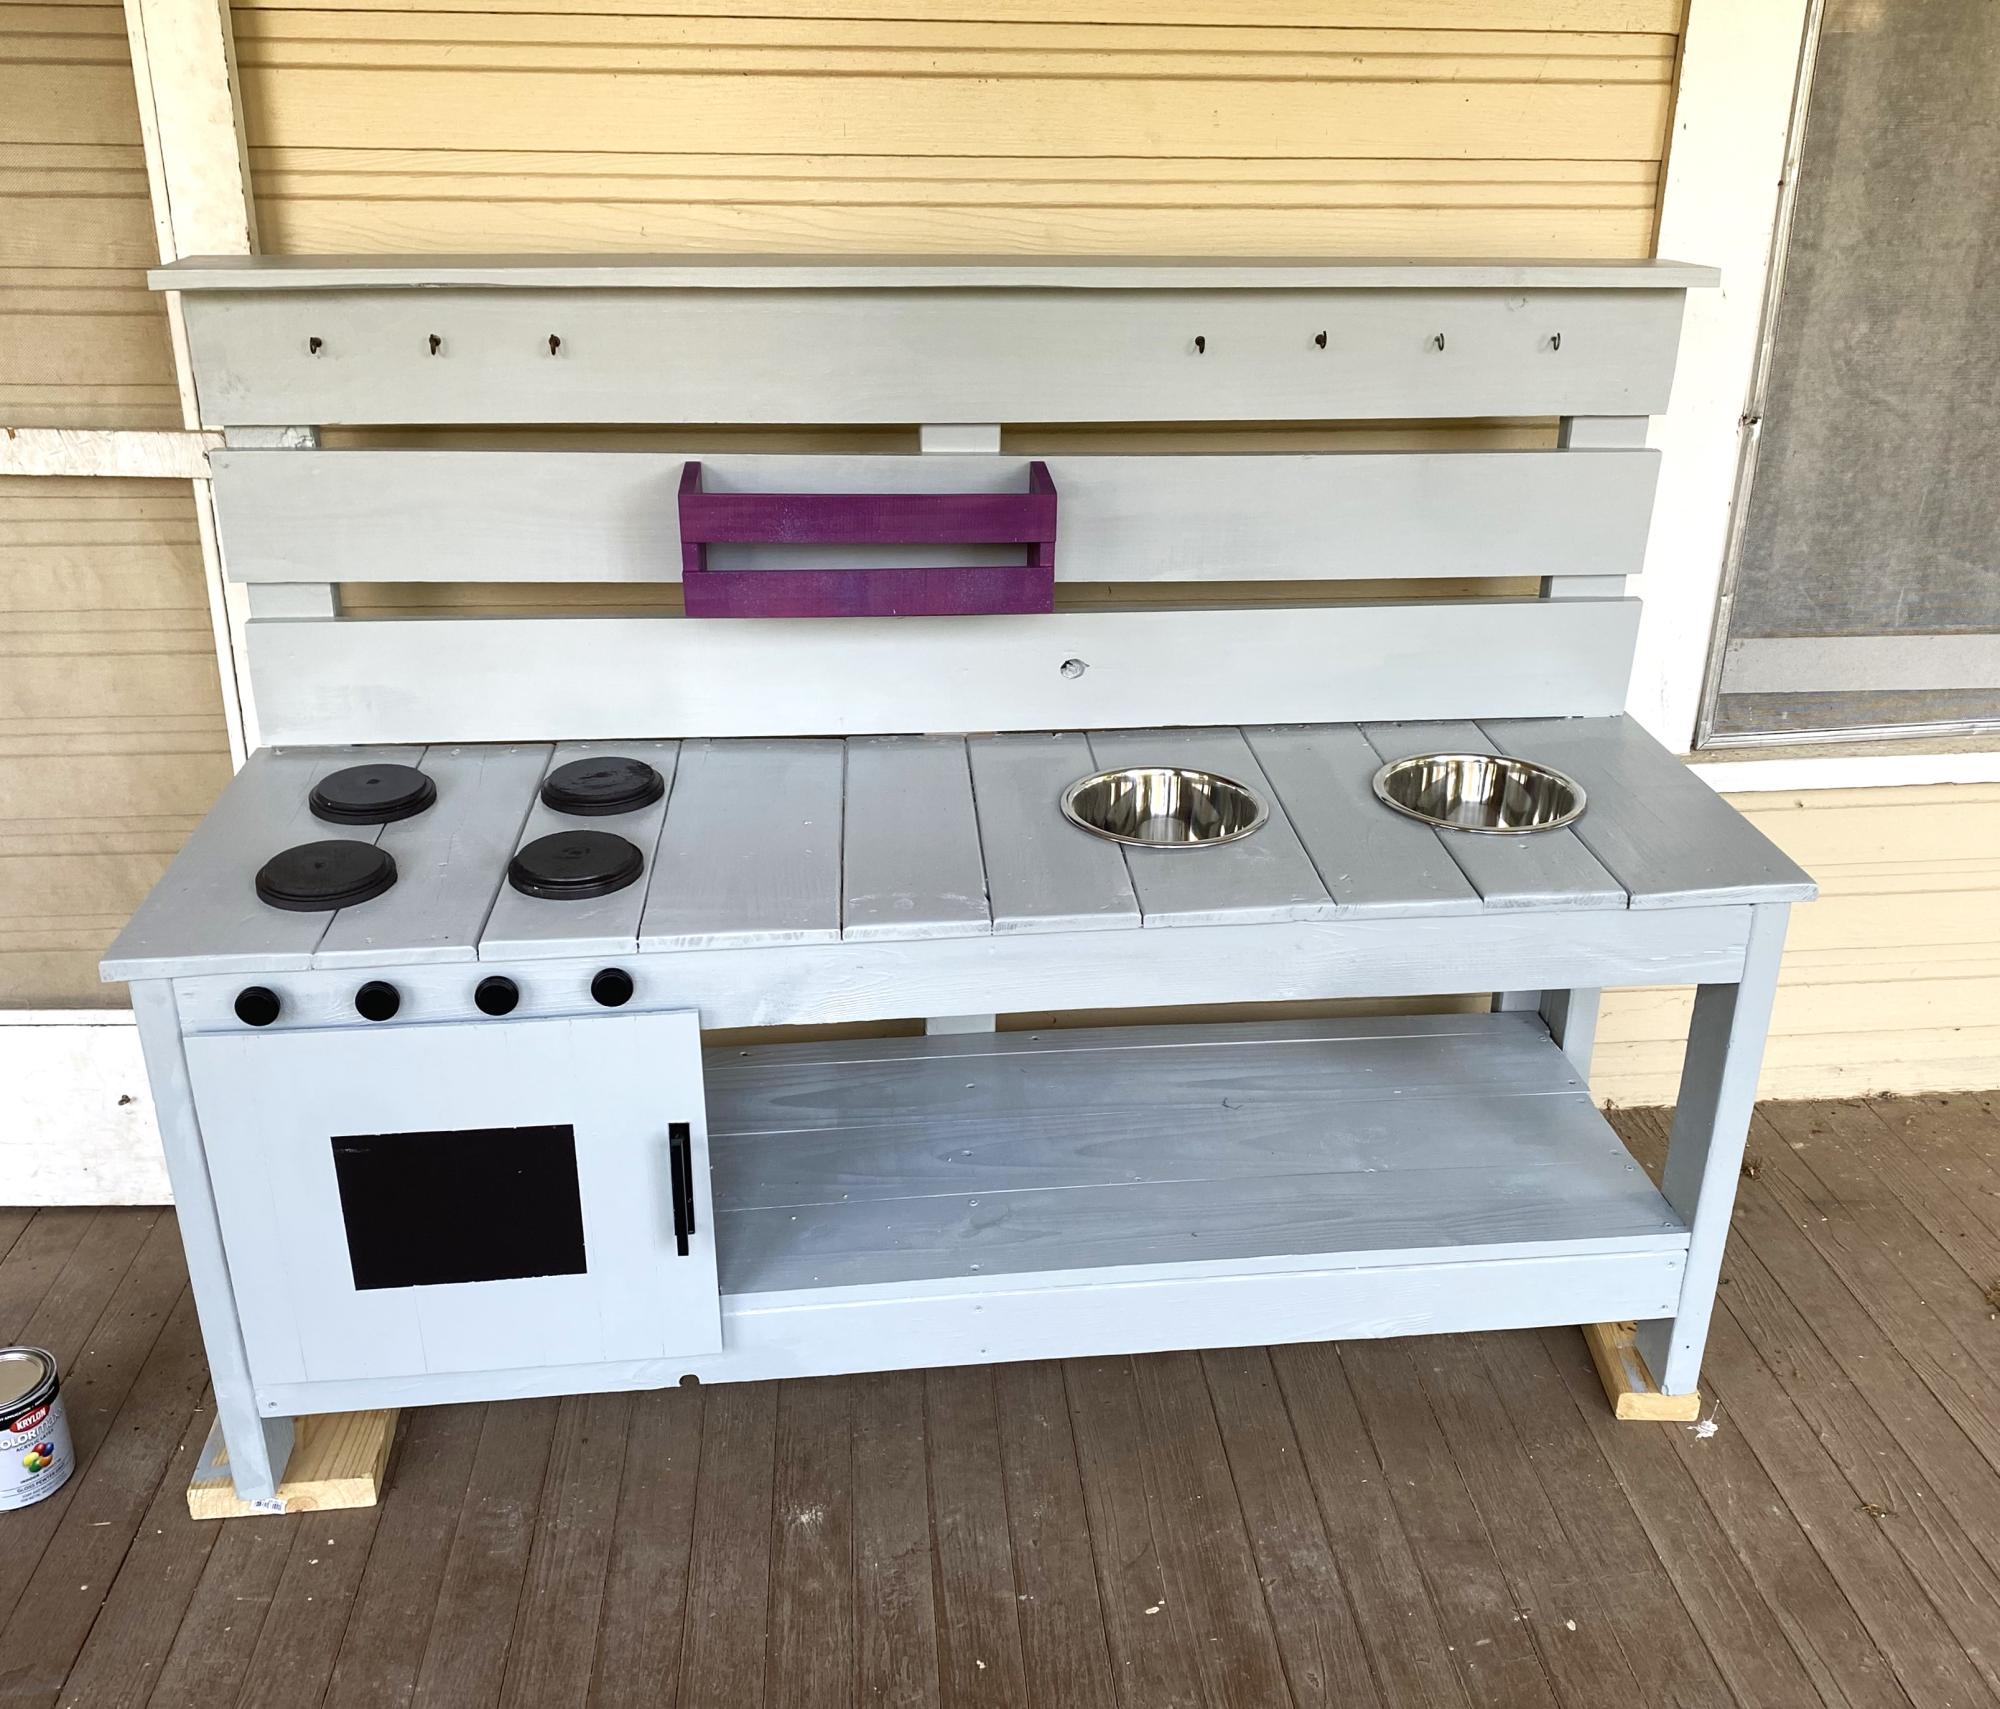
Mud kitchen made from scraps for my coworker’s kids. (Mud kitchen is a little kitchen to make mud pies and let the little imagination play.) They love it!
Aminnie Laws
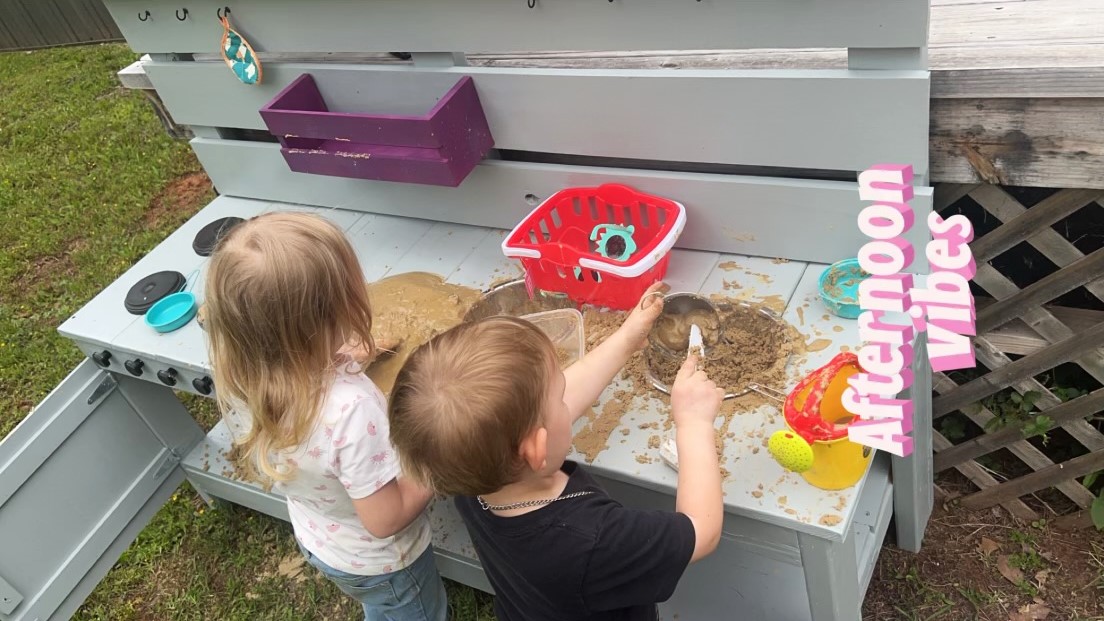
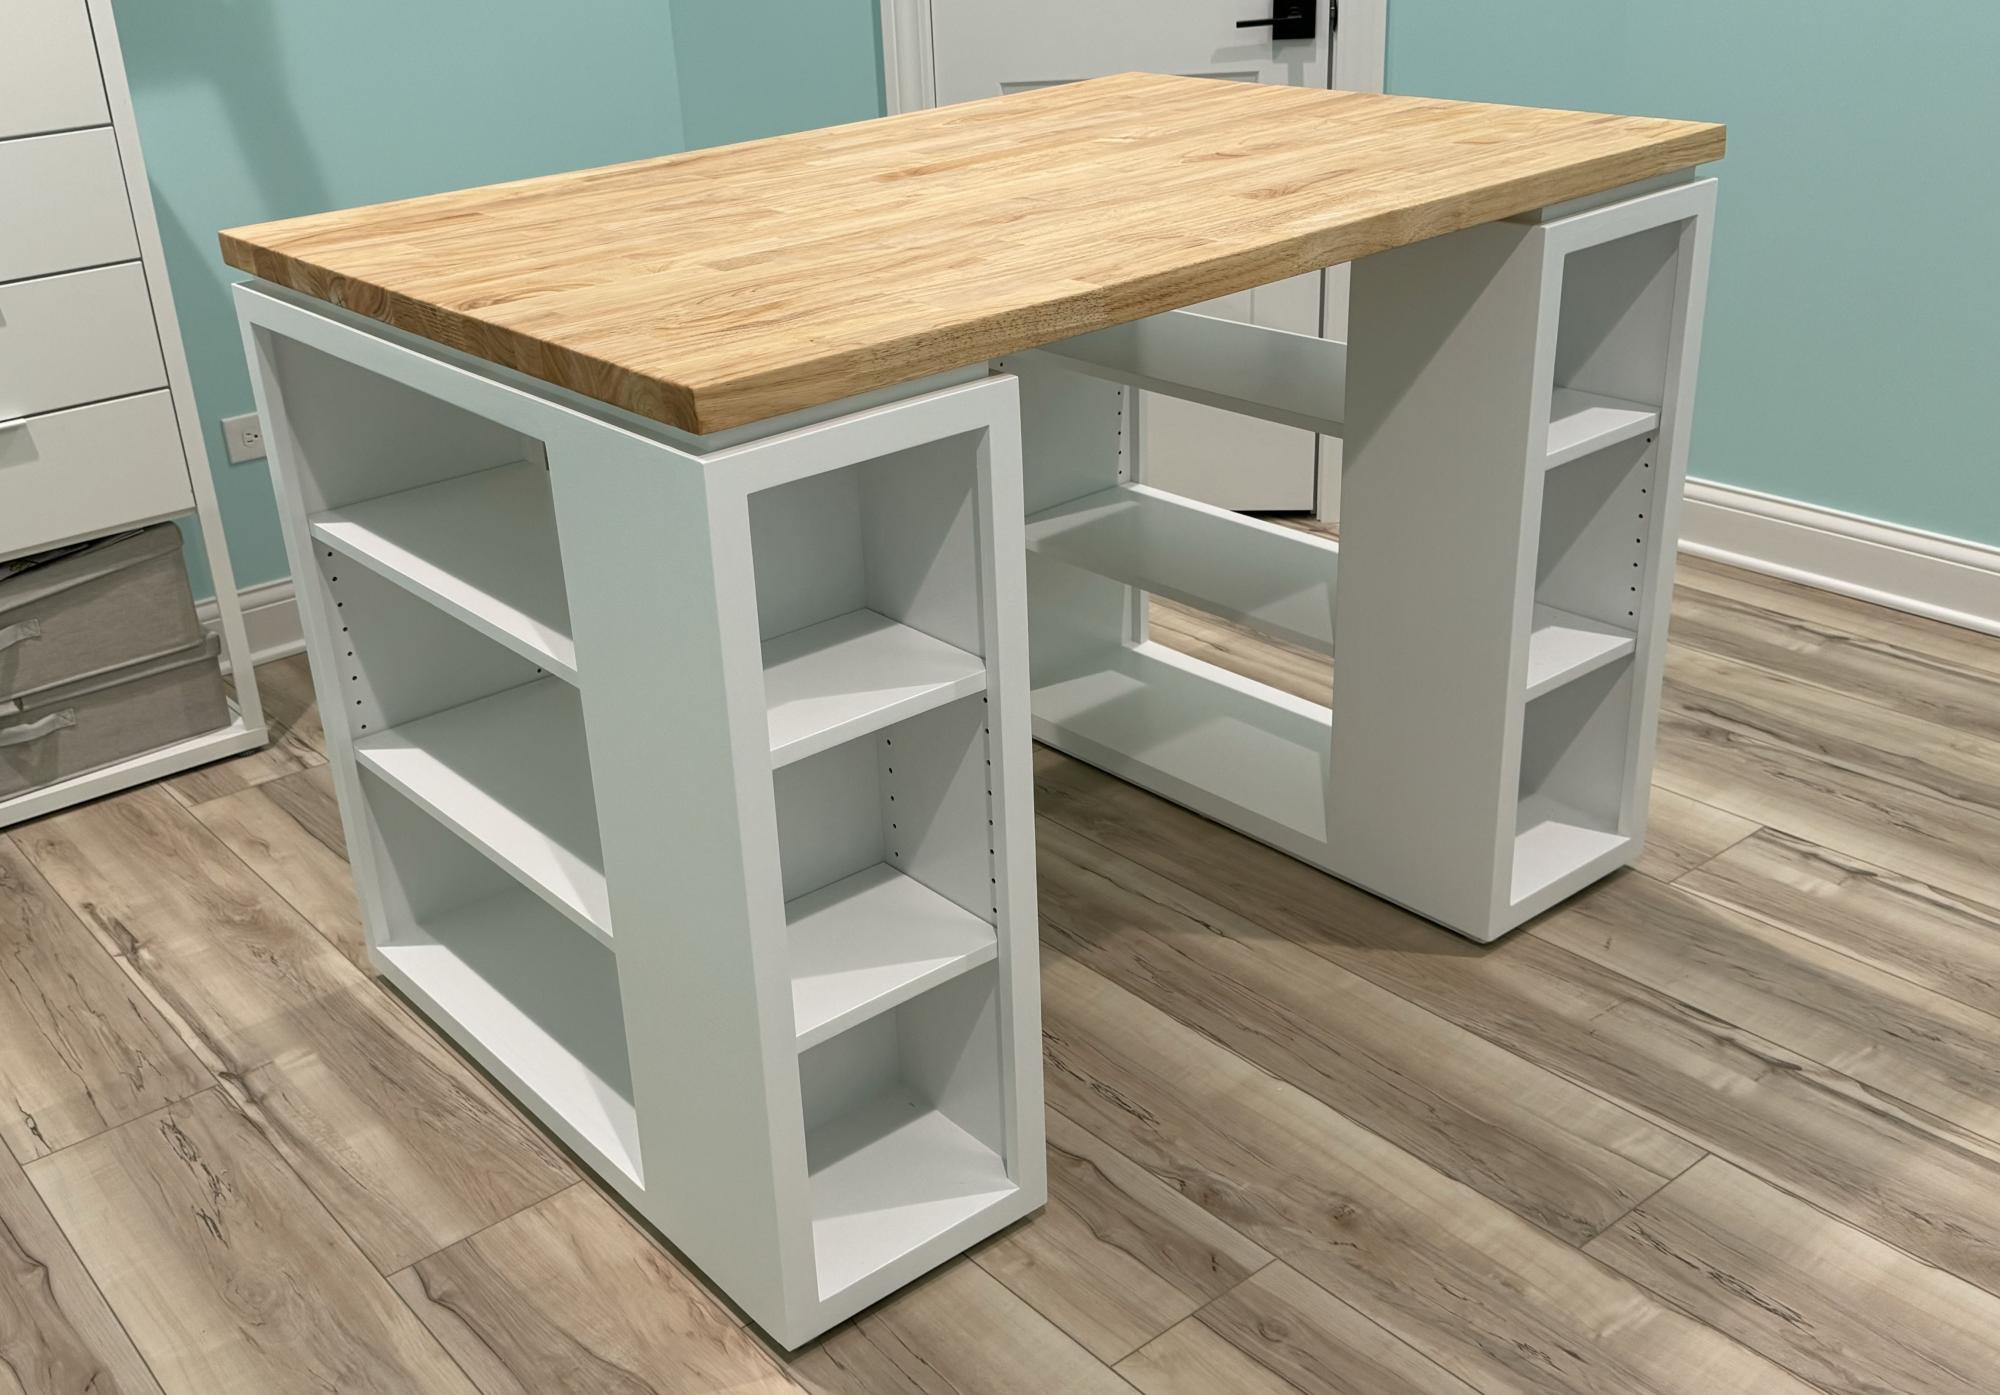
Your plans were easy to follow. Made our DIY so much easier. Material sheet was perfect. Made a few small modifications and used a butcher block for the table. Finished product turned out great. Thank you again.
Lisa A.
Tue, 04/16/2024 - 13:01
Love the finish and butcher block top, perfection! Thank you for sharing.
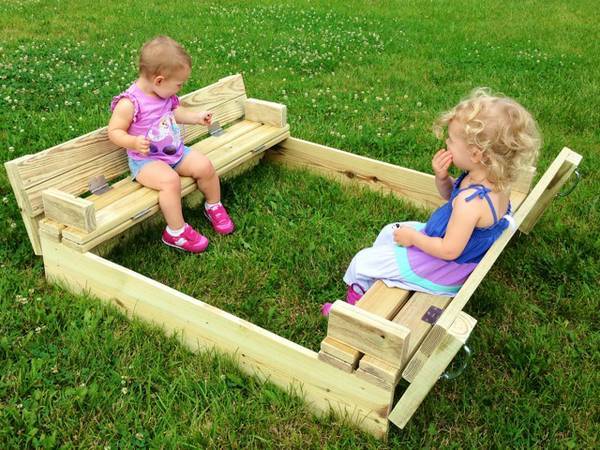
I make and sell kids picnic tables on craigslist and a buyer asked about making one of these. I took it on and found the plans on here very easy! I now list these on craigslist also and hope to sell more before the summer is over.
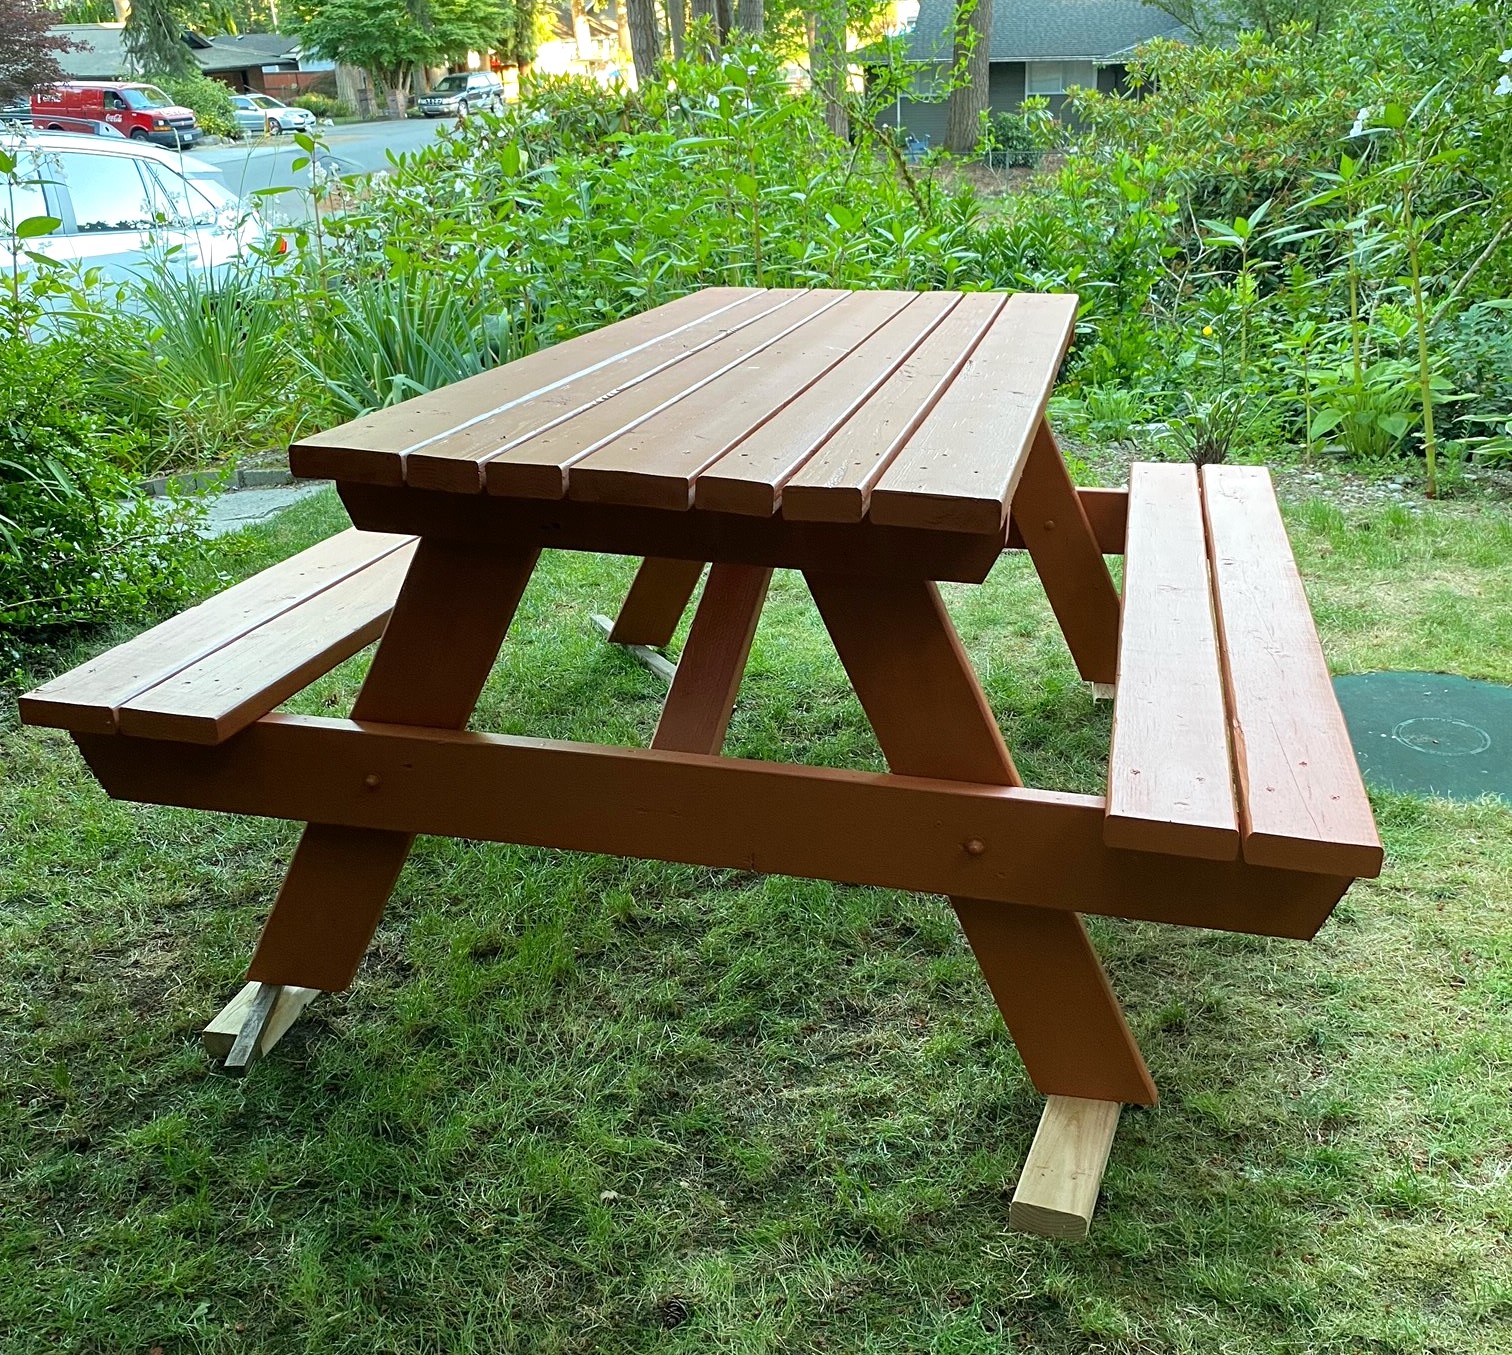
From scrap pile to a fun picnic table. Thanks Ana for the plans.
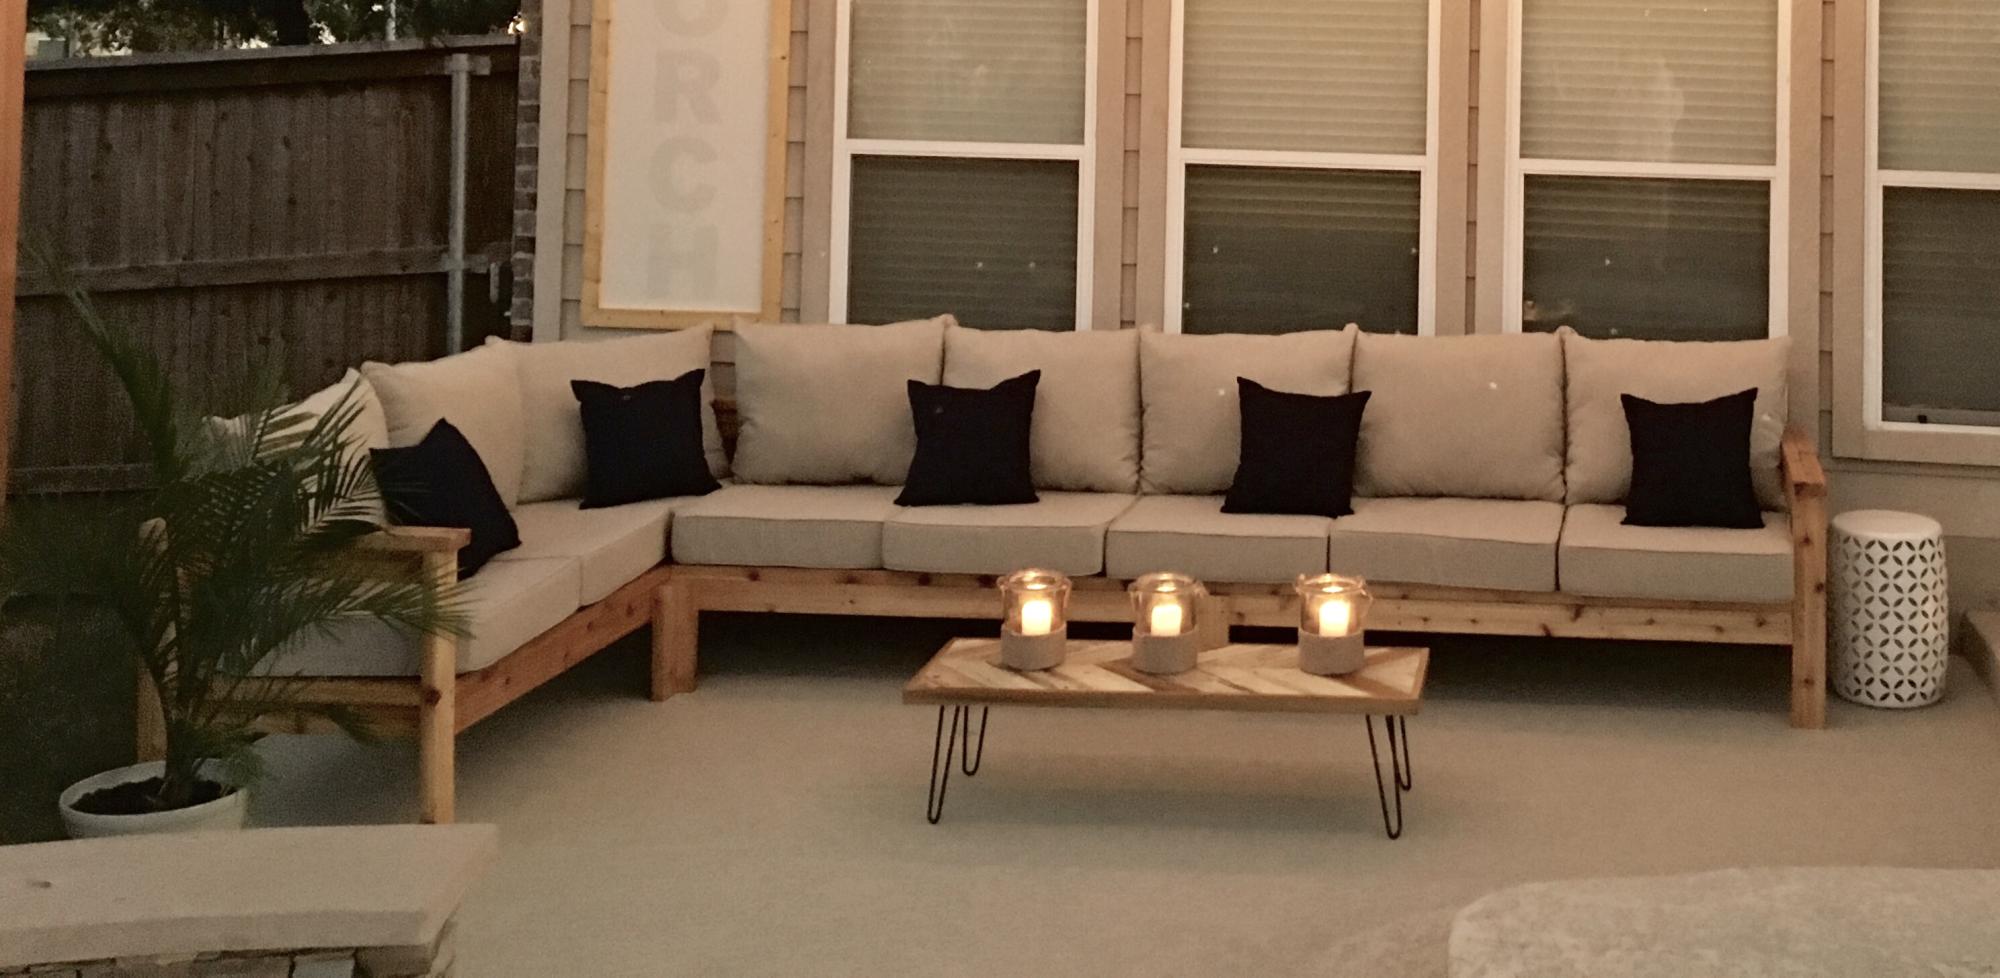
Hi Ana!
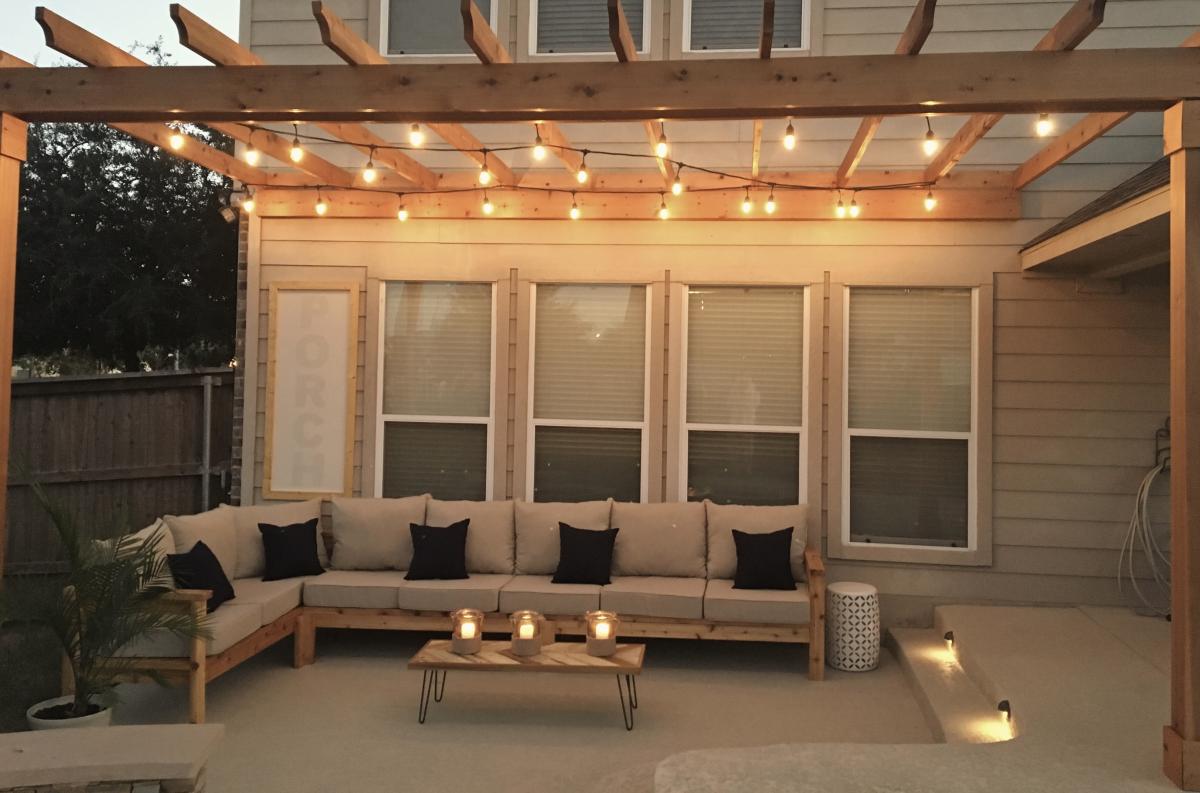
My husband used your plans to build the 2x4 outdoor cedar sectional :) He did it in 1 day and it couldn't have been easier! He even tried first time working with pallets to make a small table and it came out perfectly too! Can't wait to enjoy family time on our new back porch.
Thanks Again & Love From Austin ❤️
Kathleen
Thu, 10/24/2019 - 16:35
Hi, your furniture is beautiful. May I ask: Where did you find your cushions? And what color/ brand stain did you use? Lovely job.
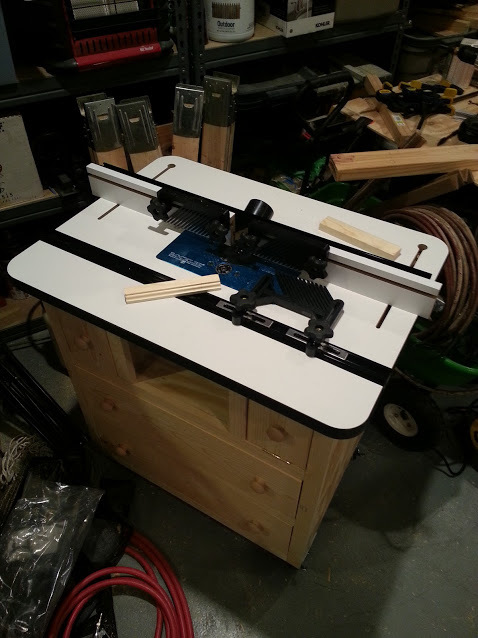
Built Patrick's Router table and added a rockler table, fence, and lift to finish off.
Sat, 11/03/2012 - 19:28
Here's a tip for that 1617 router. Try putting a bandaid over the on/off switch. That thing will get gummed up if left uncovered. It's annoying.
Sun, 03/22/2015 - 05:26
Well, you can read this review http://routertablereviews.com/router-table-lifts-kreg-prs3000-vs-jessem… as well.
Sun, 03/05/2017 - 21:13
My question for Patrick is when he built the top section for 2 small drawers and middle section for the router access..
Did Patrick put on top a 3/4" pc of plywood then the router table top.
Can l attach my router table top to the top pc if 3/4"plywood then my table top is 1 3/4" thick that it would be to thick could you email to let me know please.
Jim
I used the jewelry cabinet as inspiration by adding crown moulding to the top and b-board to the door and changing the measurements.
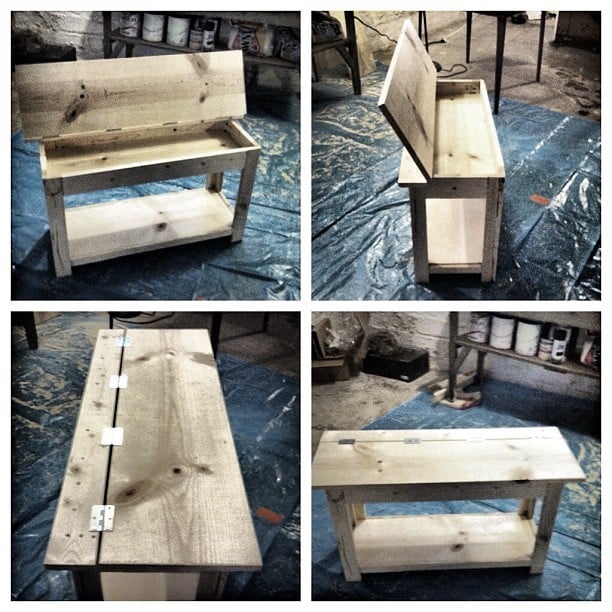
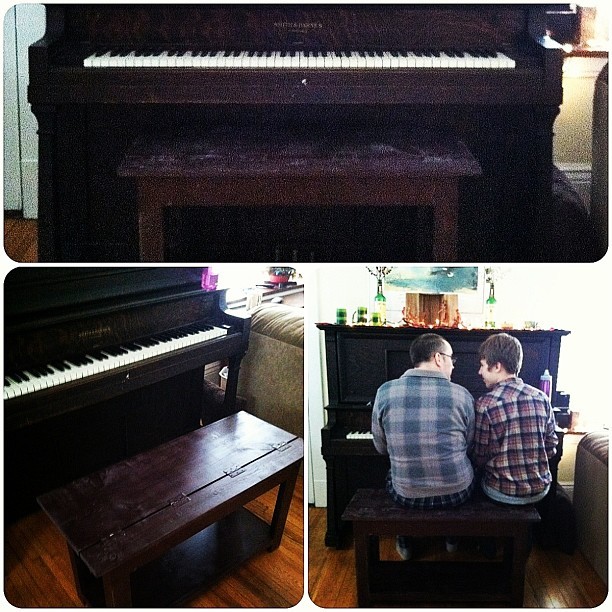
This was my first DIY build. Having been inspired by my good friend, the brilliant Jen Woodhouse of The House of Wood, I decided surely I could do this too. So I picked something that looked like a challenge, but that we also needed. We have an old piano we bought from Craigslist that has heretofore been benchless. So I used the Flip Top Storage Bench plans, headed to Home Depot, collected the wood (and let them cut it - but made a few of my own cuts, too), and got to work.
I had a little trouble at first, simply because, after assembling the sides and aprons, the unit did NOT square up. I took a few pieces apart and realized it wasn't user error (what?), but warped wood. That's right: one of my 1x3s was warped and bendy. So I rebuilt that side with some of my leftovers, and made sure to square up after each step, and lo and behold it came together!
It's not perfect - one of my legs is a bit off, so it wobbles when no one's sitting on it, but there's no issue when it bears weight - but for my first build, I'm quite pleased! And now that I know I can do this...well, this is just the beginning!
Total time it took me was probably around 15 hours, which includes practicing using my circular saw and kreg jig (both of which were straight out of the box when I started), along with my rebuilding the side.
I used Minwax pre-stain wood conditioner after sanding, followed by two coats of Rustoleum spray stain in Kona. I sanded with 400 grit sand paper after each coat of stain, and finished with one coat of semi-gloss polyurethane. I considered a few more coats of stain, but so fell in love with the weathered look that evolved from the staining and sanding that I just left it!
I also spray painted the hinges - that was a bit of an accident (I didn't know how NOT to cover them in stain...), but turned out to my liking!
My estimated cost is about $100, which covers the wood (including the extra 1x3s and an extra 1x2 I needed for a screw-up), nails, screws, three cans of spray stain, polyurethane, wood conditioner, paint brushes, two packs of sandpaper, and my hand sander. All but the wood will be used in my next few projects too, so that cost covers QUITE a bit!
Wed, 01/30/2013 - 08:19
Hey Angela,
The Kreg Jig is a tool that creates pocket hole joints on all your boards - whether you're joining vertical to horizontal pieces, or two horizontal or two vertical, etc.... - and made this build, as my first, INFINITELY easier. You don't *need* the Kreg Jig to build this bench, but Ana recommended it, my good friend Jen Woodhouse, who contributes a lot of plans and builds to this website recommended it, and I highly, highly recommend it. It's about $100, and worth every penny.
Here's the video I used as a tutorial on how to do it. And seriously - it made this job SO much faster than it would have been without the Jig! :)
We have considered buying a cedar-lined chest to store blankets, towels, etc. for many years. However, we couldn’t find one that came close to matching the Knotty Pine bedroom set that we had in our master suite.
Hence, our design criteria was quite simple; match the bedroom set and have a chest sturdy enough to support our Beagles as they peer at the squirrels outside the window.
We used plans / ideas from several different chest designs which were readily available on the internet. Most of those plans were using hard woods such as oak. Those plans called for a hard wood framing with ¼” oak plywood for the panels. Since we needed to use Knotty Pine to match the bedroom set, we used 1” Knotty Pine for framing and Knotty Pine ¾ ply w/ Kreg Screws and copious glue to strengthen the construct. We finished it off with locally available 3/8” cedar T.G. planks. It is very heavy and very strong! This project was done entirely w/ Kreg Screws and no router rabbeting for the panels.
We learned the following while doing this project:
· When using soft woods, always put the power sander on the wood before you start the sander. Otherwise, you can get scratching / sander burns that don’t present themselves until staining begins.
· While very strong, ¾” plywood is very heavy!
· When using plywood, it is recommended that you stain both the visible and non-visible sides of each piece where glue is not to be applied. Otherwise the chance for delaminating increases dramatically.
60 hours work and $350 to build.
Mon, 12/15/2014 - 12:40
Beautiful chest. I better get busy and make one.
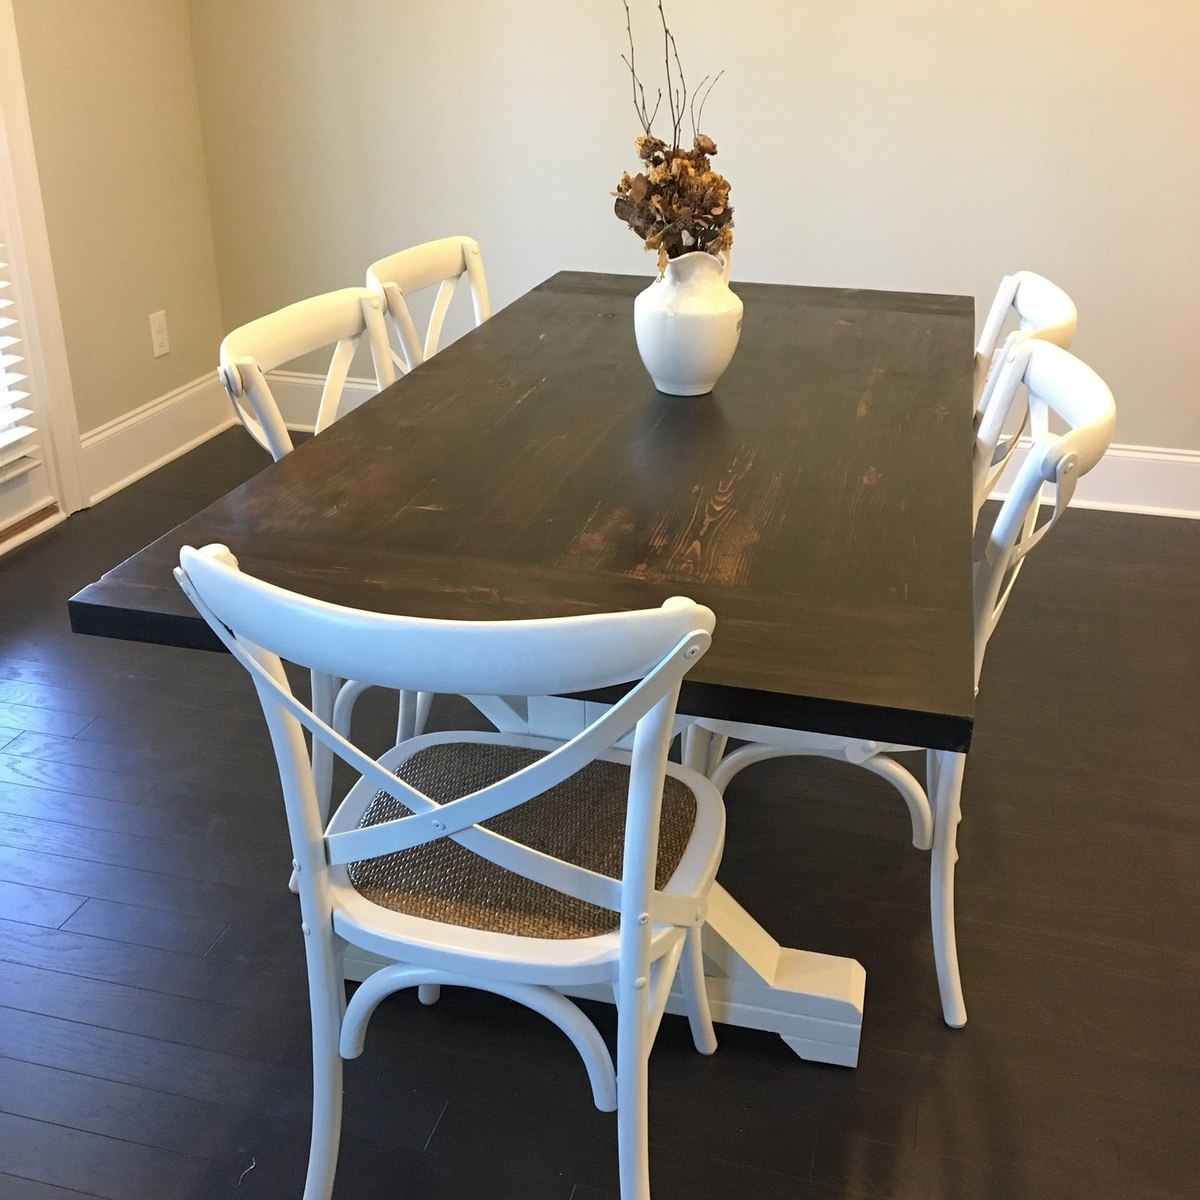
Farmhouse Trestle Table
6' Table
Check my work at https://www.facebook.com/Custom-Patio-Retreats-1764656797122875/
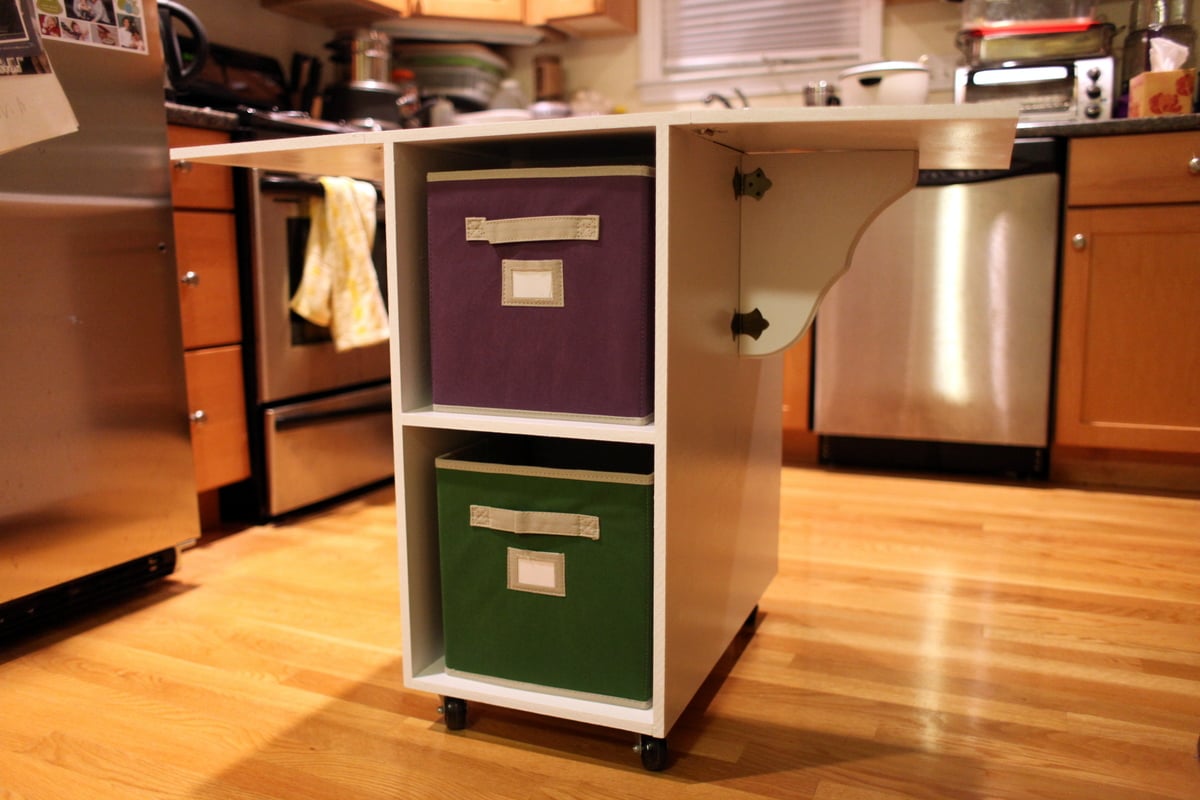
I built this table for my wife and I love how much space this table saves when it's all folded up.
More pics and details on our blog: http://bendrea.wordpress.com/2013/03/04/andreas-sewing-table/
Wed, 03/06/2013 - 09:22
I really like the way you used the brackets instead of legs. I've wondered about the legs getting in the way, too. Obviously when you changed the measurements to fit your space you also made the "wings" of the table top shorter than in the original design. How big are they? What is the finished width/length of the tabletop when it is opened up?
Wed, 03/06/2013 - 18:34
Yep, I made the table a bit smaller to fit our place. I only made them 12in x 24in. But if I had more room, I wouldn't hesitate extending the wings to 18+in x 24in. The brackets are very stable and could easily handle larger leaves. The table fully opened up is 39.5in x 24in.
I completed this table with my 5 year old daughter as my assistant. My husband requested a table to put next to our new hot tub to set his drinks on and this is perfect. We only put one board on the top because I felt since it would be outside, I wanted a smooth top. I just screwed it in diagonally from the bottom. I also used spar varnish since it would be outside.
Comments
Erika (not verified)
Sat, 12/24/2011 - 18:57
Cost
How much did it cost you to build this?
Cynthia l. (not verified)
Sat, 12/08/2012 - 05:39
How has the sofa held up?
How has the sofa held up? Also how much did it cost to make.
Cynthia l. (not verified)
Sat, 12/08/2012 - 05:41
How has the sofa held up? I
How has the sofa held up? I want to make one, and also would like to know how much it cost to make.