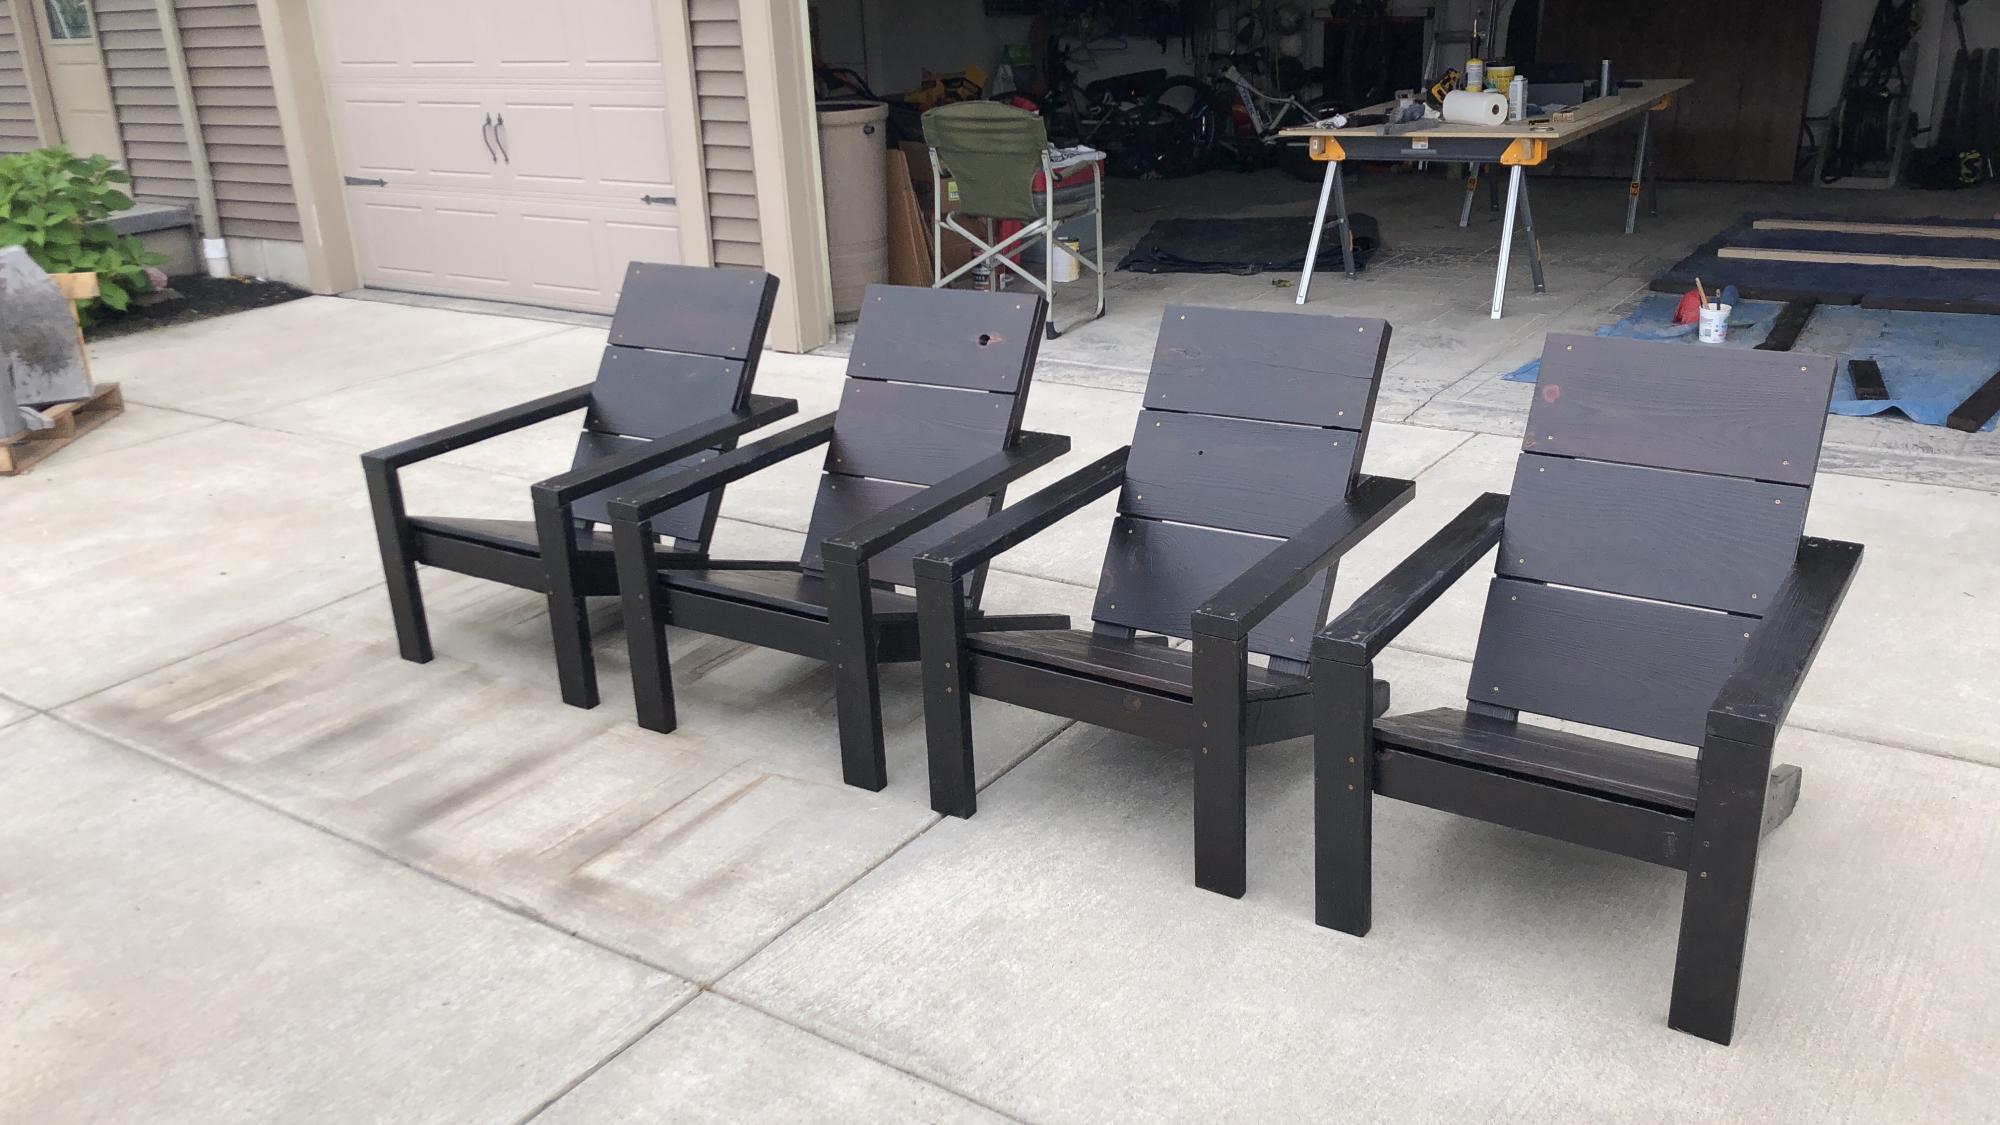
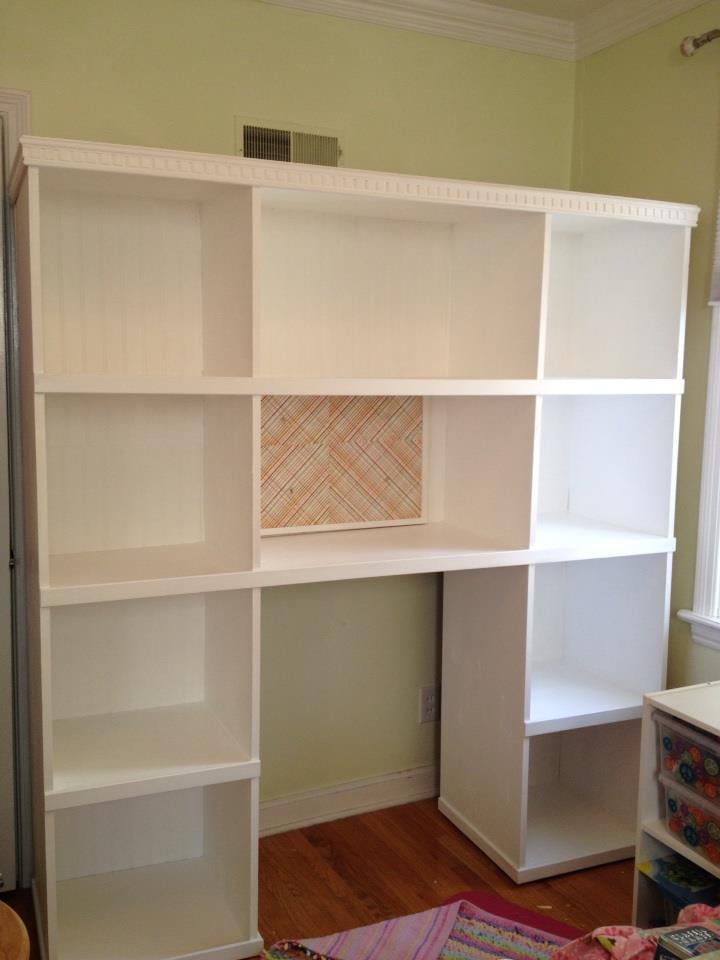
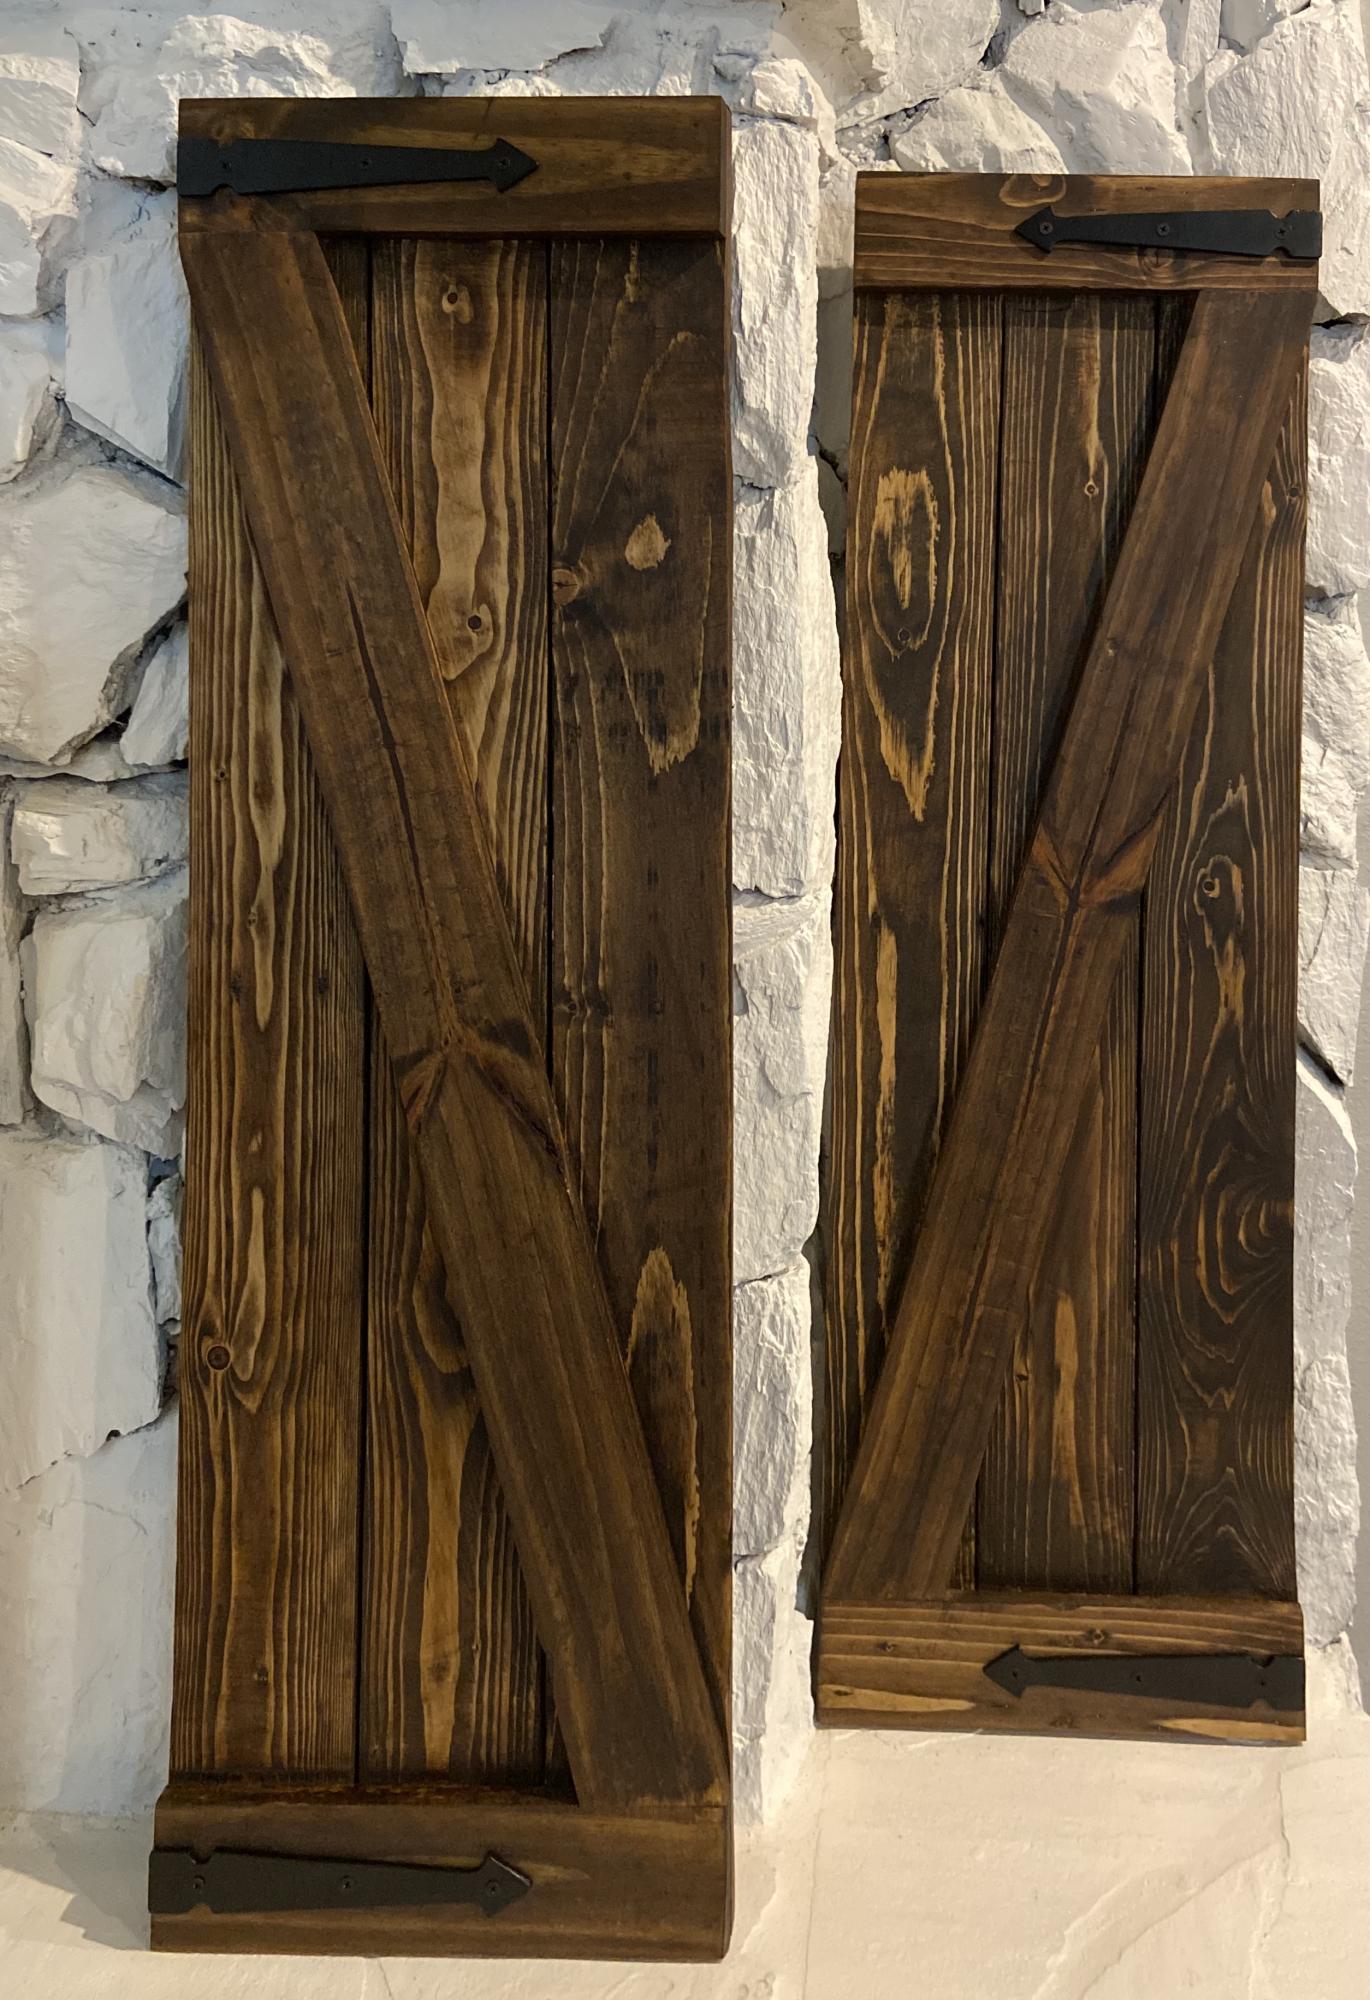
Ten Dollar Ledges
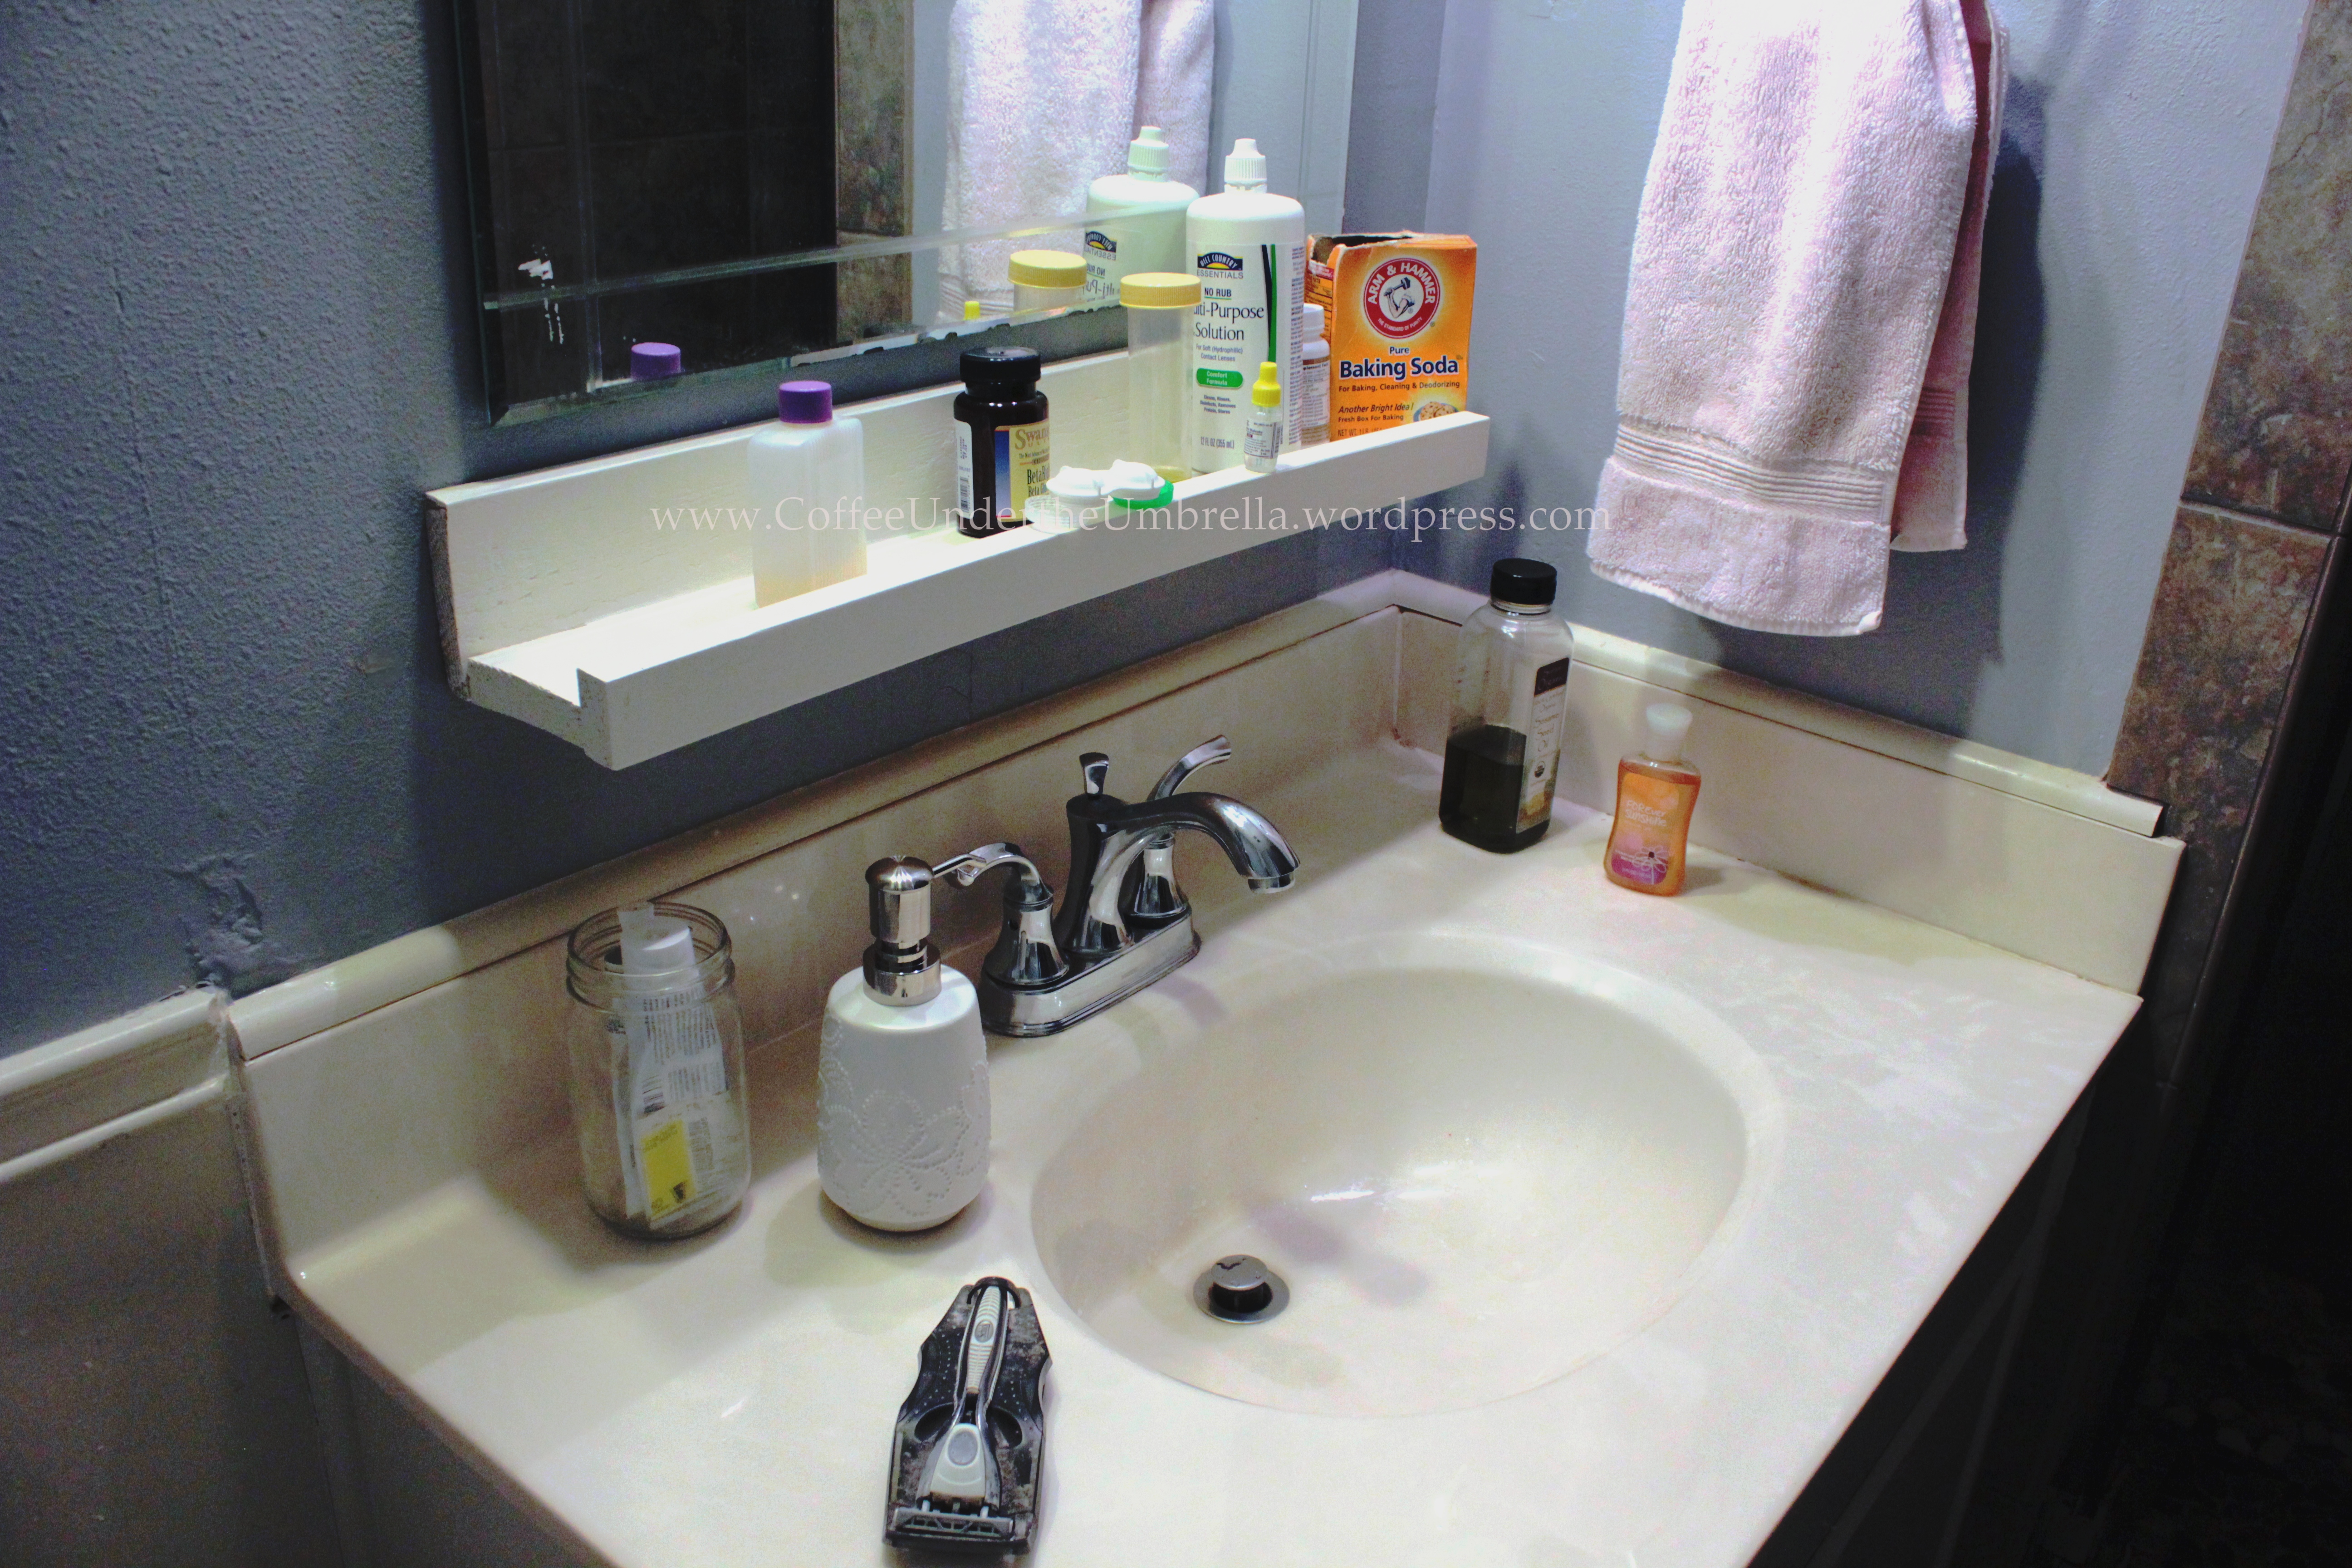
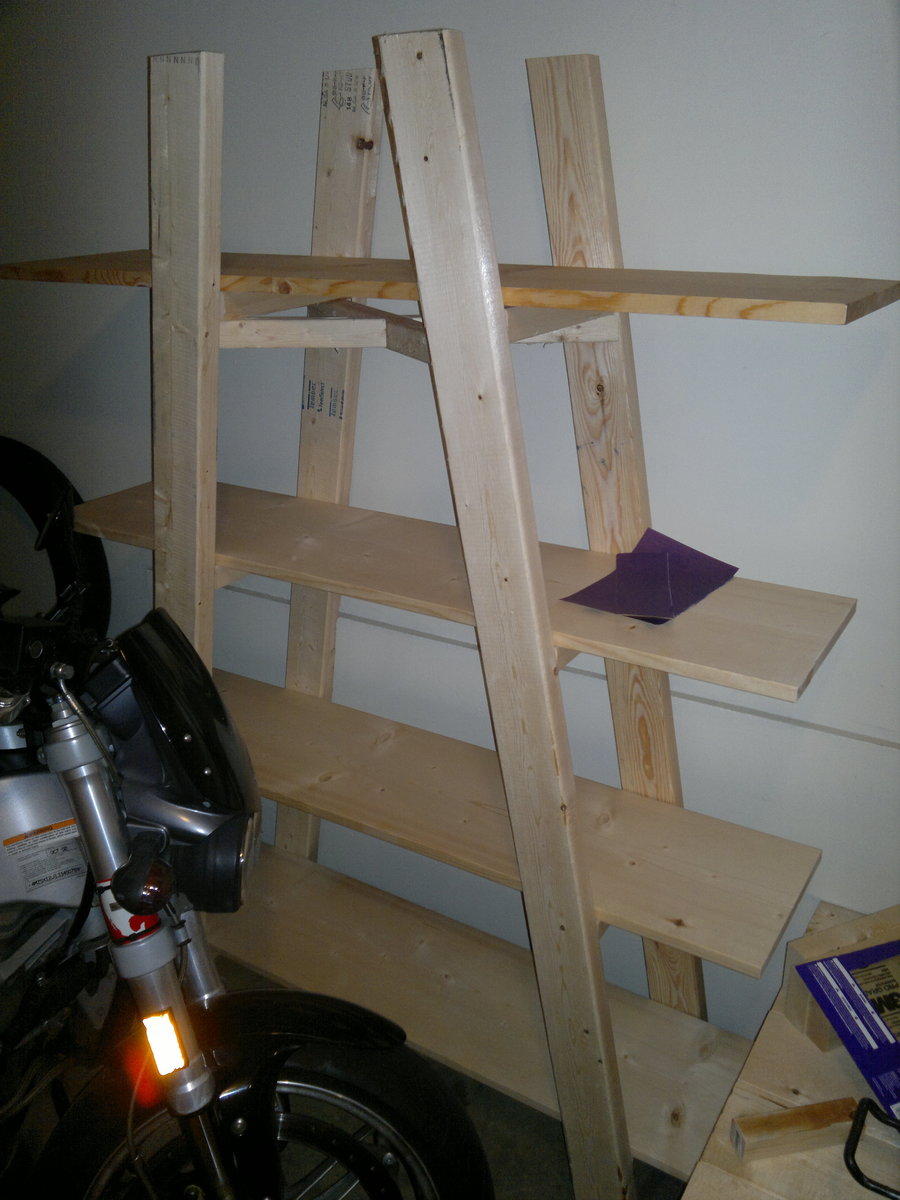
After a floating shelf fail, I threw this one together with scraps. Time investment below includes waiting for paint to dry and hanging it up.
Easy to build! Some woodworking experience is definitely a plus when completing it over the weekend.
Thanks for the plans! This dollhouse is great, my daughter loves it. I changed the plans slightly to make an 'open floor plan on the bottom and added a column in the front for support.
Hello, this is my first post and i wanted to thank Ana for this great website. my wife and i bought a new house and we renovated one of the bathrooms. i looked all around for a bathroom vanity and i could not find anything that was simple yet classic and elegant that would fit the place and compliment the space. so i started by ripping down a 4 x 12 beam that i bought from a salvage yard and turned it to the vanity. the vanity measures 38" x 24 "x 34.5" and it has a full size pull out shelve and a soft close hinges and it has an open bottom shelf. the finish is dark walnut and high gloss polyurethane. if you have any questions feel free to ask. Thank you.
I had an old aluminum Pepsi cooler that had been sitting around collecting dust for years on the back porch, after seeing these cooler plans I was inspired to create a cooler stand the would show off the cooler and make it useful again. I built the whole thing using scrap lumber I had. Took two days to complete, Thanks for the post!
Mon, 09/08/2014 - 22:23
This is beautiful. I like the color with the contrasting trim and shelf, but most of all, I really like how you left the inset to show off the old Pepsi logo and aluminum side. Well done!
Made this for my daughter. Took two days to make and four days to paint. Great weekend project.
My daughter and I completed 4 chairs per Ana's design over Labor day w/e 2020. It took a little longer because we did a Shou Sugi Ban burn/brush finish with 2 coats of clear Urethane, including cleaning/drying time. We may add another after light sanding. Love the modern look - super easy plans to follow with video. Thanks Ana for making this available - a great way to spend the holiday weekend during Covid!
This kids art center went together very well! The kids haven't stopped playing on it.
It took me 4 days to build and finish. I went to the store the very same day I received an email with these plans in it! I love the results! I'm typing this post up on my laptop sitting at my new coffee table!! Work days will be a little more comfortable from here on out LOL! Thank you Ana for sharing your talents in designing amazing build plans.
I did the modifications and added the bottom shelf and the x braces. I did a half lap to join the x braces. I also added small casters so it is easy to roll the table out of my way to get up without having to always close the table top. The finish is dark walnut stain and latex paint in the color Tinsel.
We wanted a simple loveseat that used standard-sized cushions (that I found at target.com) that we could put on our narrow screened-in porch. The cushions were about twice the cost of the lumber! I modified the plan by changing the outsides from 2x3's to 2x4's and I made decorative panels of our State's flag using a stencil I created from an image on the Internet. I then cut the stencil out, marked it and cut it out using a scroll saw. The pattern is on 1/4' plywood framed in with 1 x 2's on the sides and 1/2" quarter round on the tops and bottoms of the patterns on both sides. This was fun and quick to build and it met our needs perfectly! I'm even designing some matching end tables for it! Since we're in Charleston, SC we used a color called "Charleston Green", it's nearly black but in bright sun you can see a little green. We barely get to use it though as the cat has taken it over! Thanks for a great plan!
This is made by using treated lumber and concrete deck piers. The genius of this bench is that there are no screws. It fits together like a puzzle and sits on concrete deck piers. I left it untreated for a bit and decided to let the piers stay gray. The original plans called for the piers to be stained black and a stain to be applied to the wood. I wanted to post this as inspiration but will add the link to the template for the wood pieces at a later time.
I used these plans to build our lovely new dining table. For more details, please see my post: http://thetarragonahouse.com/2016/12/31/our-new-whitewashed-farmhouse-t… .
Thank you for sharing your plan. It was a great experience!
Wood Type: Cedar
This project took several months of off and on work but I am very happy with the results. Followed the plans on this website and they were great. The only change I made was to add x cross braces for added support. They were necessary because this thing is wobbly as it is. Got the wood from the local lowes and the hardware from Ace Hardware. Used the Kreg Jig pocket hole system to hide the fasteners which makes a big difference.
I made some other furniture from plans on this website so I used the same rustic stain on this piece. The stain was great, really easy to make and stains really well. I covered the stain with the recommended wax which gives it a really nice shine and is very smooth.
Huge thanks to this website!
We found these plans and figured we would try it out! Worked great. We bought the Jig and the wood and took our time building it. We really love how it turned out. We made sure to take our time with sanding and filling holes. Our 6 year-old daughter chose the color.
Built for my new baby girl! Followed the plans with a few modifications. Used dadoes for the drawer bottoms. Added bracing for attaching the drawer slides. Used an old door for the top!
My home seems to shrink in direct proportion to my daughter's growth. It seems we never have quite enough space for the new cache of toys, books, games, etc. So, I decided to look for a bookcase/storage center/desk that she could grow with and that might keep up with her. When I shopped for such a large item, the price tag was even larger. I decided to build one myself. I posted step-by-step directions with pictures on my blog: www.momthebuilder.net. Check it out and tell me what you think!
Angie
I originally saw this desk on Pinterest, which led me to this website. My hubby made it for me. LOVE IT!!
Toy box for our soon to be son.