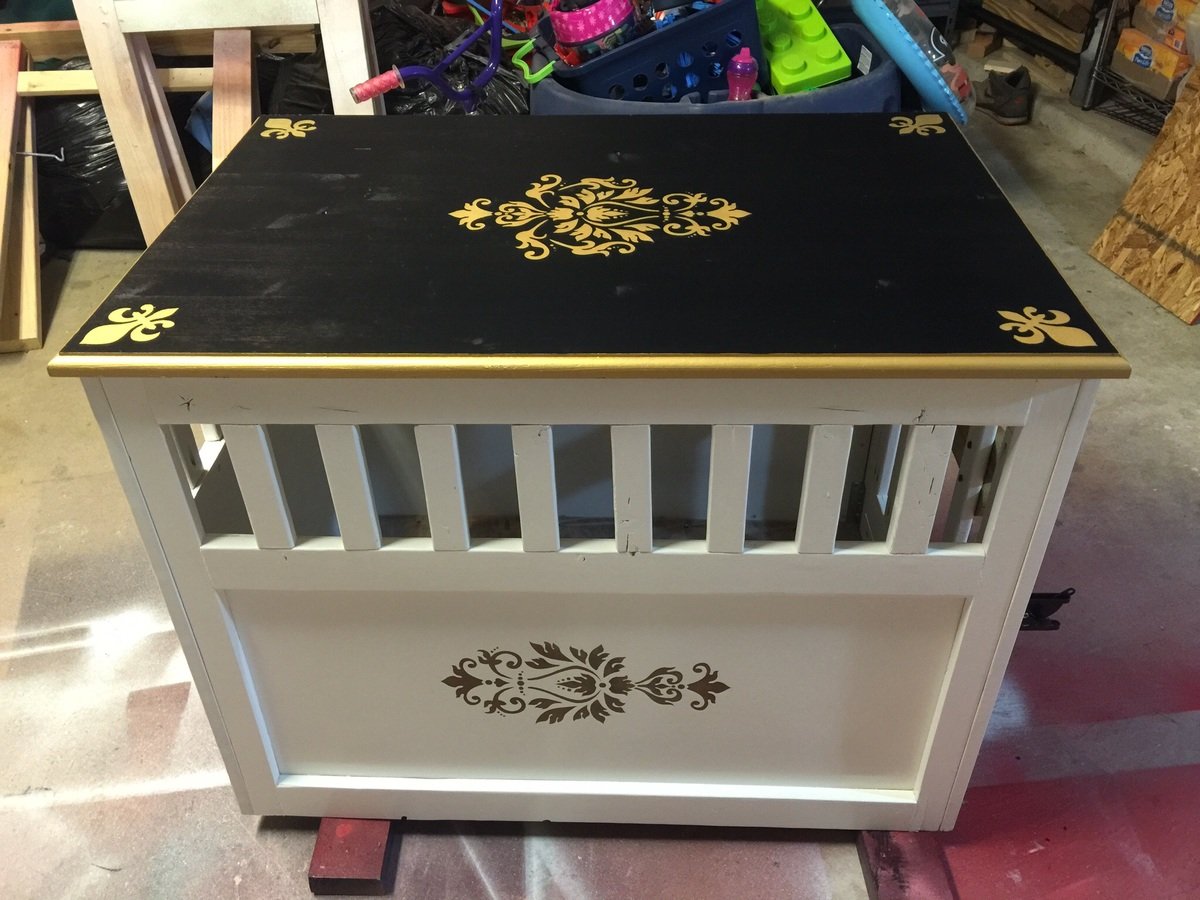
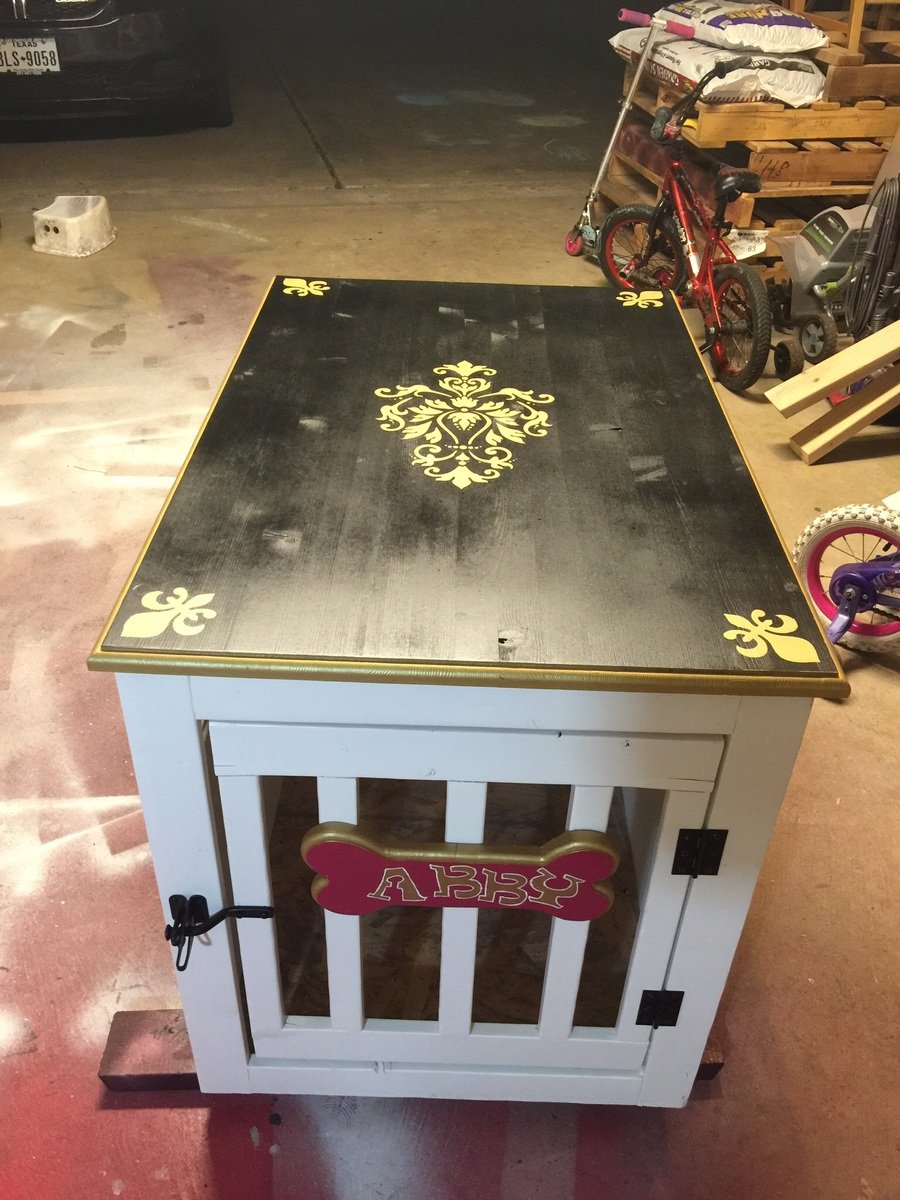
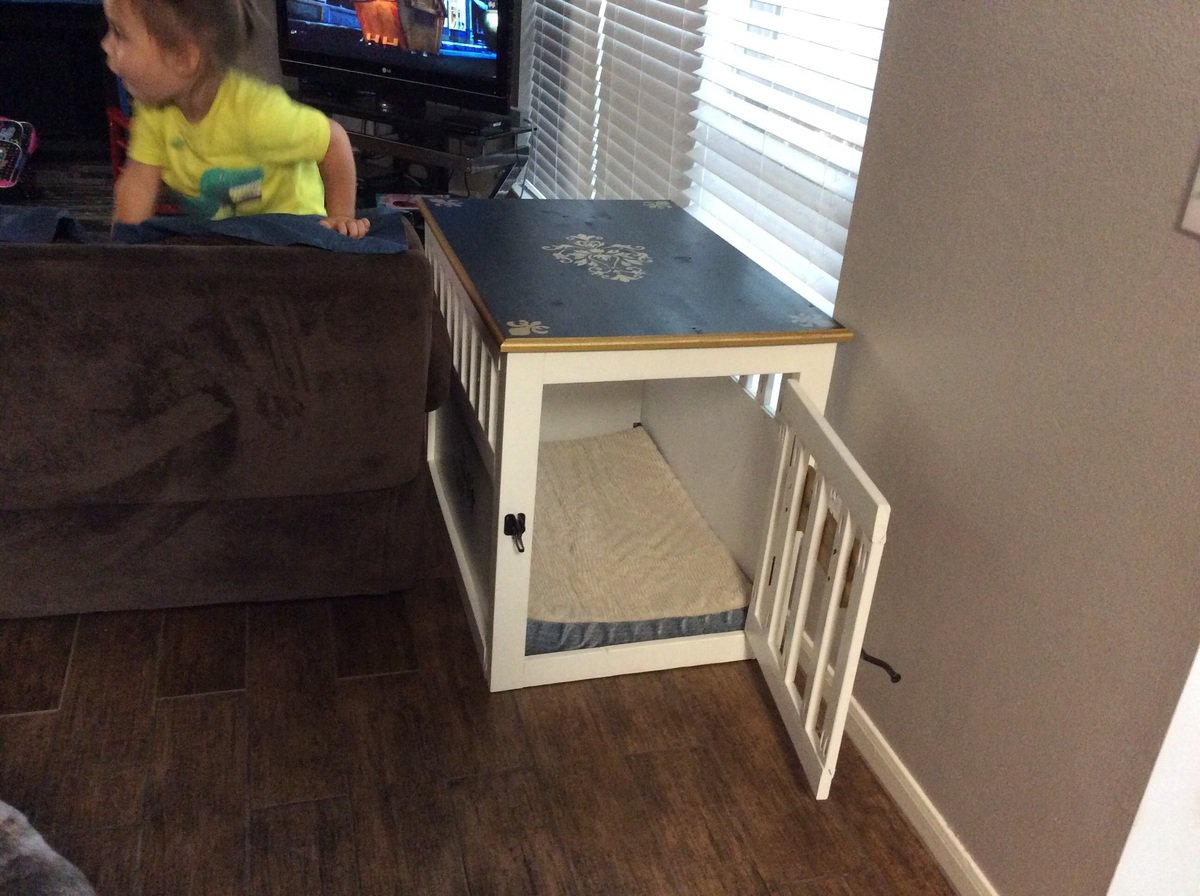
Dog crate
Came out very nice , thanks Ana this plan! I love it!
Built from Plan(s)
Recommended Skill Level
Intermediate
Came out very nice , thanks Ana this plan! I love it!
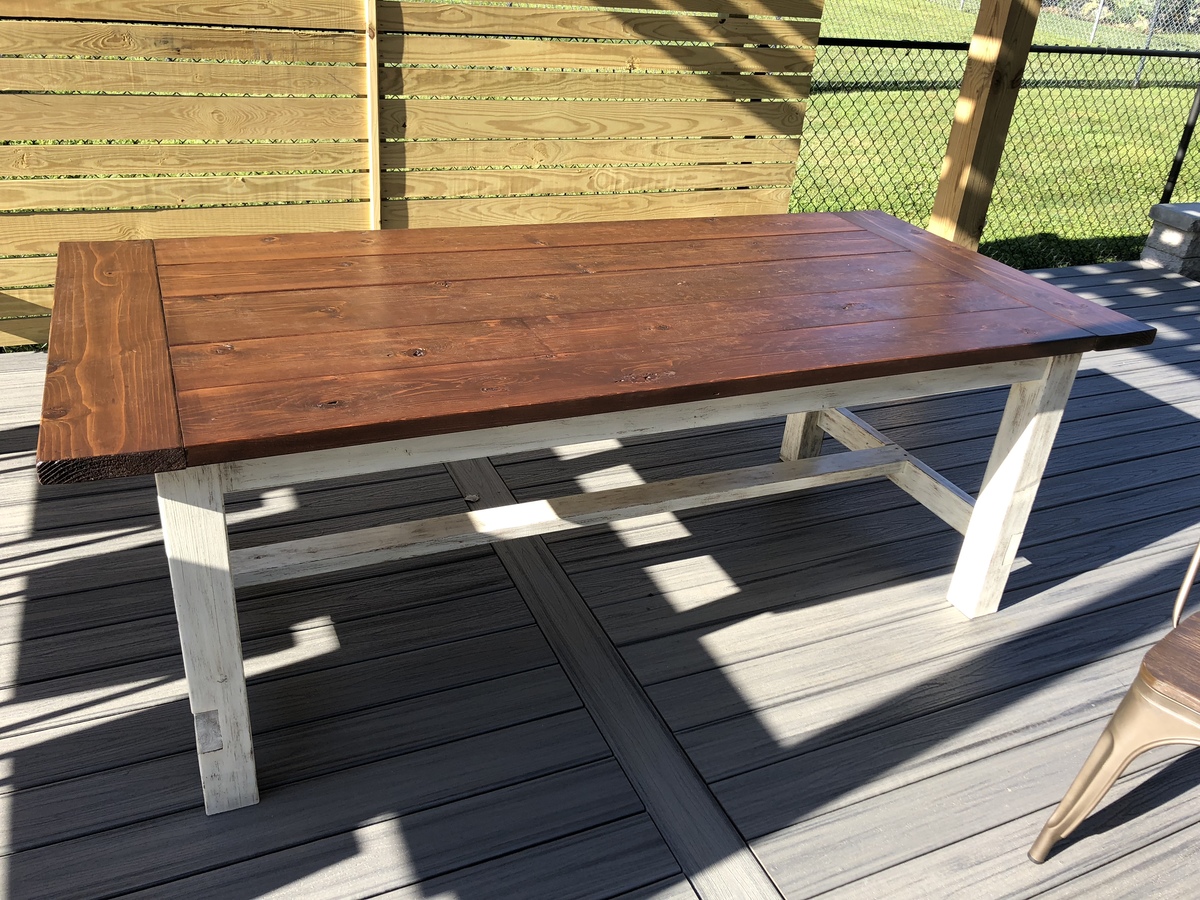
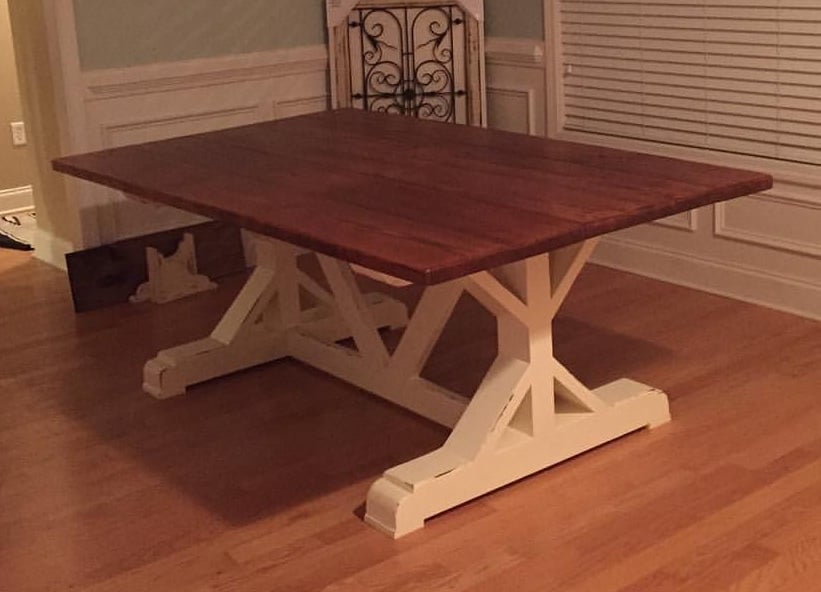
My husband and I built this table from the farmhouse table plans (Kreg-jig). I wanted a farmhouse table for our new patio and couldn’t quit find one to buy-so we made it! We used red cedar because it is an outdoor table and we wanted it weather resistant.
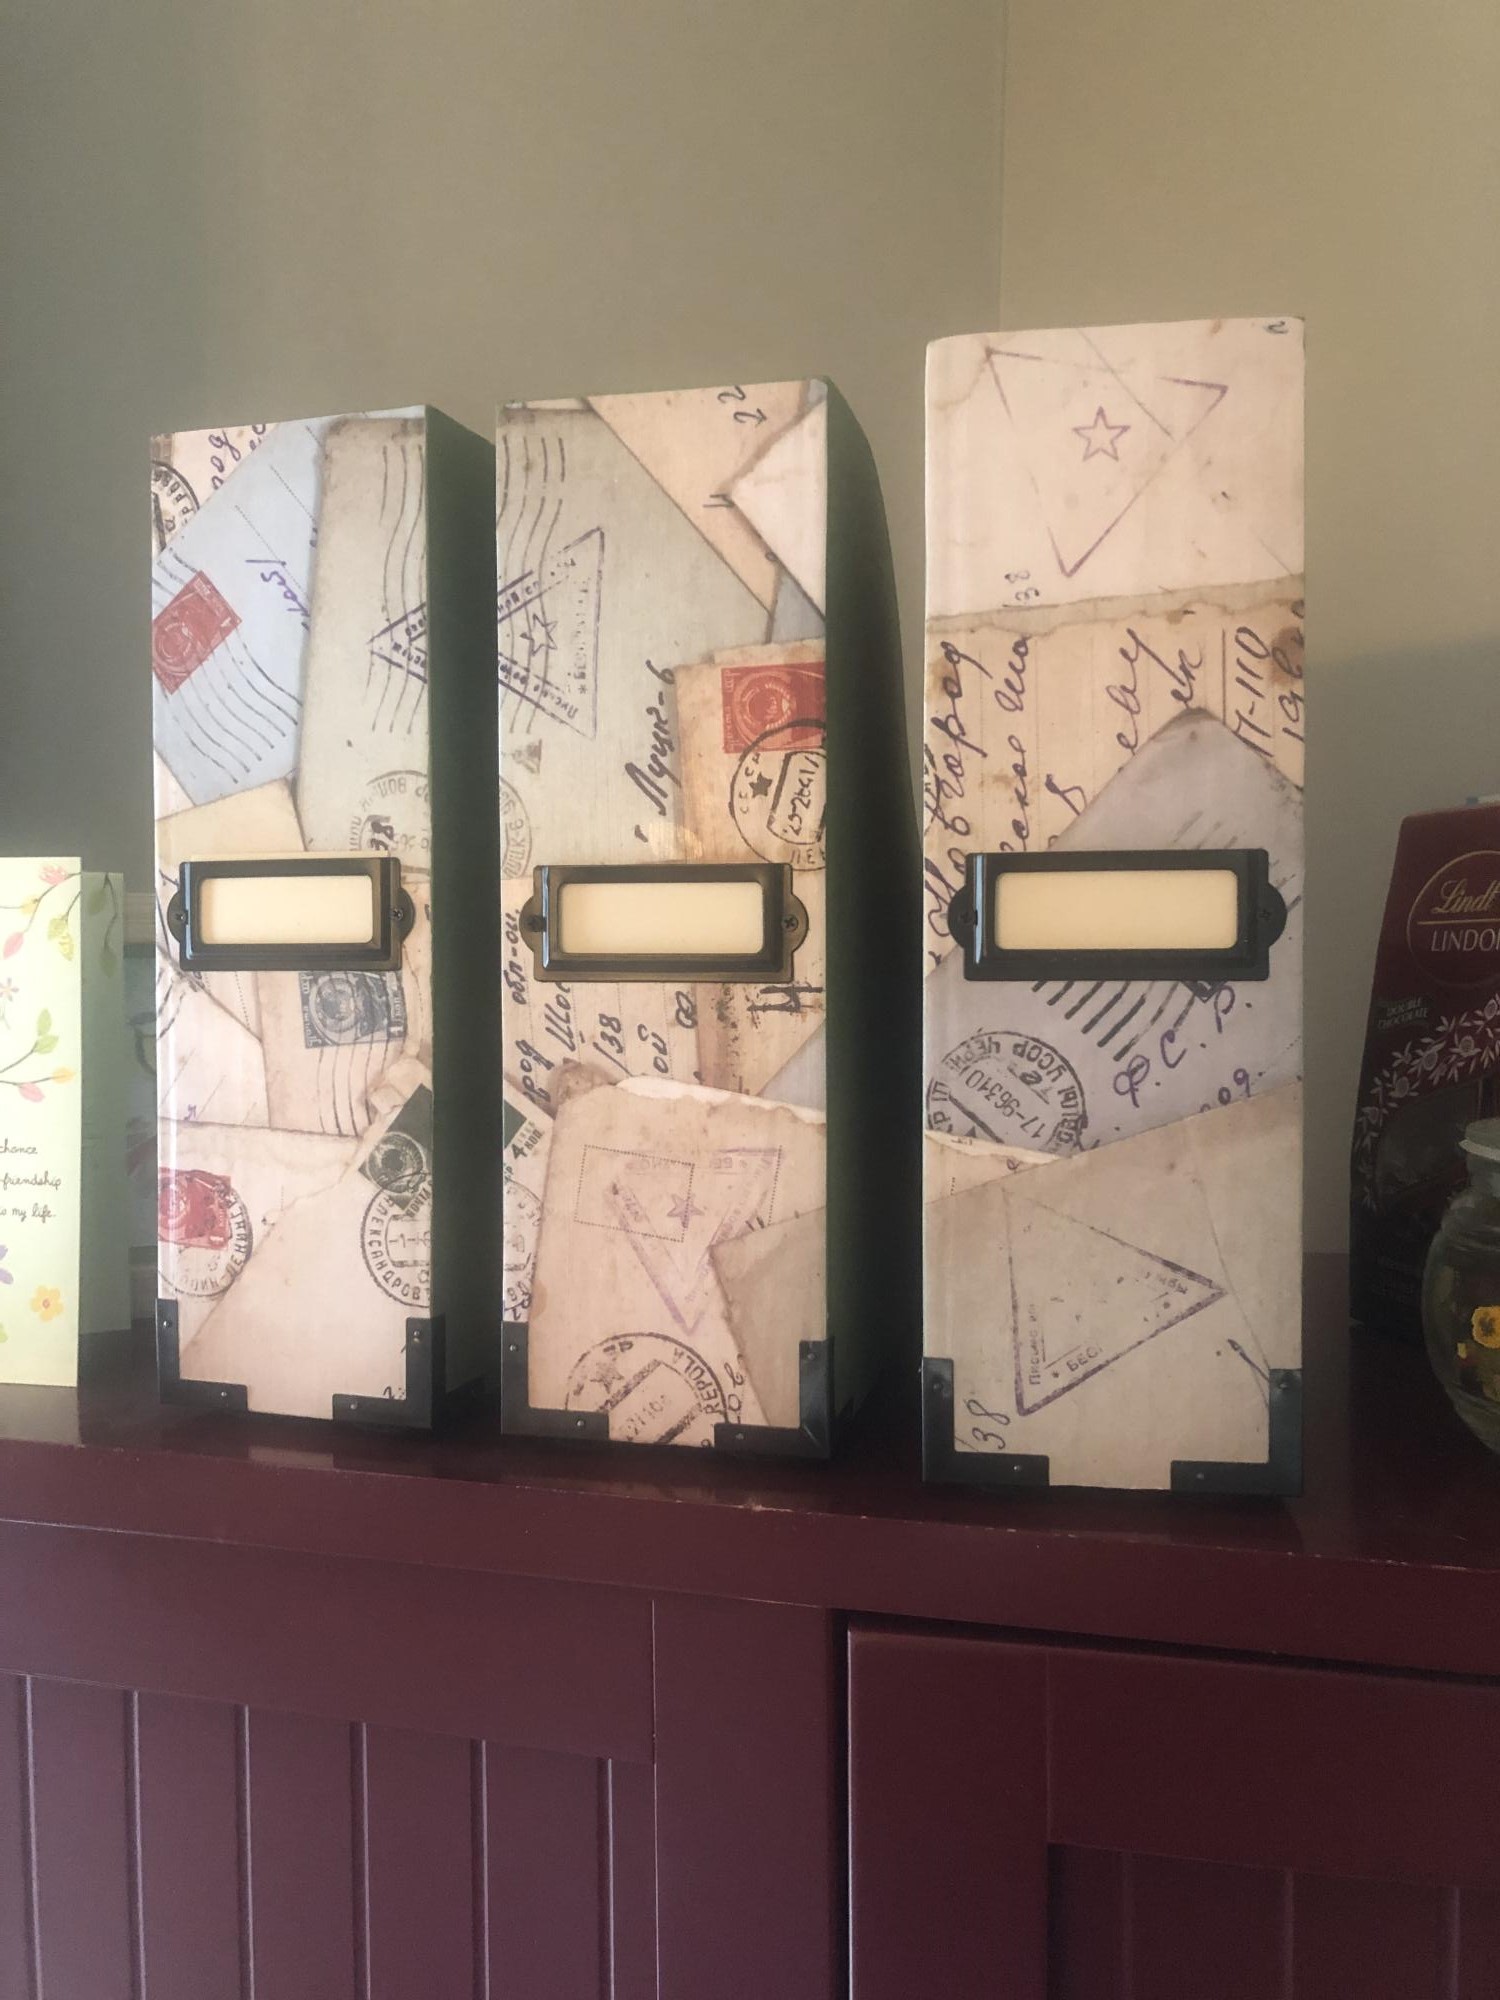
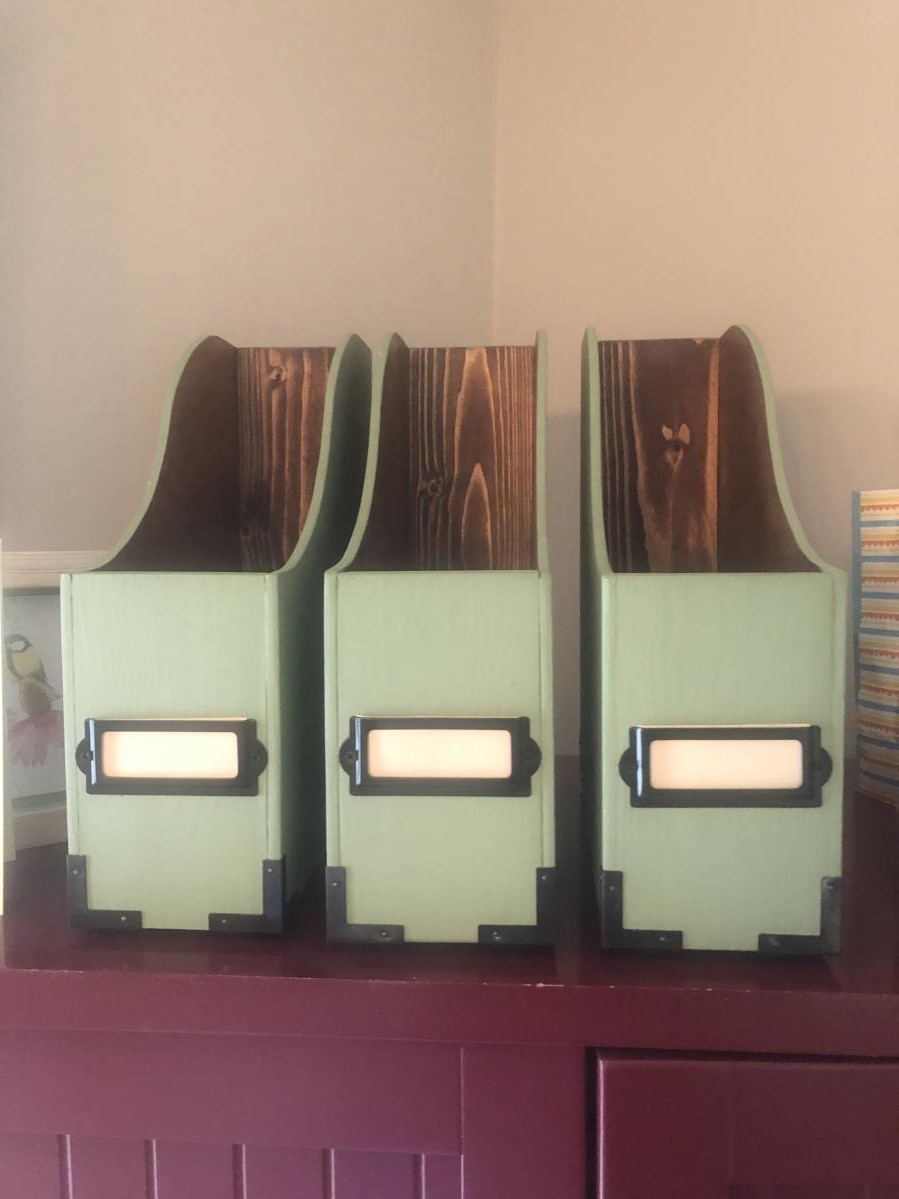
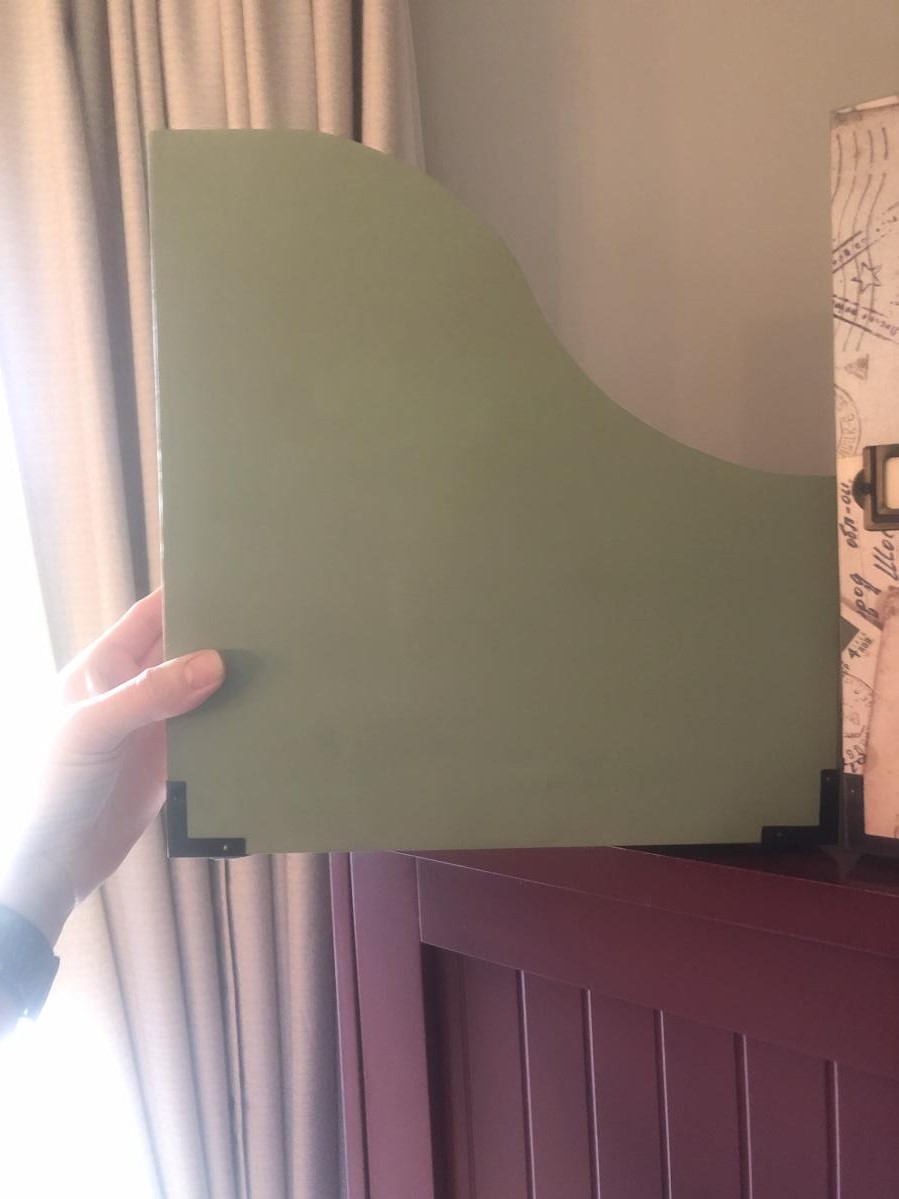
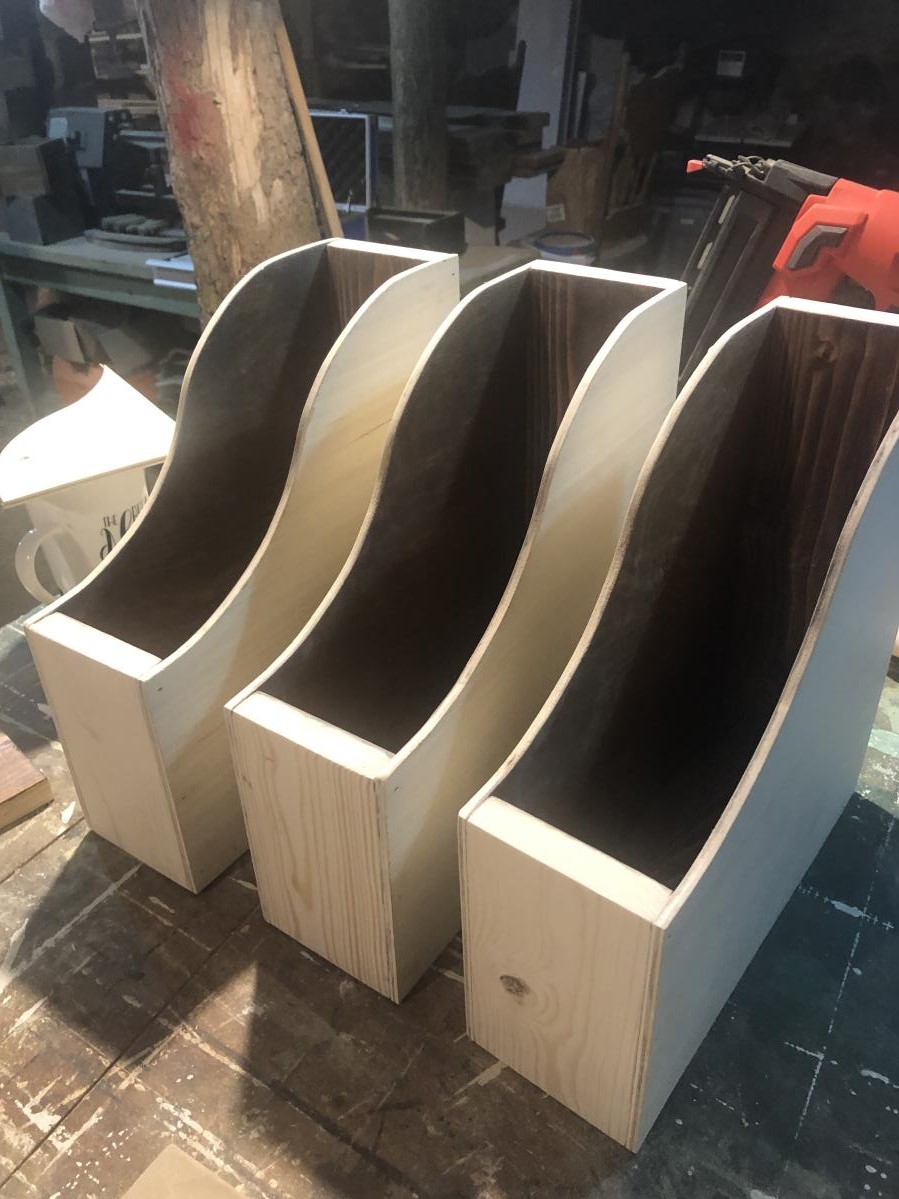
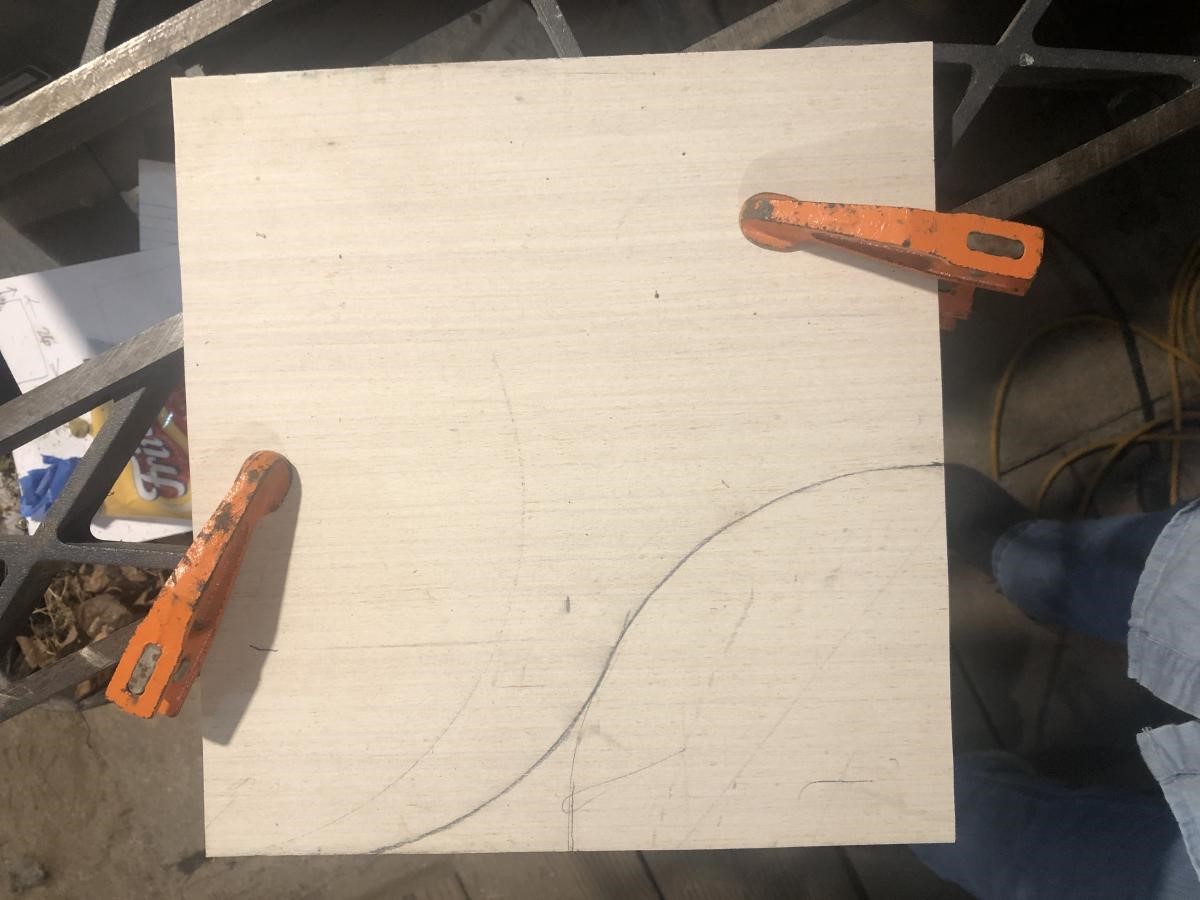
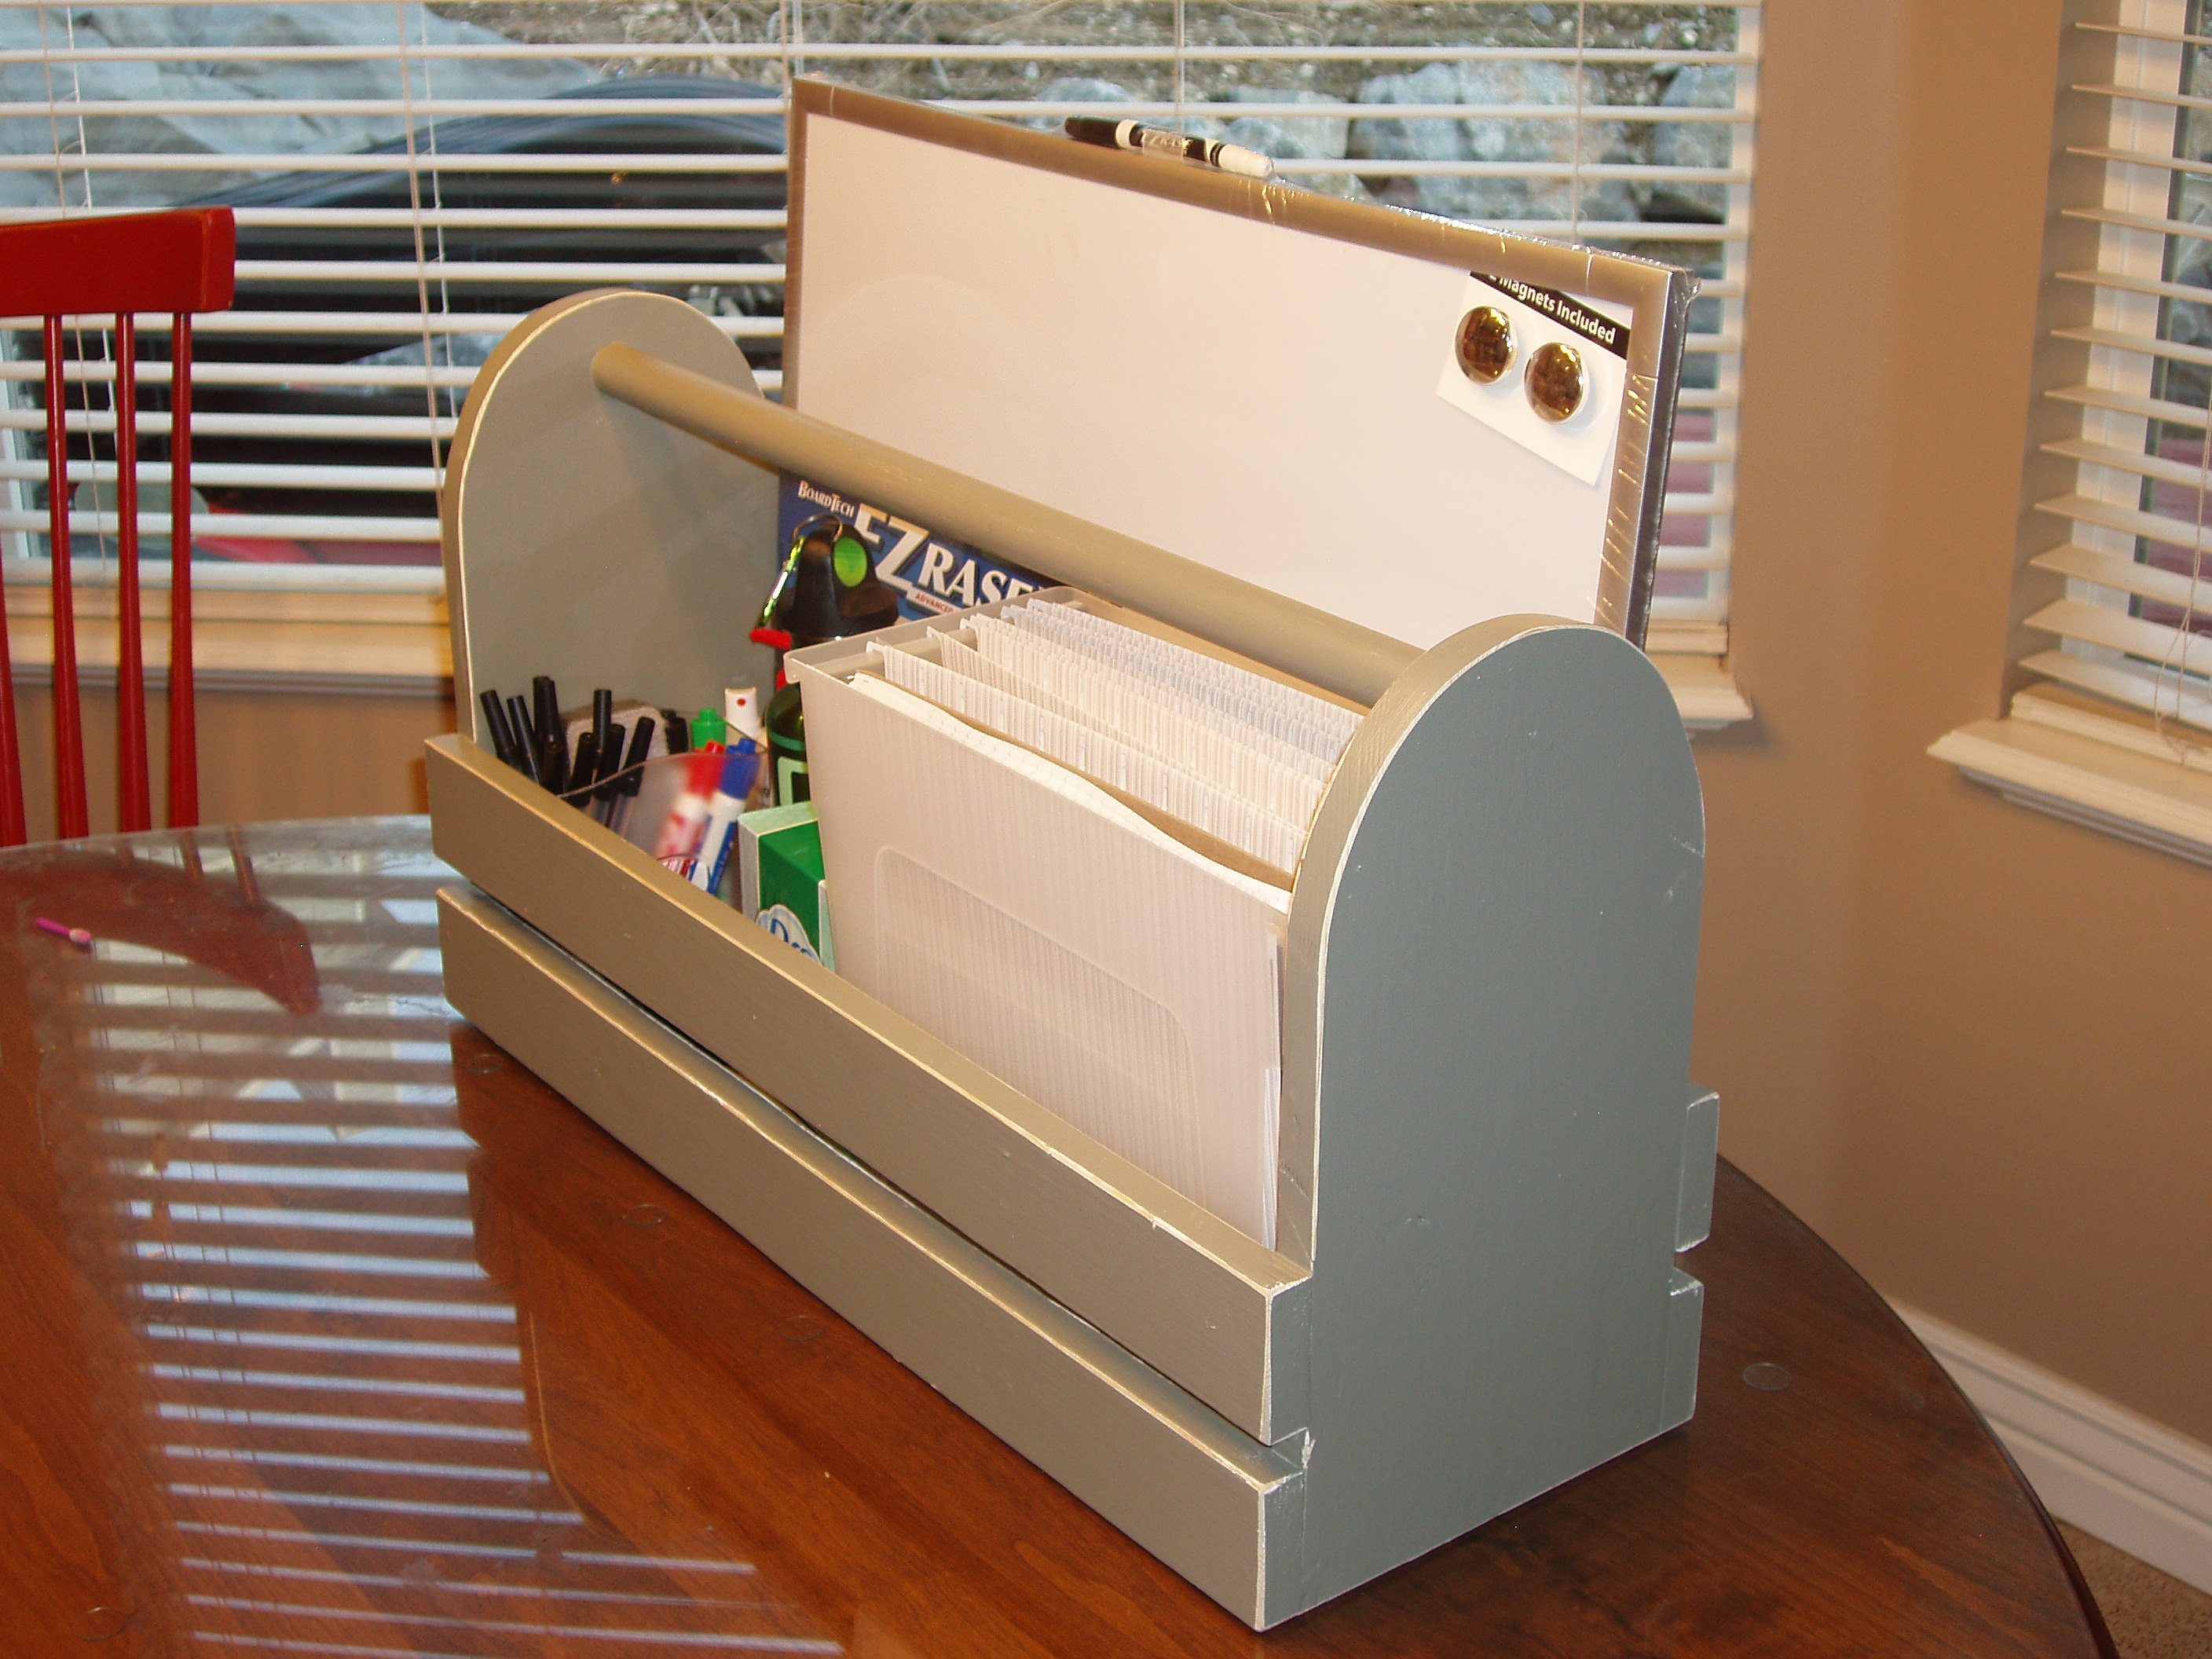
My BFF was looking for magazine holders but refused to pay $10-15 for one made out of cardboard. I told her I could make her some from wood and paint them to match her decor. I found the “letter” paper on Amazon but came in a pack titled Vintage Treasures. I decided to do an S curve on the sides to make it a little more fancy. I can’t wait to give these to her! Thanks for the inspiration, Ana!
Wed, 05/04/2022 - 12:22
Great job, your friend is going to love them! Thanks for sharing.
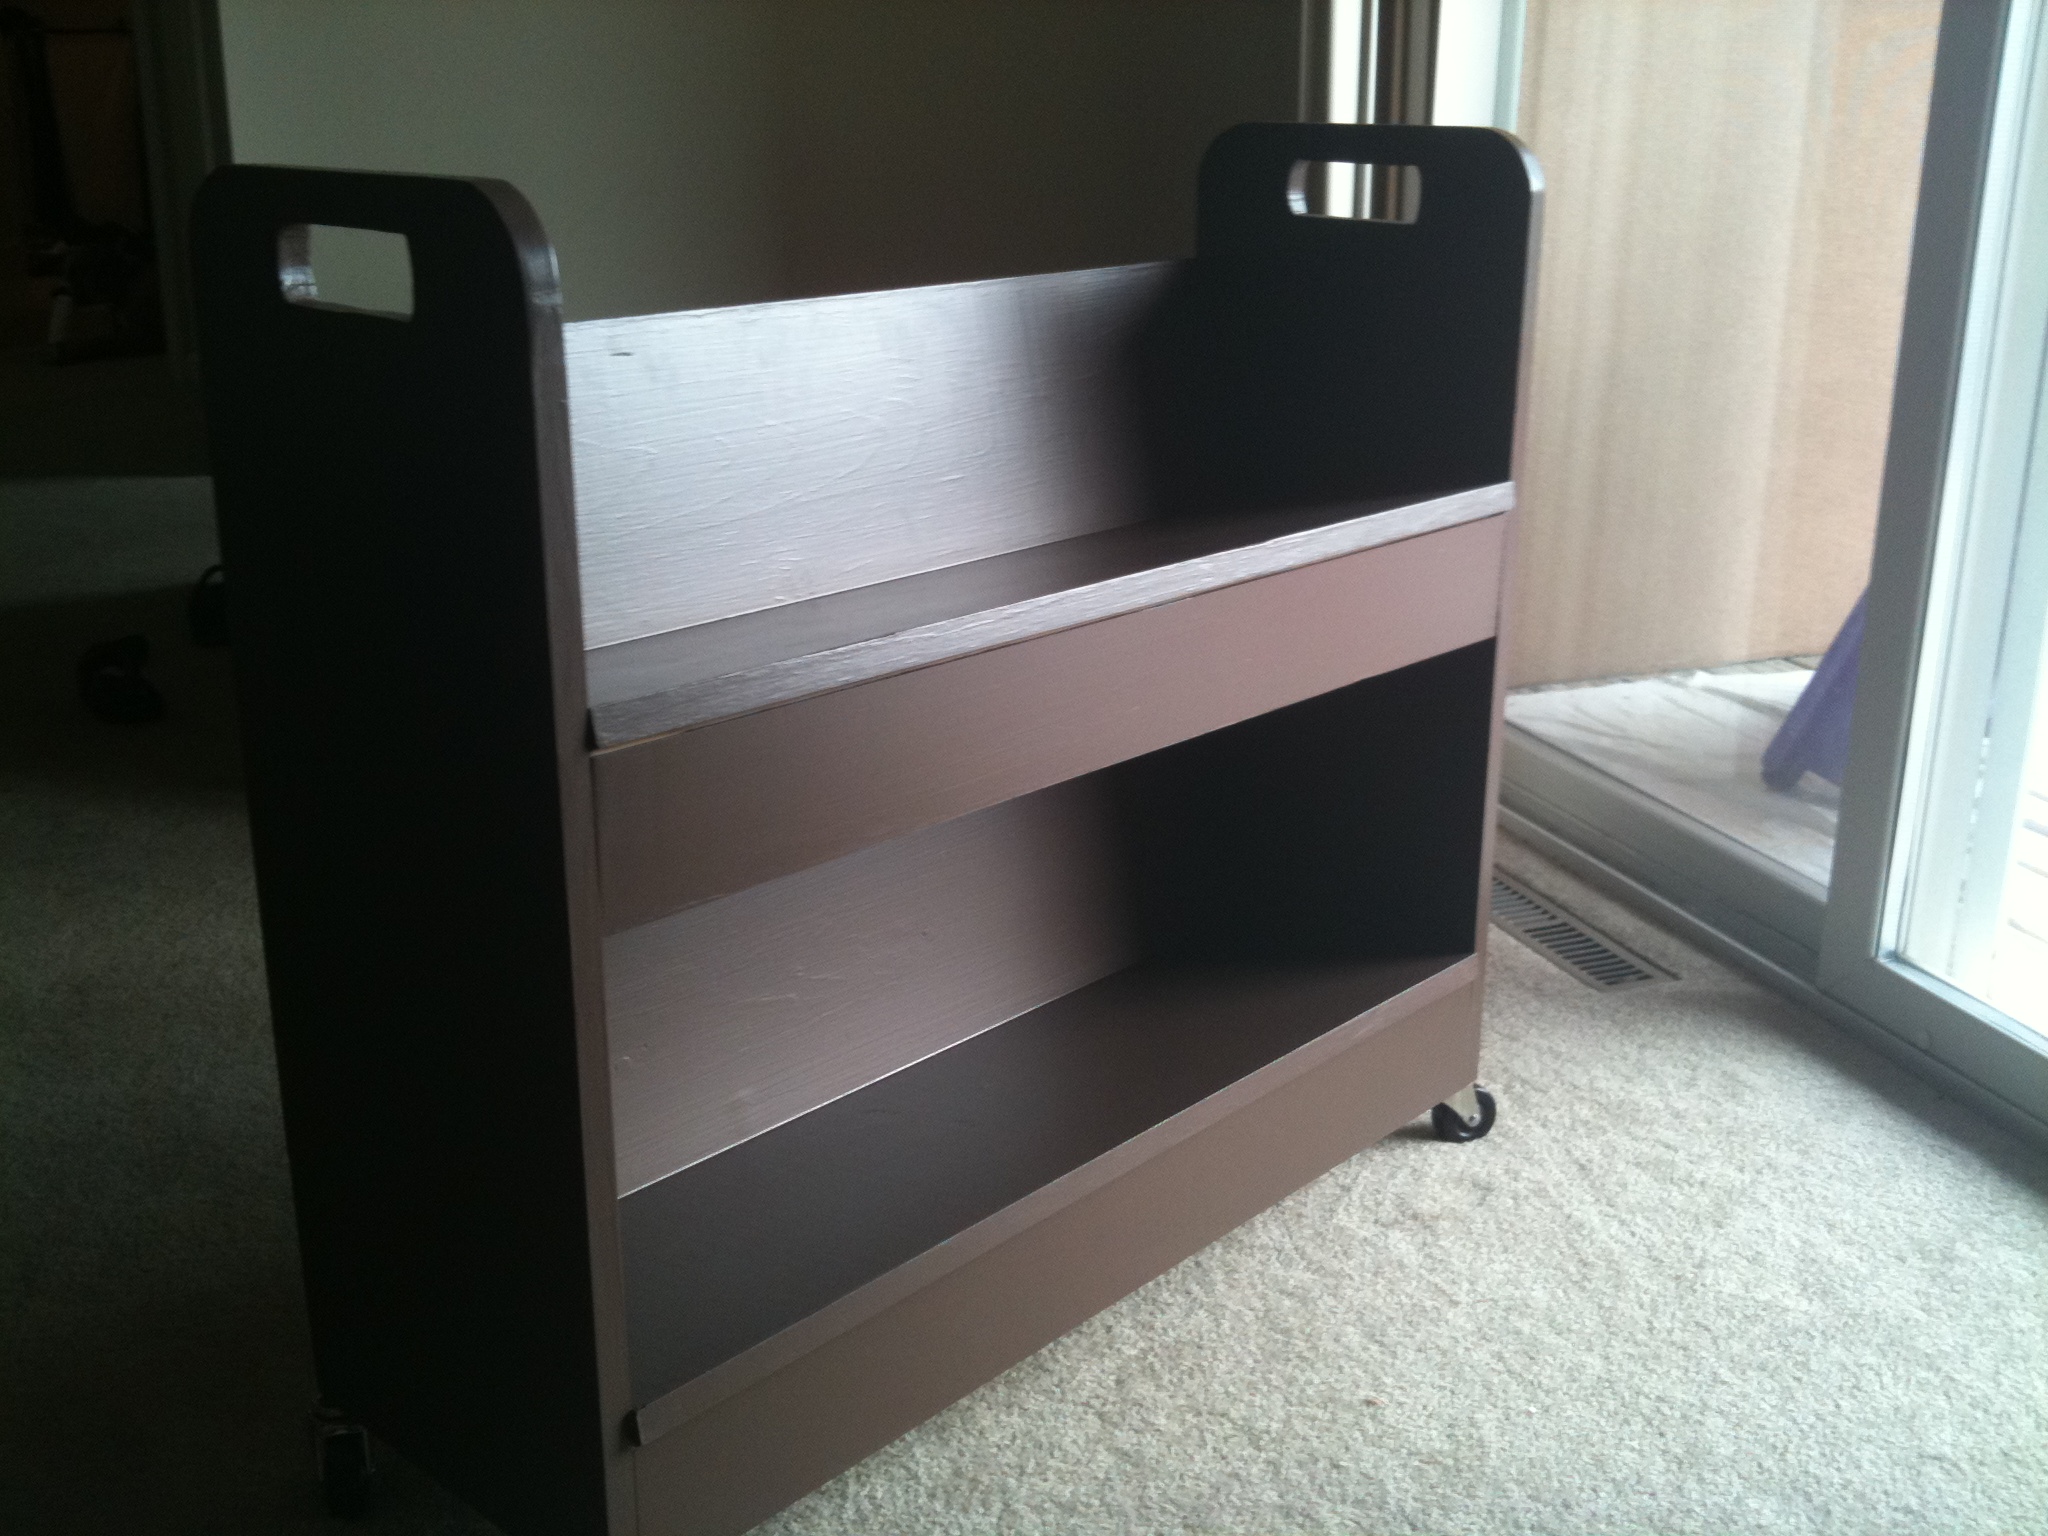
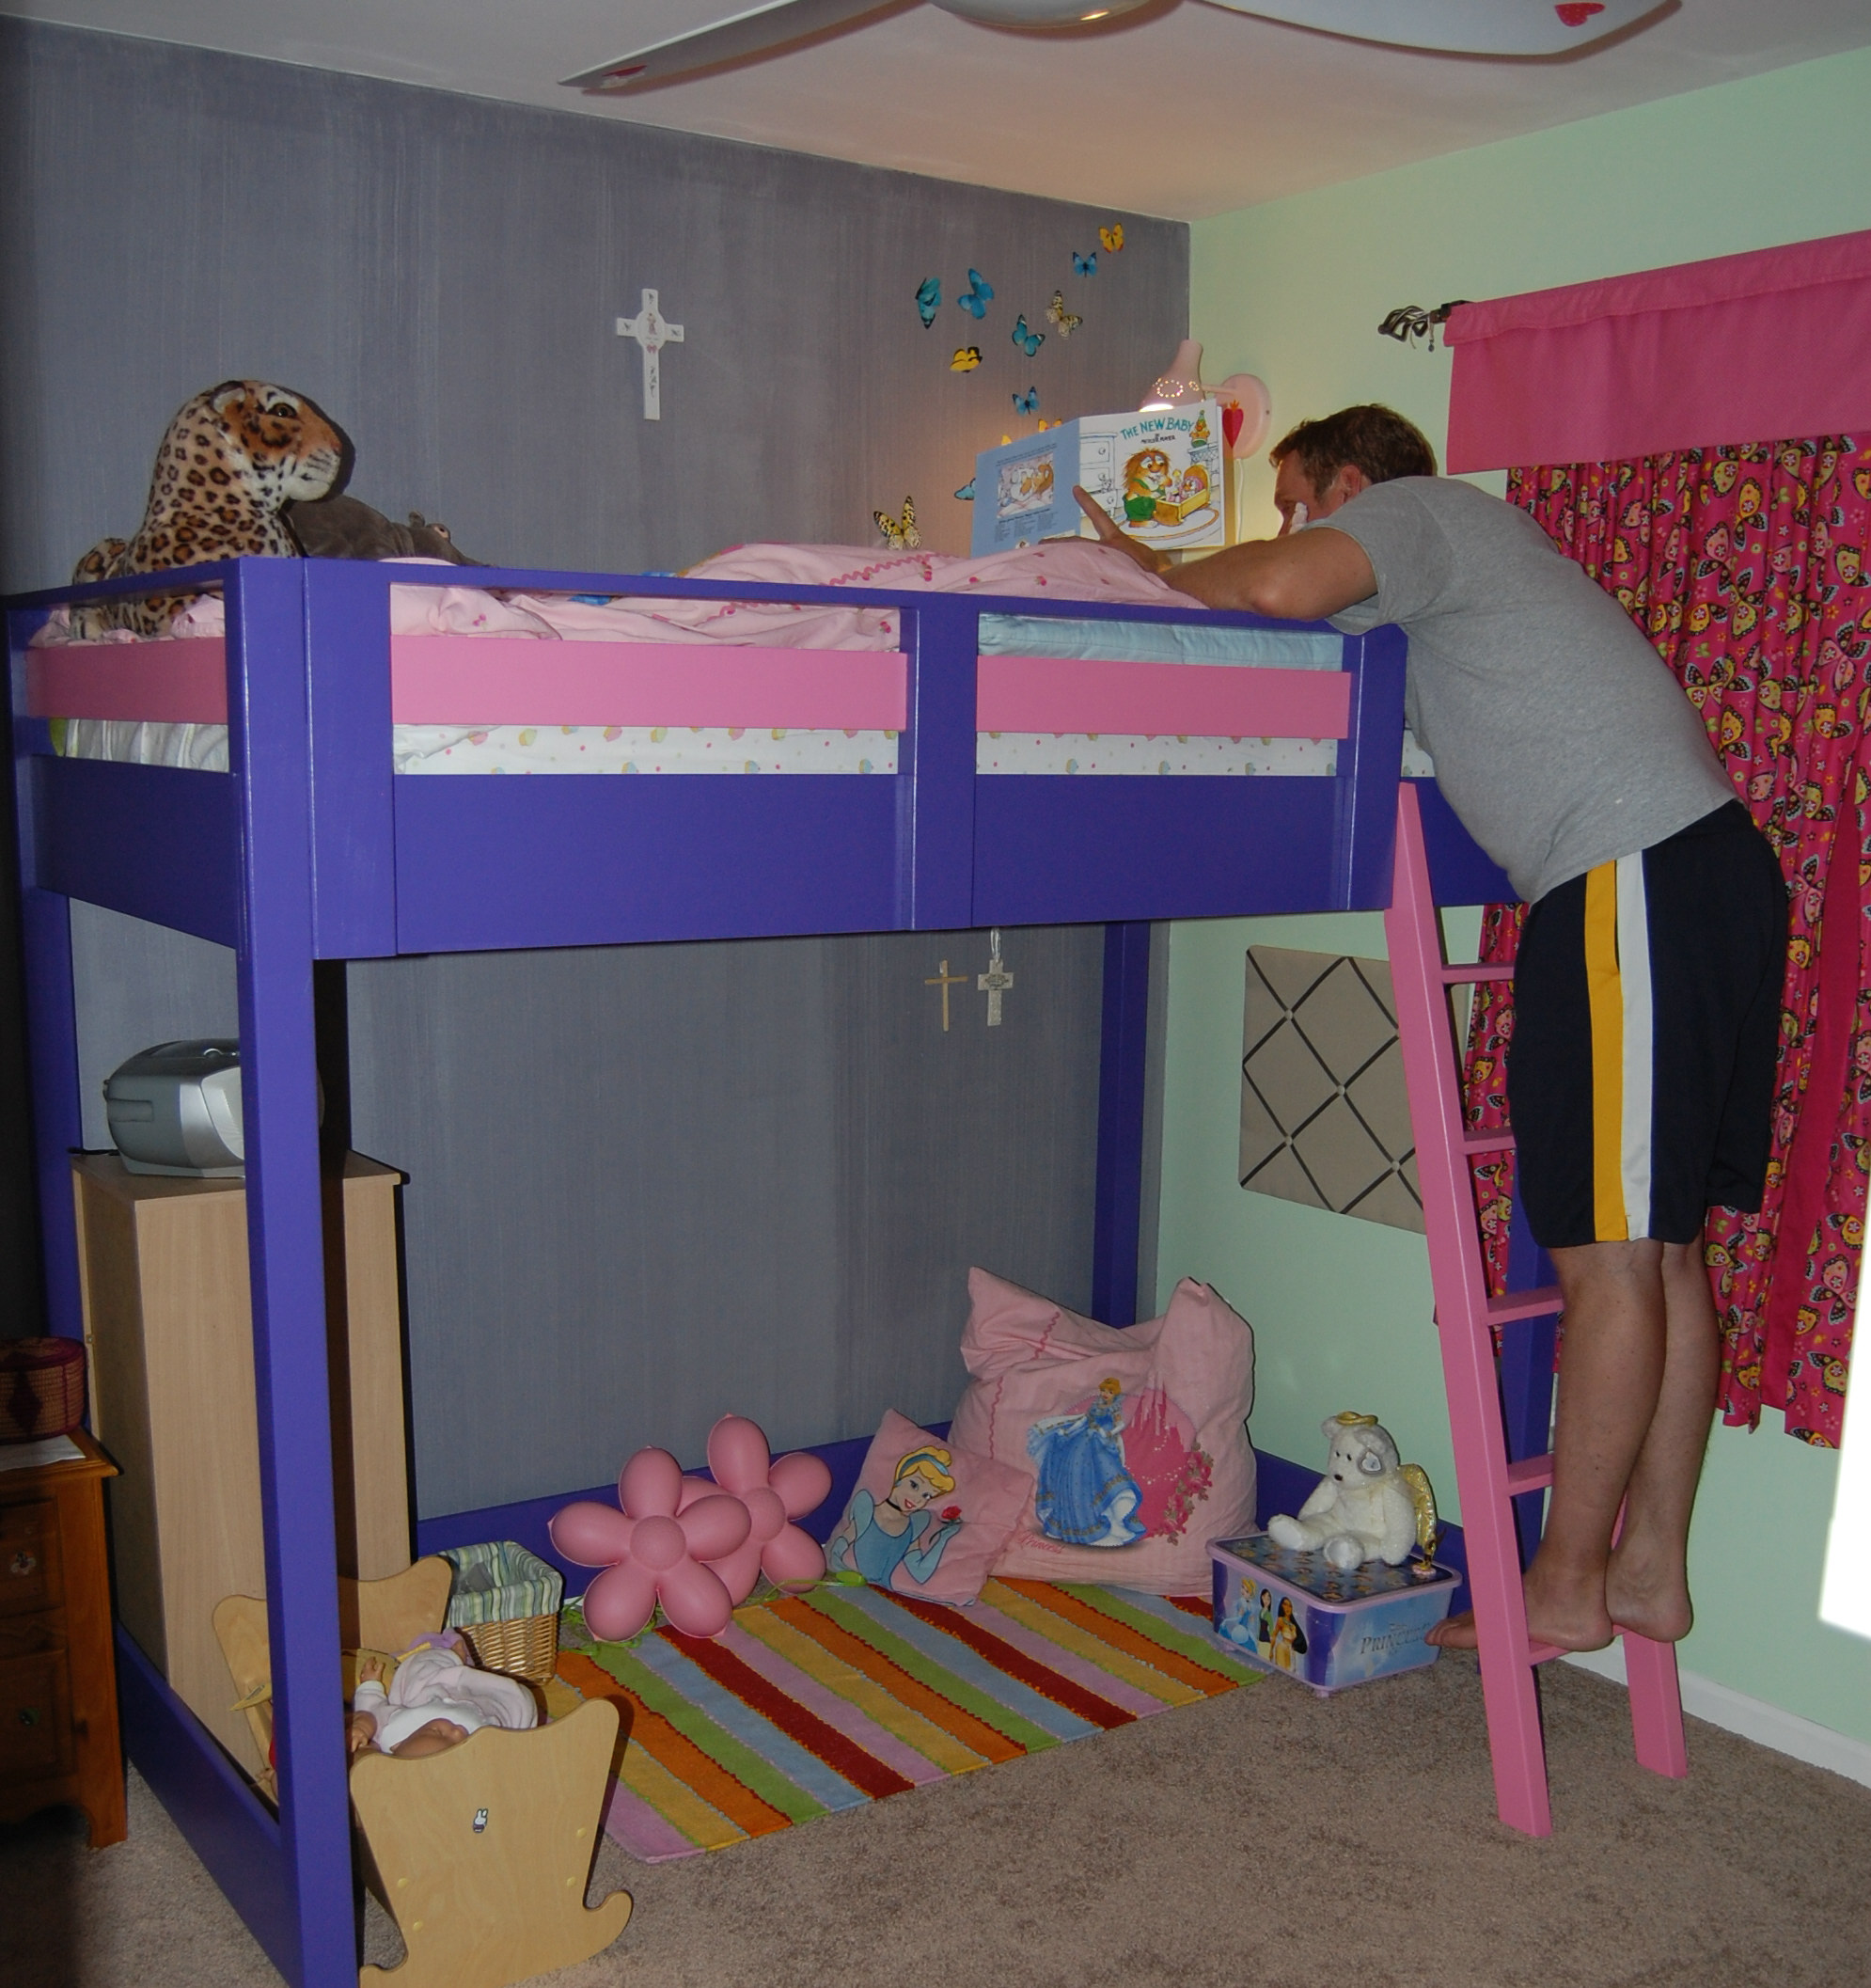
This is my first build and I'm pretty pleased with how it turned out. There are a few things I learned along the way that will help me with my next build. We have a lot of children's book so I made the bottom shelf an angled shelf for more room.
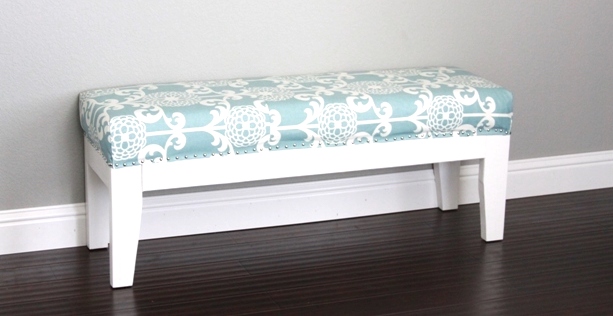
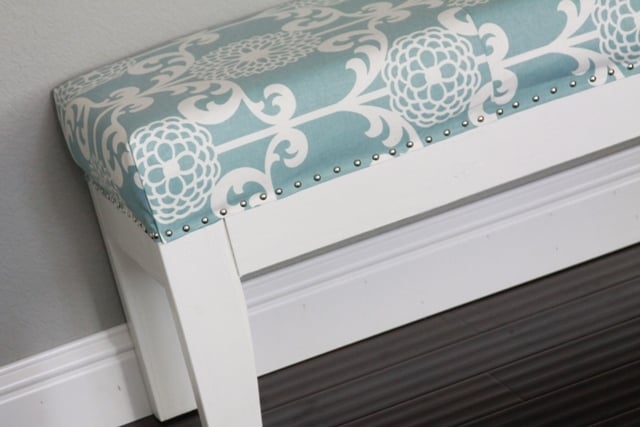
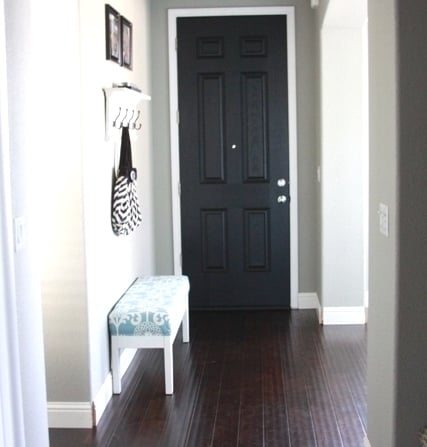
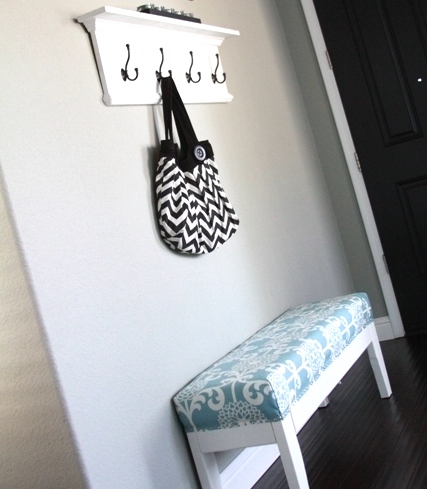
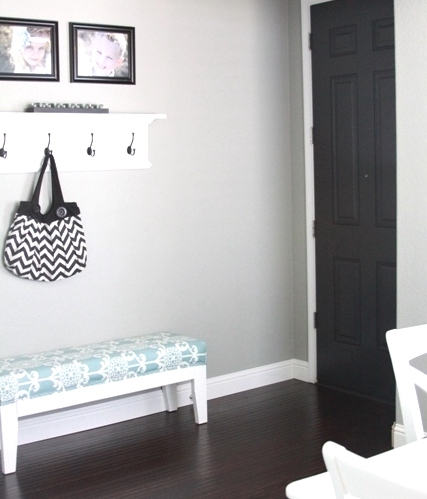
This was my first solo wood project! My husband normally builds things that we want. This bench was very easy. The hardest part would have been the upholstery. I decided to fully upholster it instead of making a slip cover. I plan to make holiday themed slip covers to slide over this though. I painted the legs white, and we ended up using MDF for the top portion since we had a piece on hand. I used a cushion off of an old chair we were going to get rid of to save money on the foam, so I had to change the dimensions a little. This bench is 13" by 48" total instead of the 16" by 55". It still fits the space beautifully. Since I had the foam and mdf on hand it only cost me about $20 to make this including the price of 6 packs of nail heads and the fabric. So a very inexpensive project! The shelf in the pics my husband built from some scrap wood and hooks we got from lowes.
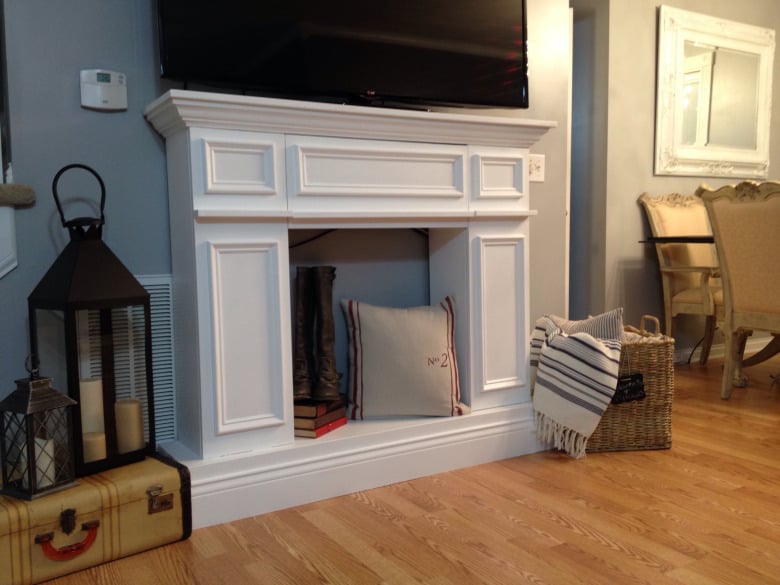
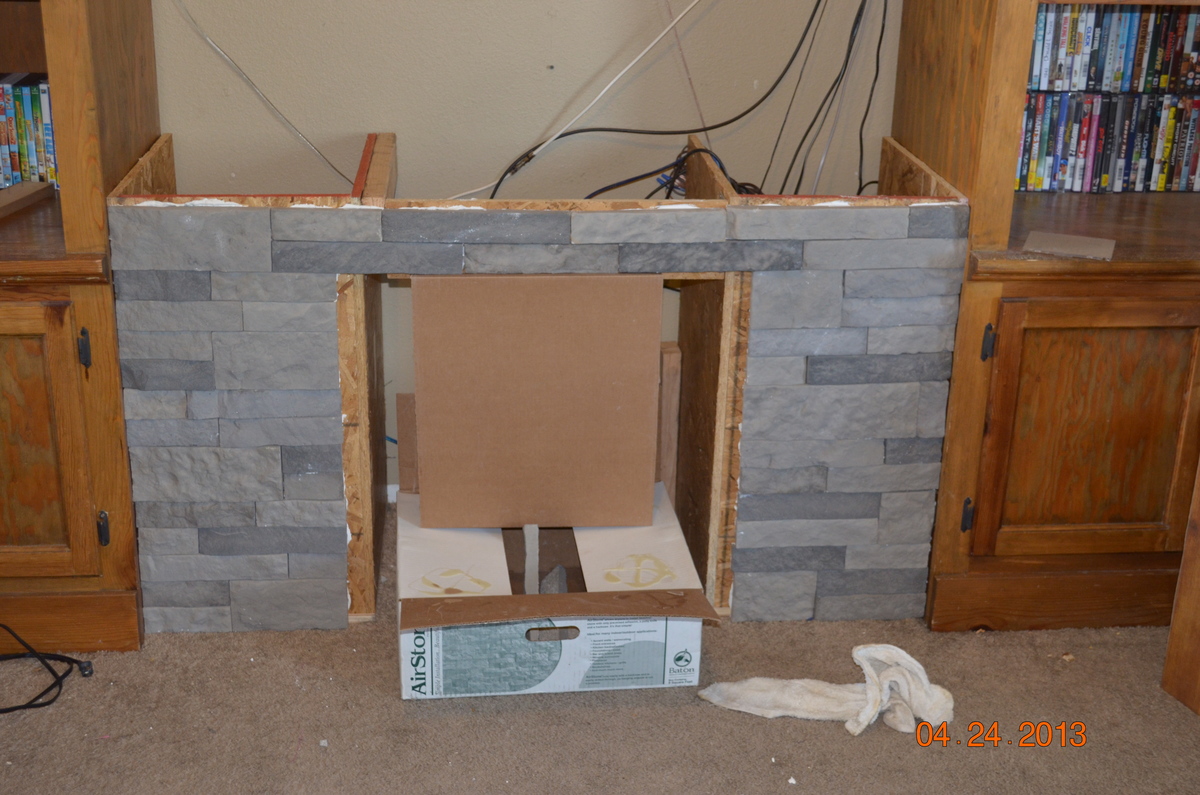
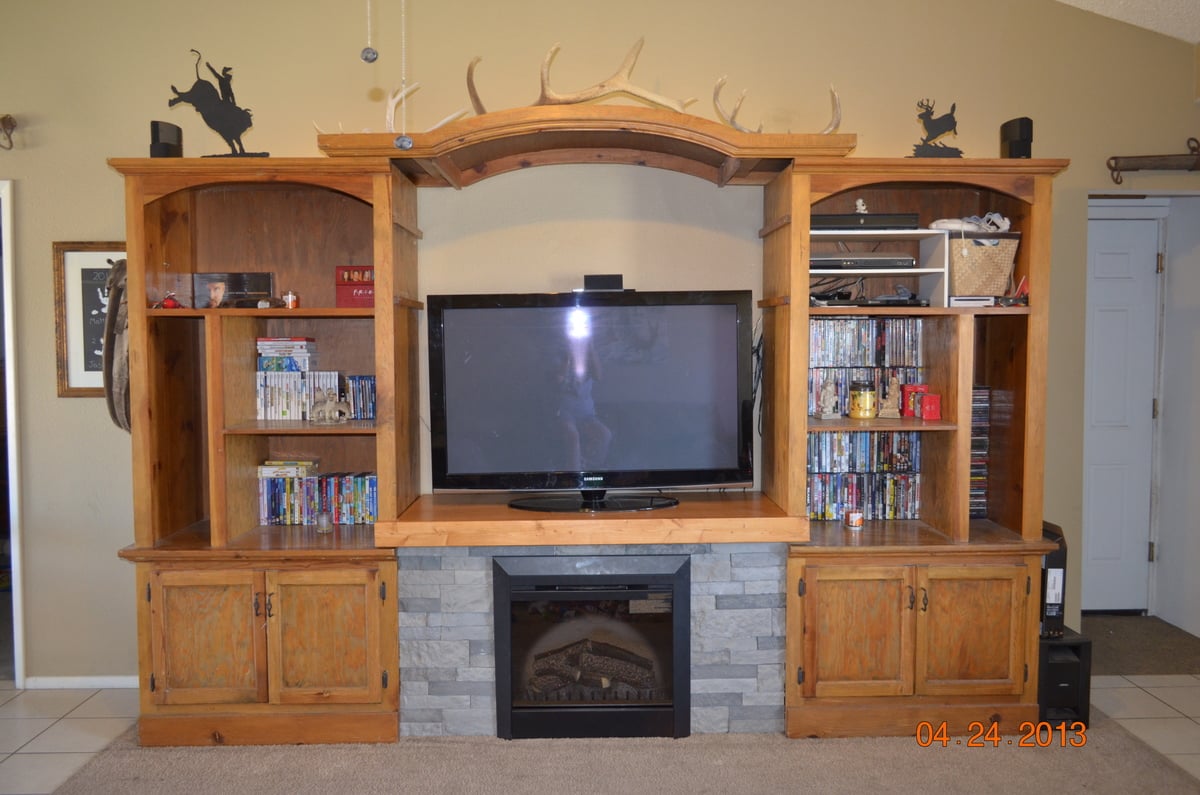
Modified from Ana White's Faux Fireplace with Hidden Storage Plan

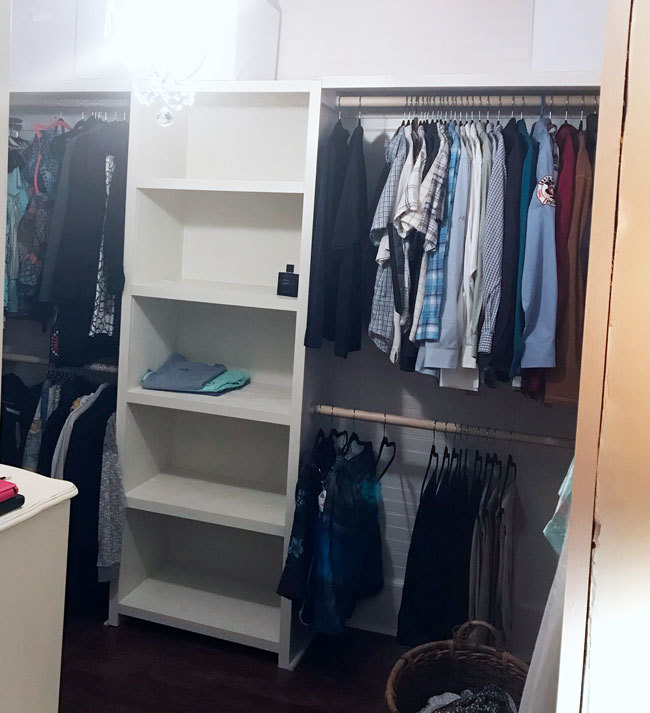
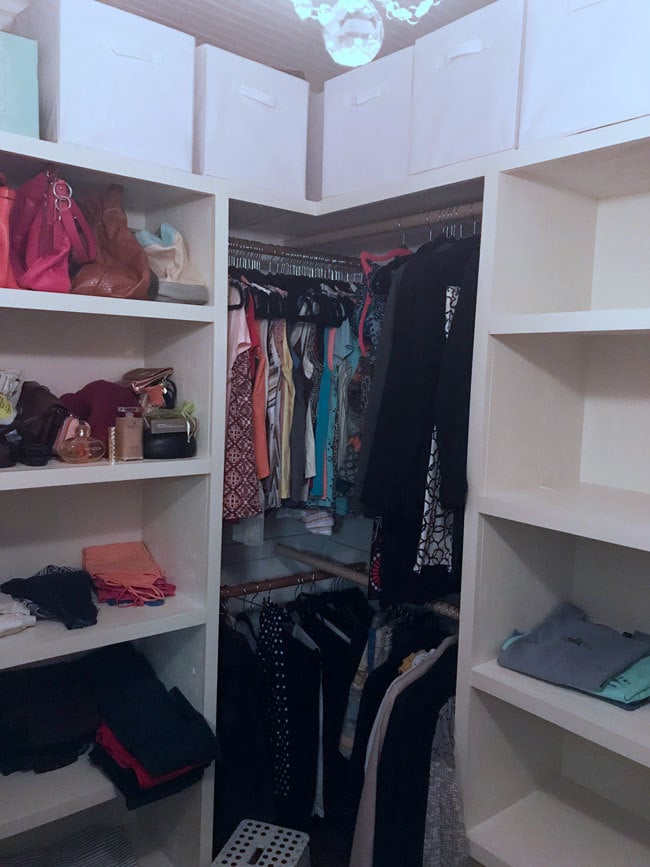
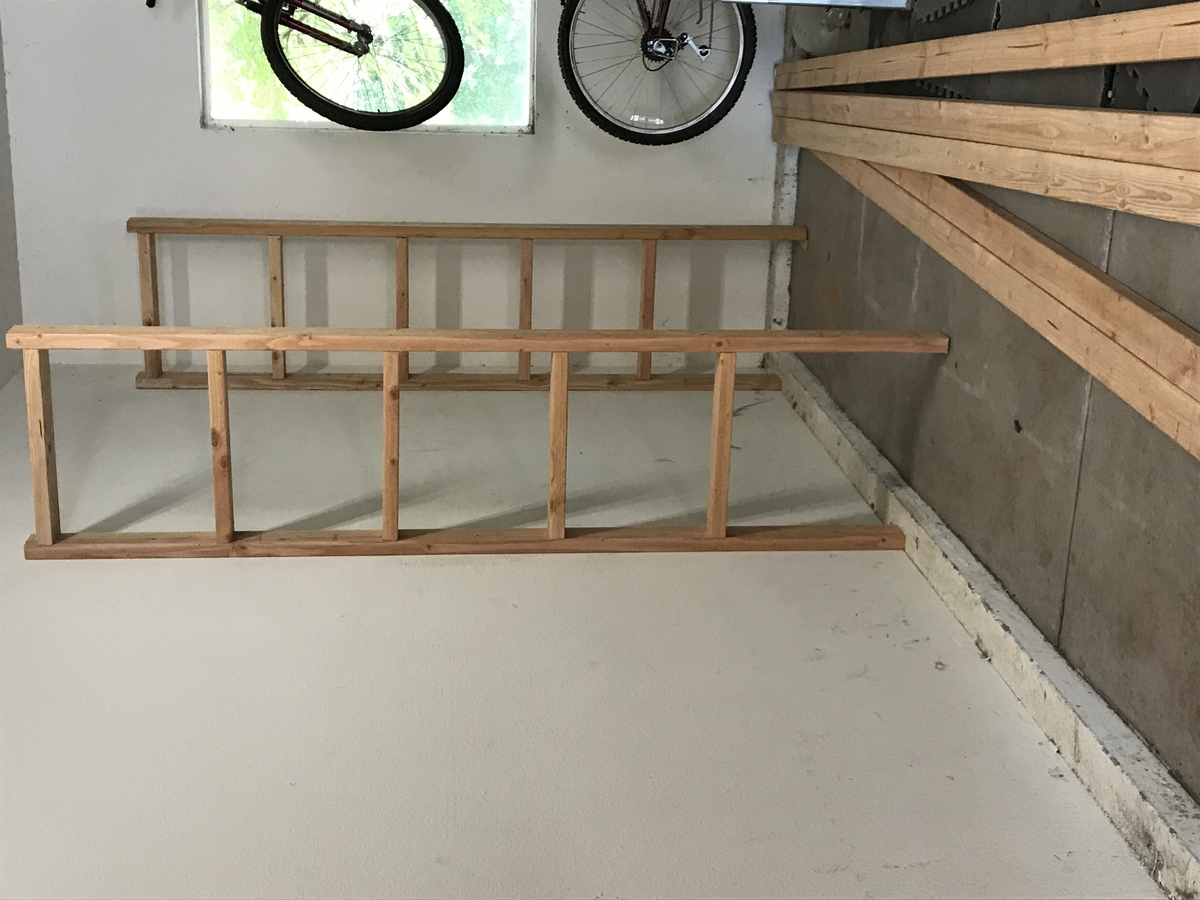
So thankful for the plans to build the closet shelves. They were key to our building out our new walk-in closet. Love it and this site! Onward to the next project!
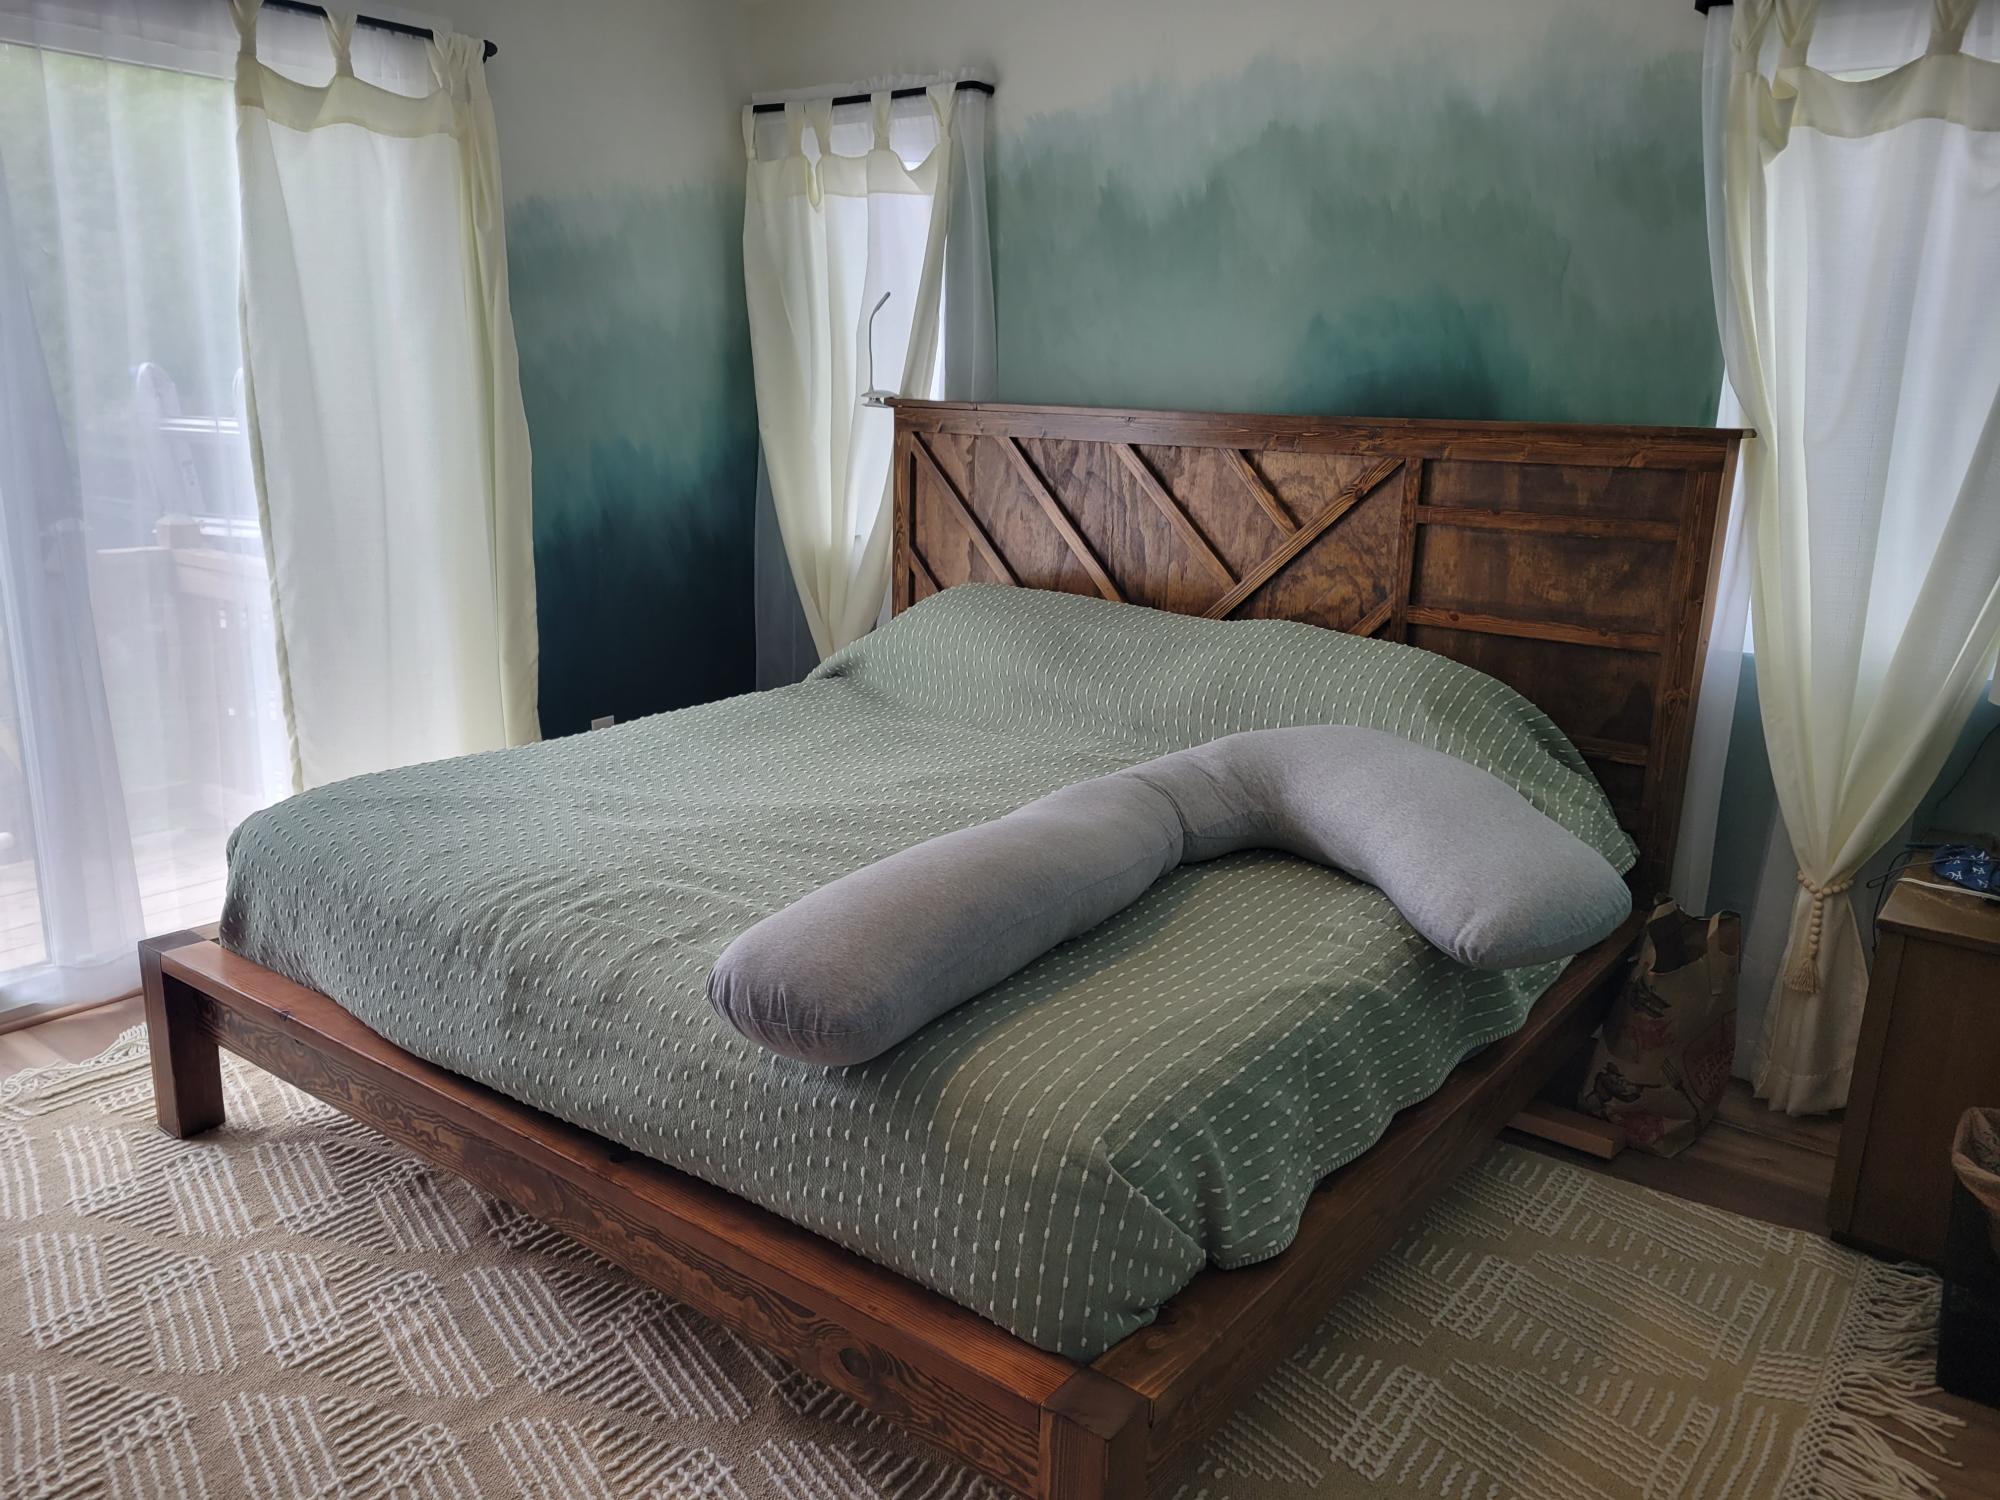
Took the Farmhouse bed model and incorporated a geometric headboard. This thing is heavy!


Thu, 05/12/2022 - 19:28
WOW, this is so pretty, way to go! Thank you so much for sharing!

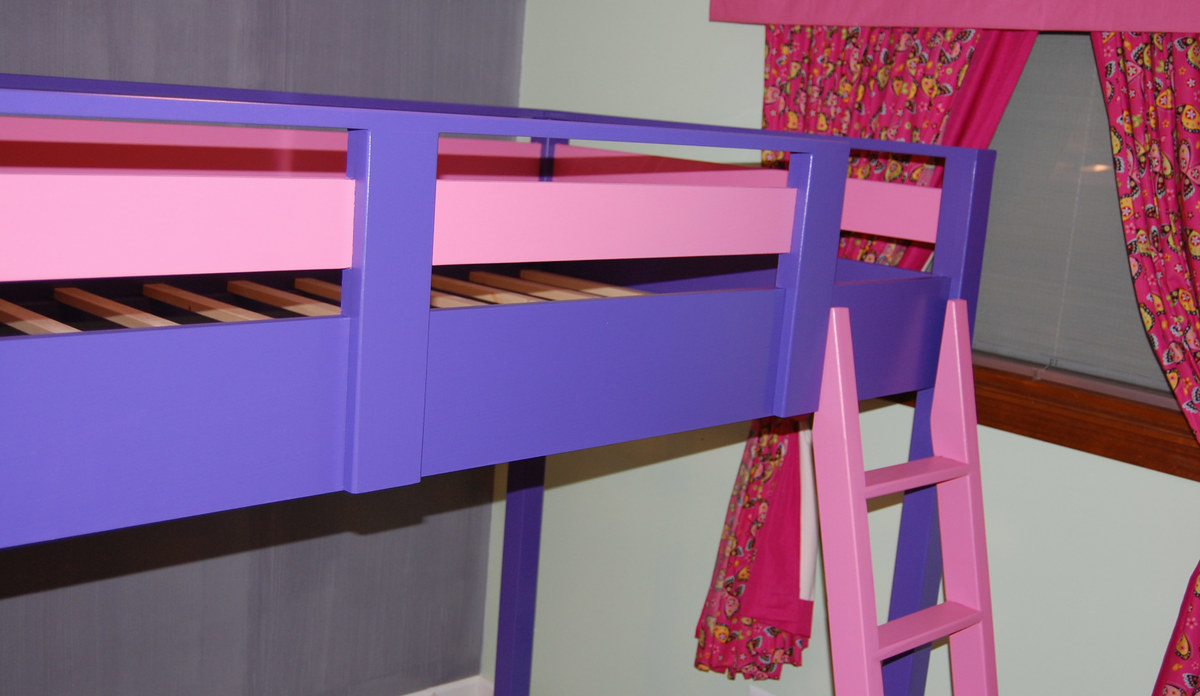
This was my first project from the plans I got from this site. I had a blast building it. Made it out of poplar so that it would be strong enough to support either me or my wife on it with our daughter. Directions were simple and easy to follow. Key to this project as mentioned is to be precise in measurements and square! My wife and daughter both love this bed and now have 3 more projects lined up for me. I am so lucky!!! What family wants you and urges you to build more things from wood!
Wed, 07/13/2011 - 15:38
Love the colors! We are going to do a combo of these plans and the cottage loft bed for my step daughter. She's almost 7 and really too tall for the cottage loft bed but she wants the playhouse look of it. I'm hoping of coming up with a way to remove the "walls" when she's a little older. I'm thinking of putting it in a corner like you did and then just do the exposed side and front. Your family is very lucky you are so willing to build for them:)
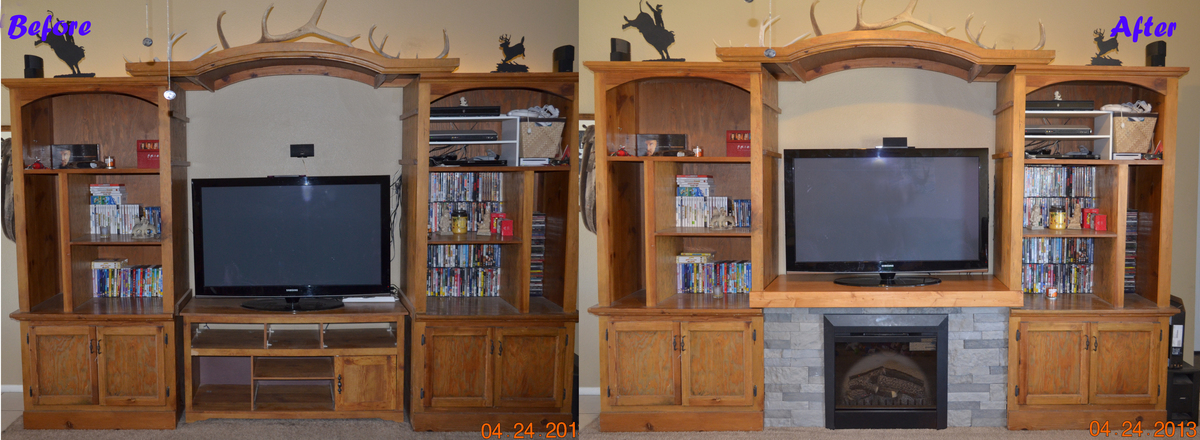
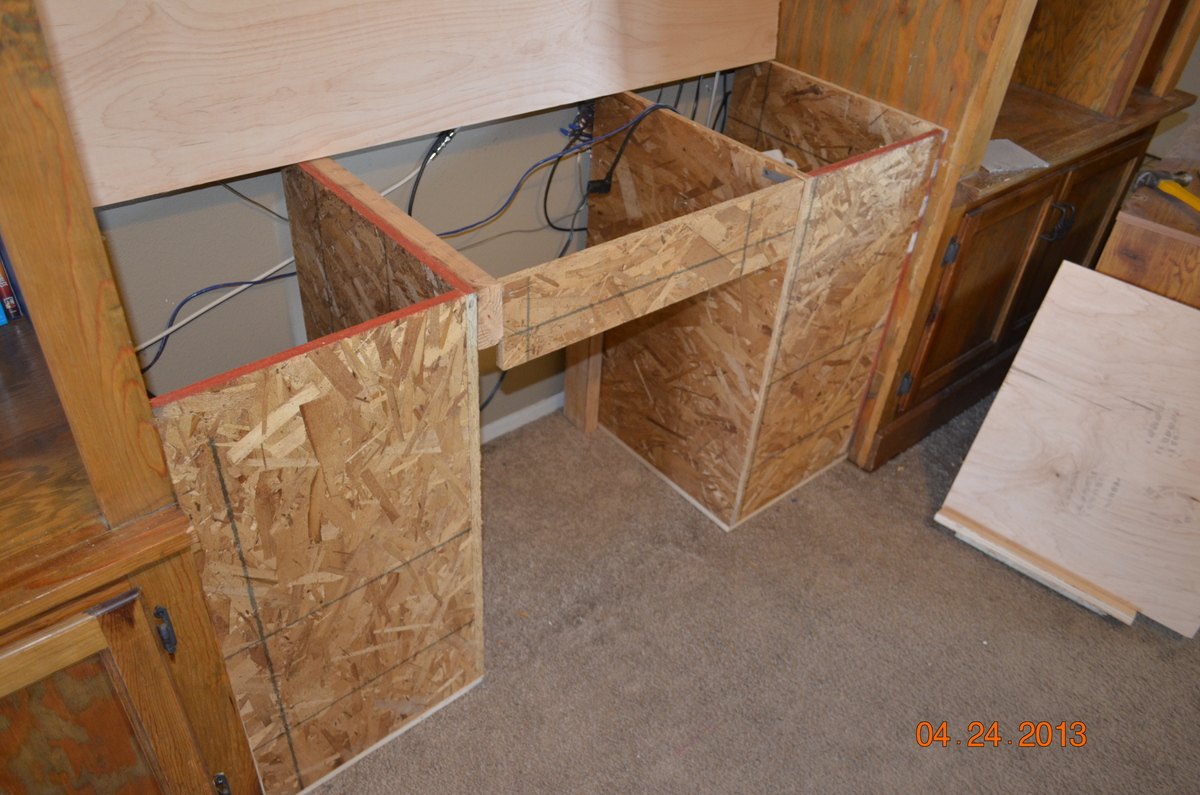
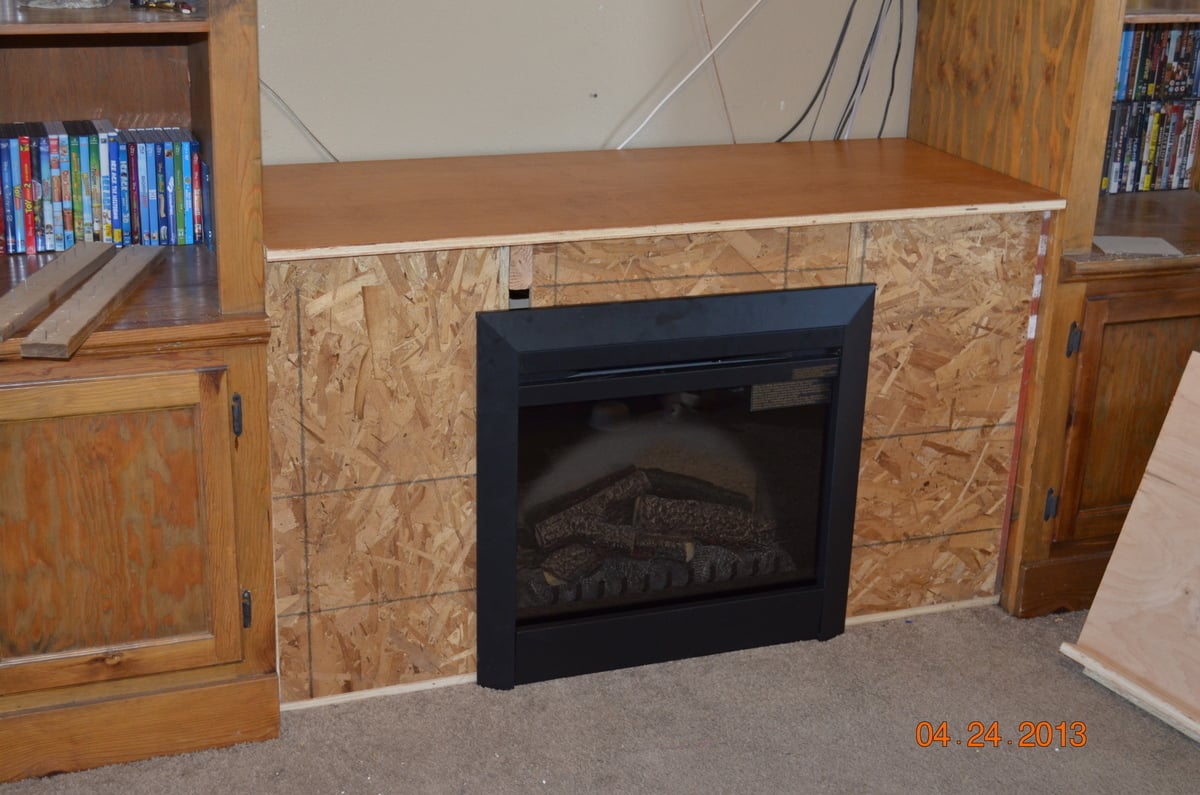
I have always wanted a fireplace, however I couldn't justify spending $600 or more for a flimsy electric TV stand. Not to mention, I have checked out the displays of these pieces at Lowes, and they are made from cheap materials that I do not want to sit my expensive TV on. We found the entertainment center on Craigslist for $100, because they got rid of their big projection screen TV (which many are doing these days). I looked for fireplace TV stands for months, and just couldn't find a piece that wouldn't look like a separate piece of furniture stuck in the middle. I found a new electric insert on Criagslist for $100 (normally about $250), and purchased the materials from Lowes where a nice employee cut it all for me. I glued and nailed the frame together, applied the AirStone, attached the mantle (a 2x4), and slid the insert into place. Overall, the project took about 4 hours to complete, and cost about $200 to build. (It could have been done for a bit cheaper, but I went with 3/4" plywood for strength and stability.)
Wed, 08/14/2013 - 10:28
I have an electric fireplace that is made with cheap materials. I've contemplated building a new surround for it, and your finished product and the pictures have made it seem more doable! Thanks for posting.
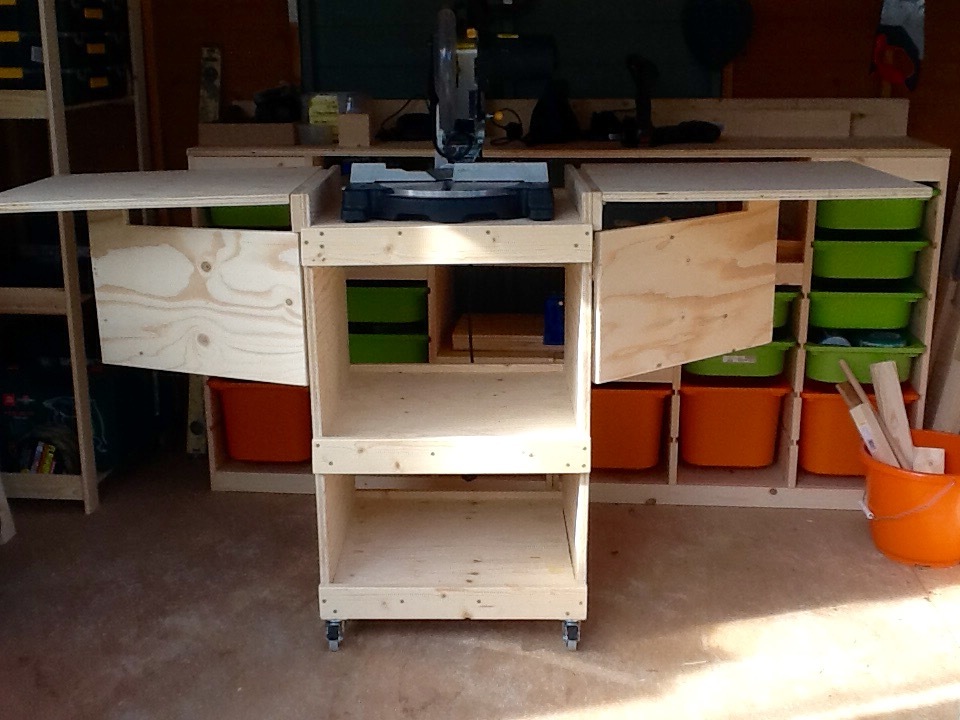
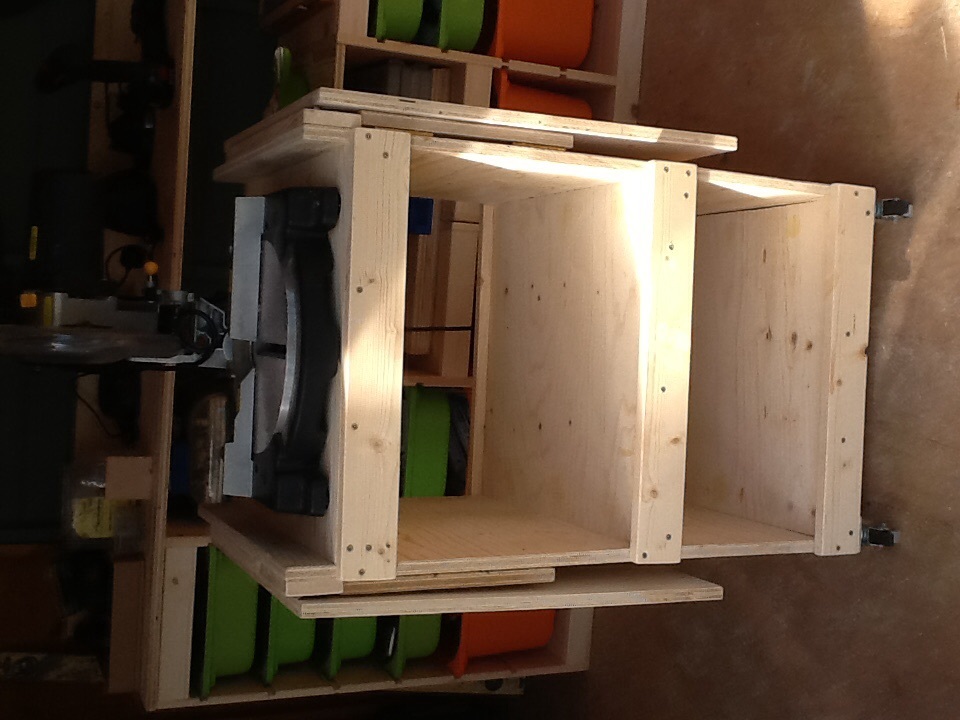
Adaptation to fit my little mitre saw, small workshop and the metric timber available in B&Q. My first build, this should let me build more while staying comfortable and safe. I'm ridiculously pleased with myself!
It took longer to build than expected because my little boy thinks naps are for wimps.
In case anyone in the UK wants to build similar, here's my adapted sizes.
18mm plywood cutting list:
2 85cm x 50cm (sides)
3 50cm x 50cm (shelves)
2 50cm x 60cm (leaves)
2 45cm x 30cm (leaf supports - replaced fancy brackets that were too expensive over here)
Timber cuts:
6 34mm x 34mm @ 50cm (cleats)
6 18mm x 70mm @ 52cm (supports)
2 18mm x 70mm @ 42cm (spacers)

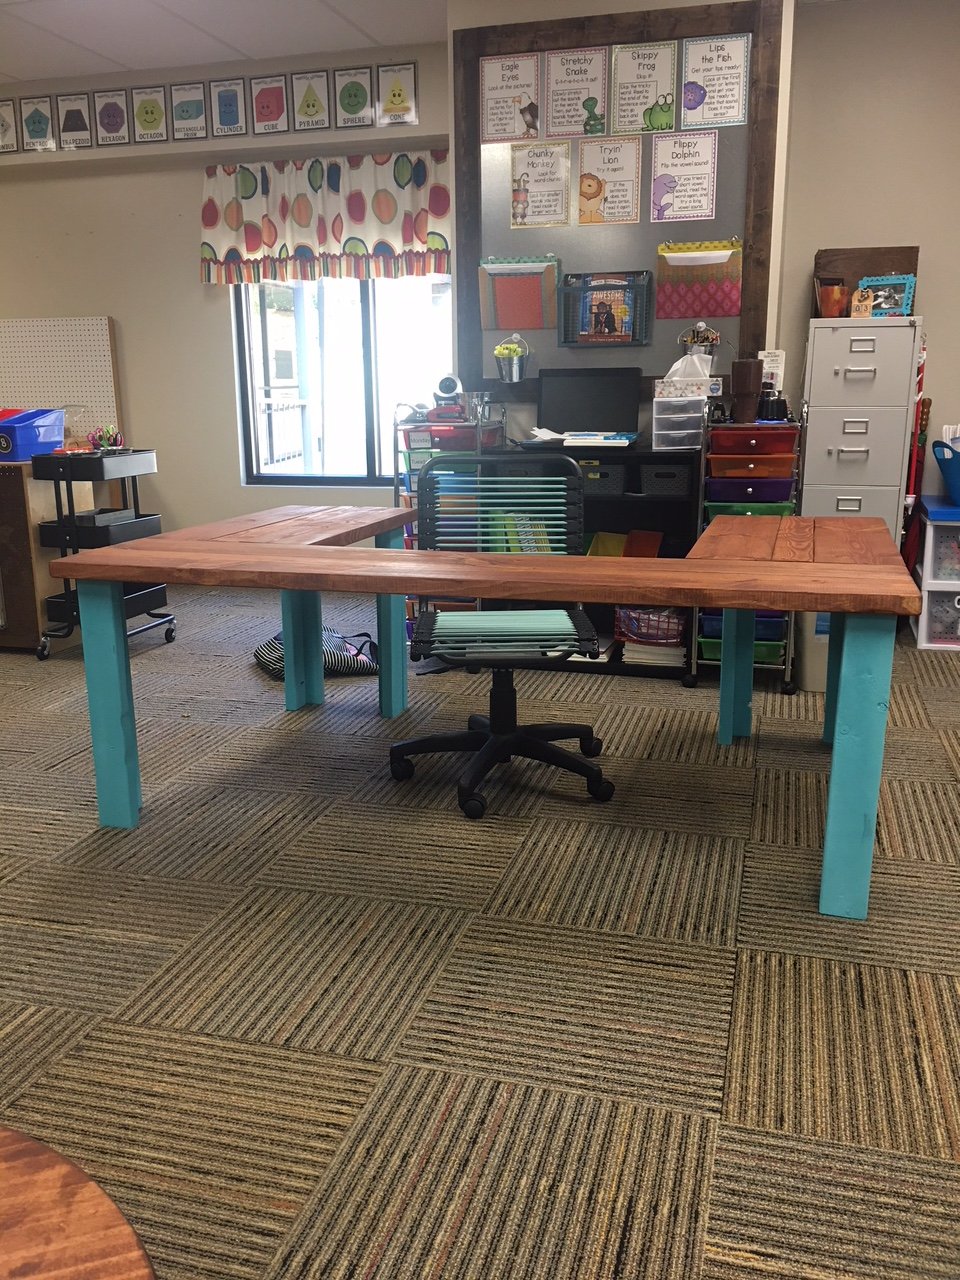
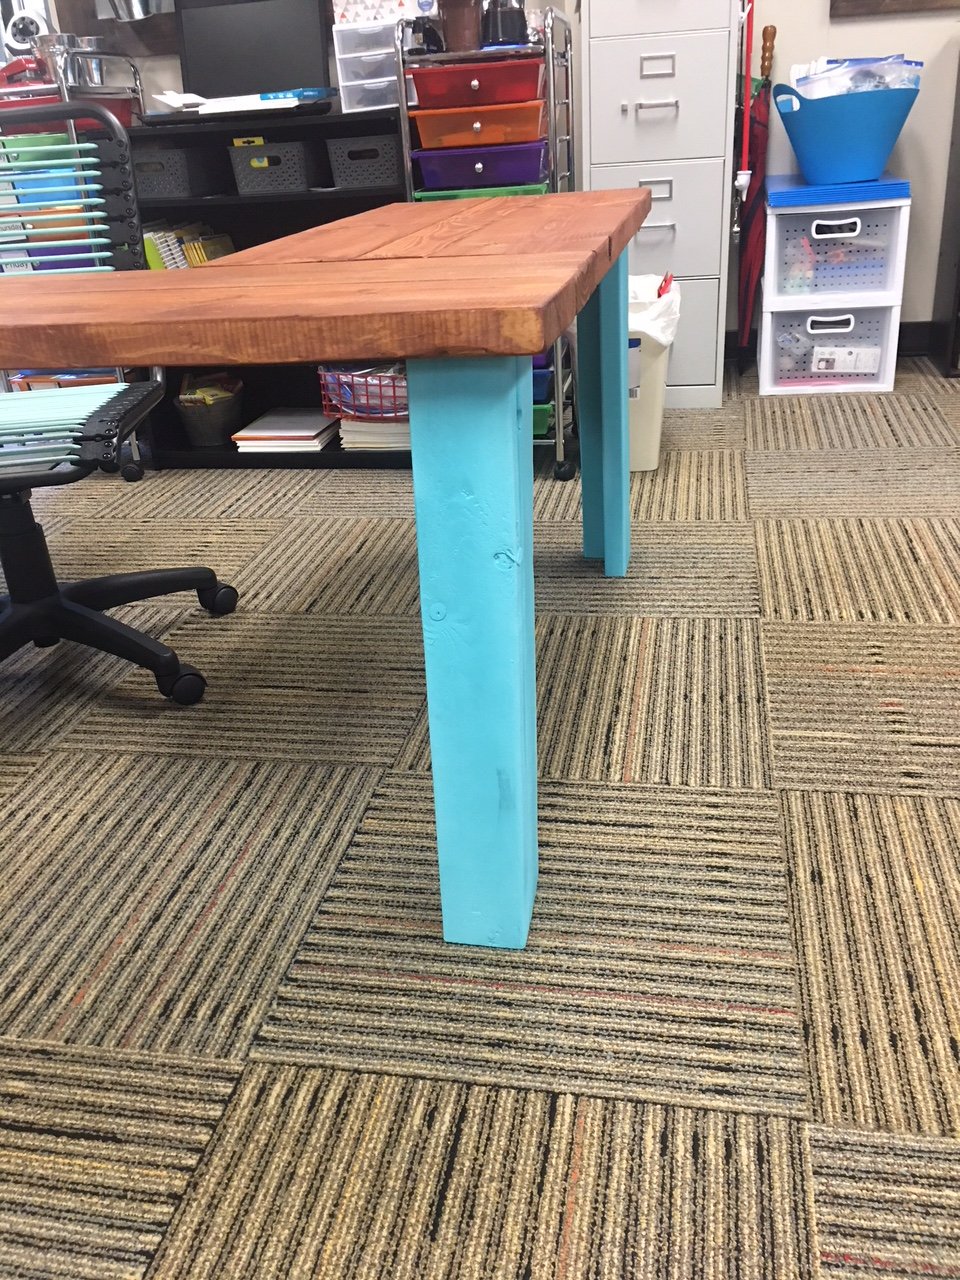
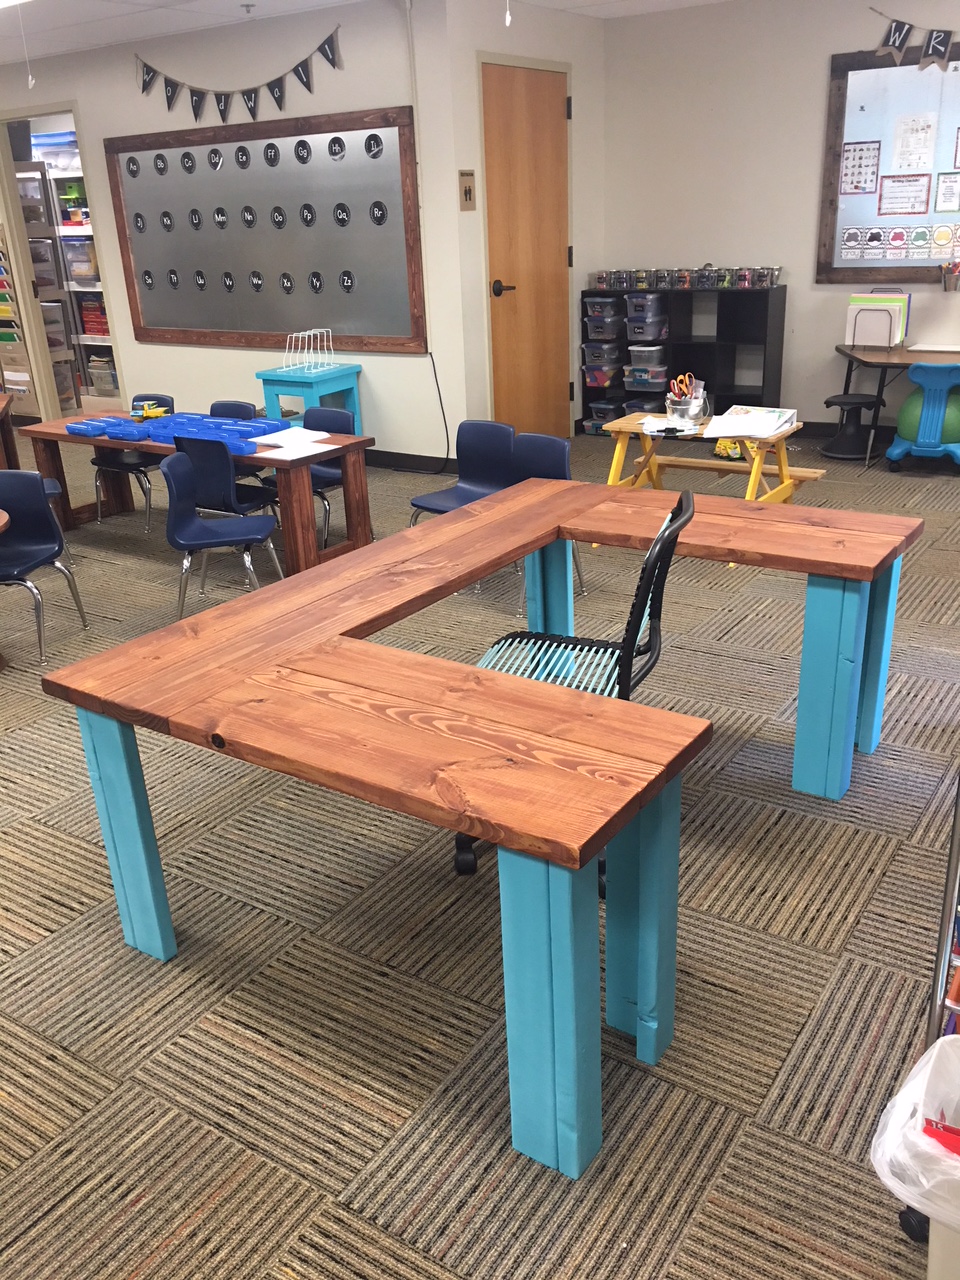
Been a while since I had time to actually build anything worth posting about! My wife wanted some items for her Kindergarten classroom this year, so built several items, most inspired by the Farmhouse family.

Sat, 06/29/2019 - 05:47
I love this! Can you give me the plans and list of materials for constructing it?
Sun, 06/30/2019 - 12:33
I am also a teacher and would love to build this desk for my reading class. Do you have plans?
Mon, 07/01/2019 - 18:05
I love this table for my classroom. Can you share the plans or the dimensions?
-Stephanie
Sun, 07/07/2019 - 09:46
I would love plans/dimensions for this! I was thinking I could also paint the top with wipe off board paint.
Sun, 07/07/2019 - 14:59
I would love to make one for my classroom. Can you share the plans and materials list for this table?? Thanks!!
Mon, 07/08/2019 - 19:11
I am looking to make this for my fourth grade classroom - can you provide the dimensions you used? Thank you so much.
Wed, 07/10/2019 - 11:59
Love this!
I would love this for my classroom! Can you share the plans and materials.
Thank You!
Mon, 07/22/2019 - 18:25
Anyone have any luck with figuring out the dimensions??
Thu, 07/25/2019 - 17:20
Has anyone gotten the plans for this table? I have contacted Ana White and tried other ways also. I would love for someone to share.
Thank you
Teri
Mon, 08/19/2019 - 12:09
I am guessing the corner posts are 2 x 4s, the top is 2 x 10s. It looks like the width is 6’ (looking at the floor carpet tiles being 24” square). So 2 - 2 x 10s side by side for the main part of the desk top and 2 - 2 x10s perpendicular on each side of the chair. I guess the height is subject to choice and the length of each side would also be subject to choice or to the length of the 2 x 10s to be economical.
an educated guess would be 4 - 8’ 2x10s for the top and 6 - 6’ 2 x 4s for the legs?
Anyone else have any input here? Open to suggestions.....
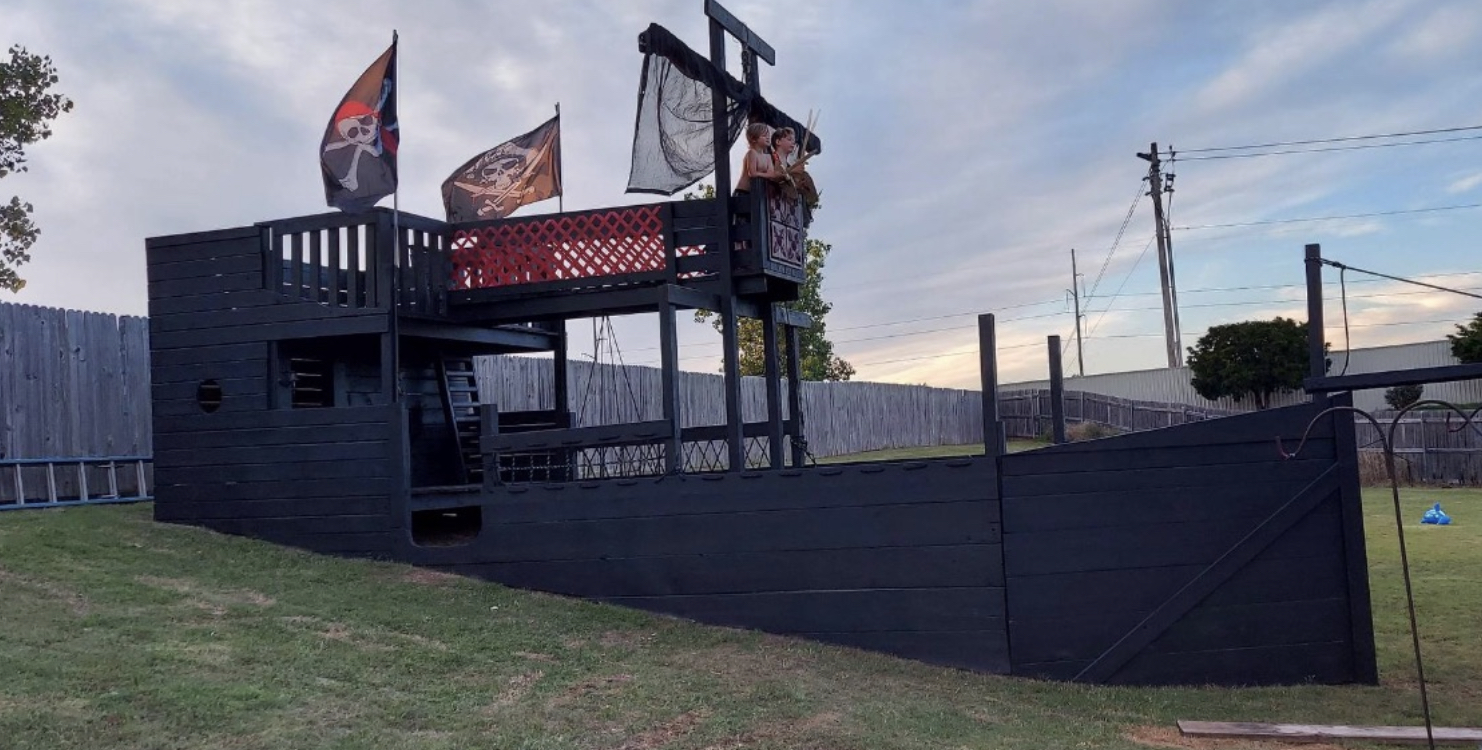
I started building this pirate ship in the spring of 2020. It kept getting bigger as a friend donated old lumber from his masonry company. He was going out of business and wanted to get rid of some of what you see here.
The ship is 24ft by 10ft.
I won’t papa of the year three years straight.
Thu, 05/26/2022 - 16:41
This is so awesome, thank you so much for sharing your creation!
When Ana posted these plans just before Christmas, I had to make one! I still don't have a use for it but I love it anyway! I made a few small changes and it was super fun to build! I can't wait to make a miniature one for my little guy!

We followed Ana's detailed plans for the Stratton Daybed from her book and her blog. We appreciate the help!
We made this for our twin nursery, so that I could have a place to feed, sleep and read to the babies. It is much more comfortable than having to squeeze myself and two babies into a single chair.
It took us a few days because we work and have a three year old. We decided to paint the inside of the storage spaces underneath to go along with the rest of the room.
A few mods with beefier lumber.
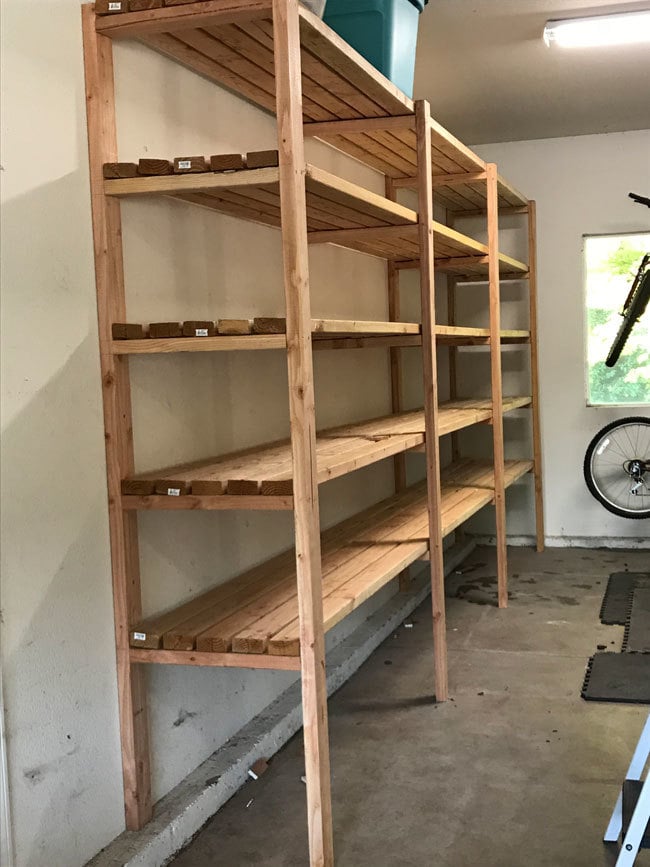
Designed to store 56 qt clear sterilite totes. Spaced 17” apart and used 5 2x4s so 23” deep. We have a lip of our foundation that sticks out so we had to adjust for the difference in leg heights.
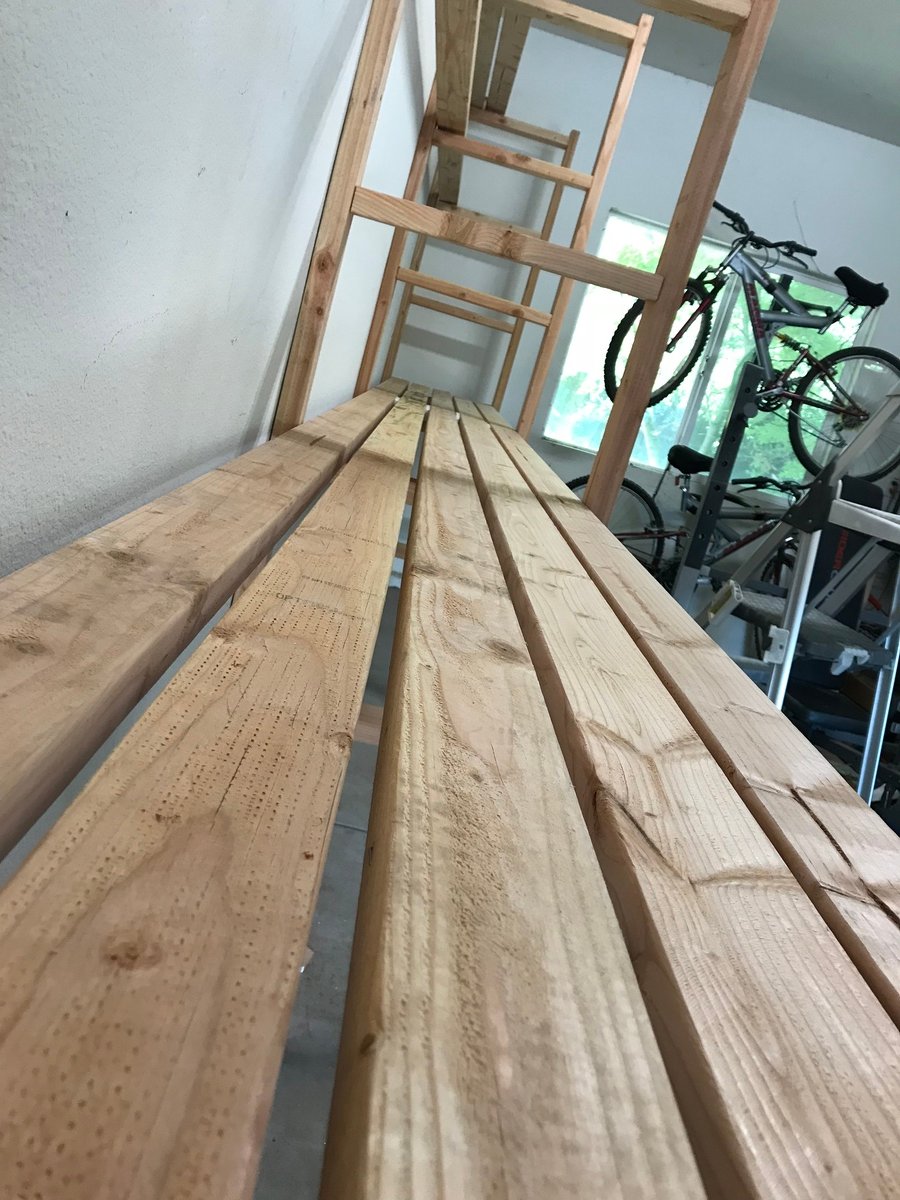
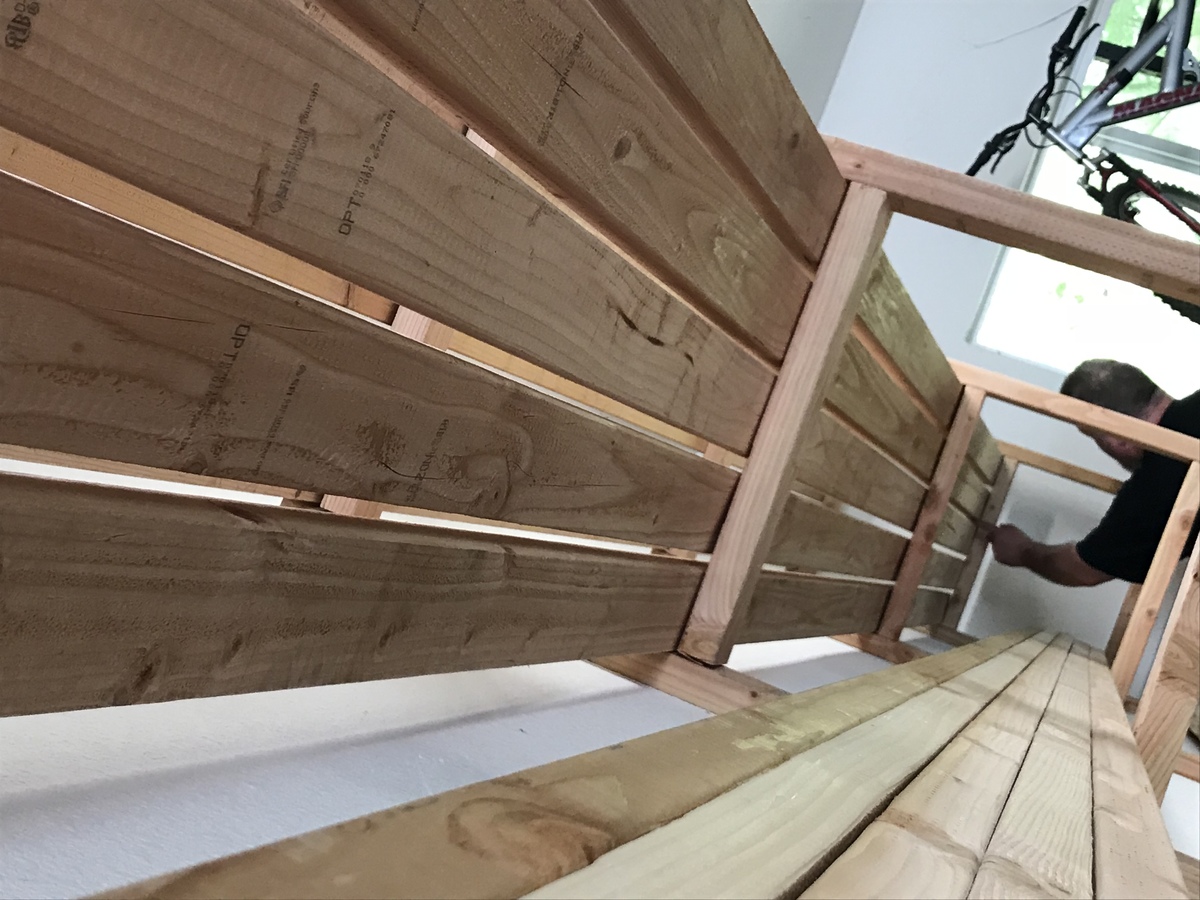
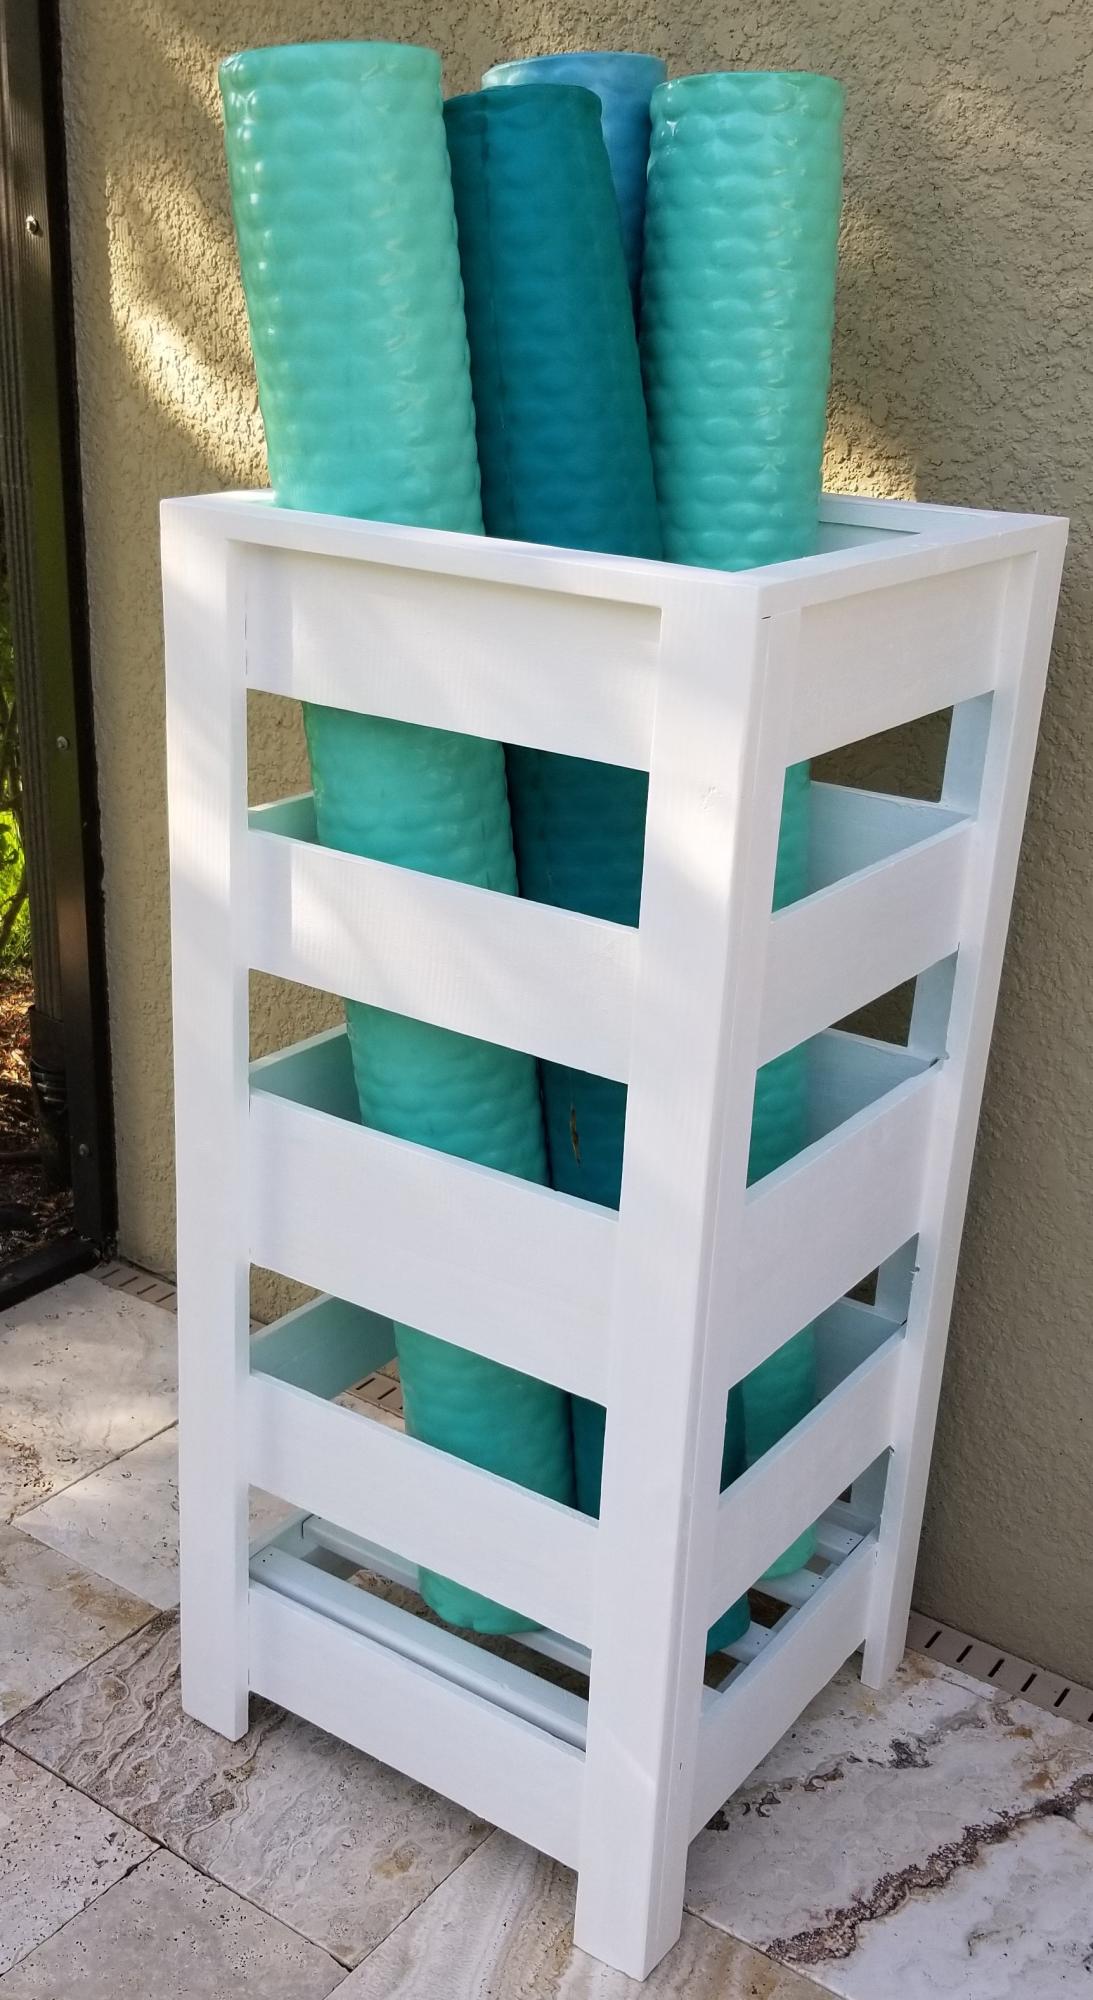
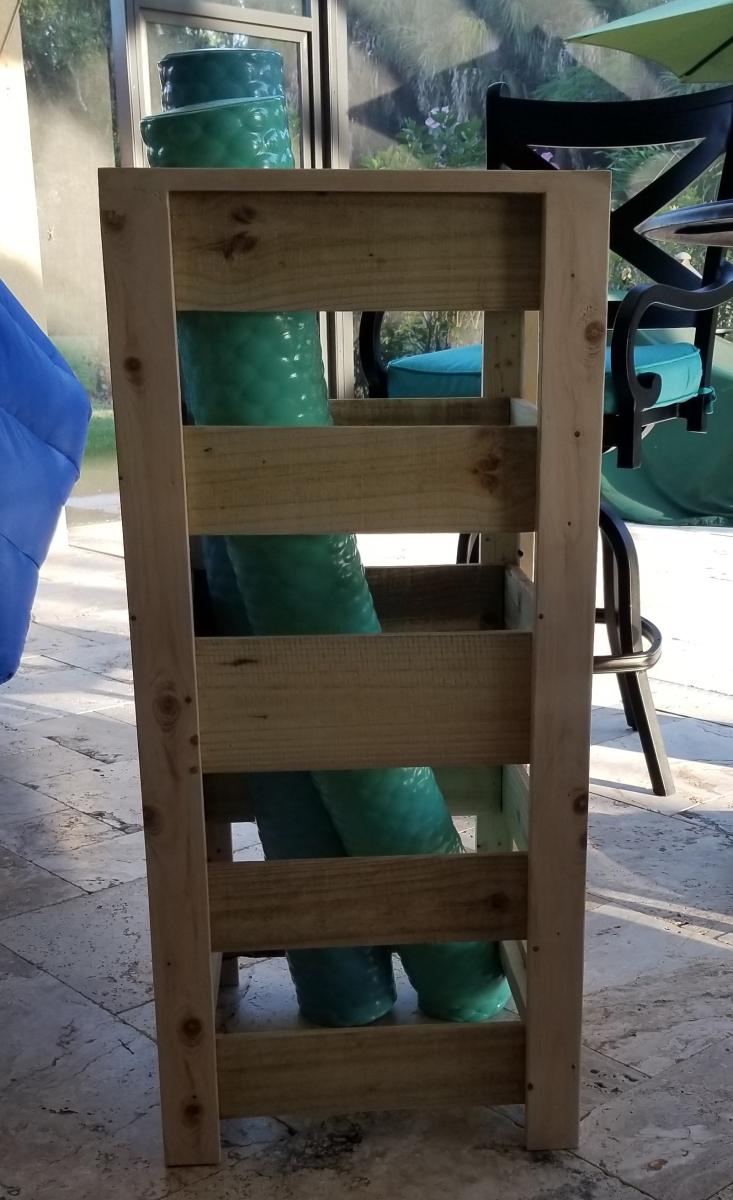
I modified the plans for the planter box to make a holder for Pool Noodles. I made it 40" tall and used 4-4" fence pickets and 1-5.5" fence pickets. I used a 4" spacer and the openings worked out perfect. I stained inside and out since it would show with 2 coats of the solid stain. It is perfect! Thank you so much for the inspiration and plans!
Mon, 06/06/2022 - 14:04
This is so smart and looks great too, thank you for sharing!

With only a few changes from the original plan this farm table is my first furniture build. The legs are removable on the table and custom sized for our breakfast nook. I very much enjoyed building this all thanks to Ana!
Thu, 12/08/2011 - 06:34
No one has commented on this table, yet? It looks great. I'm loving the white bottom with the stained top. Im probably going to steal the idea for a project in the near future.
Tue, 01/24/2012 - 07:34
Can you share the specifics on your mods? This is just what I want for the breakfast nook i'm going to build!
Sat, 10/29/2016 - 07:07
Hi, could I please have the DIY plans for the breakfast farmhouse table? Thank you!
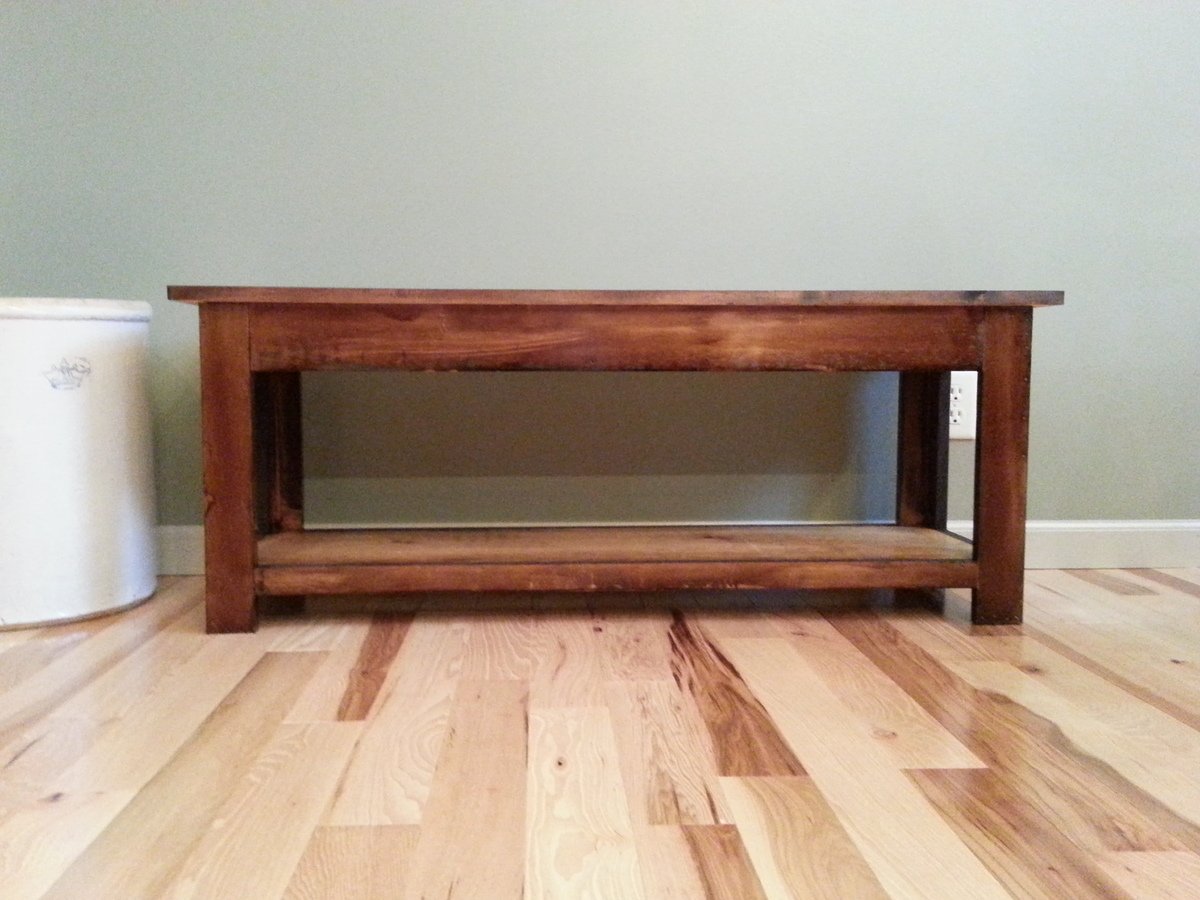
Another bench for another wedding gift.
We've made another already to keep in our kitchen. Looks great, thanks again for the plans.
We opted not to incorporate the storage/ flip top. Just a simple sturdy, great looking bench.
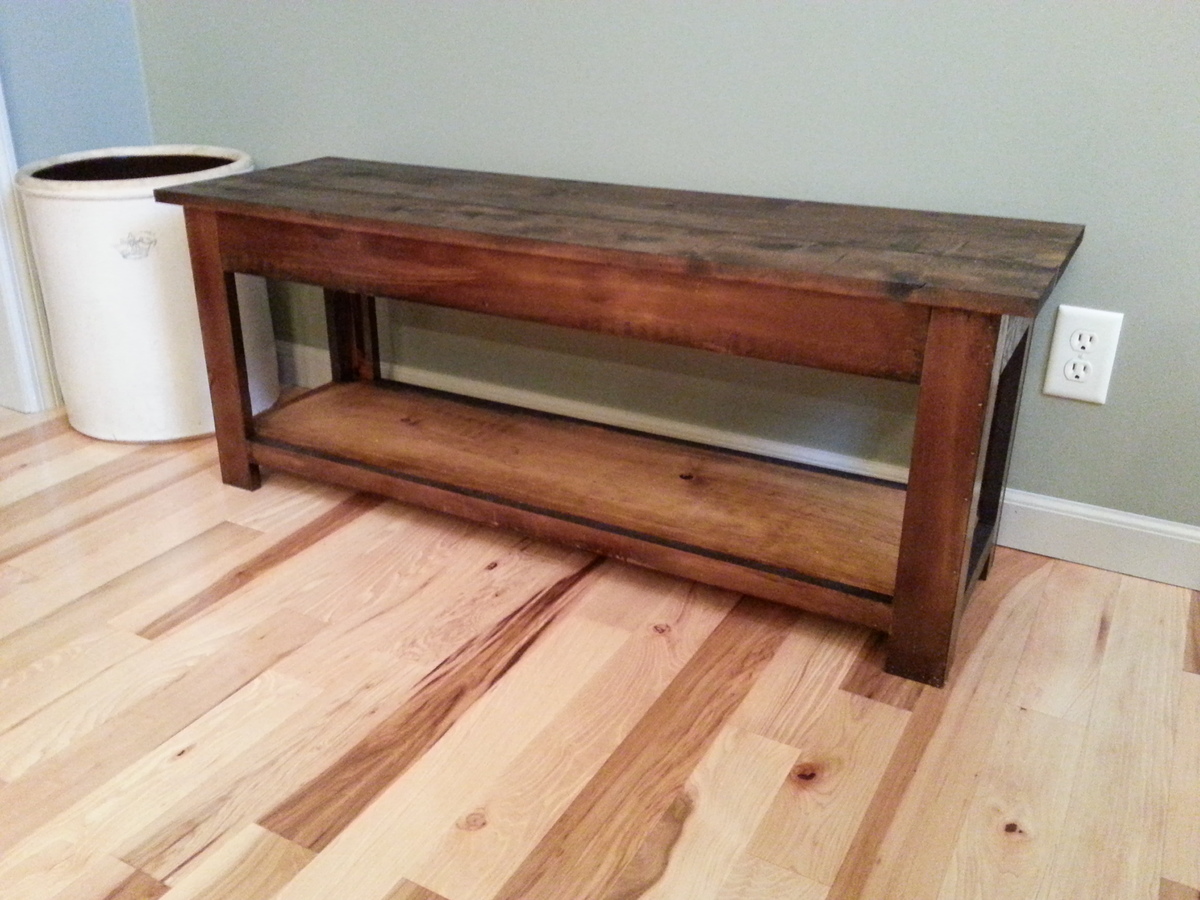
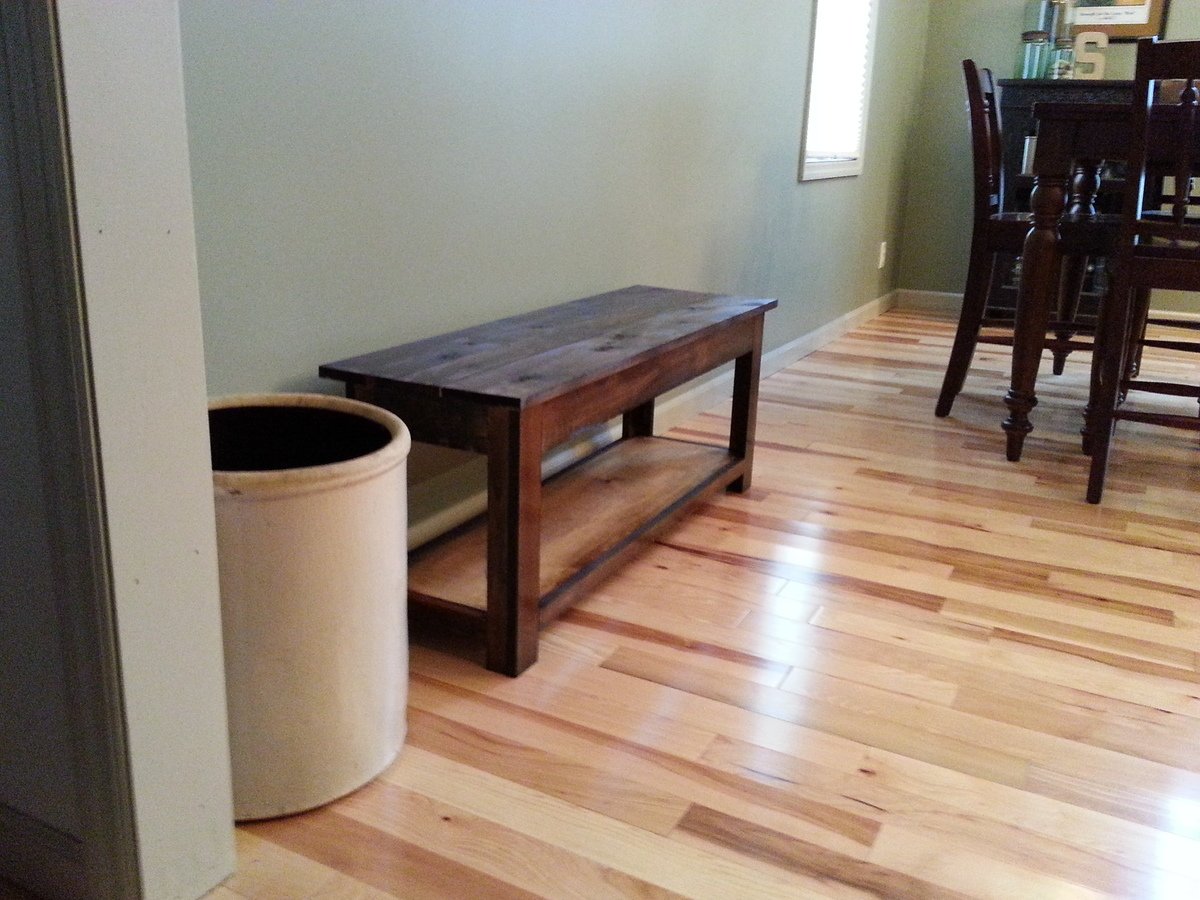
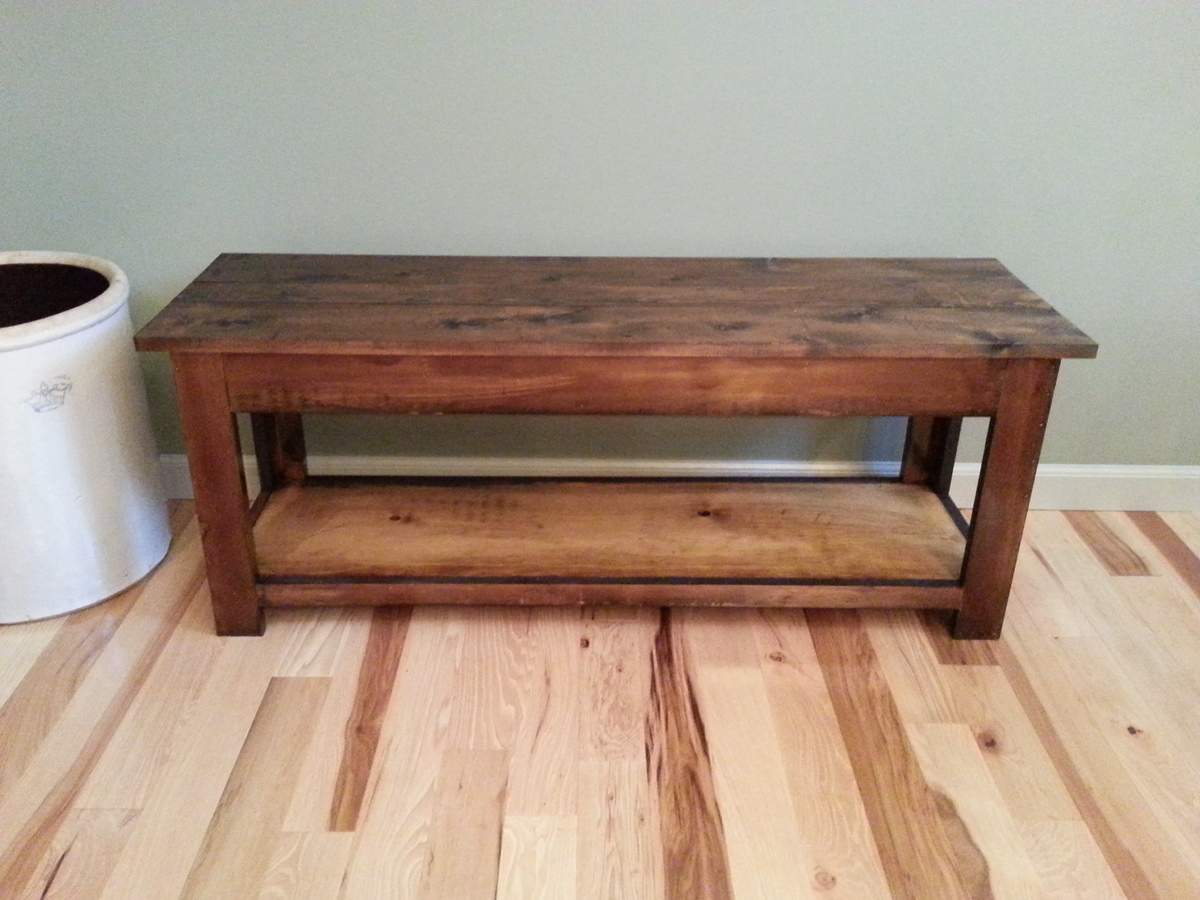
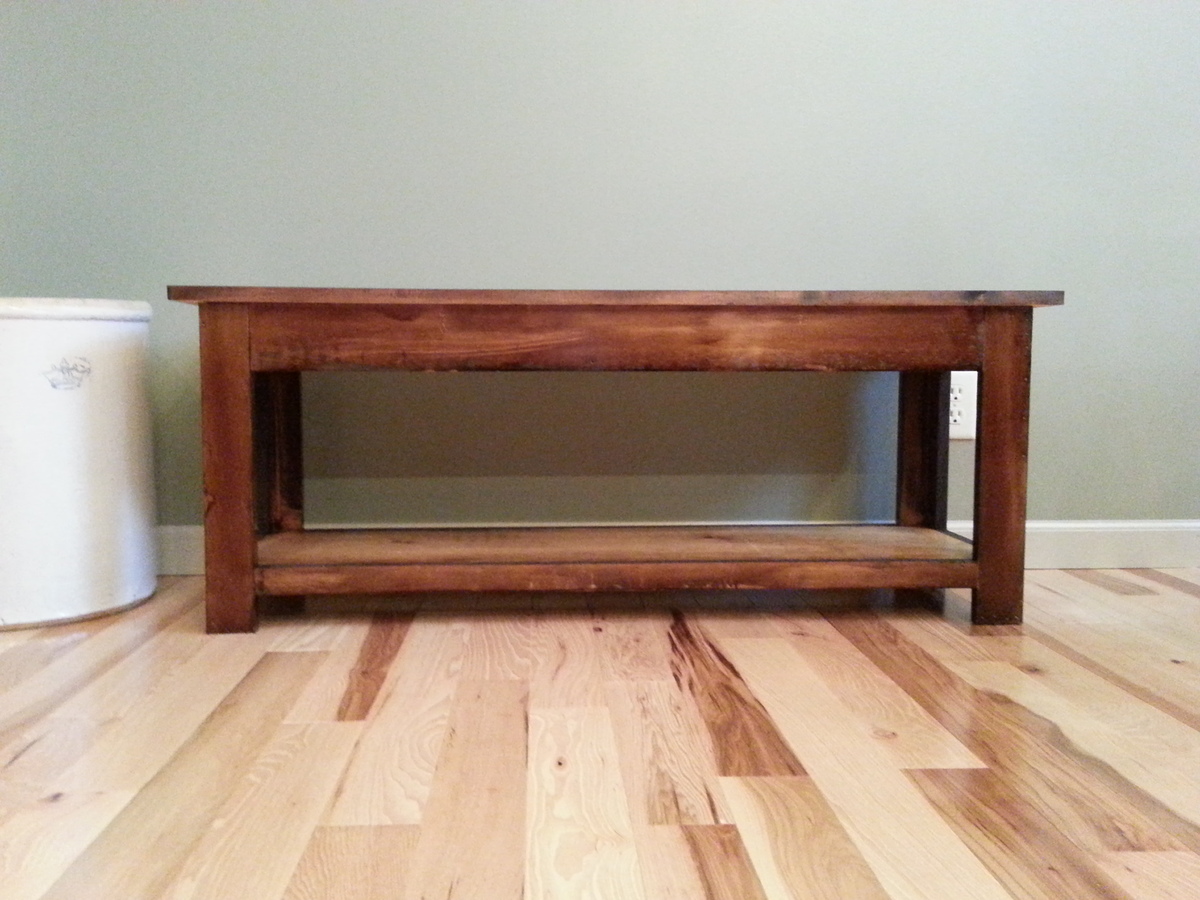
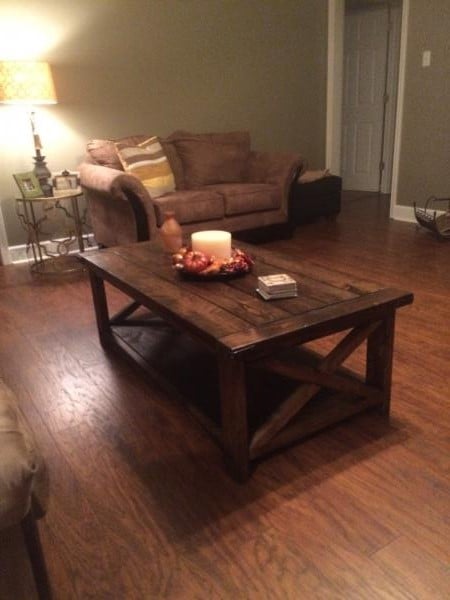
Table is 4 1/2 long. Used
the farmhouse end. And used 2x12 for bottom instead of 1x12