Community Brag Posts

4x4 Truss Bench

Submitted by JustJ on Sun, 11/17/2019 - 07:01

Fun project. Quite easy,  but extremely sturdy.   Gonna work great for kids. 

Built from Plan(s)
Estimated Cost
$75 for two
Estimated Time Investment
Afternoon Project (3-6 Hours)
Finish Used
Dark Walnut
Recommended Skill Level
Intermediate

Farmhouse bed, a jungle gym until my 1yr old figures out what its really for!

Submitted by motatribe on Sun, 03/18/2012 - 17:09

this is an awesome project for beginners. i had the luxury of a chop-saw which sped things up but a skill saw would have also sufficed.
4x4 posts are pine and so too the tung and groove panelling. all the rest is KD Spruce.
if your looking at this project and feeling a little intimidated (as i was) just do what i did. go out, buy all the material. this way you'll almost feel compelled to at least give it a go rather than having the material collect dust in the garage. grrrr.... i hate clutter!!!
good luck guys and great site Ana, thanks so much for helping us all out :-) i know my son is gonna love this bed in a year or so's time...
i really do recommend buying a Blk and Decker mouse sander. these are amazing and really reach into every nook.
i have to also mention that my bed is real easy to take down, i used galvanized steel plates to mount the side rails, pls see pics. i used 2x2 cleats to support the 1x4 slats which i can roll up with the fabric that i stapled to them. also used 1/4" dowels to hold the slats in place. i got this idea from ikea.

Built from Plan(s)
Estimated Cost
$200, (incl, glue, paint, filler, chop saw blade etc)
Estimated Time Investment
Weekend Project (10-20 Hours)
Finish Used
2 coats of General Paints trim paint, 2 drops blk per gallon. I chose not to prime as i wanted to see the wood grain come through... filled between 2x4/2x6 etc with wood filler and in the tight corners i used alex white w/silicone. alex w/silicone will expand and contract with the wood and is paintable.
Recommended Skill Level
Beginner

Comments

Ana White

Sun, 03/18/2012 - 23:28

So nothing is even near as special or darling as your baby! But I love your Farmhouse Bed! I can't believe this is your first project! Smart to use the brackets too! Thank you so much for sharing.

Tv media console with side DVD storage

Submitted by tommybo76 on Wed, 01/08/2014 - 20:12

I built this media console using mainly 3/4 inch maple plywood which the store cut to 2 foot by 4 foot sections for me. I used 1/2 inch plywood for the doors and DVD storage. Overall I'm happy with the look of the stained plywood, however I may have used a darker stain if I could redo it. I finished with 2 coats of polyurethane in semi gloss. I may remove the drawers and replace with baskets as I am a little unsatisfied with the design I chose which has the front face sticking past the rest of the console. I really like the hidden storage for movies and am overall very happy with this project.

Estimated Cost
$150
Estimated Time Investment
Week Long Project (20 Hours or More)
Finish Used
Water based stain and semi gloss polyurethane (2 coats)
Recommended Skill Level
Intermediate

Comments

Bunnie1978

Thu, 01/09/2014 - 08:00

You could probably fix the drawers to be inset pretty easily. May require repositioning the slides, if you used them, and trimming the face of the drawer to fit inside the cabinet. Unless the whole drawer is glued up, or the full depth of the cabinet - that might make it a little harder. You could also add a design element to the doors - such as a graphic cut out or just a frame that would bring the doors out to the same position as the drawers, so they match. Even just a rectangular frame out of plywood - perhaps stained in a darker color.
Good job!

tommybo76

Fri, 01/10/2014 - 16:07

Thanks Bonnie and Pam! I think you are both correct and I will simply modify the drawer design to be inset. They are on slides that should be easy to move/modify and I really like the idea of staining the fronts a darker color!

Farmhouse Table

Submitted by kelseyt15 on Mon, 11/25/2019 - 11:11

My first project! I was surprised how much fun and how easy it is to build something that’s beautiful & functional. I’m hooked! I can’t wait to build more!

Estimated Cost
120
Estimated Time Investment
Weekend Project (10-20 Hours)
Finish Used
Special Walnut & Weathered Oak
Recommended Skill Level
Beginner

Wood Nightstand

Submitted by Anonymous (not verified) on Sun, 07/30/2023 - 15:03

I loved the look of the original but went with more of an antique icebox feel. Made from cherry and aged with lye and a danish oil top coat.

reader build

Comments

Composite/Plastic Wood Little Kids Picnic Table

Submitted by katonca on Tue, 03/20/2012 - 15:49

I used some leftover boards from our composite deck for the surface part of this picnic table. I used a lot of Kreg joints to screw up into the boards from underneath, so I didn't have many exposed screw heads. I did have to redesign this plan slightly for me because of my composite board width. Ended up costing $5 for the 1x3 spruce, and I finished it with primer and exterior latex paint leftover from painting our garage doors.

Built from Plan(s)
Estimated Cost
$5
Estimated Time Investment
Afternoon Project (3-6 Hours)
Finish Used
Primer and exterior latex paint.
Recommended Skill Level
Beginner

Comments

ChiclyHandy - Chestwick Bed frame

Built the Chestwick Queen Size platform bed - see my blog for complete details. http://chiclyhandy.blogspot.com/2014/01/chestwick-platform-bed.html

Estimated Cost
$120
Estimated Time Investment
Day Project (6-9 Hours)
Finish Used
Minwax Dark Walnut
Minwax Polycrylic Top Coat
Recommended Skill Level
Beginner

Horse Stable

Submitted by Anonymous (not verified) on Sat, 11/30/2019 - 14:06

Loved creating the Ana White Horse Stable with a few additions! I added planters and twinkle lights for my girl!

Estimated Cost
$55
Estimated Time Investment
Afternoon Project (3-6 Hours)
Finish Used
Fusion Mineral Paint and Minwax Stain
Recommended Skill Level
Beginner

Double Shed Coop

Submitted by Anonymous (not verified) on Sat, 08/05/2023 - 09:31

Our family decided to raise chickens but needed a place to keep them safe at night. We used your shed plan and adapted it to create necessary venting for the chicks.

Since we had 16 chickens we knew one coop would not be enough space so we built two. We created a vented tunnel between the two coops so the hens could go back and forth between them as they wished while still being protected. The girls are very happy in their new space!

Thank you for your great plans.

Holly

Built from Plan(s)

Wrapping Paper Shelf

Submitted by sophie on Fri, 03/23/2012 - 11:42

I made this wrapping paper shelf using spruce wood and painted it the same colour as the wall it hangs on. It was a really simple project. was a bit nervous about cutting the angles for the dowels to slot in but it was actually really simple. A great way for easy access to wrapping paper! I also made some little boxes out of plywood to go on the shelf for ribbons, envelopes etc.

Estimated Time Investment
Afternoon Project (3-6 Hours)
Finish Used
Light blue latex paint to match my walls
Recommended Skill Level
Beginner

Comments

Kandis (not verified)

Wed, 08/08/2012 - 08:42

I love this. I was thinking of making a version of this for the kitchen since I bake a lot. I was going to try this with the parchment and wax paper and maybe the aluminum foil.

Seasonal And Holiday

Hanging Beds Complete!

We decided to make loft beds for our girls room to offer them more space and also give them some individual room. The old room had daybeds that just took up so much of the room.

I saw the hanging beds on this site and thought they would be great. So I got to work.. I used 1x4 s for the platform to lighten the weight of the bed. I had to customize the sizes a bit but that wasn't a big deal. I used the Kreg jig to joint the 2x4s as well as on the rail posts. They are attached below the platform to the front 2x4. We also used chain rather than rope as chain doesn't give.The ladder I made from 2x4's and used the K Jeg to get tight joints underneath the rungs..at 6'2" and 185 lb they are pretty sturdy..

We are really pleased with the results. The girls love them. Each has their own desk space now, they shared one before, and their own storage space. And it has actually help keep their room clean.. ha....

Cost us with all wood, supplies, hardware, paint, about $150-175

Estimated Cost
$150-$175
Estimated Time Investment
Week Long Project (20 Hours or More)
Finish Used
Satin white primer-paint (All in one can)
Recommended Skill Level
Beginner

Hanging Bookshelf for Toddler Bedroom

Submitted by Anonymous (not verified) on Mon, 04/04/2016 - 13:46

this was super easy and a quick project!  used some wood I already had and it worked perfect for my toddler son's bedroom!

Built from Plan(s)
Estimated Time Investment
An Hour or Two (0-2 Hours)
Recommended Skill Level
Beginner

King Bed Frame

Submitted by Anonymous (not verified) on Sun, 12/08/2019 - 21:18

My daughter got a new king mattress. We went shopping for a bed frame, they were all really expensive or junk. Decide to make our own. So far its coming out great. Total build time 5 hours.

Built from Plan(s)
Estimated Cost
220.00
Estimated Time Investment
Day Project (6-9 Hours)
Recommended Skill Level
Intermediate

Modern Bunk Beds

Submitted by Anonymous (not verified) on Sun, 08/13/2023 - 11:56

My latest project - a bunk bed for our grandboys, coming to visit in a few weeks from Germany. The end slats are connected with 36 stopped mortise and tenon joints. The rails are connected with 8 through mortise and pegged tenon joints. The drawer pulls are walnut and large enough for a toddler to operate with both hands. The fences use dowels and are pegged on the ends. The ladder utilizes a french cleat to hold it in place.

https://www.facebook.com/randallgroves

Built from Plan(s)

Sandbox with bench seats

Submitted by Fuchsia on Mon, 03/26/2012 - 18:00

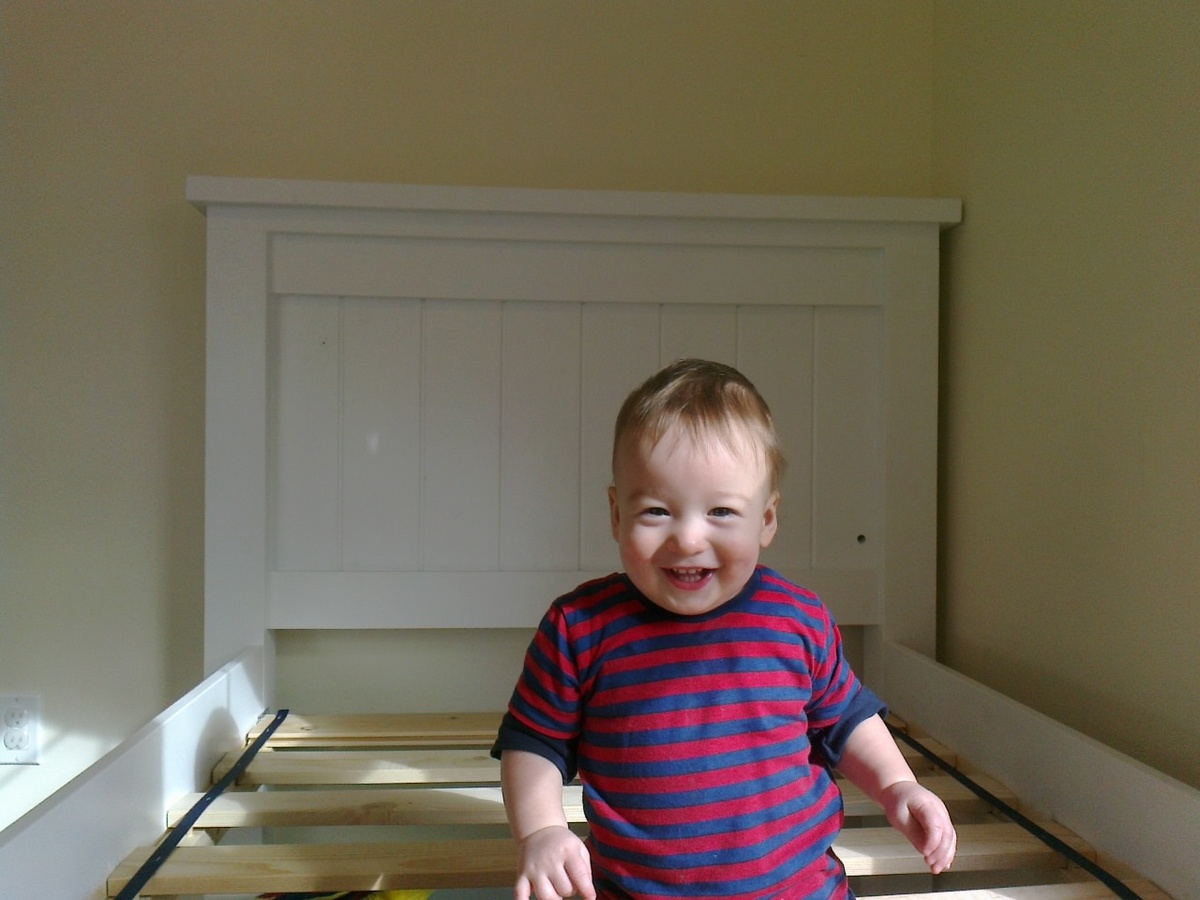
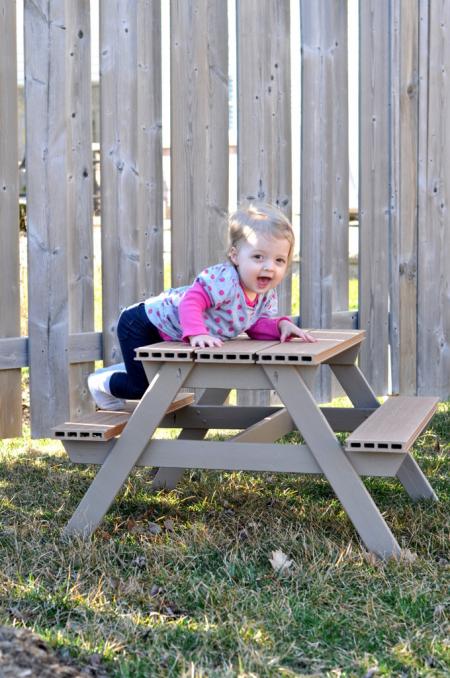
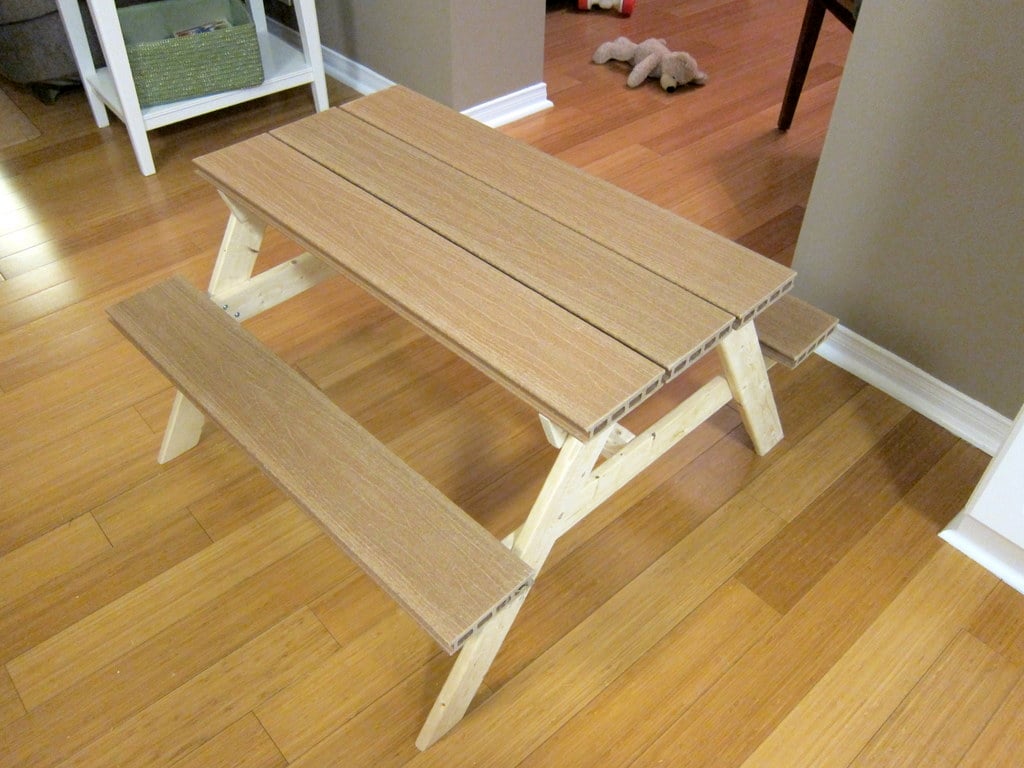
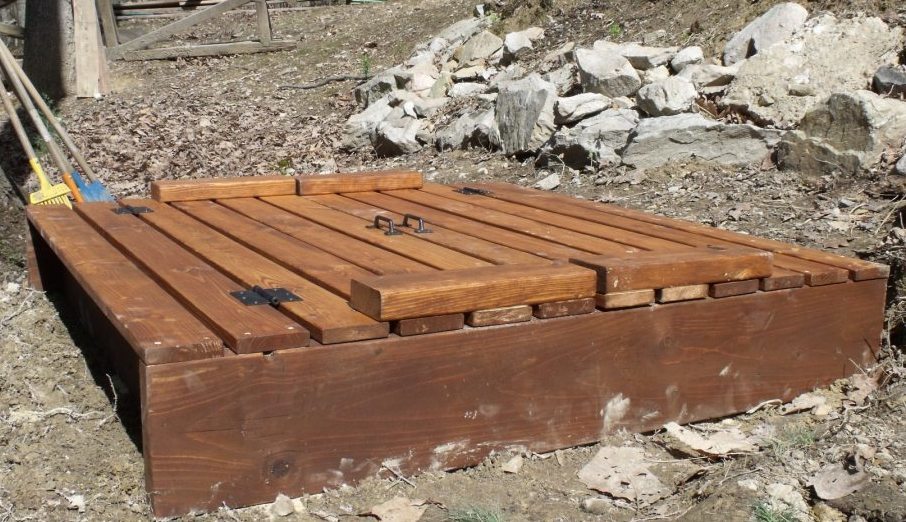
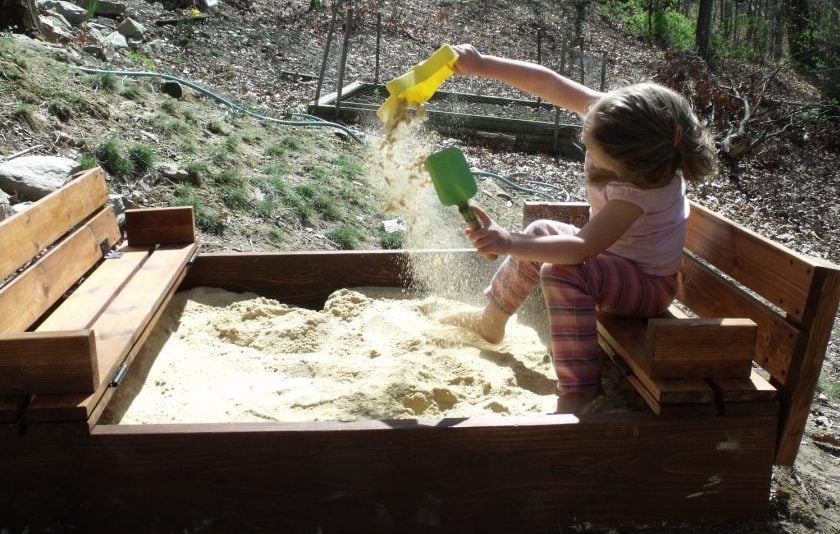
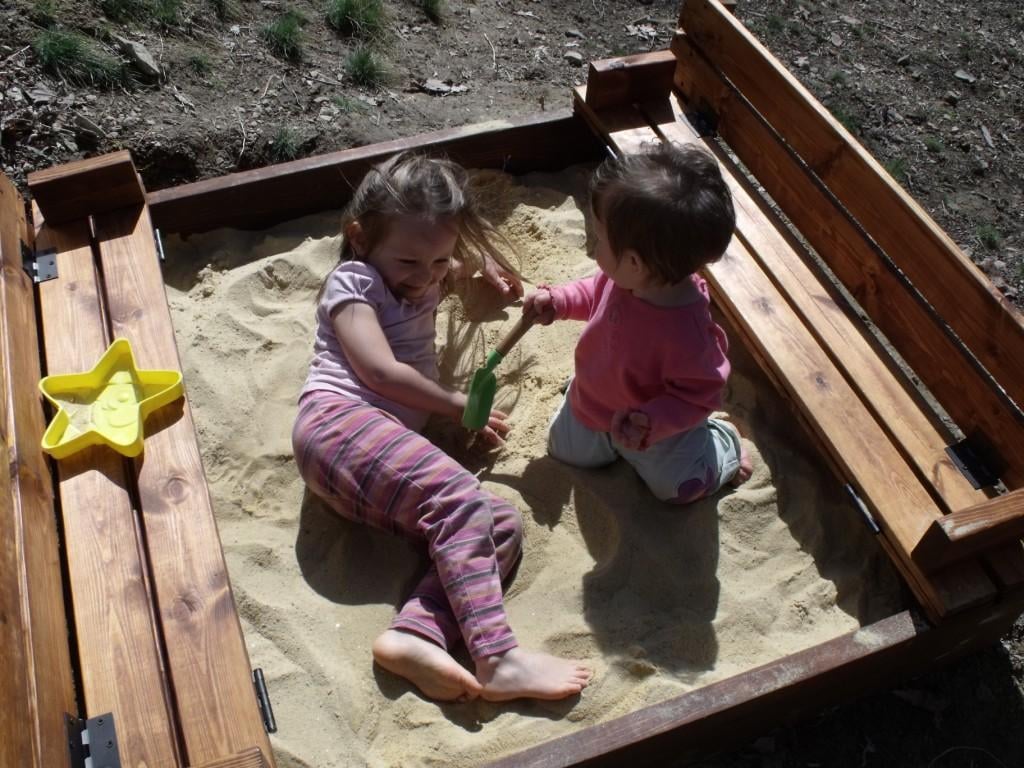
I think this should have been my first project. My kids love it and will spend long periods of time without demanding anything of me - which means that I can work right there on my other projects! I'd have finished that play house I want to make by now if I had just thought of making this first :)

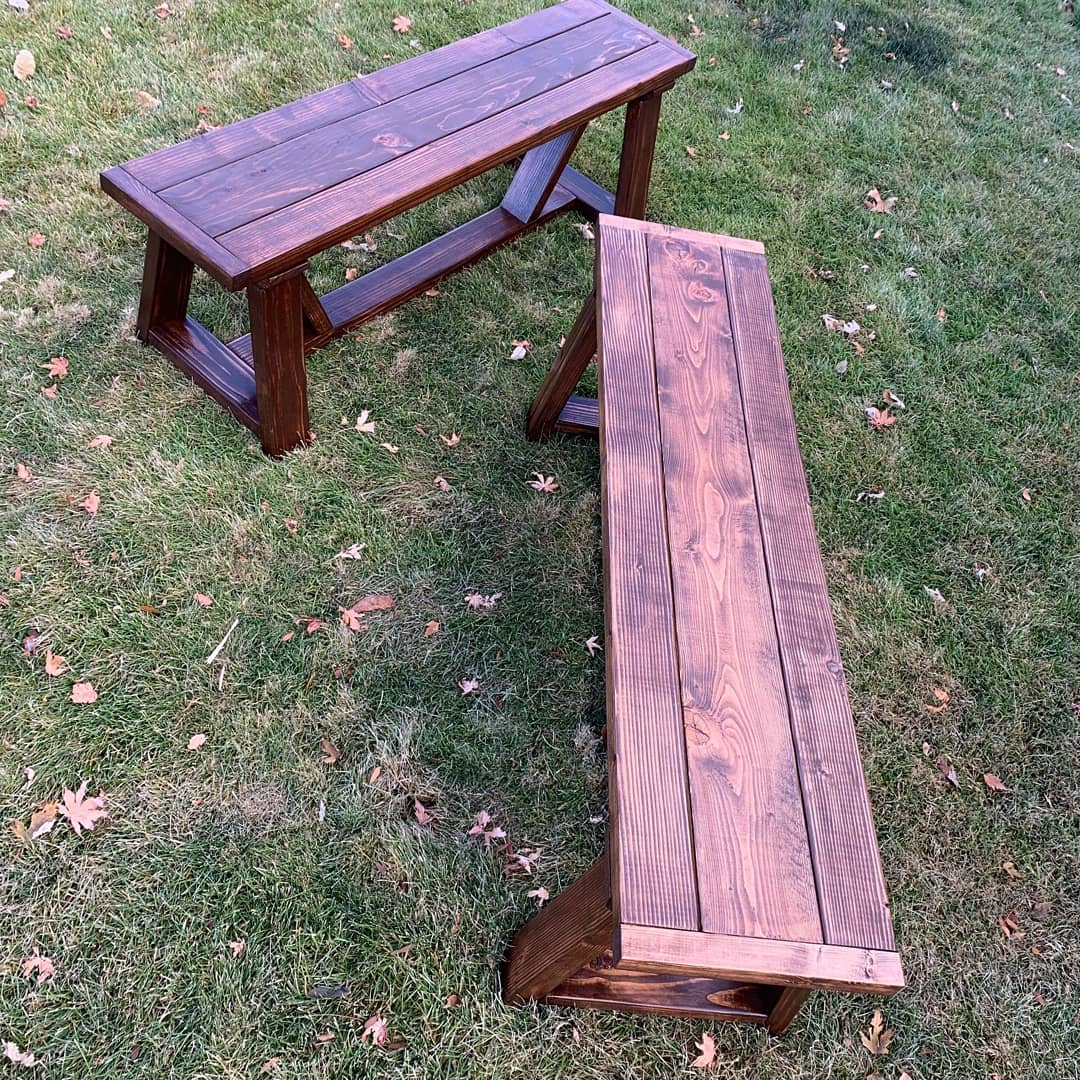
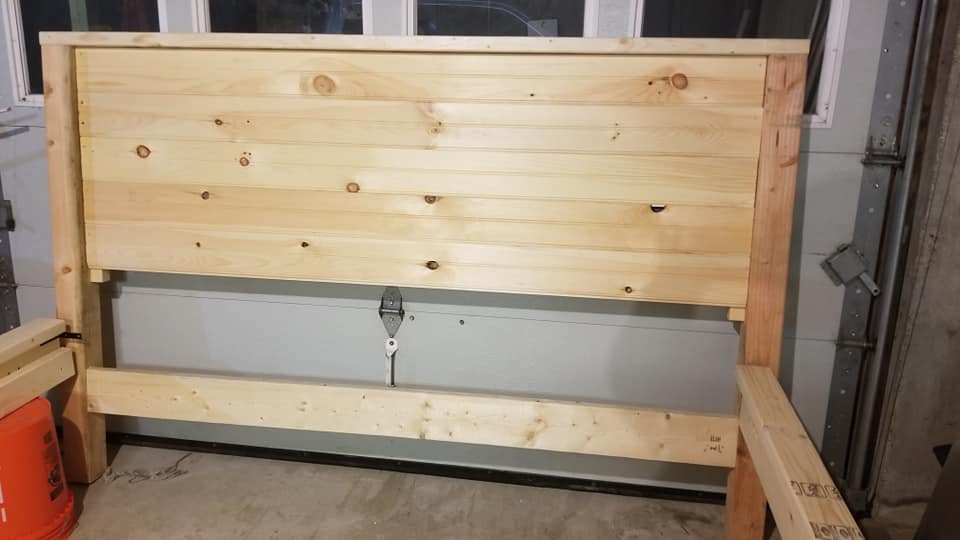
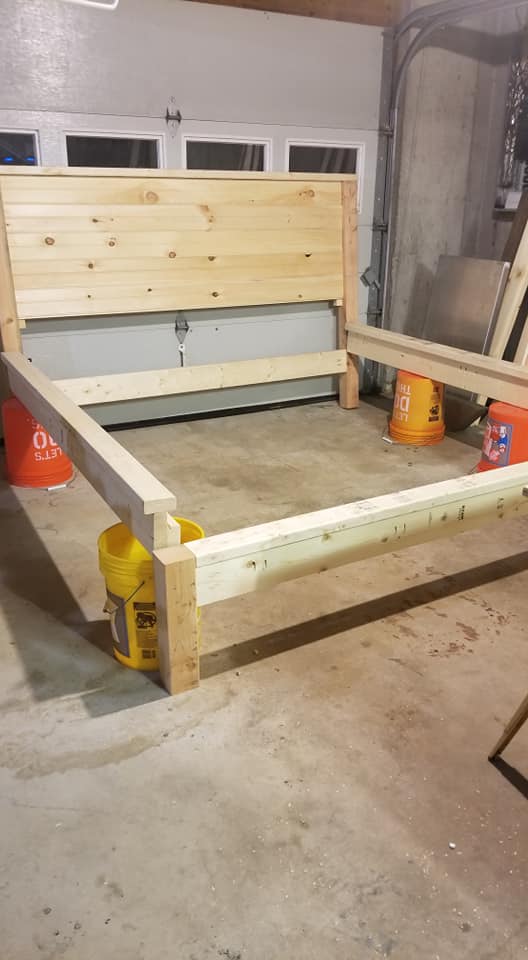
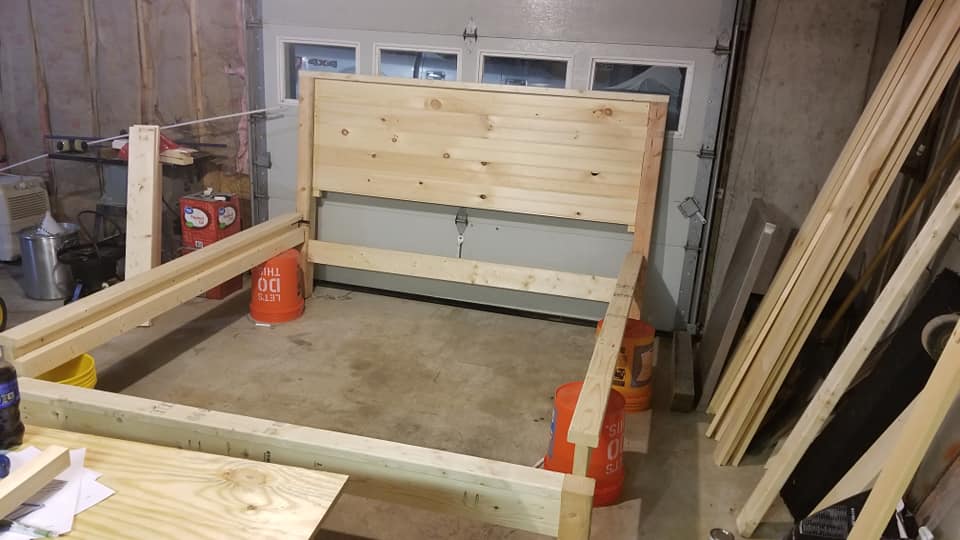
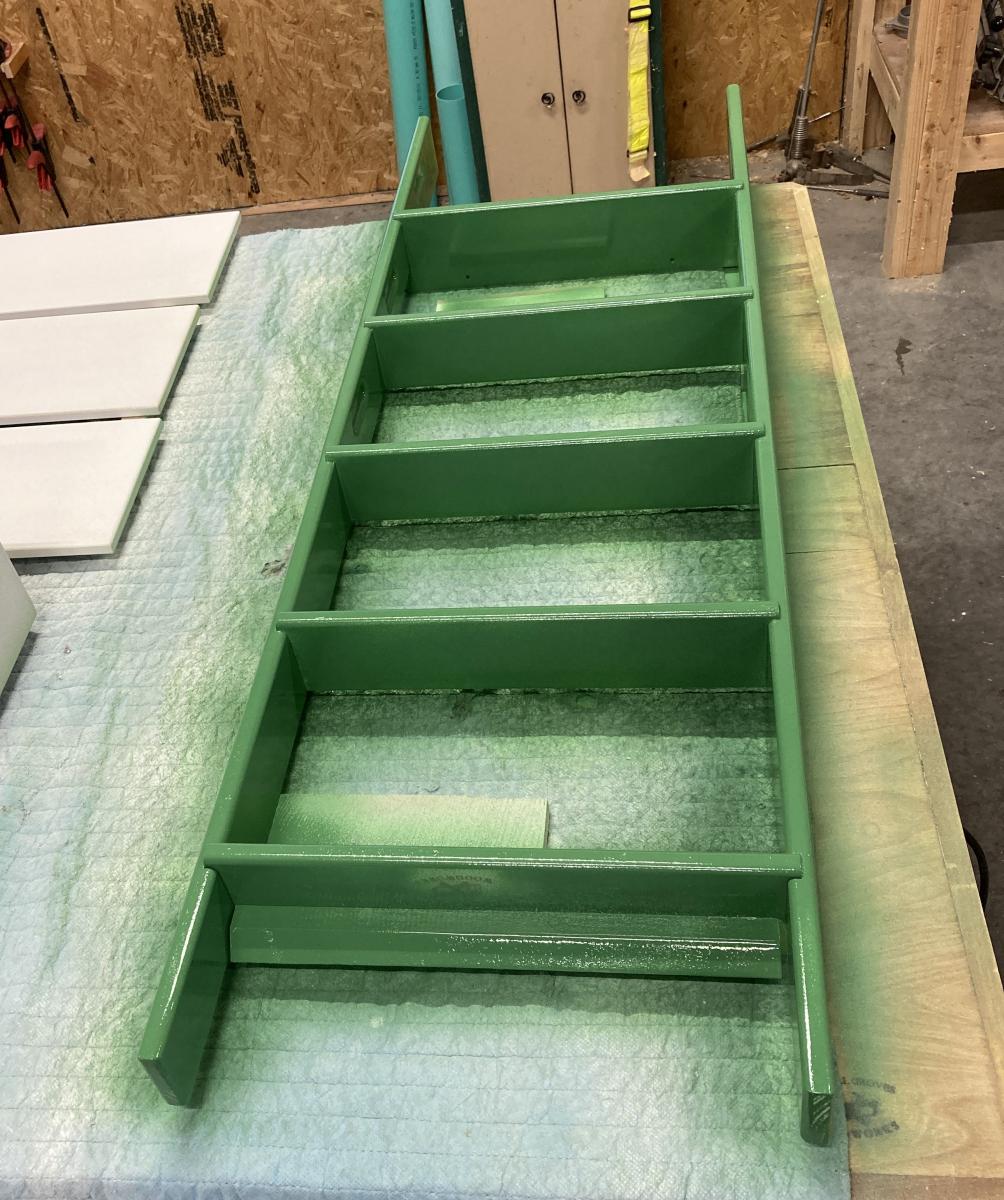
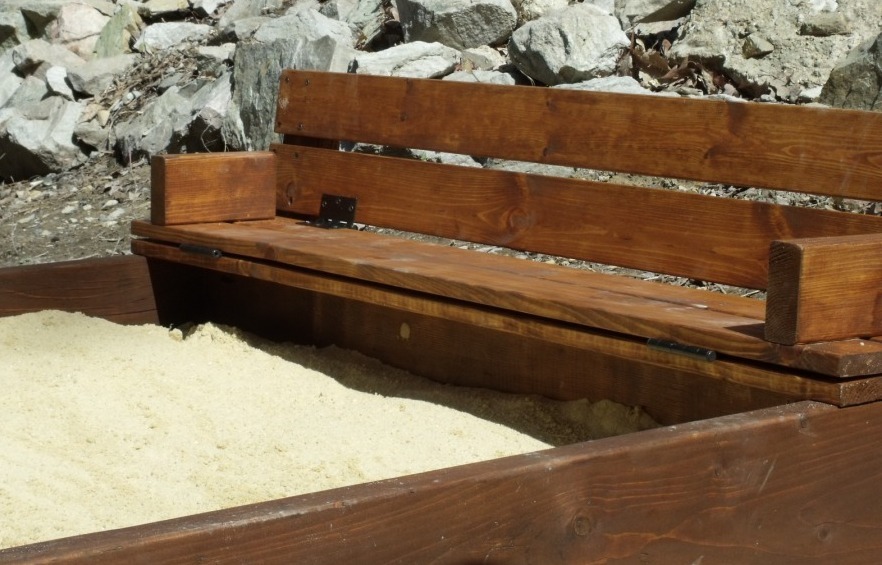
This is a very easy build and it is very rewarding because it works so well and looks so nice. I used 2x8's instead of 1x8s on the sides because I had a bunch laying around. I would definitely recommend doing that as it is very strong this way. If you use 2x8's be sure to make the short sides a bit shorter to make up for the extra width. I had to make it exactly 2 inches shorter. Also, the arm rests are a bit short because it seems that the 1/2 inch spacing was not taken into account when calculating the length in the directions. I wish I had seen that and made them 1/2 inch longer so the bench back could not move forward as much when in the seat position.

If I had had childcare this would have been a very quick project, not counting the staining. As it is, I am embarrassed to say how long it took to build this. I think I was working on it for two weeks.

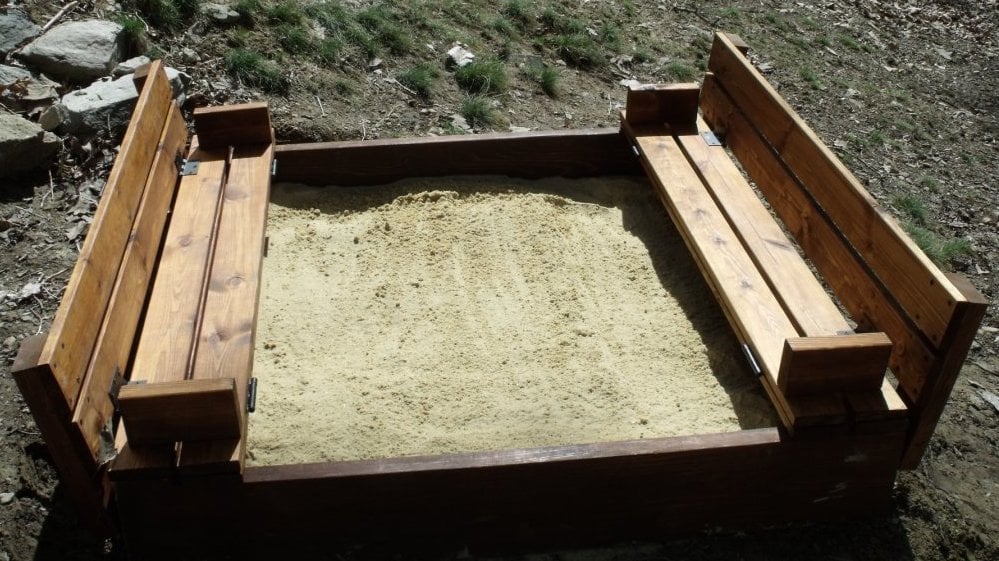
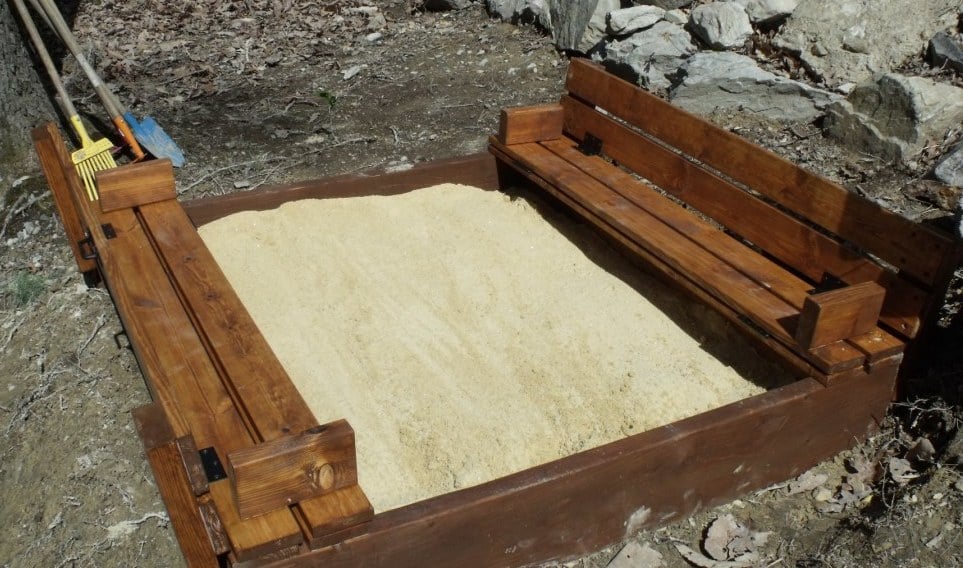
I spent more then I originally thought I would but it was still reasonable. The sand cost about $36. It is pictured with 7 1/2cu. ft. bags of sand. I bought 10 so I went ahead and added the other three bags but it is definitly too much sand. I have to dig out for the arm rests to shut the lid. So if you go with 8 bags it should be perfect.
Total cost:
Hinges: 8 @ $2.12 = $17
1x4 6 @ $2.42 = $14.50
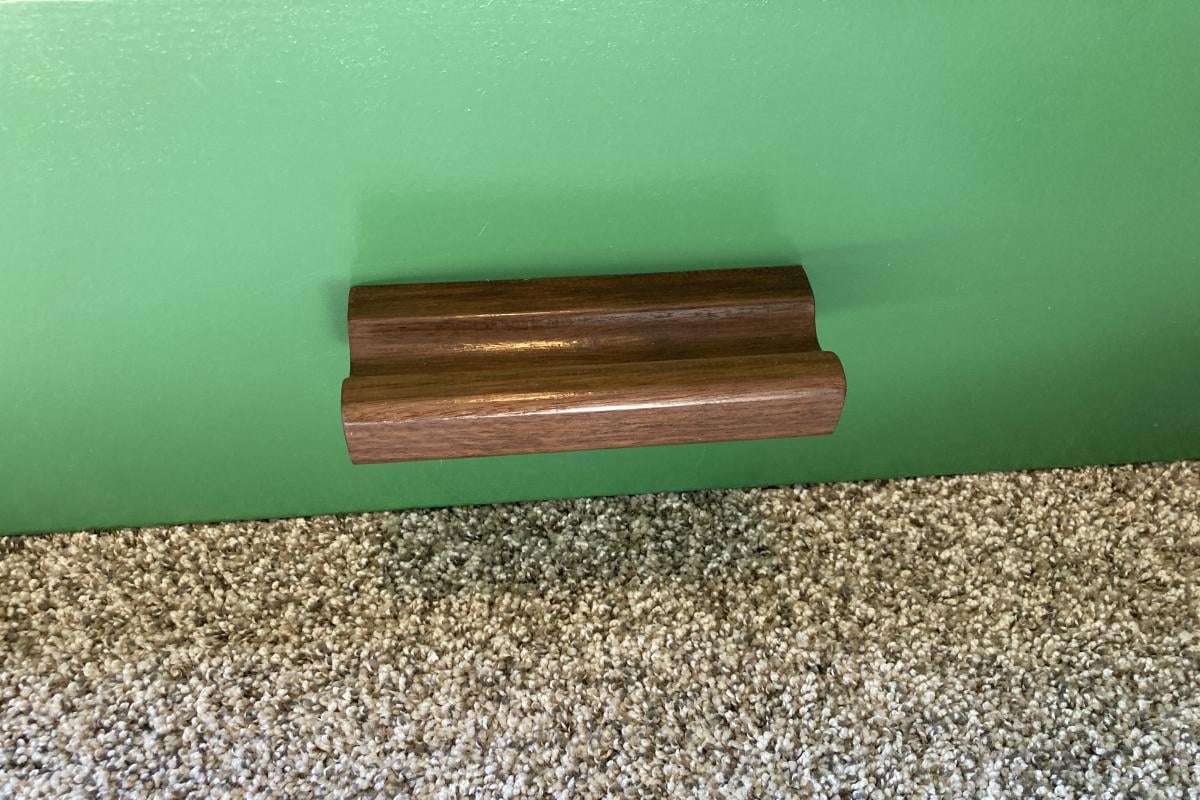
Handles: 2 @ $2.00 = $4.00
Stain = $17
2x4 = $4.00
2x8 = Free
Total: $56.50

Estimated Cost
$50-60
Estimated Time Investment
Afternoon Project (3-6 Hours)
Finish Used
Cabot Australian Timber Oil Jarrah Brown
Recommended Skill Level
Starter Project

Comments

Lady Goats

Tue, 03/27/2012 - 12:34

I couldn't wait for someone to actually build this! YAY! And I'm sorry about the arm rests. I'll have to check to see why I made them too short :-/ Beautiful build! Great job! And your kiddos are adorable!

Fuchsia

Tue, 03/27/2012 - 17:27

I forgot to say that in my post - THANK YOU so much for these plans! I saw them a while back and loved them. I am so glad I built it. I've had no problem with the extra movement of the seat back so really no worries :)

Floating Truss

Submitted by Bonsai on Wed, 01/15/2014 - 06:47

I love love love this table. I got the inspiration from here, but it is totally original. I made several design change, but I also added handmade iron-forged bolts and washers.Don't forget the floating top!!!!!

Estimated Time Investment
Week Long Project (20 Hours or More)
Recommended Skill Level
Advanced

Comments

$55 Fancy X Desk....with a few alterations.....

Submitted by Anonymous (not verified) on Wed, 04/06/2016 - 11:48

I loved the design of the desk, but needed it to be just a little higher so I could use it as a standing desk in my office. (So I'm not sitting ALL day). The plans were easy to understand and very clear.

Thank you Ana....You are awesome!!!

Estimated Cost
$100 (but that was because I "needed" to buy a couple of new toys......I mean tools).
Estimated Time Investment
Weekend Project (10-20 Hours)
Finish Used
Desk for my office.
Recommended Skill Level
Beginner
Back