Community Brag Posts

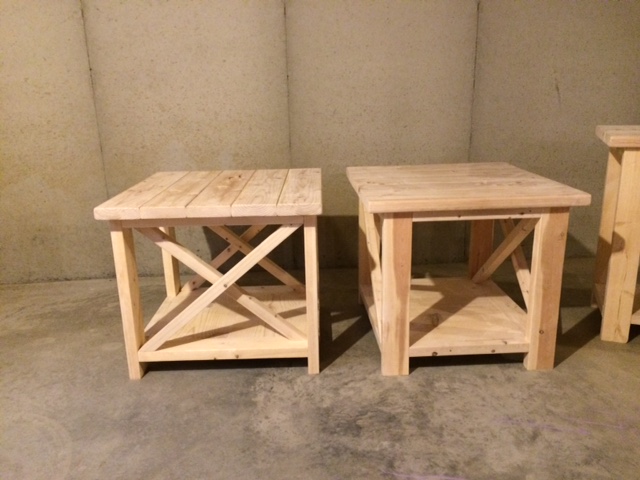
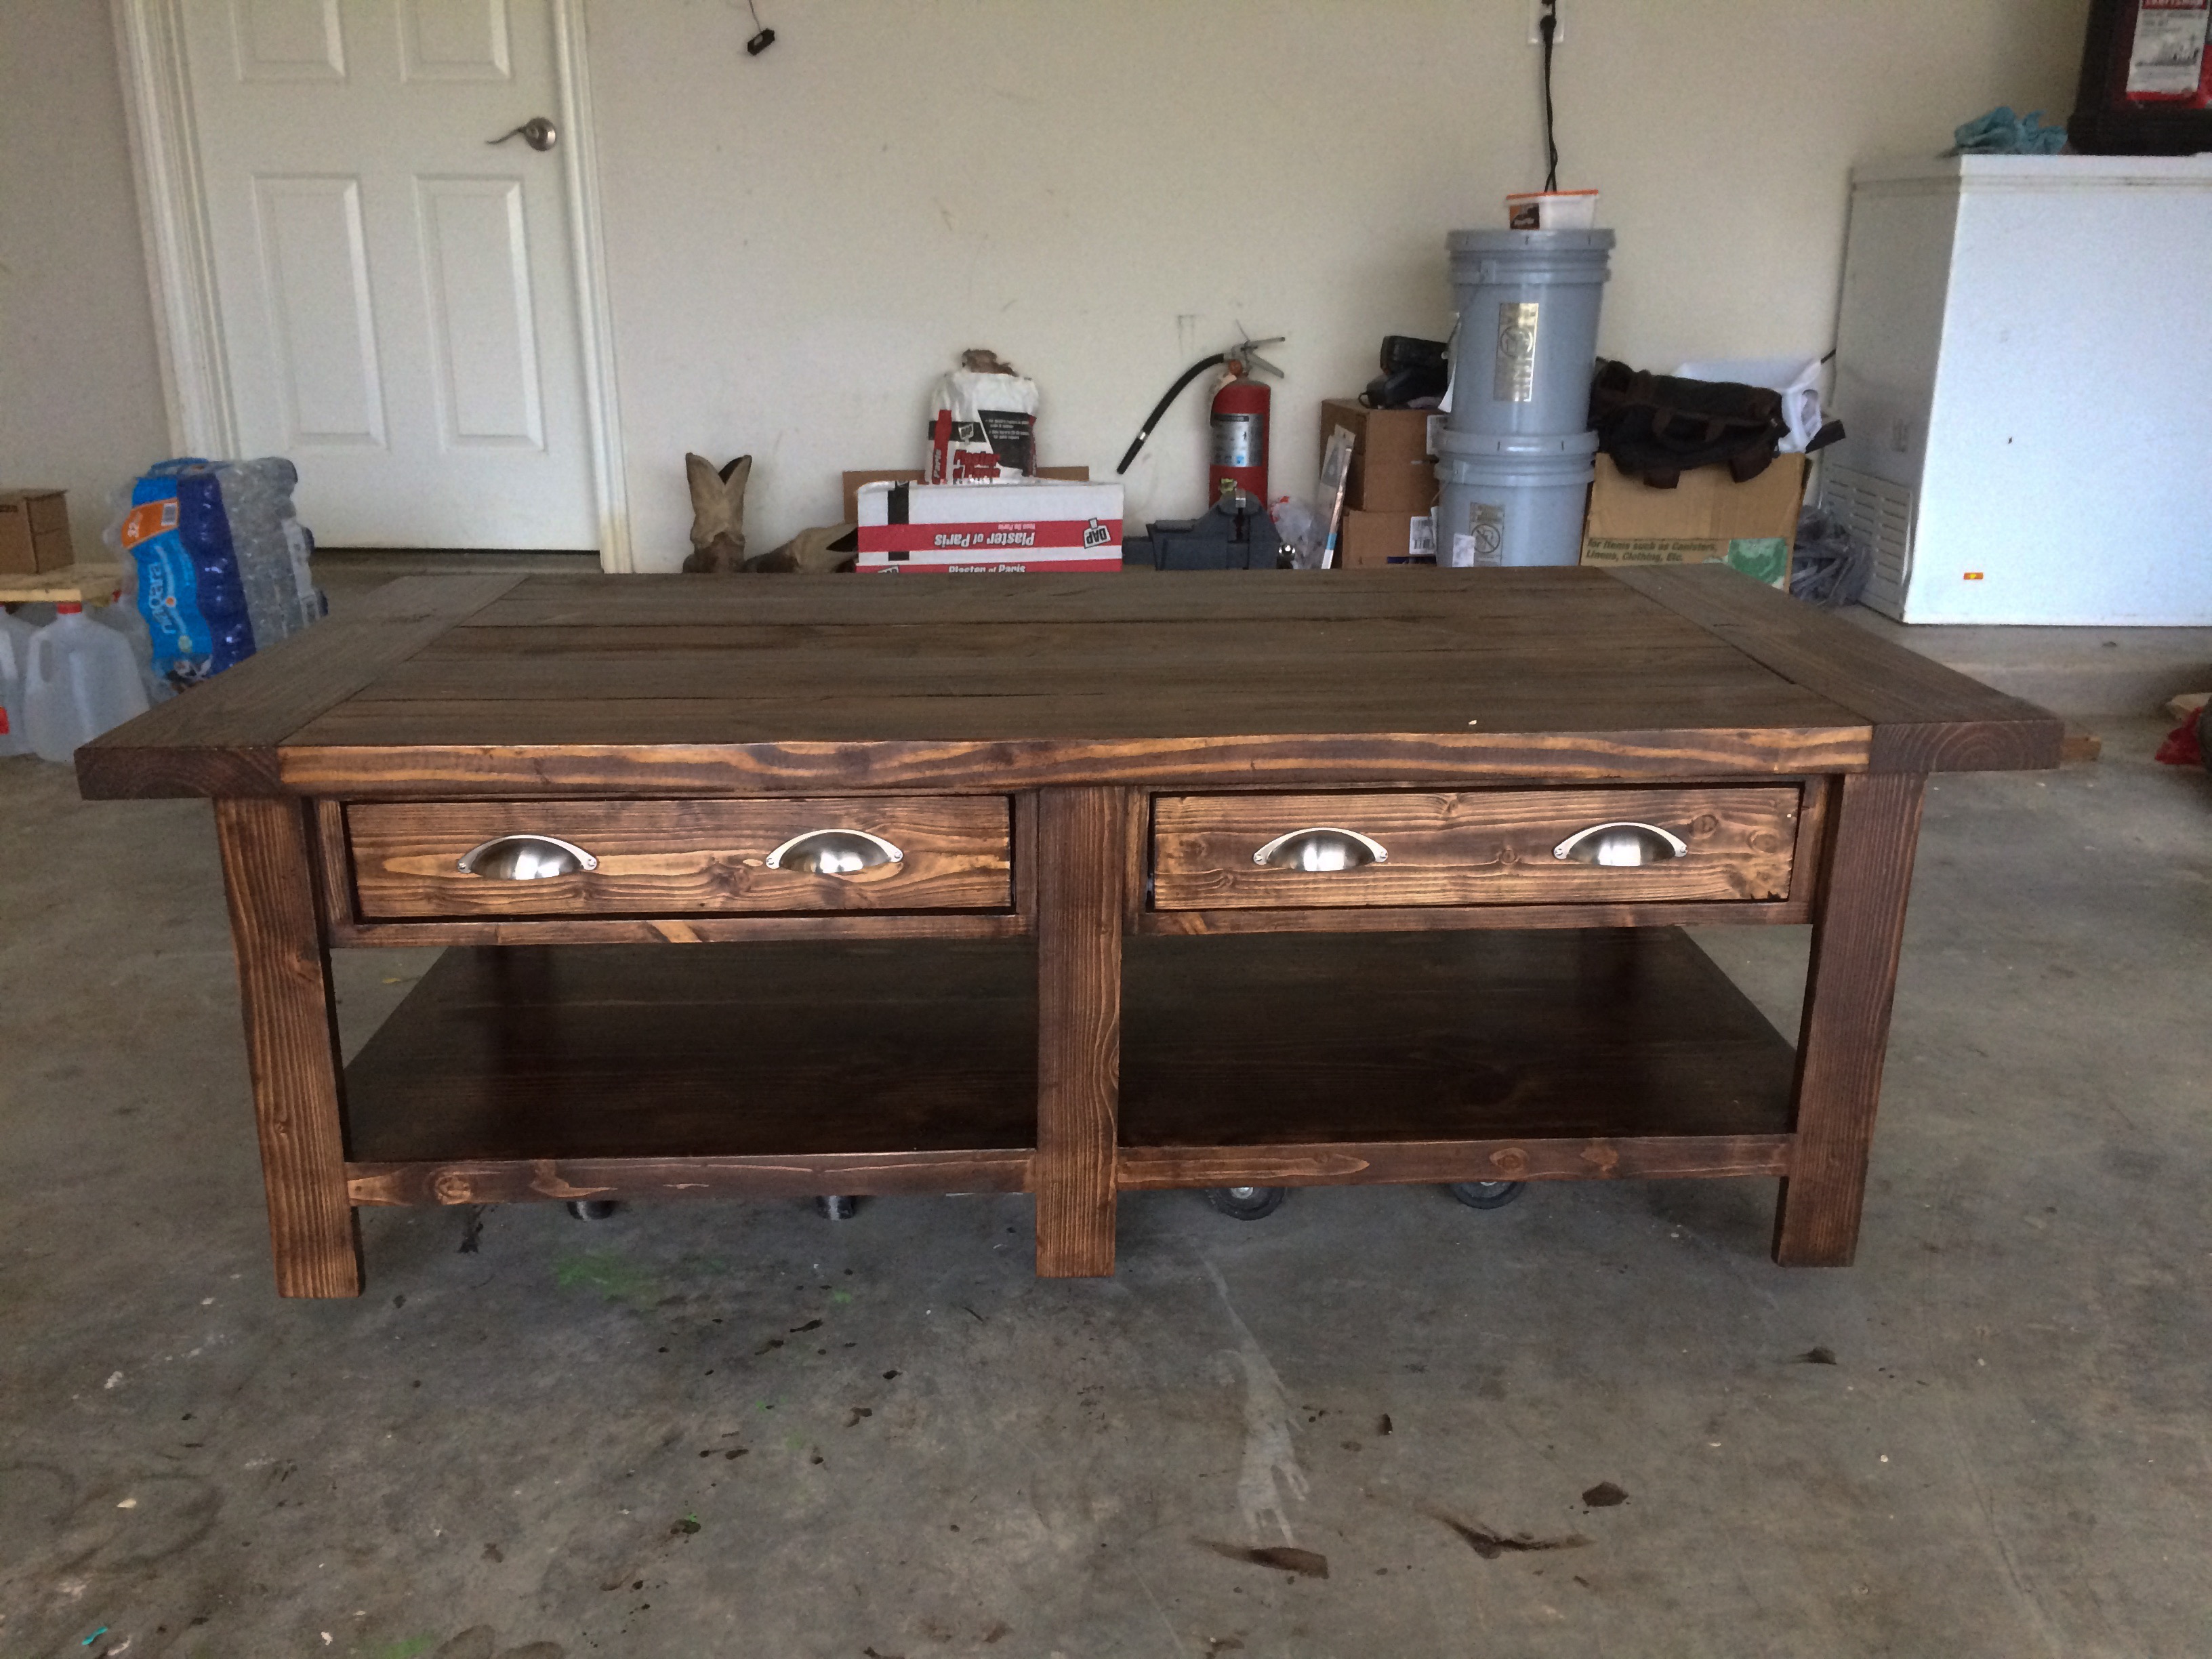
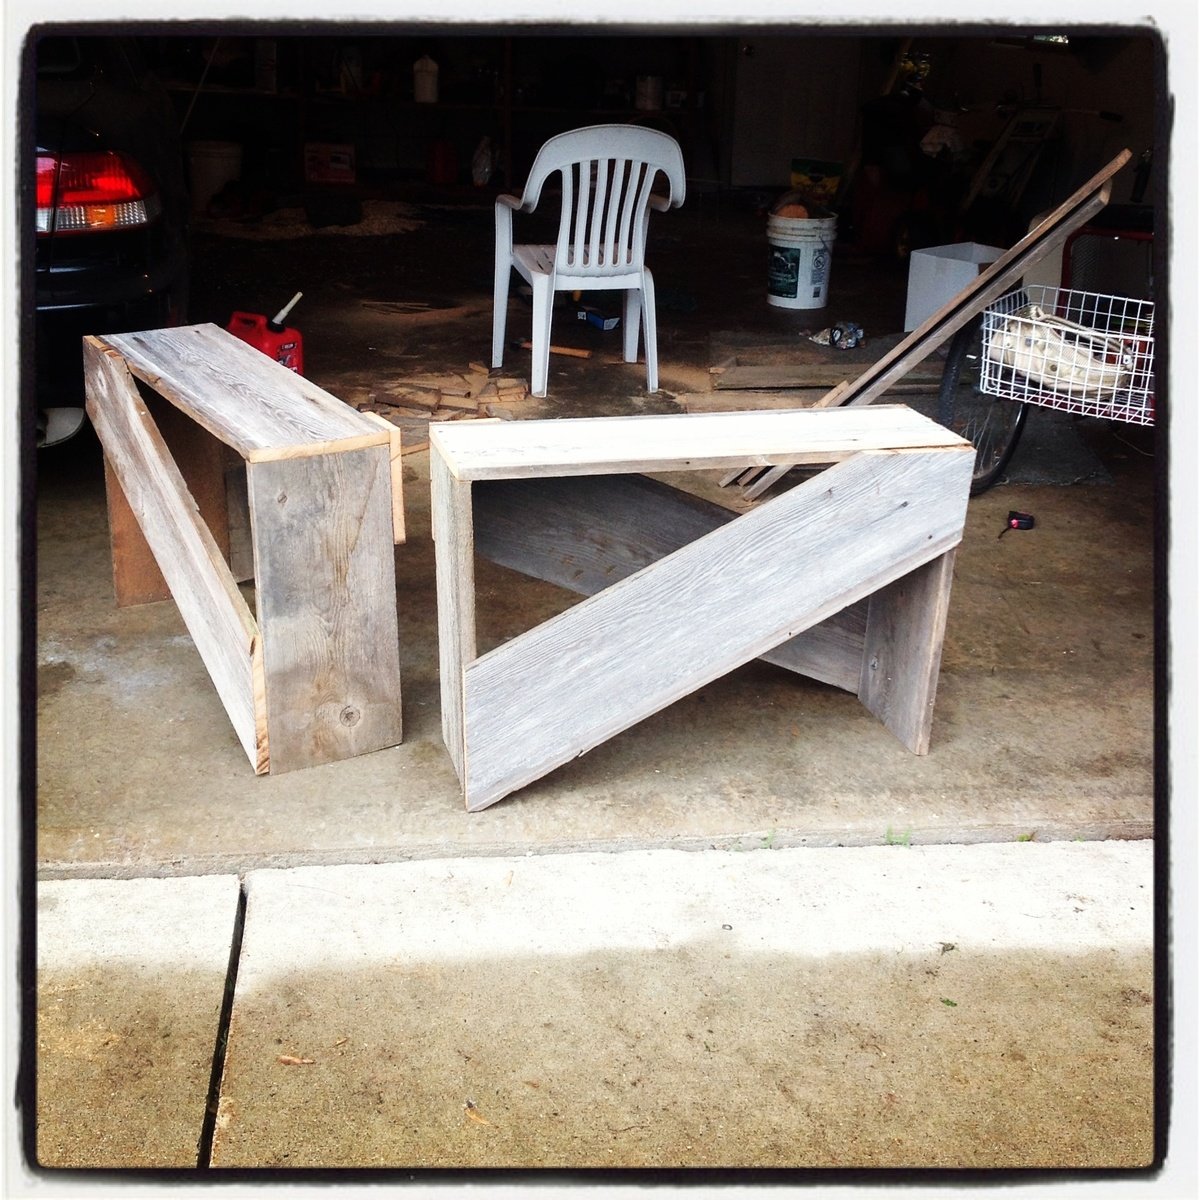
Tryed Coffee Table and End Table

Submitted by mike5287 on Wed, 10/27/2021 - 12:00

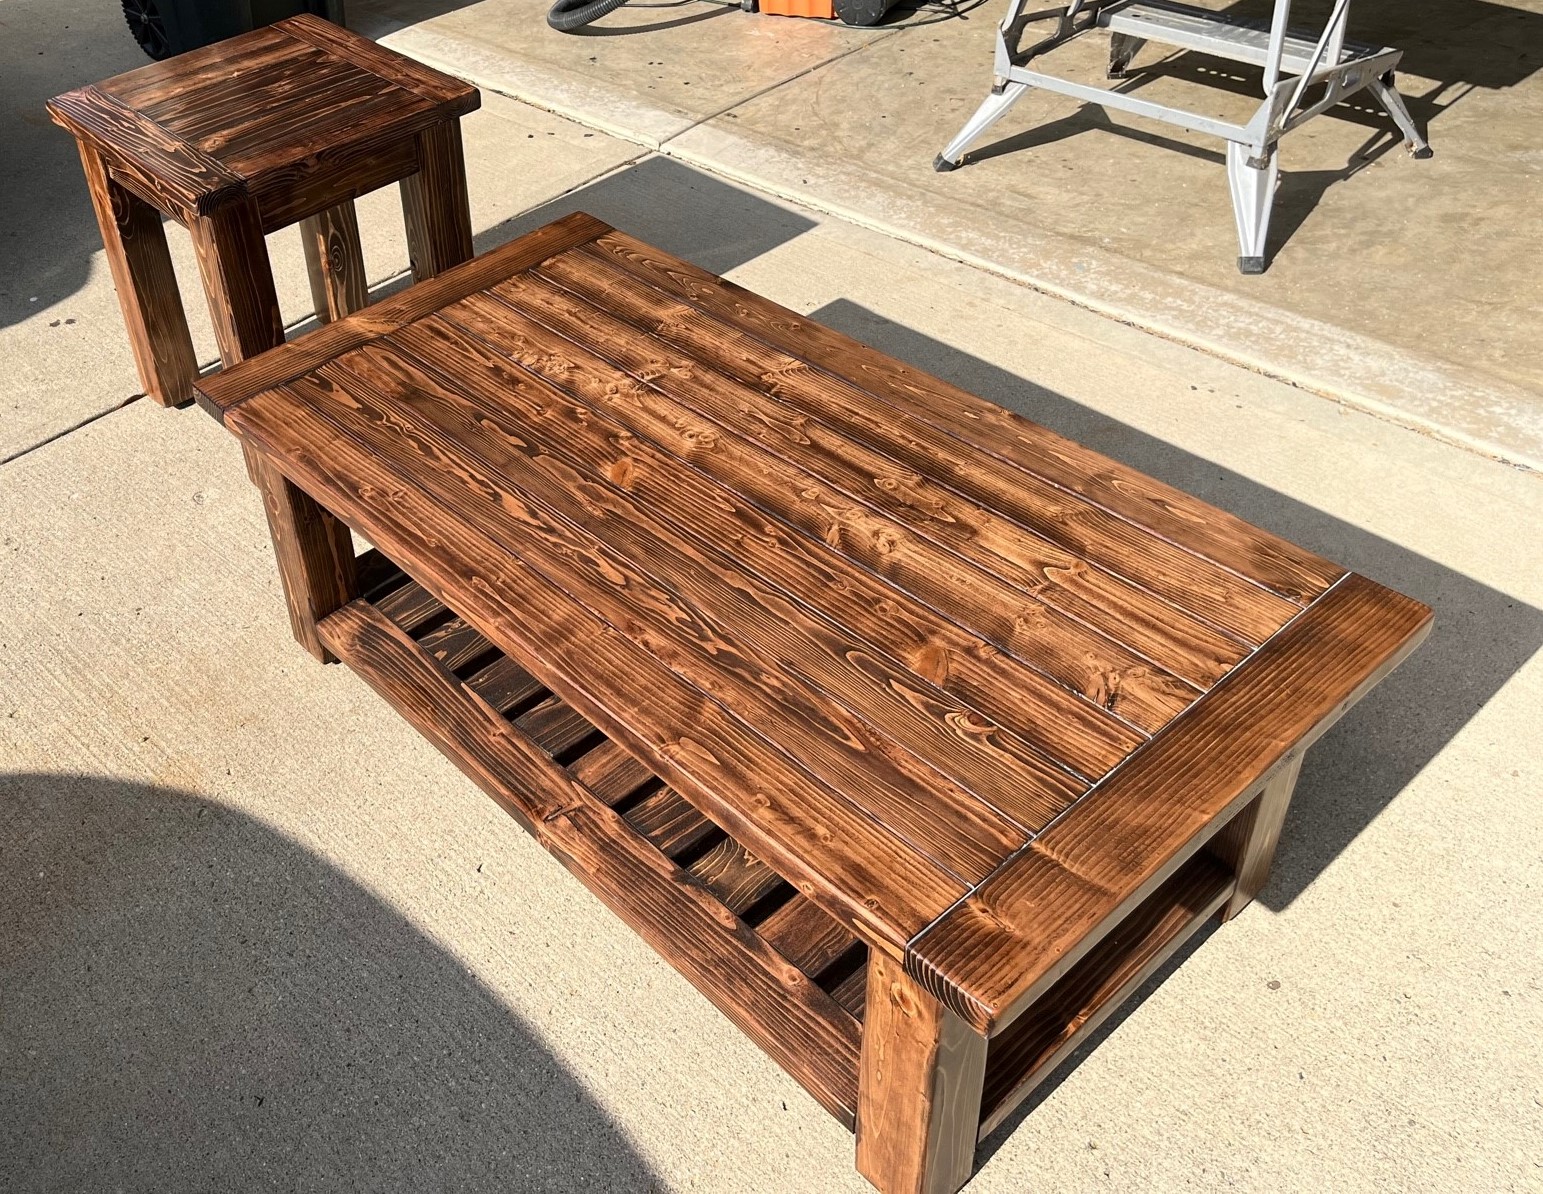
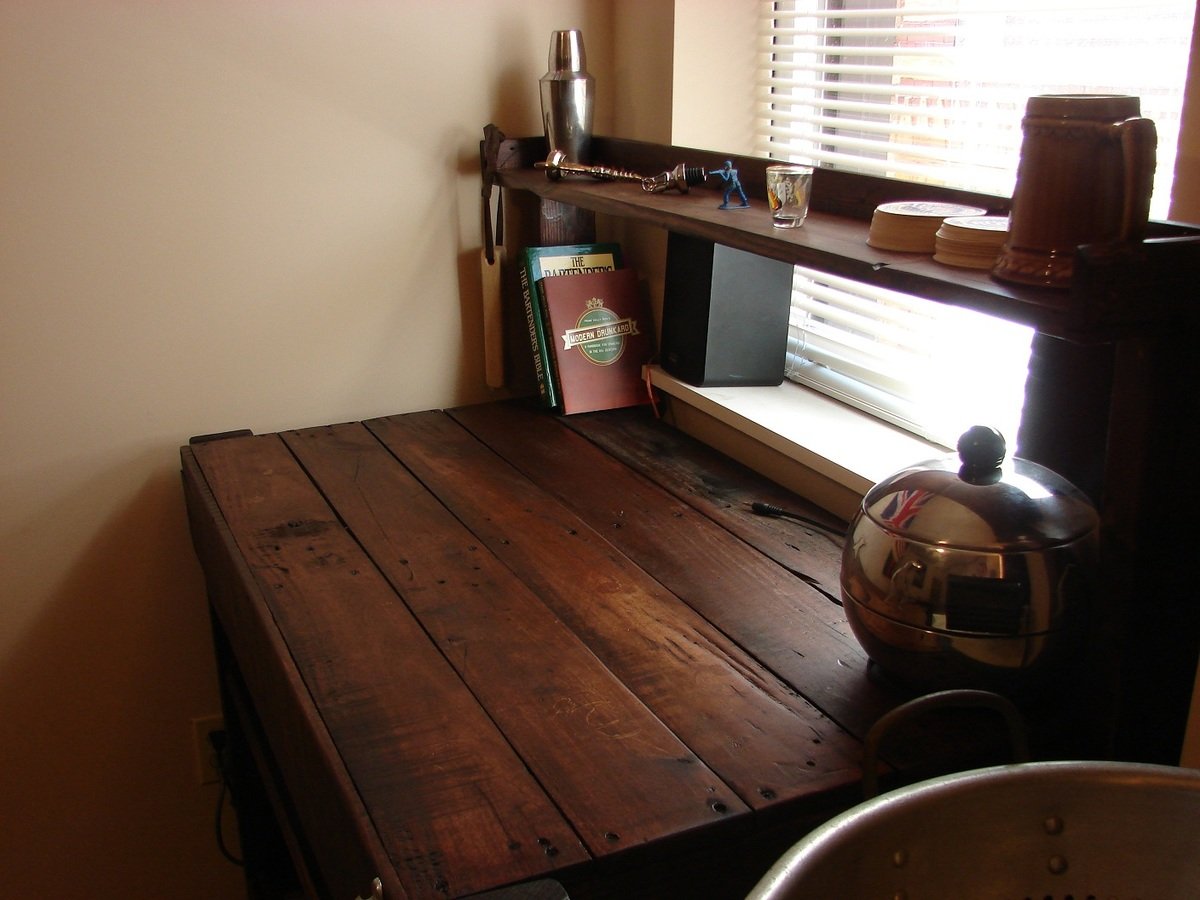
Oldest is moving out into their own apartment so thought I would help them save some money and built a Tryed/Tryde Coffee & End Table, although both are slightly modified:

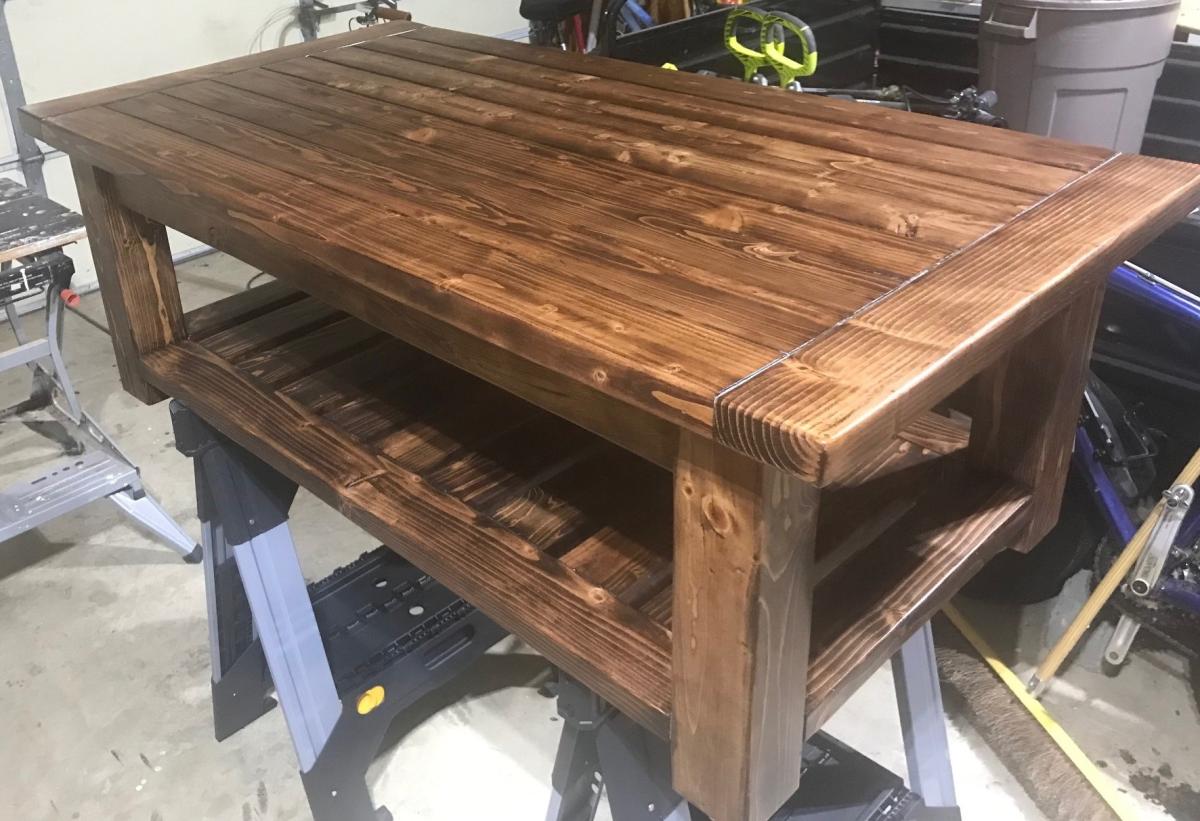
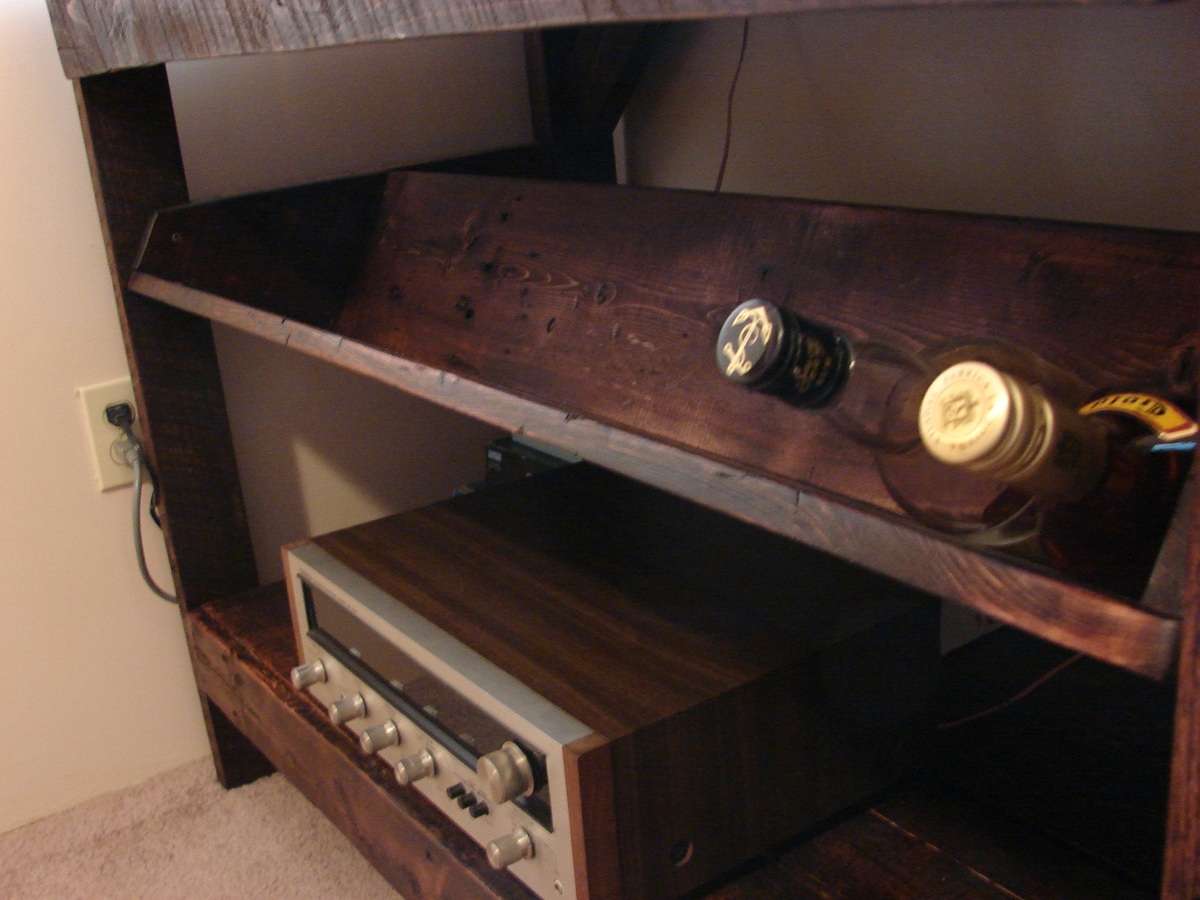
- Coffee table I added the lower section
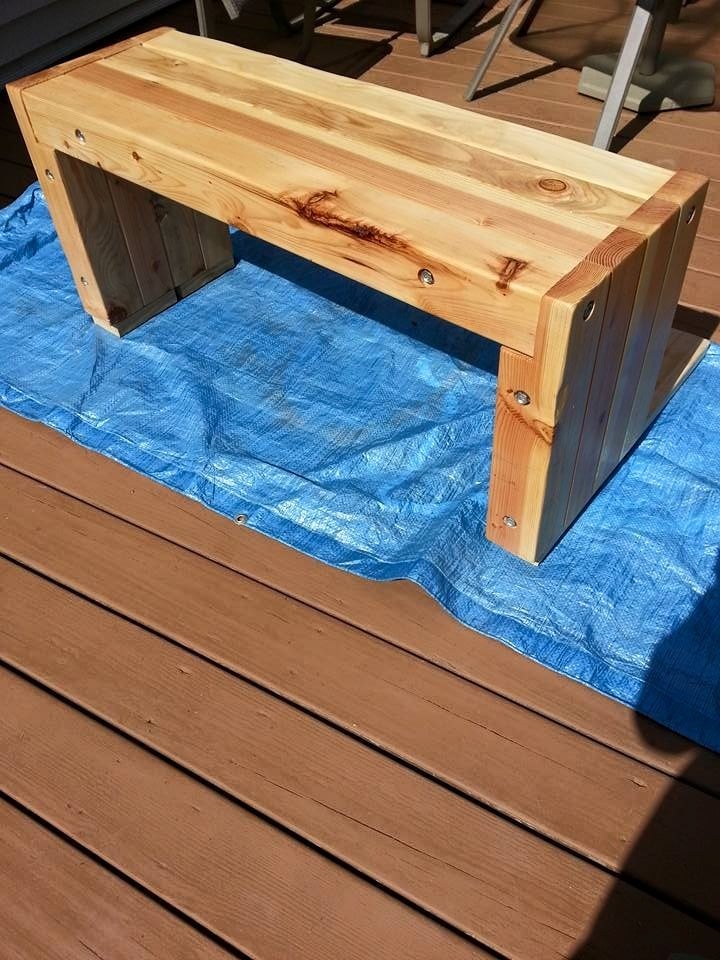
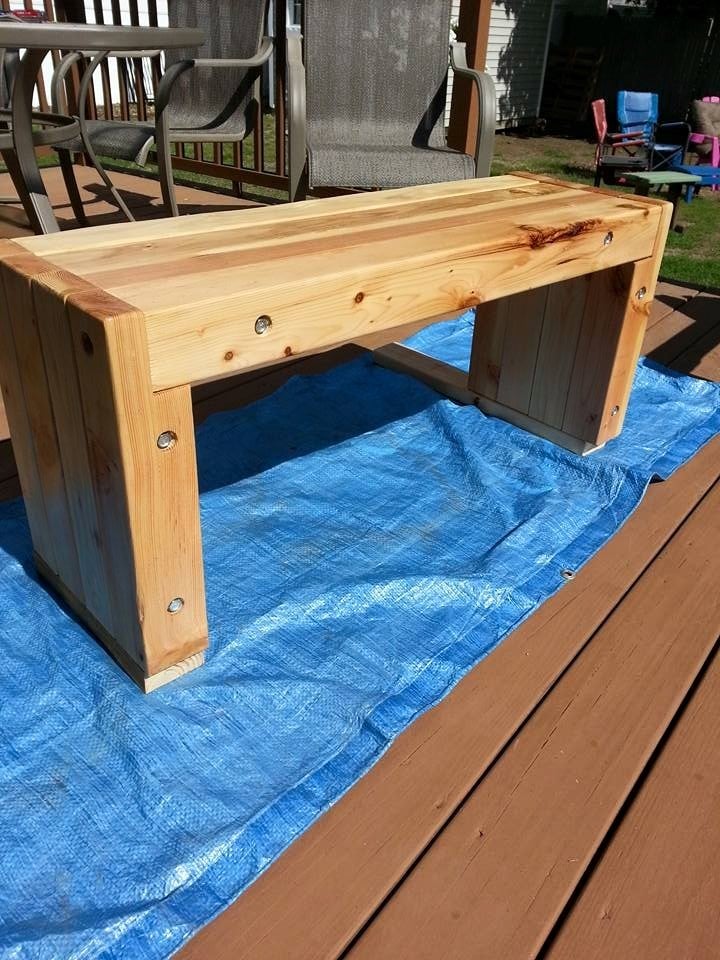
- End Table I did with pocket holes vs how the plans had it laid out.

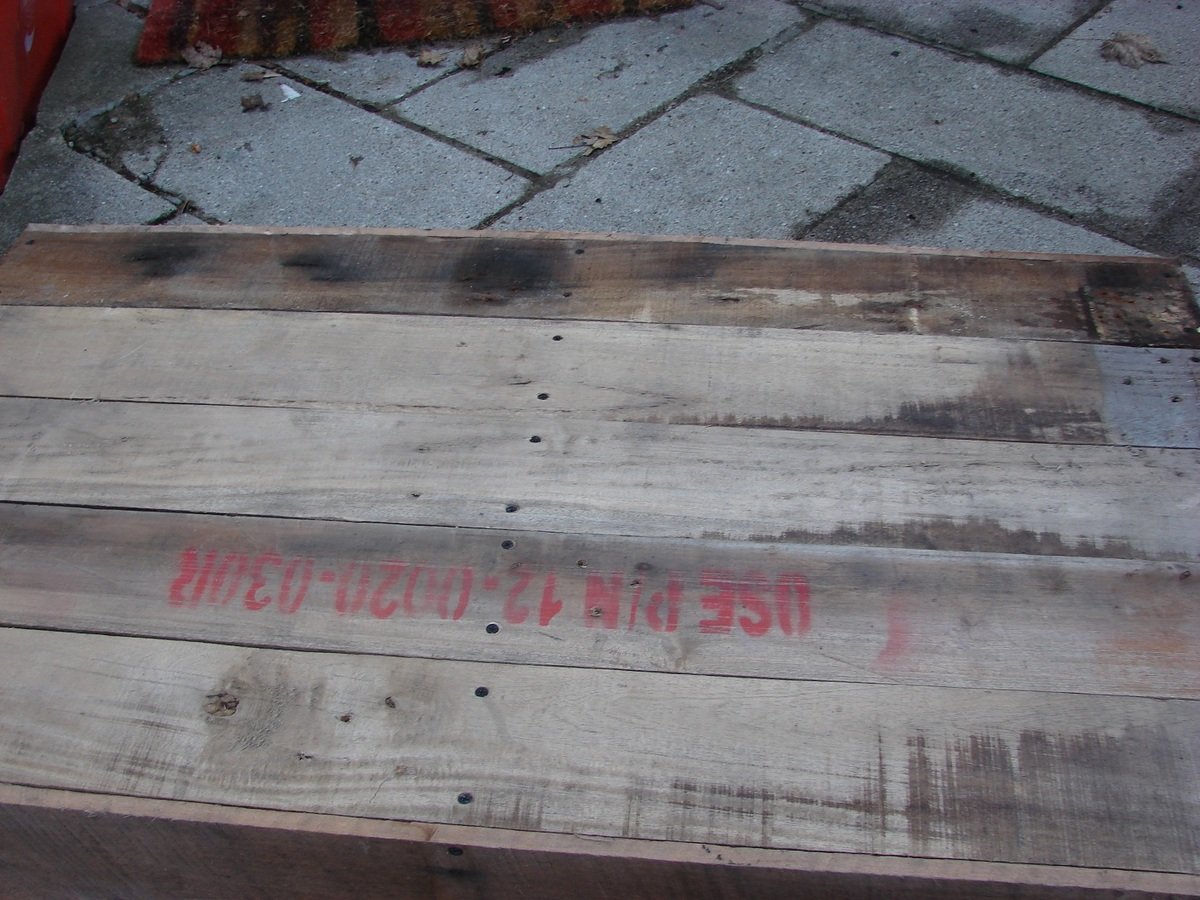
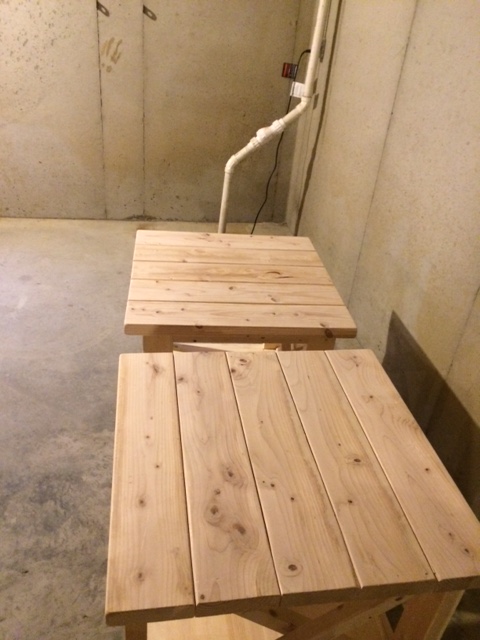
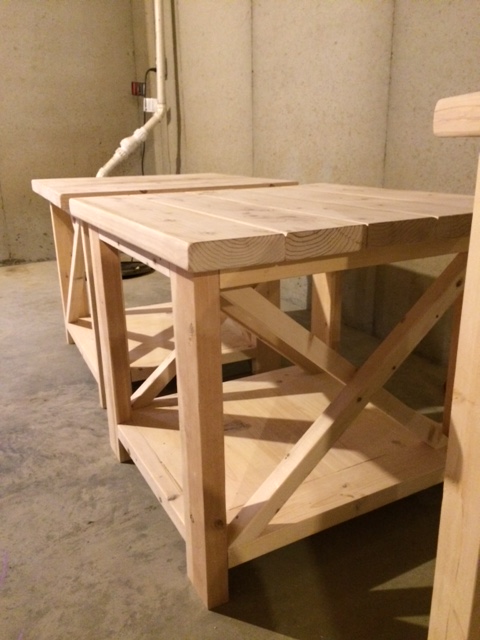
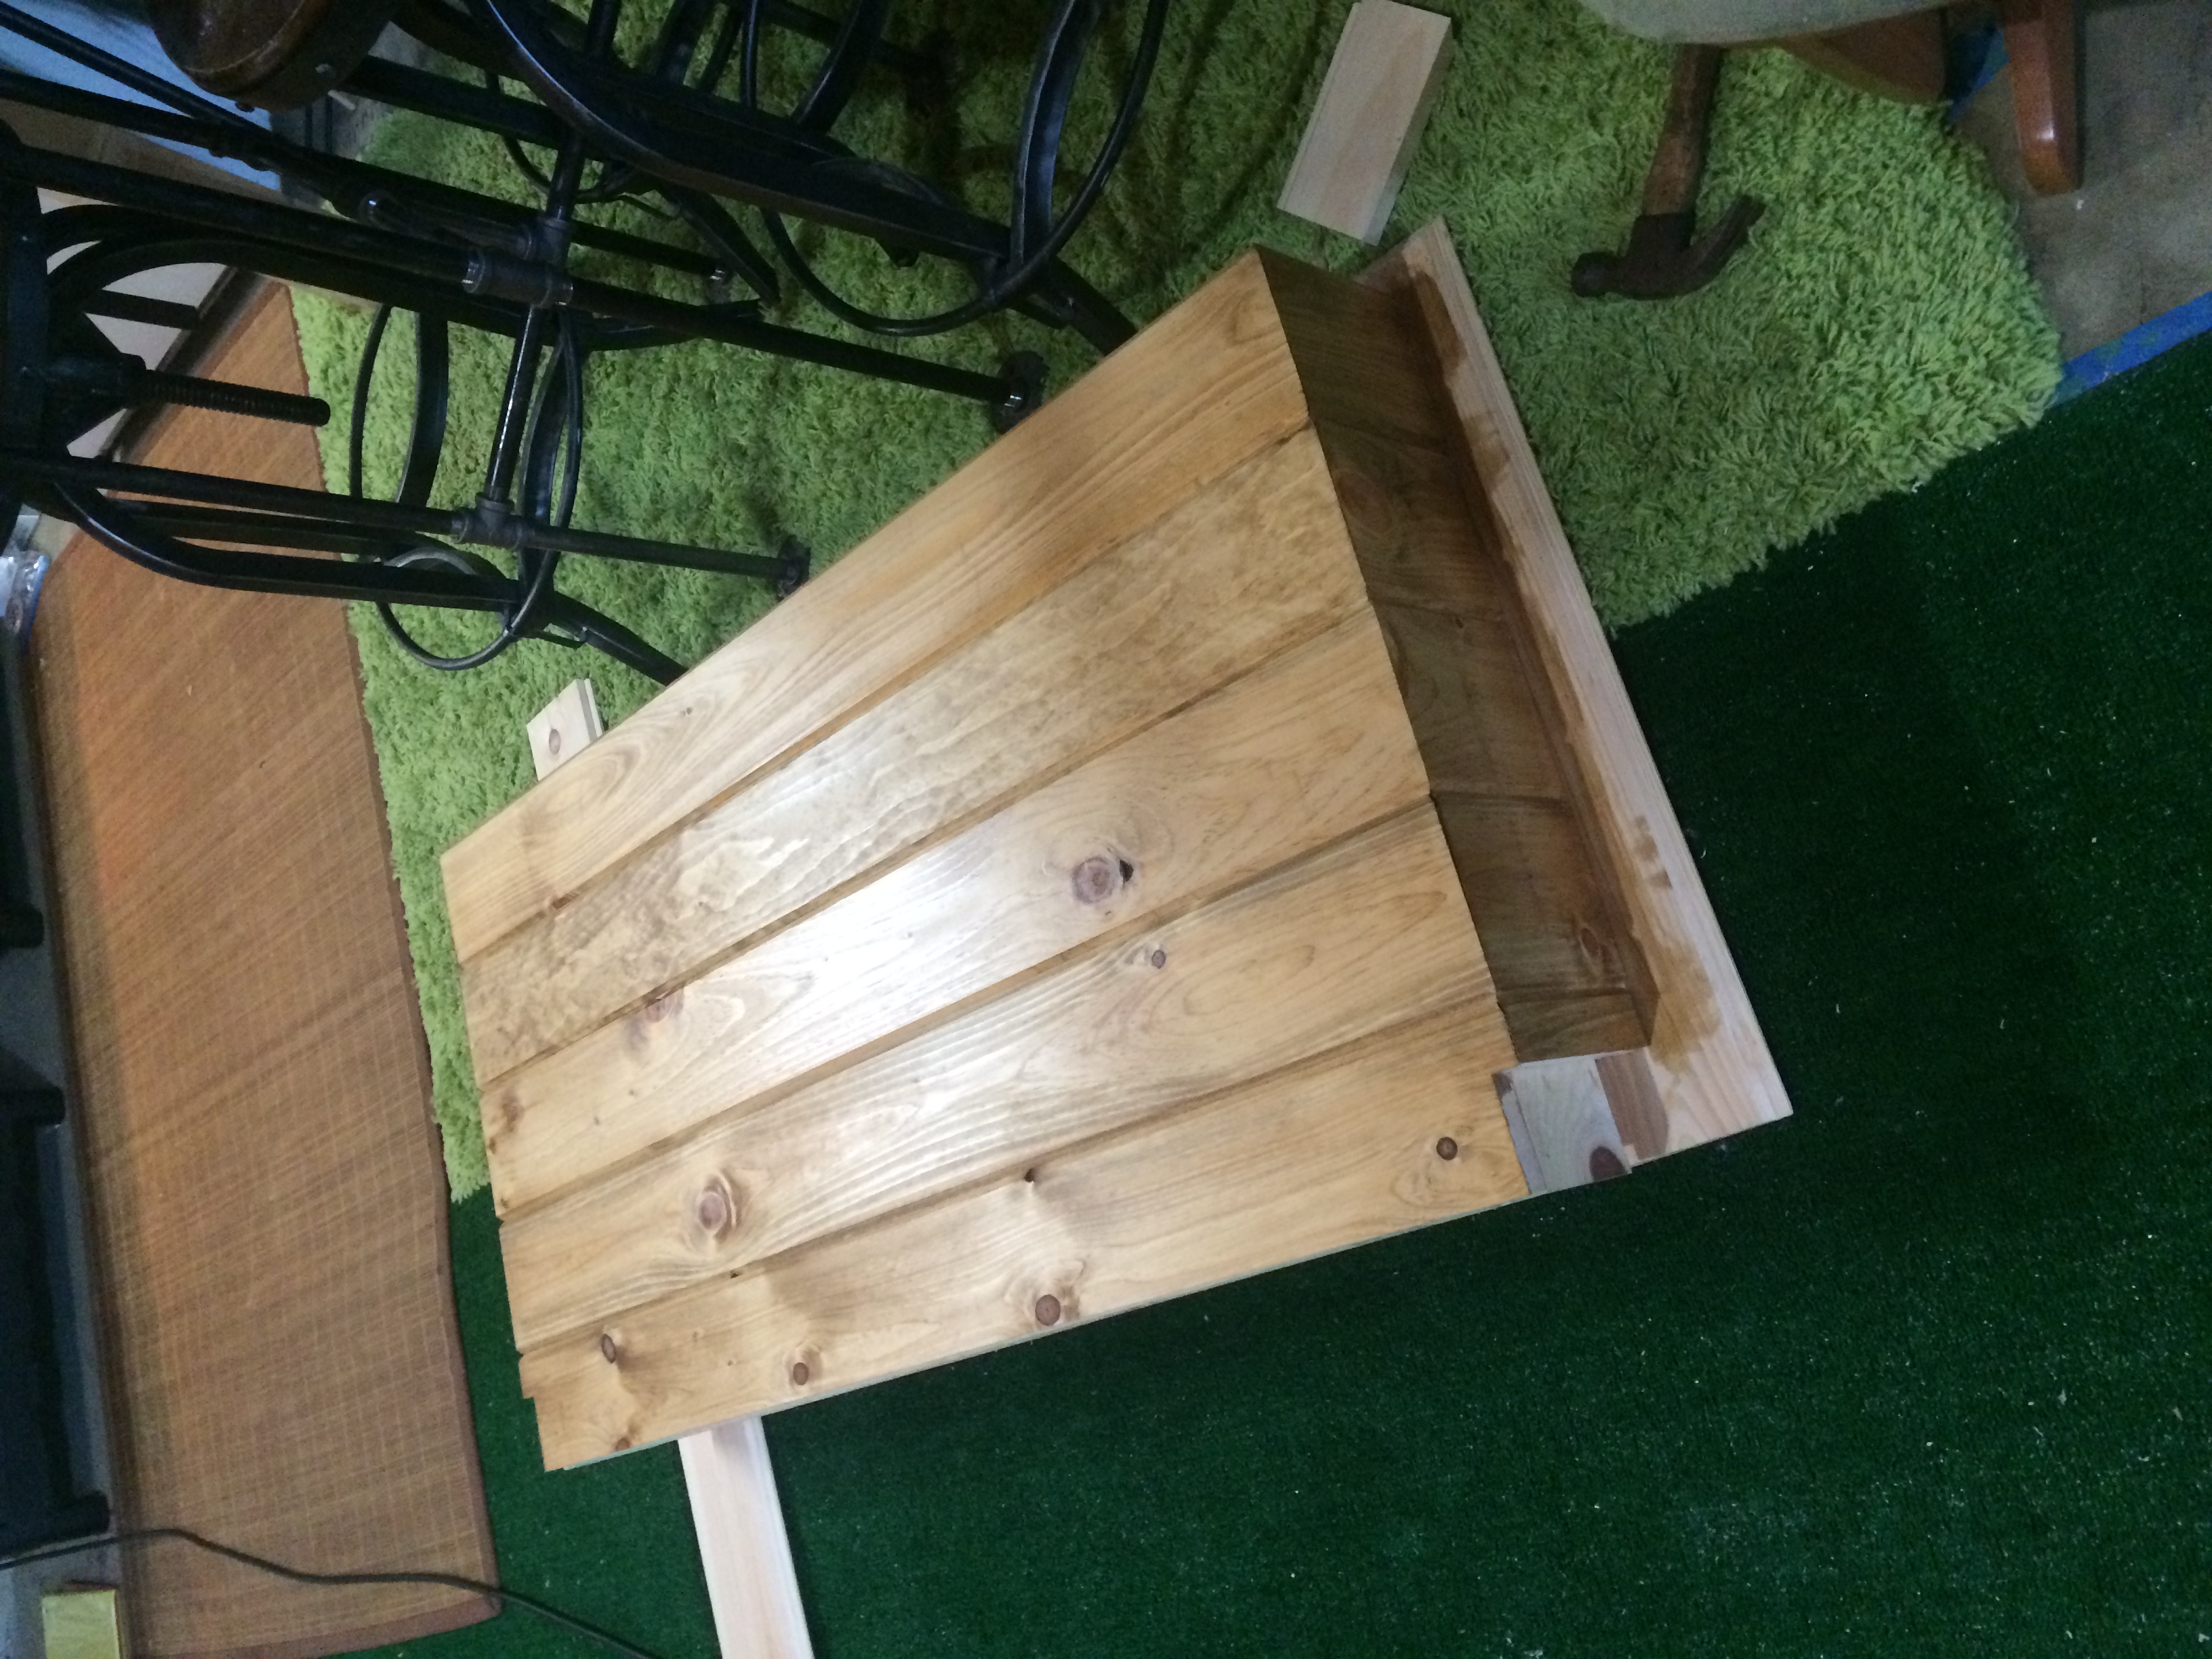
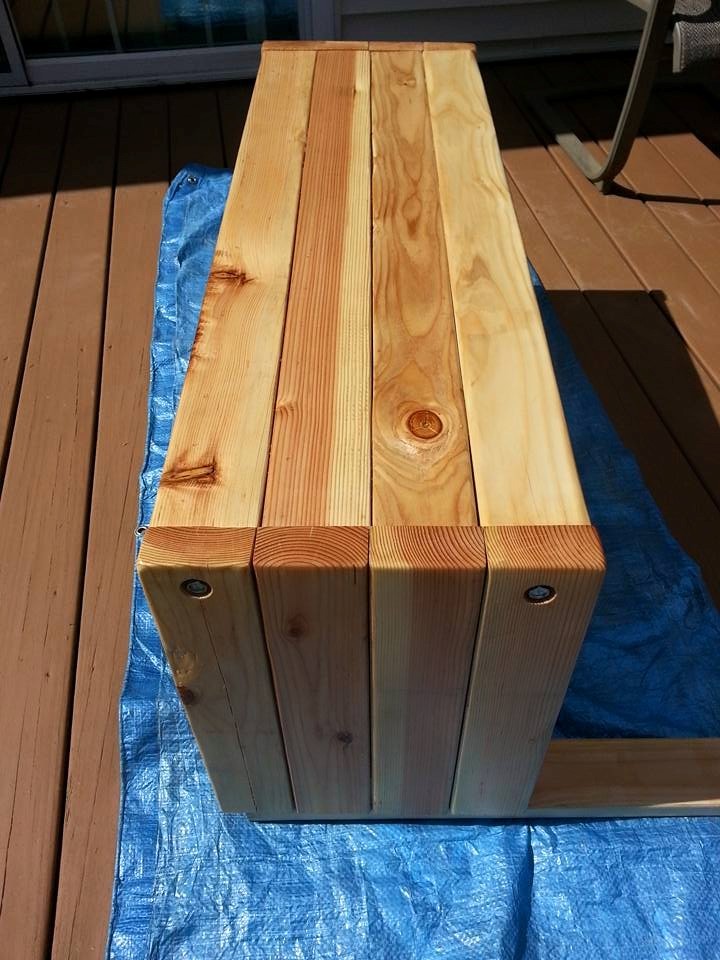
For the end table , which I started after the coffee table, I "jointed" the table top pieces on the table saw - very slightly as I wanted to keep the more rustic looking individual boards. This worked really well and I wish I had done it on the coffee table too.

For the finish, which to me always starts with lots and lots of sanding (started at 60 grit down to 400 grit), I used a mix of Varithane Red Mahogany (4 parts) and Dark Walnut (1 Part), then several coats of Clear Satin Polyurethane. For some reason the end table was VERY glossy so had to use some 0000 steel wool to reduce the gloss.

So hooked on the pocket holes now going to upgrade my Kreg jig to the 720 :)

Comments

The Free Drink Station

Submitted by AlexWS on Tue, 03/29/2011 - 12:30

Roommate: "We need something in the dining room for making drinks."

Me: "How about I make something?"

Roommate; "Uh huh..."

He may have been skeptical.

*One week later*

Me: "Hey dude, got wood the the drink station out in the garage."

Roommate: "I was just out there, all I saw was a bunch of wet and beat up pallets."

Me: "Yea, that's the stuff."

Roommate: "..."

OK, he was skeptical.

Well, a week later of evenings working on ripping apart pallets and then rebuilding them anew here I am. This whole project didn't cost me a dime, free wood, leftover screws, leftover stain, leftover poly.

I had wanted a rustic worn look which is why I went with pallets, I also like free stuff. That being said, I now know what most reclaimed pallet projects require wood that is no loner than 18 inches. Removing the planks whole and pulling out the nails without splitting it all is a royal pain. Needless to say once this pile of wood is gone I won't be doing something this large from pallets again.

Who am I kidding, yes I will.

I modified the potting bench plan, it's a little wider and a little deeper to make best use of the wood I had. Instead of 2X4's for the top and shelf I used 1X6's without any gap. Well, there's a little gap due to the rough cut of the wood. Seeing as this was going to be a drink prep station I needed something for holding the bottles. At first I was thinking a typical X designed wine holder, then I stumbled upon the library console table design. So with that I made on of angled book holders and put it under the top. Voila, from books to booze.

All in all I'm fairly pleased with how it turned out and it certainly wouldn't have had this character had I bought the wood.

Built from Plan(s)
Estimated Cost
Free
Estimated Time Investment
Day Project (6-9 Hours)
Finish Used
Minwax Red Oak stain with spray satin poly.
Recommended Skill Level
Beginner

LOVE my cabinet!

Submitted by DogDoc25 on Sun, 06/09/2013 - 19:23

This project was a lot of fun to do. It was the second thing I've done from Ana's plans, but the first that I used power tools (the first was the Barn Beam shelves which only needed basics). I bought the Kreg Jig for this and it wasn't hard to use at all. The project was only more expensive for me because I had to buy all the basics and didn't have anything starting out. It did take me all day to complete, but that's because I was learning while going along. I found some awesome rustic nails and drawer pull at a local home decorating store. I love this cabinet and can't wait to hang it! (the door ended up a little un-aligned in one picture but I fixed that).

Built from Plan(s)
Estimated Cost
for the materials alone probably about $30
Estimated Time Investment
Day Project (6-9 Hours)
Finish Used
Classic Grey
Recommended Skill Level
Beginner

Rustic X End Table

Thank You Ana White and The Friendly Home for making the Original! These end tables are a little different because I decided to make an "X" with 2 1x2s on each side (from top to bottom), to give it a little different look and depth. It was pretty easy to make!

Built from Plan(s)
Estimated Time Investment
Day Project (6-9 Hours)
Recommended Skill Level
Beginner

Wood Stained Farmhouse Bed with Trundle

Submitted by Anonymous (not verified) on Mon, 10/23/2017 - 10:59


My husband built this twin farmhouse bed for our son. I stained and poly'd. We modified the plans slightly to fit our needs. We also added the trundle.

Submitted by Jennie Wood

Built from Plan(s)
Recommended Skill Level
Intermediate

Chunky Leg Kitchen Table

Submitted by Anonymous (not verified) on Fri, 11/05/2021 - 14:39

I loved the Chunky Leg Coffee Table and thought it would be perfect as a kitchen table! I made a few modifications, but it's solid and everyone loves it.

Built from Plan(s)

Comments

caddy

Storage caddy, knock off from Pottery Barn plus mini versions.

Estimated Cost
$0.00
Estimated Time Investment
An Hour or Two (0-2 Hours)
Finish Used
1. Interior one coat semi gloss white
2. Exterior one coat BM wedgewood grey
3. One coat Behr sage
4. Sanded 120 grit to distress
5. Stain Minwax special walnut
6. One coat clear satin poly
Recommended Skill Level
Beginner

Halltree made from old Door Sidelights

Had some old sidelights that a lady gave me when I bought an old door. They sat around until I figured out that the halltree is what I wanted to do!

Estimated Time Investment
Week Long Project (20 Hours or More)
Finish Used
Minwax cherry
Recommended Skill Level
Advanced

Our finished project

Submitted by Jmetom on Thu, 05/14/2015 - 12:11

For the grandkids

Recommended Skill Level
Beginner

Comments

Building-At-Home-Mom

Fri, 05/15/2015 - 06:08

This project is awesome. How did the grandkids like playing on it? Do you have building plans for this?

Again, great work!

Wedding Gift

Submitted by Casecase10 on Fri, 11/10/2017 - 13:01

This wedding present for Dan's sister's wedding present took us a very long time to complete. 


We finished all the little boxes and sides in an afternoon, but logical problems meant putting it all together took ages.

The Bride had specified she liked white weathered (rustic?) paint (can't think if there's a better name).

We finished it with two coats of grey stain, then two coats white paint that we sanded off a few hours after painting. 


I think it came out great ! The edges are a little uneven and of course the shelves aren't completely level... but hey - rustic!

Estimated Cost
$80 - 100.
Estimated Time Investment
Weekend Project (10-20 Hours)
Finish Used
Minwax wood finish - Grey - 2 coats ;

Valspar Furniture Paint - white satin - 2 coats, then sanded a couple hours after painting.
Recommended Skill Level
Intermediate

Modified Wide Bookshelf

Submitted by DTeague on Mon, 04/04/2011 - 10:47

I added an additional shelf to the plan so the sides were longer. Used the pine plywood and Benjamin Moore Super Spec paint in black to match the desk I made.

Estimated Cost
$50.00
Estimated Time Investment
Weekend Project (10-20 Hours)
Finish Used
Benjamin Moore Super Spec Paint in Black
Recommended Skill Level
Beginner

First Project - Loft Bed!

This is my first ever piece of furniture. I bought the Kreg Jig, which is awesome. My son has a fairly small room, so extra floor space is handy. I plan on turning the bottom into a reading nook with come comfy pillows, some lighting and a few small bookcases.

I used 2x6s to support the mattress. put in 6 slats, but I think I'll add one more for extra support. I also want to add a 2x4 across the back to keep the legs in place. Pretty sturdy though. I got up there with my son and between the two of us we're about 230lbs.

Can't wait to build something else!

Estimated Cost
$150
Estimated Time Investment
Weekend Project (10-20 Hours)
Finish Used
Minwax Walnut and 3 coats of Poly
Recommended Skill Level
Beginner

Loft Bed

Submitted by kdins31 on Sun, 12/10/2017 - 06:19

Built this loft bed for my tween girl who needed/wanted a hangout area and has always dreamed of having a loft. It may look daunting but it's actually quite simple.  2x8"s built to size in the shape of the bed, screwed into the studs in the wall with lag bolts.  A 4x4" holds the frame up where it is not supported by the wall. I considered a pole or chain or other suspension method from the ceiling but decided that a nicely trimmed 4x4" would look nicer and it really doesn't get in the way since the ladder is there anyways.  I built the bed frame bigger than I needed for the twin mattress to accommodate free space for clutter, e.g. books, pillows, etc. Once the frame is up I added supports for the mattress, with 2x2"s spanning length and width, then plywood.  2x4"s are screwed in vertically and then topped with a flat 1x3" and spanned with a 1x2" to protect her from falling.  Since she's older I didn't feel that I needed to add as much support around both open sides.  It has not been an issue at all and I am fully comfortable with it.  I installed small LED color changing lights in the underside of the bed.  The headboard was made from standard 5" t&g boards and has a small shelf to hold "stuff."  A custom in-wall shelf holds more of her "stuff."  The wood color is just a dark walnut Danish oil that I love working with.

Finally, I built the base for the couch with 1x3". The couch itself is two separate futon style chairs that open up into single beds, perfect for sleepovers!  They are meant to just lay on the floor but I wanted to make it look more like a couch. We bought those from Walmart. I recommend!  Hope you like. Let me know if you have any questions. I don't have formal plans but can try an answer all questions best I can! Cheers!

Estimated Cost
$200-$300 excluding couch
Estimated Time Investment
Weekend Project (10-20 Hours)
Finish Used
Dark walnut Danish oil
Recommended Skill Level
Intermediate

Elephant rocking hotse

Submitted by Anonymous (not verified) on Mon, 11/22/2021 - 18:36

My great niece was turning 1 and I wanted to make something original for her. I wanted to make sure she could use it and keep it to show her kids, hopefully. It took a few weeks of working and waiting for finishes to dry and working out the finer details to make it solid and sturdy.

Comments

Potting bench

Submitted by DianeS on Wed, 04/06/2011 - 14:04

I used the plan for the simple potting bench, but because I had  a lot of reclaimed wood, I used well supported 1x4's instead of 2x4's, simply because I had an abundance.

Built from Plan(s)
Estimated Cost
10.00 for screws and the potting bin
Estimated Time Investment
Day Project (6-9 Hours)
Finish Used
just sanded a lot.
Recommended Skill Level
Beginner

Comments

five board cross brace console or side table

Submitted by alimvru on Sat, 06/15/2013 - 14:49

I saw this on Pinterest and loved it. It looked simple enough for my first project. I made it from barn board that my uncle gave me.

Estimated Cost
Free
Estimated Time Investment
An Hour or Two (0-2 Hours)
Finish Used
None
Recommended Skill Level
Starter Project

Rustic 4x4 Bench

Submitted by AlexO on Thu, 05/21/2015 - 08:27

Modified the Cherished Bliss plan a bit to include Carriage bolts instead of pocket holes and I notched the top of the legs to make a shelf for the top.

Legs were cut at 18" and the top is 40". The two center 4x4's are connected with two internal (and smaller diameter) carriage bolts and glued together. The end 4x4's are glued and then a 1/2 x 6" carriage bolt with a pre-drilled "Head" hole (using 1" paddle bit).

Very easy to make but this baby is heavy!!!

Estimated Cost
$50-$75
Estimated Time Investment
Afternoon Project (3-6 Hours)
Finish Used
Clear Watco Dutch Oil and Varathane 3x Poly.
Recommended Skill Level
Beginner

Comments

First rustic build

Submitted by WhyteSage on Sun, 12/17/2017 - 05:18

My wife loves the farmhouse style, so this was my first build based on the X console plans for sofa tables. Its very "rustic" to say the least, but is very functional and was a great project to get started.

Built from Plan(s)
Estimated Cost
$30
Estimated Time Investment
Afternoon Project (3-6 Hours)
Finish Used
We used duck egg blue chalk paint and then waxed. It was our first time using chalk paint, and it served as almost the majority of the project cost. We sealed it with chalk paint wax, but in retrospect, I'd use simple furniture wax.
Recommended Skill Level
Starter Project

Modern Adirondack Chairs!

My mom and I made these together as our first Ana White project! So much fun making both these chairs and memories! Next up is the three pedestal farm table and bench!

Comments

Seasonal And Holiday