Farmhouse Hall Tree
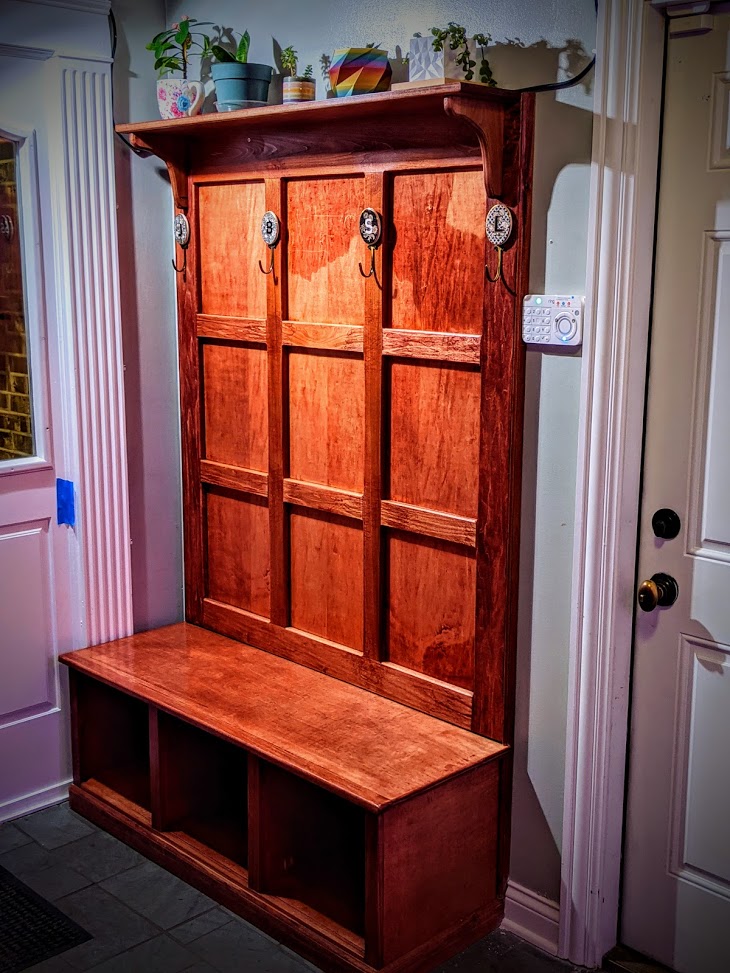
Added a shelf for plants at the top, coat hooks.
I mounted the back panel to the wall so I could remove the supports between the bench and the back panel.

Added a shelf for plants at the top, coat hooks.
I mounted the back panel to the wall so I could remove the supports between the bench and the back panel.
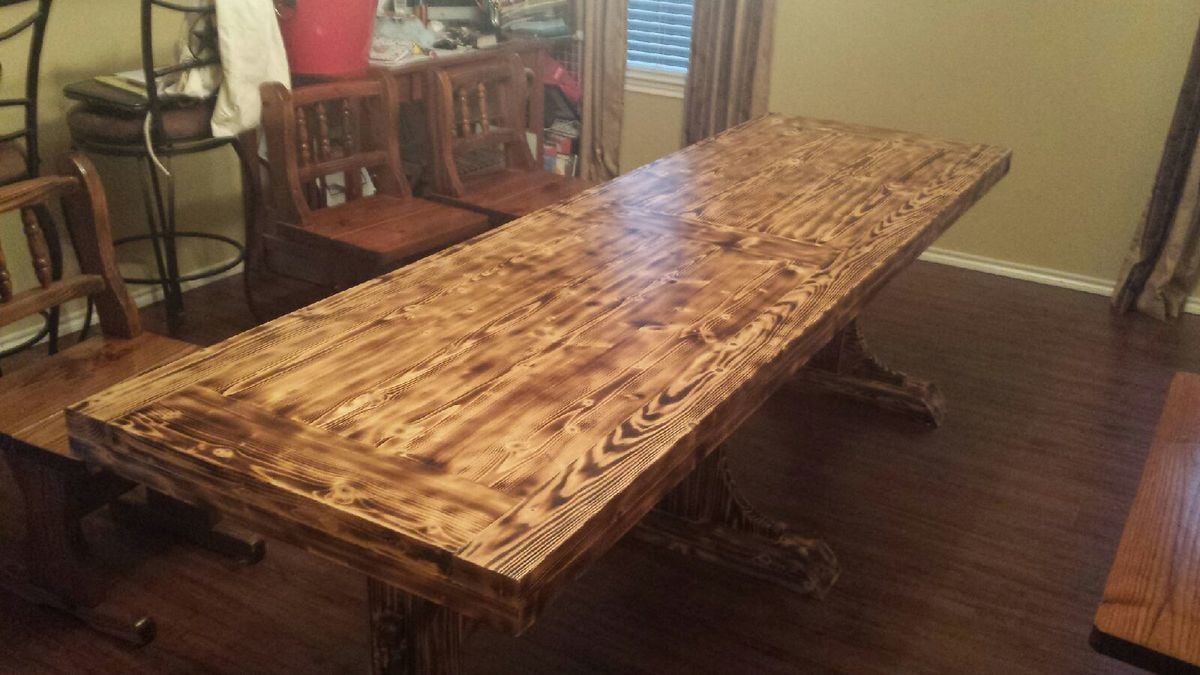
My wife wanted an 8 foot long table, but wanted it to be a little narrower that as standard table. This one ended up being 97.5" x 29" I used a torch to scorch the wood then apply poly finish.
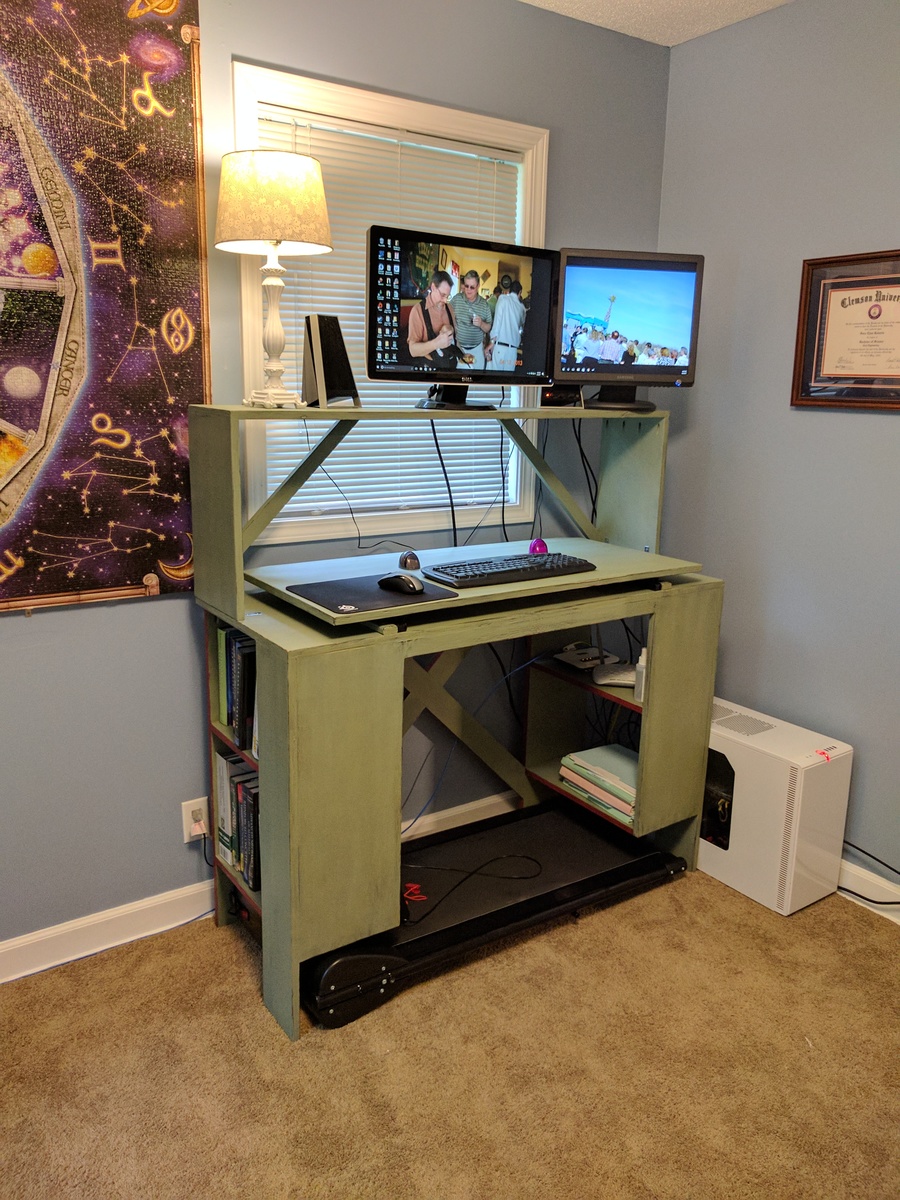
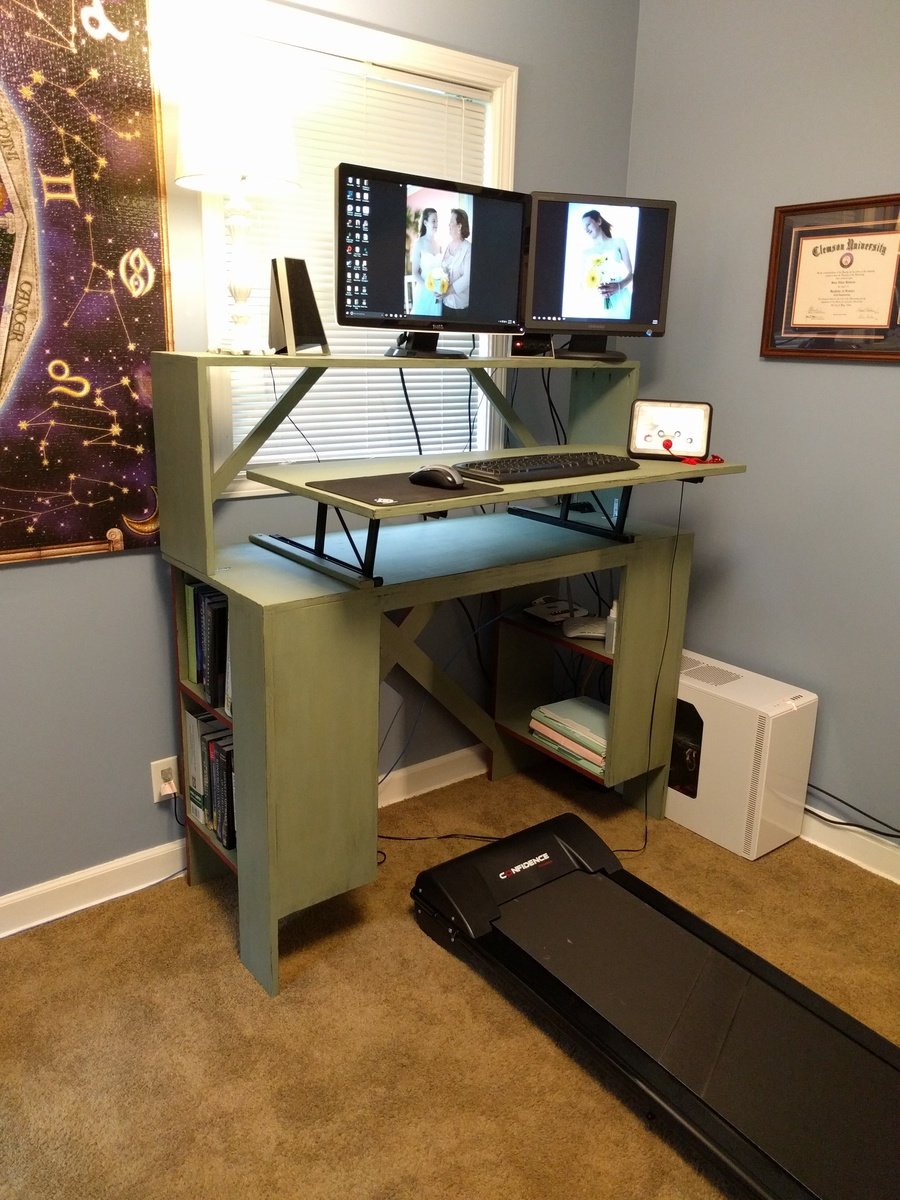
Standing/Walking desk with side bookshelves built in. Desktop folds up and out so keyboard is at correct level for my height while walking on treadmill. When folded down, keyboard is at acceptible level for standing on ground. Desk designed so that the small walking treadmill can slide under and be out of the way when not in use.
Lifting Hinges used are Woodtek Coffee Table Lift Mechanism: https://woodworker.com/coffee-table-top-lift-mechanism-lr-mssu-164-228…
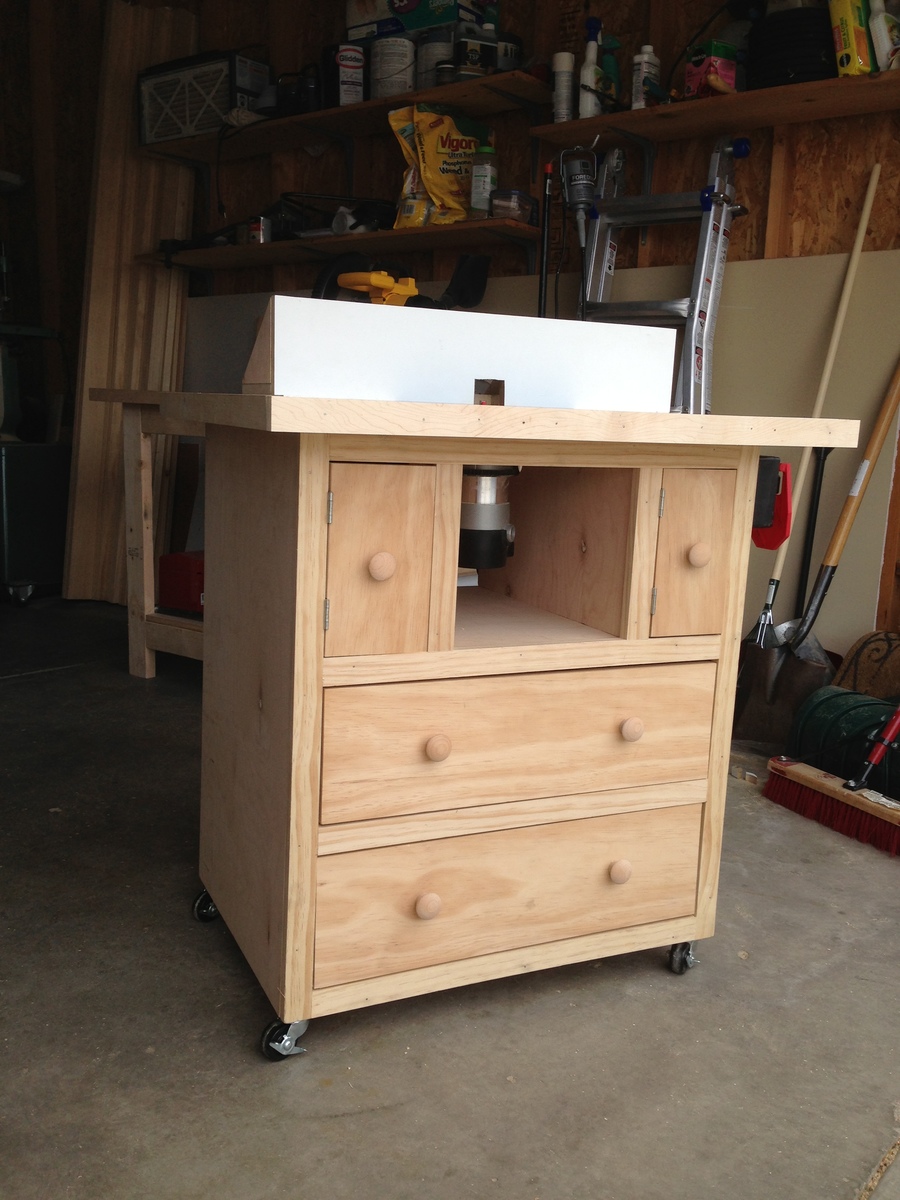
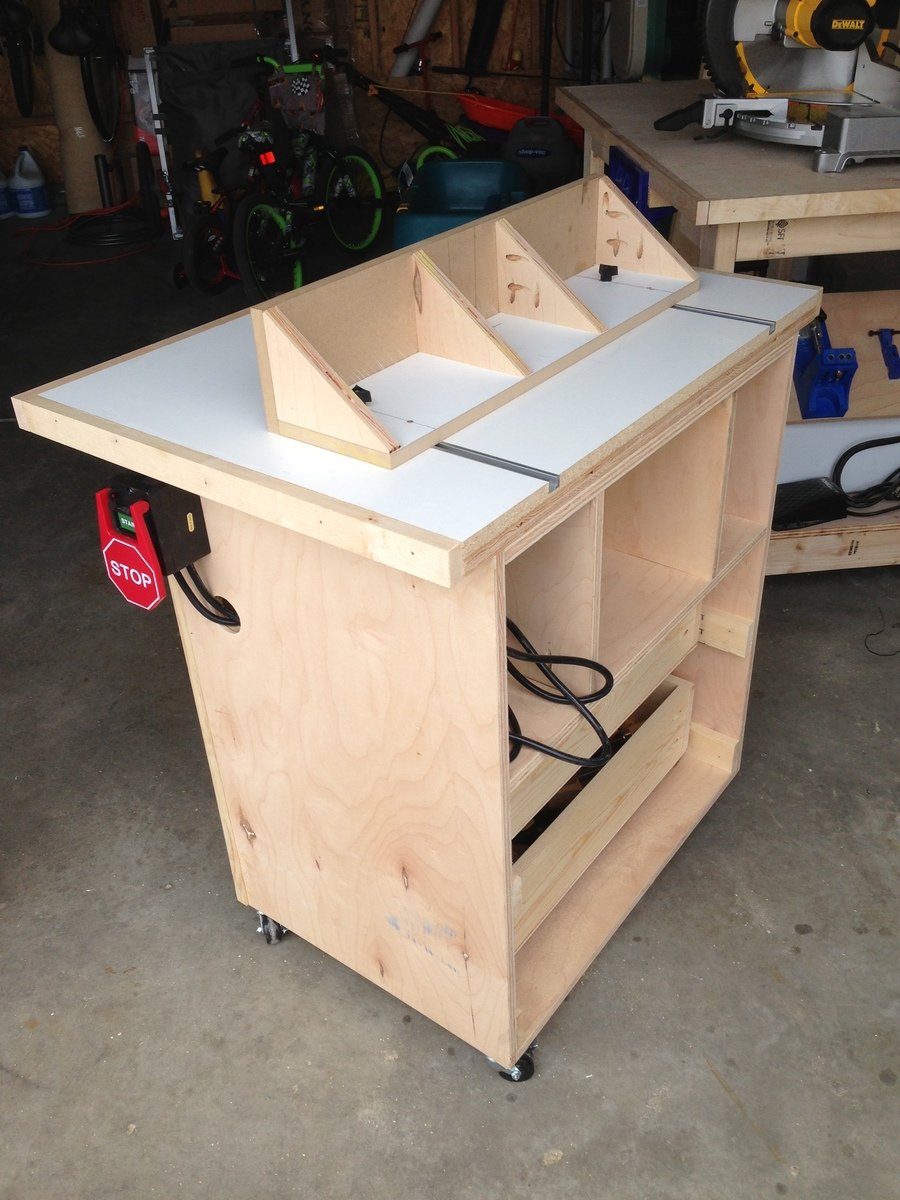
My wife has been asking for new dressers for the boy's room for a while now but every time we go out shopping for them I am very disappointed in the quality of what is available. So I decided to make them myself. I have not made any furniture before and needed a few tools to help me out and thought what better way to get both the practice and the tools then build my own router table.
I searched the web for plans and found these great ones. I loved these plans but wanted to make a couple of changes anyway. I decide to build the table top as well as the cabinet and decided to make it a little taller to fit me better. Due to the changes and making the table top it took me 2 days to finish, 1 day for the cabinet and 1 for the top and to put it all together. (Not having used a router before it took me a while to get the template just right to cut in the insert.)
It works great and looks great in my shop. Now on to the dressers.
Sun, 04/21/2013 - 10:55
I need to build one of these!!
Yours looks very nice!
Custom sized desk to fit between a radiator and wall. Combination of cubby desk with added lower shelving and upper hutch with shelf unit.
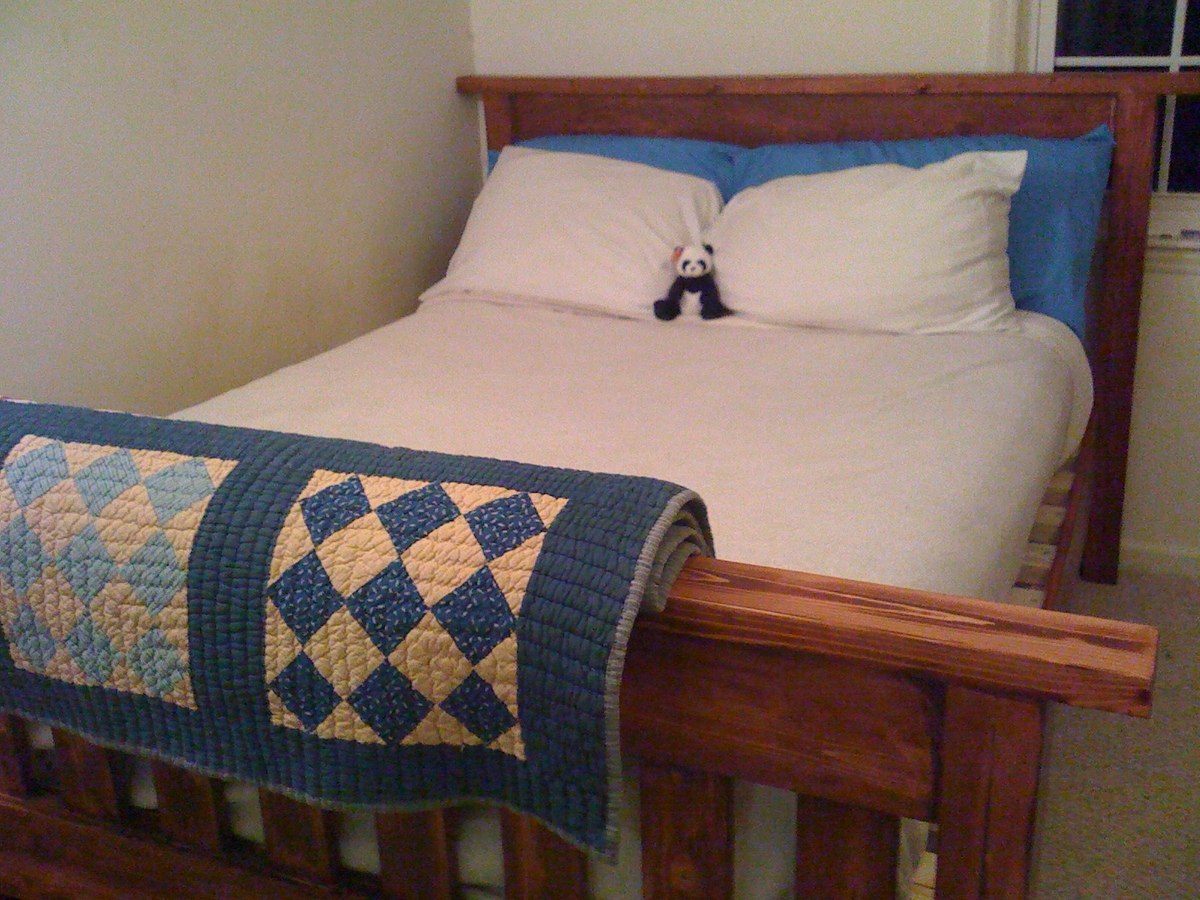
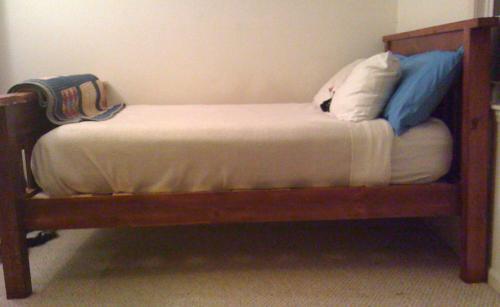
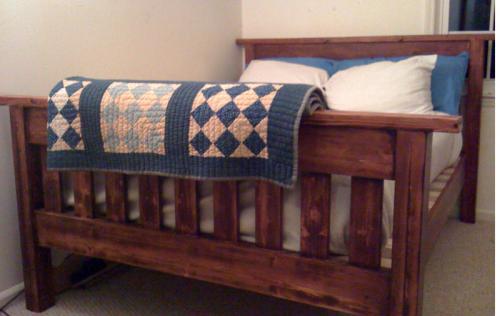
Building Ana’s farmhouse doll bed went so well that I felt ready to take on a full-sized bed.
Each project seems to come with its own set of lessons. I learned the hard way about the “Measure twice, cut once” rule with a couple of “oops” cuts that sent me back on another trip to the Blue store.
Sourcing untreated 4×4′s was also an issue. I ended up gluing and screwing 2×4′s together to use as the headboard and footboard legs.
The biggest issue, though, was my own fear. Sure I hit some stumbling blocks during the build, but resolved them and got the headboard and footboard all put together… and then choked. Who the heck makes her own bed? Is this really going to work? I delayed and delayed the final steps of screwing the siderails to the legs and attaching slats until I finally had to give myself a stern talking-to and a self-imposed deadline! Has anyone else ever been scared to push through to the final steps?
OK, here goes! I wasn’t sure that I understood the step about toenailing lagbolts through the end of the cleats into the legs until I got out the drill and tried it. Yup, it worked just fine! Next came the slats, and then when I hoisted the mattress on and saw that I had built a bed…. Well, I don’t even know how to describe that feeling of success and empowerment. Wow!
Ana, I wish I could thank you for all that you do.
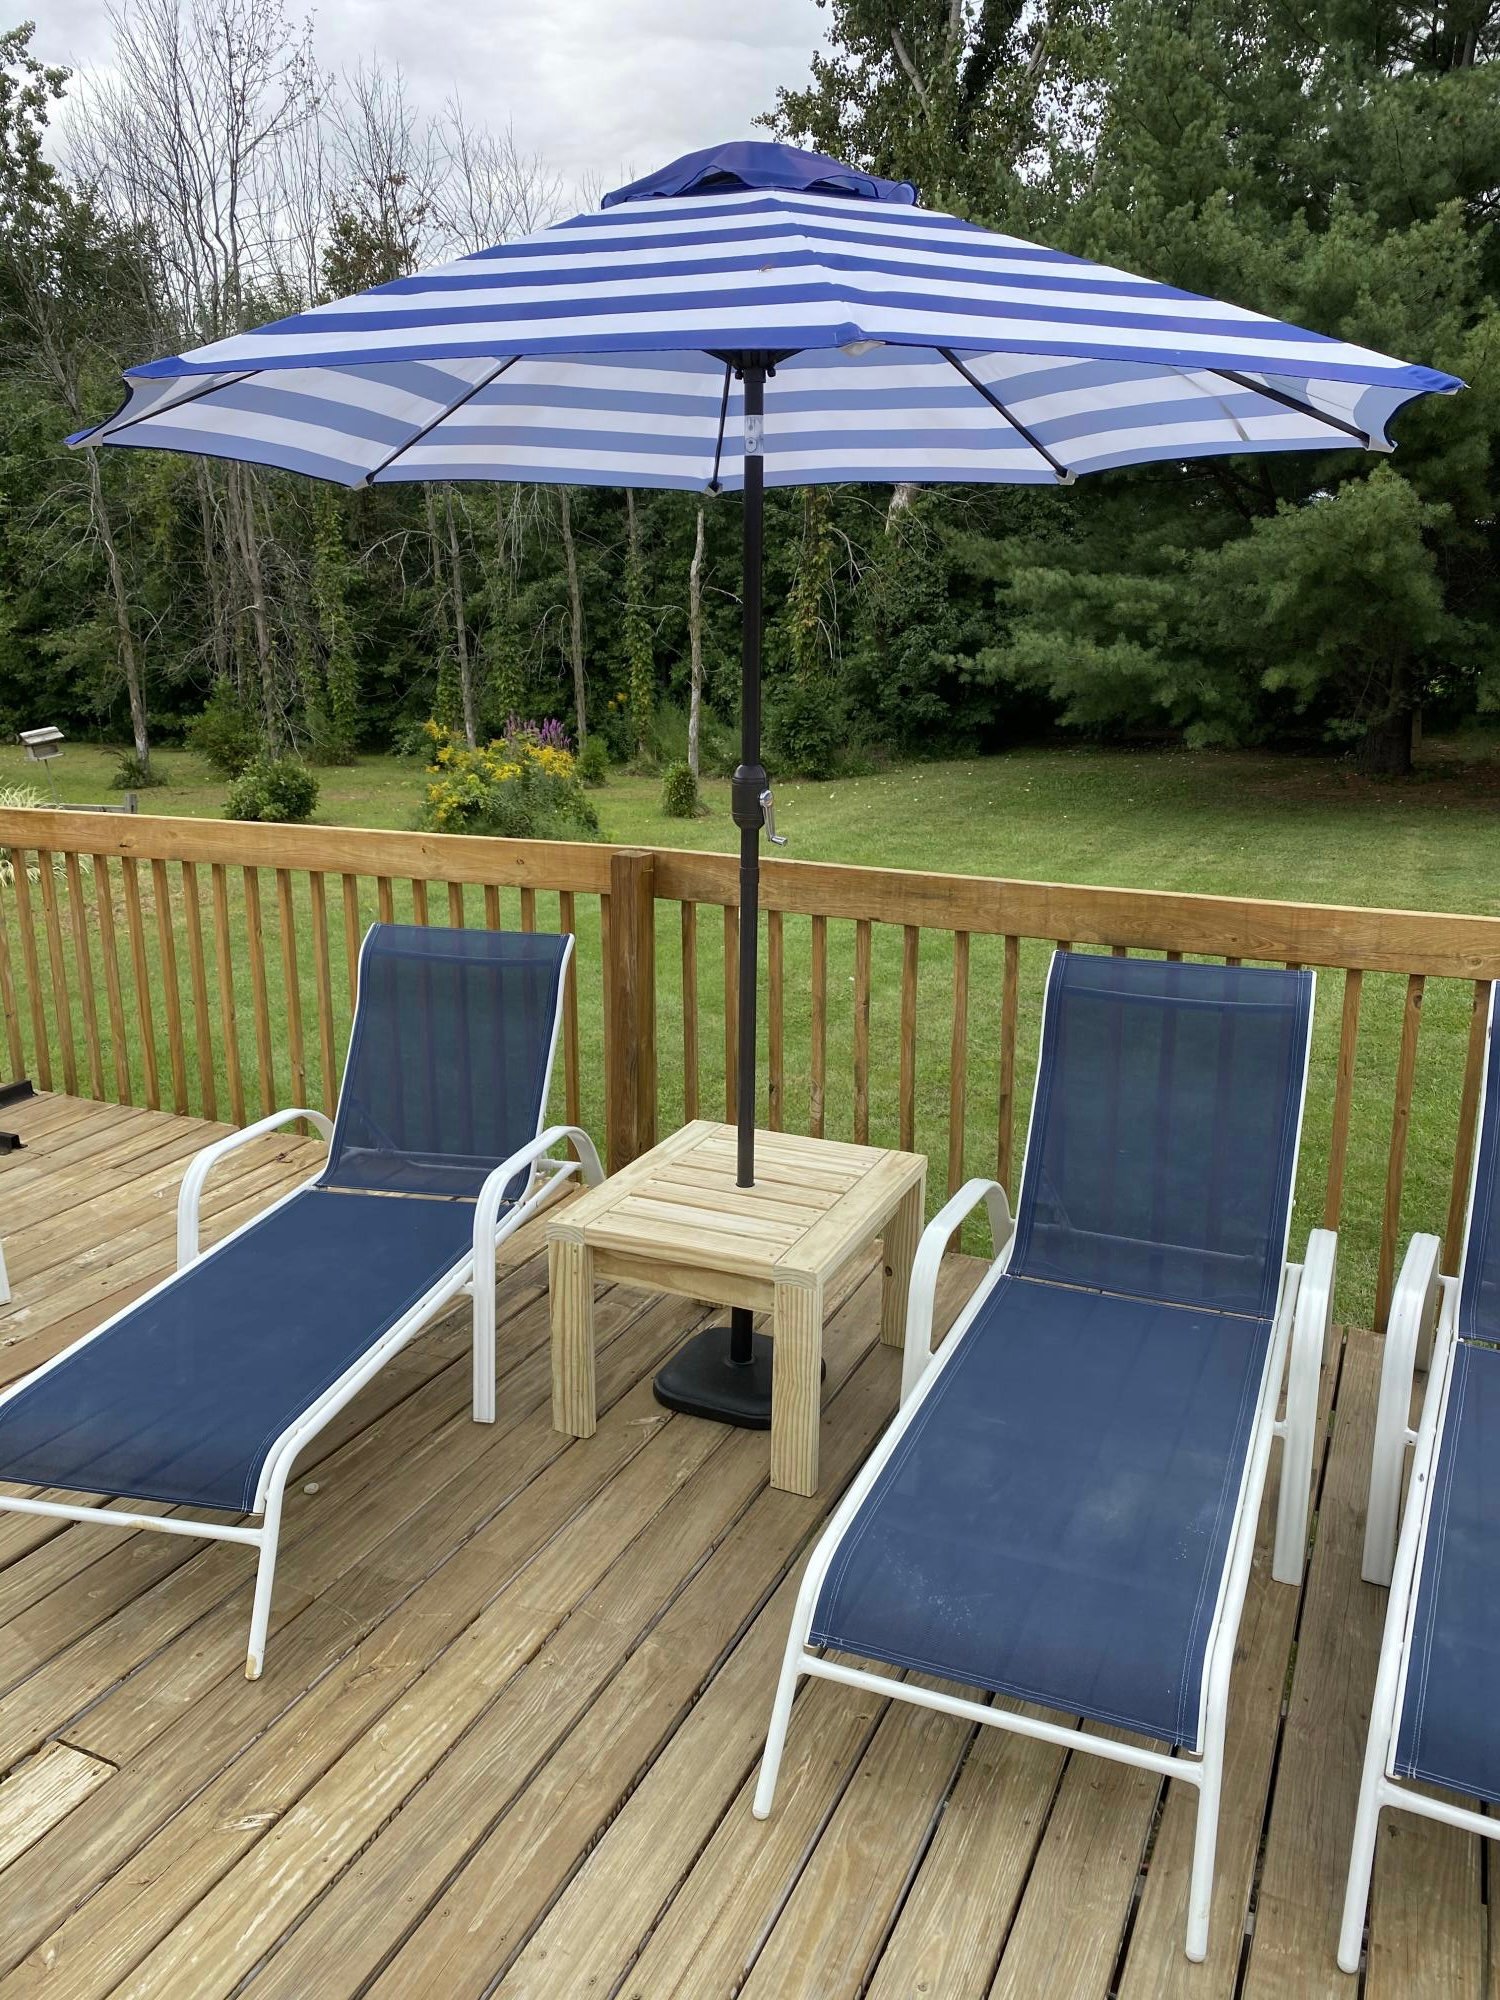
I made the end table a little taller than the instructions and the top boards further apart for rain to fall thru, then drilled a hole so it can be used as an umbrella stand too!
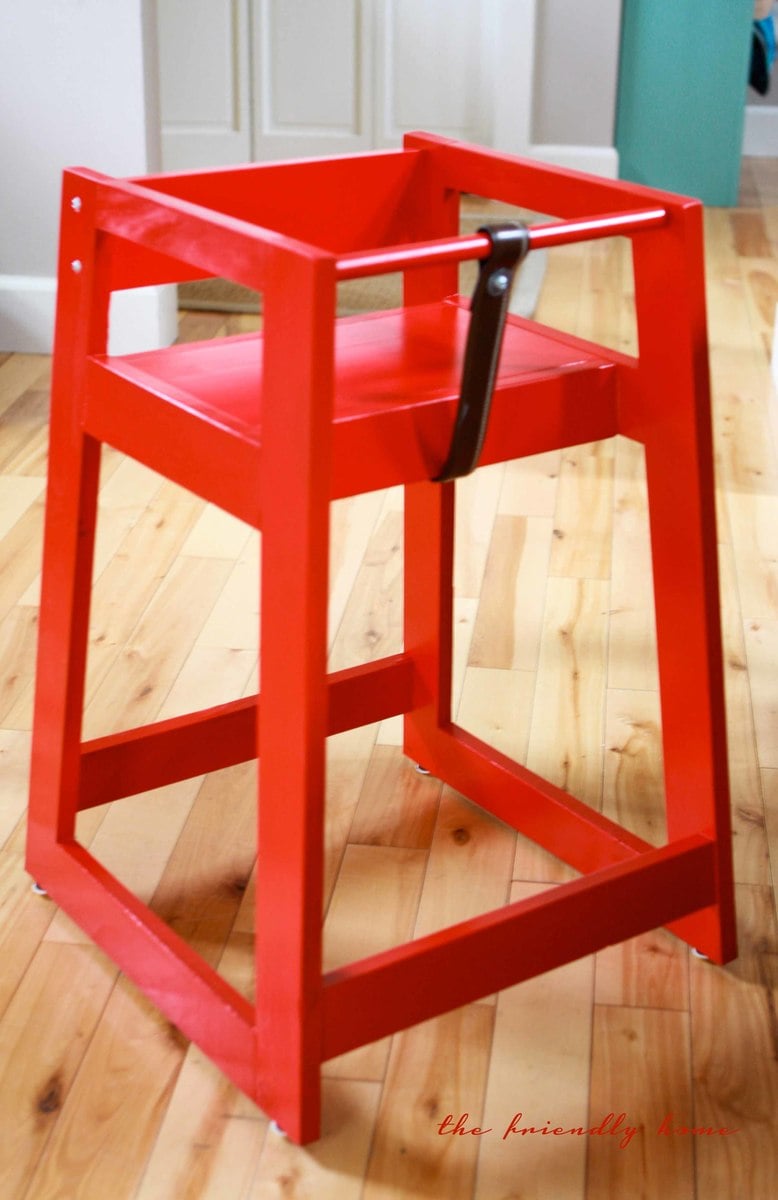
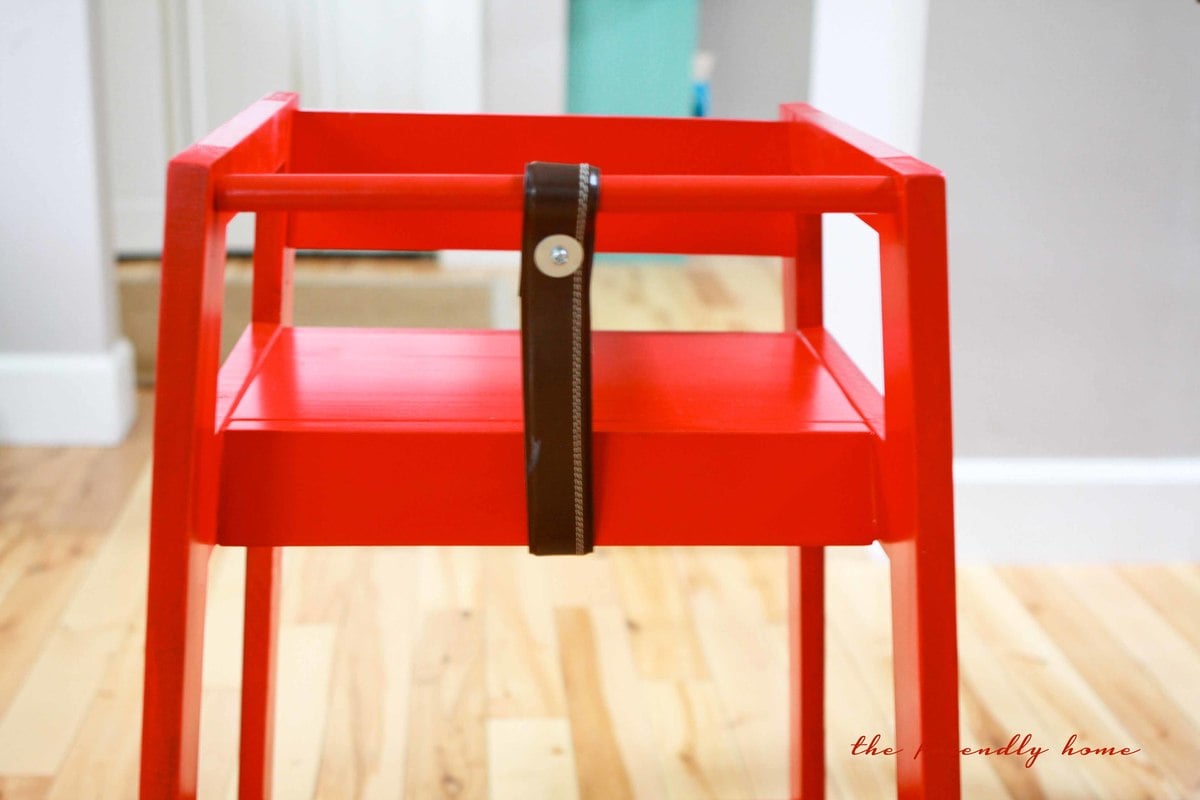
This took me longer to build than I expected -- maybe because I was working from scraps and had to figure out what would fit where along the way. Also, I initially cut all the side pieces with parallel cuts. Oops. So I had to re-do them all.
For more info, check out my blog post!
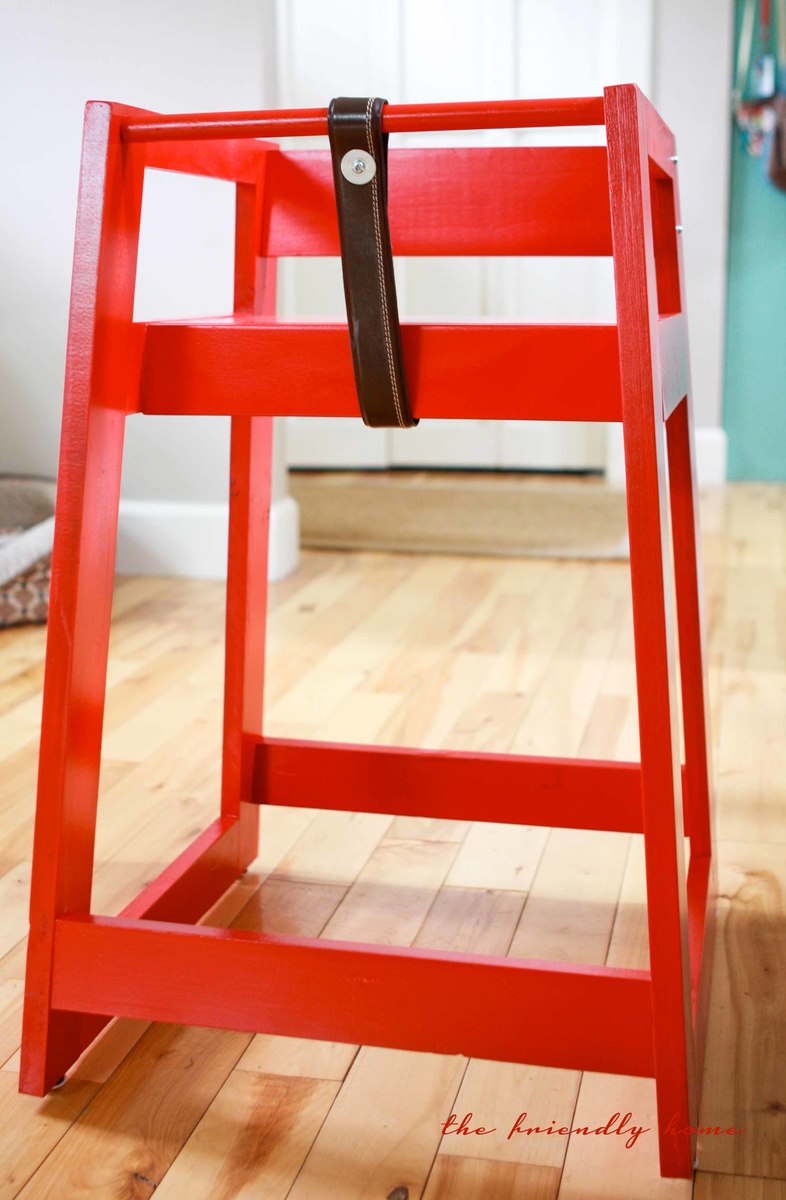
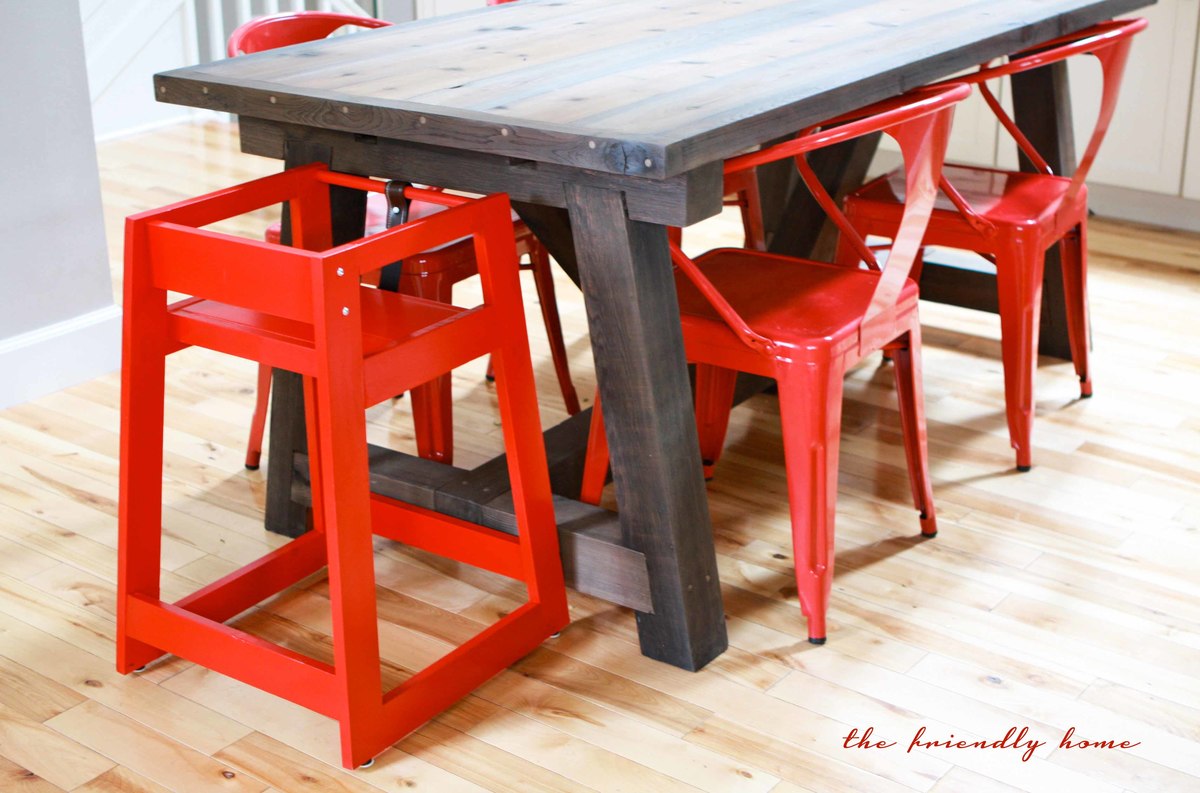
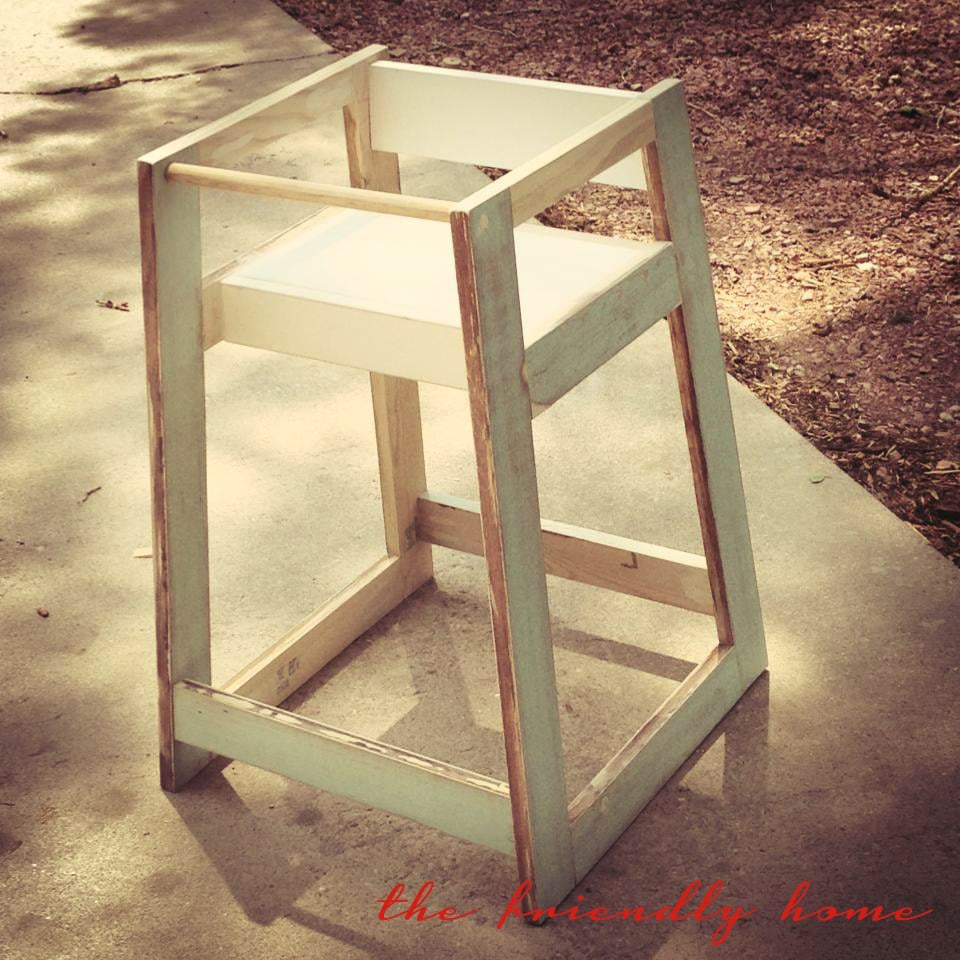
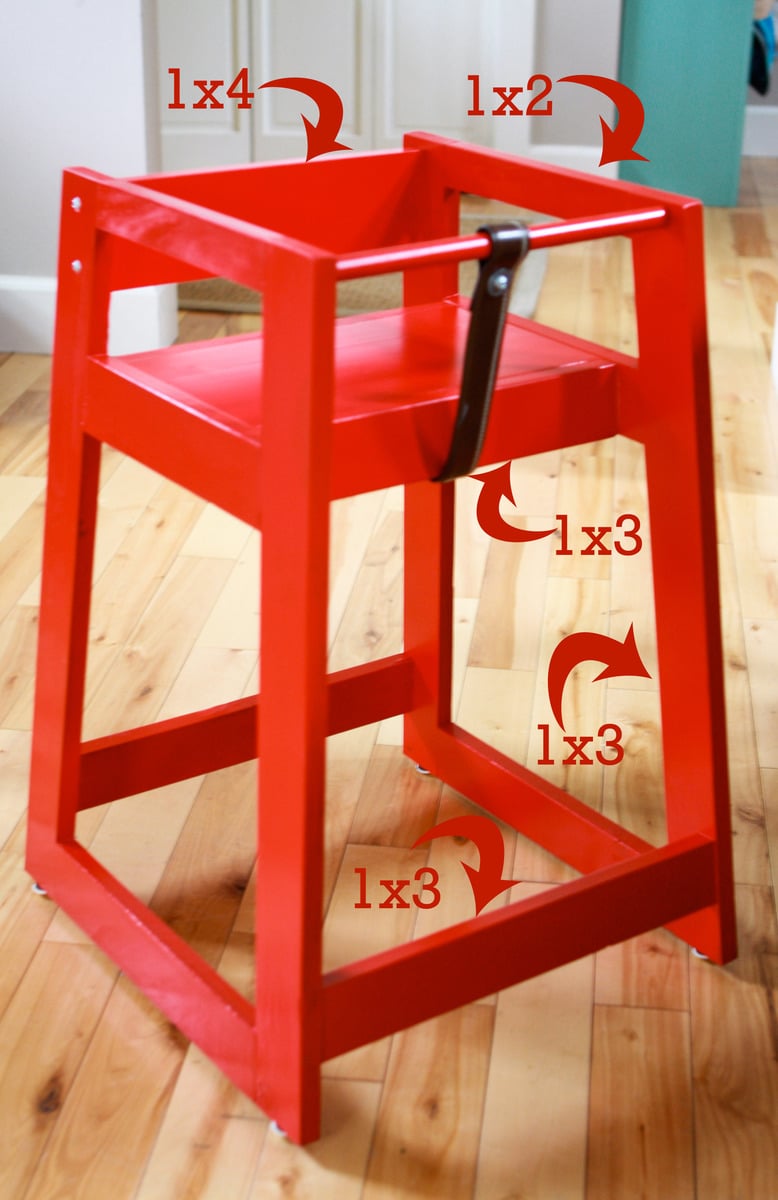
This was our third major building project (I've built some frames and small shelves in my free time but our other two big projects were the bunk beds and the tryde coffee table).
This was our first time cutting plywood boards and it was a huge chore at first, until we got the hang of it and built a good circular saw guide that cut our cutting time by more than half.
We couldn't find the type of drawer slides we needed so we decided to forget them and built our own wood slides. They basically are just L-shaped brackets made of 1x3 (on the bottom) and 1x2 (on the top), adjusted to the right spot to hold the drawers in place. A little candle wax (a trick learned from my husband's grandfather) is all you need to make them slide nicely. All in all, we built drawer slides out of wood for the about $20 total. Huge savings and honestly I think I like it better that way.
Things I learned during this project:
Plywood is a lot heavier than I ever imagined.
Cutting plywood is not fun.
I will never complain again about cutting boards with the miter saw!
Stainable wood putty is a joke. You can clearly see every spot I puttied. From now on we buy the colored stuff that already matches the stain!
Building drawers isn't scary--I thought it would be. I actually built all the drawers by myself in one morning, when hubby wasn't even around to help.
90-degree gripper things are a must have. And the more you have, the better.
Elmer's wood glue is really stronger than nails. We glued something and didn't like it and were unable to break it off so we had to nail it as it was!
This project took us nearly a month, but to be fair, I was out of town for two weeks of that time and this is definitely a project for four hands, not two.
Overall, it was a great experience and I'm so excited for the extra storage--our house is small but we don't want to move so we are trying to make use of every inch of space, without the house LOOKING like we are making use of every inch of space.
Next up: new bedside tables to match the bed.
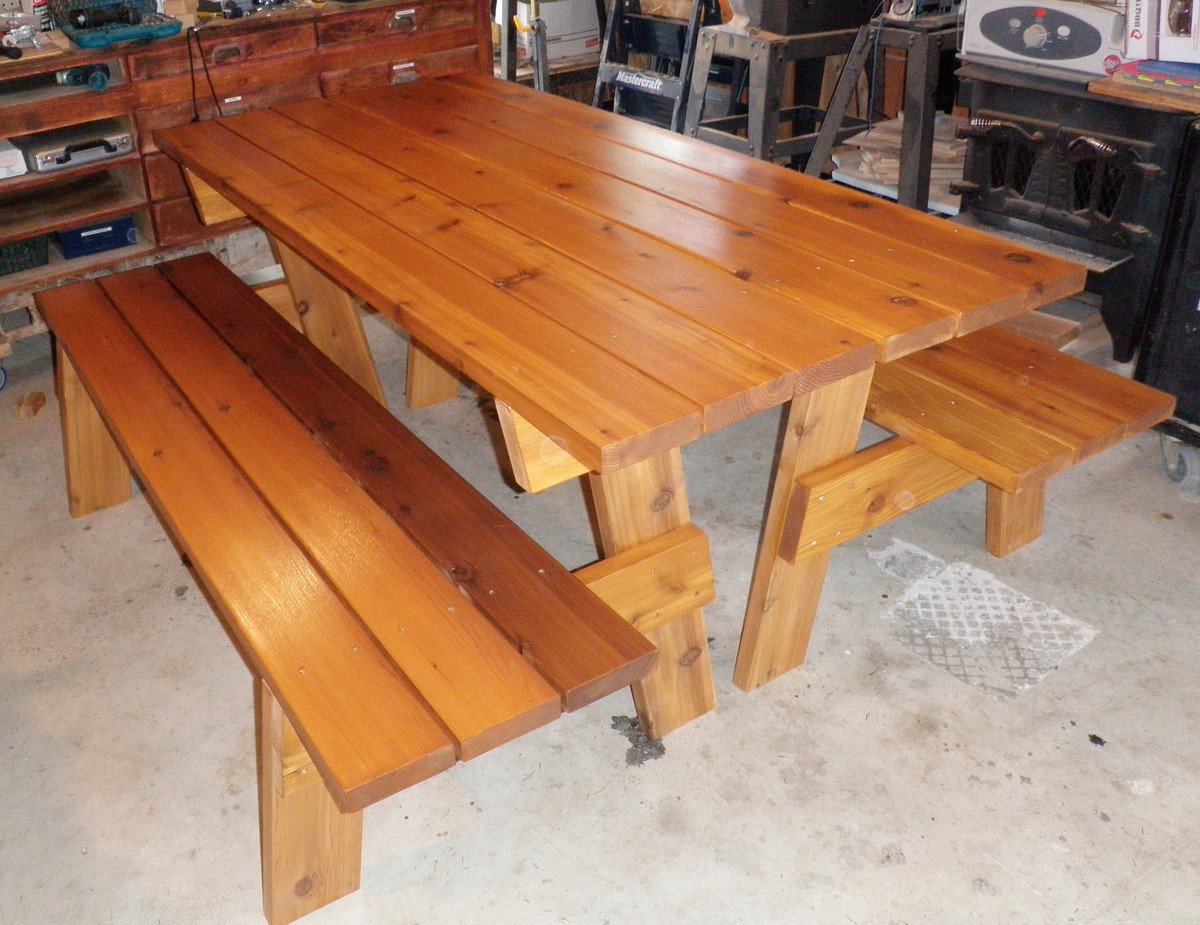
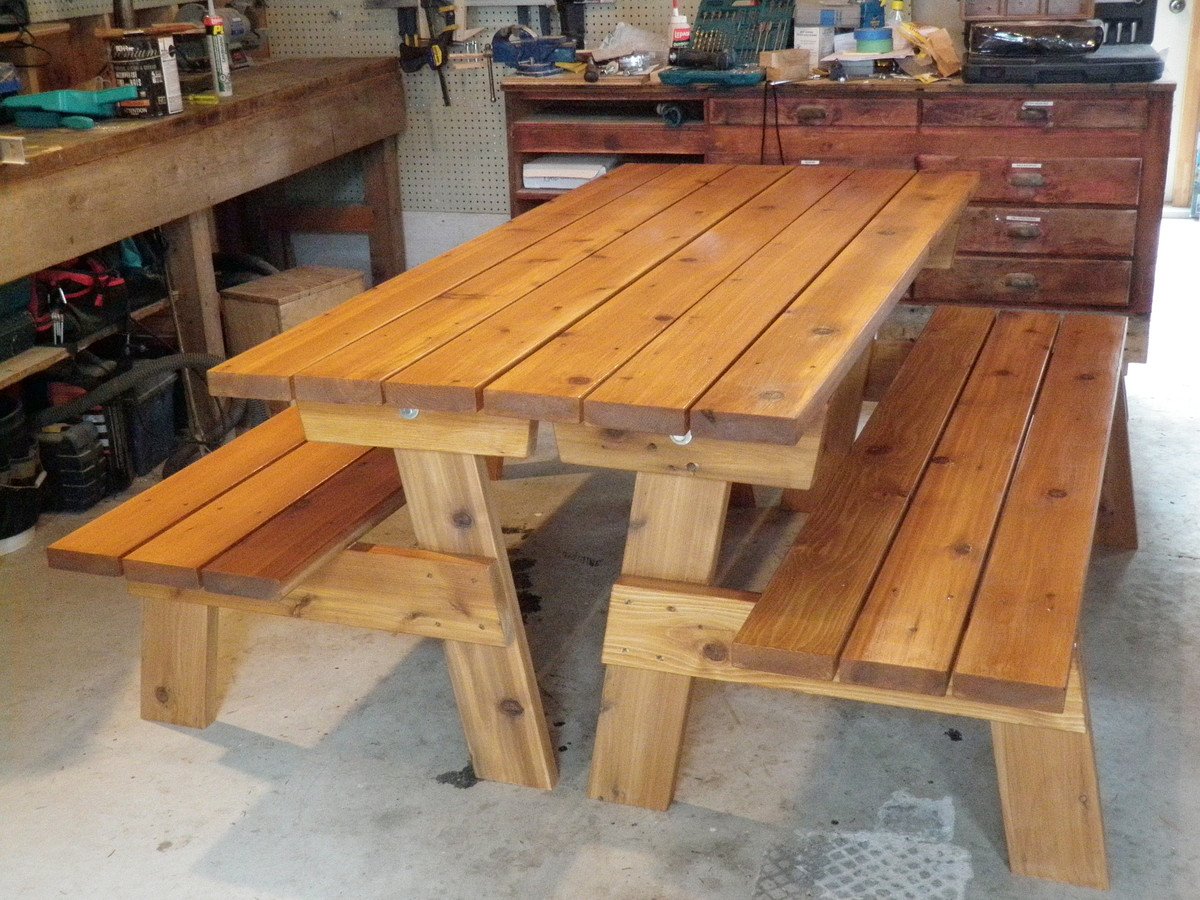
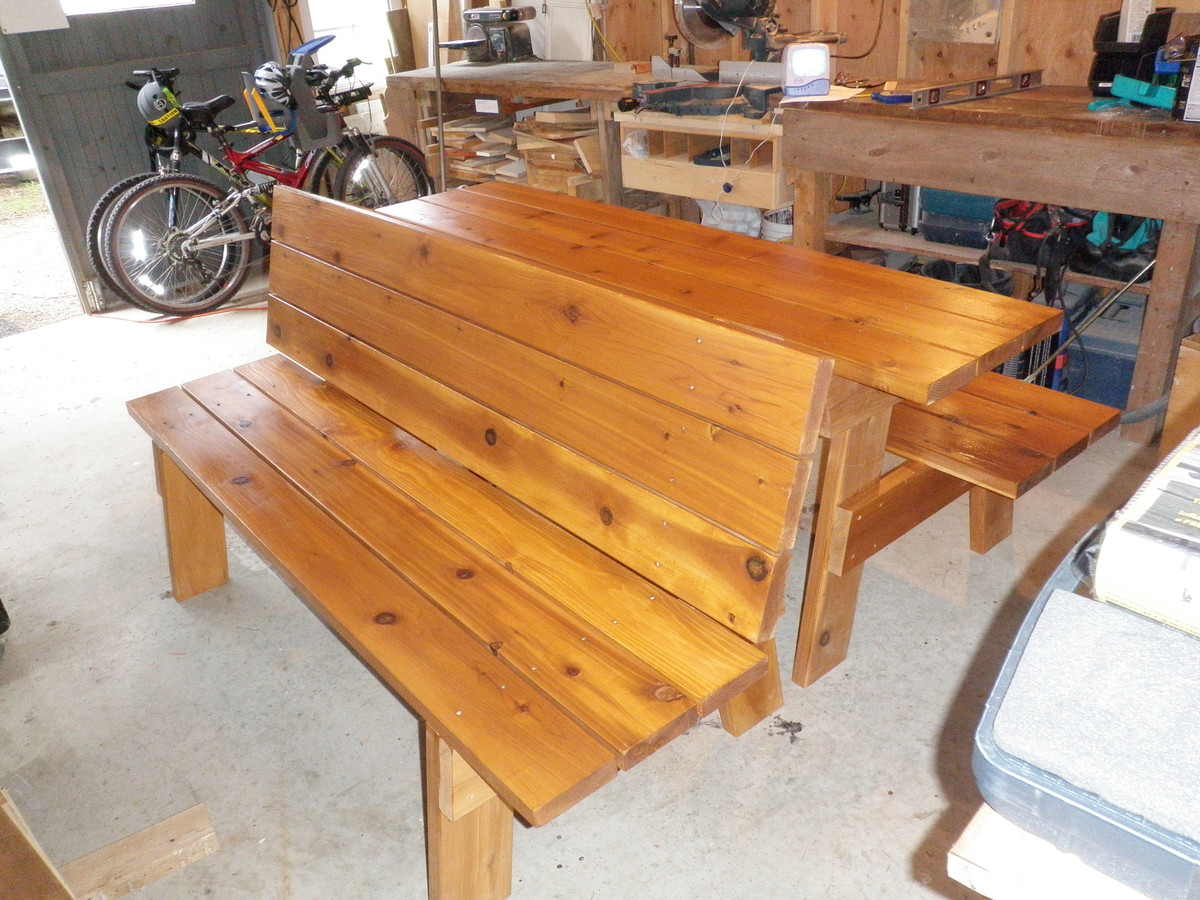
With the condition of our inherited 6-sided picnic table in my mind, the idea of these picnic benches was too appealing to ignore!
I gave away our old picnic table, and bought some cedar 2x6 from the lumber mill down the road. (He had a pretty good price so I used 2x6 for everything)
I decided to make them 6feet long instead of 4, and with an overhang of 8 inches rather than two I was able to avoid making a third leg set.
I got everything cut and gave it all a coat of stain before I assembled anything and then screwed the boards together with cedar deck screws.
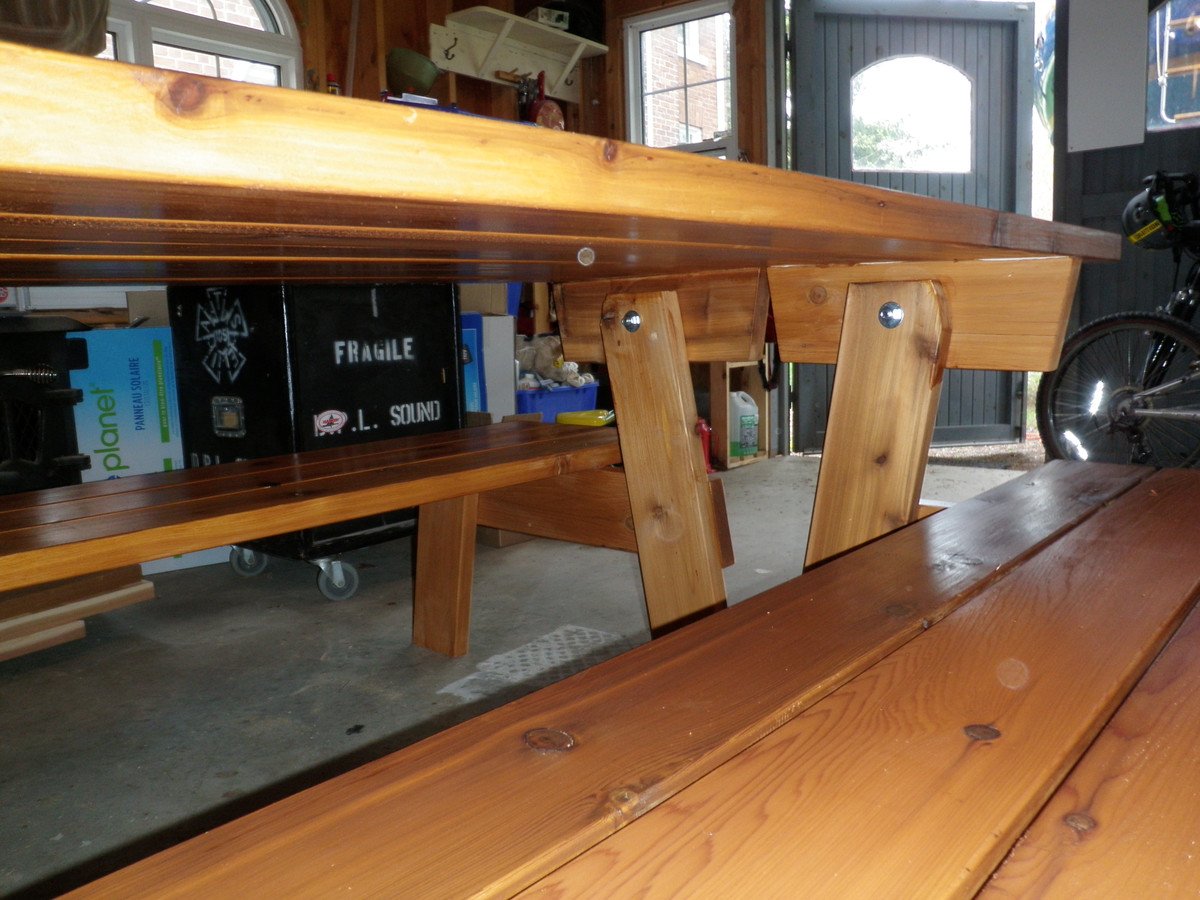
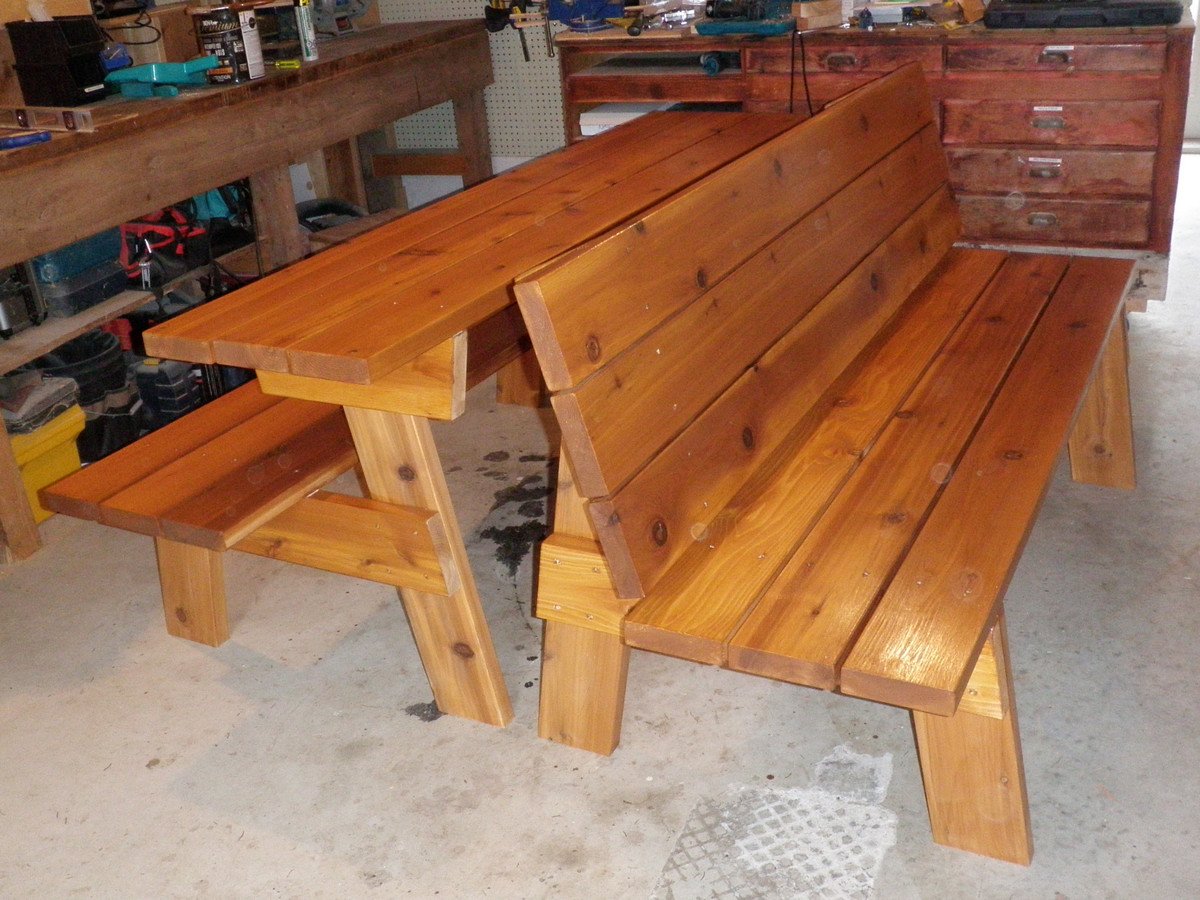
I discovered when I had the tabletop bolted on that the 2x6 caused some issue with the tilting, so I had to go back with a handsaw and trim the front top corners of the back legs so that the table could tilt to the bench mode.
I'm still puzzling out why I have a bit of play in the top when it's bolted in either configuration...
Now if only this chilly rainy weather would quit so we could put them outside and start enjoying them!

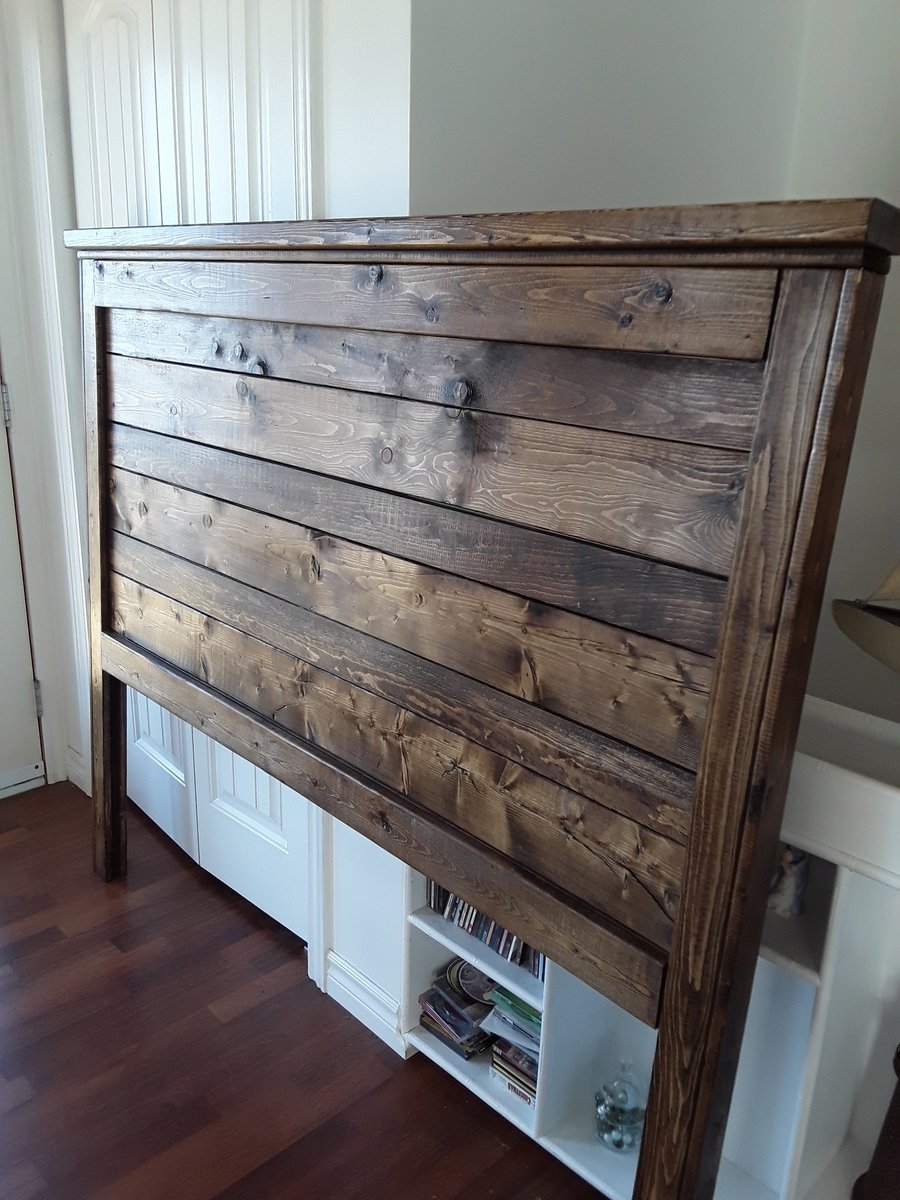
This was a super easy and quick project. I actually lengthened it to 36 inches. I can't decide whether I need two ledges or not, but it won't take long if I need another one! My only suggestion- VERY straight boards are a must!
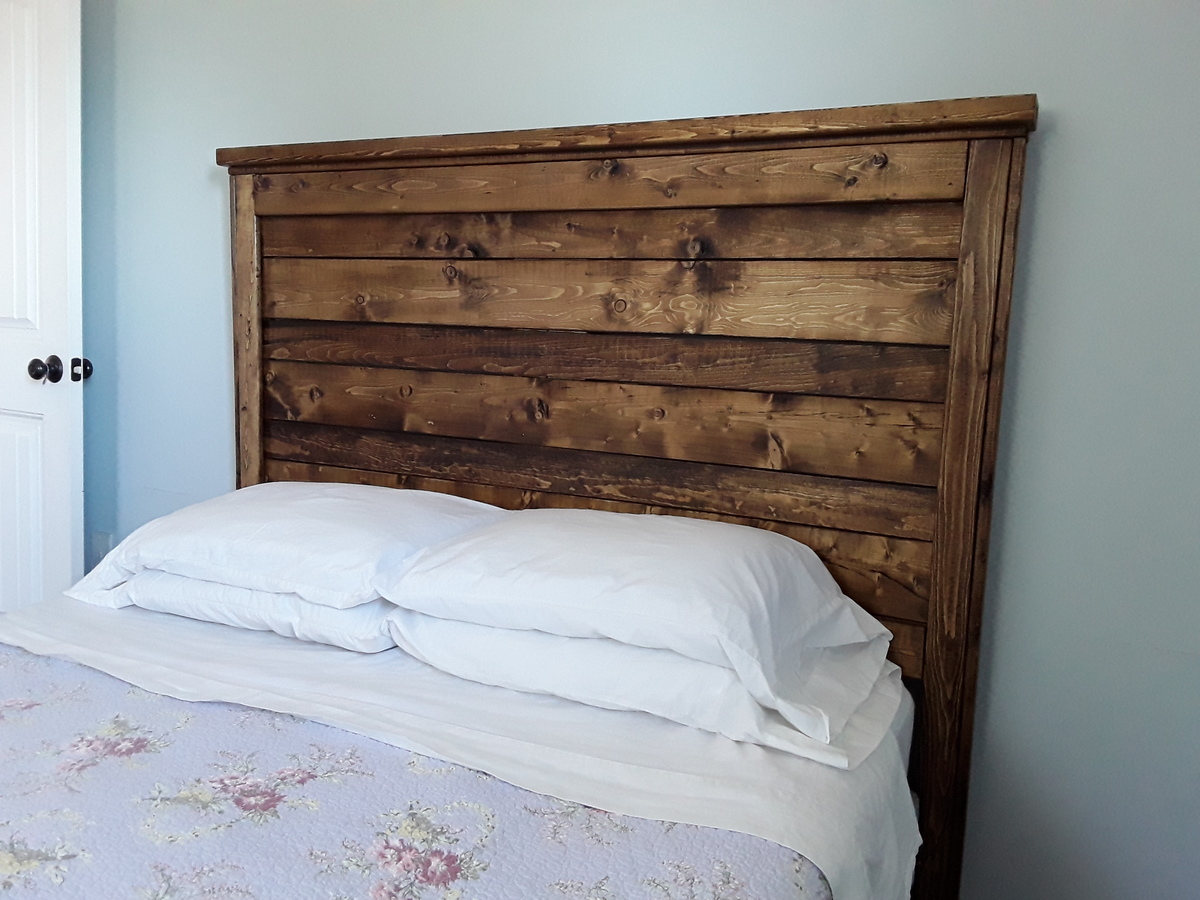
Made out of spruce to keep the cost under fifty dollars.
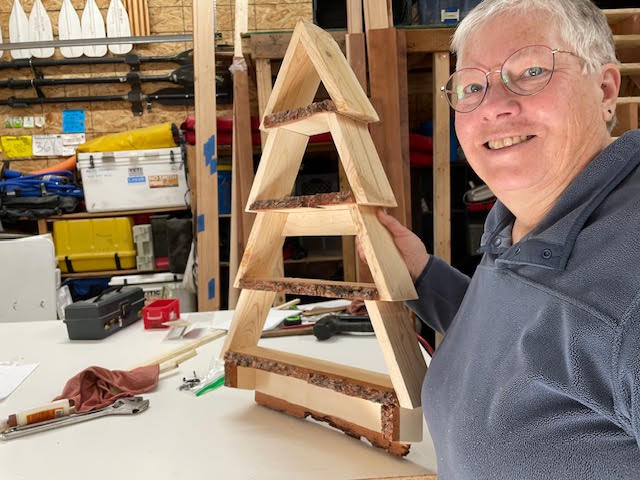
Live edge Christmas tree shelf.
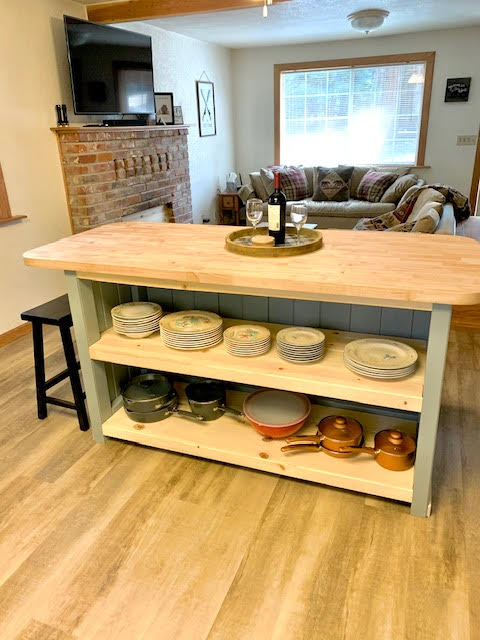
Great storage island project!
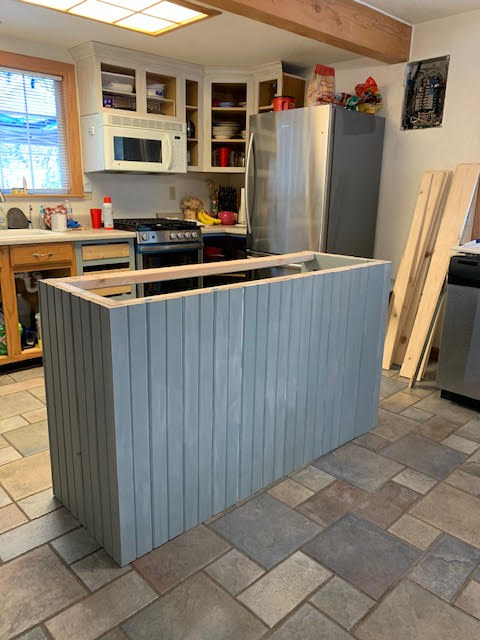
I used Ana's idea for the plan, but modified it slightly to stand up to my wrecking crew (aks the kiddos). I posted a step by step plan with photos on my blog if you want to use the information for yourself.
Tue, 07/05/2011 - 08:26
I tried posting on your blog but for some reason it wouldn’t allow me.
Okay, I seriously LOVE them! I'm in the process of making my own pub table for outside entertaining and was considering altering Ana's stool plans....now no need to! Thanks for posting, I'll just need to lengthen the legs a little and for that reason reinforce it a bit to make them sturdy (I've got three boys and a daughter that can be a rough as the boys). Thanks again and I'll be back to check out future posts. Check me out at: http://laundrywillwait.blogspot.com/
~Jen
In reply to I tried posting on your blog by jsle_bel
Wed, 07/06/2011 - 18:39
Thanks! Sorry the blog wouldn't let you post. I'm new to the blogworld and I may not have something set up correctly. I'll share more projects as I complete them. Don't you just love Ana and her website? She is so inspiring. I'll check your site out too. Thanks again and happy building. :)
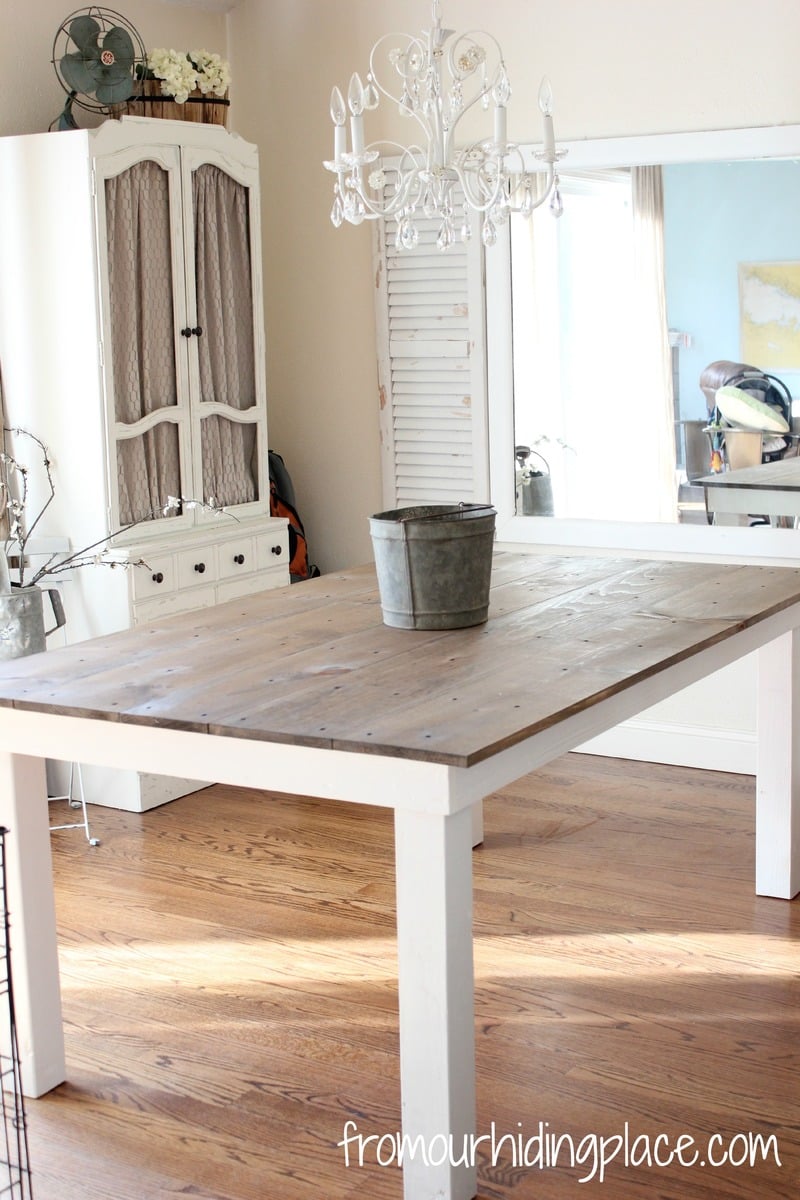
Using Ana White's Rustic Table plans, I recreated her design by modifying the measurements to fit my dining space. I did not use wood glue, as the plans call for, and simply left the wood screws visible which I felt added a rustic touch. The top is stained with Minwax Special Walnut #224, and the bottom is painted Simply White by Benjamin Moore. The table measures 72"x42" and is 30" high. It can comfortably seat six chairs.
Sat, 09/07/2013 - 12:22
I love your choice of colour! It's the perfect backdrop to a nice dinner full of colour! I'm getting inspired to try this now!
I modified the plan by using a hardwood plywood 4X8 sheet cut down to a 72" by 28" size. I put hardwood trim around the edges for a smooth appearance. I stained the top with a Minwax poly shield oak finish and painted the base using a glossy enamel paint "Inkwell" from Sherwin Williams. The seamless top makes for a better writing surface.
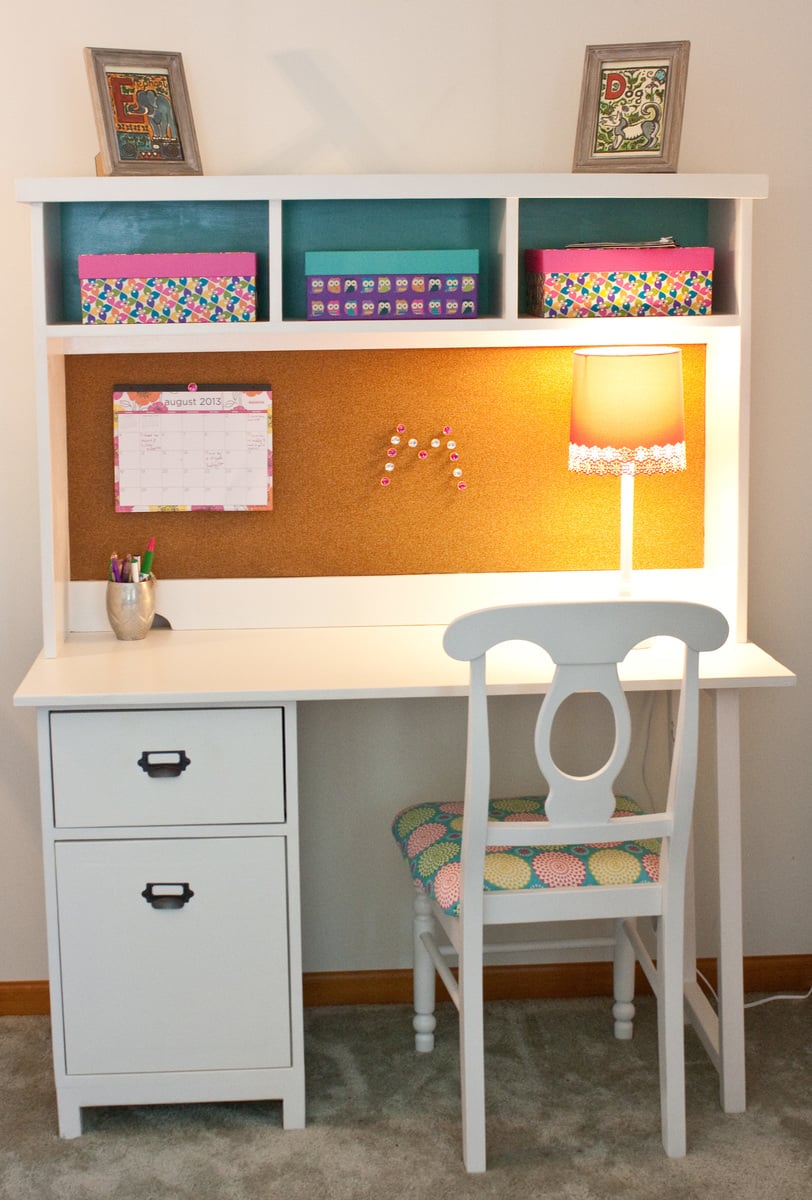
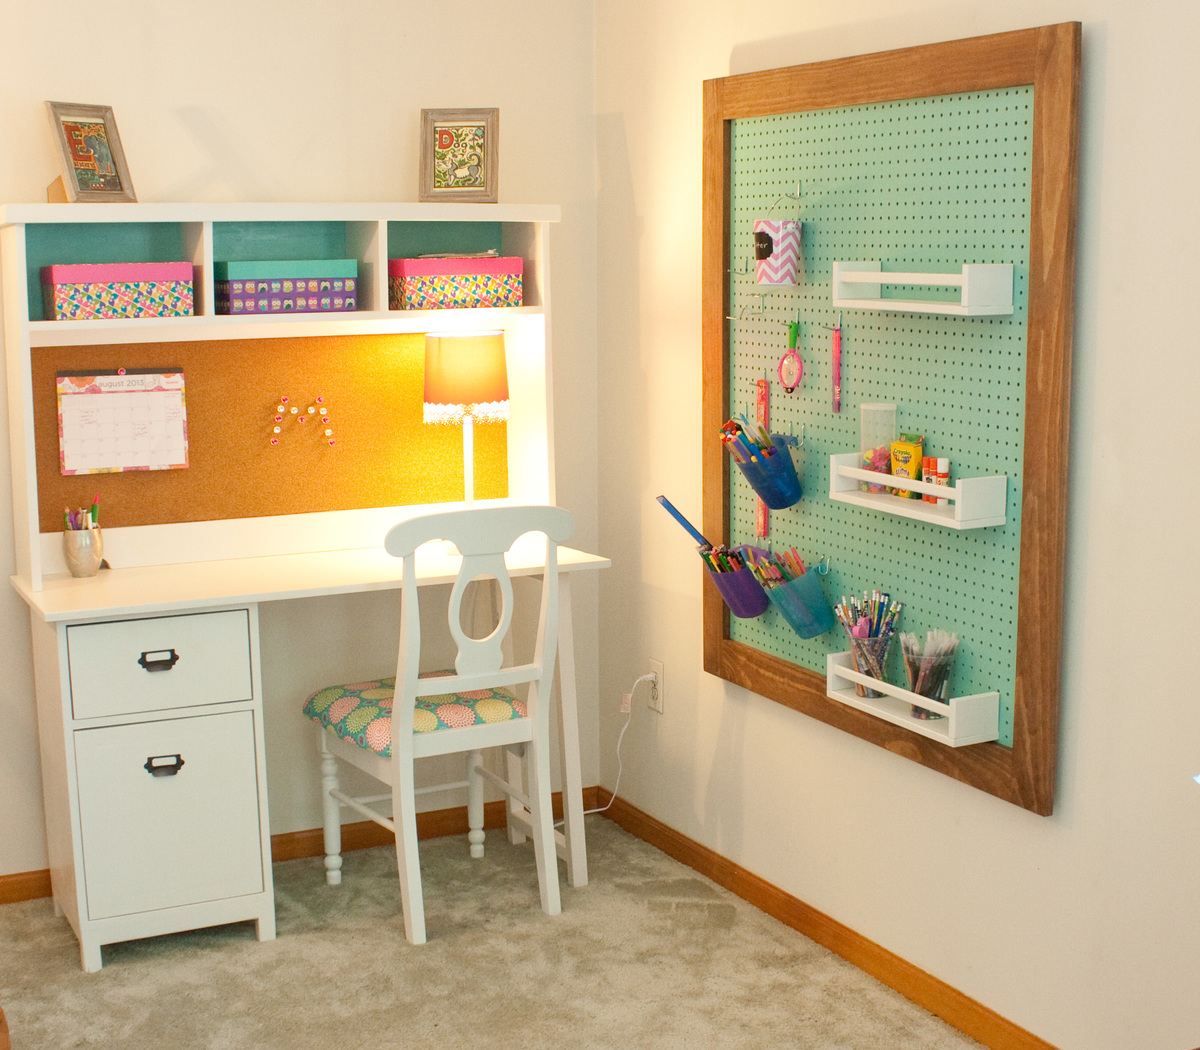
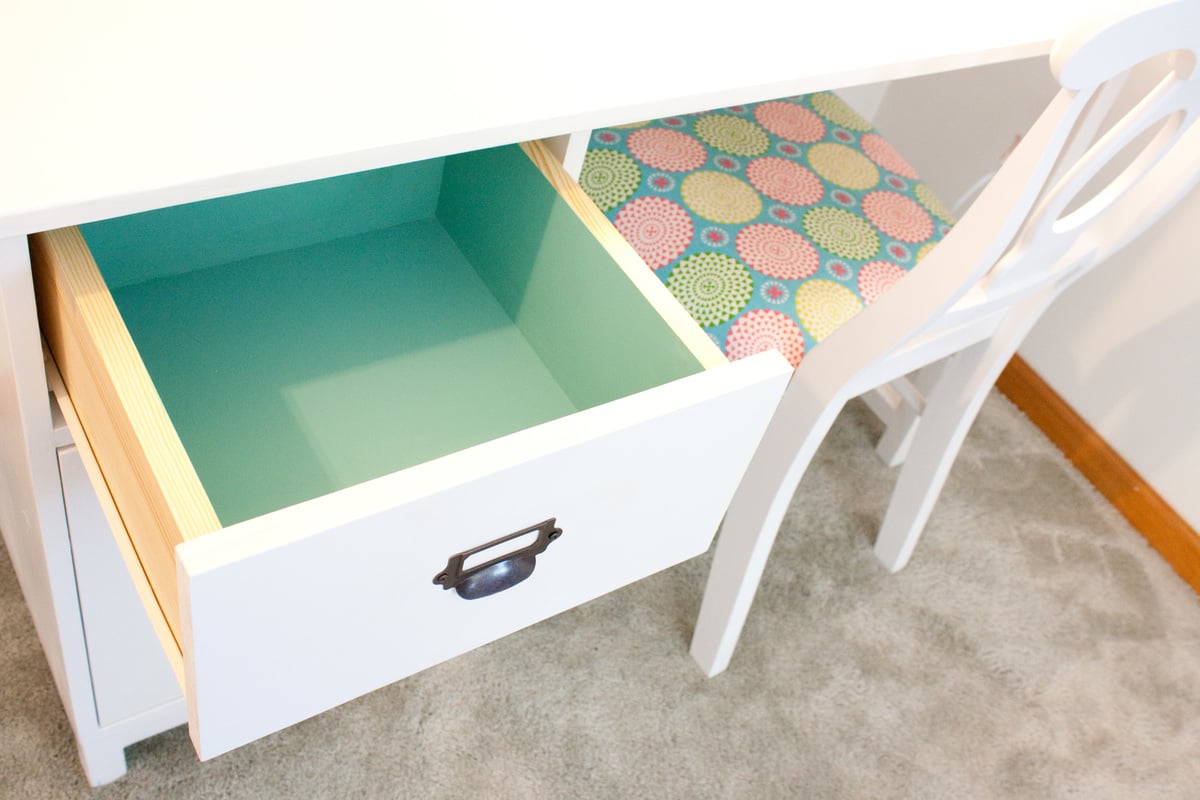
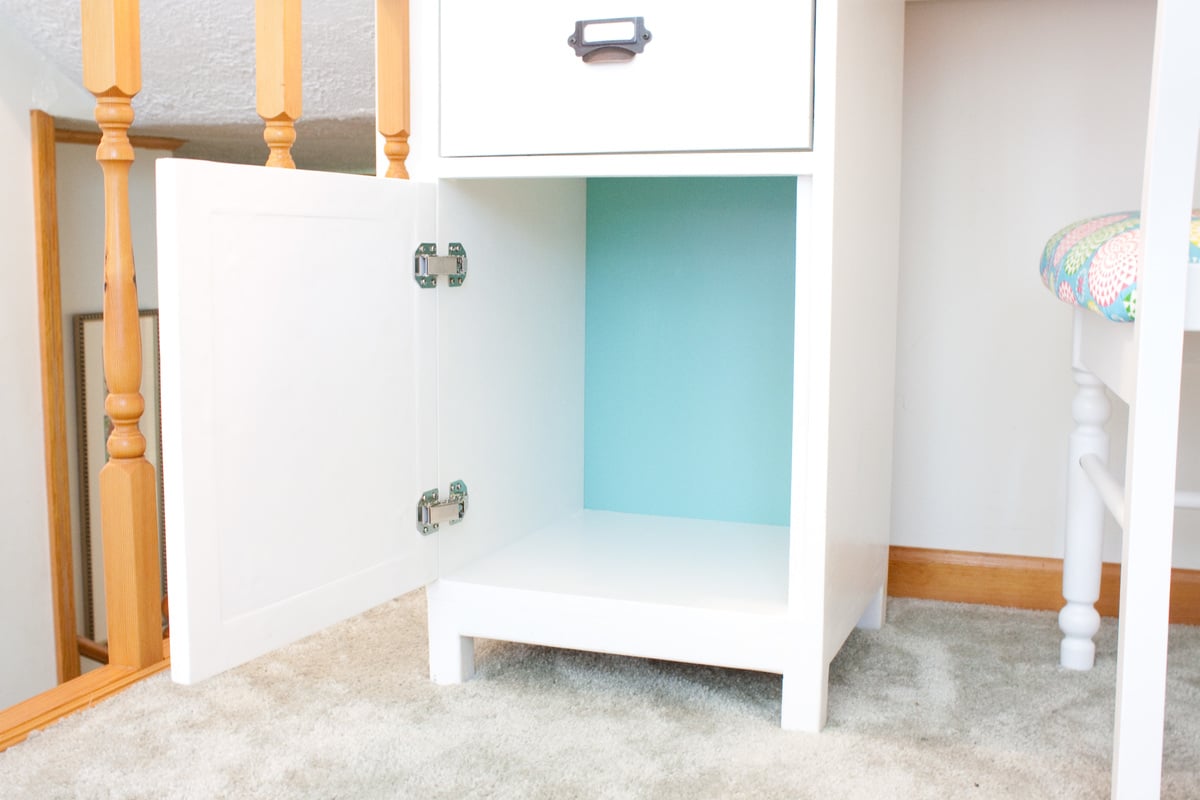
I made this for my 6 year old who just started the first grade. The only modification I made to the plans was to make a couple cutouts in the hutch for cords. I also added cork which comes in a 24 by 48 inch roll.. I ordered all the hardware from the same place that Jaime from That's my Letter suggested in her build post. This was my first drawer and it was intimidating but it was fairly easy and cute as it can be:-) The plans were very easy to follow! I got the idea for the peg board organizer from the Shanty 2 Chic website. It's just 1x4 frame around the pegboard. The chair was a craigslist find I painted and made a cushion for with some foam and cute fabric. I'm really happy with how it turned out and look forward to the day when my daughter will actually use it. LOL
Mon, 08/26/2013 - 07:39
Absolutely adorable! I love all your finishing details as well.
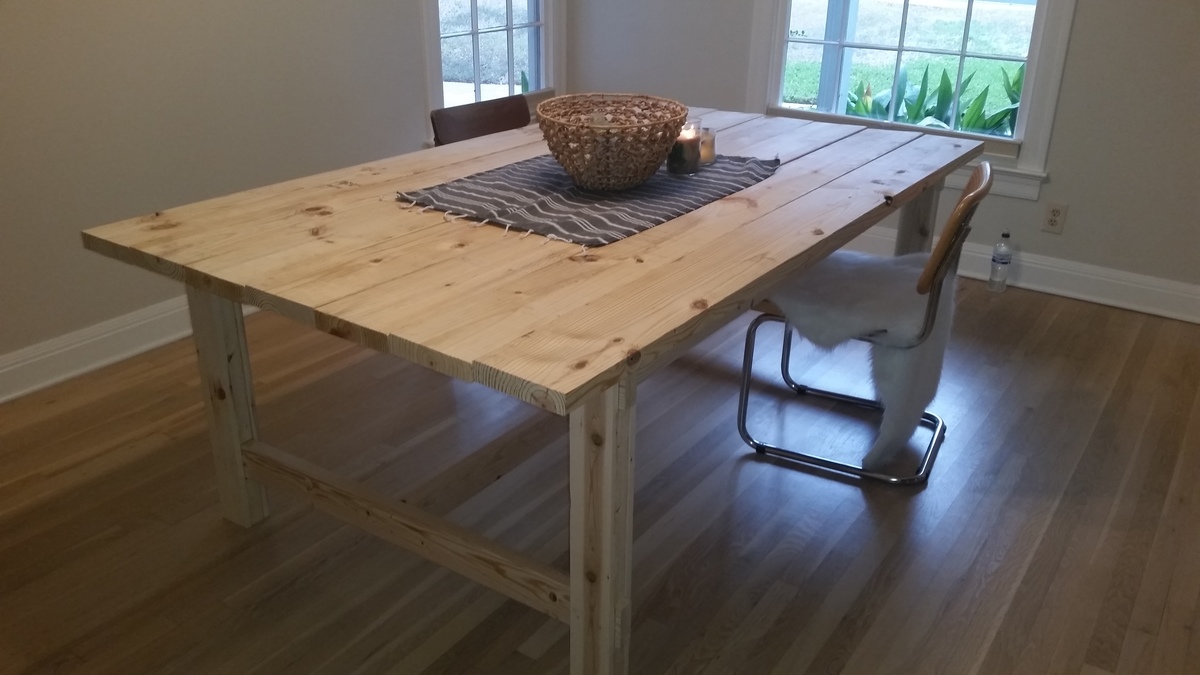
My daughter in law and I built this table, together in Austin, during my visit there! We had such an awesome time, together. This was made from Ana's book, A Handmade Home.
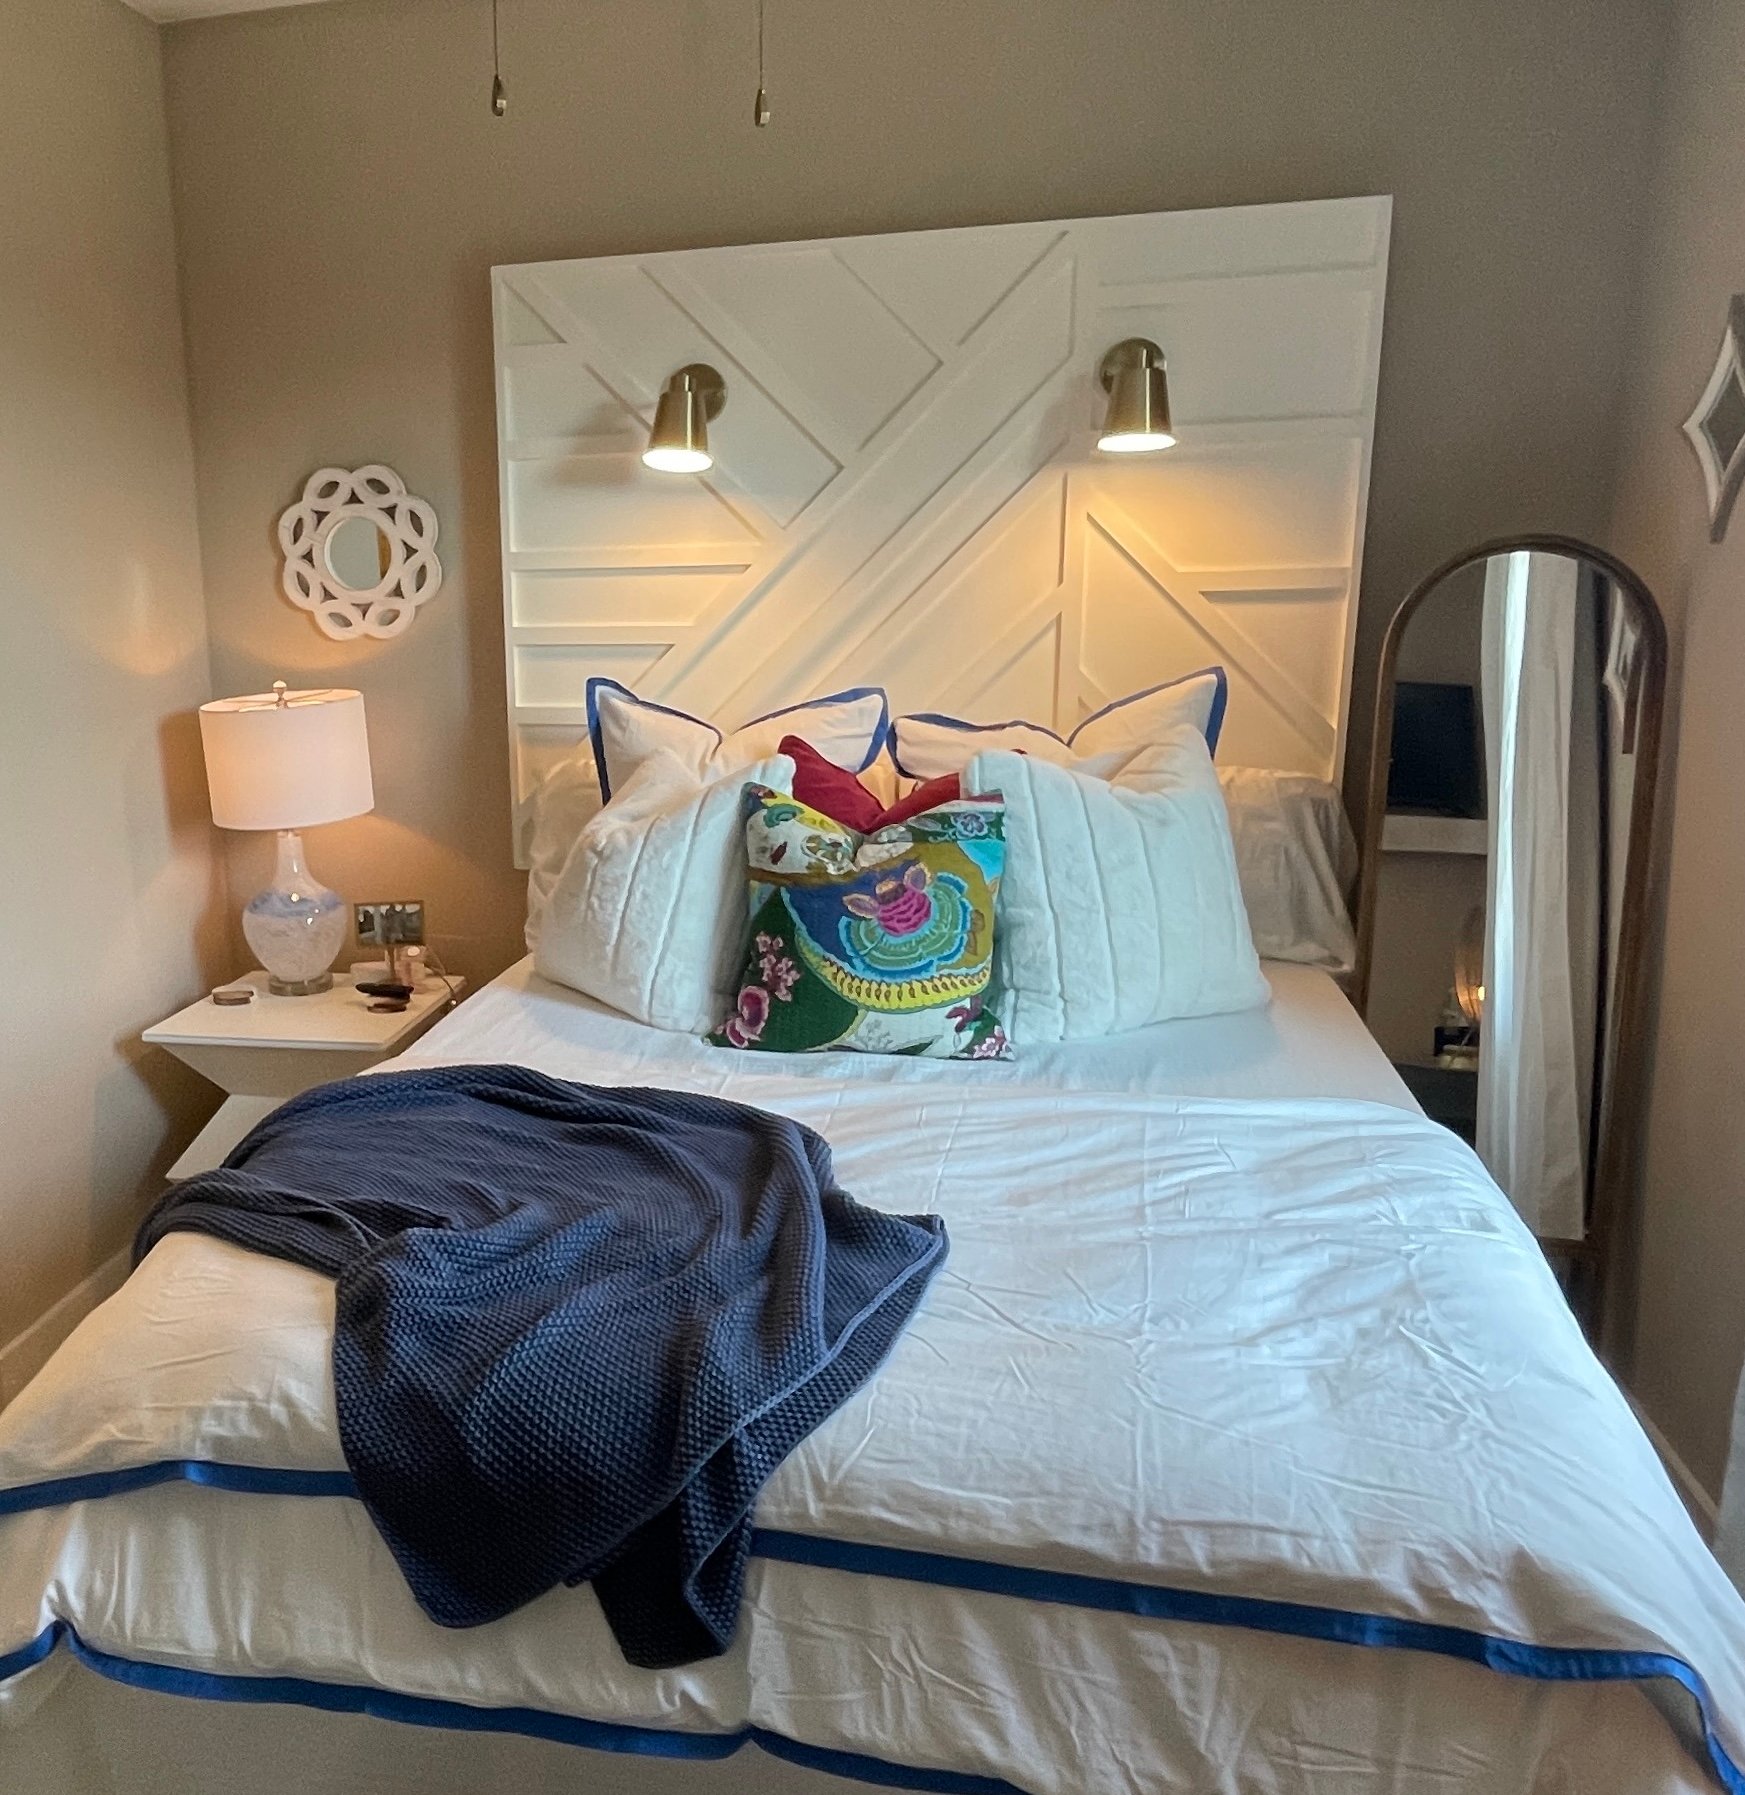
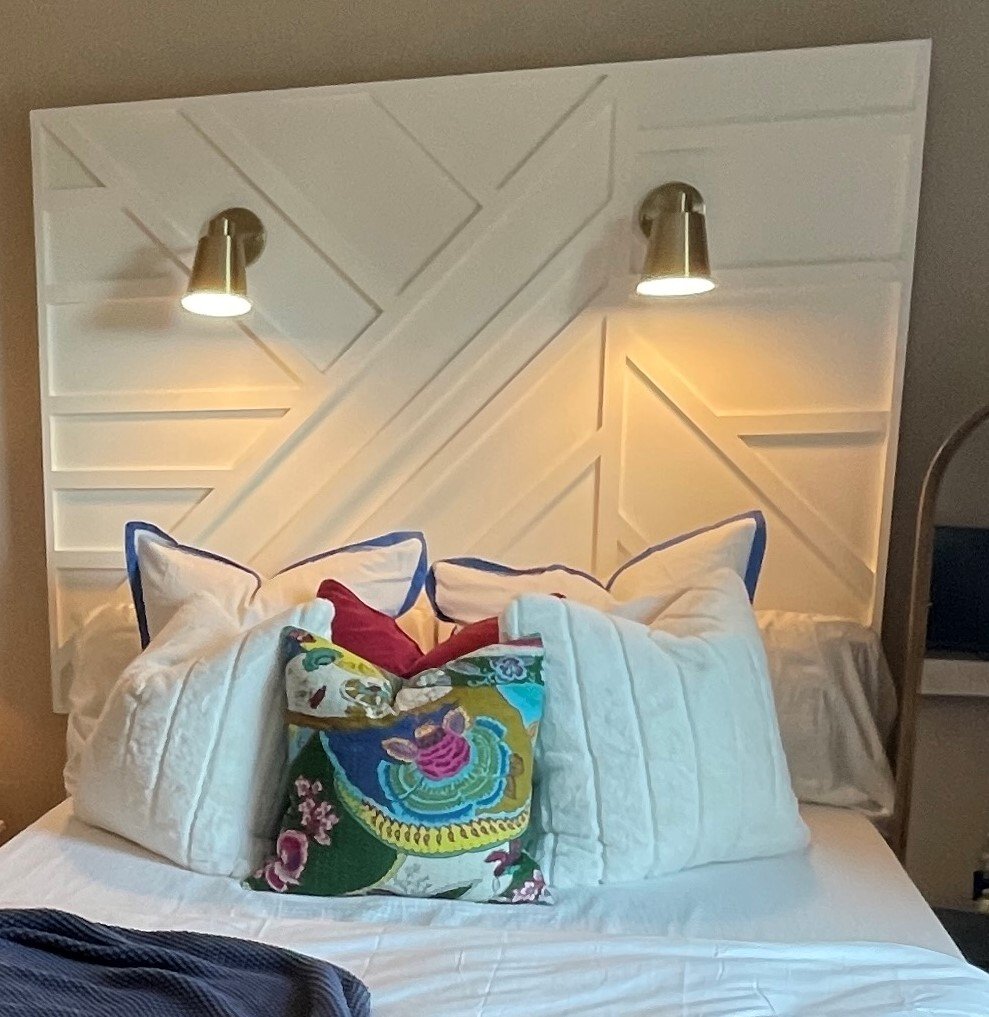
Love the modern look of the headboard so I adjusted the dimensions a bit to add more height. I built this for my daughters first college apartment and wanted to capitalize on space know that her room would be small - so I added the sconces for extra lighting in her room. I turned out great and was so happy to find the inspiration on Ana's site!
Tue, 08/16/2022 - 11:01
Love the added height and lights, brilliant for a smaller room!
Comments
Ana White Admin
Sat, 05/29/2021 - 10:20
Beautiful build!
Thank you for sharing, it looks amazing!