Community Brag Posts

Grill cart

Submitted by Anonymous (not verified) on Mon, 06/26/2017 - 12:40

This was a very easy build and I love the way it turned out - Tim

Estimated Cost
$100
Estimated Time Investment
Afternoon Project (3-6 Hours)
Recommended Skill Level
Beginner

Farmhouse table

Submitted by Anonymous (not verified) on Mon, 10/04/2021 - 12:33

A pine tree at the cottage was diseased and needed to be cut down. We had a portable saw mill come to slice the tree into 2.5 inch planks which became a couple of tables after about 5 years of drying the wood.

Built from Plan(s)

Comments

First Project

Submitted by curmudgeon on Tue, 05/07/2013 - 18:13

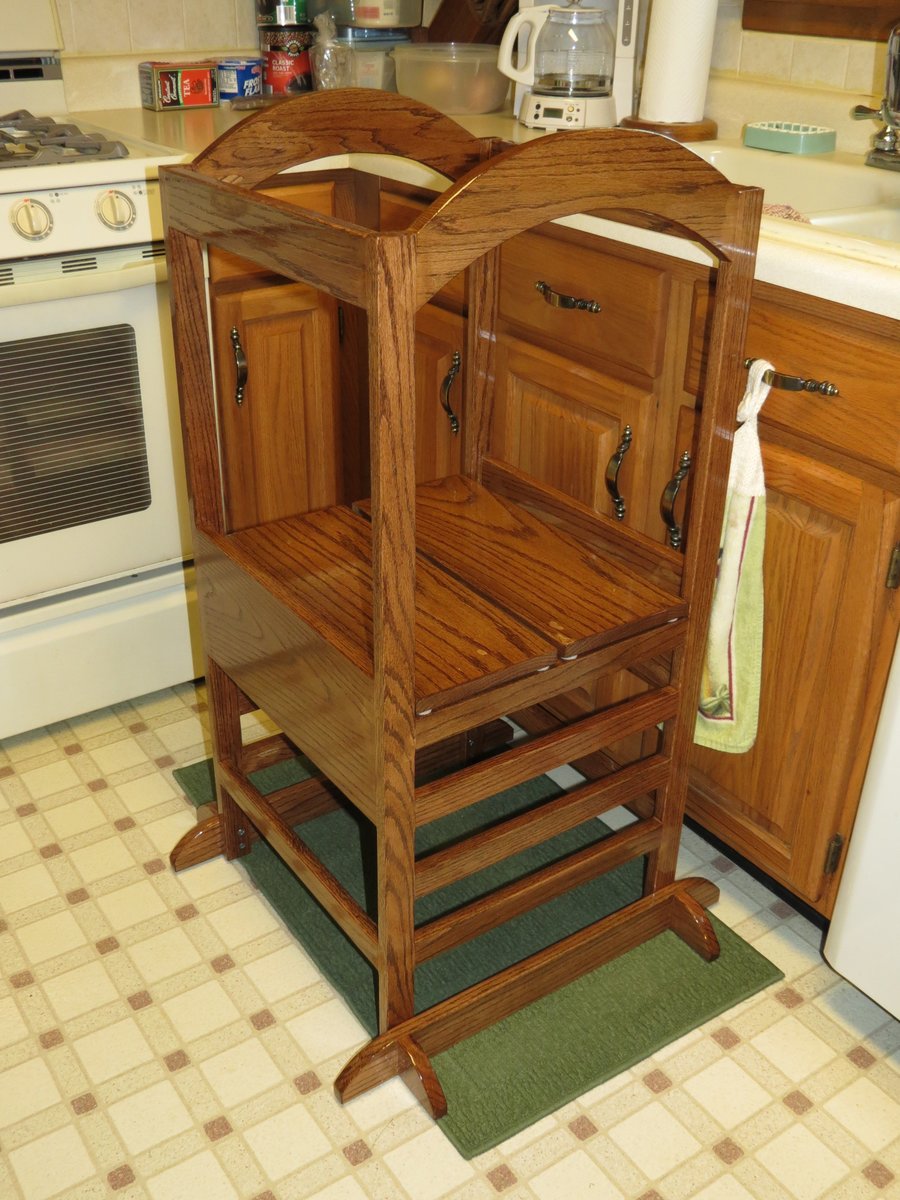
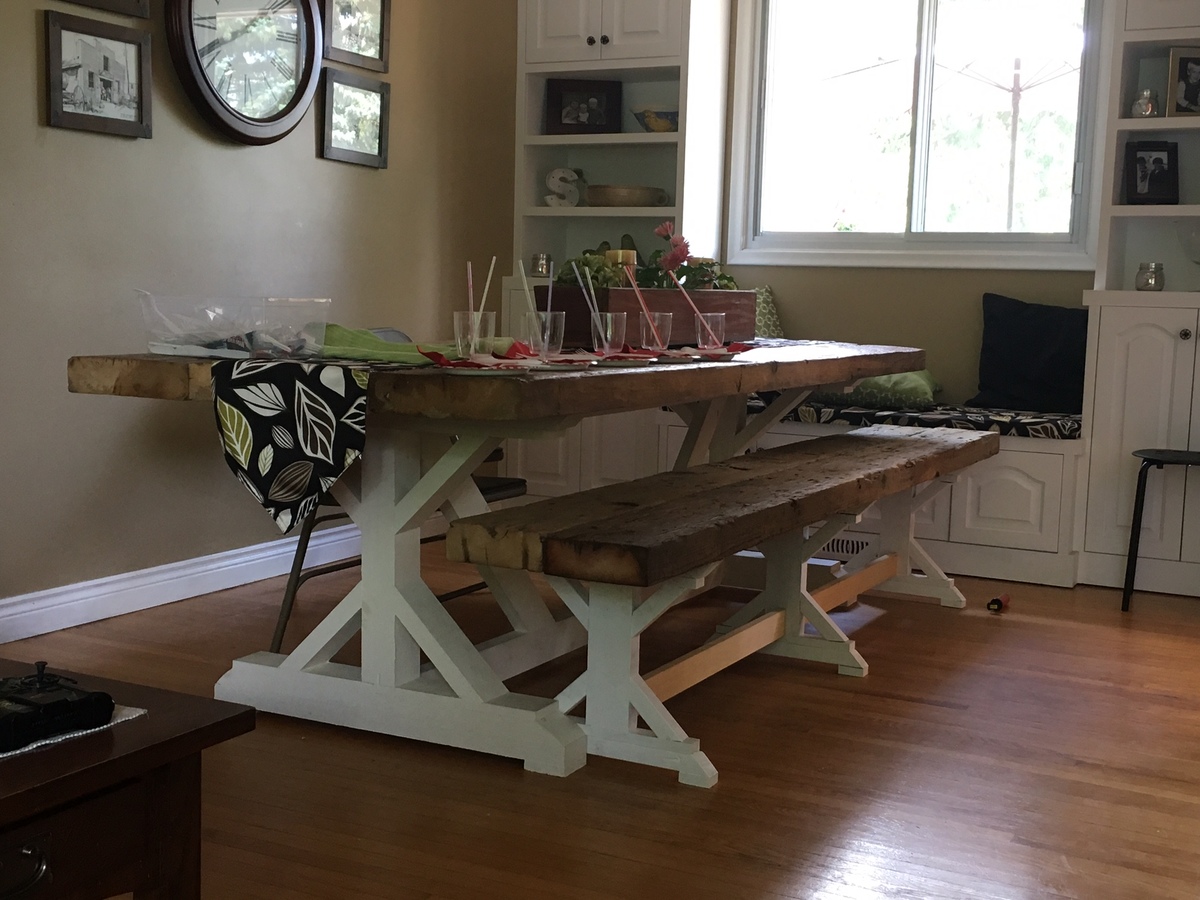
It all started with my daughter asking me if maybe I could cut the wood so she could assemble it. I looked over the plans and thought to myself that there was no way that I could pass up the fun of building this for my grandchildren. Then I got to thinking that if I built it really nice then my kids could pass it along between them over time.

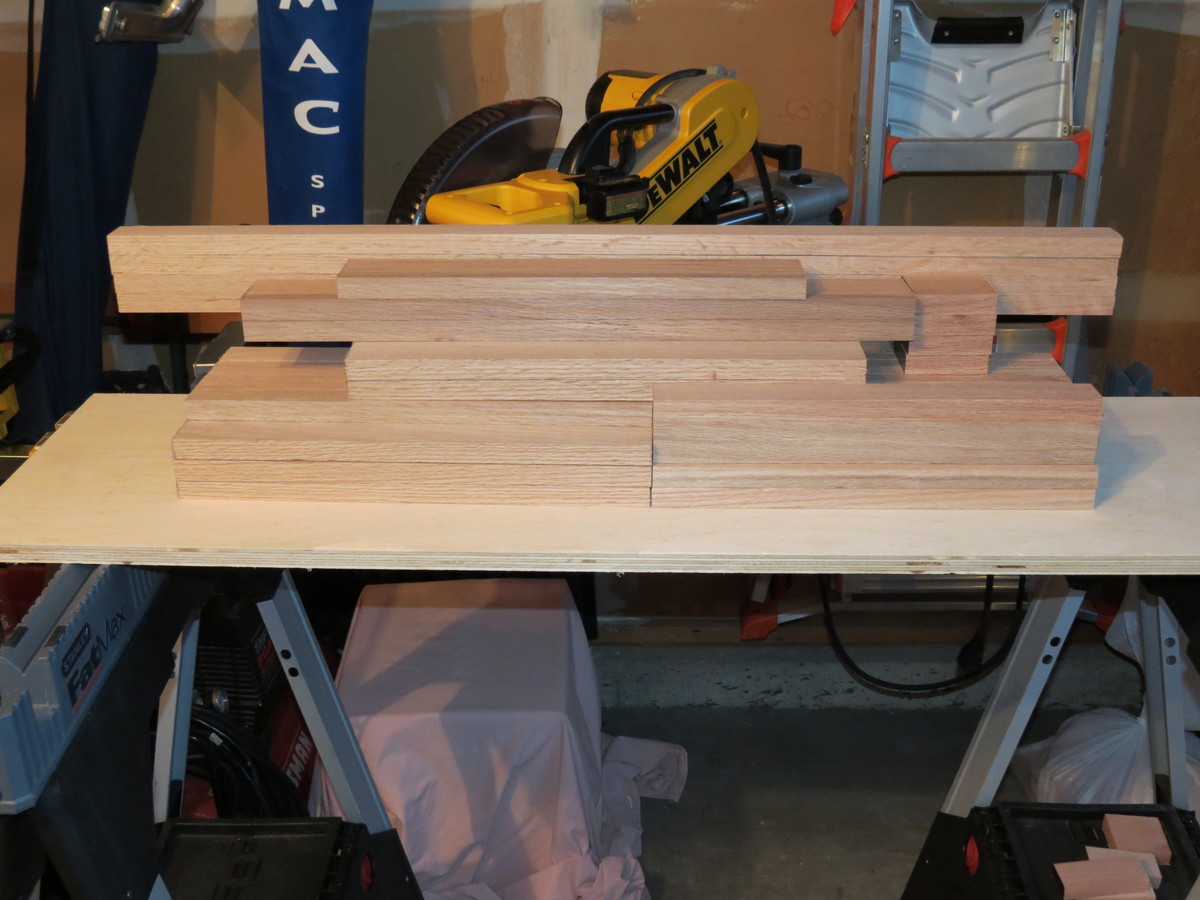
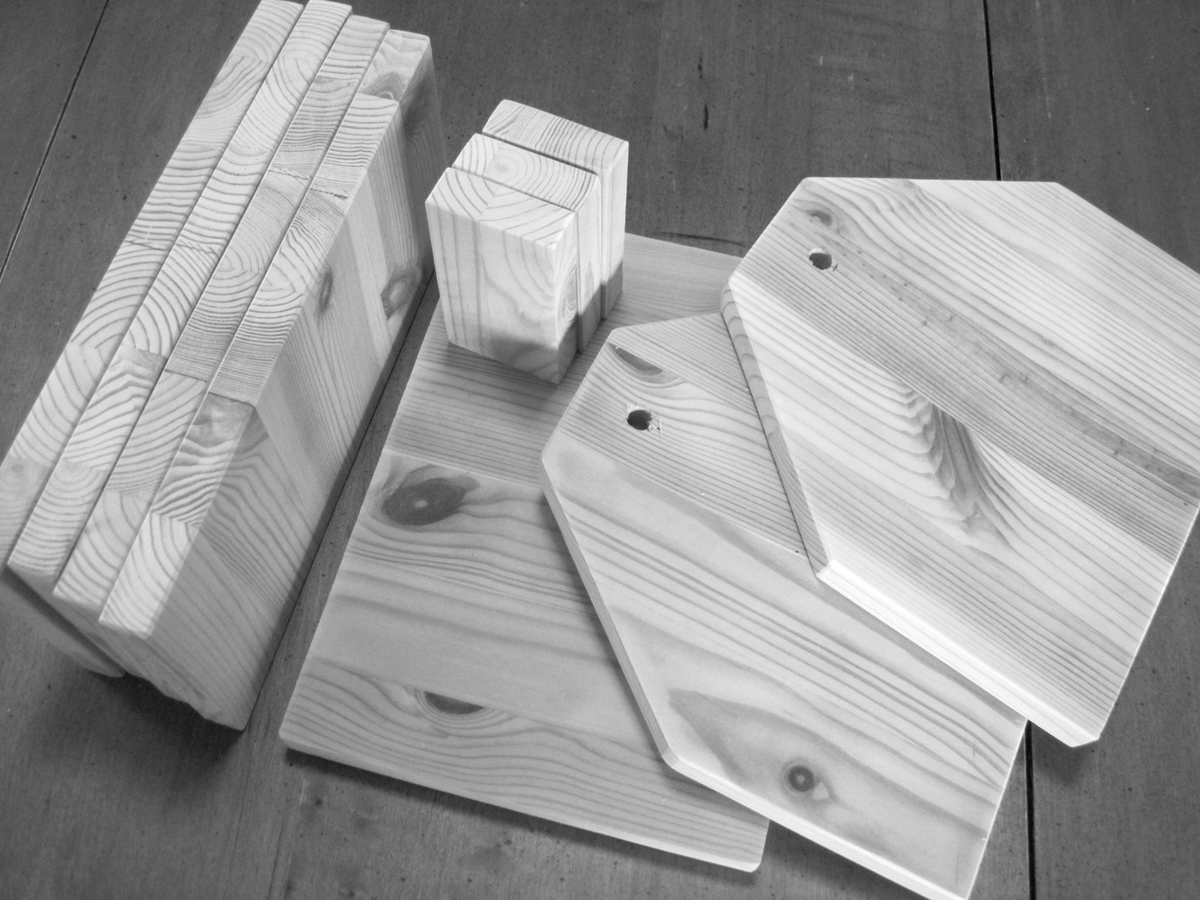
I like to overdo things sometimes so I chose a nice red oak hardwood to make this a durable project that could survive multiple families of use. Hopefully the urethane finish will preserve the good looks of the red oak grain. While I have done plenty of home improvement carpentry I never built such a nice finished project so this was something new and fun to build. I made lots of little mistakes along the way that fastidious woodworkers would notice but my customer is really happy with it and that is all that matters.

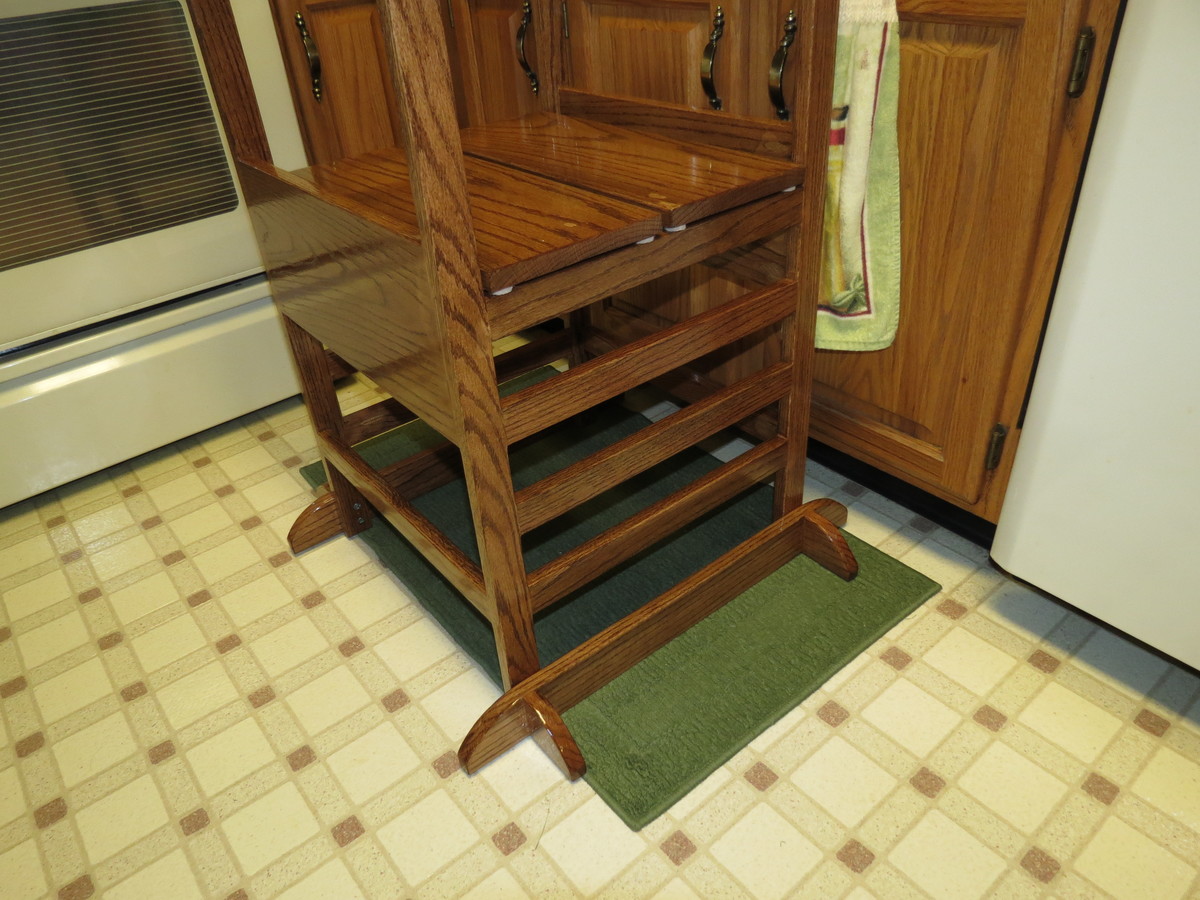
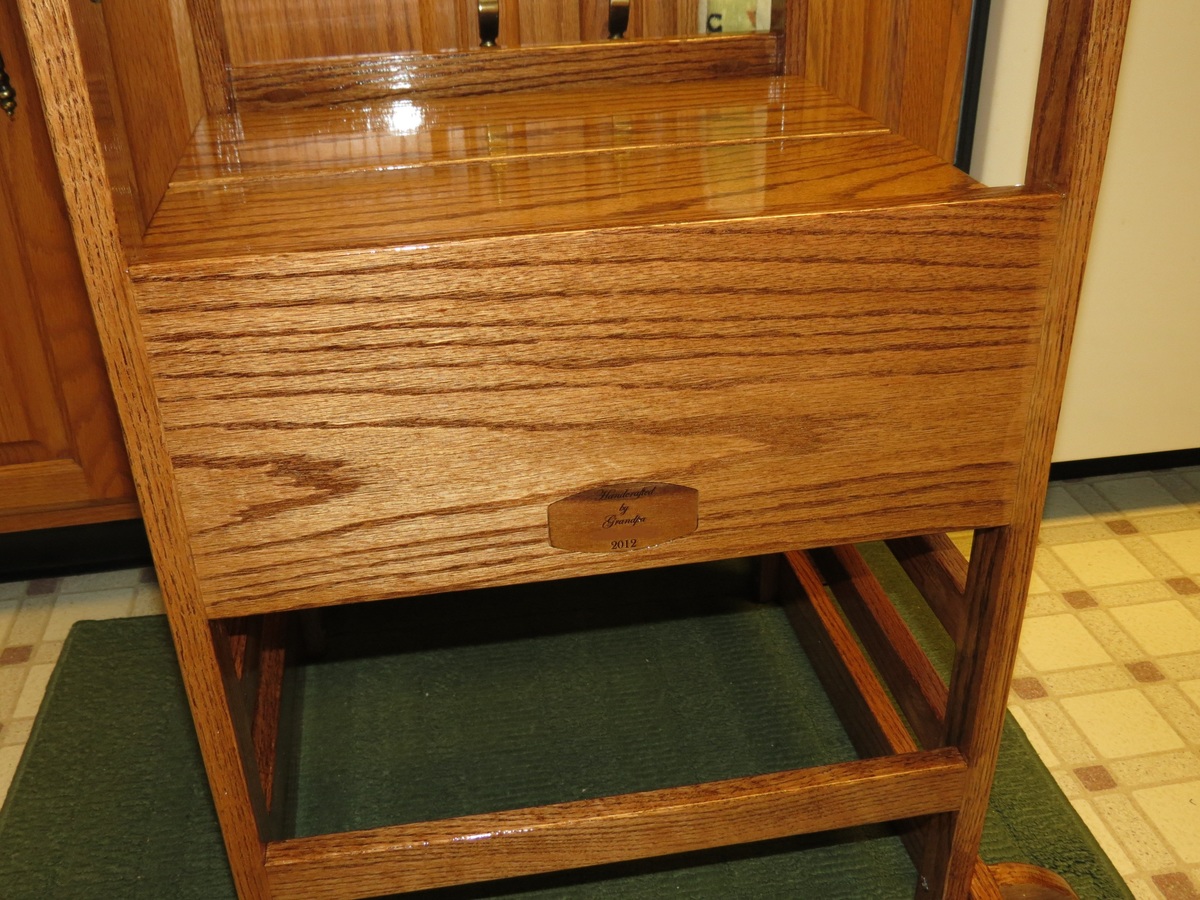
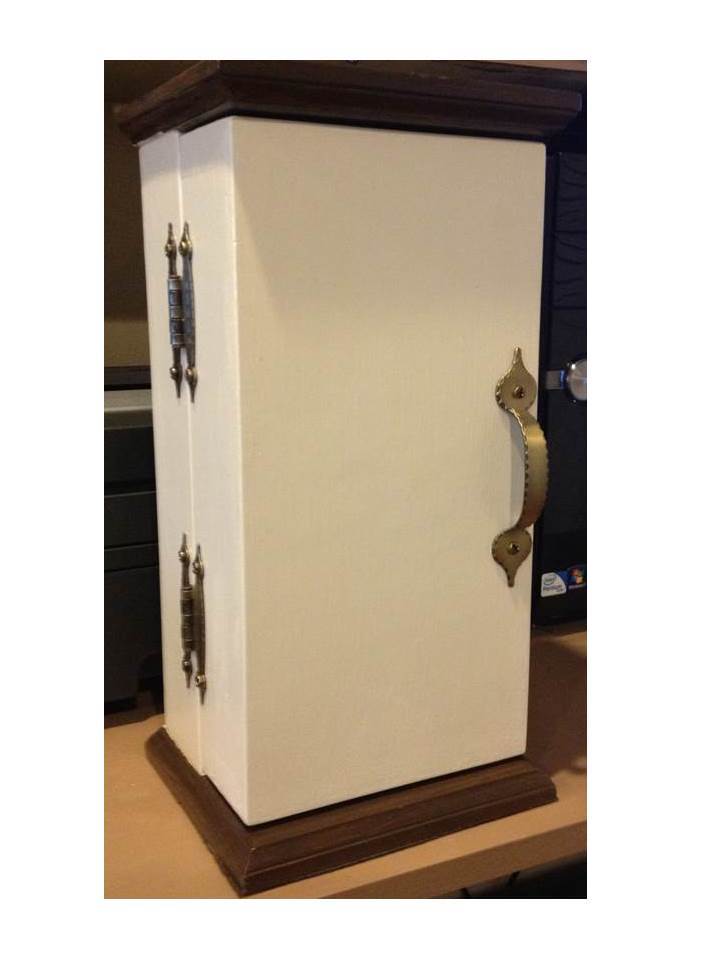
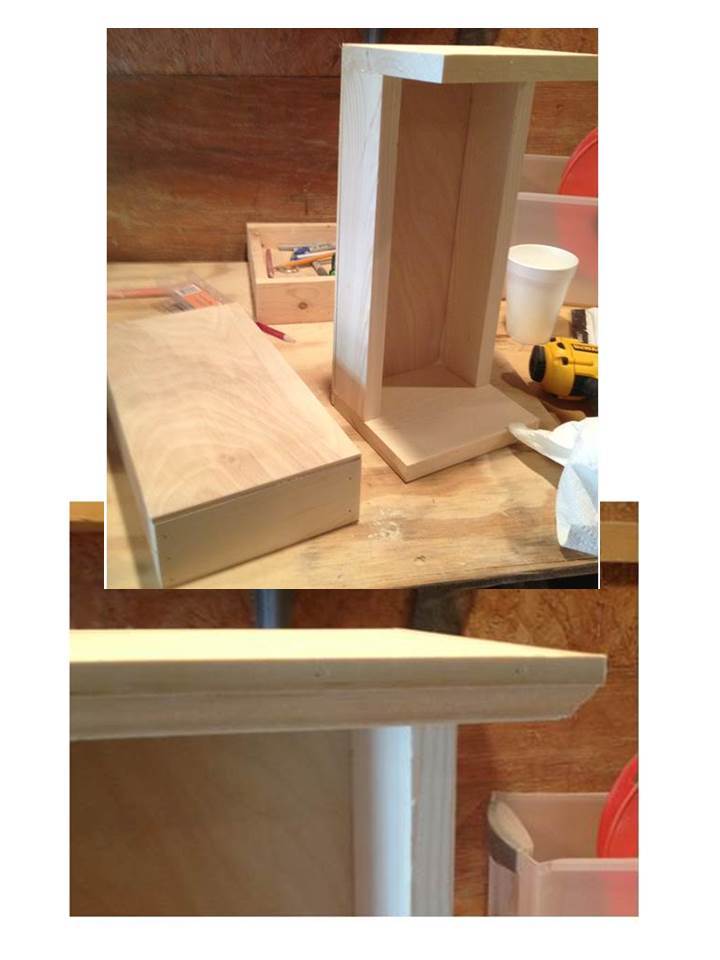
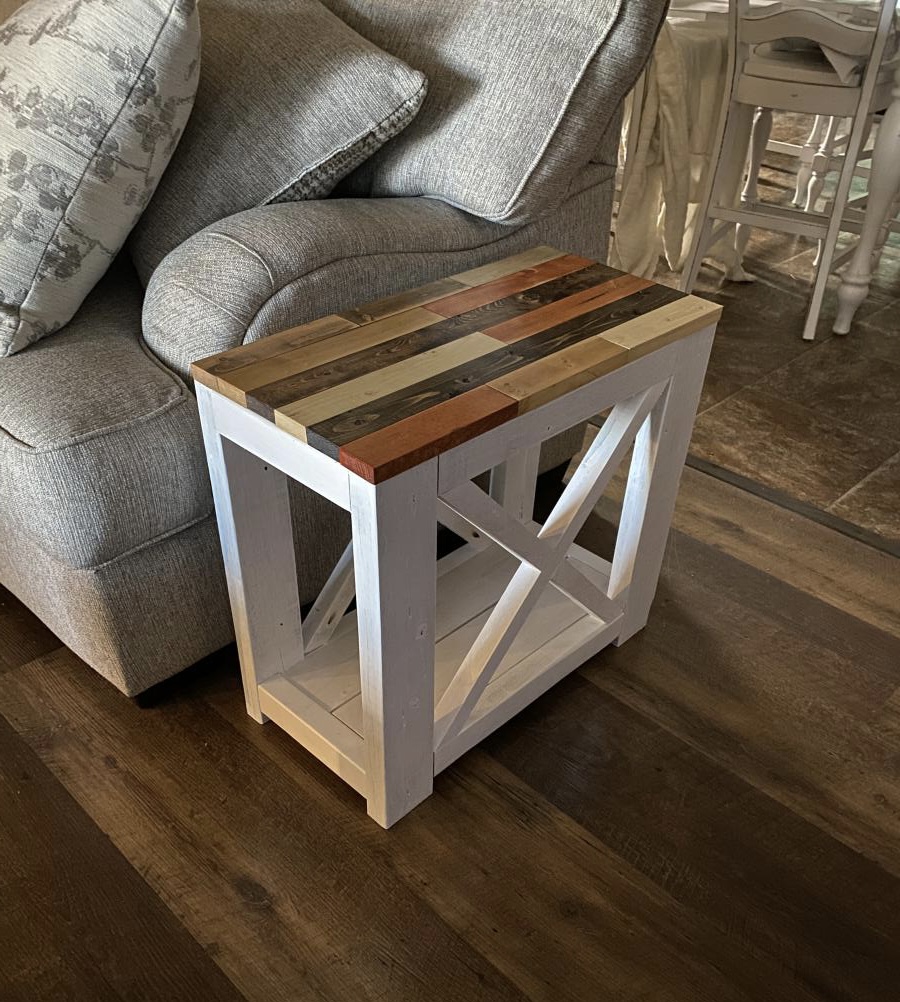
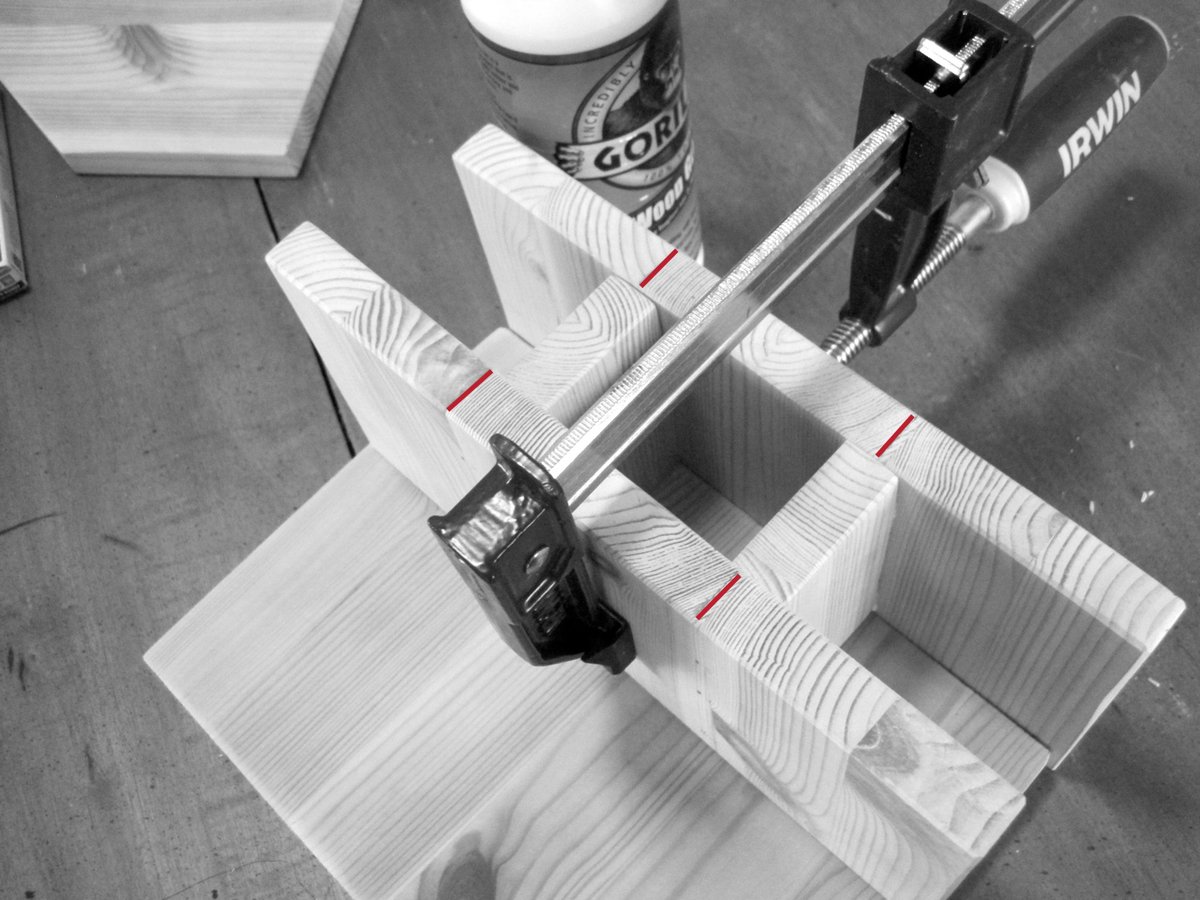
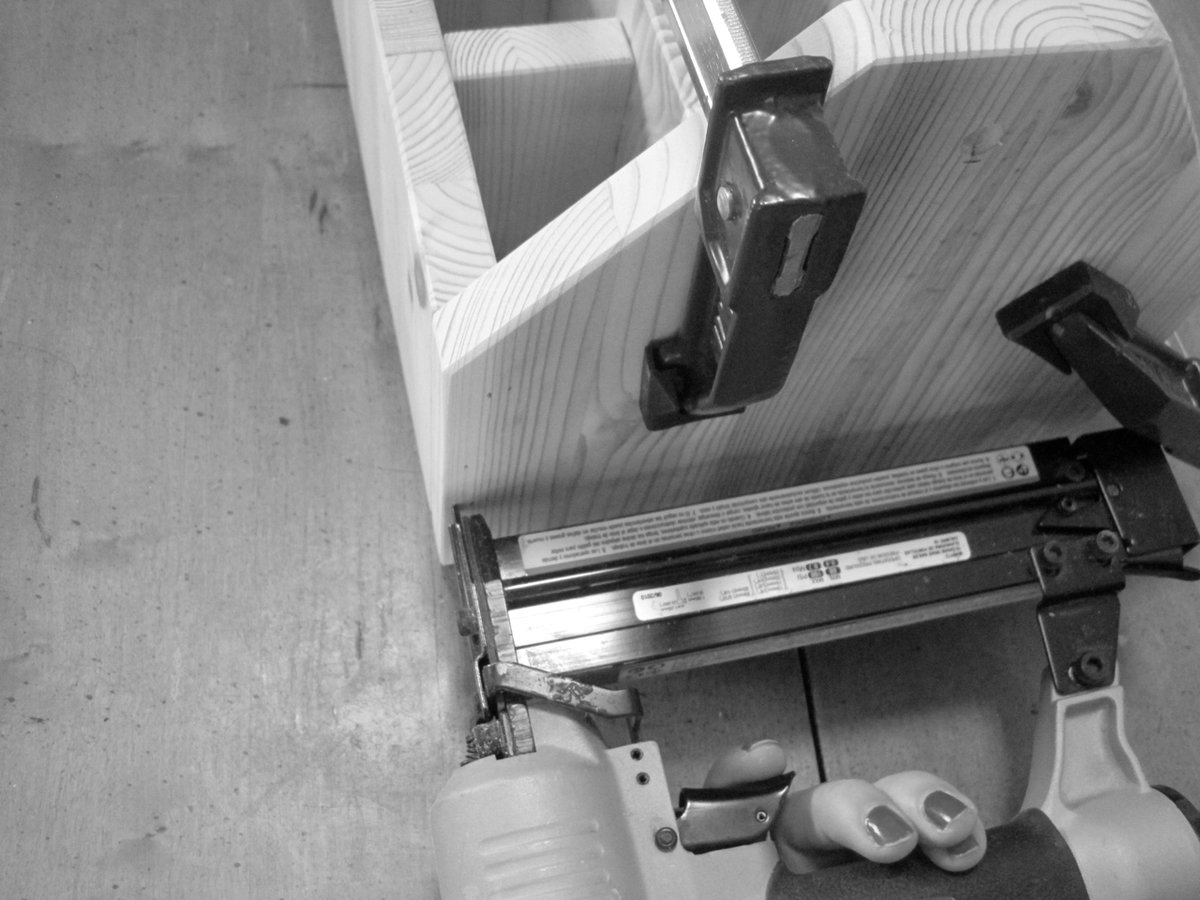
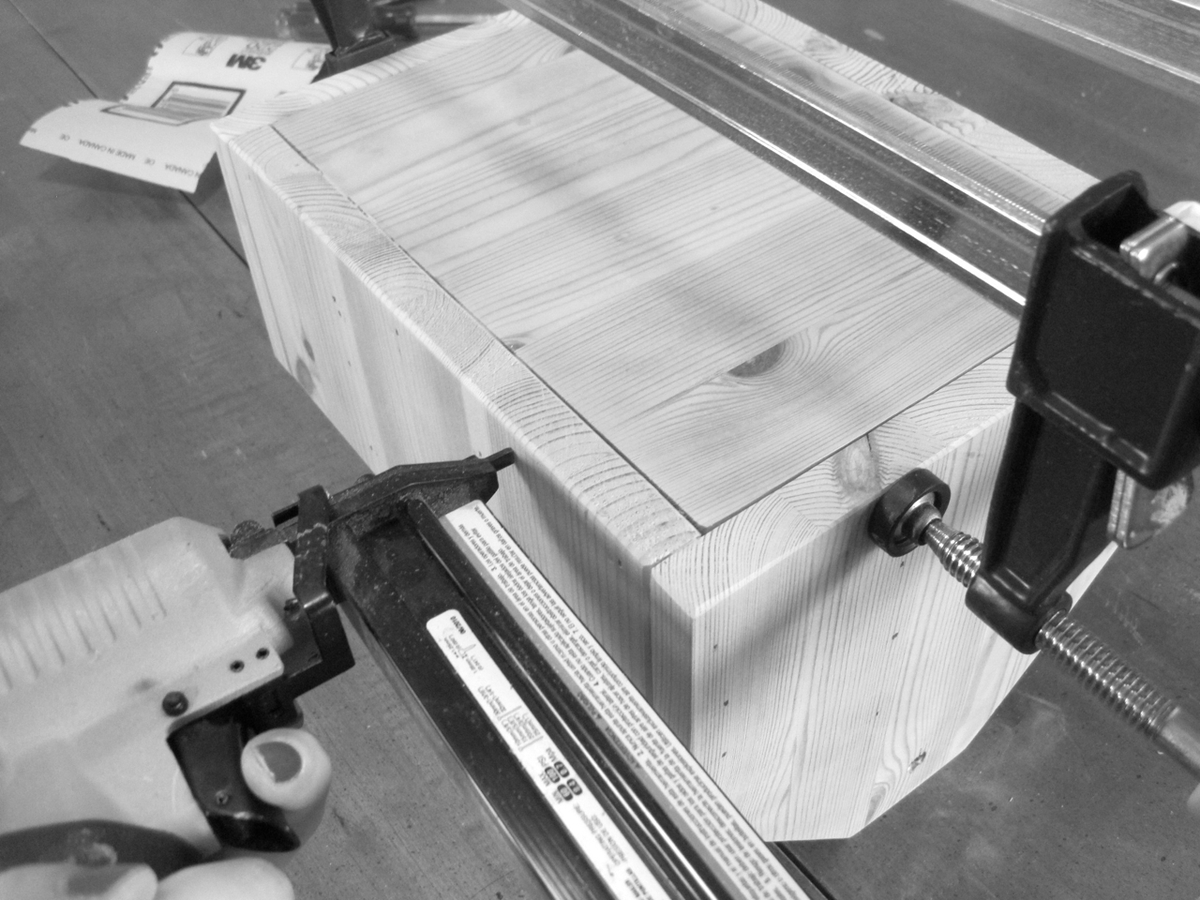
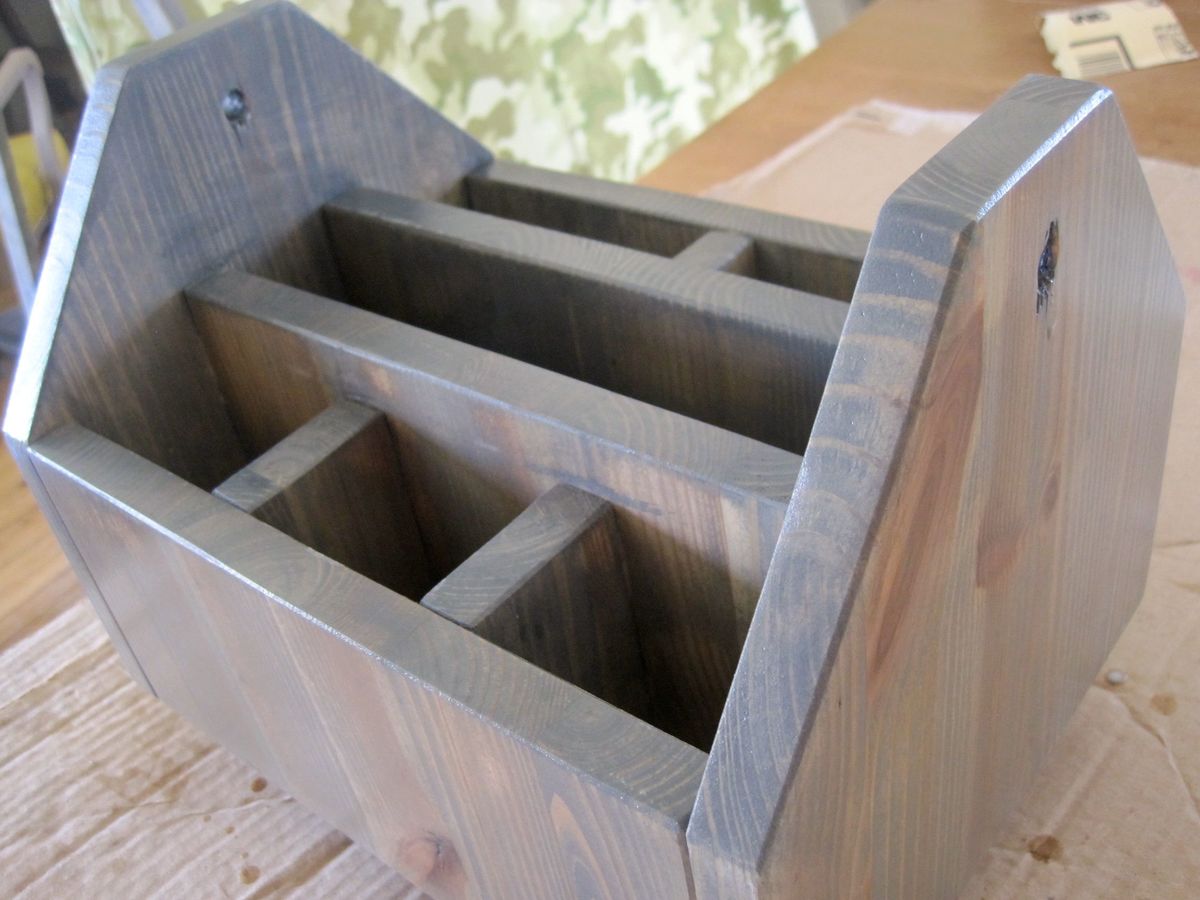
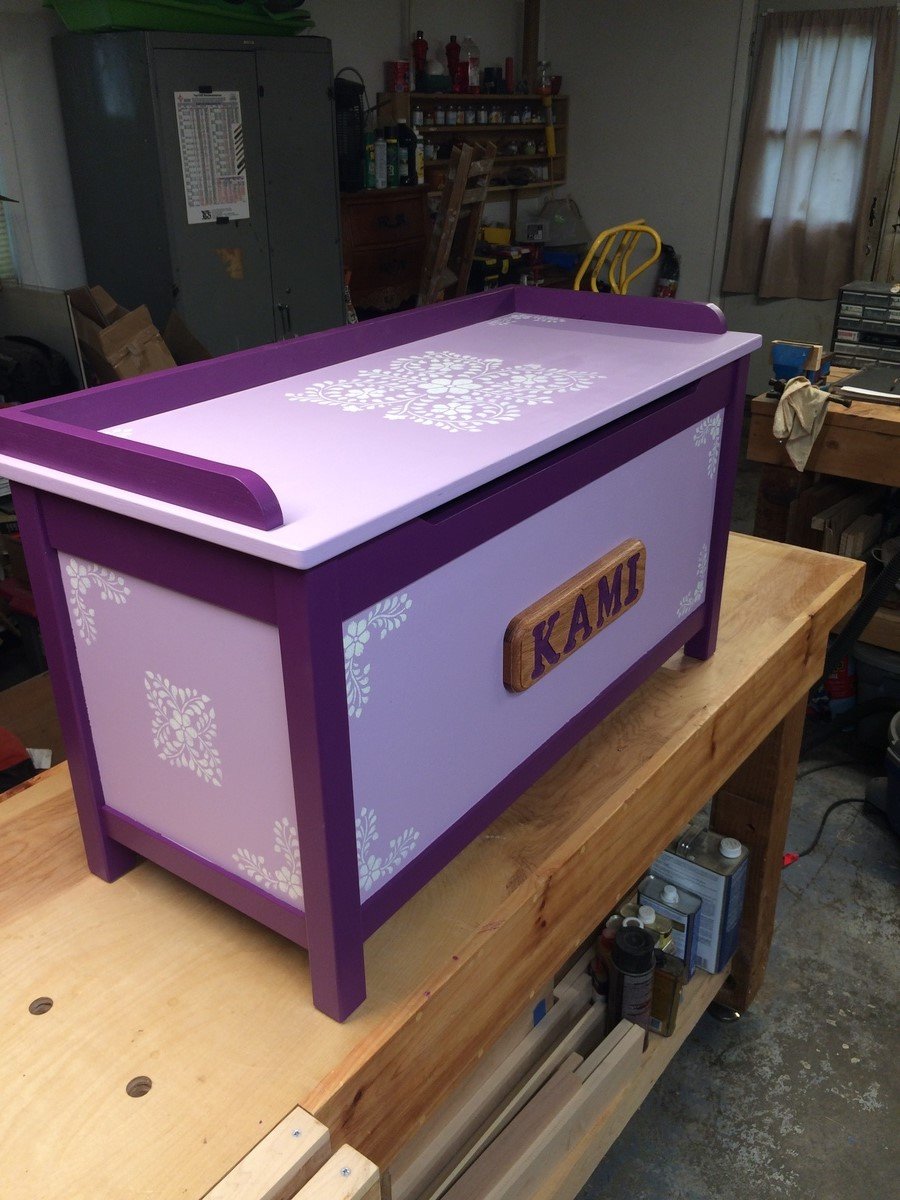
This was the first time that I used the Kreg jig system and I must say that it was amazing. I glued and screwed everything together nice and tight. The Kreg plugs were a great finishing touch to keep little fingers out of sharp edged holes and also made the project look a little more professional. The plugs added some cost and did use up some extra sandpaper for the random orbit sander but it was worth it in appearance. Routing all the edges with an 1/8” round-over bit and adding a little laser engraved insert (you gotta brag!) made the last finishing touches before stain and clear coat.

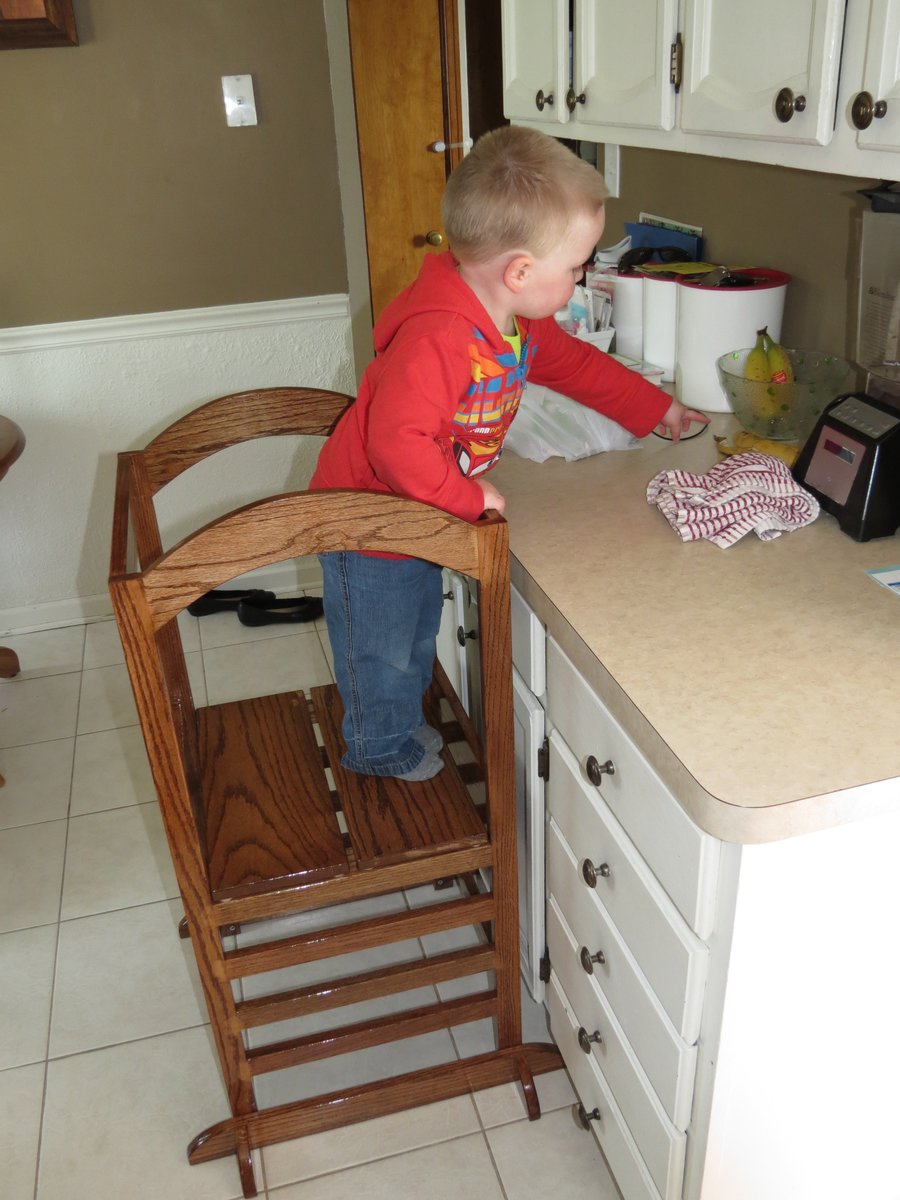
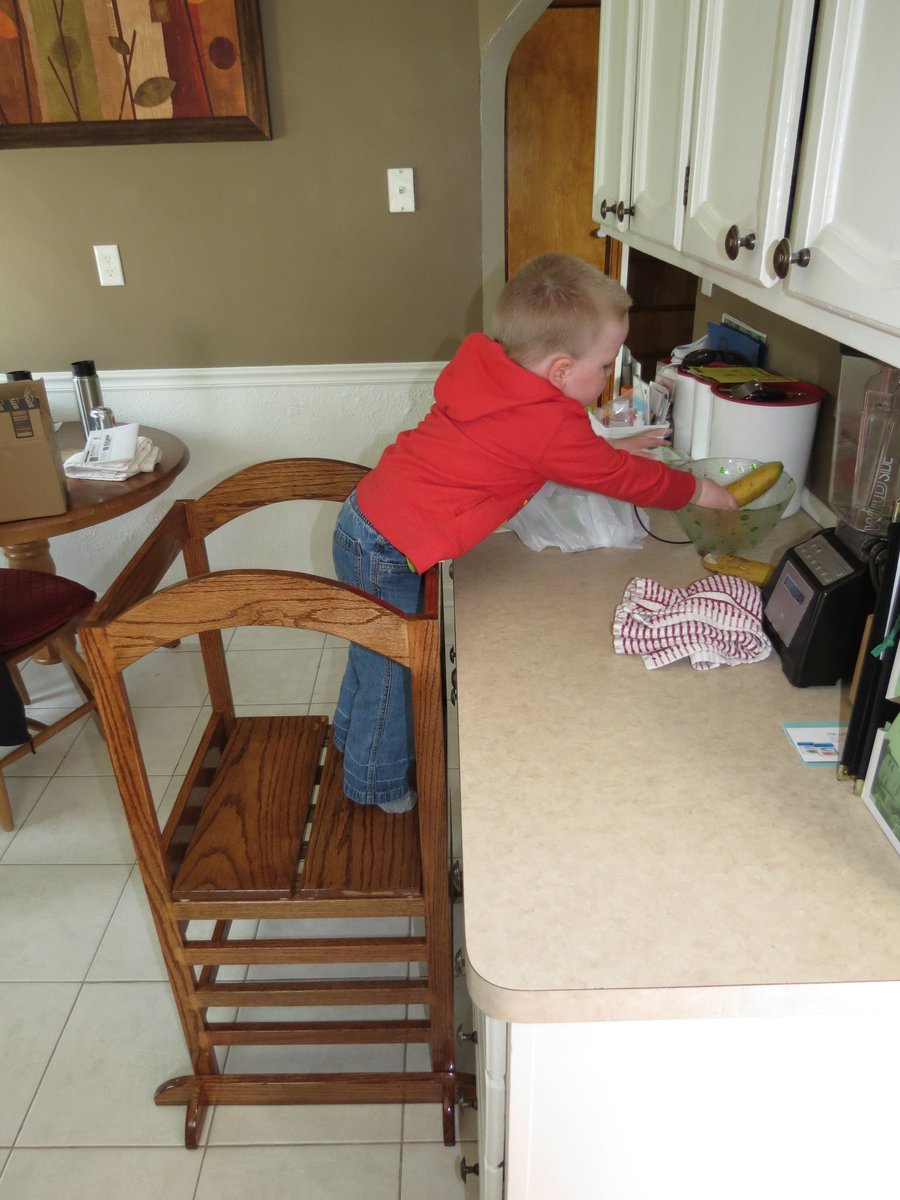
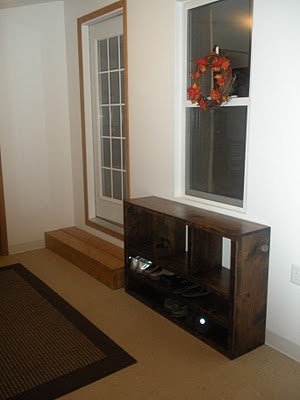
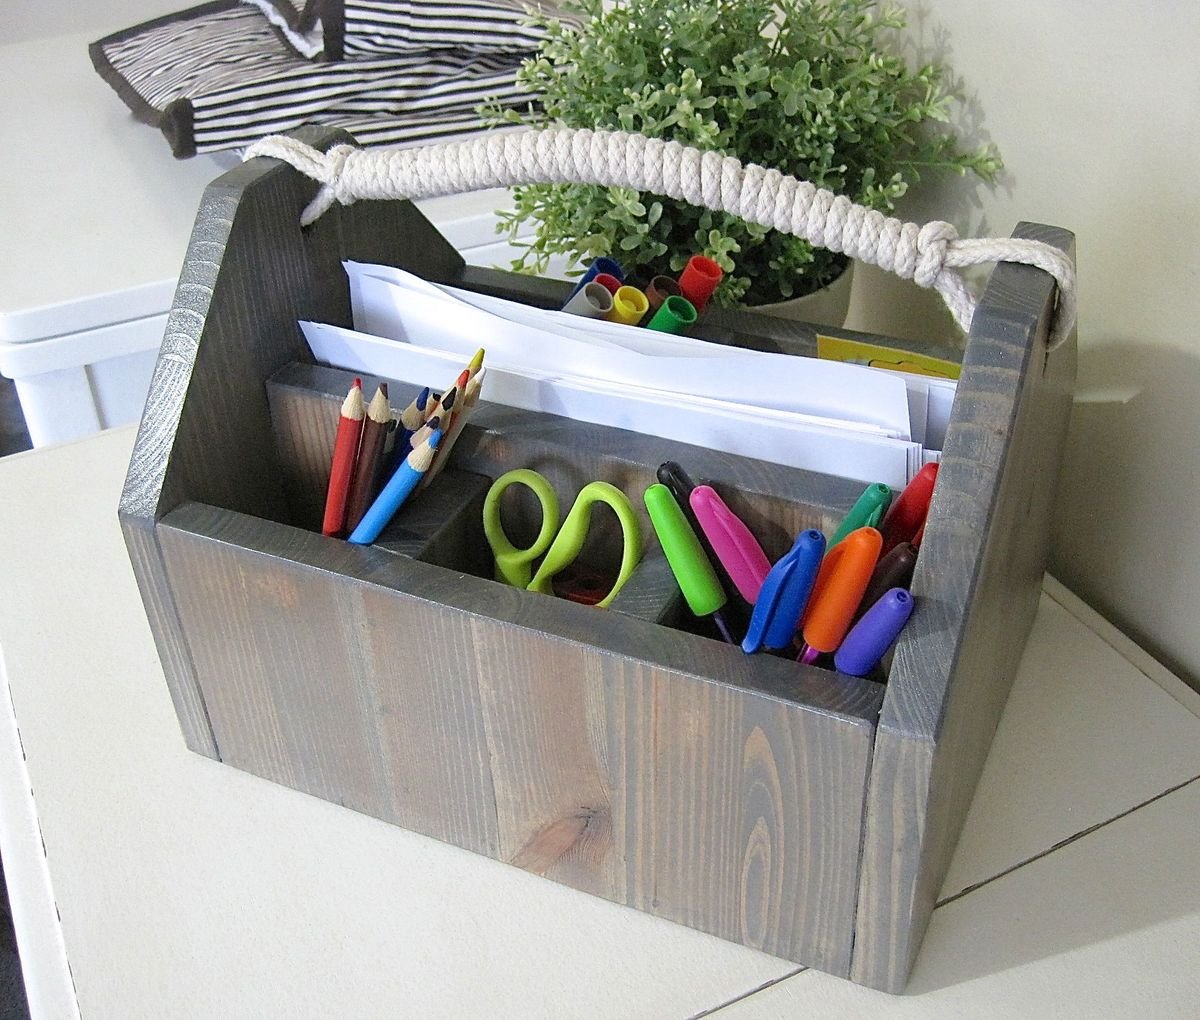
The little dude was clearly happy with his new found reach and mom has been using that to put him to work. He is having so much fun that he has no idea how hard he is working in the kitchen!

Built from Plan(s)
Estimated Cost
$120
Estimated Time Investment
Week Long Project (20 Hours or More)
Finish Used
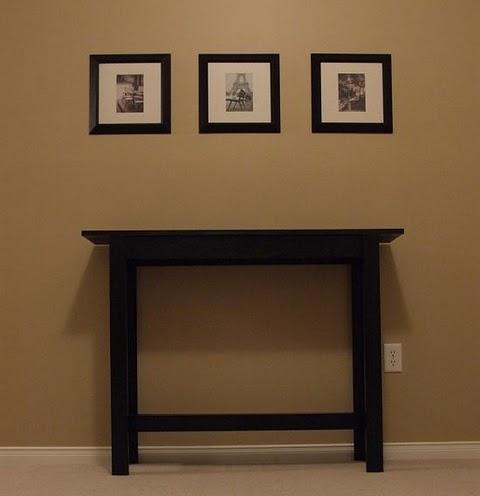
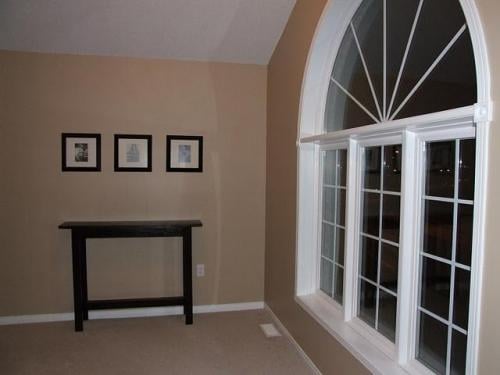
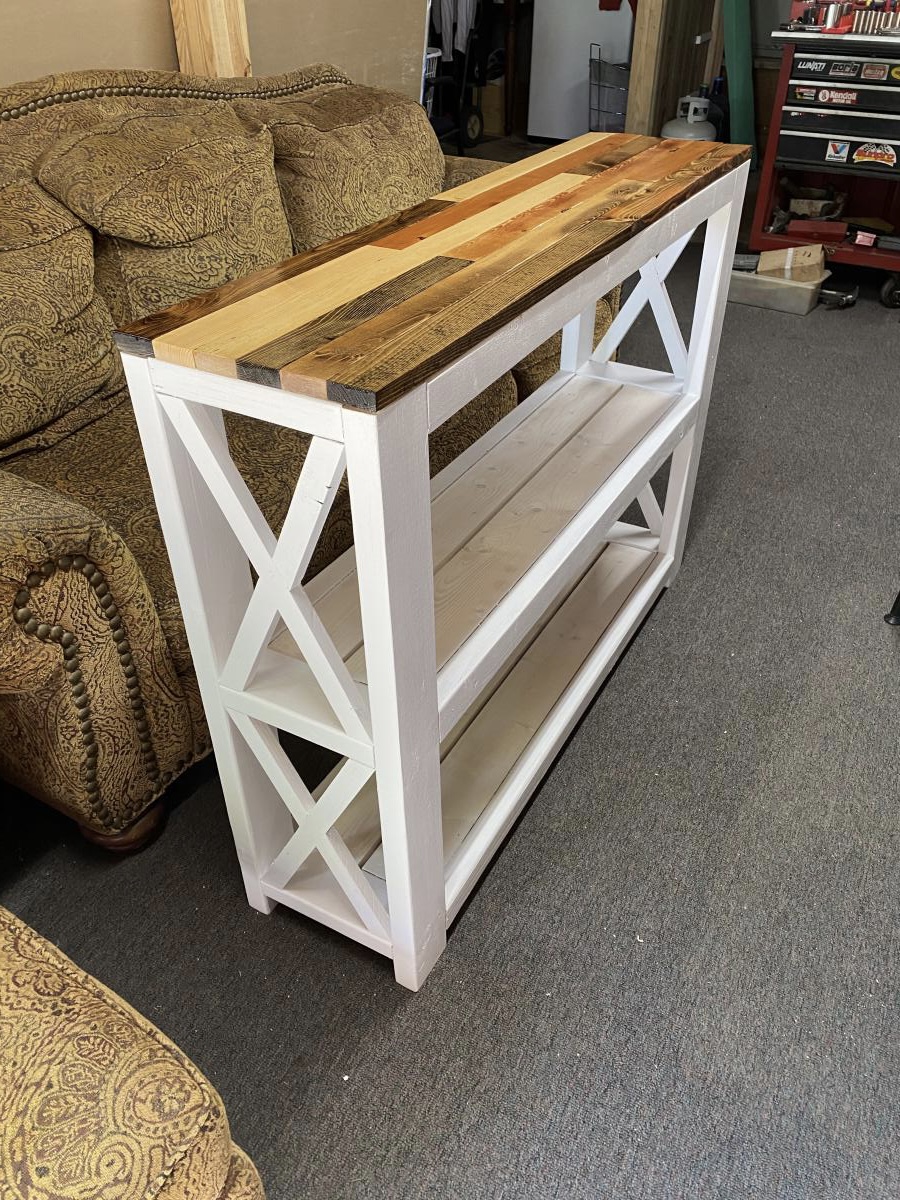
Minwax English Chestnut 233 stain (hand applied with t-shirt rag). Minwax Fast-Drying Polyurethane Clear Gloss (three coats brushed on using china bristle brush). Before staining all surfaces were sanded using 50, 80, 120 and 220 grit sandpaper in a random orbit sander. Some of the sanding was done before final assembly to avoid sanding into inside corners.
Recommended Skill Level
Beginner

Comments

Upcycle headboard shelf

Submitted by LARMO on Sun, 03/29/2015 - 16:47

Repurposed twin headboard to shelf for a granddaughter's birthday present. I added a shelf from a repurposed bed rail leaving the supports and attaching it to the headboard with glue and nail gun. I painted it with Ace Royal neon blue, and Ace fluorescent pink and green on the knobs which I found on sale at a local building center. 

Estimated Cost
$30 - $14 for the neon blue paint, $7.00 both cans of fluorescent spray paint & $.50 each for 5 knobs on sale.
Estimated Time Investment
An Hour or Two (0-2 Hours)
Finish Used
Satin Ace Royal neon blue & fluorescent pink & green spray paint
Recommended Skill Level
Beginner

Farmhouse Desk

Submitted by Anonymous (not verified) on Thu, 06/29/2017 - 09:46

My husband built me this beautiful farmhouse desk for my guest bedroom! Thank you for the plans! I am in love with it and now enjoy working on grad school homework!


Danielle 

Estimated Cost
$60
Estimated Time Investment
Weekend Project (10-20 Hours)
Recommended Skill Level
Beginner

Comments

Adirondack Chairs

Submitted by Anonymous (not verified) on Mon, 10/04/2021 - 12:57

The first is a modern adirondack chair mad3 of cedar and I added some vinyl stickers for my son's high school logo.

The second are a set I made using just pine and stained with cedartobe stain. They stay under the cover of the porch and are in excellent condition after 4 years.

Comments

Seasonal And Holiday

Jen's Simple Cheap and Easy Console Table

Submitted by community-cont… on Fri, 02/25/2011 - 11:23

We only just discovered your site and were so inspired that we wanted to try out this console table right away. As carpentry virgins, it couldn’t have been easier! We had looked all over the place for a console table for our upstairs hallway and this one totally fit the bill, at less than a quarter of the cost of the ones we’d liked in stores. We modified it slightly, adding about six inches to the height. The only snag we ran into was that our 12″ board for the top ended up being only 11 1/2 inches wide (I guess they’re normally 11 3/4″) and so it’s not quite deep enough but you can’t tell that without a very close inspection. We stained it with Minwax’s “Ebony” and are thrilled with the result! Thank you so much! This was the first but will not be the last piece of furniture we build!

Estimated Cost
Unknown
Estimated Time Investment
Afternoon Project (3-6 Hours)
Finish Used
Minwax Ebony
Recommended Skill Level
Starter Project

outdoor dining table

Submitted by kevinsauer on Thu, 05/09/2013 - 15:02

Weekend project, I used 4x4's instead of the 2x4's to give a heavier look, now off to buy a bandsaw to give them a 1/4" taper to give a more refined look.

Estimated Cost
$75
Estimated Time Investment
Day Project (6-9 Hours)
Finish Used
MinWax Aged Oak then 3 coats Teak Oil
Recommended Skill Level
Beginner

Comments

Leaning art easel

Submitted by Calmly on Tue, 03/31/2015 - 08:57

My husband and I built this to place our huge white board on for homeschooling. We altered it a bit by adjusting the length to 7 ft. It was painted lavender ( my favorite color). I may have to add another easel to prevent the white board from sliding off. Thank you Ana for your awesome plans.

Built from Plan(s)
Estimated Cost
The cost was about 20.00 which includes the white board. 2.70 each for 1 by 2 , white board cost 15.00 and I hade 1 by 3 scraps
Estimated Time Investment
An Hour or Two (0-2 Hours)
Recommended Skill Level
Beginner

Comments

Western jail bunk bed

Submitted by Anonymous (not verified) on Sun, 07/02/2017 - 13:55

Still waiting to add the stained jail sign. But a dad's twist to a mom's honey do project added the porch to the front to catch my youngest if he falls out of bed. 

Built from Plan(s)
Estimated Cost
$400
Estimated Time Investment
Week Long Project (20 Hours or More)
Finish Used
Cedar stain and high gloss finish
Recommended Skill Level
Intermediate

Shoe Bench

Submitted by CCrazyC on Wed, 03/09/2011 - 07:22

This is my first project from Ana's plans and we love it! I did alter the bottom shelf to be 2 long shoe shelves instead of cubbies and I made it 3 wide instead of 4. I've had friends comment on it and say that they want me to make them one. I need to make about 3 more benches for our entry and laundry room and love that I can do it myself with Ana's help!

Built from Plan(s)
Estimated Cost
$30-$40
Estimated Time Investment
Afternoon Project (3-6 Hours)
Finish Used
Stain and Polyurethane
Recommended Skill Level
Beginner

Necklace Armoire

Submitted by JoanneS on Sat, 05/11/2013 - 18:47

Necklace Armoire - a mother's day gift for Mom. I made this to go with the Fancy Jewelry box that I did for her for Christmas. Based on the Wall Jewelry Cabinet plan. This piece is made to stand like a narrow tower, and it opens up like a book. There are hooks inside, on both sides. I placed the hinges on the left, because Mom is left-handed. Dimensions are 6 1/2" wide, 14 1/2" tall, and 6 1/2" deep. Top & bottom are 1x6, box and door sides are 1x3, and door front and back are 1/4" birch plywood. The inside is lined with felt. The wood, stain and paint were already on hand, I just needed the felt and hardware. The build was very easy. The finishing took longest because it has both stain and paint, with added felt and hardware. On the right side I used some hooks re-purposed from an old jewelry box, and on the left side are 3/4" brass shoulder hooks from Lowes. Hooks are attached to some 3/8" craft board, which was stained and glued in place. I got to use my newest tool (23 gage headless pin nailer) for attaching the trim (very neat - it really was just a pin-size hole to fill). The front closes with a brass hook and eye. I sure hope she likes it! :) Happy Mother's Day!

Estimated Cost
$16
Estimated Time Investment
Day Project (6-9 Hours)
Finish Used
The top and bottom are stained with Minwax Express Color in Walnut. The box paint color is cream, mixed with some of the Walnut stain, to make it match the color of her existing pieces. Top coated with 2 coats of Minwax clear Polycrylic in satin. Antique brass surface cabinet hinges and handle are from Lowes.
Recommended Skill Level
Beginner

Comments

JoanneS

Wed, 07/10/2013 - 02:27

Thanks so much for the nice comment! Just finished another project, for Mom's birthday this Friday. :)

Jewelry Organizer

Submitted by CSaintD on Wed, 04/01/2015 - 10:20

I really didn't have a plan for this, but looked around on this site and on the internet and found something like what I wanted to do, so just made a simple frame out of scrap 1x2s.  I made a groove in the center of each 1x2 with my table saw before assembling.  I found this pretty punctured metal at Lowes and cut it to size, slid it into the grooves then attached the bottom of the frame and the little shelf.  I added a 3/4" bead and sausage trim piece around the whole thing to finish it off nicely.  The bracelet holder is a dowel rod that I painted purple and attached with eye hooks and cup hooks to the bottom of the little shelf.  Since it was hard to put earing studs in the center (with the backs on), I also cut another piece of the metal, filed down the edges and attached a llittle ring clip, that can hang from one of the cup hooks if needed.  I'm happy with how this came out and I hope my Daughter-in-Law will enjoy this birthday gift.

Built from Plan(s)
Estimated Cost
The metal was the most expensive part at $26 for a 2' x 4' sheet. You could do this with hardware cloth for a lot cheaper, but I wanted the look of the metal. The trim was $5 and cuphooks $3. The other pieces I had in my scrap pile and hardware drawer.
Estimated Time Investment
Day Project (6-9 Hours)
Finish Used
White gloss paint and purple craft paint. Spray lacquer on the dowel rod.
Recommended Skill Level
Beginner

Comments

CSaintD

Wed, 04/01/2015 - 18:23

Yes, I was trying to imagine some way to do what you suggested, but just couldn't make it work. I didn't want to make a door - which would be the ideal solution. Also, fiddling around with the frame may make it unstable on the wall, so I just thought this would be easier. She can lift the whole thing off and add and remove studs at a comfortable height without worrying about removing necklaces, etc.

Fancy X table and Bench

Submitted by Anonymous (not verified) on Tue, 07/04/2017 - 12:28

This table and bench was a first build for me and my husband. We had so much fun working on it together that we can't wait to figure out what our next project will be. Would probably not take as much time the next time we did something. Fairly inexpensive but we splurged on the thick reclaimed wood for the tops to add the character we wanted.

Estimated Time Investment
Weekend Project (10-20 Hours)
Recommended Skill Level
Beginner

Farmhouse tables

Submitted by Anonymous (not verified) on Mon, 10/04/2021 - 13:46

Farmhouse coffee table, sofa table and end tables, plans from farmhouse but added a twist to the tops, 2” strips each stained a different color.

Comments

Tryde Console Table

Submitted by kari on Wed, 03/09/2011 - 12:16

This was the first project I did totally on my own. The day before I had made the Tryde Side Table with a little help from the man. I needed tool instructions.

Estimated Time Investment
Weekend Project (10-20 Hours)
Finish Used
Minwax Jacobean stain and sealed with Minwax polyurethane.
Recommended Skill Level
Beginner

Wood Organizer with Rope Handles

Submitted by danicarby on Tue, 05/14/2013 - 07:11

I wanted to make something that would hold all my kids art supplies. I wanted it to be easy for them to find what they wanted and have a handle so they could carry it. The project is easy enough for a beginner. You need a table saw, drill, glue and nail gun (or hammer and nails). I have more details on my blog.

Estimated Time Investment
Afternoon Project (3-6 Hours)
Finish Used
I sanded really well, stained with Minwax Gray Stain and used a Semi-Gloss Polyurethane.
Recommended Skill Level
Beginner

Comments

Toy Box

Submitted by Anonymous (not verified) on Fri, 07/14/2017 - 00:28

I really enjoyed building this toy box! I used rockler torsion hinges on this and loved how smooth they moved and the install. Thank you for the inspirational plans!!

Built from Plan(s)
Estimated Time Investment
Weekend Project (10-20 Hours)
Finish Used
Interior Paint
Recommended Skill Level
Beginner

Blanket Rack

Submitted by Anonymous (not verified) on Mon, 10/04/2021 - 14:35

A modern twist on storing throw blankets. It was made out pine, stained, and three coats of polyurethane.

Comments