Kayden's big boy bed

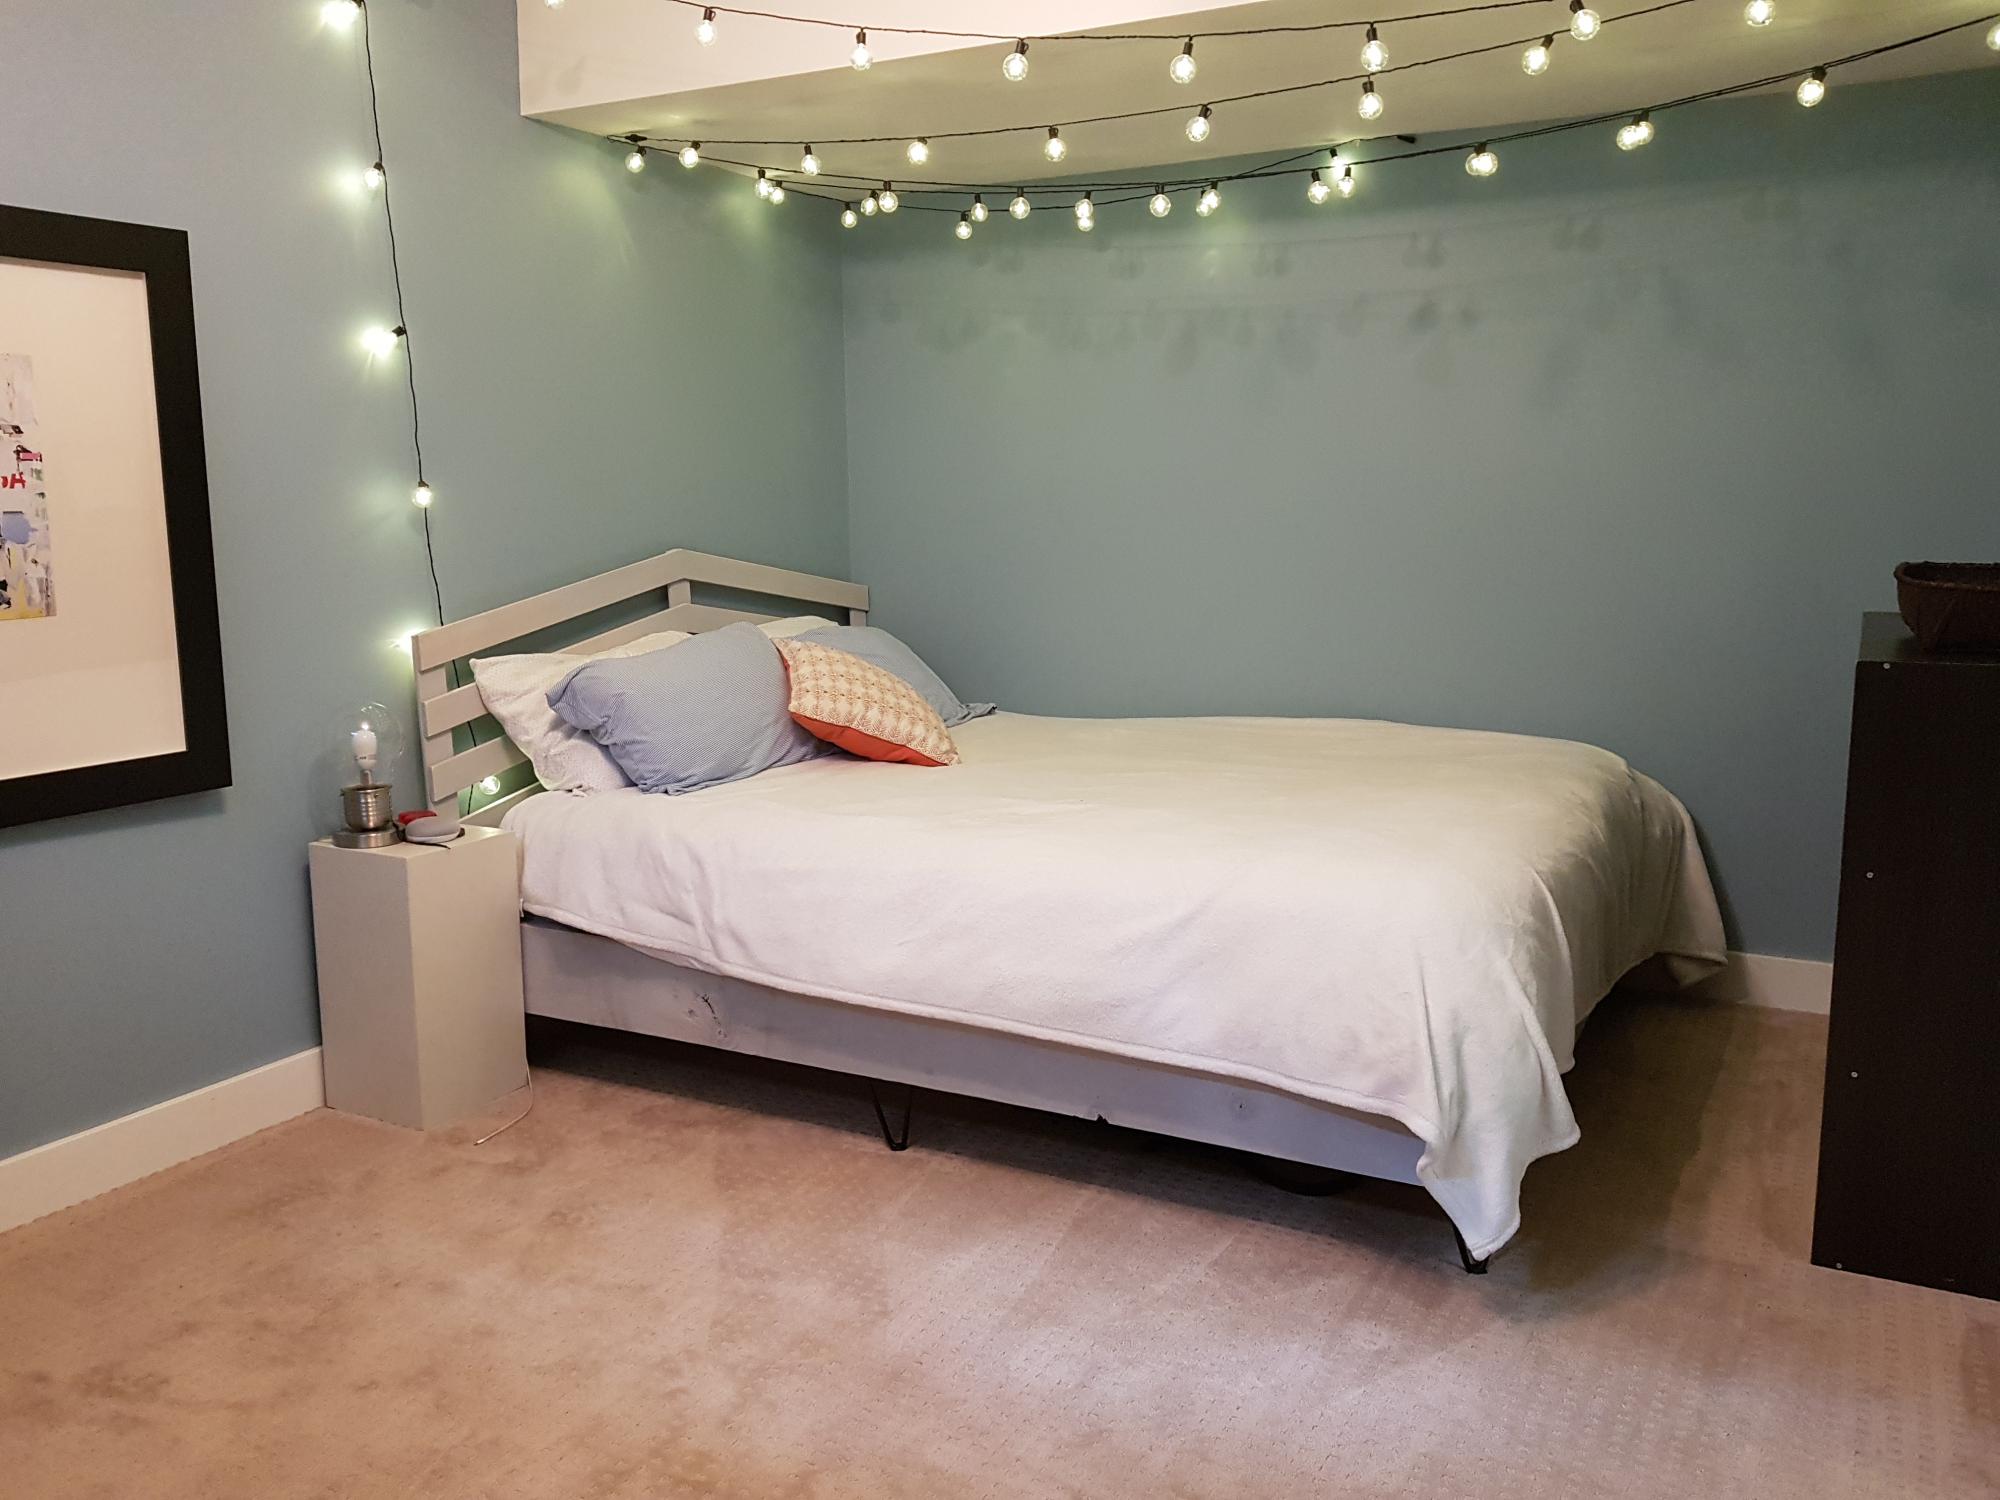
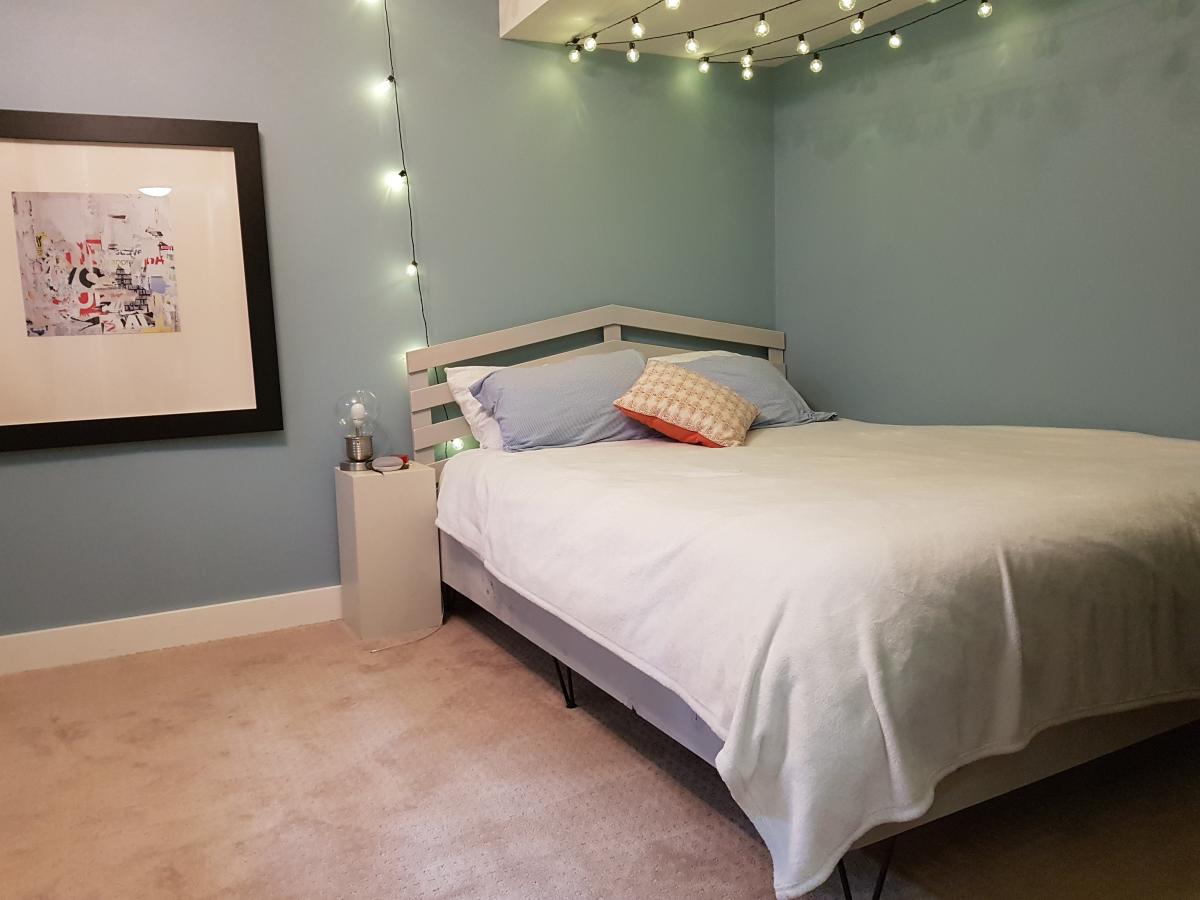
The majority of my builds are inspired by or built for my grandchildren. This was Kayden's first big bed and he was so proud.
Built from Plan(s)
The majority of my builds are inspired by or built for my grandchildren. This was Kayden's first big bed and he was so proud.
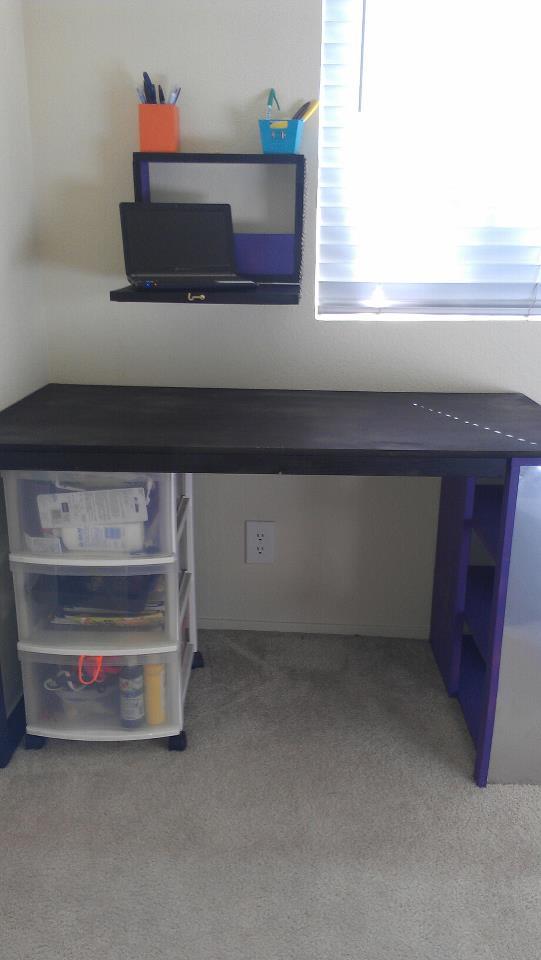
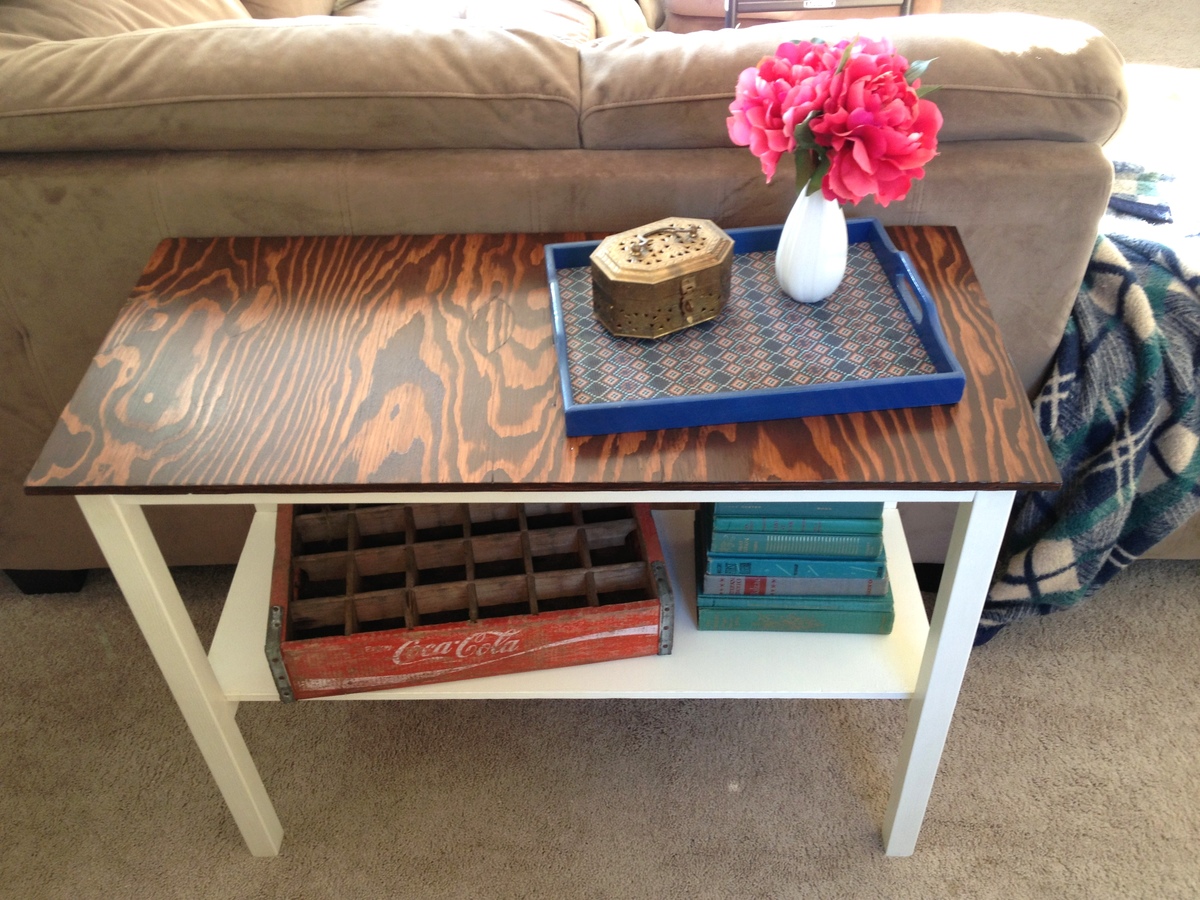
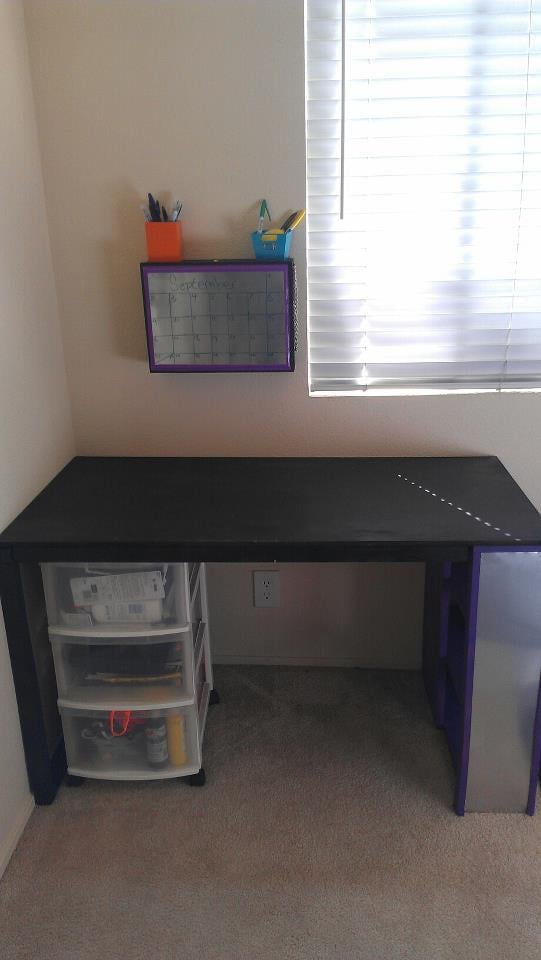
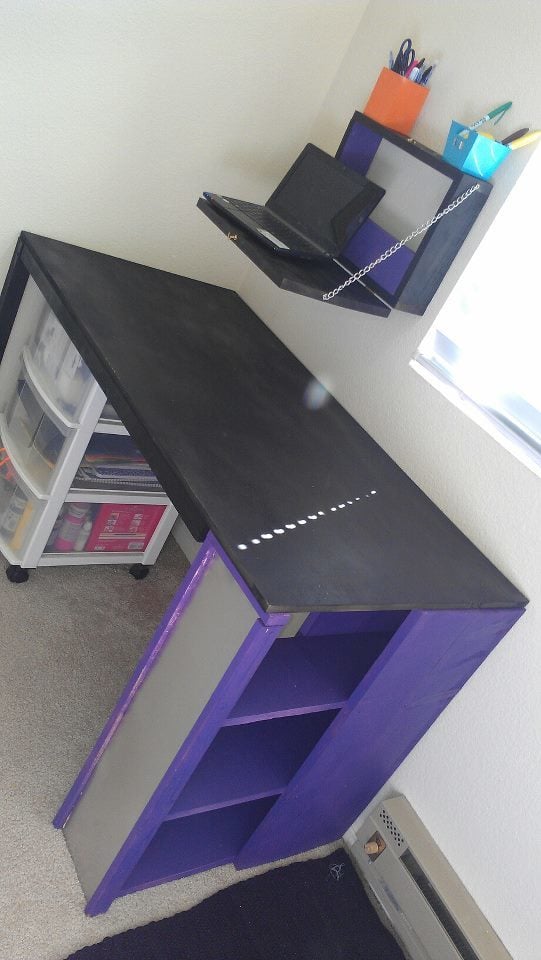
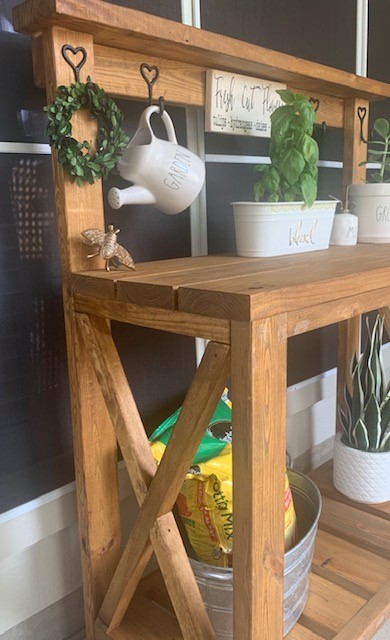
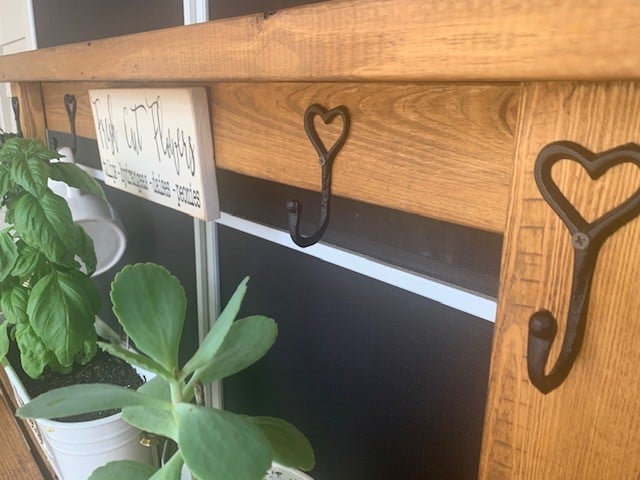
I combined the Dorm Desk and Flip-down Children's art desk plans to make a perfect combination for my school work.
The Dorm Desk was designed to be used with bar stools, so it would be rather tall. I simply made the dimensions shorter to fit with a computer chair. I also tweaked the children's art desk a bit for use as a laptop desk, just took out the shelves and put a piece in to hold binders and whatnot.
Another note, most of the materials used were scraps from other projects, so the dimensions are a little different there too. For instance, I had some 6" strips of 3/4" plywood sitting around, so I used those for the shelves instead of 1x8's, and I used a piece of 1x12 for the front of the wall-mount desk instead of plywood.
The estimate cost is not at all what it would cost if you were starting from scratch. The only things I payed for up front for these two projects was the D-ring hangers for the wall-mount desk, a piece of plywood for he desk top, some tin flashing, and a 2x2 for the frame.
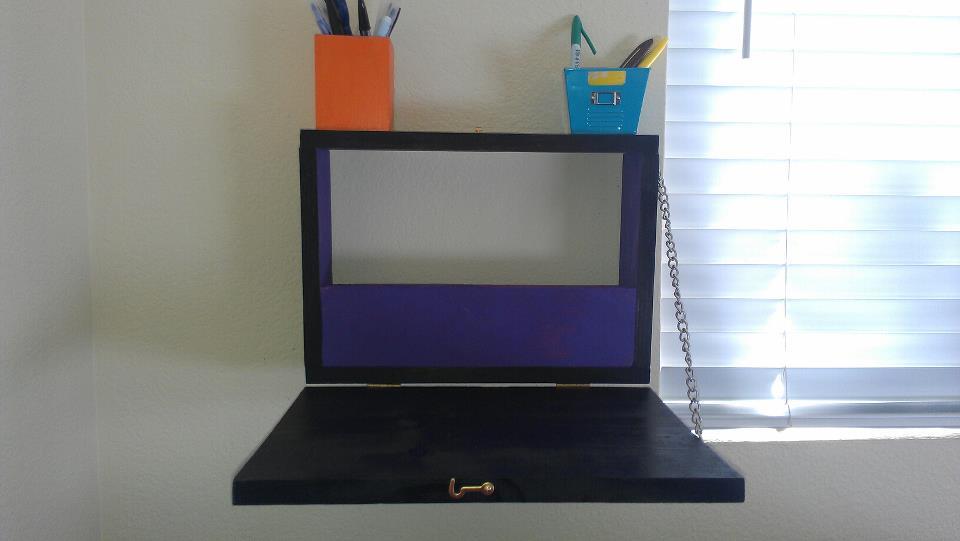
*the tin flashing I got ended up not being magnetic, which was disappointing, but it ended up working well with wet-erase markers (the kind teachers use on overhead projectors) so at least it still has a function. I may also end up puting a cork border around the edges so I can still hang things from there.
Hint: I used an old wallet chain for support on the wall-mount desk. I also found some left over hinges and a small clasp I had bought for a keepsake box I made years ago. If you're pretty handy, you probably have plenty of stuff you can use just lying around the house.

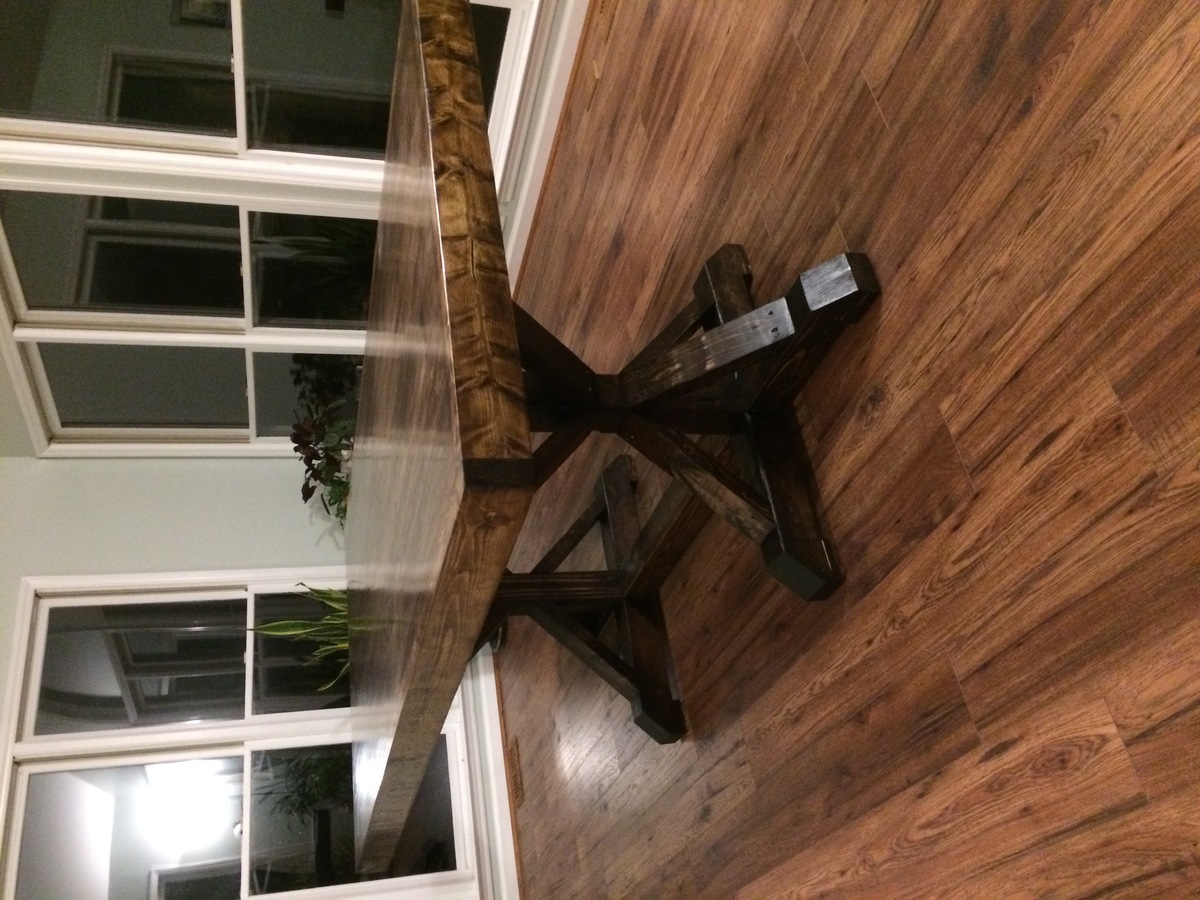
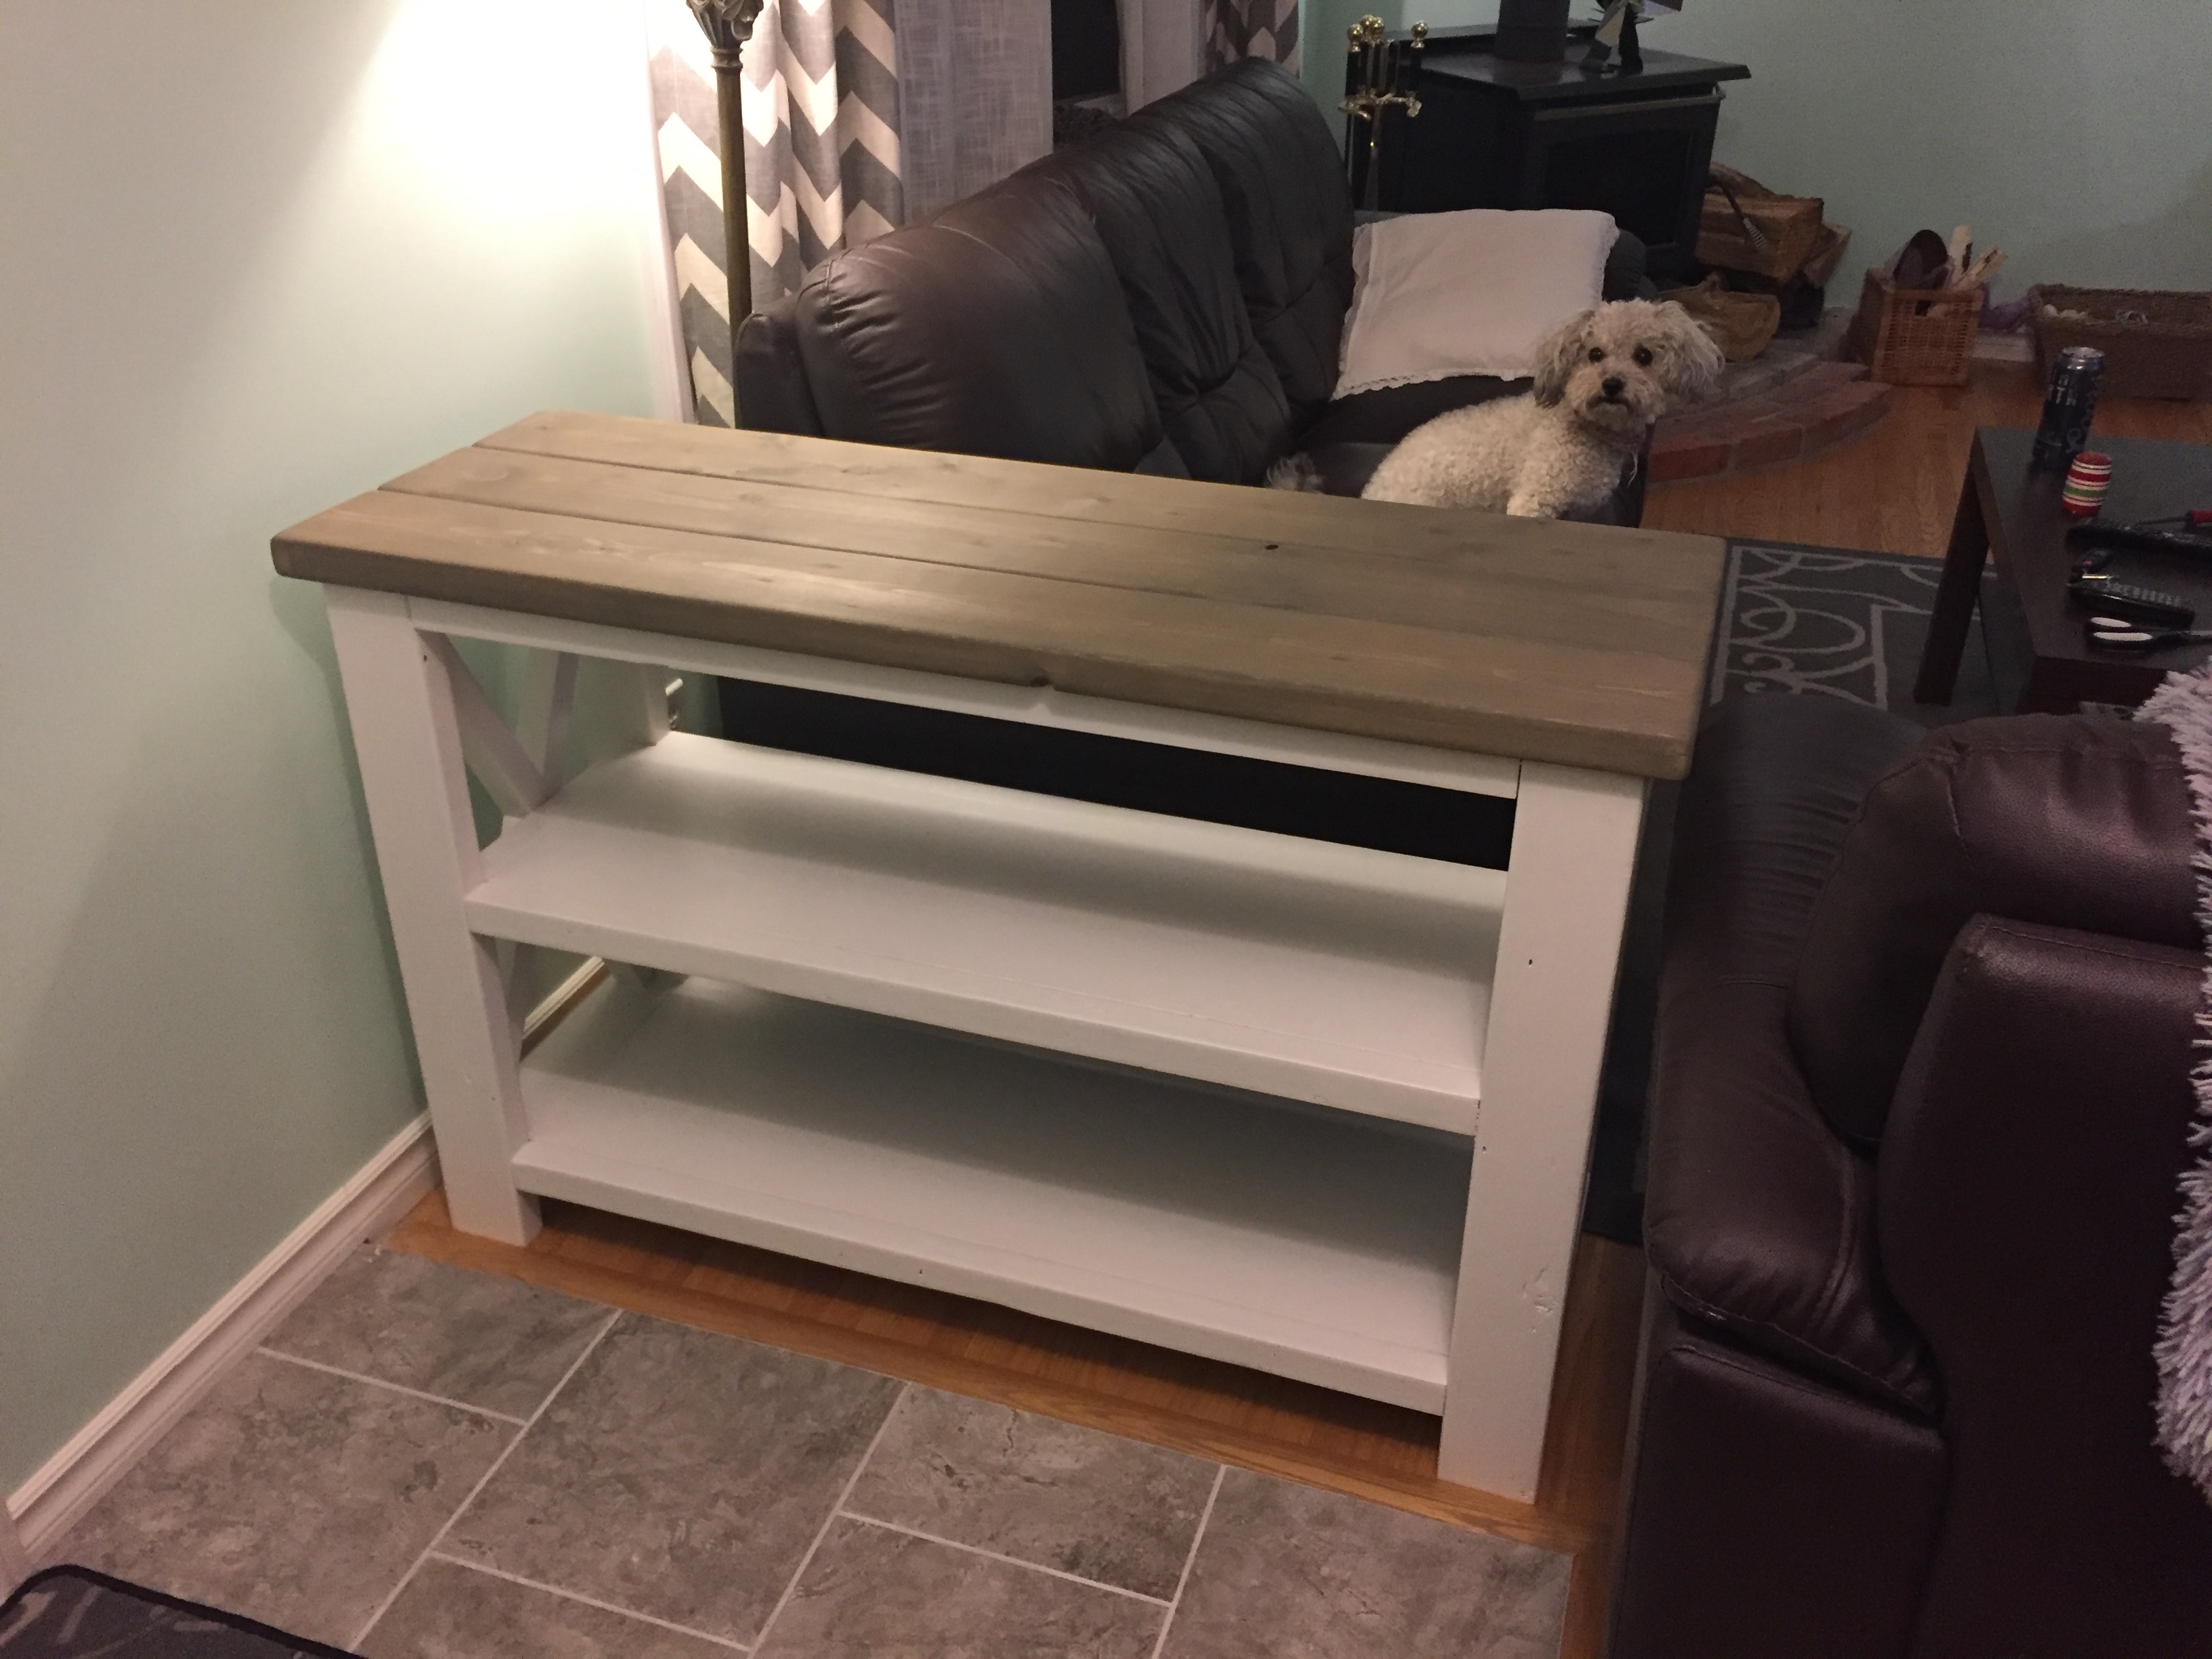
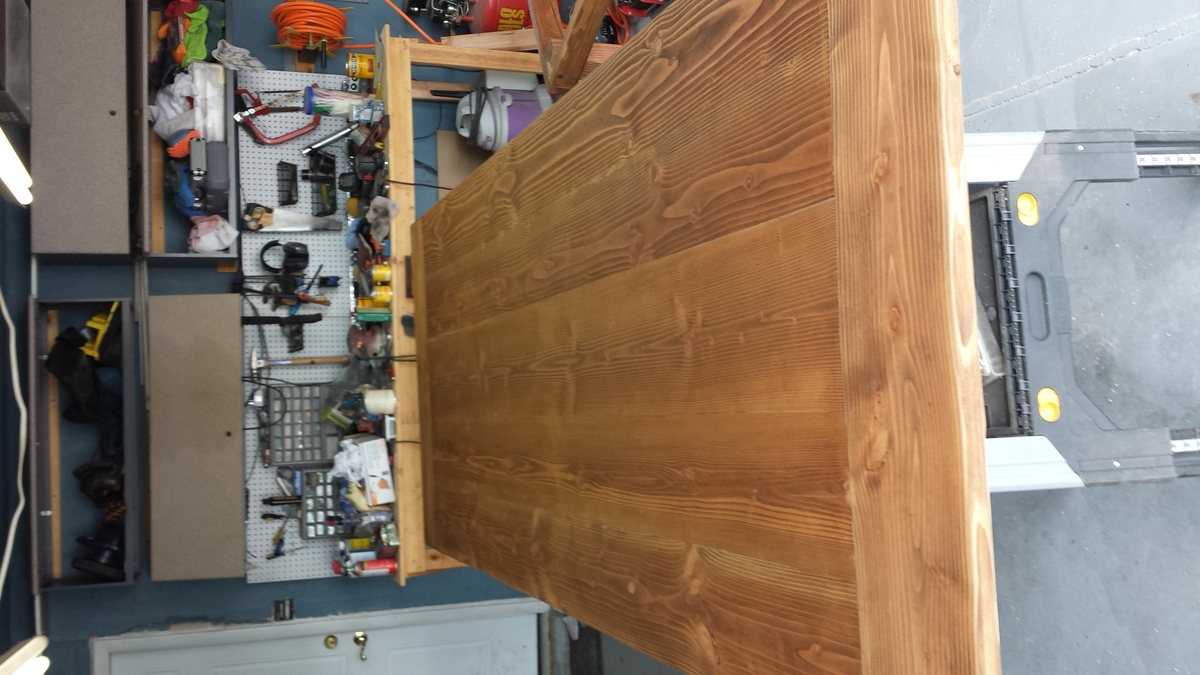
So I was inspired by the Ana-While posted Farmhouse Table a few months back.. Honestly I was a little concerned about building such a large piece as my first project but I decided to invest into some common pine lumber to give it a shot. I could have bought better woodworking stock, but I was concerned I was going to mess it up anyway so I chose to stick with Home Depot / Lowes grade stock to keep the cost down.
I made a few changes from the published design:
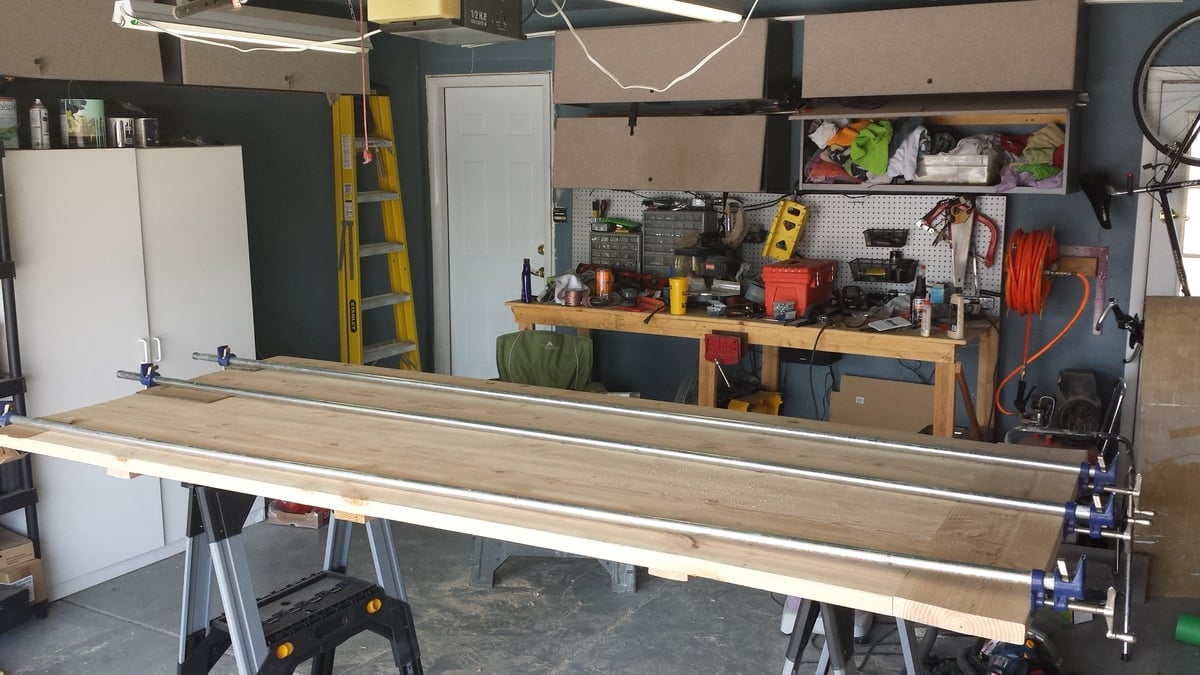
I wanted a very large table for entertaining during the holidays. I extended the design to about 10 feet long by almost 4 feet wide.
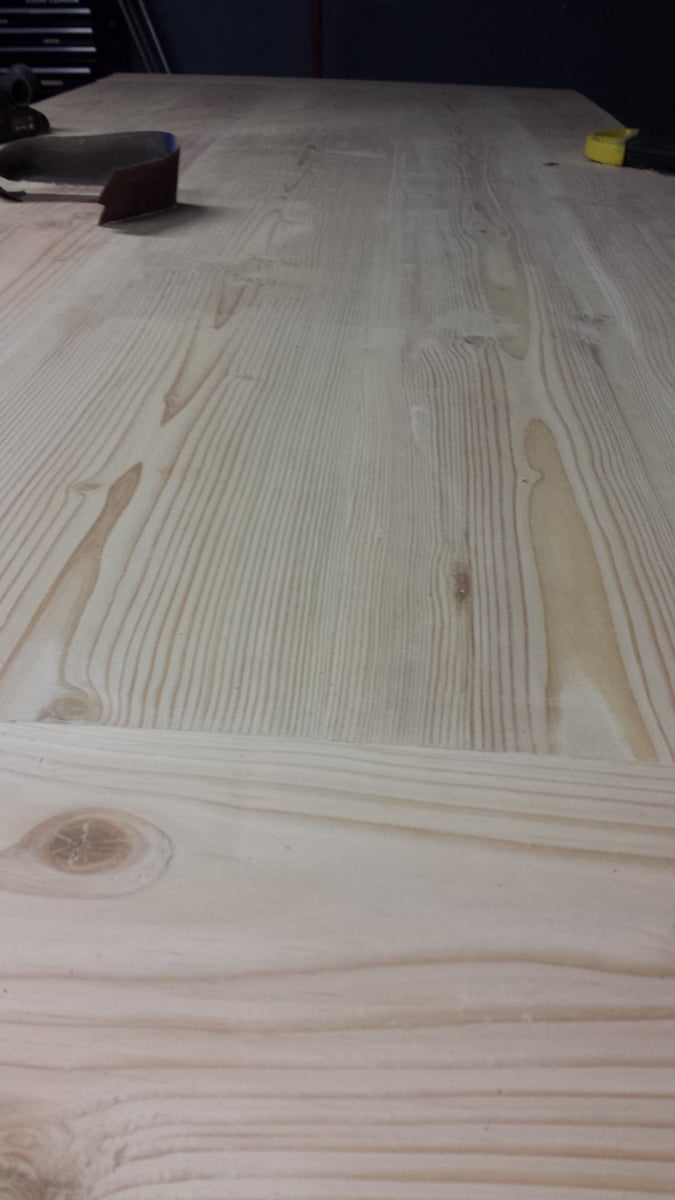
I also am not a big fan of the seams that are left between the boards when doing butt joints using common lumber. It was a bit of work, but I trimmed off about 1/4" of material from the side of each board to make their corners square instead of the normal slightly rounded profile. With enough planing and sanding, I was able to get a reasonably tight seam with just normal garage tools.
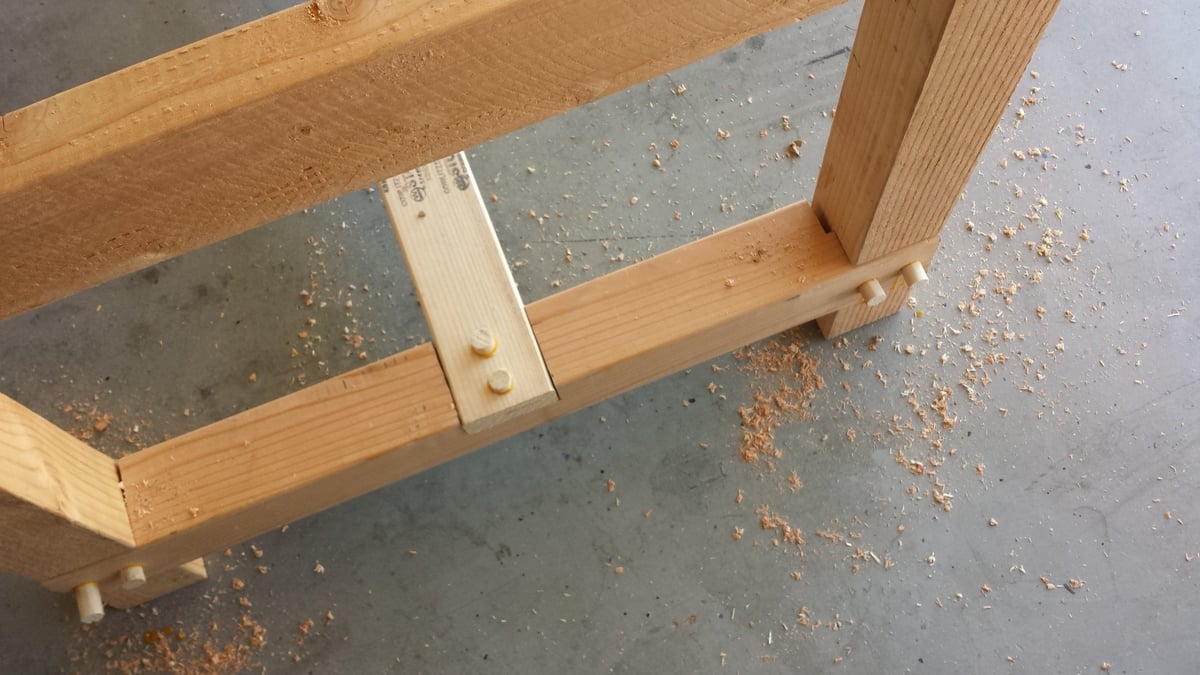
The third design element I added was pre-drilling each of the exposed screws with a 3/4" bit about 1" deep and filling those holes with a wooden dowel. This dresses up any screws used and in my mine makes the table look a bit more traditional. Im sure some people would say just use the dowel to secure the joints, but I just wasnt that brave for an inexperienced builder.
The finish was intentionally left uneven. THere are raises and small grooves in the surface that I sanded down with 80 grit, but then only lightly went over with 150 and 220. The effect I was looking for was a surface that looked hand sawn / worked but that was still smooth to the touch and not 'dangerous' to use daily. There are some visible sanding and planing marks, but they are all soft and smooth, and help add depth and character in my opinion.
More pics available on my public facebook album: https://www.facebook.com/media/set/?set=a.10152583224649571.1073741829…
Supplies cost about $300 for lumber and finish materials.
The face is made from 4 2x10's and 1 2x12 in the middle.
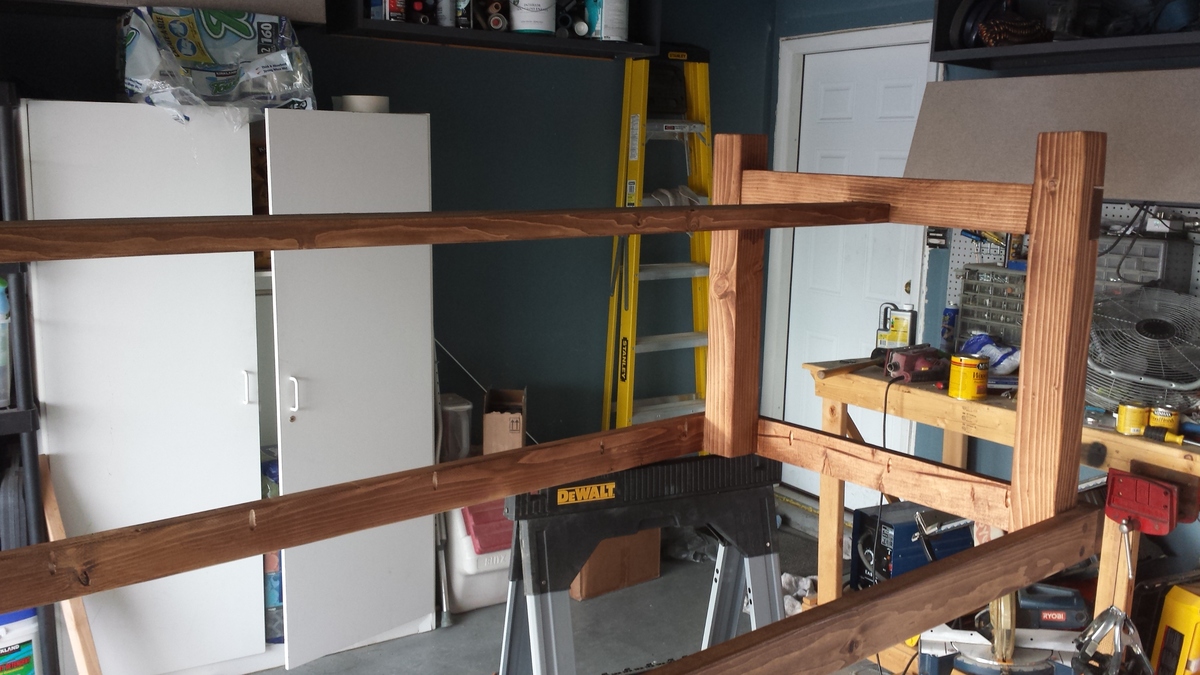
The legs are 4x4, all other pieces are 2x4.
Tools needed to finish the table this way:
Circular saw
Table saw (to trim edges if you want tight seams)
Kreg Jig (essential for pocket holes!)
Very big clamps! I did not have these and spent $90 or so on the 3
Hand saw
Chisel
Drill
Sander (or a LOT of patience!)
Planer (I used a cheap power planer to help level out the cheap big box lumber and to even out the joints)
STRONG sawhorses. I broke a set of 600# rated horses re-positioning the face. A 10ft table face is very heavy! get help!
Finishing the table this way took a long time. Im going to guess 60 - 80 hours went into it. A ton of time is used getting the joining work right. The rest of it goes together pretty quickly.
Wed, 07/23/2014 - 08:10
Beautiful! I love the smooth seams. You can tell you spent a long time on it.
Wed, 07/23/2014 - 12:30
Love it! and is just your firts project!!! Wooooowww Im just getting the tools to start my own projects and by seeing this I feel so encouraged. Thanks for sharing :)
The second furniture building project I've ever made. It was super fun to make, though I probably spent half my time making sure ever corner was square!
I used 2 x 8's for a bit of extra depth (my daughter has a deep mattress) but other than that I followed the plan, even down to the 6" hairpin legs.
My daughter wanted a really simple headboard so I added a Chevron-style headboard from https://vintagerevivals.com/70-diy-slatted-headboard. As an upcycle, I used the wooden slats from a bedframe we were getting rid of and it worked perfectly.
Fantastic project and happy teen!!
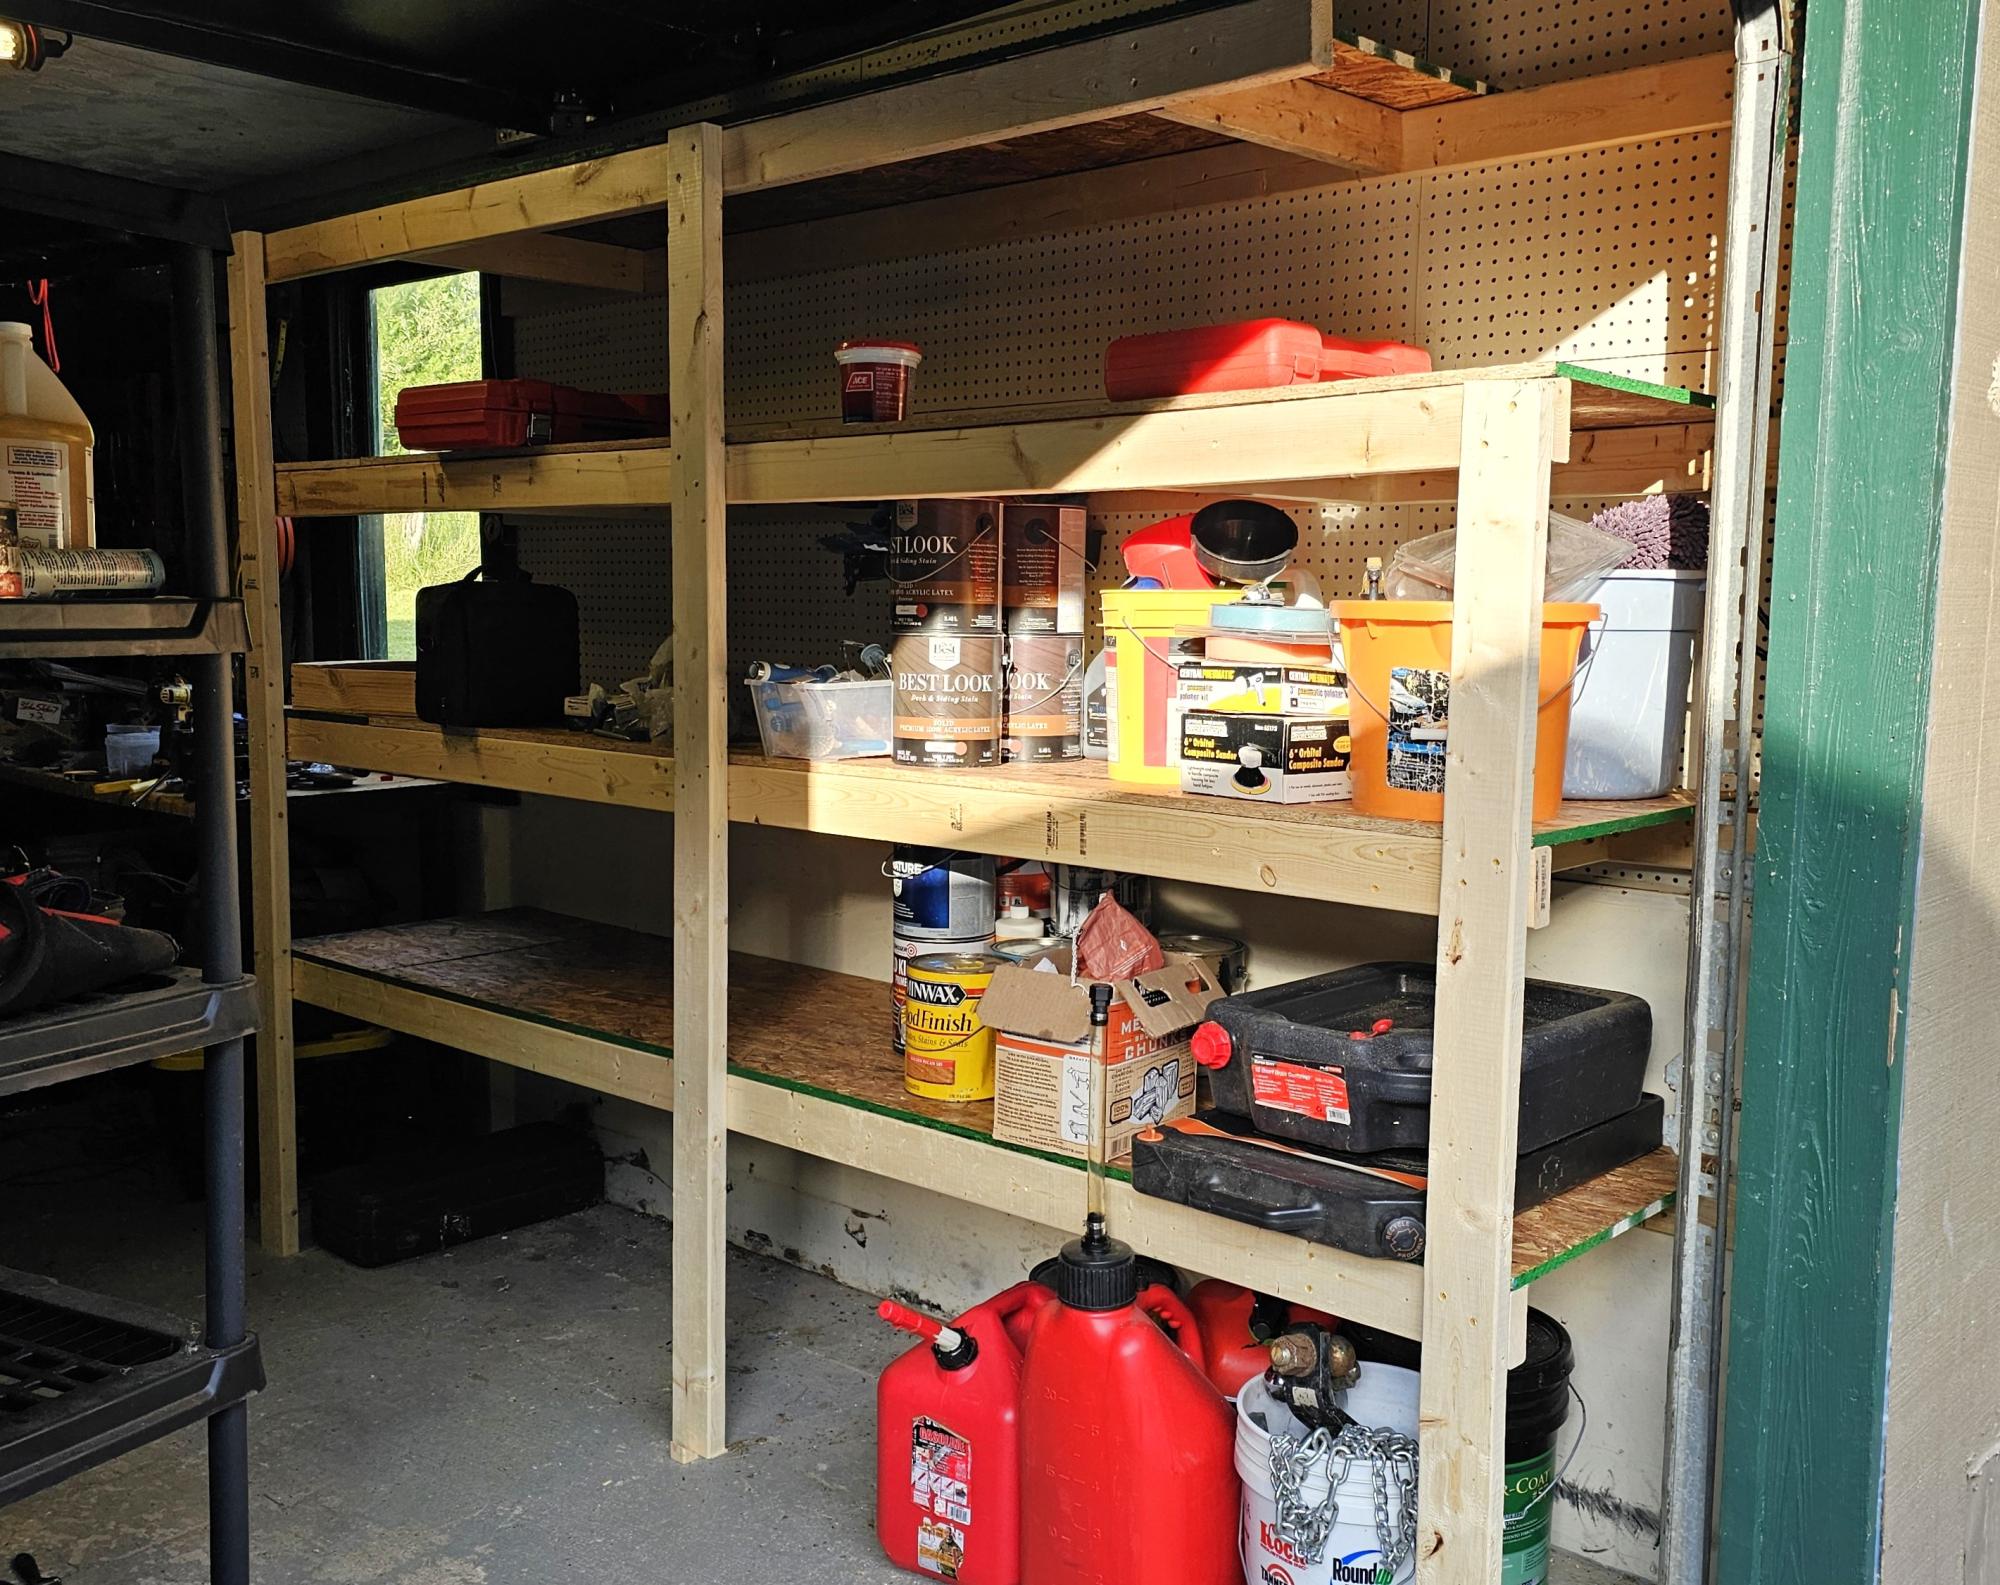
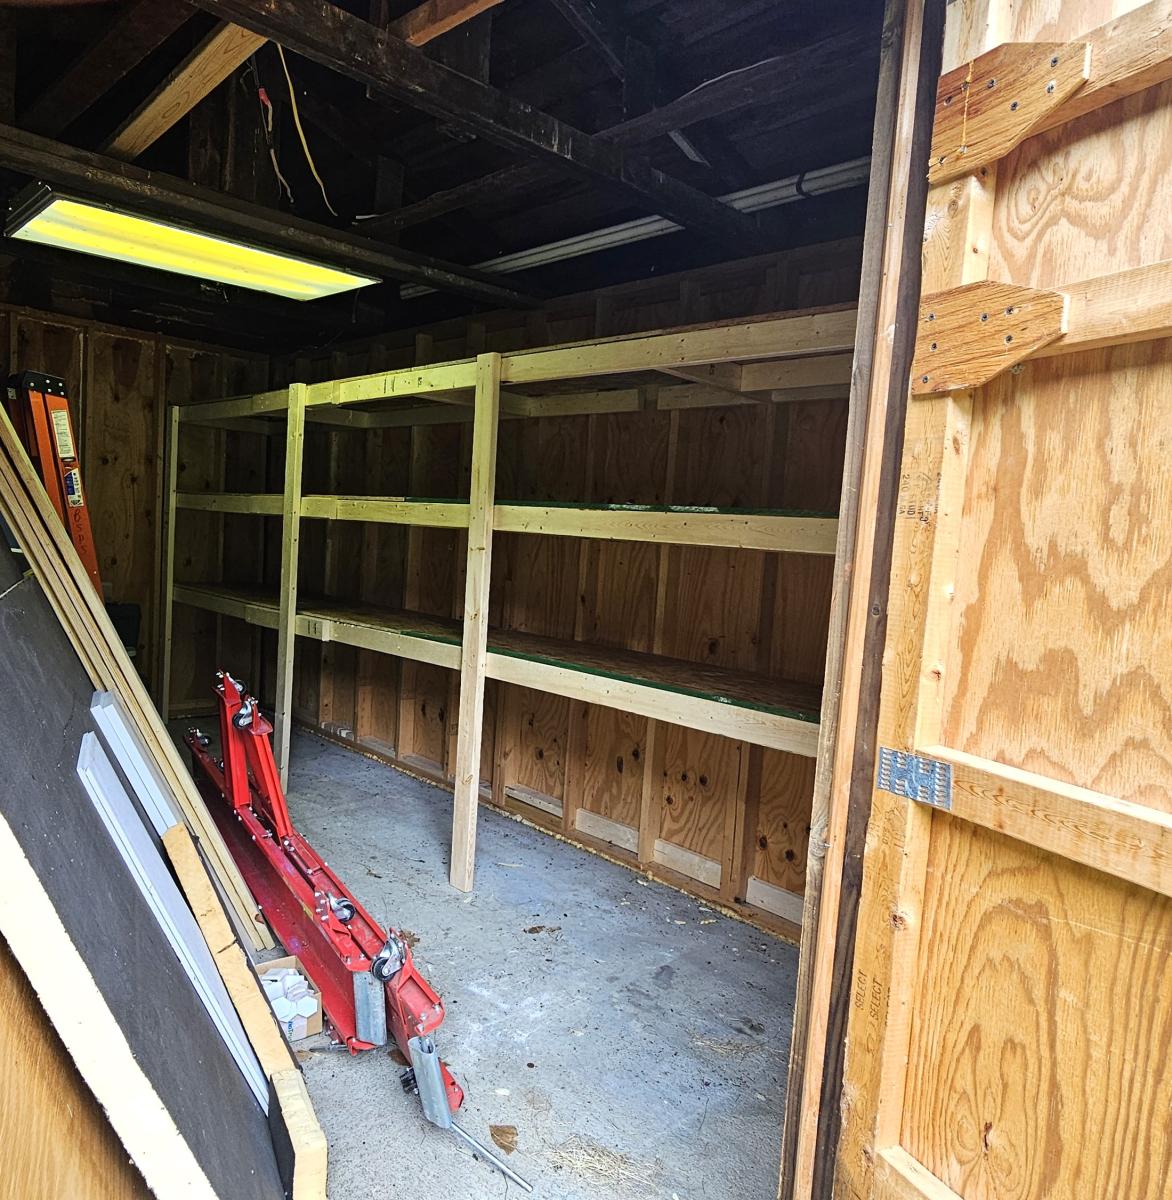
We made the built in shelves for our garage and storage shed. These are a game changer for stacked totes!!
Jill Lagman

Used the instructions for building a picture ledge and instead used the shelves for spices. Only cost $10, already had the stain and polyurethane at home. Didn't do pocket holes, as I don't have a jig, just drilled/screwed directly into the pieces. Would have been done in less than an hour, but the coats of stain and polyurethane took over 24 hours to dry/reapply.
My hubby made it for me after seeing yours!! I LOVE IT THANK YOU SO MUCH!
The buy list is correct the cut list is wrong the bottom 2*4's listed should both be 2*6's
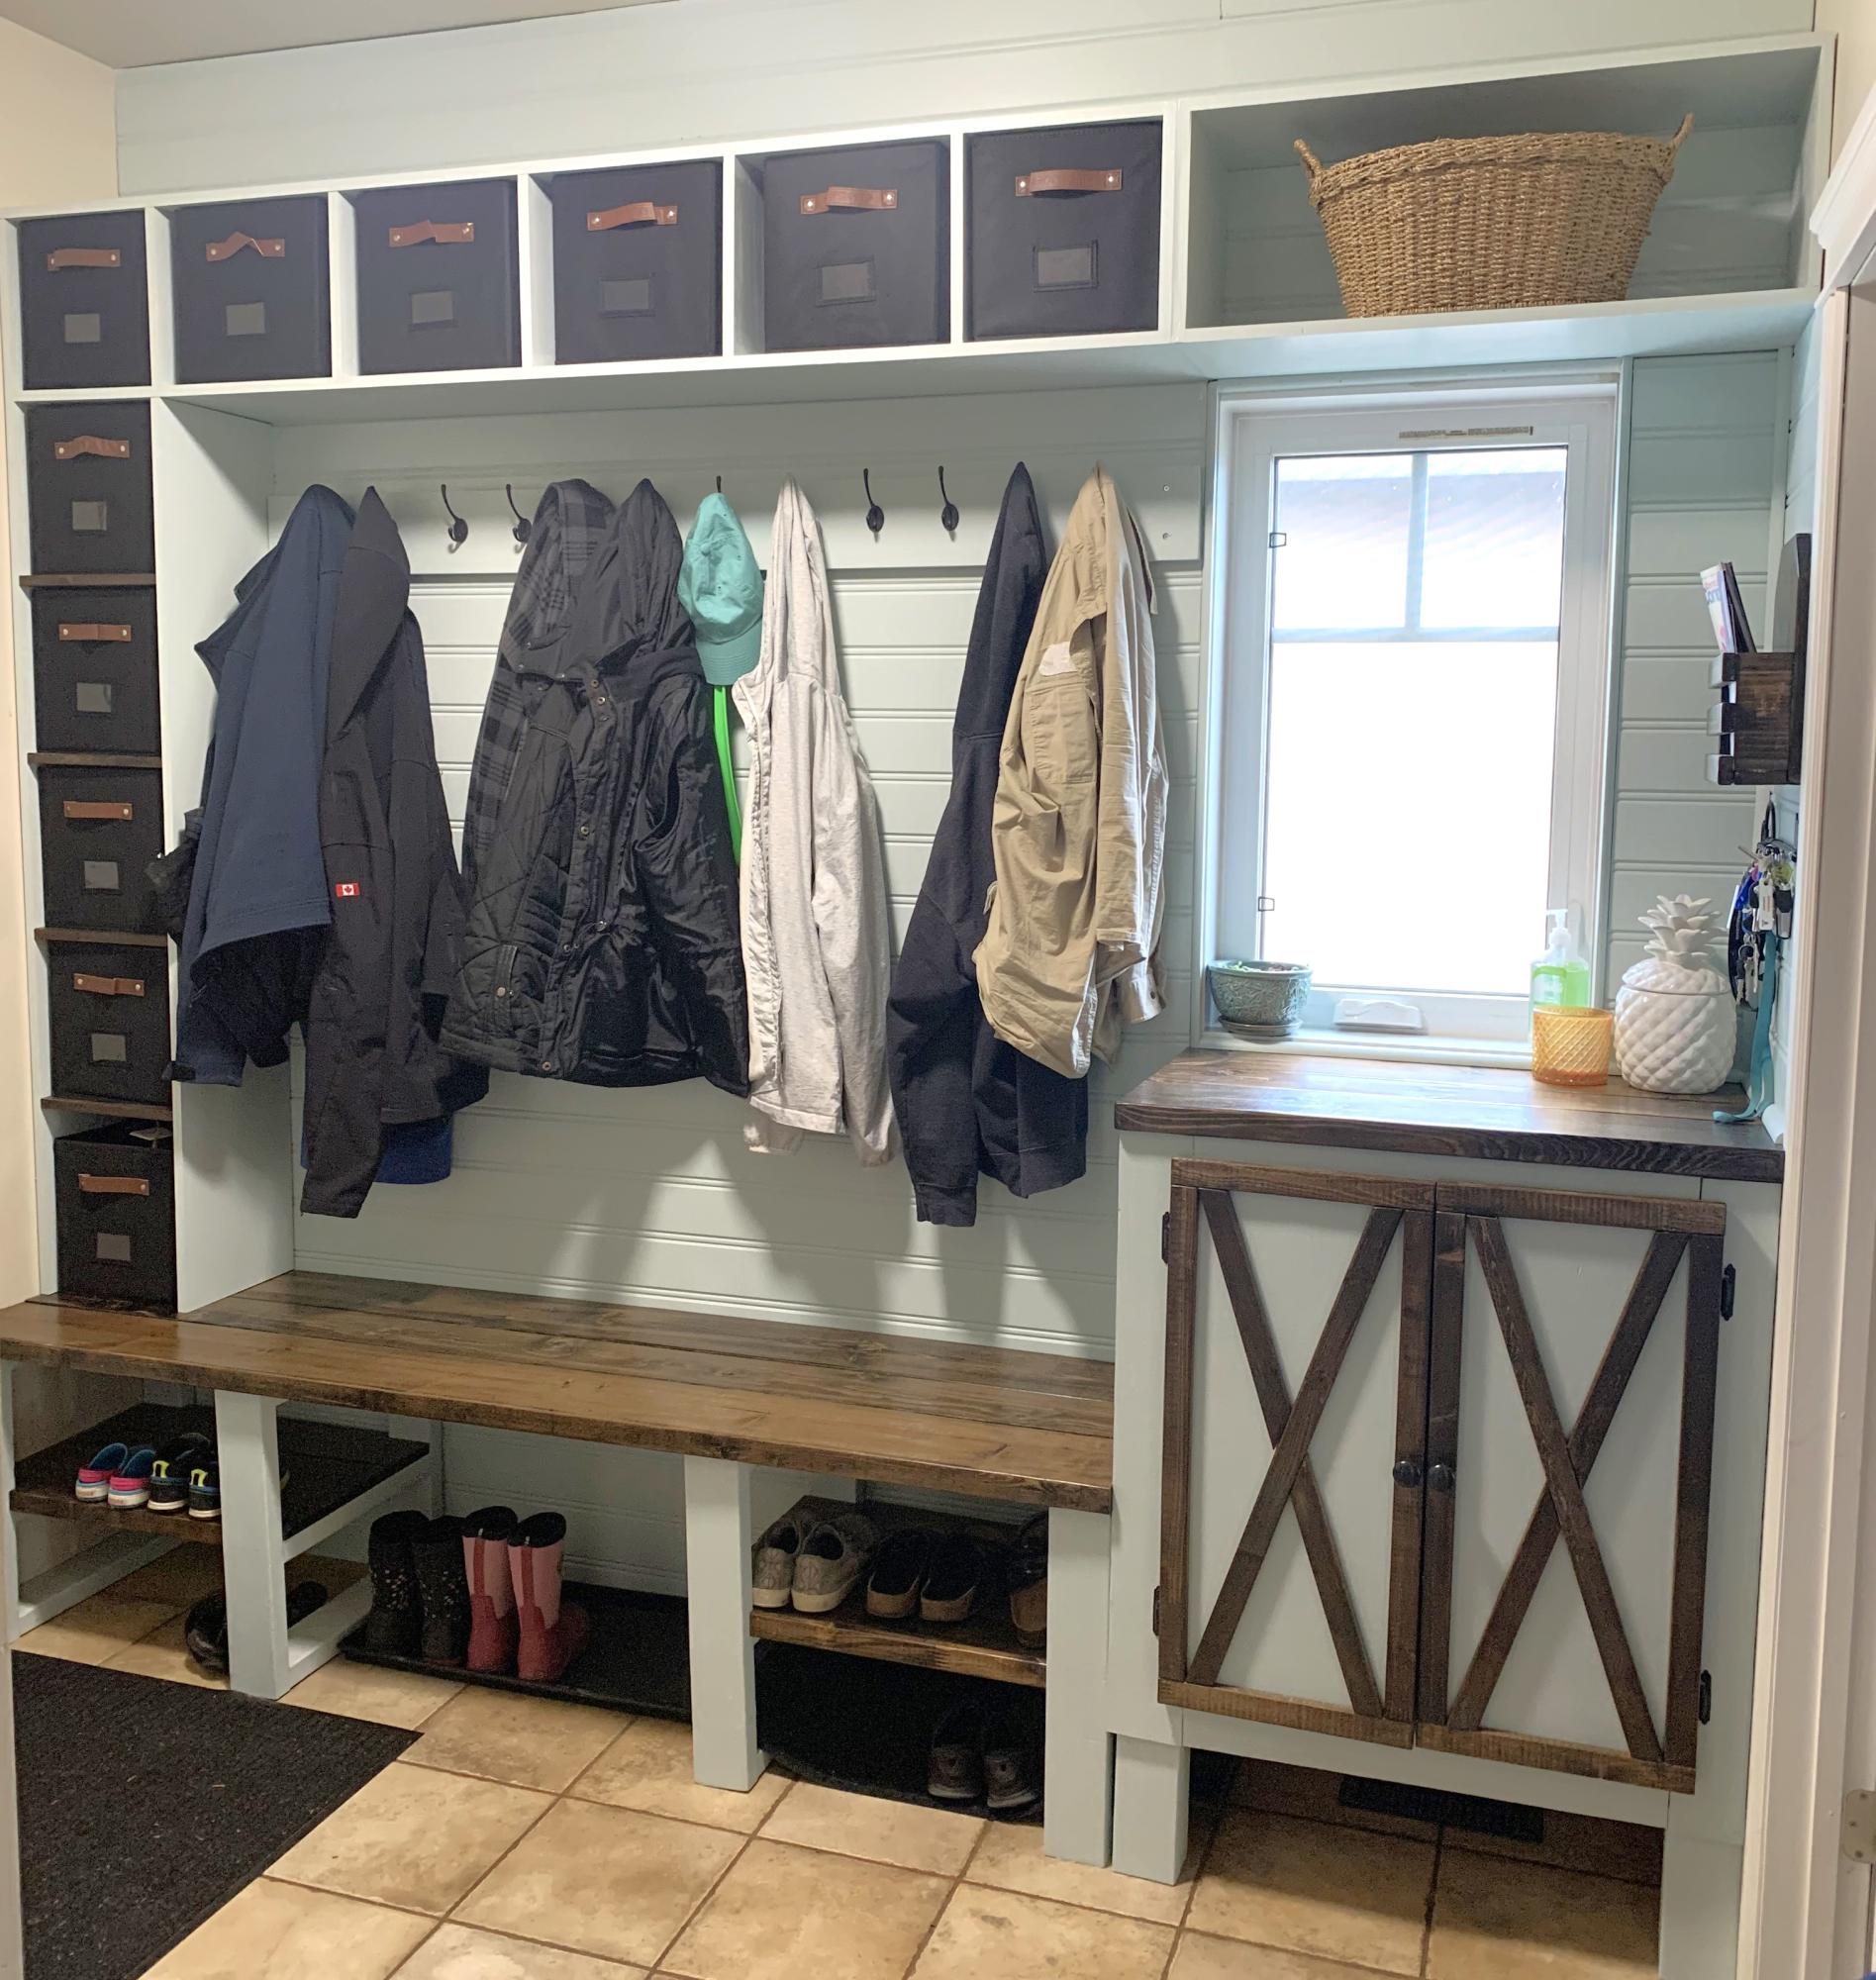
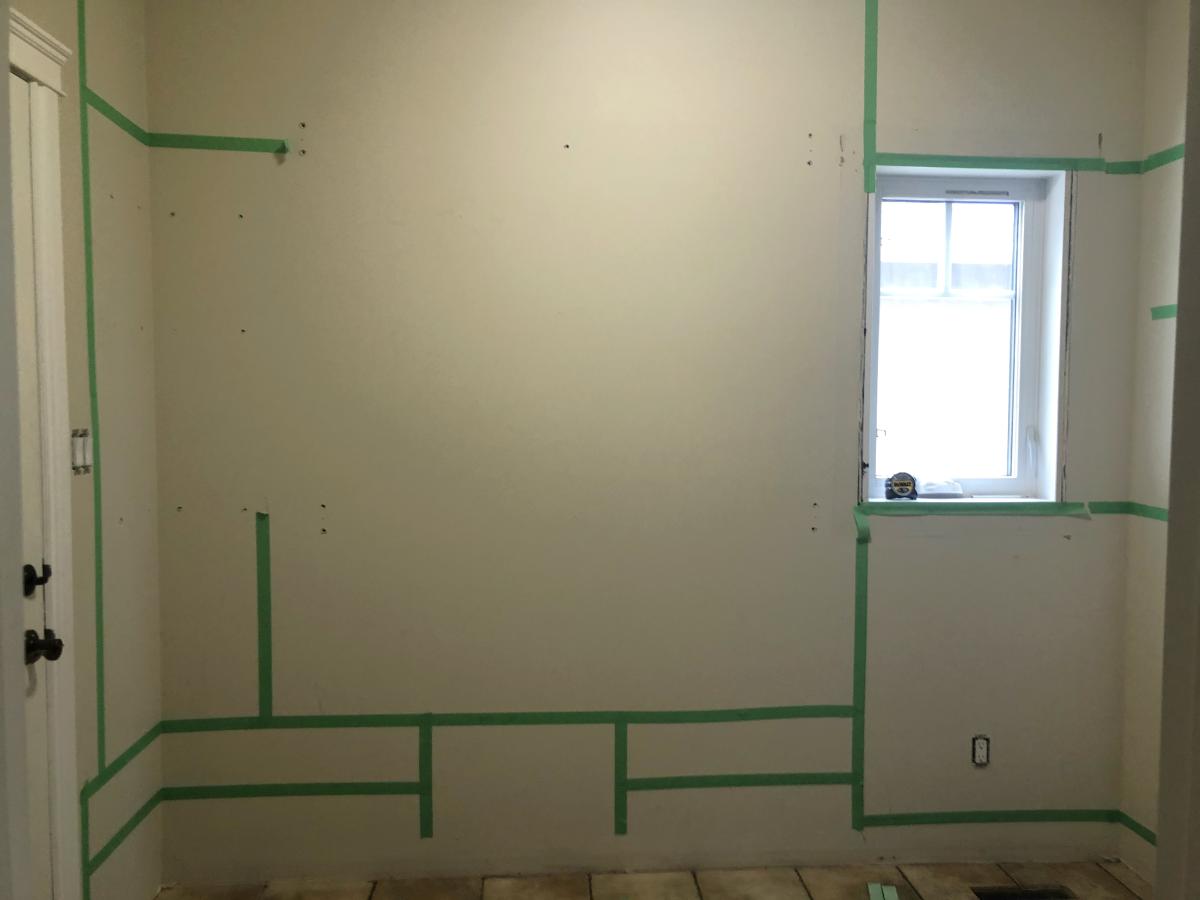
Before and after. Ana White inspired built ins for my daughter-in-law!
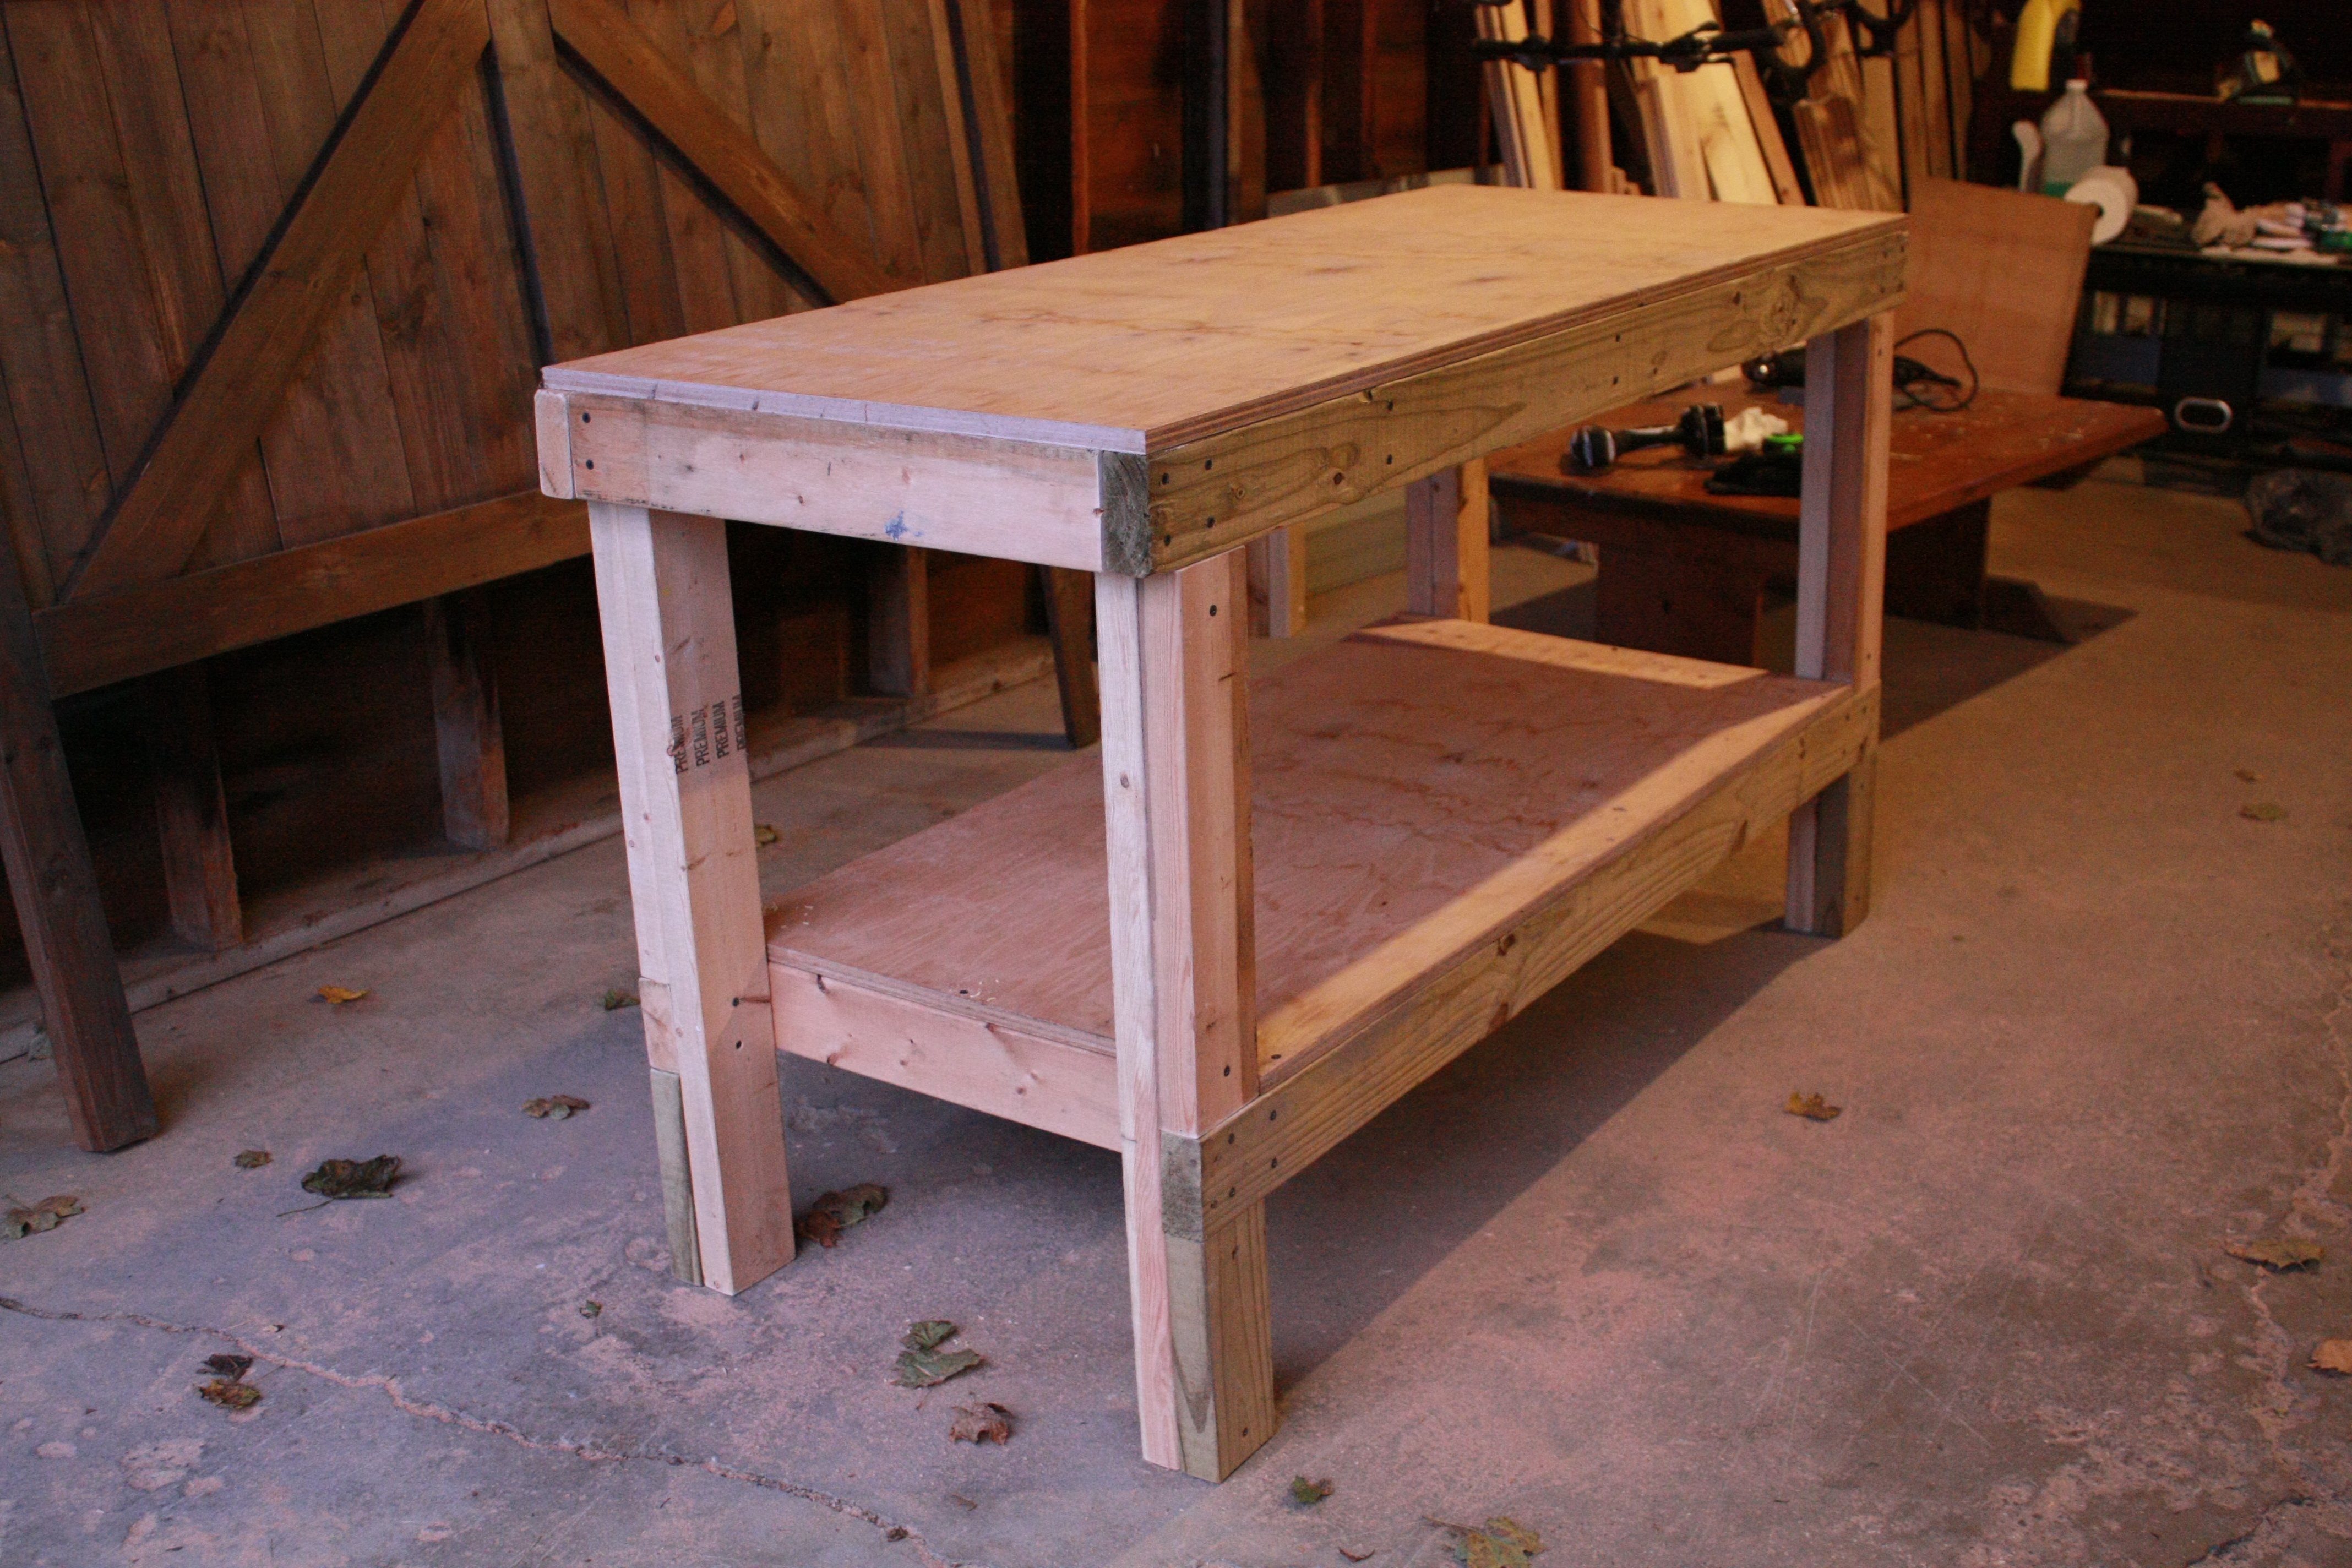
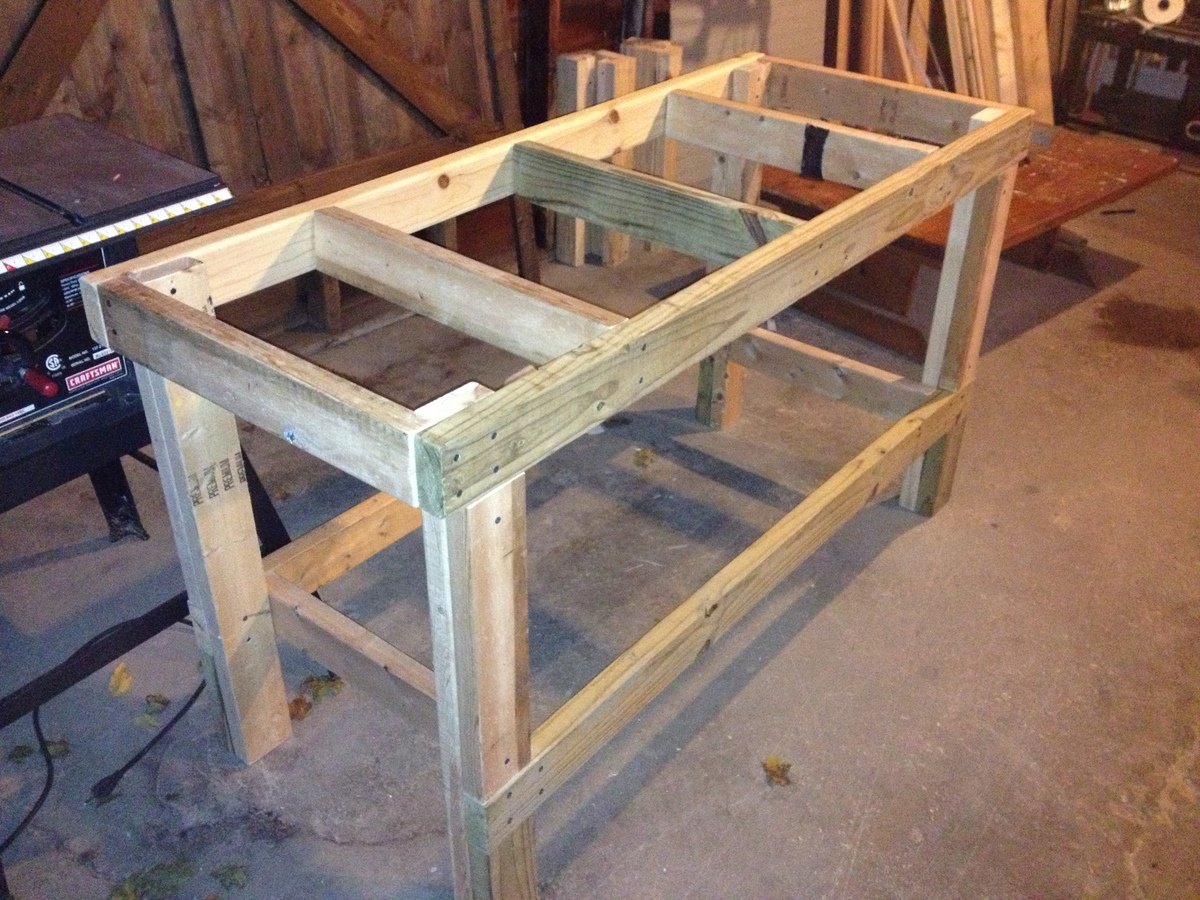
After diving head-first into this website and too many projects to mention, I decided it was about time to have a workbench. I received some free scrap wood from my neighbor so I spent a quick couple of hours putting this together. The plans were great and it went together very quickly. Looking forward to using this for more projects!
Sat, 11/24/2012 - 06:04
Hi Ana .. I`m lookin into building a single bed frame and head and foot board . Do you have any input that would help me along the way here.. Any info would be great . Love your work . and you look great as alway`s . Thanks in advance , and hope to hear back from you soon. Bye for now , and be safe .. Claude . G :-)

I made this for my friend's daughter. I can't believe how easy this was to make. It is sturdy and really light weight. I put it together in one afternoon and painted it the next day.


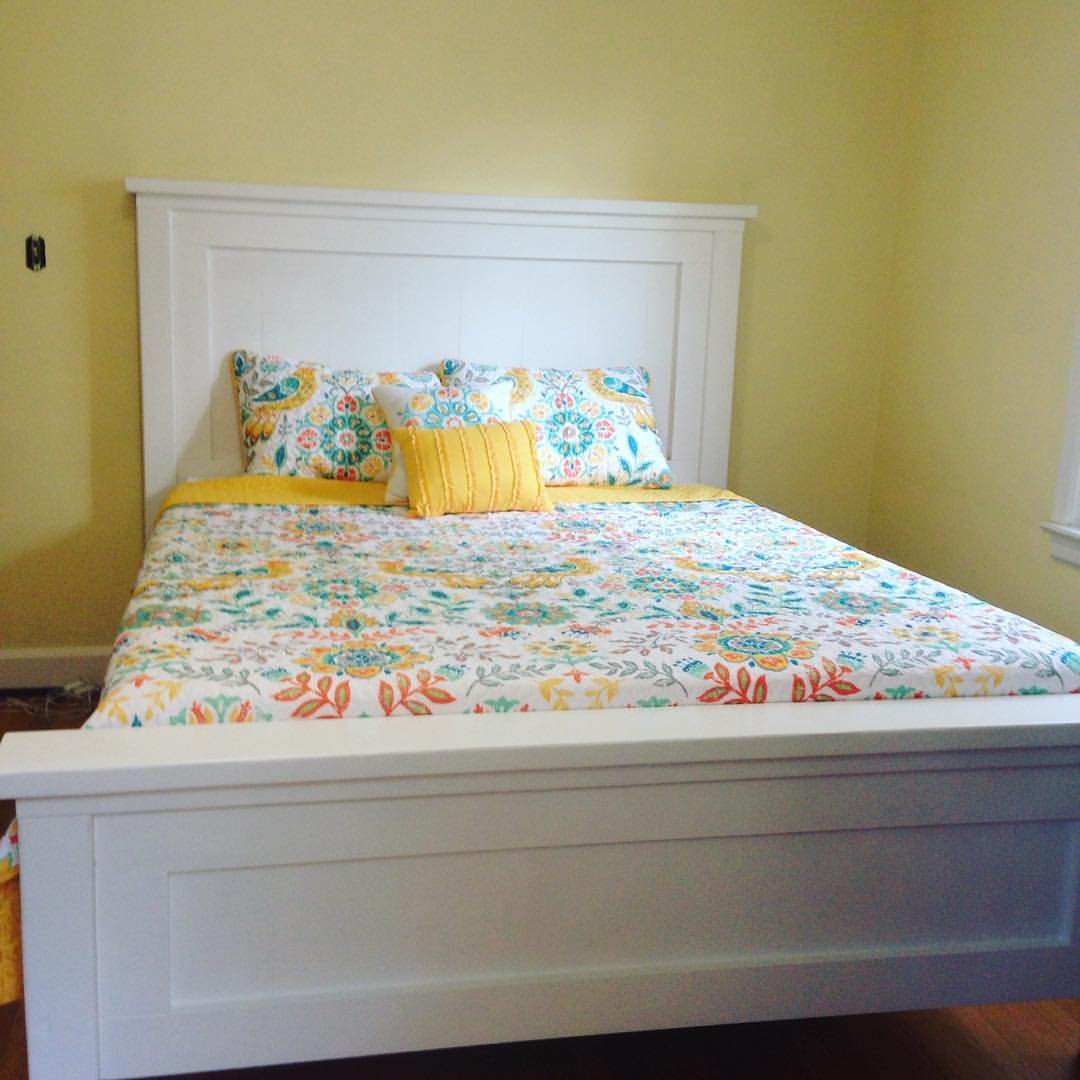
This was my first project and I am hooked. This was an easy build. I only ran into challenges attaching the headboard and footboard to the frame because I really wanted to be able to disassemble it and reassemble just in case.. fortunately I located a website selling threaded metal inserts and I ended up just bolting it on with hex bolts.
I was just surprised by how fast I could build it and how long it took to finish it. Sand, wood filler, sand, caulk, prime, sand, paint, sand, paint. Get interrupted by my kids 100 times.
Already plotting my next 3 builds..
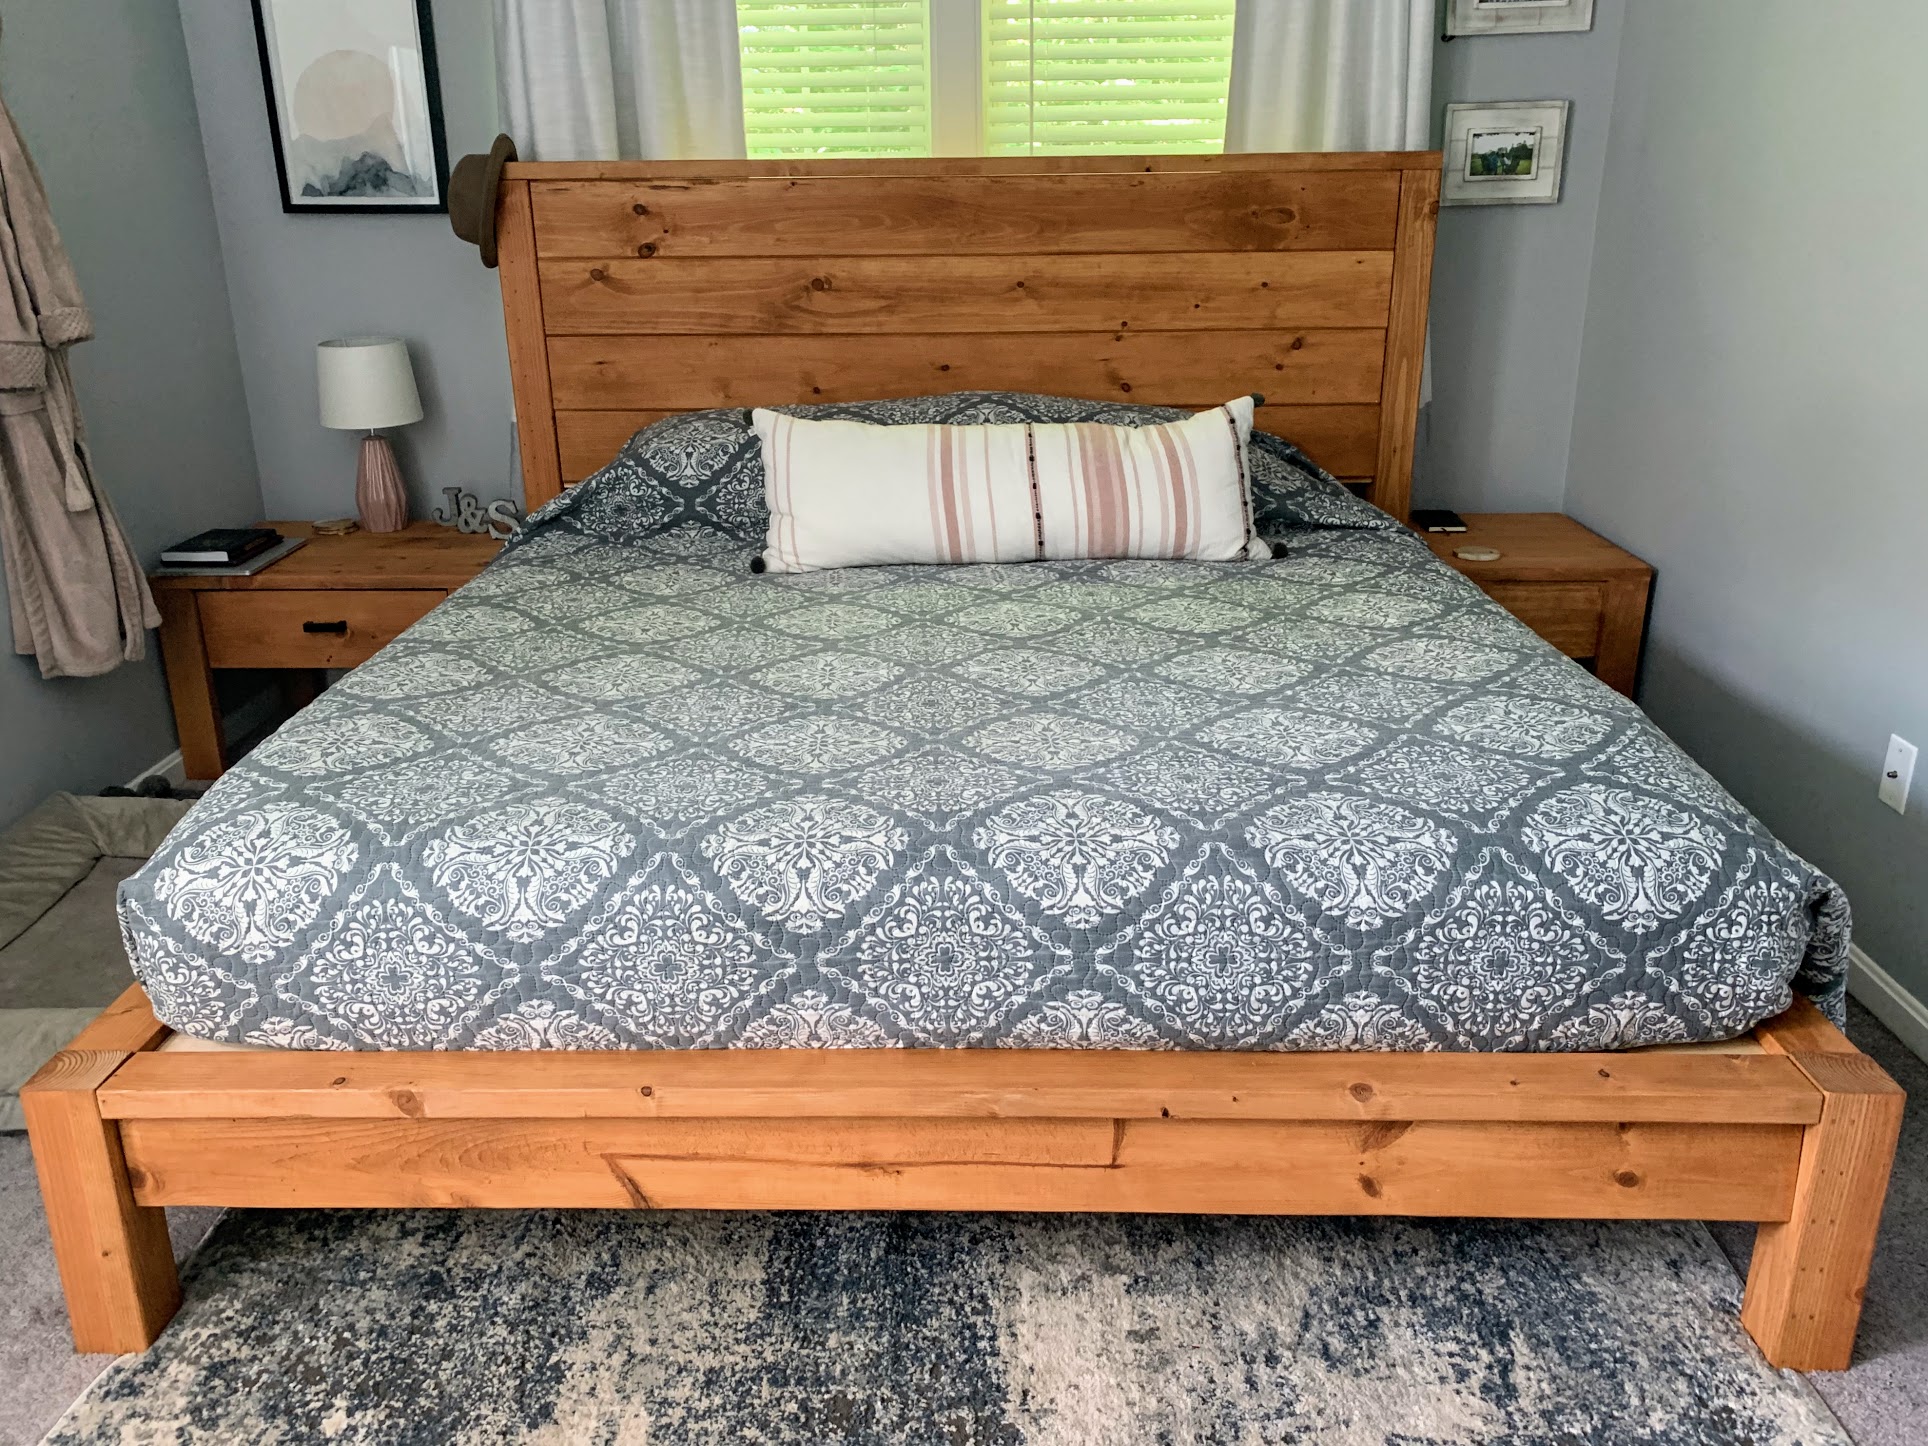
Bed frame - Husband and I built and assembled over a weekend. We love it!
Only variation from the plans were that we used 1x8 shiplap boards for the headboard (because the options were nicer at Home Depot).
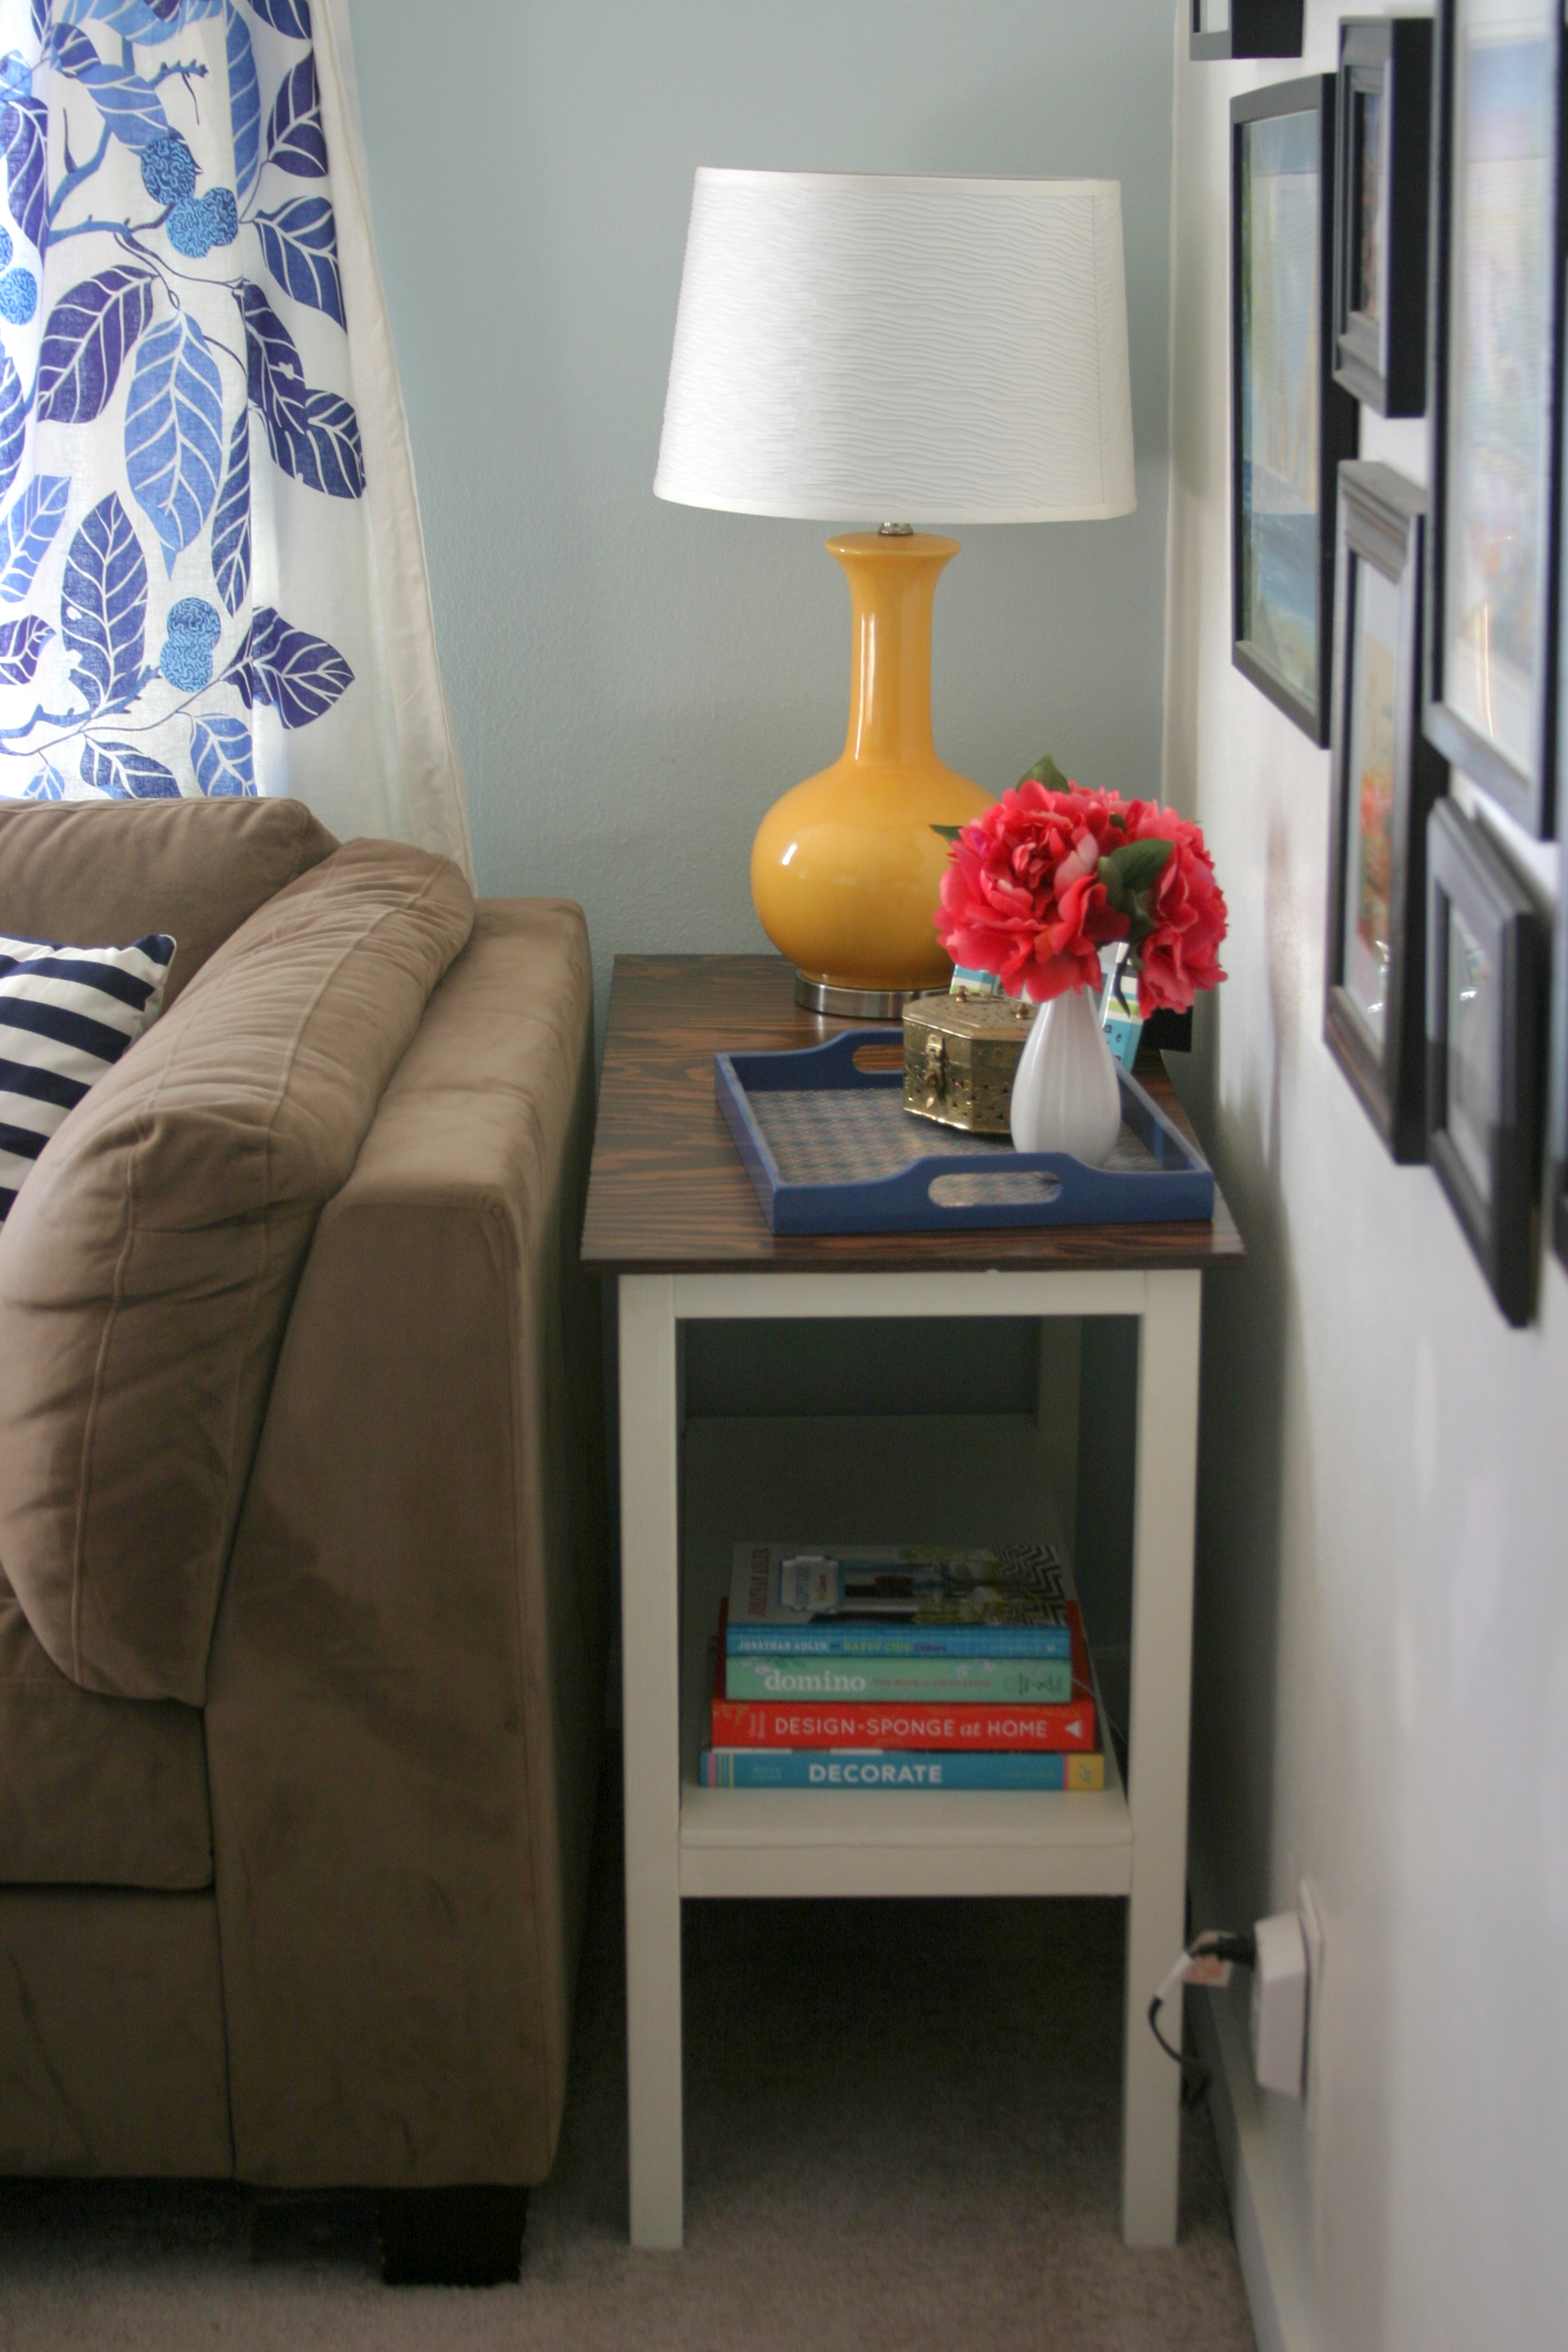
Nightstand 1 - This I built myself, it took about 5 hours.
Followed the directions and the drawer worked the first time!
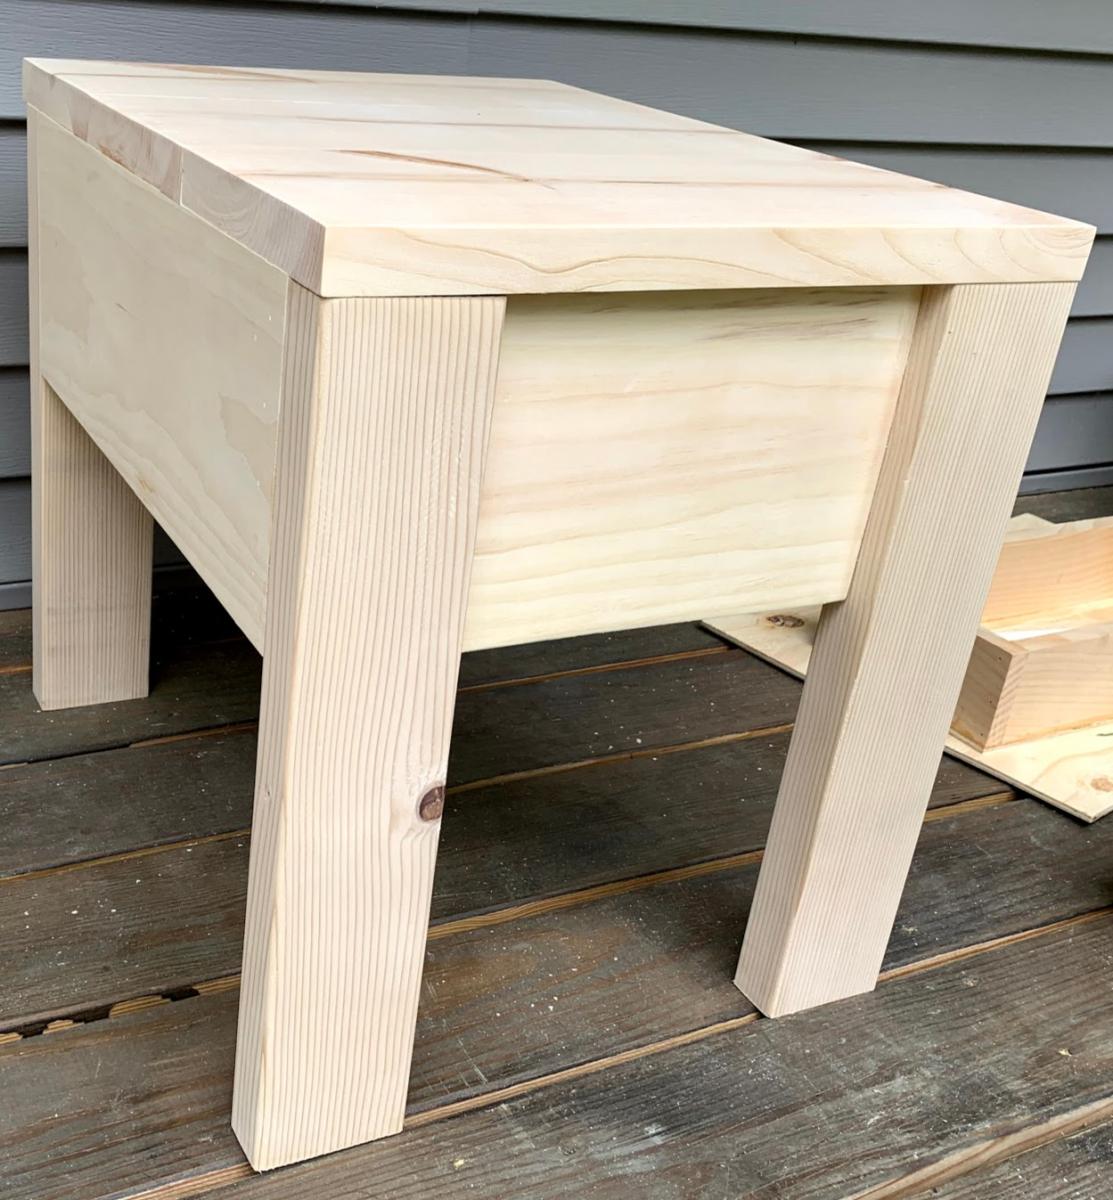
Nightstand 2 - This I also built myself, took about 4 hours.
This one I had about 17" to work with. The only measurement that changed was the front and back cut to 10".
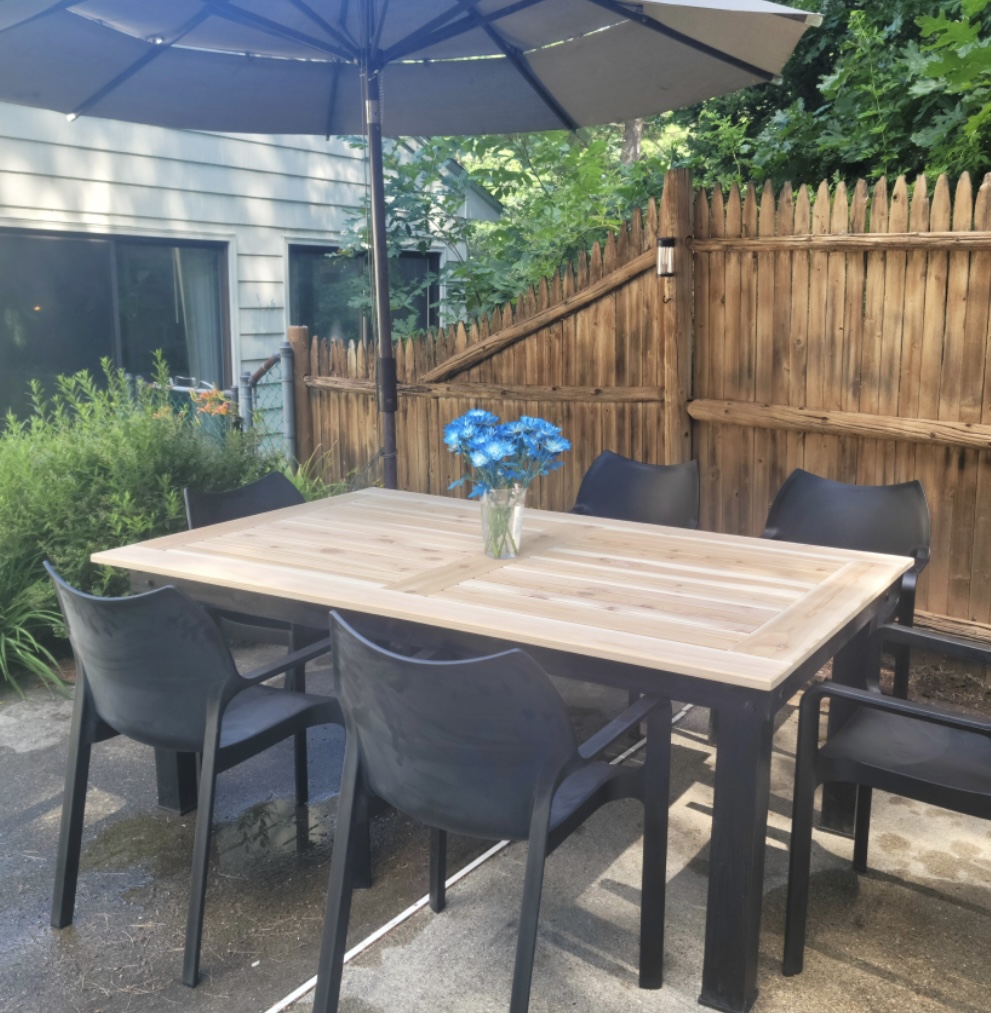
I still have to coat the table top to protect against the elements. But I am super proud already!
Lea B.

I used a combination of the farmhouse table and the tryde coffee table (but on a larger scale). I don't have a Kreg drill or any of that and so I just screwed from the top side down. Since I knew the screws would show, I decided to take a platinum/shiny silver Sharpie to color over the screw heads to make them stand out.
The legs were a 2x4s glued and screwed together. Can't find any untreated 4x4 at the local Lowes or Home Depot, so this was my next best option.
I used a few coats of Rustoleum Dark Walnut and then Rustoleum Semi-Gloss poly.
I have since made a new bench with the same main design, but just to a small scale. Also, I did it opposite of the top. The table is 2x4 with 2x6 breadboard ends. The bench is 2x6 with 2x4 breadboard ends.


Mon, 10/22/2012 - 09:12
It is just regular whitewood 2x4s glued and screwed together. Then I just used wood filler to make it look llike a 4x4.

This coffee table was my first woodworking project ever. I followed the plans exactly but left the X off each end. They seemed a little daunting for the first time around, plus I like it without them better. Great plans and great result!
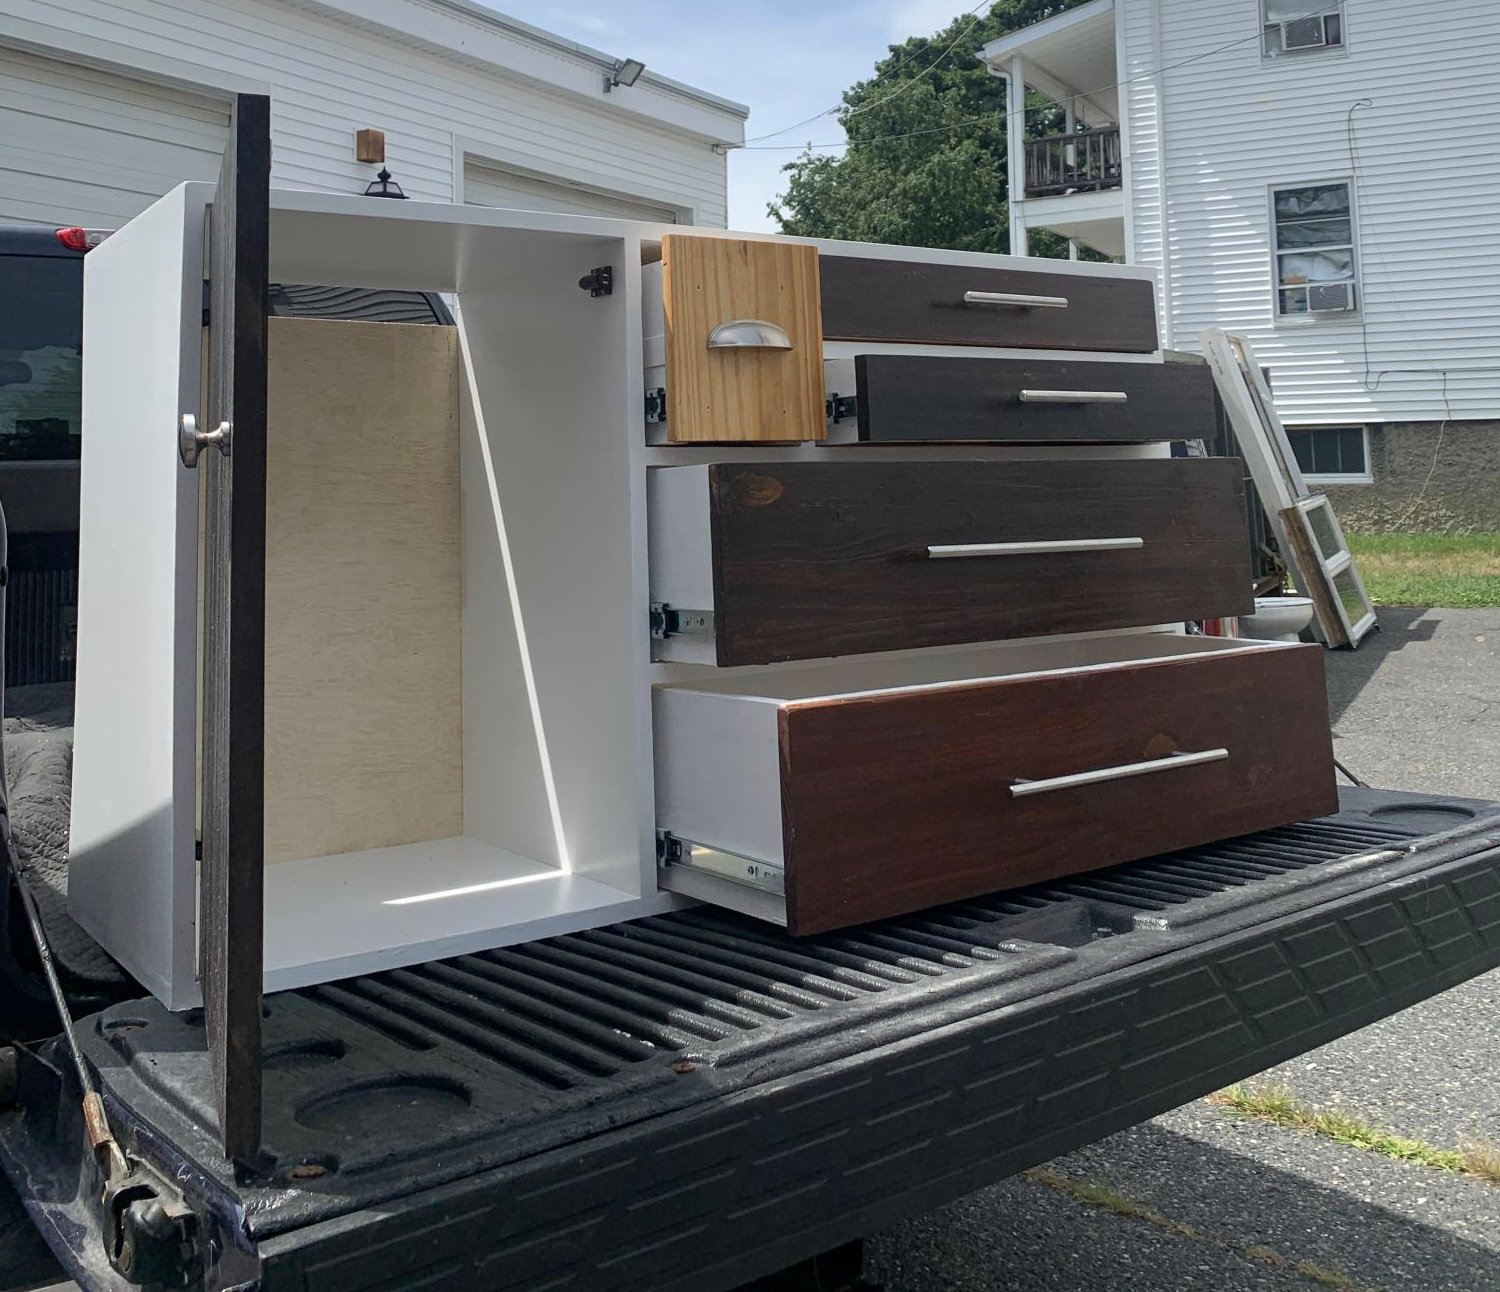
This was a great build, awesome project for my girlfriend. Very fun and super satisfying especially at paint and stain stage! Everyone loves it. Grateful for the plans.
Took me about a week. Edge banded my face and spackled the sides. My drawers were installed with a dado. Everything else was pocket screwed and glued.
Definitely recommend.
Follow my journey @alexthenailbanger

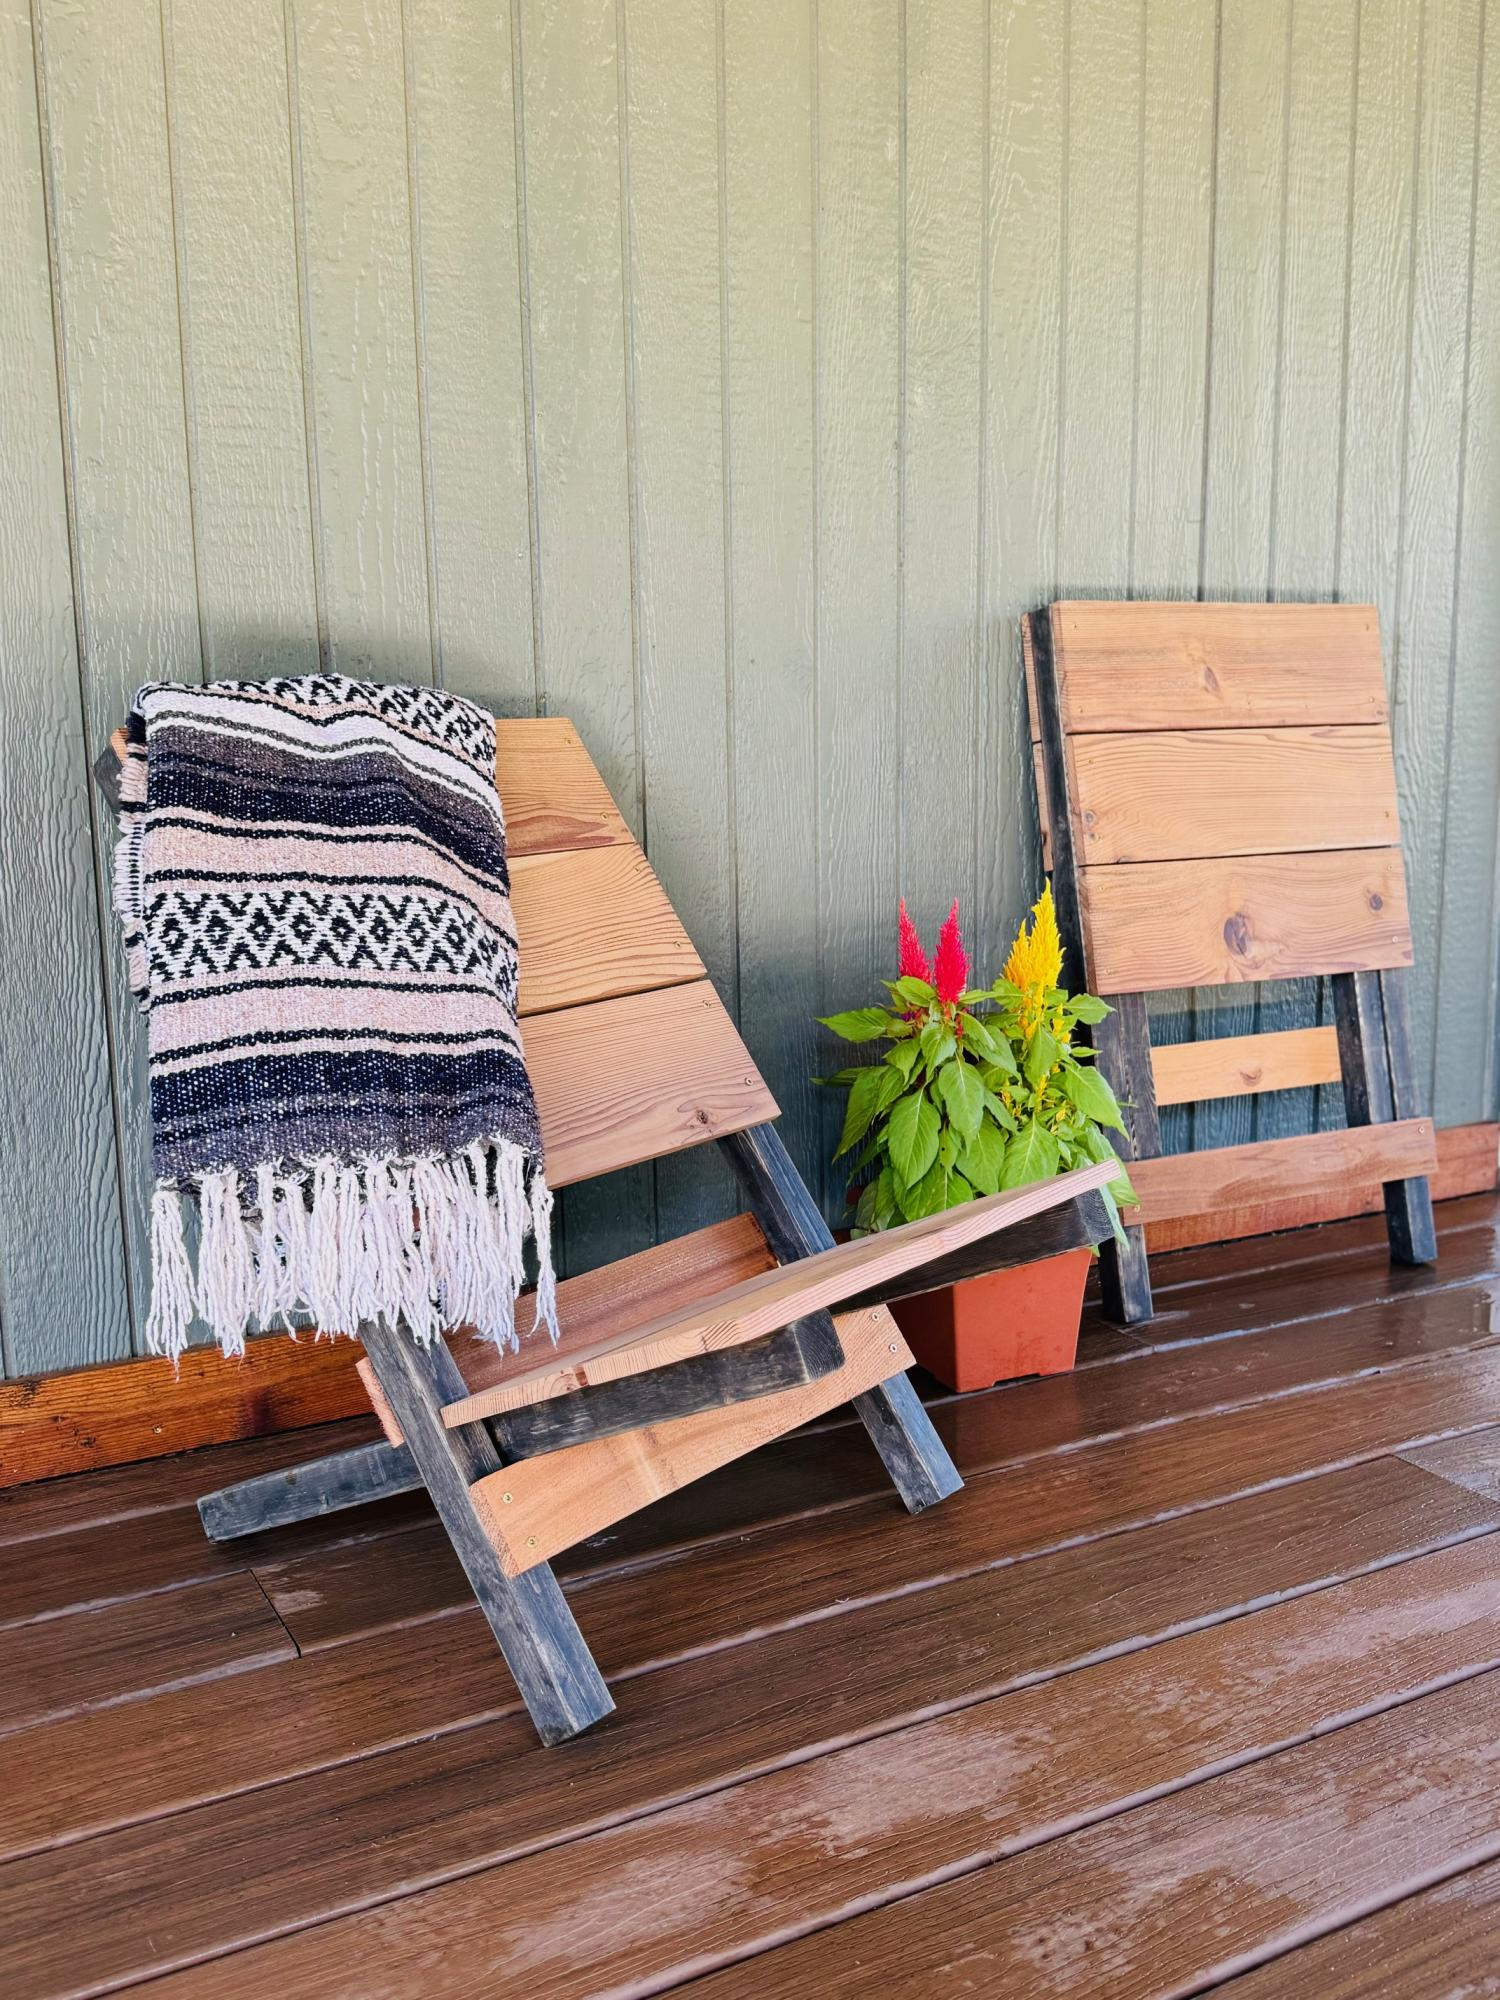
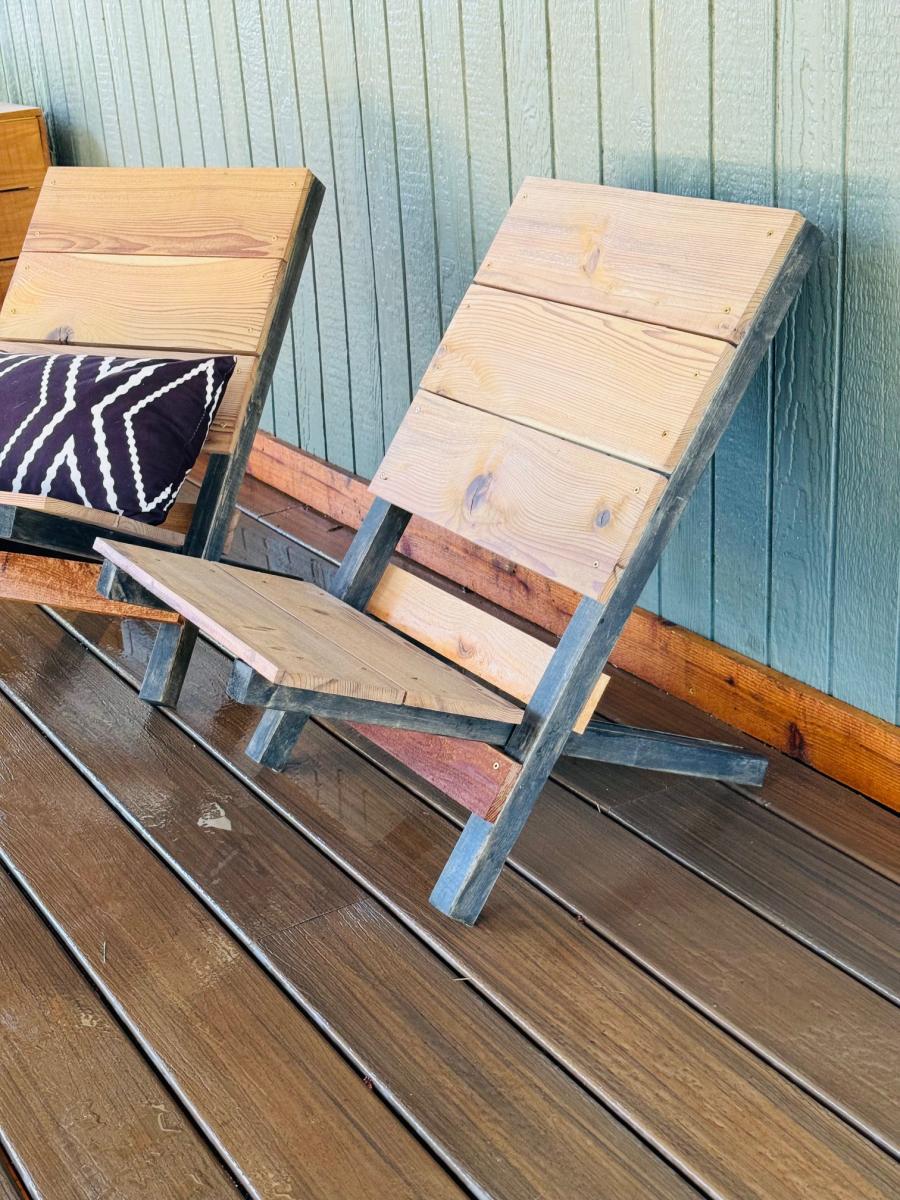
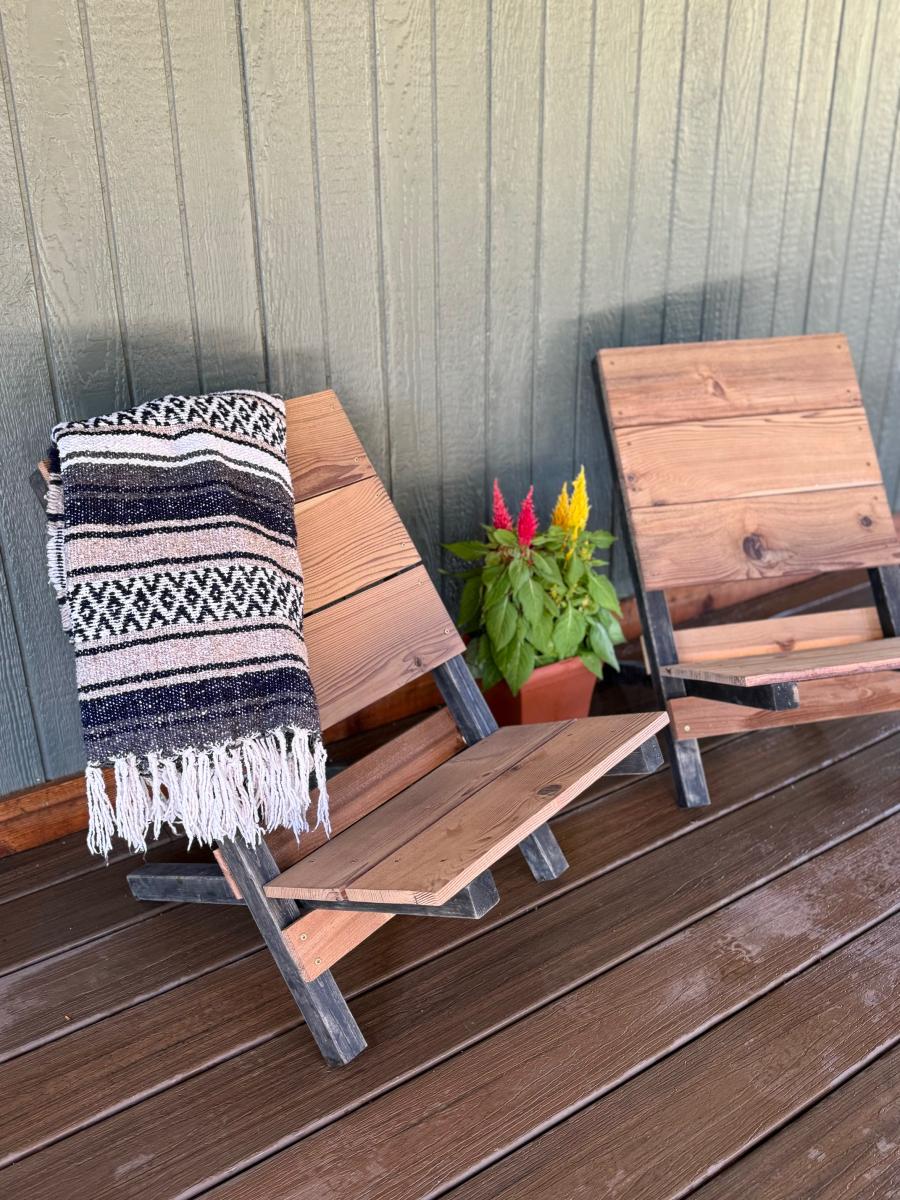
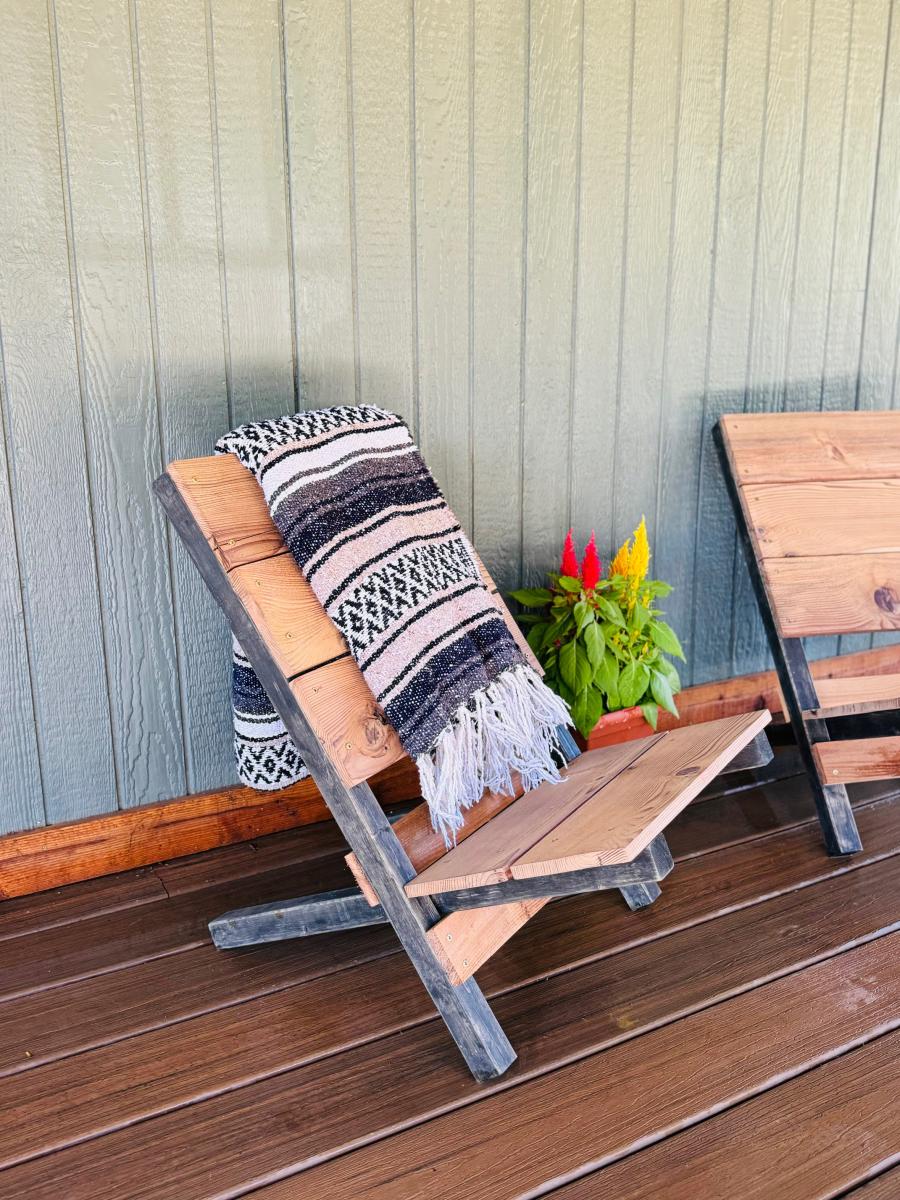
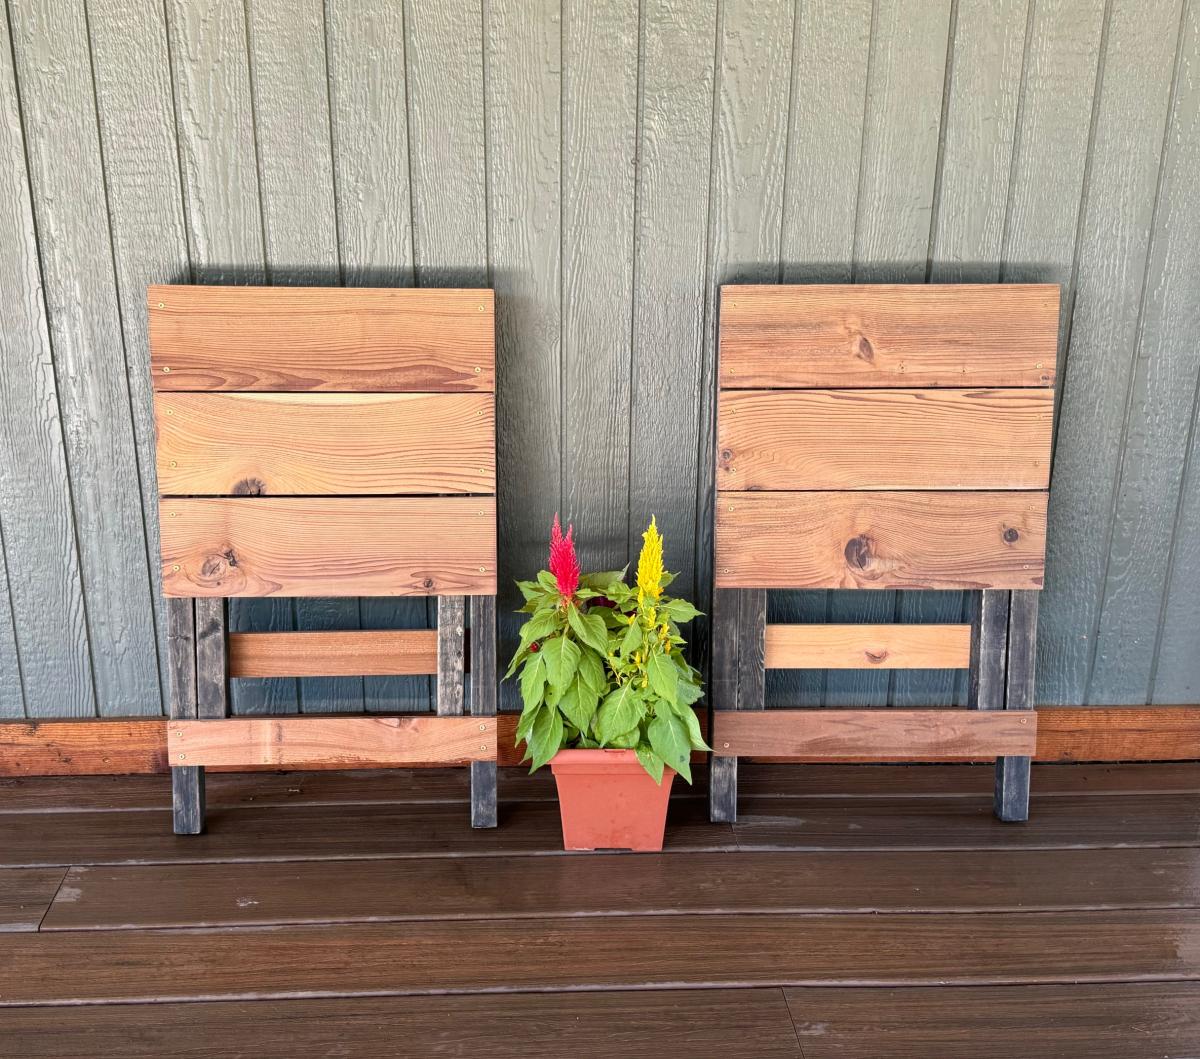
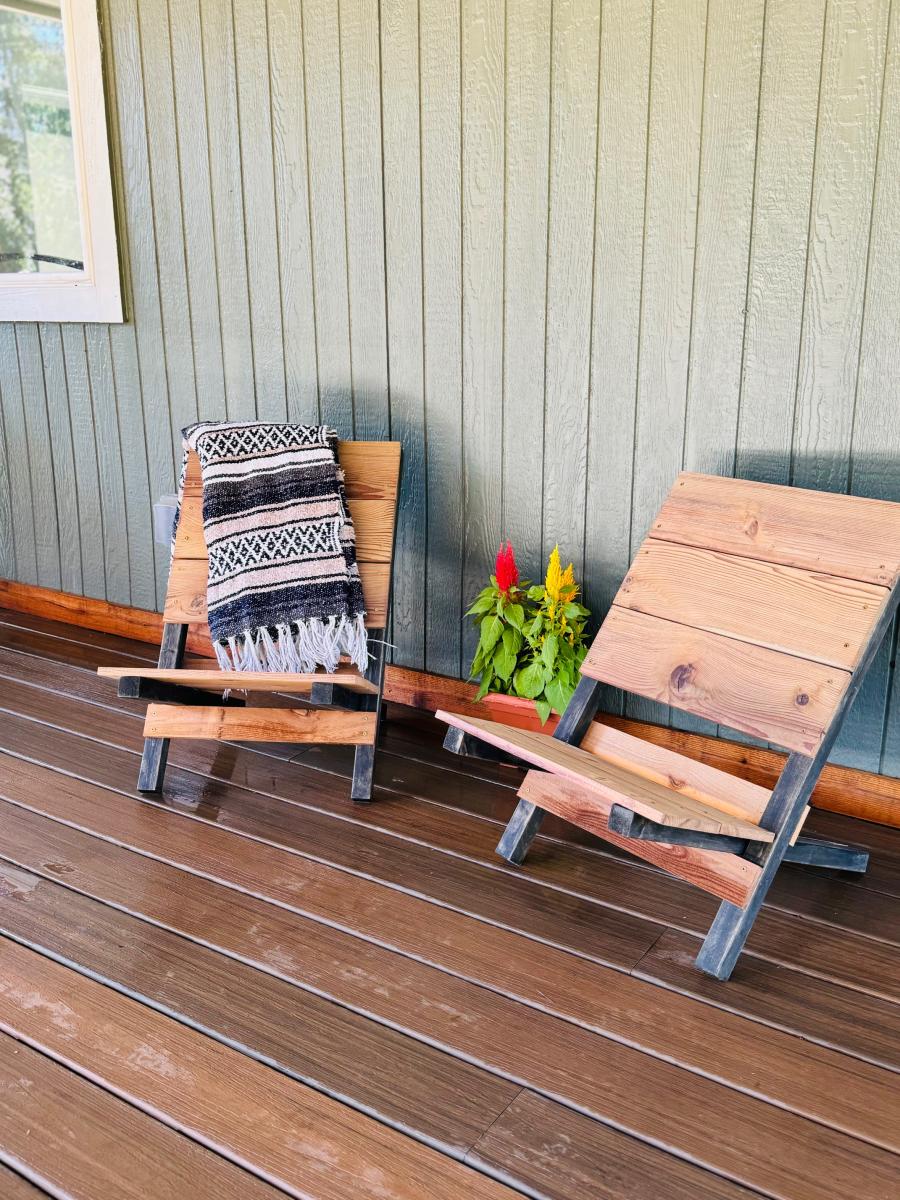
I built these chairs in about 90 minutes. I started with cutting enough boards for 2 chairs according to Ana's cut list. I then prefinished them by sanding and prestaining all the boards. Once they were dry I started assembly. At first I was having issues with the wood splitting, so I ended up predrilling my holes. I made the seat and the back 18" wide and where Ana uses the 1x3, I ended up just ripping the cedar fence picket to 2.5" wide. This was a fun build and will be nice to easily transport to an outdoor activity!
This was the first furniture building project for my husband and me. We changed the table height to 28 inches instead of 24 and used plywood for the top, like Jenn did in her post. It took us a little longer than we thought since we are not experts (yet!), but we made it work and love how it turned out! This is such a classic and stylish table. Perfect for a beginning project!