Church bench
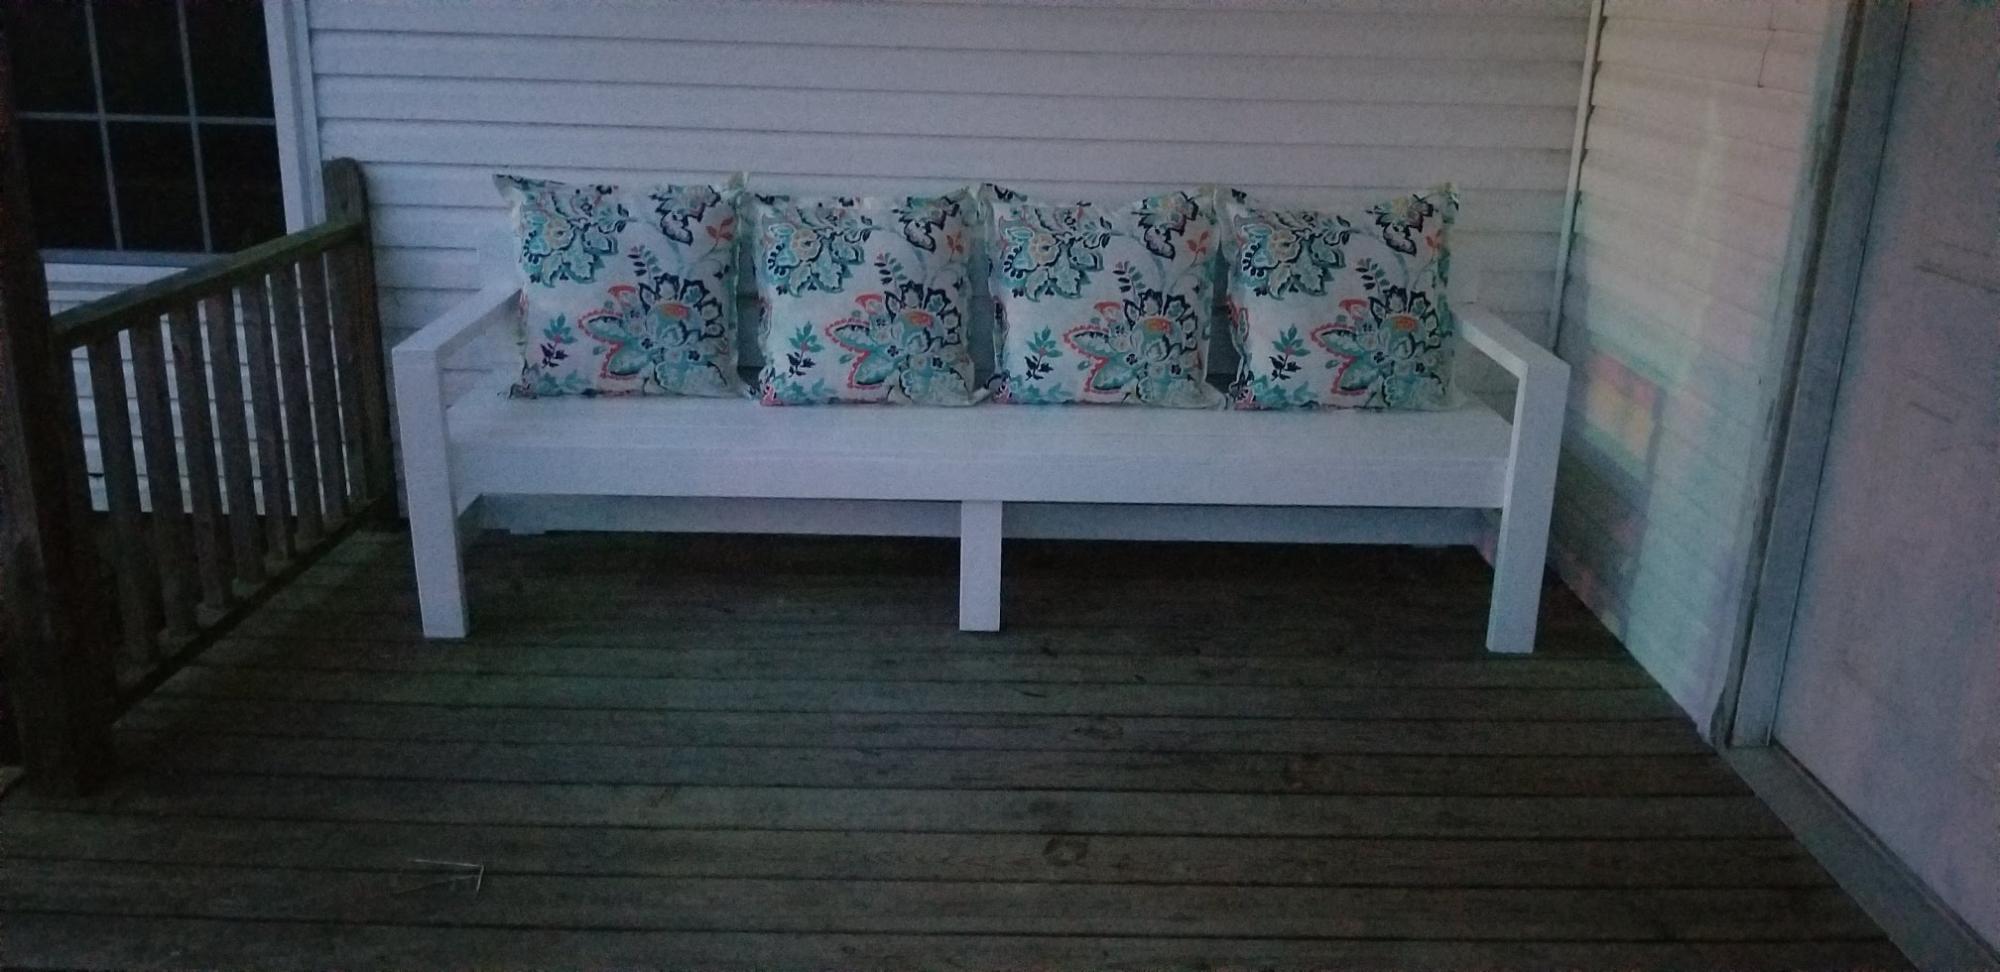
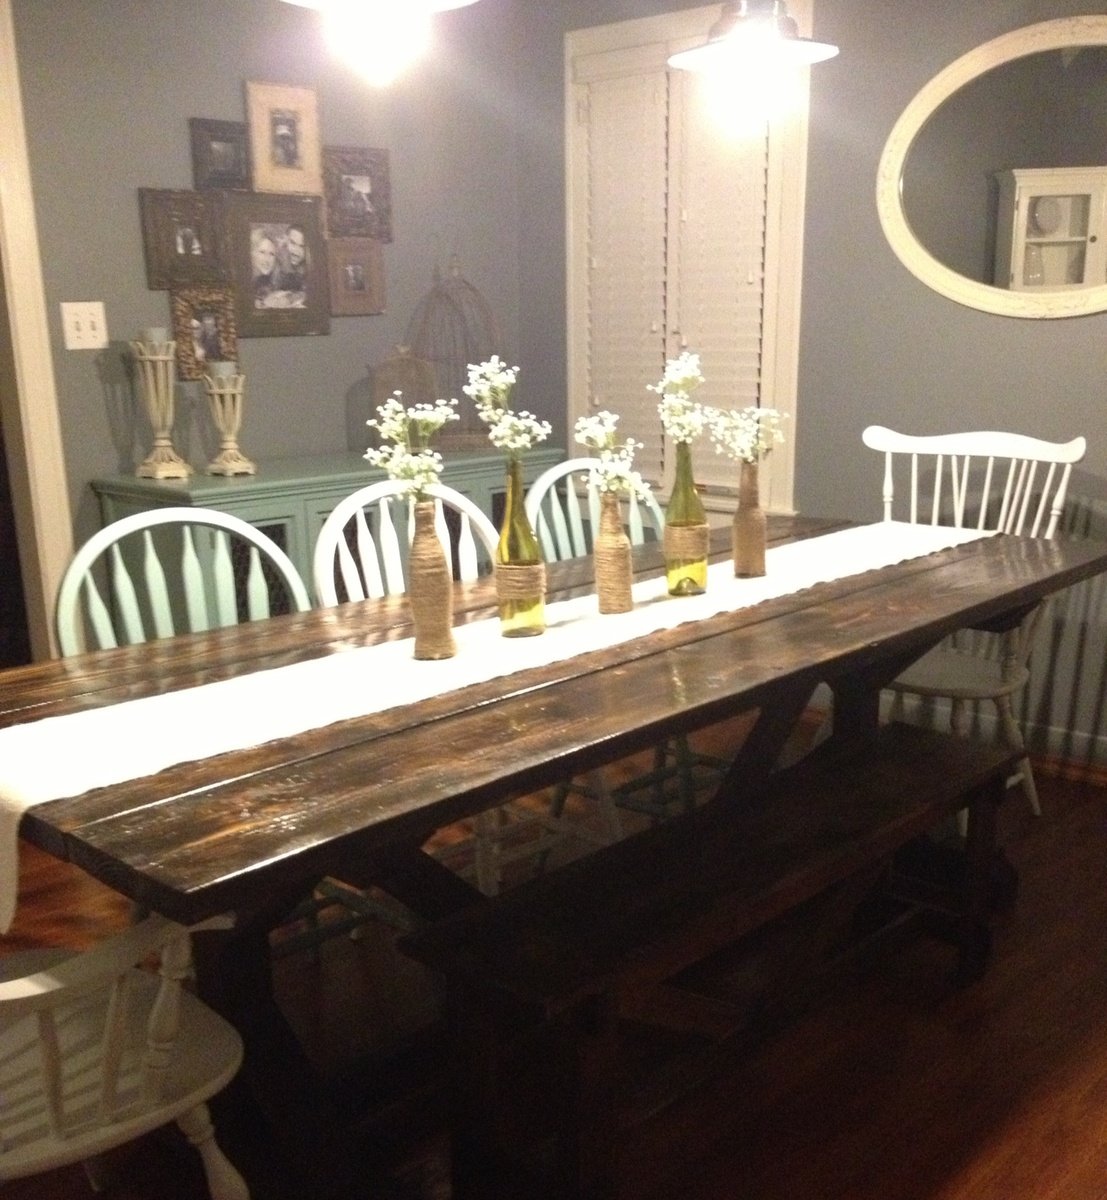
I built this bench for a church. They wanted it 8' long so I had to add extra support in the middle
Built from Plan(s)
I built this bench for a church. They wanted it 8' long so I had to add extra support in the middle
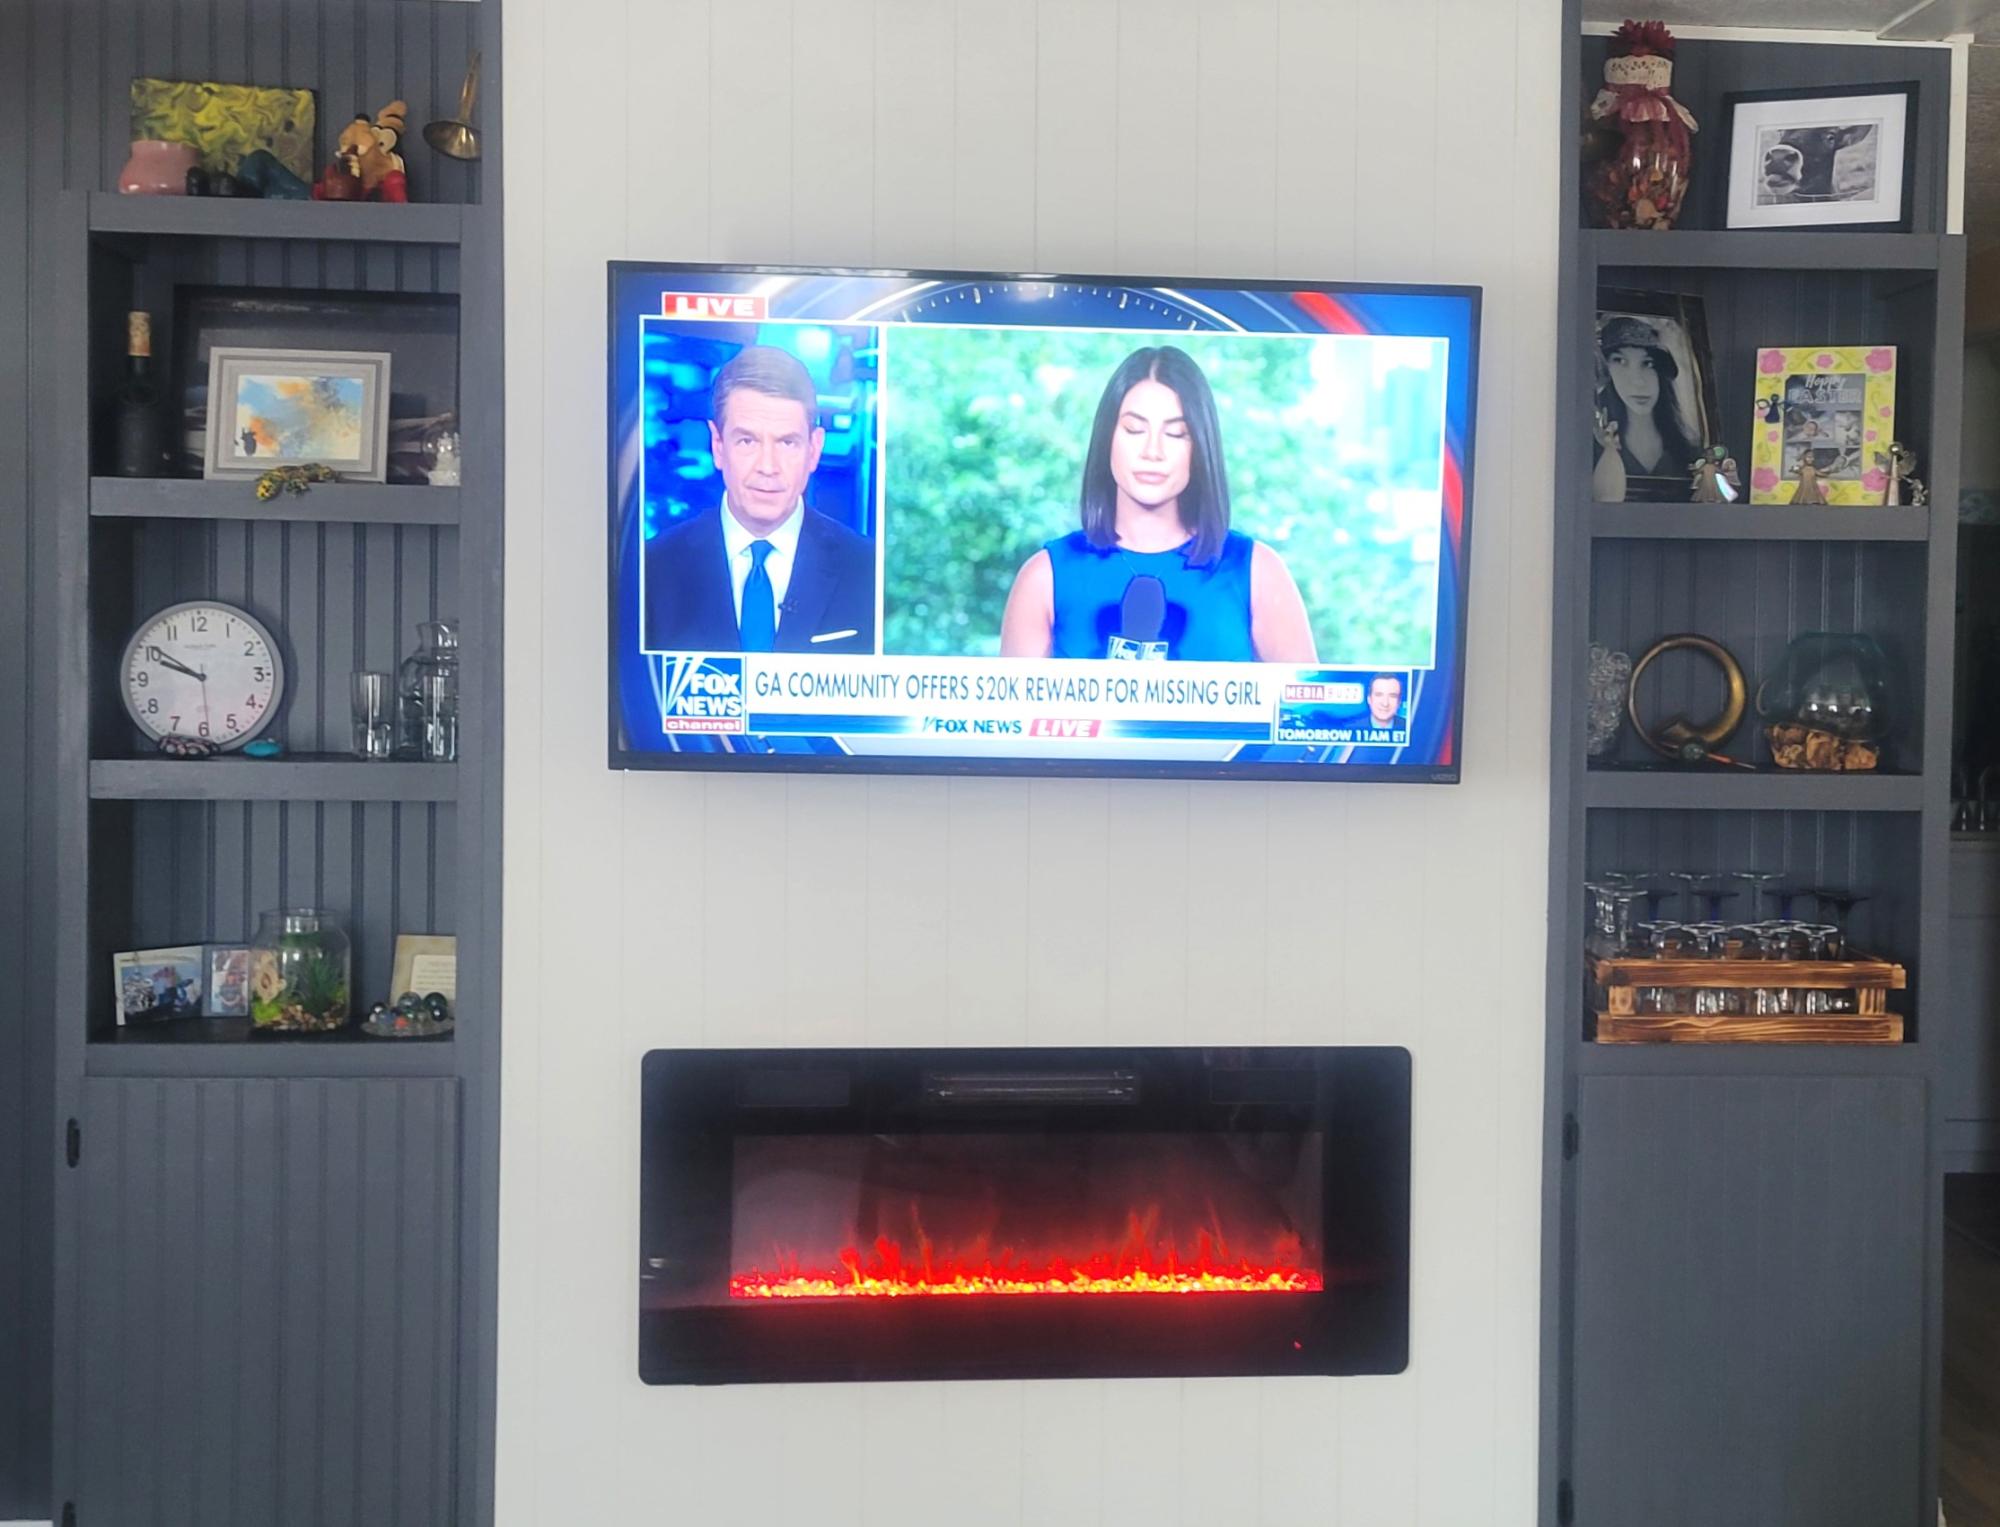
Shiplap tv & fireplace with shelving and cabinets.
Cindy Hutchison
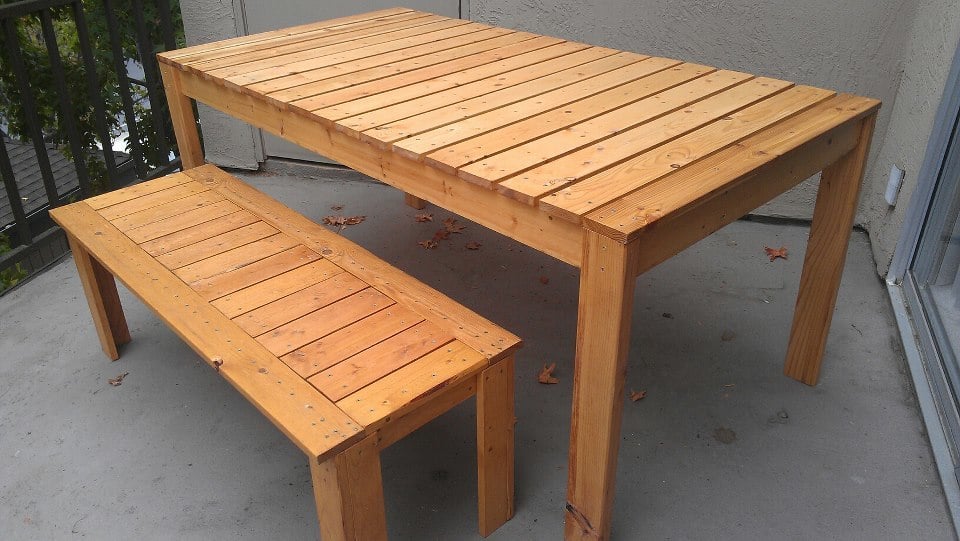
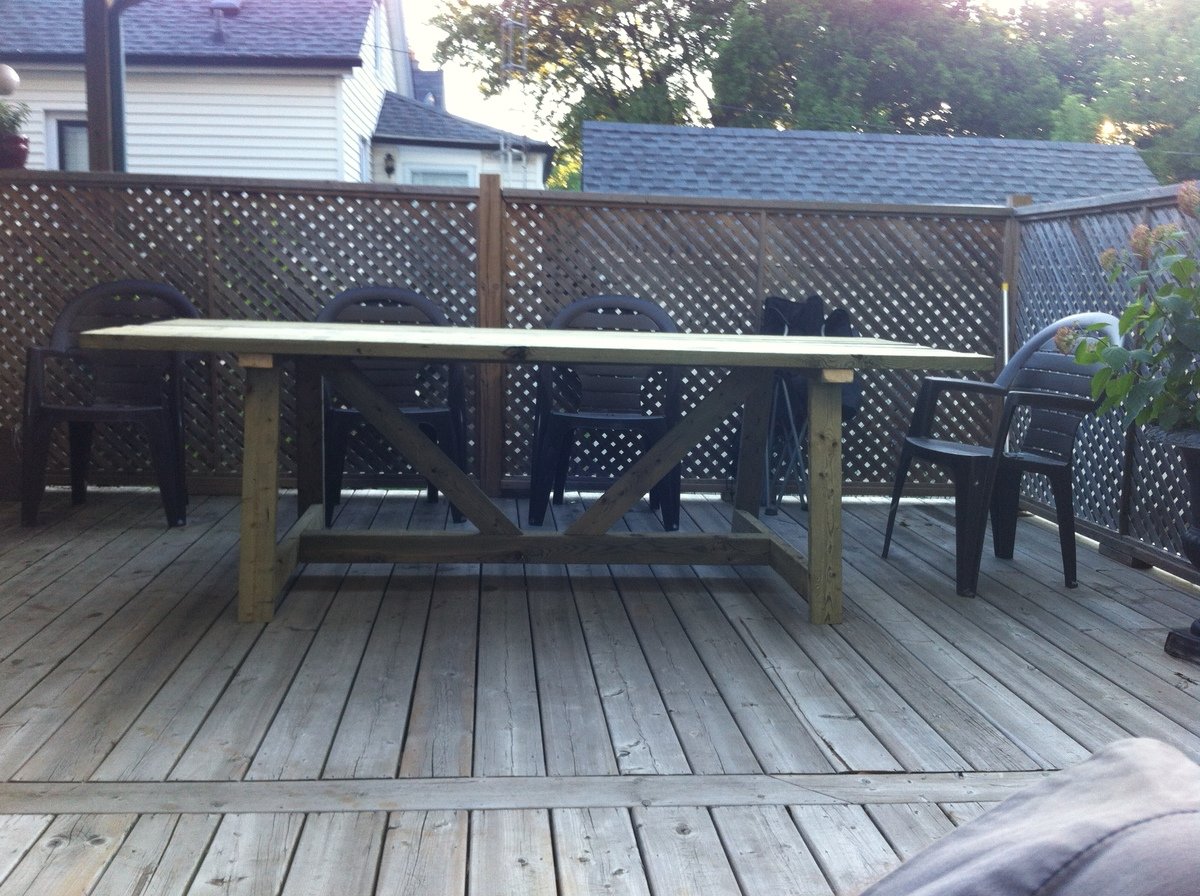
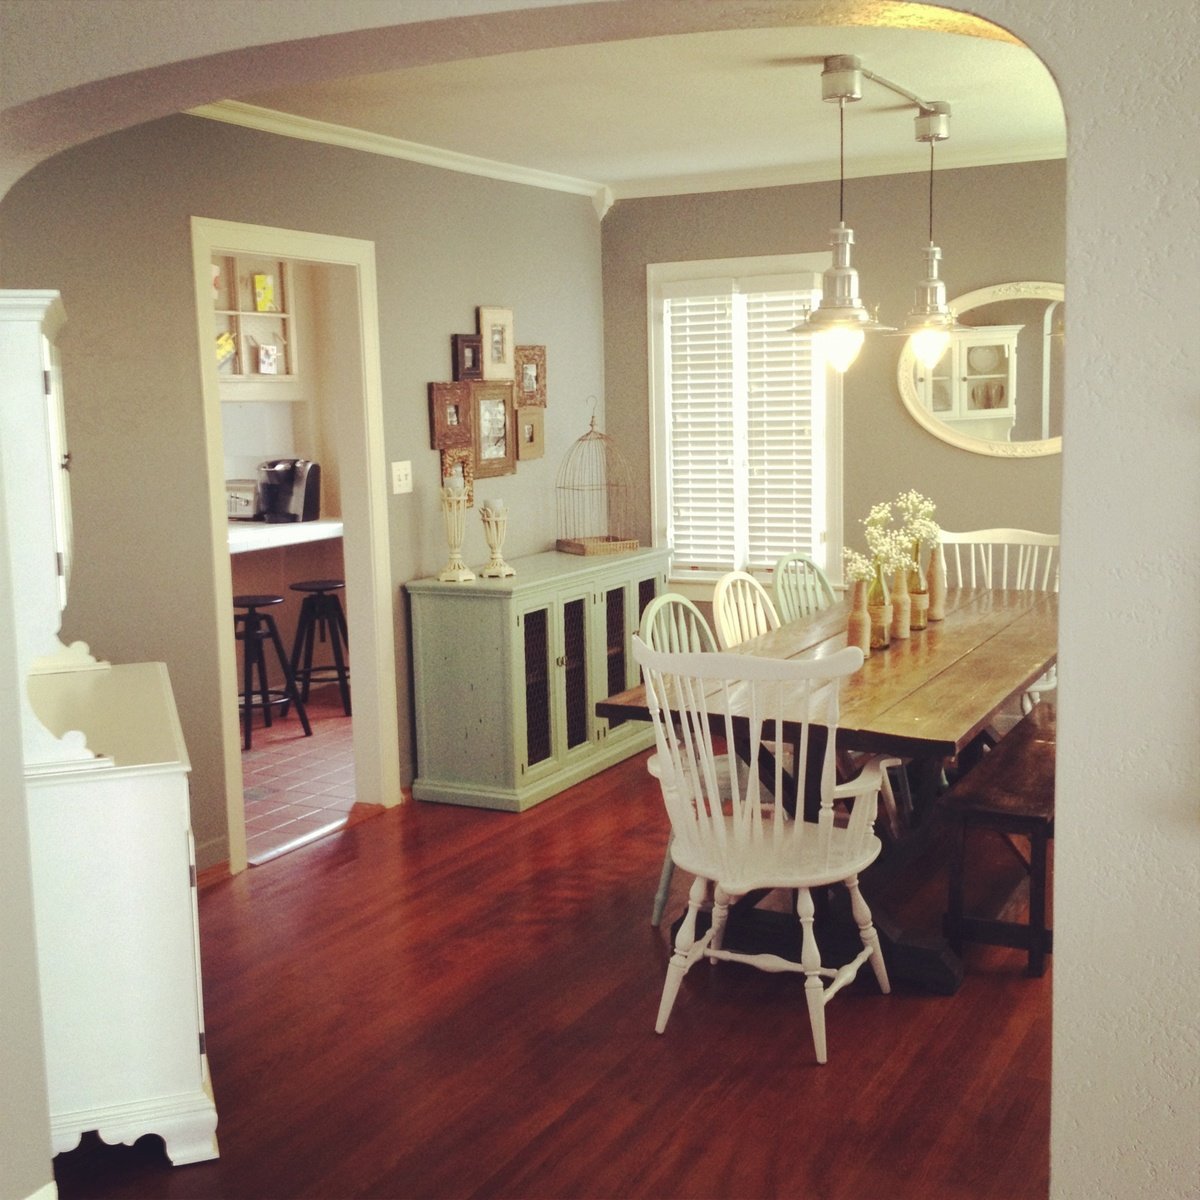
I'm slowly working on building the whole Simple Outdoor Dining Collection.
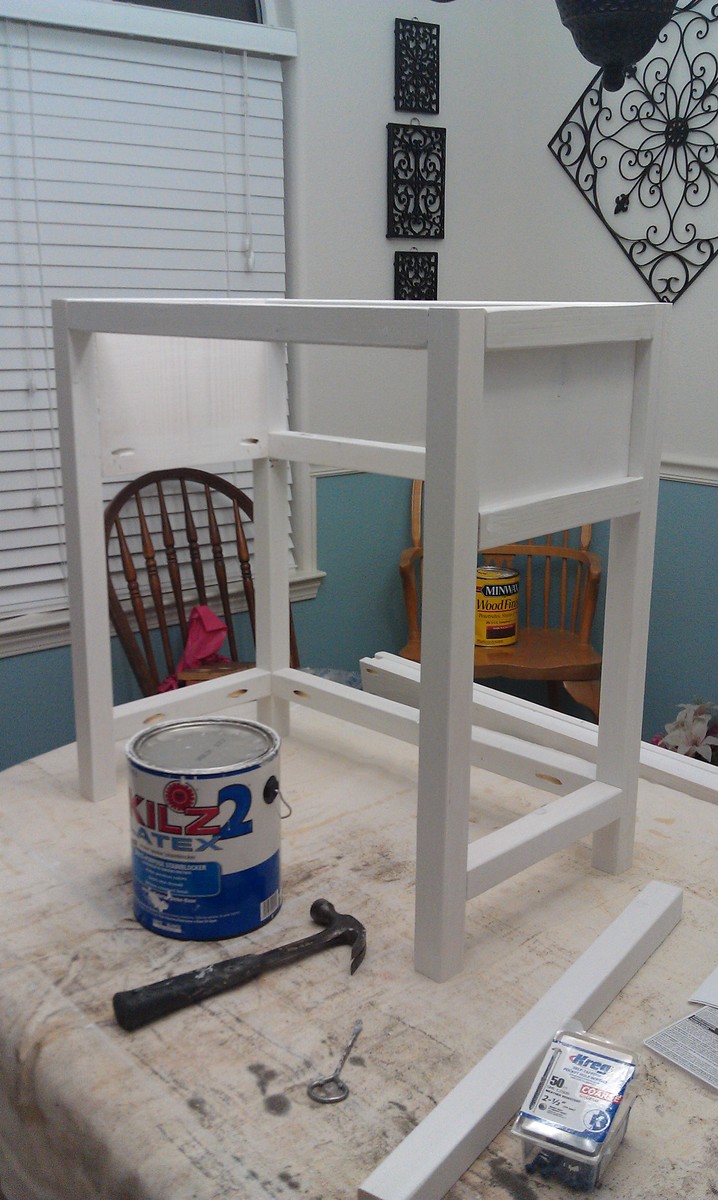
When my Mom and I moved into our new apartment, we spent all our money on new indoor furniture, and we have this really huge porch with a nice view and nothing to put on it. So as a surprise after we moved in, I made her the bench. She loved it so much that I decided to make the matching table for her birthday. The stack-able chairs will be her Christmas present, so stay tuned for that if you'd like to see how they turn out.
-The bench was about $20 for lumber, a total of $40 or so with stain and screws and everything.
-Table was about $60 for lumber since I couldn't fit the the 12-footers in my car. I probably spent a good amount extra on a bunch of 8 footers instead. Also wasted a lot of wood that way, but I will find a use for it. Definitely get the 12 footers if at all possible. No need to buy the rest of the materials again if you have left-overs from the bench.
I didn't modify anything on this set at all, it was pretty much perfect the way it was designed. Although I did add some 1x3's to the legs on the bench to make them sturdier- notice the corner leg rather than just a 1x4 by itself. Thanks for these plans Ana, you make me look good!
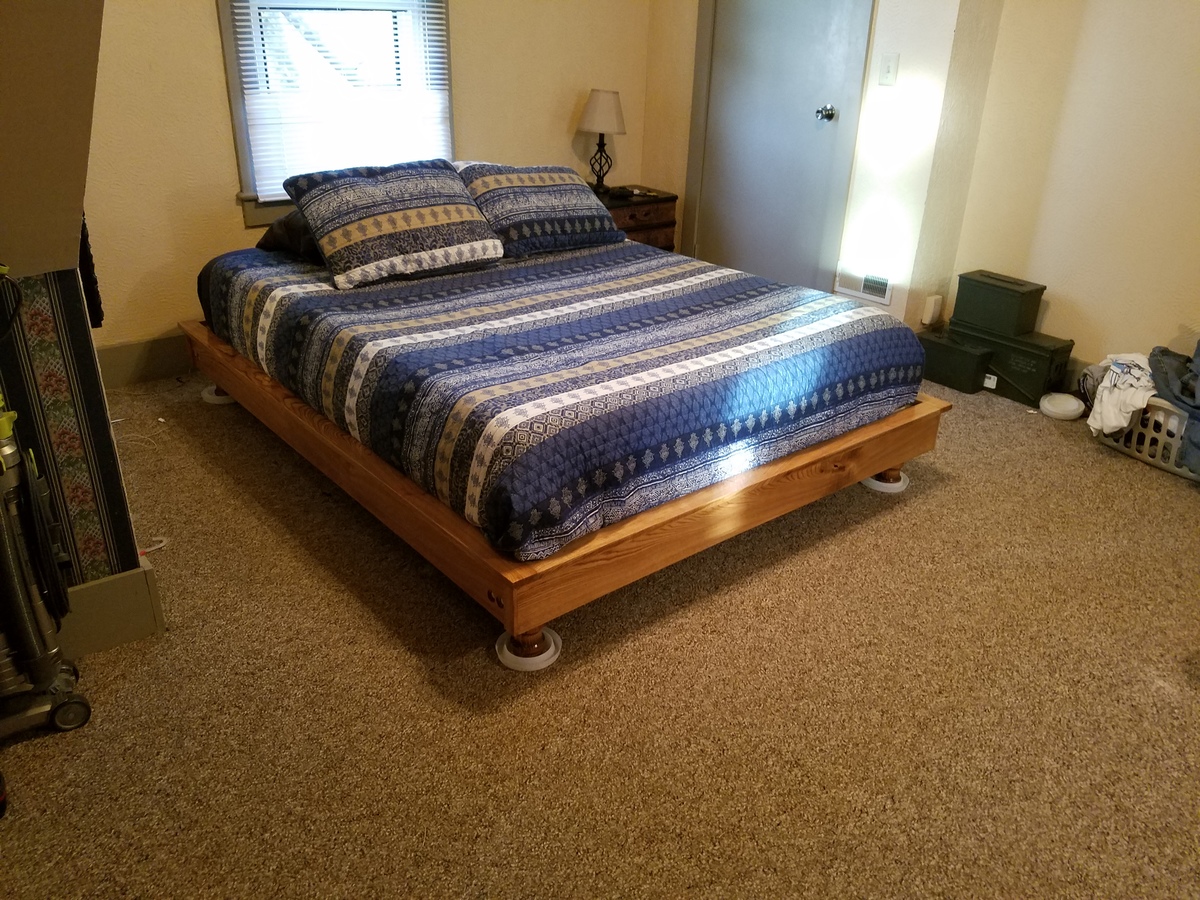
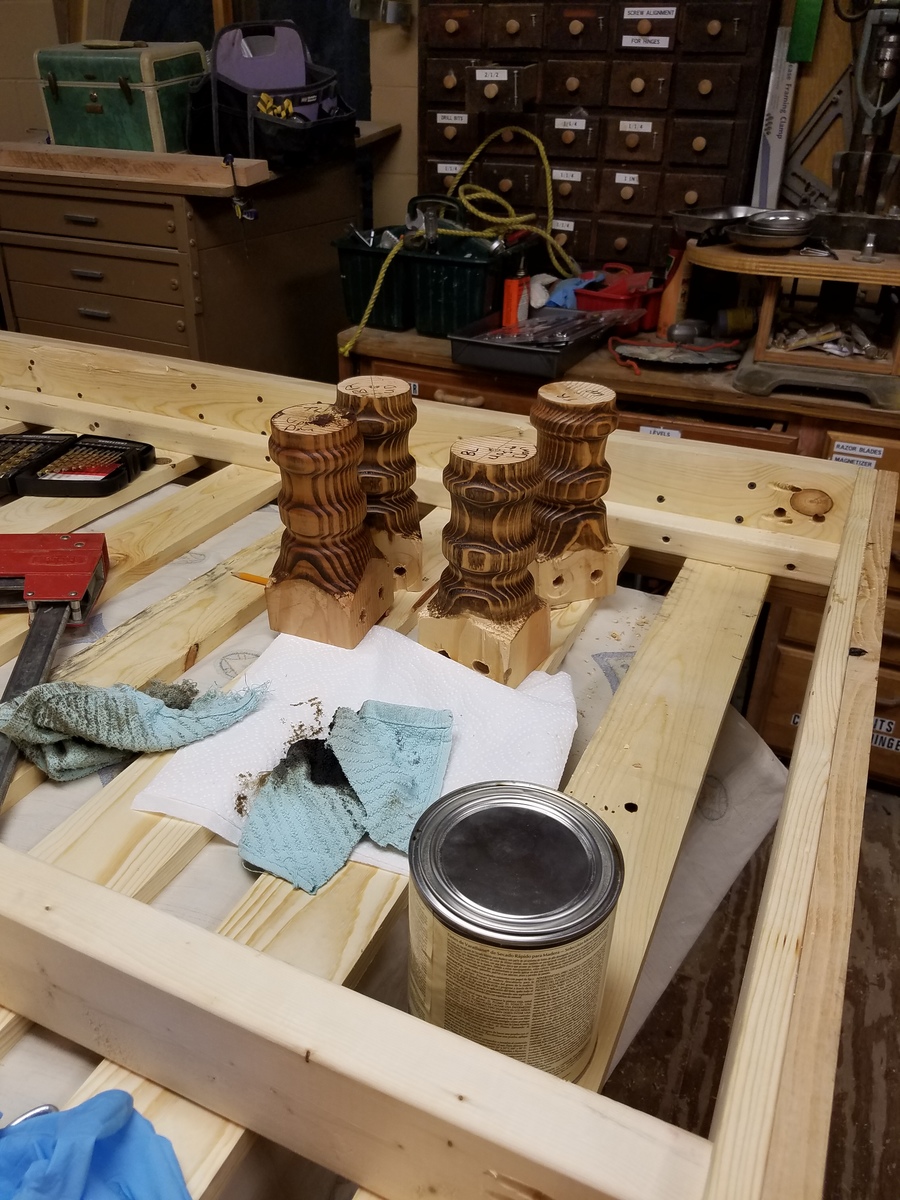
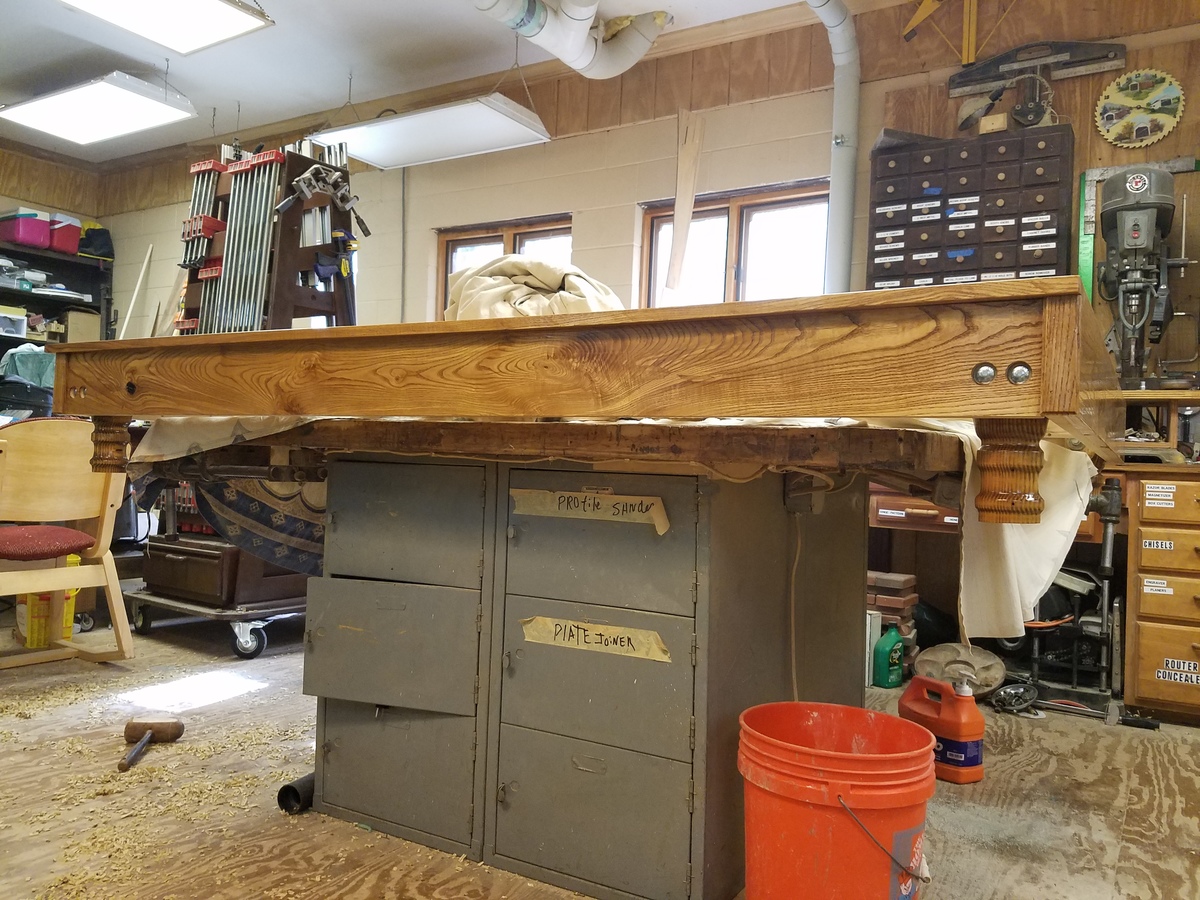
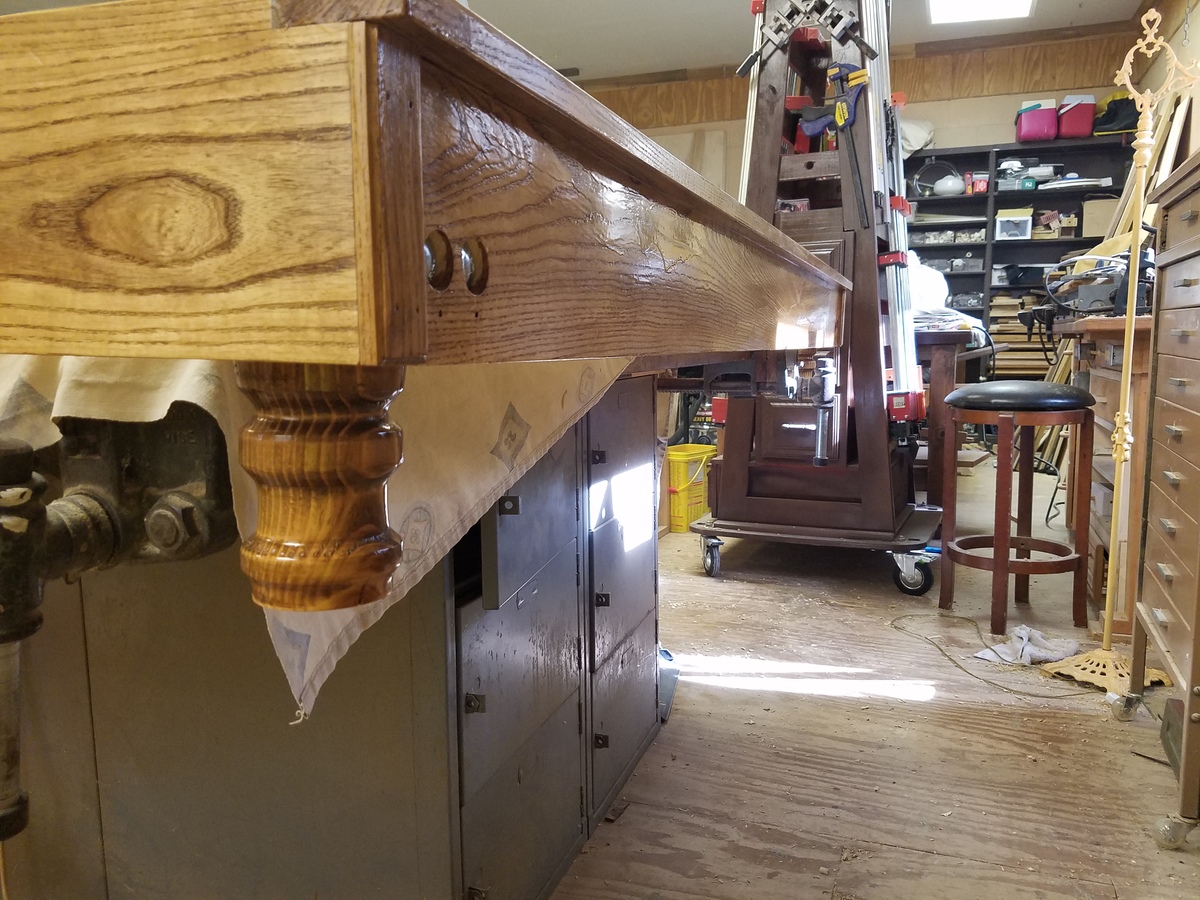
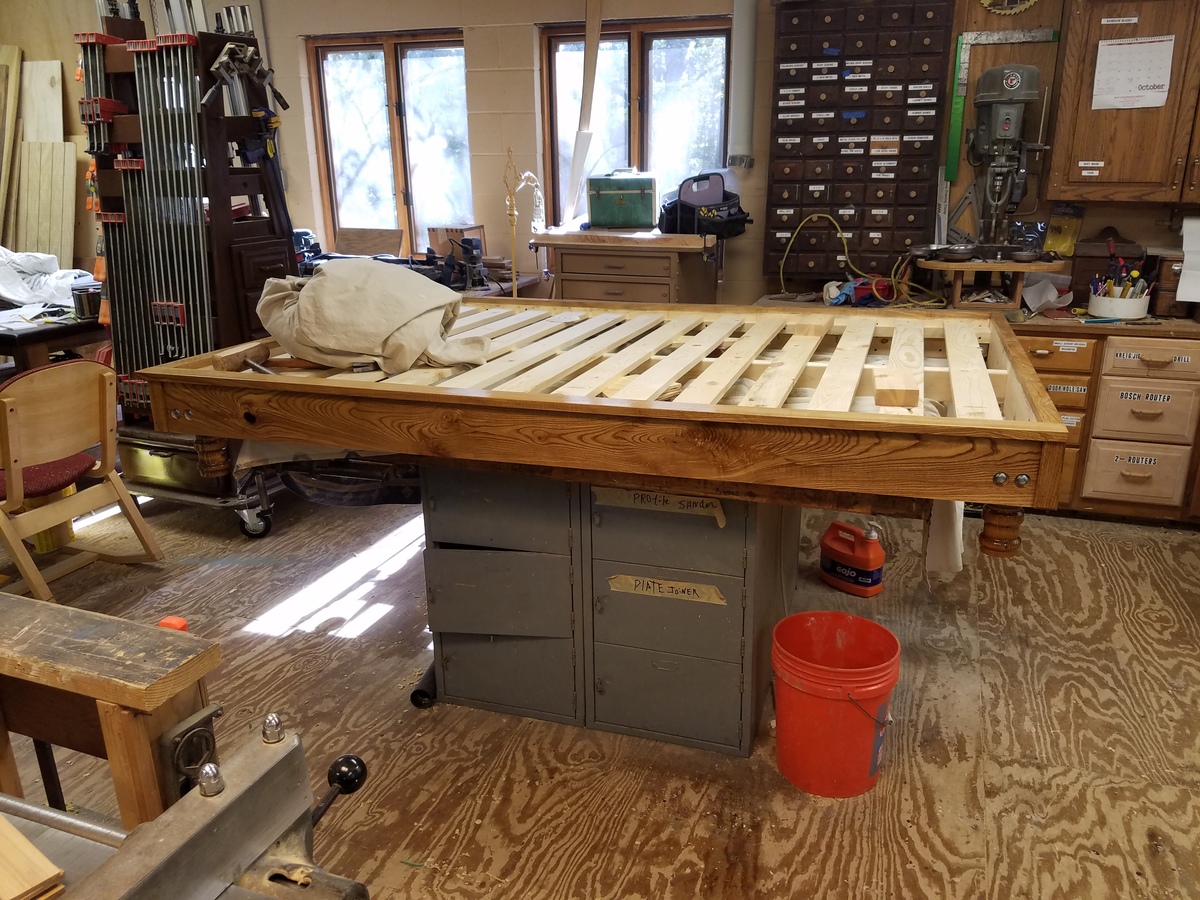
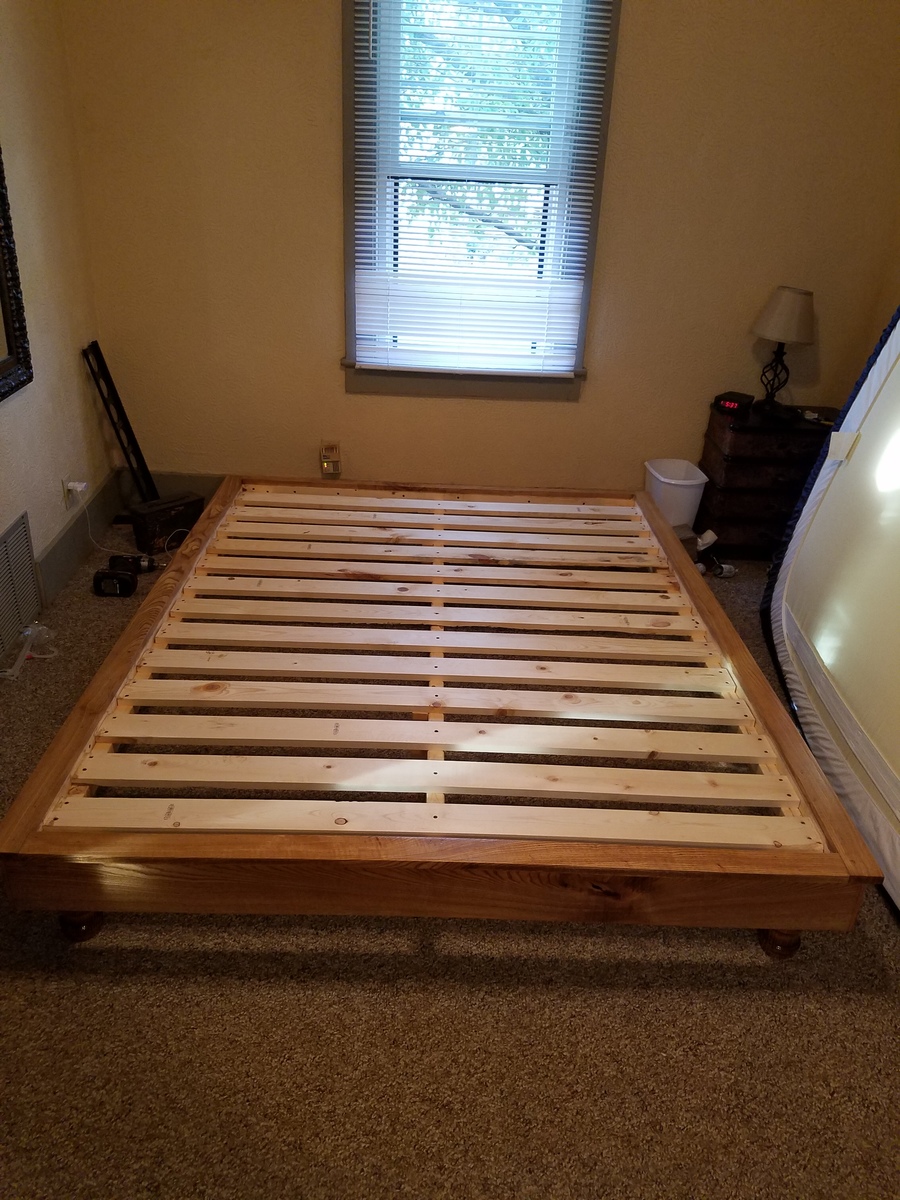
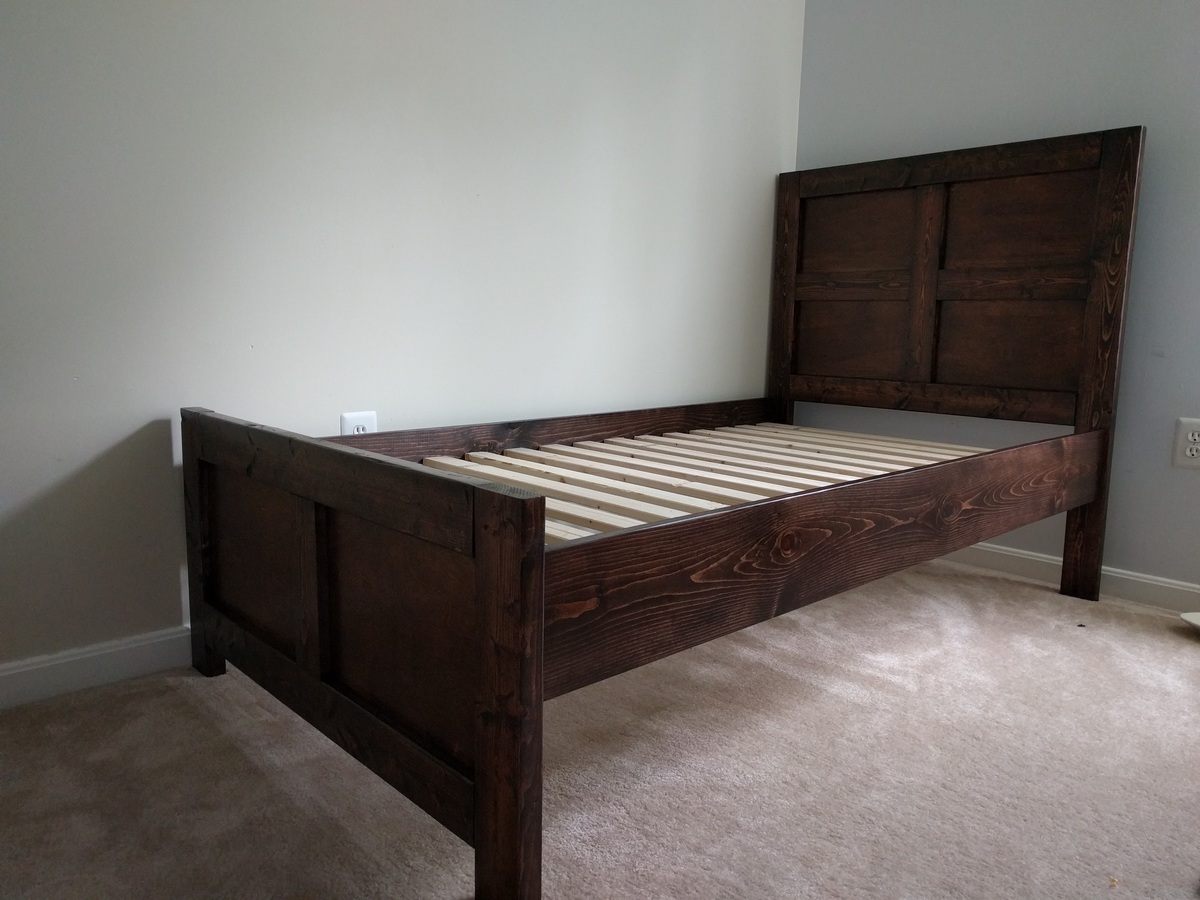
More than happy with how this turned out. Hoping to do the headboard soon after a few orders. Decided to use ash and match a dresser I made. Used pine 1x6s and attached ash 1x6s on the outside for the frame. Used ash for the trim, as well. Assembled with pocket holes and wood glue. Decided to raise the legs 1" and turn then on the lathe. Used 4x4 douglas fir for the legs instead of a 2x4. Attached the legs with carriage bolts. Not shown are plugs to cover the bolts. Finished with a golden oak stain and semi-gloss polyurethane.
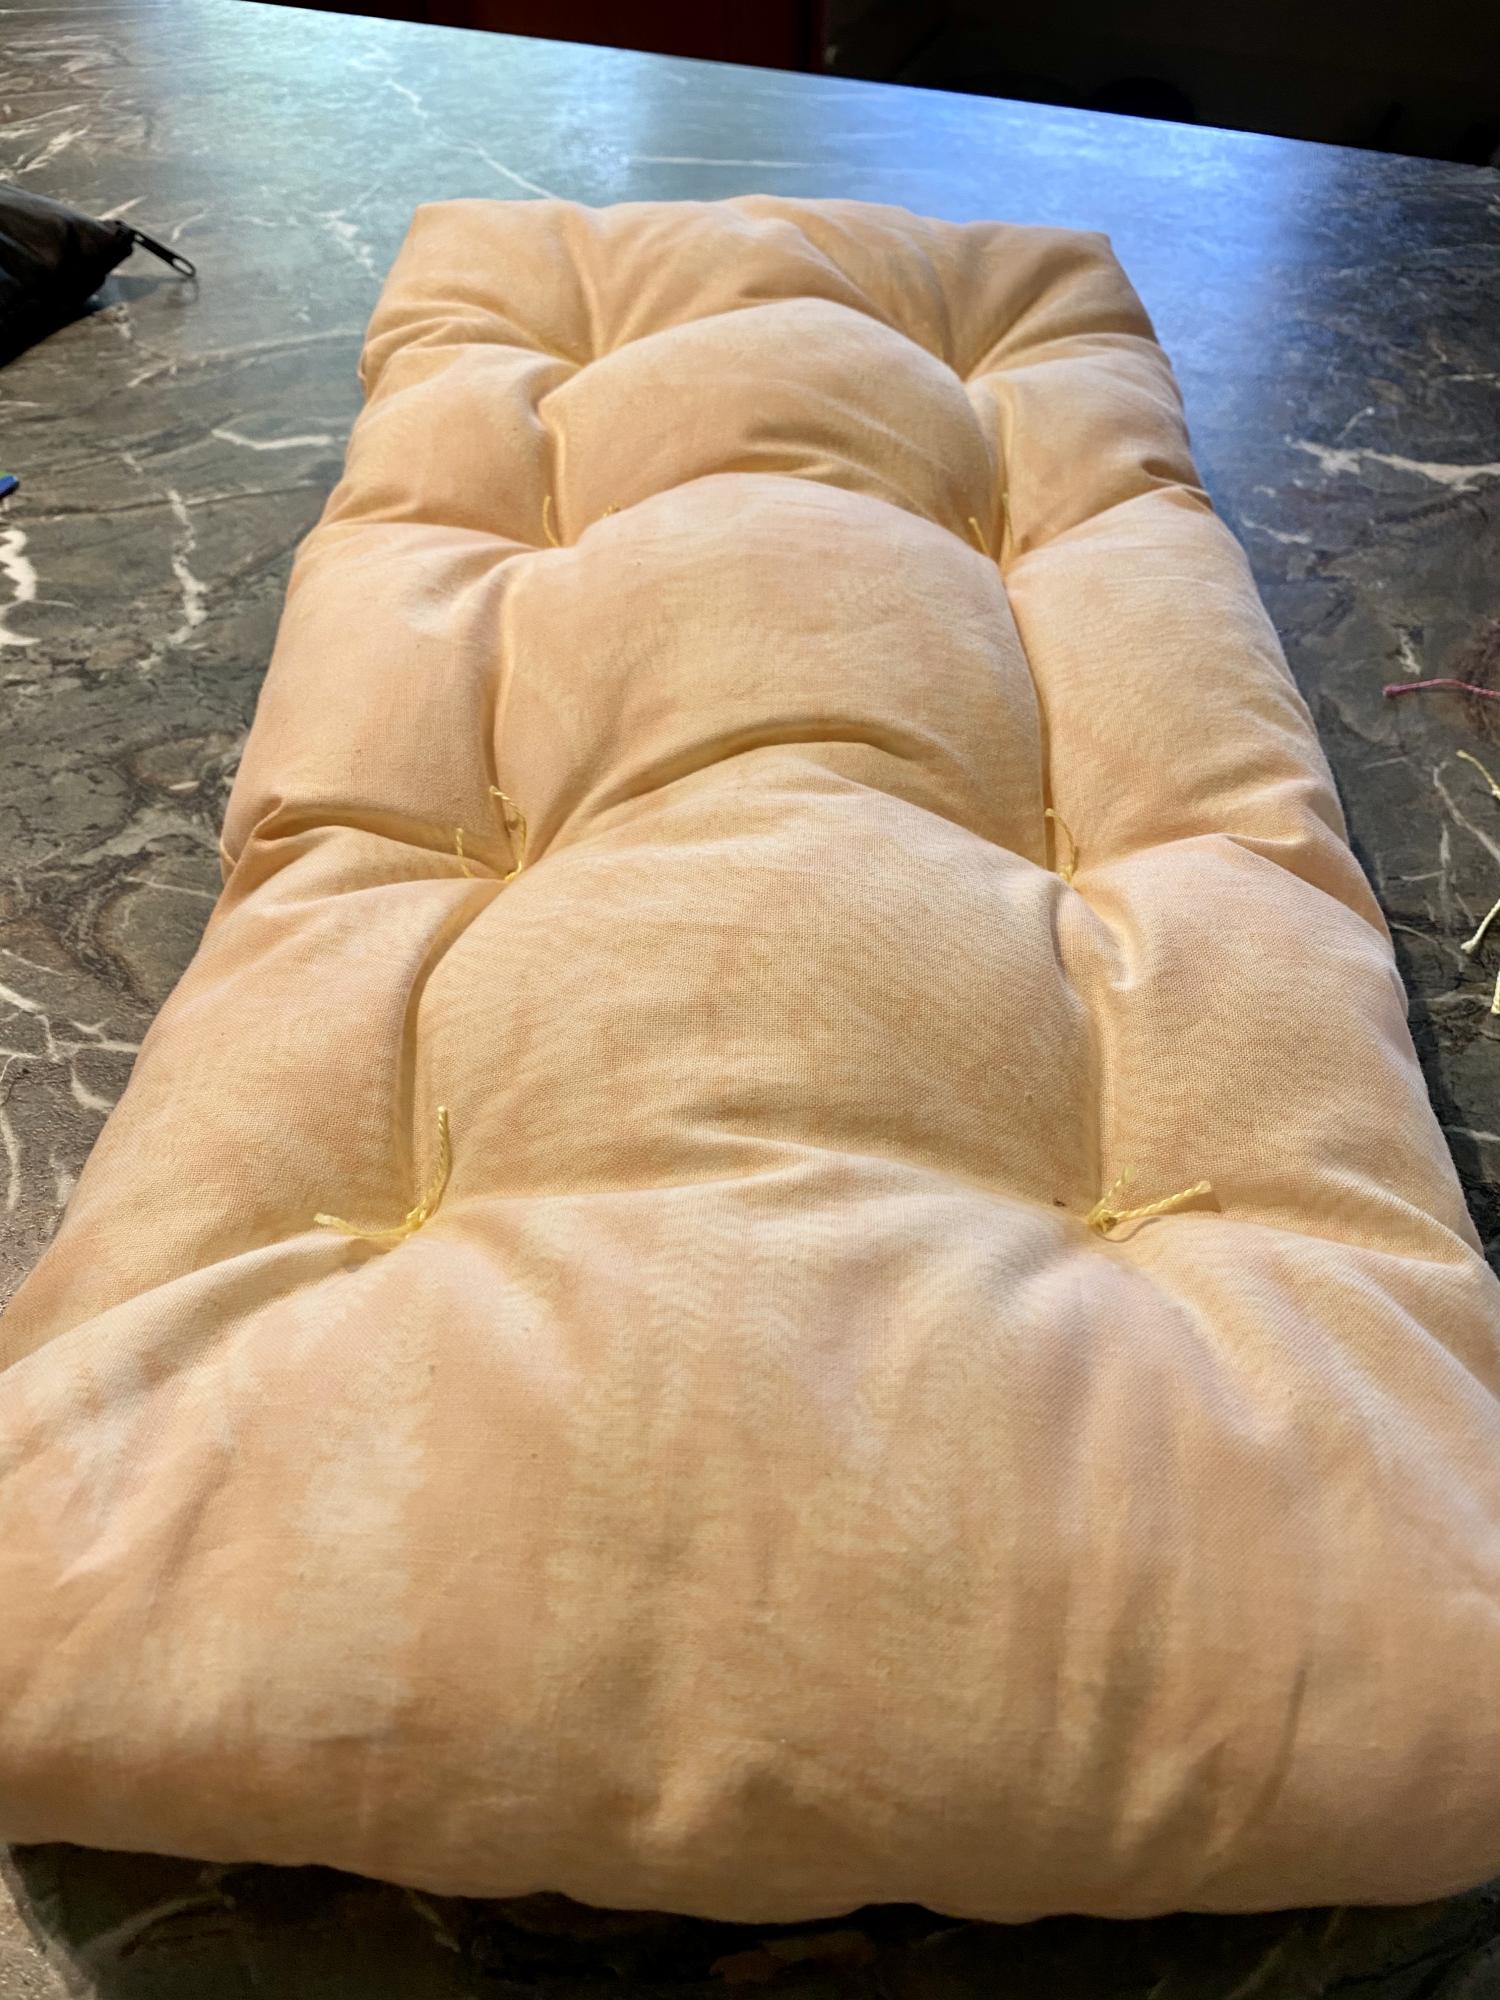
Not a great pic. Made two to go on Bunkbed. Plans were perfect. I did not use buttons as there is a 13 month old eating machine in the house, but instead used heavy craft thread and sewed an X in eight spots, leaving a small tuft of cut thread. Worked just fine.
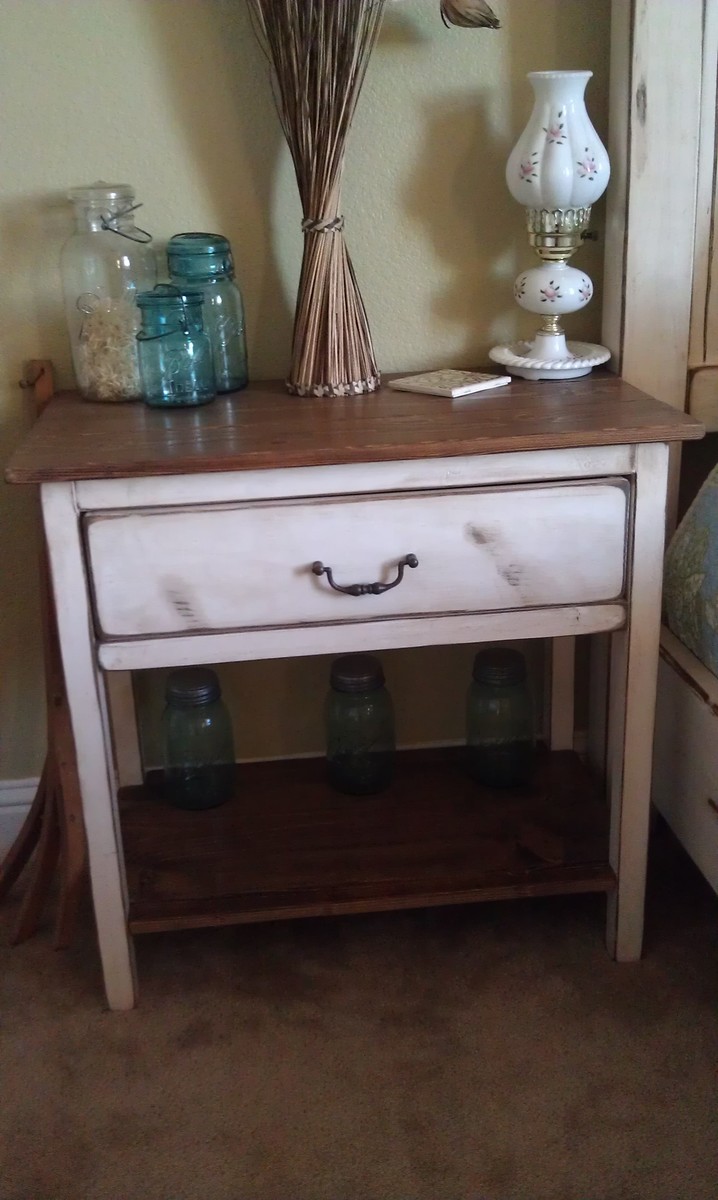
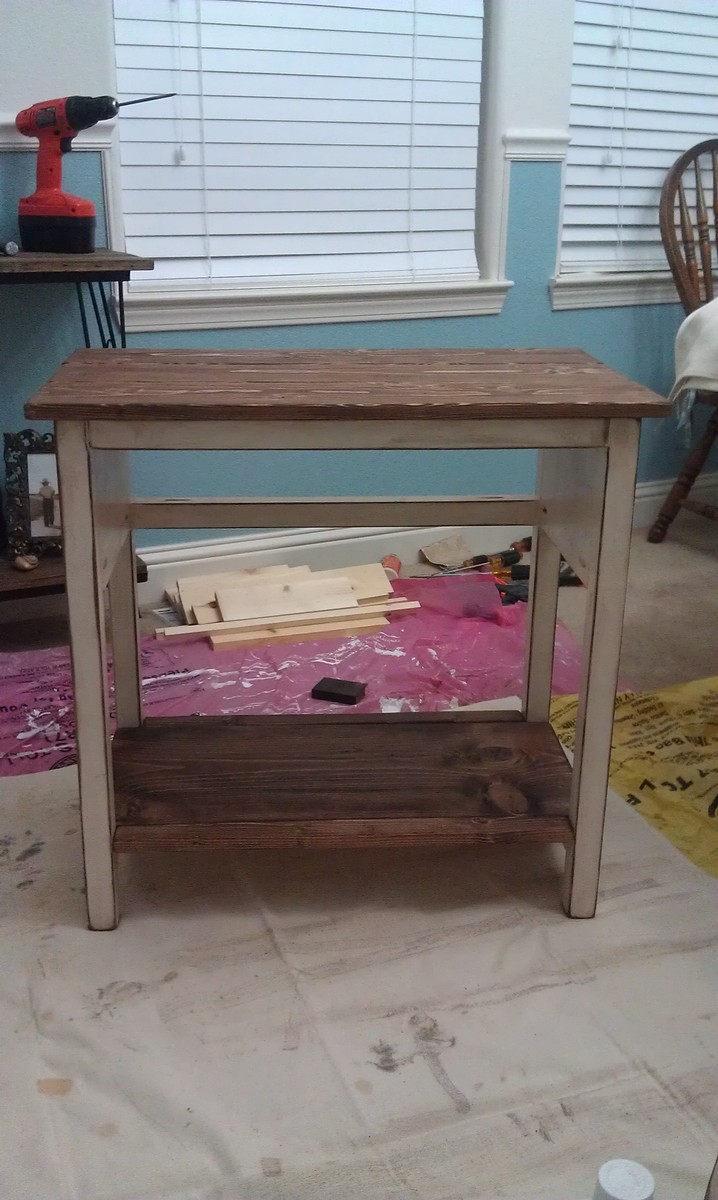
I wanted a nightstand to match my farmhouse bed. I used the cheapest pine boards I could find to build this and it turned out great!
When I first built it I just used a scrap of fabric tied in a knot for the handle but added a real drawer pull when I built the matching dresser.
(sorry the pictures are crappy cell phone shots)

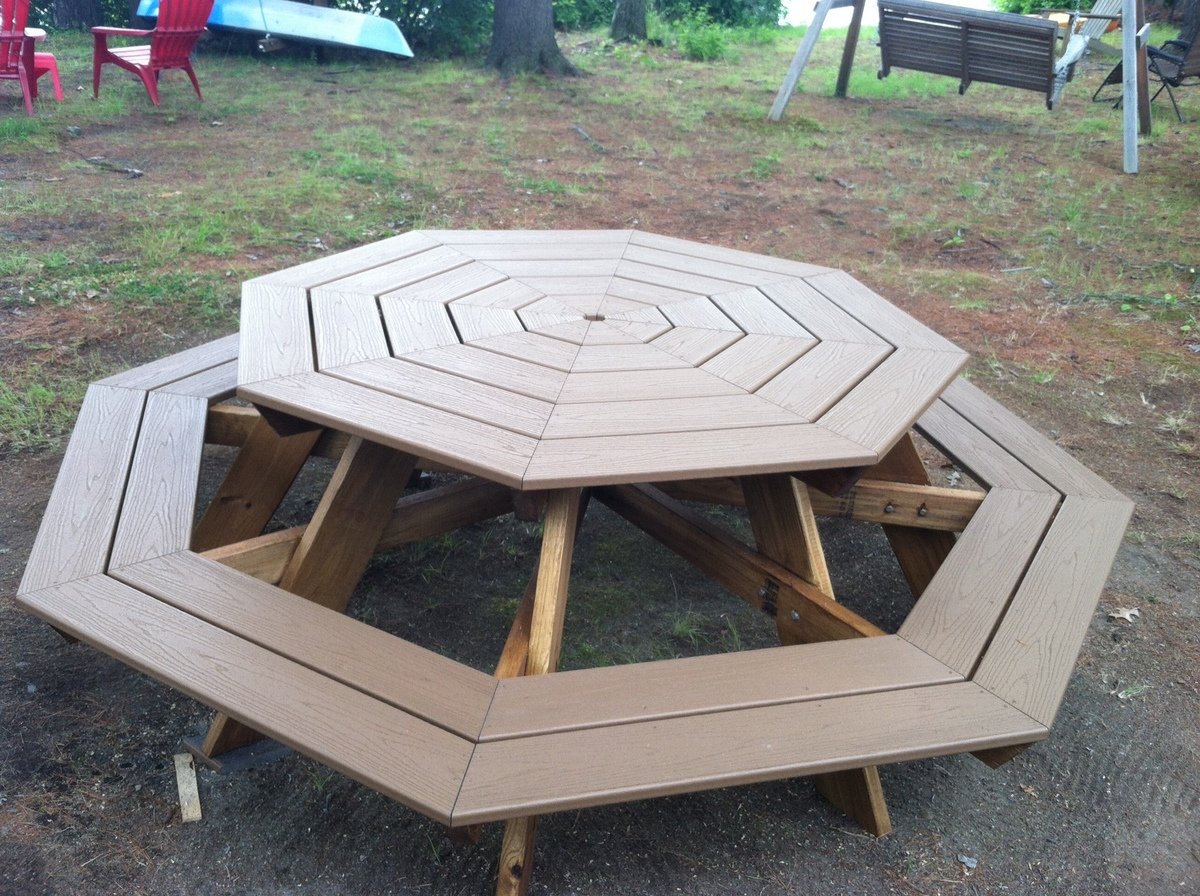
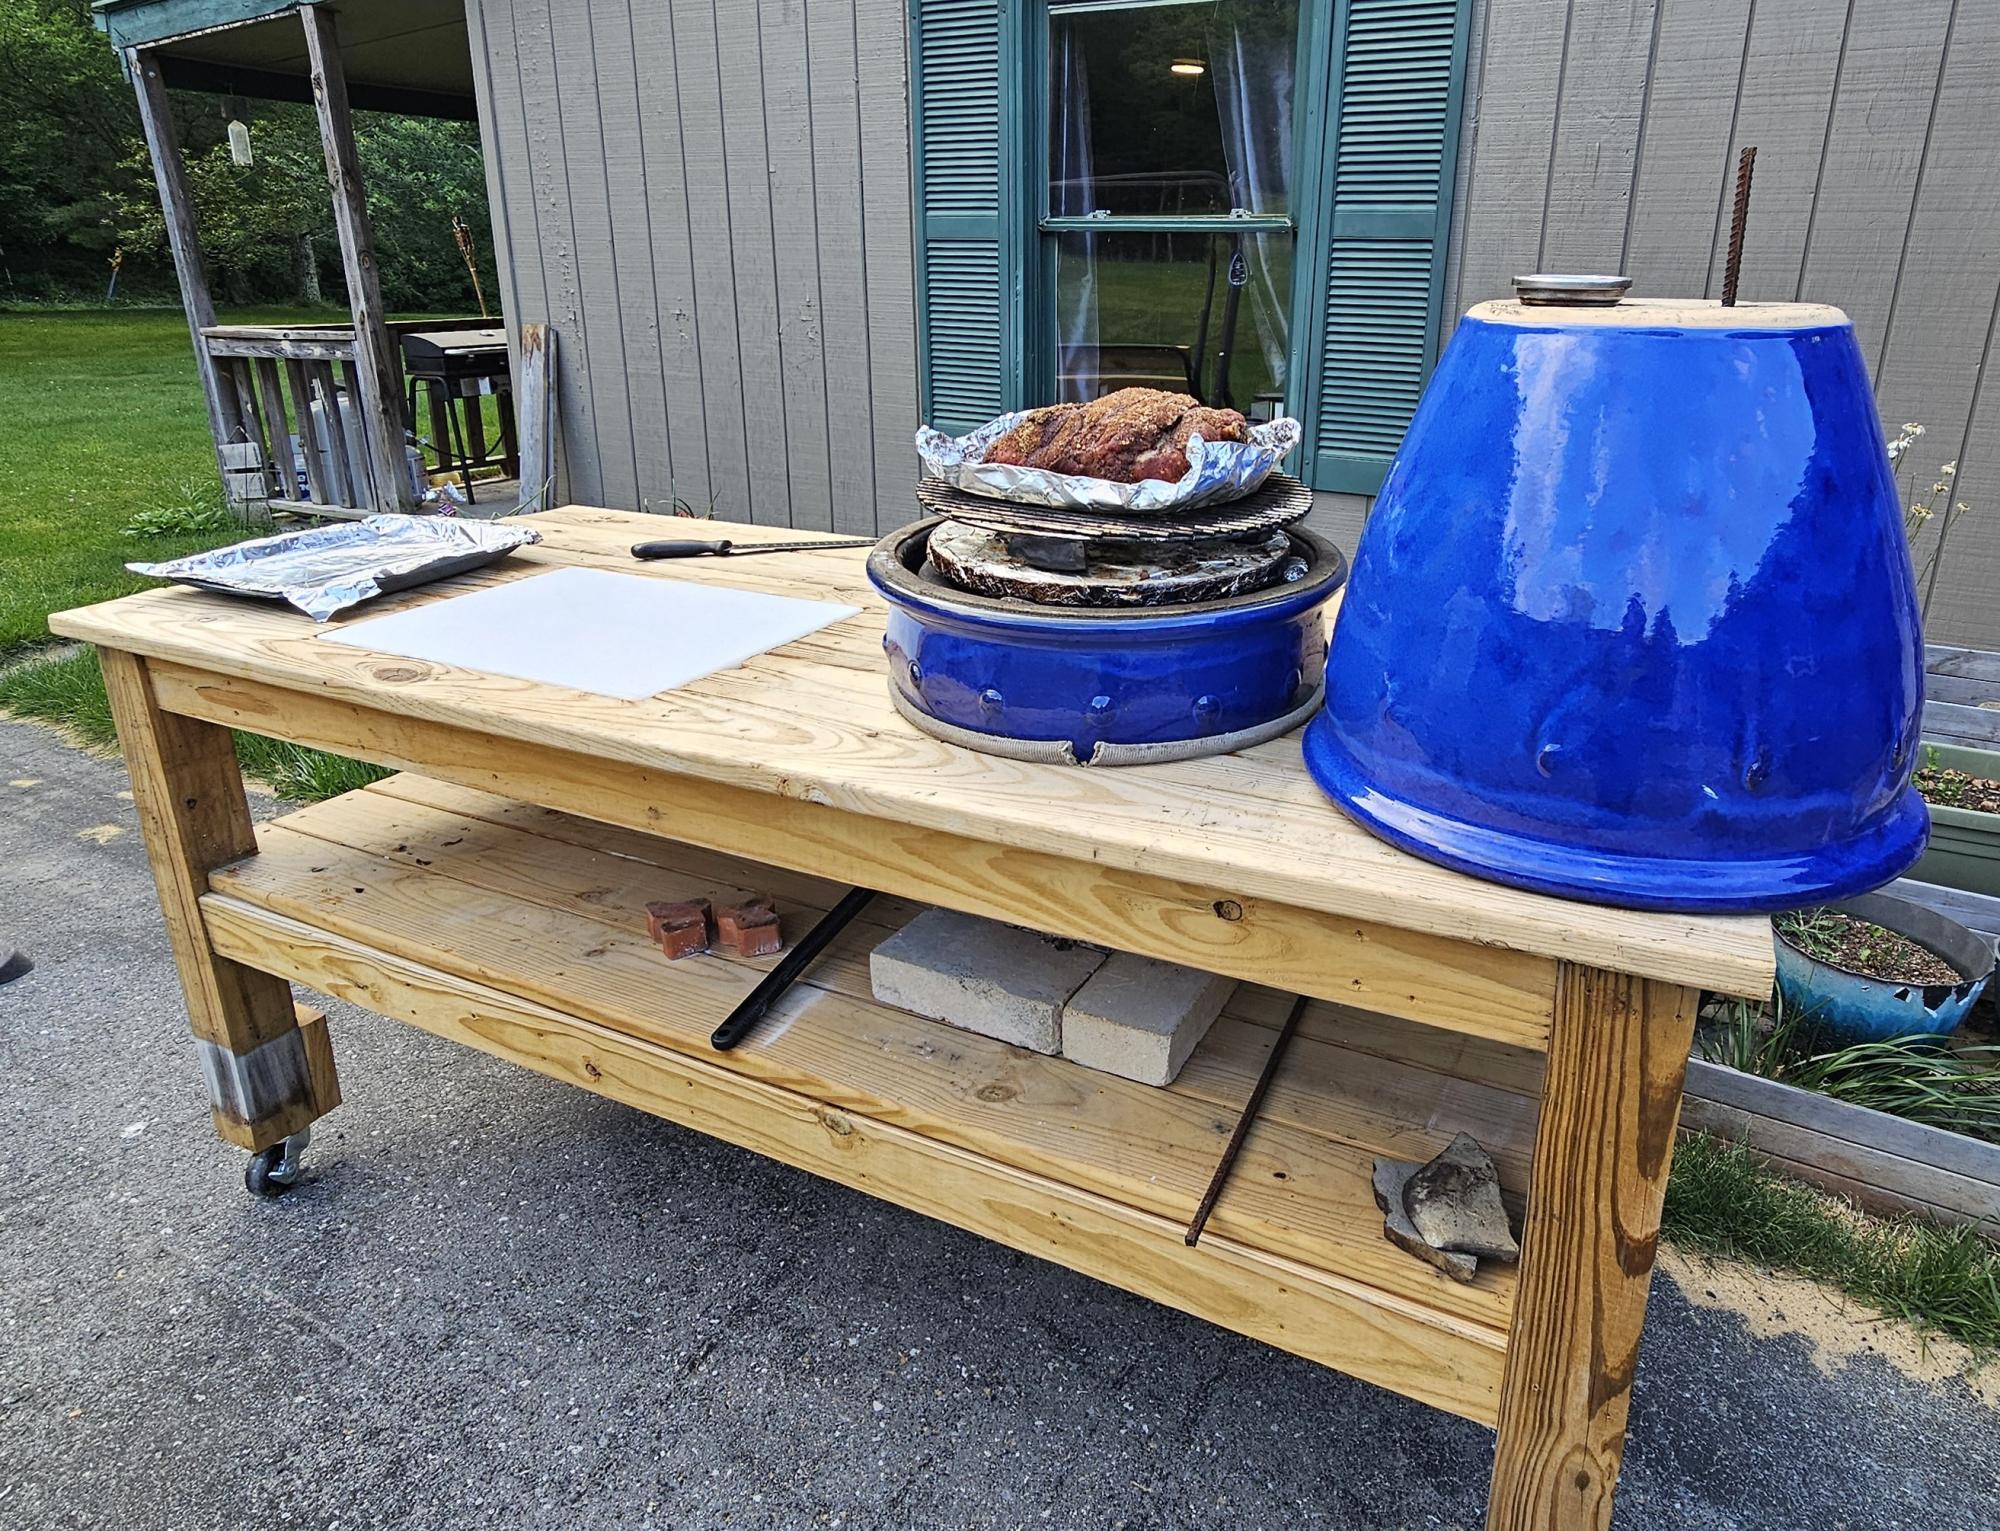
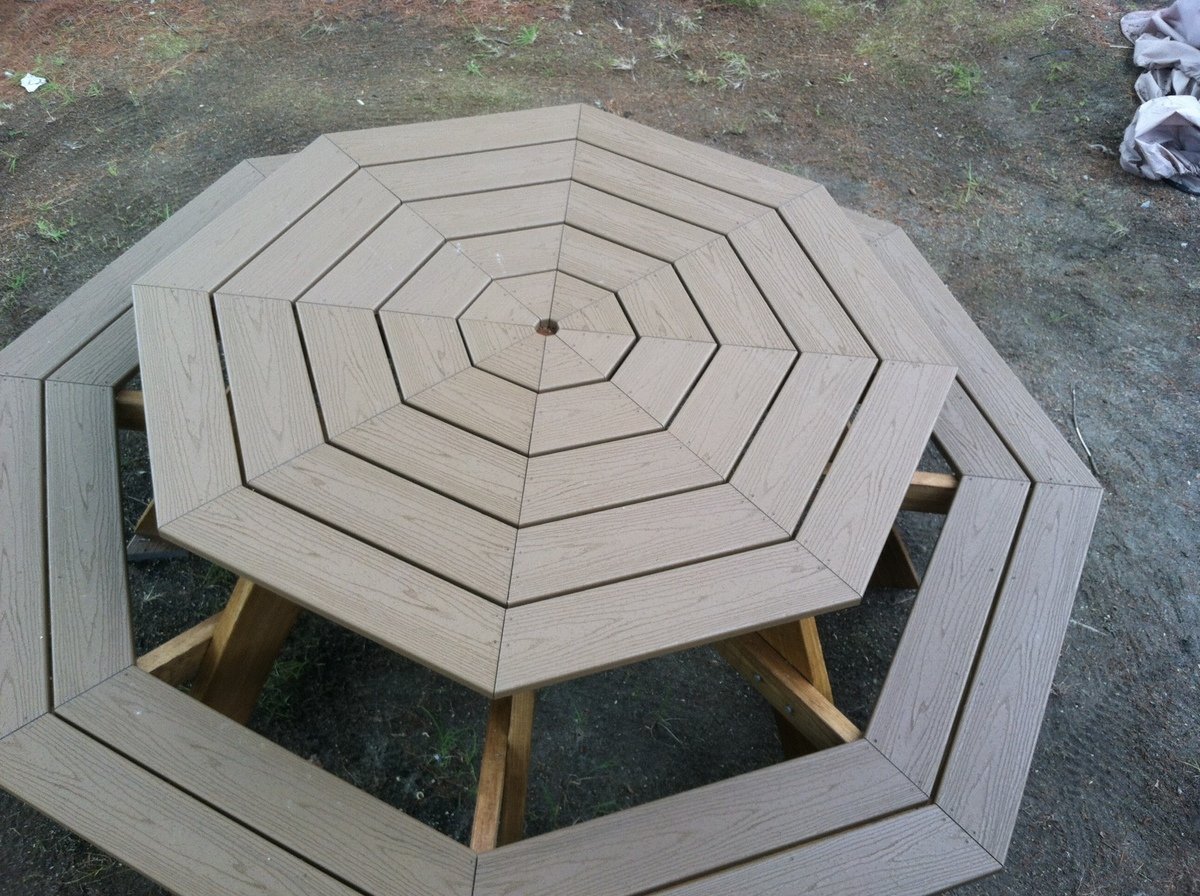
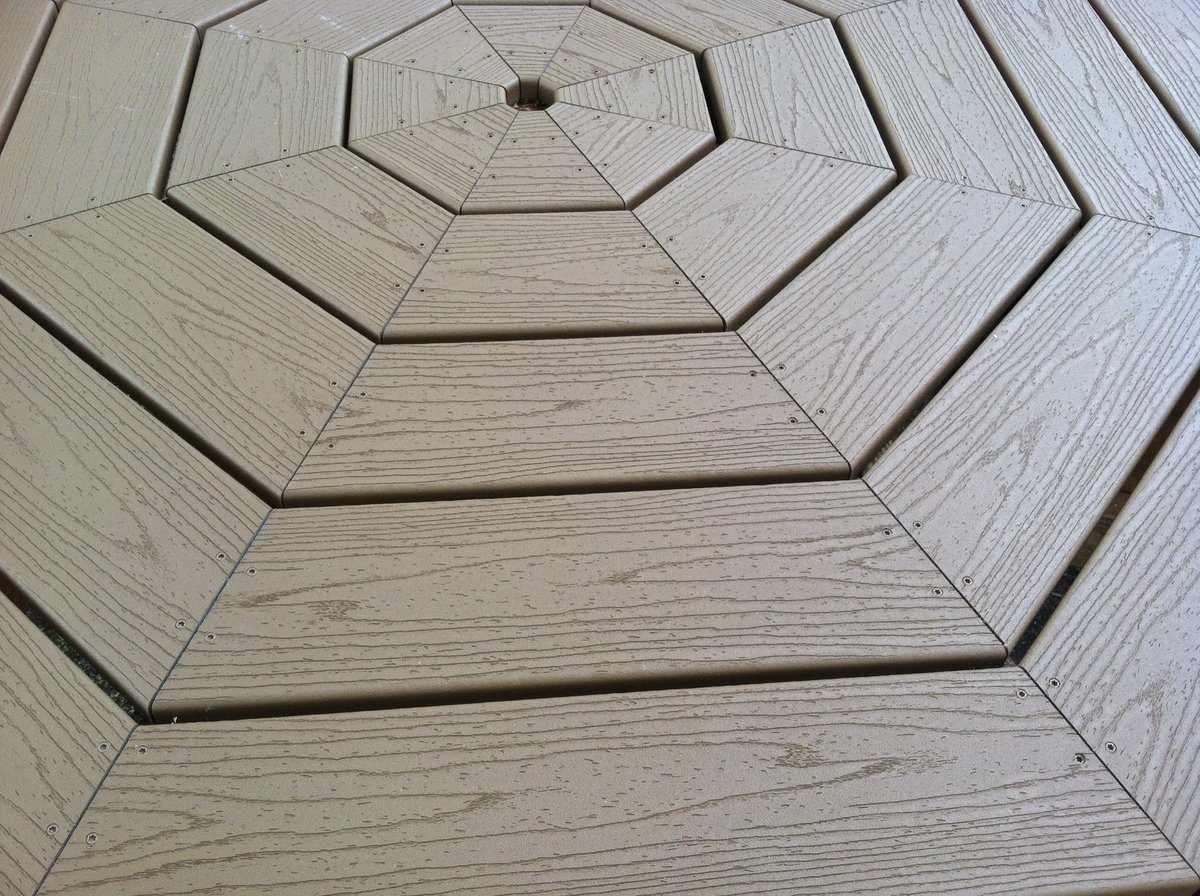
Living in a cottage on a lake during the summers, I needed a picnic table that would take care of a big family so I built the Octagonal picnic table on Ana's site, however with a twist.
Since we are under a bunch of trees, I wanted to be able to scrub the table easily and not have to do any maintenance on it over the long term. So I built the top and the benches using Trex. Yes, it was more expensive but the result (if I do say so myself) was incredible.
Since Trex isn't as structural as 2 x 6's, I reinforced the seats using 2x4s laid horizontally underneath the seam of each of the two bench pieces. I also drove a few extra screws through the Trex benches along the 2 x 4's to further strengthen seating area.
Aesthetically, I didn't care for the 1/2 inch spacing for the table top and benches so I reduced it to 1/4 inch and cut the length of the Trex accordingly. I used decking screws that exactly matched the color of the Trex.
I did take the advice of one of the former builder's of this table and staggered the legs to make it easier to get in and out. That was a worth while suggestion.
The only 'warning' I was given about using Trex was that it could get 'hot' if in the sun for long periods during the day during the summer. This table is in the shade almost all the time, but having said that I have read that the Trex as decking gets no hotter than treated lumber stained the same color.
This is a great design at it was lots of fun to build.

Really enjoyed making this. It turned out to be a perfect Entertainment Center. Will be using the same idea to make a bar piece that will accompany this in our recreational room.
Mon, 11/07/2016 - 12:36
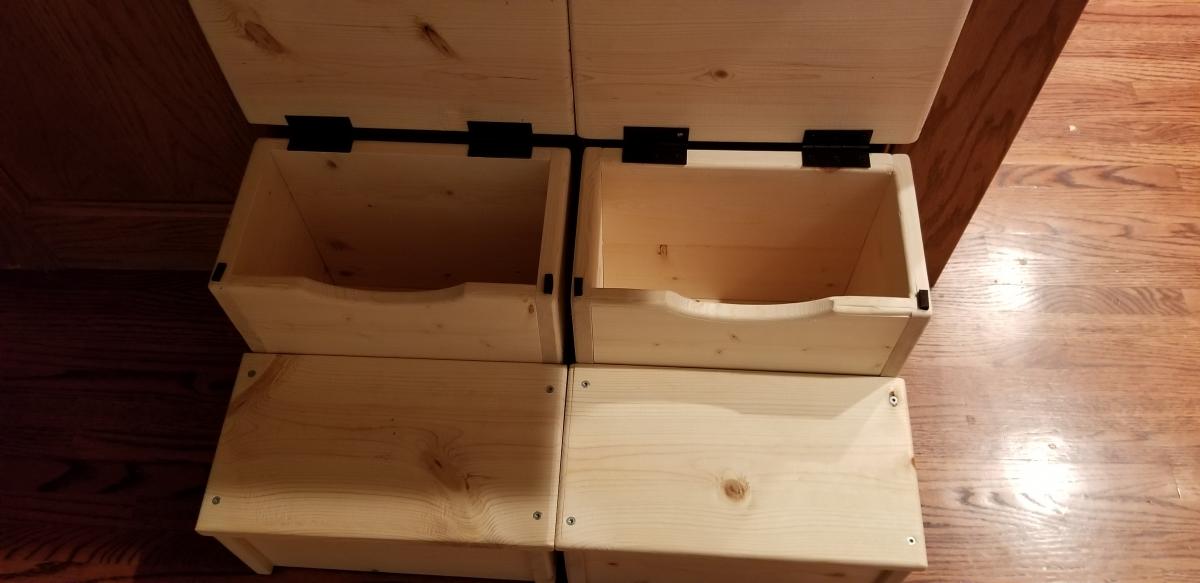
Love the mods with the opening, looks sharp! Thanks for sharing:)
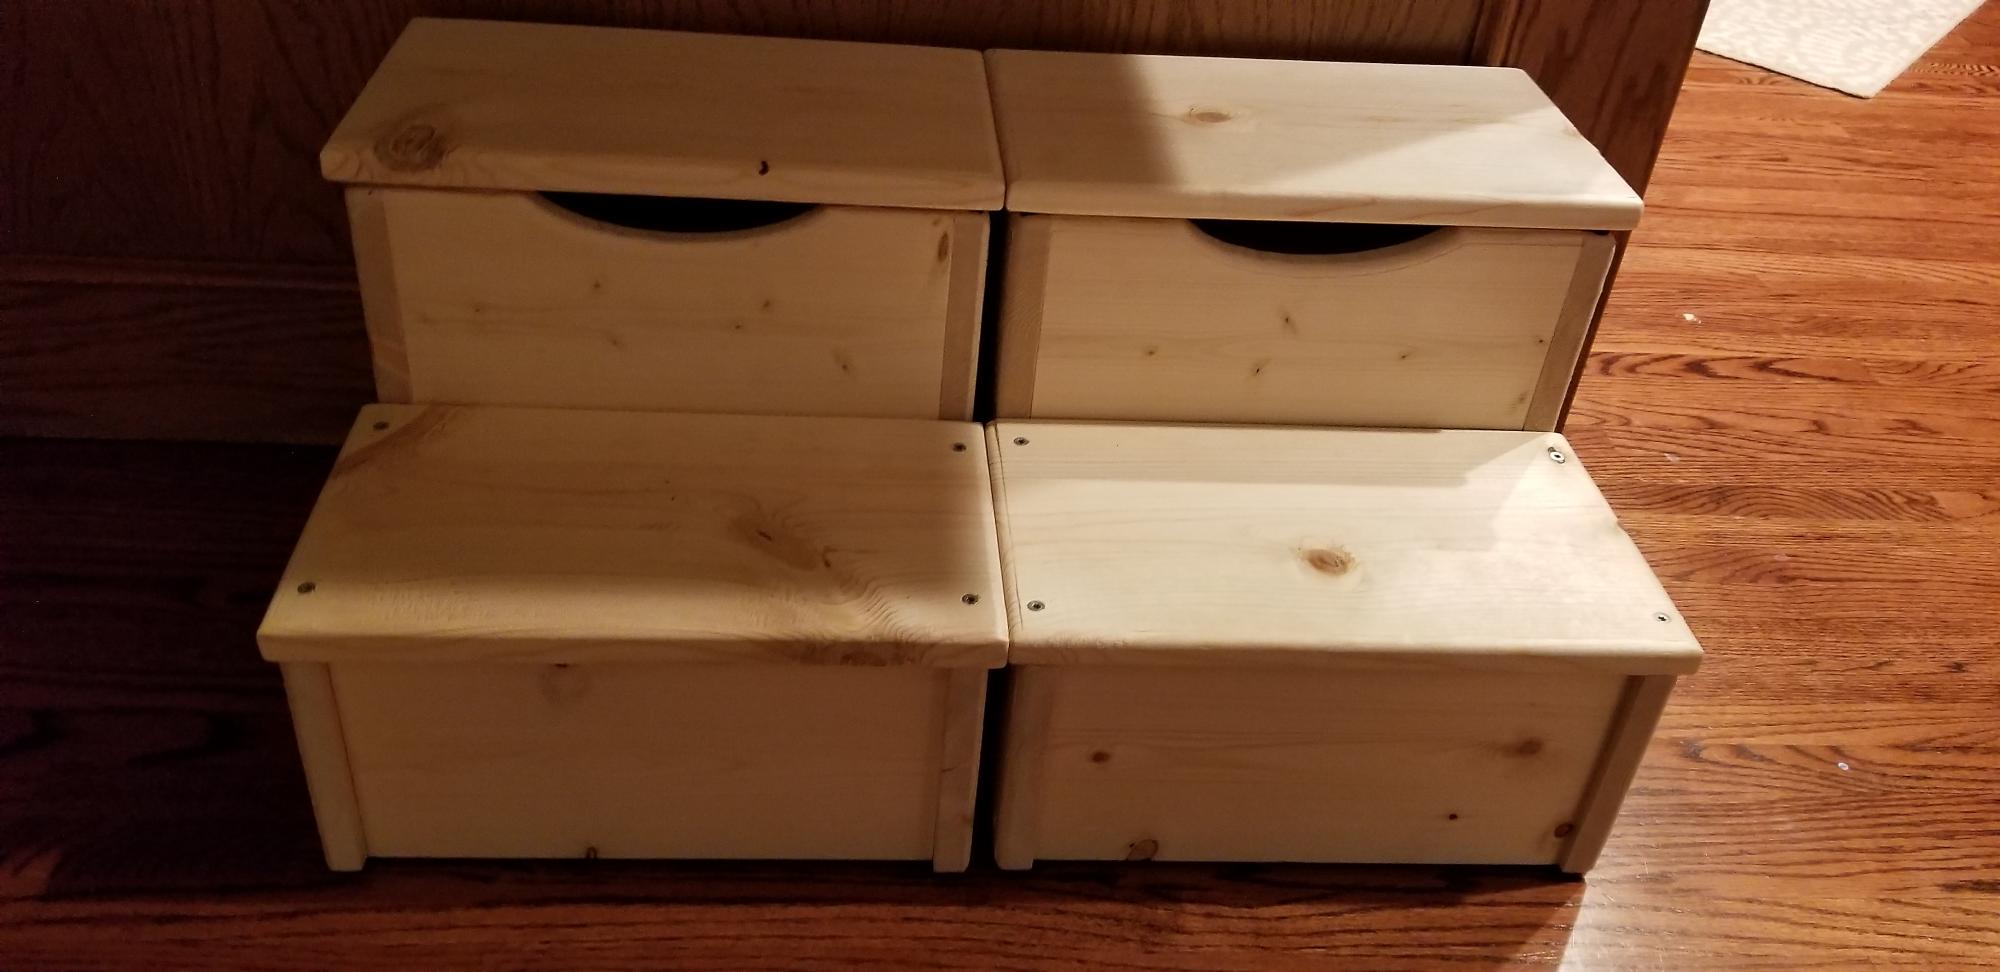
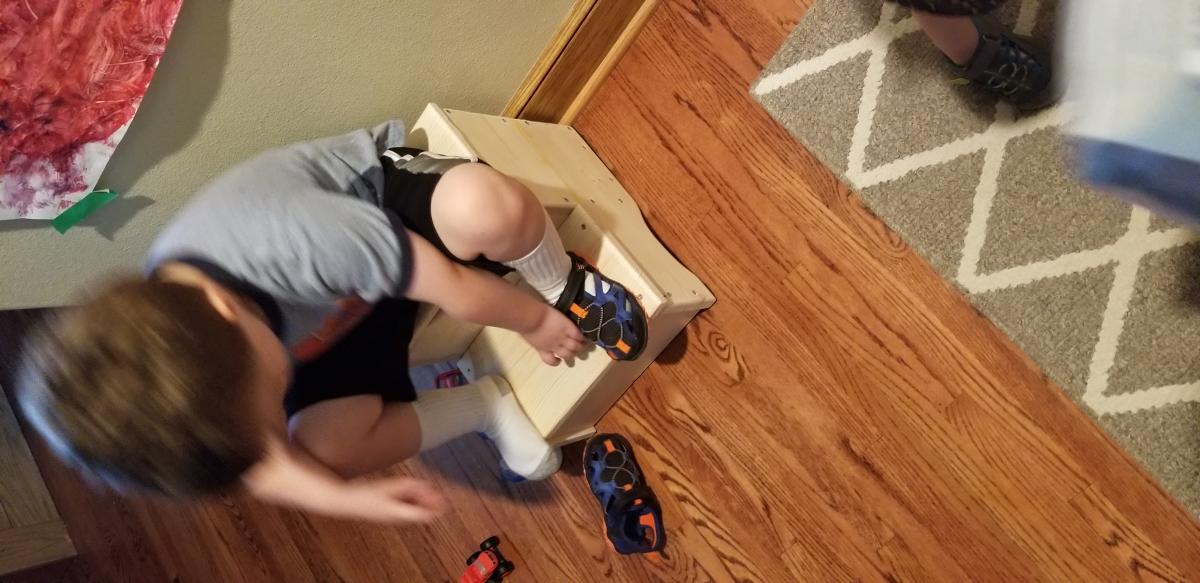
I'm a beginning wood worker enthusiast. I've been slowly collecting plans, tools, supplies and I'm certainly not efficient when it comes to projects- even "beginner" projects like this.
While there's still more finishing to do, I cranked these out over the weekend with a myriad of interruptions - so it's hard to say how long these would really take. I didn't have 12" boards, so glued 1 x 6" pieces together into the shape I needed. Then assembled each with 1 1/4" screws, routed the sides, sanded and cleaned them. The kids will paint them their favorite colors and then I'll put a clear coat on top to finish them up. Once painted and ready, I'll add hands to each side as well as rubber runners to the bottom for stability. These are really nice for toddlers to use while they put on or take off their shoes and put into the storage bin.

This is my first build ever! I skipped the X accents and white washed it with traditional paint making it easy to paint over if I choose a different color in the future.
Laura G
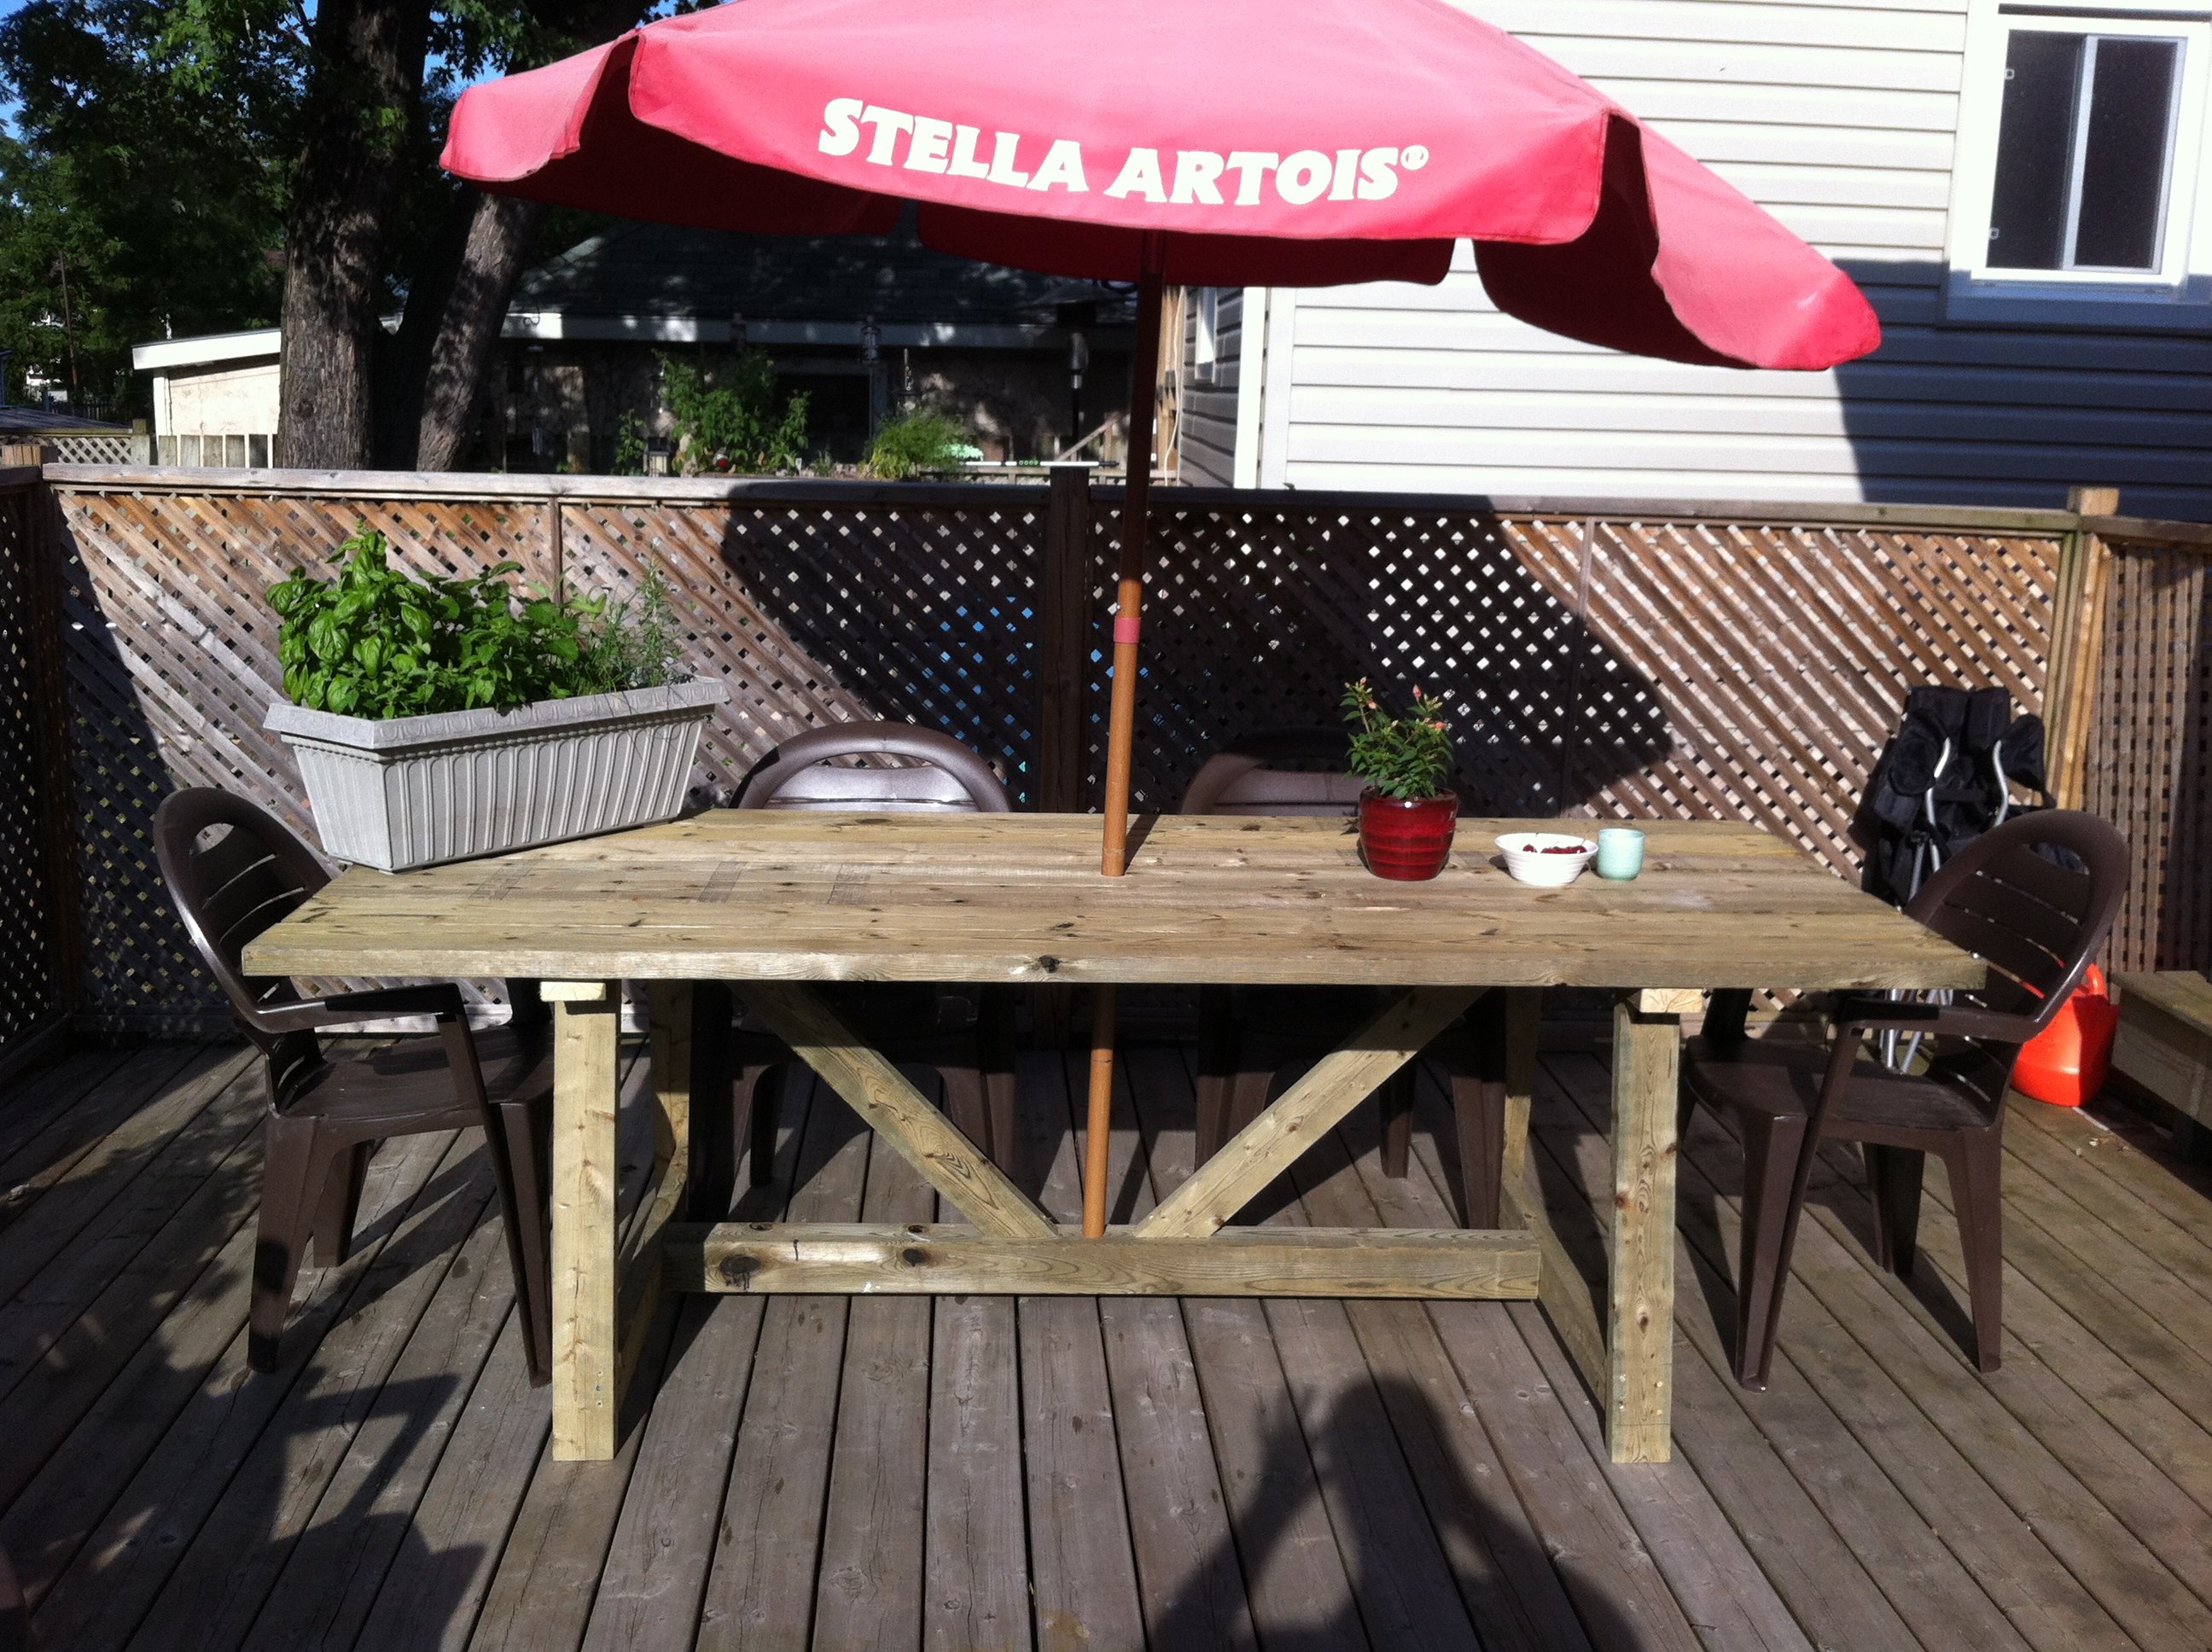
I really like how this table turned out. This table is a beast its very heavy but very sturdy also. I used a 4x4 on the bottom so i could cut a hole out for the umbrella which worked great all I used was a spade bit for the hole.


First project I have done and loved it! Building it I got it done pretty fast it was the polyurethane layers that took the longest.
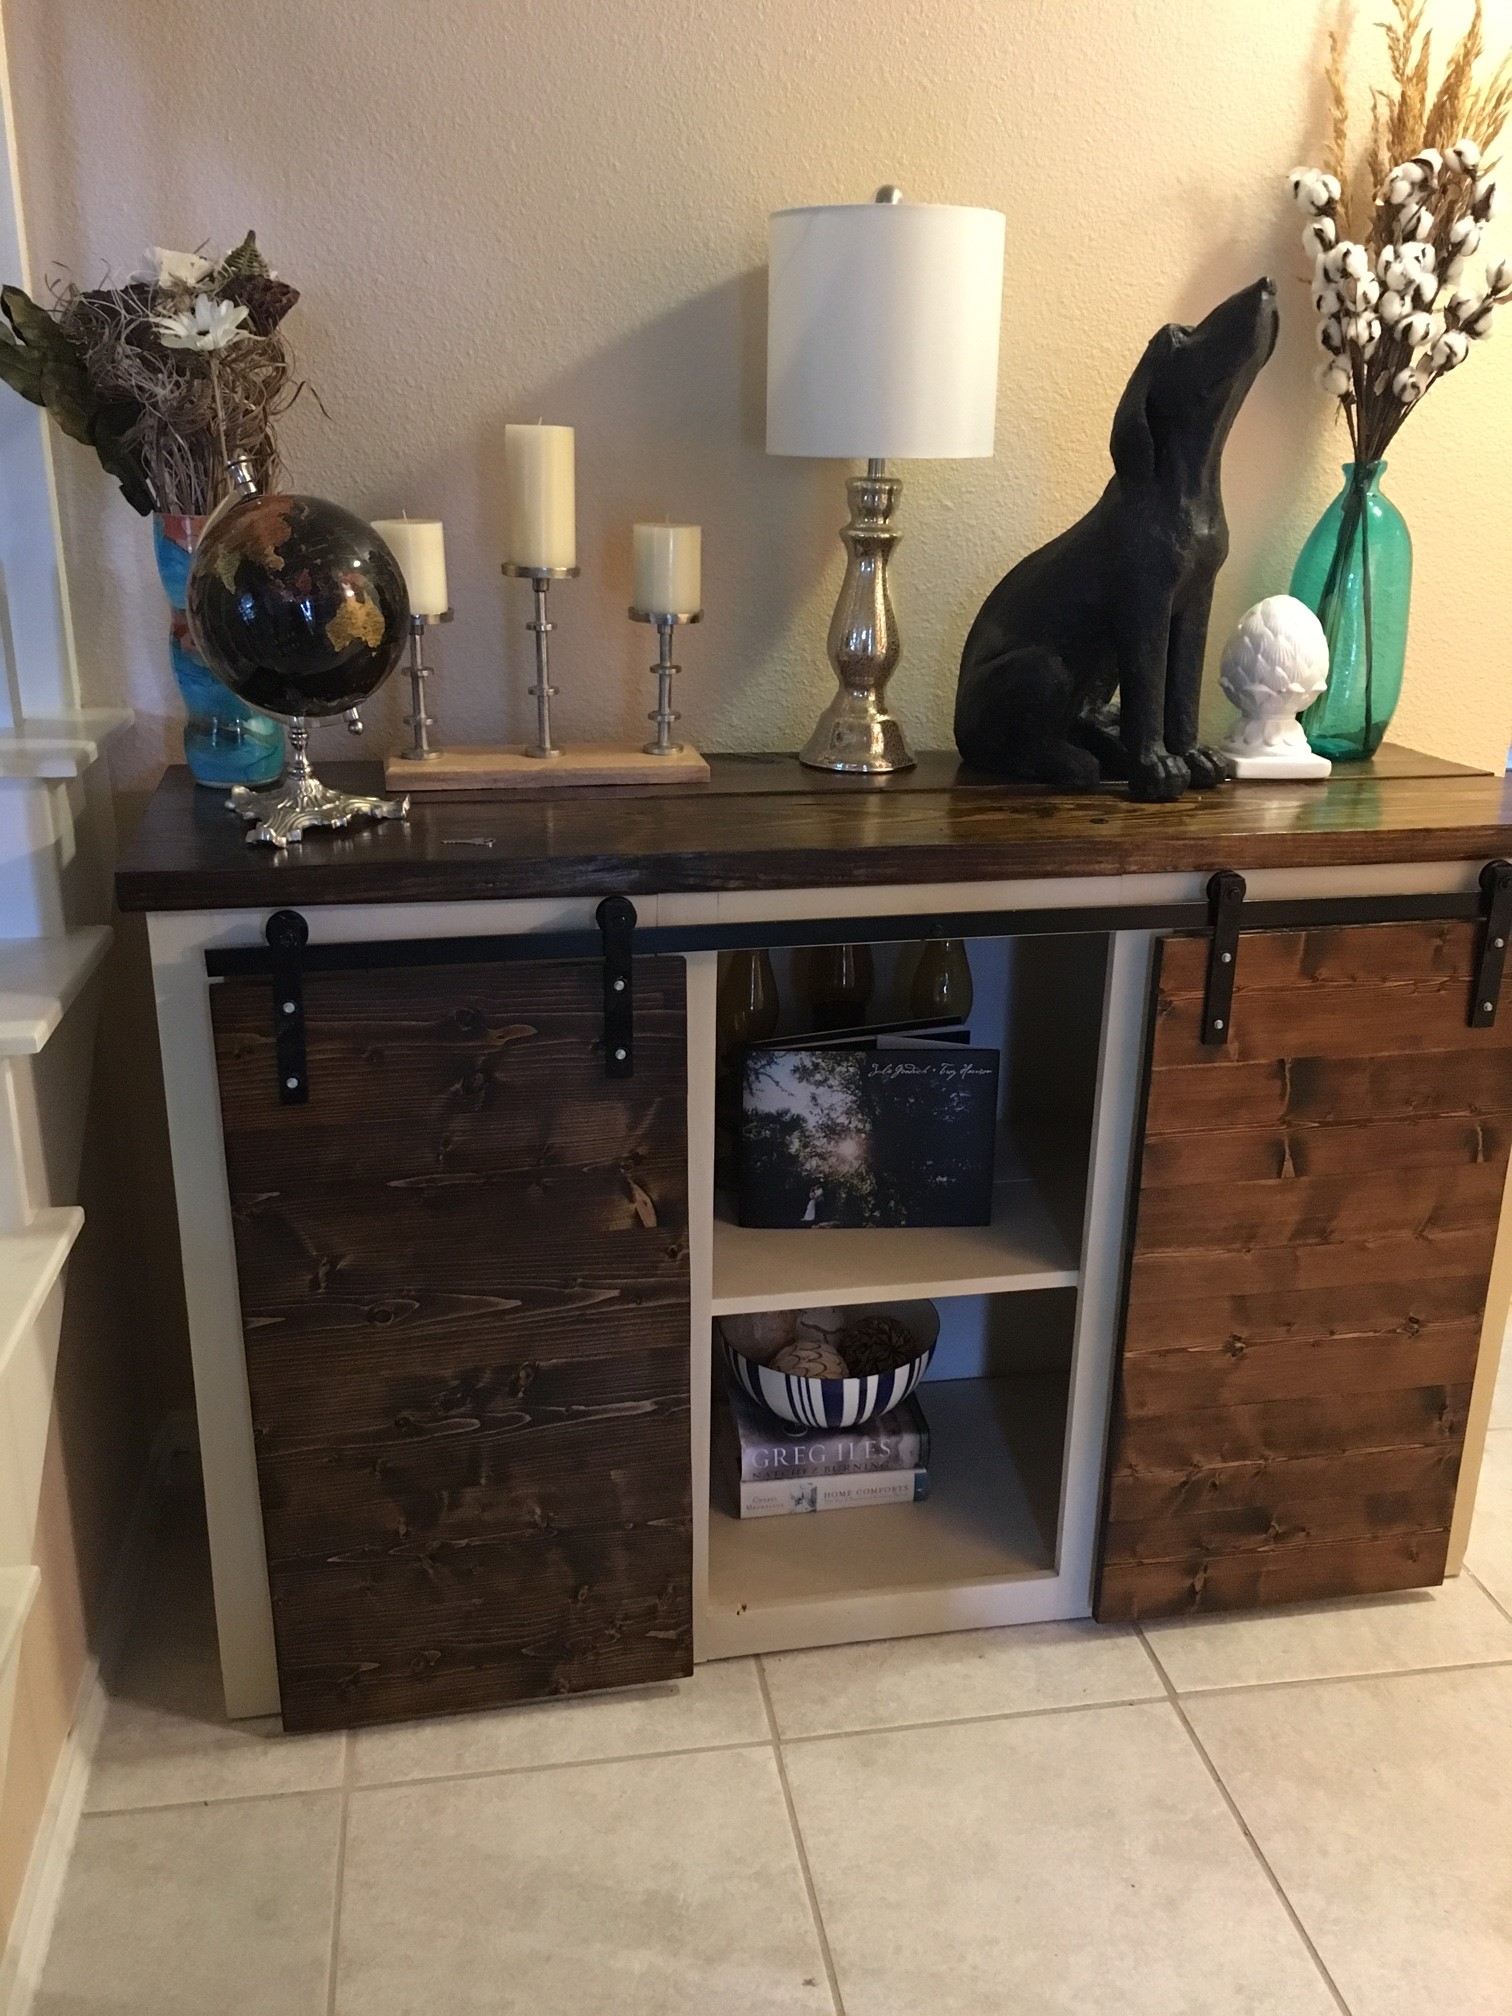
Modified the Grandy Sliding Door to be three doors only. Stained top and doors, added polyurthane, and painted the rest with chalk paint. We couldn't find the hardware ourselves so we made it based on the website recommended in Ana's plans.
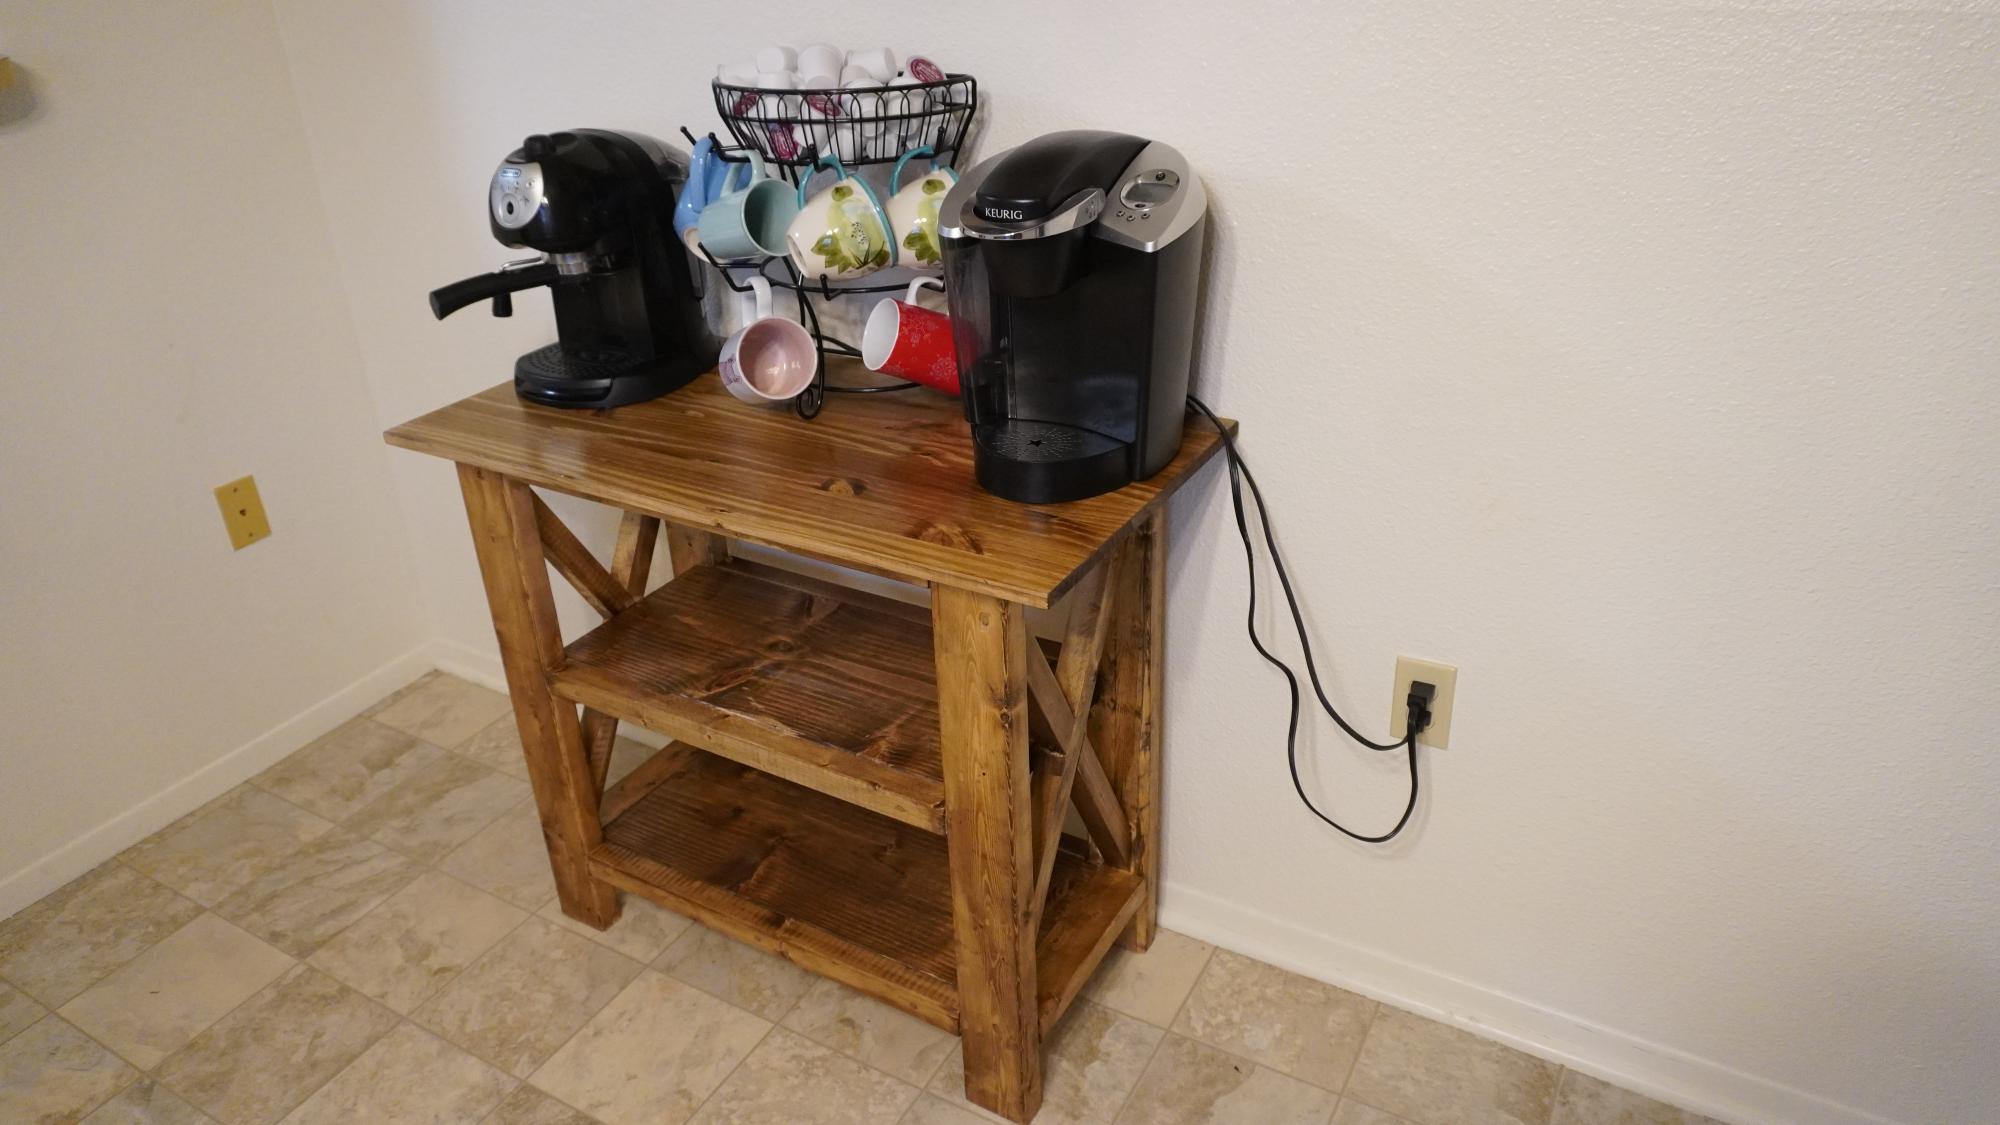
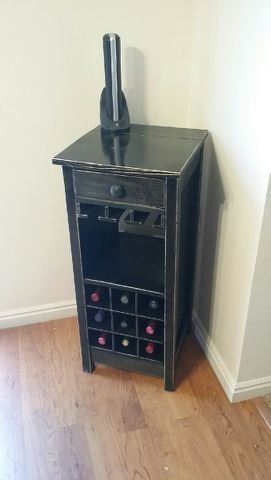
We are running low on counter top space so I built this little coffe bar to house all things coffee for my wife!
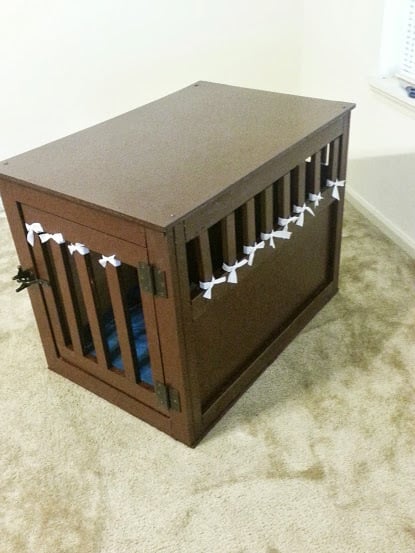
This was my first project ever. I did it around April 2013. I worked with my boyfriend on it, and I think it turned out really well. I plan on making more for friends and family. I didn't use finishing nails the first go round, so I am going to make sure to do that this time. Also, I bought the cheap pine from Home Depot, but it split terribly, and the bowing made for inconsistent cuts. I ended up going back and getting red oak to finish it up, so about 75% of the box is pine and the rest is red oak(not including the MDF board, or plywood, etc). I did an MDF board on top and plywood on the bottom.
We ended up painting the crate instead of staining, and we did a polyurethane coat on the top to help protect from the eventual spills that will occur. I didn't paint the inside of the crate, mostly because you don't notice it is unfinished and I was a bit lazy. Originally I did line the bottom of the crate with cushioning and fabric and stapled it to the bottom (pictured) as a bed for Roxie; but, with the "Snowmageddon" this past winter here in Birmingham, I was stuck out on the road all night and while my apartment manager came and fed her and took her out, she did decide she was going to pitch a fit by eating the handmade bedding. Not a big deal though, now she has a bed from TJ Maxx that works perfectly.
Roxie is a border-collie/lab mix, and she tends to be more border collie in size (50 lbs, about knee height). I went directly from the specifications here on the site and Roxie fits in this well with plenty of room to stretch out. I work and go to school, so she is in the crate for about 8 hours a day, give or take, and she has been doing just fine with it.
I should note that my dog did not really like her original wire crate. We trained her with it, and she would go on command, but she never liked it. After this was built and the first time we let her check it out, I was amazed. She went straight in and laid down. Now it's her favorite spot in the house (other than on my bed of course).
I have received more compliments on it than I can count, and I have people begging me to make one for them. This was definitely worth it! Great plans!


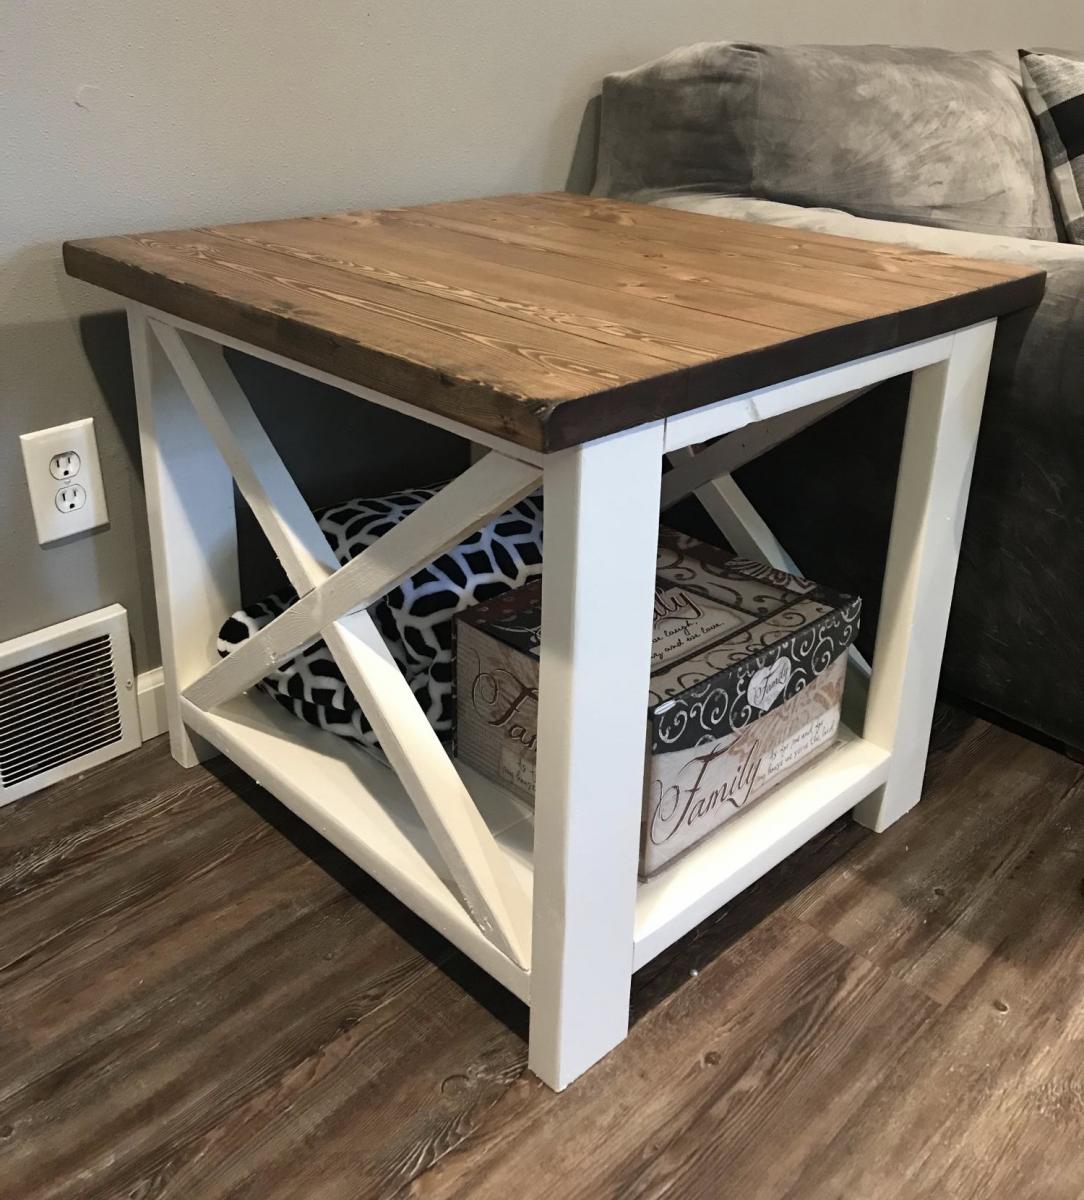
Rustic X end table I just finished. Our pattern throughout our house is White painted bottom with stained top in Jacobean stain.
Fancy X table and bench
Fri, 10/12/2012 - 09:10
That second picture looks like it's straight out of a magazine! Everything looks beautiful!

I was in need of a new bookshelf so I searched online and all I could find were cheap, plain bookshelves at a pricey cost. So I decided to make my own. This was my first piece of furniture I have ever made. I love it! Super easy and the Kreg Jig will quickly become your new BFF!!
I did shorten the bookshelf so that top was accessible.
Tips: