Shoe bench
Late xmas gift for the wife. Used the spa bench plans with some minor changes and it turned out great. This site has given me a lot of confidence to build some of my own things!
Late xmas gift for the wife. Used the spa bench plans with some minor changes and it turned out great. This site has given me a lot of confidence to build some of my own things!
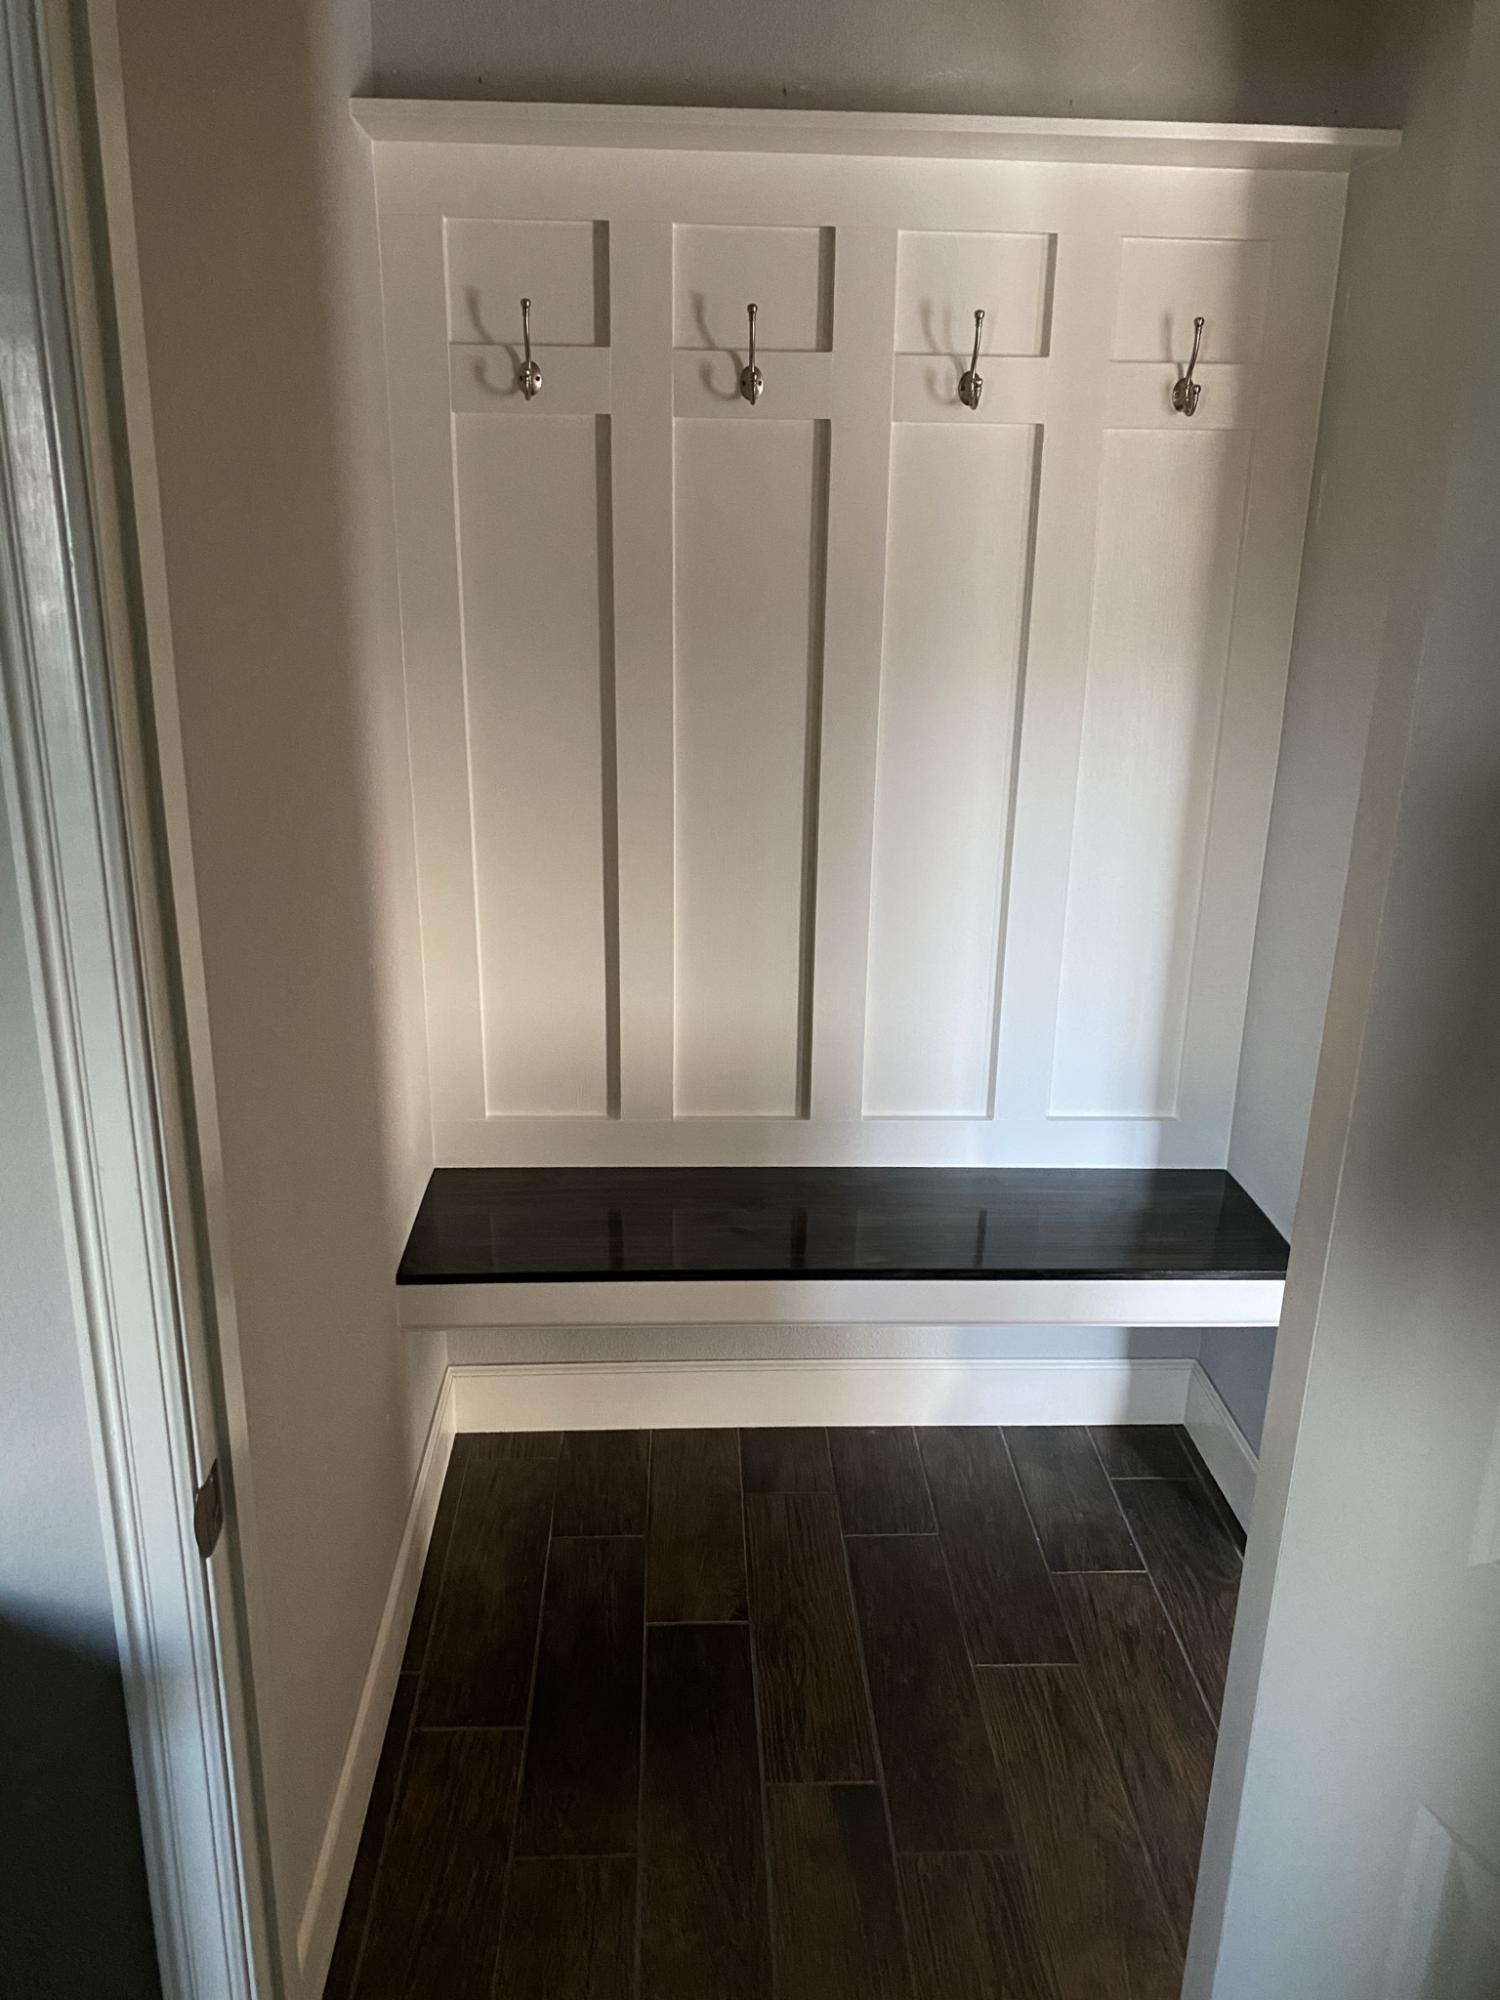
I mimicked one of the brag post on this webpage. I used 1x4s and luan for my back. The seat is 2x4s with a project panel stained and polyurethaned. I am grateful for people sharing their wonderful projects on this site for inspiration.

I adjusted the dimensions for this to fit in my specific area.
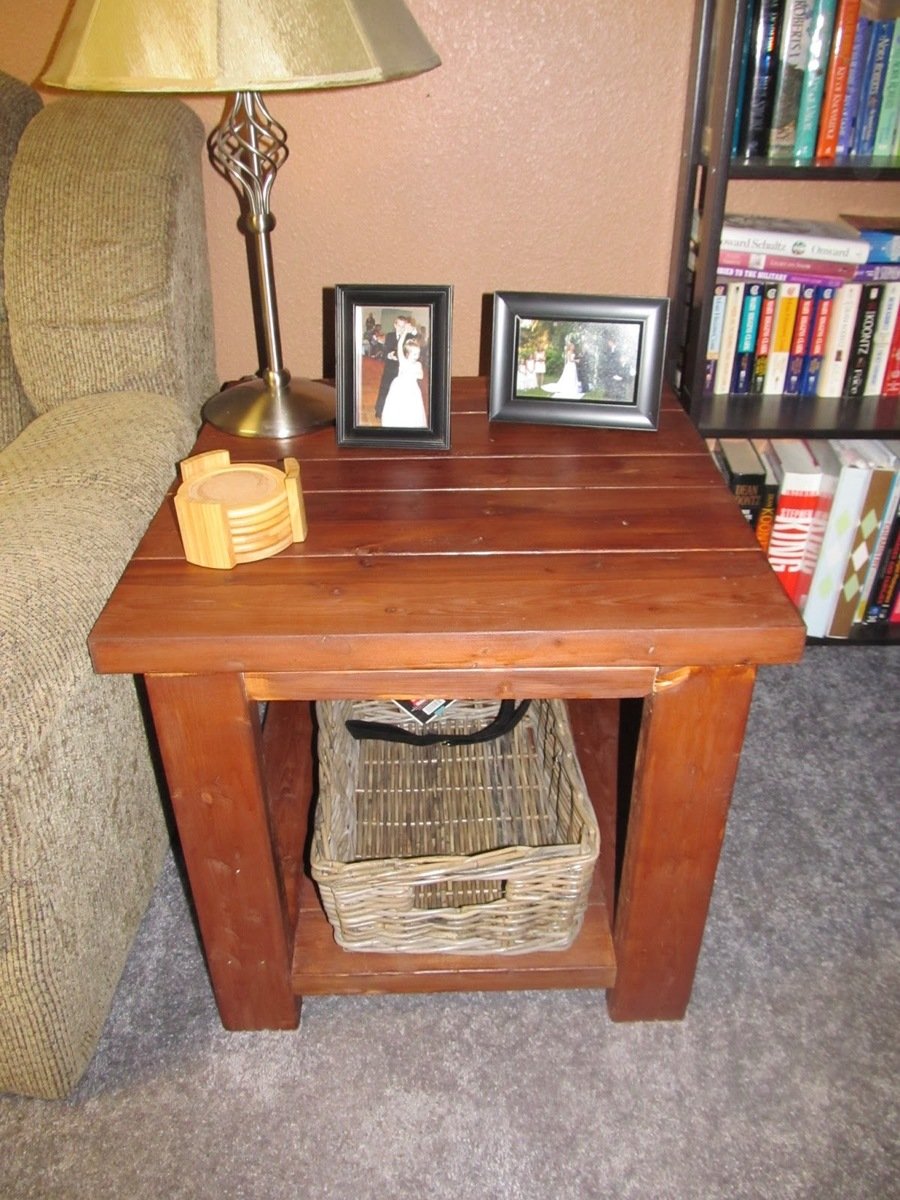
This project was so easy and it looks awesome!!!!

I made this Kitchen Island from recycled fence materials. The legs are 5" cedar gothic top posts and the skirt, shelf and top are from an Oak livestock gate. If you look closely at the skirt you can see where the horses chewed on the gate. I love the way it came out. The only thing I put on this piece was a few coats of wax.

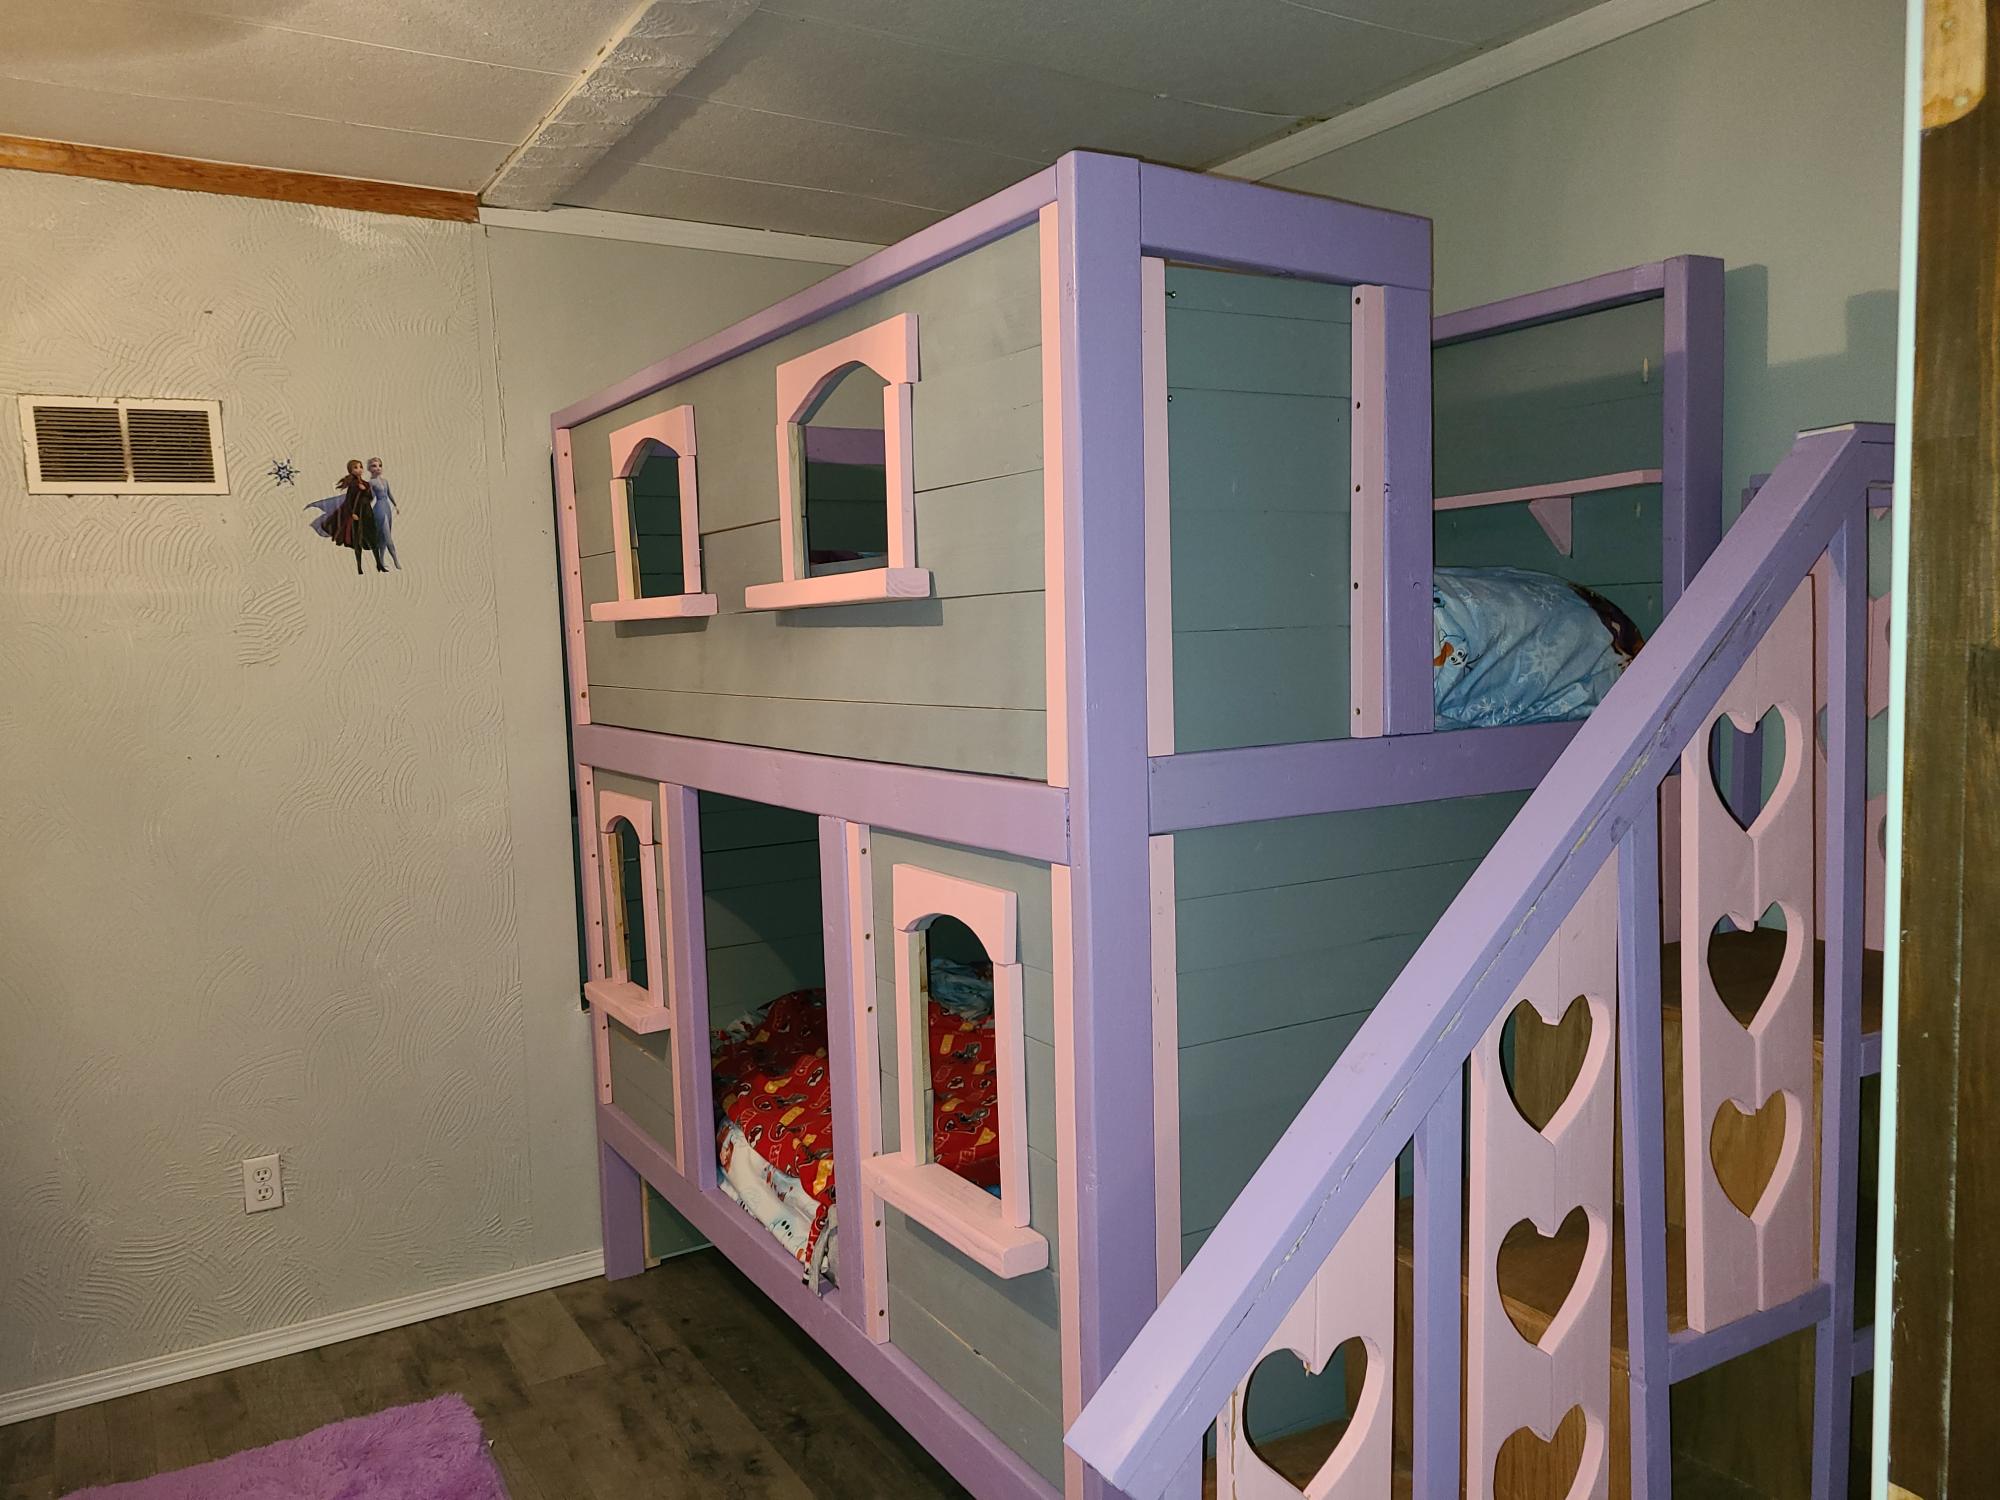
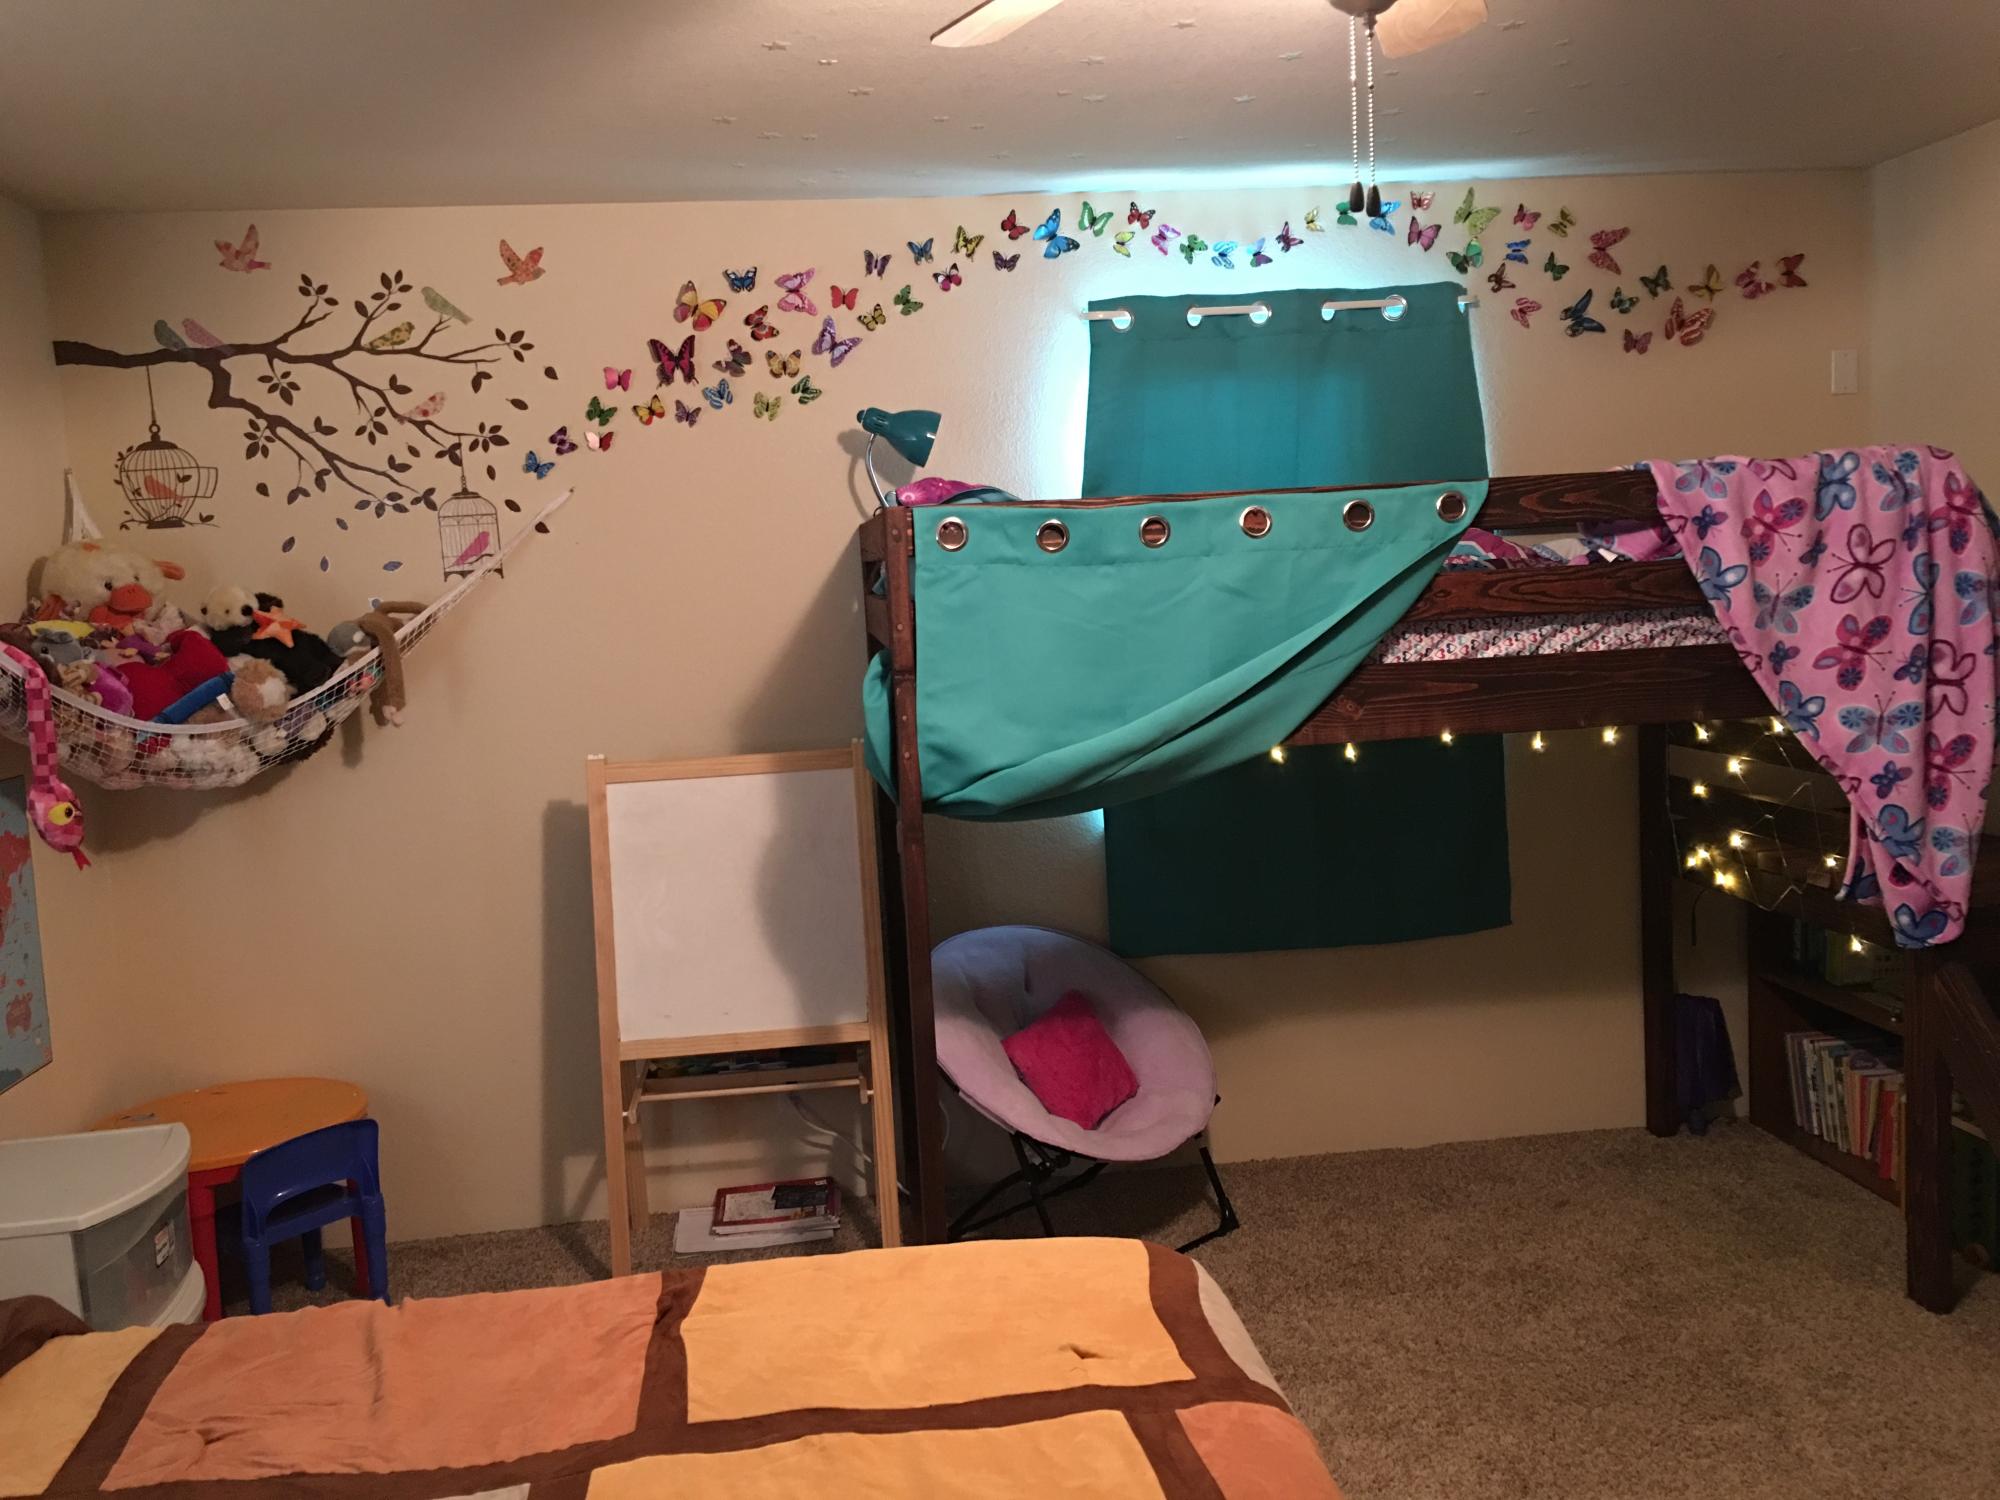
found plans for the "sweet pea garden bunk beds" on this site. Here is our take on them they came out so awesome.

Ok. Not the best photos. But the project was quick and easy. I preferred the vertical display but she wanted the horizontal for more display room. Plus it gets more stuff off the floor!

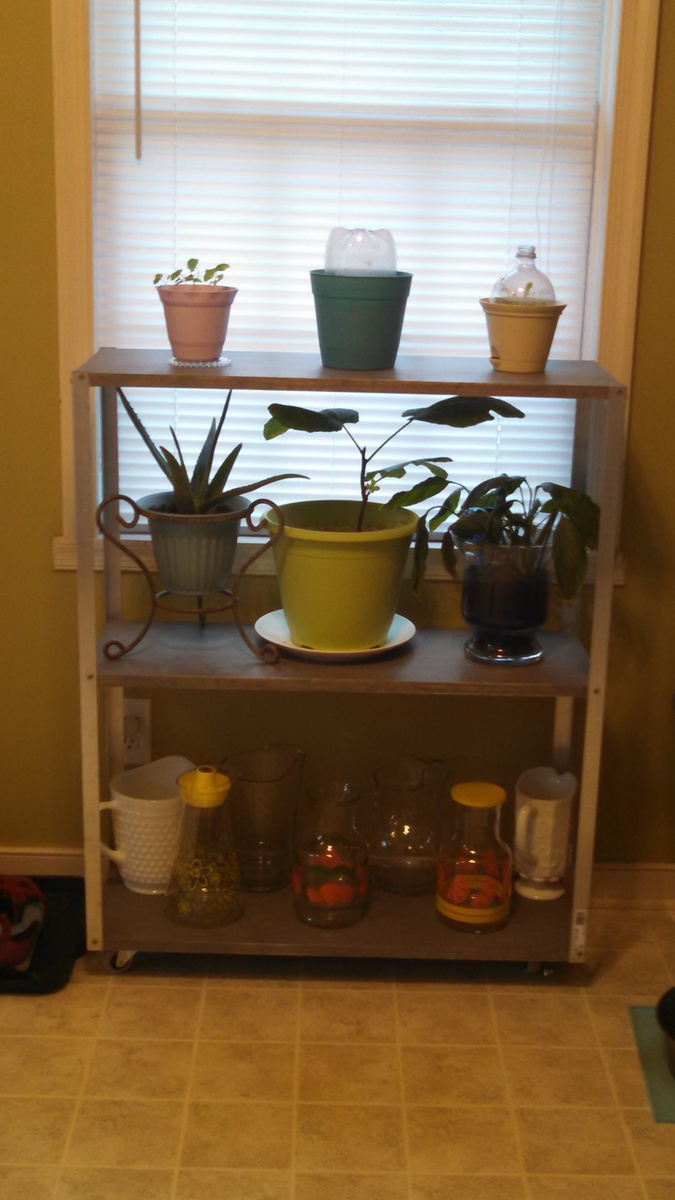
I loved this plan when I first saw it. I did make mine with metal that was 36 inches for the legs, it was the length available at my local hardware store and it also allows me to have plants on two levels and still be high enough for sunlight (unplanned bonus).
Turned out amazing!!
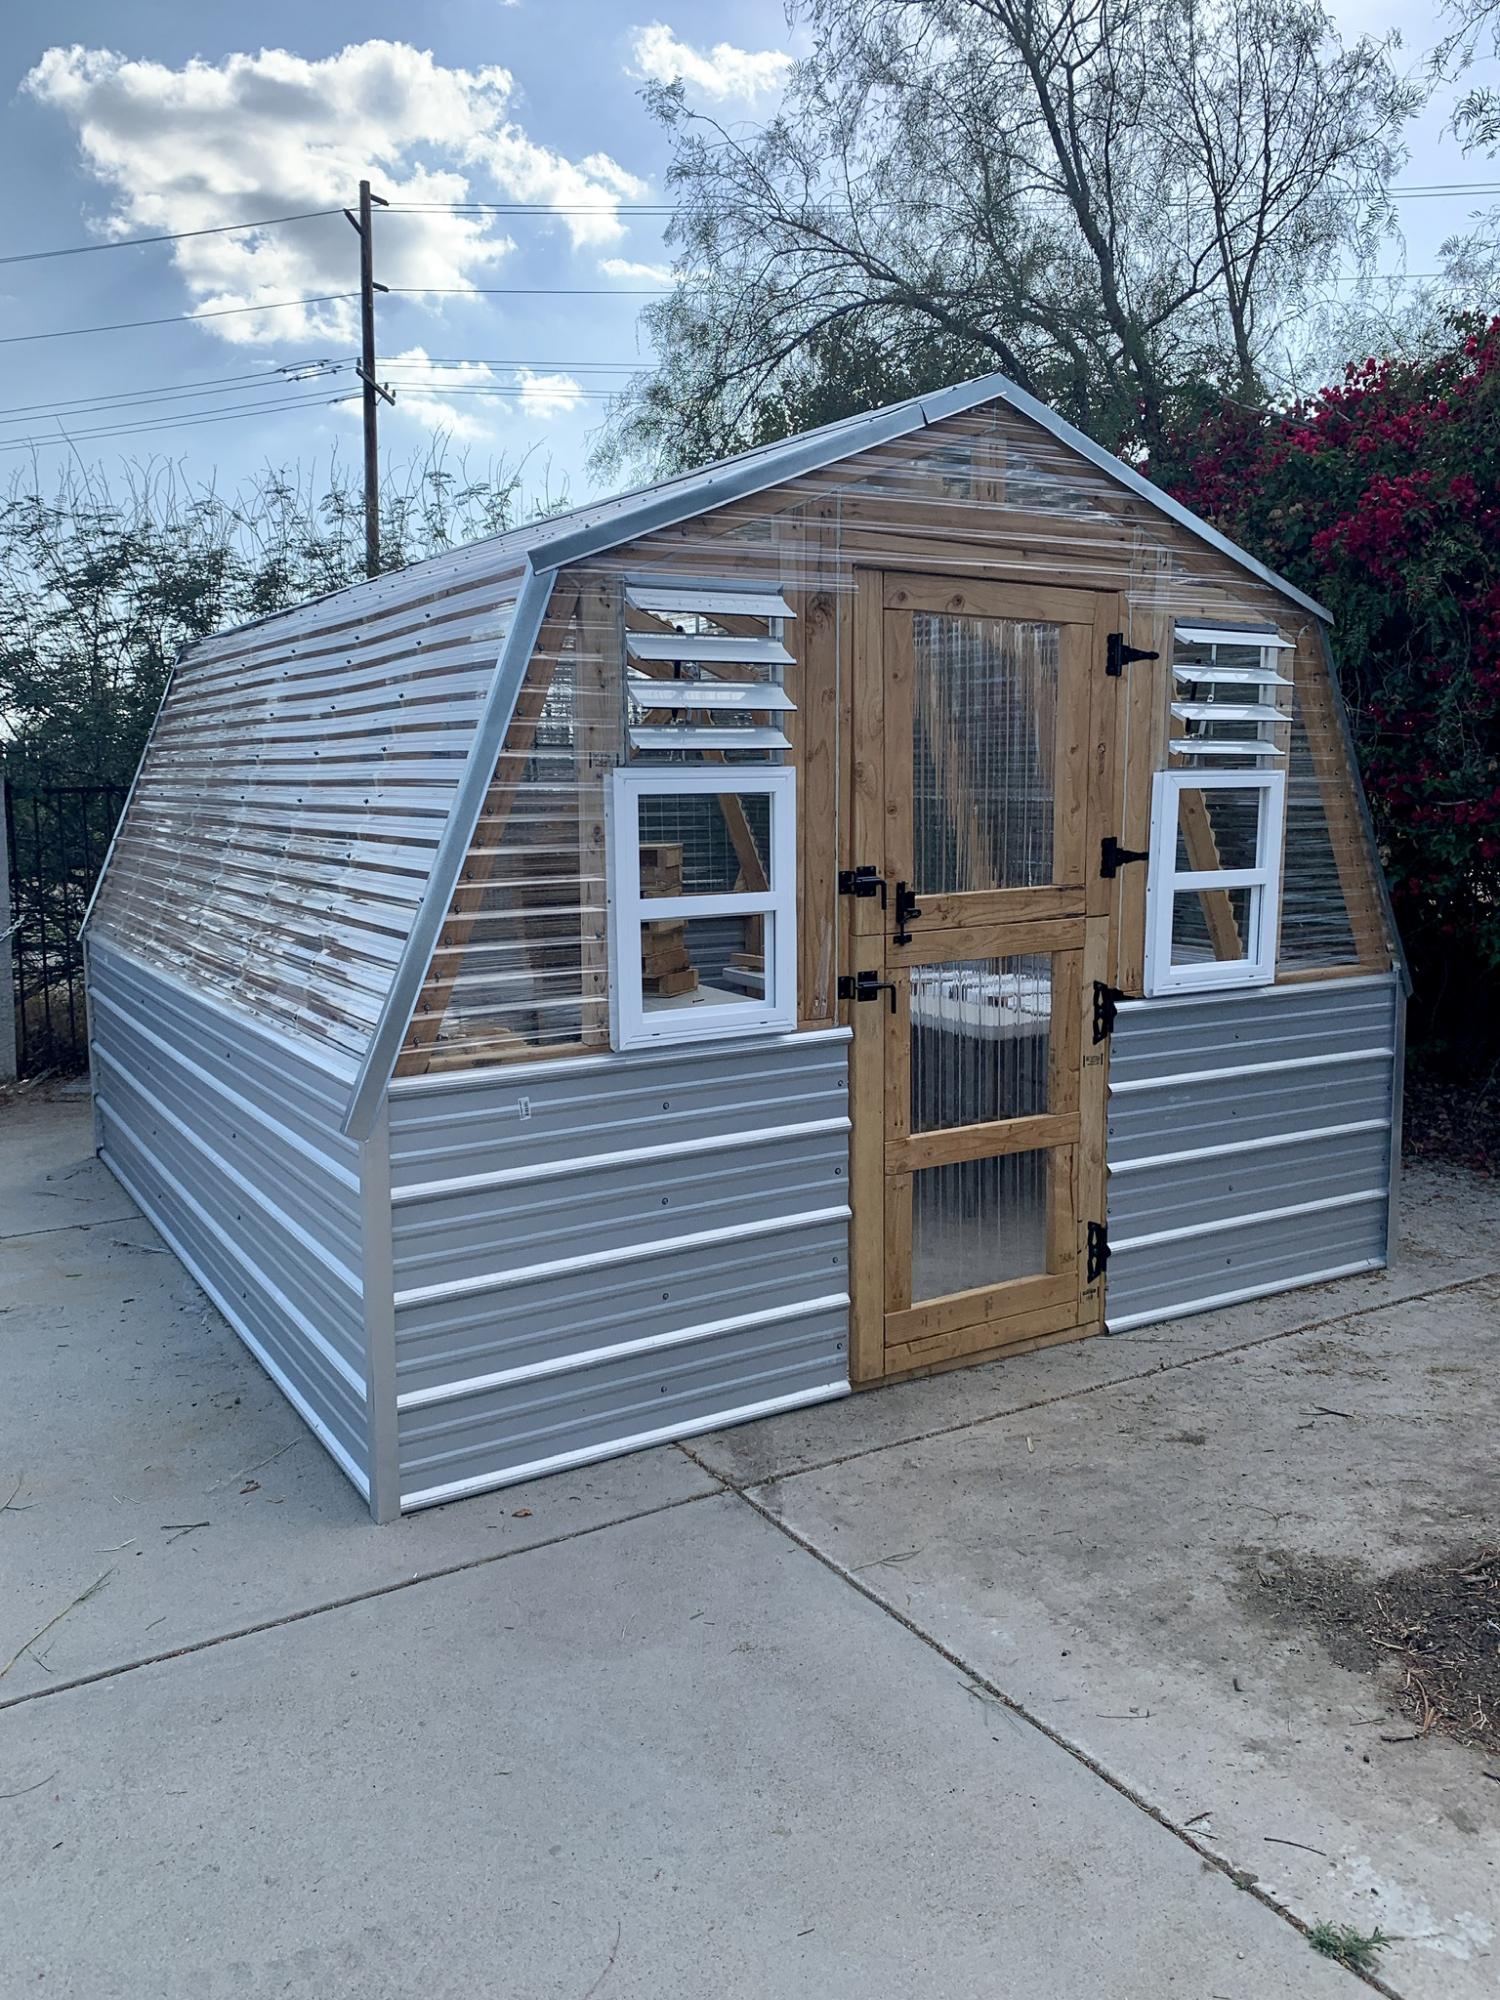
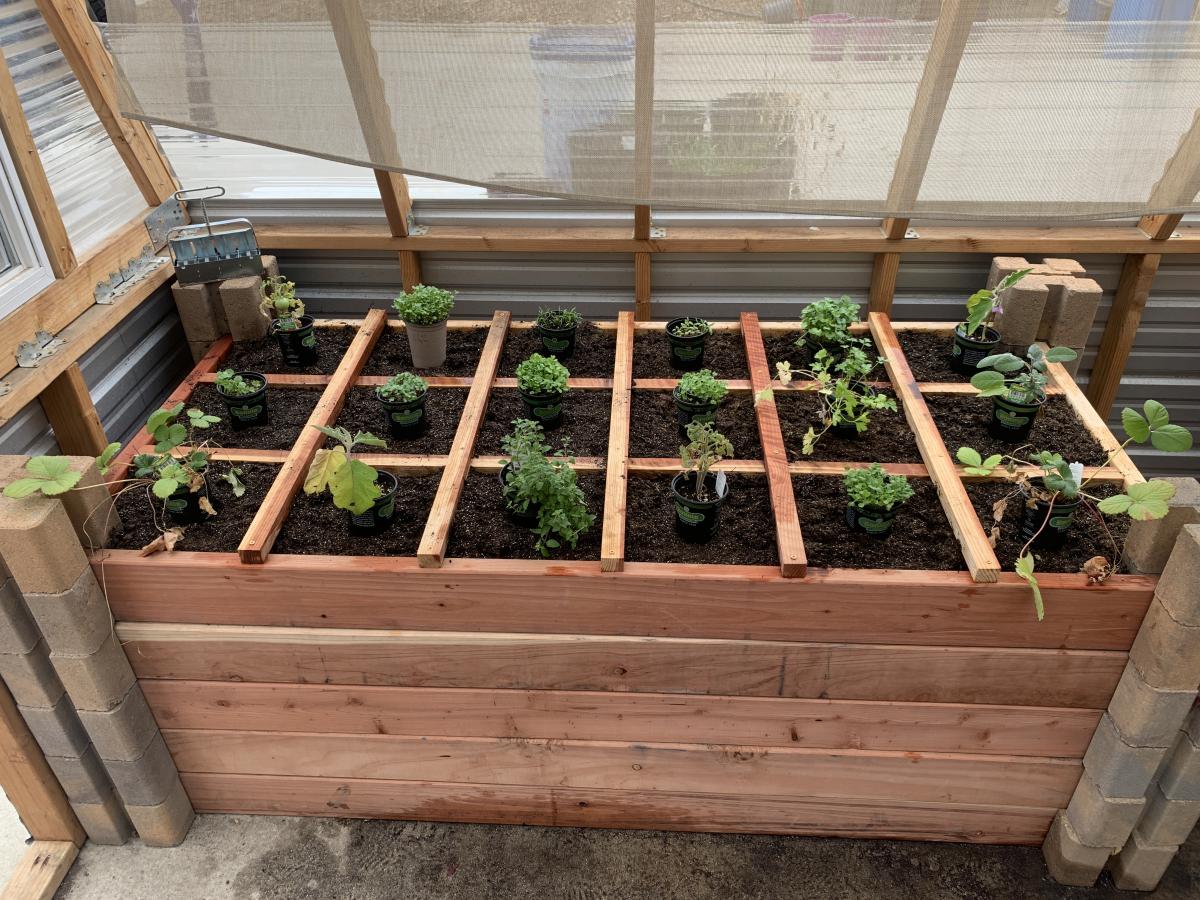
We made some modifications to the greenhouse to include a bench with three levels, a working bench and a square foot garden. We also put it on concrete to keep all the weeds out from the bottom as well.

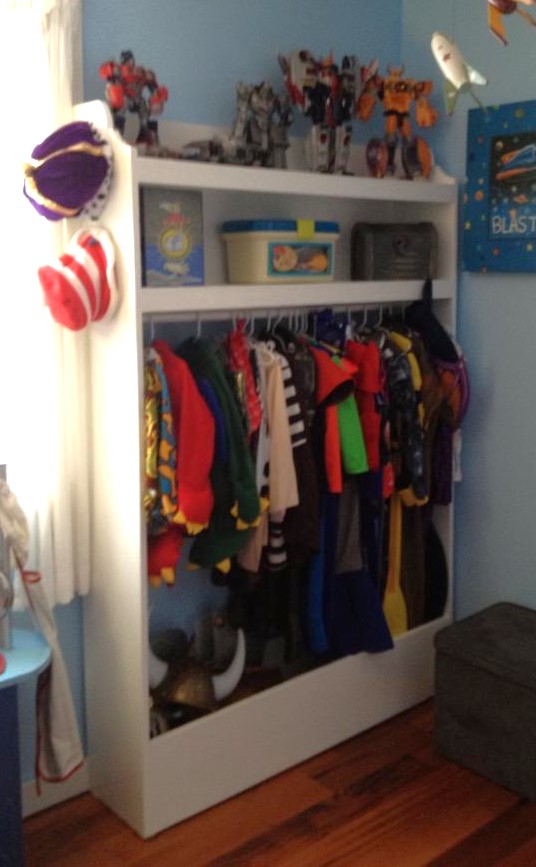
MY boys have tons of dress up stuff so when I saw the dress up center plans I just had to make one! My husband and I decided to make it a little taller and add a shelf since the play room is small and they could use any extra shelves/storage we can squeeze in. This was our first DIY furniture project and we can't wait to try another. :)
The decision to replace the shutters between our Guest Bedroom and our Great Room with a sliding barn door was simple. The implementation thereof was considerably more complex.
We selected reclaimed barn wood purchased at a local hardwood store. The wood was, presumably, some type of cedar and was very user friendly; no cracking from KREG screws and cut / glued very well. We did have to run the stock through the joiner first, however, as the edges were weathered, warped & gouged. We didn’t sand or finish the wood in any manner and it looks exactly as it did when it was part of a standing barn.
The significant challenge for this project was joining the planks together. Many of the boards were cupped and of varying thicknesses. Rather than use a surface planer, we decided to go for the “very rustic” look. We selected planks and their respective locations based on color and the pattern of how the knots were placed.
We used TITEBOND No-Drip glue, which is typically used for molding. While it is stronger than TITEBOND II but not as strong as TITEBOND III, it is much easier to work with. Since we didn’t intend on sanding / finishing the wood, we didn’t want to use a glue that was too runny. Reclaimed barn wood is very porous and excess glue would quickly inter-digitate with the wood. Excess TITEBOND No-Drip glue was easily removed, once in a doughy state, with the gentle scrape from a sharp wood chisel.
It took us over 6 hours to join the 8 planks as we were very careful in plank positioning so as not to shoot KREG screws through the front. Since plank placement was so crucial, we used pipe clamps and each board was individually clamped and screwed as opposed to trying to do several at one time. Much to our delight, 1 ½” course thread KREG screws had impressive purchase. The frame was glued and secured w/ ROCKLER 1 ½” finishing screws that have a 3/16th fine thread which countersink easily as the thread is wider than the head.
The dimensions are 51” (x) 46.5” and 2” thick at the frame. It took us 30 hours to build and hang. The final cost was about $550 ($300 – wood / $250 - hardware) which is much less expensive than the $1500 - $4000 price range seen on the internet.
This was not a particularly difficult project, but did require patience and some luck along the way. If a barn door is of interest to you, the savings in cost is well worth the effort.
We finished off the room using scrap wood for picture frames.

Mon, 12/15/2014 - 12:10
Totally cool! I love this and thank you for sharing!
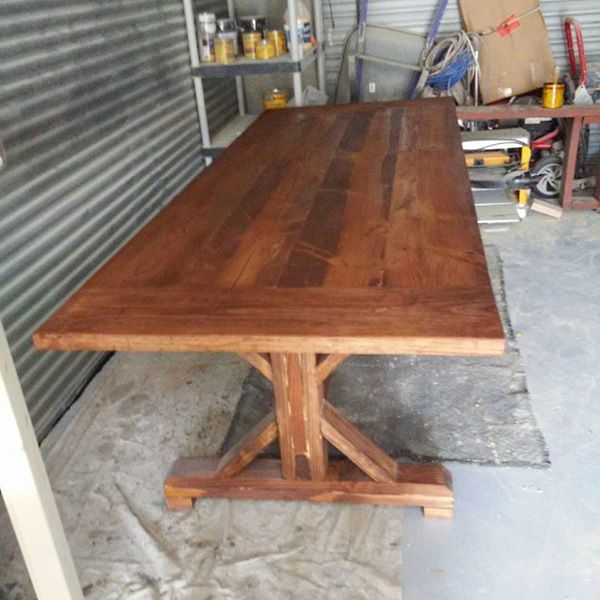
Farmhouse Table
Few Modifications, Tools use Miter Sae, Table Saw and Planer
Check My Work At https://www.facebook.com/Custom-Patio-Retreats-1764656797122875/
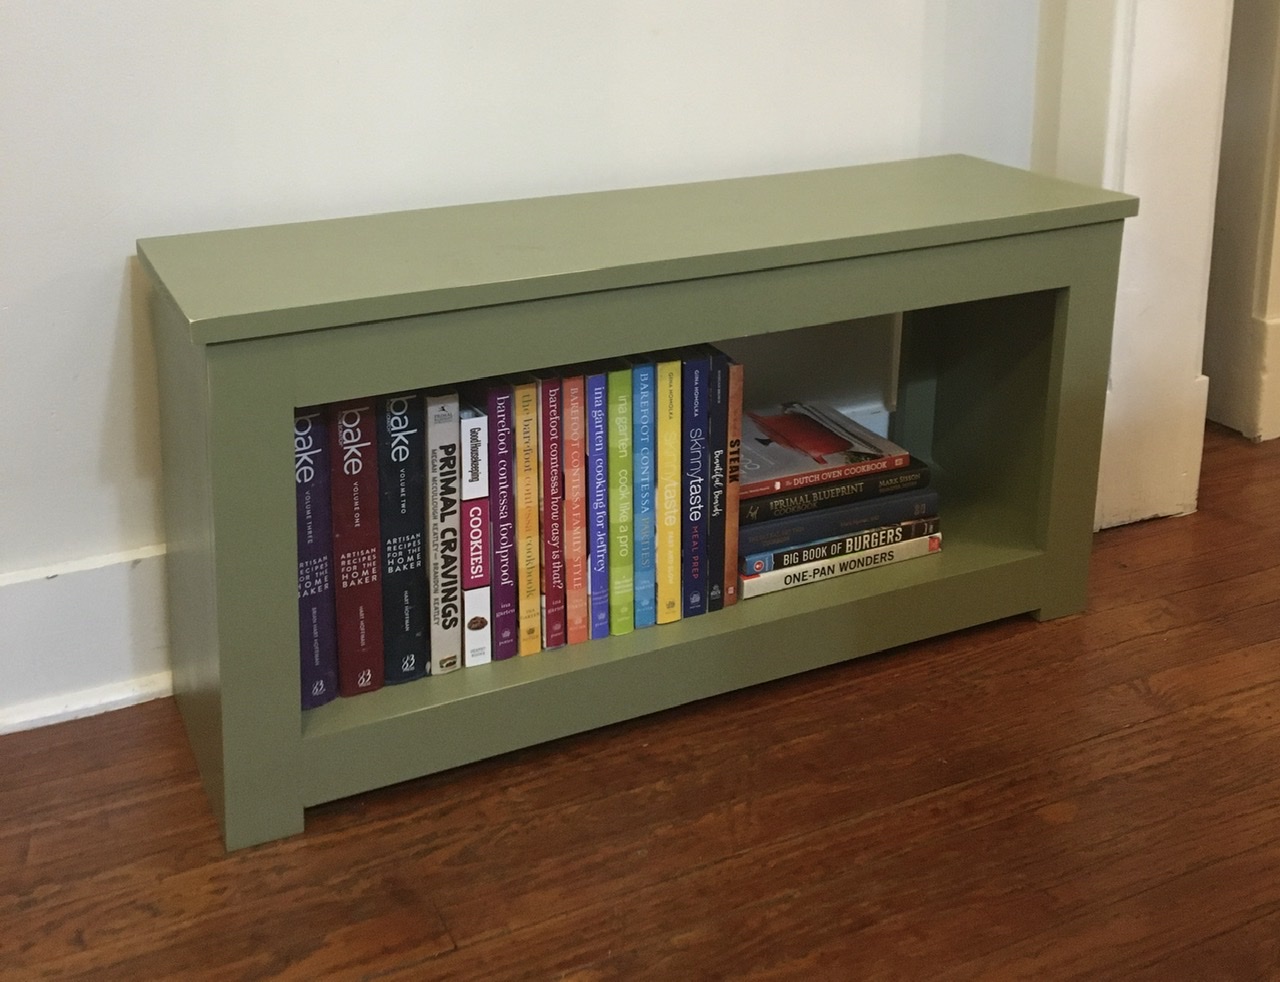
There is no seating in our small kitchen and this spa bench was the perfect solution. Adds just the right amount of space for someone to keep a chef company while cooking or baking.
This is the first project I have created from a plan from this website . It is not perfect but I love how it turned out. The only modification I made is the words on the back board and some assembly modifications as far as the joining the front and back to the storage box, I have not added stain or paint yet because I have this up for sale
Tue, 02/12/2013 - 17:45
on craigslist and on Facebook in online garage sales

My wife always wanted a mantle to hang our stockings on for the holidays and when this plan was posted I showed it to her. She immediately said she loved it and asked me to build it. It fits perfectly in our house along with all of the other projects I have build from Ana's plans. The center part was done with vinyl tiles cut to look like rocks and then grouted to fill in the gaps. We are both very happy with how this project turned out. Definitely one of our favorites.


Tue, 12/16/2014 - 11:22
WOW! I love this and the faux rock looks great! Thanks for sharing!
Tue, 12/16/2014 - 15:39
The faux rock is an awesome idea. Your project turned out wonderful!
We based this bed on plans we found on the Ana White website, but after final assembly we decided it was just a tad too low. Eventually we got around to adding the legs, which were made with left over pieces (from the bed project) of 2x6, cut to 11in. We've been very pleased with the appearance, stability, and height of the bed this way. Now to wait for some nice weather to take out to the garage and stain/finish! If we would build it again, we would increase the width by an inch or two because the plans we followed "as-is" ended up being the exact dimensions of our mattress. Thankfully a foam mattress will squish into it and we won't have to rebuild for the extra inch. Overall pleased with our new bed.
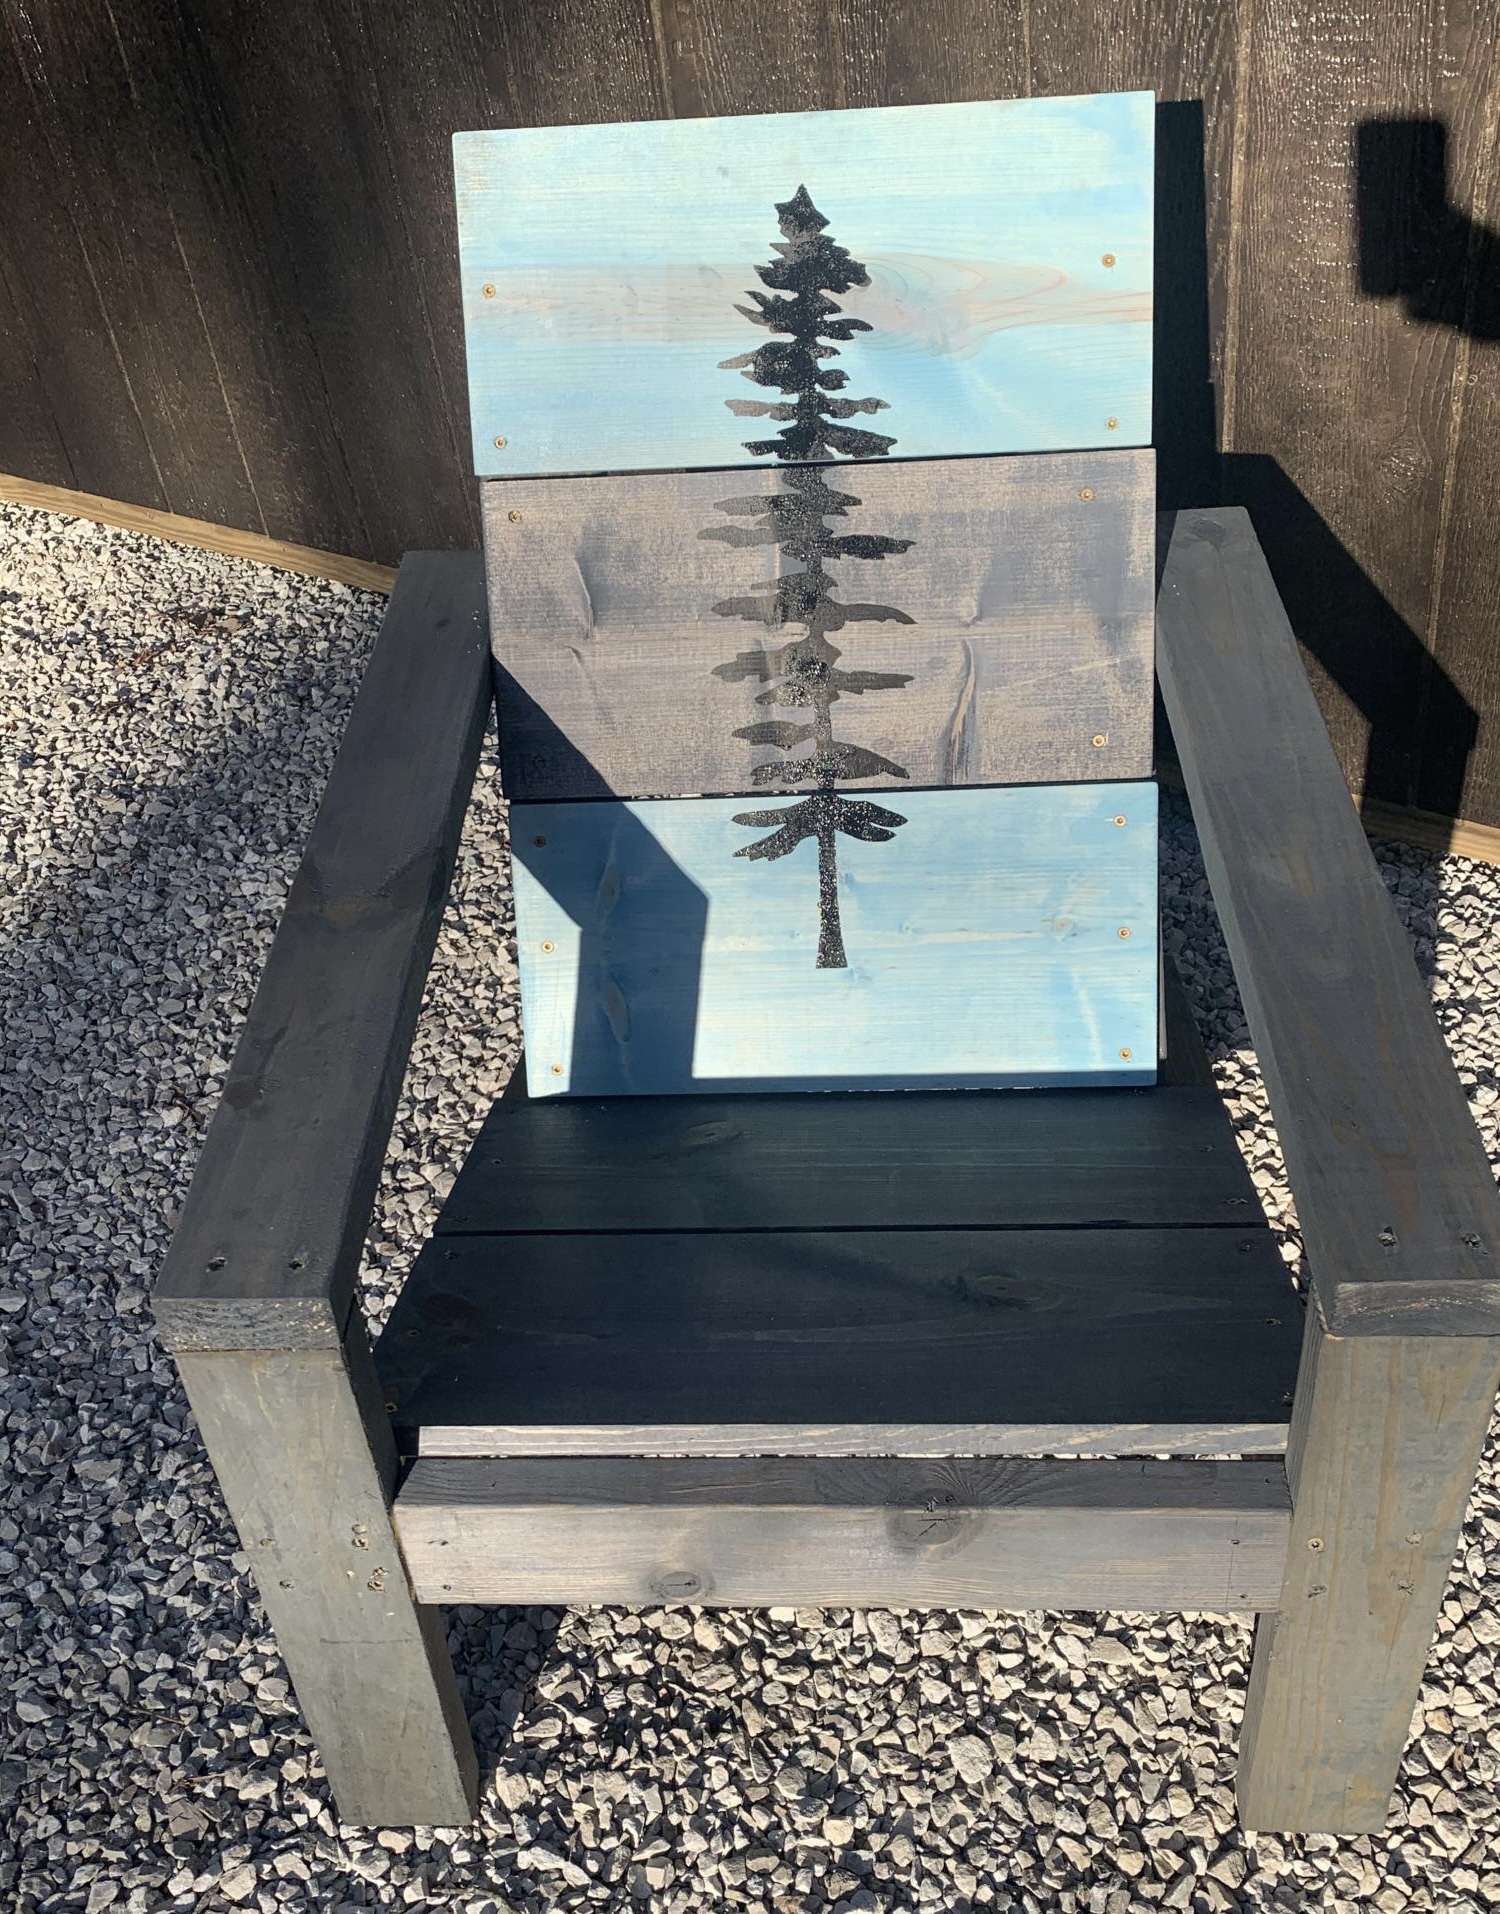
This is my second chair I’ve built. The first was proof of concept. This chair (and the subsequent 7 that will follow) are for the rental cabin in the Red River Gorge. Loving this chair! I have no idea why pic is turned sideways, it’s not that way on my phone.
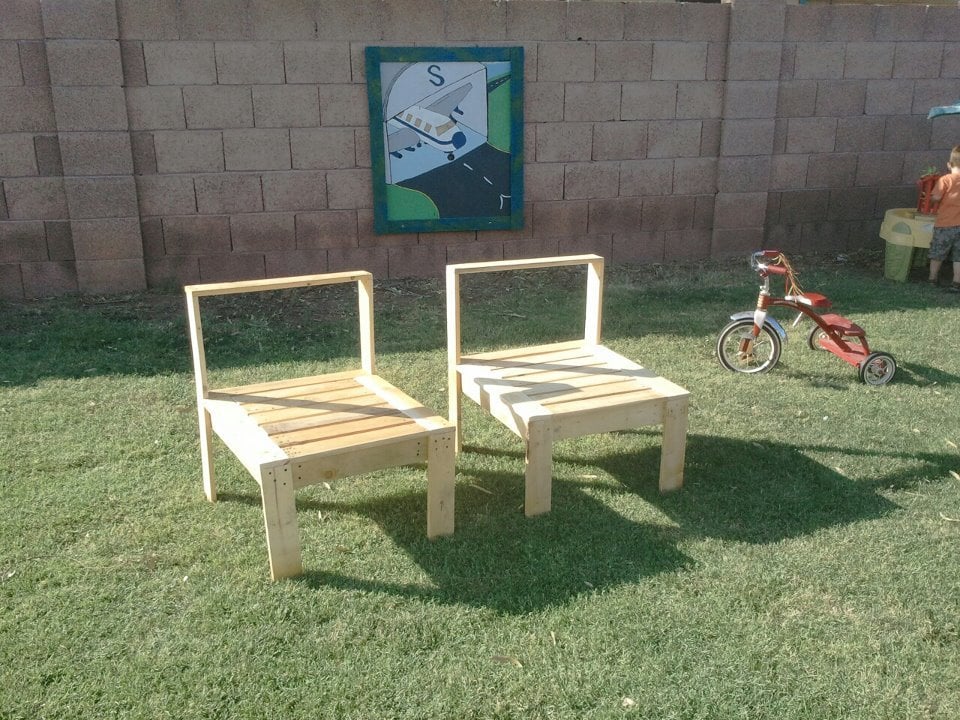
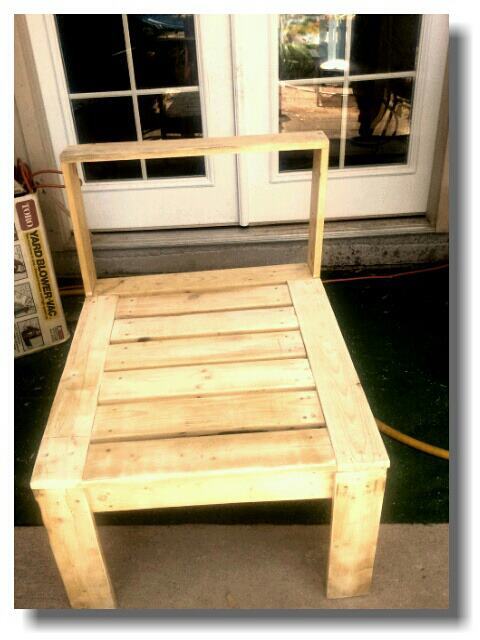
I started to build my outdoor seating with plans from Simple Modern Outdoor Sectional but realized after two chairs I wanted the bench to match the prior storage/table bench i made..
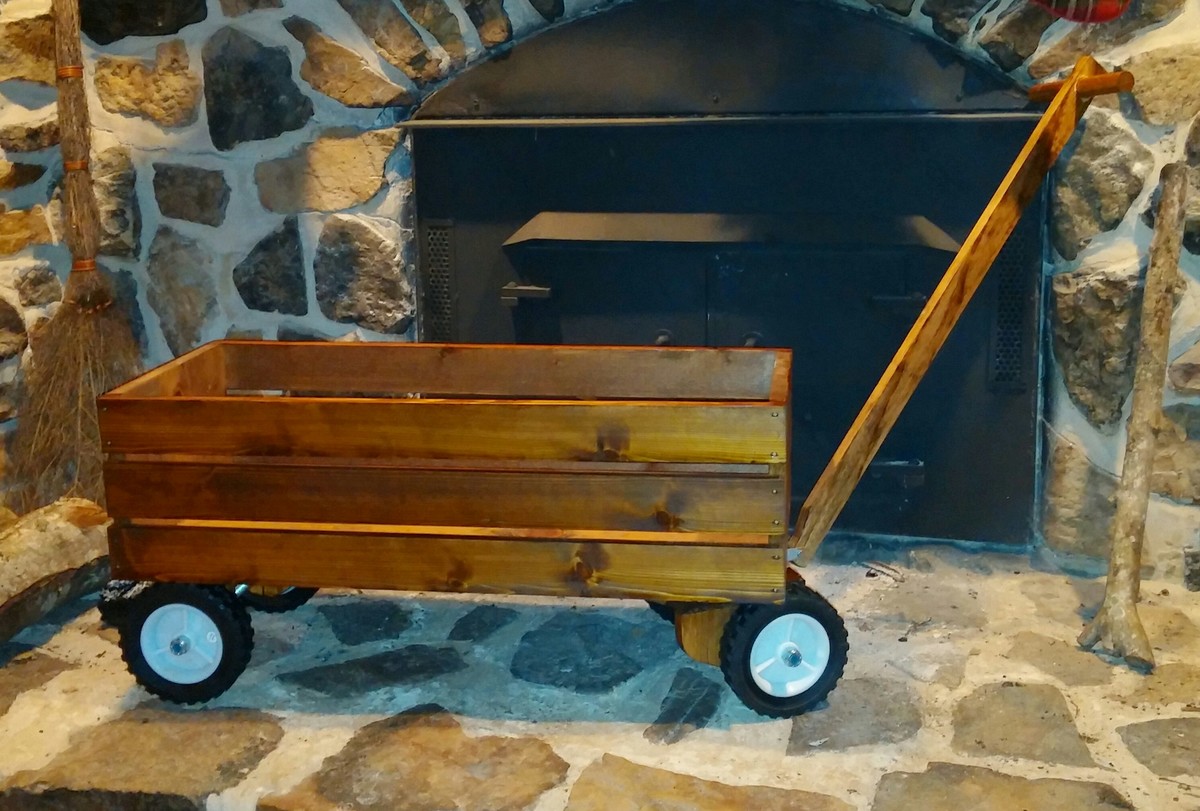
This is a variation of the wood wagon design http://ana-white.com/node/13430. I wanted old 2 year old to be able to use it in the lawn so I changed the wheels and steering over to a more traditional wagon wheel. We will be giving to him for Christmas. I had a lot of fun building this for my son. I hope he loves it.
Mon, 12/14/2015 - 12:41
Love the plans. I would, however, like to follow the modified plans to make it suitable for outdoor/grass areas. If any one could help me with that I'd be very grateful.
This is a great desk and will be large enough for my two monitors as well as a small sewing section. I'm really excited to pair this with the X bookshelf we also made. This desk is very sturdy and will last for years with the classic style.
Comments
Chadidol636
Wed, 11/18/2020 - 18:54
Want this
Want this