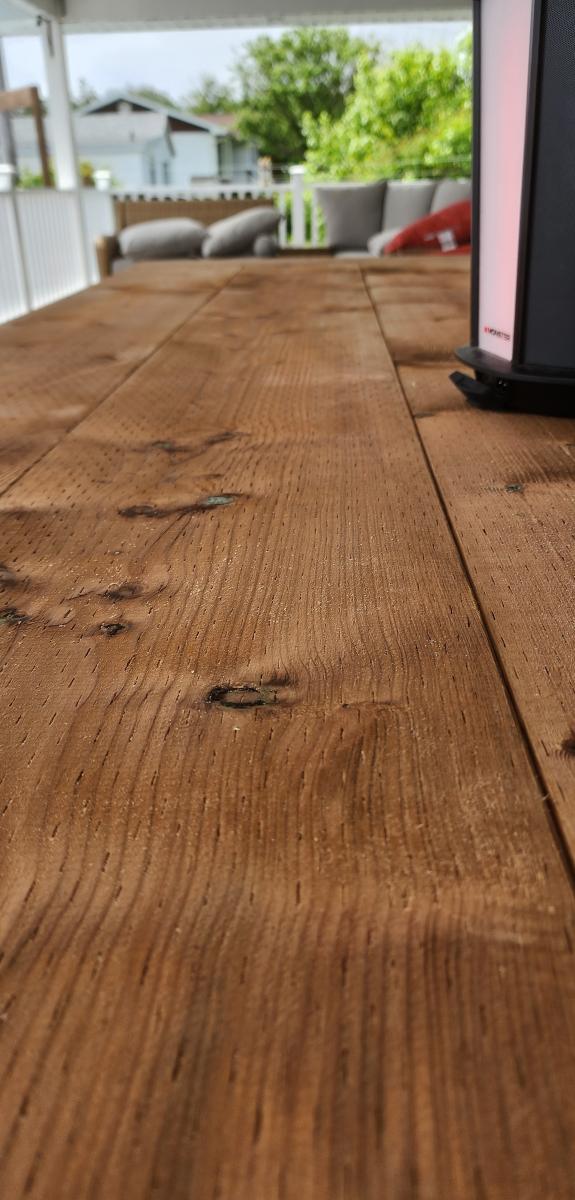
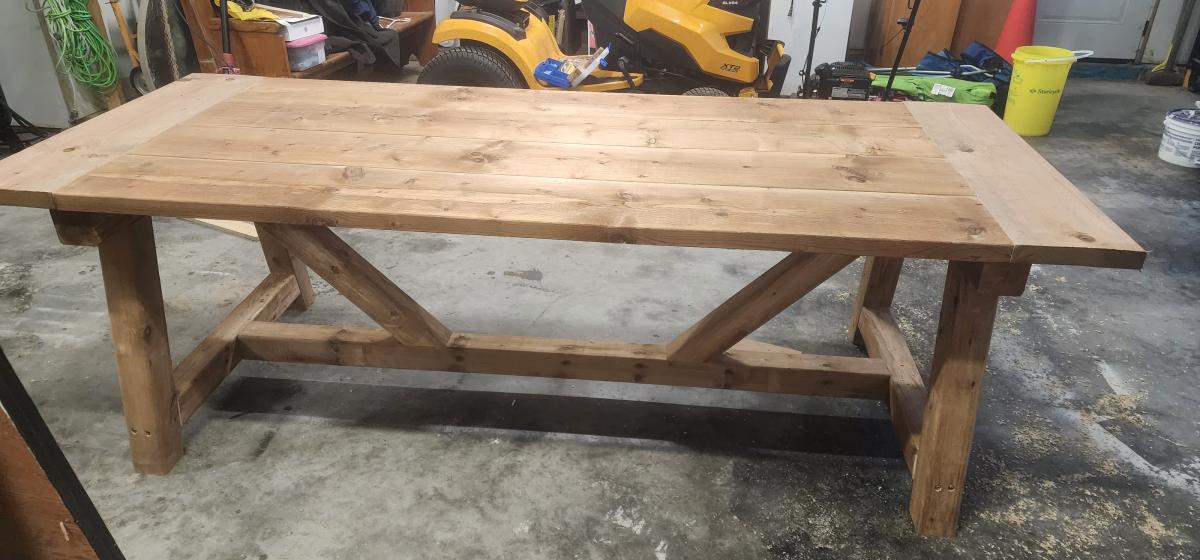
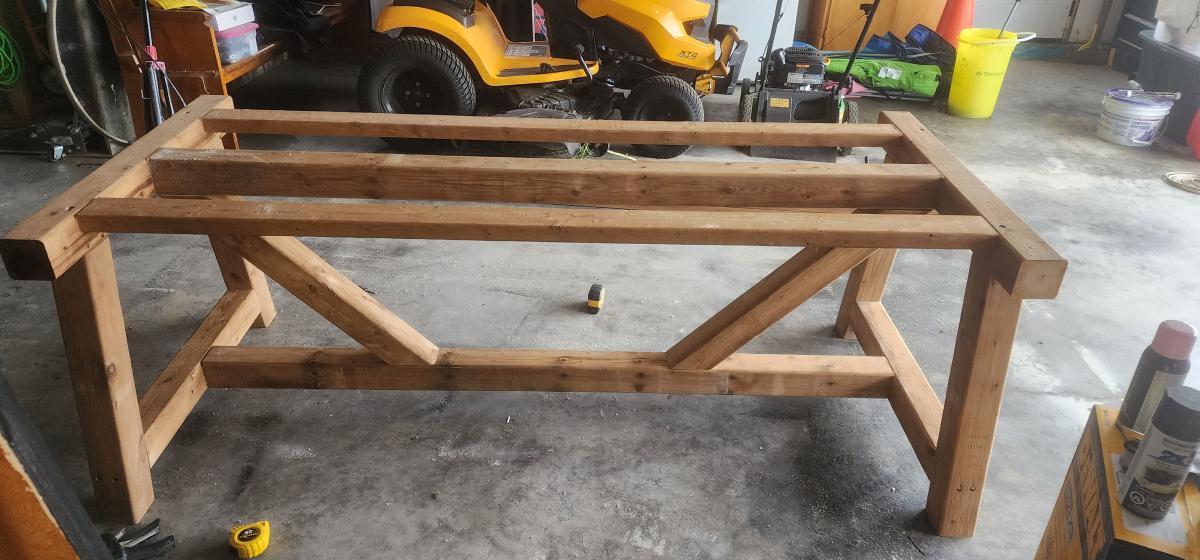
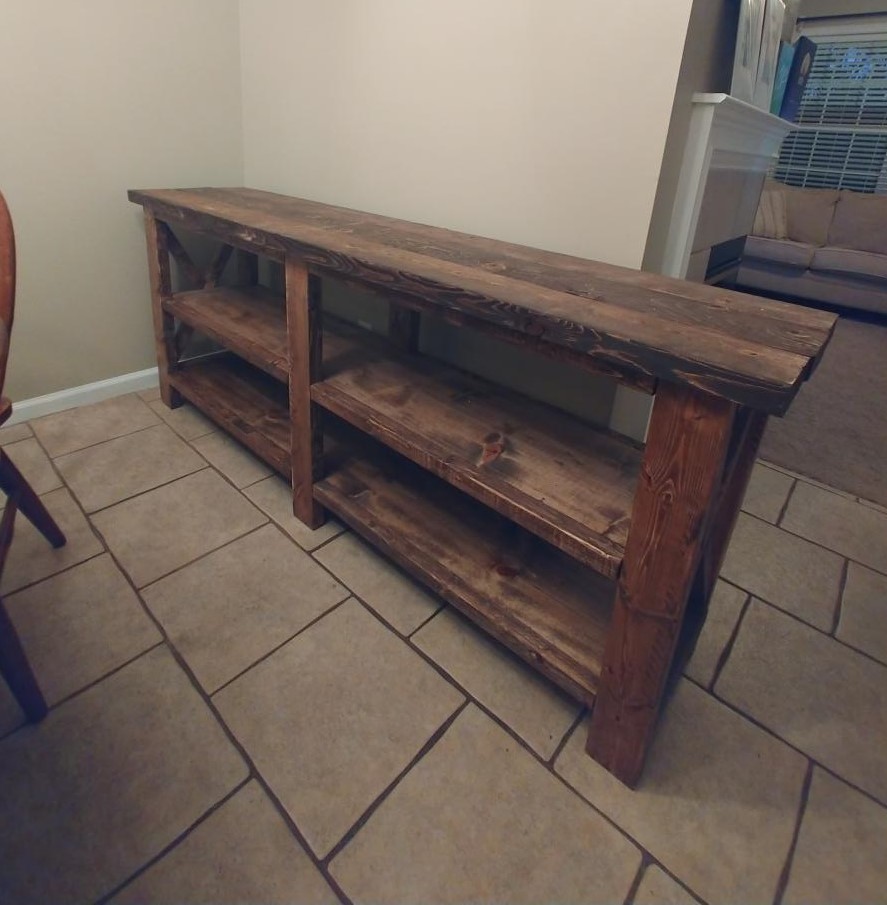
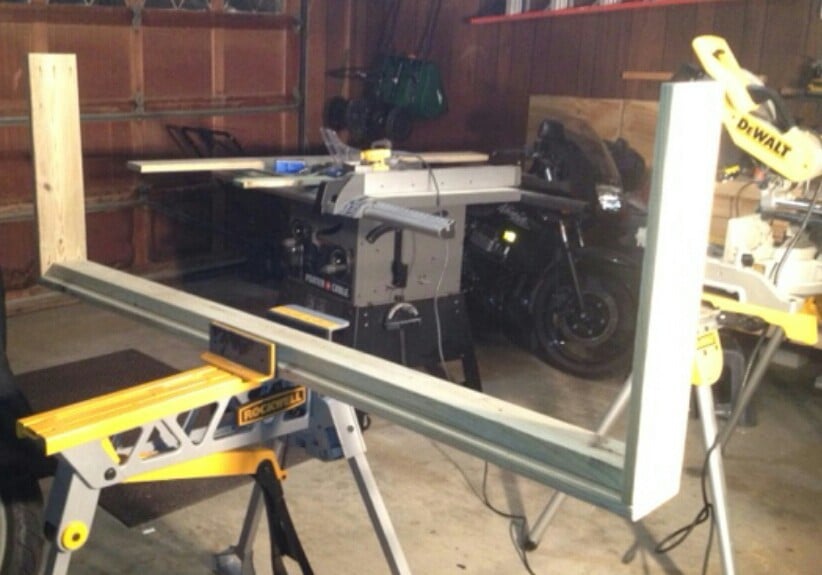
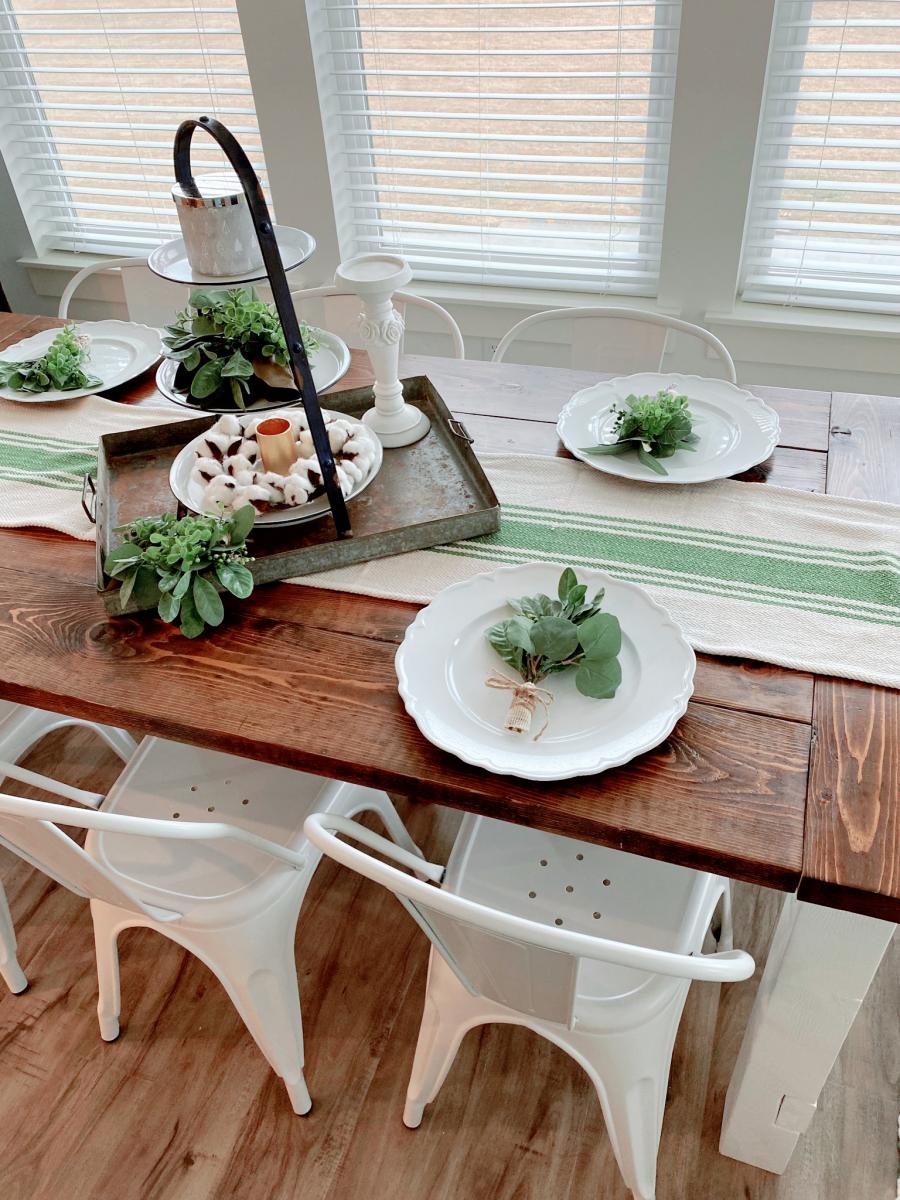
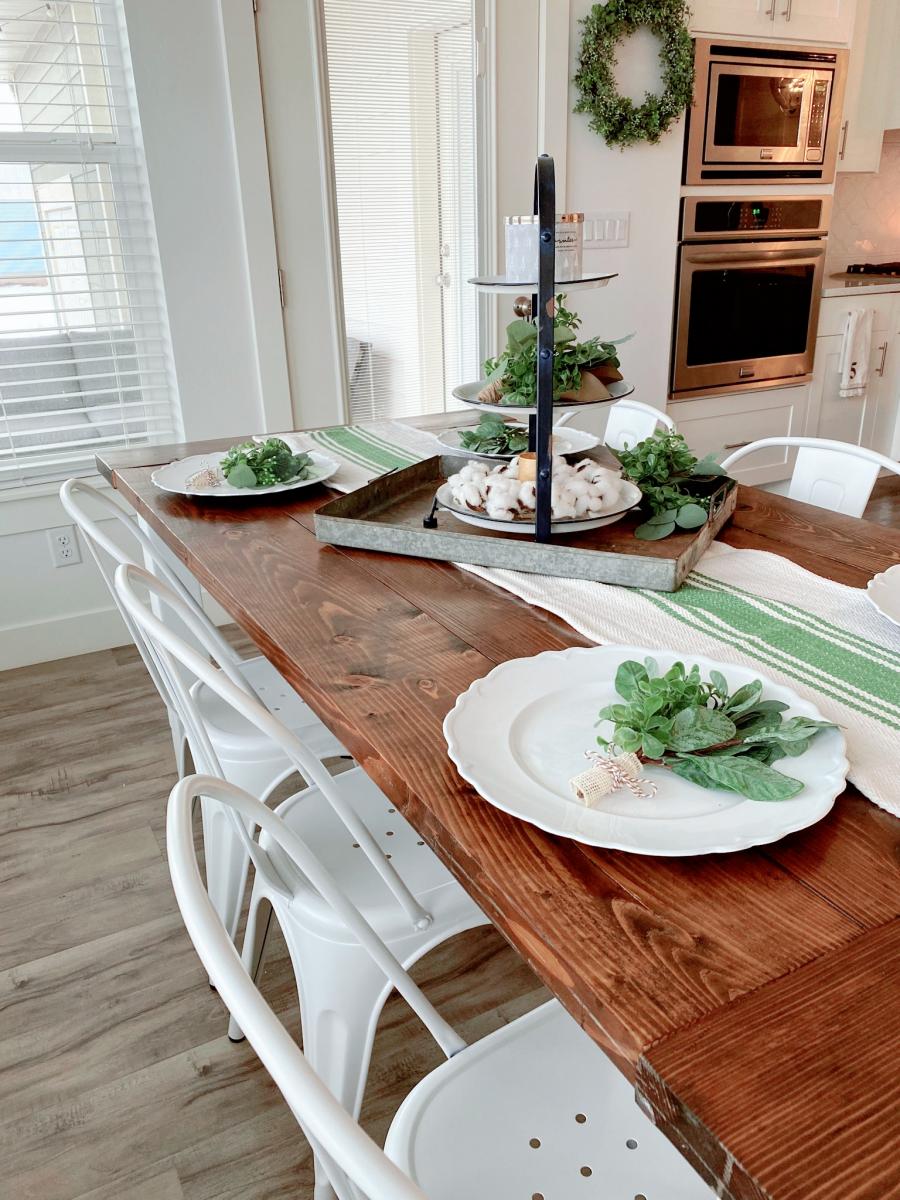
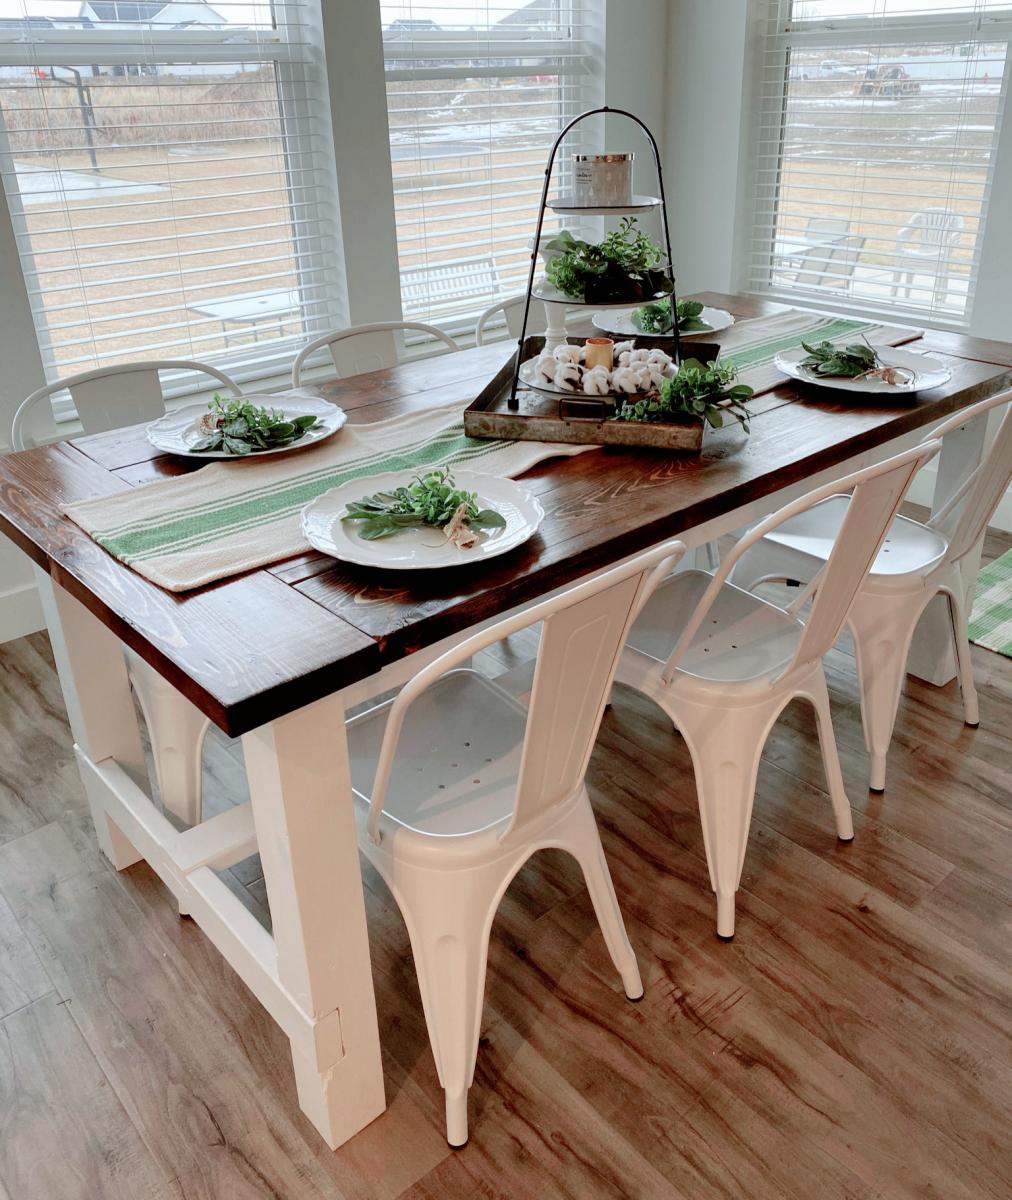
4x4 Truss and Beam Table
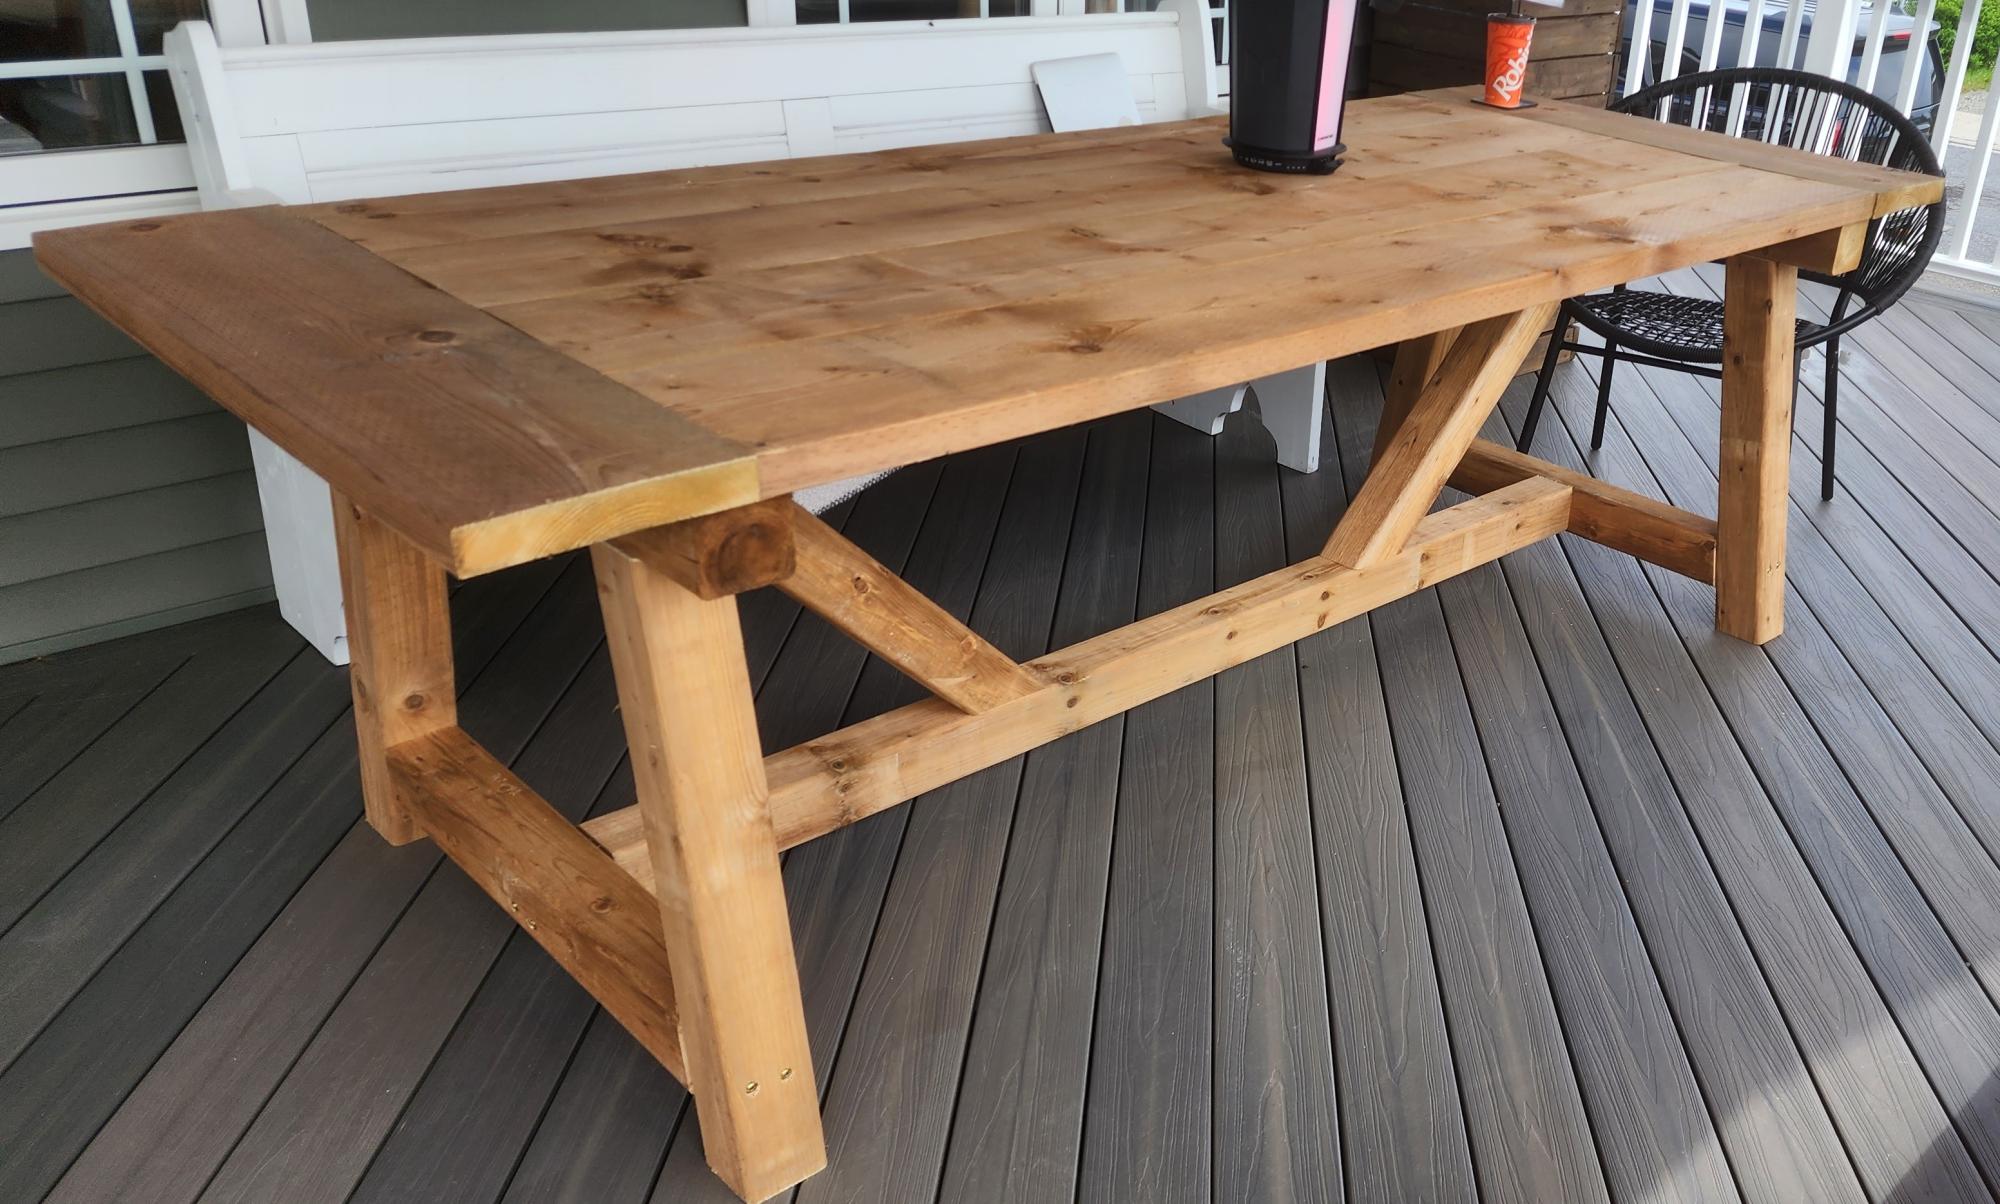
4x4 farmhouse beam table using pressure treated lumber, made a little longer to accomodate 6' church pews, so pleased with the build, best part, it took me 3 hrs to complete!
Corrina Kelly
Built from Plan(s)
4x4 farmhouse beam table using pressure treated lumber, made a little longer to accomodate 6' church pews, so pleased with the build, best part, it took me 3 hrs to complete!
Corrina Kelly
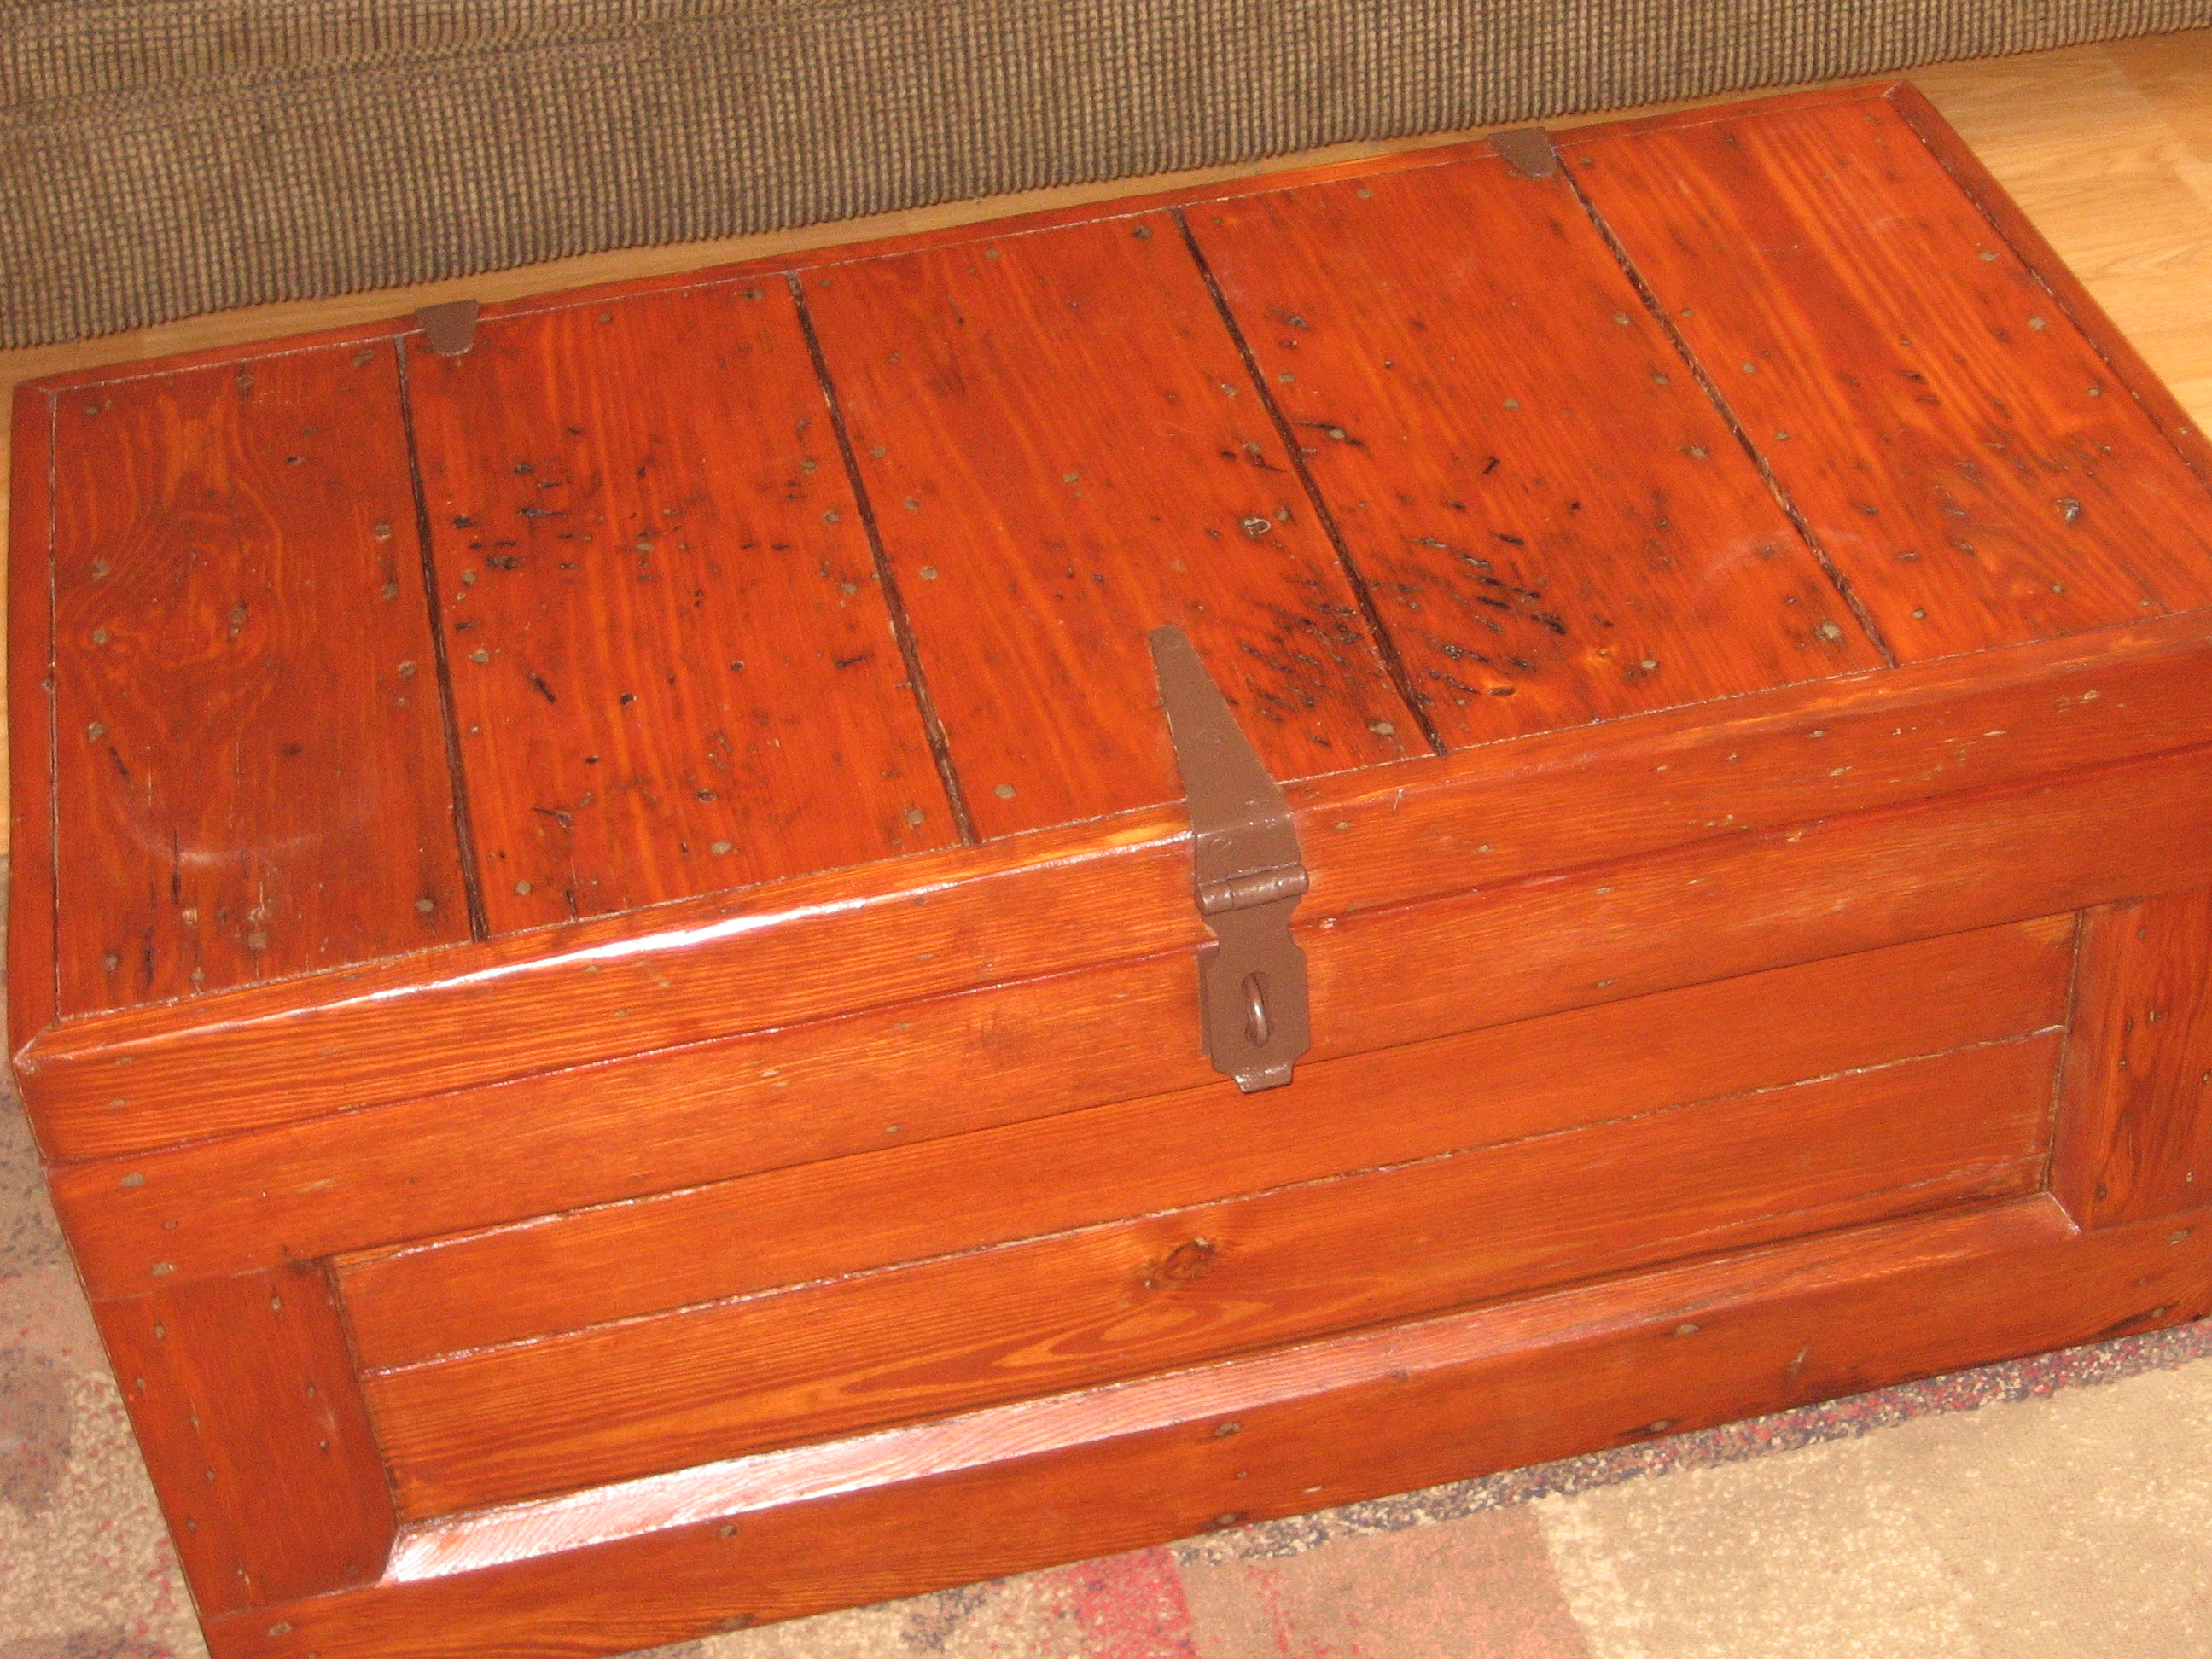
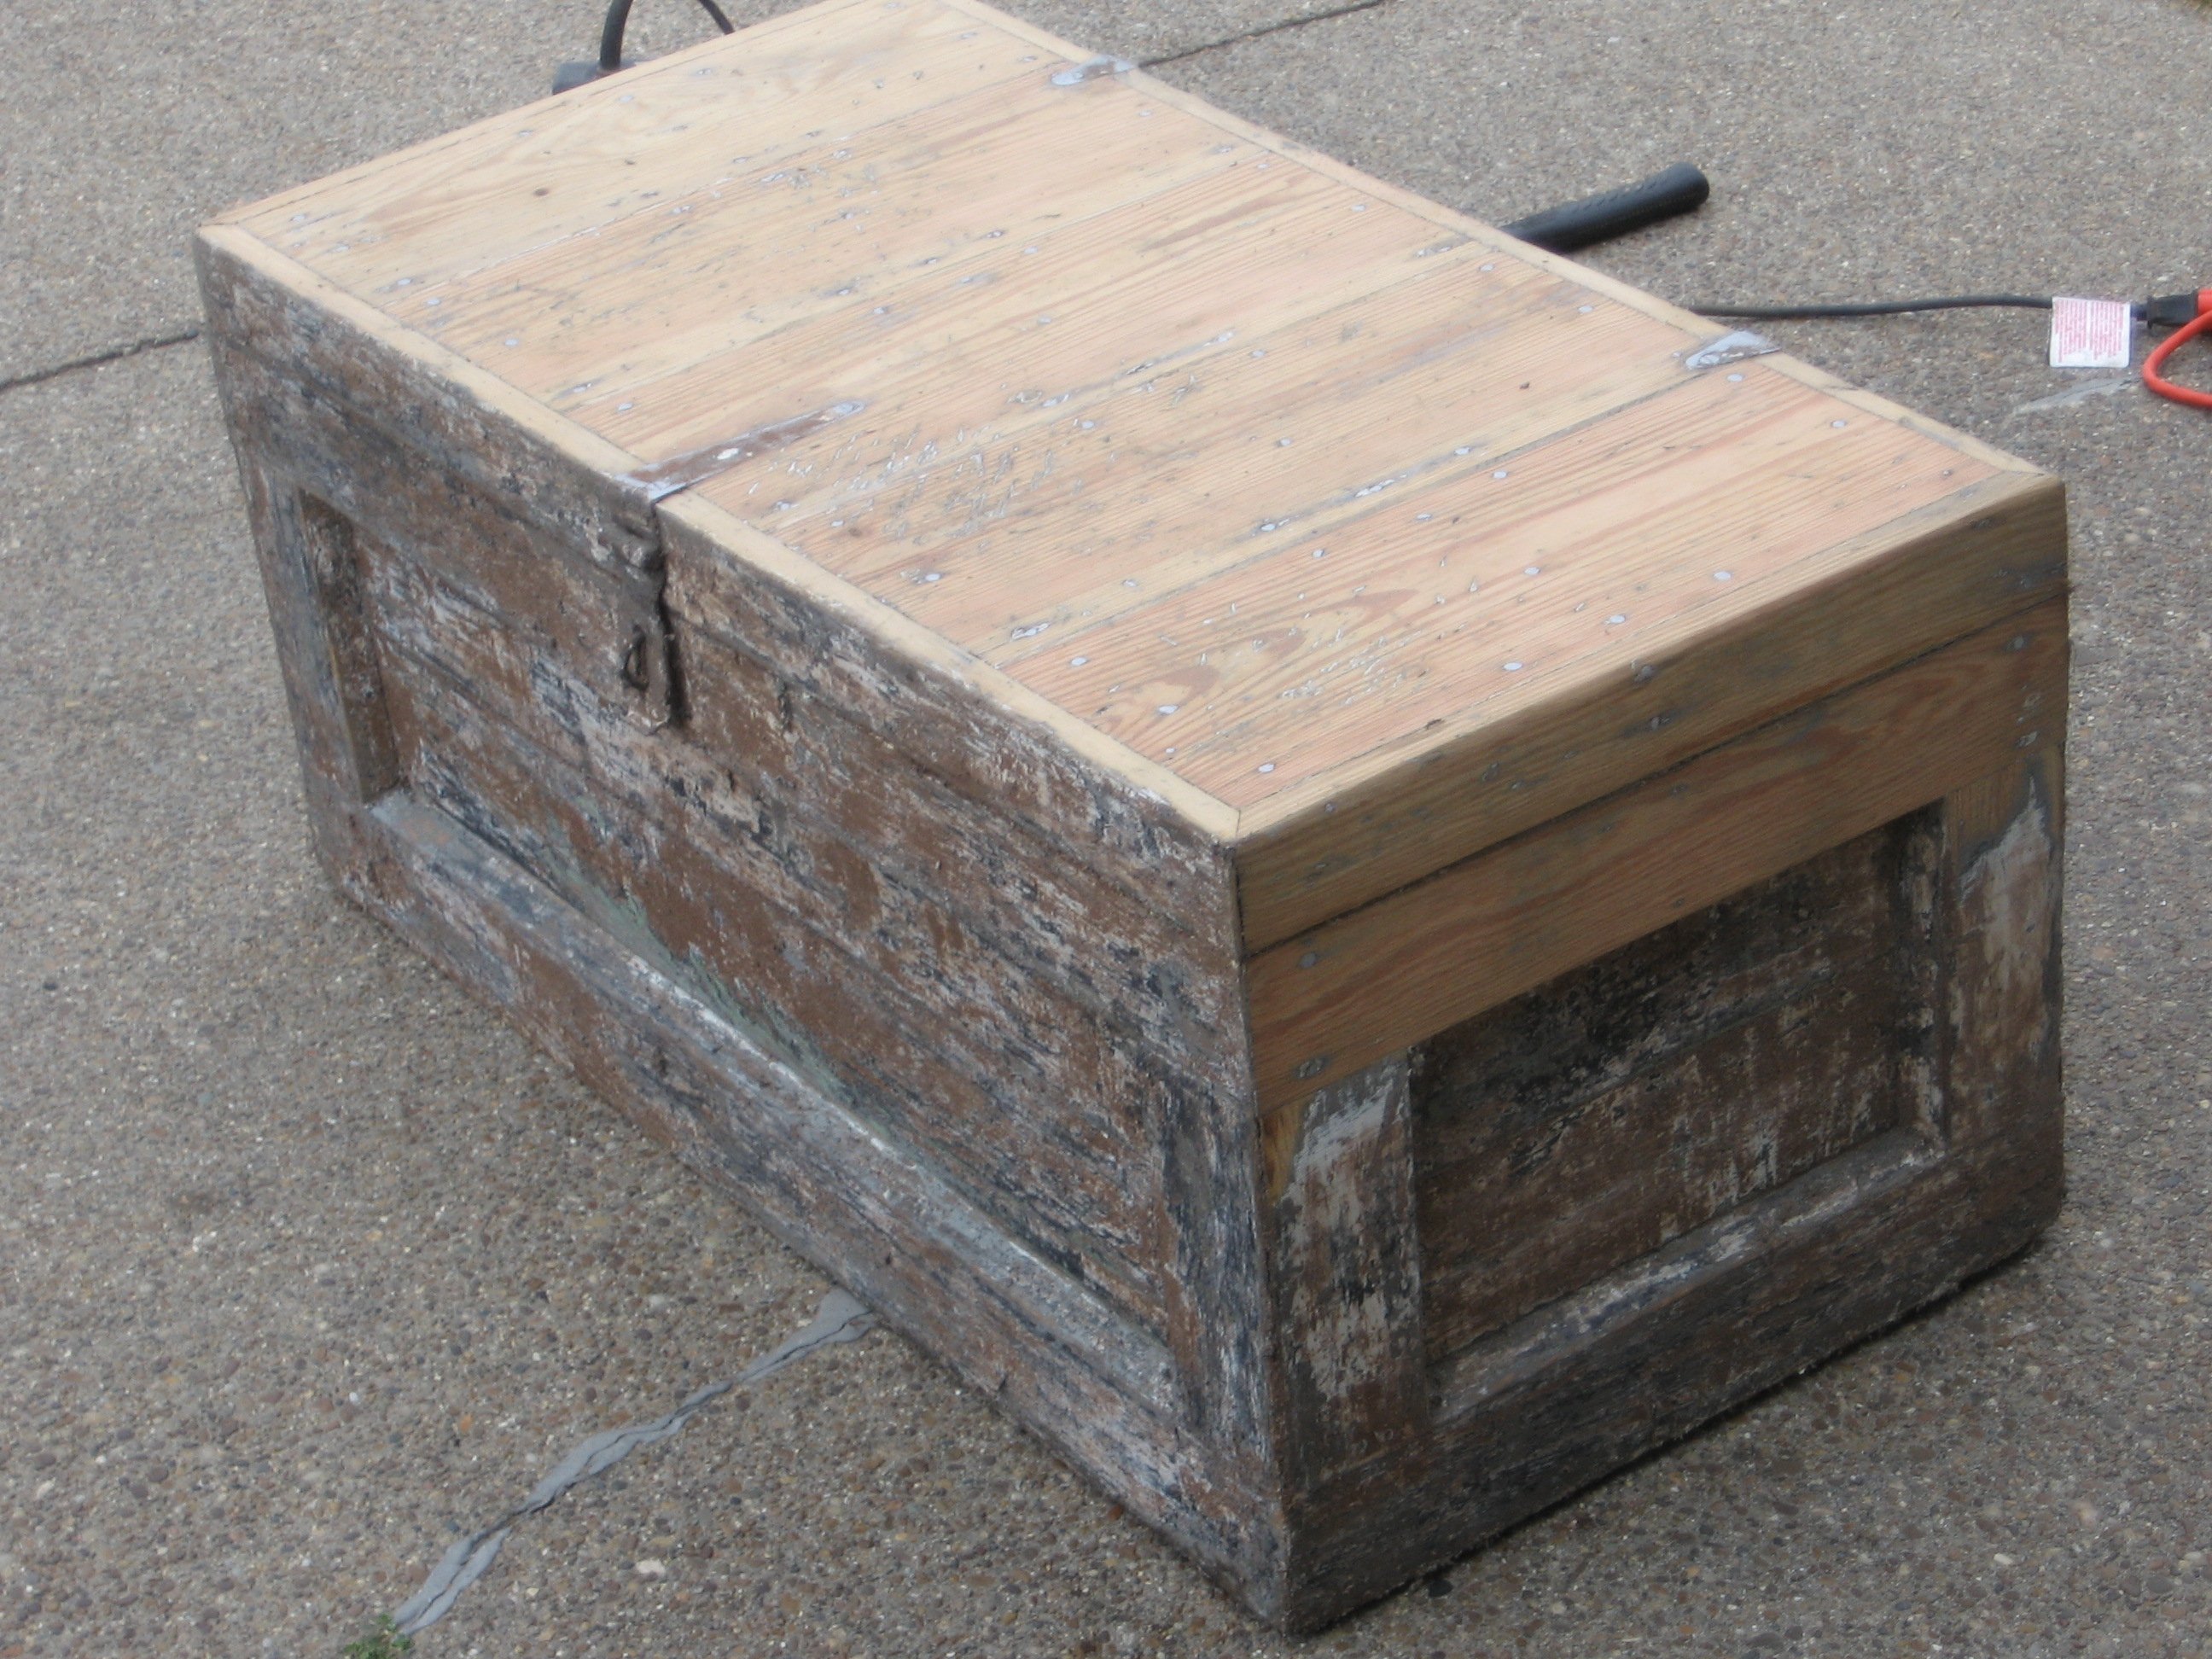
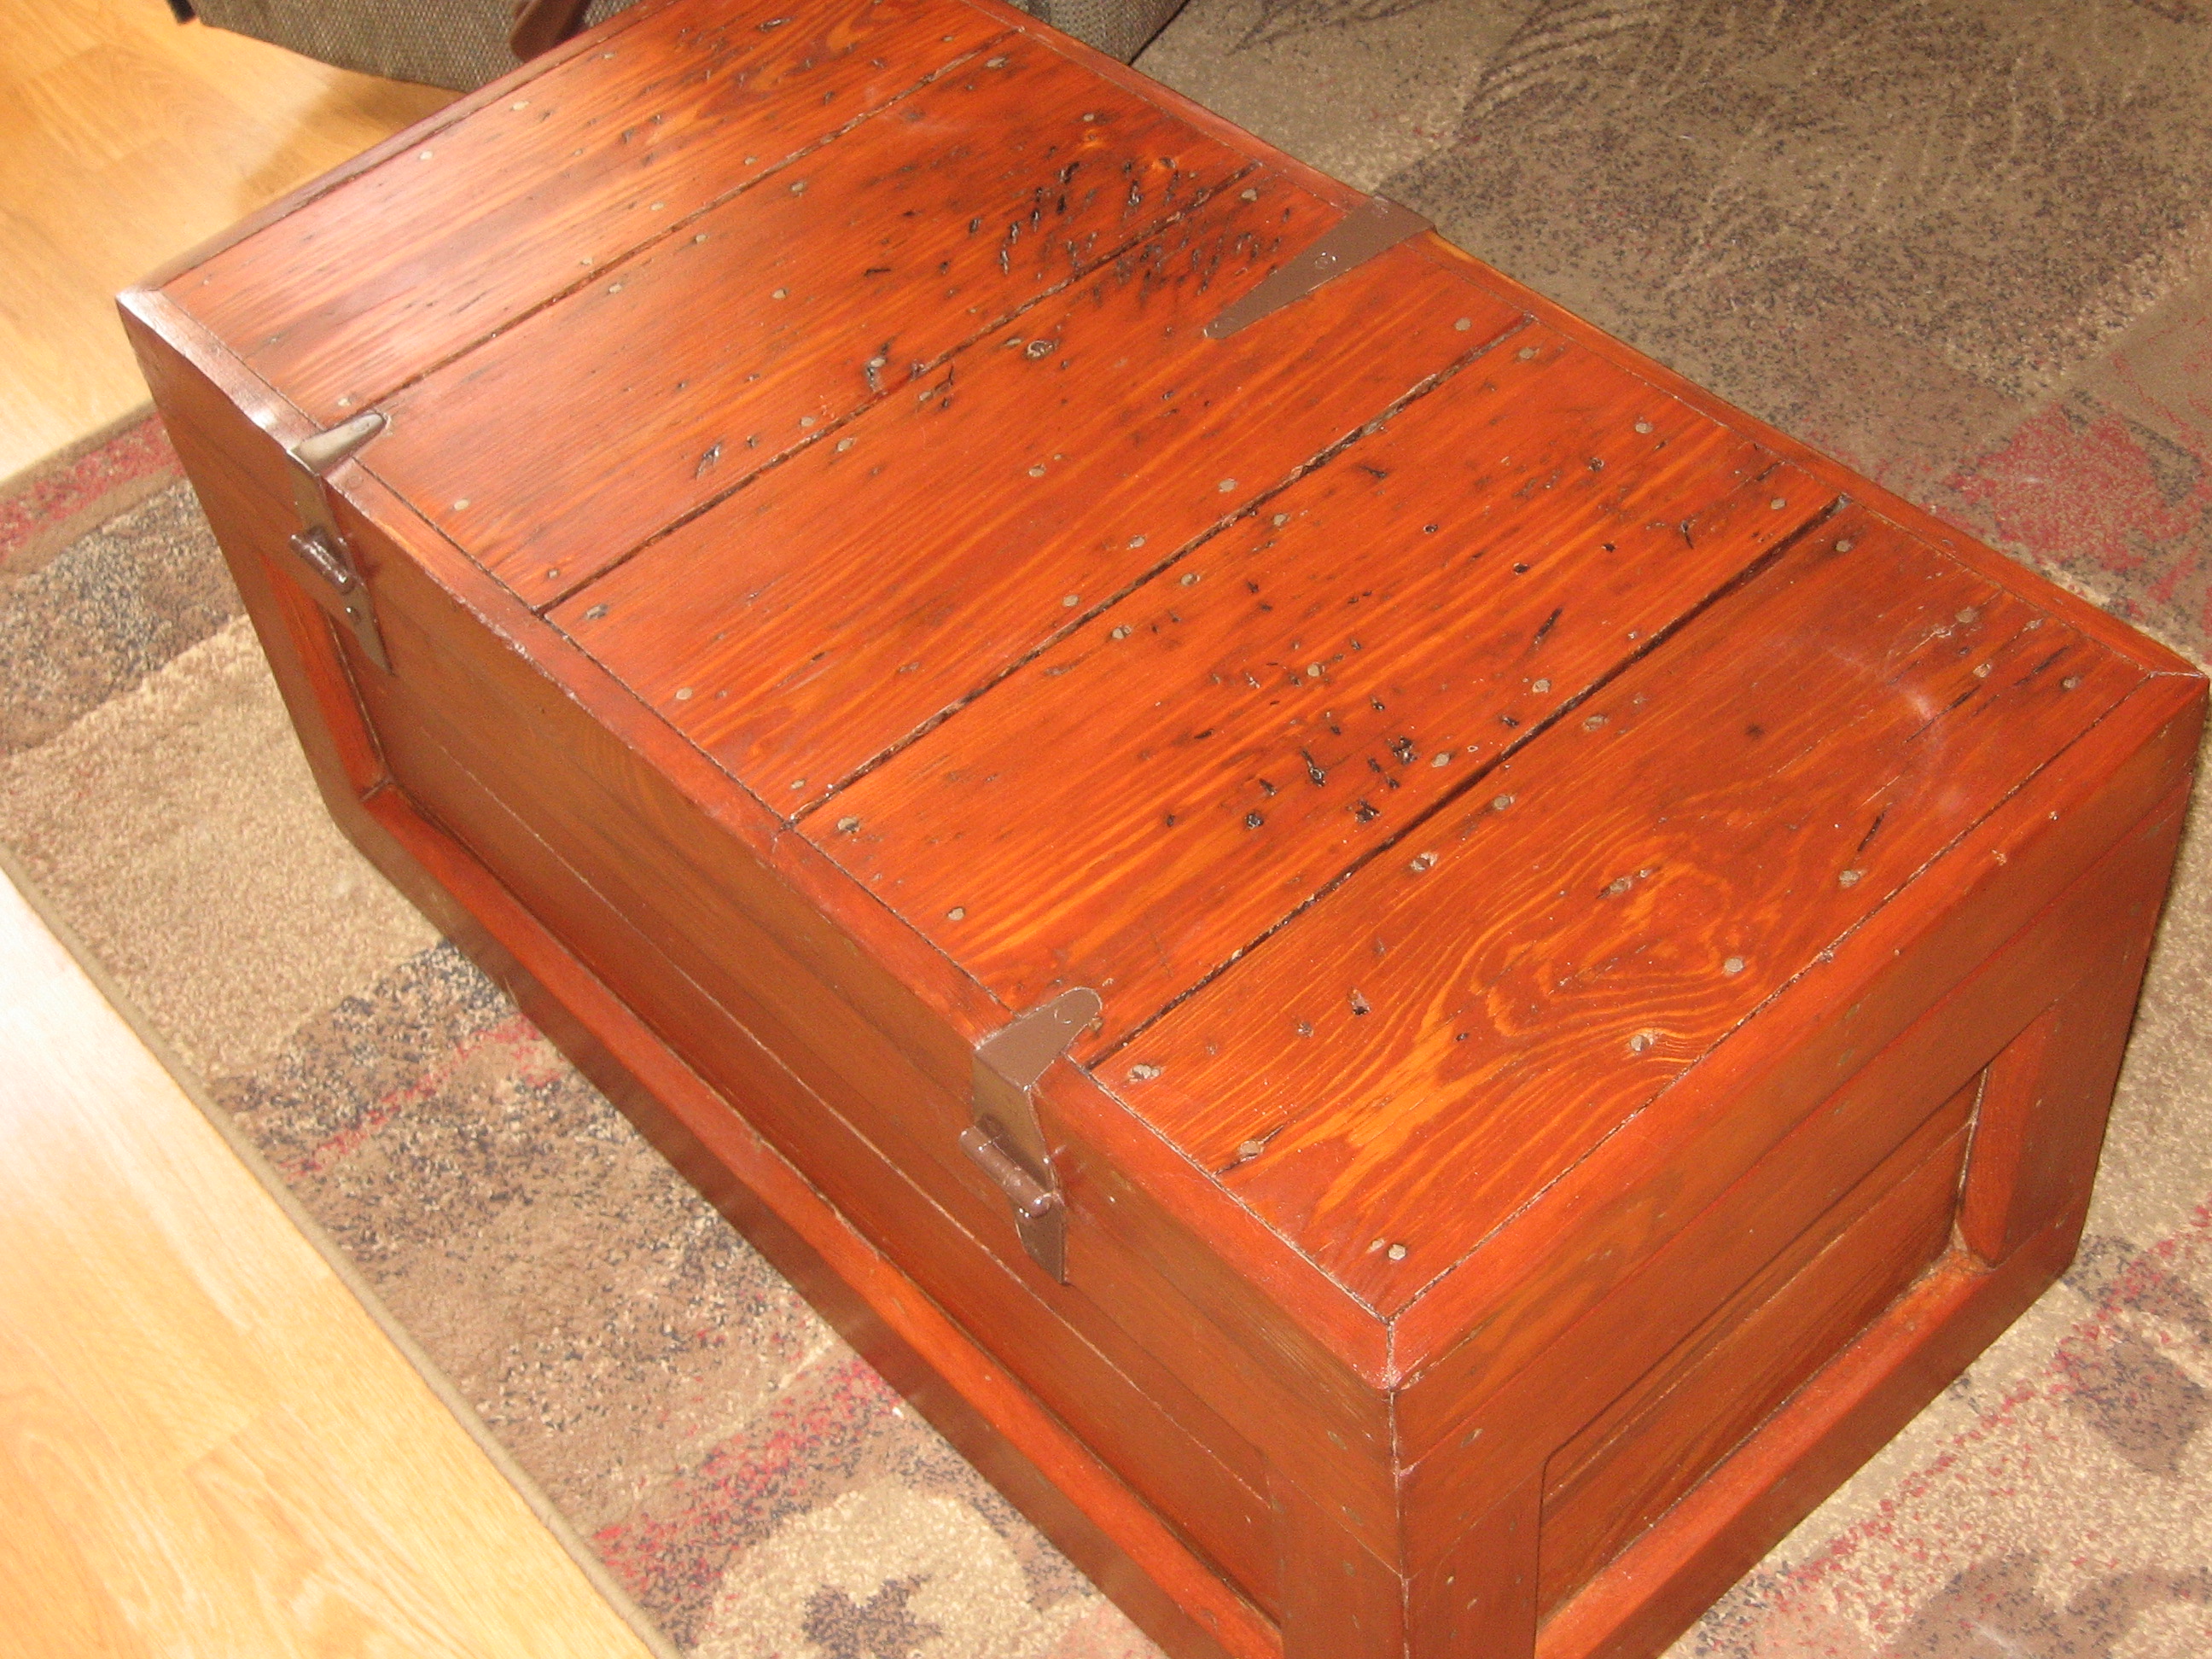
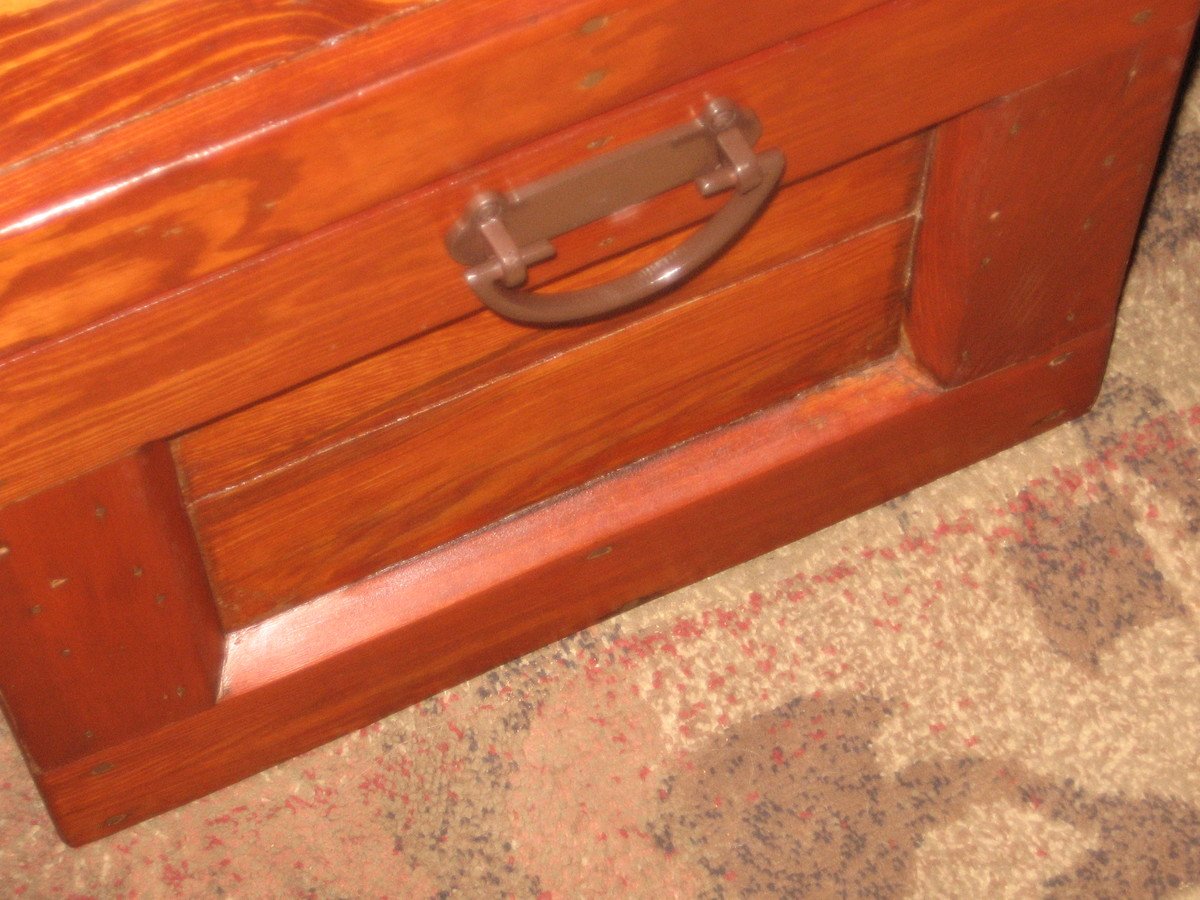
This was an old handmade tool trunk/carpenter's chest my dad gave me many years ago. It had been painted over many times and was quite ugly. I decided to strip it and refinish it. It is made of yellow pine and has many dings and countless nails in it. I think it just adds to the charm. It is now a coffee table.

Sun, 03/11/2012 - 01:47
I will have to draw something up. Or at least give the measurements. It really wasn't created to be a piece of furniture, though I use it as a coffee table. It really is heavy because it uses 2 layers of wood on the exterior and interior and then an abundance of nails were used and driven through both layers and then bent over. It made the refinish quite a challenge. Try sanding around all of those bent over nails w/o tearing your sandpaper. I also quit counting at 5 layers of paint. Much of it wasn't today's latex which removes quite easily. It was given to me by my deceased father so every minute I spent on it was sure worth it.
I have one more similar to it that I plan on refinishing in the near future. I am also on the hunt for an antique factory cart.

Pretty much just followed the directions. I used scraps to build this except for the plywood base.


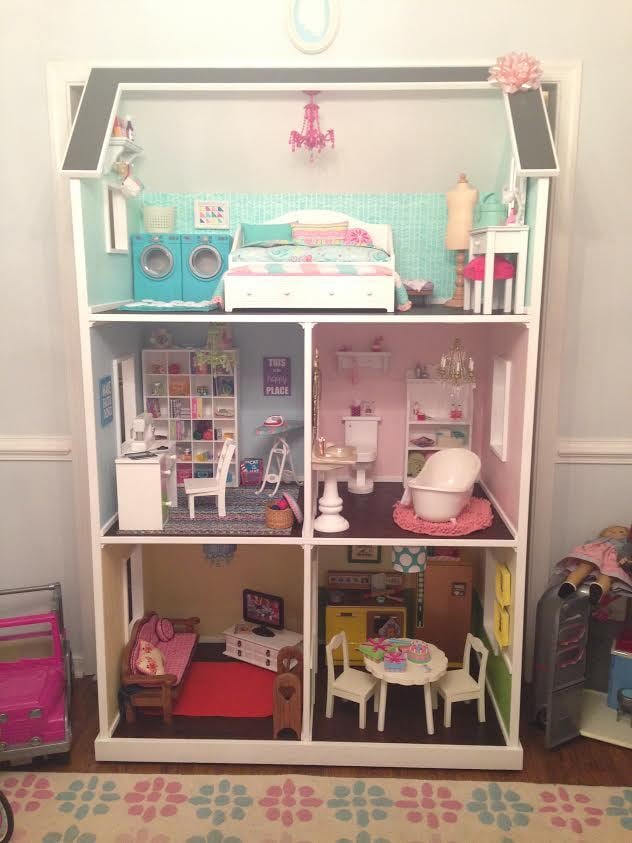
We used the site plans and then added on more trim (front, around the roof and the corner pieces - plus "crown", "baseboard" and "chair rail".
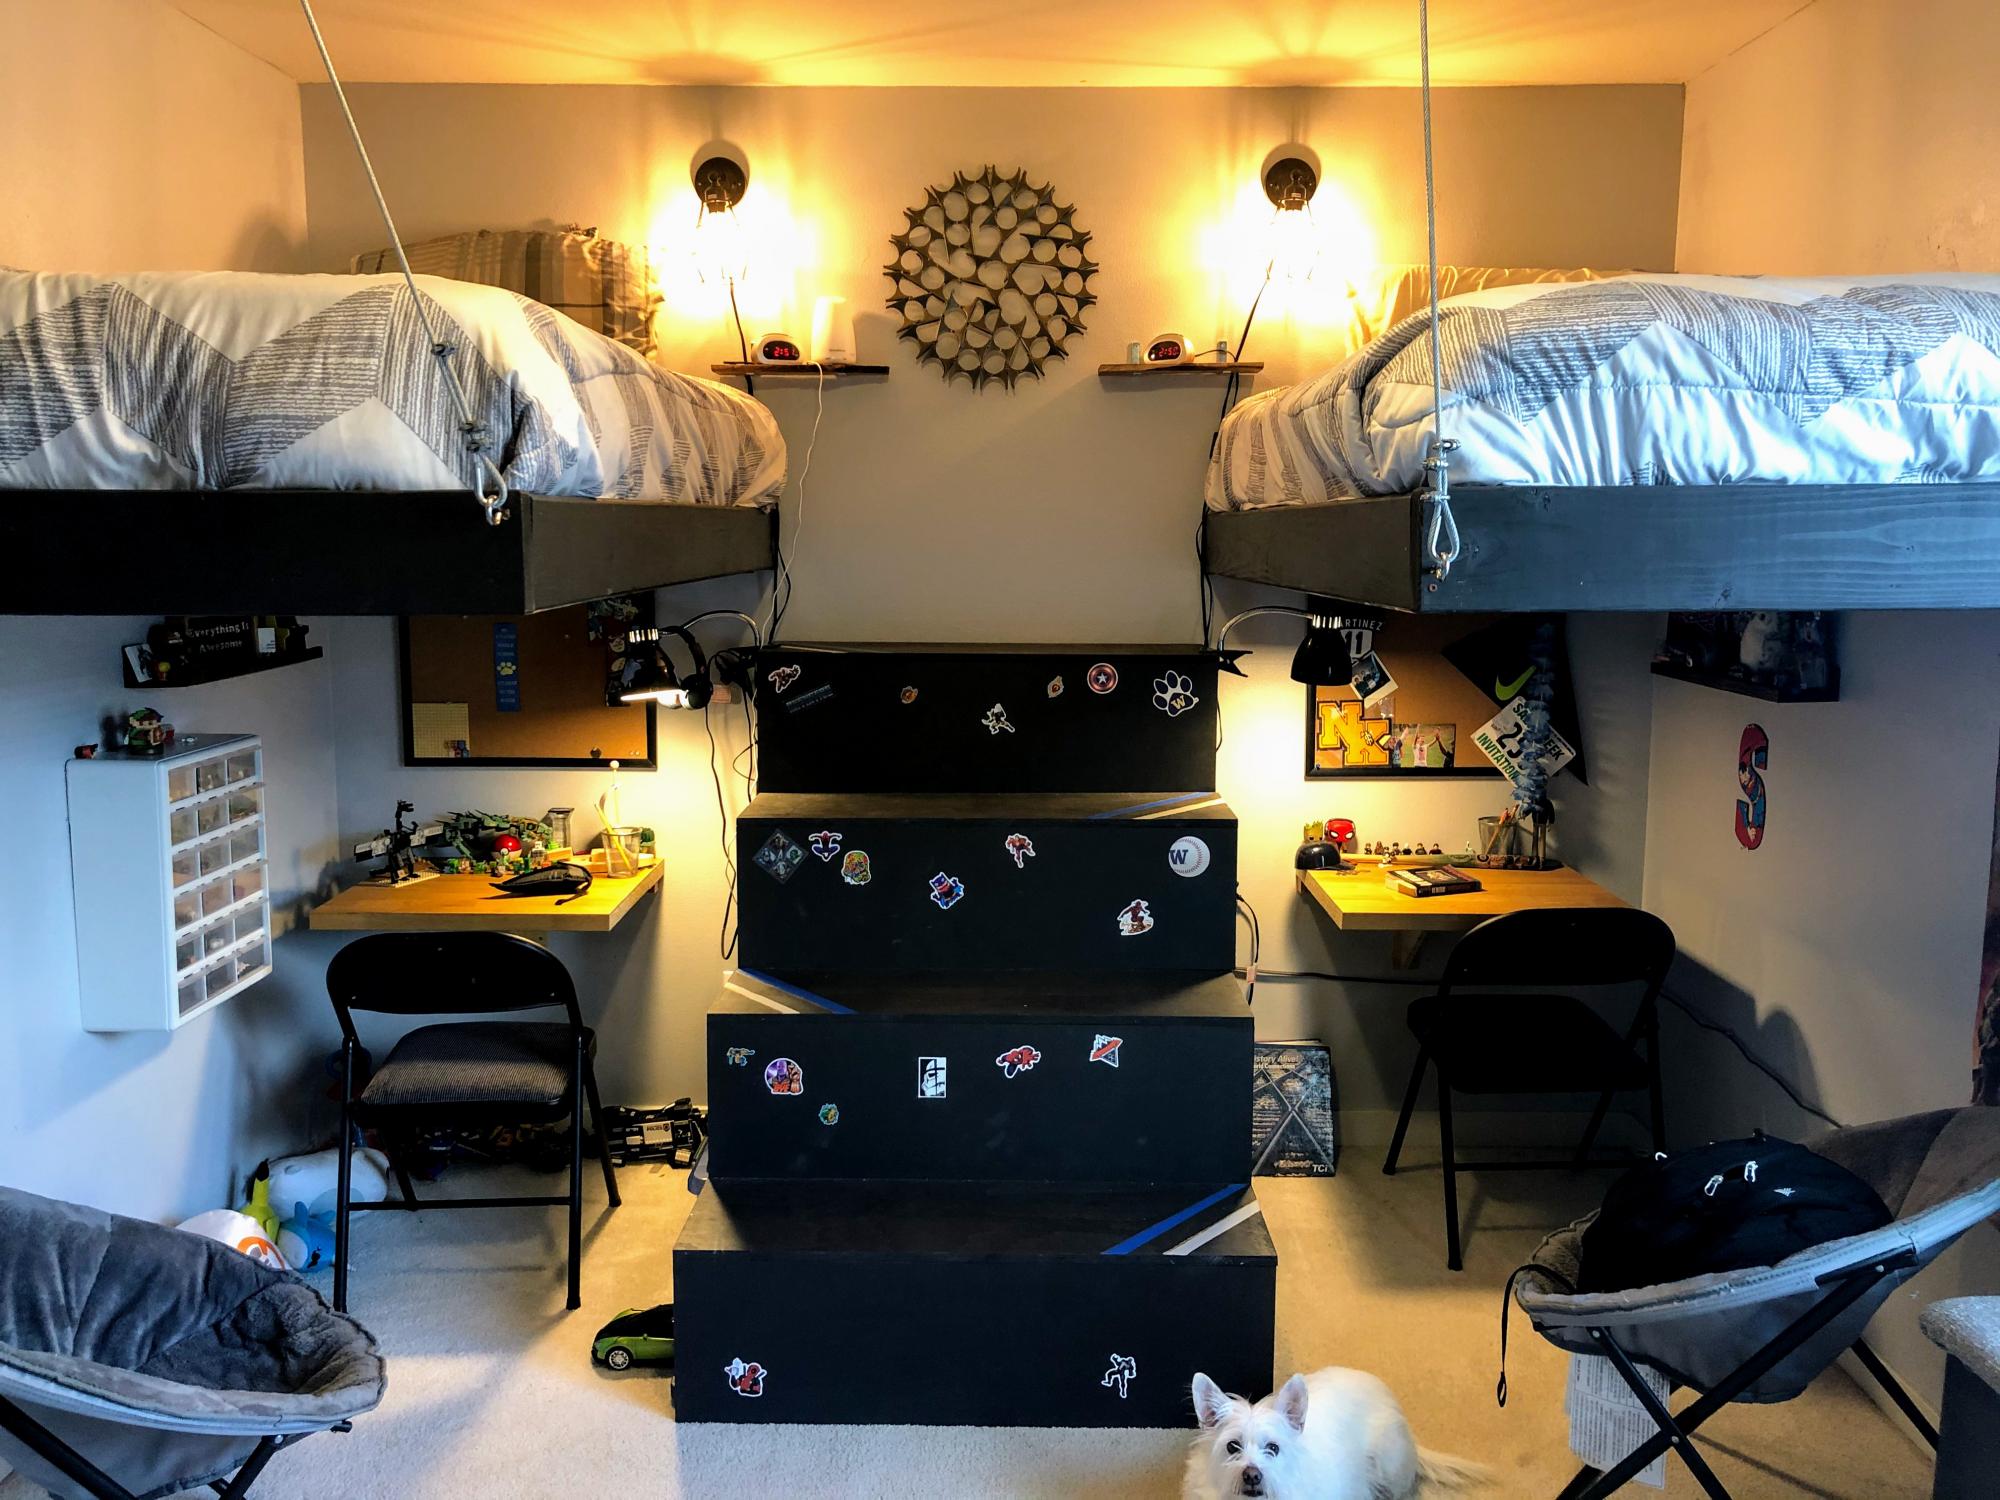
This is a room that we redid so that our two boys that shared the room could have a room that felt more age appropriate and allowed for better function. They have always had to share a room but have never had the space to have desks or much seating. So we hung both their beds from the wall and the ceiling allowing them to have some space under the beds for storage and a small desk. Having the beds up high keeps the area under the bed much cleaner. We also built a window seat for storage and used pallet wood to create a feature wall. The stairs between the beds also have storage accessible from both sides for books and toys. We did the same basic thing in the other boys room but had to do two sets of stairs because of the layout of the room. The stairs were built from a modified version of the Sweet Pea Garden Bunk Bed Stairs. http://ana-white.com/woodworking-projects/sweet-pea-bunk-bed. The beds we just basically took the legs off the beds we had and added braces in the corners.


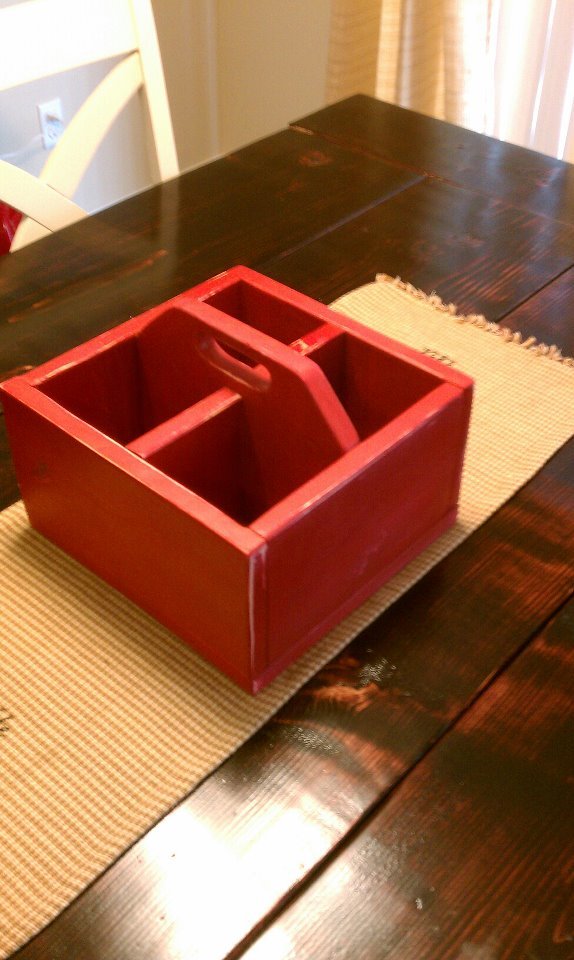
Loved how easy, Inexpensive and fast this method of customized drawer organizers was to make.
Joan Johansson
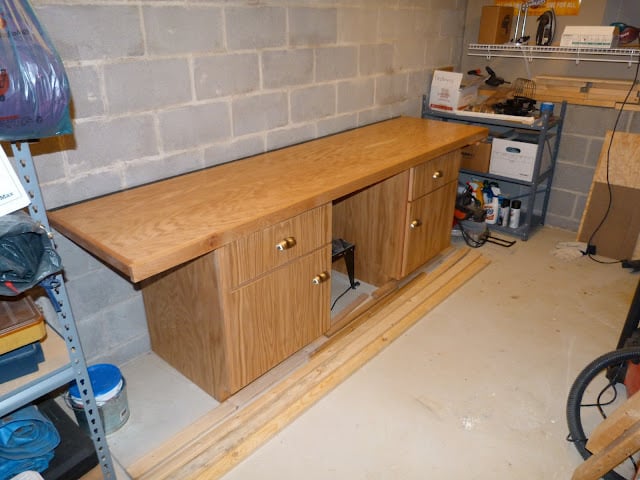
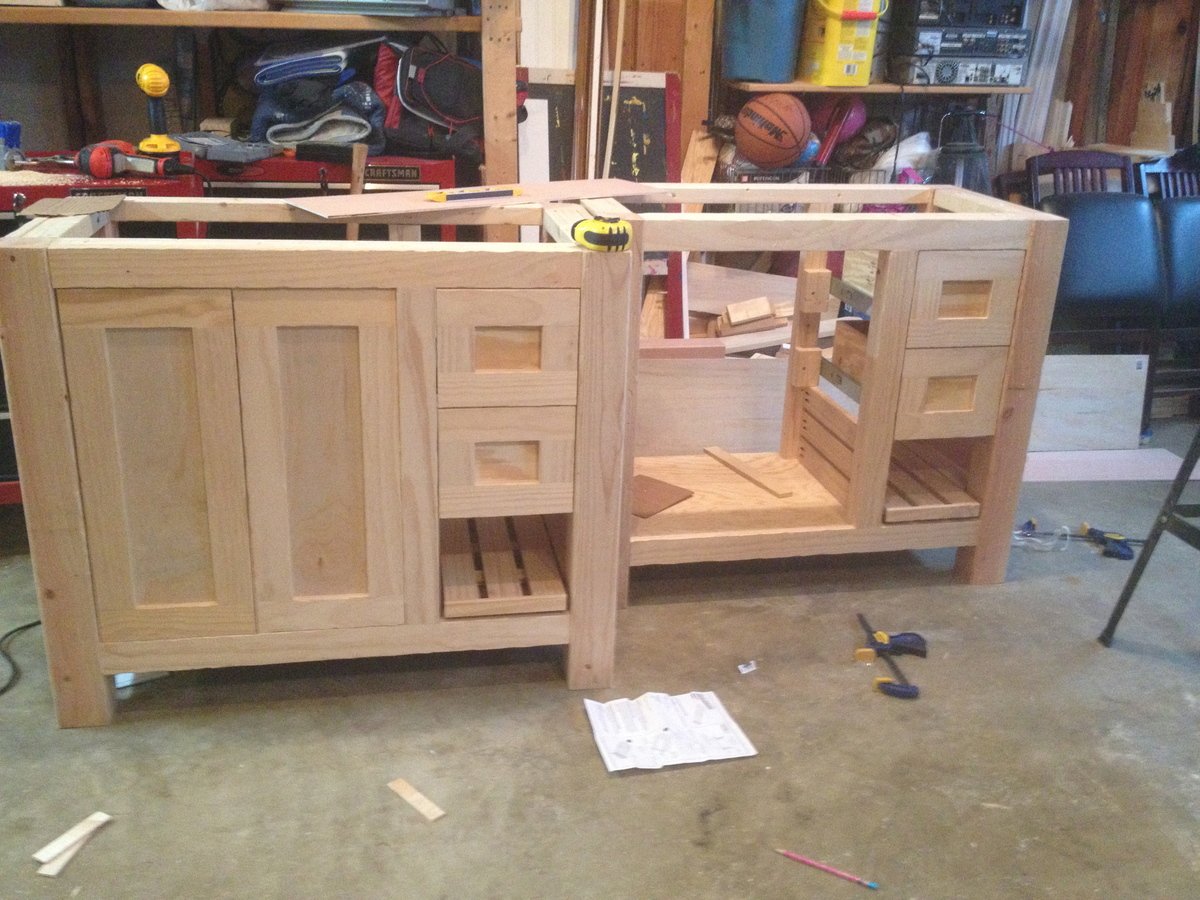
I built this bench to practice making base cabinets. Made the cabinets rather large (24 inches wide and deep). Provides a large, sturdy work area.
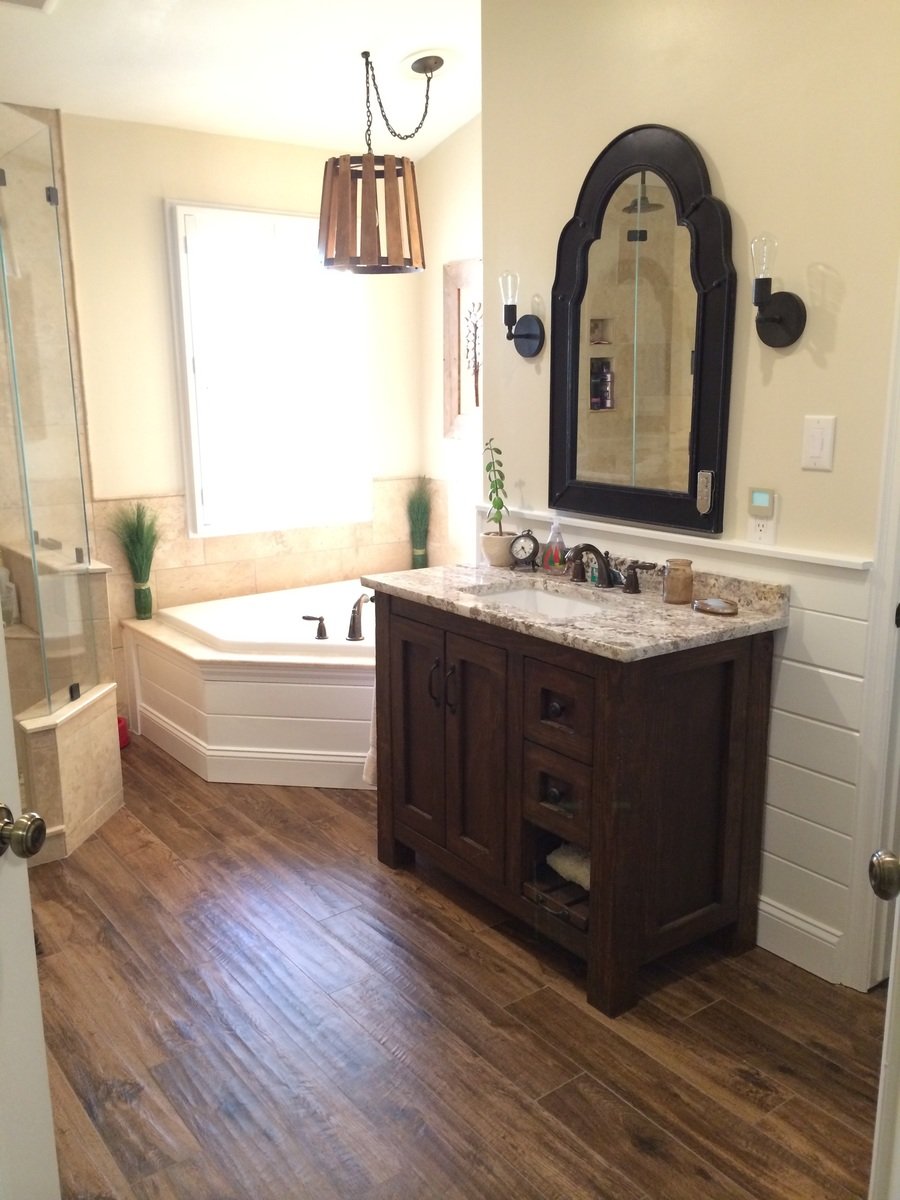
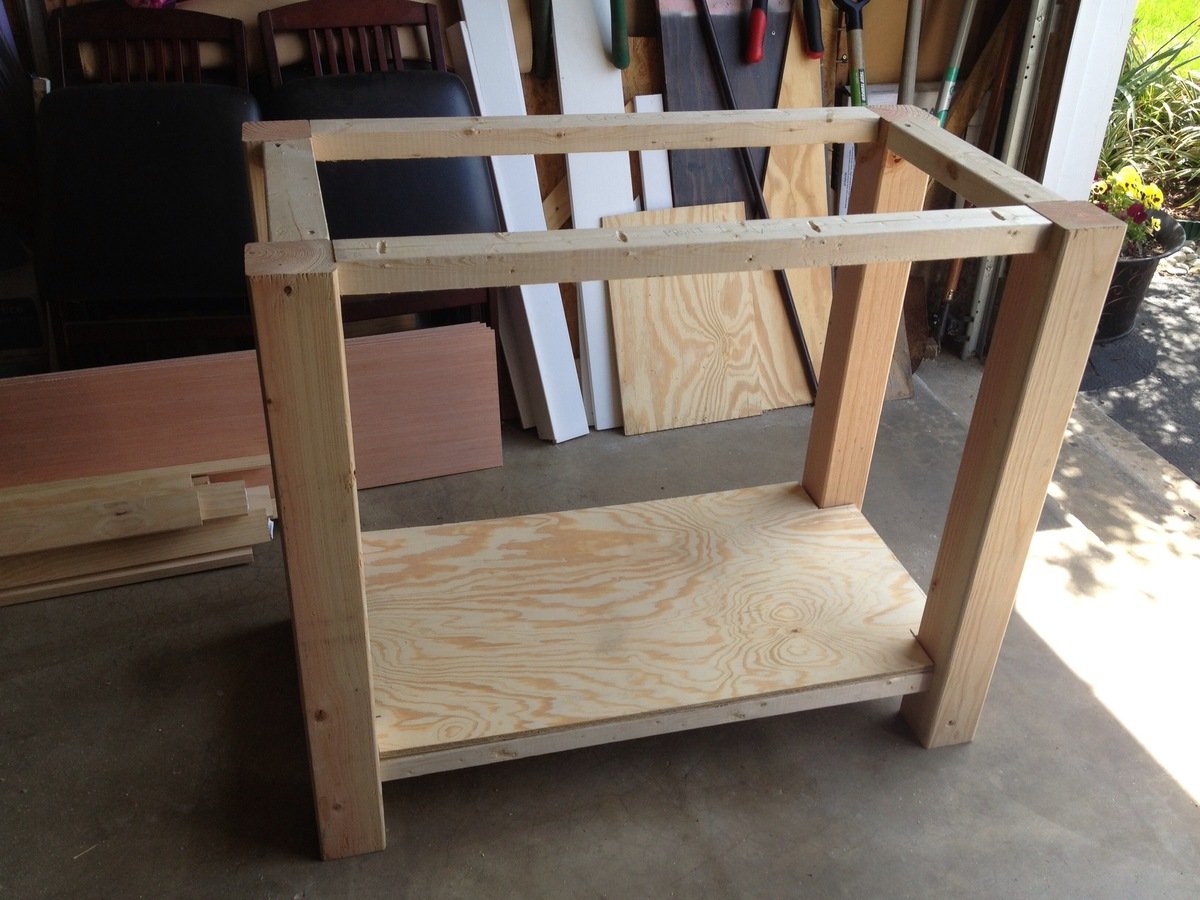
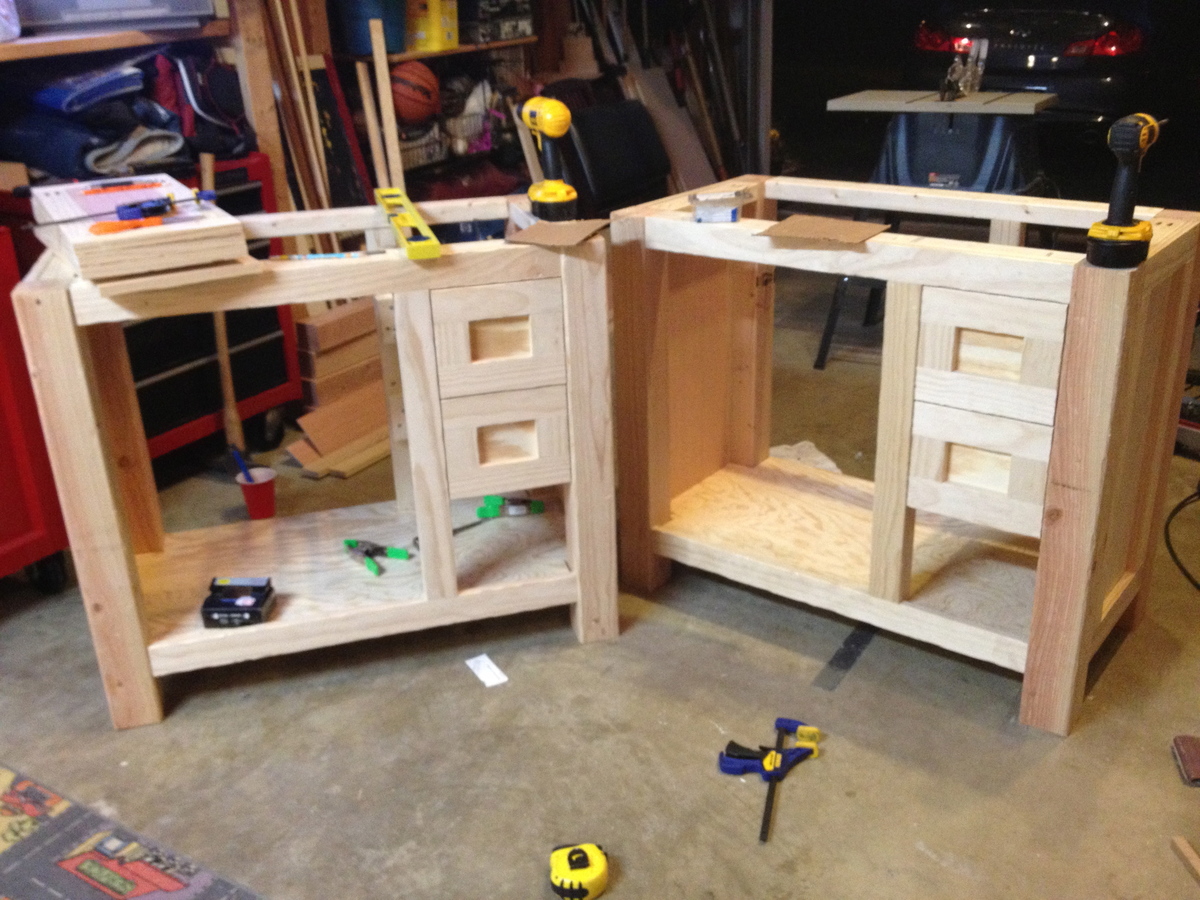
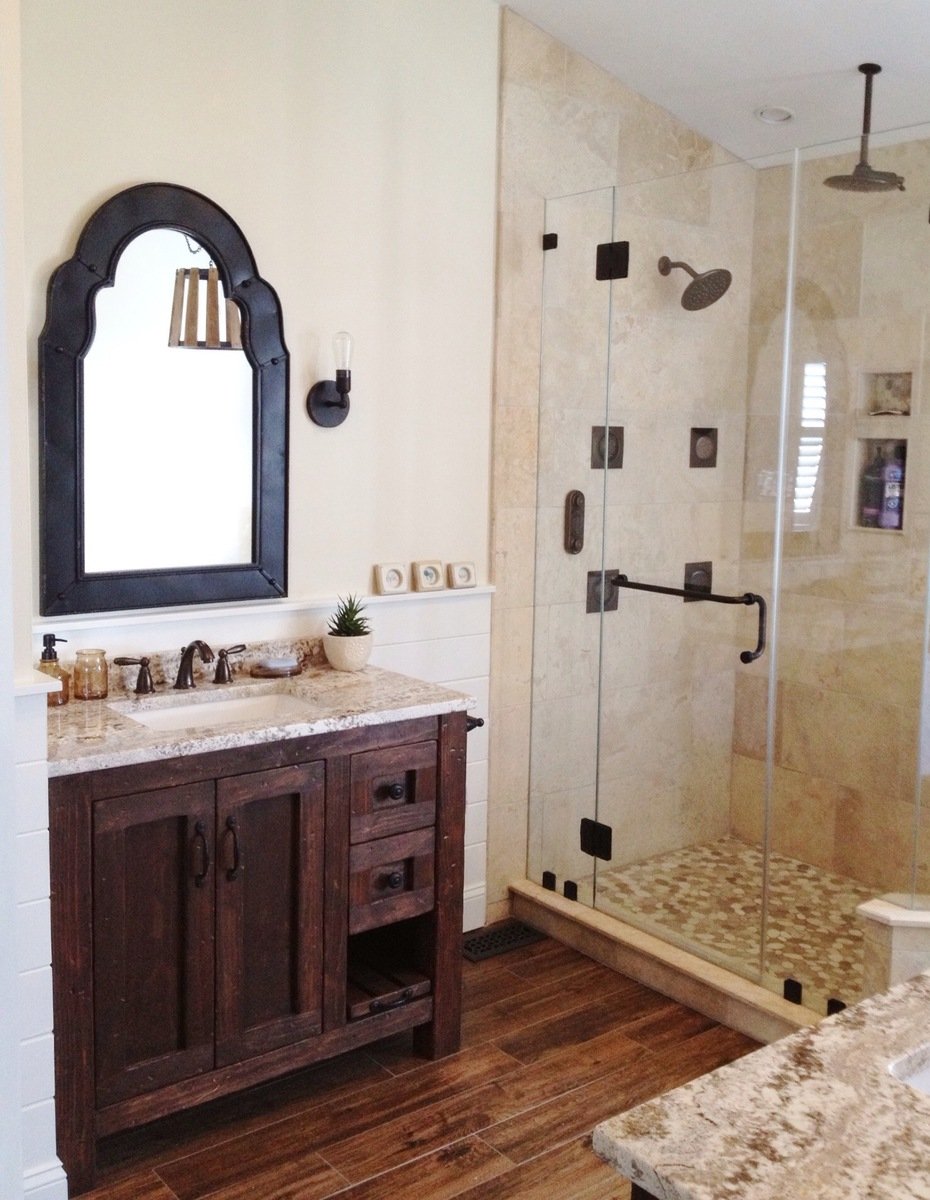
Rather than burning a few thousand on vanities for my bathroom remodel I decided to build them instead. The bottom shelf on the right slides out for a footstool so the kids can reach the sink.


Sun, 01/05/2014 - 20:55
These are so beautiful -- they really look like high-end rustic pieces. The slide-out footstool is genius. The distressing is fantastic. I really love your pebble art as well.
Would you mind sharing the stain color?
Wed, 02/03/2016 - 17:48
I drew this up in sketchup as I was planning to build one like this, but decided to do something different. Is there a way to upload a sketchup file?
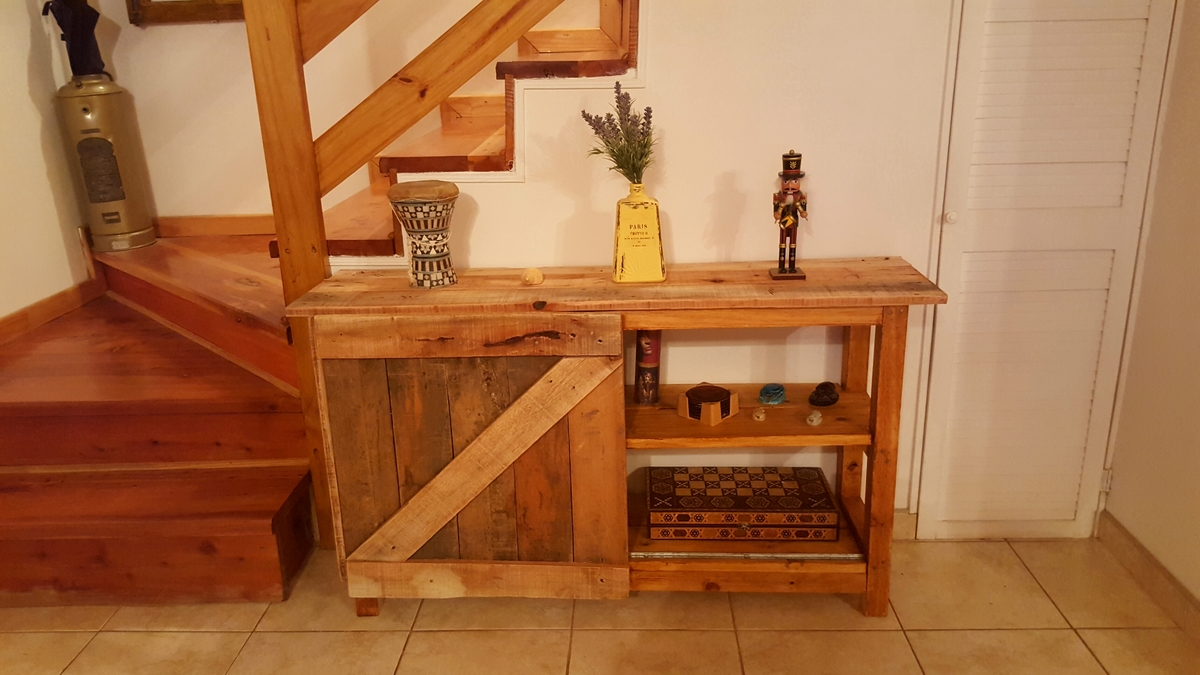
Utilicé pino y la madera de dos pallets. Modifiqué el plano original para que entrara en el espacio con el que contaba.
It turned out so pretty!!
Hi Ana
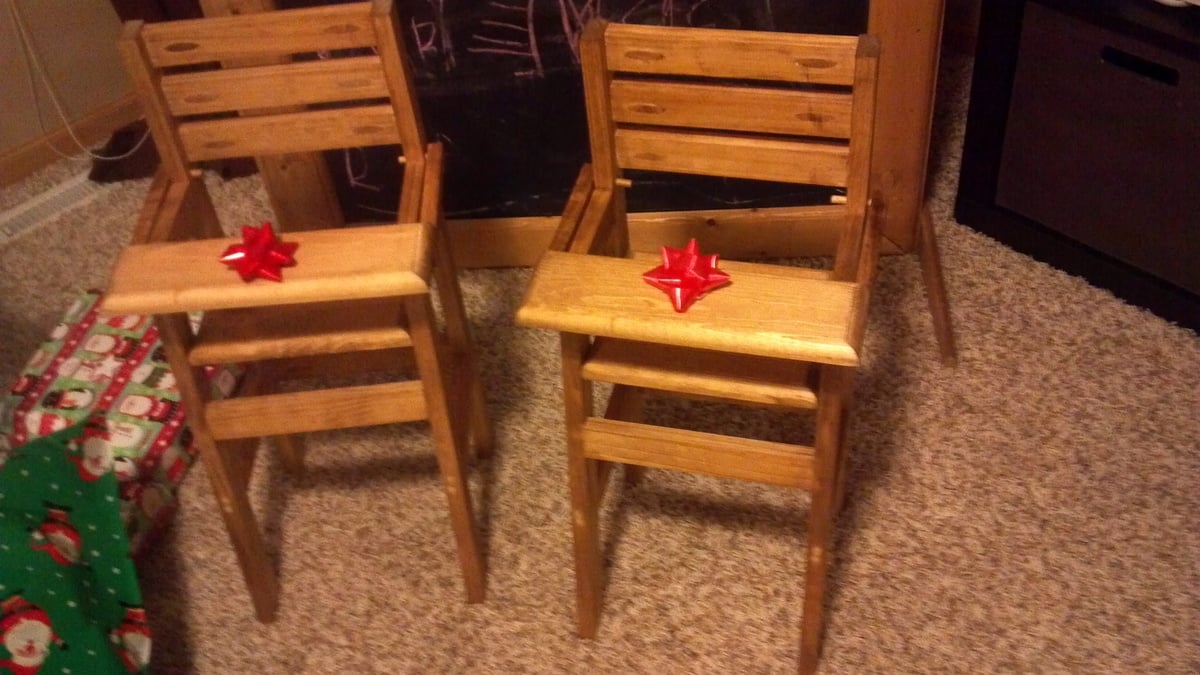
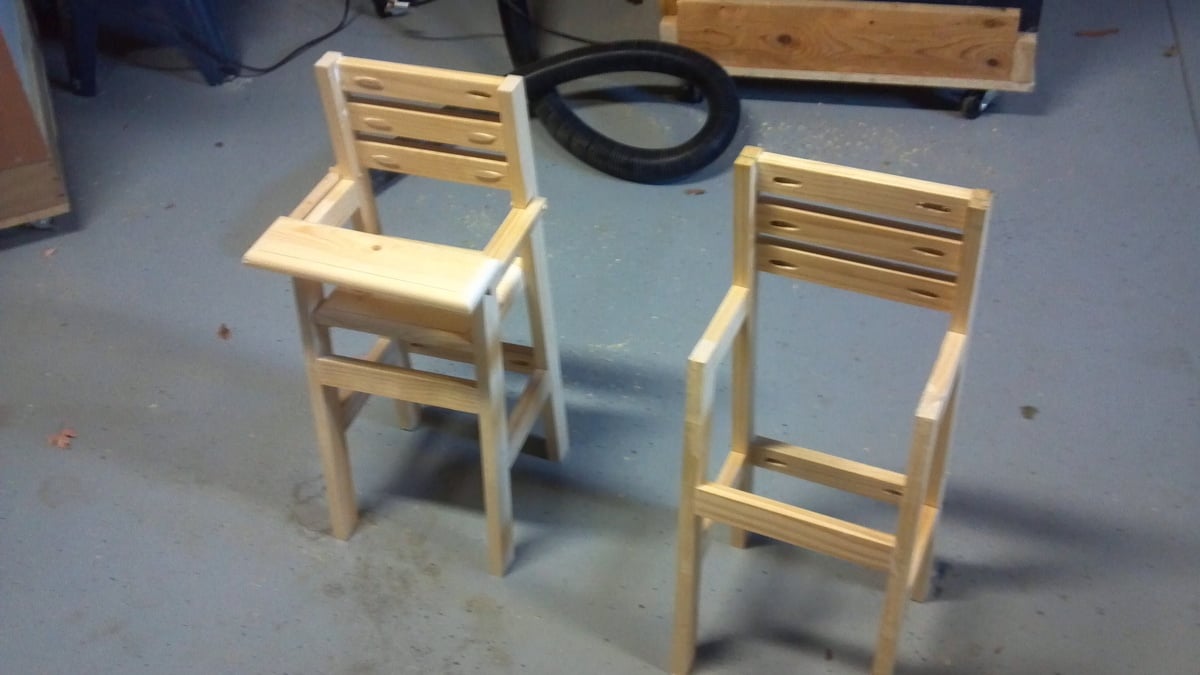
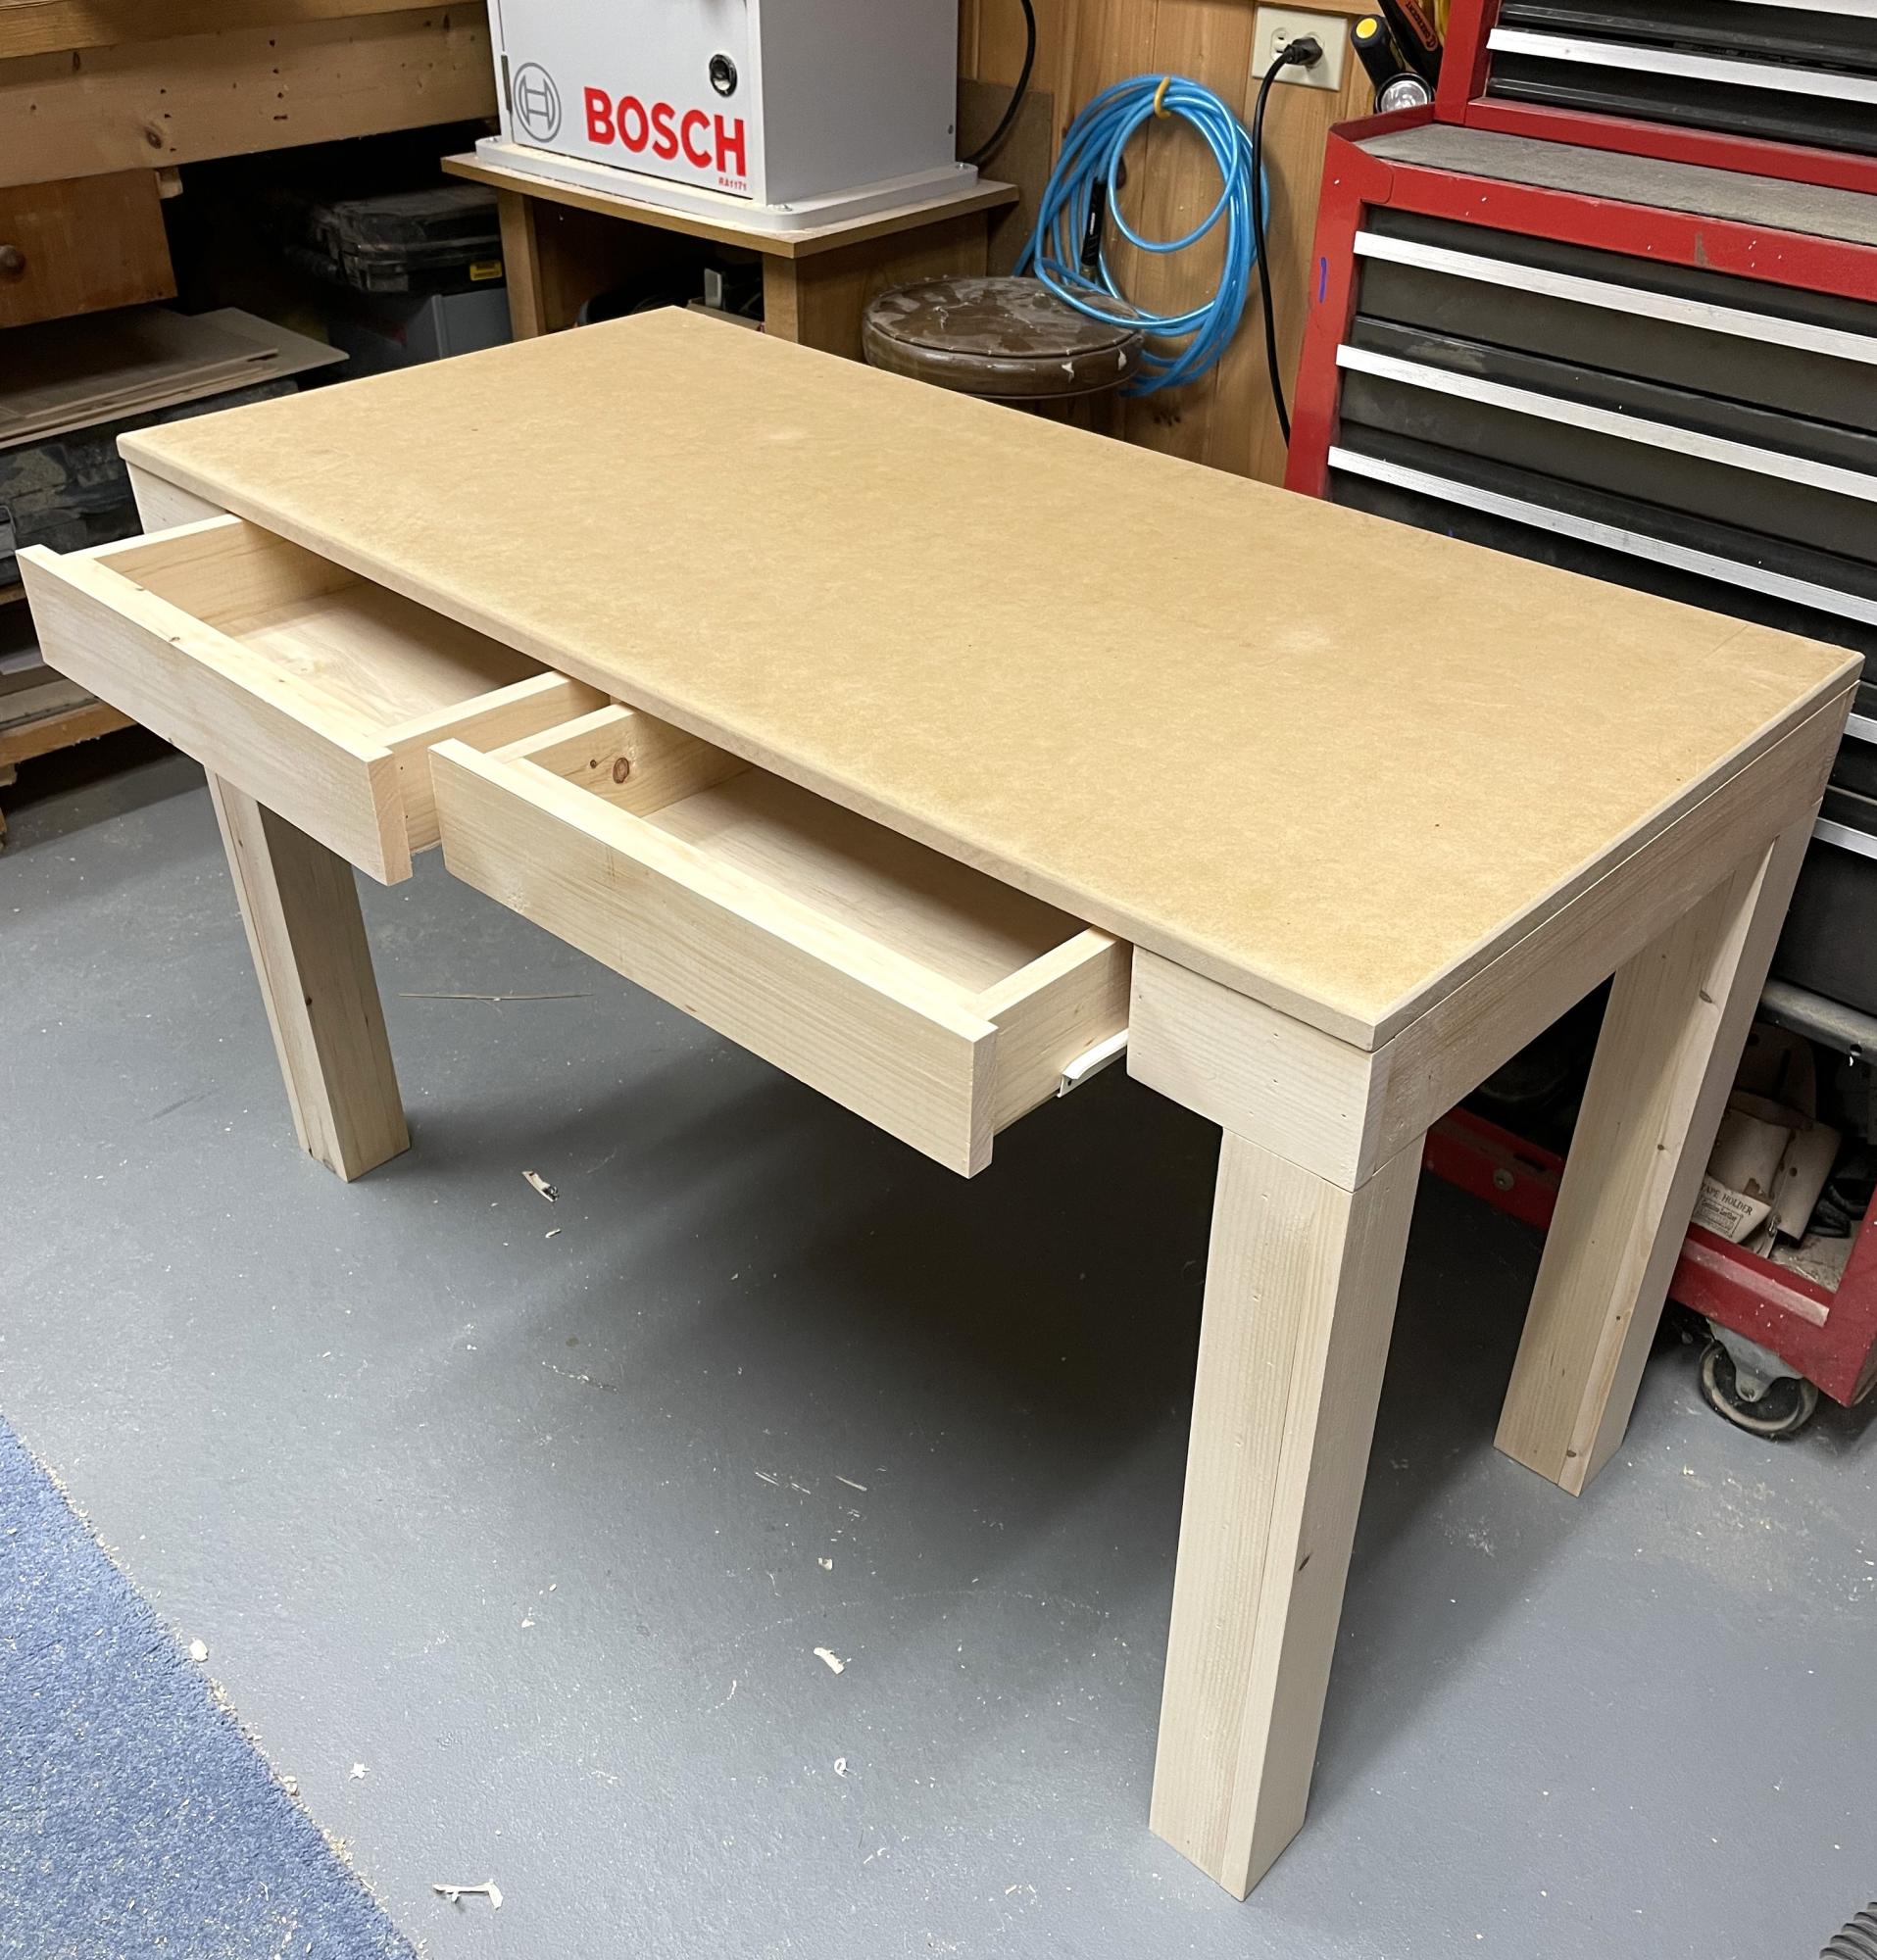
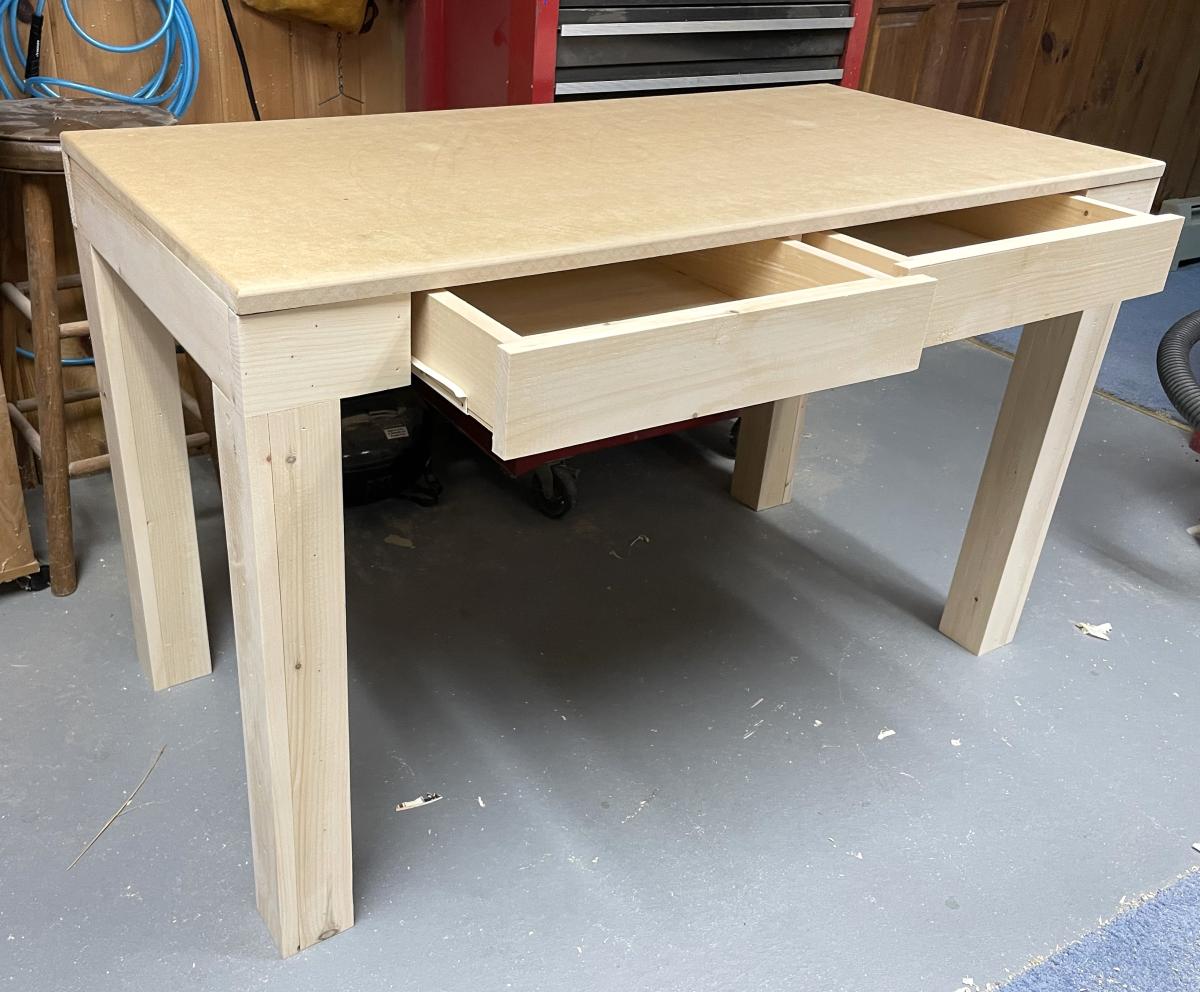
My granddaughter is starting first grade in the Fall. She needs a desk so I checked out your site and found this simple yet functional project. It worked up in no time. Now Gianna just needs to pick a paint color.
I also found a slight boo boo in the plans. See the marked up cut list.
Thanks for all you do.
David Grilli
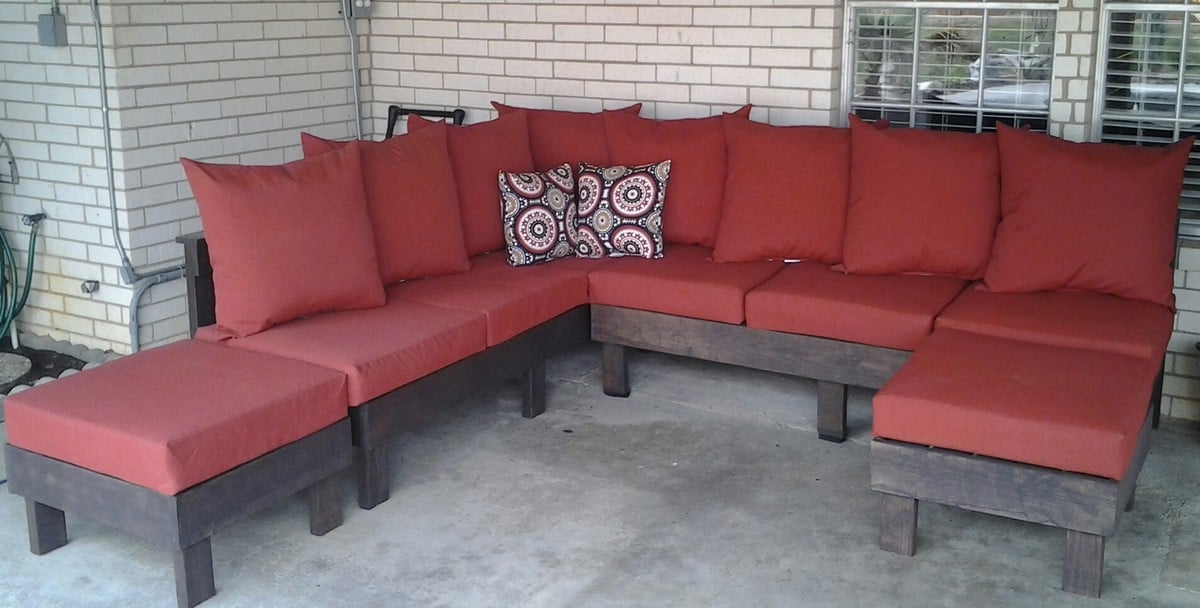
We loved the idea of an outoor sectional but was wanting it to be in just two pieces. I modified the plan so we had only two seats and two ottomans.
The cushions are from the big orange store and most of the wood is from their discount rack. (.51 for each board) this saved me quite a bit of money :)
It fits perfect under our covered patio and will get lotsof use when it warms up enough to have pool parties and cook outs.
Thanks Ana for helping make our homes US!
Fri, 04/06/2012 - 10:27
Looks great! Love how you modified to make it less pieces. I am finally going to try it this weekend. Hope it turns out as awesome as yours!

In reply to Looks great! Love how you by Guest (not verified)
Sun, 04/08/2012 - 08:22
Thank you! I had a lot of fun building it.
FYI If you have a Garden Ridge store close to you, they have the largest selection of outdoor cushions at a pretty good price.
Have fun building, can't wait to see the pictures!
Fri, 02/22/2013 - 05:53
Hi there I have recently found this site and have absolutely fallen in love. I just thought I'd ask I love how you modified the original plans to make 2 pieces plus the ottomans instead of creating singles. Are you willin to provide me with details on how you modified the dimensions and measurements please? I would greatly appreciate it.

I did not follow any plans for this project. I literally just sketched out a few ideas and went with one of them based on the size I wanted. I used some pine project boards 3/4in that were already ripped to 16 inches. I cut them with my circular saw to size and connected everything with some wood glue and a kreg jig. I bought the $20 kreg jig and it worked perfectly I also bought the driver, clamp and kreg 1 1/2 inch wood screws. I used polyshades dark oak i think for the finish. I made it a little darker than I wanted but overall I am very happy considering I had an old computer desk sitting there before. I plan to make a farmhouse table in the future. I love this site thank you for the inspiration everyone!


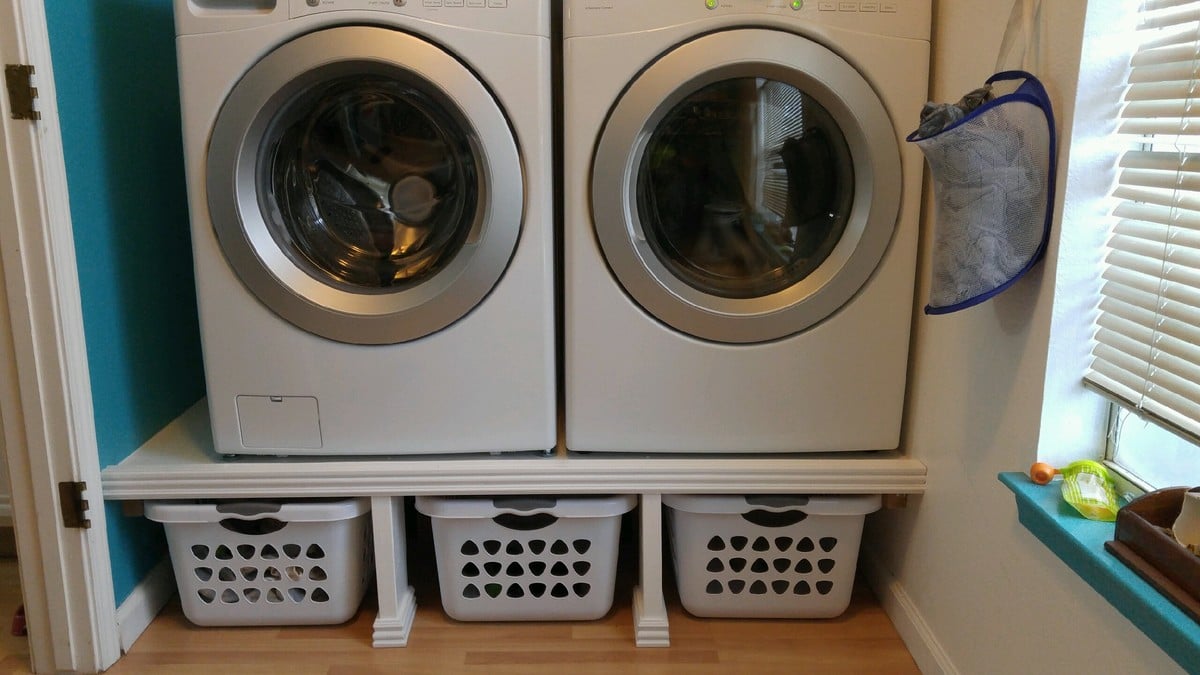
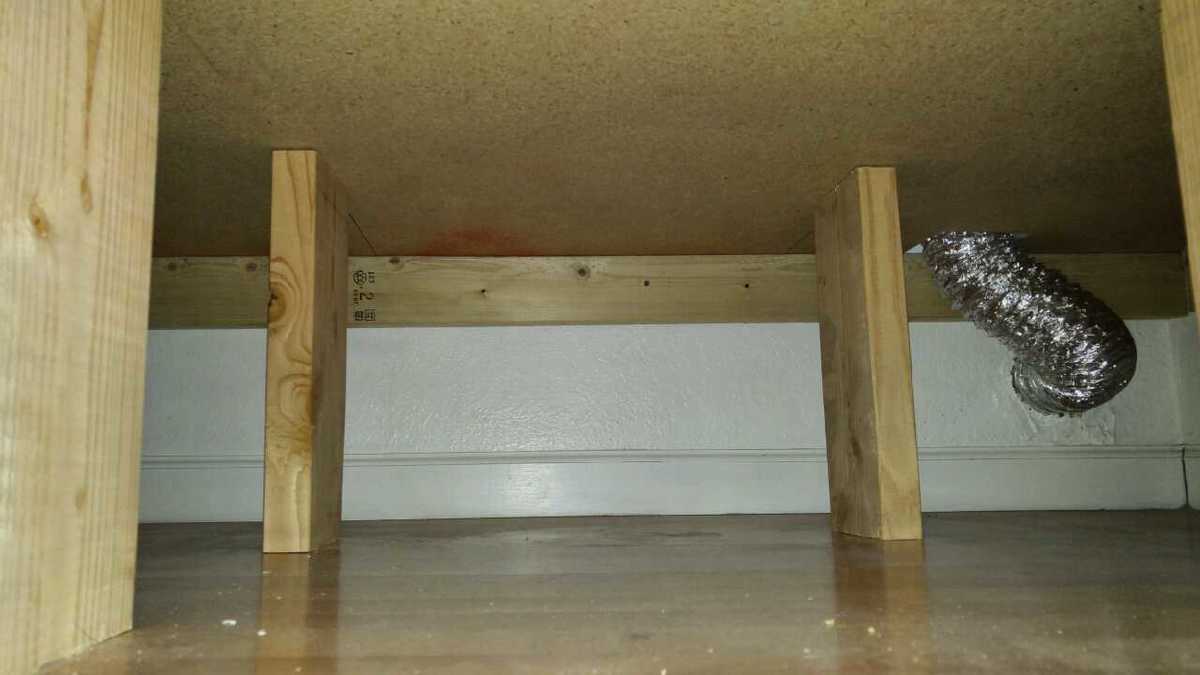
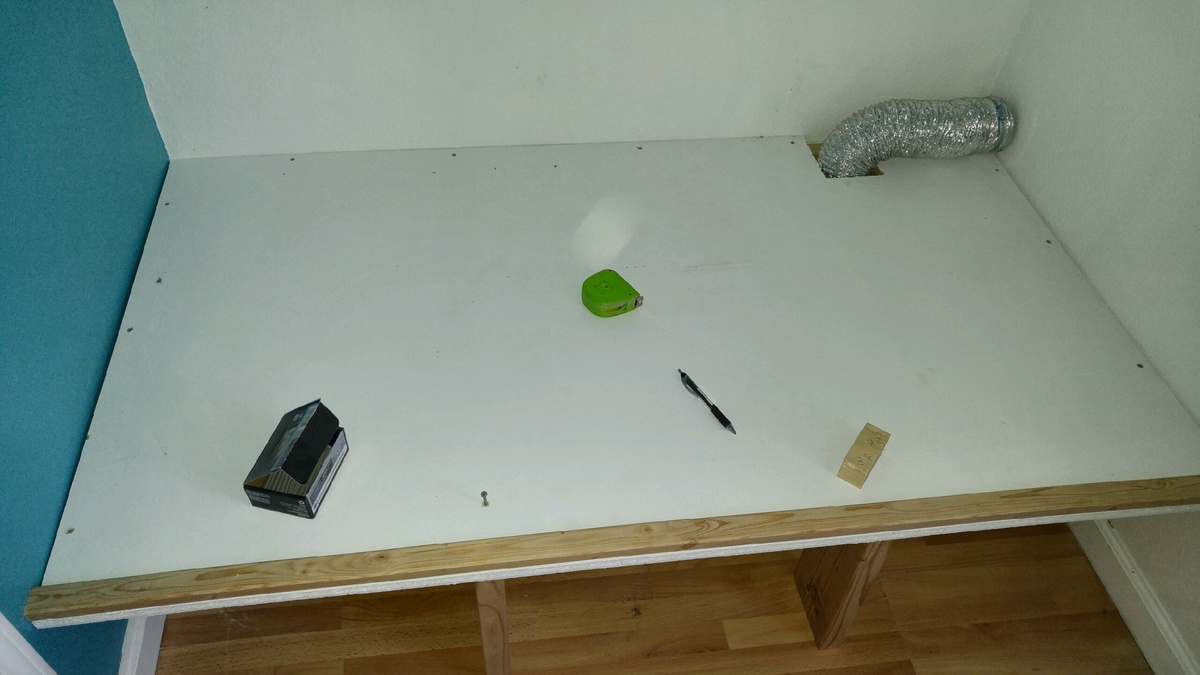
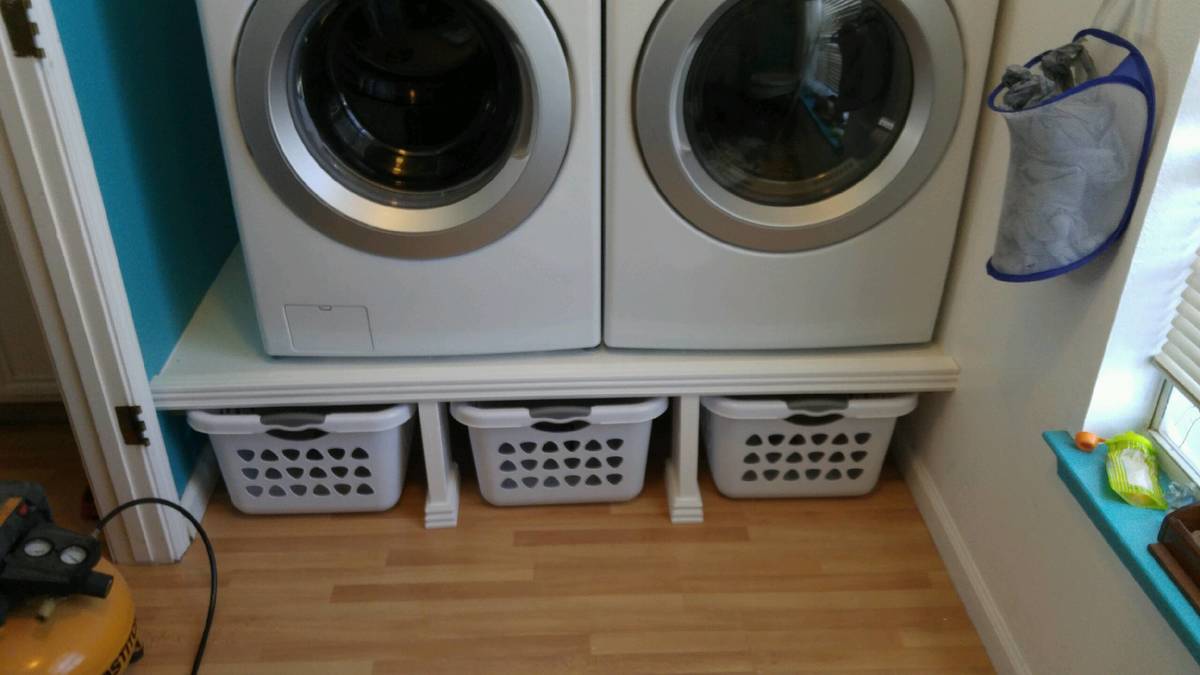
I tailored my pedestal to work with the limited space that I had to work with. I began by "cleating" a 2x4 board to the studs on the back and side walls using 1/4" lag bolts. I then laid a sheet of 3/4" MDF on top and screwed that down to the cleats. Afterwards I built the supporting 2x6 legs underneath and screwed those to the top MDF board. We put a strip of 1x2 across the top-front side to keep the machines from ever "walking off" the pedestal. We then painted and trimmed out the front face and the legs. The wife is very pleased with the project, and loves the added space in our laundry room because we can now store the dirty clothes underneath the machines.
Pocket holes made it a breeze, and so strong. Very heavy. Recommend assembling top to base after you have placed it where you want it. Modified slightly for length, and only used 2x8, instead of 2x10 in center, for correct width.

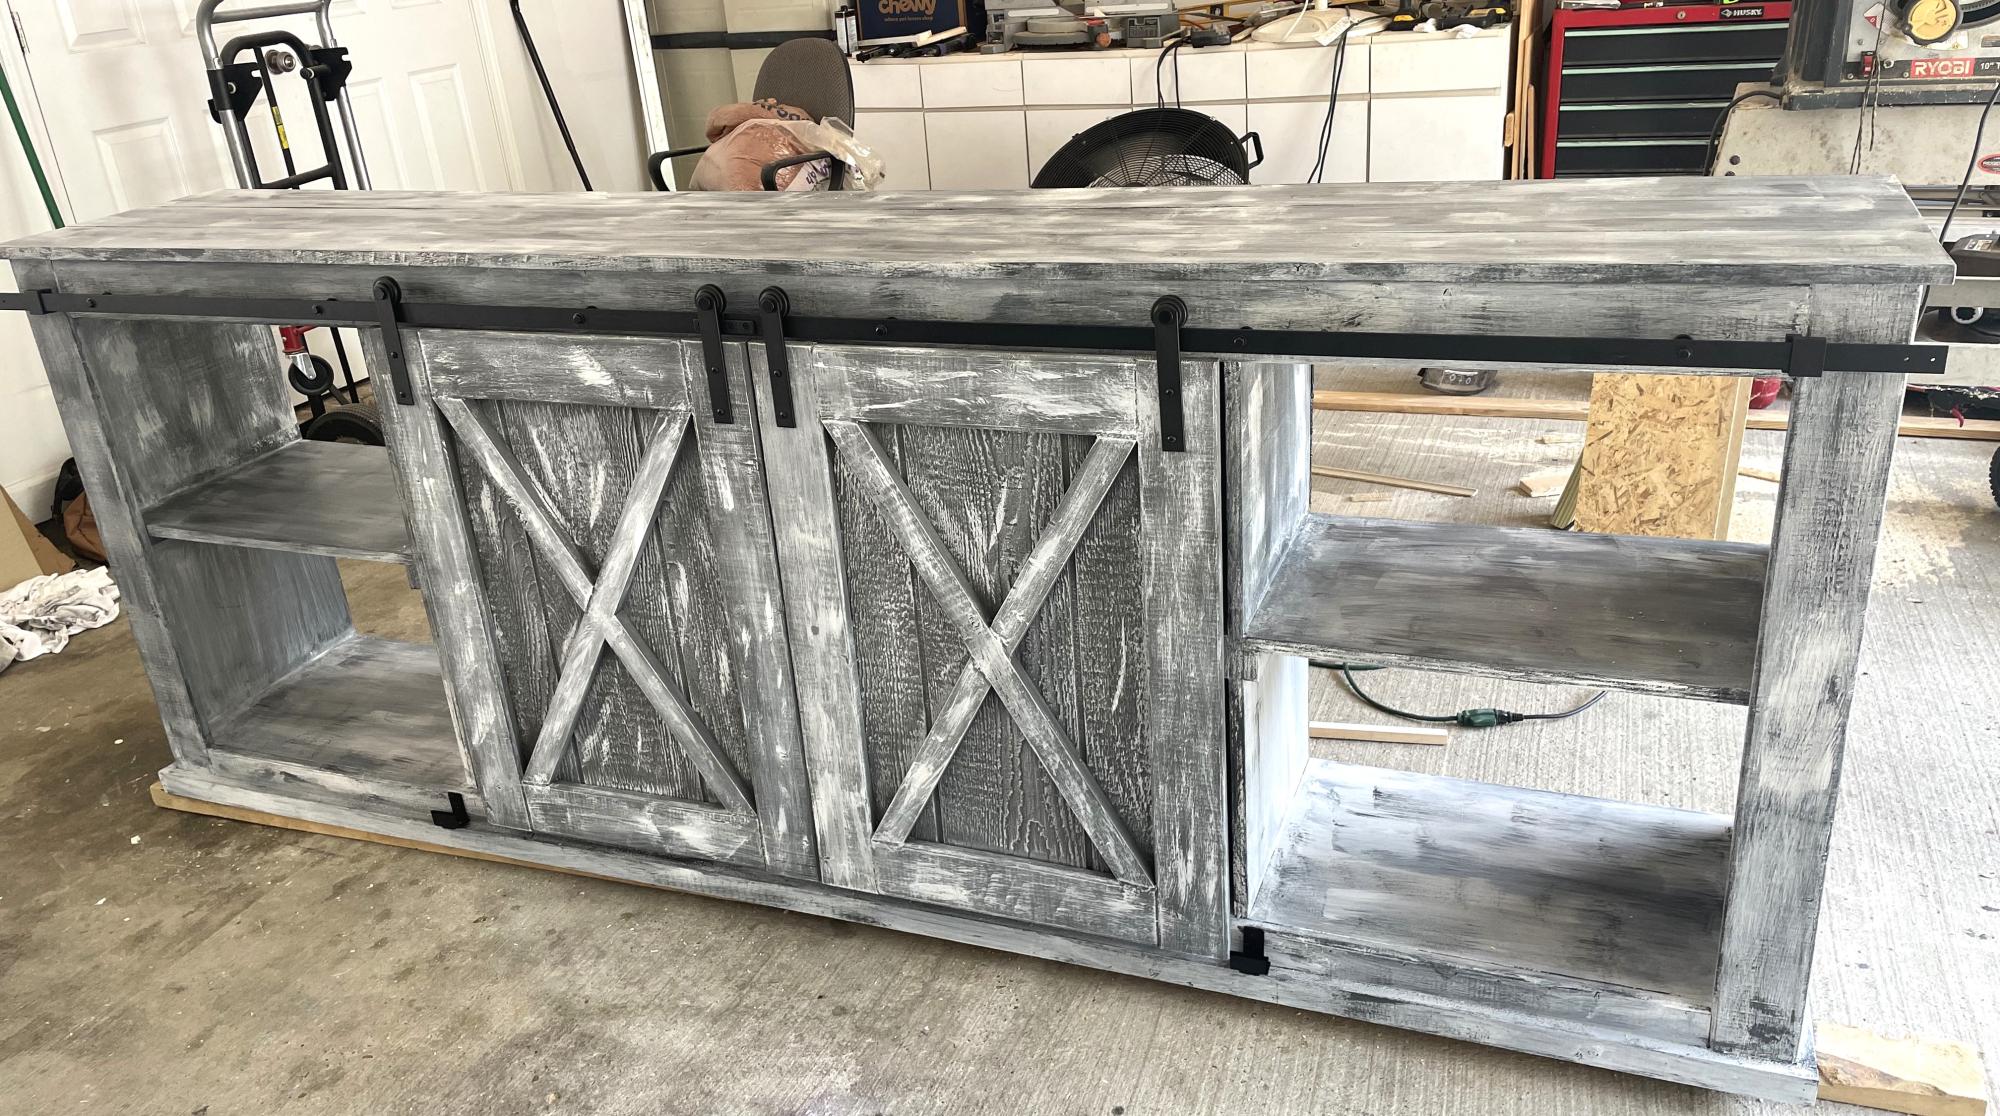
8ft barn door console . Thanks Ana White for you free plans.
David
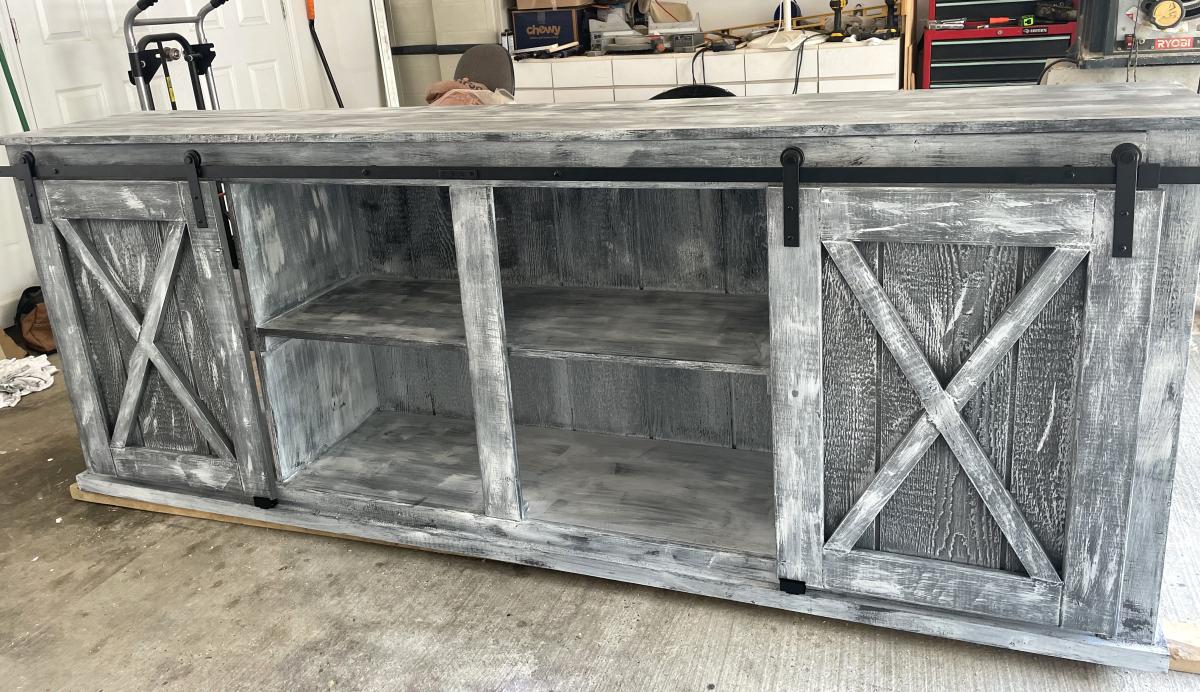
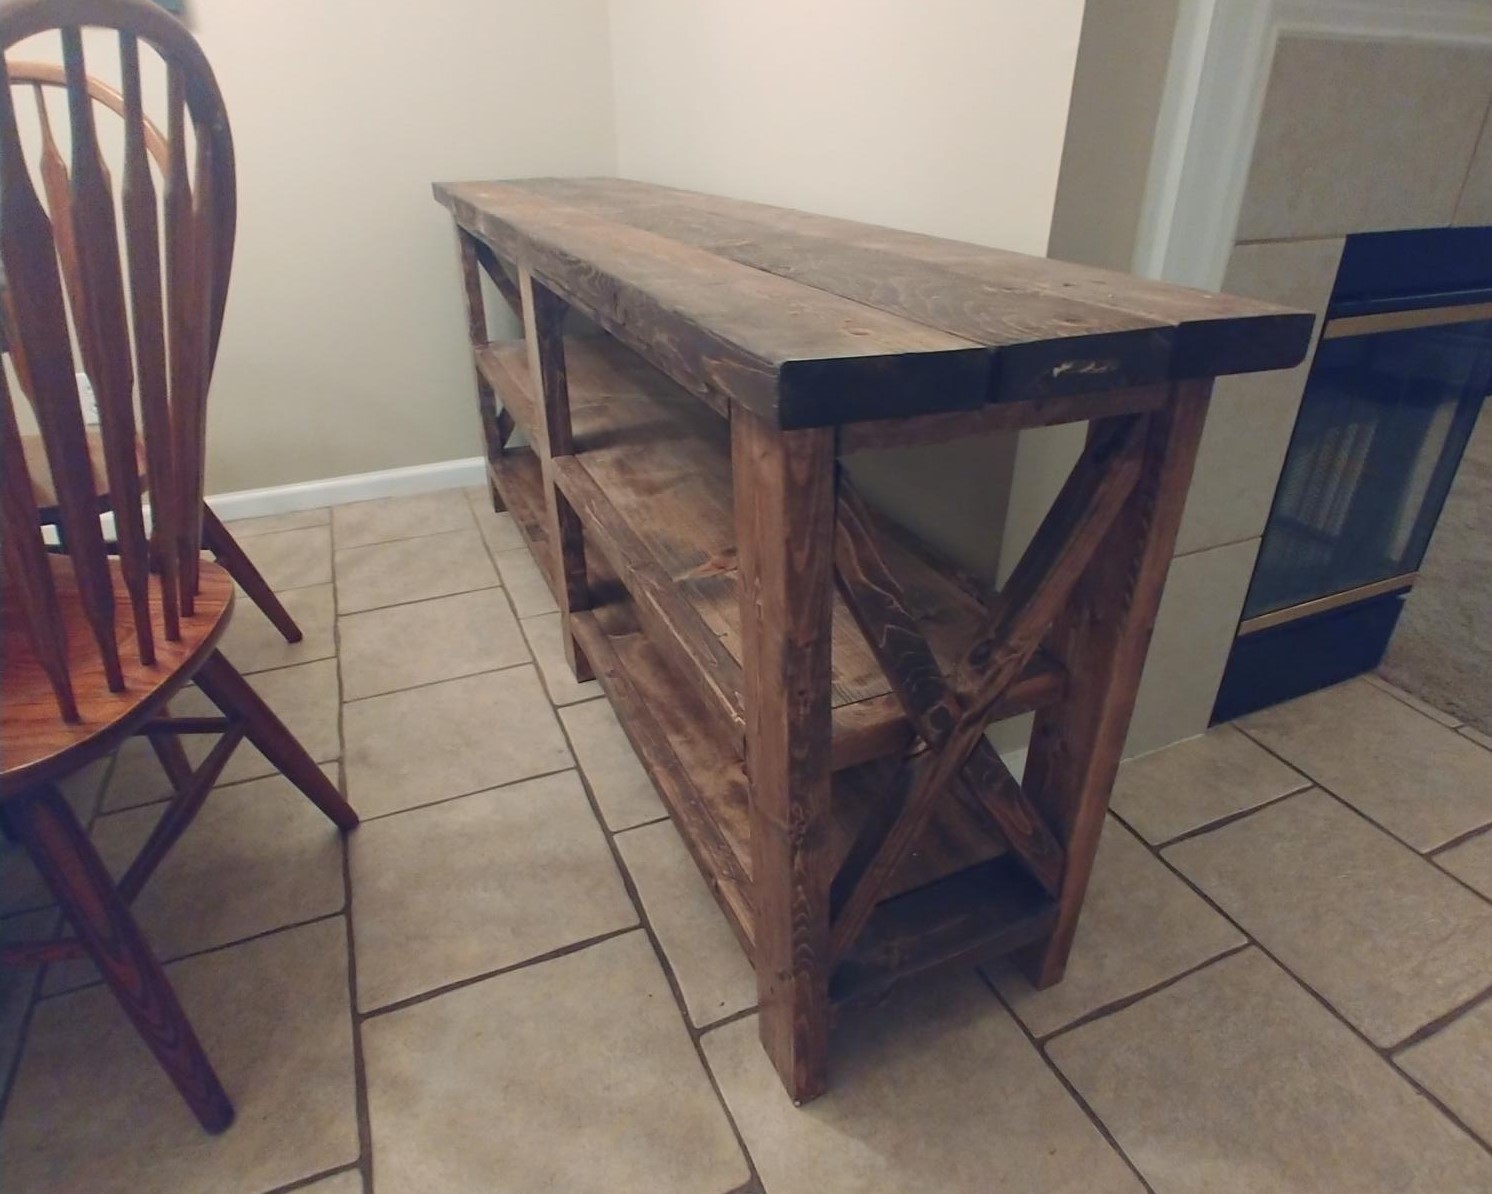
I decided to make this for our dining room table. I was going to use reclaimed wood but it's a hot commodity a round here these days, so I decided to use pine and let the wife paint and distress it.


Built this bed for our 2-year old daughter - cost was $144 for lumber. Wrote up the whole process on our blog! One note if you are building this: for a regular twin-size mattress, this fits very tight. Making the bed is kind of a pain in the behind. If we were to do the whole thing over again, we would have made the boards on the sides at least 3" longer to make changing the bed a lot easier.
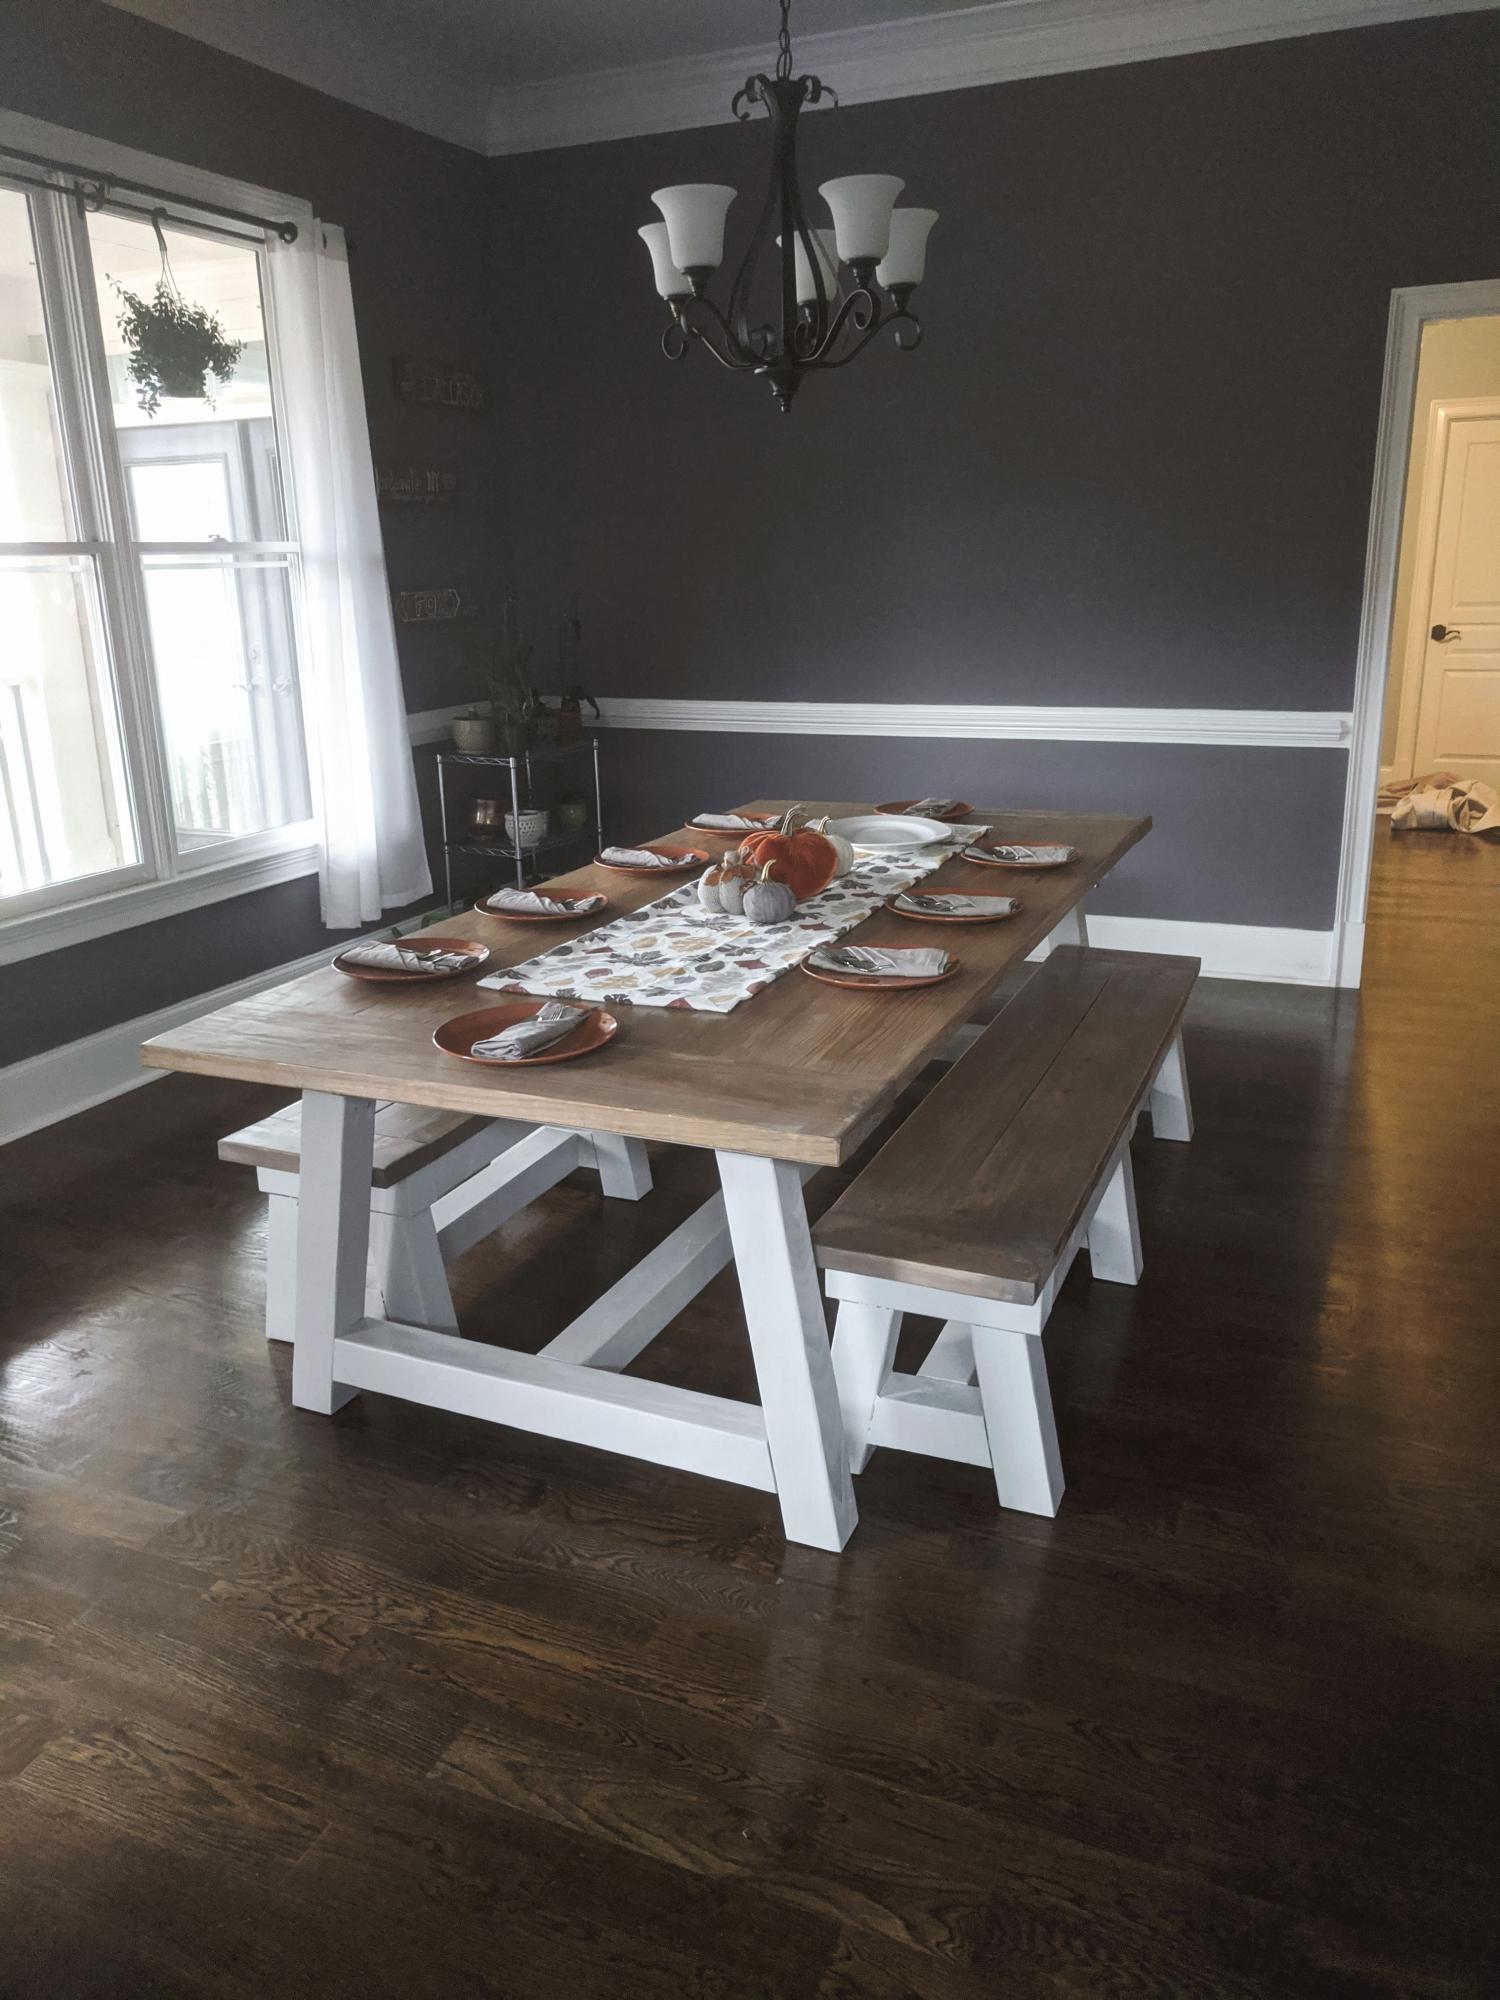
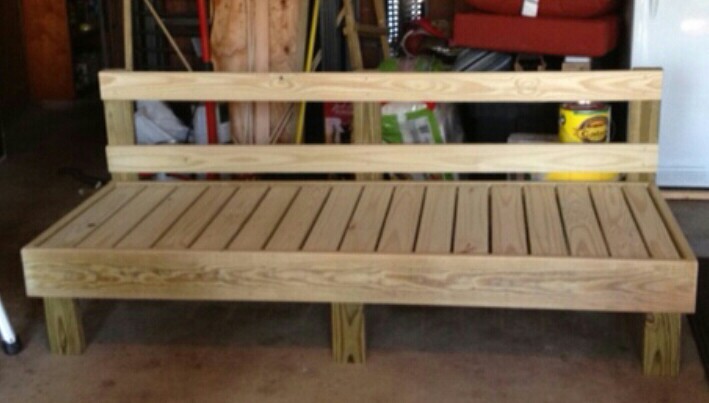
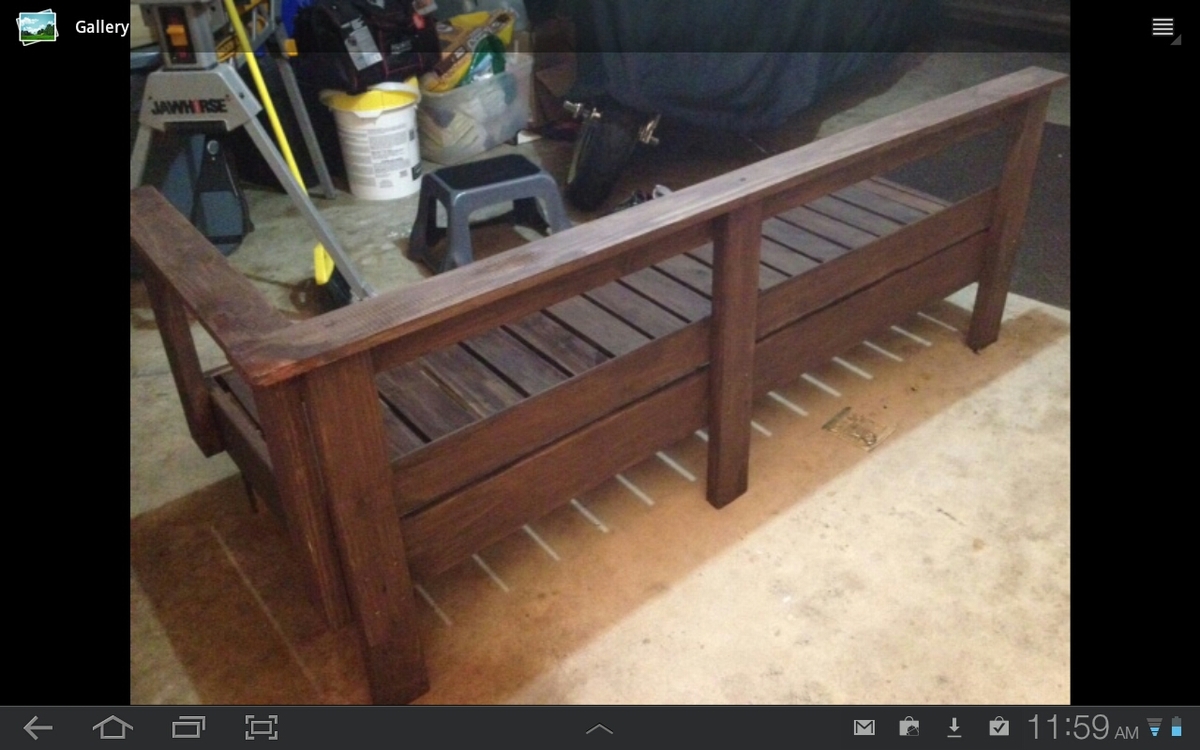
4x4 Truss table and benches
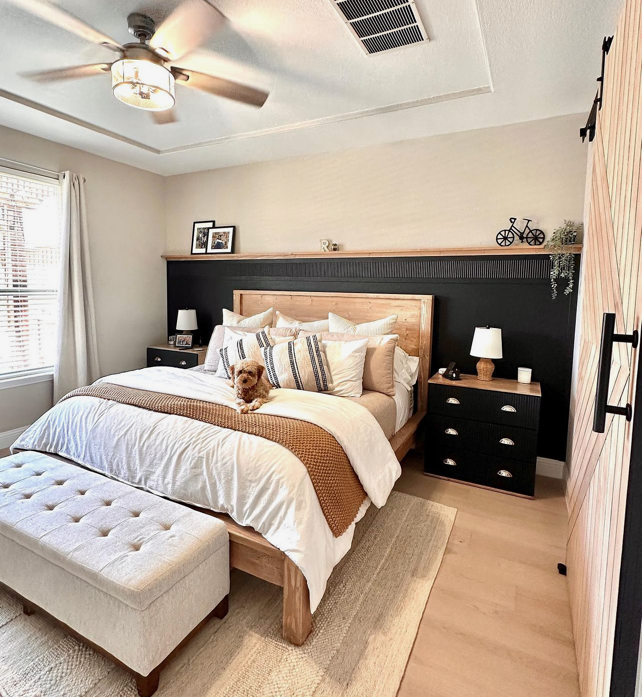
Master bedroom makeover ❤️ bed plans are from Ana White