Faux Fireplace
Modified from Ana White's Faux Fireplace with Hidden Storage Plan

Built from Plan(s)
Recommended Skill Level
Beginner
Modified from Ana White's Faux Fireplace with Hidden Storage Plan
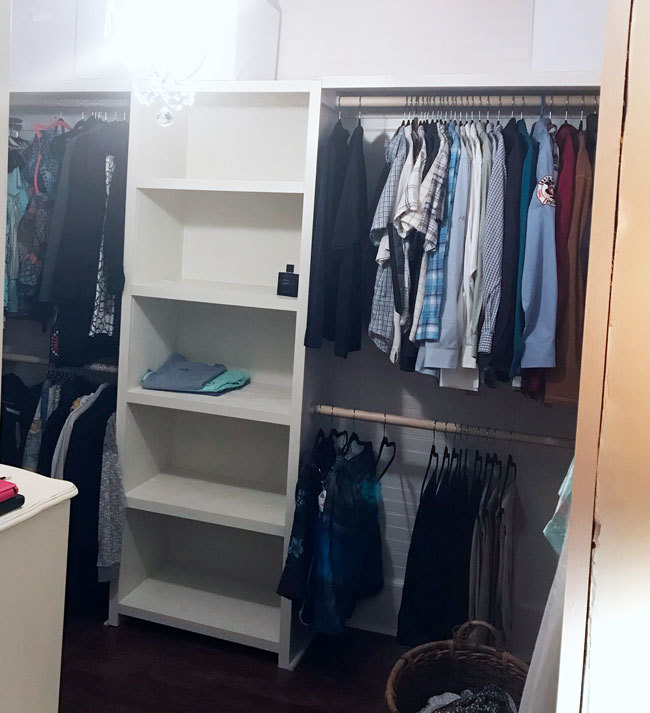
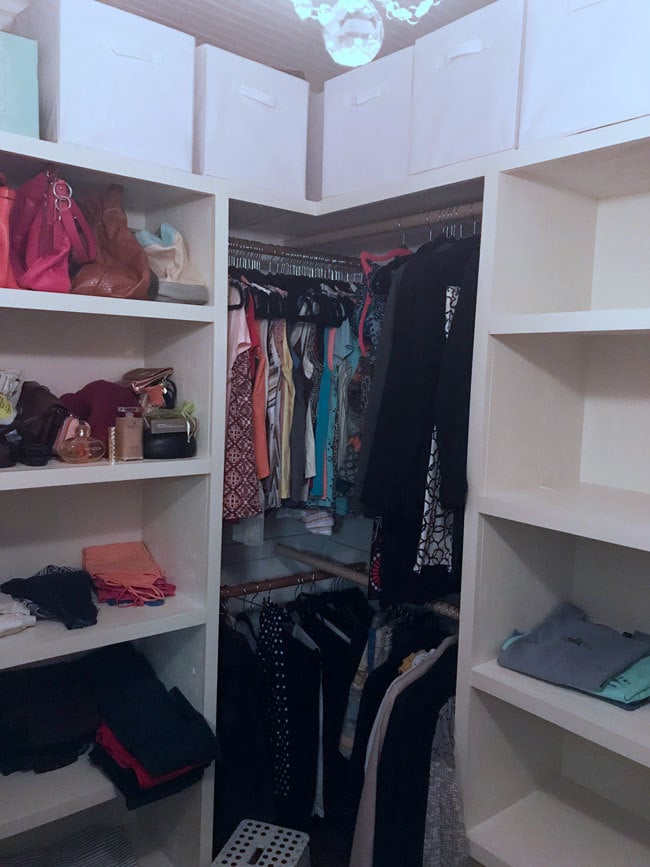
So thankful for the plans to build the closet shelves. They were key to our building out our new walk-in closet. Love it and this site! Onward to the next project!
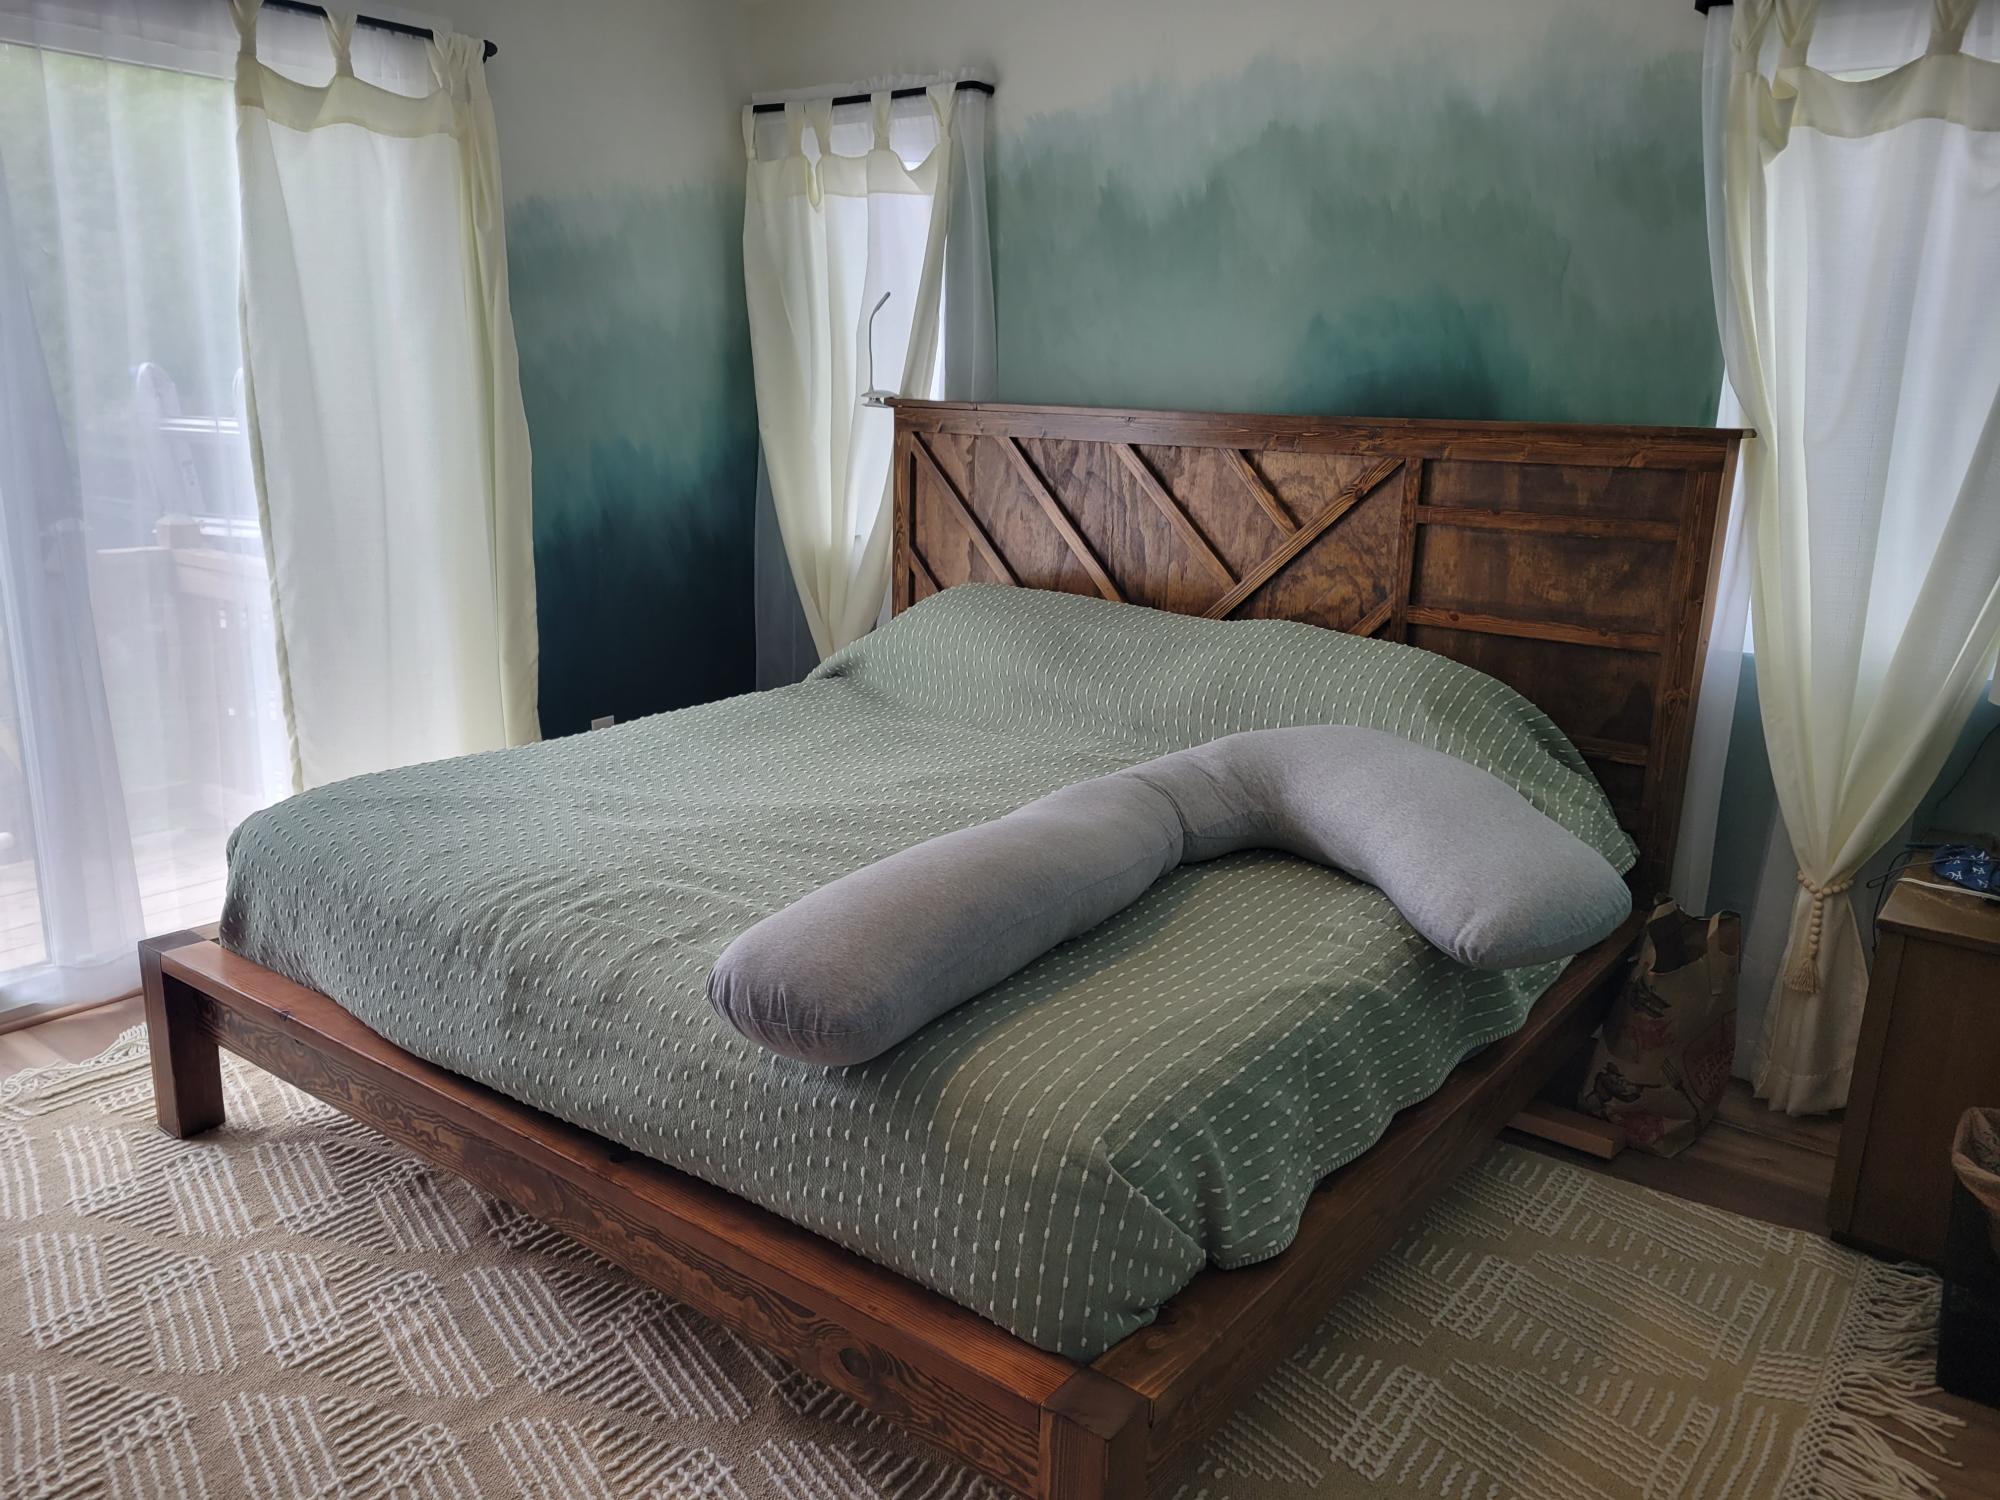
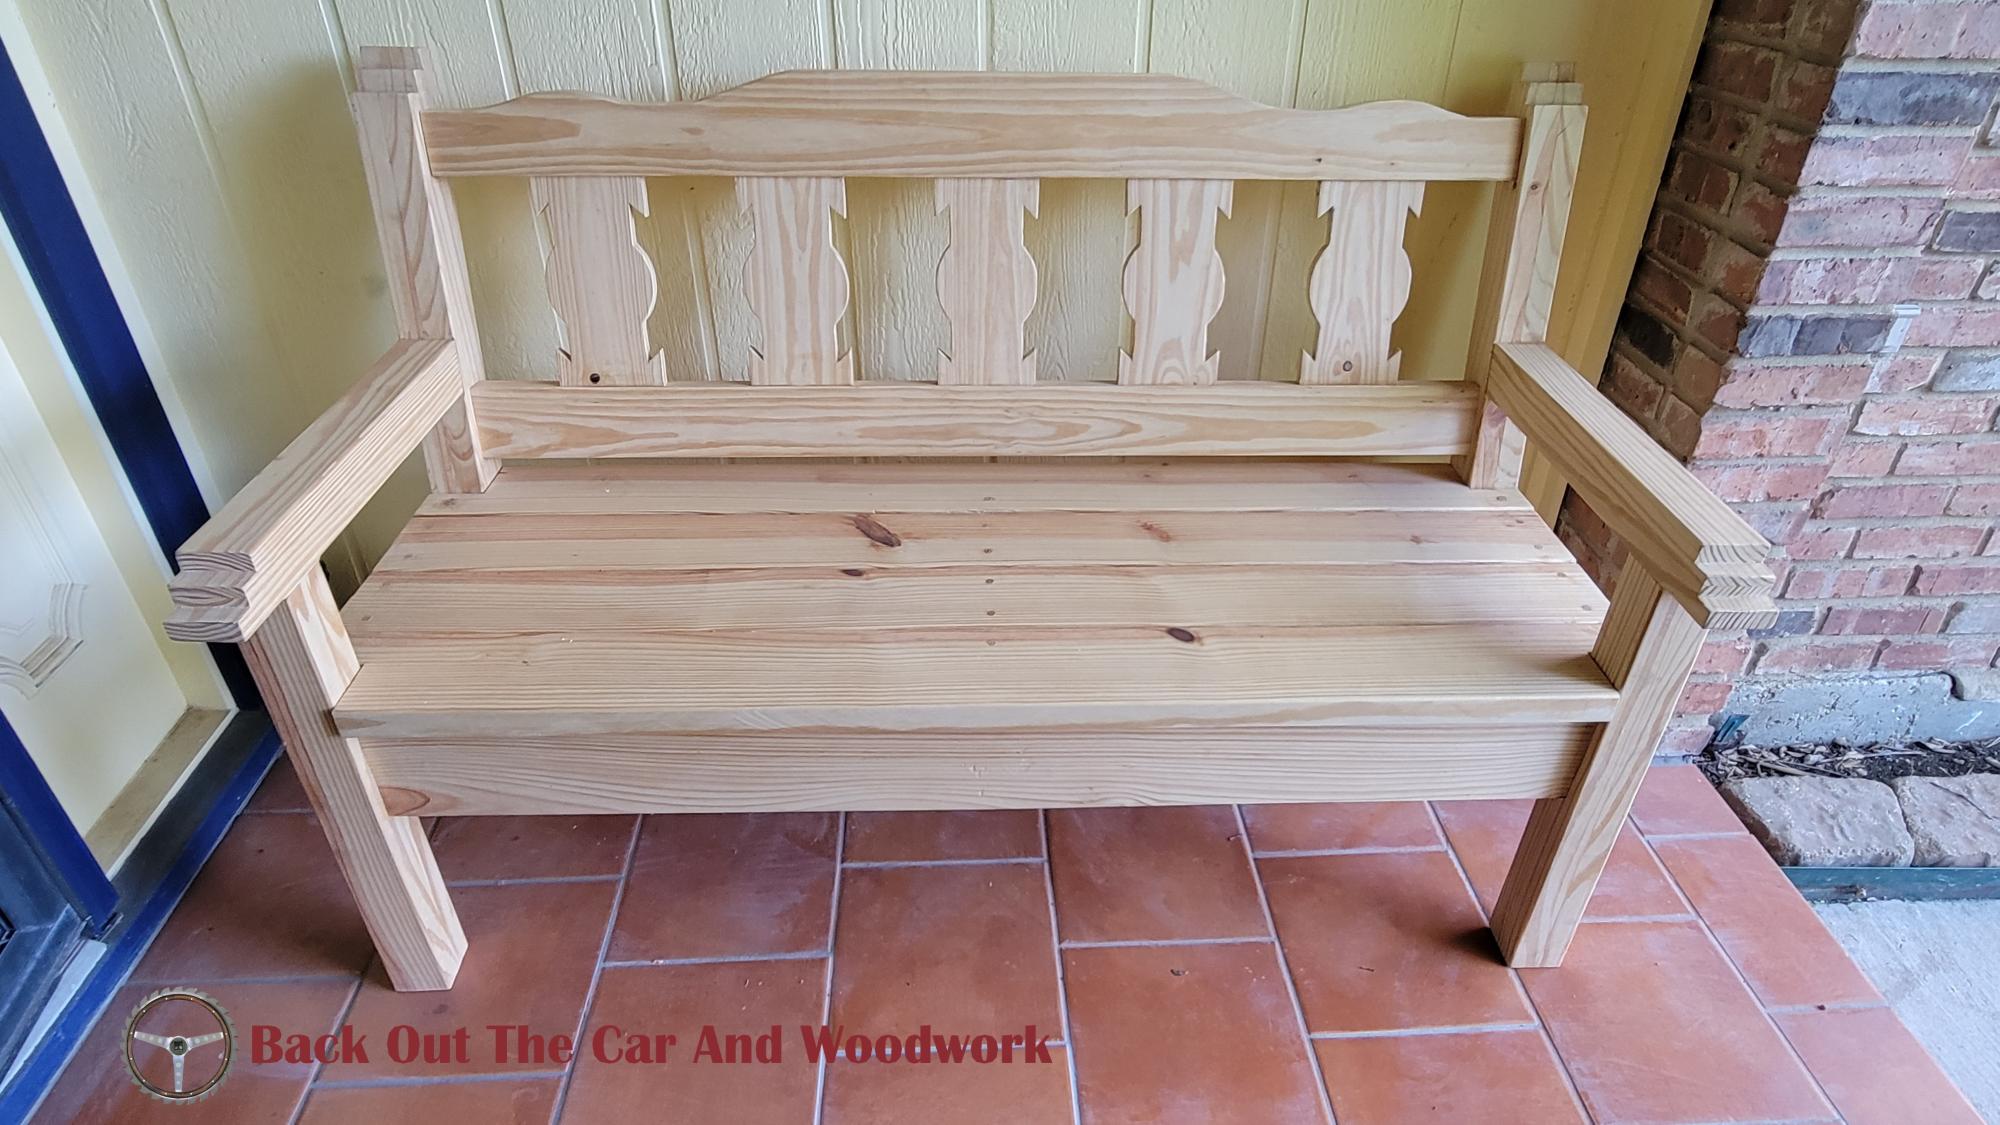
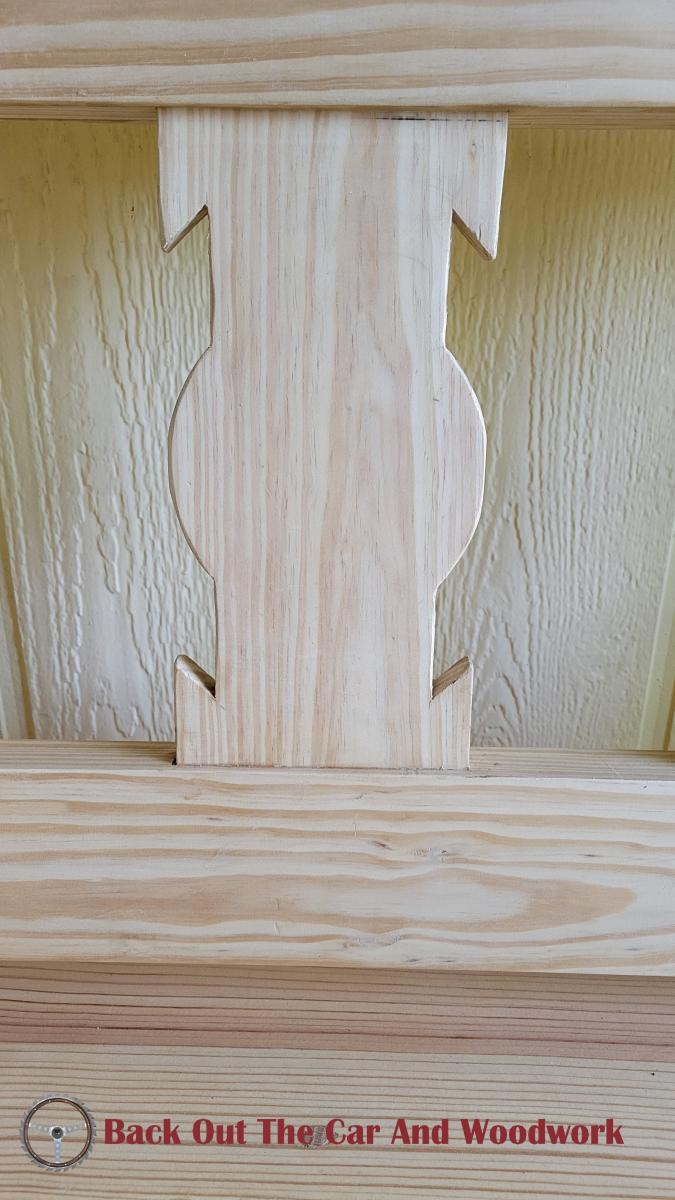
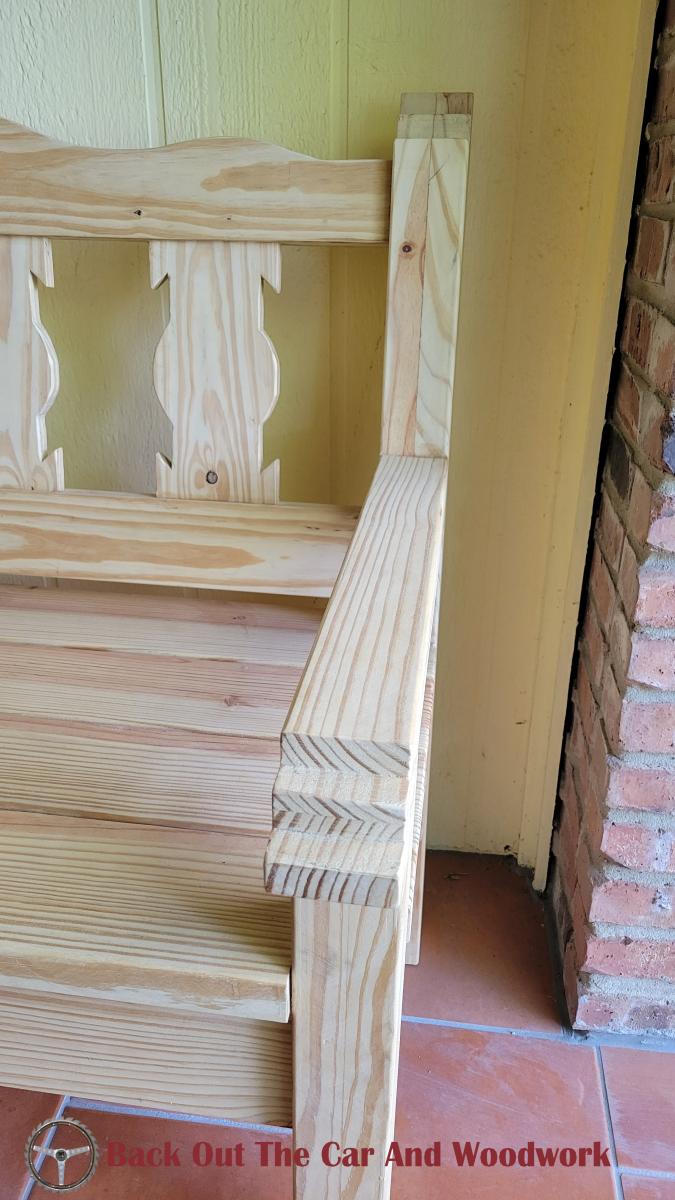
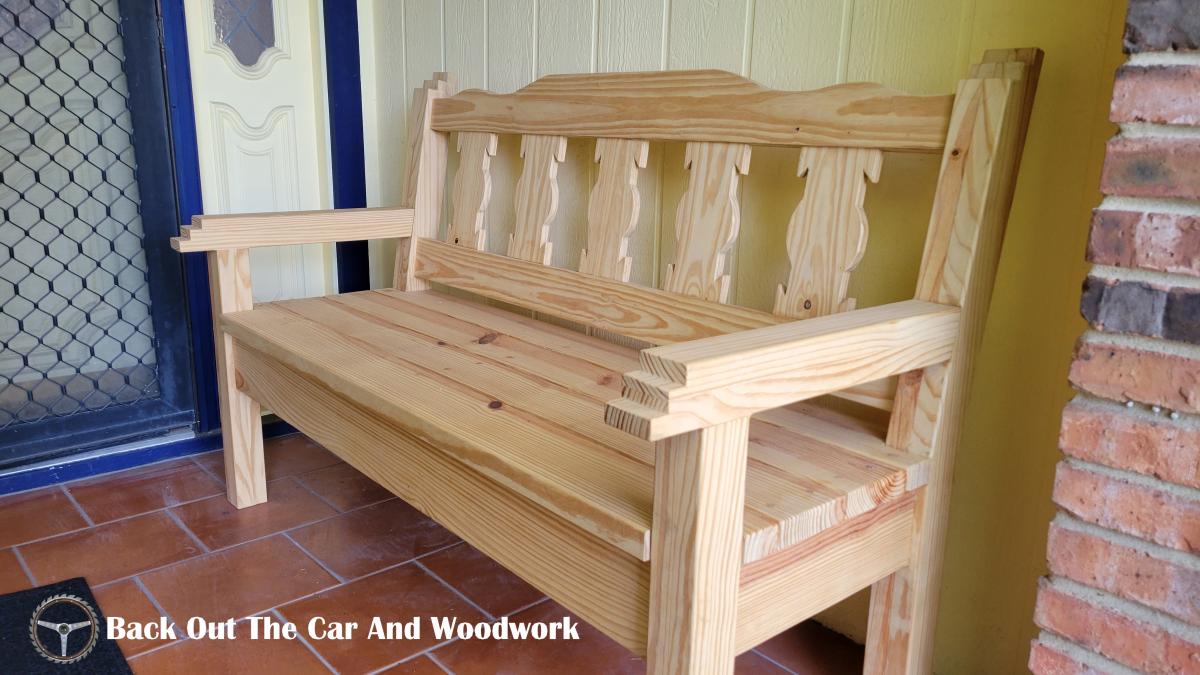
Took the Farmhouse bed model and incorporated a geometric headboard. This thing is heavy!


Thu, 05/12/2022 - 19:28
WOW, this is so pretty, way to go! Thank you so much for sharing!

This was my first project from the plans I got from this site. I had a blast building it. Made it out of poplar so that it would be strong enough to support either me or my wife on it with our daughter. Directions were simple and easy to follow. Key to this project as mentioned is to be precise in measurements and square! My wife and daughter both love this bed and now have 3 more projects lined up for me. I am so lucky!!! What family wants you and urges you to build more things from wood!
Wed, 07/13/2011 - 15:38
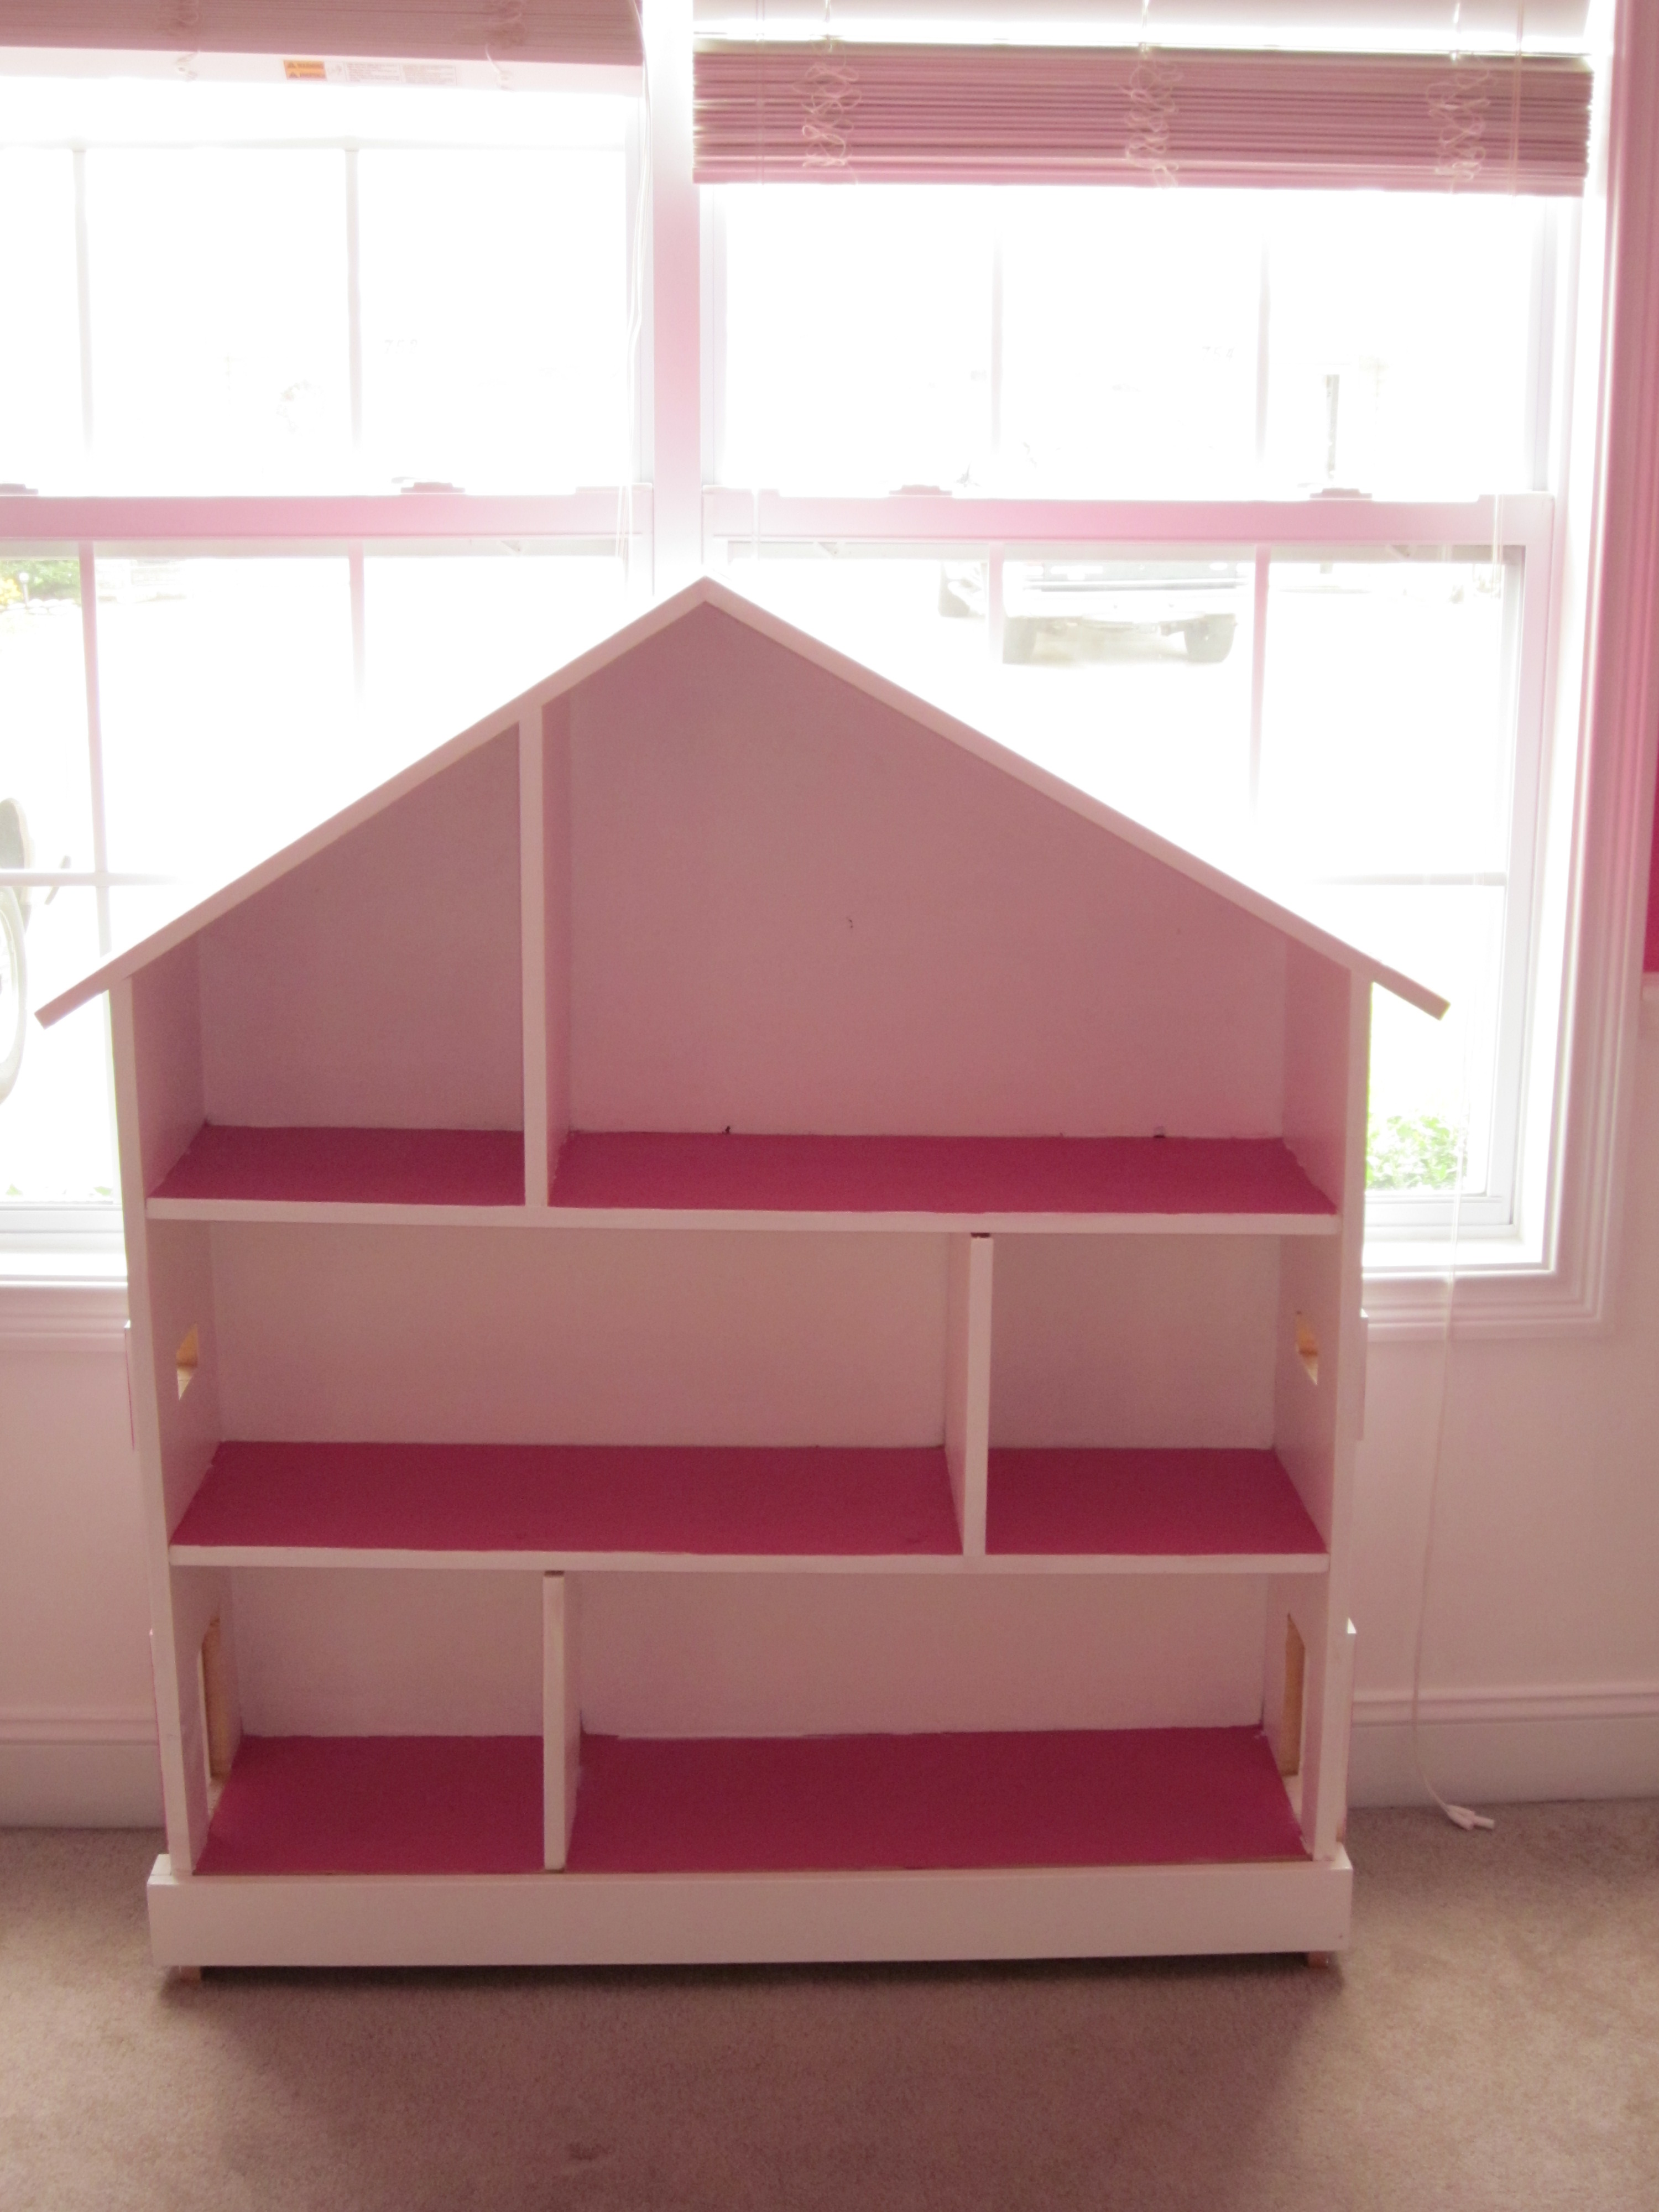
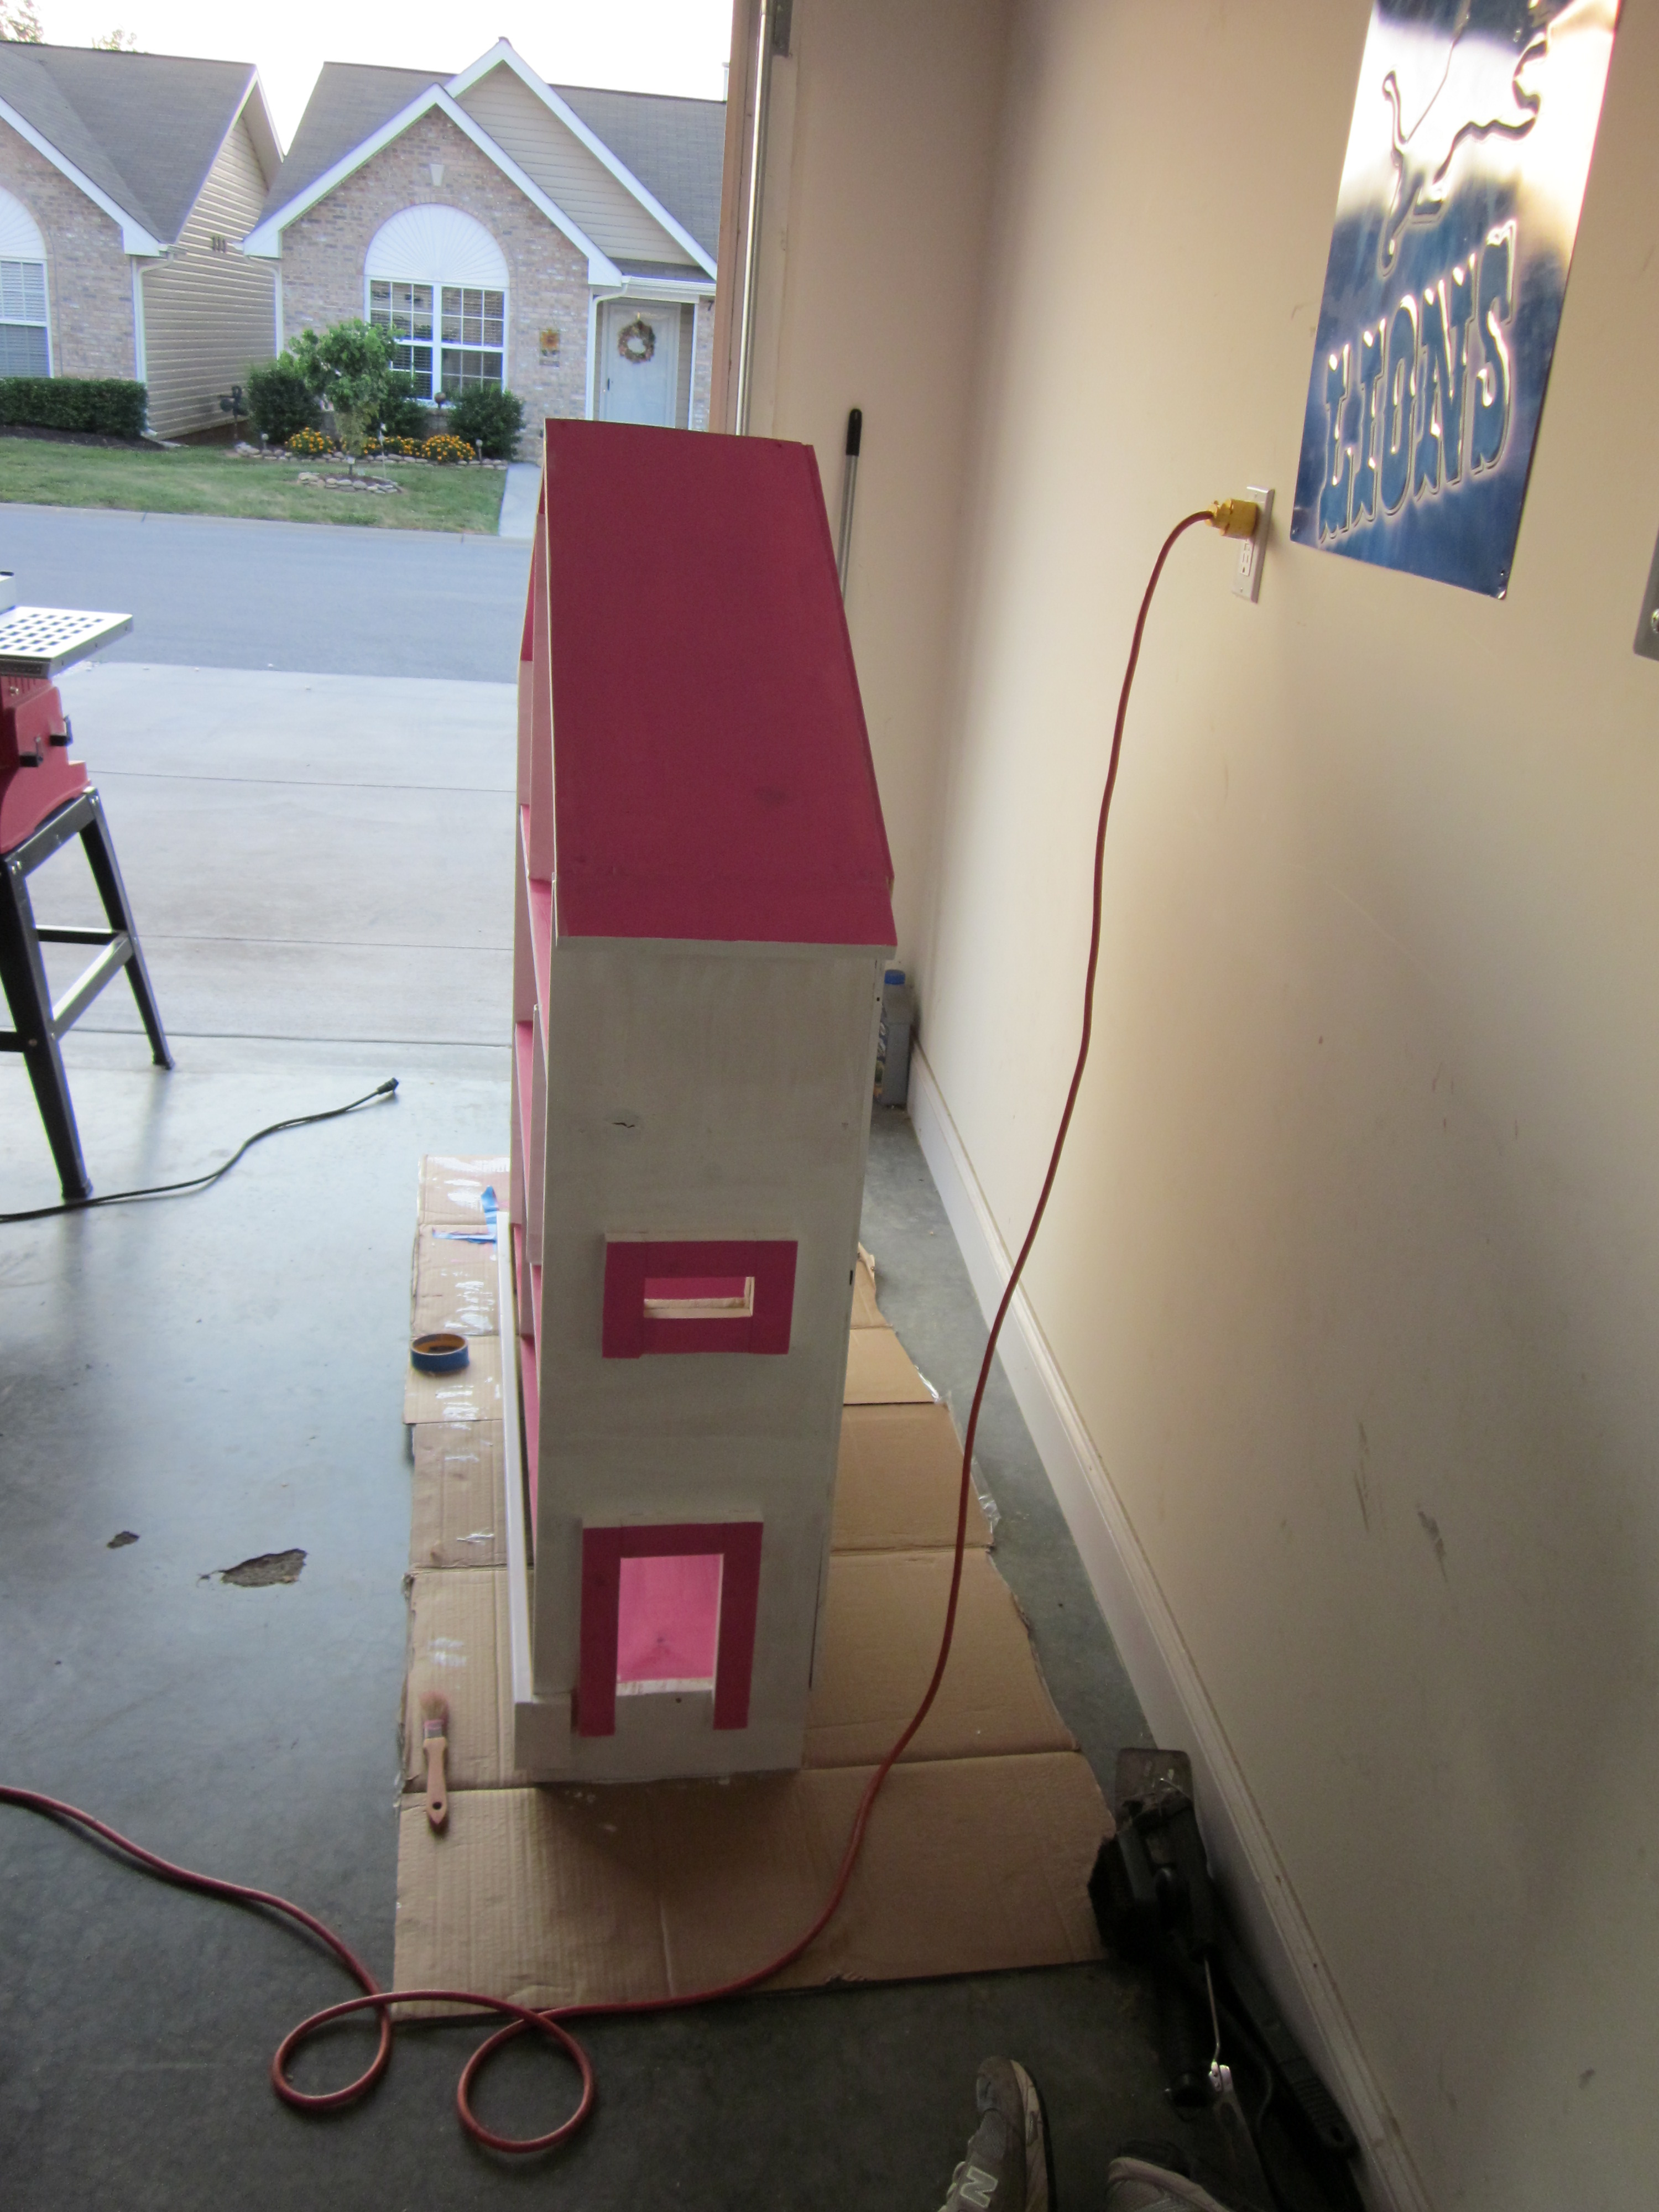
Love the colors! We are going to do a combo of these plans and the cottage loft bed for my step daughter. She's almost 7 and really too tall for the cottage loft bed but she wants the playhouse look of it. I'm hoping of coming up with a way to remove the "walls" when she's a little older. I'm thinking of putting it in a corner like you did and then just do the exposed side and front. Your family is very lucky you are so willing to build for them:)
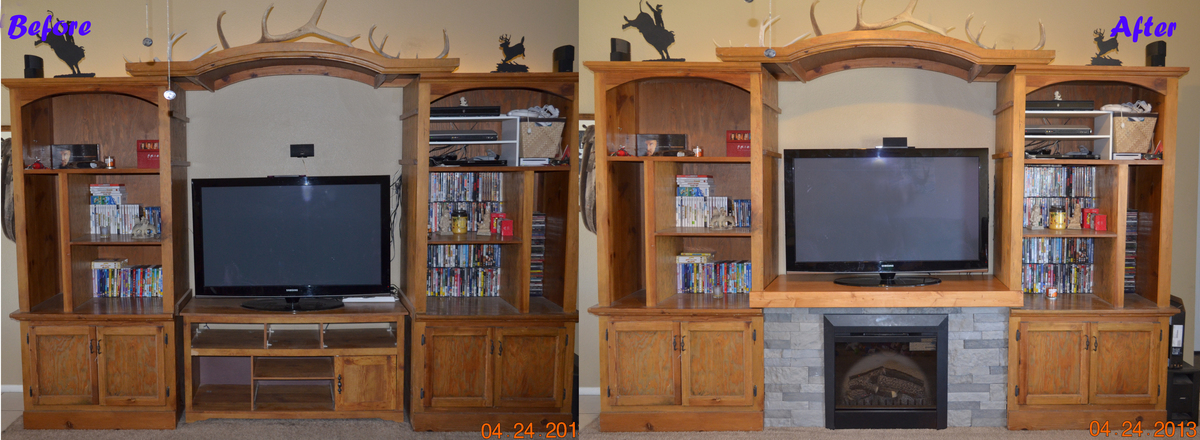
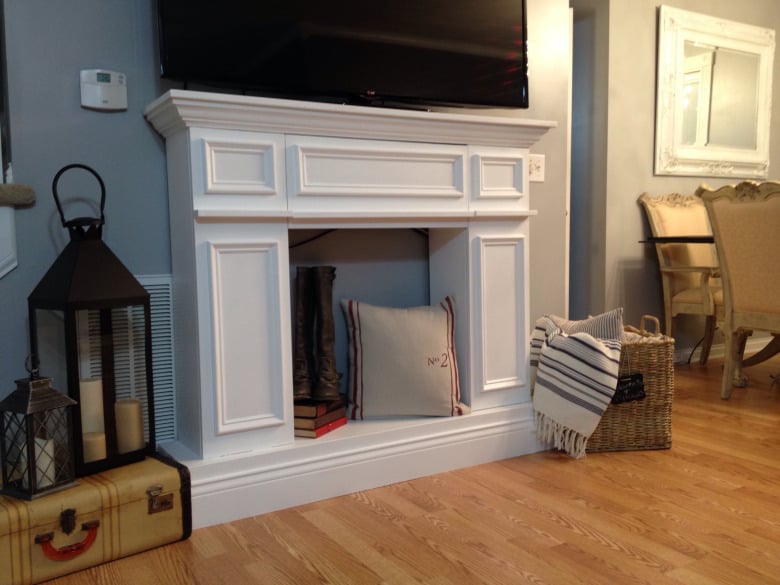
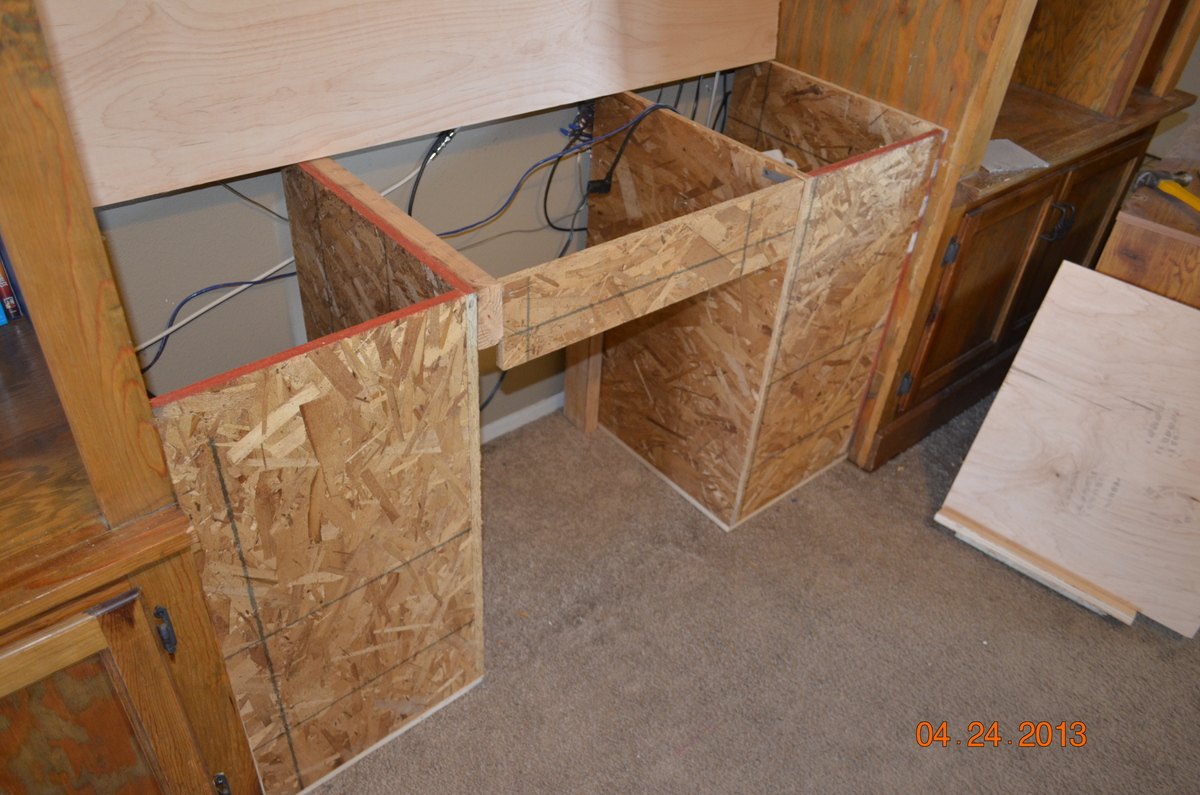
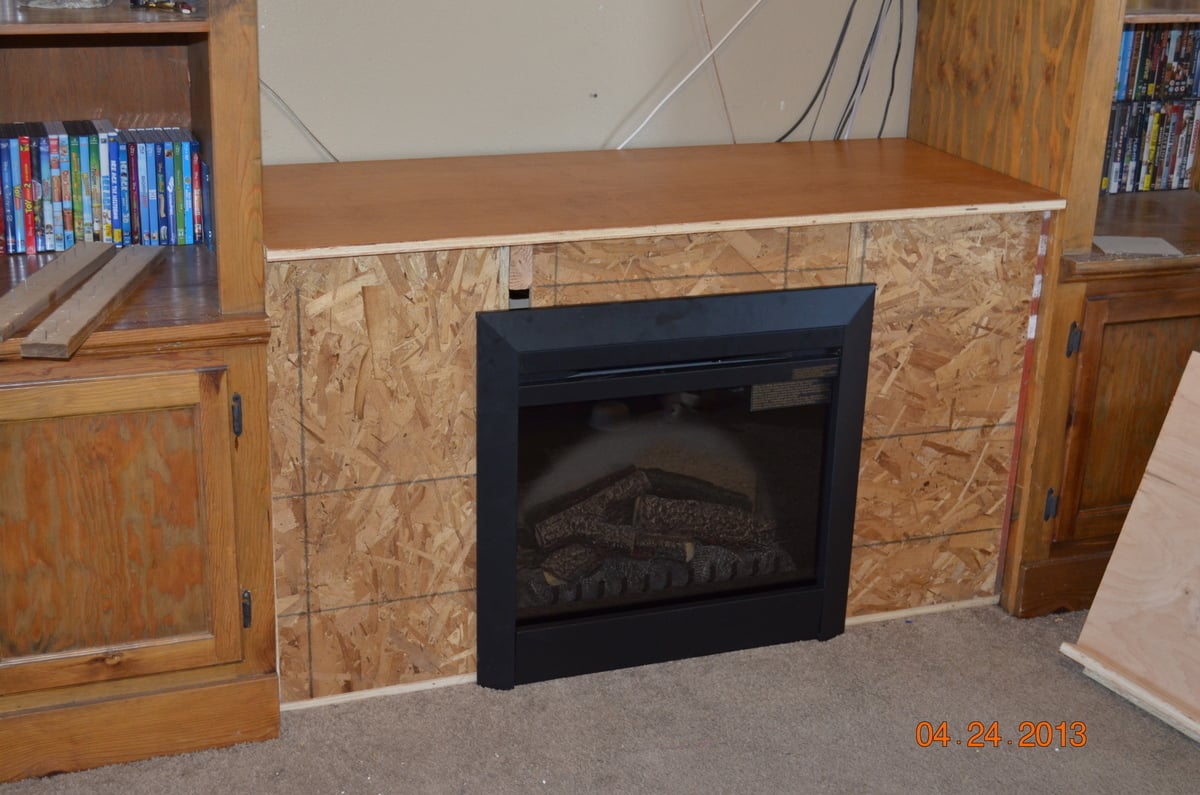
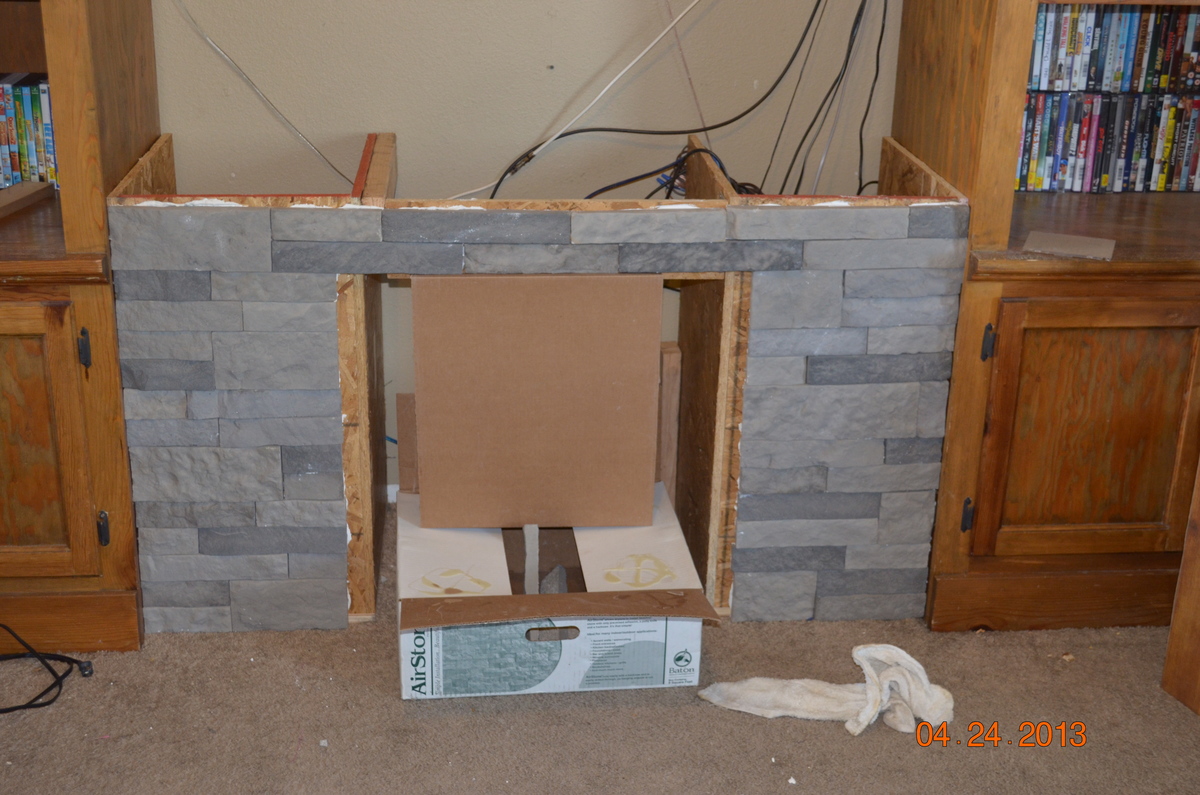
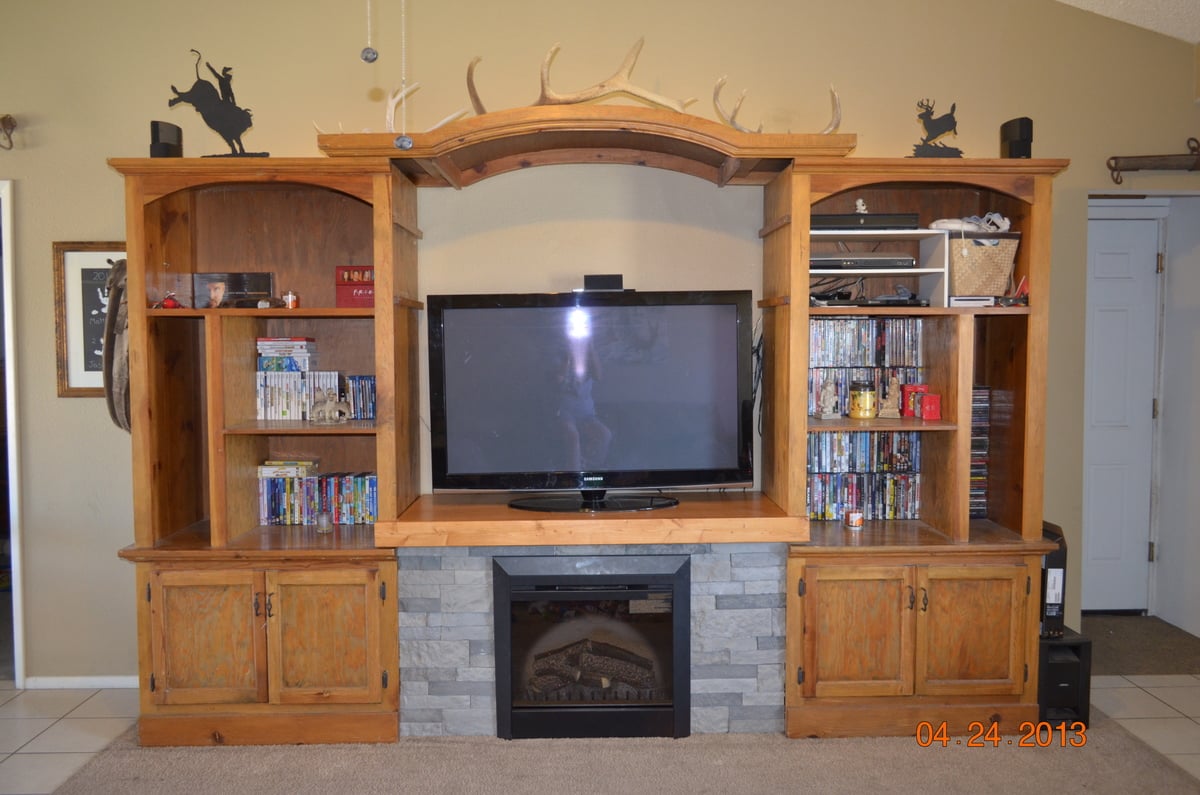
I have always wanted a fireplace, however I couldn't justify spending $600 or more for a flimsy electric TV stand. Not to mention, I have checked out the displays of these pieces at Lowes, and they are made from cheap materials that I do not want to sit my expensive TV on. We found the entertainment center on Craigslist for $100, because they got rid of their big projection screen TV (which many are doing these days). I looked for fireplace TV stands for months, and just couldn't find a piece that wouldn't look like a separate piece of furniture stuck in the middle. I found a new electric insert on Criagslist for $100 (normally about $250), and purchased the materials from Lowes where a nice employee cut it all for me. I glued and nailed the frame together, applied the AirStone, attached the mantle (a 2x4), and slid the insert into place. Overall, the project took about 4 hours to complete, and cost about $200 to build. (It could have been done for a bit cheaper, but I went with 3/4" plywood for strength and stability.)
Wed, 08/14/2013 - 10:28
I have an electric fireplace that is made with cheap materials. I've contemplated building a new surround for it, and your finished product and the pictures have made it seem more doable! Thanks for posting.
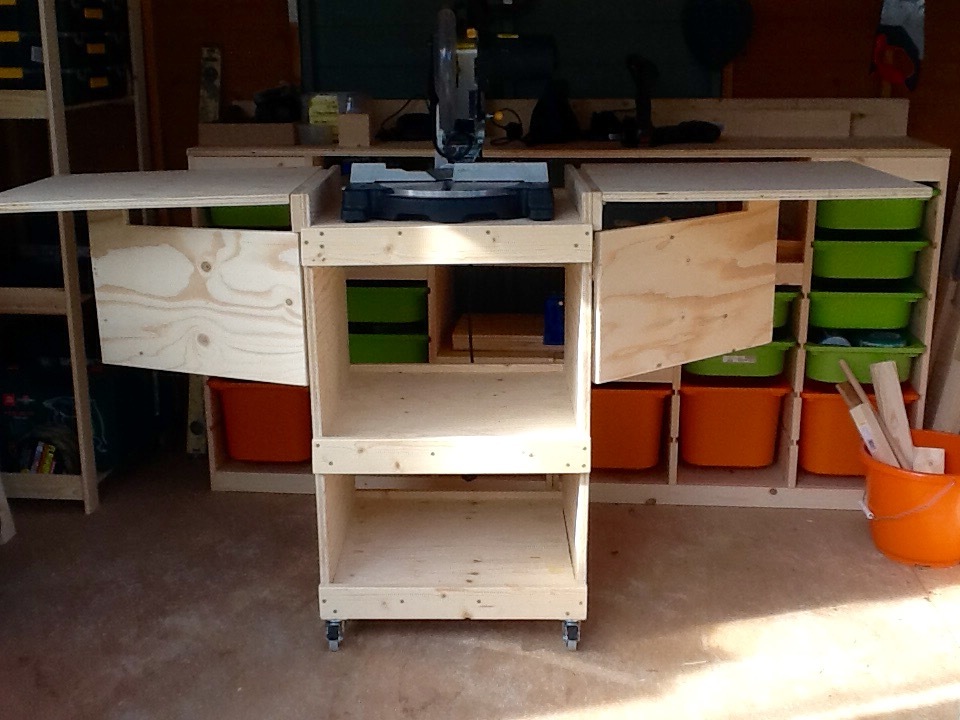
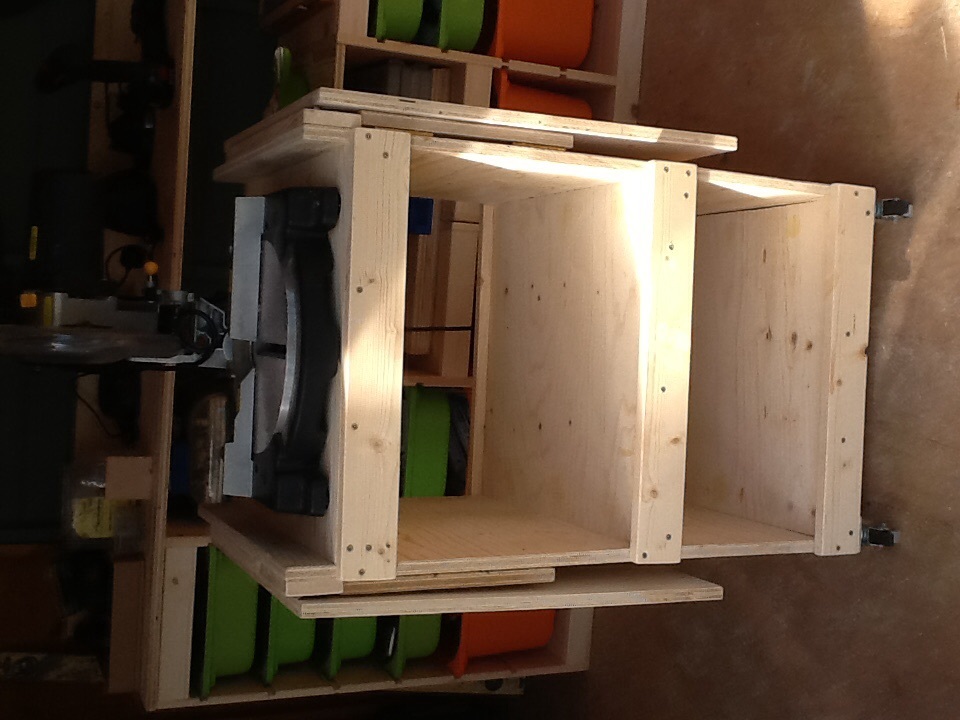
Adaptation to fit my little mitre saw, small workshop and the metric timber available in B&Q. My first build, this should let me build more while staying comfortable and safe. I'm ridiculously pleased with myself!
It took longer to build than expected because my little boy thinks naps are for wimps.
In case anyone in the UK wants to build similar, here's my adapted sizes.
18mm plywood cutting list:
2 85cm x 50cm (sides)
3 50cm x 50cm (shelves)
2 50cm x 60cm (leaves)
2 45cm x 30cm (leaf supports - replaced fancy brackets that were too expensive over here)
Timber cuts:
6 34mm x 34mm @ 50cm (cleats)
6 18mm x 70mm @ 52cm (supports)
2 18mm x 70mm @ 42cm (spacers)
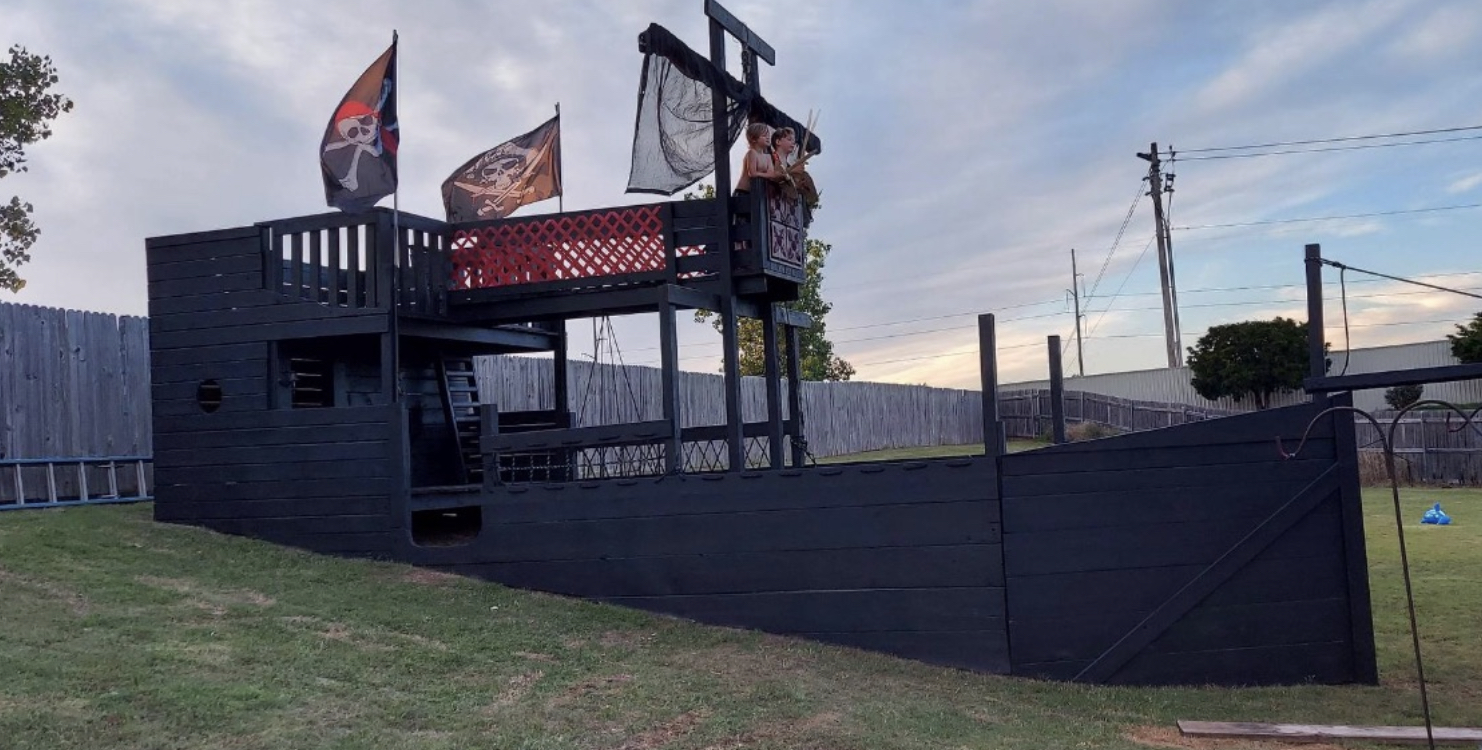
I started building this pirate ship in the spring of 2020. It kept getting bigger as a friend donated old lumber from his masonry company. He was going out of business and wanted to get rid of some of what you see here.
The ship is 24ft by 10ft.
I won’t papa of the year three years straight.
Thu, 05/26/2022 - 16:41
This is so awesome, thank you so much for sharing your creation!
When Ana posted these plans just before Christmas, I had to make one! I still don't have a use for it but I love it anyway! I made a few small changes and it was super fun to build! I can't wait to make a miniature one for my little guy!

We followed Ana's detailed plans for the Stratton Daybed from her book and her blog. We appreciate the help!
We made this for our twin nursery, so that I could have a place to feed, sleep and read to the babies. It is much more comfortable than having to squeeze myself and two babies into a single chair.
It took us a few days because we work and have a three year old. We decided to paint the inside of the storage spaces underneath to go along with the rest of the room.
Designed to store 56 qt clear sterilite totes. Spaced 17” apart and used 5 2x4s so 23” deep. We have a lip of our foundation that sticks out so we had to adjust for the difference in leg heights.
We're having a baby girl, and this was the perfect project for me. For my first project, I am pretty pleased with it.

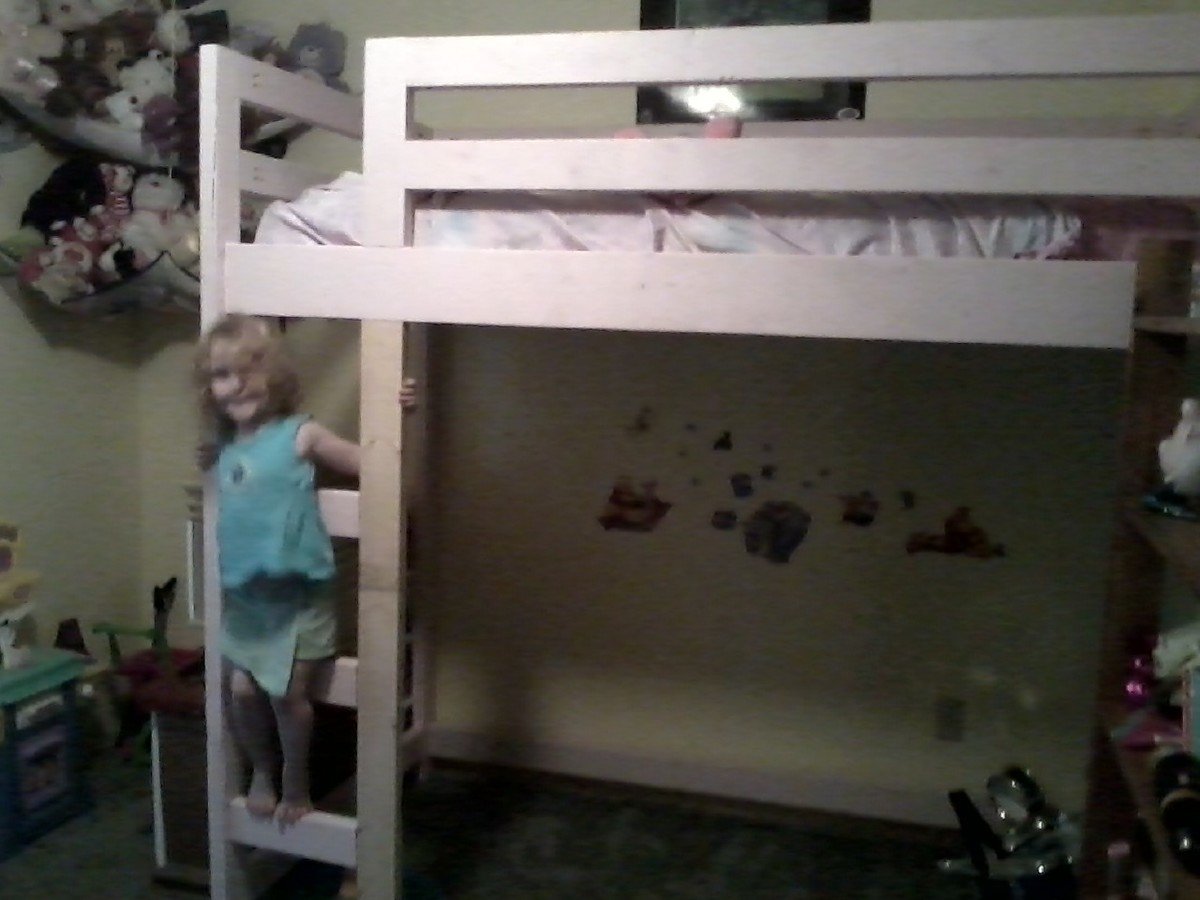
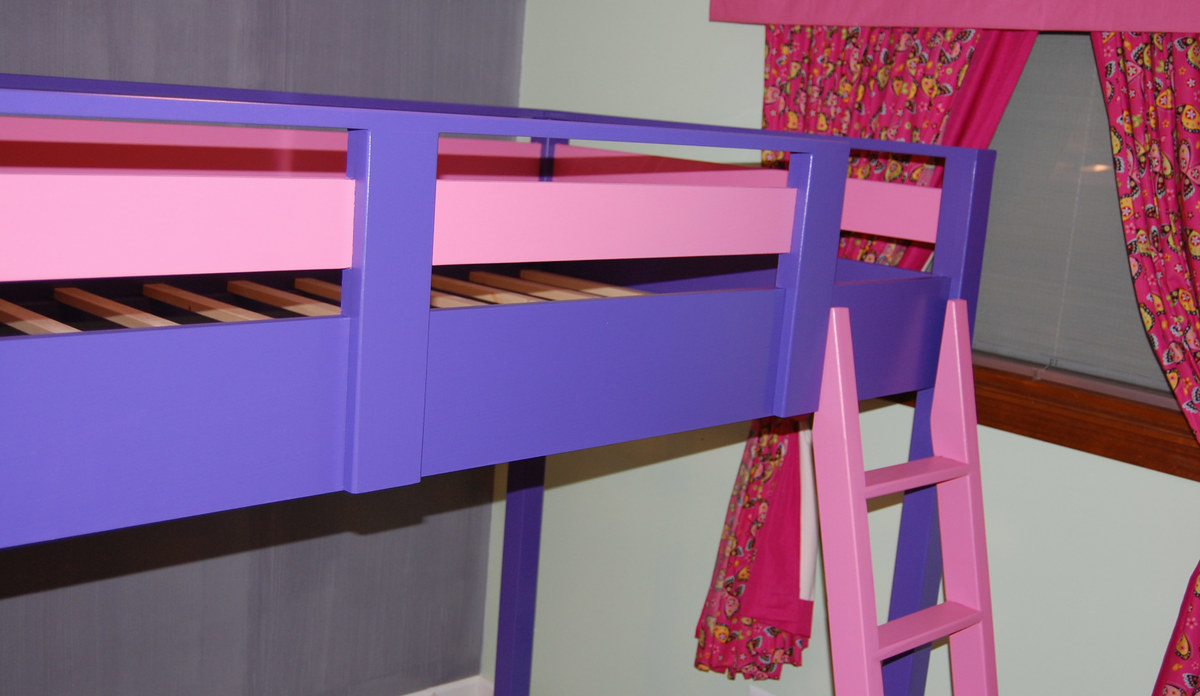
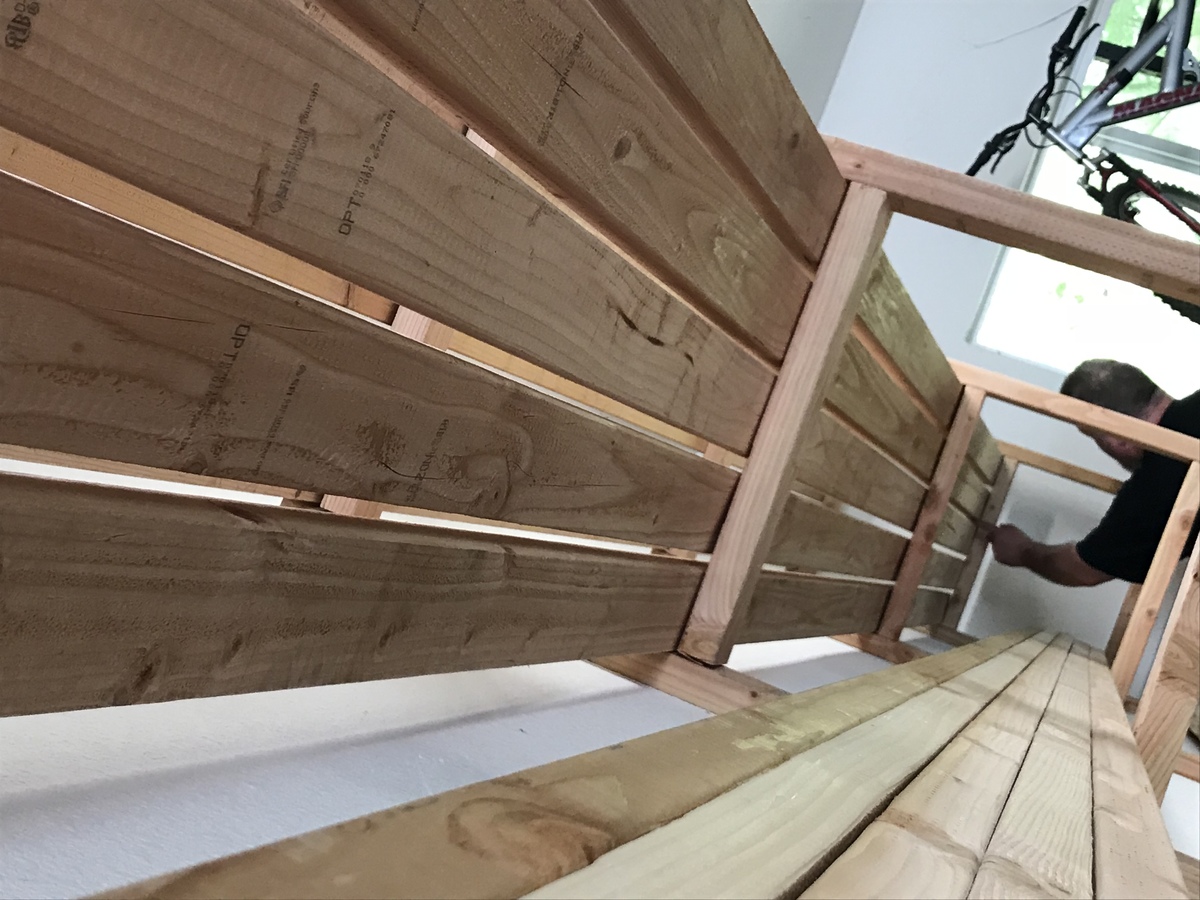
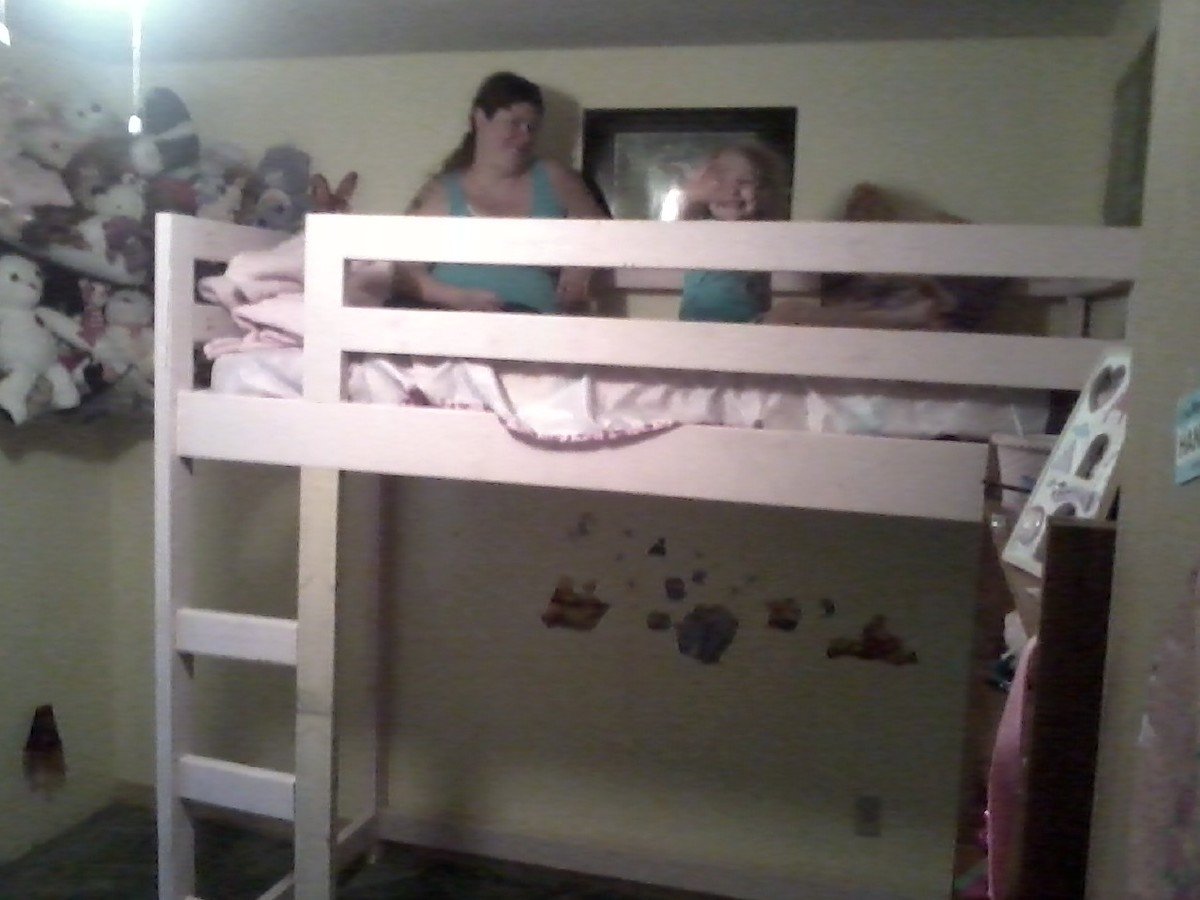
I decided to make this bed when my little girl decided that she didn't want a little girl bed (toddler size) and wanted a big girl bed. Because of the size of her room and the fact I wanted her to be able to move the bed to a different wall if she wanted to in the future I added a front ladder rather than on the end. I also added 6 inches extra clearance under the mattress and 2 inches to the side railing height so she could have a pillow top mattress in the future.
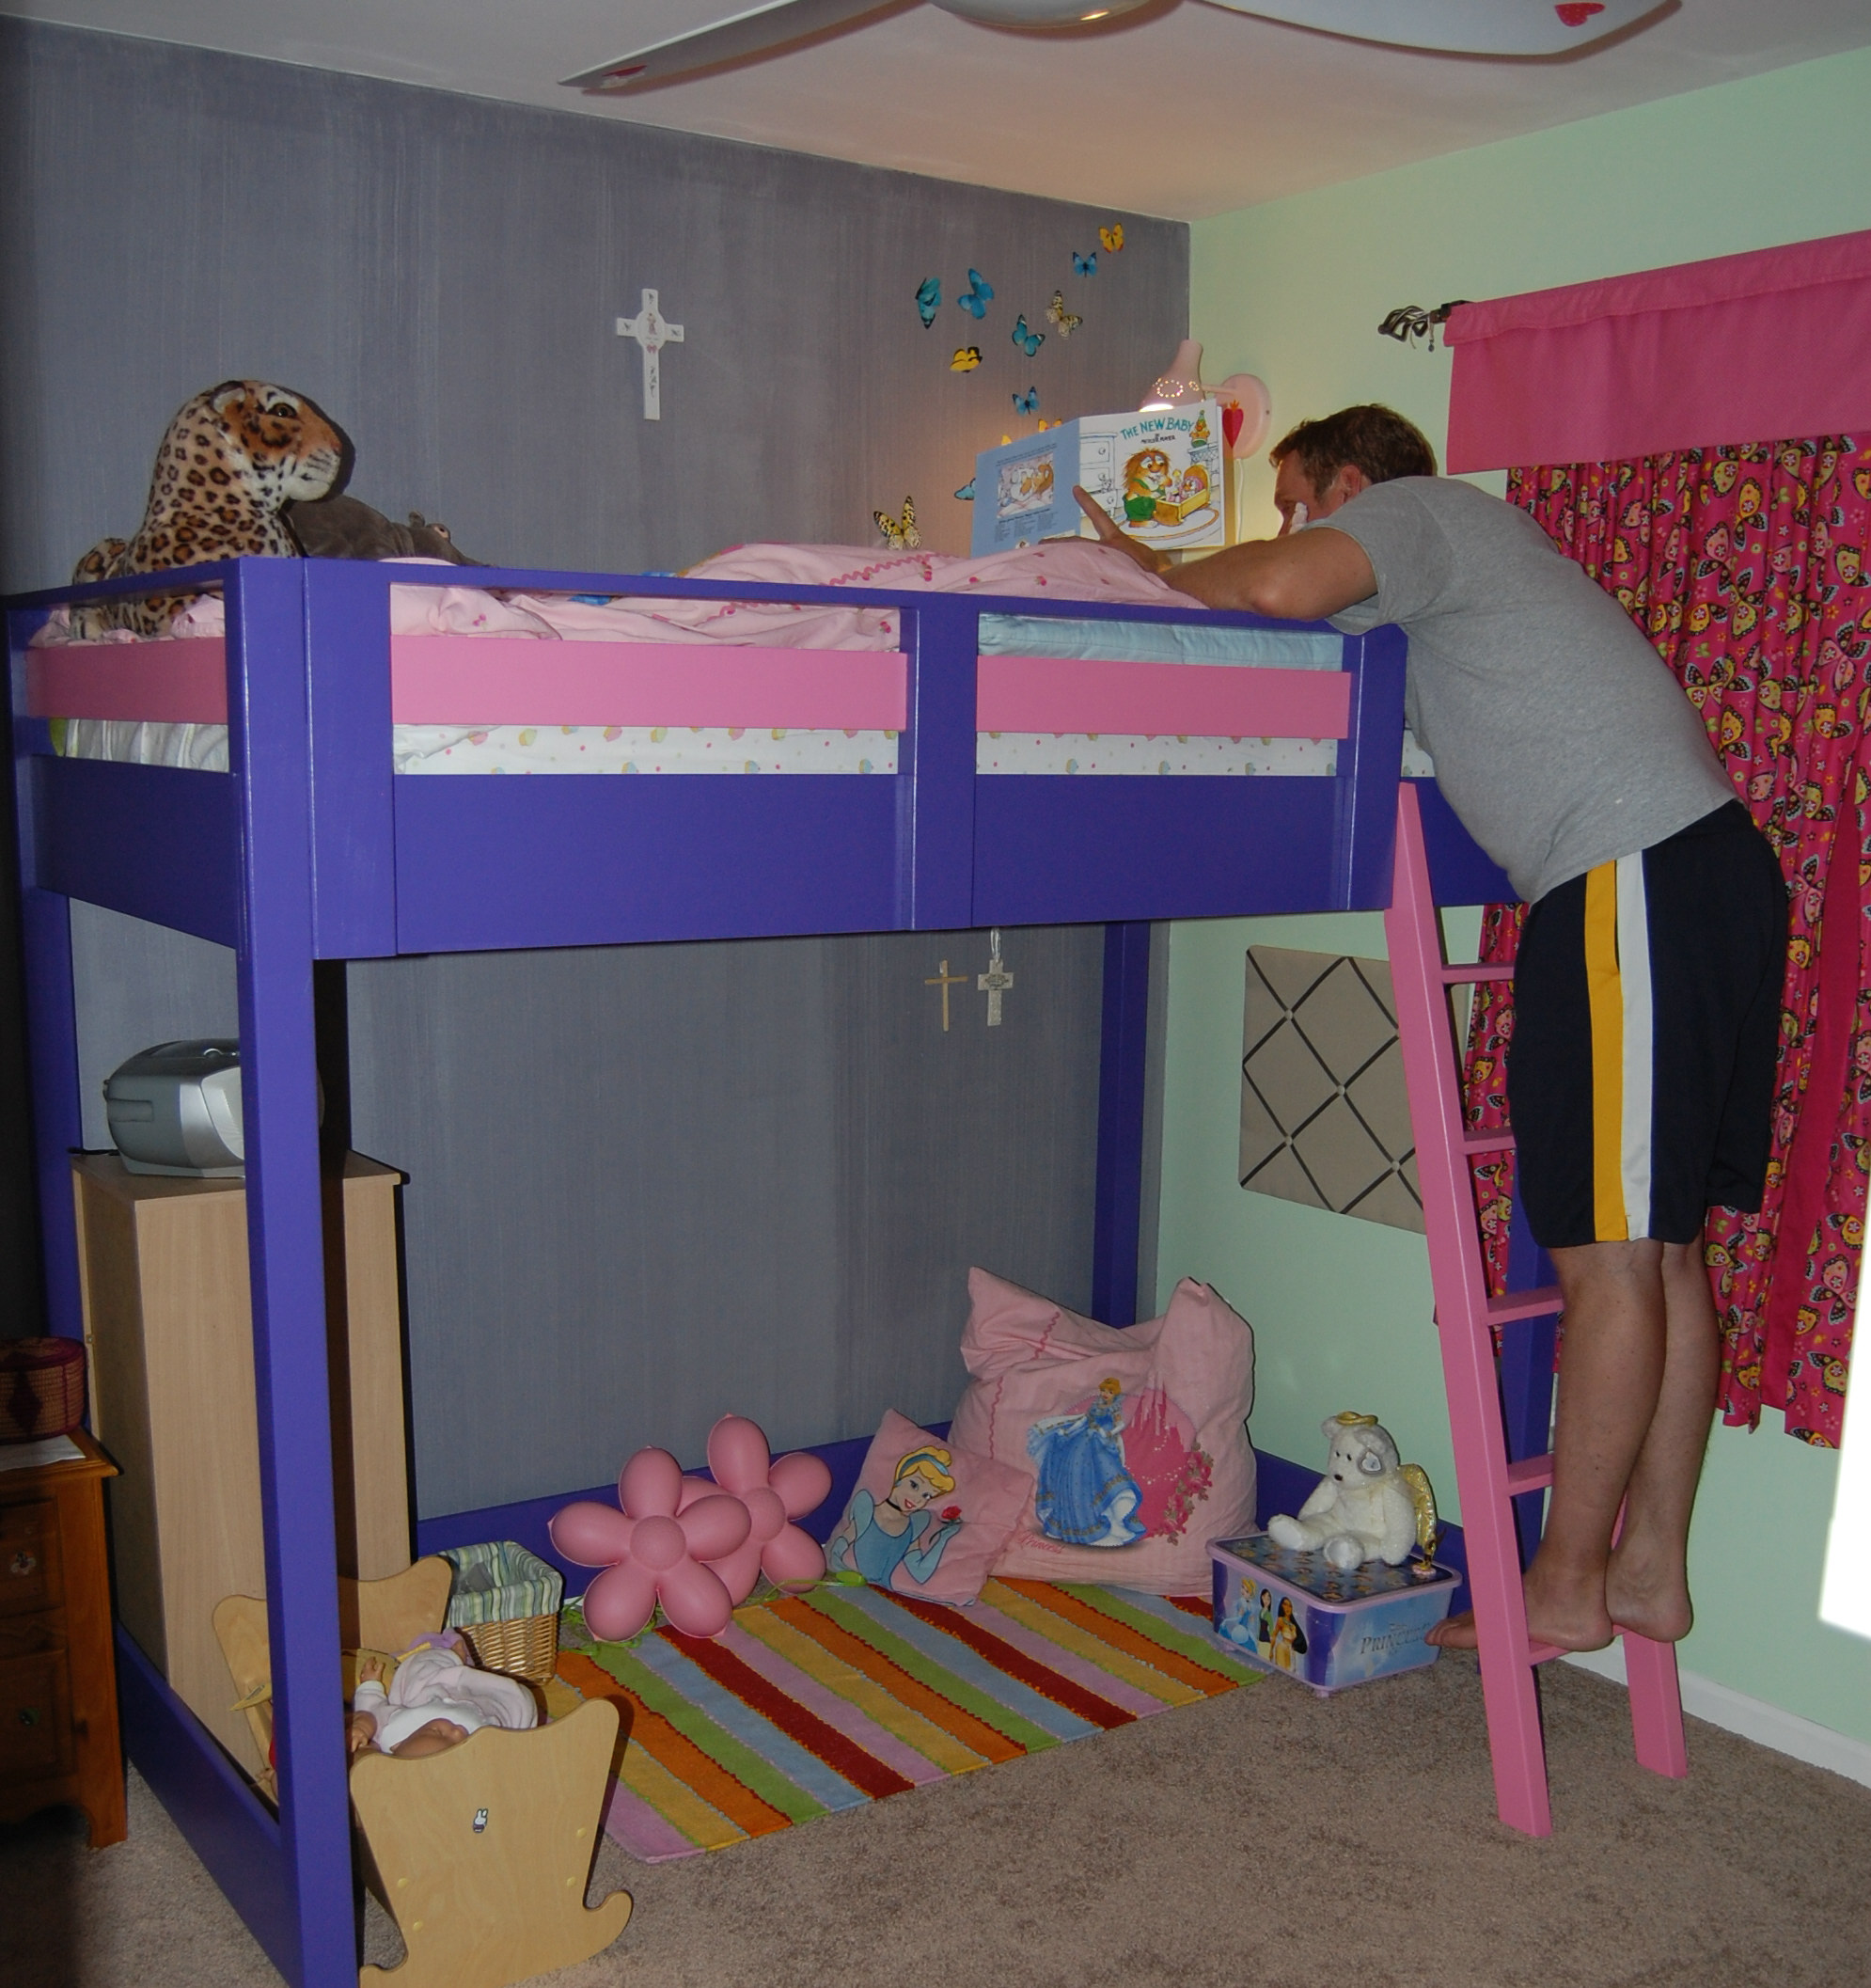
As you can see in the second picture I was up there with Hannah so I know it can easily handle the weight.
In Ana's description it talked about the kids playing by themselves and not wanting to come out of the room. Well it's the truth. Hannah has been in there the majority of the time since we finished it yesterday afternoon. The first words out of her mouth this morning were "Momma thank you for making my new bed." Made all the work so worth it!
7ft Fancy X farmhouse table
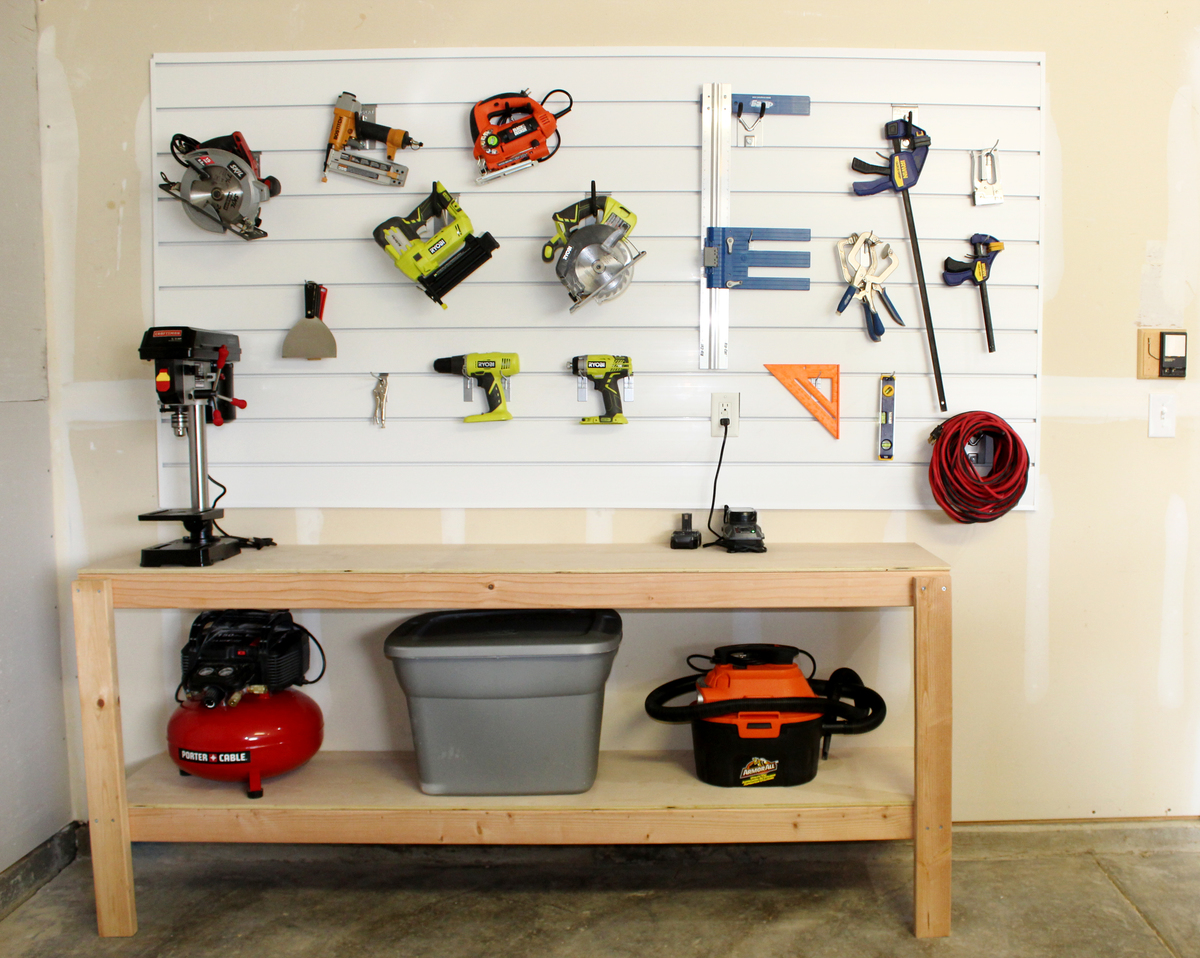
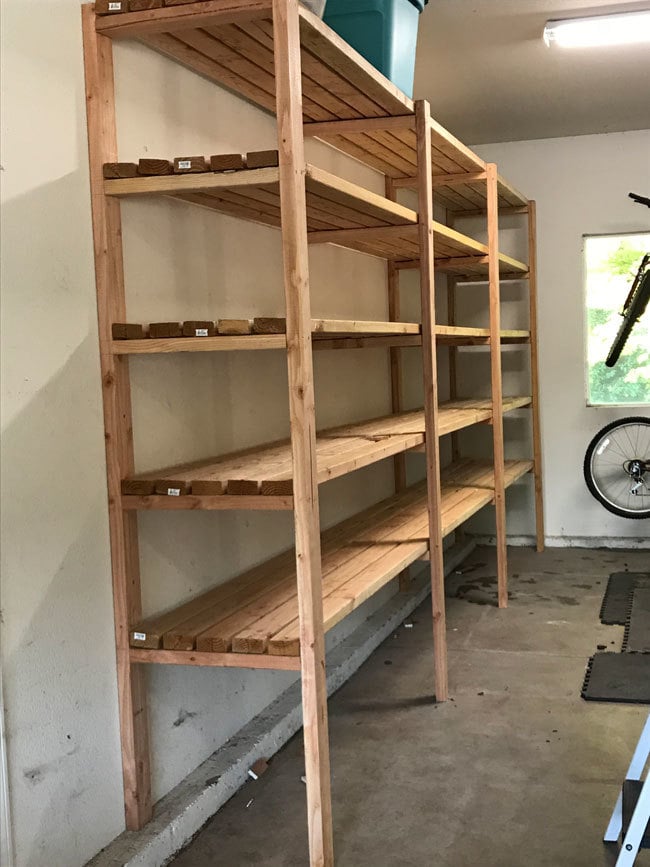
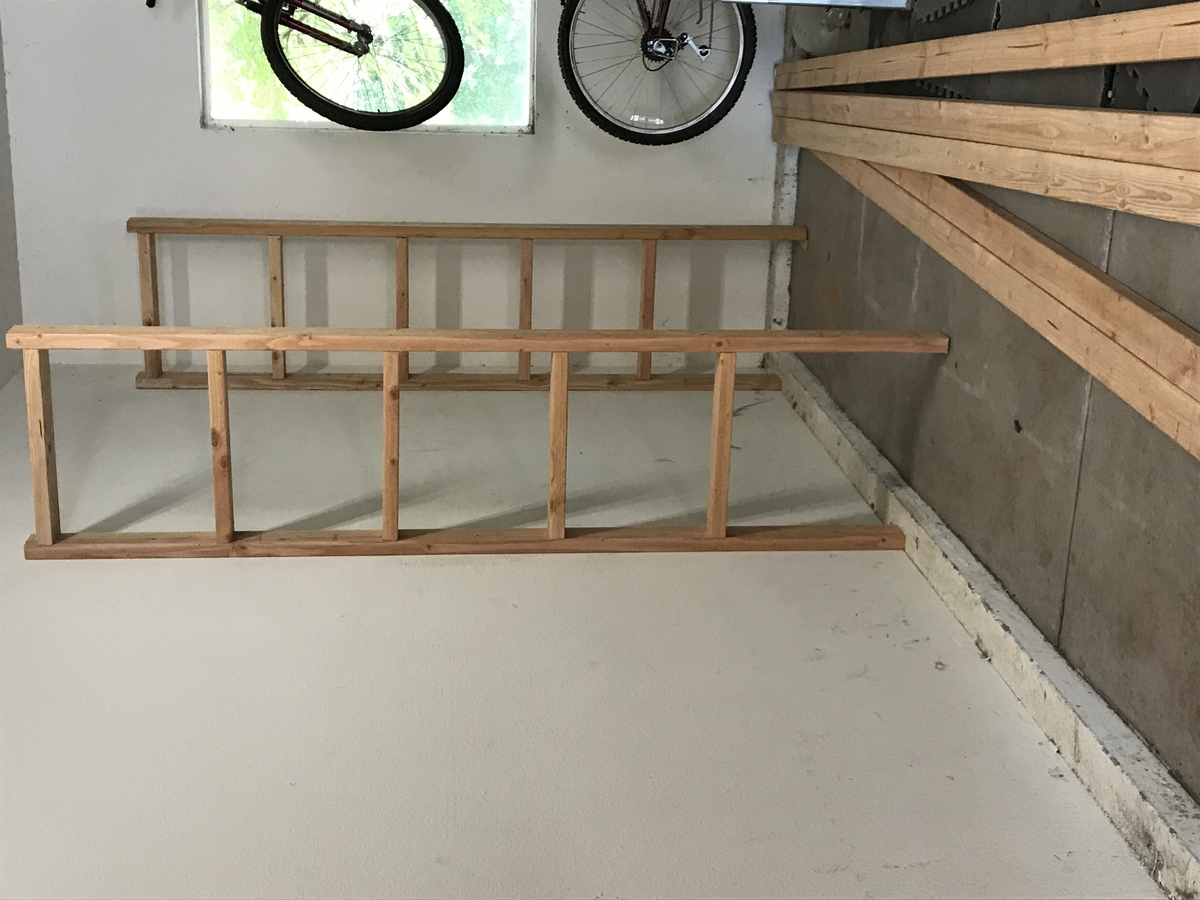
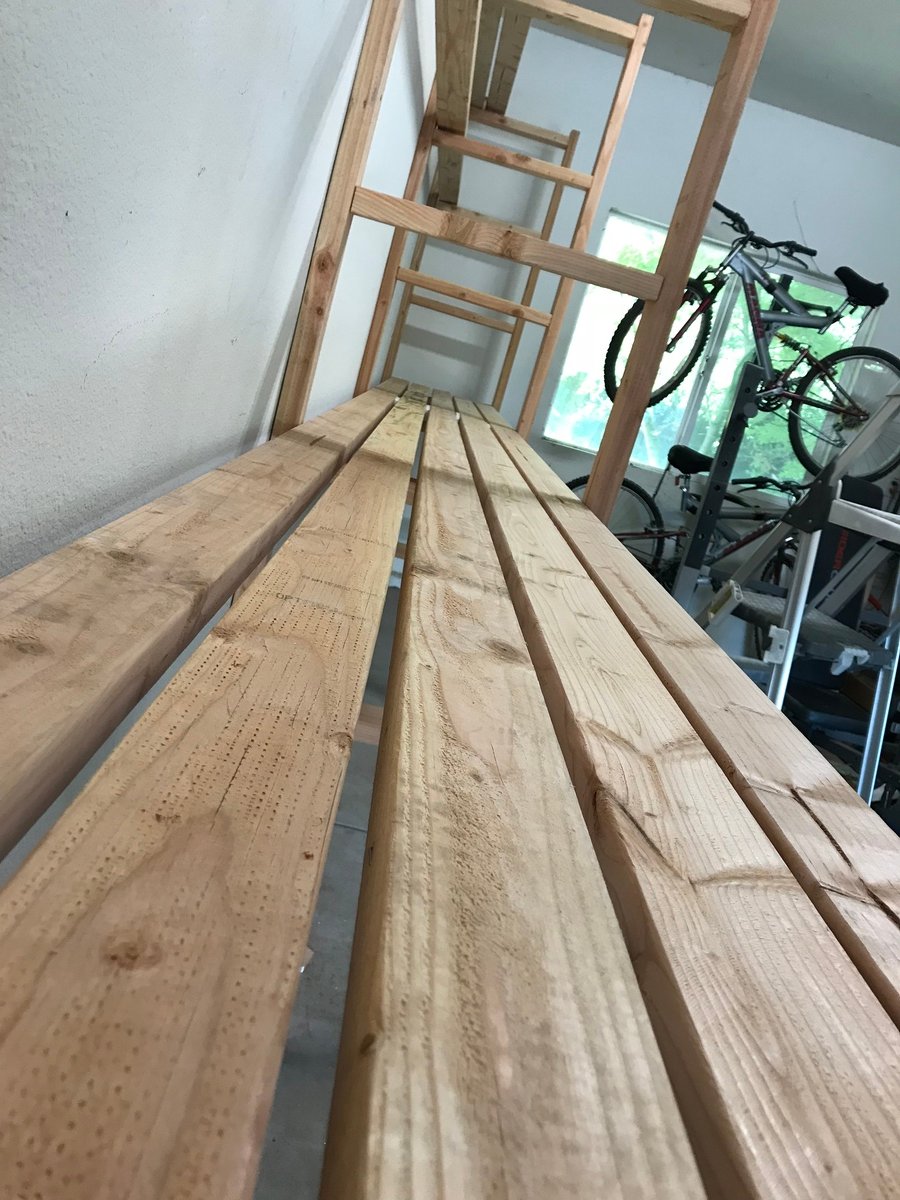
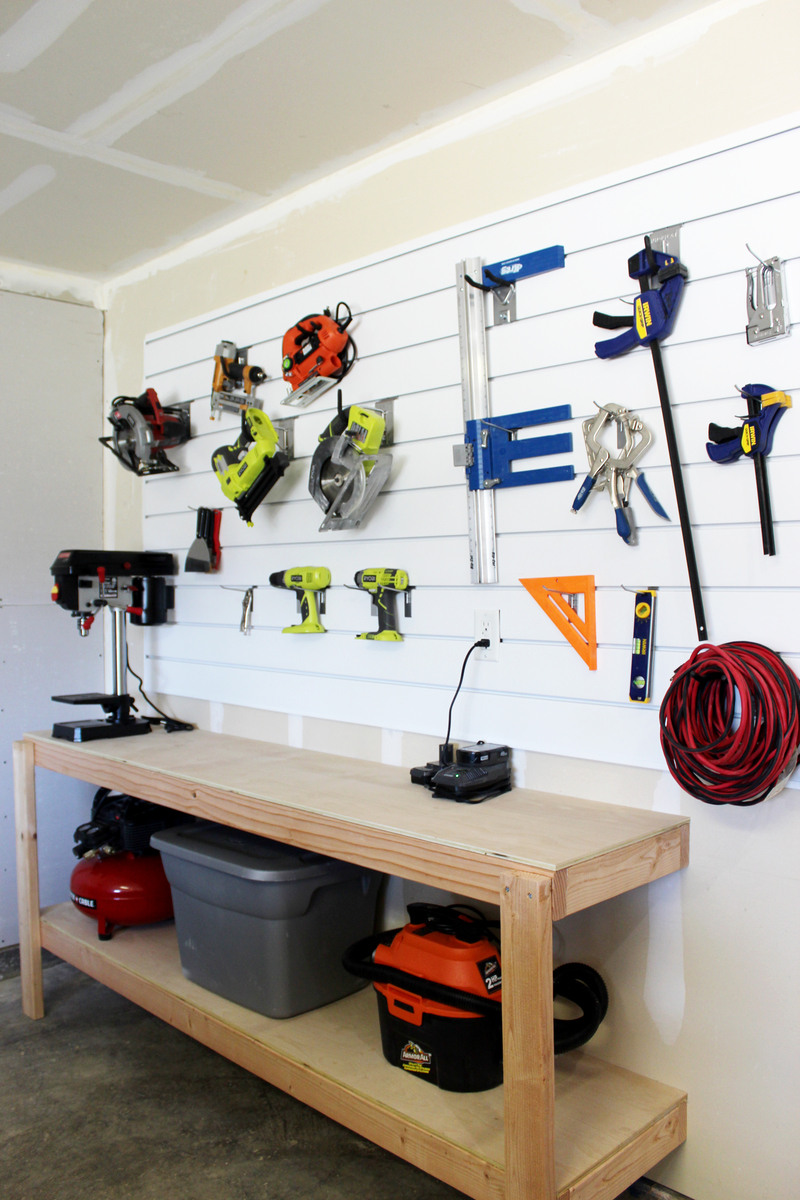
I created shelving and a workbench space for my garage. The plans were simple to use and the shelving ended up being sturdy and level!
We visit Santa Fe and surrounding areas every summer.
I love all the hacienda furniture but wasn't willing to pay designer prices for the good stuff or deal with transporting it home. I took pictures all over the place, narrowed down the design features, and made my own.
Check out my 4 part video series of the construction on my youtube channel (link below).
You can even see me play some guitar at the end of part 4.
Fri, 06/17/2022 - 07:38
That is so awesome, good for you! Thank you for sharing:)

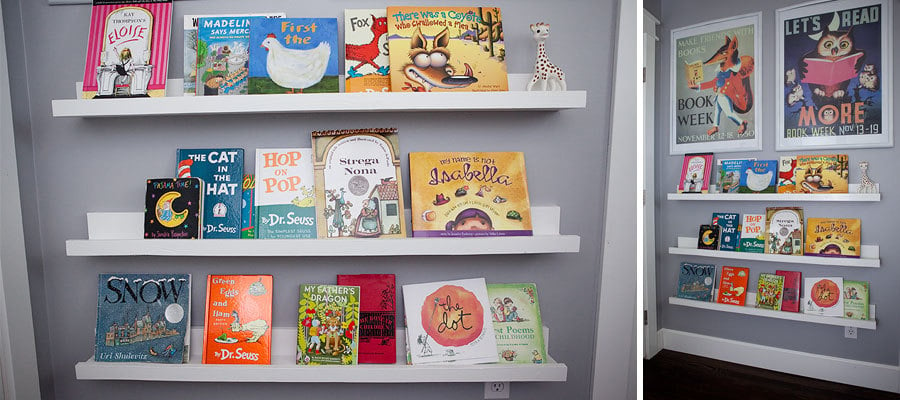
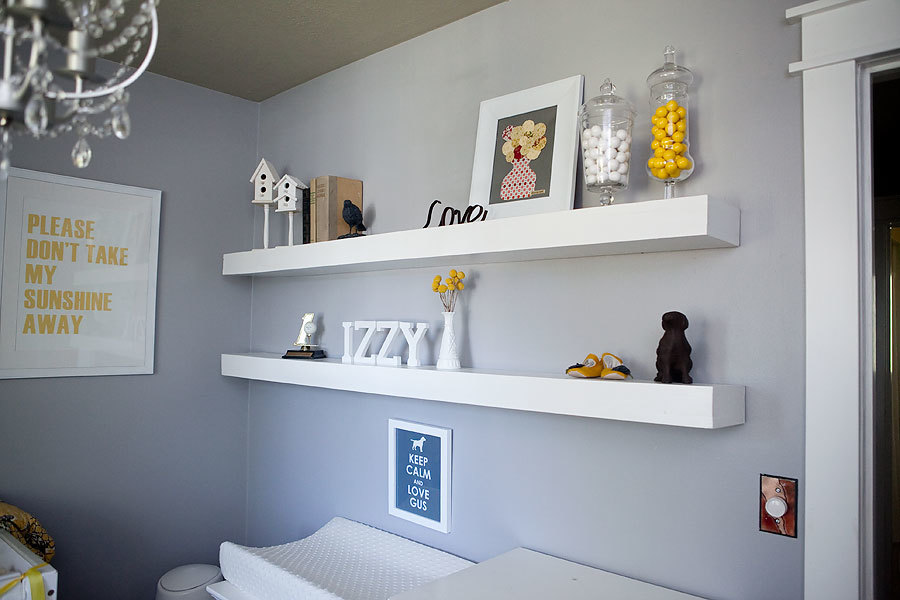
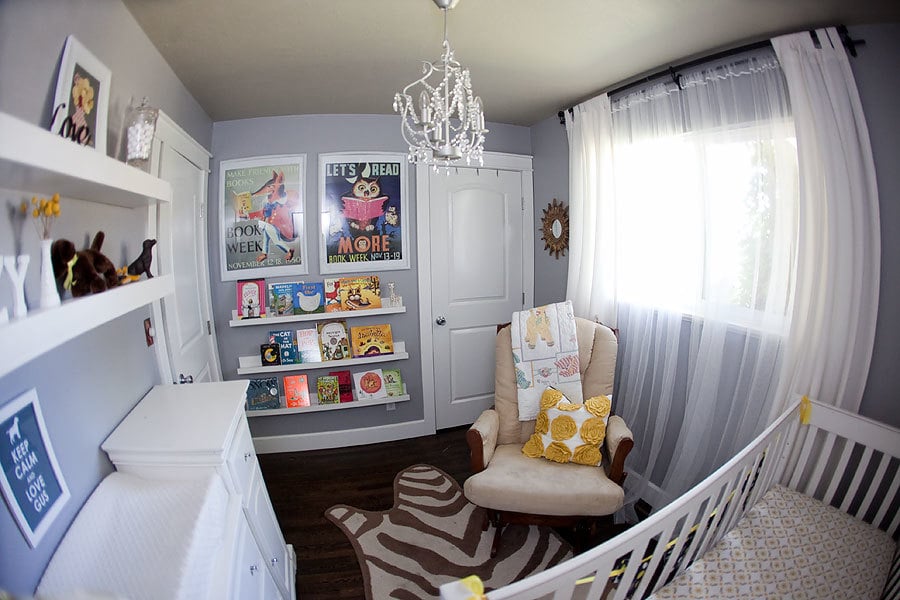
I used Ana's plans to build floating shelves and the ledge shelves for my nursery.
Sun, 07/24/2011 - 09:03
It looks great! Also, where did you find the vintage reading week posters? I'd LOVE to know! Thanks!
Tue, 07/26/2011 - 08:10
What a beautiful nursery!! Nice job on the shelves!
This was my first project! We just bought a house and have no furniture except a mattress on the floor! But soon, we will have a home full of custom built furniture :)
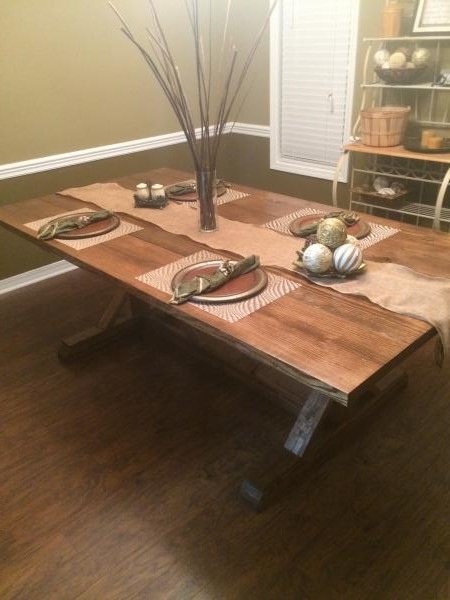
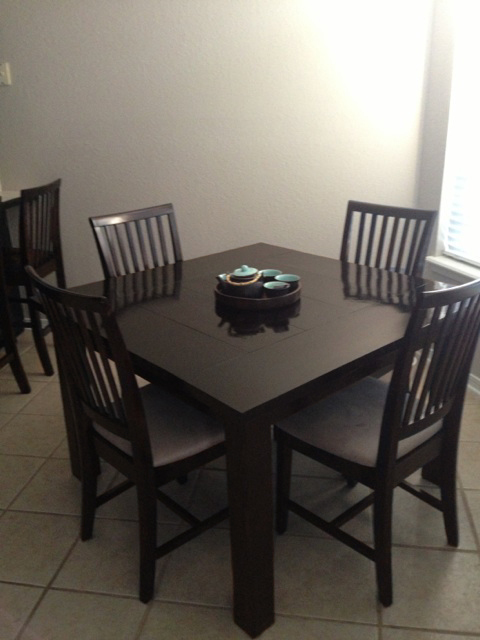
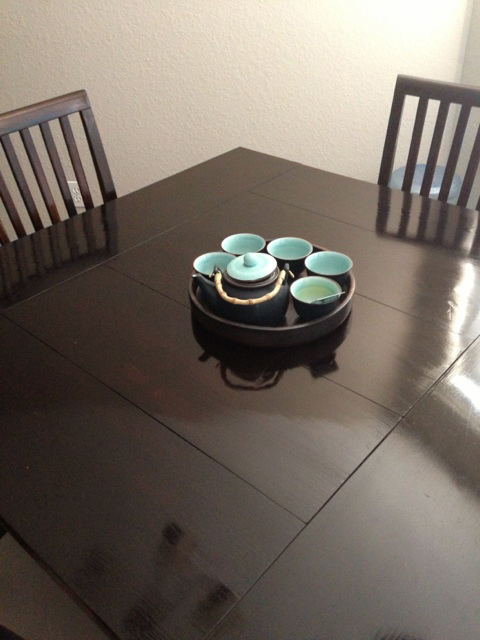
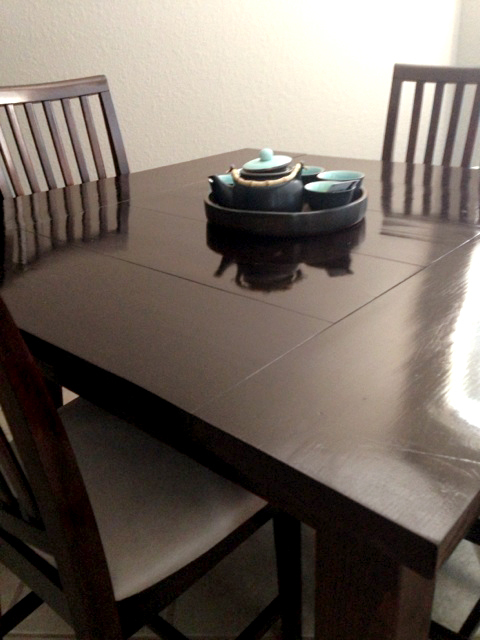
I modified this plan quite a bit so it would fit in my space better. My husband really wanted a square table, so I came up with this one based on the farmhouse table. I changed the table top pieces to 2x10’s simply because I like how they look. It took me quite a while because I wanted the top to be super smooth with minimal gaps between the boards, so I ran the boards through a planer quite a few times until they were perfectly flat. Also, since it is square and smaller, we didn’t need the support beam along the middle.
I really wanted chairs that matched the table, so I ordered chairs that were unfinished and stained them to match the table. This took FOREVER and they were a little expensive, but they turned out great! We also got 2 barstools that match.
Like any other project, the finishing took the longest. I sanded for what felt like 20 years, then stained and poly’d for another 10. I am pretty happy with it considering it was my first try!
Thu, 08/22/2013 - 11:21
I ordered them from a manufacturer in California called Maywood Shops, LLC. The chairs weren’t that expensive themselves because they are a wholesaler, but I had to pay around $175.00 to ship them!! After that, they were comparable to store-bought chairs.
Mon, 08/26/2013 - 11:39
Not exactly what I was going for, but it turned out pretty good!!

The Channing Snack Cabinet was the perfect fit for a coffee bar in our little kitchen/dining room. We modified the plan slightly by adding two inches to the height, and putting two drawers in behind a pair of barn doors made from plans by Shanty 2 Chic. The top drawer holds k cups, coasters, etc, and the bottom two drawers hold coffee cups, extra water bottles, and tea.


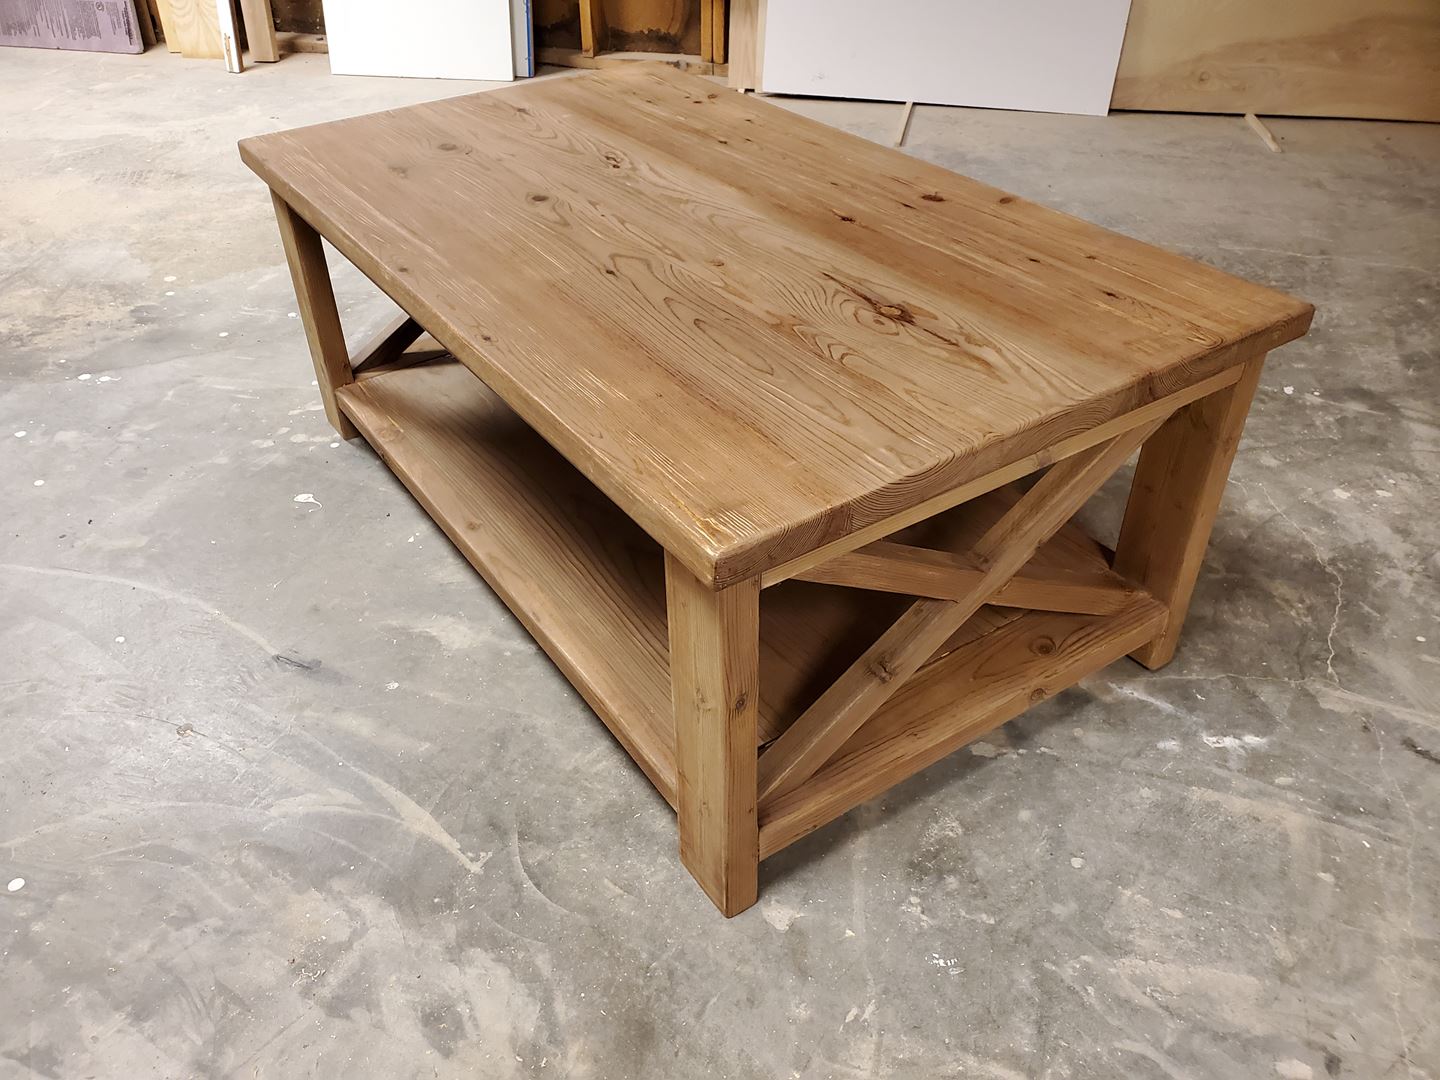
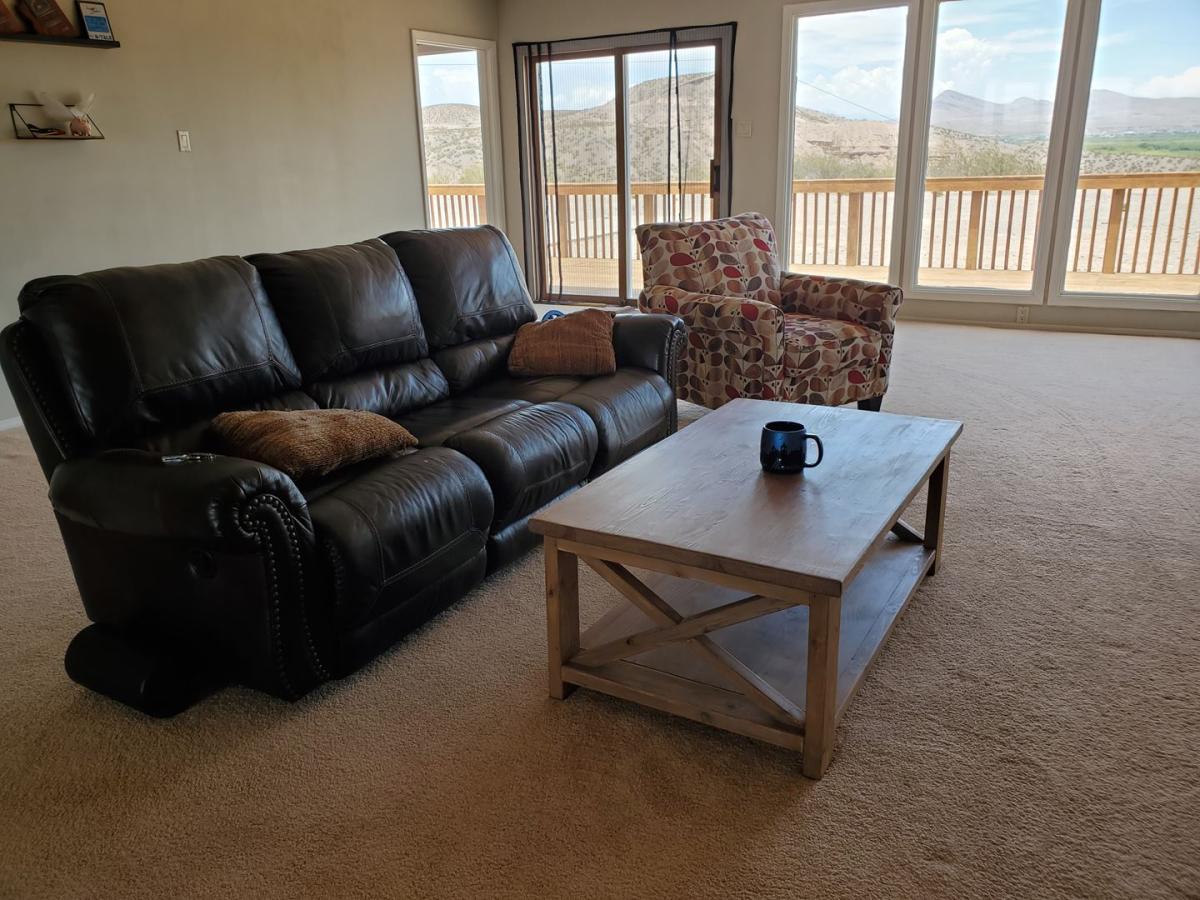
My first coffee table and I'm happy with the results. I certainly learned alot about woodworking which was part of the goal. More details on my blog: http://jdfinley.com/a-table-with-coffee/ Thanks for the neat designs Ana!
Sun, 06/26/2022 - 19:25
Way to go, this looks fantastic, can't wait to see your next project!
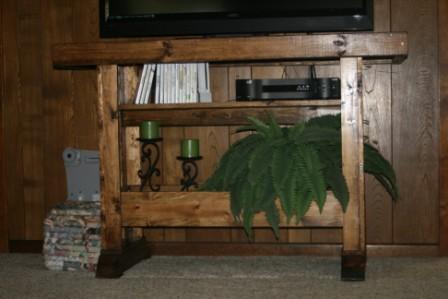
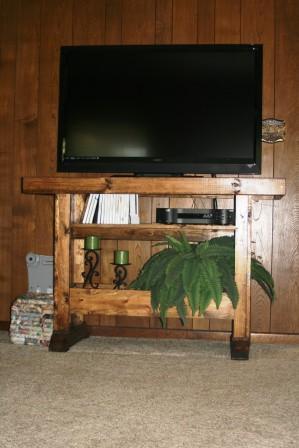
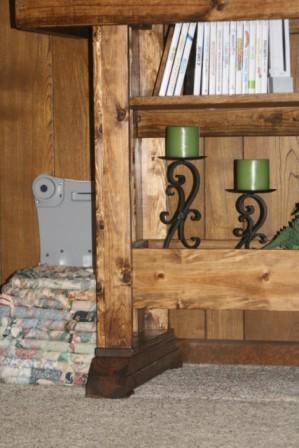
What started as Ana's workbench console for my dining room ended up as a media console for my living room. I shortened the width by 10 inches, and then I added a shelf for our DVR and Wii console. I made a few mistakes, but I'm not talking about those. ;)