Rustic End Table
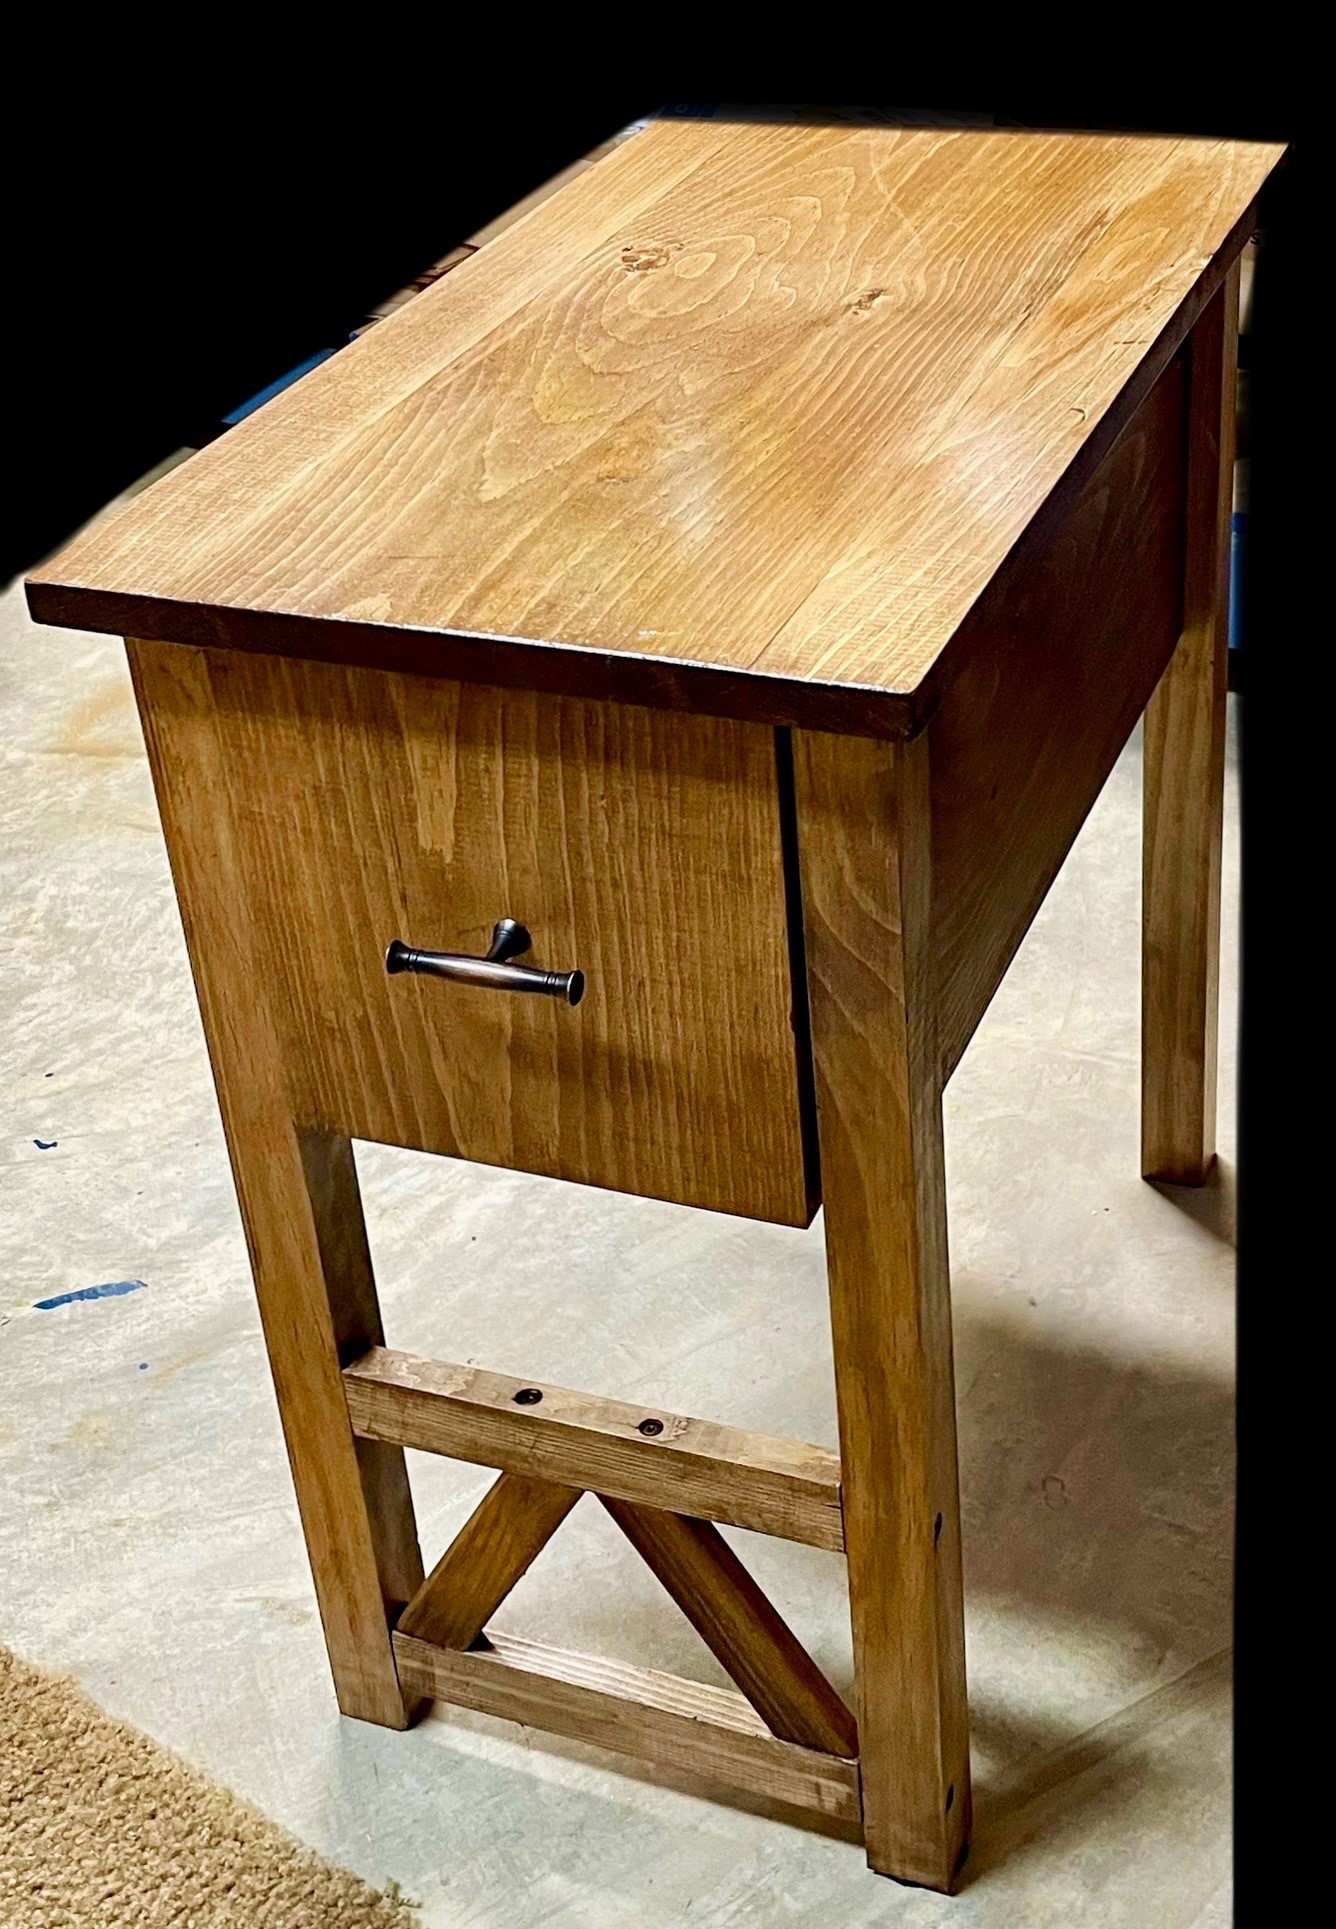
Made for daughter’s first apartment.
Rusty O.
Built from Plan(s)
Made for daughter’s first apartment.
Rusty O.
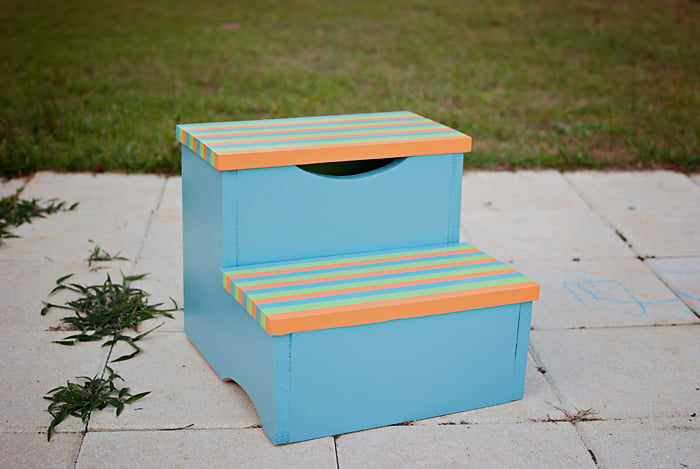
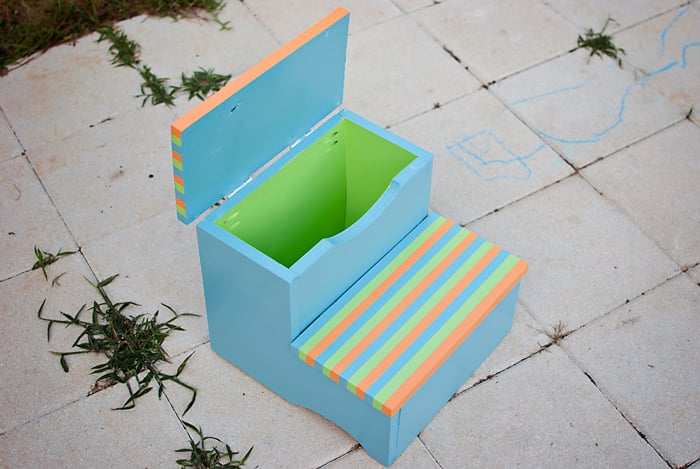
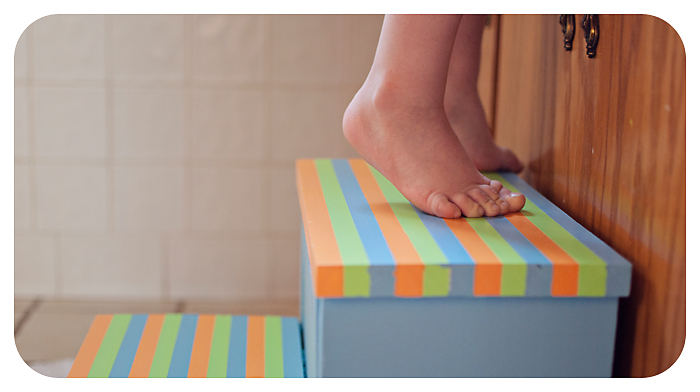
I took shop class for a quarter in eighth grade, but other than that, I have never constructed anything out of wood! I decided to pick a small project first and loved the Kid's Storage Step Stools I saw people making. My husband taught me how to use the circular saw and jigsaw and I finished building this in about 2 hours.
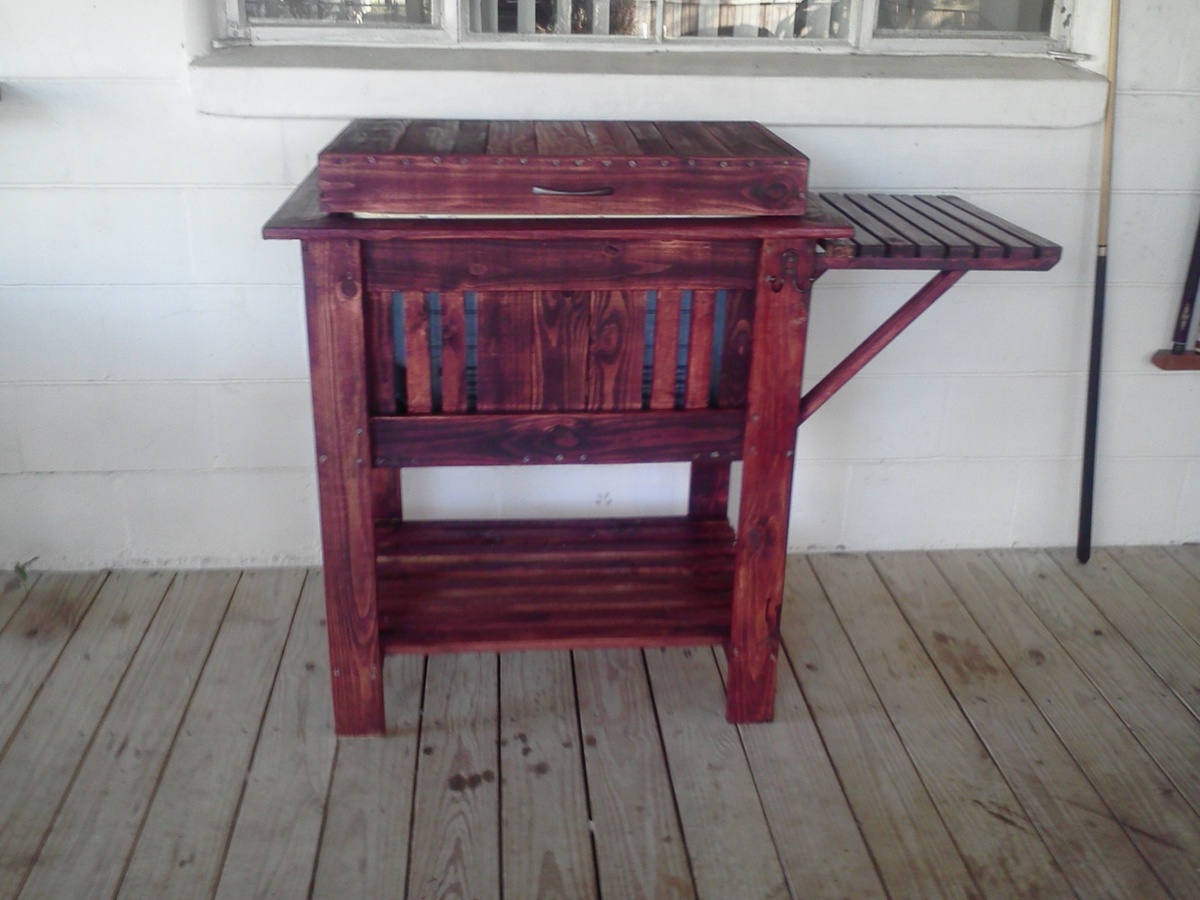
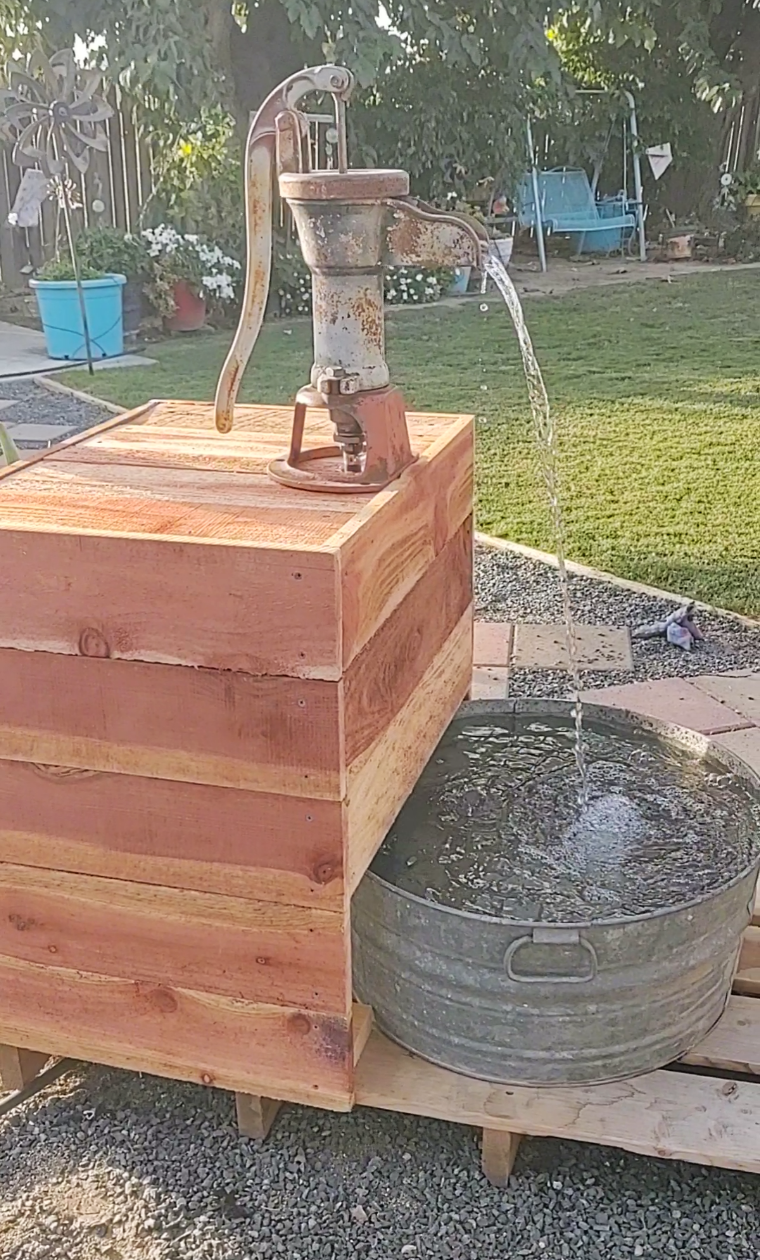
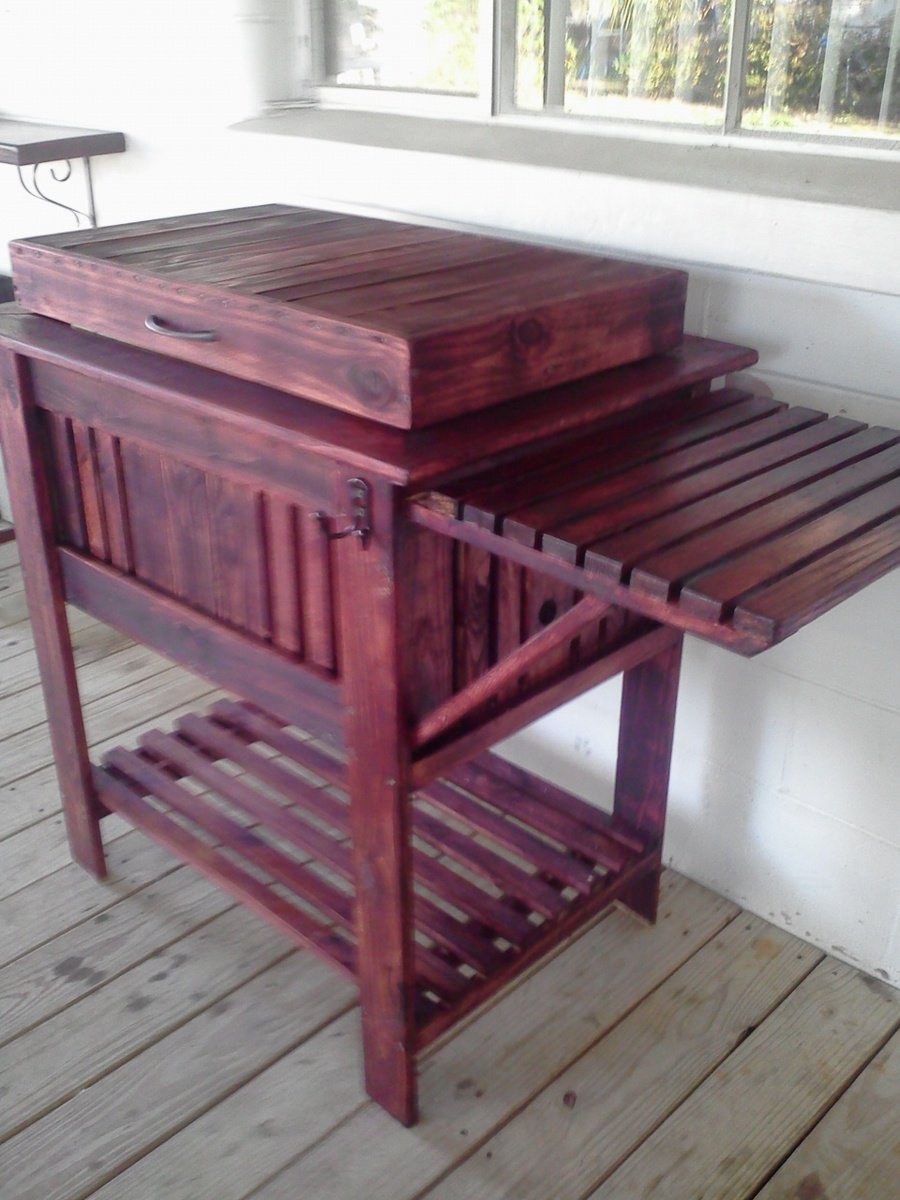
This was my second Ana build. I picked the cooler out of someone trash. (the wheels had broke off) Thank you brick house!!! I been wanting to do this plan for a while now, I'm just too cheap to buy the cooler.
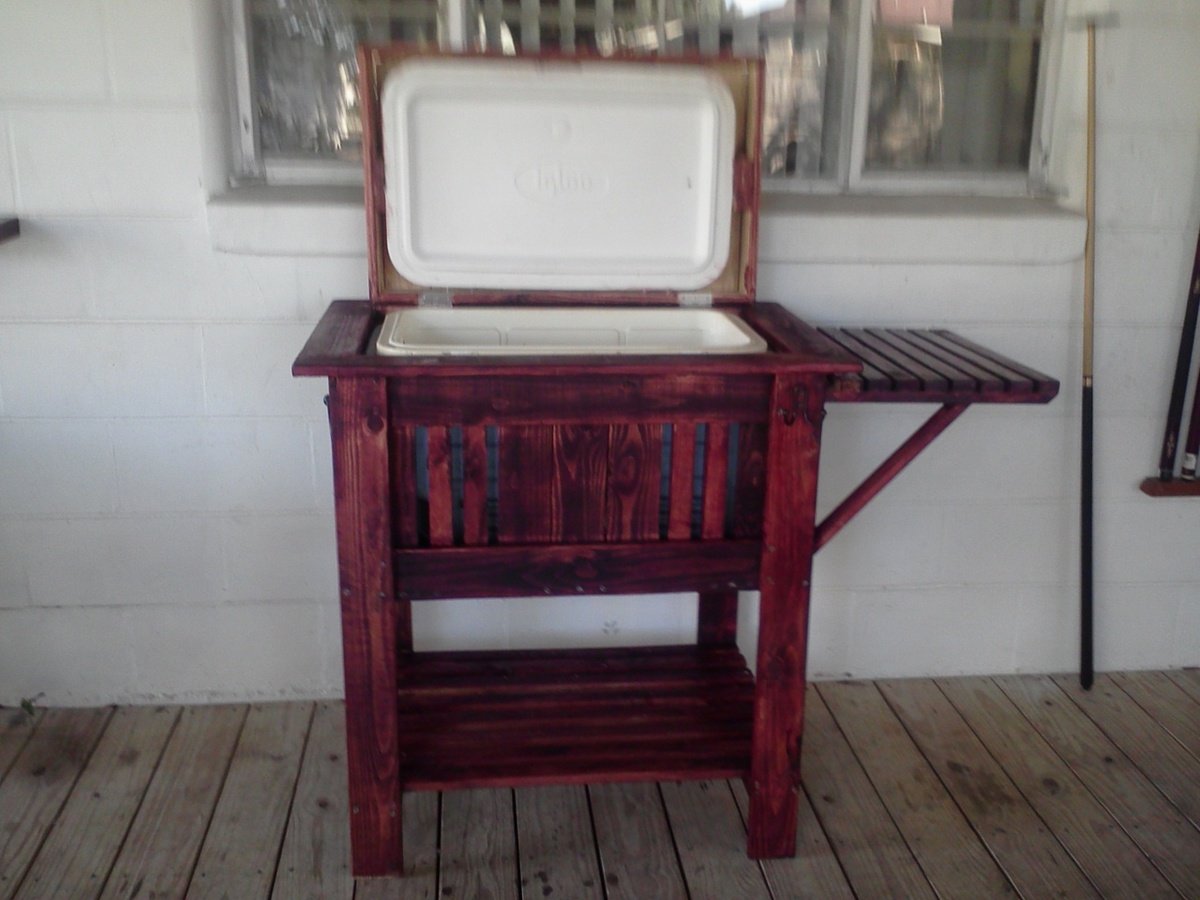
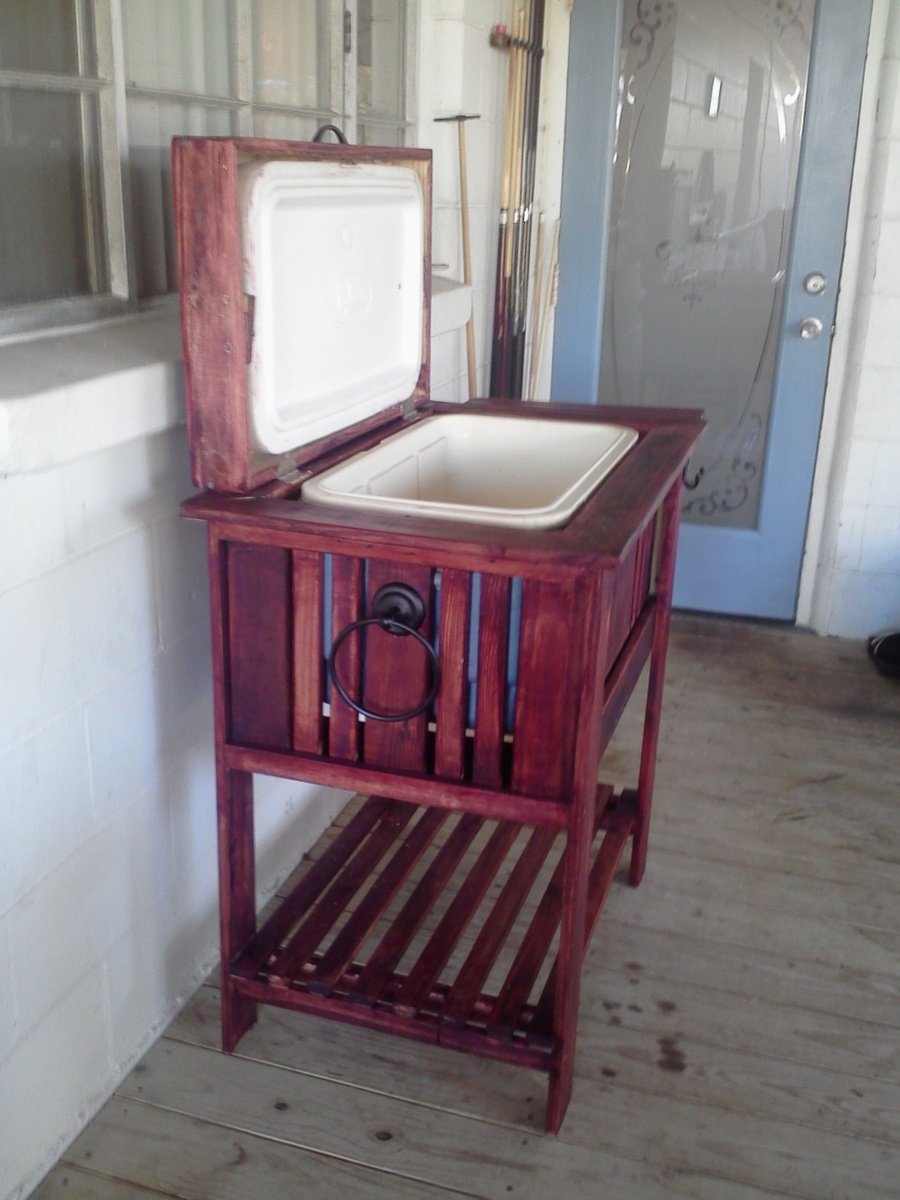
The cooler stand plans were nice to have. I had lots of scrap from my hubby but I did have to buy two 1x3x8 to finish the lid. I had trouble with the lid lining up with the cooler. With the hinged attached to the lid, I lined up the cooler, mark it out and re-screwed it to the cooler . Easy. Next time I'll go to Habitat for Humanity or the like for the hardware. I will also remember to finish the wood before assembly. I didn't put the drain in the stand. After inspection of the cooler if won't drain completely if I did, so let it off.
It took me almost a week to finish between mom duties, volunteer work, and church but she's done.
Thanks Ana for the plans. I couldn't have done it without them.

DIY Rustic Porch Swing
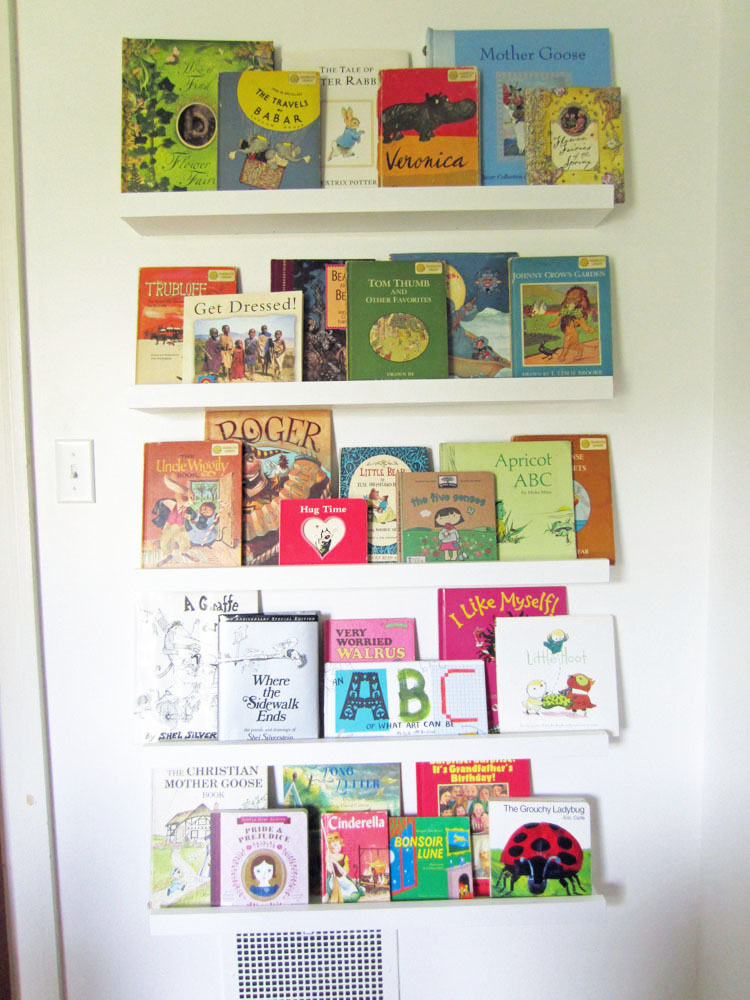
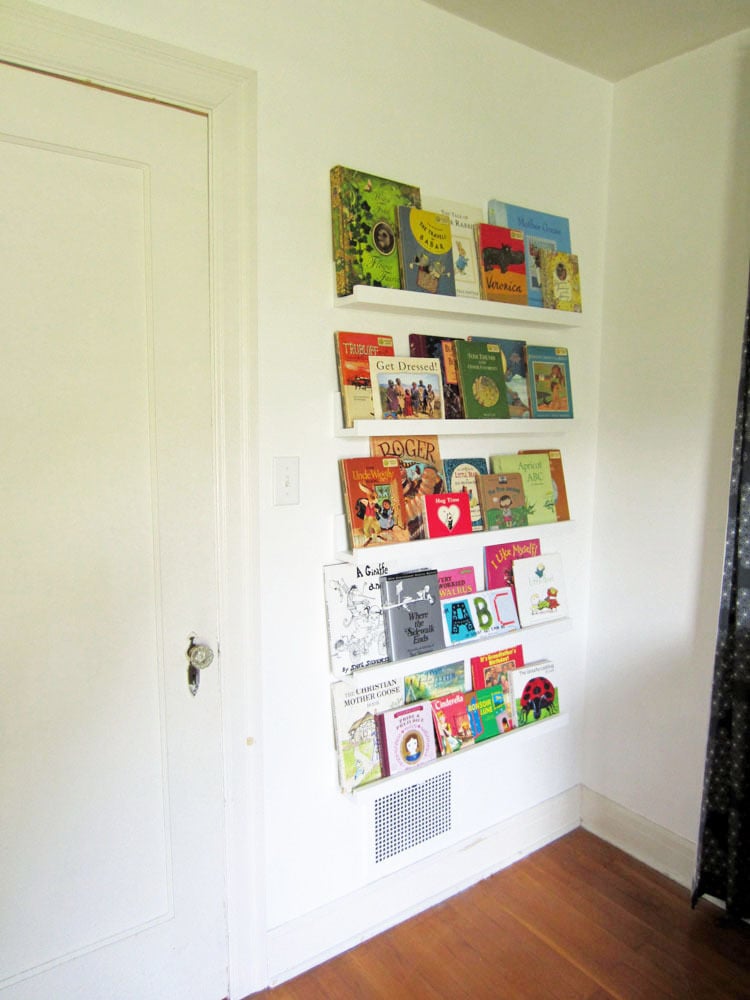
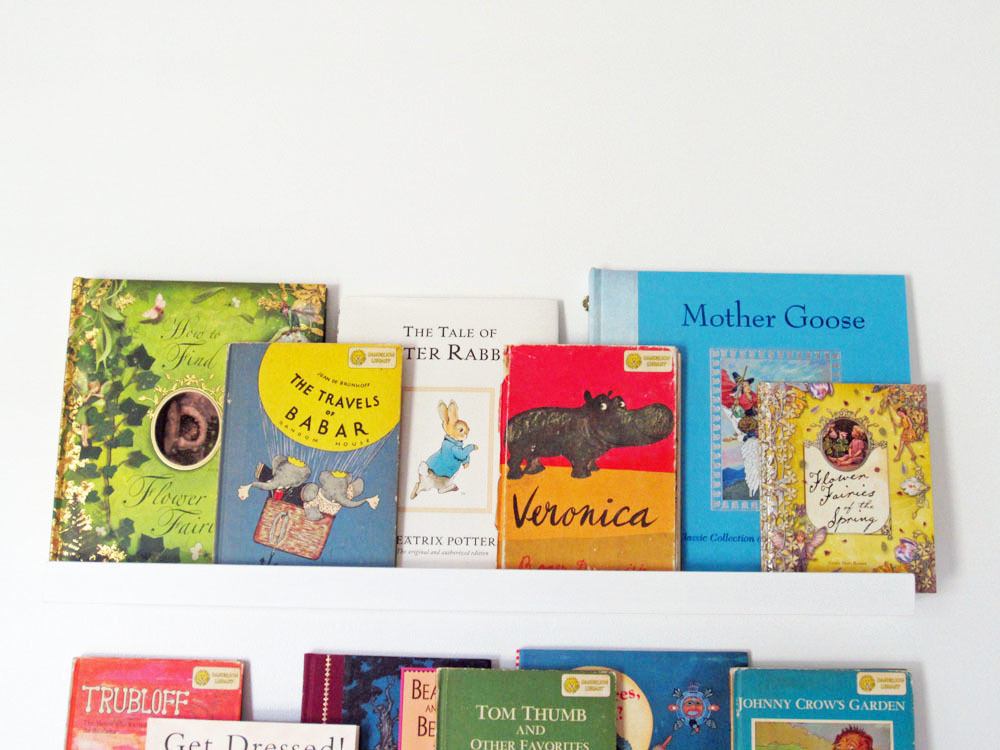
Using Ana's Ten Dollar Ledges project, we created these shelves for our children's rooms. They were so easy to make and paint and hang. We absolutely love them and so do the kids! Our shelves were 32" long to fit in a particular spot. The shelves also cost a little more than the price listed in the plans. Perhaps my husband bought a higher grade of wood. I'm not sure, but it was worth it regardless. You can see more of our kids' rooms and our old house renovations at our blog Lovely Chaos.
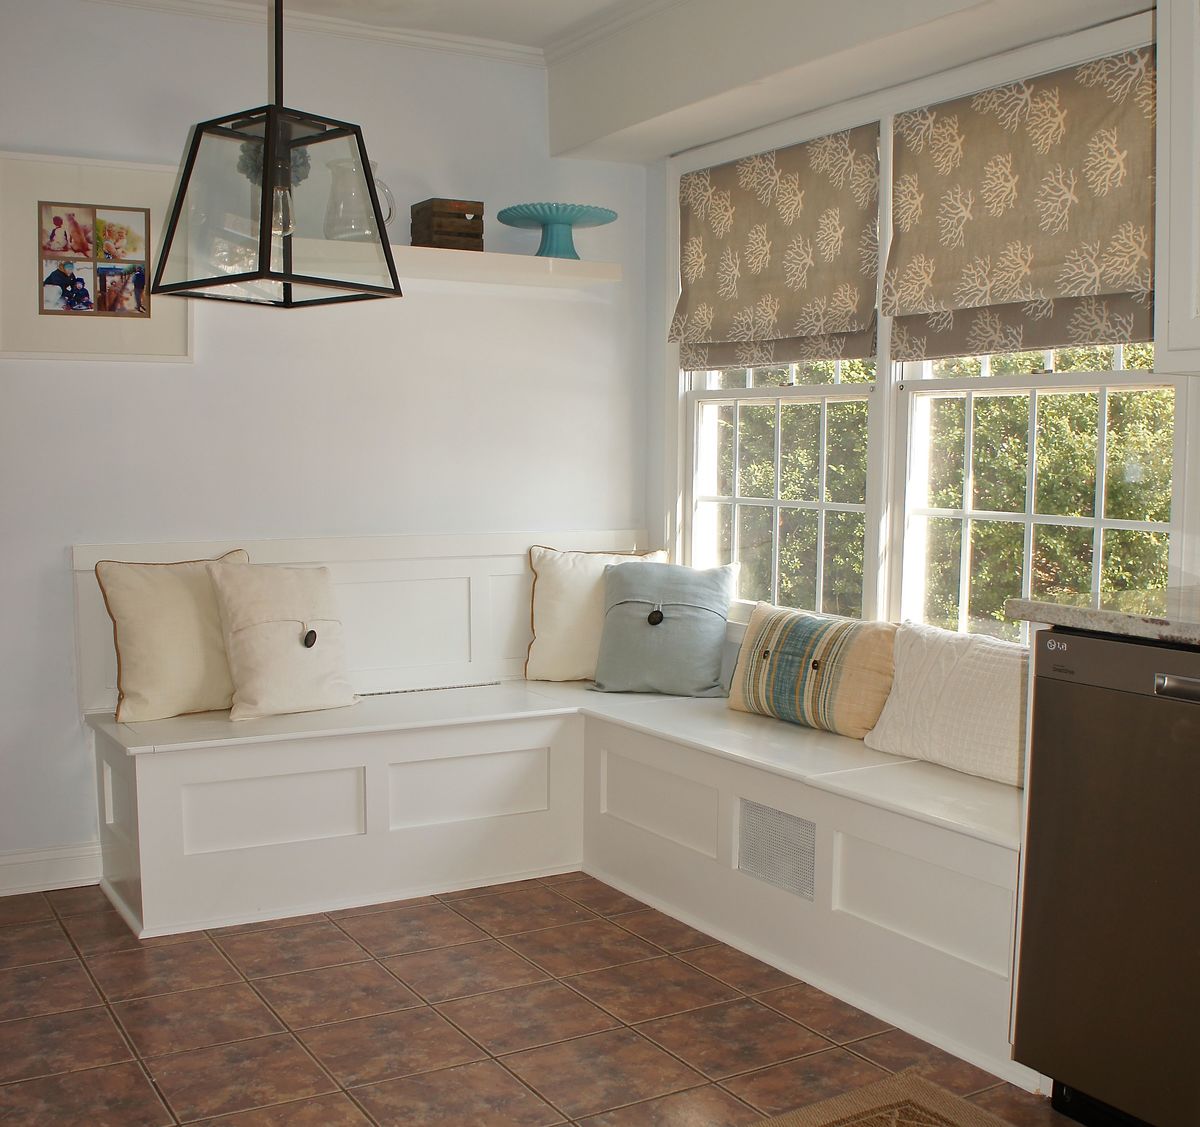
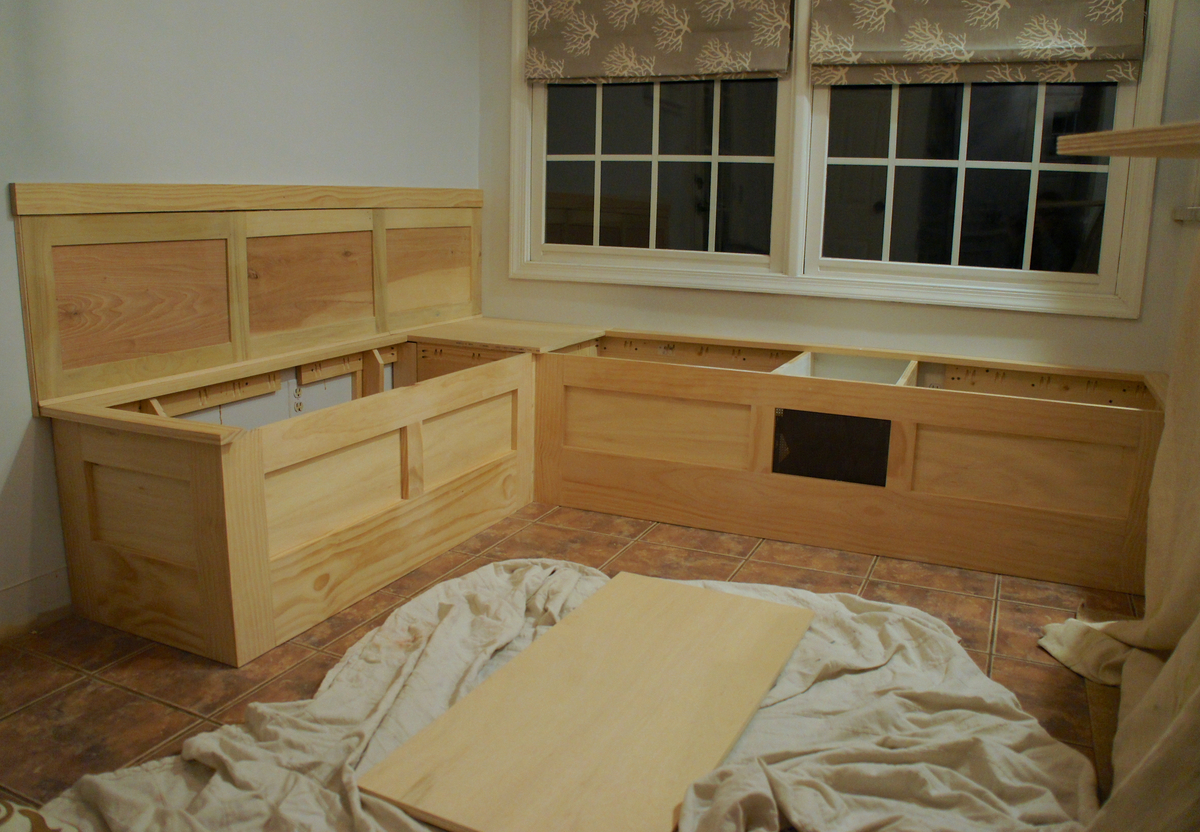
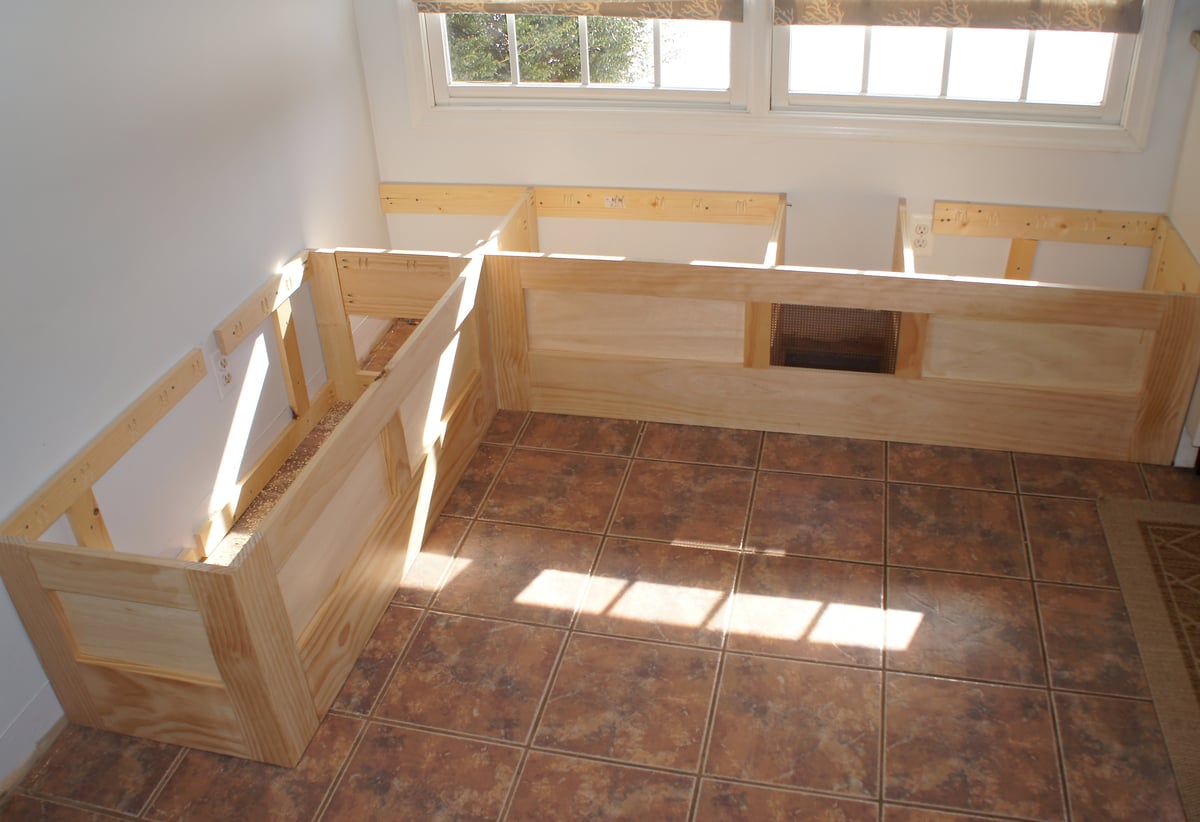
I wanted to make a built in storage bench for the breakfast nook in our eat-in kitchen, but wasn't entirely sure how to go about the process. After seeing Ana's "Mimi's Storage Bench" I thought the plan could be modified to fit our space, so I convinced my husband to give it a shot. We've done a fair amount of carpentry in our house, but this is the first piece of furniture that we have ever built. Thanks to Ana's plans and our new Kreg jig, it turned out better than I ever imagined. We absolutely love the new bench, where my toddler spends every morning eating his breakfast while staring out the window and giggling at the squirrels in our backyard.

Fri, 08/02/2019 - 21:25
What did you use in the area of the floor grate? I’m going to be doing a built in bench over a floor grate too. Thanks!
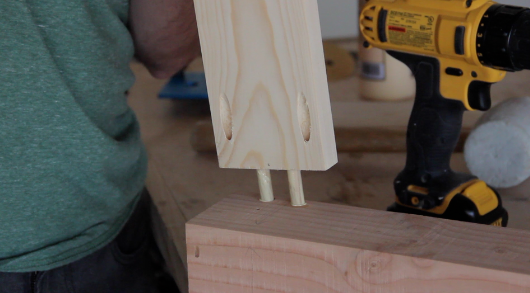
I made my first dining table using pocket holes. About a week after I sold it, I ended up having to go to the lady's house and put one of the legs back on it. I quickly realized pocket holes were great for most things, but dining table legs might not be the best. Ever since then, I've been using dowels to reinforce pocket hole joints on table legs. So far it's been a great solution. Here is a video explaining how it works. Hope you like it. Patrick
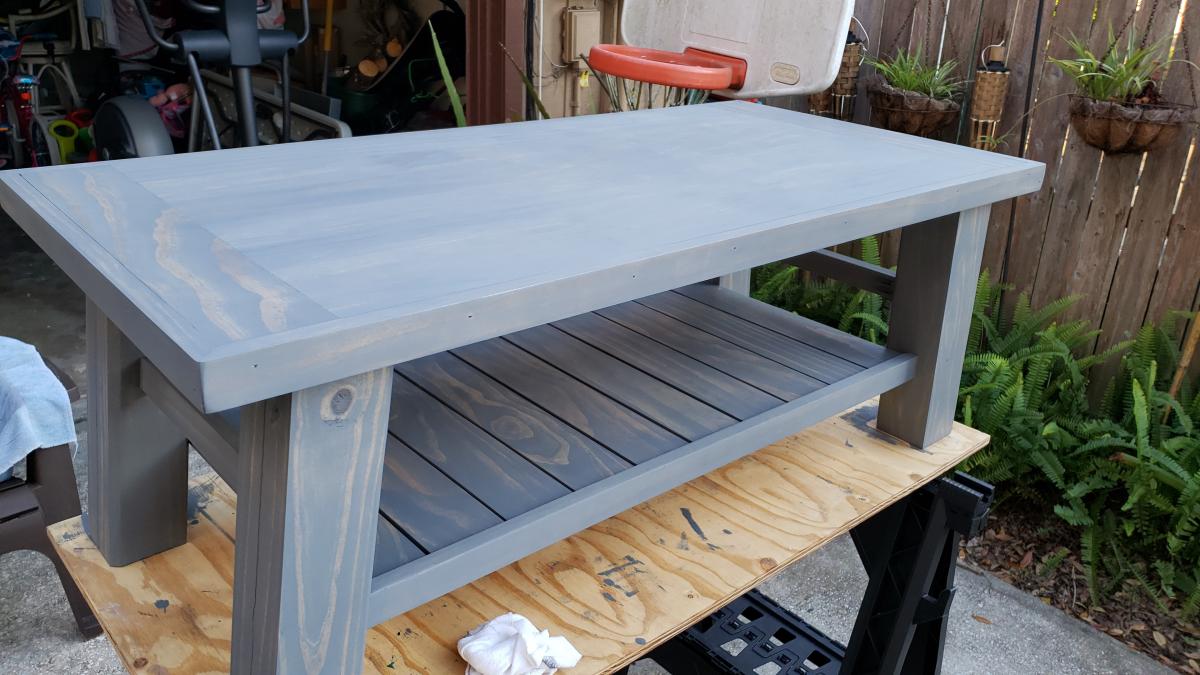
All in all, I'm pleased with the way it came out. The person that I built it for wanted a weathered gray stain. It wouldnt have been my choice, but ince applied, I really liked how it turned out

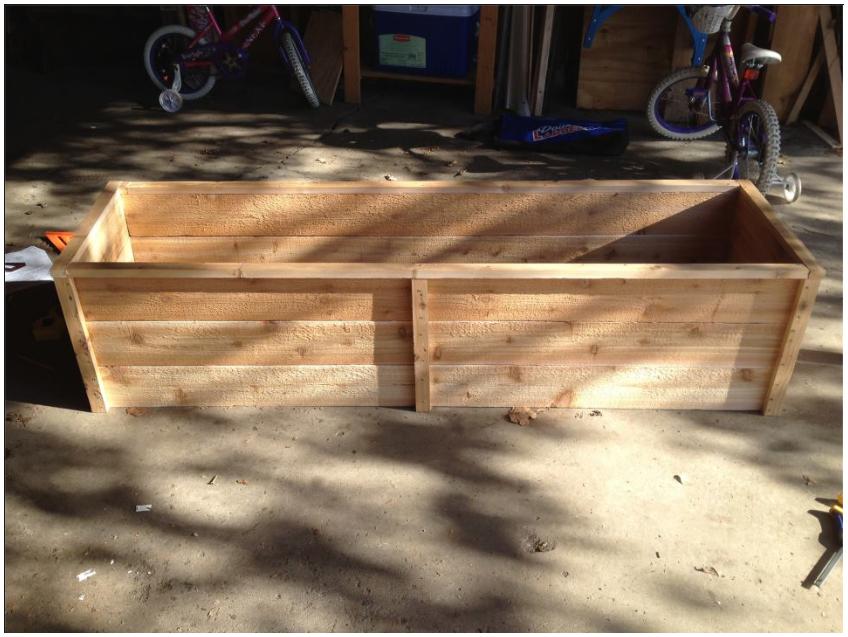
This is the first of 3 raised garden beds based on Ana's plan found here: raised garden beds. My and our twin 5 yr old daughters' job this weekend is to fill them. CAN'T WAIT!
MODIFICATIONS
He added a board to the top to make them a little higher. Our first set of boards came from Home Depot, and this box came to around $30. The boards are really rough, so we may sand them a bit as we have little kids and don't want TOO many splinters. Our next 2 boxes will be made from materials from another chain here in Minnesota, Menard's, and they are much smoother (and cheaper - on sale this week for $1.50 a board!)
We also had a really hard time finding outdoor 1" screws, so he used 1 1/4" ones and didn't countersink them.
I am also planning on putting in some landscape fabric inside to help keep weeds out and water/dirt in, since the seams are porous.

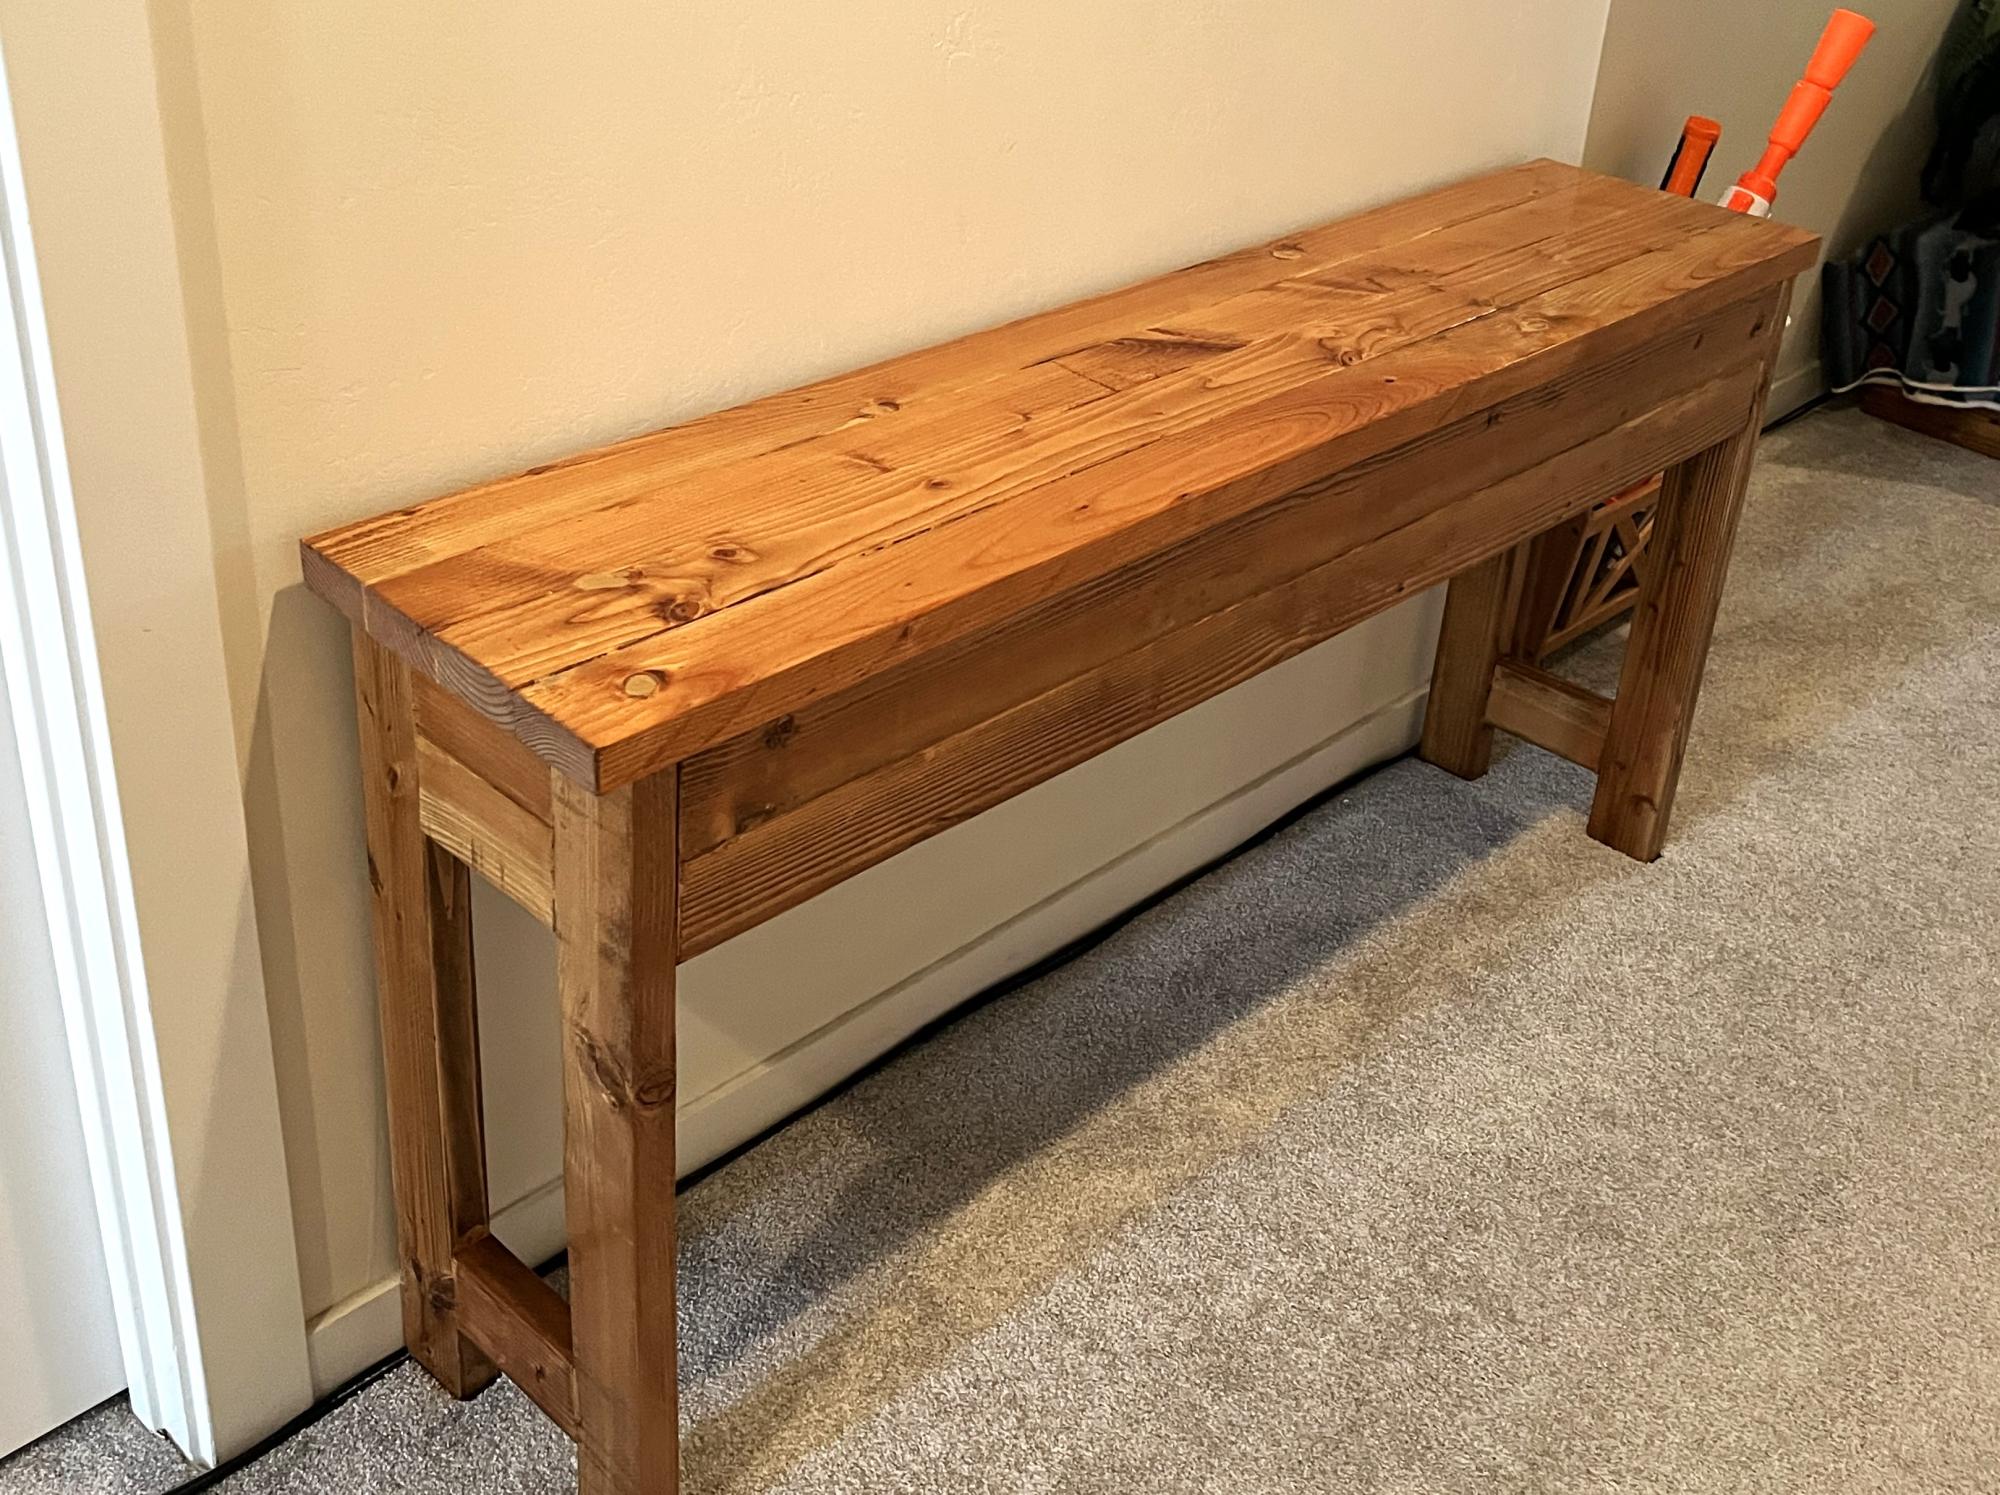
We followed Ana's plans to the letter and every cut, every corner, everything turned out perfectly! We put about 3 hours into the bench on day one, and finished up on the second day with stain and polyurethane. The only change we made was to make it slightly shorter and have less overhang on each edge.
Thanks Ana!!
Awesome plans! Followed everything and it came out great. Thank you soooo much, my son loves it!!!

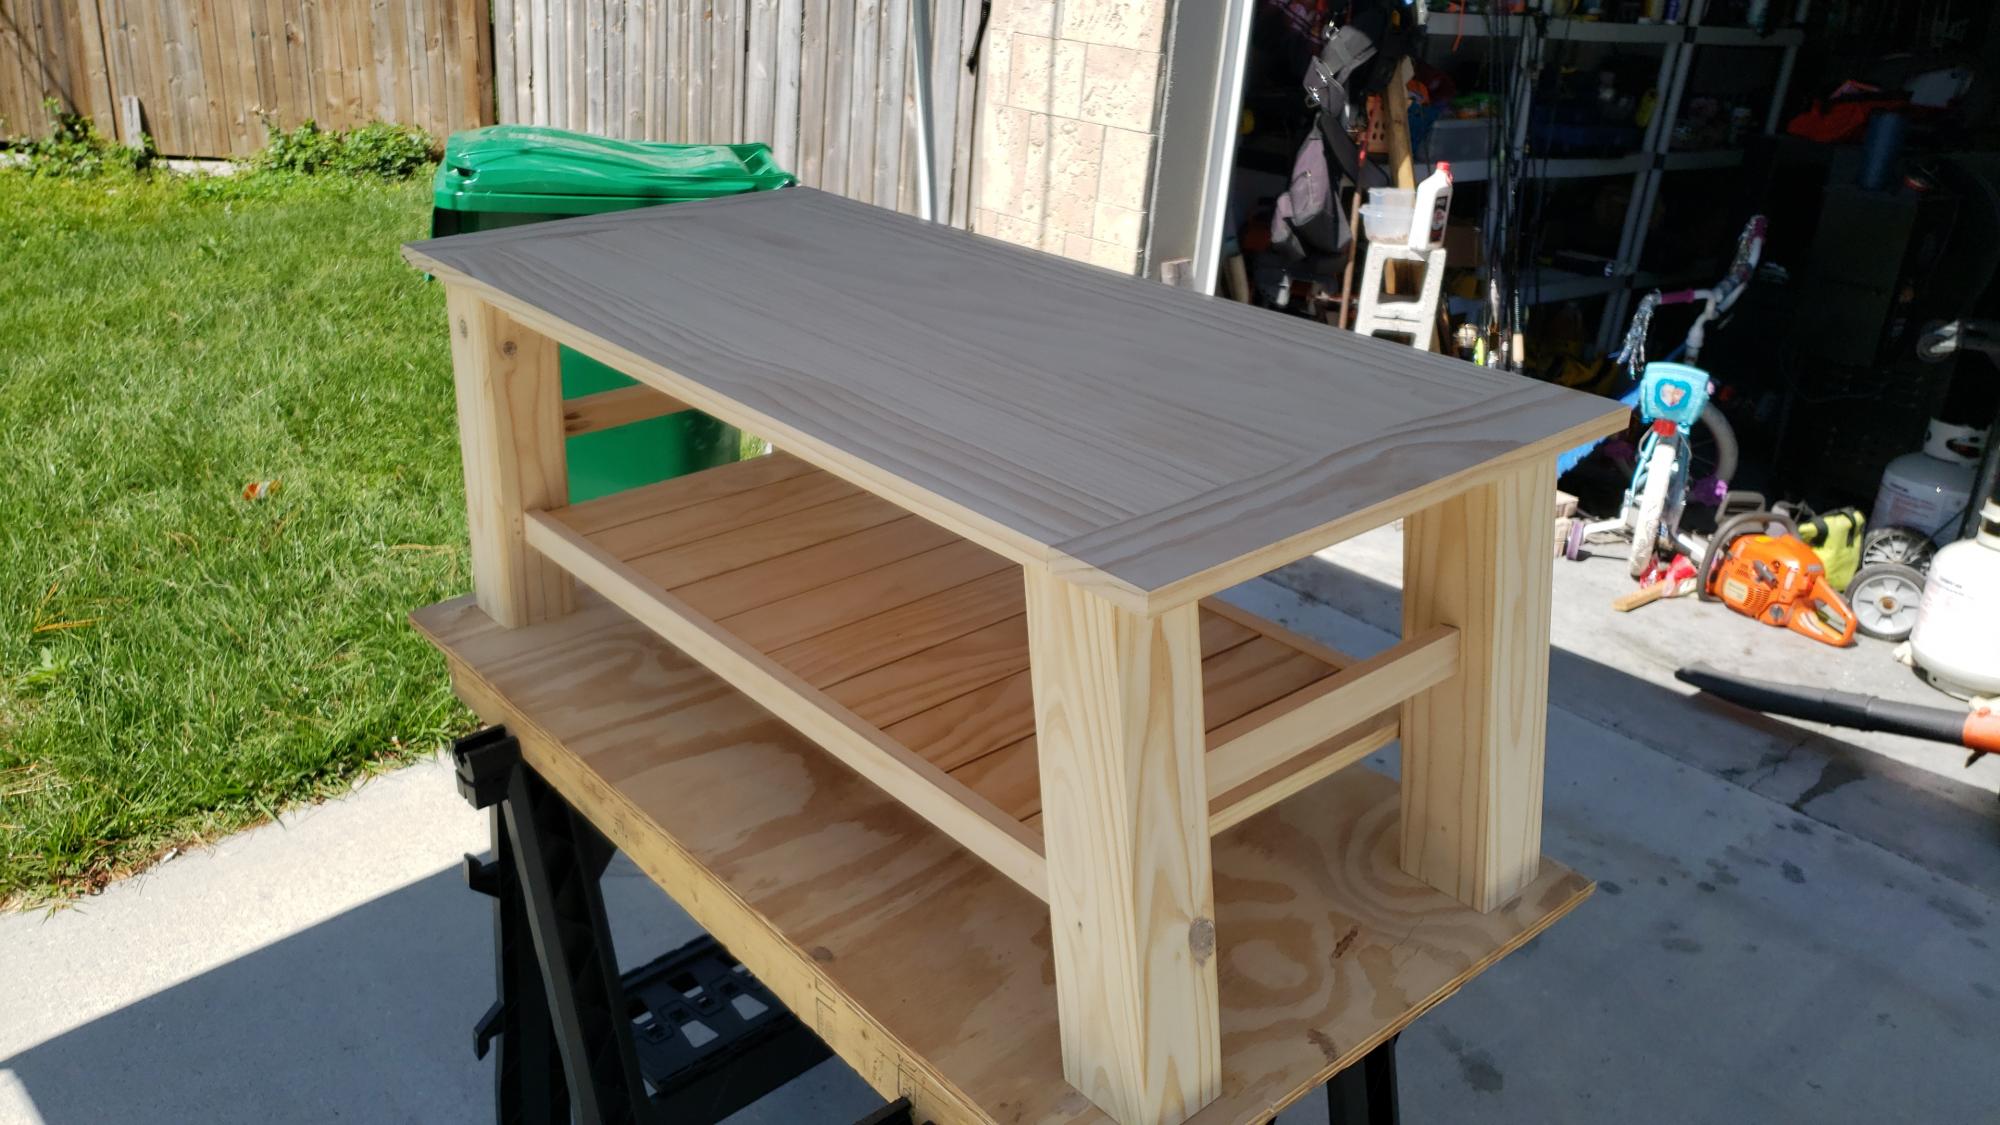
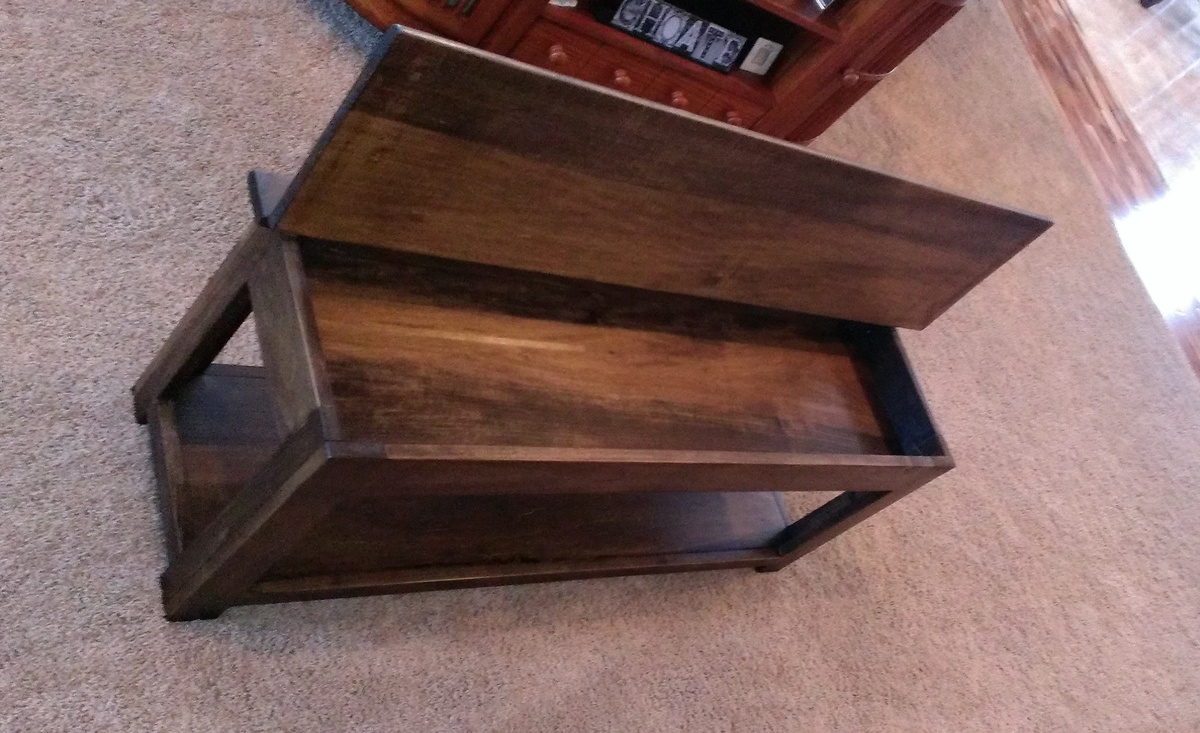
Simple to build rustic end tables/side tables. These were stained in a red mahogany stain and satin finish polyurethane top coat.


My daughter asked me to make a bench for her daughter’s school bus stop. After looking at many different plans I chose your plans for a 2x4 bench with modifications. I made it 7’ wide with an additional support piece in the center. I used pressure treated wood for the base and cedar for the seat and back. I finished it with a gloss “school bus yellow” and gloss black. It was very well received by the children and parents.
Ken Shallcross

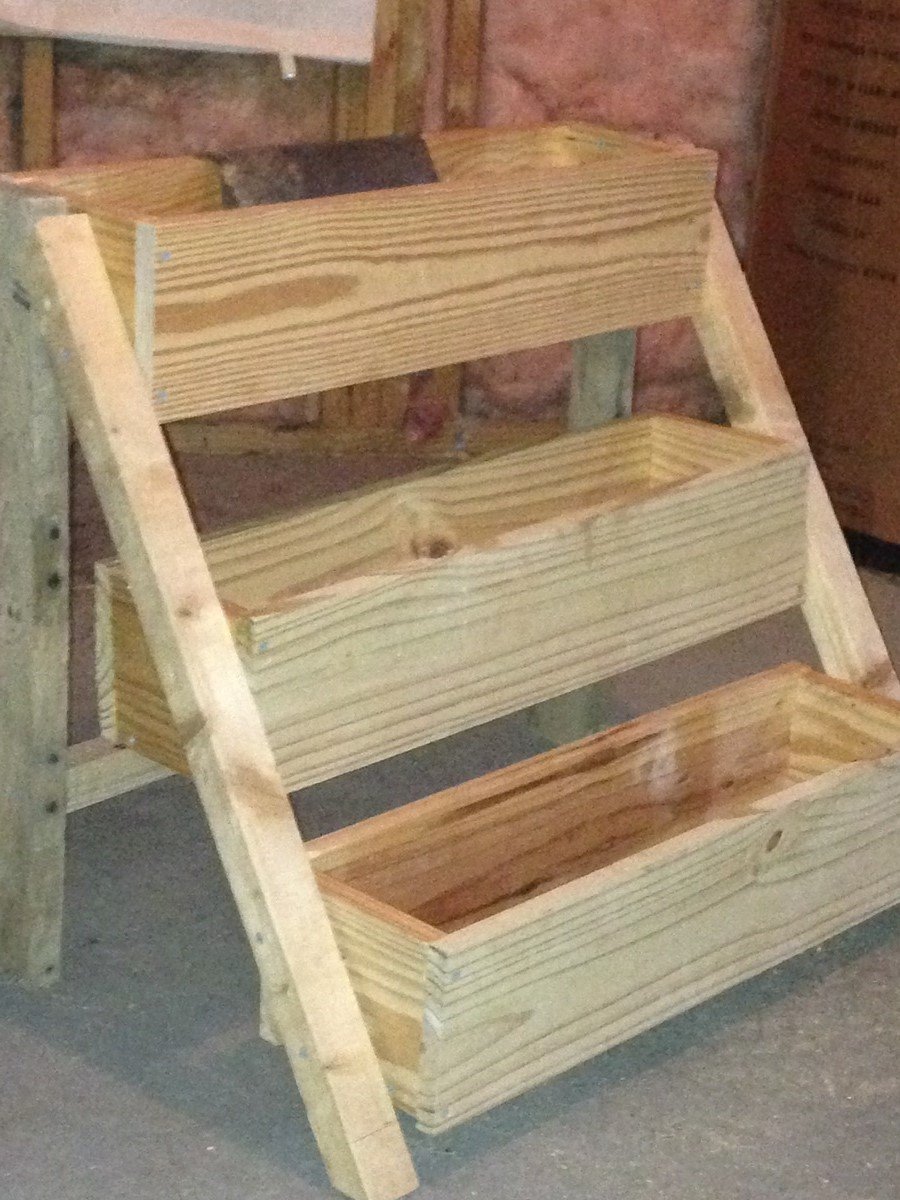
Easy 3 tier planter. Made from Ana White's plan Made for free from scrap wood that I pulled out of the trash and portions from a pallet, ripped 2x4 and shipping container. #ForMereMortals #planter
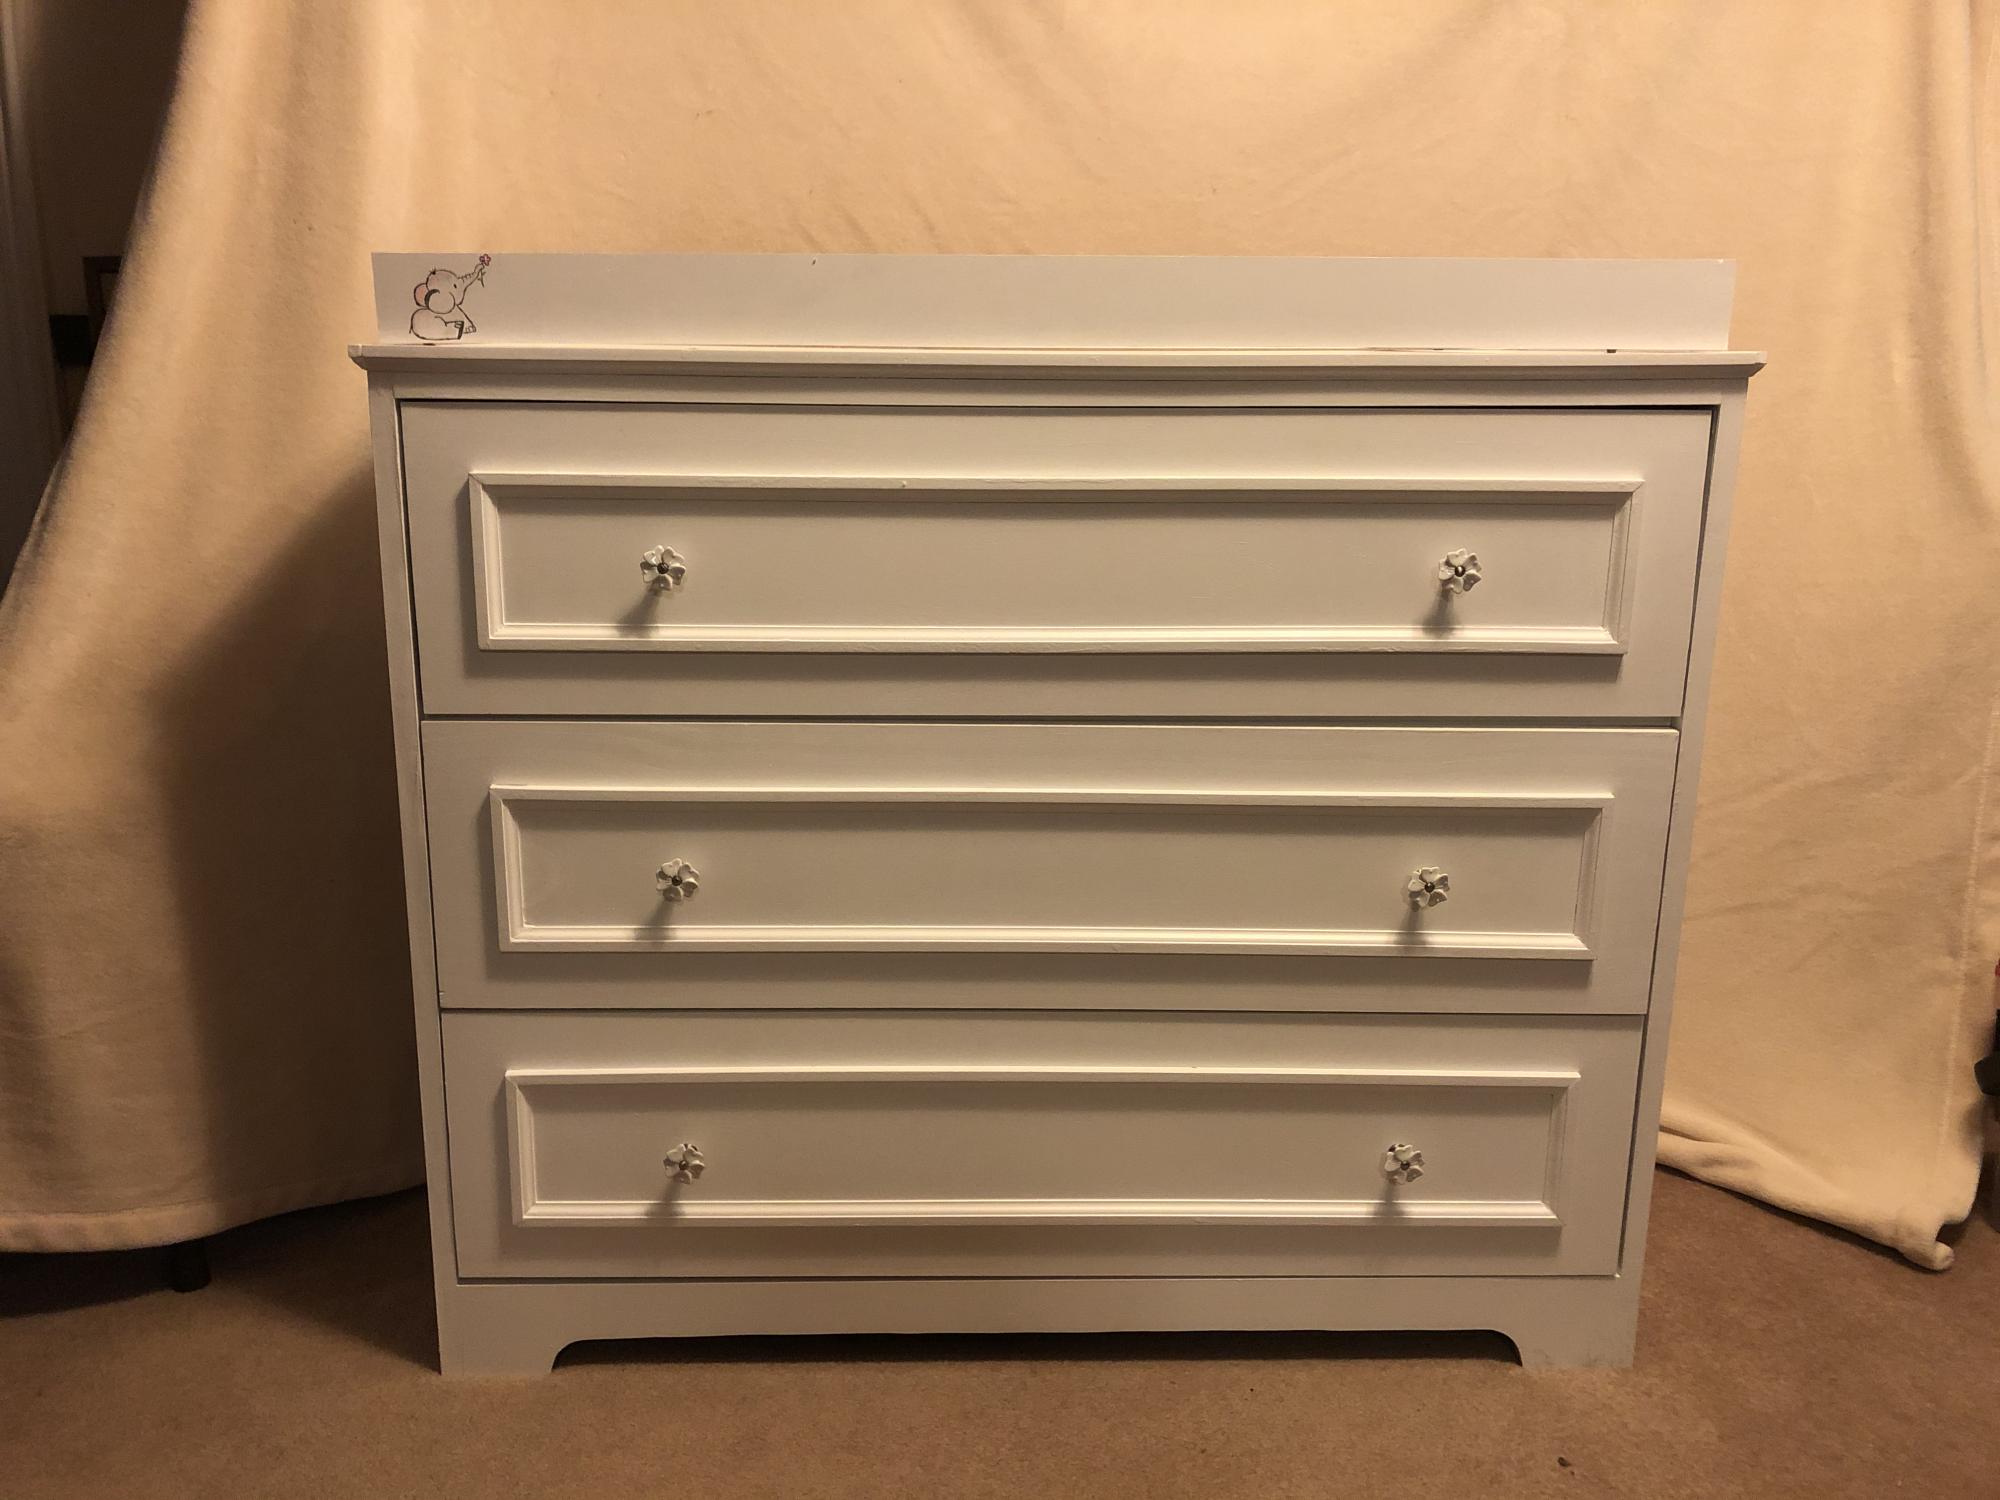
The changing table/dresser came out so much better than I ever thought I was capable of! Thank you for the plans and courage to try!
Used your idea with a few modifications
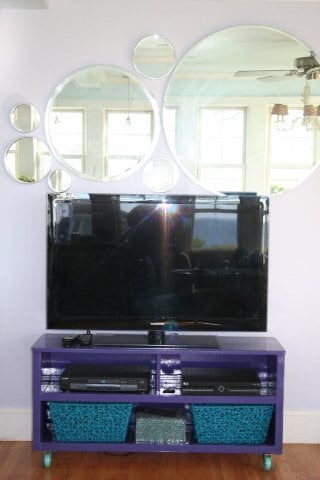
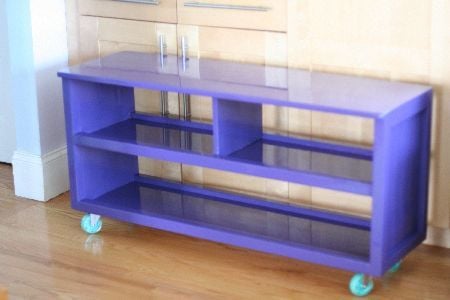
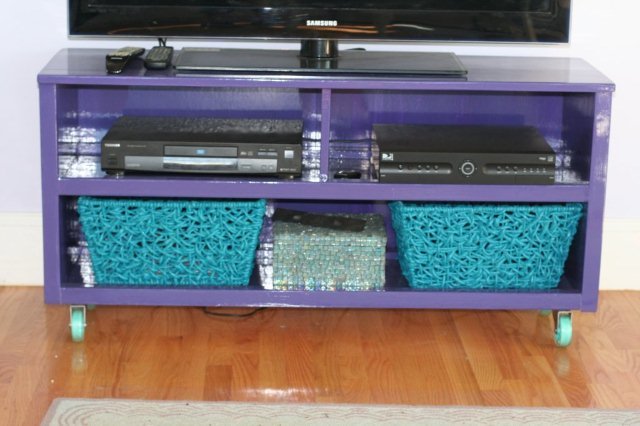
What a fun project. Based on Ana White's Media Console that was very close to what I wanted. I changed up the size to work in my room. I needed a shorter length to fit the space I had. I did not use the doors or drawers. For my first project they intimidated me a bit. I also needed access to the TV box.
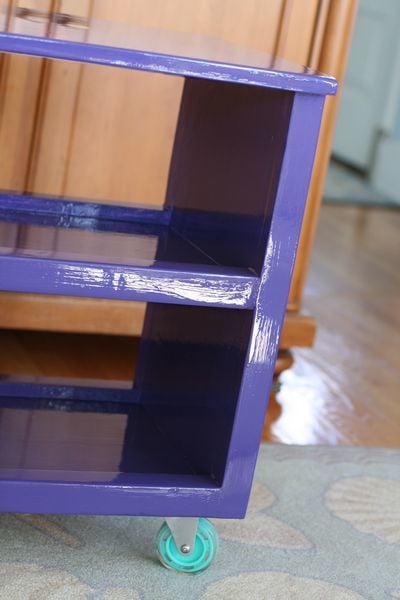
I subtracted for the legs so they ended flush with the bottom of the console and used some fun wheels to be able to move it around. Finally, I did not like seeing all of the cords behind it so I added a back with cutout for the cords and painted it the same color as the console.
As it was built "on the fly" I did not keep detailed measurements to share. Can't wait to pick out my next project! Thanks Ana for all you do.
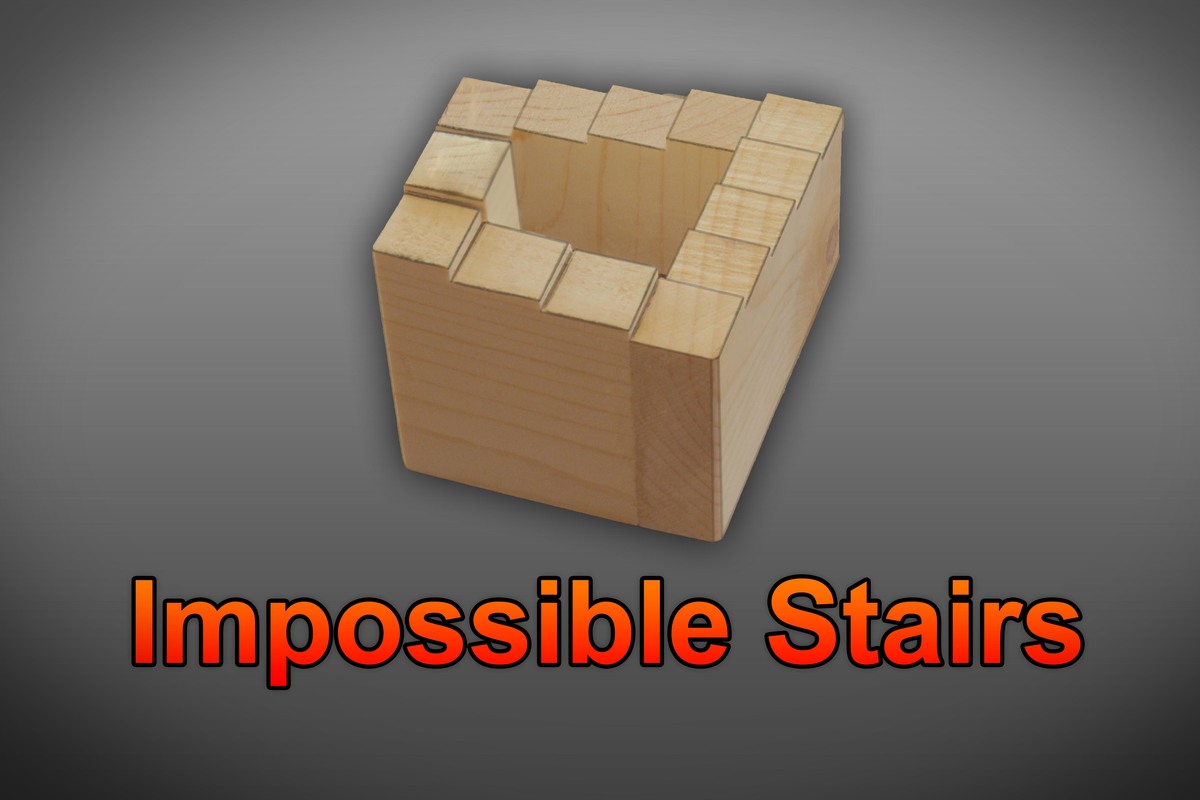
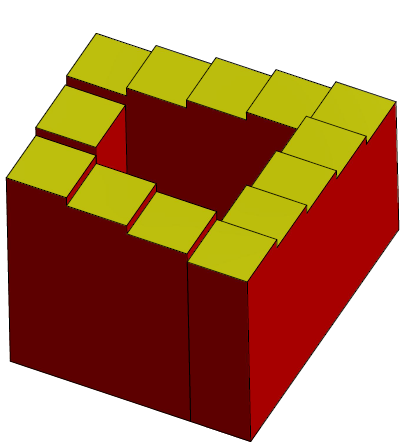
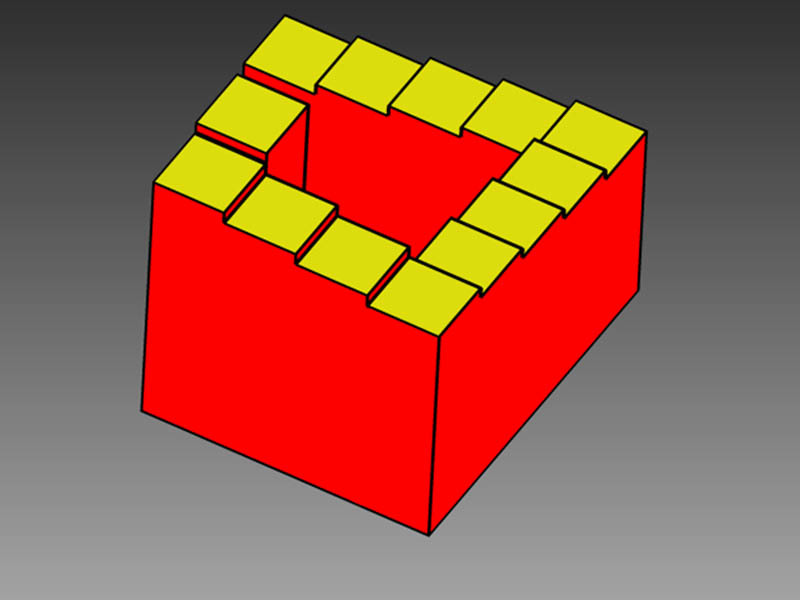
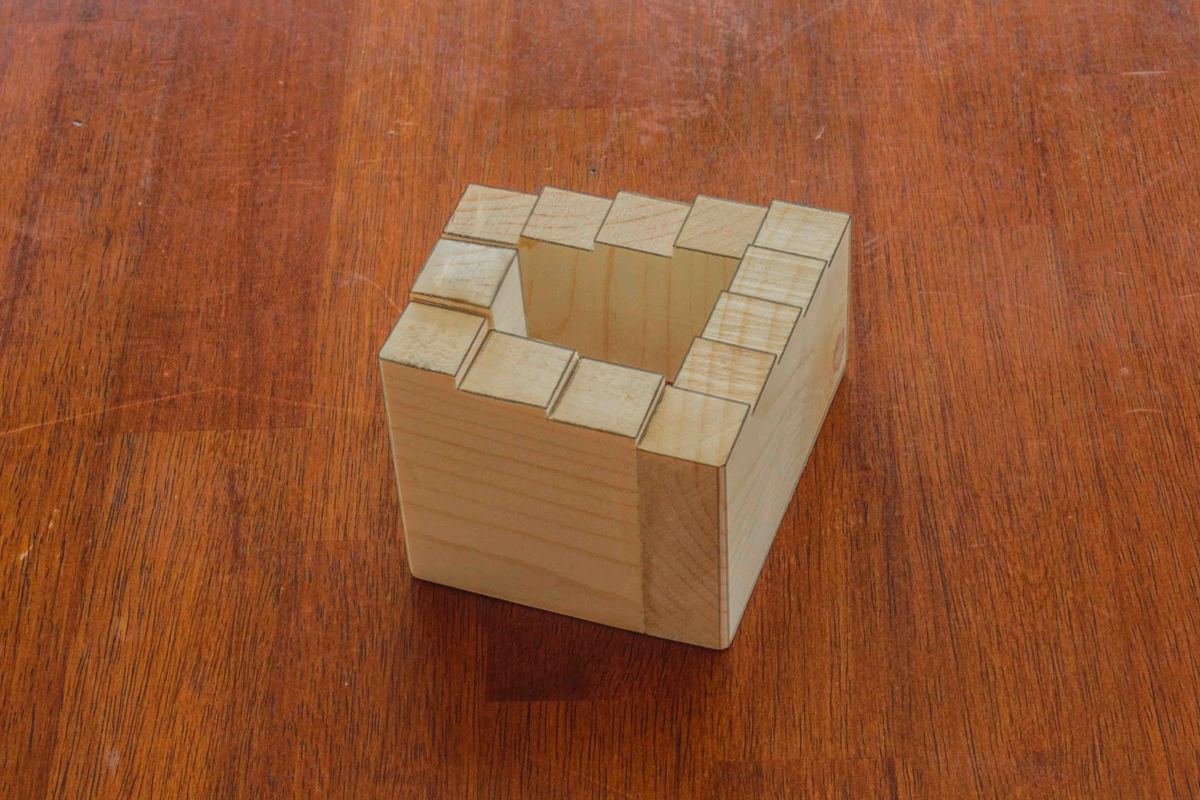
The Penrose stairs, also known as the impossible staircase, is a two-dimensional depiction of a staircase in which the stairs make four 90-degree turns as they ascend or descend yet form a continuous loop. Although the staircase is conceptually impossible, it does interfere with your perception since it looks like a person could climb forever and never get any higher.
Watching the video is the easiest way to see how it works. I’ve included a drawing which is linked in the video description.
http://www.youtube.com/watch?v=VAAZBhA8Pfc
See my Youtube woodworking channel for additional projects
http://www.youtube.com/playlist?list=PLcLIJdluqiyiI7J9qp5VAXrALMOftr0RT

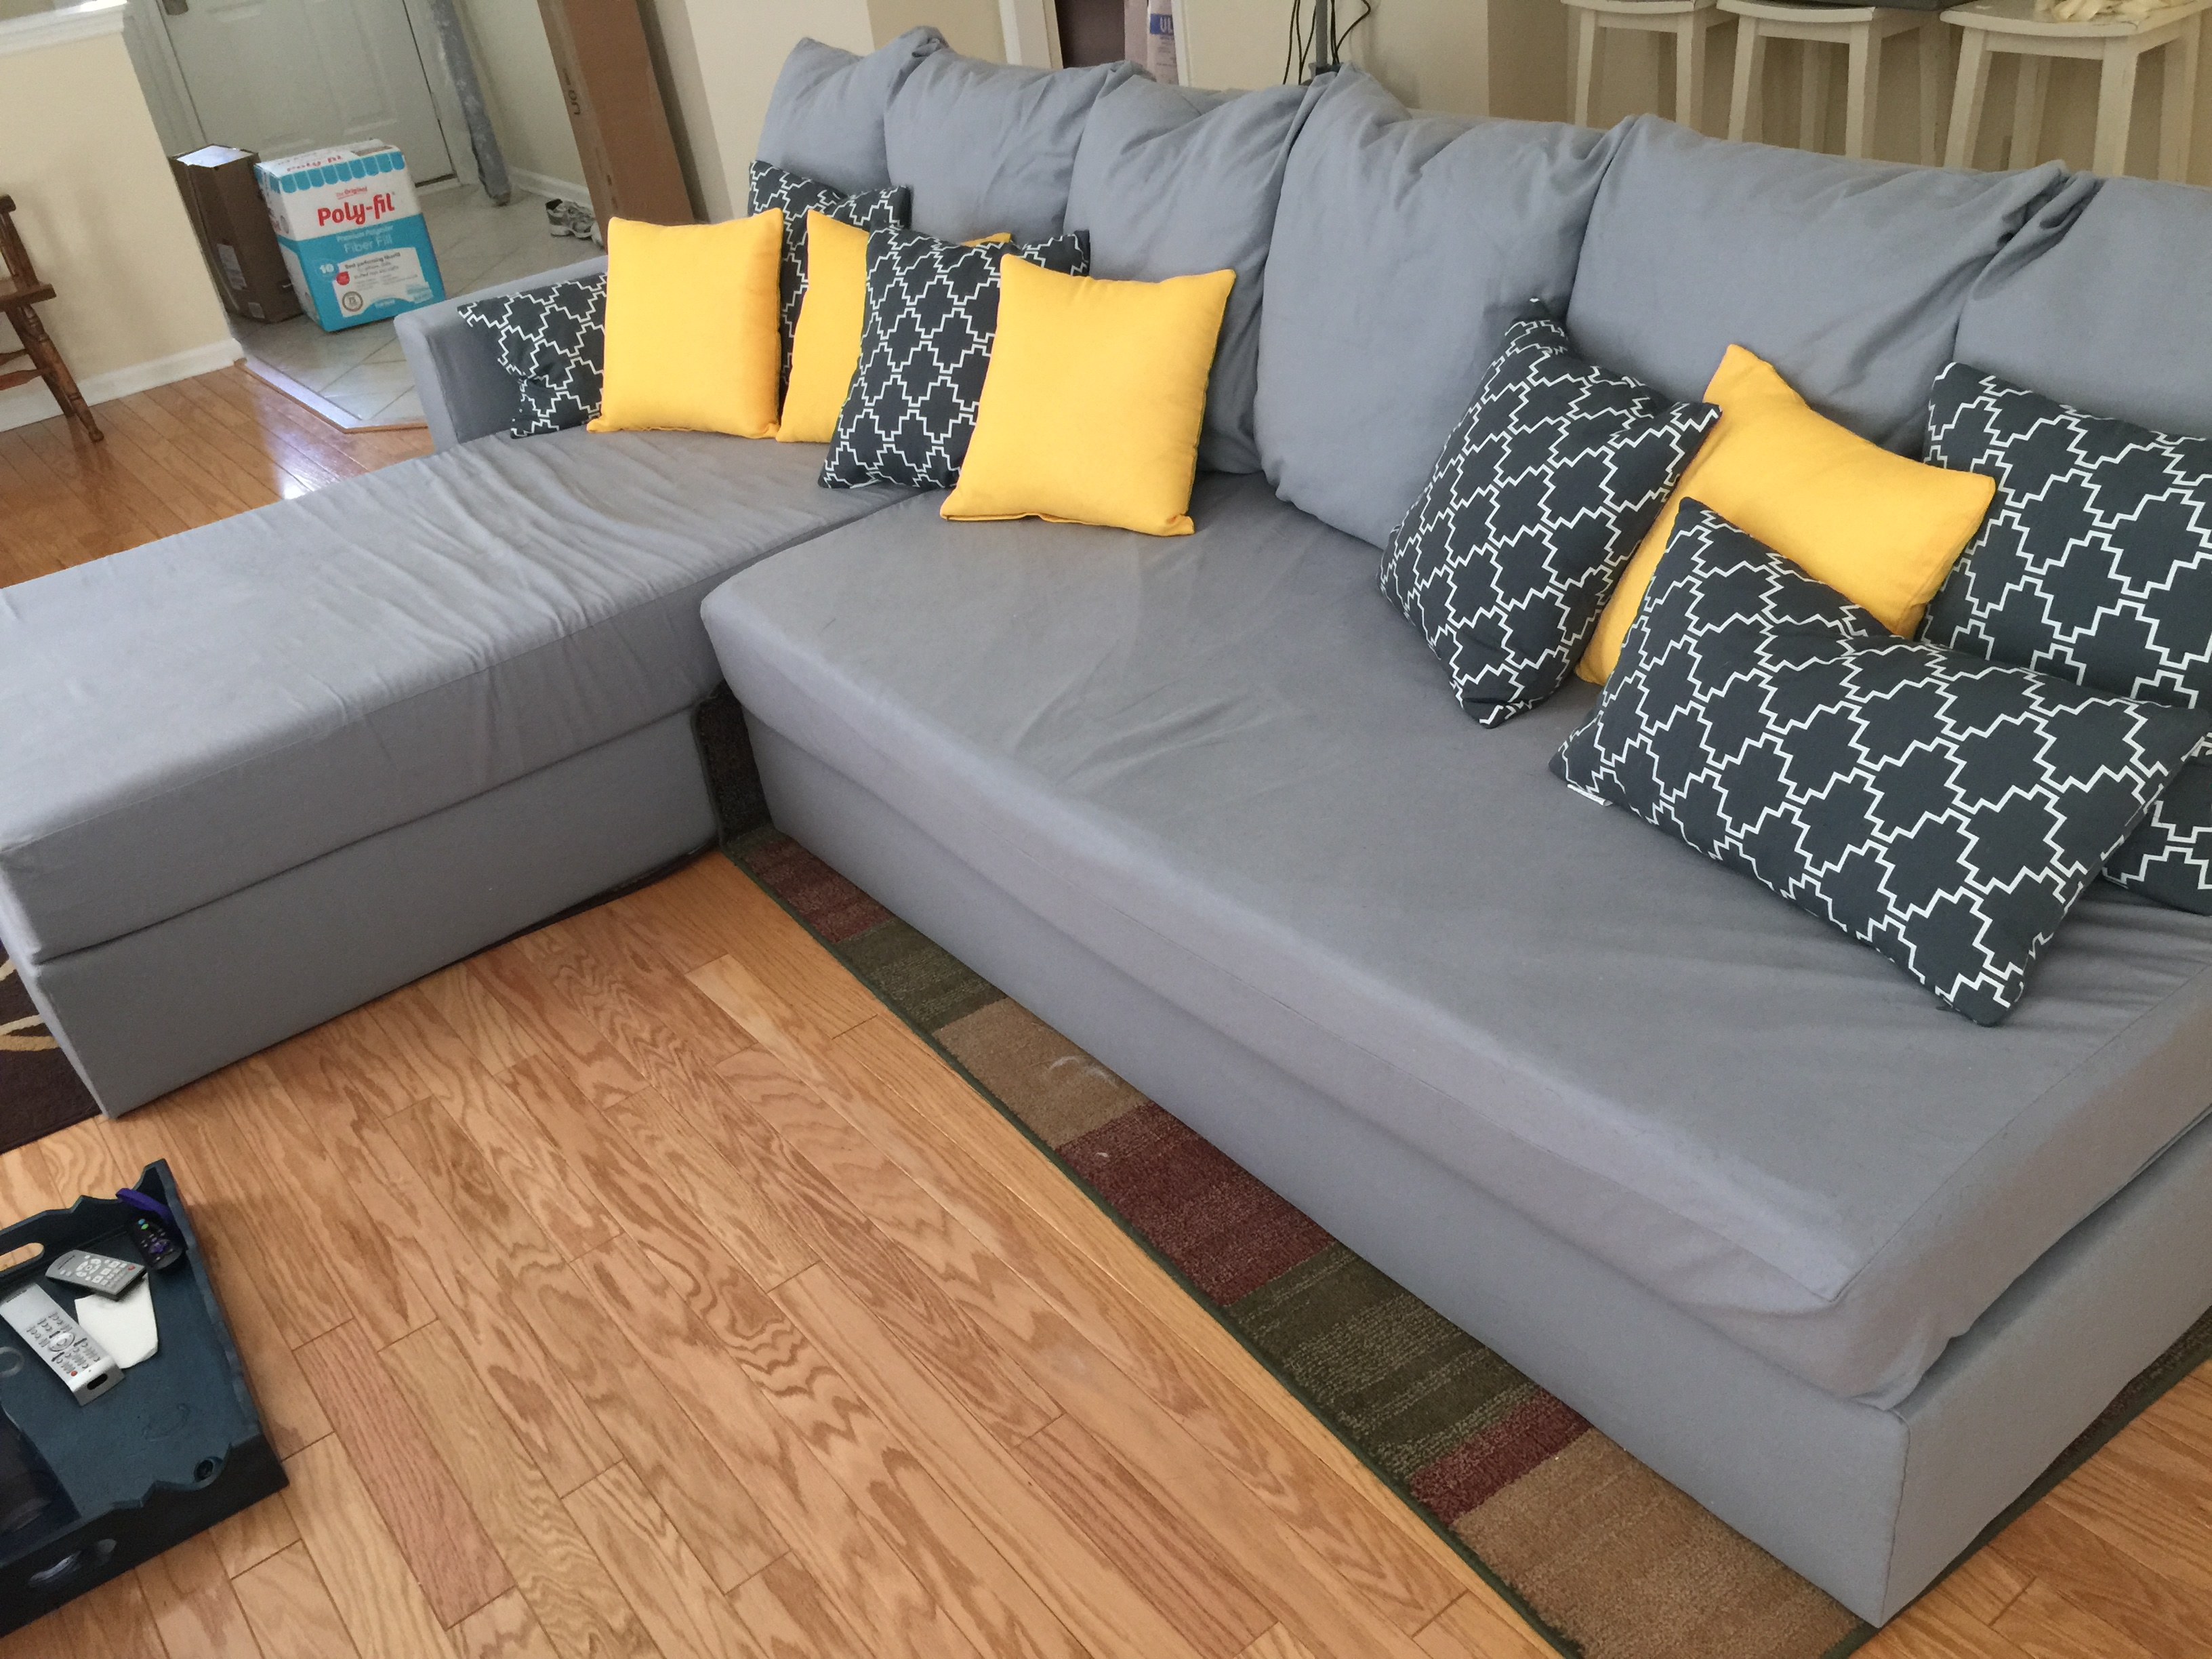
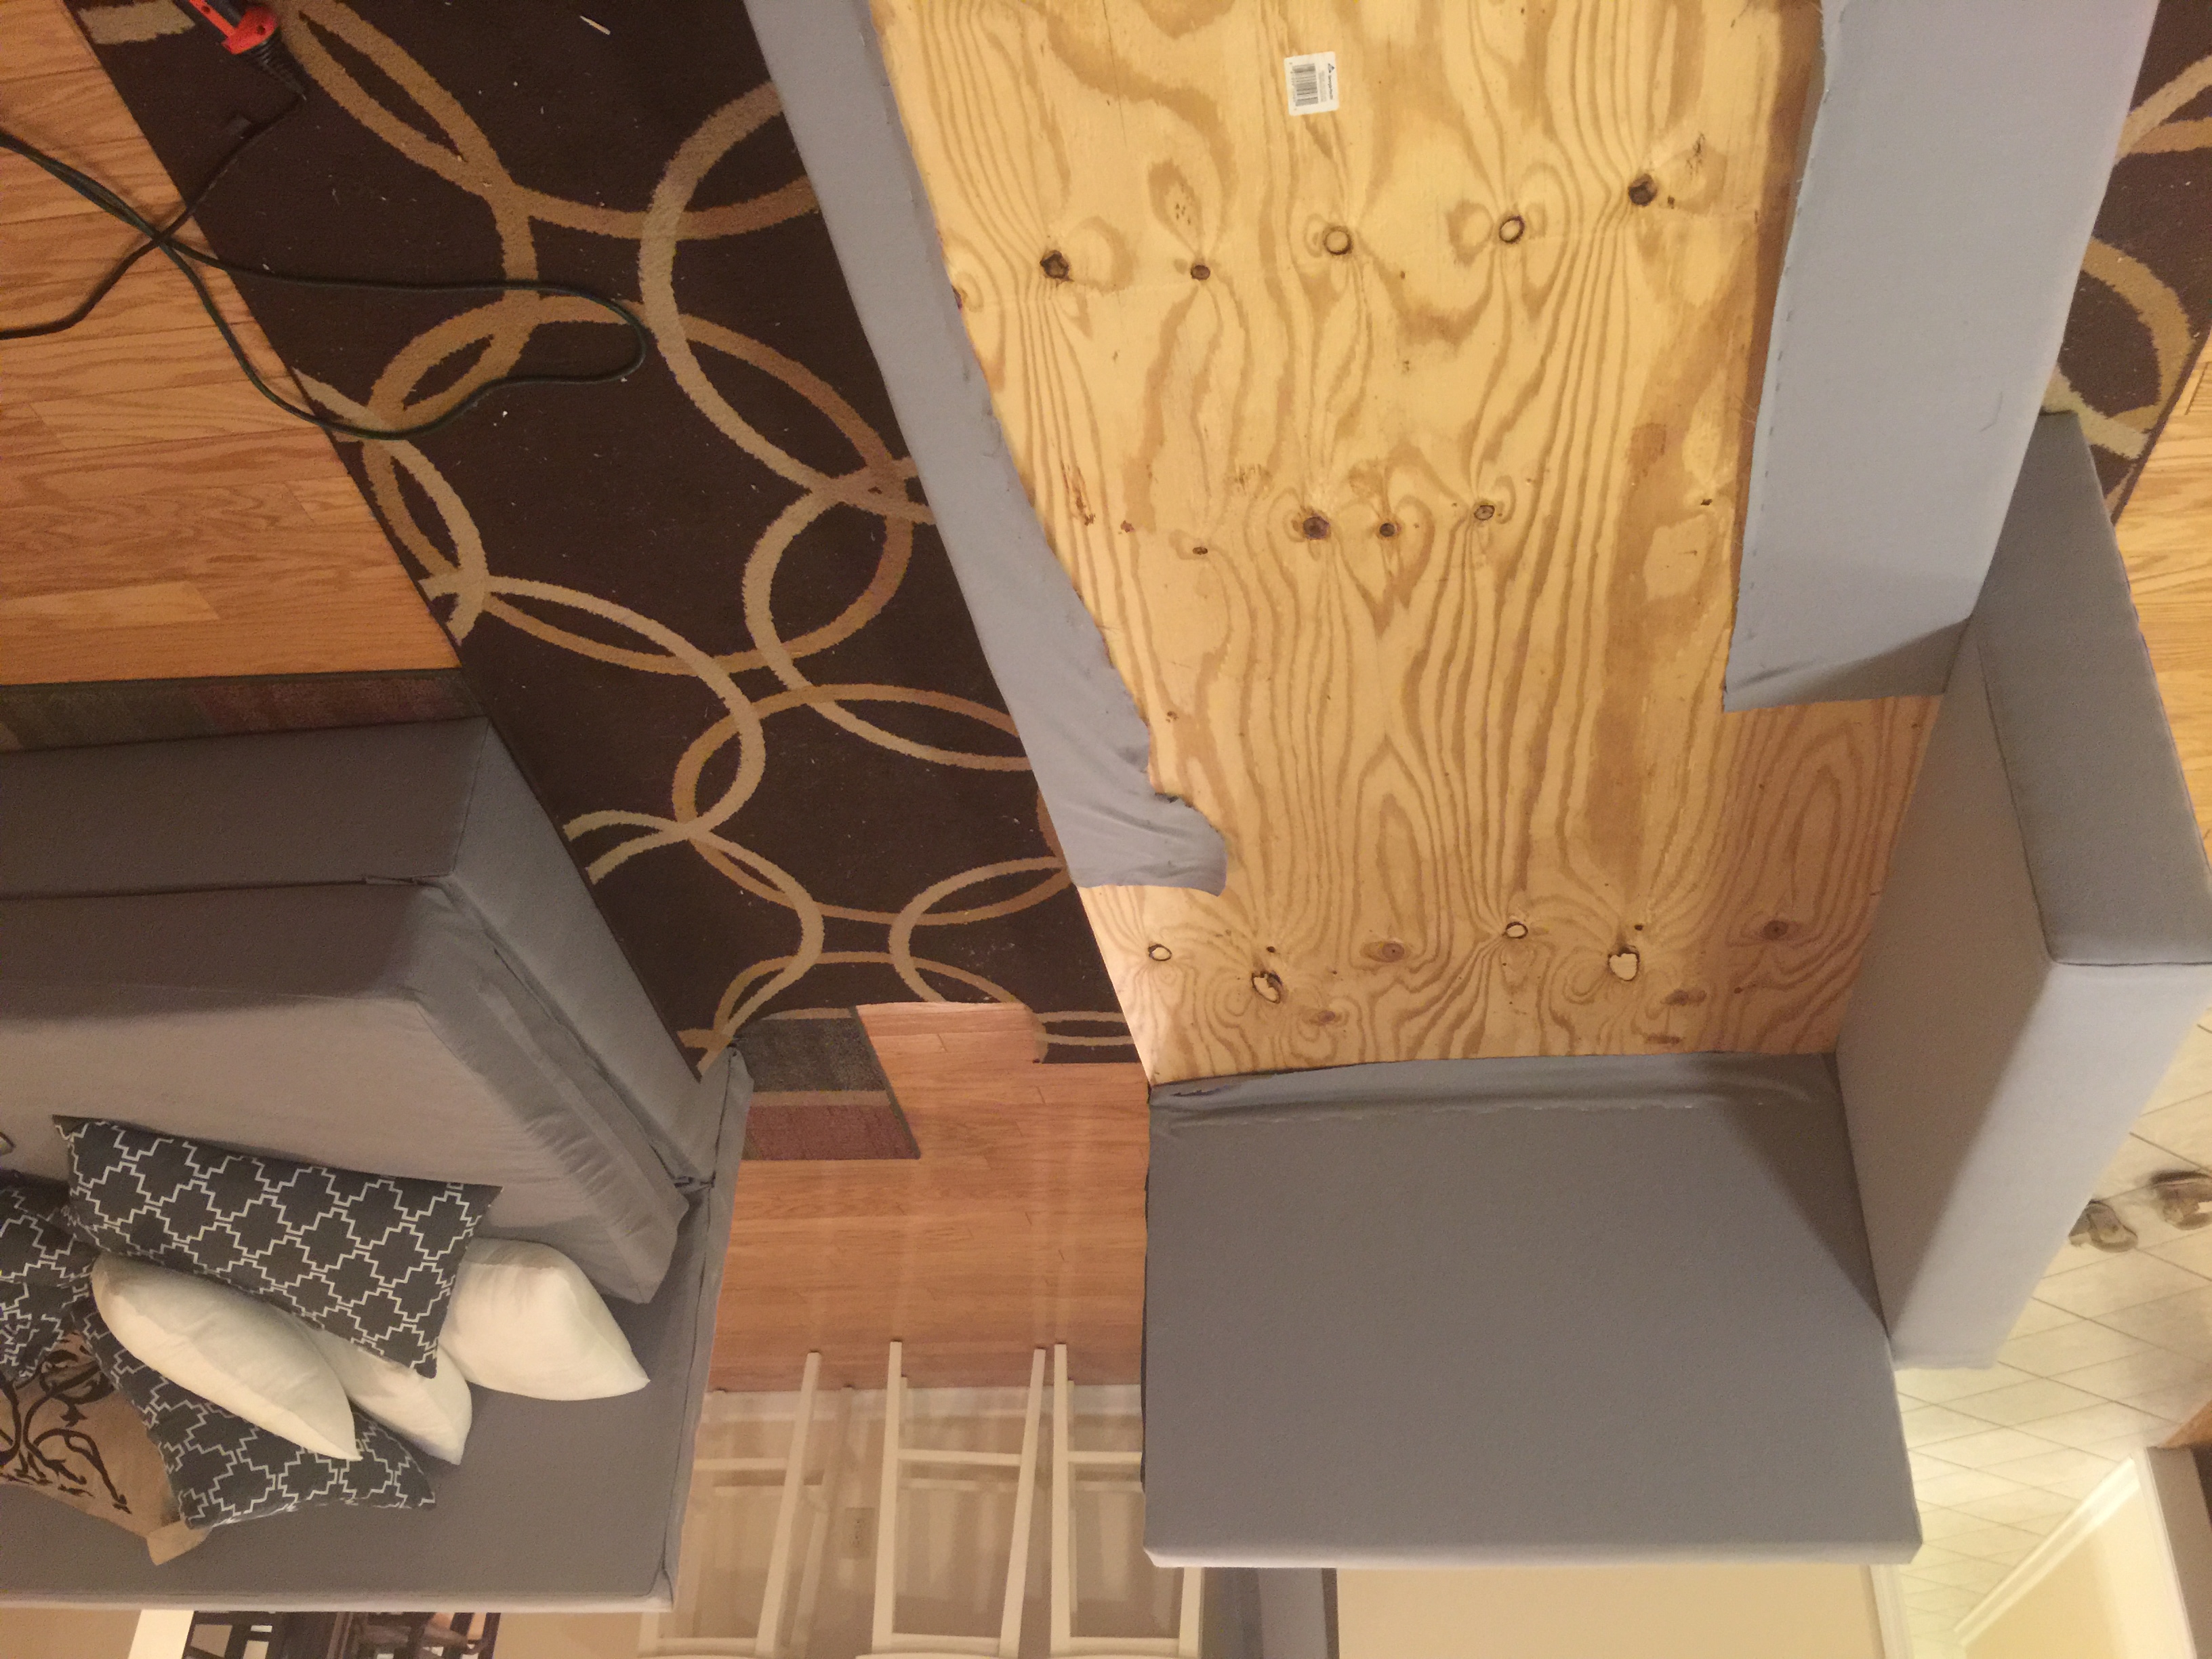
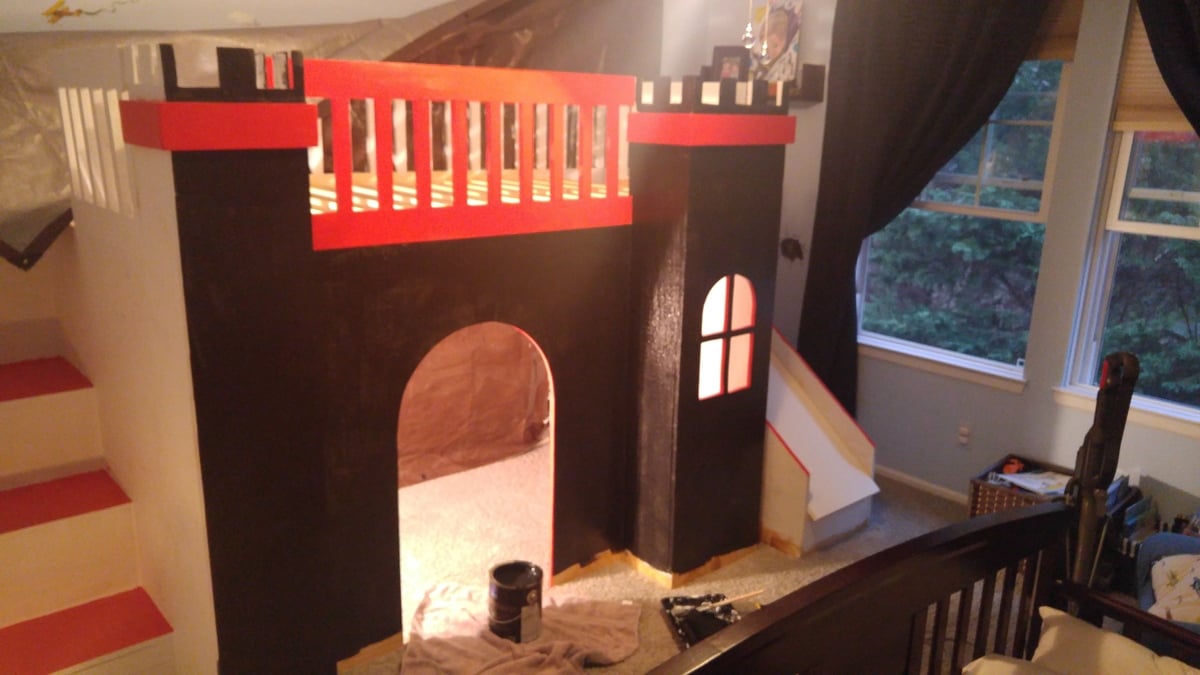
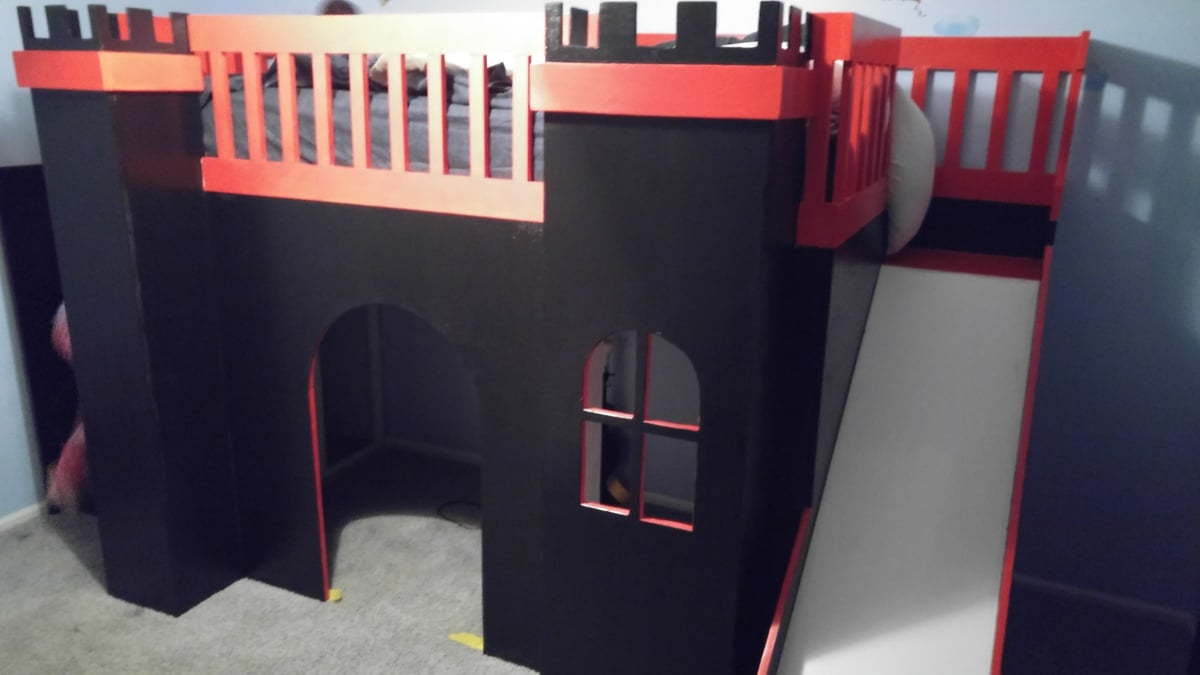
This was my first BIG project that I have ever attempted. Would I do it again? Probably not, it definitely was a "bite off more than you can chew" situation. Many adjustments had to be made to fit our needs, however it turned out wonderful and I am happy with the results.
I tweaked the plans for the folowing reasons:
The framing was easy as pie. We opted to not do the storage concept- we have enough as it is. We bought fabric online from a fabric wholesaler based out of Chicago (found them on Amazon). This was probably the most costly out of everything, and with two cats and a dog I deeply regret going with blue-grey canvas. It looks great, but shows stains very easily.
The padding was relatively simple to do. I should have done more than just one layer, since it seems pretty hard on the corners and edges. Again no big deal, I don't lay on the arm or backing.
For the pillow cases and mattress covers, we found a woman who sews in her spare time to make zipper cushions, so we could easily take the cushions on/off to clean them. This was a little pricey, and I wish I could sew, but sadly I do not have the patience (or sewing machine for that matter).
Stapling the fabric and assembling the couch together... oh what a nightmare and test of patience that all was! Again since I caved on the L shaped approach, I wanted an arm rest for the "chaise" portion of the couch. Seemed pretty simple and straight forward, right? NOPE! I had to strategically assemble and staple the fabric, so the last part to staple down wasn't in a visible area. And to top it all off, the framing was too large to just assemble in the garage and bring inside. Assembled, this five thousand pound monster couldn't even fit through my doorway! So assembling it all together, and uphostering was done in the living room. I must say that this is the most solid (and heavy piece of furniture) that I have ever encountered. If a tornado came ripping through my neighborhood I would probably try to find refuge and hold on to the couch- I can barely move it, it's so heavy.
It was so much fun doing this project. The fabric portion was a challenge to say the least. It was a fabric rubix cube, but we got through it with patience and planning.