Community Brag Posts
Farmhouse Doll Bed
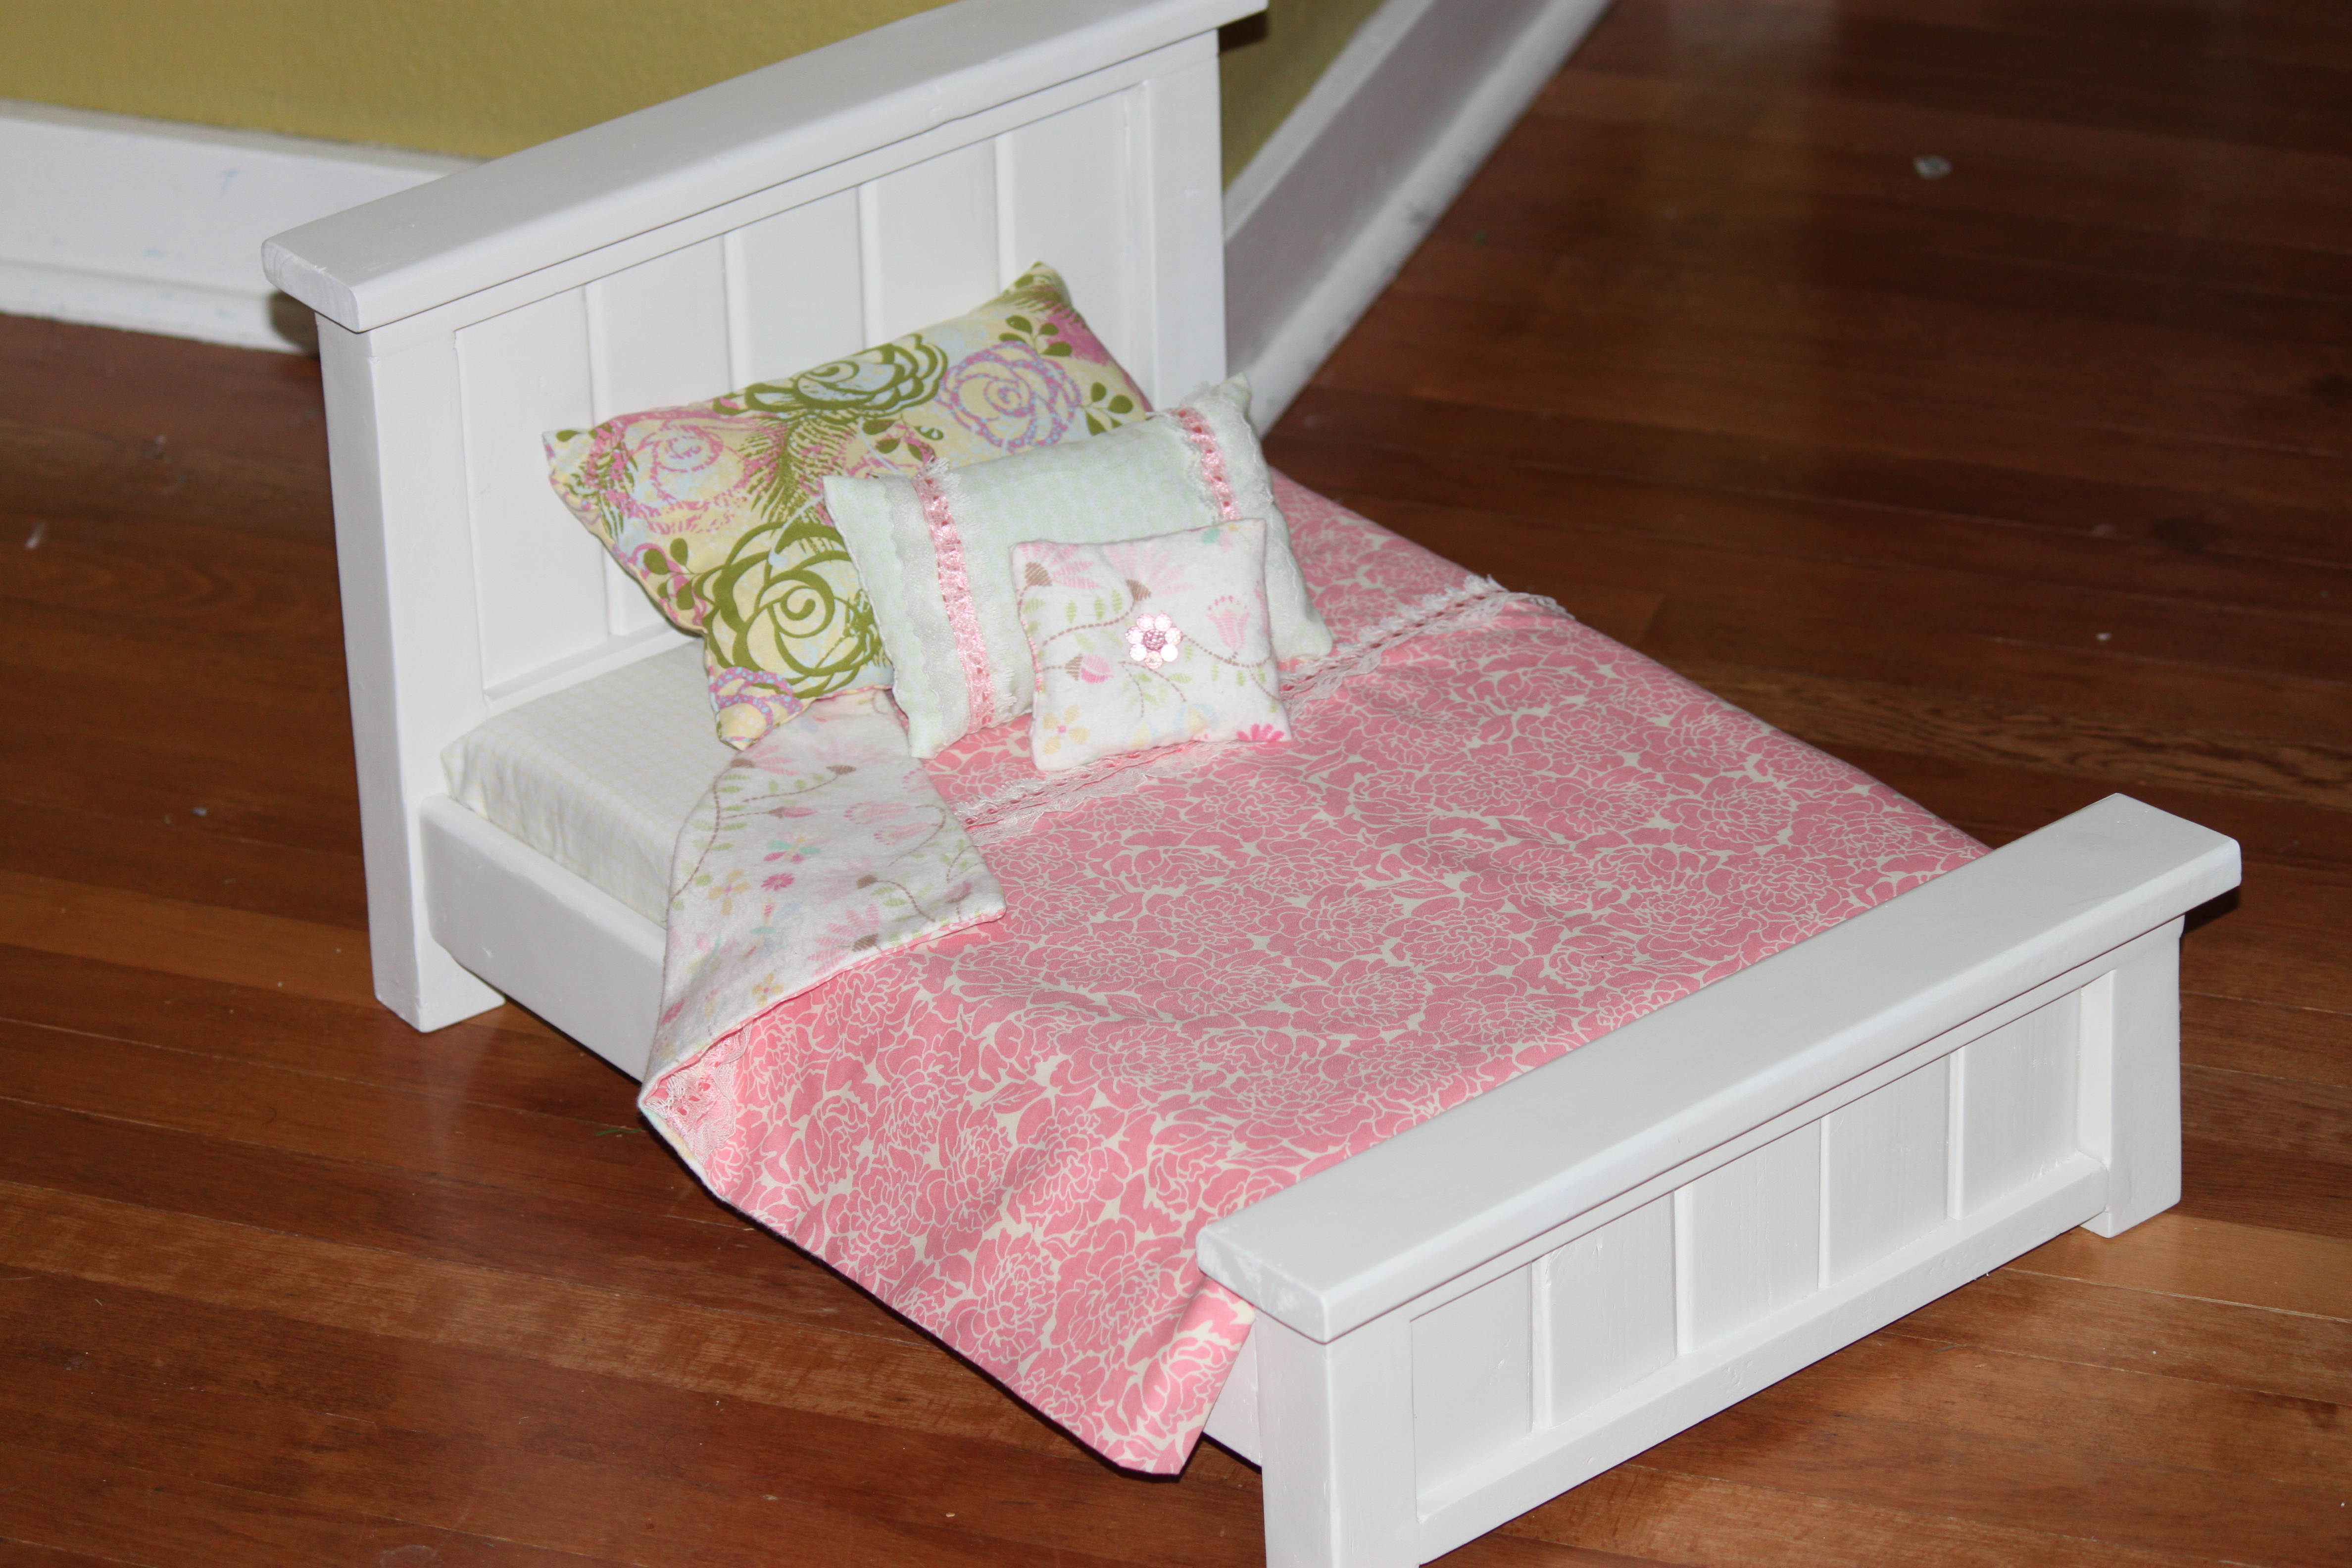
American Girl Farmhouse Doll Bed.
Built from Plan(s)
Estimated Cost
$20.00 Wood supplies $20 fabric supplies
Estimated Time Investment
Weekend Project (10-20 Hours)
Recommended Skill Level
Beginner
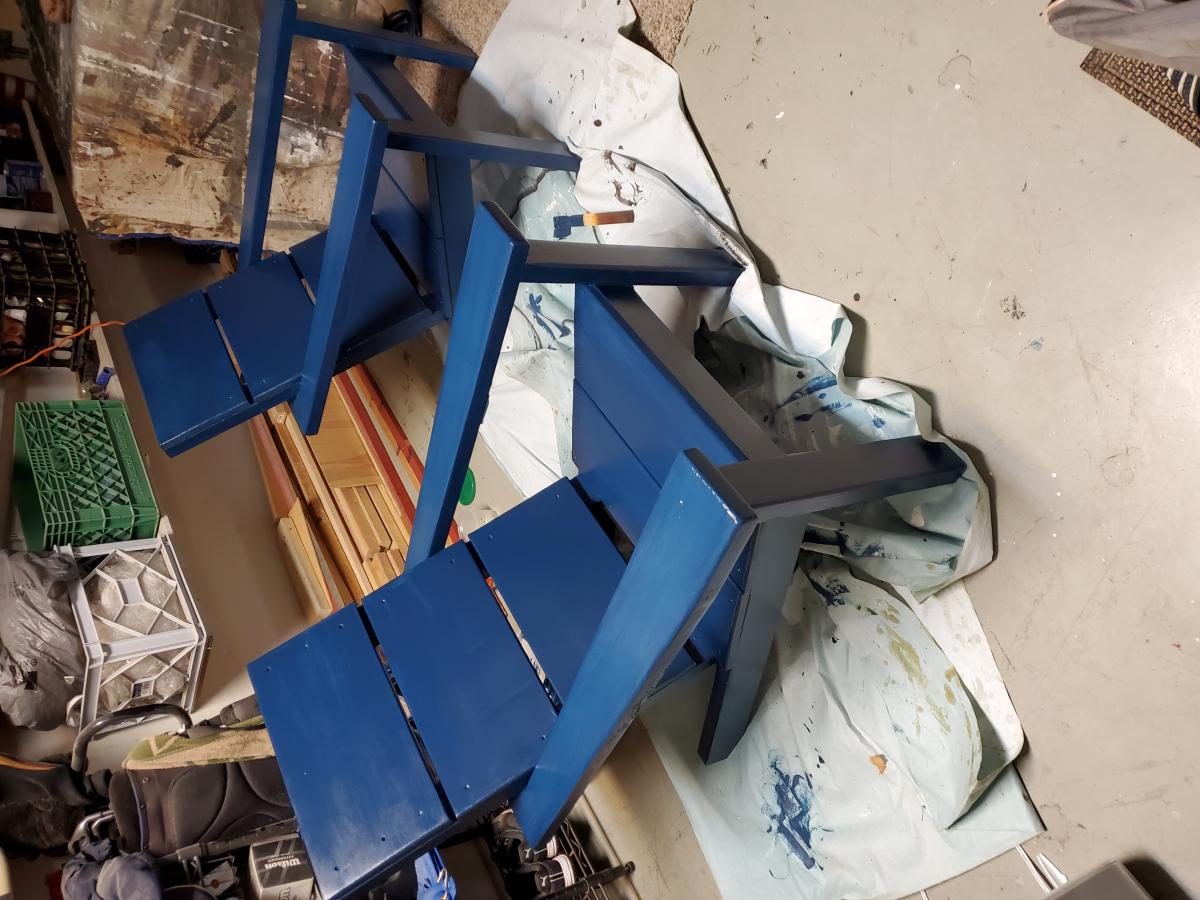
2x4 (and 2x6) Modern Adirondack Chair
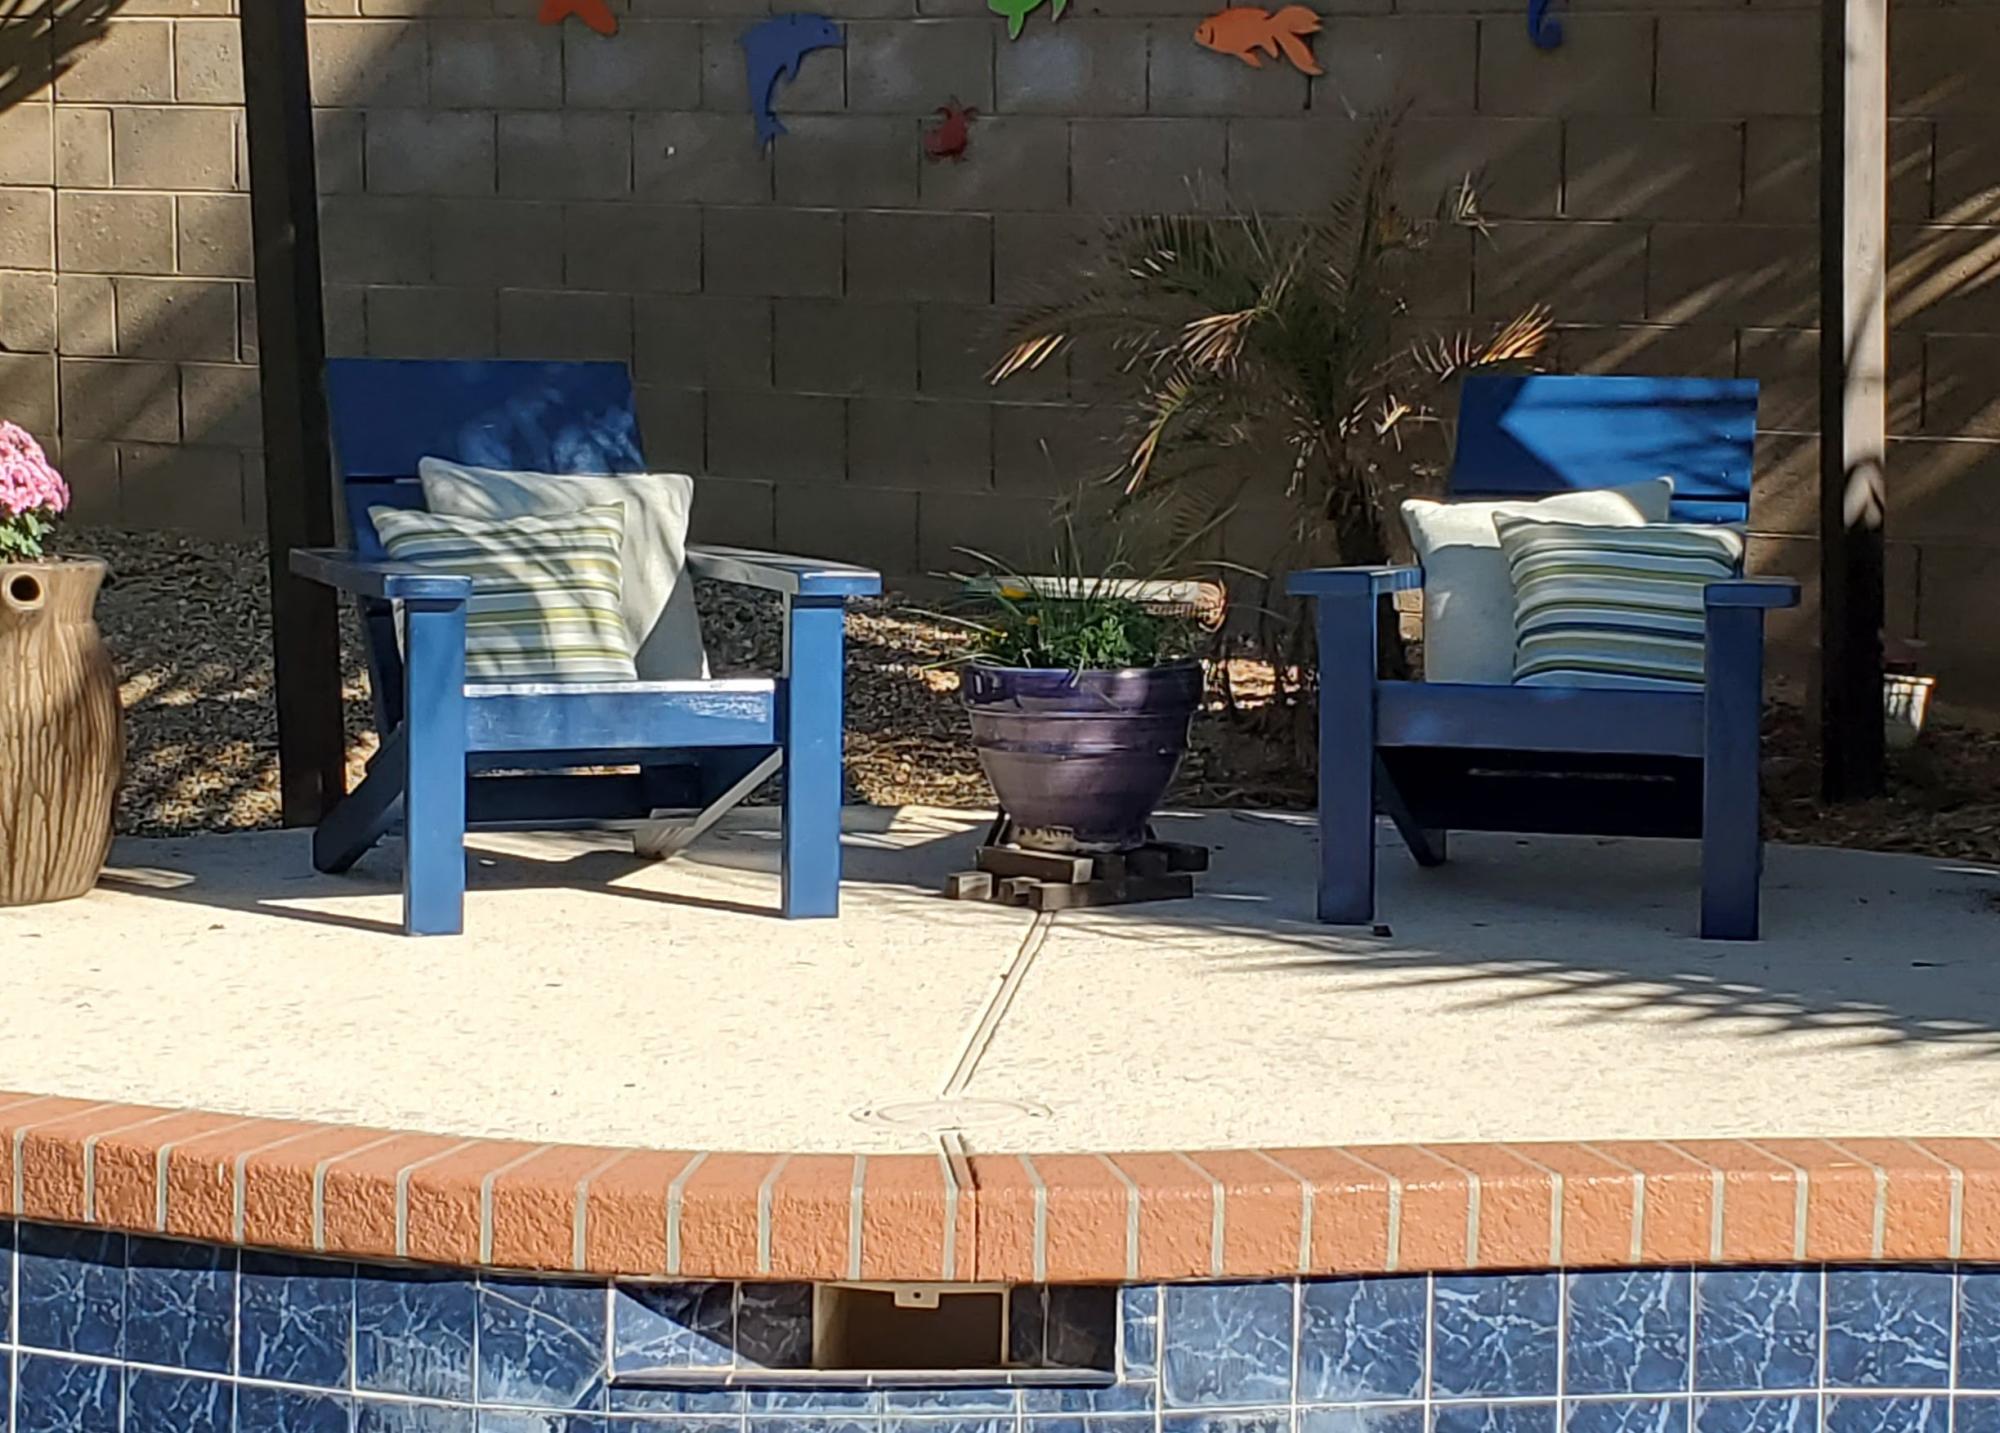
Been wanting to make some Adirondack chairs for years; have about 10 different plans saved that one day I could get to. These 2x4 modern plans made getting them done quickly possible due to simplicity of the cut list and cheap cost of materials. The only real change I made was to use 2x6 for the arms; I cut a taper along outside edge and increased the length of the arms by about an inch and a half to overhang the front legs a bit. Since I just used basic framing lumber, I milled all of the boards first with table saw and planer to make square consistent edges. And, I chose to use pocket screws in as many joints as I could so I wouldn't have screw holes on any visible faces. Add in a lucky find at the big box store paint return; scored this blue exterior paint for $2.00 a quart, and my weekend project turned out pretty good. Now I've got two neighbors that want 'em.
Built from Plan(s)
Estimated Time Investment
Weekend Project (10-20 Hours)
Finish Used
1 qrt Glidden Exterior Semi-Gloss; got it so cheap, I used the whole quart. Multiple coats.
Recommended Skill Level
Beginner
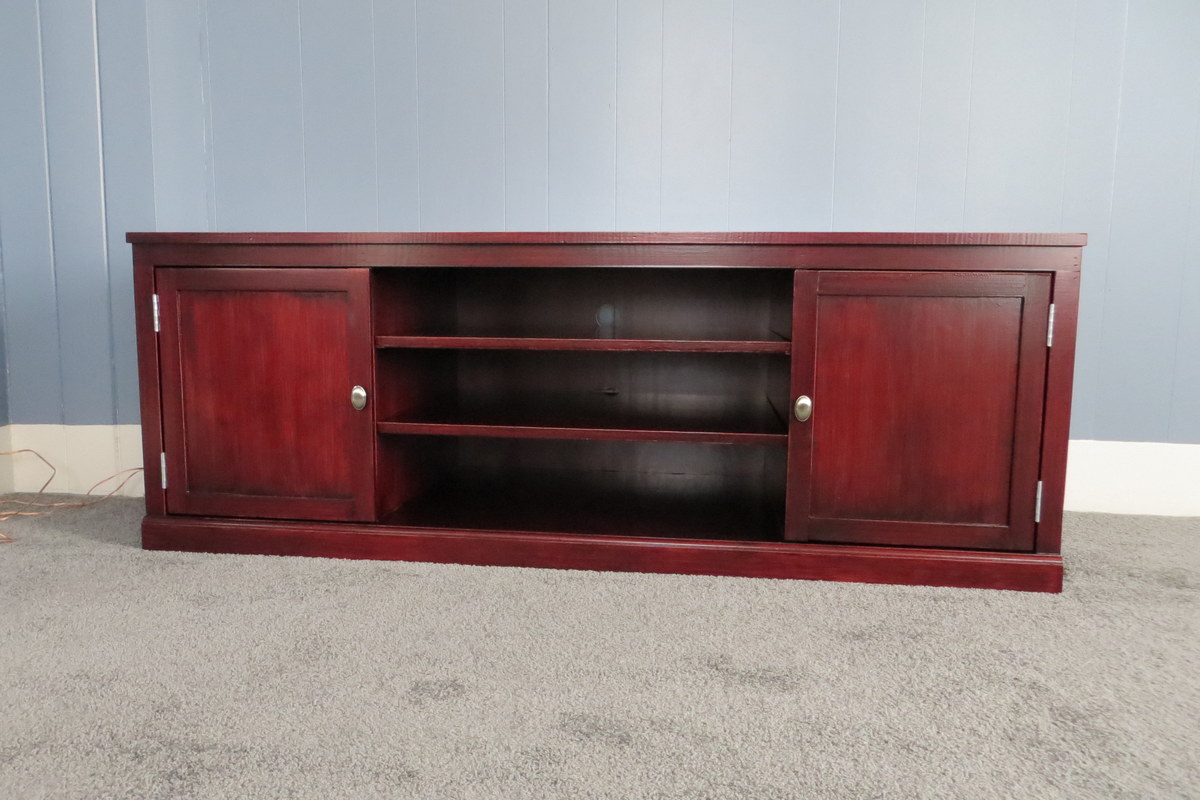
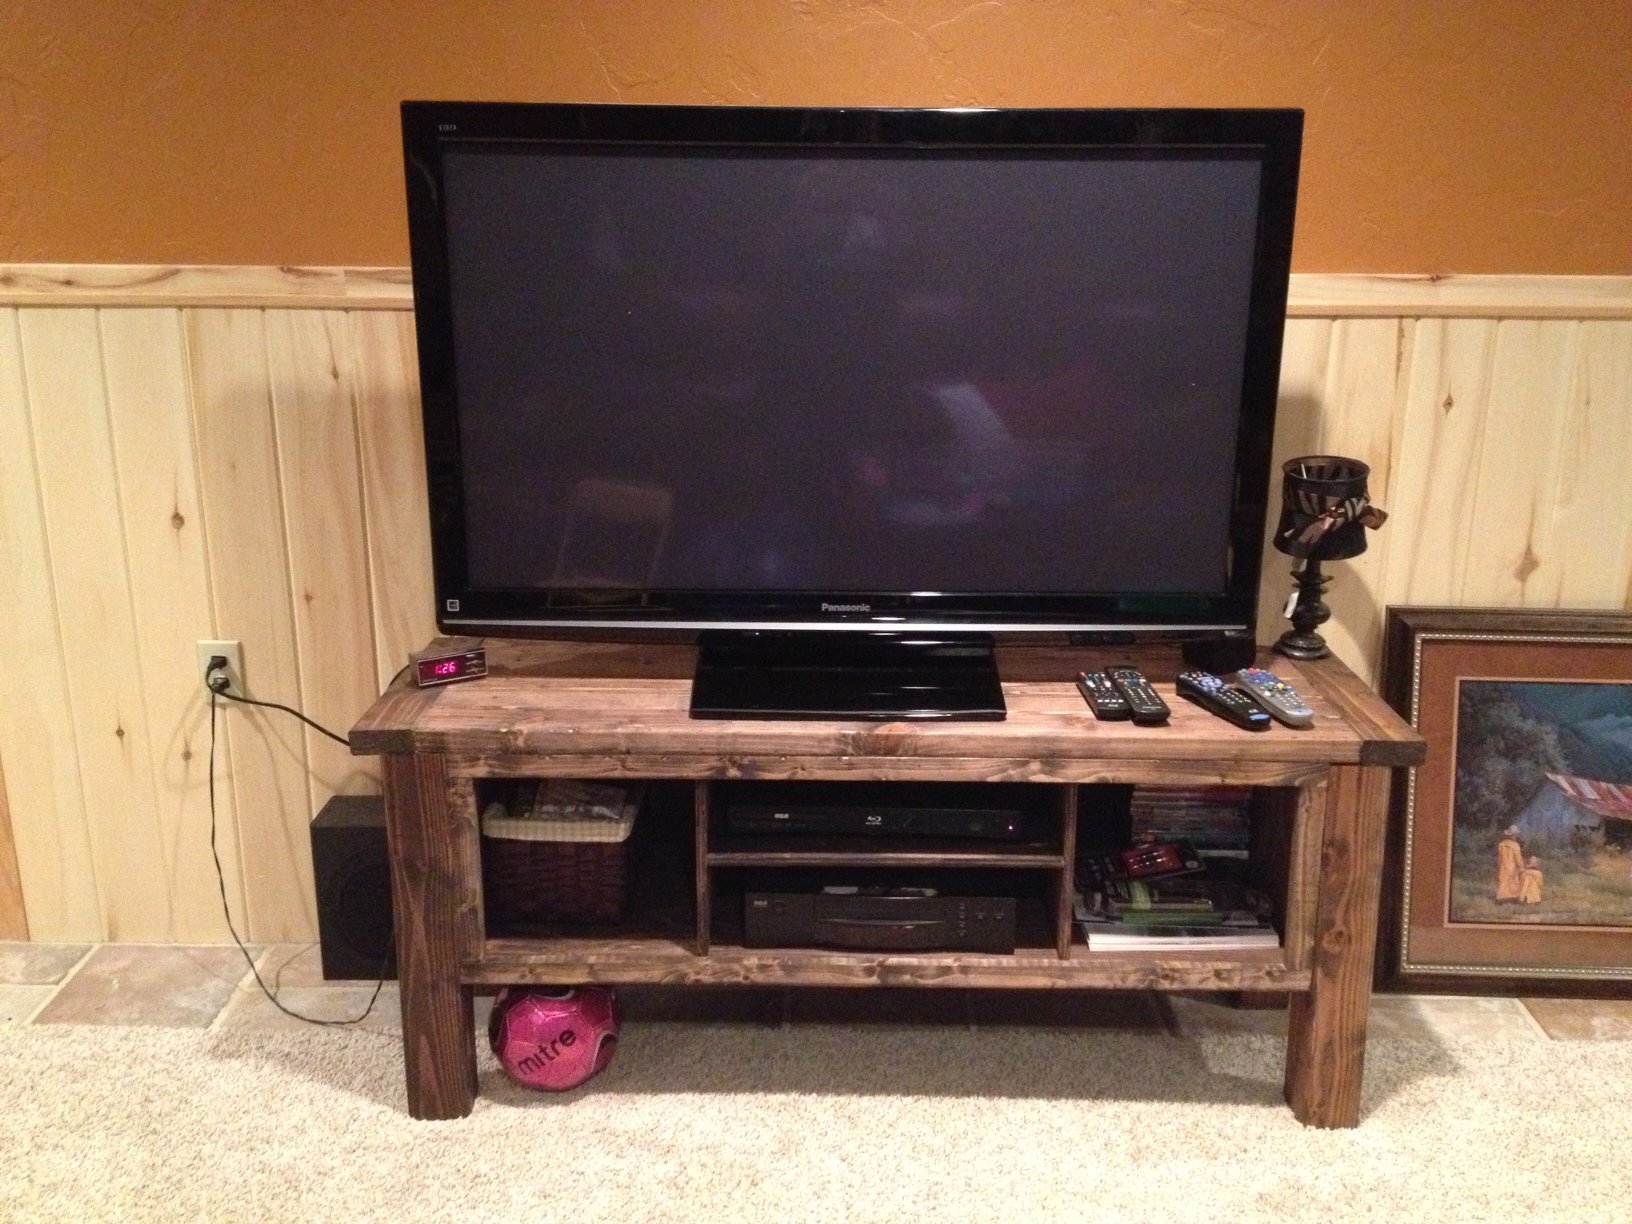
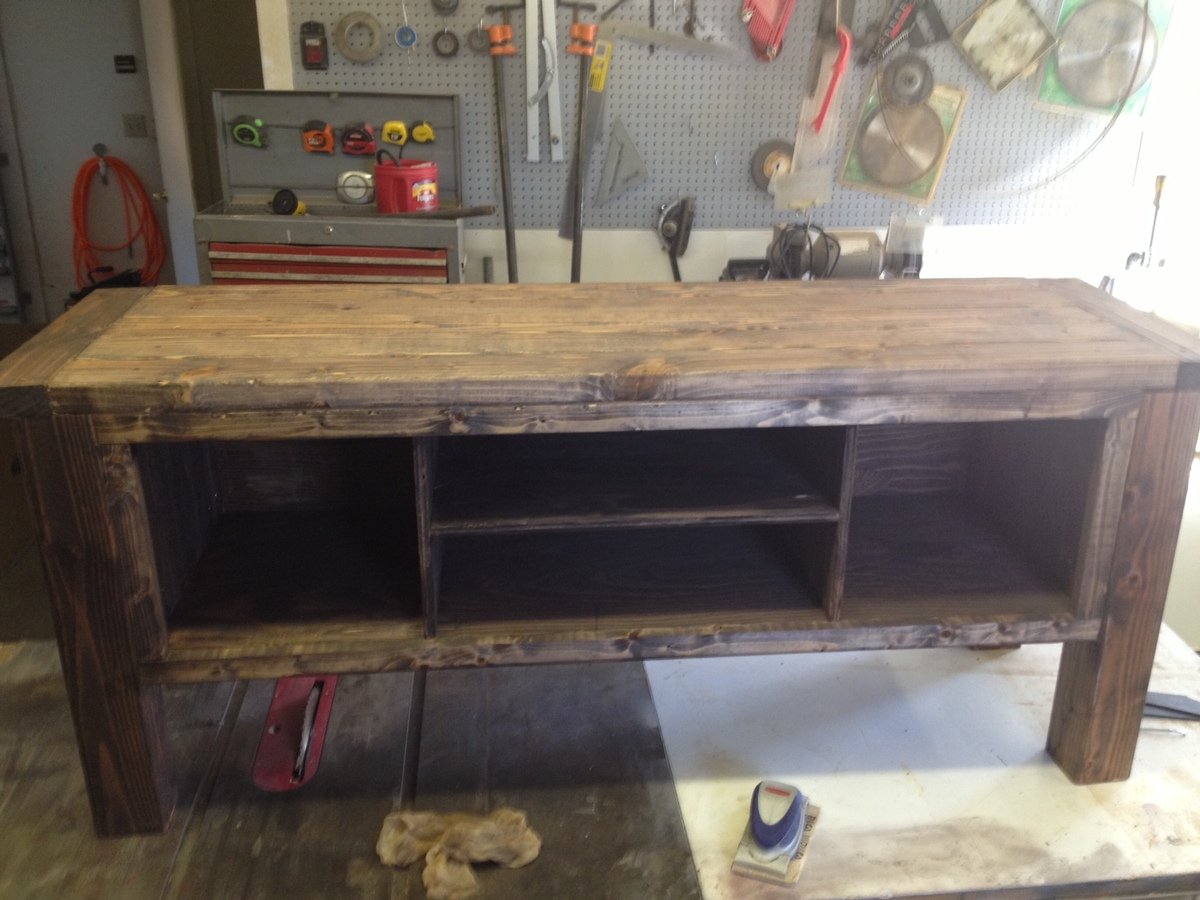
TV Entertainment Center
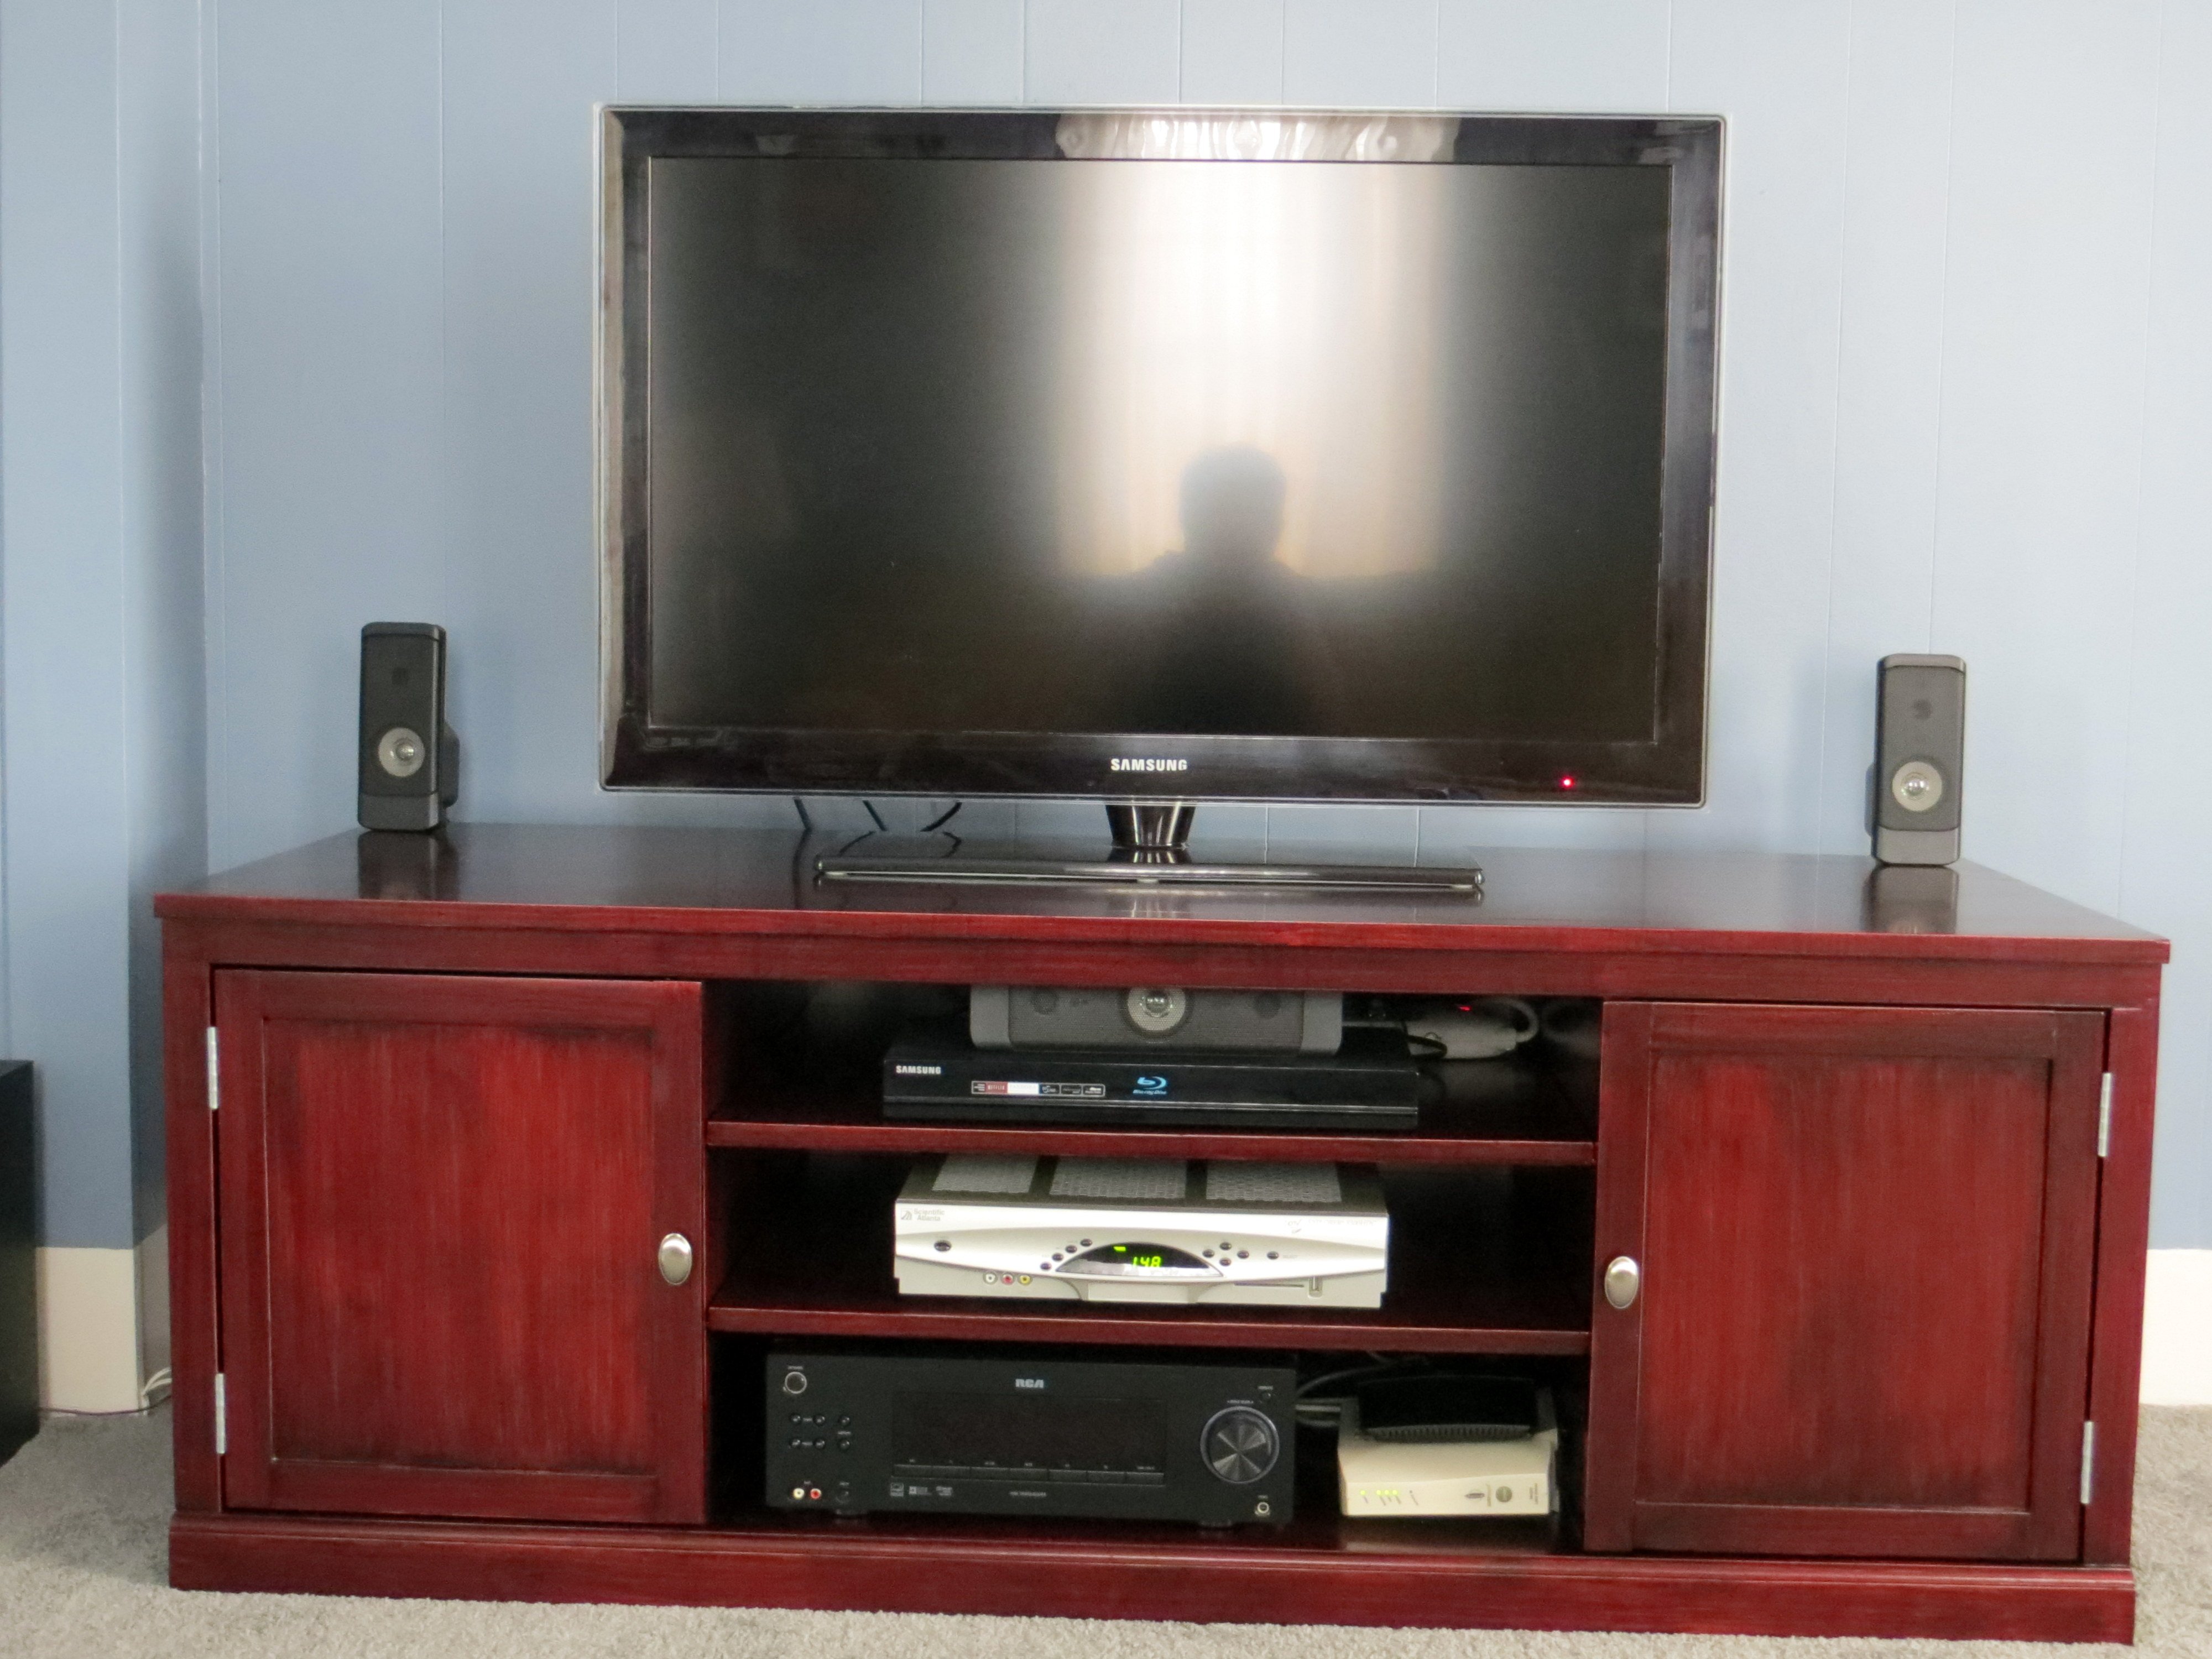
This was my first time building a piece of furniture. I learned a lot and was able to hide most of the mistakes I did make. It came out good, and now I'm working on adding in some pull out drawers inside the cabinets for movie storage.
Built from Plan(s)
Estimated Cost
$200
Estimated Time Investment
Week Long Project (20 Hours or More)
Finish Used
I ended up using the Minwax PolyShades Bombay Mahogany (2 coats), than finished with Minwax Polyurethane Satin (1 coat). Both were applied with a brush and light sanding between layers with 320 grit sponge.
Recommended Skill Level
Beginner
Comments

First Project
This was my first project (ever). There were a few times that I wanted to throw the whole thing on the floor and start over but I persisted and it actually turned out very nice. Way better than I had anticipated. Thank you for the plans!
Built from Plan(s)
Estimated Time Investment
Week Long Project (20 Hours or More)
Finish Used
Minwax Jacobean stain followed by three coats of Polyurethane.
Recommended Skill Level
Advanced
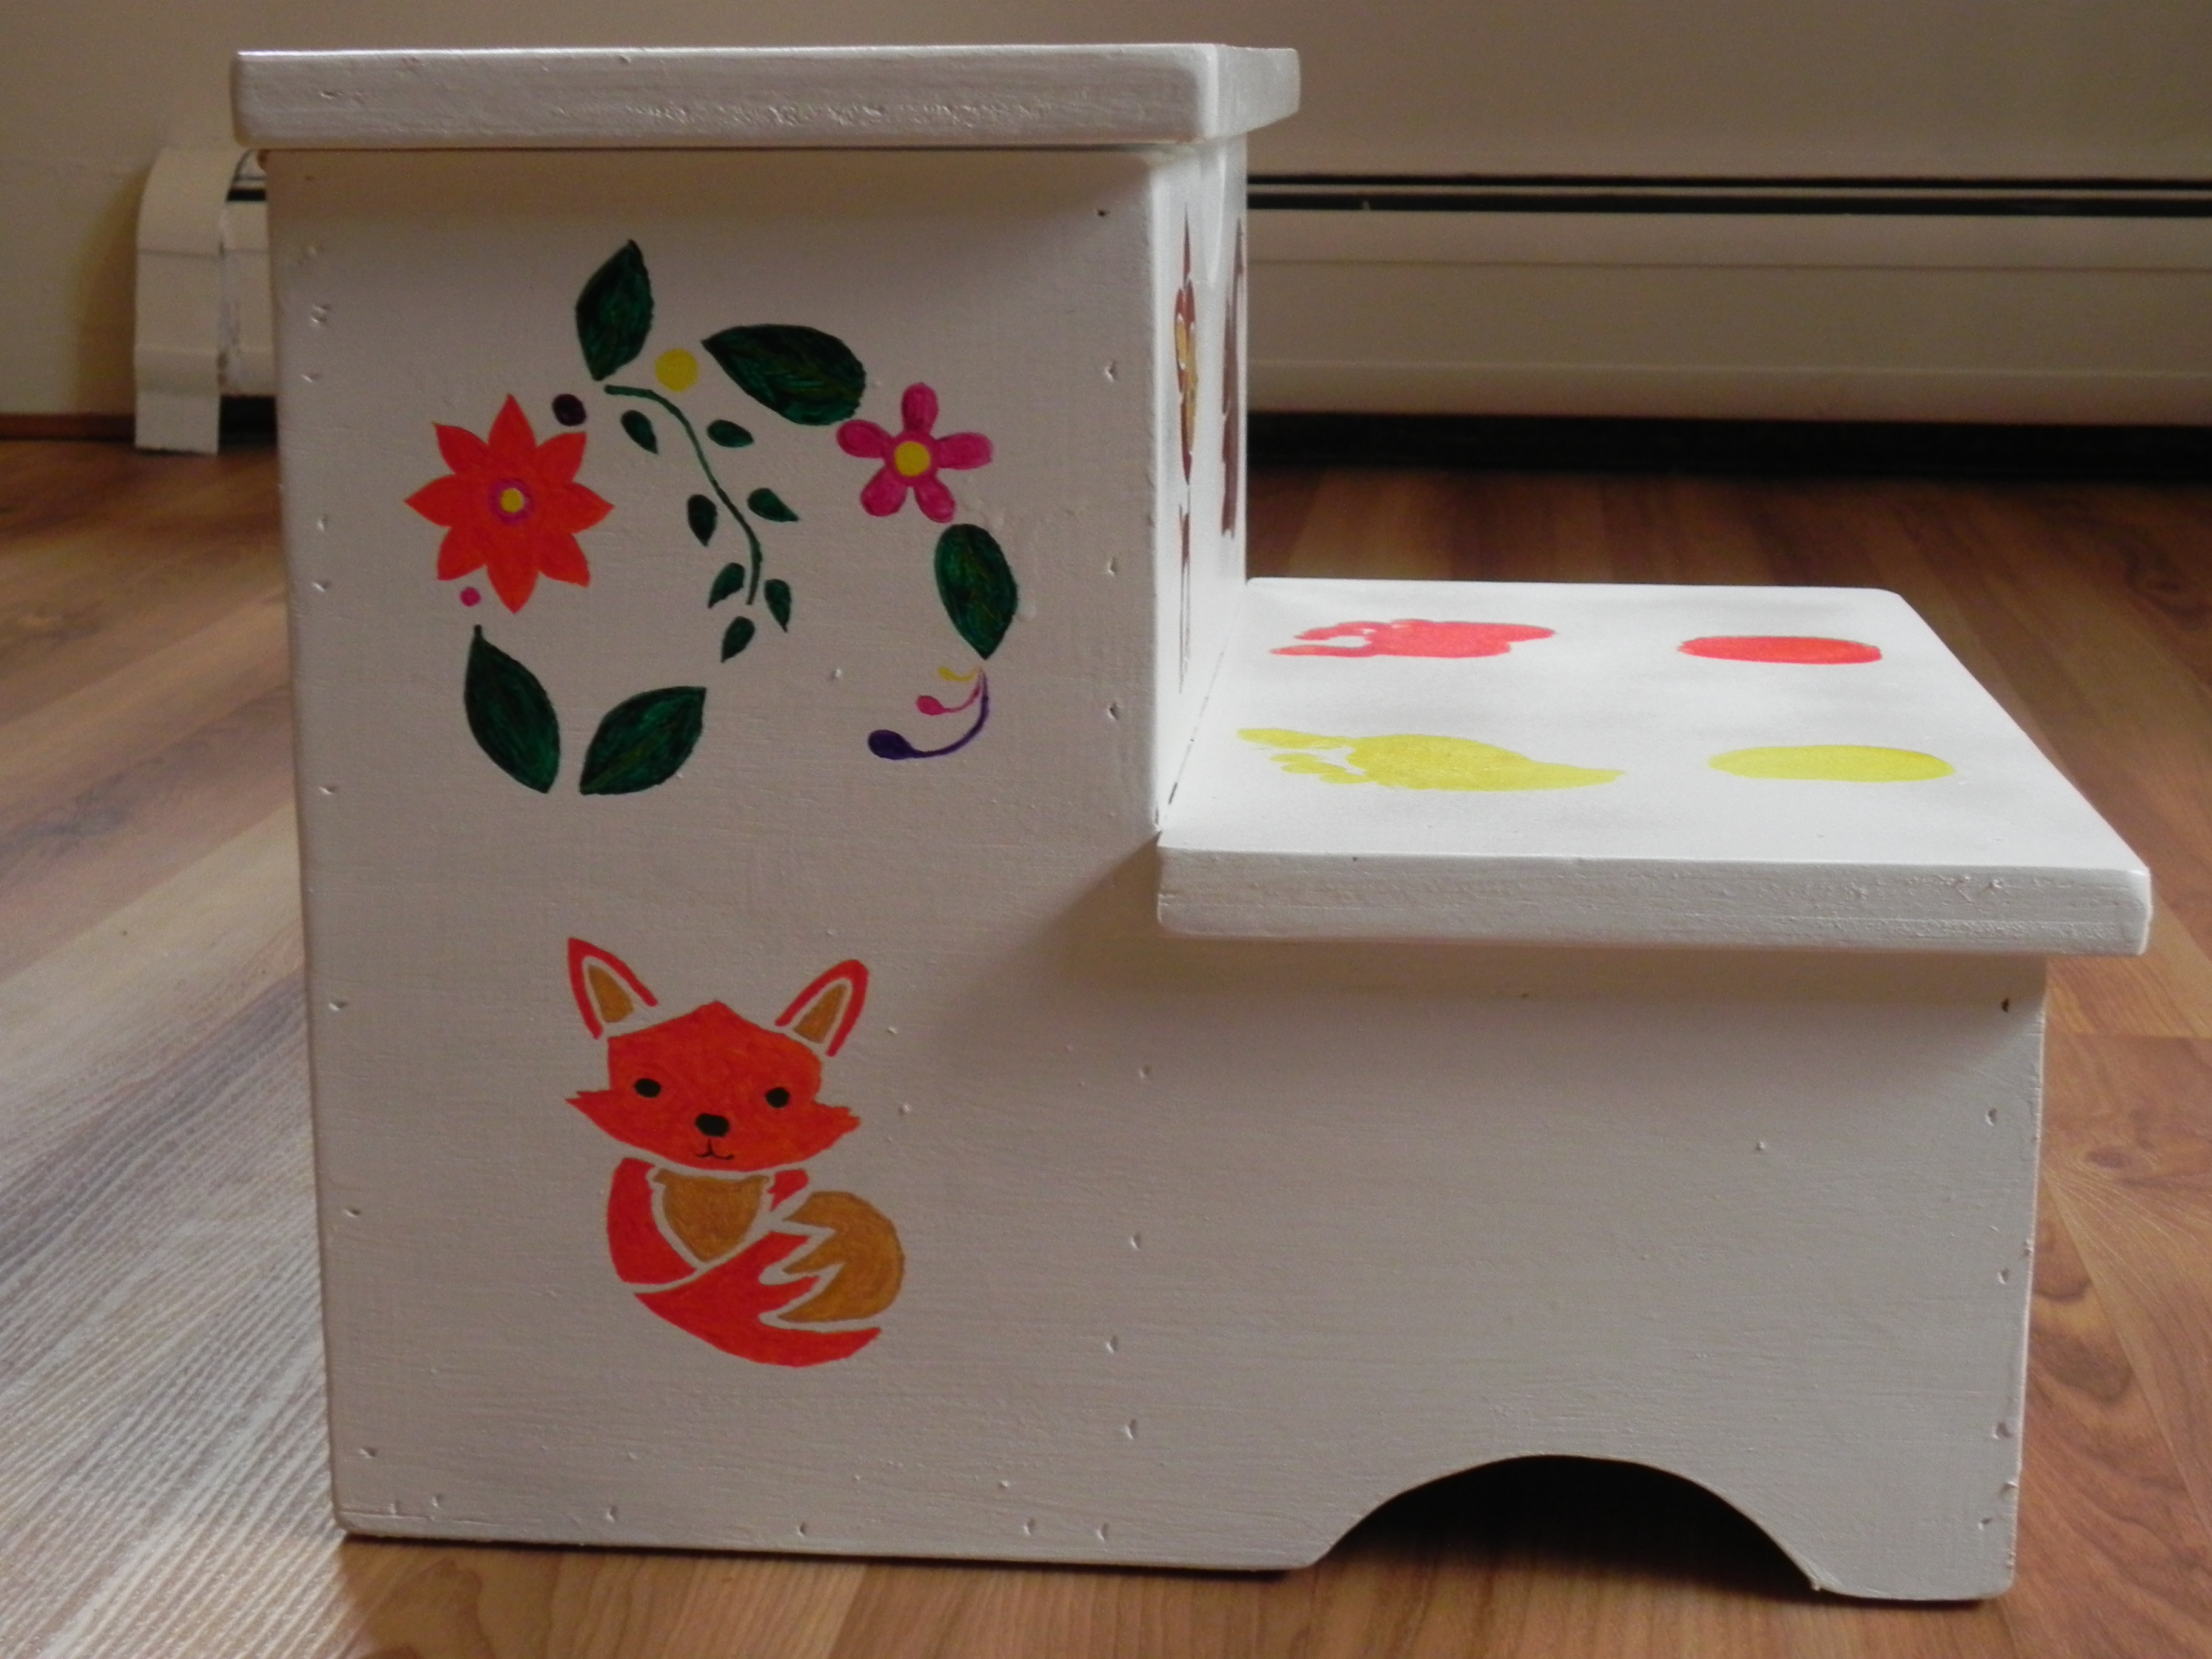
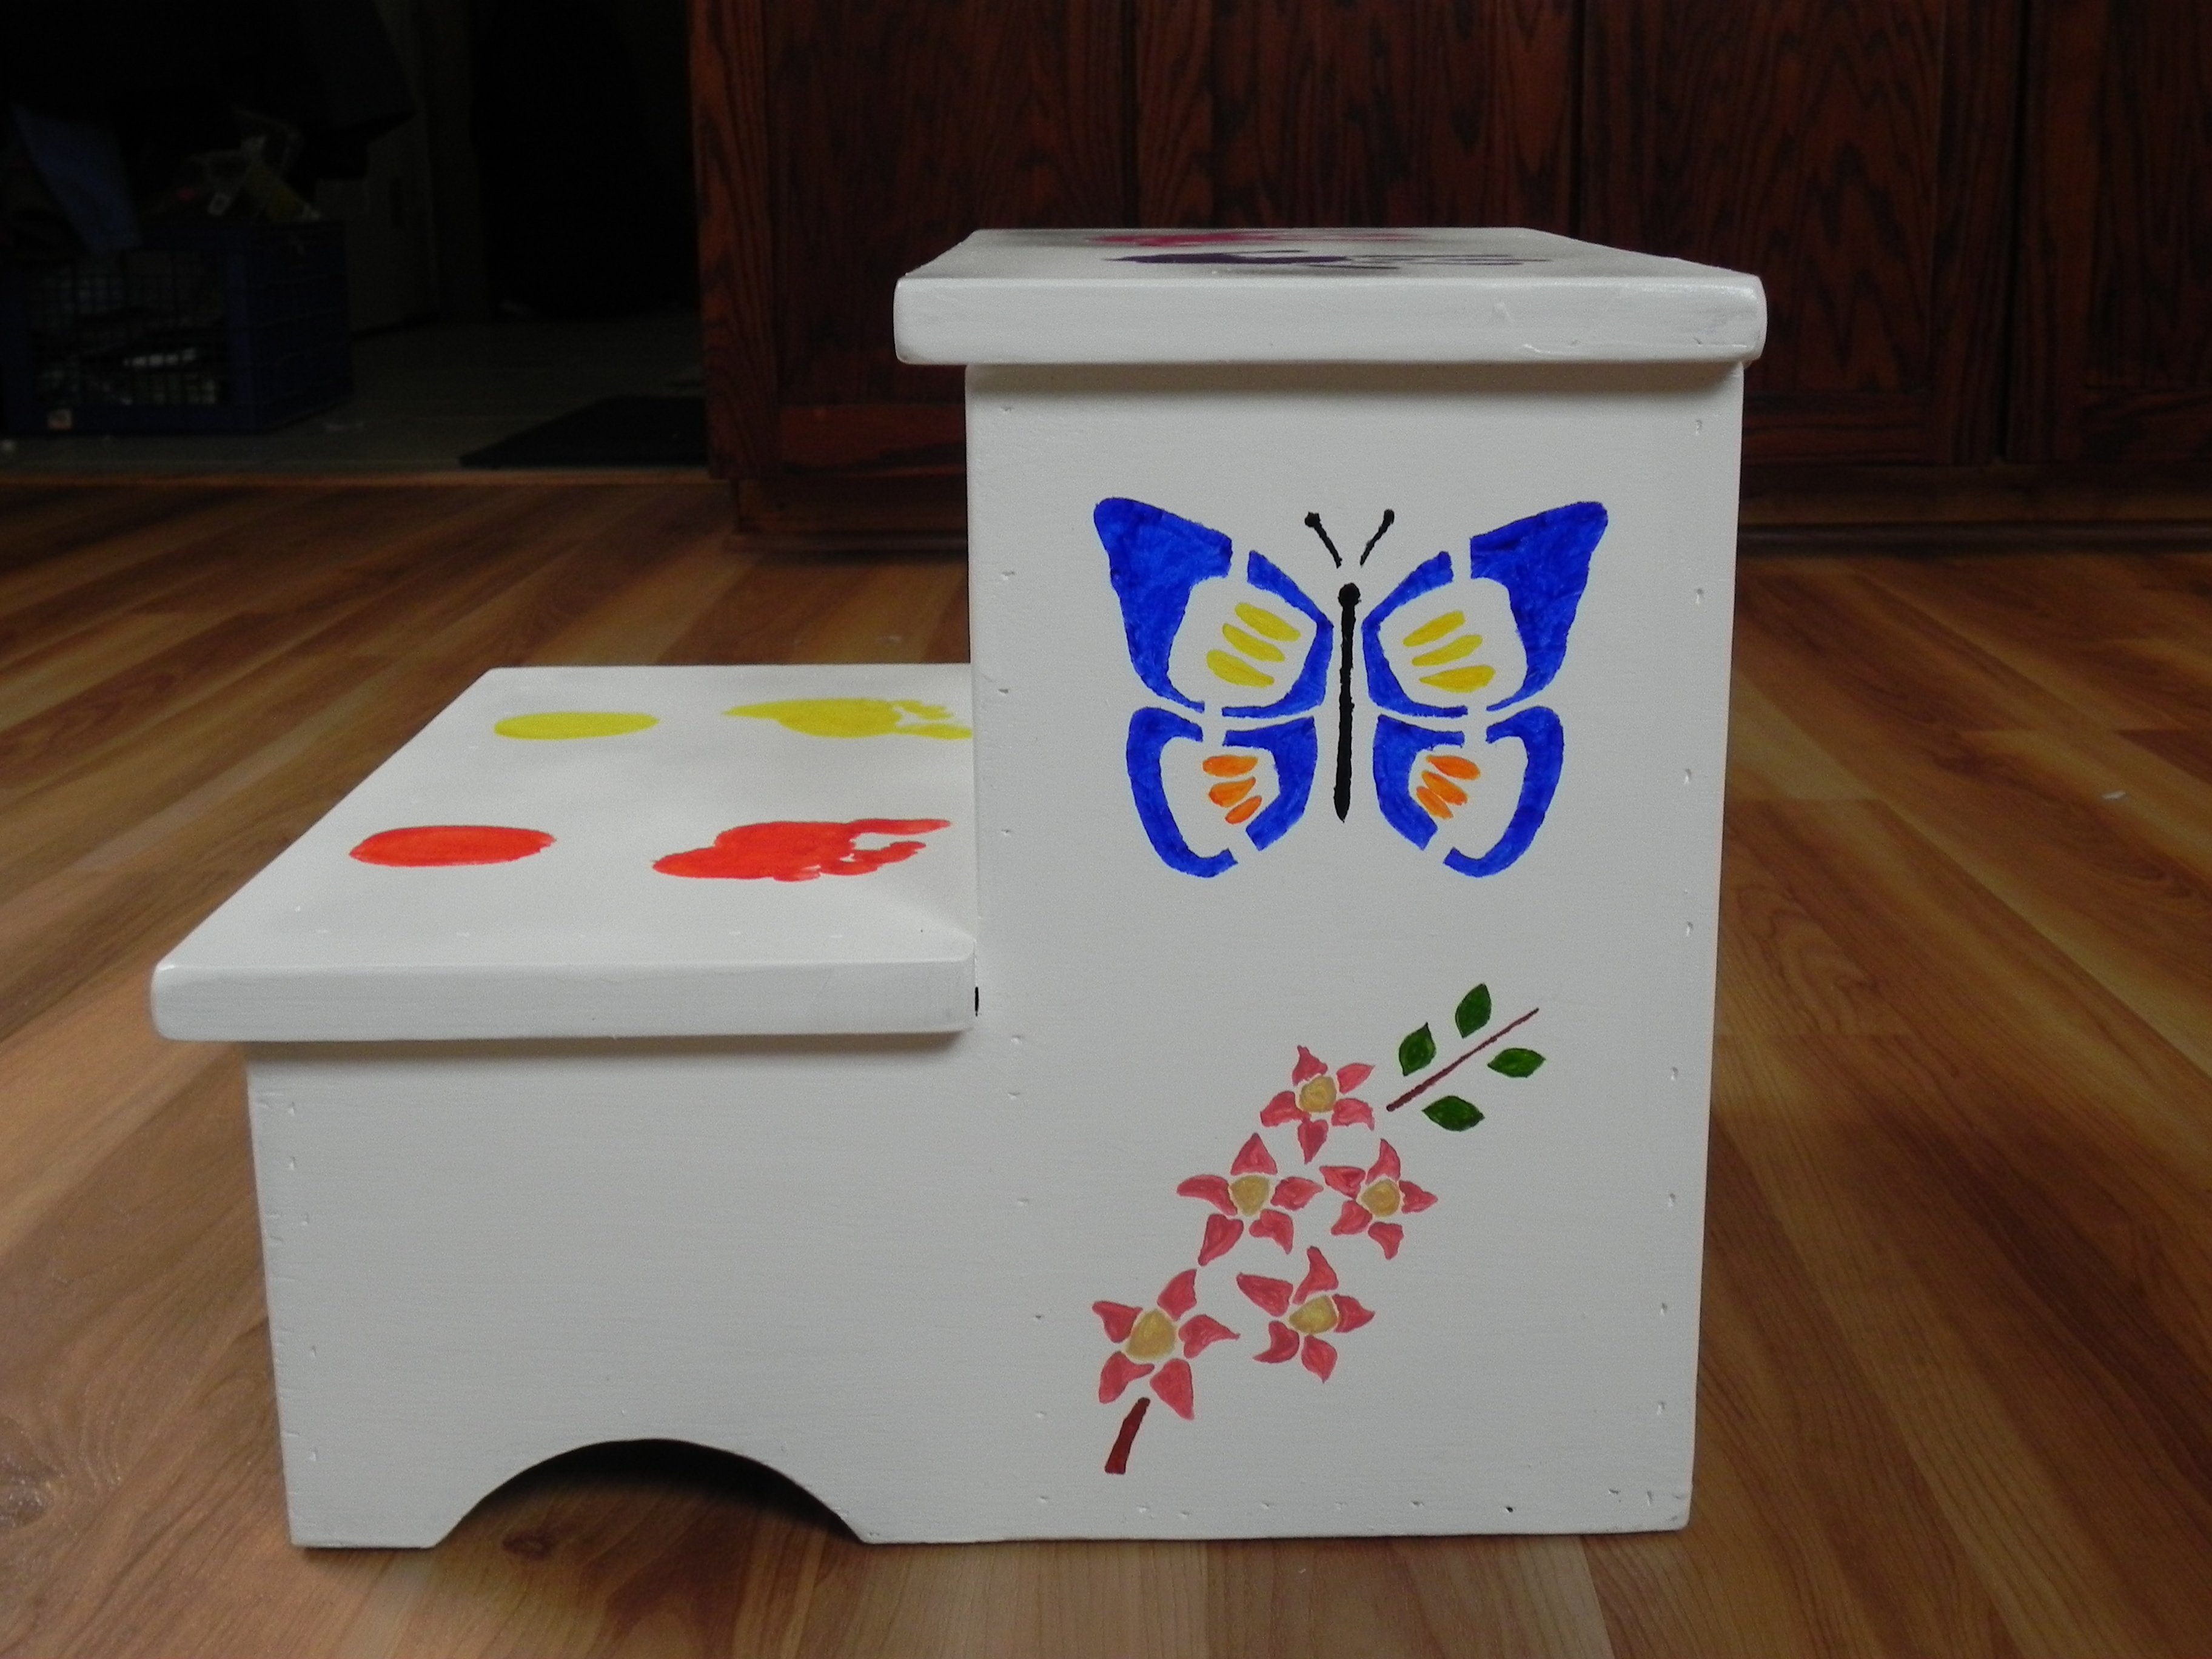
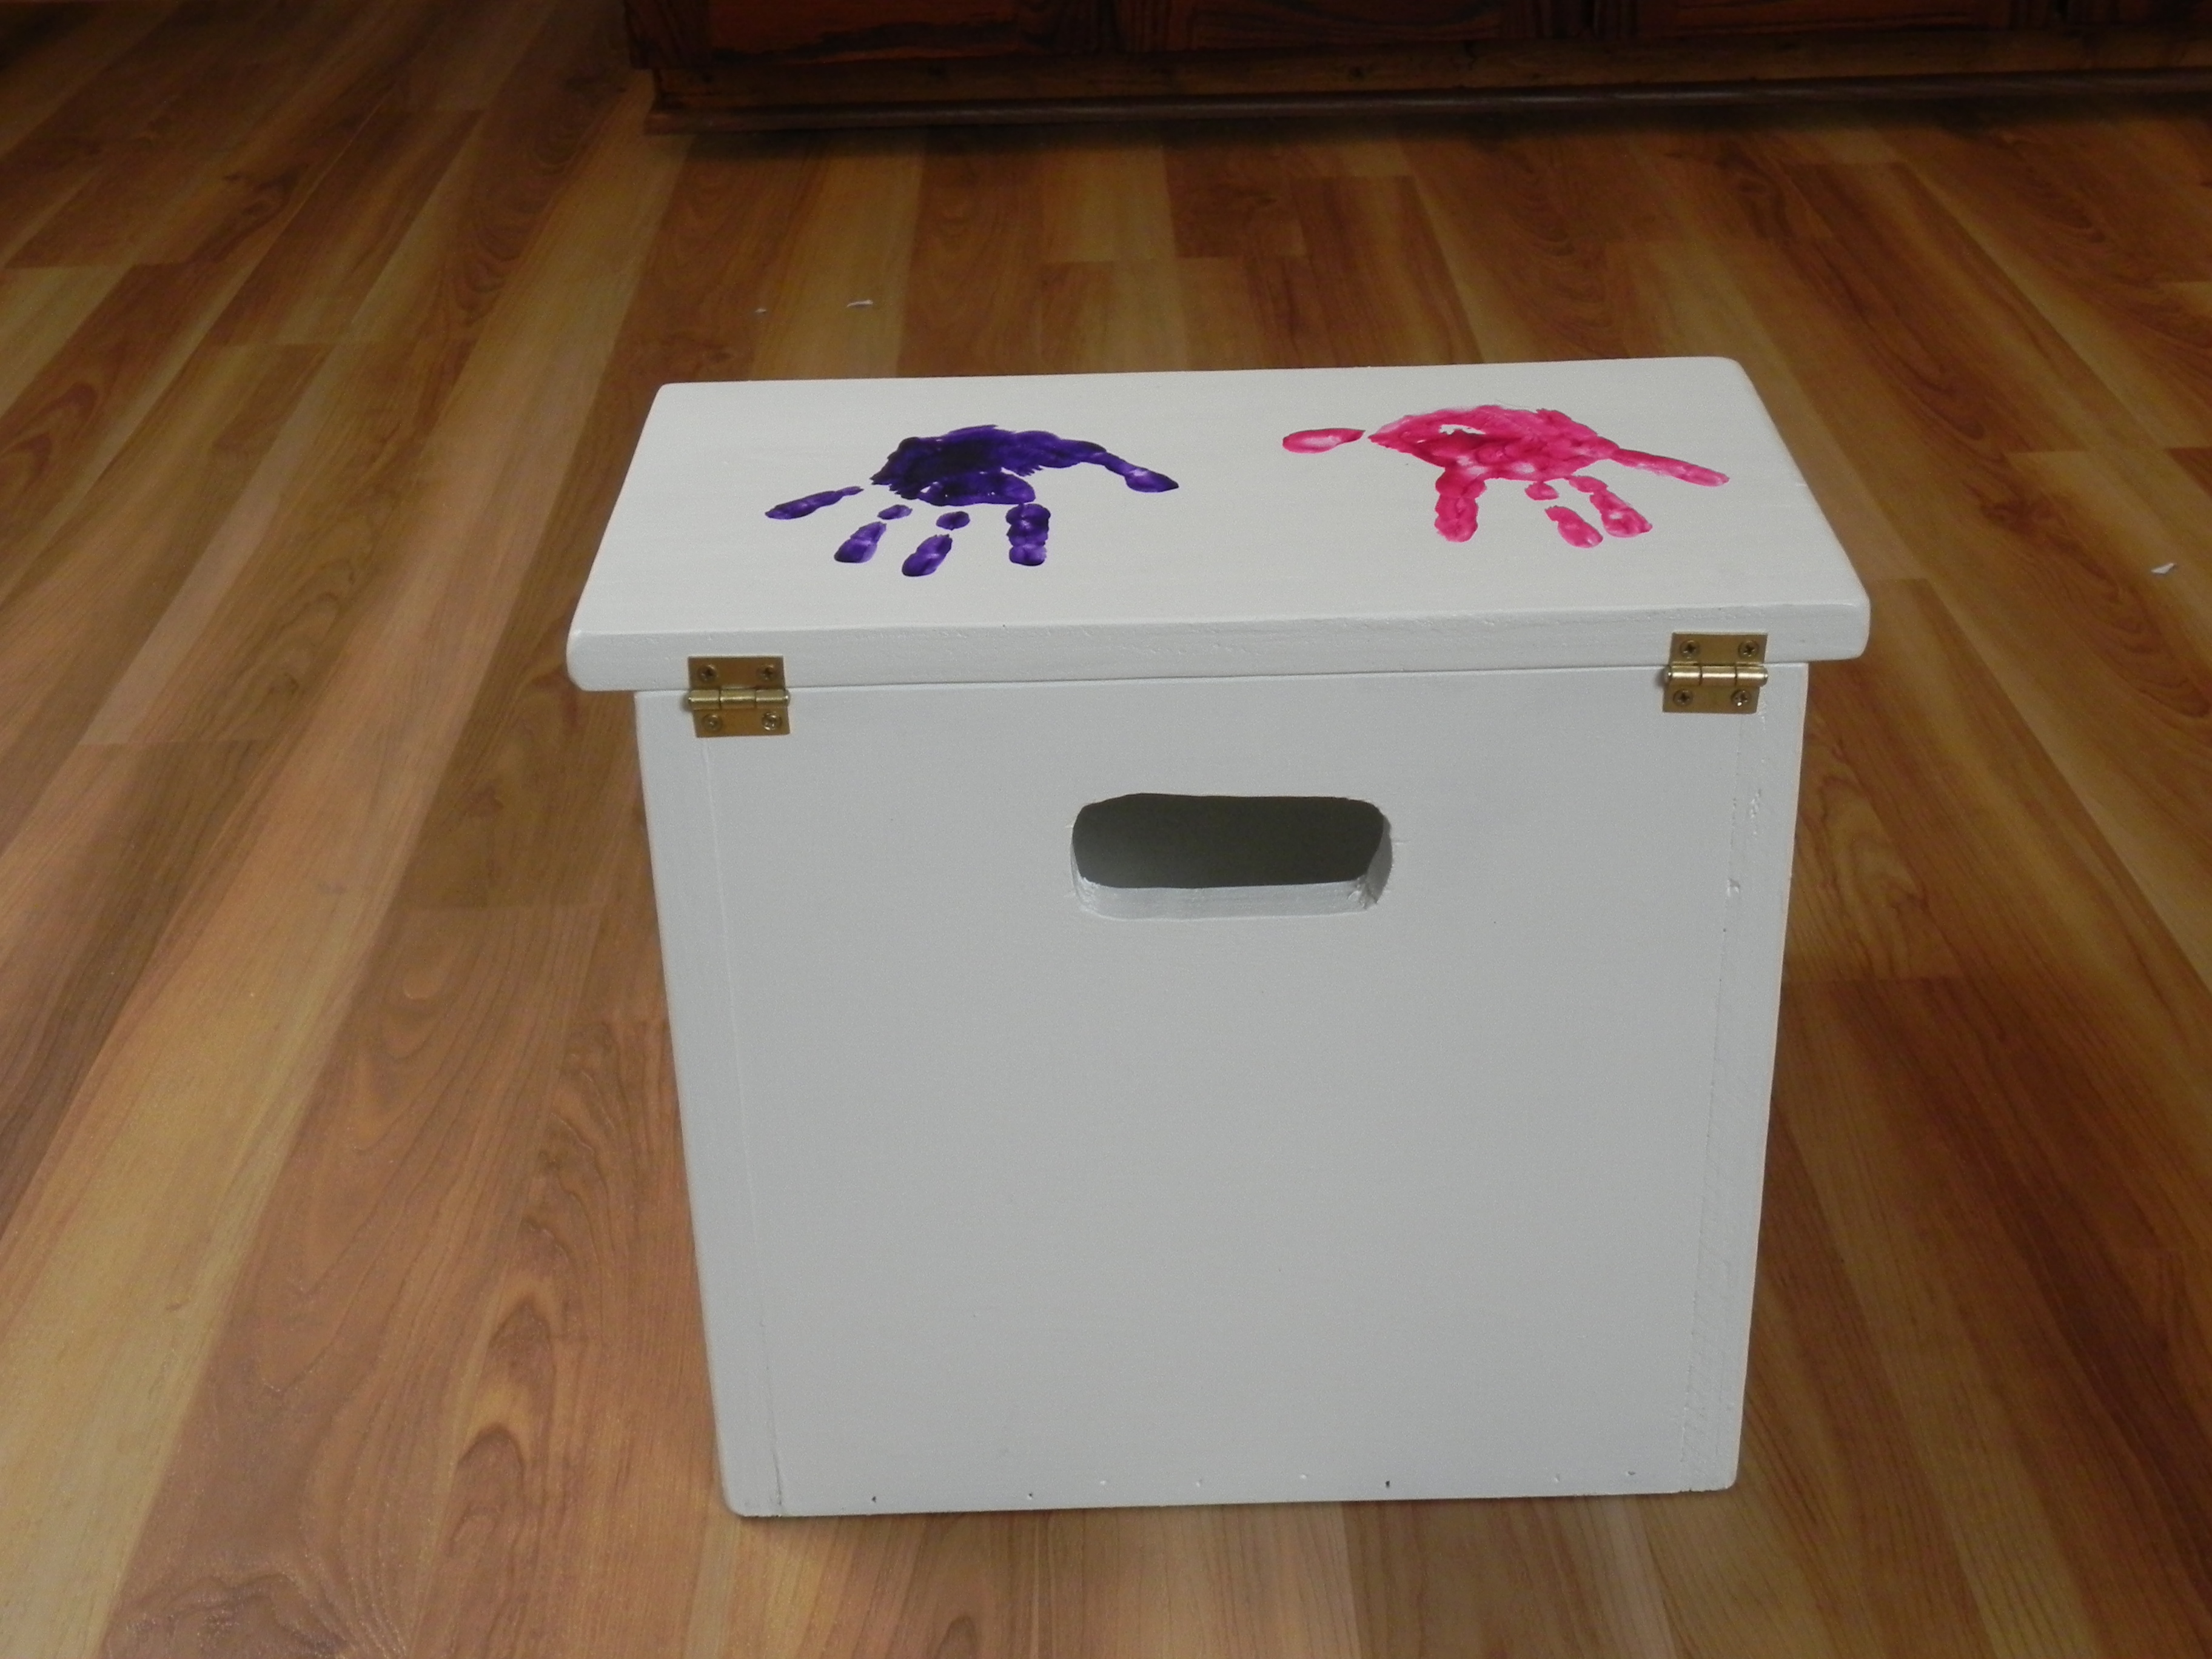
storage step stool
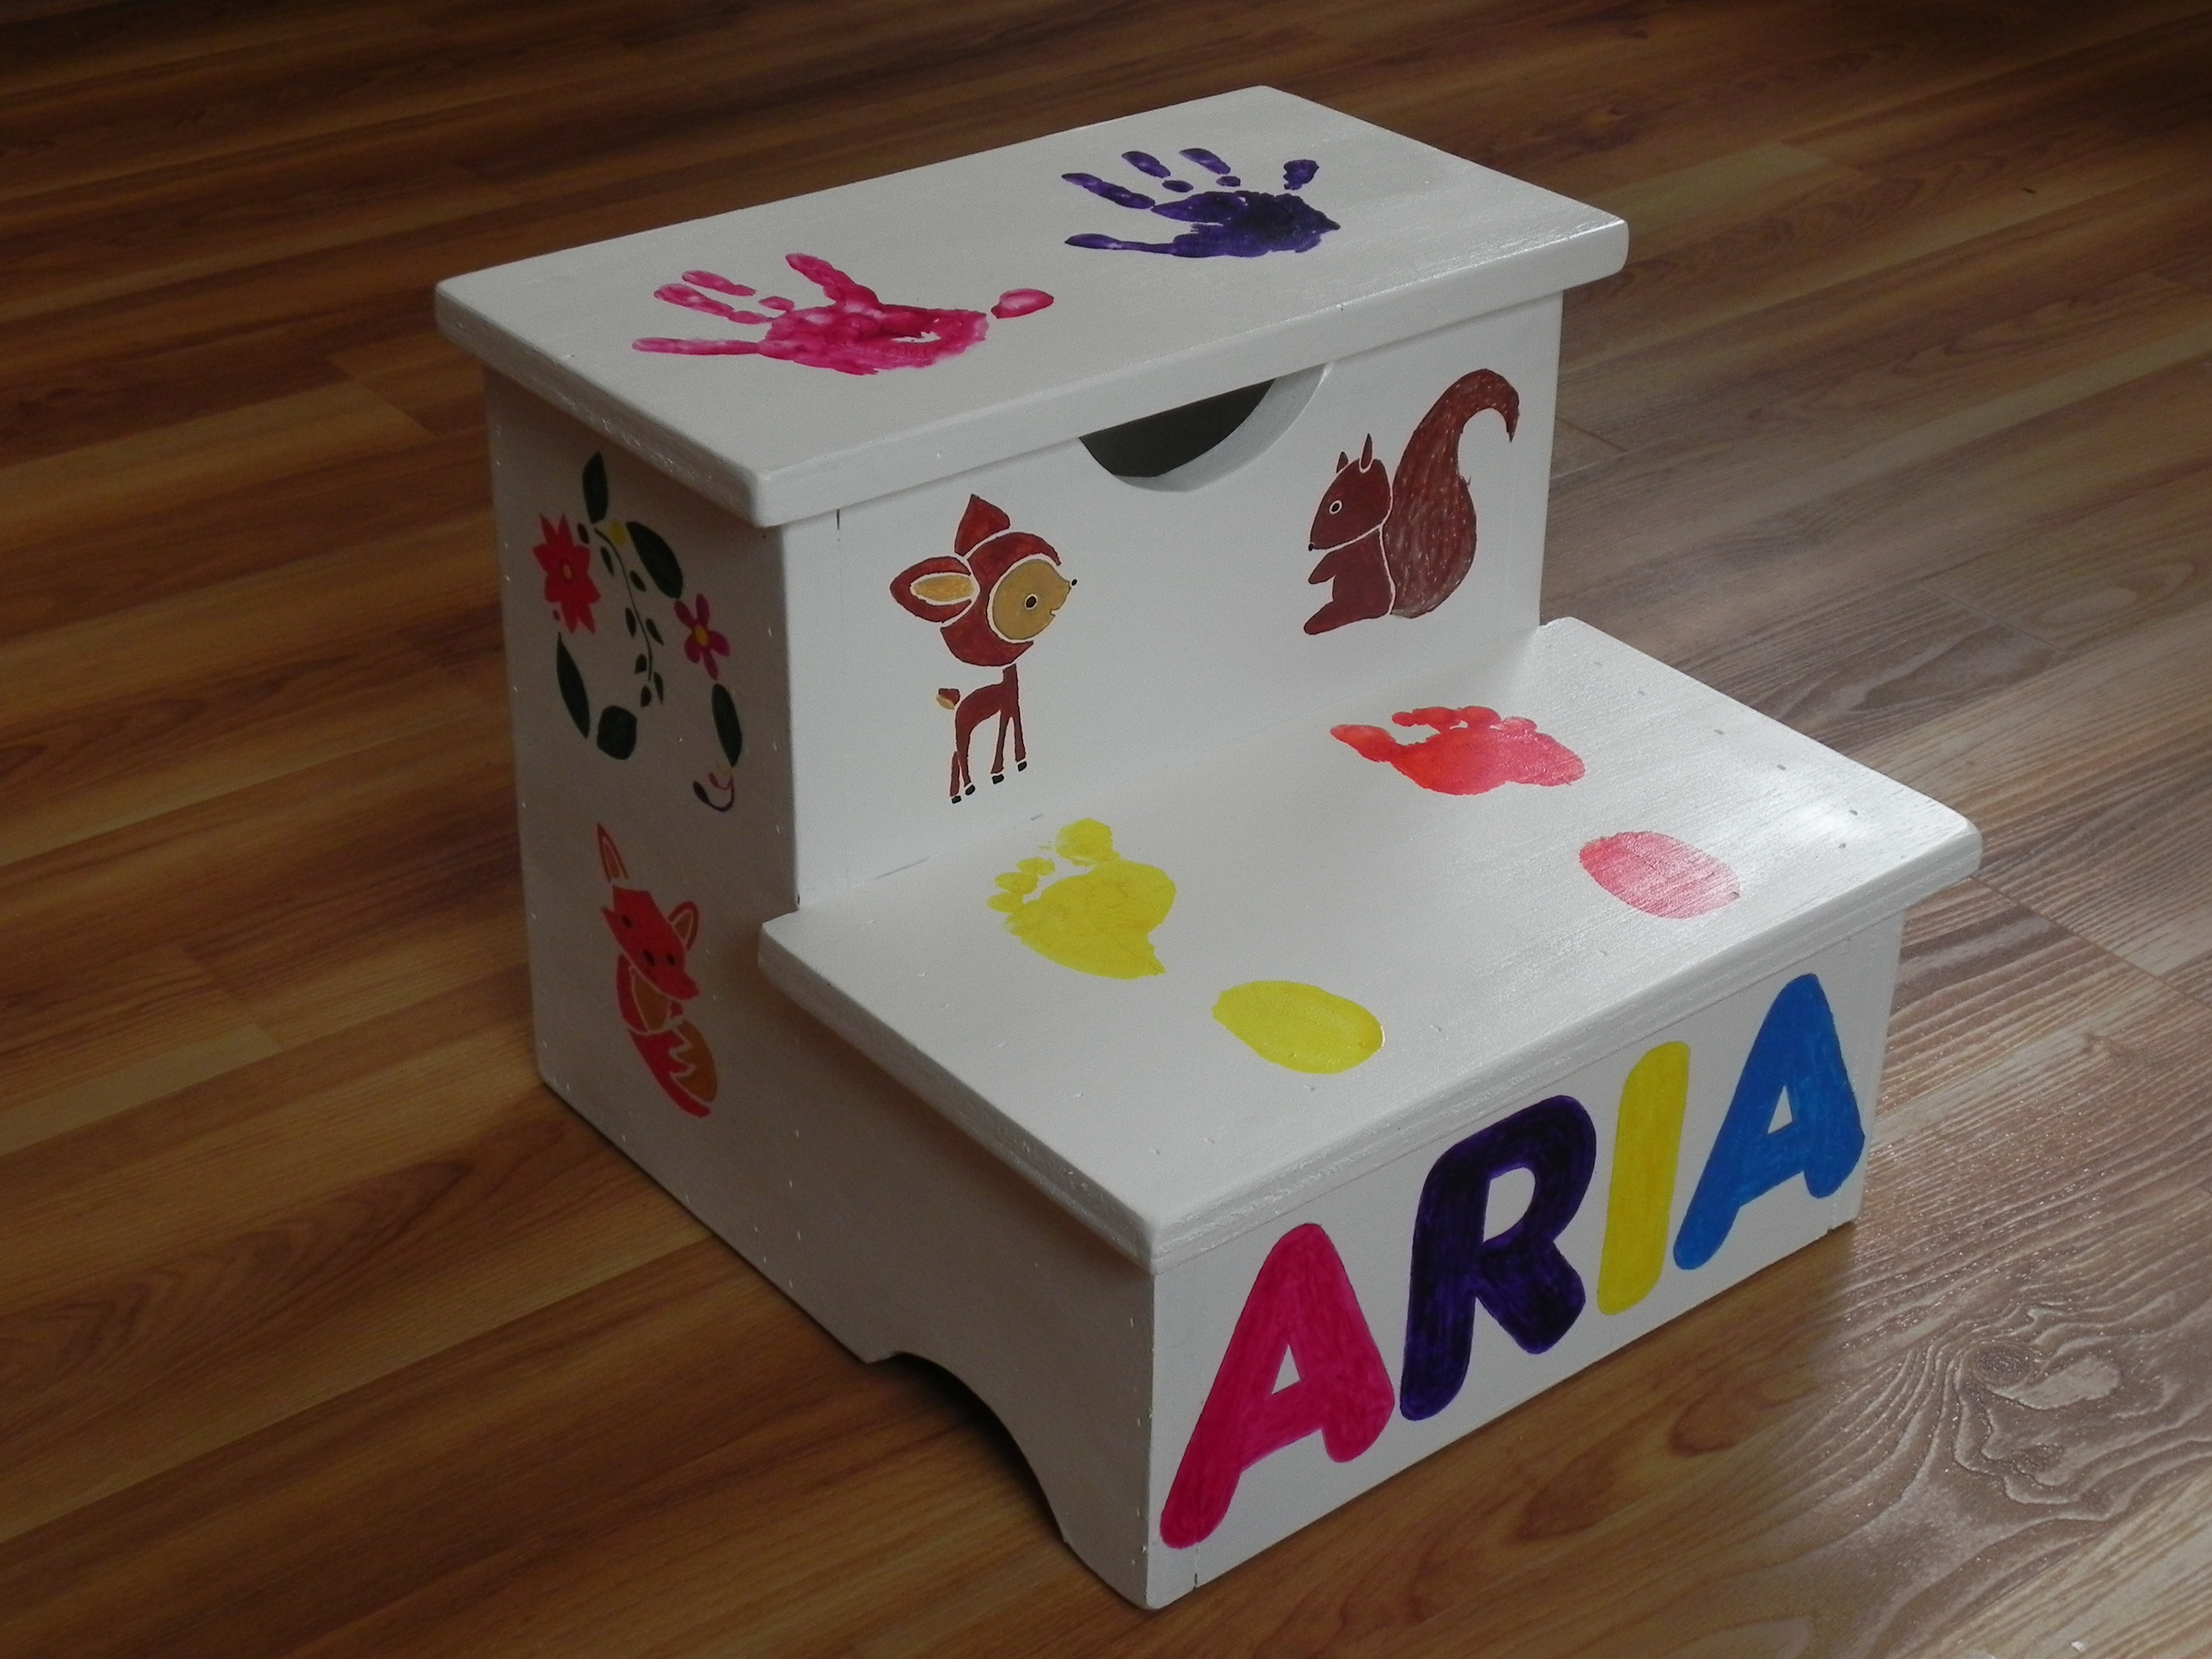
My little girl needed a step stool after building a modern height bathroom vanity. She was so excited to help with the painting. This was a very fast build. I spent more time painting than building. I used scrap 3/4" purebond plywood and had the paint on hand. I also used a spray lacquer to seal the paint. I used glue and my brad nailer, but will also add screws for extra support now that it is painted. I used a CD to trace the curves and the edge of a 2x4 to trace the handle. Thank you for another great plan!
Built from Plan(s)
Estimated Cost
$0 for me as I used scrap wood and leftover paint. I even had the small hinges from a previous project.
Estimated Time Investment
Day Project (6-9 Hours)
Finish Used
Behr semi gloss white, acrylic paint, gloss lacquer spray
Recommended Skill Level
Beginner
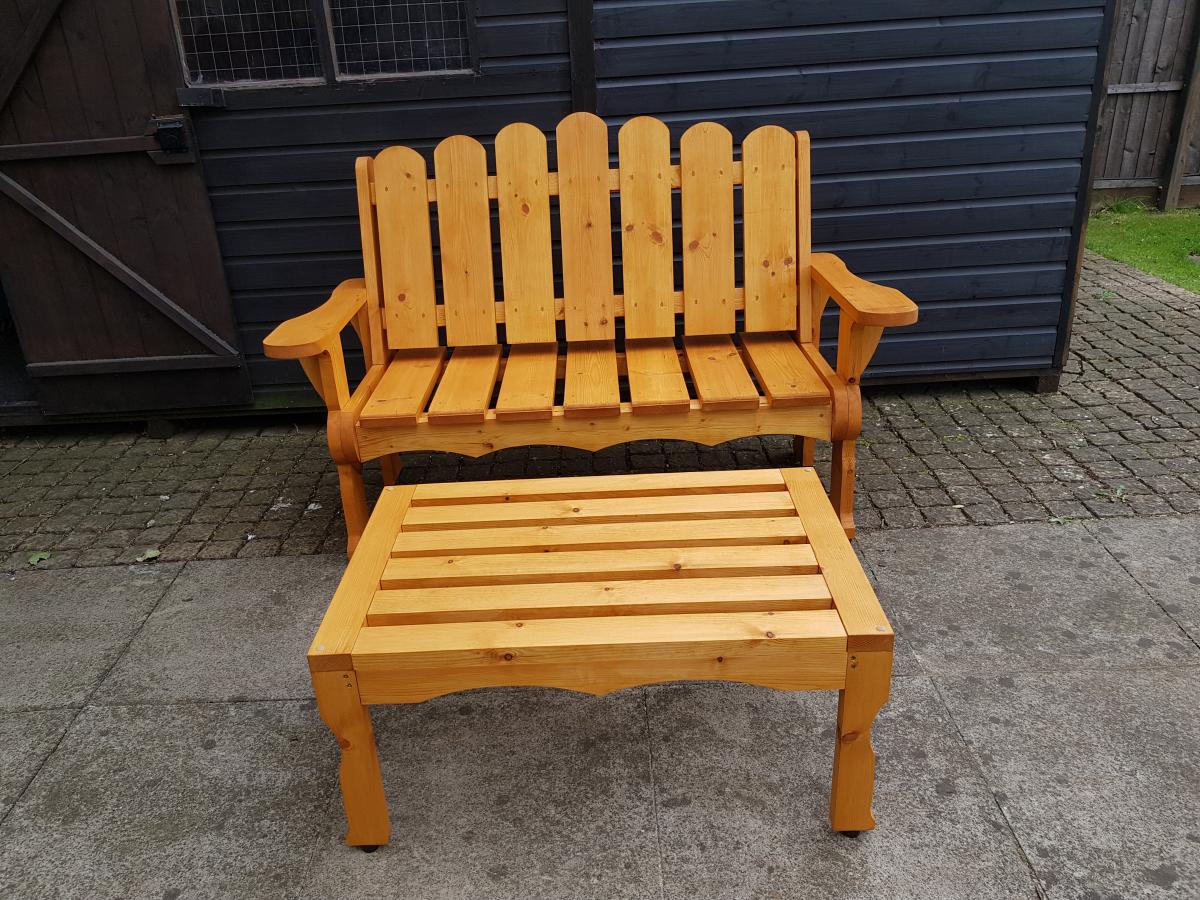
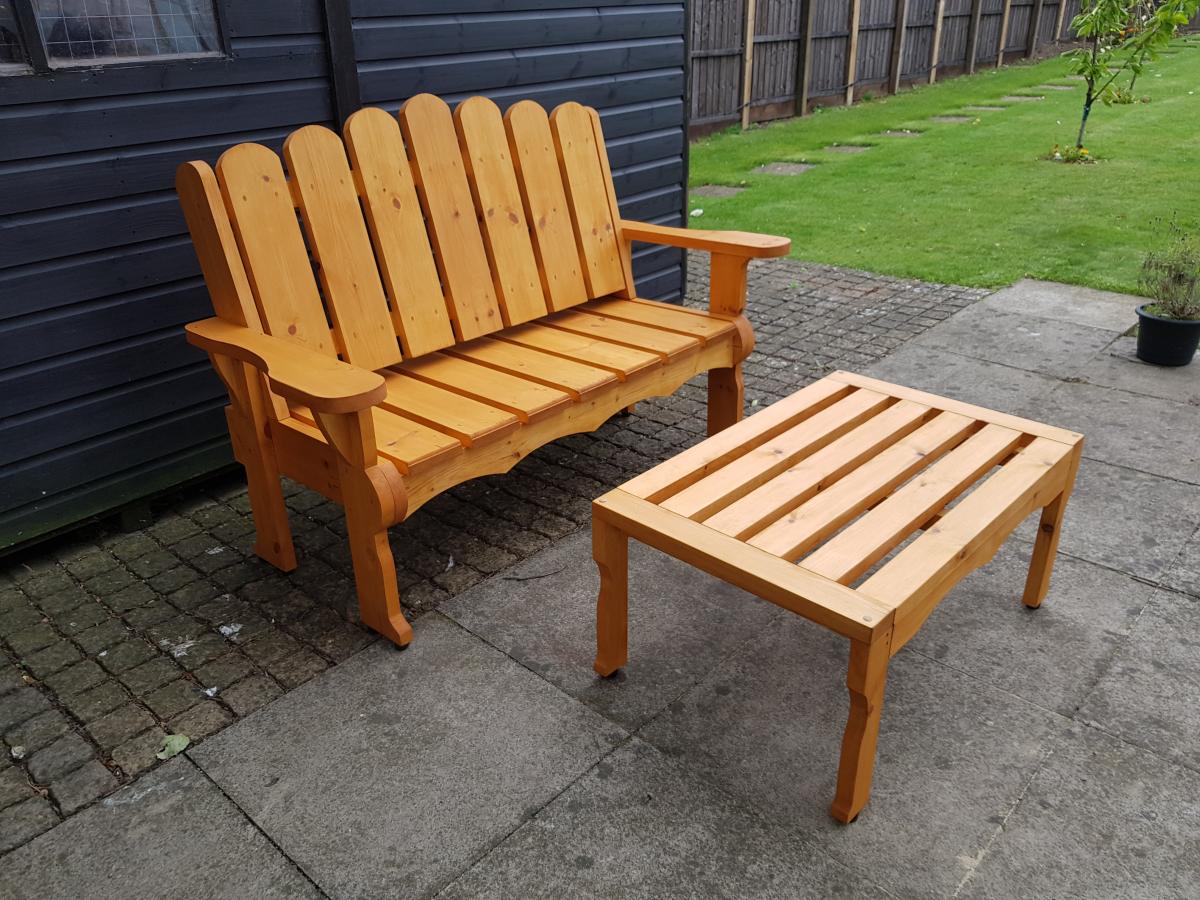
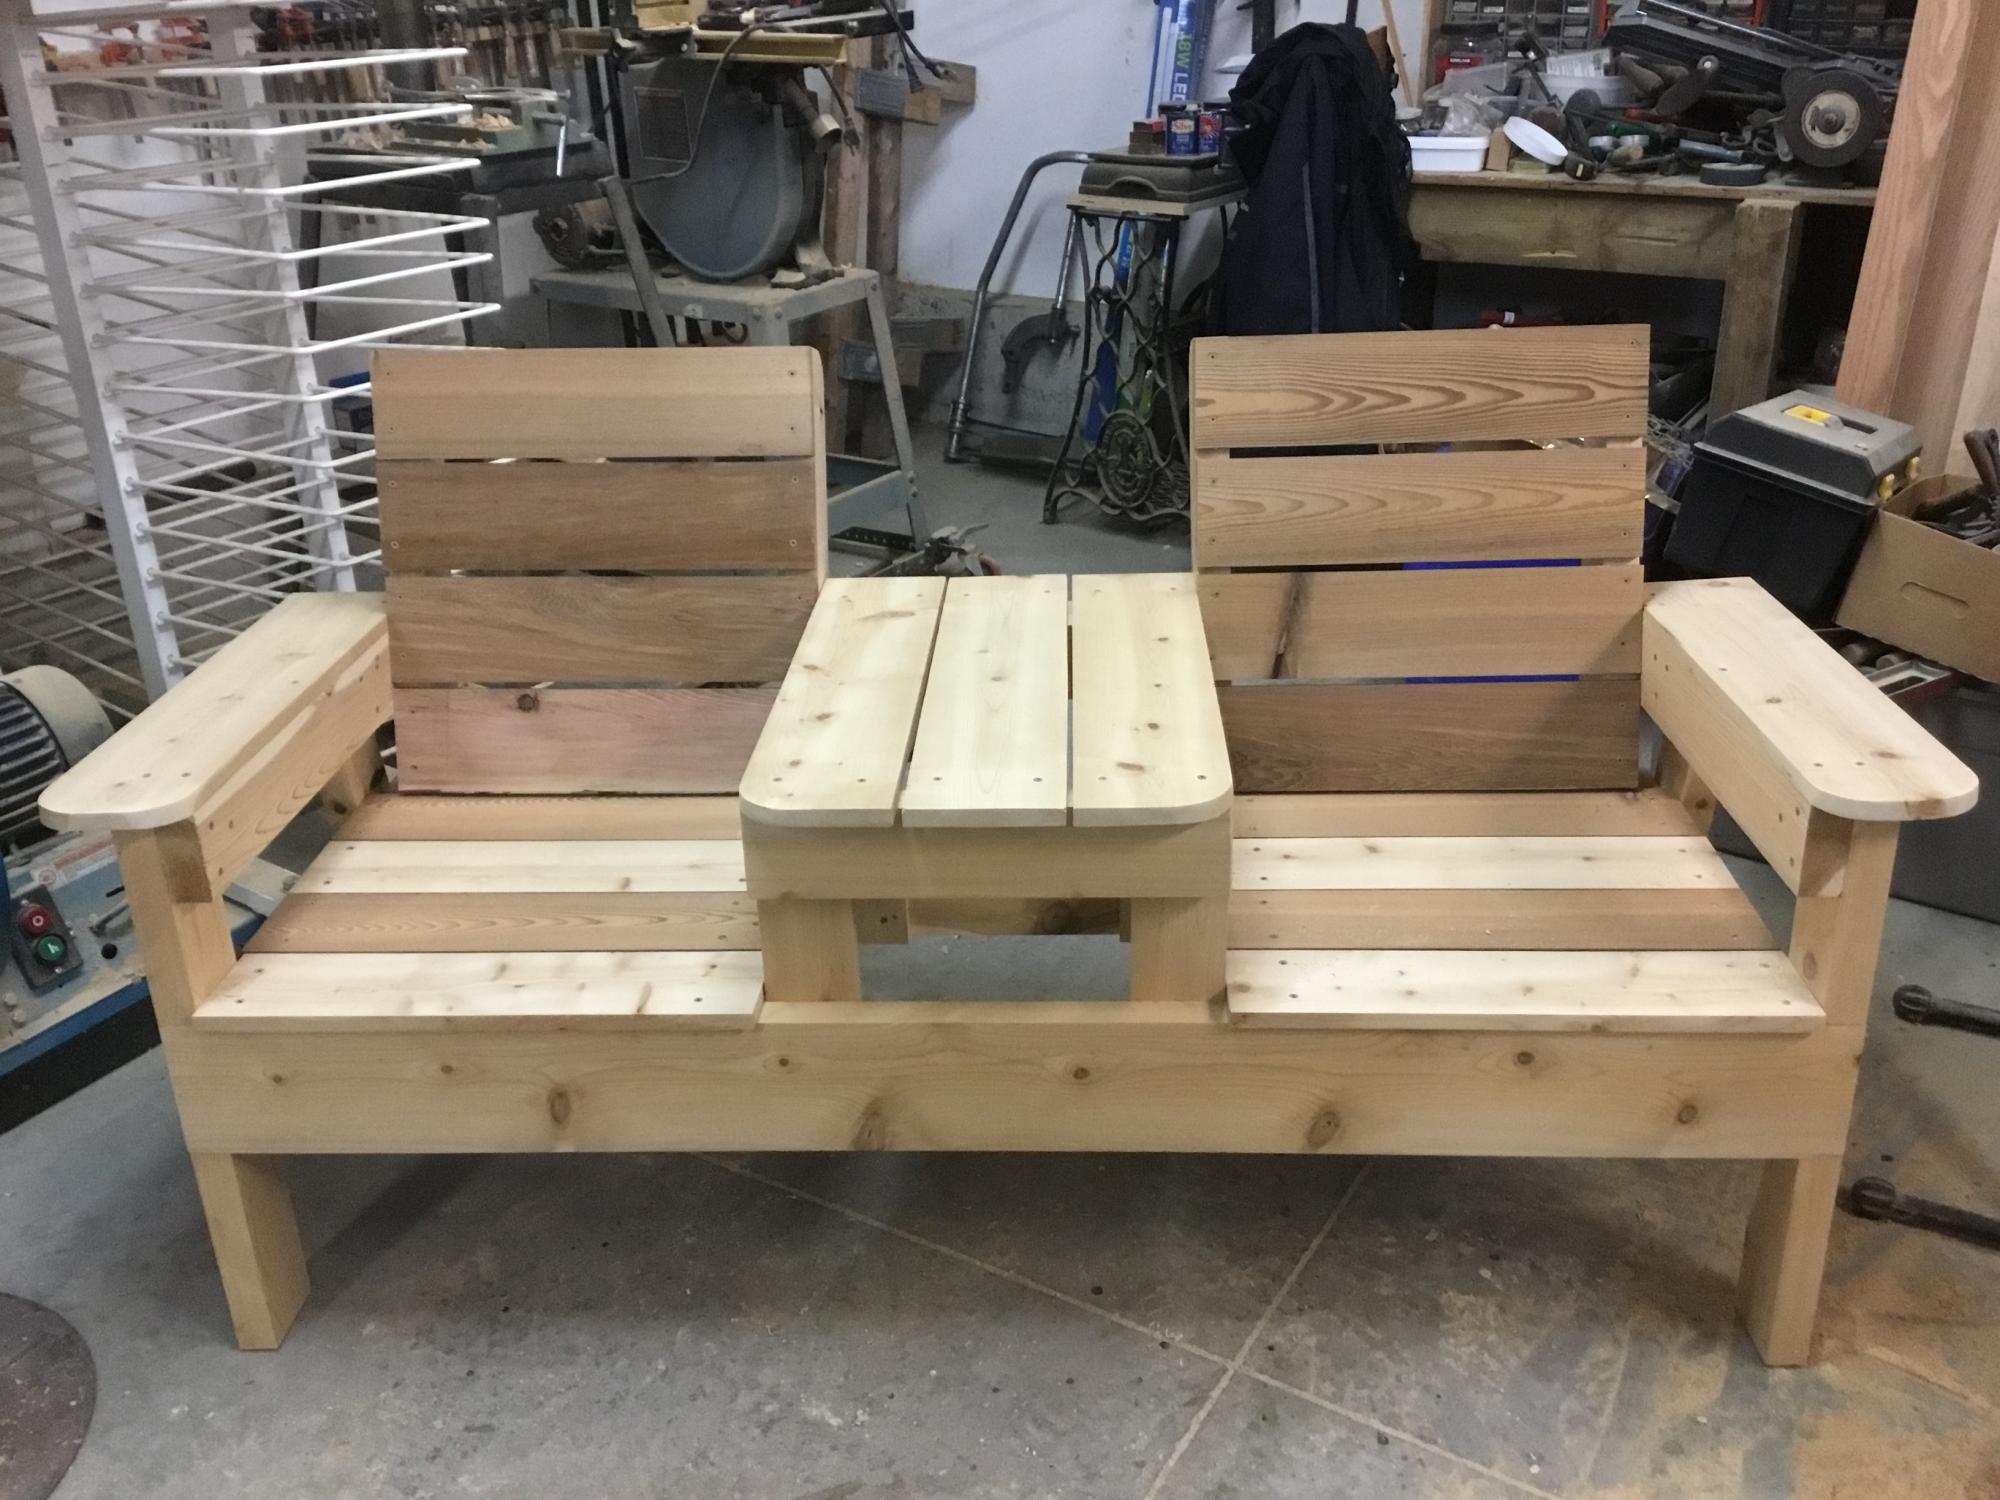
Garden bench and table
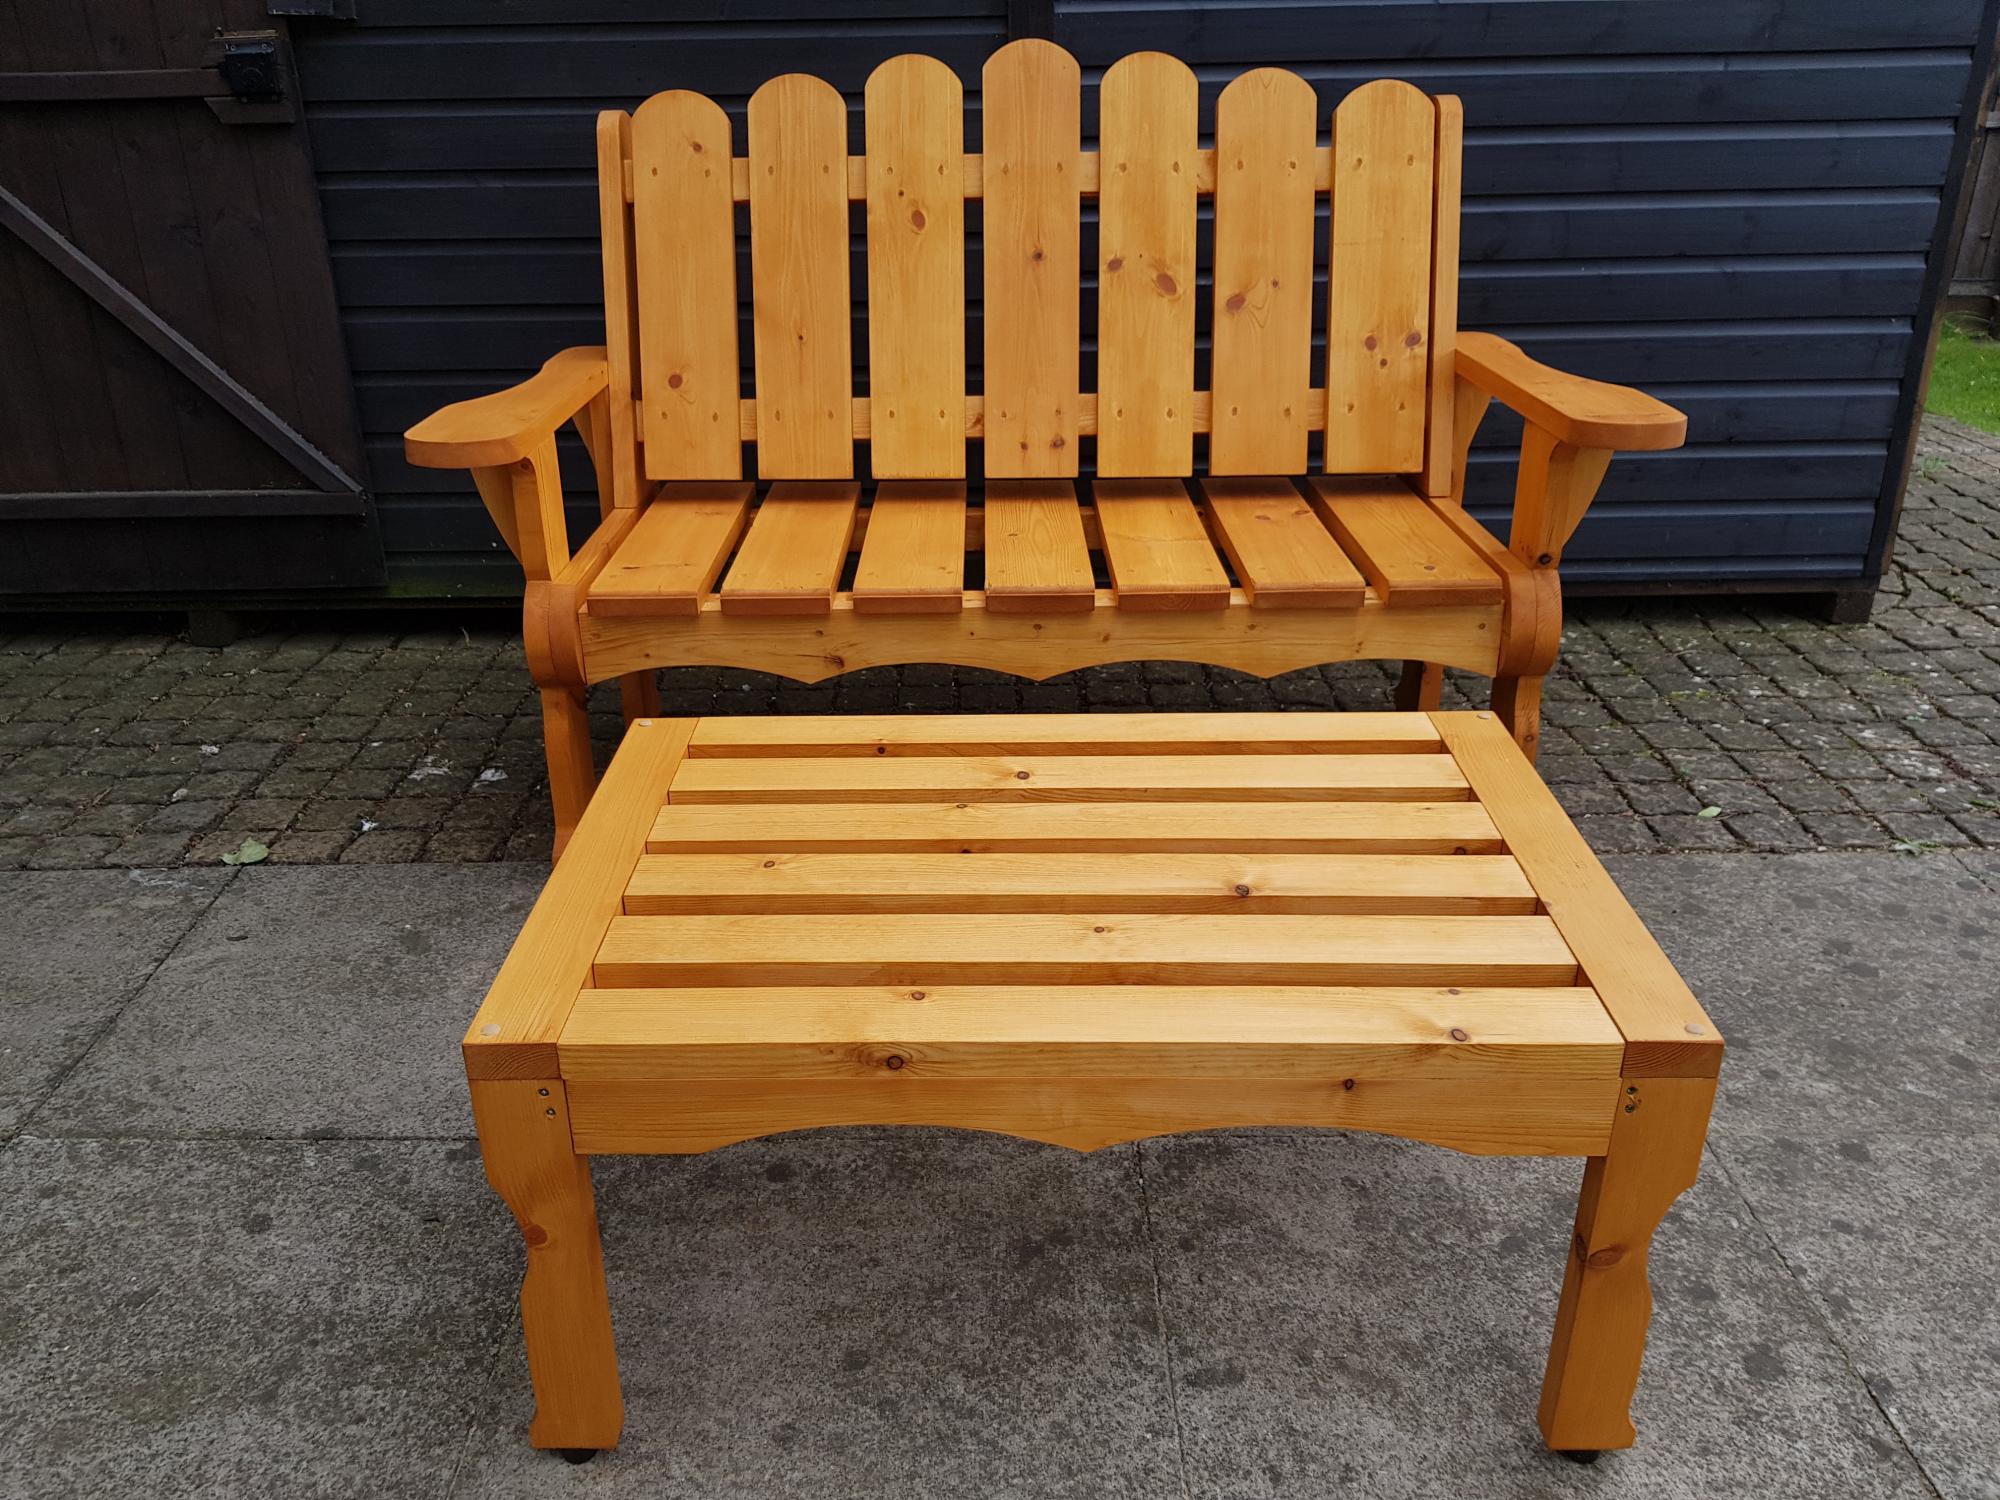
This bench and table are based on Anna's plans, which I modified slightly to make them more distinctive. Hope you like them. Thank you Anna for your generosity.
Estimated Cost
About £50.
Estimated Time Investment
Weekend Project (10-20 Hours)
Finish Used
2xcoats of Sovereign Building Timber treatment, Brown, applied with paint brush and roller.
Recommended Skill Level
Beginner
Tryde Media Console
I. FINALLY. FINISHED. IT!!! It has quite a few mistakes, however, I know what I will do differently on the next project. This was my first project to make almost completly on my own (husband cut the plywood for me). I am hooked!
Built from Plan(s)
Estimated Time Investment
Week Long Project (20 Hours or More)
Finish Used
Varathane Espresso - wiped off right after applying. Only used one coat. I am going to put a Danish Oil finish on before moving it into the house.
Recommended Skill Level
Beginner
Comments
Wed, 02/06/2013 - 19:55
Thank you! I have learned so
Thank you! I have learned so much building this...I am trying to decide what to build next.

Wed, 02/06/2013 - 21:21
I know what you mean! I have
I know what you mean! I have a whole list of projects I want to do. Trying to decide which to do next is the hardest part.
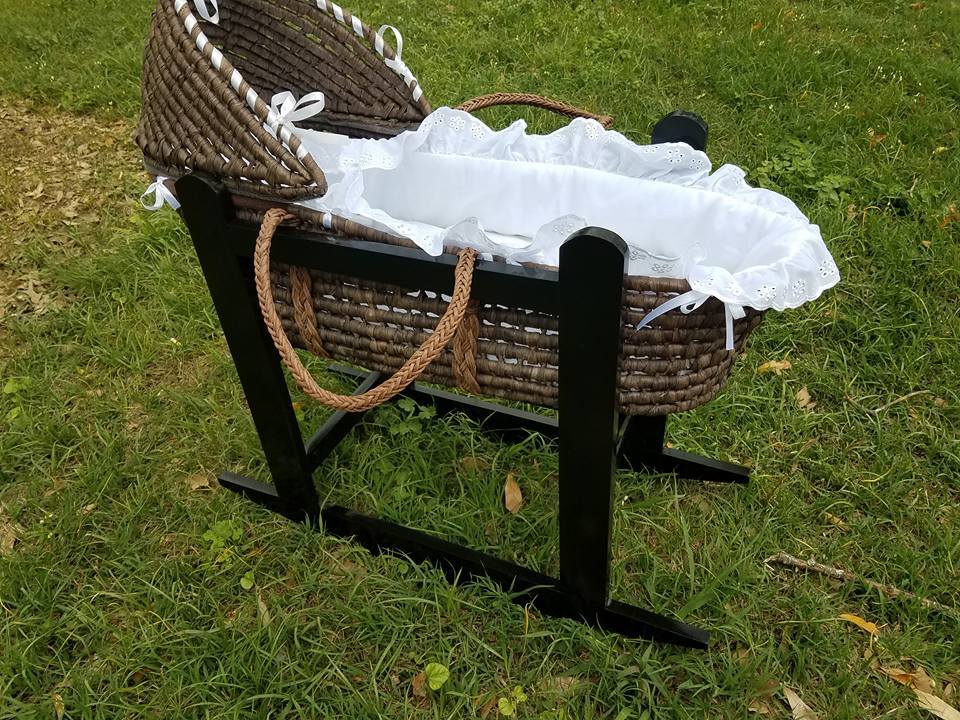
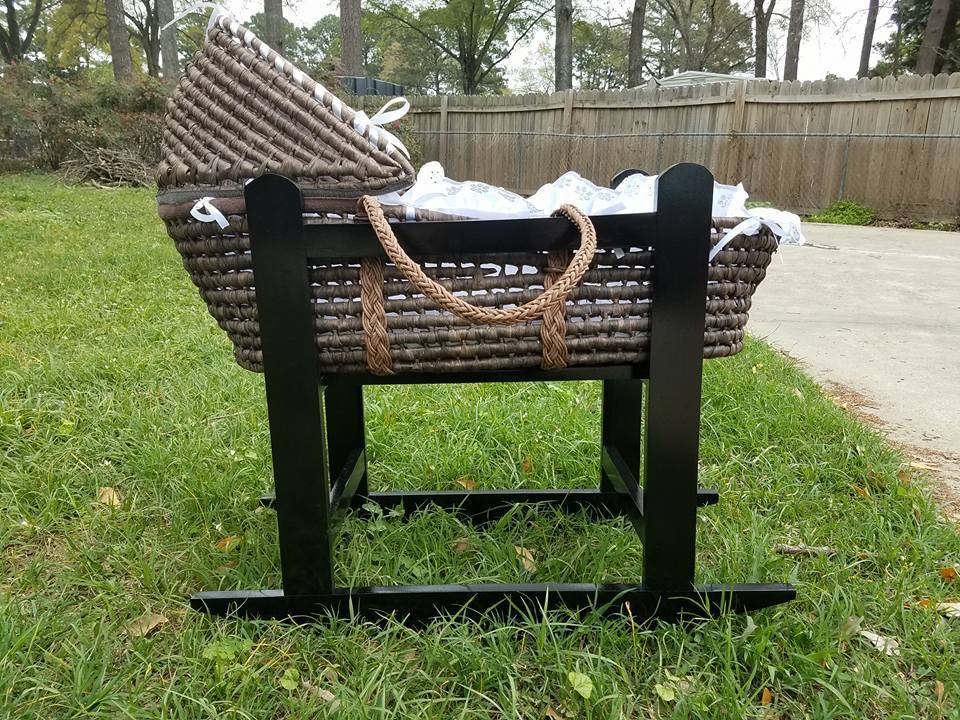
Moses Cradle
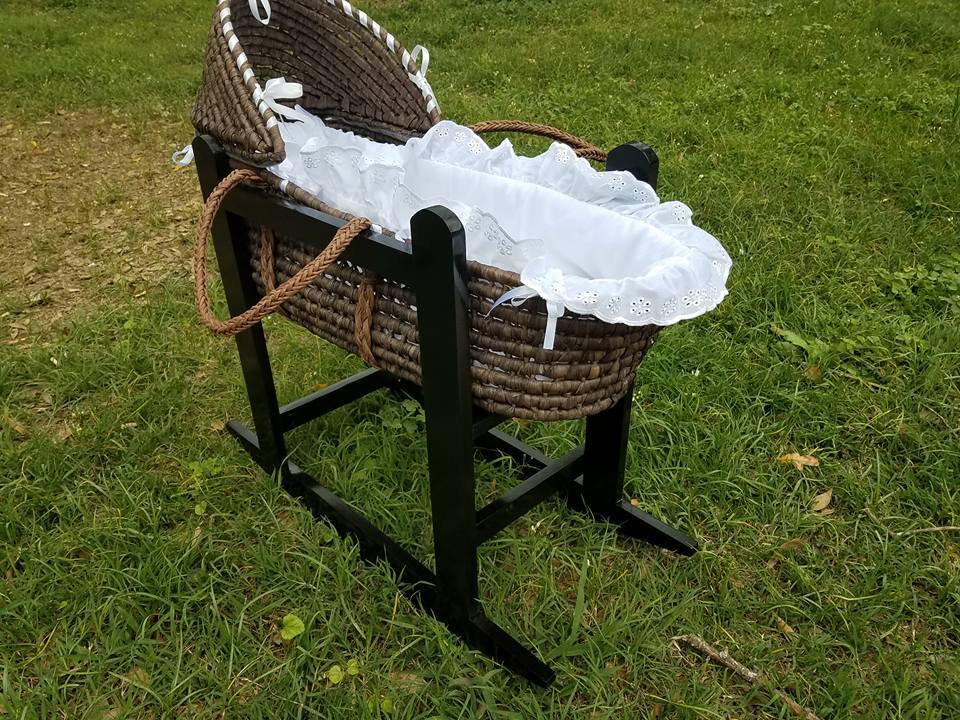
Moses Cradle, easy project. Used a rocker from an old rocking chair and traced it. Finish is Minwax Polyshade in Espresso. Sprayed using my $12 Harbor Freight sprayer.
Made as a baby shower gift. It was well received!
Built from Plan(s)
Estimated Cost
About $15
Estimated Time Investment
Afternoon Project (3-6 Hours)
Finish Used
Minwax Polyshade in Espresso
Recommended Skill Level
Starter Project
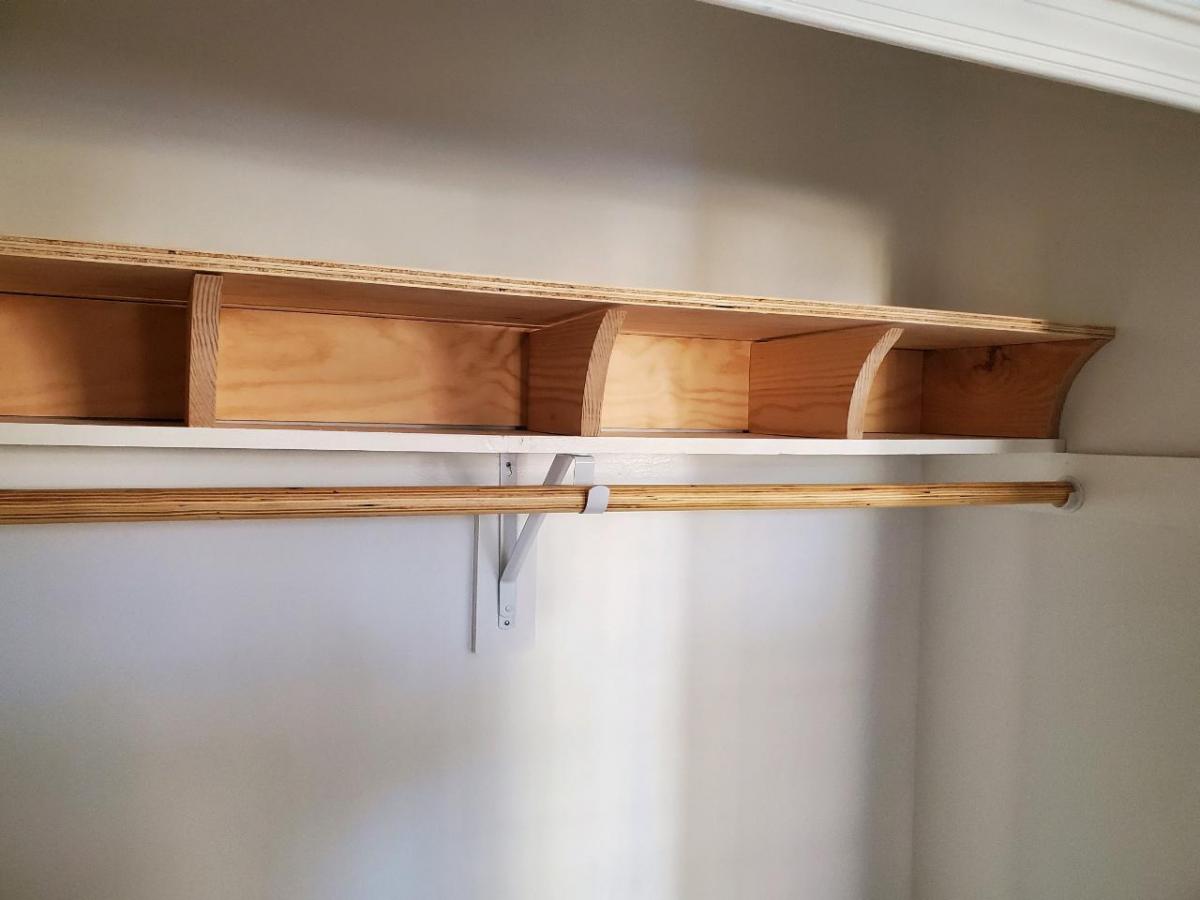
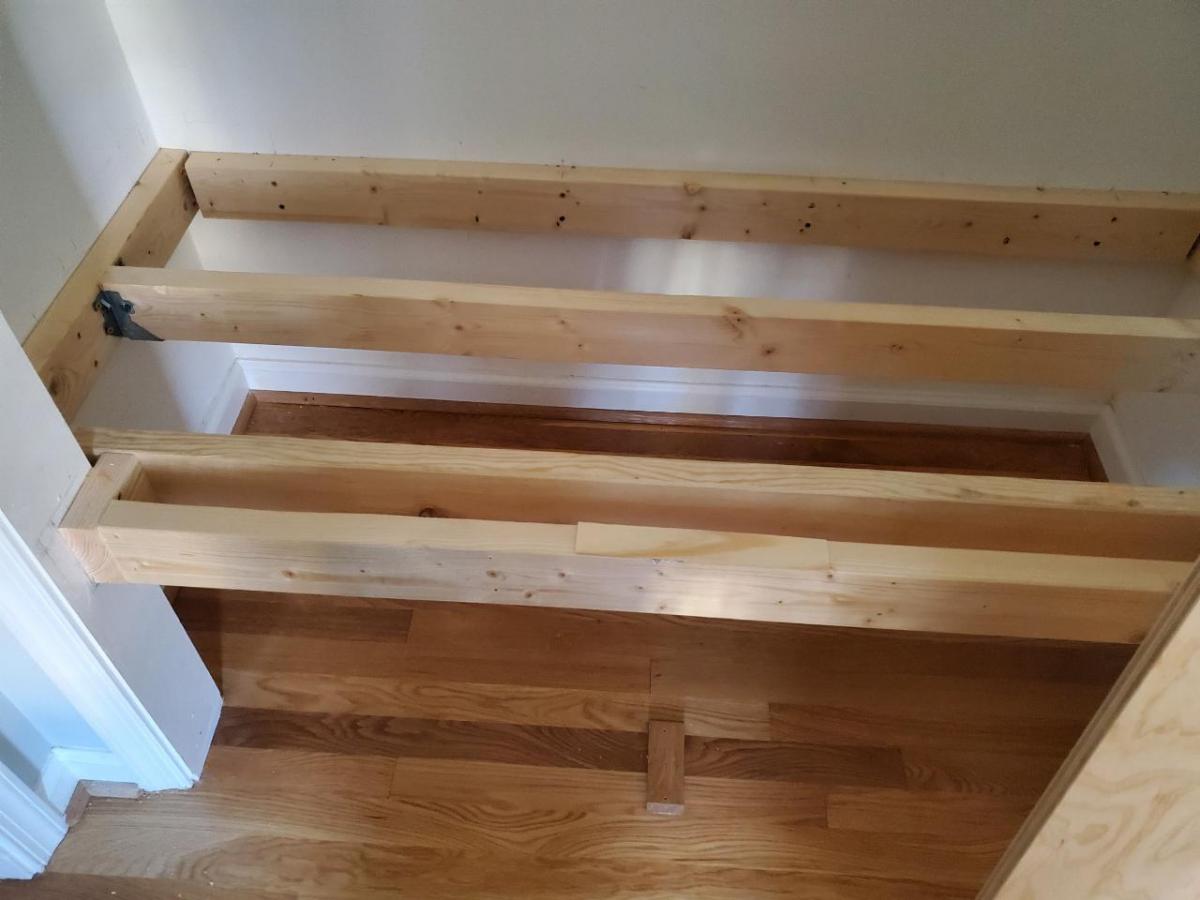
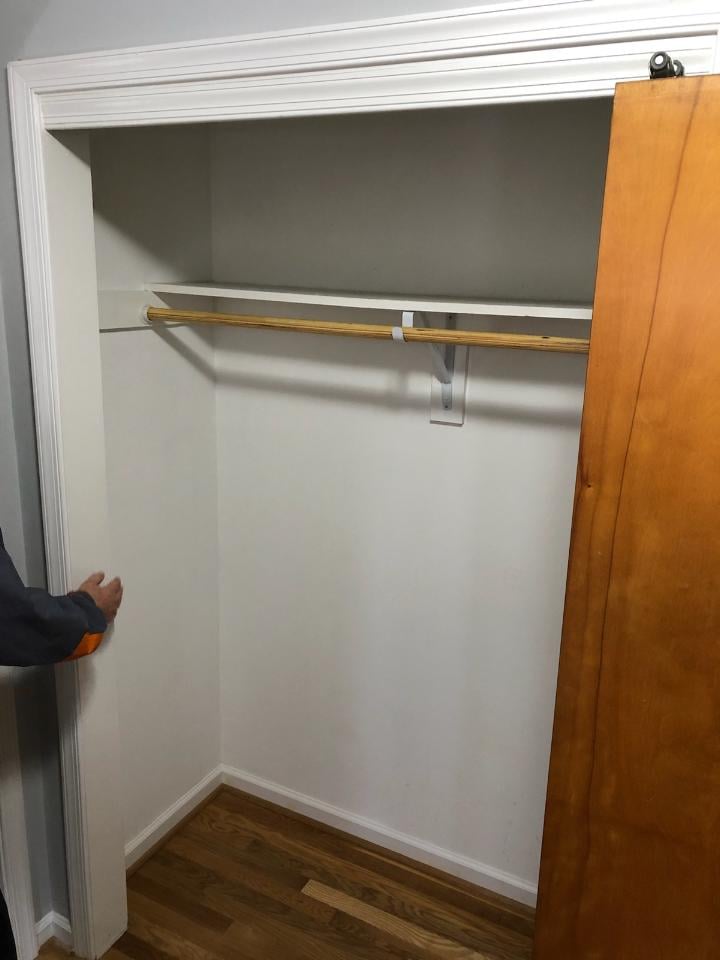
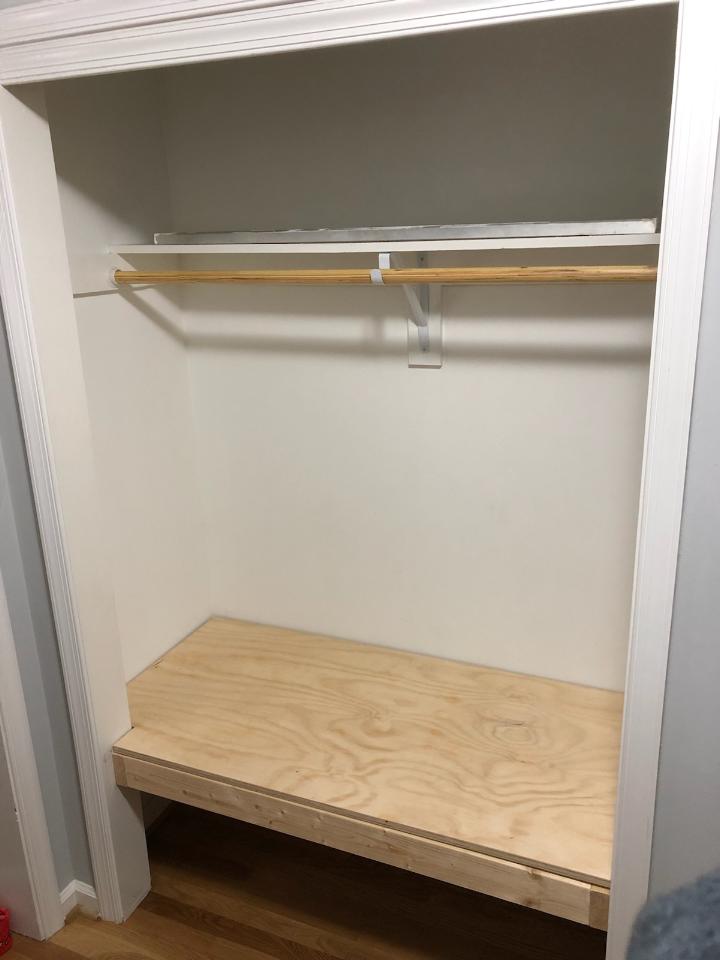
Mudroom closet
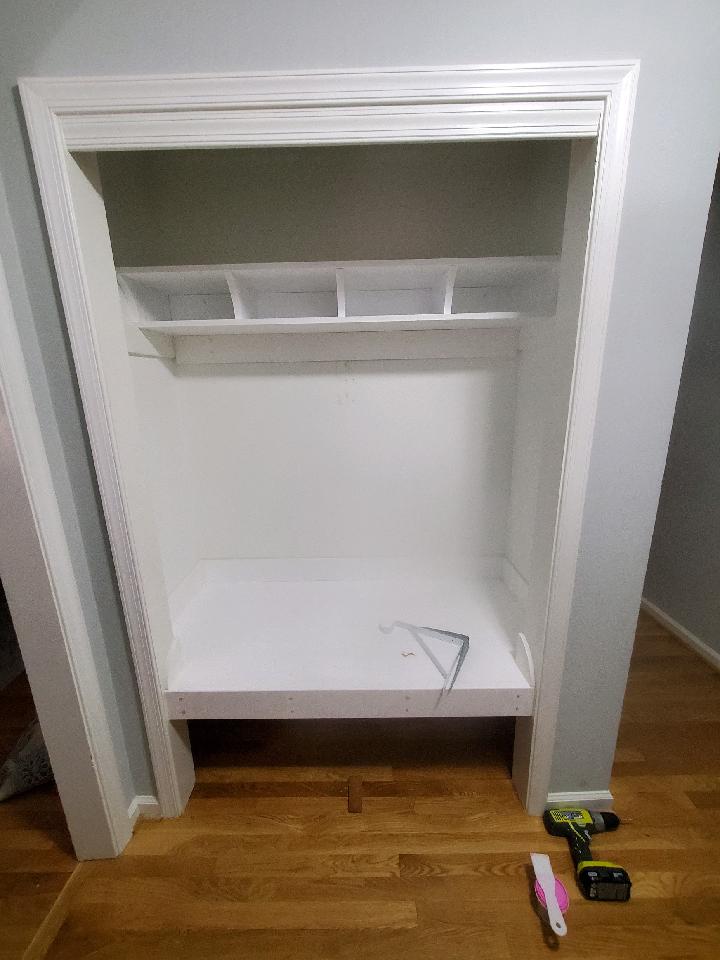
Converted this entryway closet to a Mudroom. Came out pretty good. Had to put a board stretcher on the top shelf after I cut it twice, to get it back to the original size. Still plan on making the rolling trundle drawers for underneath. Thanks Ana!
Built from Plan(s)
Estimated Cost
$70ish
Estimated Time Investment
Week Long Project (20 Hours or More)
Finish Used
primer and paint
Recommended Skill Level
Intermediate
Comments
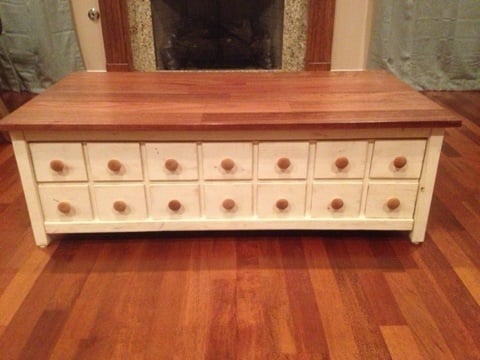
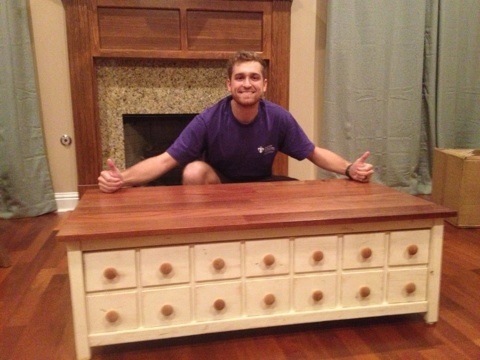
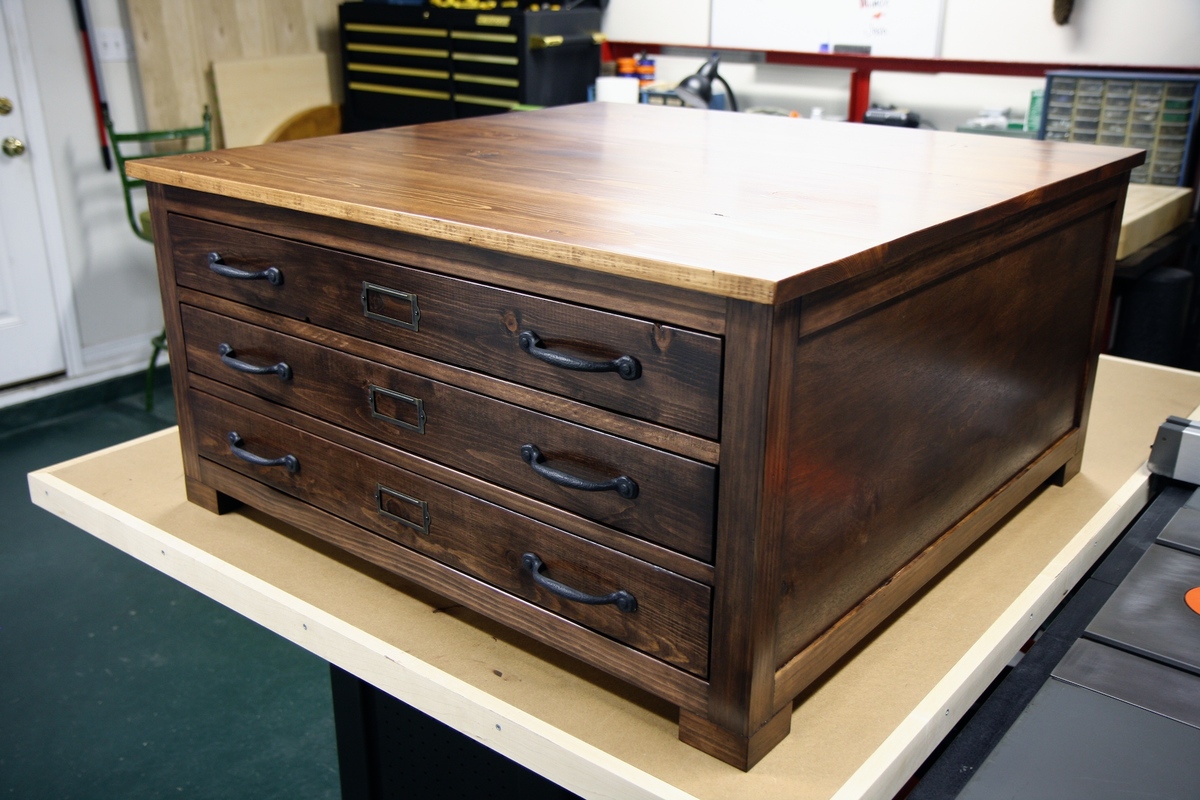
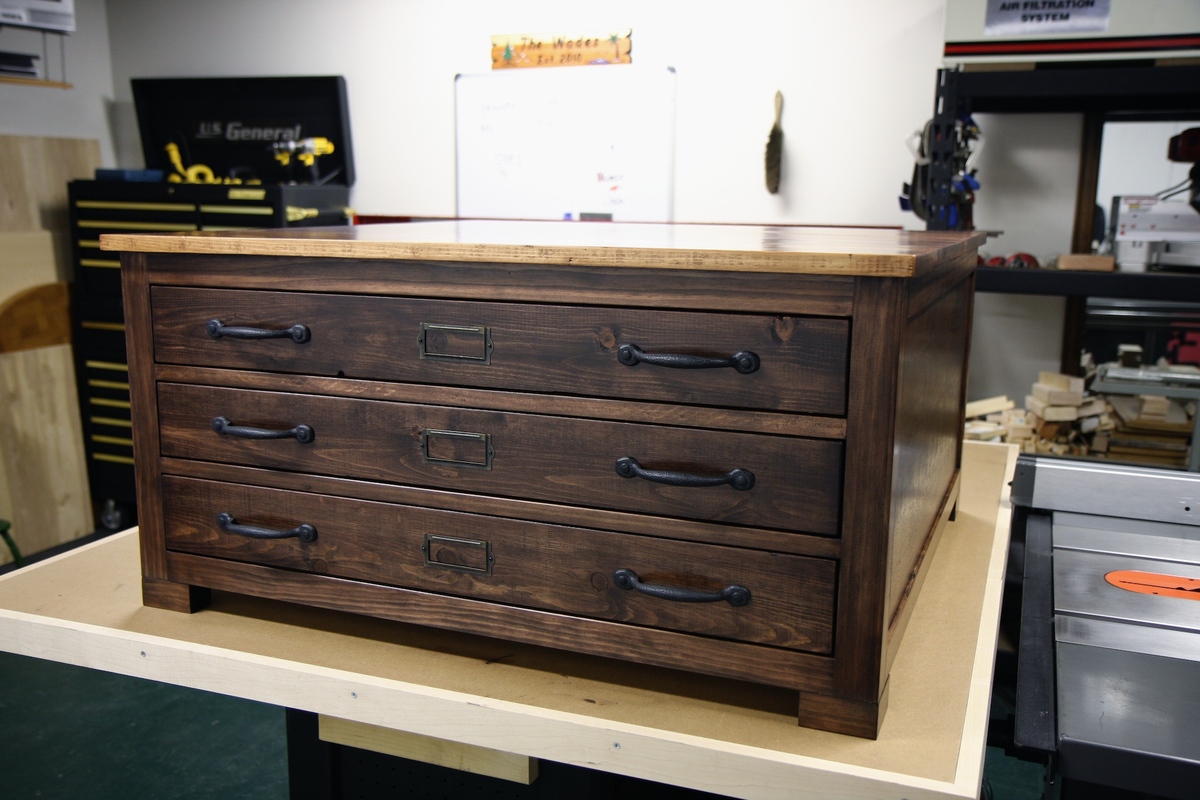
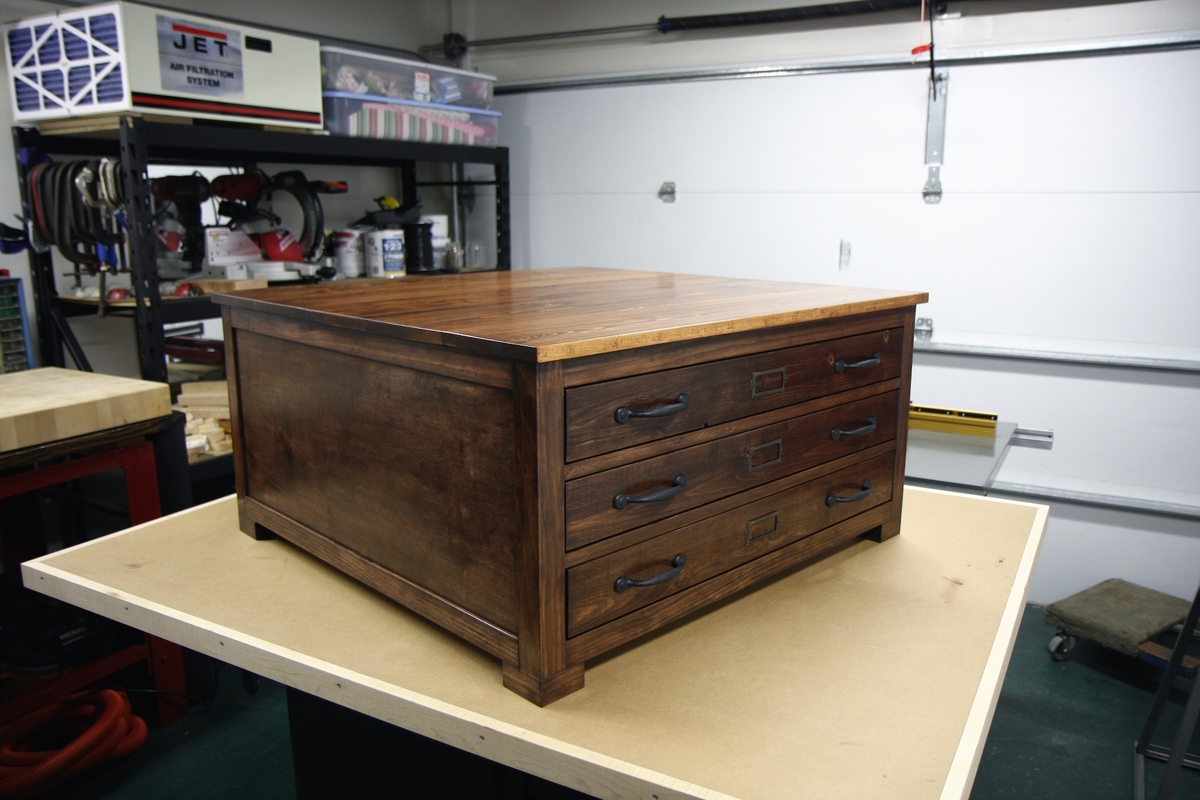
Apothecary Hidden Storage Coffee Table

We needed a coffee table for our new house. I started this project but abandoned it. Fortunately, my wonderful husband took over and finished it beautifully and it's better than I ever imagined!
From the builder:
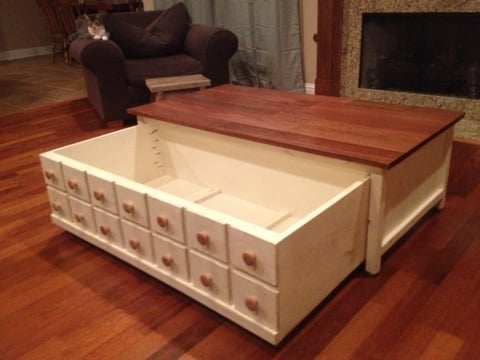
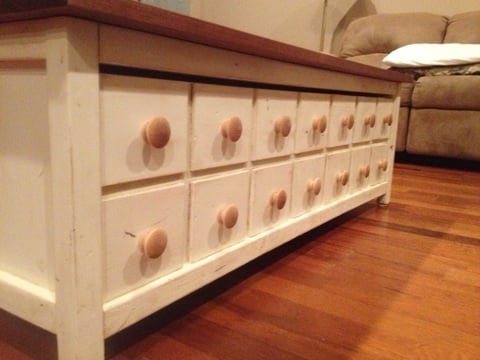
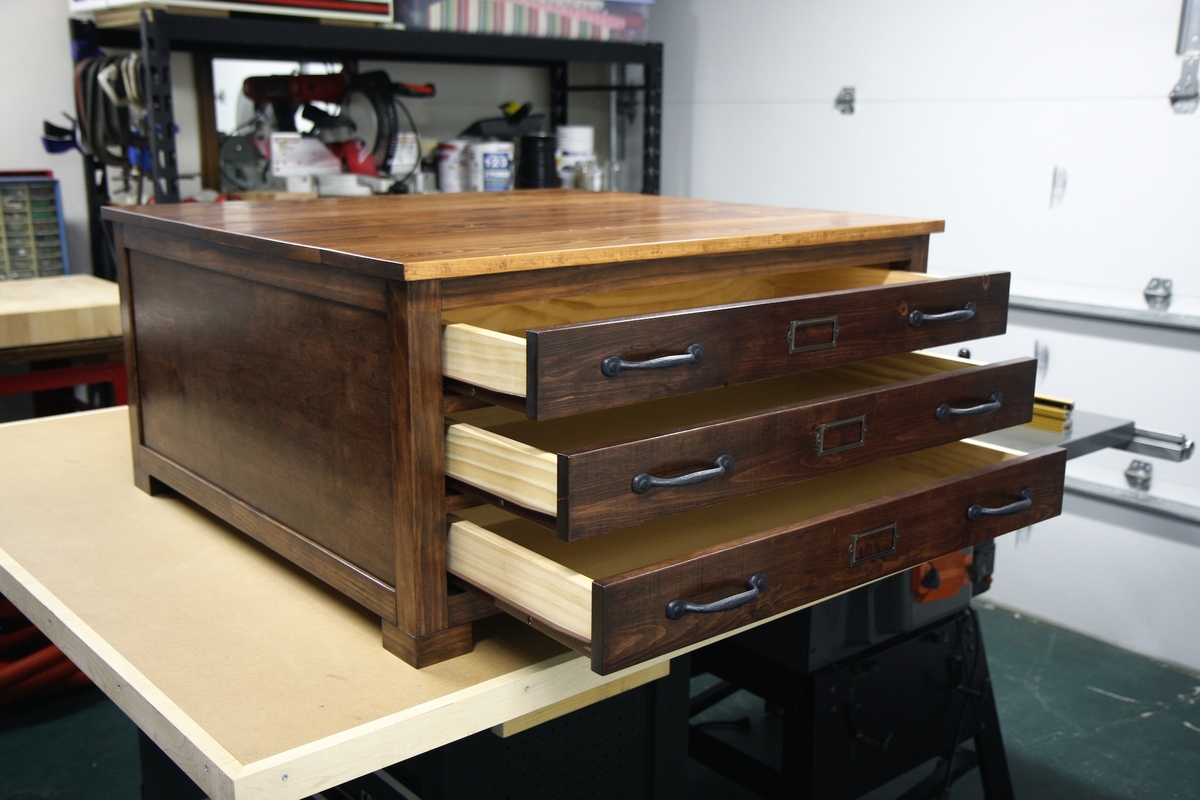
The frame was very easy to build, but the drawer requires more skill to make sure you build it truly square. make sure to NOTTT build the drawer to fit EXACTLY in the space of your frame. leave 1/16" gap on either side of drawer to allow it to roll on its casters freely and leave 1/8" gap from the top of the drawer to the frame for the same purpose. if you make these plans in the early stage your life will be much EASIER when the final assembly comes together!! also take into consideration when making the plans for the height of your table that you will most likely want to put furniture pads on the bottom to save your wood floors and this needs to be added into the total height of the table so you do not mess up the drawer height. for the knobs I found it easiest to buy 1-1/2" screws and counter sink them from the back of the drawer face to allow for the knows to fit snugly against the faux drawers. and as for the faux drawers i used the slightest amount of wood glue and used my 18 gauge brad nail gun with 5/8" nails to attach the faces to the drawer from the front and then come back with wood filler over the nail indentations to smooth it out before painting.
Built from Plan(s)
Estimated Cost
paint, wax, tungoil $70, drawer and frame $50, knobs $5, table top $free scraps
Estimated Time Investment
Week Long Project (20 Hours or More)
Finish Used
Painted with Annie Sloan Chalk Paint Old White, then distress with tools and then apply clear wax and minimum dark wax with sponge brush to emphasize distress, wipe off as needed.
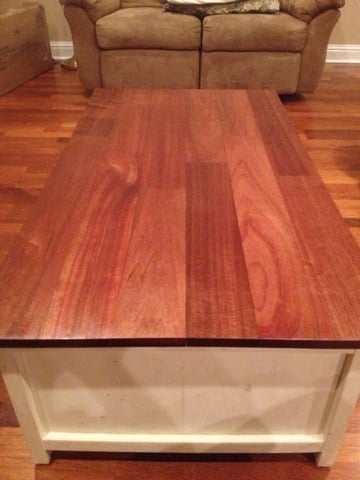
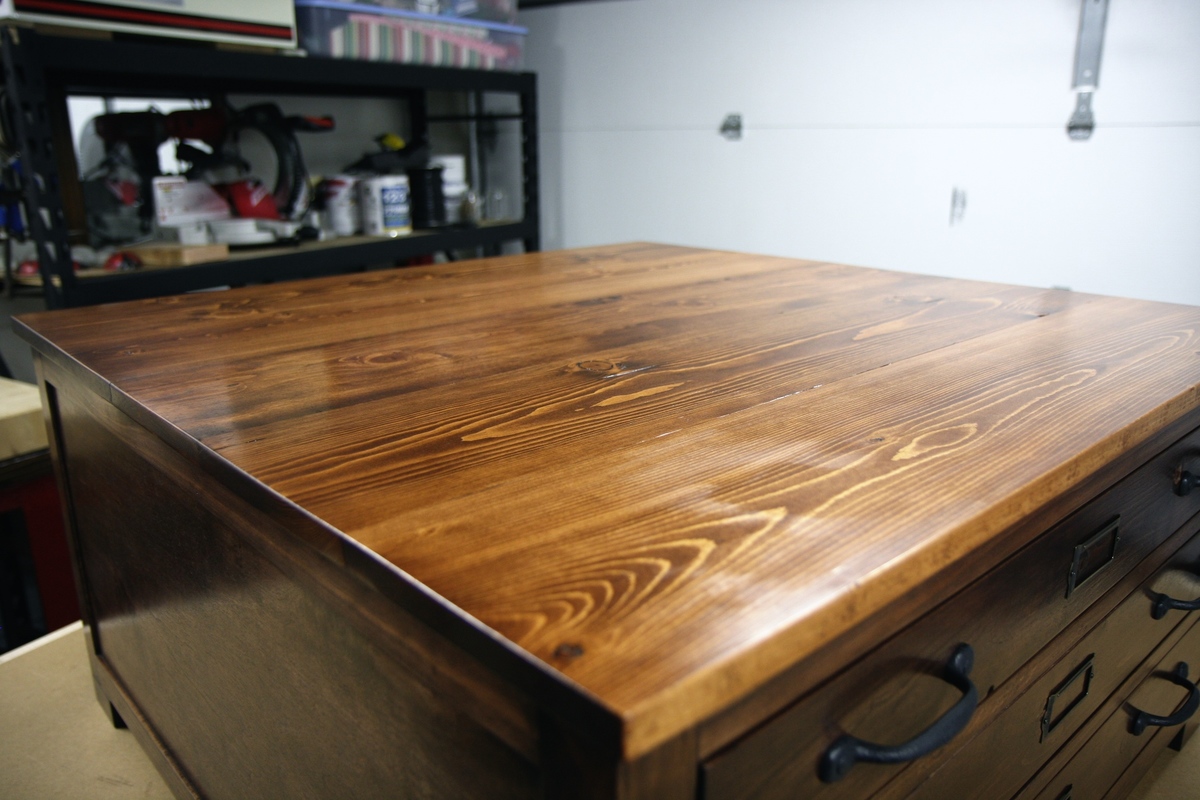
Minwax Tungoil Finish for top.
Minwax Tungoil Finish for top.
Recommended Skill Level
Advanced
Comments
Fri, 02/08/2013 - 12:02
Excellent!
I put this into my favorites folder. I'm impressed with how straight you got the drawer facings. Do you have any tips on how you lined them up so perfectly? Thanks for posting!
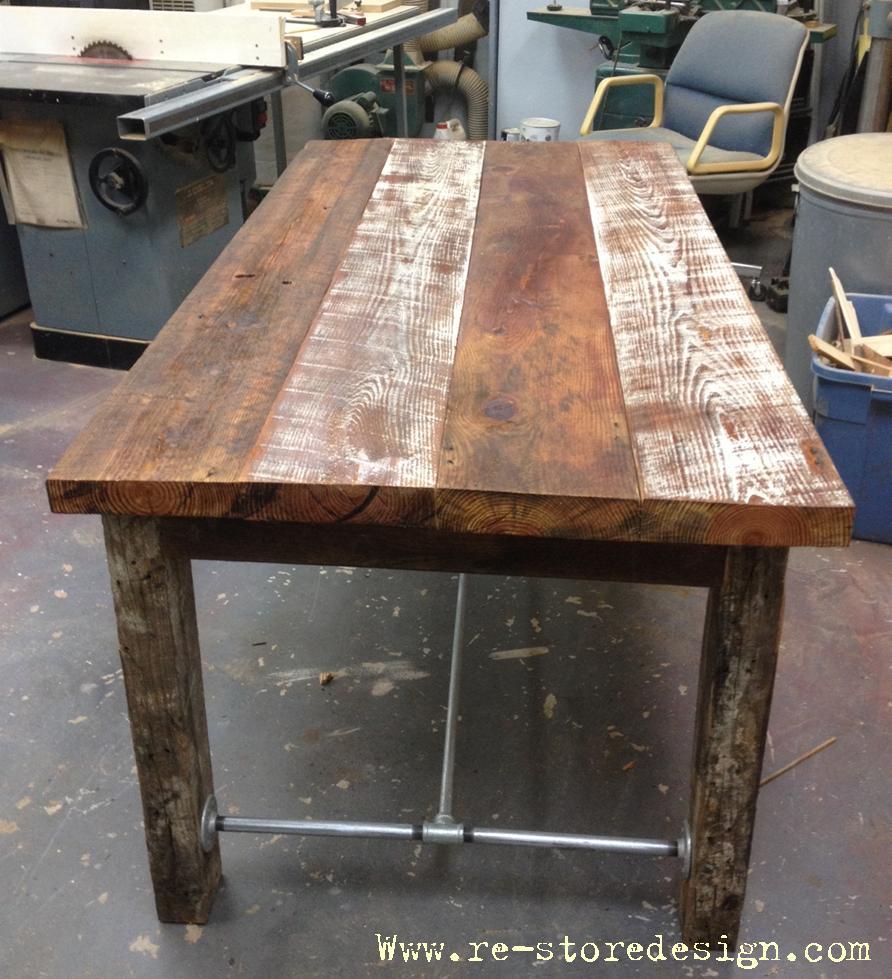
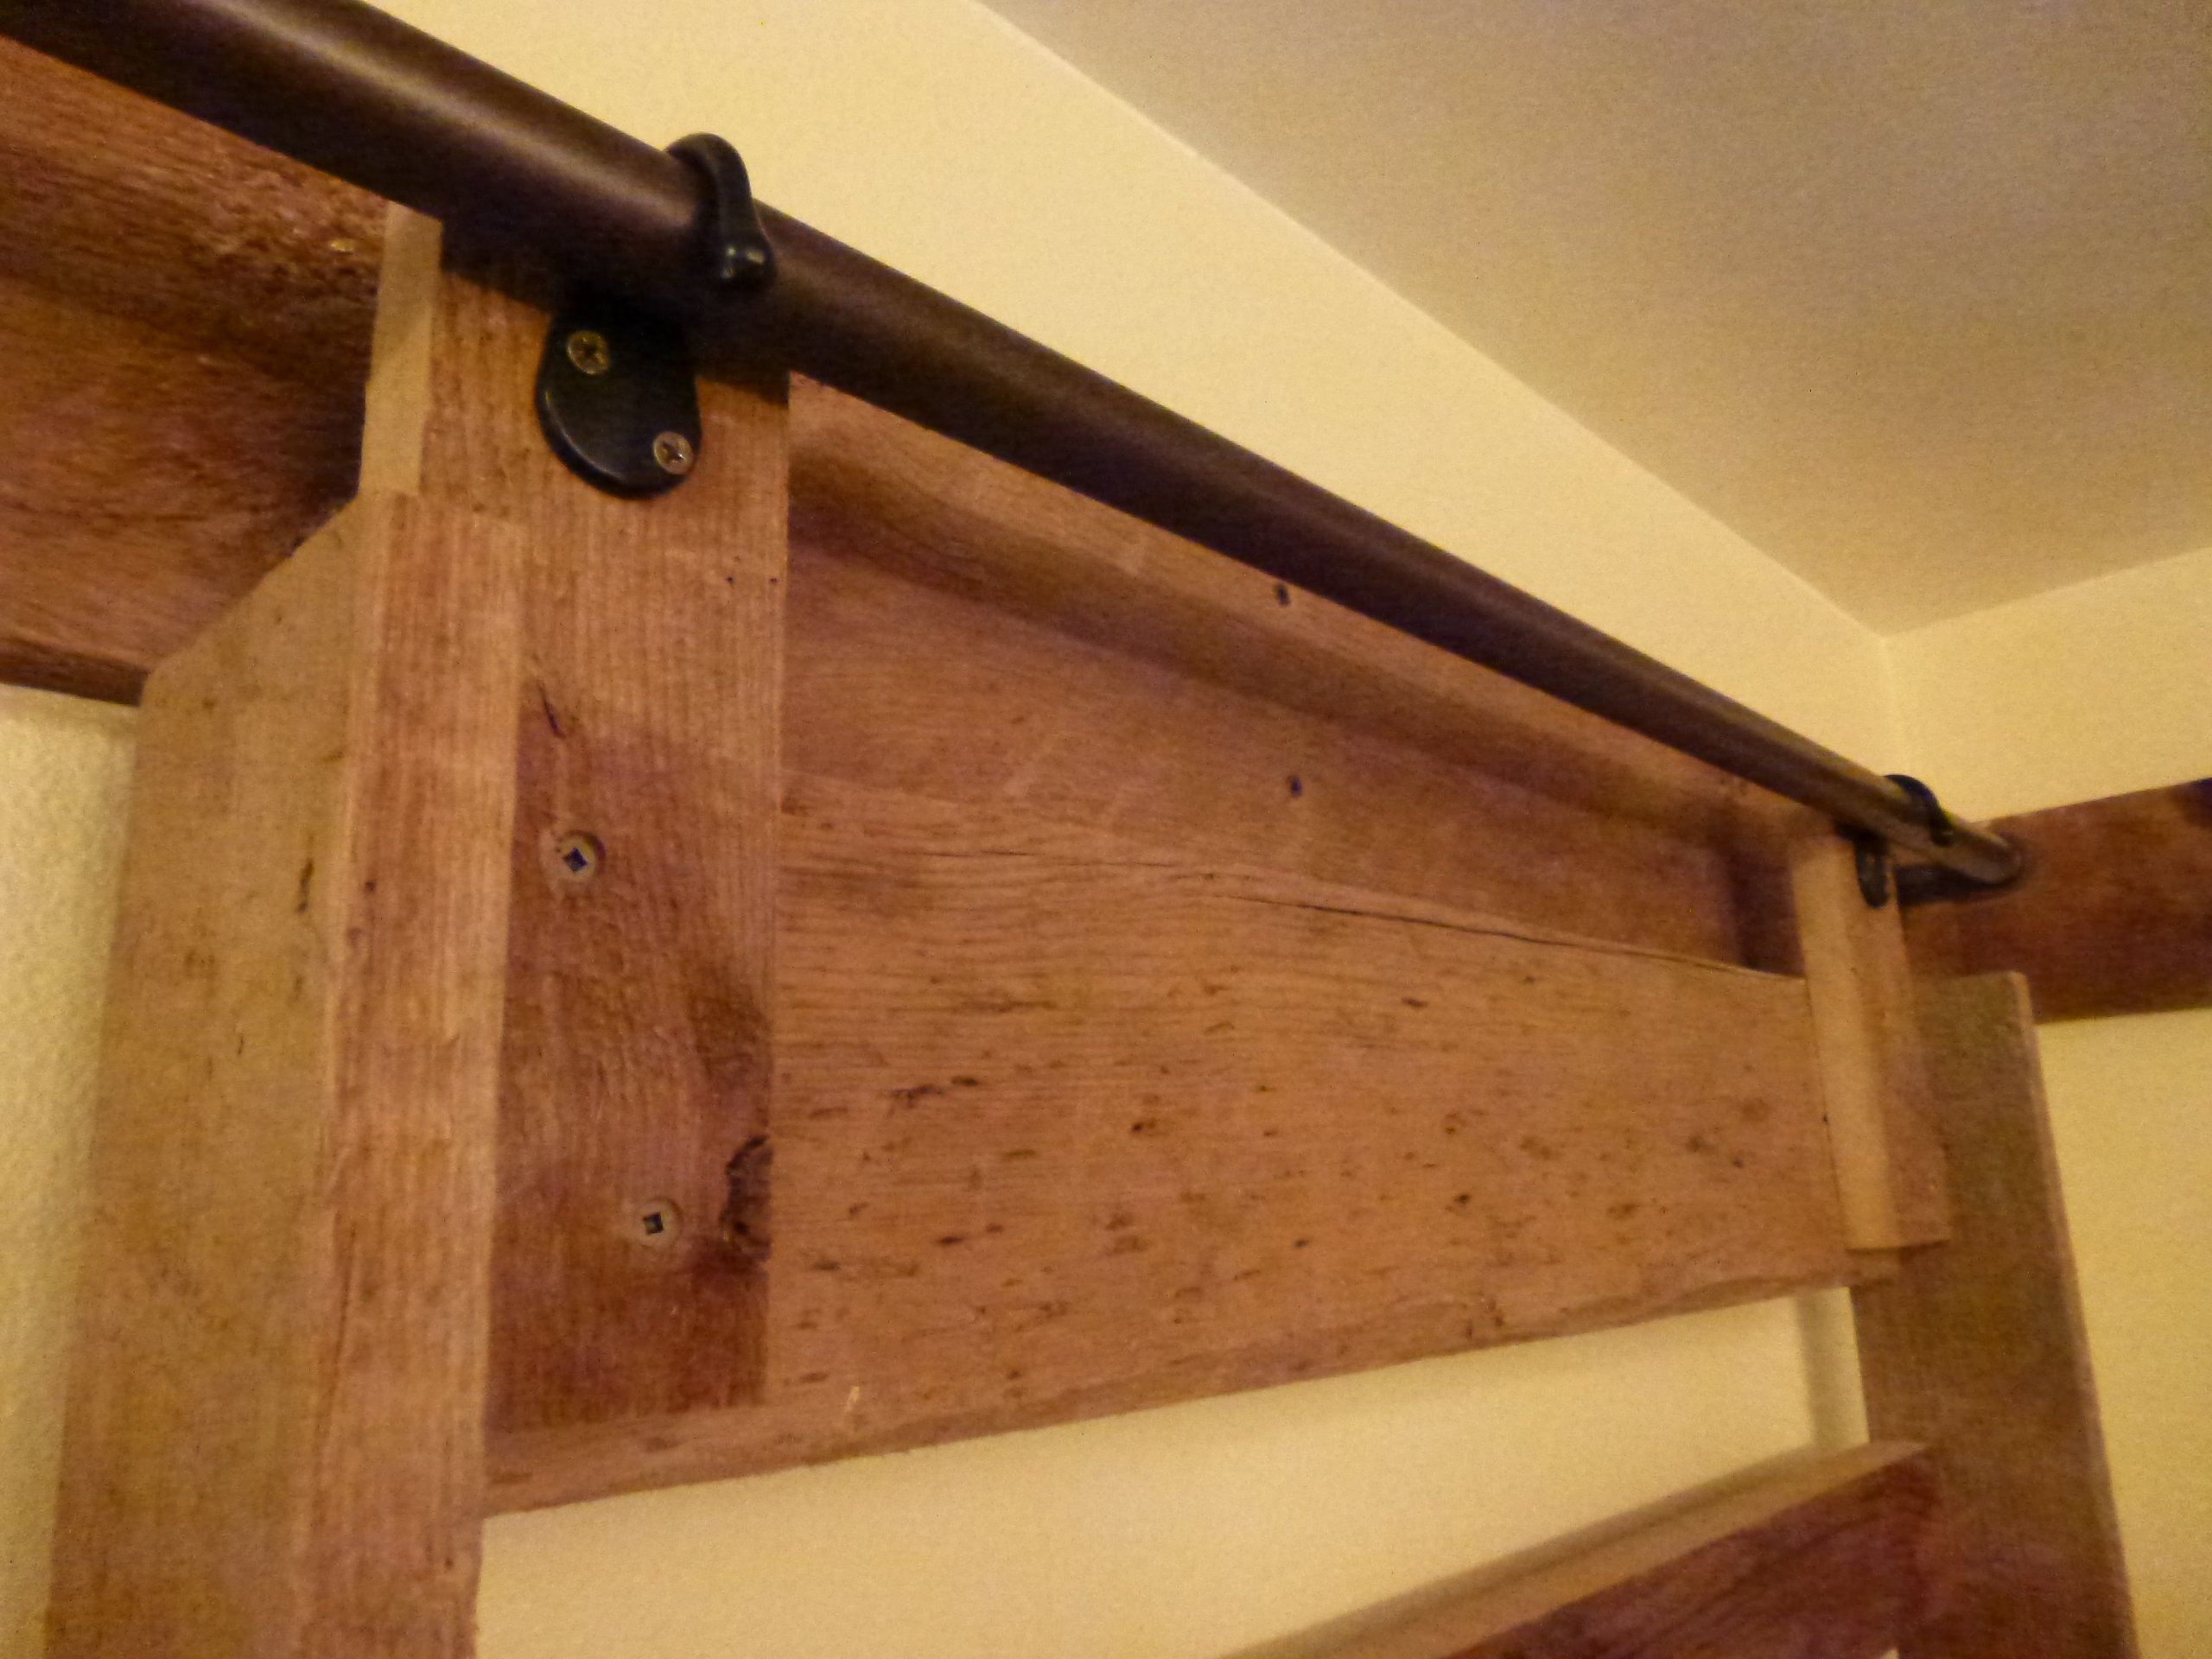
Bathroom Hanging Towel Racks
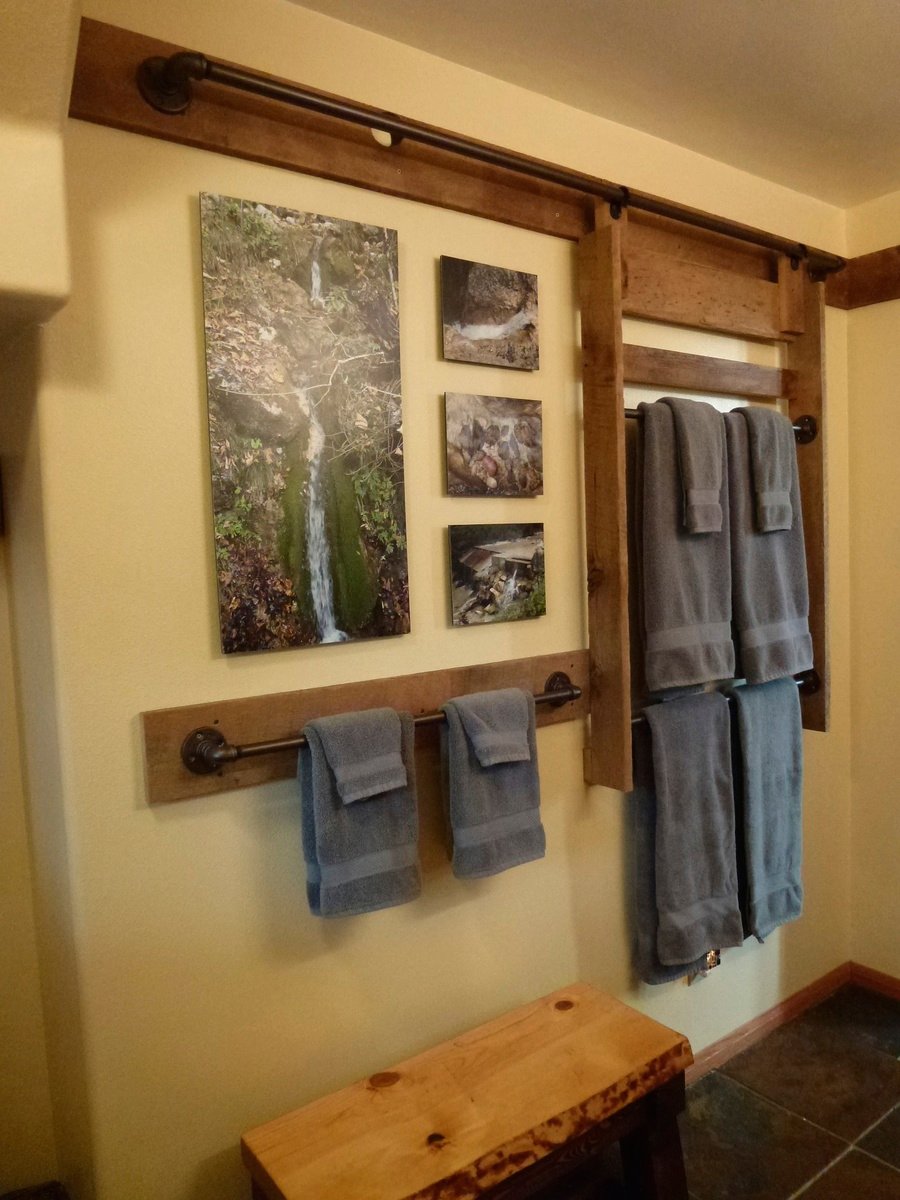
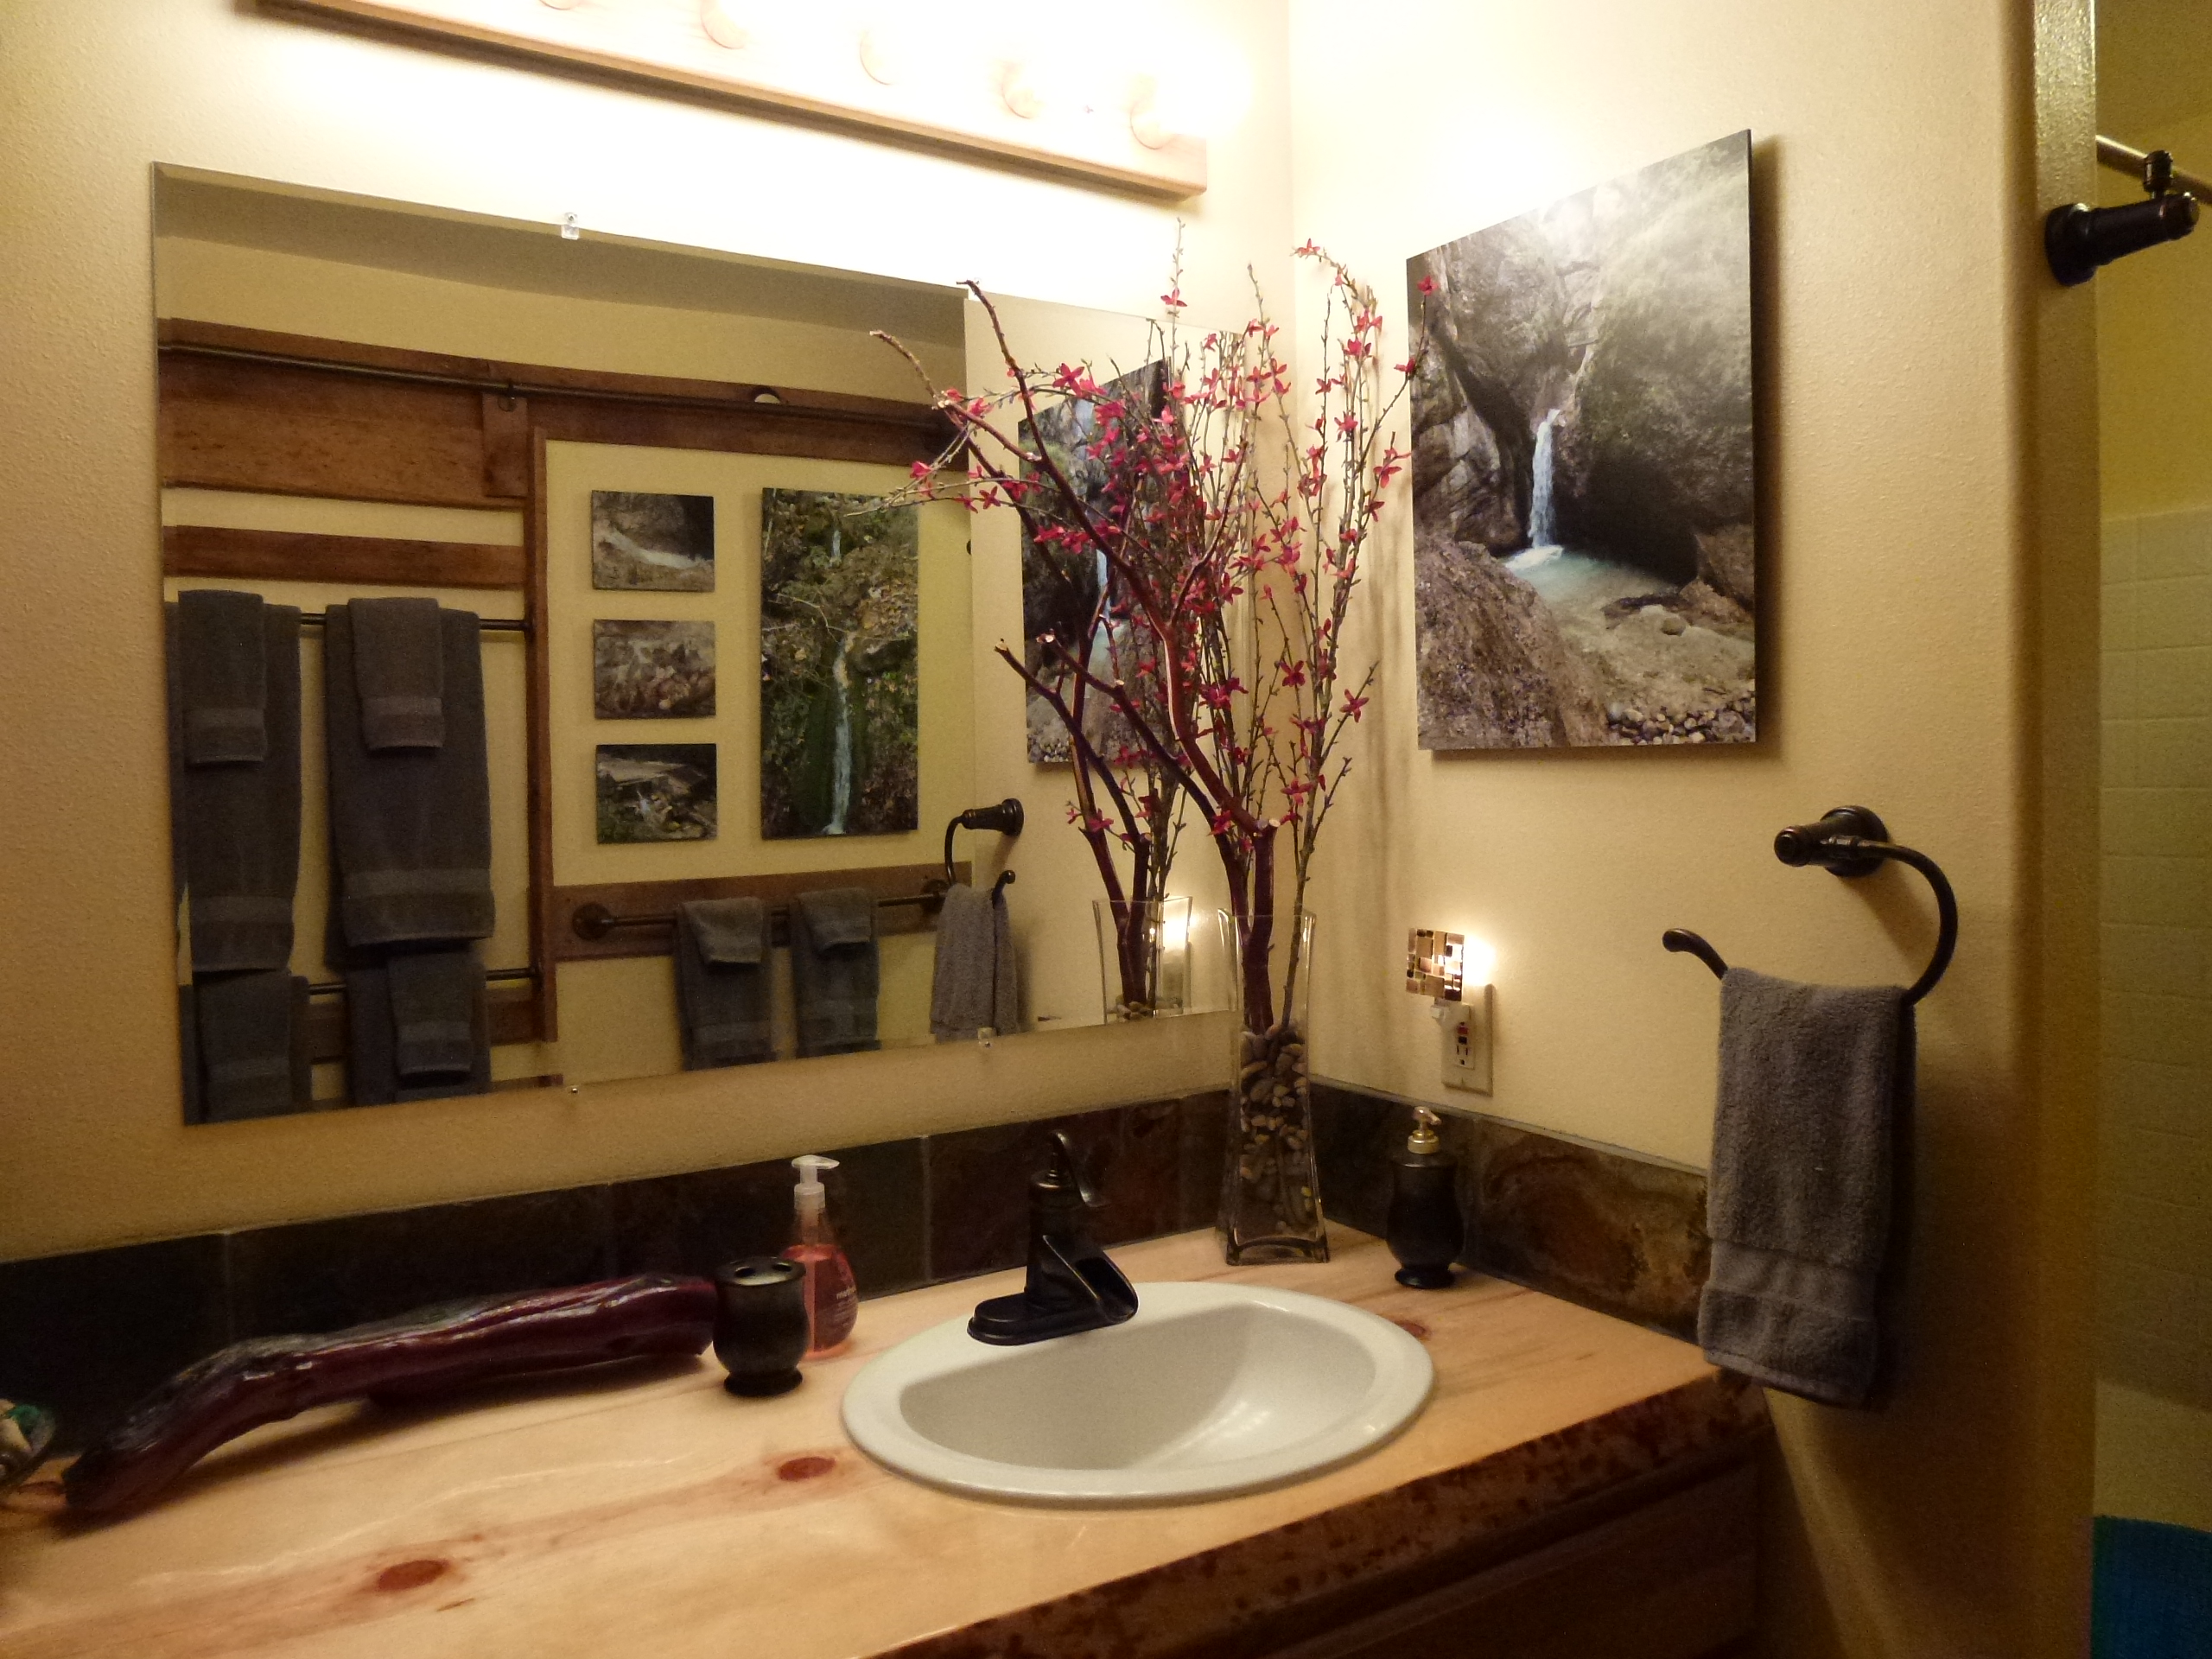
This was really a simple and fun project! My wife saw this on Ana White and knew immediately that this was a “must do now” endeavor. The industrial look of the pipes really fit the decorating motif of our guest bath.
We used reclaimed barn wood purchased at a local hardwood store. The wood was, presumably, some type of cedar and was very user friendly; no cracking from screws and cut / glued very well. We did have to run the stock through the joiner first, however, as the edges were weathered, warped & gouged. We didn’t sand or finish the wood in any manner and it looks exactly as it did when it was part of a standing barn.
We used 3 – ¾” 30 inch pipes for the towel racks and 1- ¾” six foot pipe for the top rail. The pipes were assembled & painted with Rust-Oleum Universal Metallic Paint & Primer in One – Flat Burnished Amber. Instead of eye hooks to hold the ladder to the top rail, we decided on pre-painted bronze robe hooks.
After stock was squared, pieces were cut for the border and ladder. The ladder is 32” wide (x) 48” long with 4” boards. We chose that length so as to accommodate 2 towel racks with enough space for 4 sets of towels. The assembly was made very simple by first attaching the 30 inch ¾ ” pipes as they really brought the construct into square.
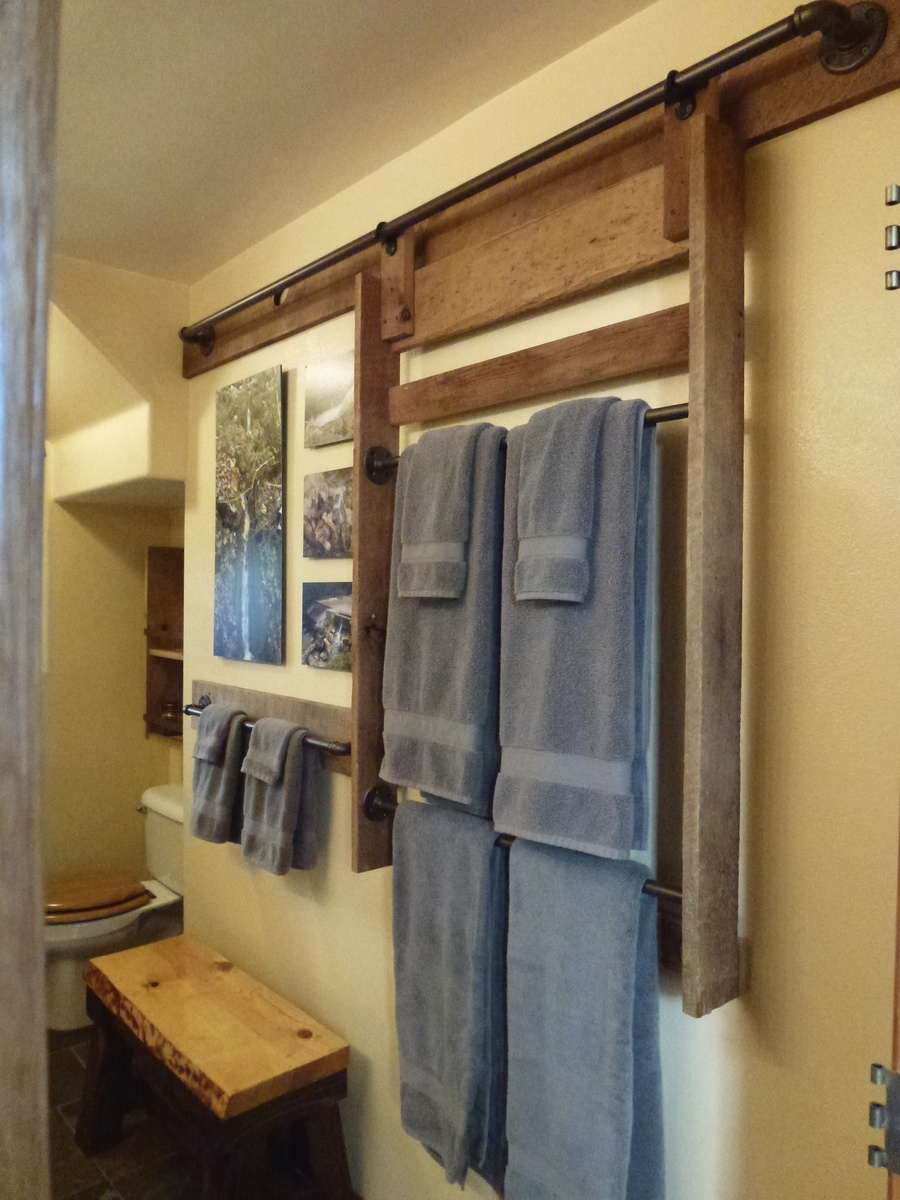
The only significant challenge to this project was selecting & cutting stock so all of the exposed edges were weathered facades.
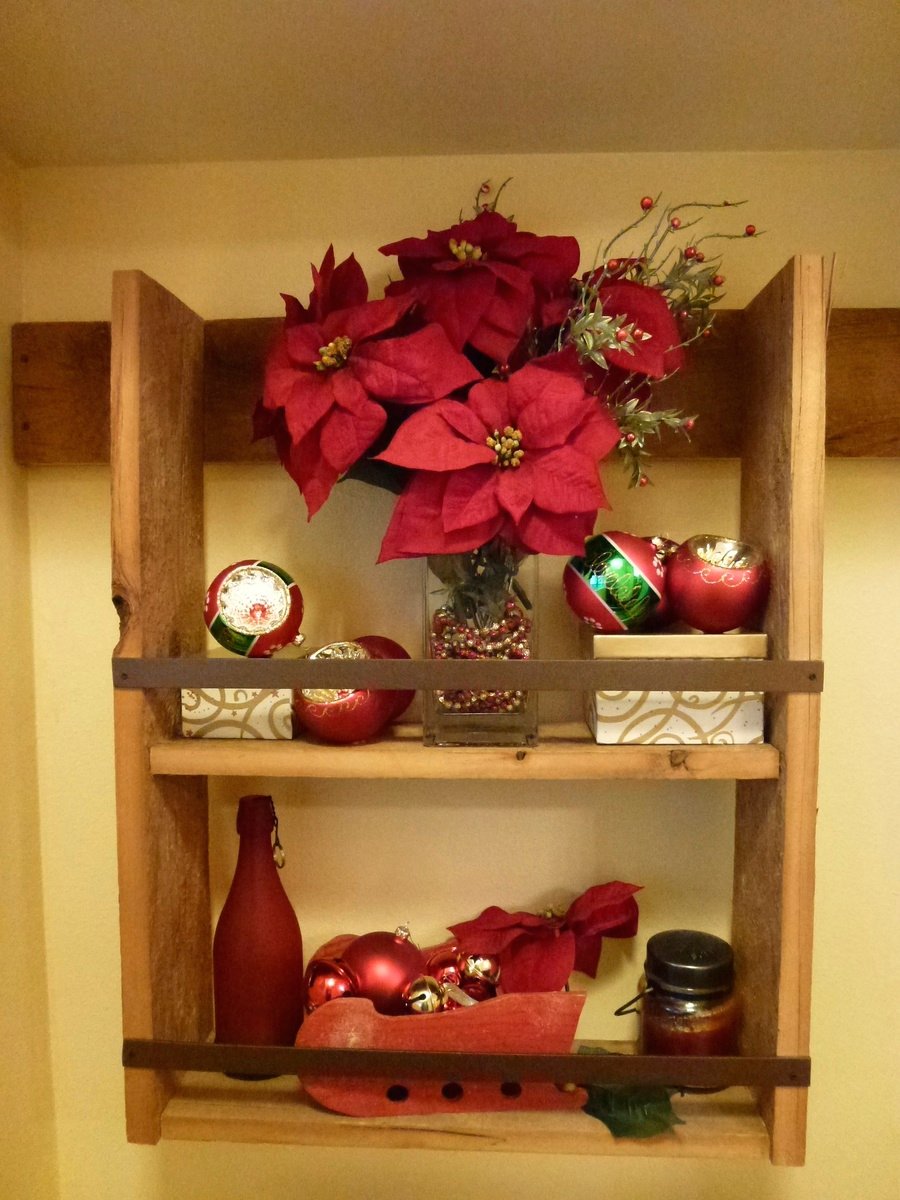
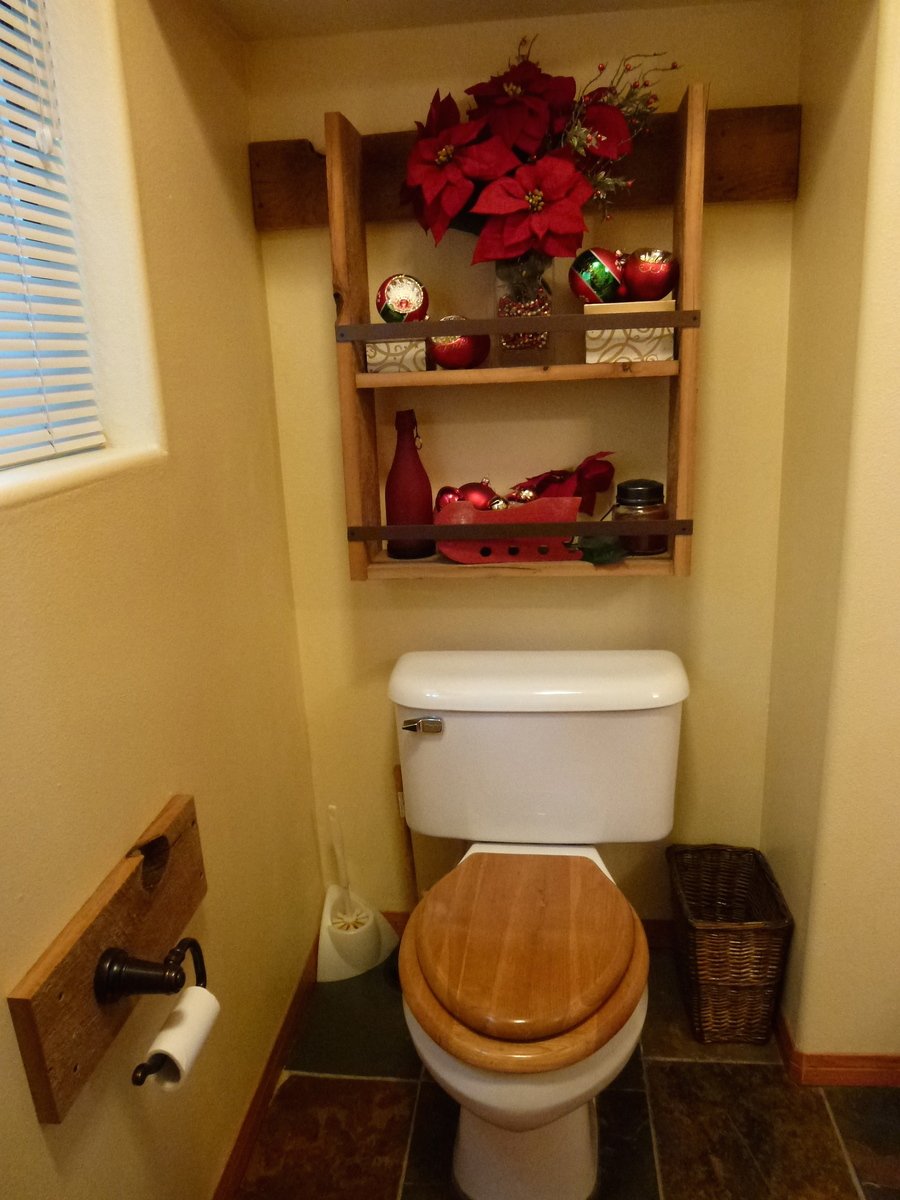
The project was finished off w/ a small shelf 23 “ wide (x) 30” long w/ shelf depth of 7” hung behind the toilet and a toilet paper holder base.
The bard wood was expensive (approximately) $200 for the project) and we spent about 20 hours building it. It was well worth the effort. And, to our amazement, all components finished level to the ceiling and square to each other … better “lucky” than “good”.
This was a simple and rewarding Fall project and is recognized by our guests as both a unique and utilitarian augment to our guest bath.
Built from Plan(s)
Estimated Cost
$200.00
Estimated Time Investment
Week Long Project (20 Hours or More)
Finish Used
None.
Recommended Skill Level
Beginner
Comments
Adirondack chair
This was my first furniture build. Some things I would change next time, but overall very happy with the results.
Estimated Time Investment
Day Project (6-9 Hours)
Finish Used
Kept bare cedar.
Comments
Library Coffee Table
This was my first real project. I had a great time building it for my twin brother. I was very fond of the table by the time it was finished and it will be difficult to let it go :) I followed the plans almost exactly, however I added just a bit of trim to the sides and added small feet made from leftover 2x2's. I'm already looking forward to my next project.
Built from Plan(s)
Estimated Cost
300
Estimated Time Investment
Week Long Project (20 Hours or More)
Finish Used
General Finishes Java Gel Stain for sides and Brown Mahogany for Top. General Finishes Arm R Seal Satin for top coat.
Recommended Skill Level
Beginner
Comments
Sun, 02/10/2013 - 09:21
I am bookmarking this!
I am bookmarking this! Adding the little feet changes the whole look. I really like it!
Sun, 02/10/2013 - 18:58
That is gorgeous! I would
That is gorgeous! I would have a very hard time letting it go as well! The feet are a great addition!
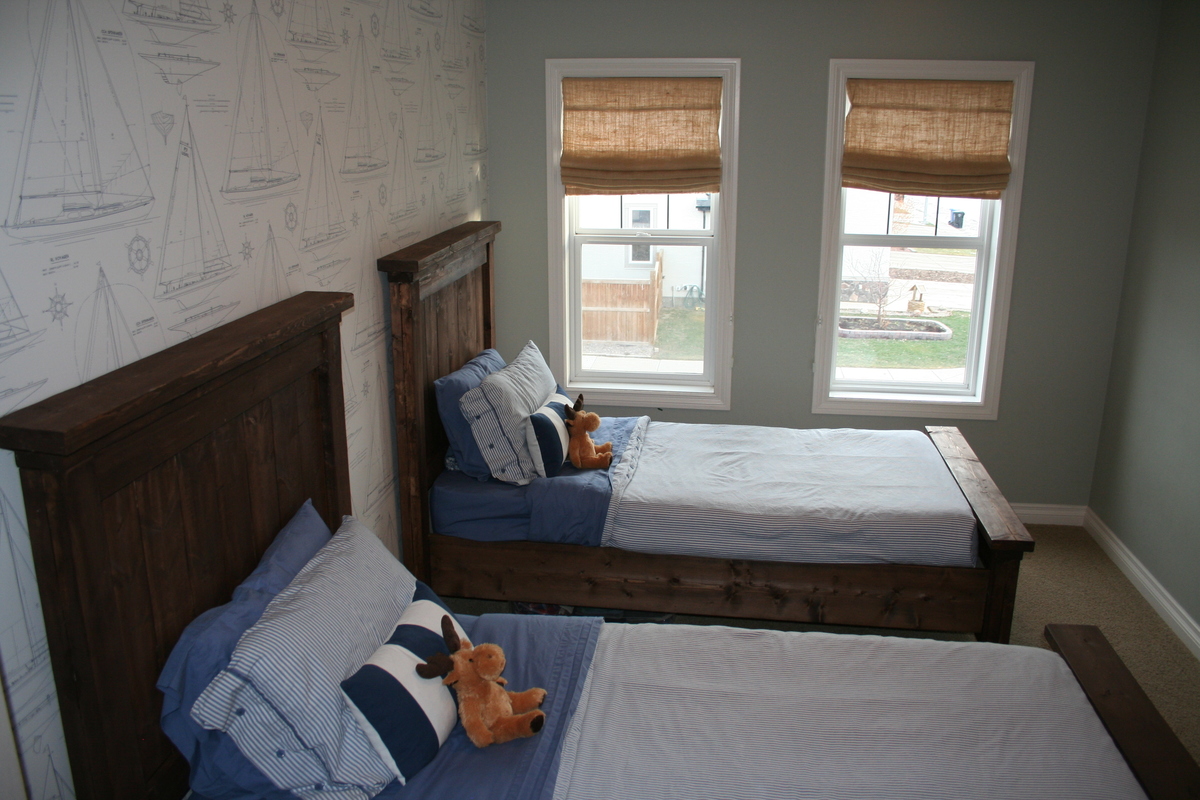
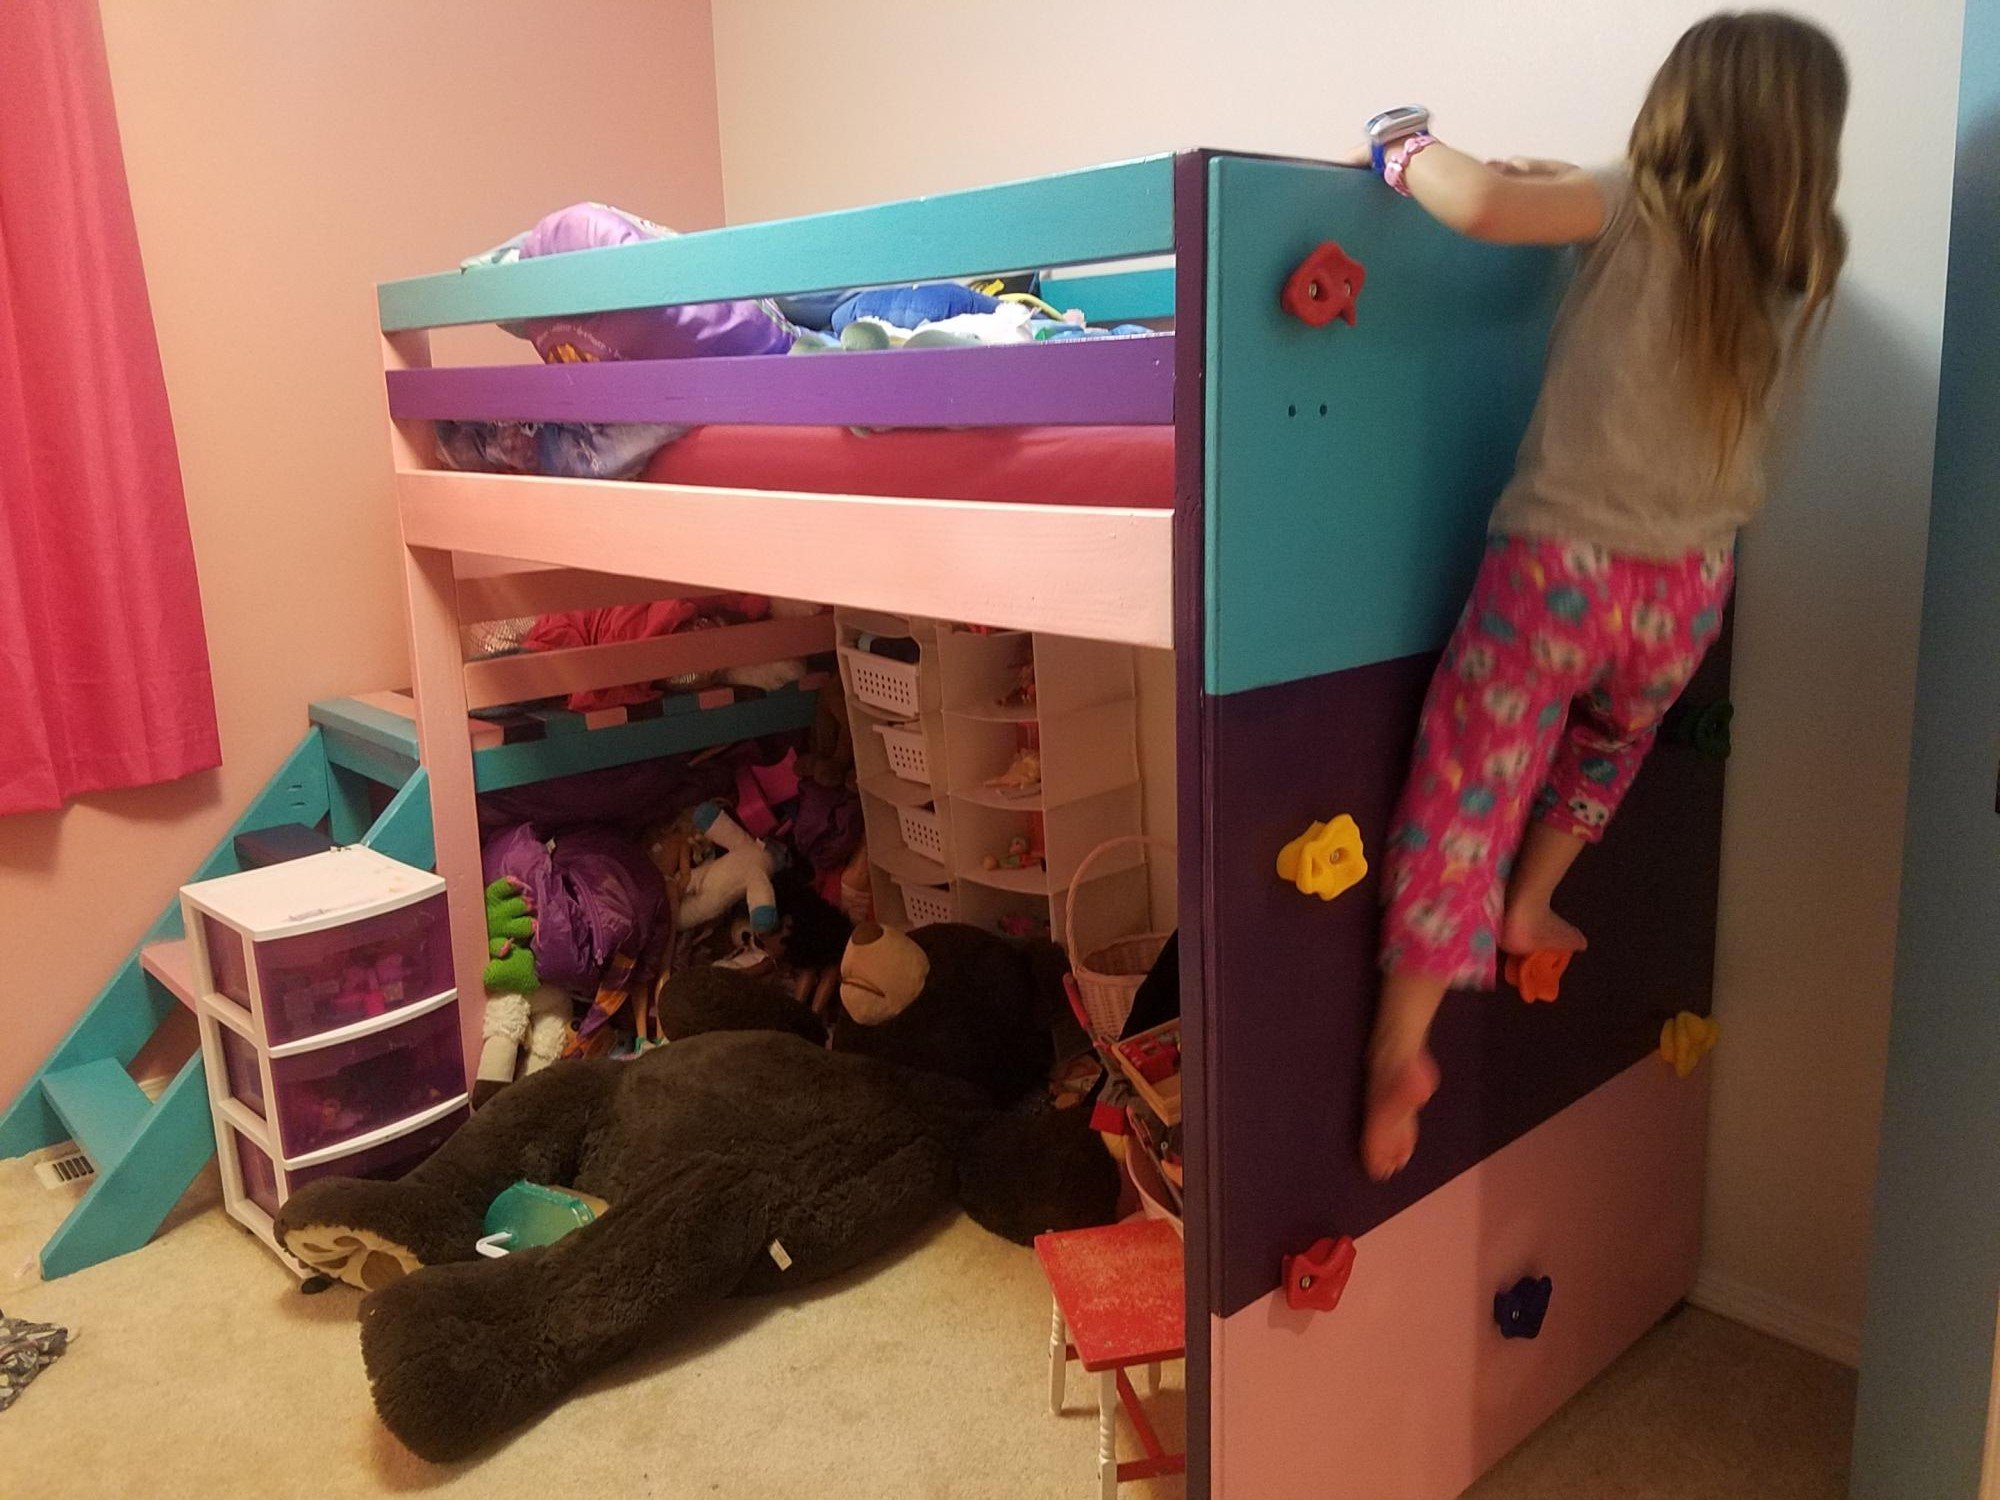
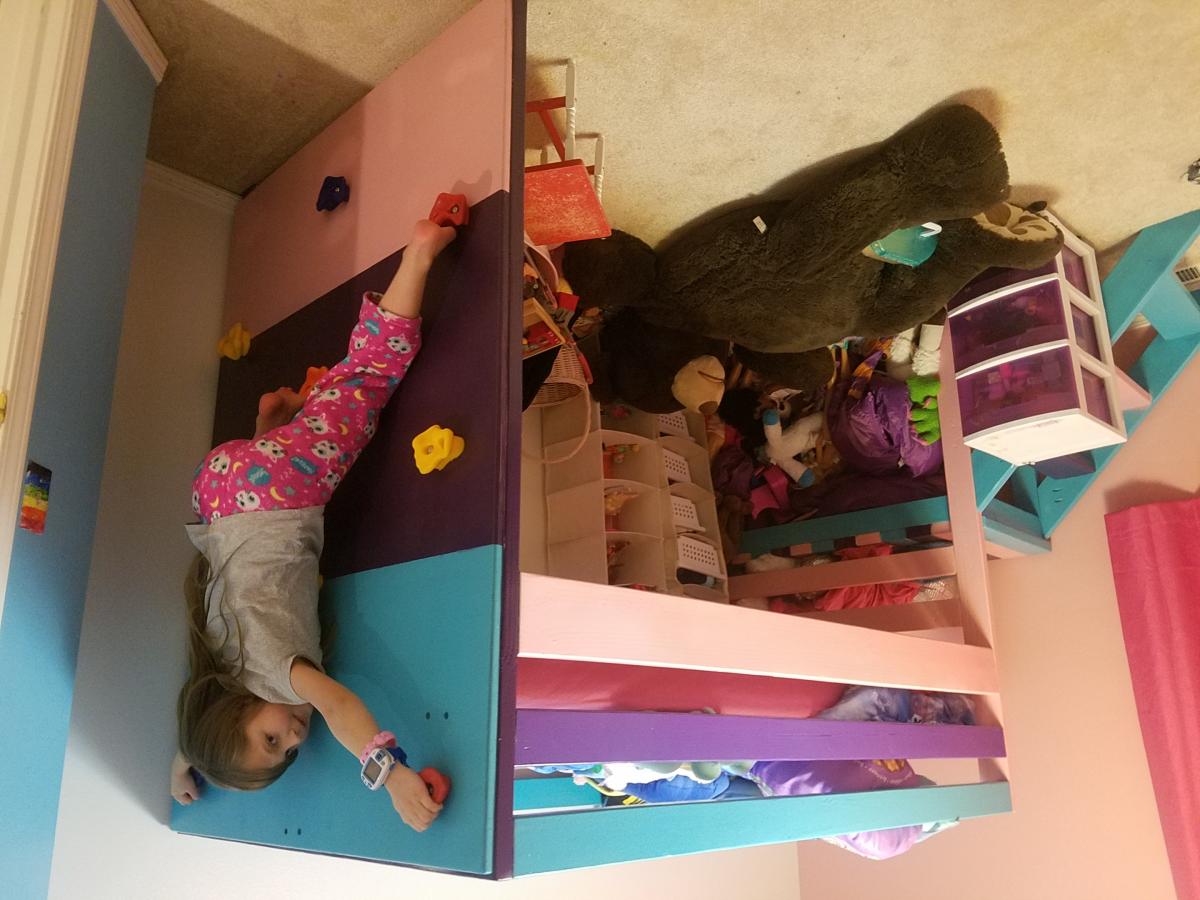
TWIN FARMHOUSE BED
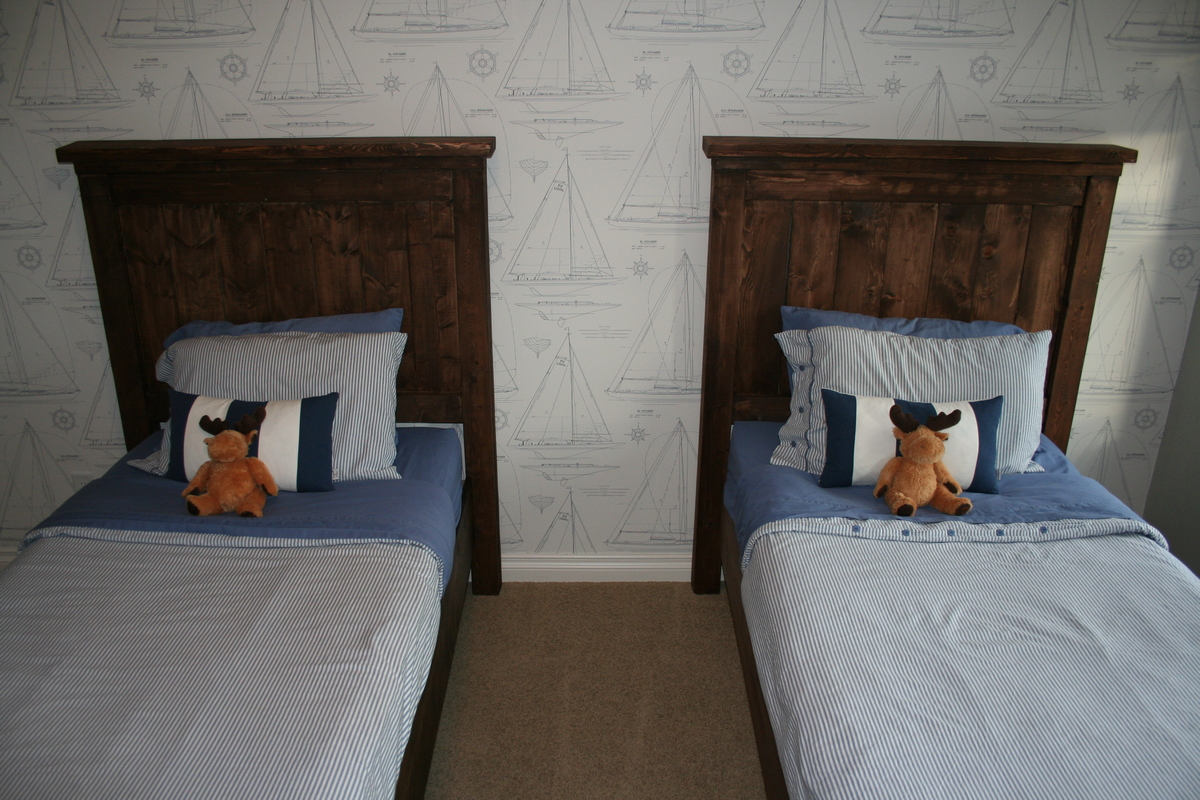
My boys were in desperate need of beds and I am always on a tight budget. I have always loved the farmhouse bed design and decided it was time for DIY project. The instructions made everything so simple. And Home Depot and Lowes are always so helpful in making the cuts....I can do it myselft, but I have to say it is nice to unload the wood and start building right away.
A few things I learned....
1. Not all 1x6's will be 5.5" wide, so just like the instructions tell you....double check
2. You can't stain wood filler...I had no idea it wouldn't take the stain very well
3. Using 2 2x4 to make a 4x4 post is WAY cheaper
Built from Plan(s)
Estimated Time Investment
Weekend Project (10-20 Hours)
Finish Used
Miniwax walnut stainn
Recommended Skill Level
Intermediate
Comments


Tue, 12/16/2014 - 08:49
Love it!
These came out great! The room is decorated so nice and I love that wall paper. Some fillers are better than others. One filler I used that takes stain better is Elmer"s ProBond. It has a black label, says it's stainable and is pricier but I do like it. Again, great job!
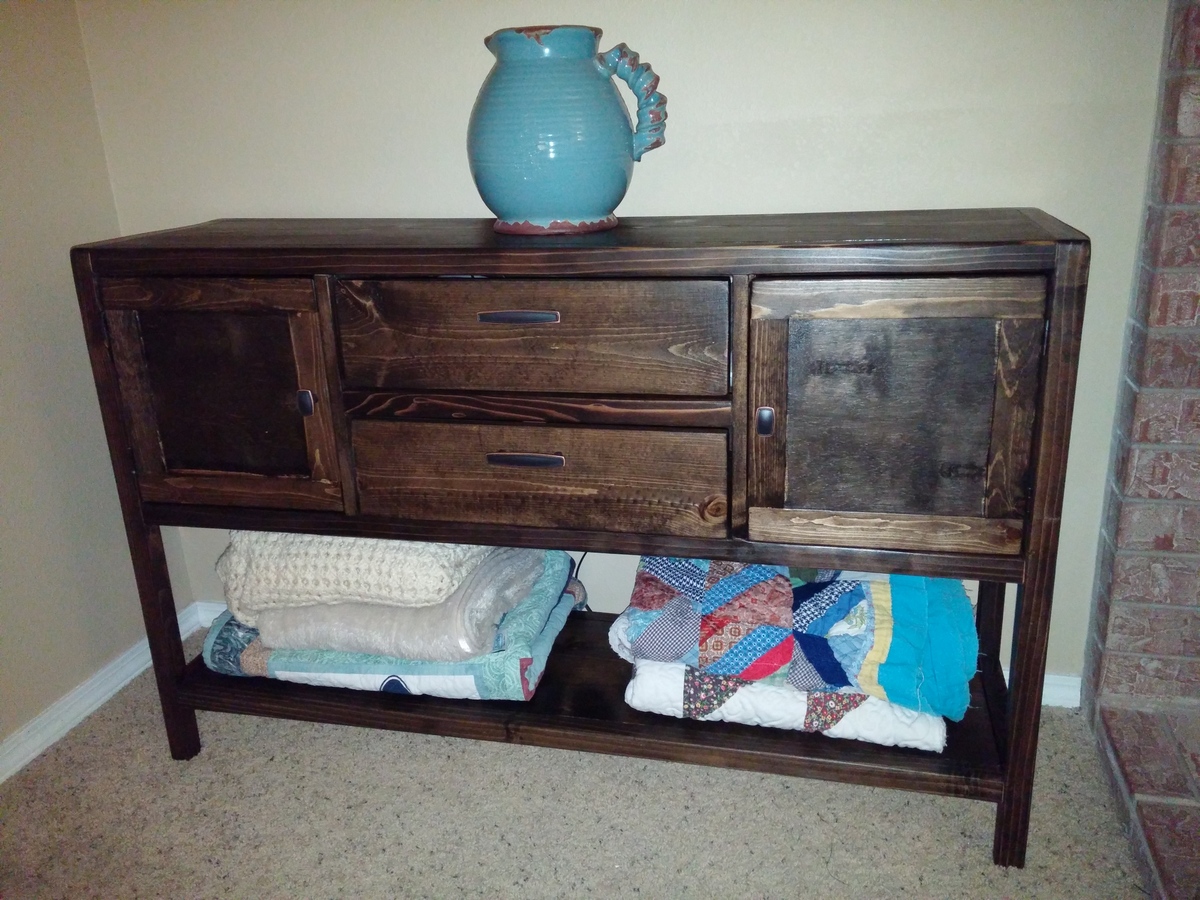
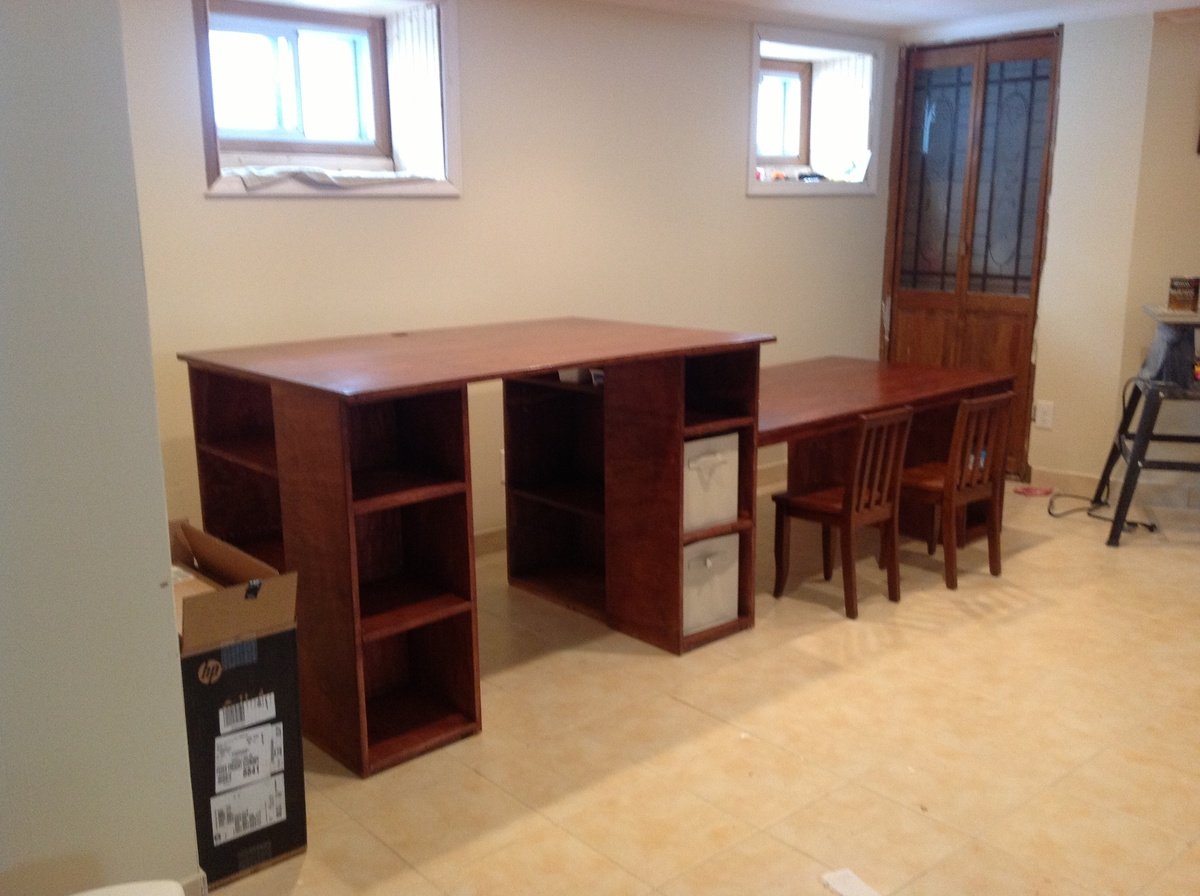
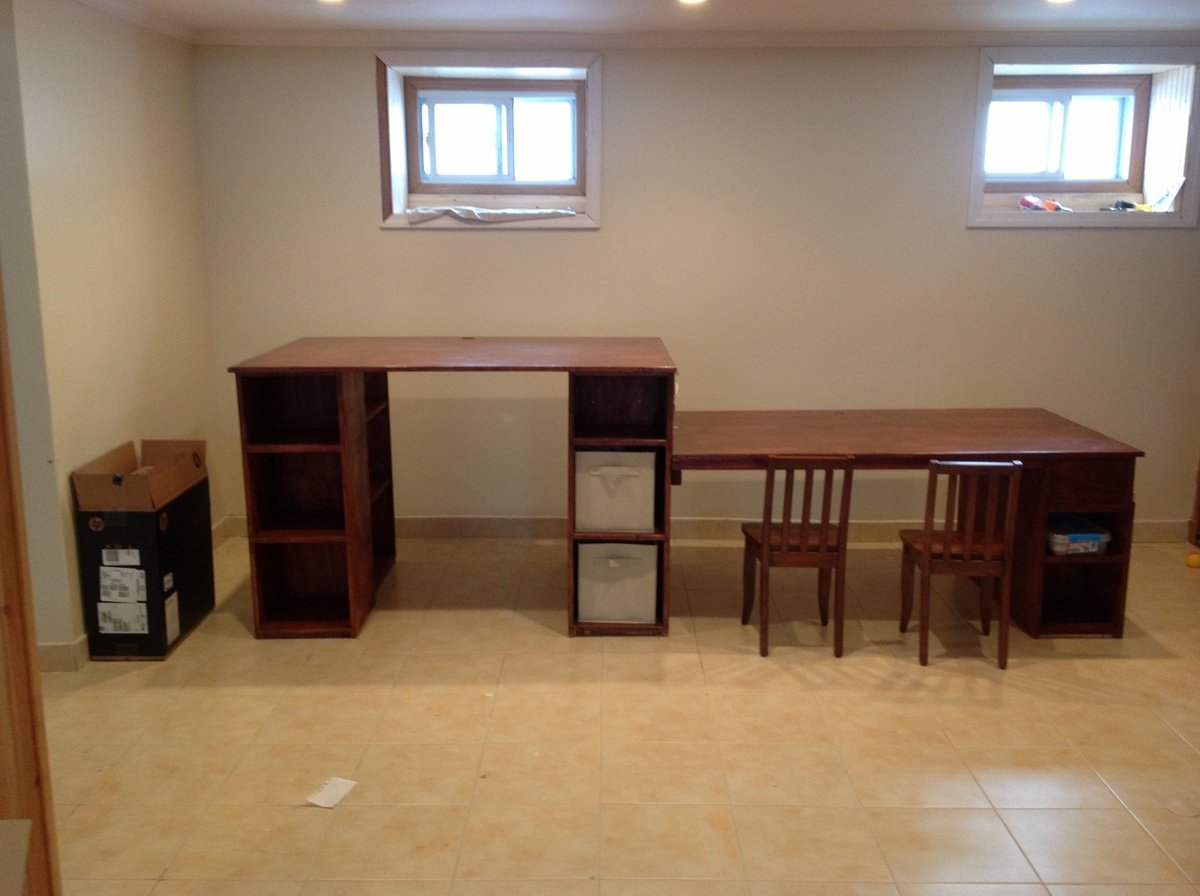
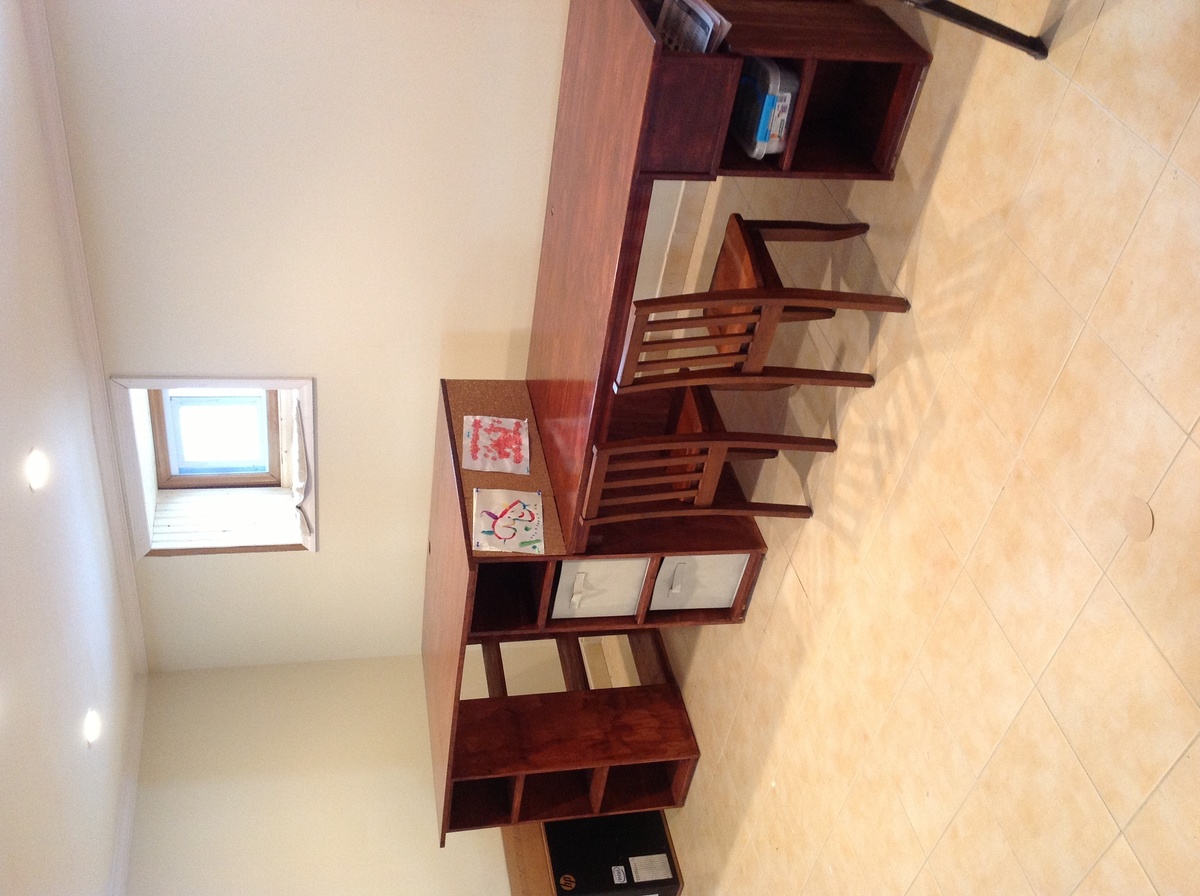
Our Craft Station
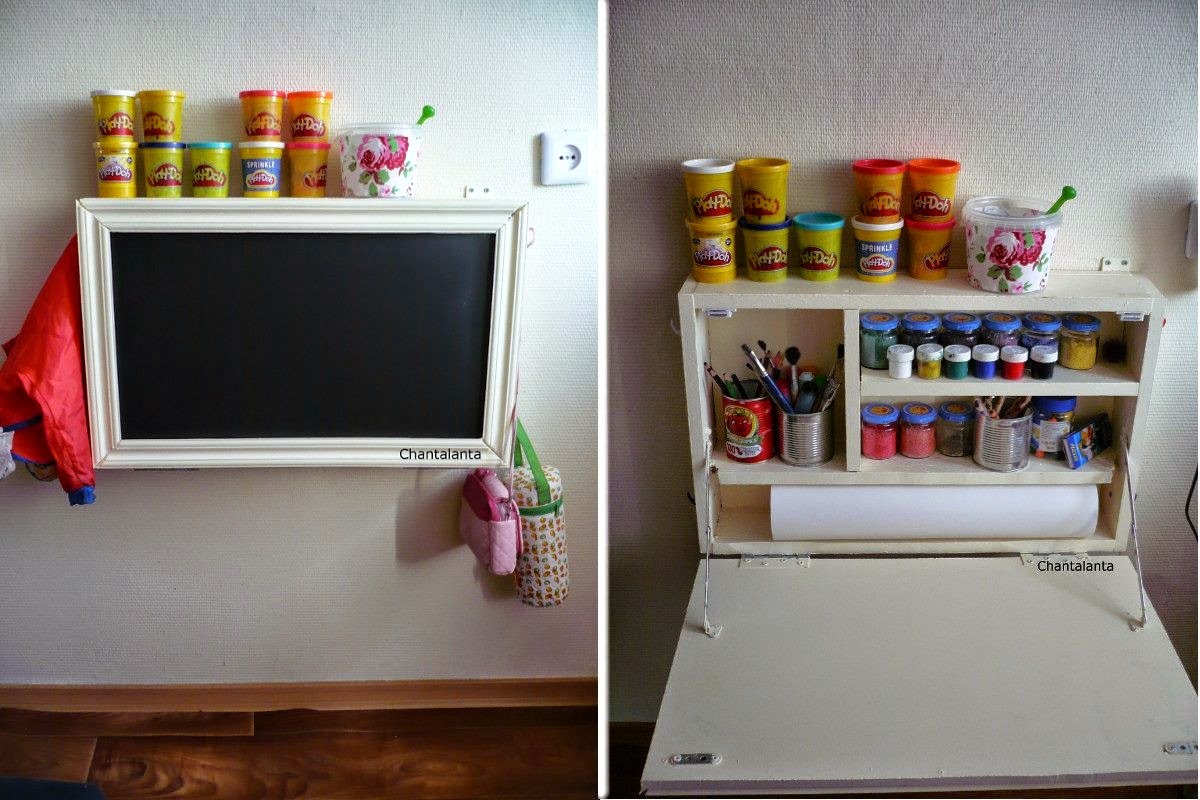
Dear Anna,
Thanks a ton for such inspiration and detailed instrusctions! I showed then to my husband and he created a craft station for our daughter.
We used different fittings ( used the ones we could find in the nearest shop). Also, to decorate front pannel we used polyurethane molding left from house repairs.
=Tatiana=
Built from Plan(s)
Estimated Time Investment
Afternoon Project (3-6 Hours)
Recommended Skill Level
Beginner
Project table with sidecar kids craft table
This was our first build, with help from my dad we used the plans for the modern craft table and added a side table for the kids to have their own crafting space and storage.
Built from Plan(s)
Finish Used
Mix of two stains red oak and red chestnut
Recommended Skill Level
Beginner
Comments
Tue, 02/12/2013 - 15:57
I LOVE THIS!
I love this! It's so cool that you put the kids table on the side of your table. Great job, and it looks fantastic!
Mudroom Unit

Mudroom unnit built from own design for a friend to fit a specific space they had.
Finished in a light grey colour.


Estimated Cost
$300
Estimated Time Investment
Week Long Project (20 Hours or More)
Finish Used
Sherwin Williams Useful Gray SW705.
Recommended Skill Level
Beginner
Comments
Media console
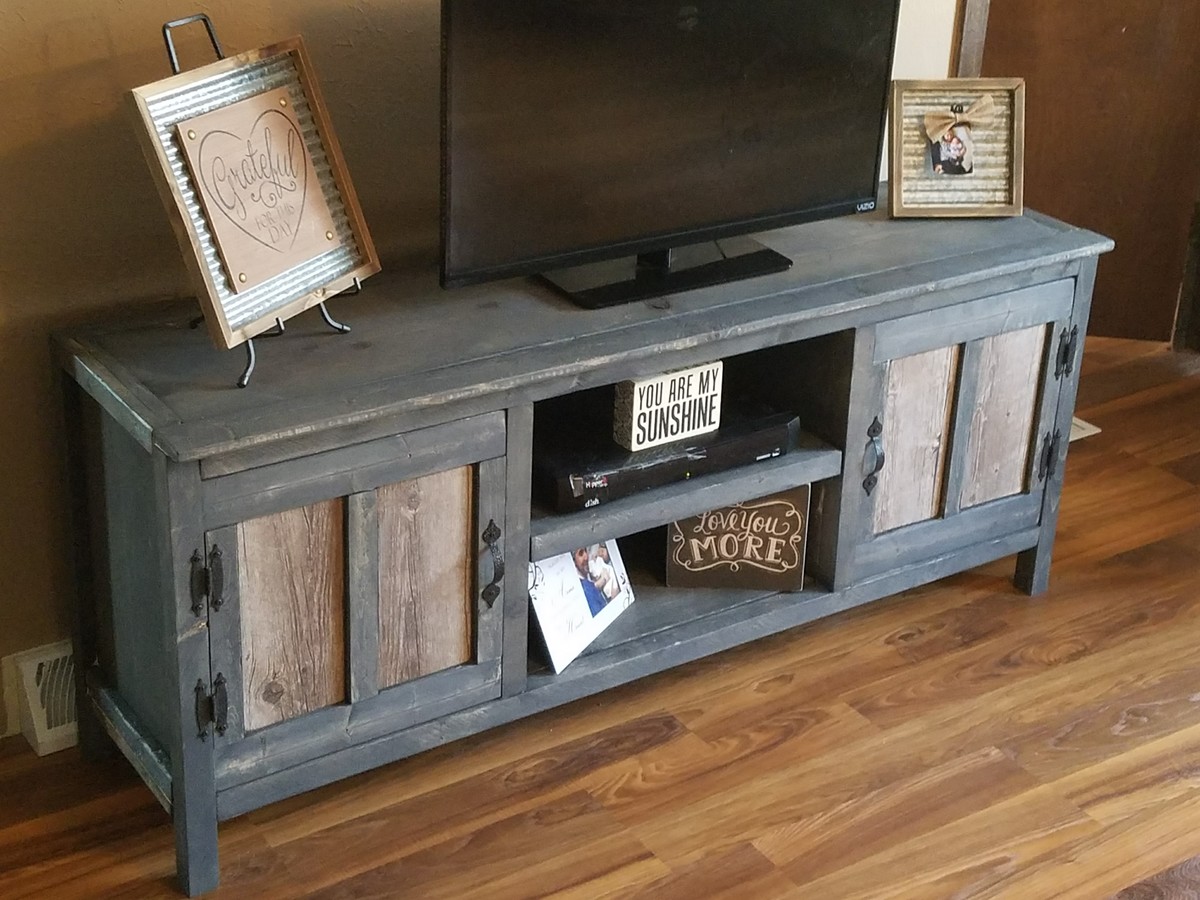
This was a fun build using the media console plans. I used ceramic tiles with a wood look in the door panels. Fairly inexpensive build and ended up with an expensive looking piece of furniture.
Estimated Time Investment
Weekend Project (10-20 Hours)
Recommended Skill Level
Intermediate
Console table

Made this to match the Tryde coffee and end table I made for my other half. She loved them, and loves this. We added the bottom piece which wasn't part of the plan. Using the 2x4 in different direction gave it a unique look. We love it.
Built from Plan(s)
Estimated Cost
$60
Estimated Time Investment
Day Project (6-9 Hours)
Finish Used
Dark walnut with poly finish.
Recommended Skill Level
Beginner
Comments
Ana White
Sat, 02/02/2013 - 10:51
Wow!!!! This table is
Wow!!!! This table is extraordinary!
Robohead
Sun, 02/17/2013 - 07:28
Nice! Love the table and the
Nice! Love the table and the pipe bracing is very cool.