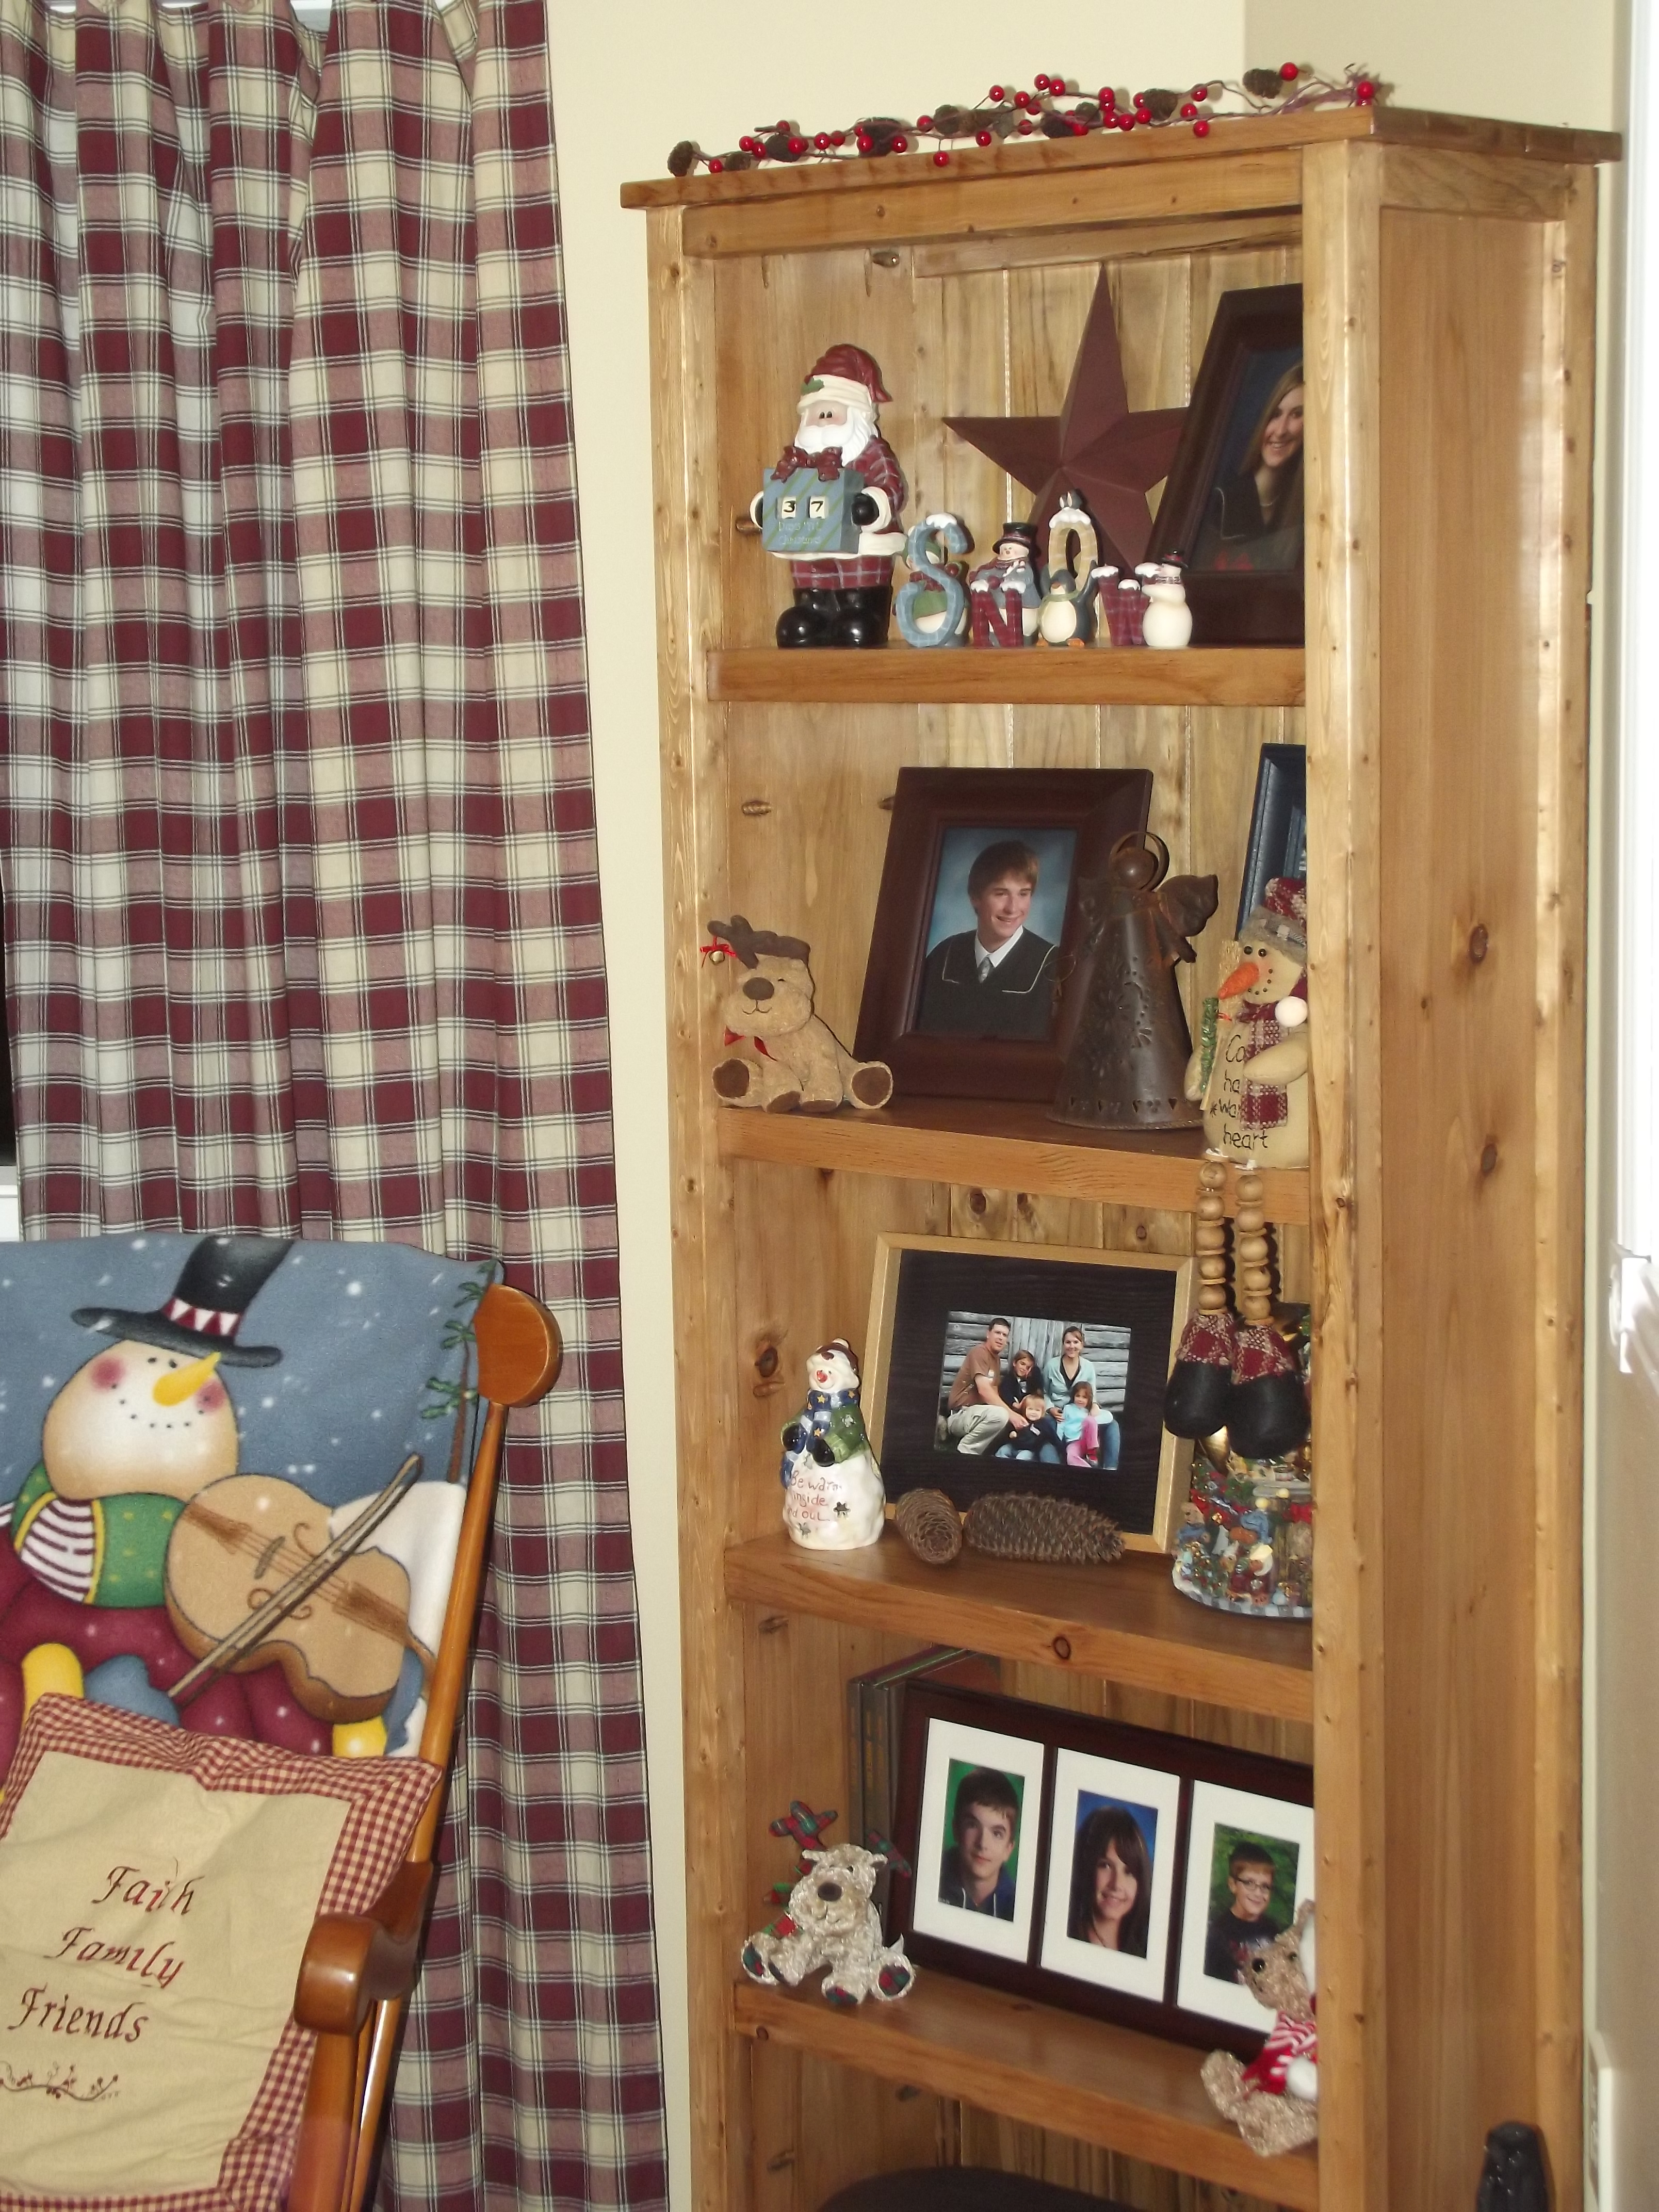
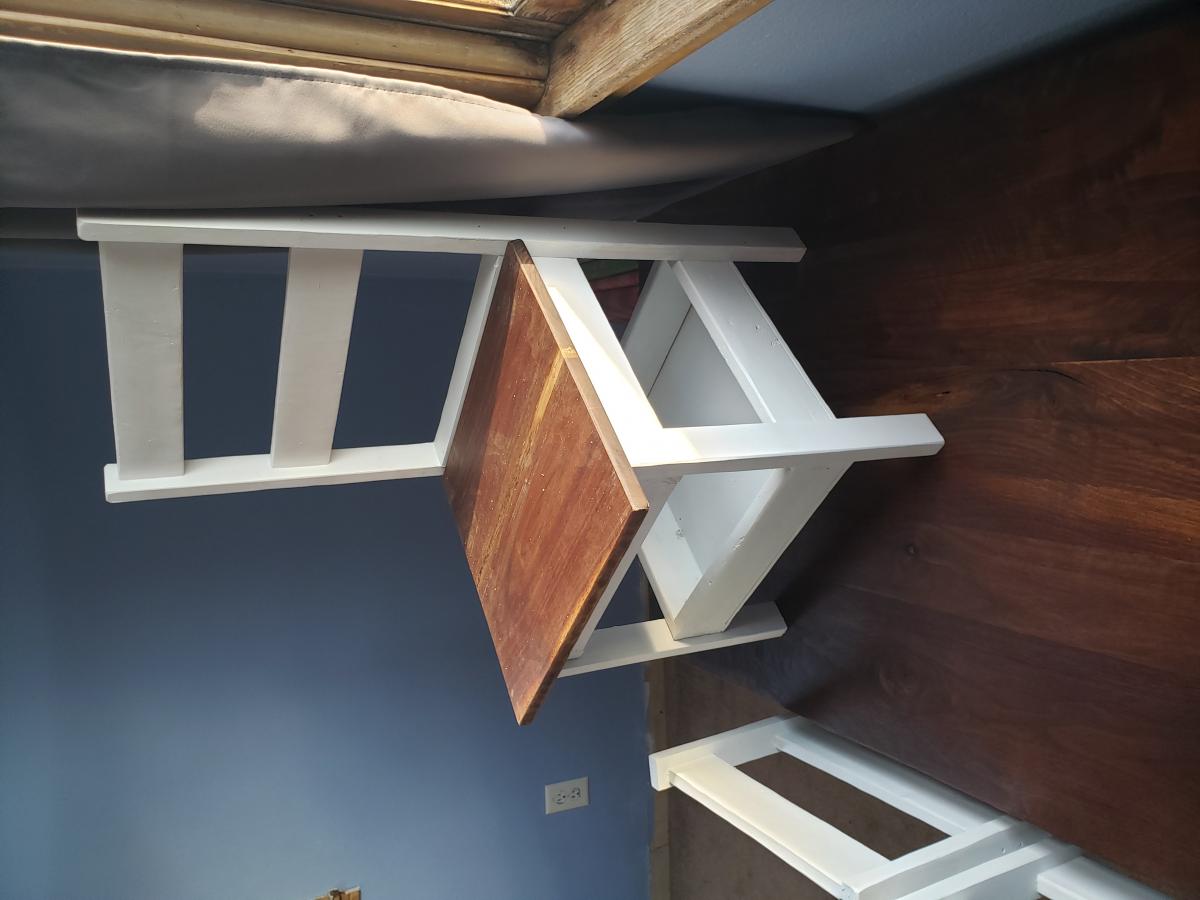
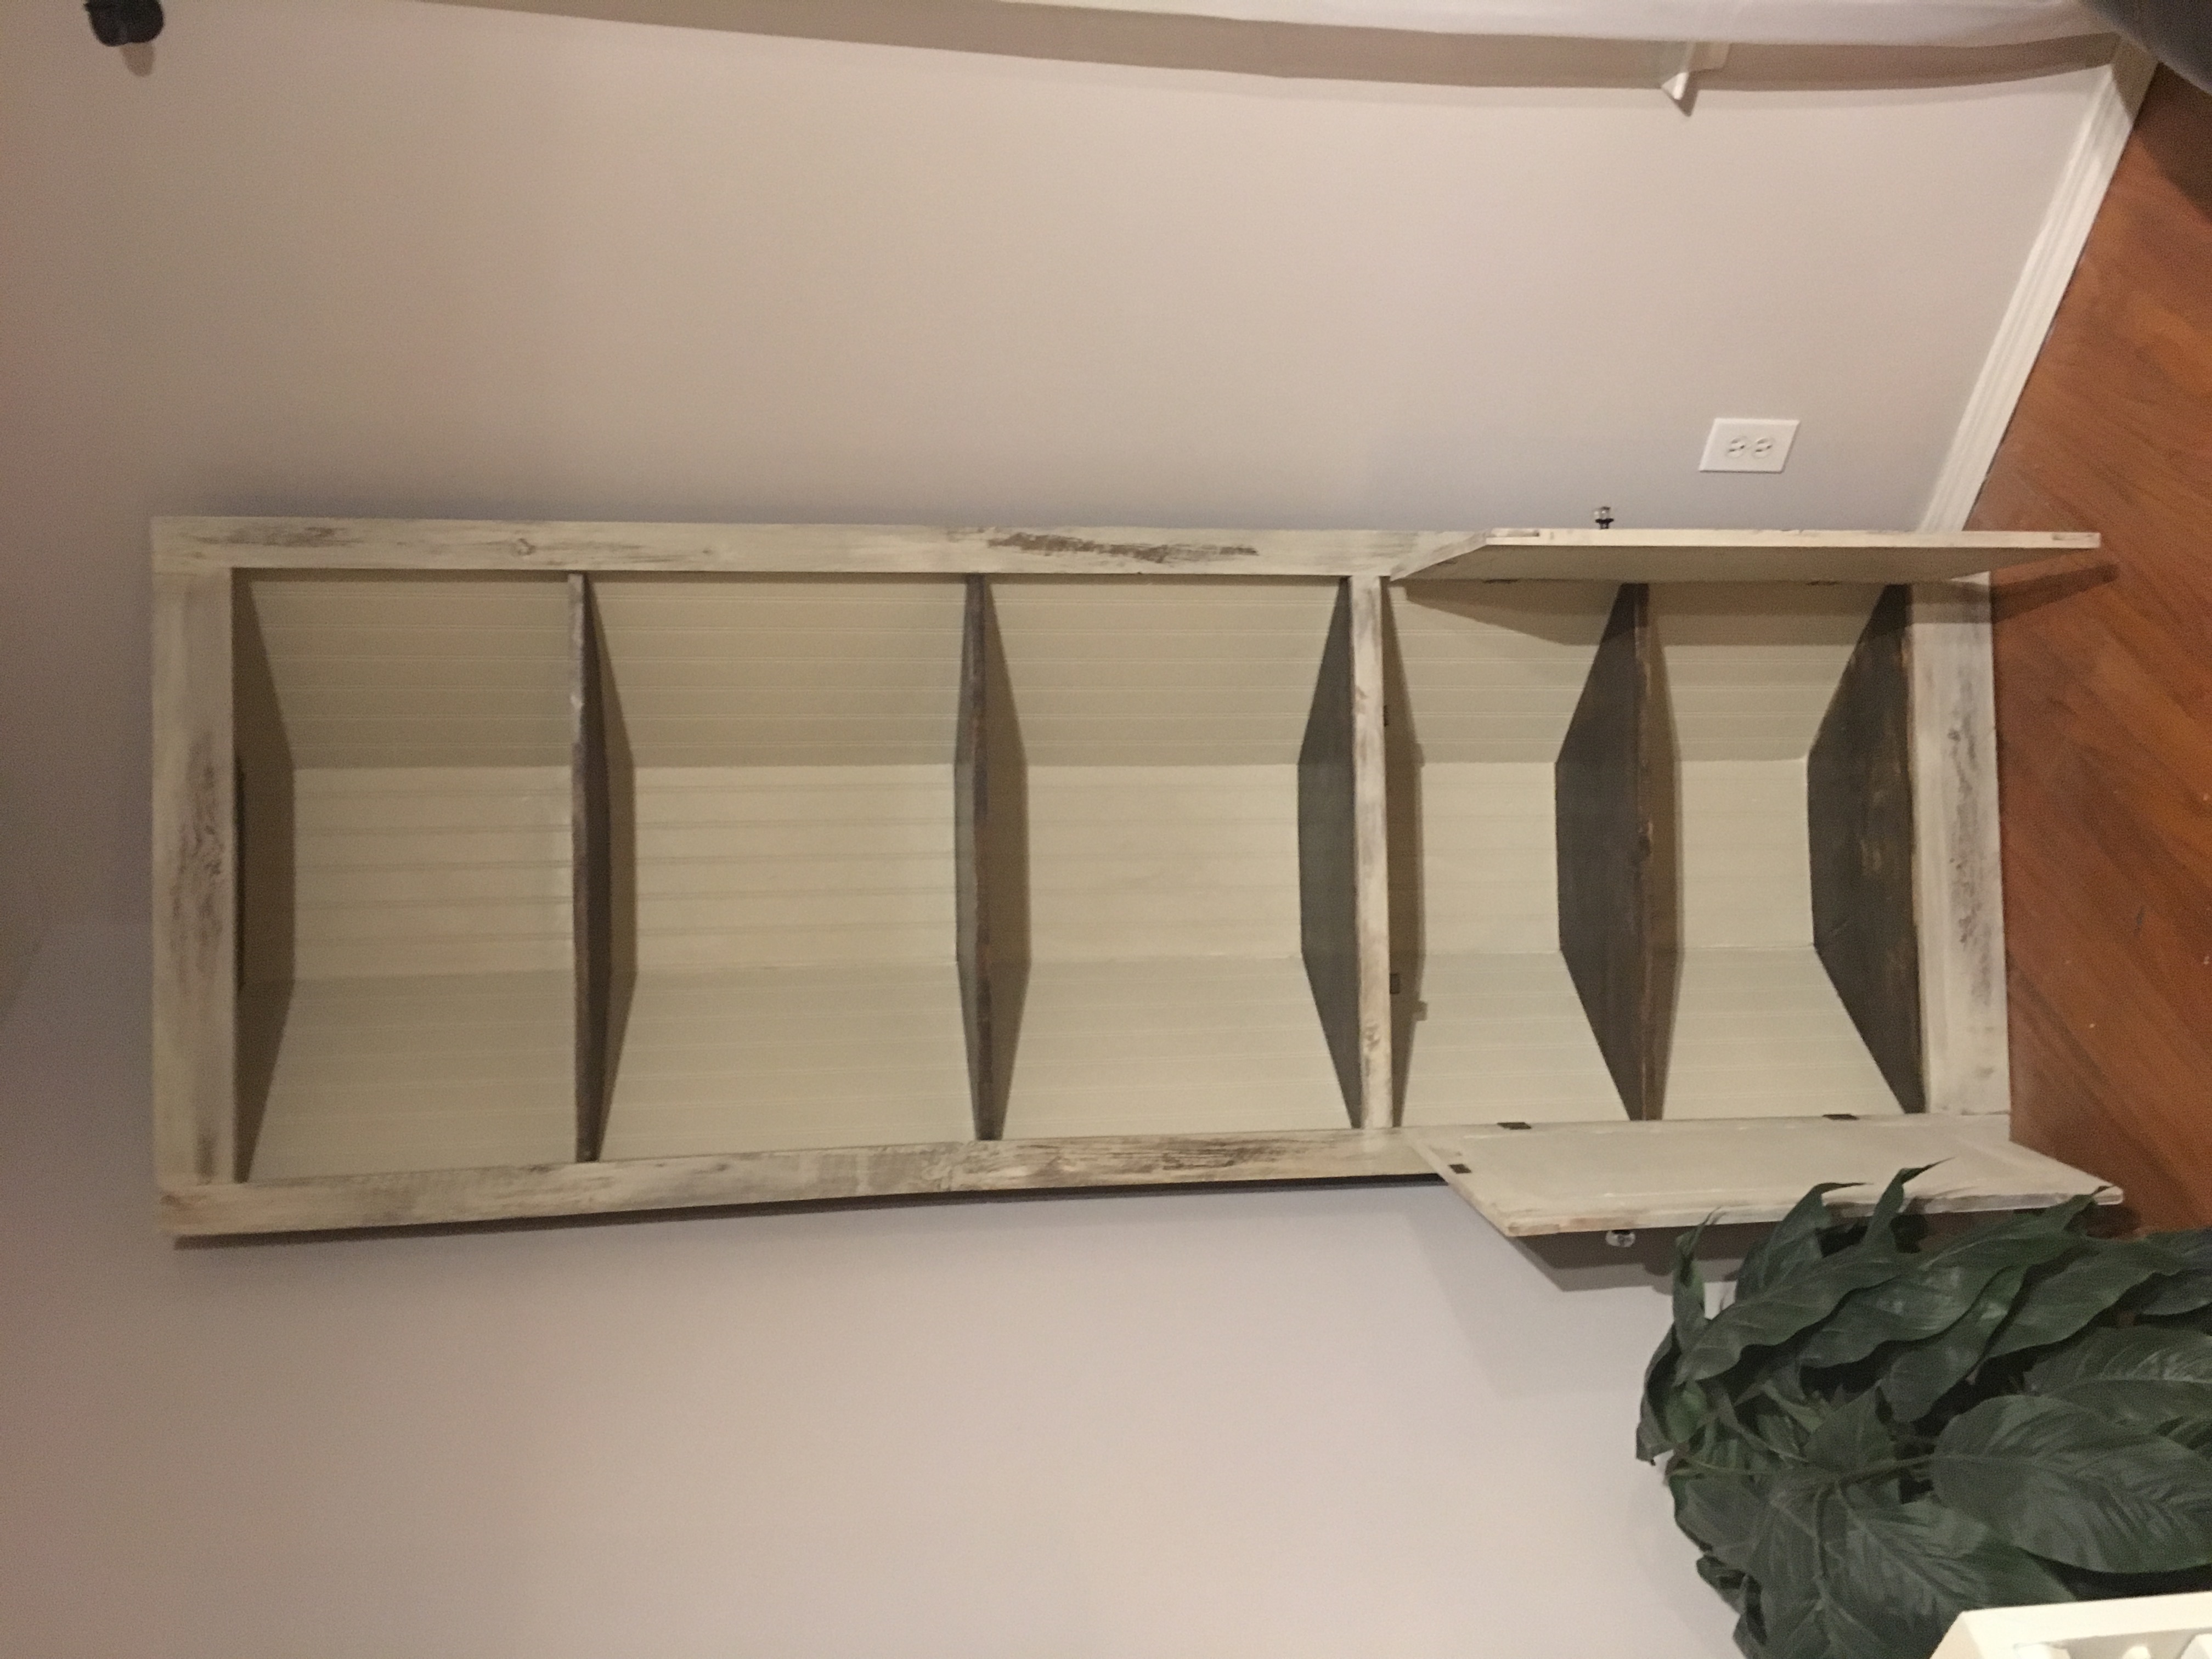
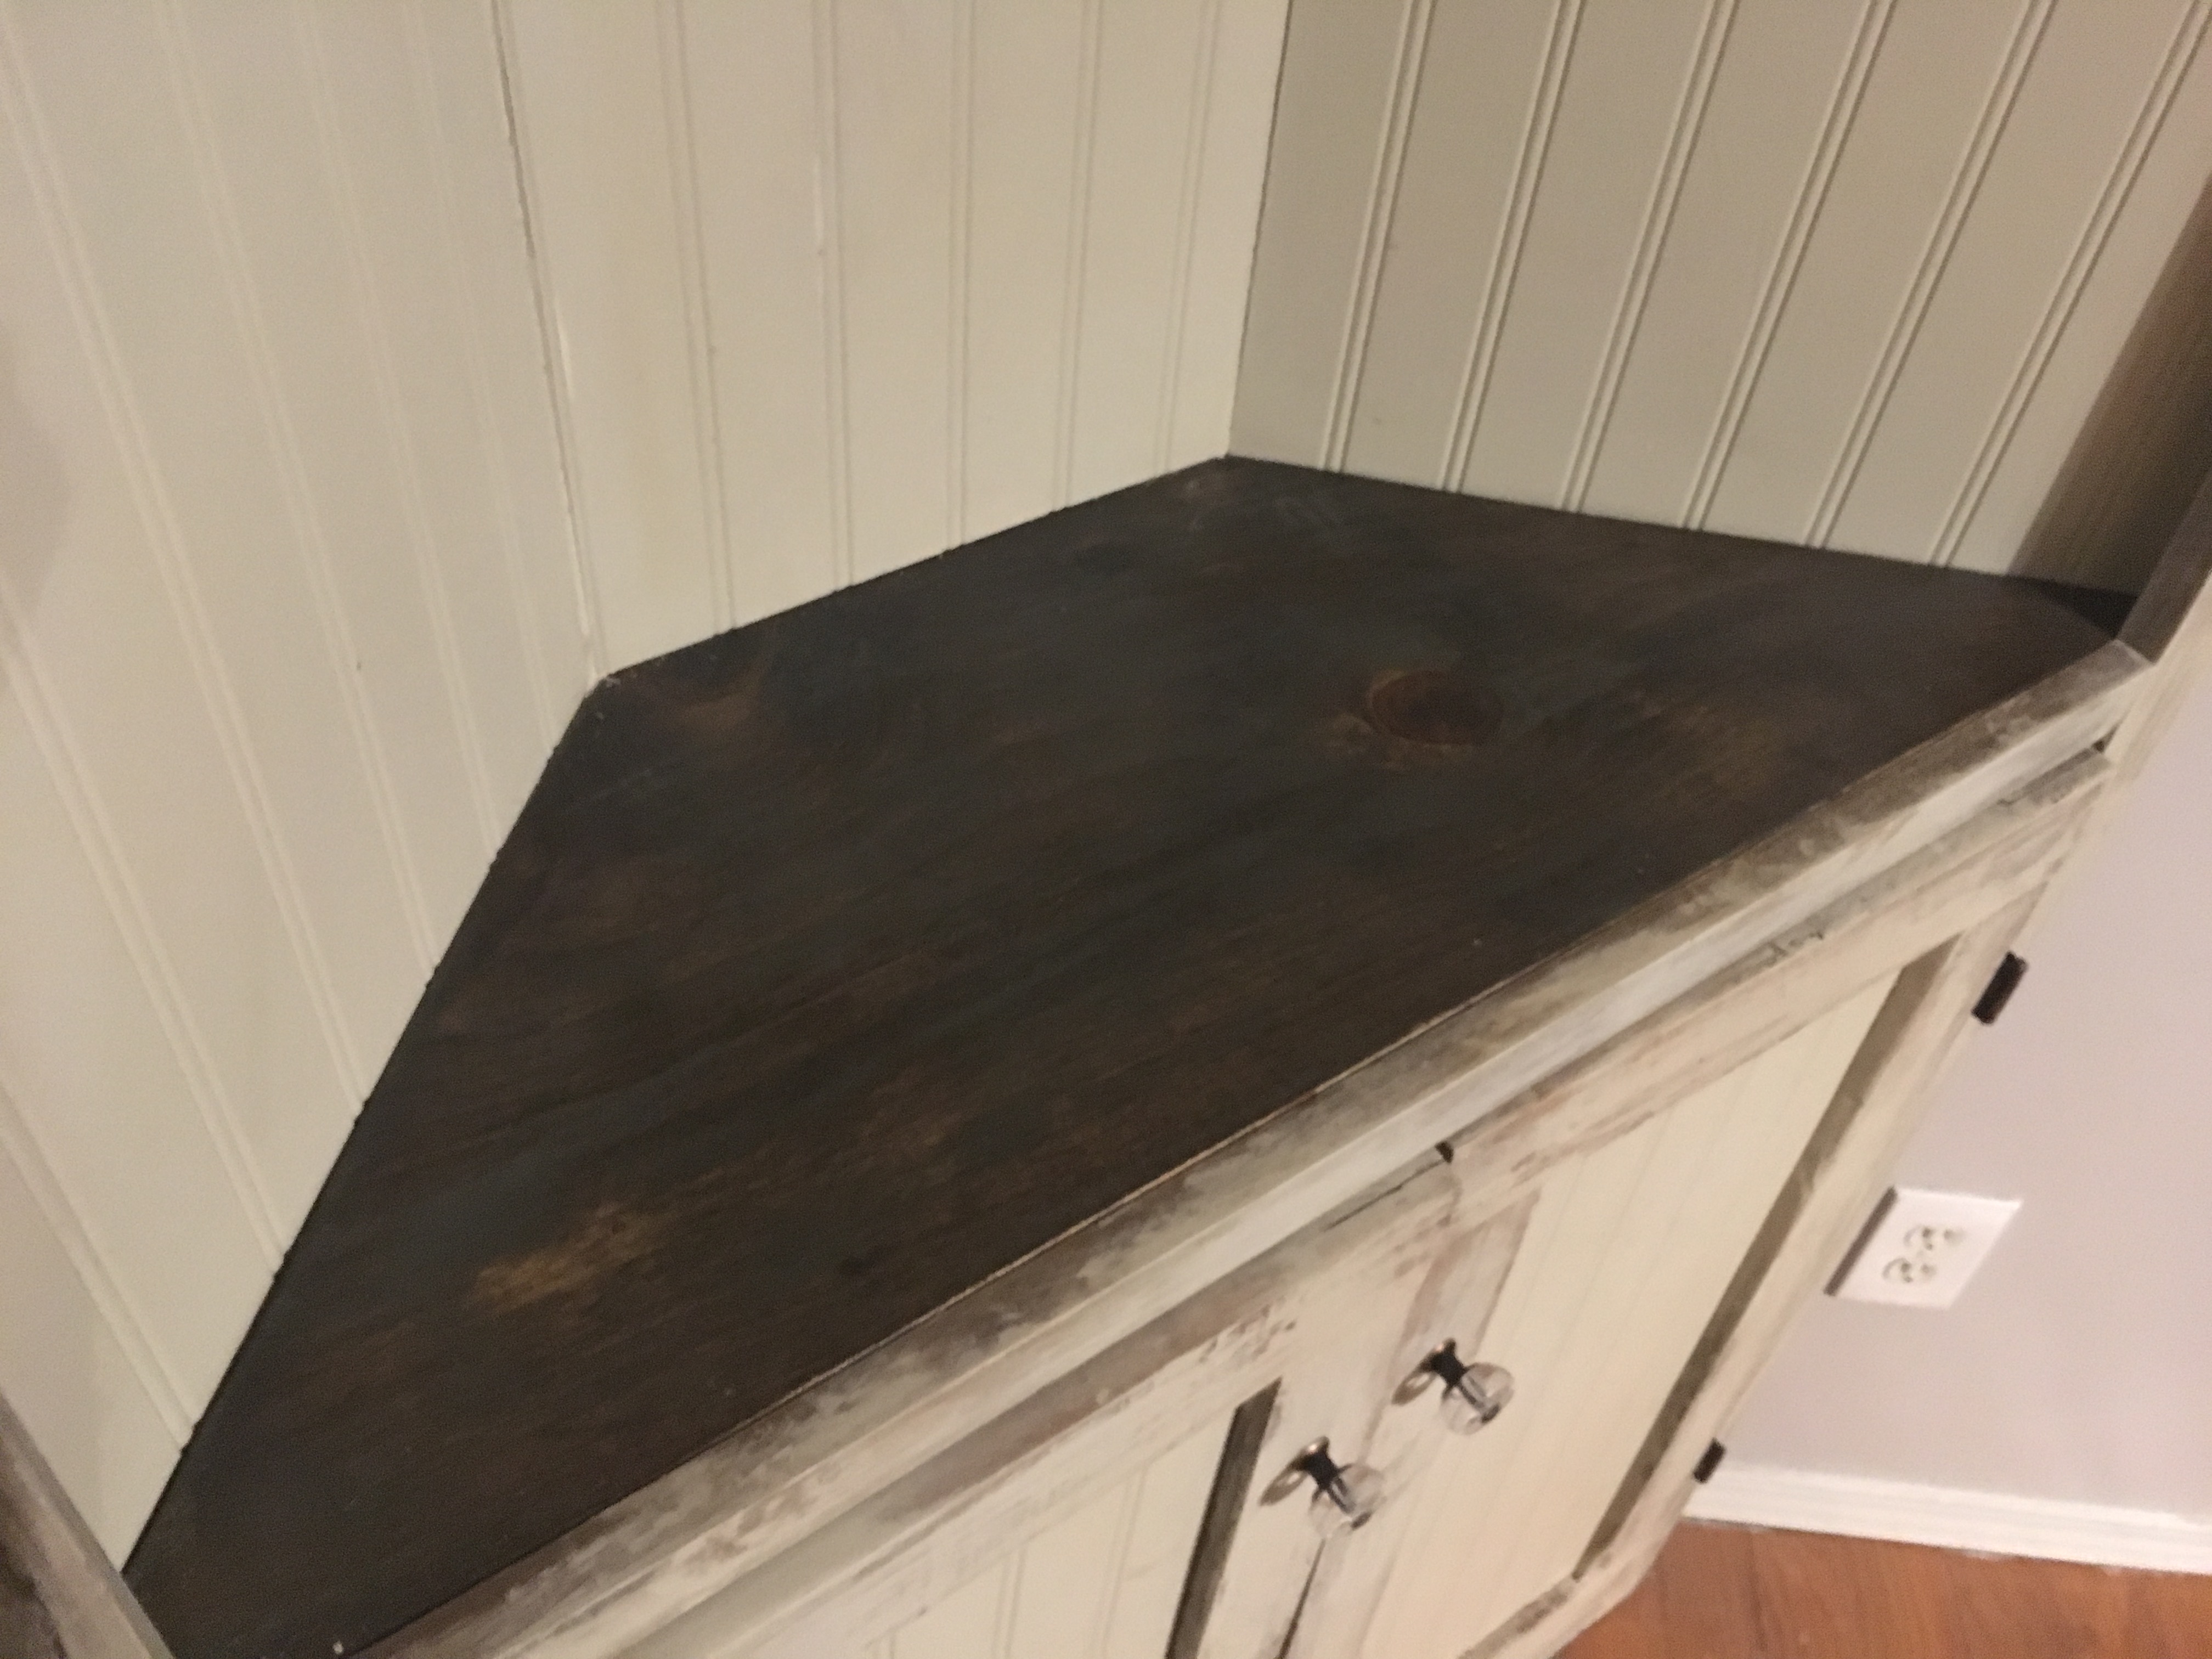
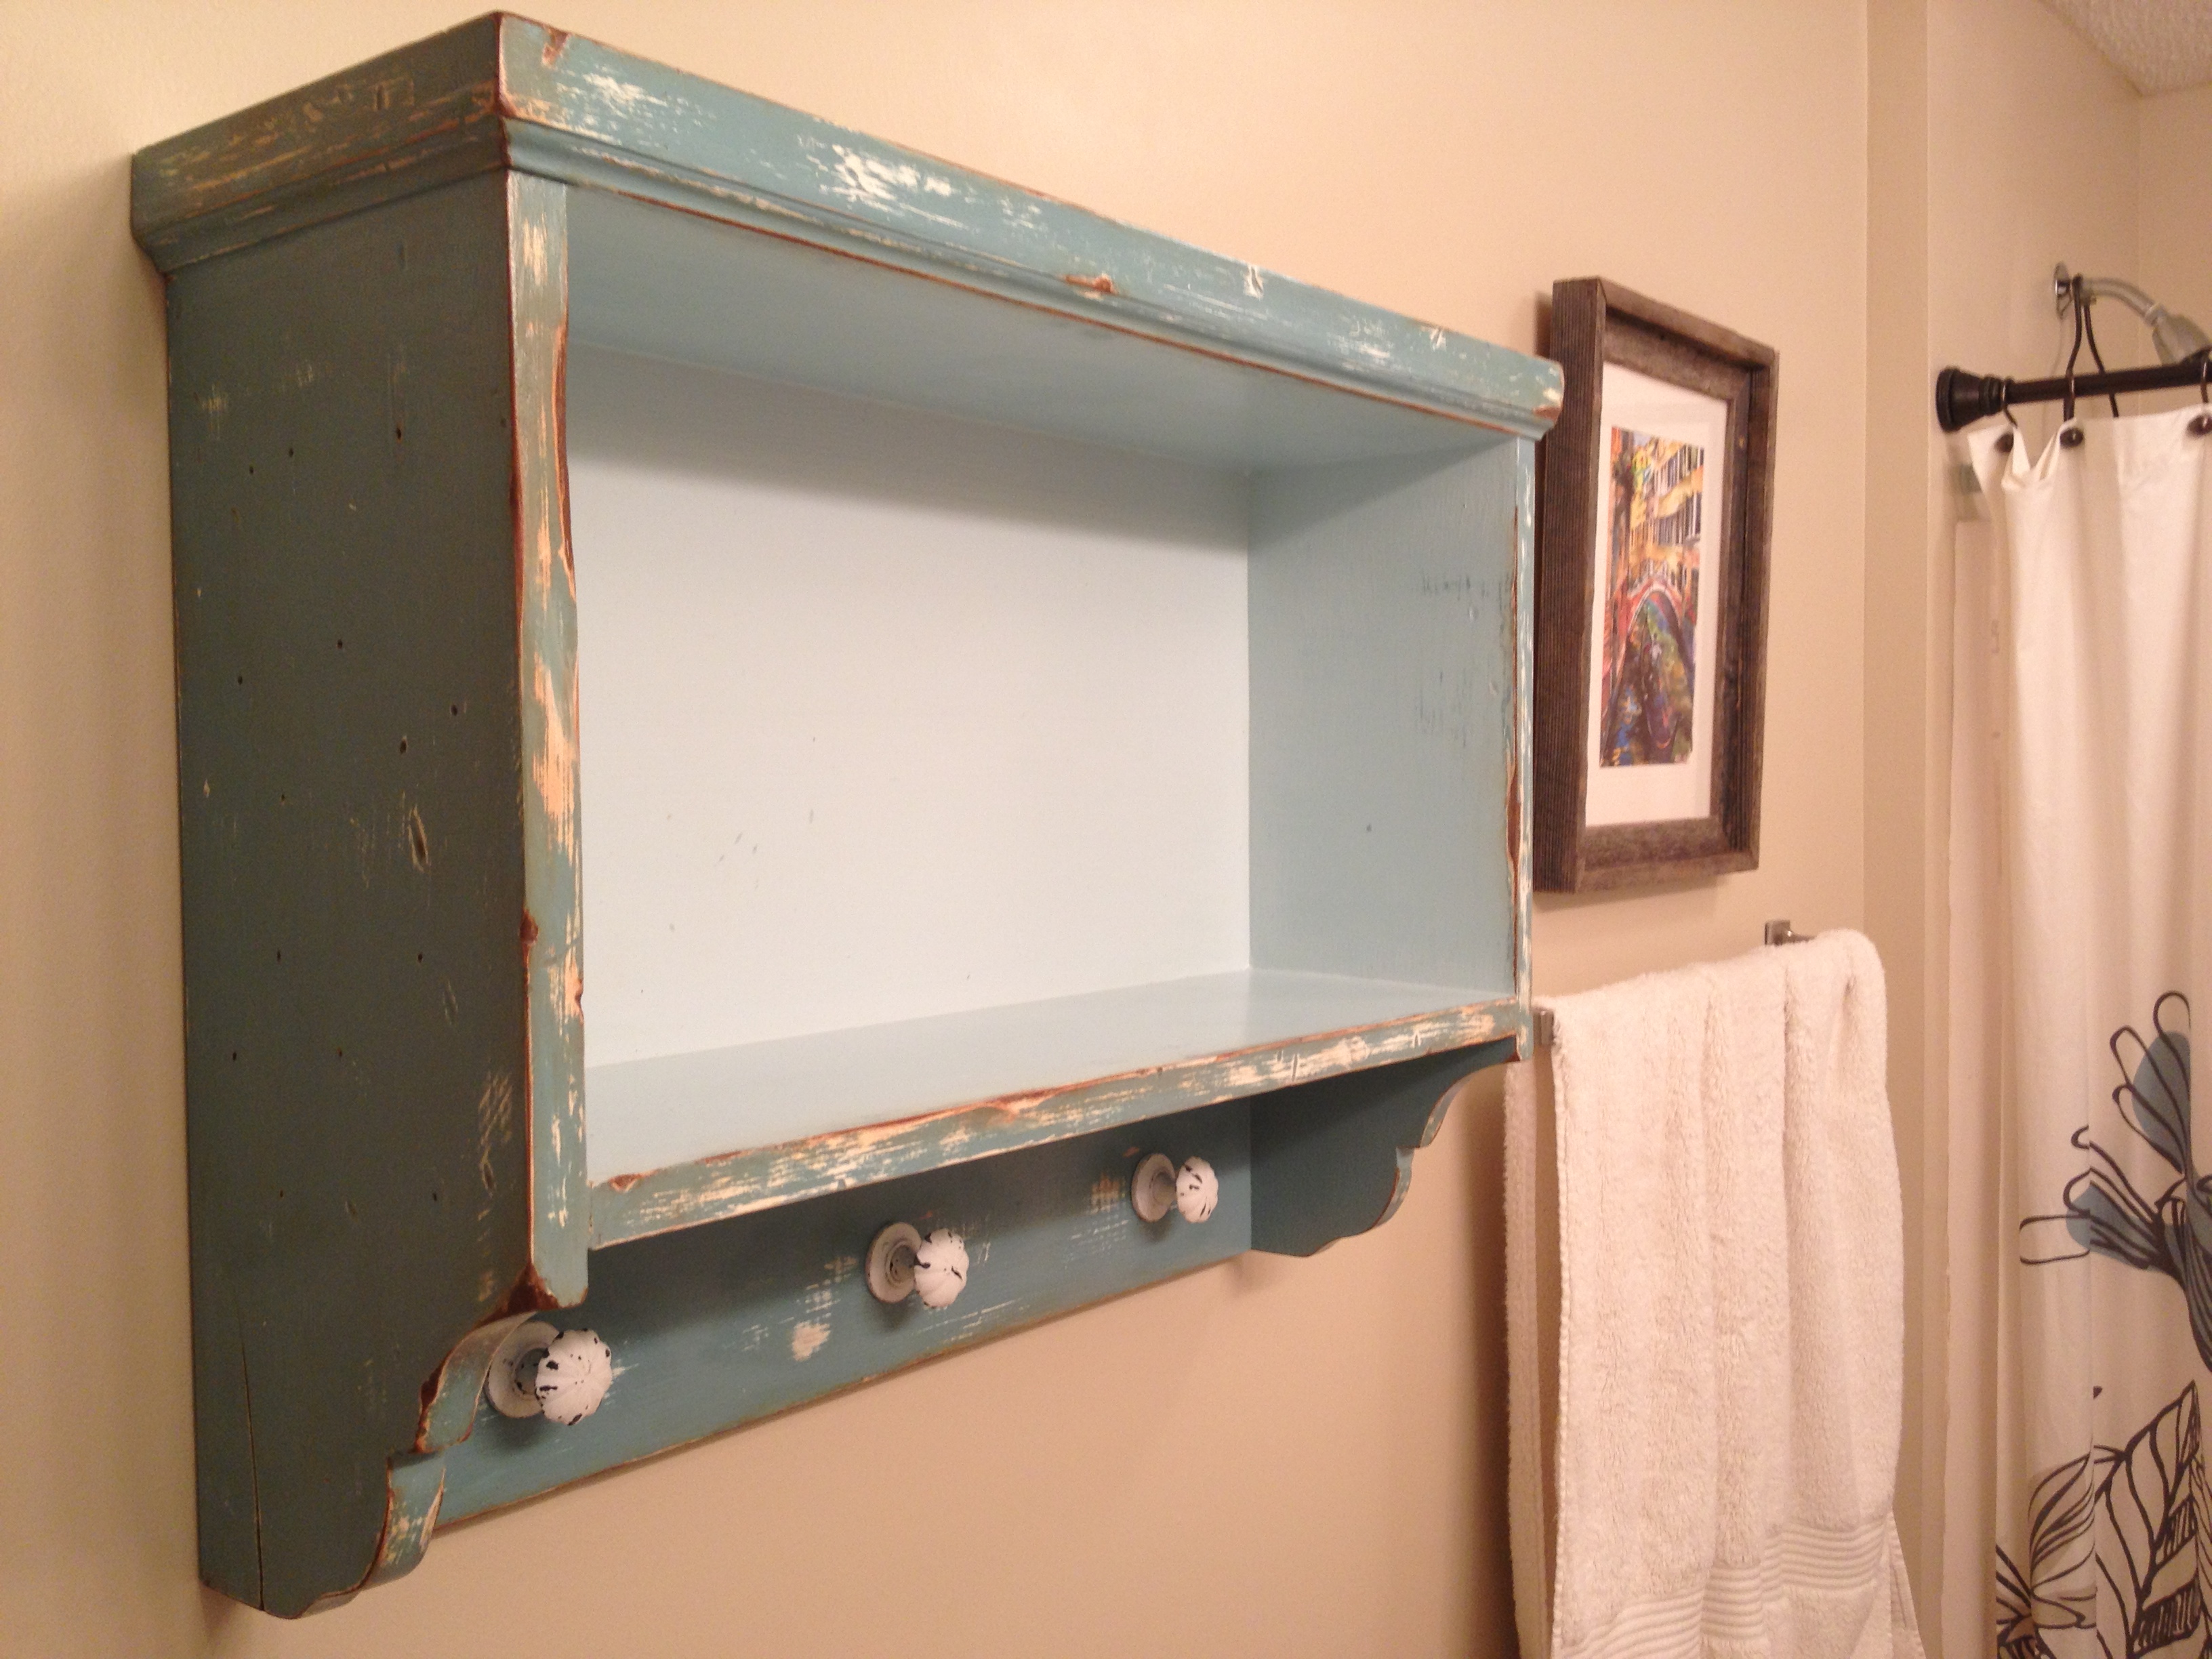
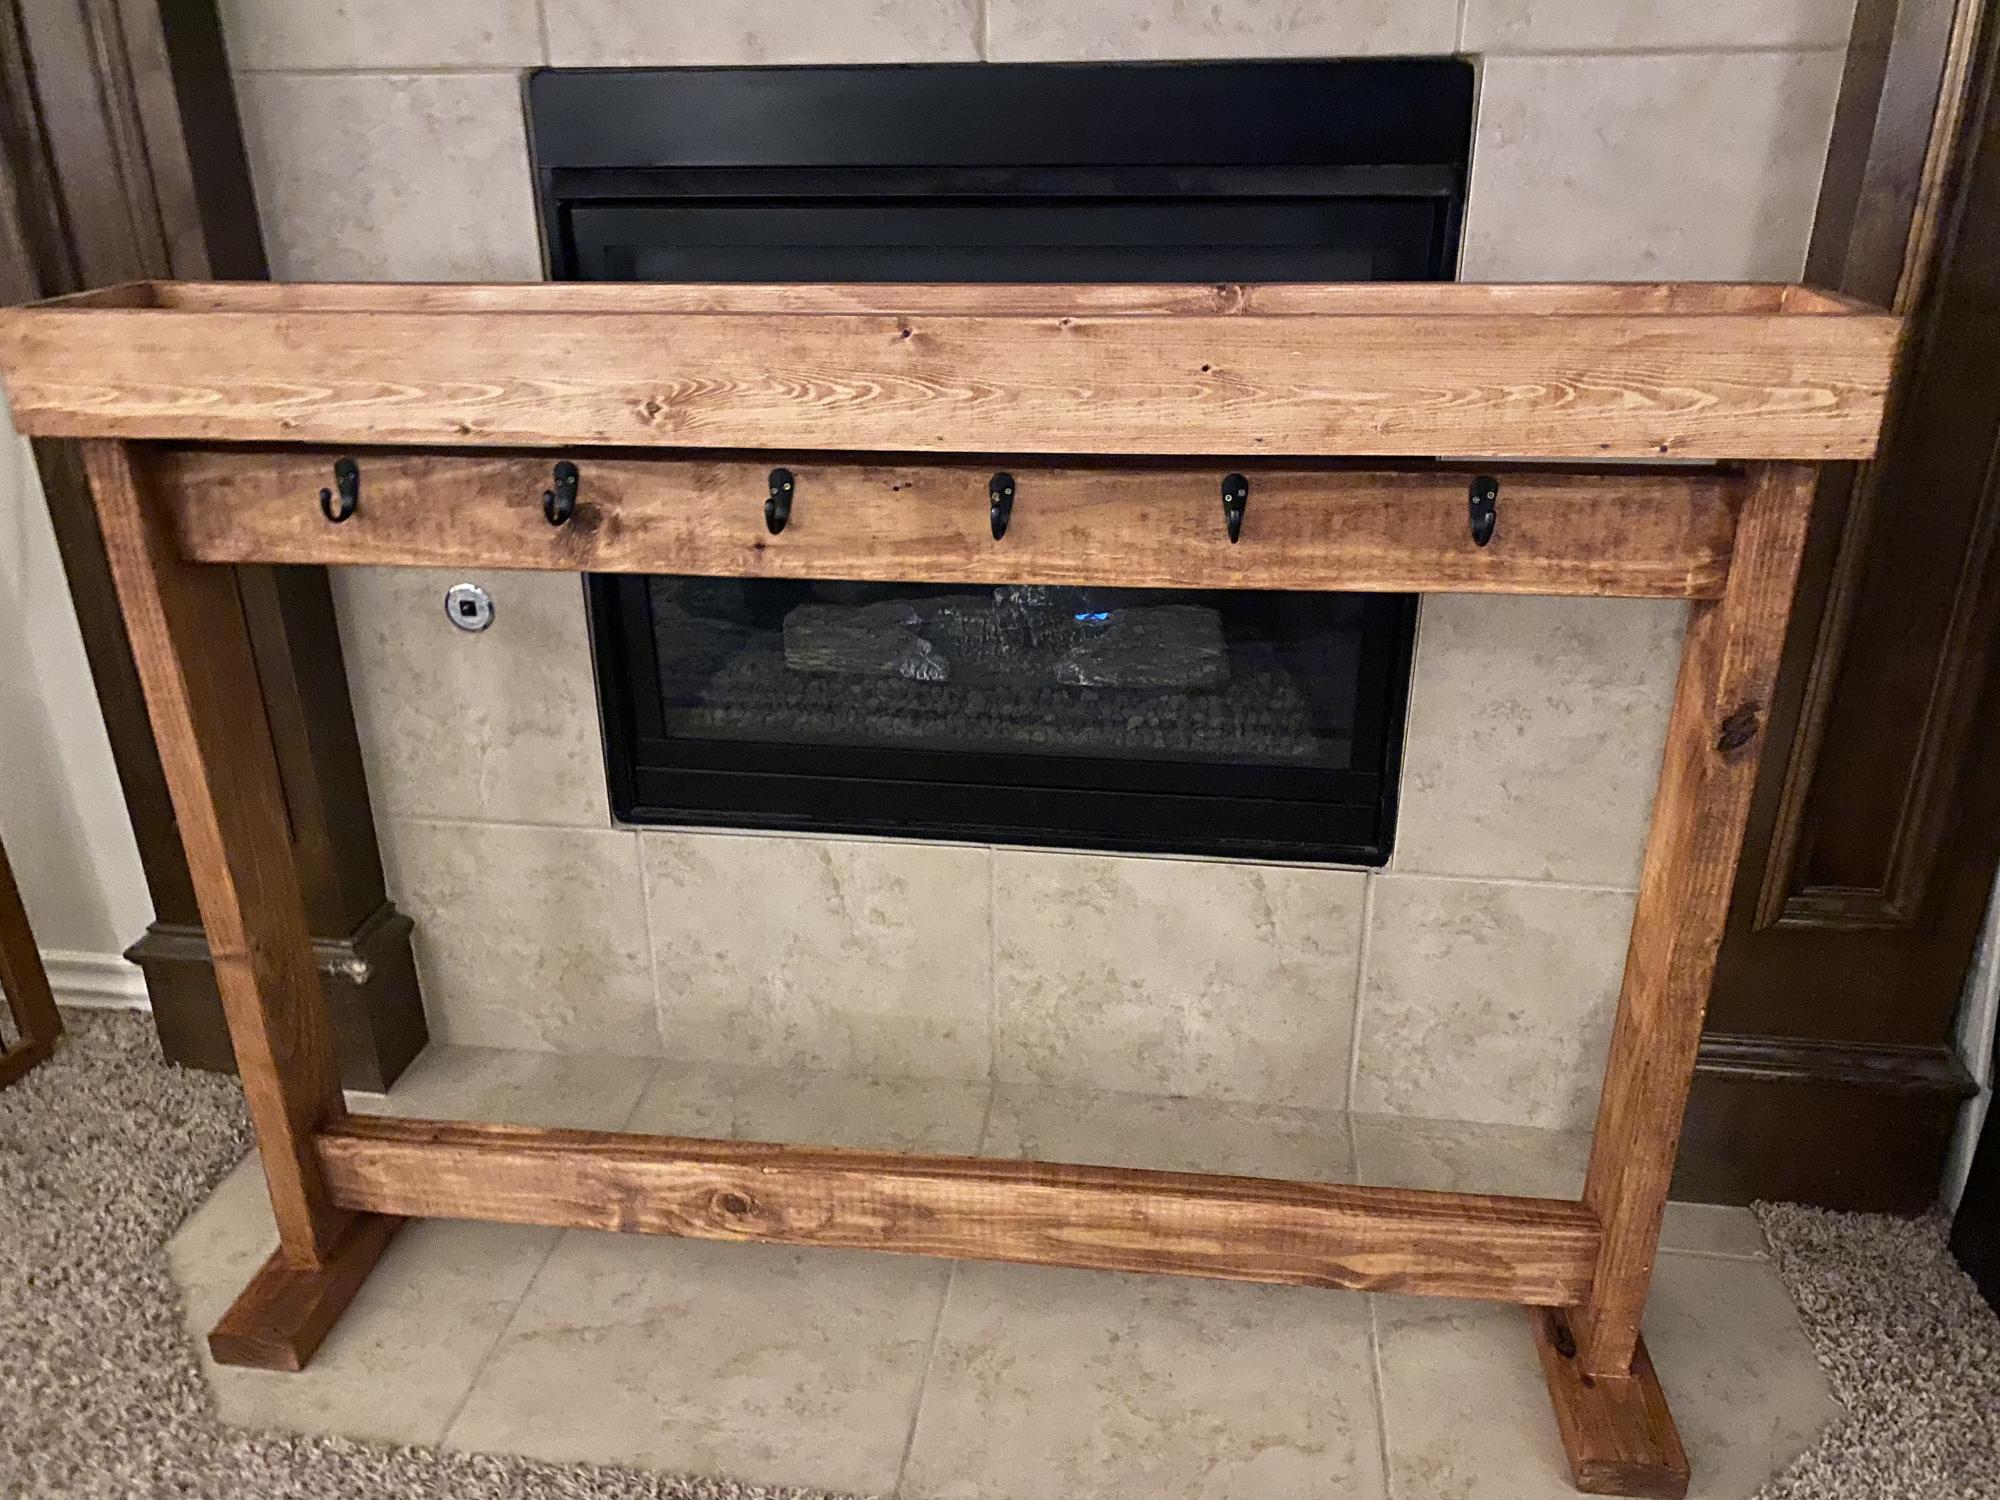
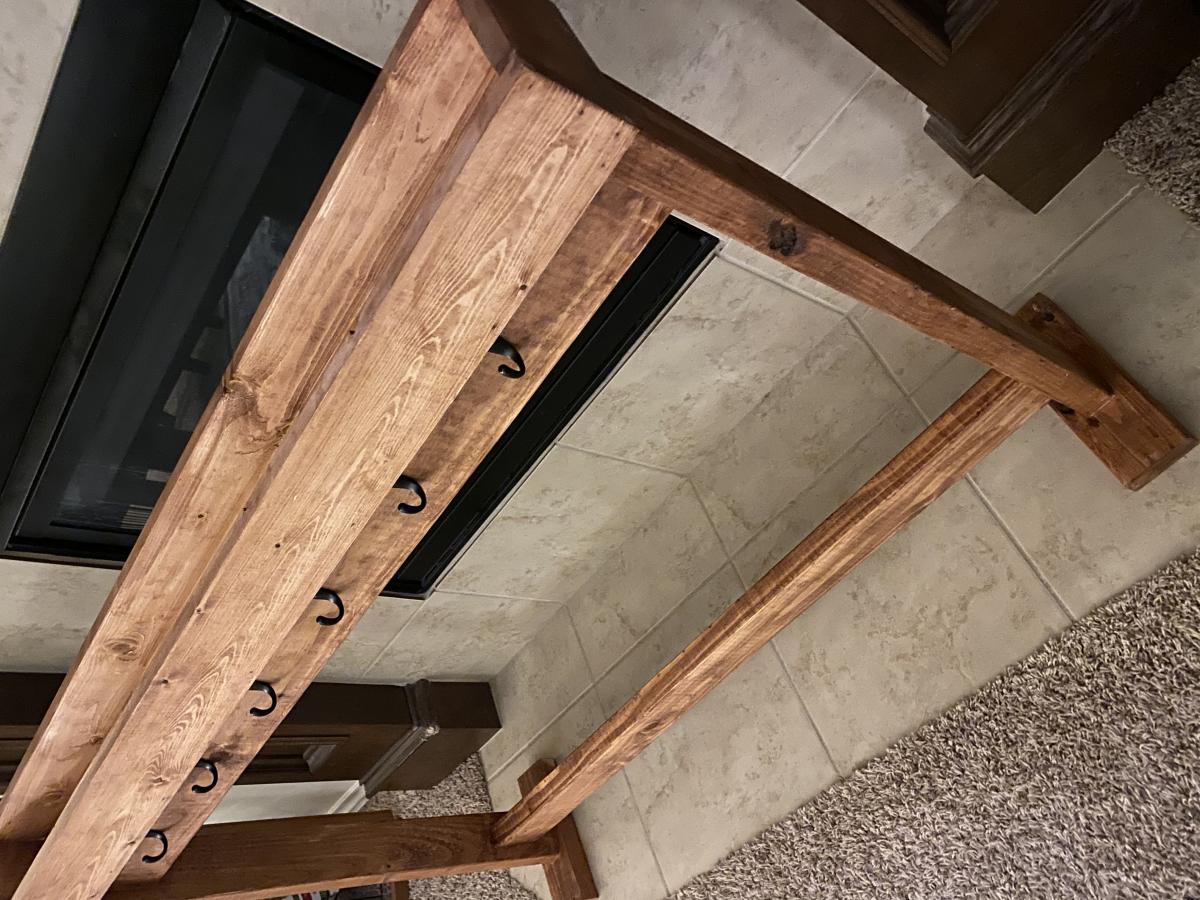
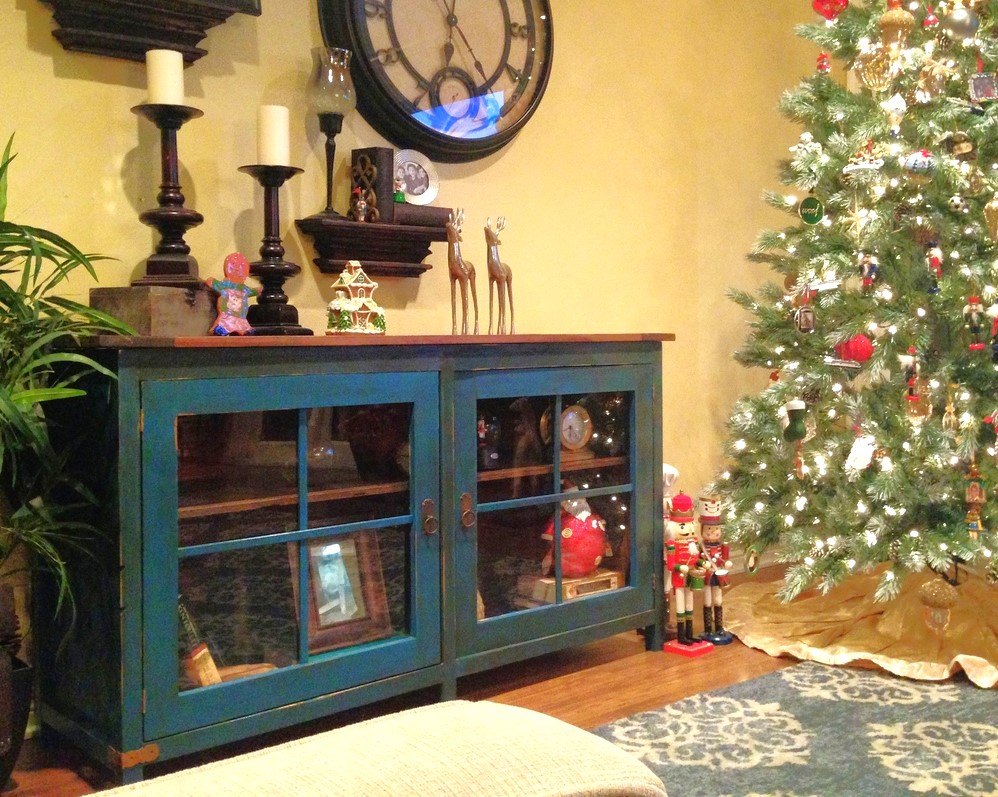
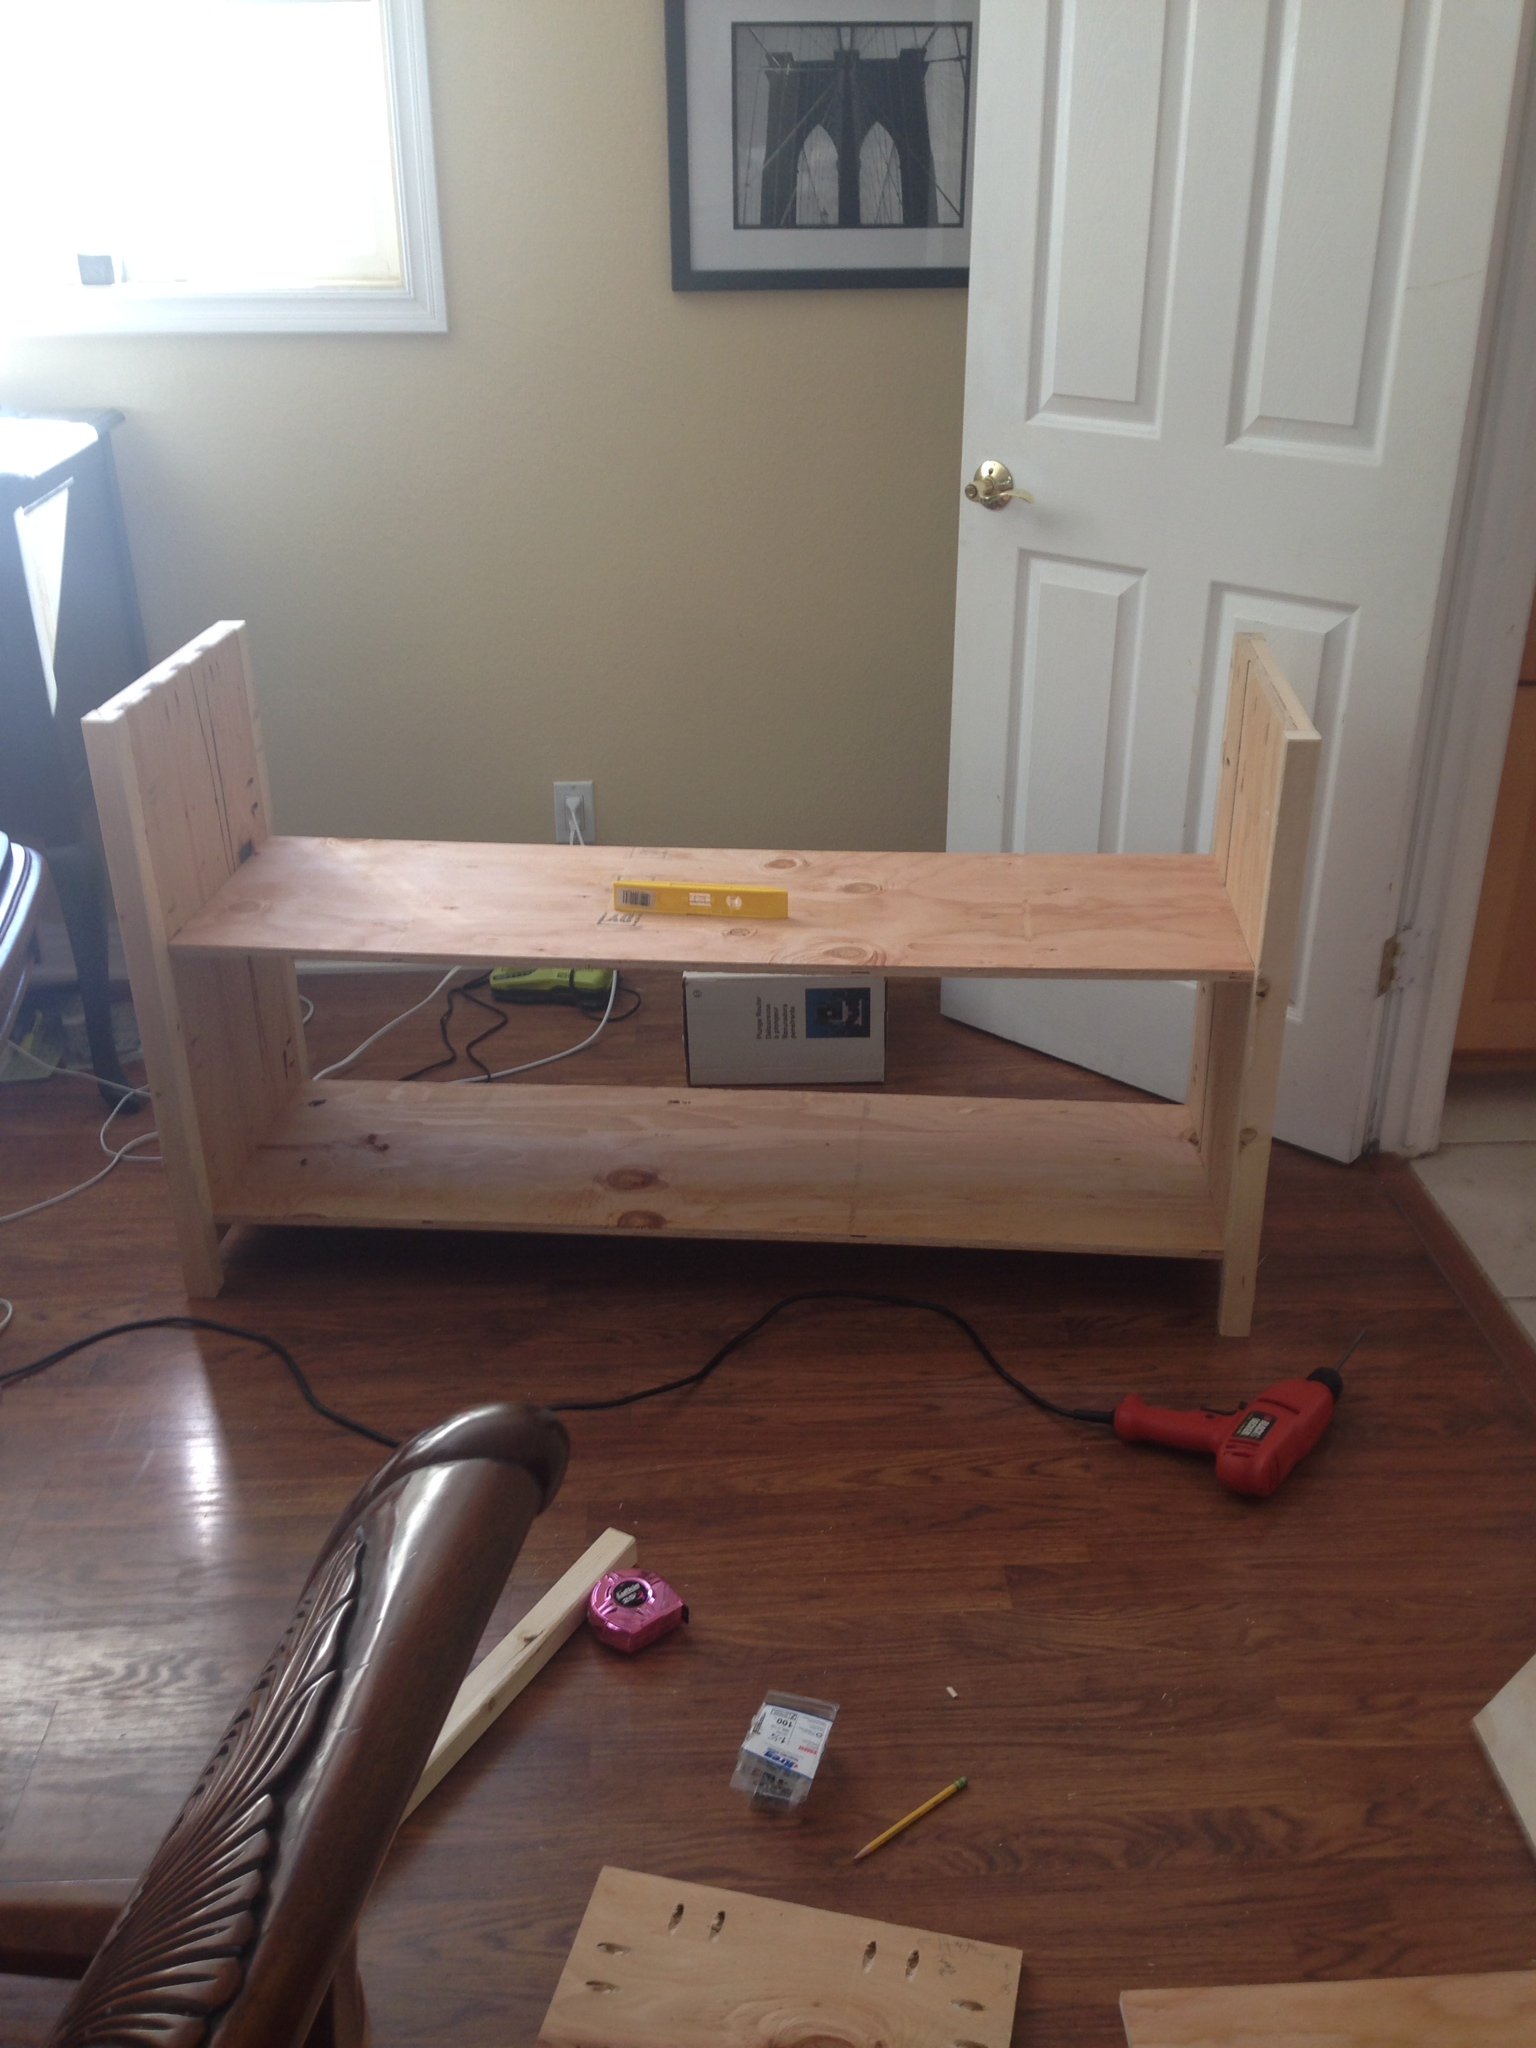
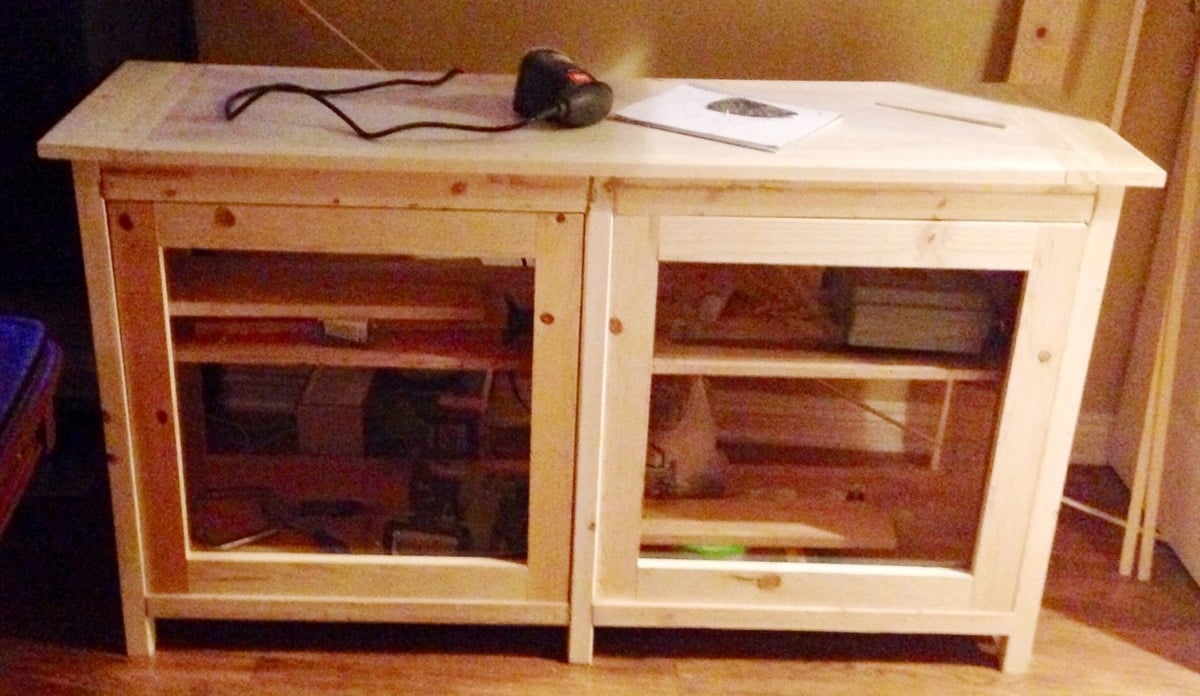
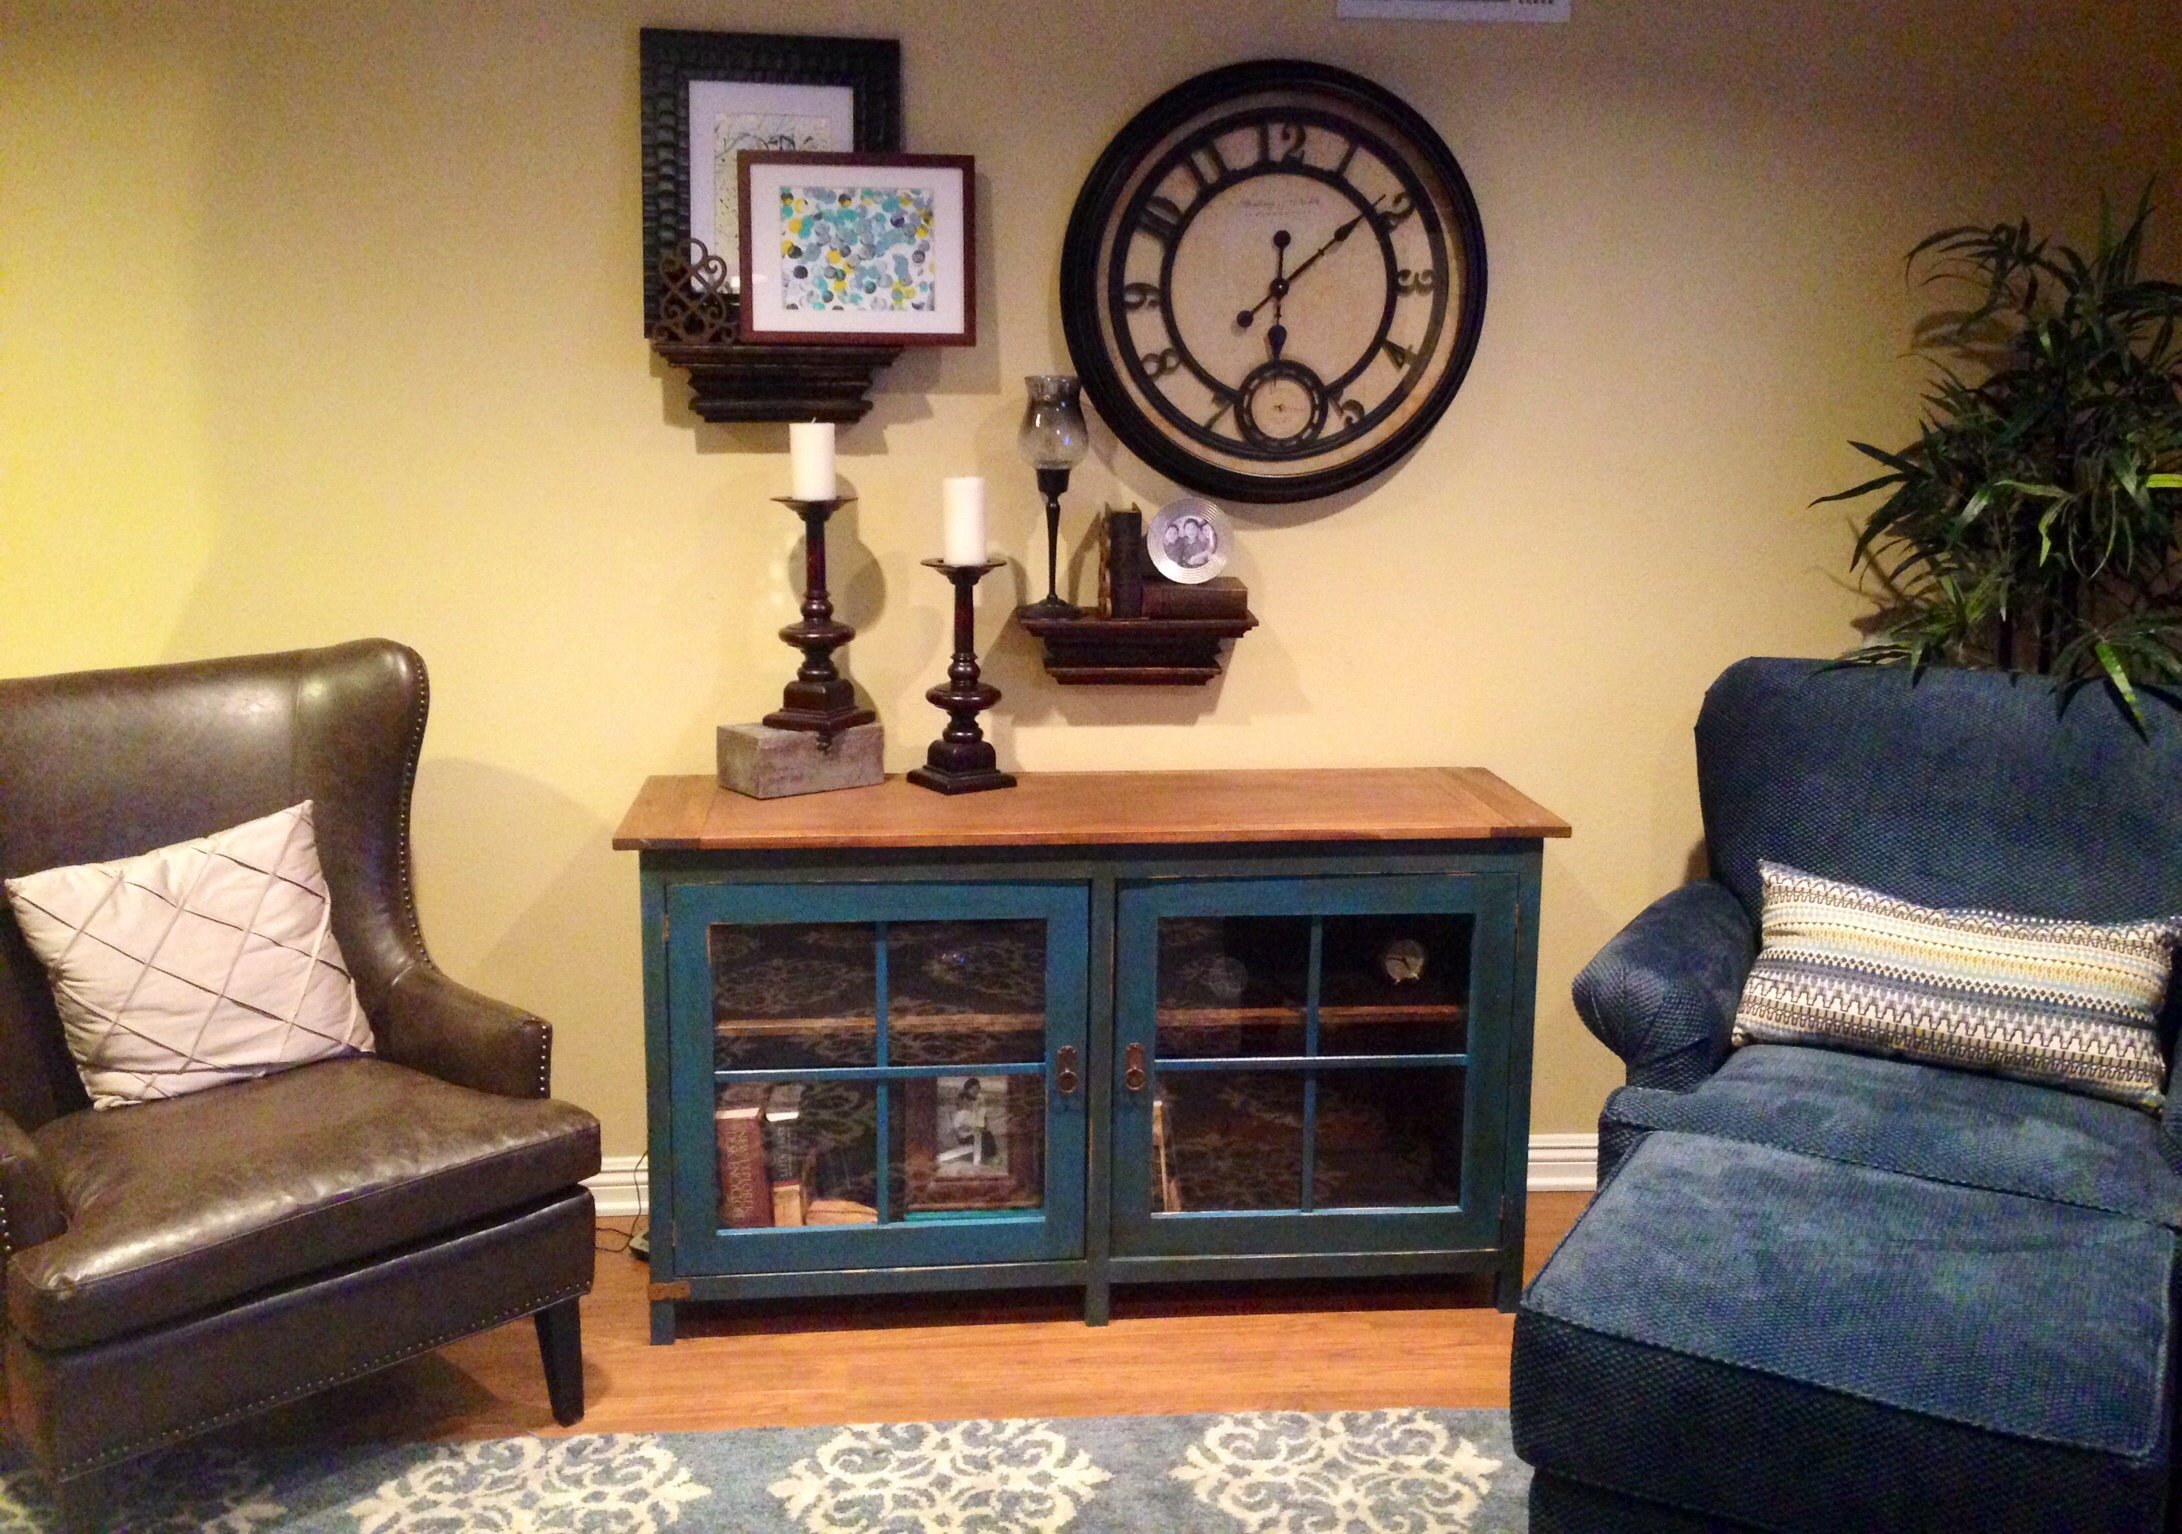
Kentwood Bookshelf
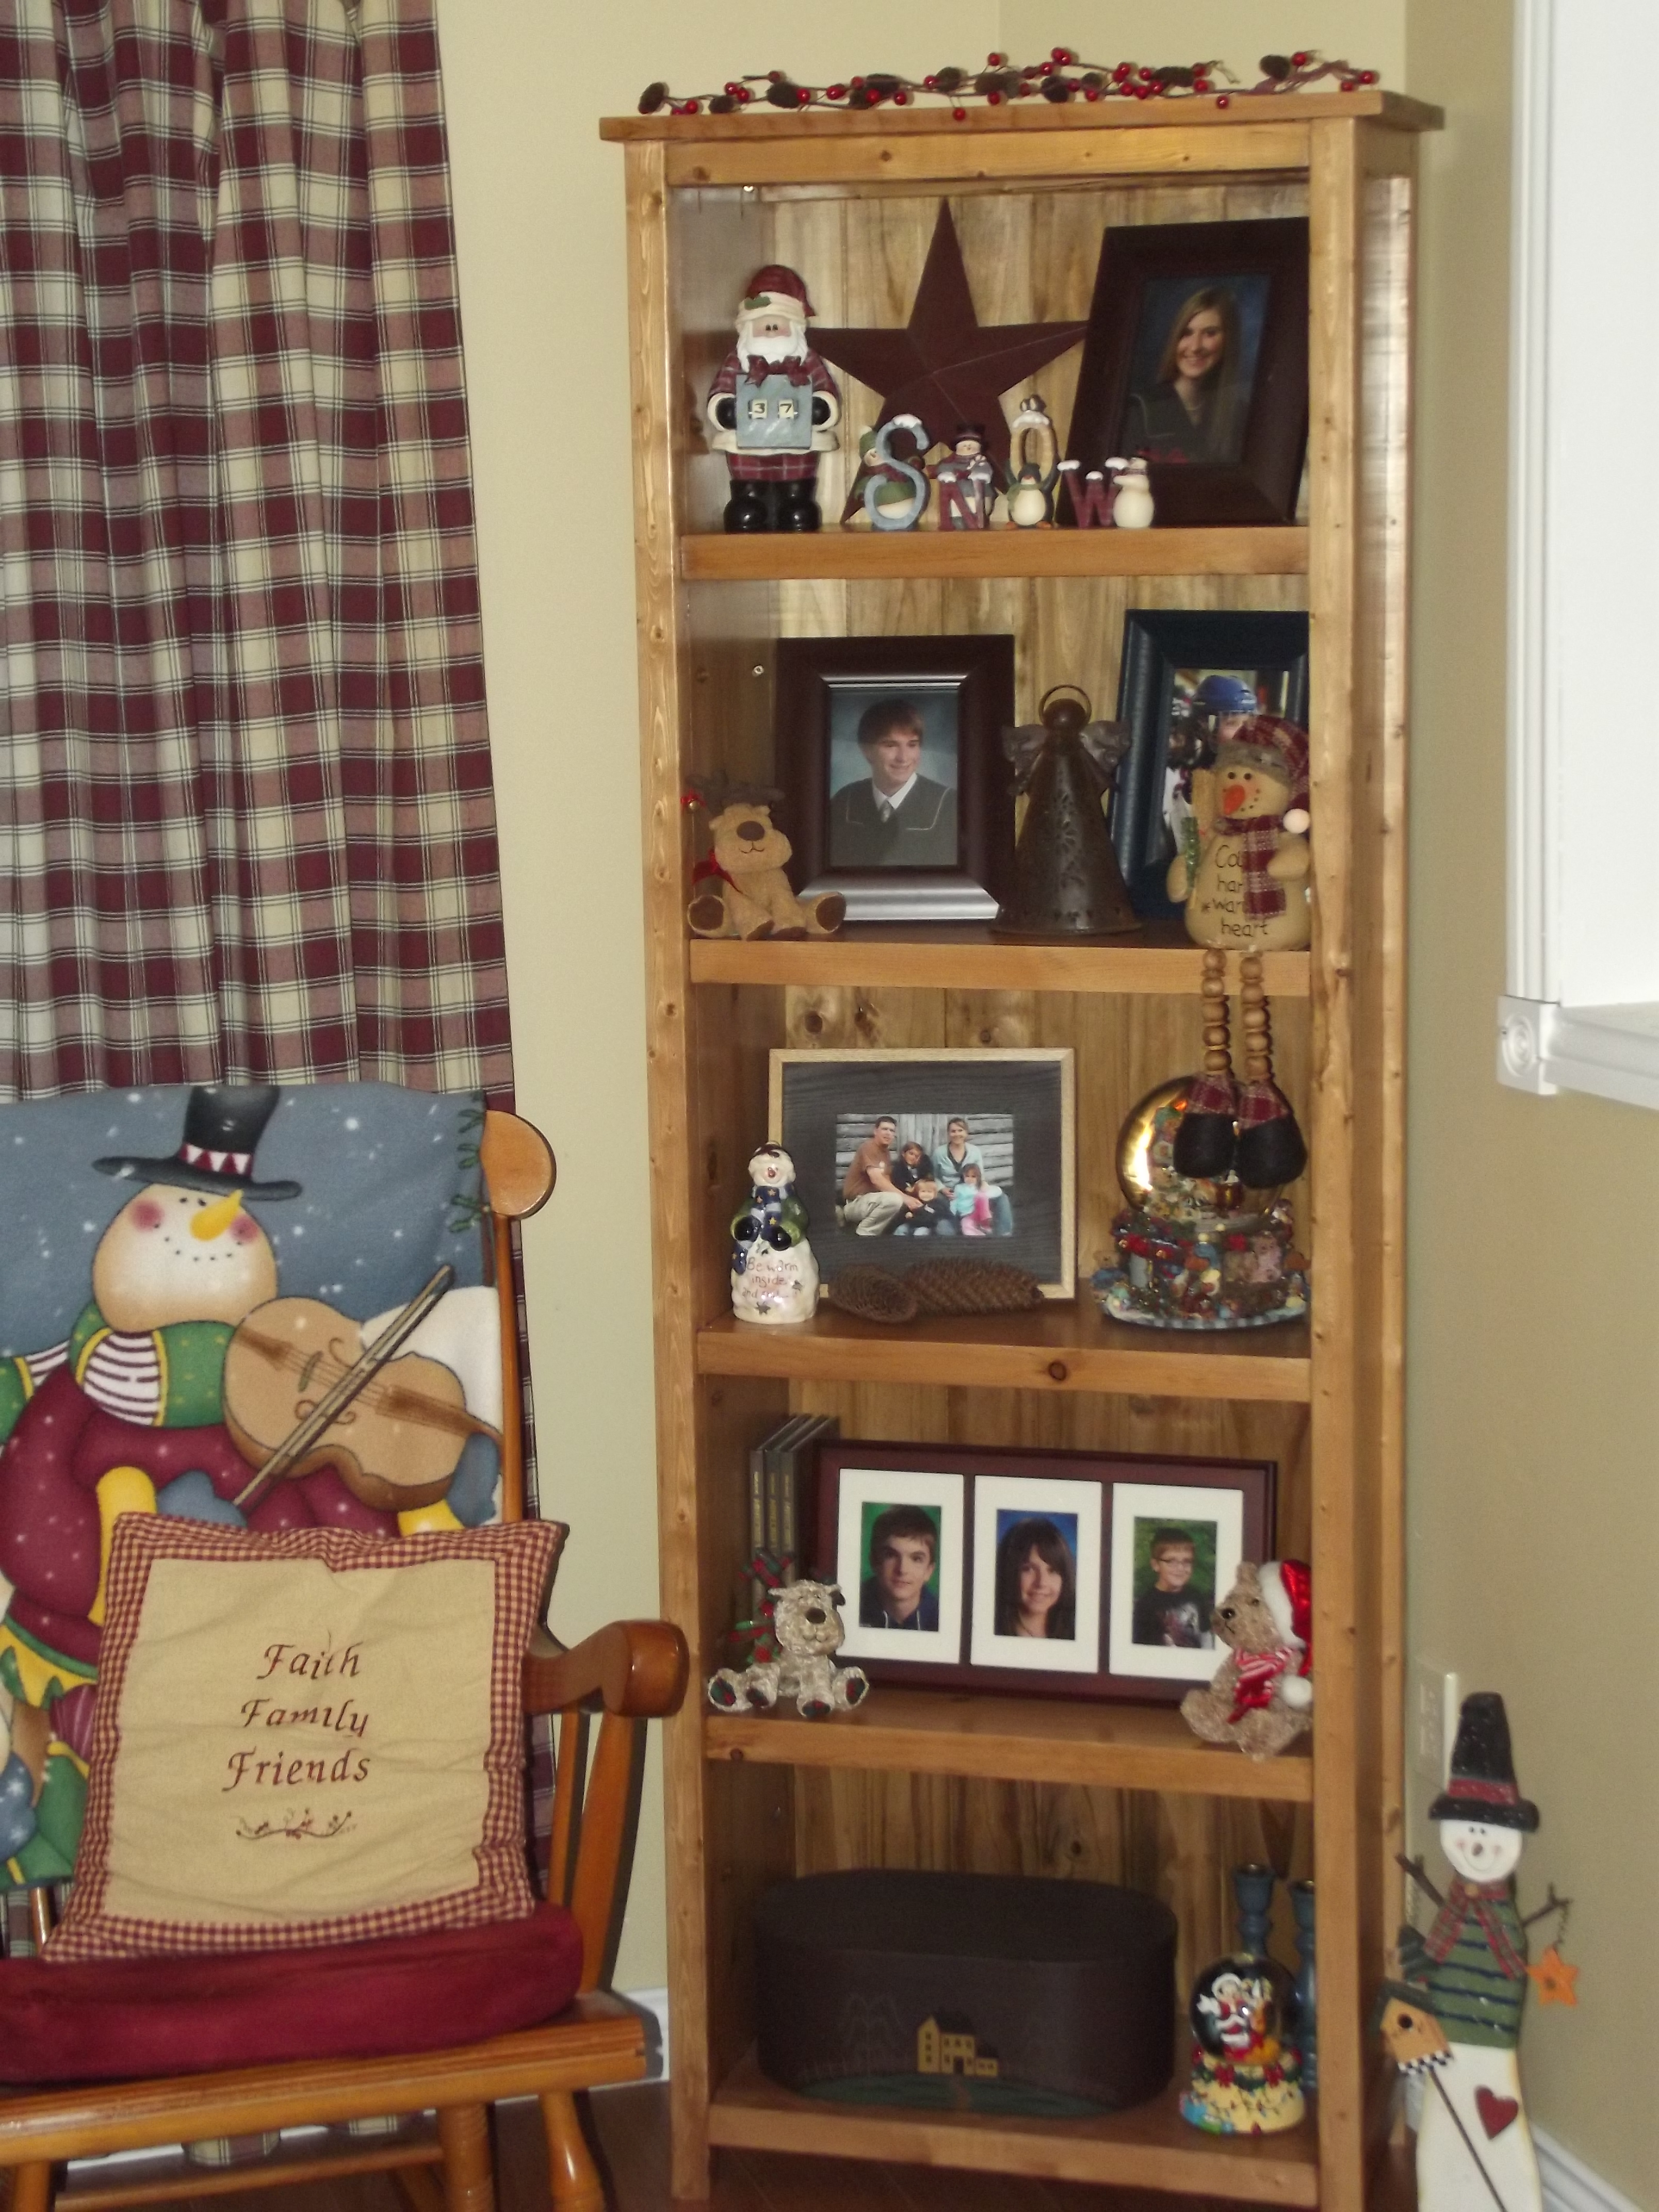
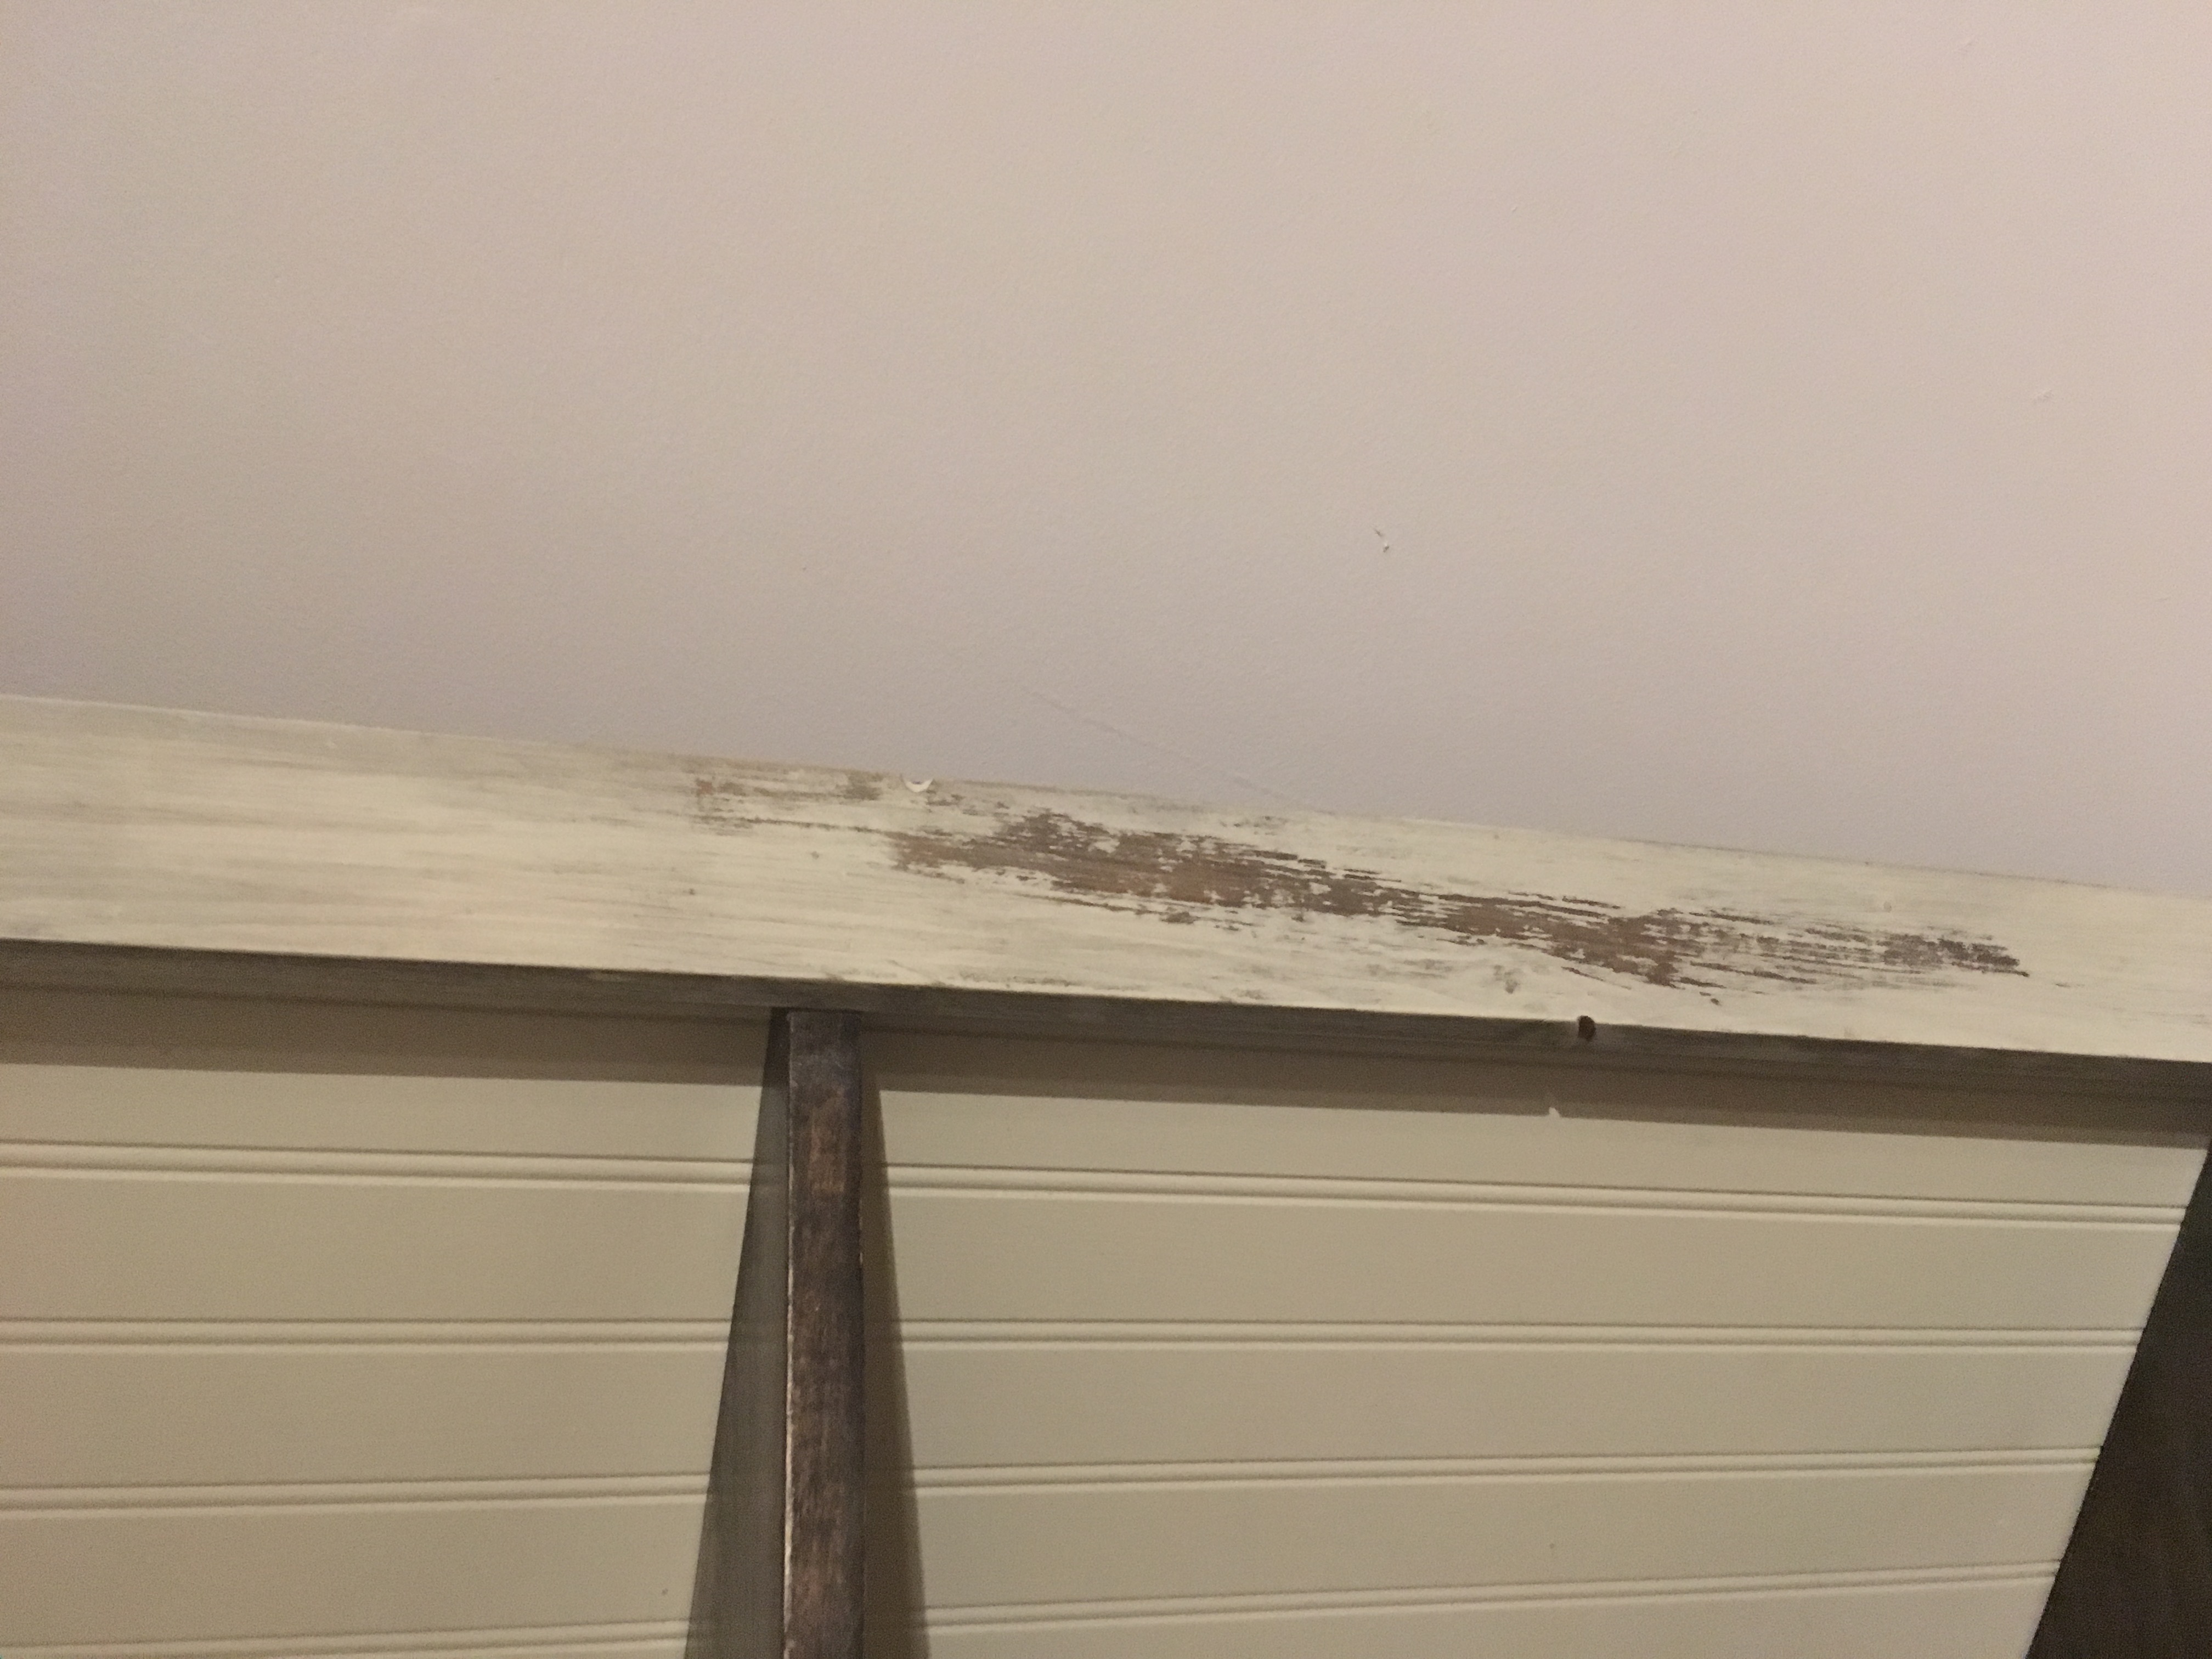
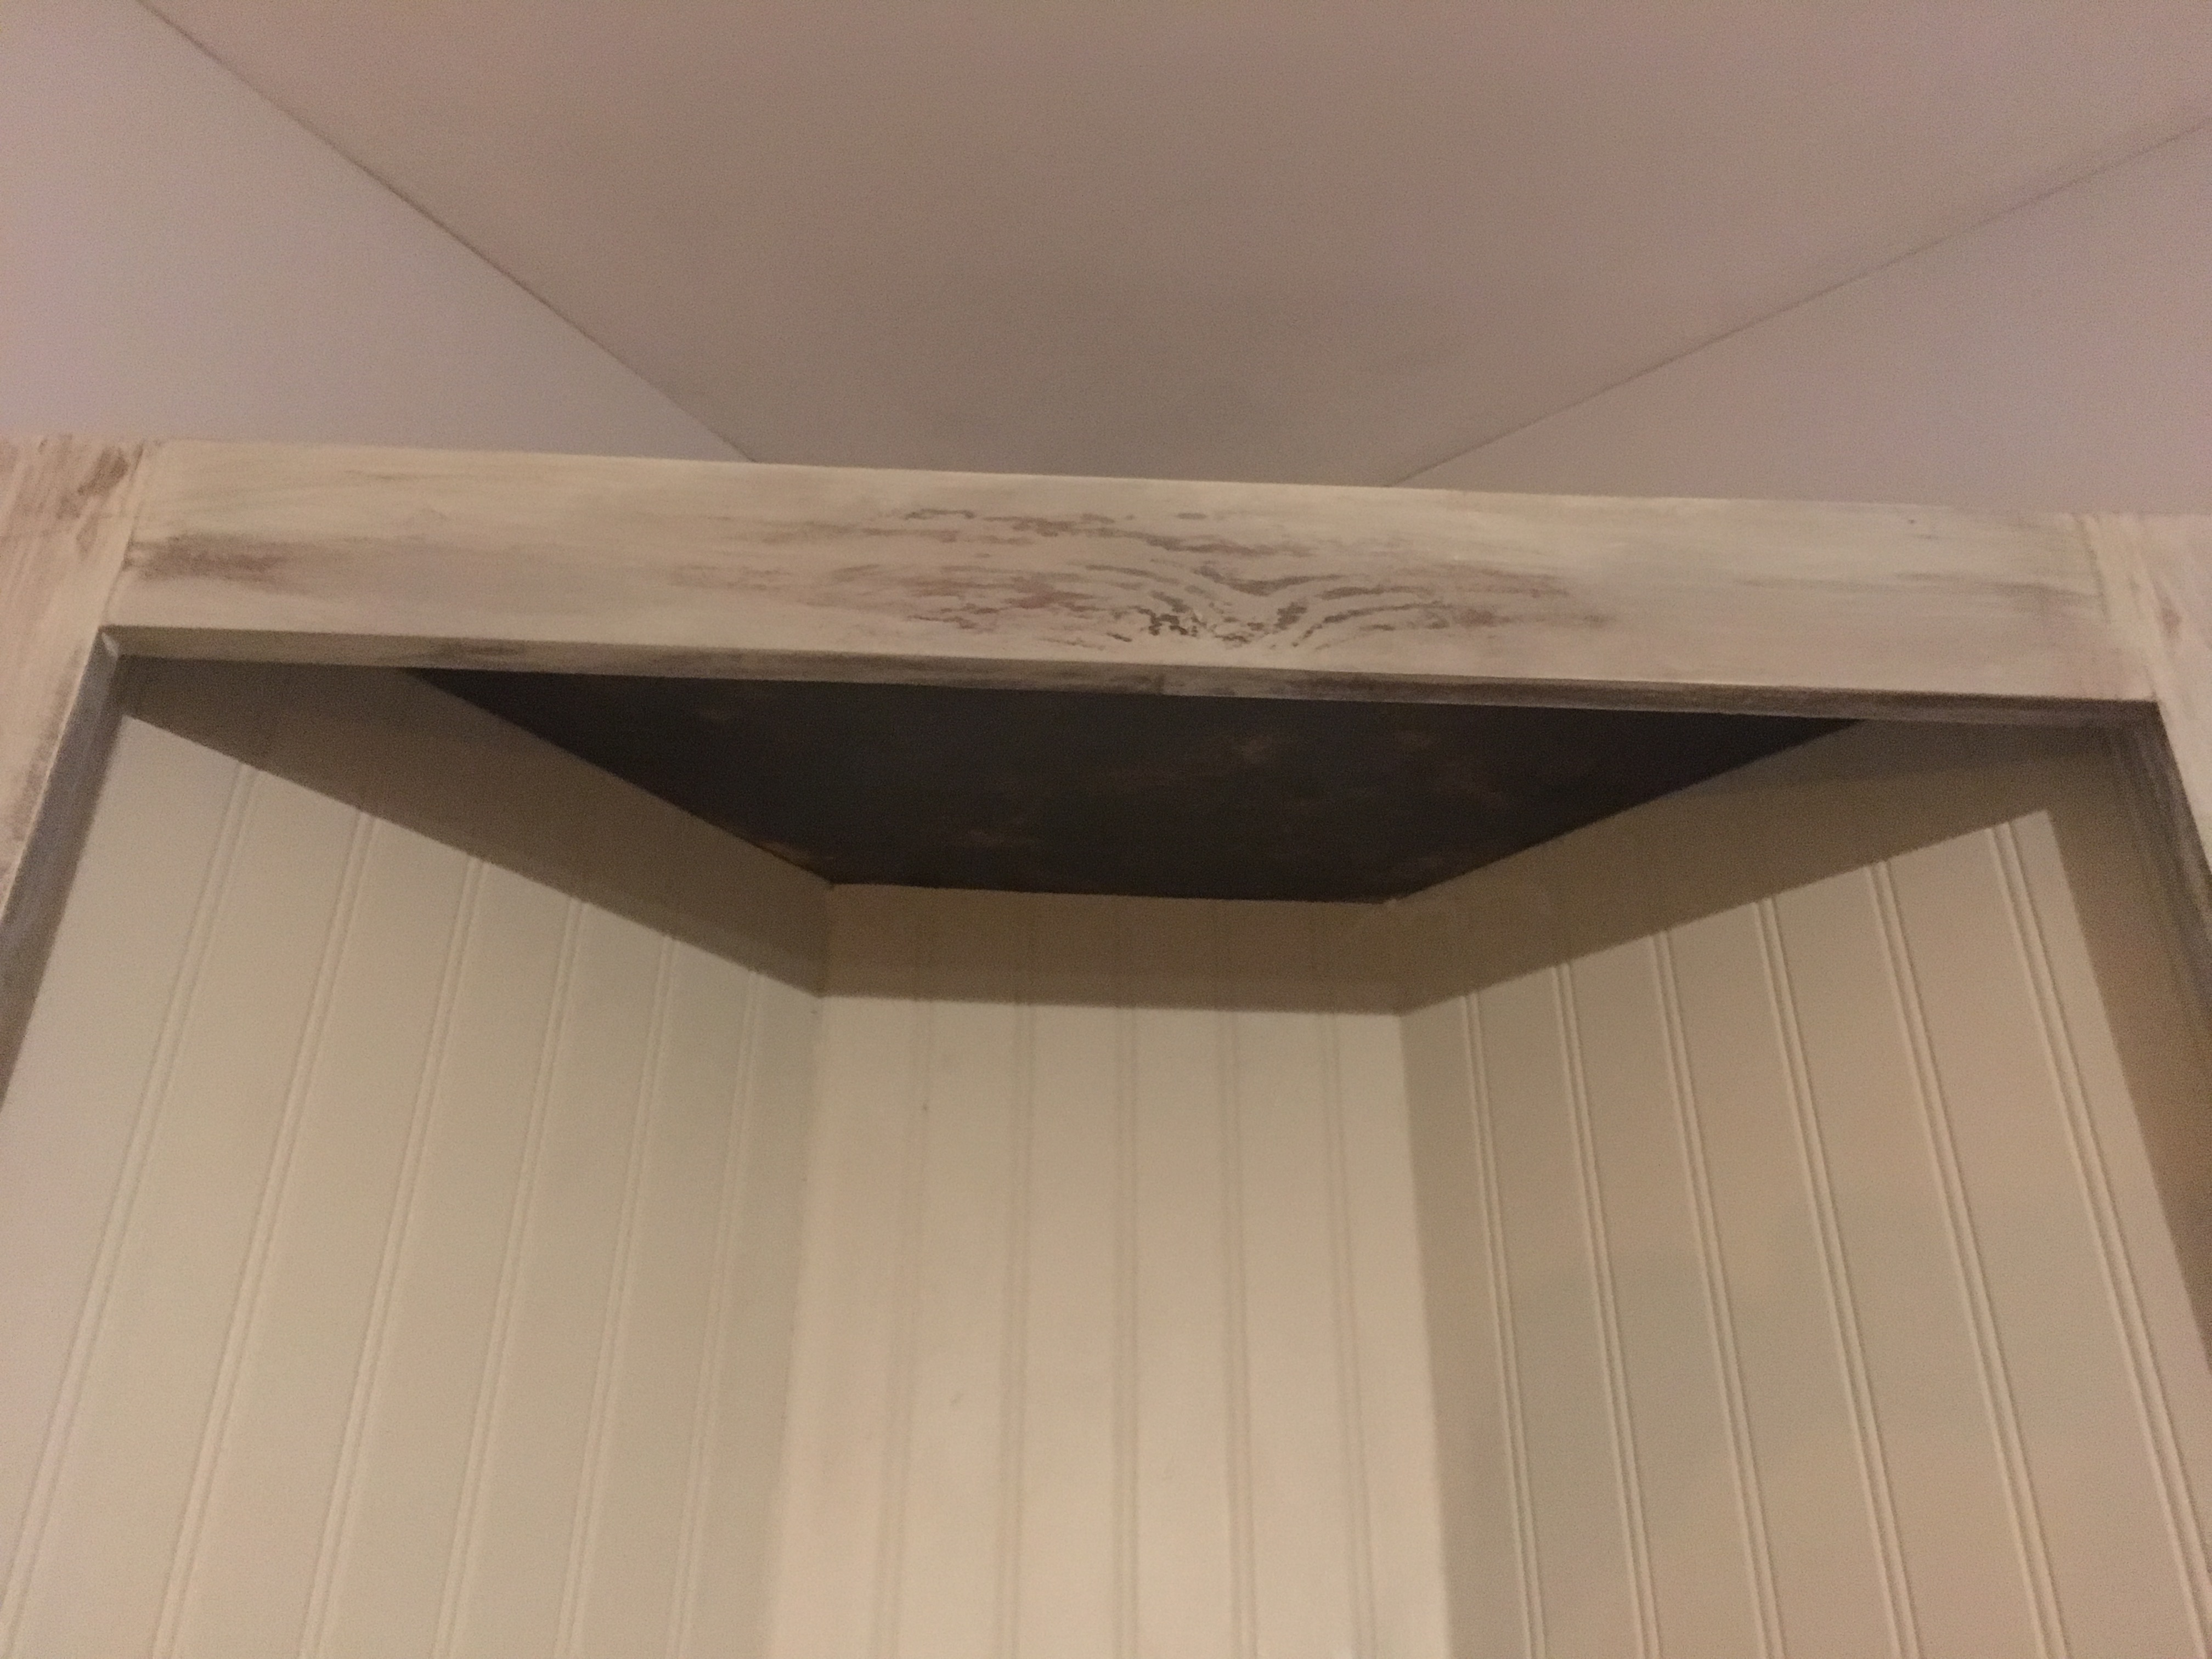
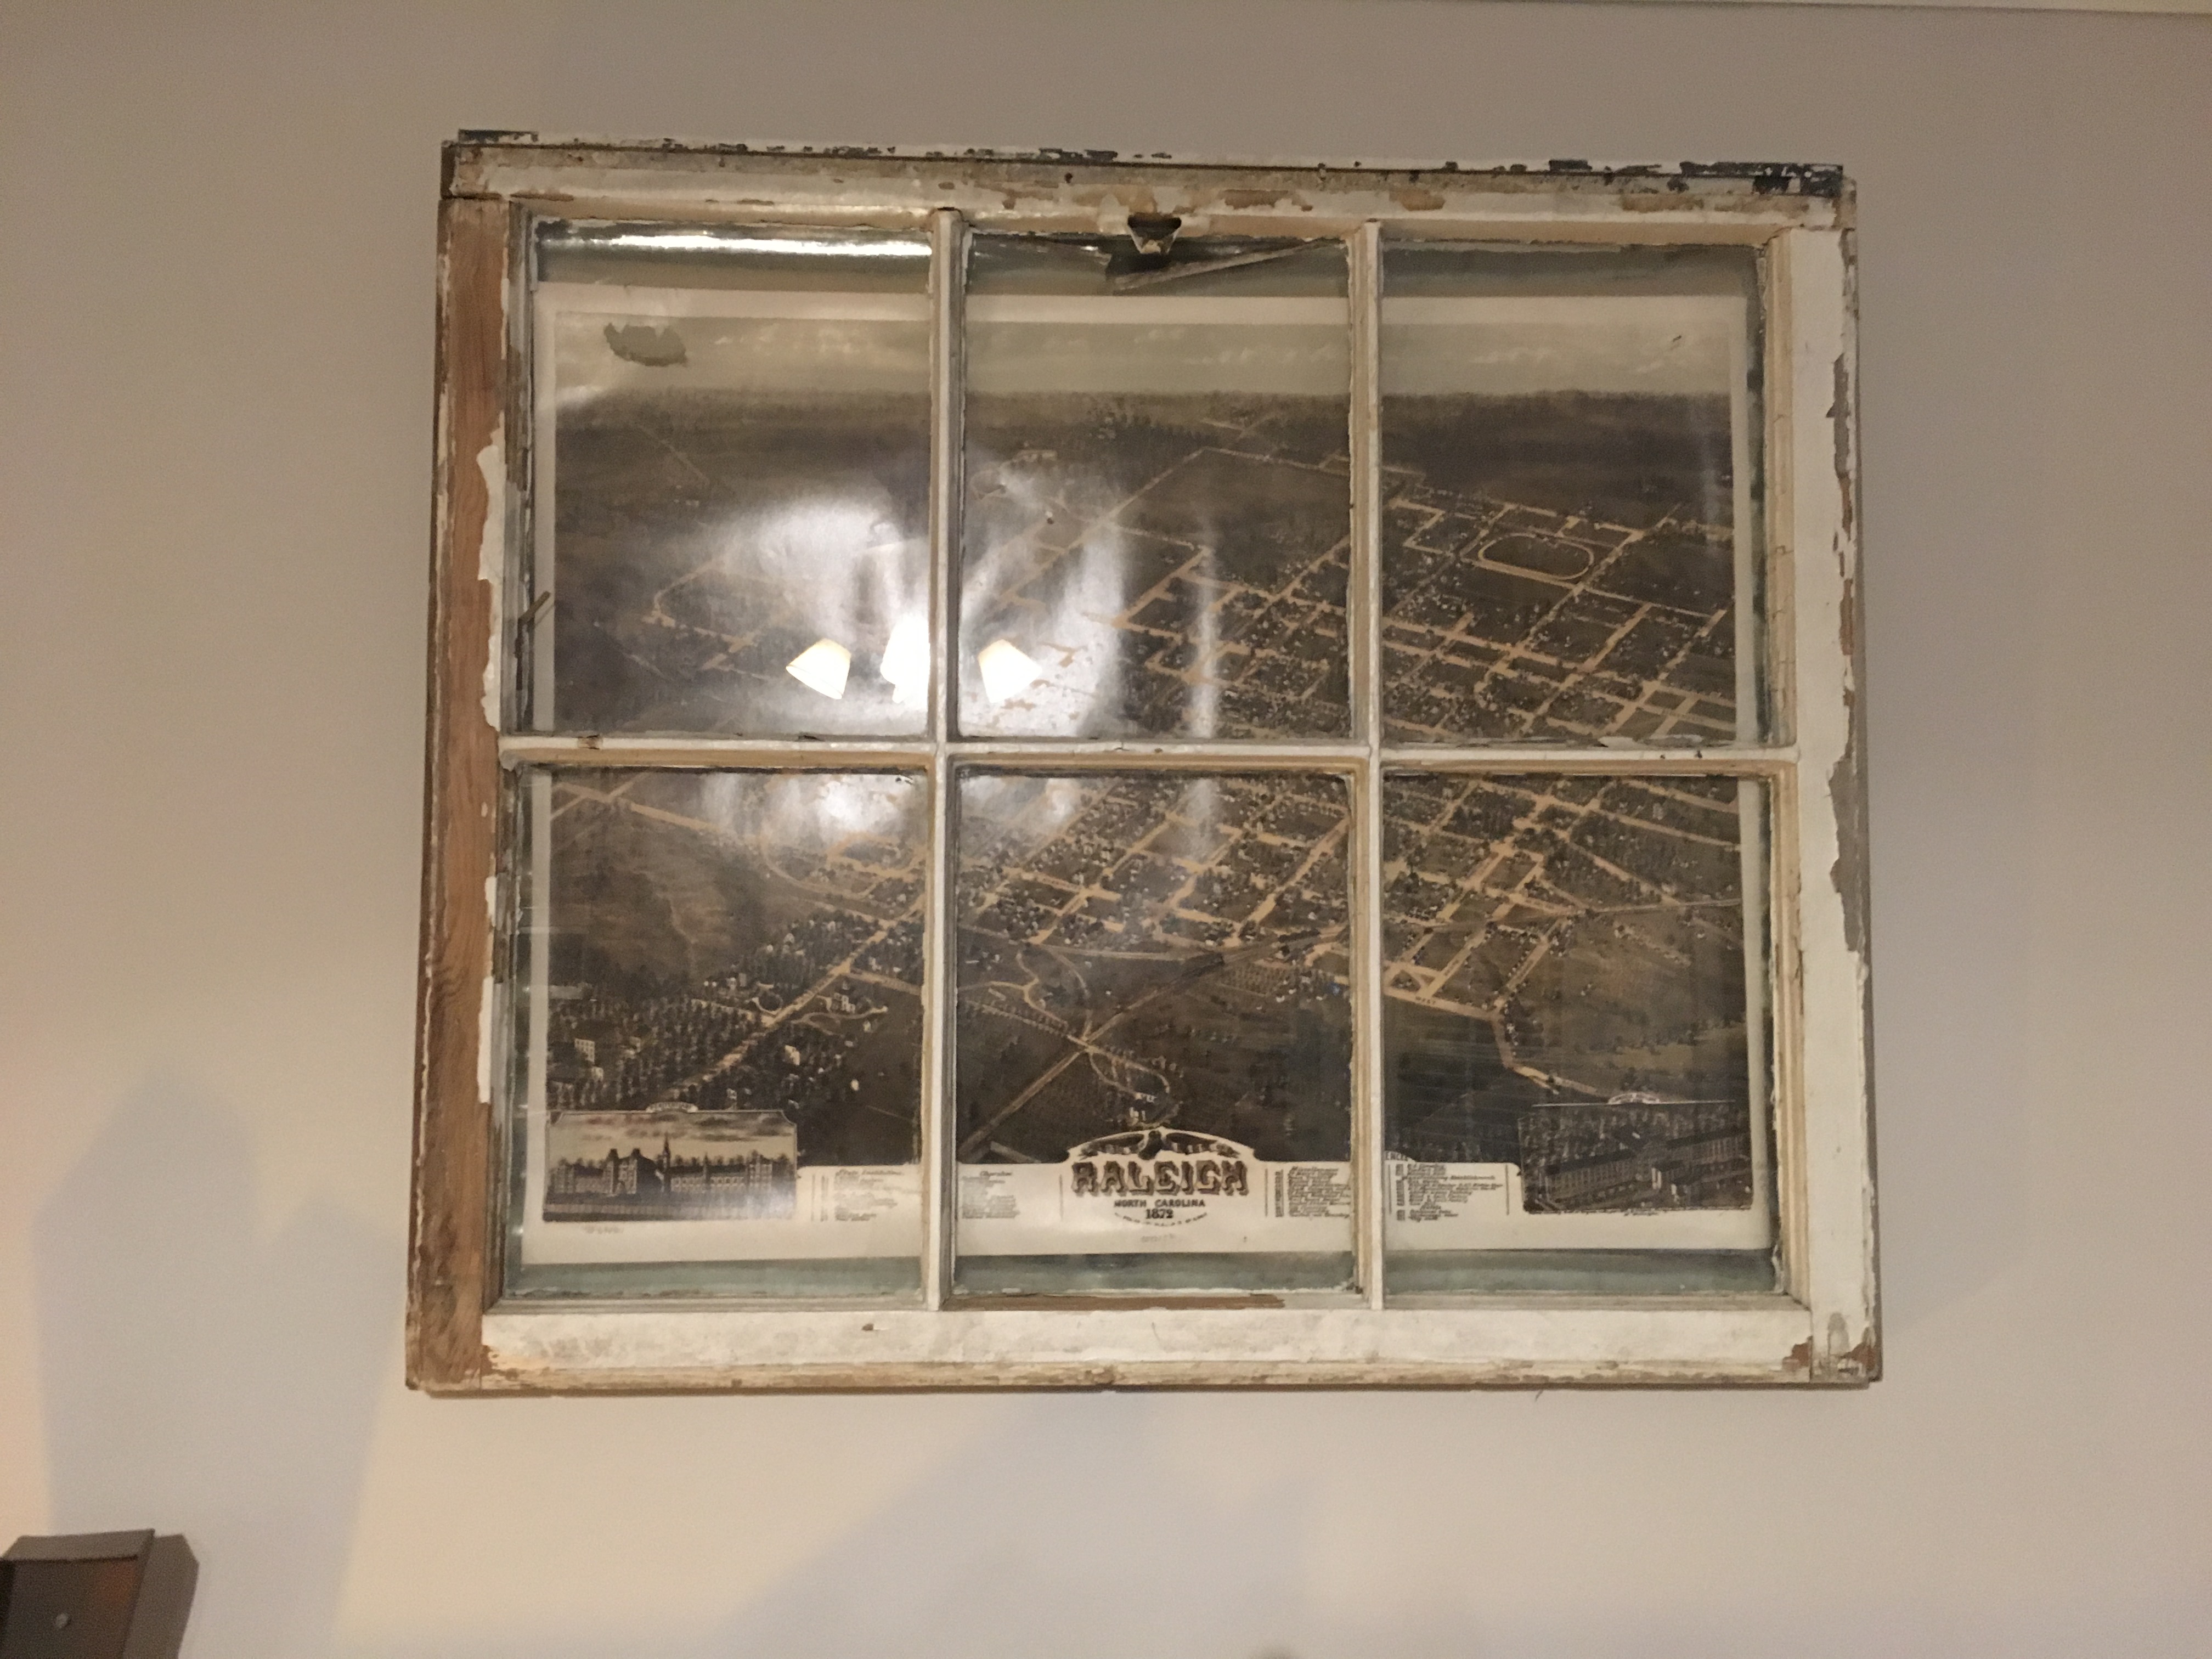
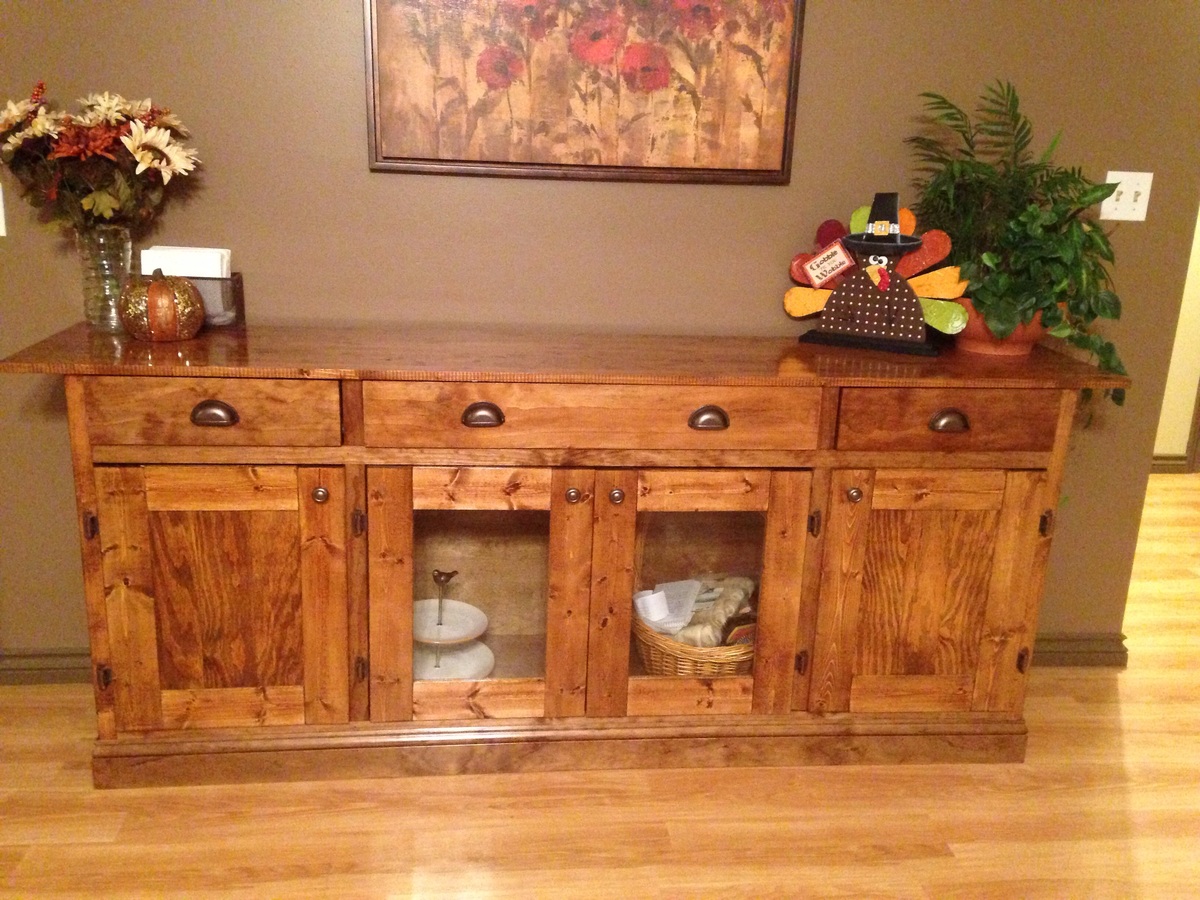
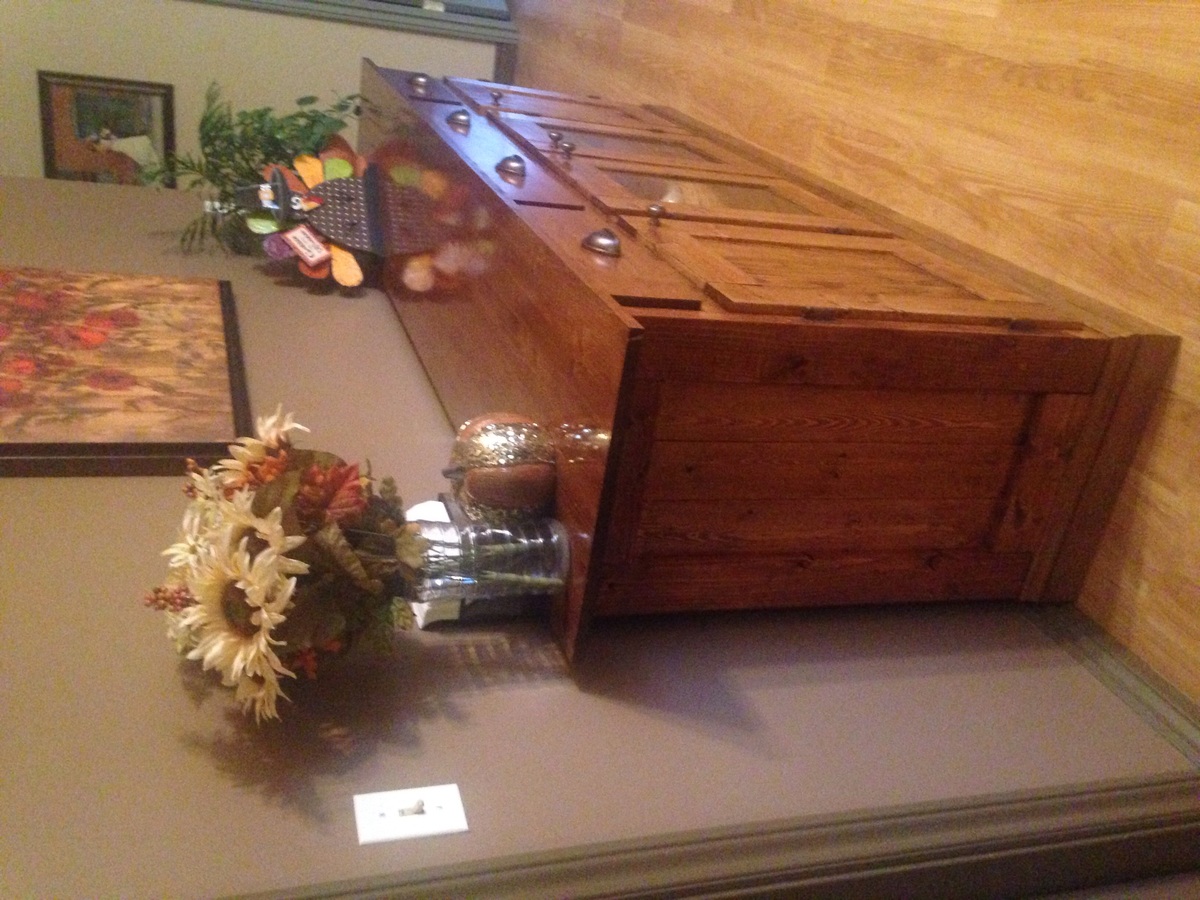
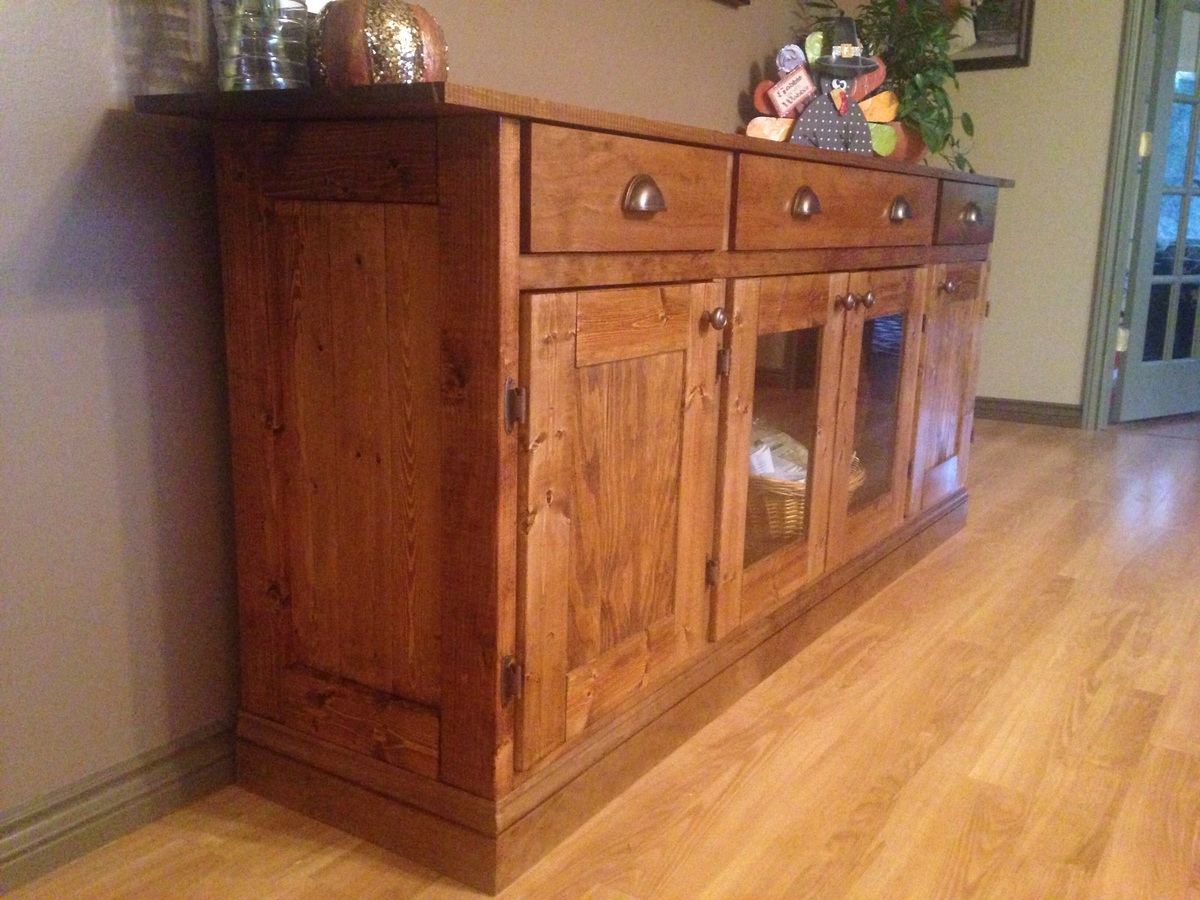
I followed the plans for the Kentwood Bookshelf but added an extra shelf. I stained it with Minwax Early American stain & 3 coats of Minwax clear satin polyurethane.
This was a pretty easy build and super cost efficient! I decided to paint mine instead of staining it and only used stain on the steps for the platform. After it was put together and the mattress was put in I decided to add an extension to the top (not a lot of room between the top of my son's mattress and the upper edge after an 11" mattress was put in) that could be put on and taken off by just un-clasping it!
Love that the footprint on this loft bed is so small and allowed for SOOOO much more room in my son's room to play and store things! Couldn't be happier with this build.... Only downside: Your friends may ask you to build one for their children, haha.
I made 4 of these and made seats out of walnut.
We already had a coat rack (which we painted to match the red of the bench) and so we simply made the bench portion of this plan. This was my first non-shelf project since acquiring my Kreg Jig for Christmas and now that it is done I am very pleased with it. I learned a lot about the importance of straight boards here. Those final pieces went on with a certain amount of force! Also, I asked the folks at HD to cut my boards for me to save time (which it certainly did), but their blade caused a lot of splintering on the edges which I spent a lot of time trying to remedy. In the future I will take care of cuts (assuming the boards will fit in my vehicle). Lots of learning, lots of fun.
I loved the look of the Mom's Fancy Farmhouse Bed...but we wanted a footboard. Made this to fit a traditionally sized King mattress (76x80) and it fits perfectly. Left the 3rd 1x6 off the frame of the support and instead connected a footboard which I made exactly like the headboard, but with shorter legs. I also added height to the headboard legs in order to accomodate both our mattress AND box spring. I didn't have room to bolt the headboard or footboard to the frame/support so instead I screwed 3" screwes through the legs into the frame from the footboard, and then screwed the headboard legs directly into the studs/wall in our bedroom. Very sturdy seeming and not wobbly. It worked perfectly for size/look in our new master bedroom. Spent several weekends on this project. Could've finished it faster if you have a full day and an extra set of hands to help move/turn the headboard/footboard as they get heavy once assembled.
Fri, 11/21/2014 - 09:29
This is really awesome and for only $200!! I really love the dark color!
I used Anna's design to create an 8' tall cabinet with a weathered finish. The inspiration was a reclaimed window frame.
My wife was upset that we didn’t have a mantle in the living room of our new home a d I said, “no problem!”
Have been wanting to build this coat rack for over a year. Had to postpone all building when my mom became ill and was in the hospital for 9 months. She is home now and is healthy. Back to building! The room is 6 ft x 6 ft. My project is 7ft high x 5 ft wide x 12in. deep. When it gets warmer I can sand it. I am going to paint it white. Bench seat lifts up for added shoe storage.
Sat, 01/26/2013 - 17:22
Great job! I bet it feels So good to have it checked off your list!
This was our first Ana White project and we absolutely love it! Made it to coordinate with a dining room table and chairs we refinished two years ago. We only made a couple changes: used an edge-glued spruce board for the top instead of the 2x lumber to better match the dining set and added two glass panel doors ($7 each at the local glass shop.
Tue, 11/25/2014 - 14:50
Wow this is gorgeous! Beautiful build with a spectacular finish!
Wed, 11/26/2014 - 12:09
I agree with JoanneS! This is gorgeous! You did an awesome job on this one!
My boyfriend and I bought new furnture for our living room and we didn't like the end tables that came with it so we made our own. They turned out so beautiful! We have had so many compliments and we plan on building the matching console table.
Tue, 02/28/2017 - 06:42
My boyfriend and I bought new furnture for our living room and we didn't like the end tables that came with it so we made our own. They turned out so beautiful!
My interpretation of the Martina Bath Wall Storage Shelf. It is constructed from 3/4" pine boards; then heavily distressed. I watered down some dark brown paint for the exposed wood to make it appear that a darker hardwood was used rather than plain pine. Also, instead of the 1/4" ply wood for the back, I used solid pine boards as well to create a flat surface on the back. Plus, it adds stability for hanging.
I used Behr's "Bon Voyage" paint for the outside. The inside of the shelf is mostly white with a splash of "Bon Voyage" to match the outside.
The hardware was bought at Hobby Lobbby.
Mon, 01/28/2013 - 13:35
That finish is great...how did you do that? My wife loves that look, but I have yet to replicate it as well as you have.
Mon, 01/28/2013 - 13:59
Thanks, etbuogie. Sorry for not elaborating on the finish in the project discription already.
Well, after building I beat the shelf up (just a little bit) with a steel chain to create some dimples on the larger surfaces. Next, I used an awl to randomly stab holes into the sides (wormholes?). After sanding all surfaces smooth, I painted parts of the shelf white with two coats. You could paint it all white, but you really only need to paint those areas that you want to have exposed later. I mainly concentrated on the edges and two outside sides. Next I painted everything blue with a couple of coats. Then I mixed some very light blue paint with white and a bit of my other main blue paint to paint the inside cubby of the shelf. After everything dried, I took a hammer and beat some cornes up. Then I scraped some "cracks" into the side using my awl. Using sandpaper, I eased some edges, sanded the blue paint down to the white creating a layered look, and made larger notches in some parts. Try to imagine where the wear would be if the shelf was in fact - let's say - 20 years old. Then I watered down some dark brown paint (probably a 1:1 ratio) and painted all the exposed yellow pine areas. This made a huge difference, I think. A couple of coats of Polycrylic wrapped the project up.
It sounds like a lot of work, but it was a lot of fun. Just make sure you don't do one area at a time but rather, focus on the whole piece. Periodically, step back and "squint your eyes" to not lose track of the big picture.
I hope this helps you create this beautiful look for you wife.
I made this as a Christmas gift for my two year old. I painted it to match his tractor bunk bed.
Sun, 12/07/2014 - 17:32
He is going to love it! You're an awesome MOM! I made bunks for our little girl, but I know her brother will like them just as much. I can see his "puppy" spending the night with her dolls!
I used tongue and groove pine for this. I just ripped the top board down so the ridge wasn't there.
Mon, 12/21/2020 - 11:28
The hardest part was putting the lid struts on.
Other than that it was all straight cuts, glue and brad nails.
I built this for my mom for her bathroom. I actually love this shelf so much I built one for me, my mom, mother-in-law and a friend. :)
Needed a media console for a large TV
Turned my daughter's ordinary room into a cool hangout for many years to come. The frame fits a twin with a decent buffer on 3 sides for "stuff." I also built the headboard with a shelf for more "stuff!" Loft is 4' off the floor. Headboard was made with with 2/3" frame and scrap 5" t&g boards leftover from other project. Bed frame is made of 2x8s lag bolted to wall and supported by 4x4. Railing is made from 2x4s, 1x2s and 1x3s. The stain is a walnut Danish oil. Under the bed there are LED lights shining down on the seating area. The couch is made up of two separate folding chairs that turn into beds for sleepovers. Couches were purchased from Walmart and I built the base. Built in shelf in wall uses primed 1x4s.
Built this today per request of my daughter because she wanted our stockings hung! I loved the stand Ana made but wanted to be able to use it after Christmas. I saw Shant2Chic built a stocking box and decided to combine my two favorite inspirational builders and came up with this! I hope you like it!
I added a 50” box (monitors Shanty2Chic’s measurements) and screwed it to the top of Ana’s Stocking stand!
Sat, 12/26/2020 - 19:09
Love the combo of the plans and so happy to hear you were able to hang the stockings!
My son is 2 1/2 and saw your clubhouse bed plans and was so excited I decided to build him on.
I took the plans from the Benchmark Media Console inspired by Pottery Barn. I chose not to make drawers since I didn't need them. I used a mixture of three differnet chalk paints and stain to give it an aged appearance. I attached rustic copper hardware and glass for the doors. This was a fun and easy project that now sits prominently in my living room.
Wed, 12/03/2014 - 14:34
Thank you all for your comments! It means a lot to me. ;-)
Wed, 12/03/2014 - 21:30
Great job on this piece! Can you explain in detail about how you achieve that finish and the aged look?
Thanks
Wed, 12/03/2014 - 22:19
Hi Timberandsoul -
I'd be glad to share it with you.
I first stained the cabinet using Minwax Provincial. I lightly sanded it (220 grit) and then put small amounts of vaseline on a few of the edges and in places where natural distressing takes place. This ensured that my peice would look more authentic. The vaseline prevents the paint from sticking to the stain and gives it an aged look. Then the fun started.... I mixed 3 different paint colors and applied them to all the pieces expect the top piece. Here are the colors I used: Beh;r Song Bird, Ralph Lauren; Reservoir Blue and Americana Decor Chalk Paint in Tresor. After it dried, Ilightly sanded it again and then applied Annie Sloan clear and dark wax. It was a long process, but definitely worth it. The top piece is stained using Minwax Provincial.
I hope this helps. Thanks for leaving me a comment.
Fri, 12/05/2014 - 12:09
LOVE the finish! Excellent choice of colors and I really love the door handles :) I've been nervous about painting a console I'm working on, but this gives me confidence that it should turn out well :)
Fri, 12/05/2014 - 16:27
Is there any way you could post the build steps? I love this cabinet, but I am a beginner. You did such a great job!
In reply to Gorgeous!!! by kmkare
Tue, 12/09/2014 - 14:35
Sure, I'd be happy to. I should have it for you in a few days.....;-)
Mon, 12/08/2014 - 13:06
Beautiful!! Love the finish and great tree too!!
Mon, 12/08/2014 - 13:06
Beautiful!! Love the finish and great tree too!!
Wed, 12/10/2014 - 05:11
I am wondering how you were able to achieve that finish. Directions would be so awesome.
Wed, 12/10/2014 - 13:28
Wed, 12/10/2014 - 13:34
Hi!! Happy Wednesday. I posted plans on how I achieved this finish on Ana's website:
http://ana-white.com/node/13613 and on my new blog. www.27knockoffs.com. Hope you enjoy.
Comments
Ana White
Tue, 11/18/2014 - 21:35
Great Bookcase! Good work!