Storage bed
This was my first build and I throughly enjoyed it! This bed is for my three old son and it meant so much to me that I was able to build his very first big boy bed. Thanks Ana for the plans and for making then so easy to follow.
This is our first project using one of Ana's plans. We made one modification adding stability to the top of the structure, but otherwise stayed pretty true to what was described.
Next up is the matching end table!
For the full story of our piece, please visit our website.
I got tired of dust settling on all my tools so I built this woodshop storage cabinet. It's main inspiration is from Steve at www.woodworkingformeremortals.com. A place for everything and everything in its place.
Tue, 11/20/2012 - 10:58
That's pretty good looking furniture for a workshop!
I took Ana's plans for the Easiest Industrial Cart and modified them into a coffee table. I shortened the pieces of angle aluminum to 10", omitted the middle shelf, and added some 7", DIY casters, made from pulley wheels. Since I used 3/4" thick project panels, instead of 2 x 12, I was only able to drill lag screws through one side of each corner of the wood. To add stability, I added small, L-brackets, screwed to the wood and bolted to the aluminum. I included a photo so you can see the modification closely.
Wed, 09/03/2014 - 16:17
Great job. You just gave me a good idea for a coffee table.
Veronica
Fri, 01/08/2016 - 13:48
Great Job on this coffee table!!! Looks very good, and the added L brackets fit the industrial look perfectly!
Here is a Triple Pedestal table with benches and two end stools to match everything else.
Thanks for sharing this project. I made a few adaptations knowing my friends, family, and monkey grandkids would be climbing all over the table. Everyone loved the table and we have broken it in with a great party.
Changes:
I added a second bottom stretcher that also serves as a footrest and ran them between the bottom legs rather than on top.
I added on 2x6 to the table width which required changing the leg dimensions.
I also ran an extra 2x4 middle support brace.
Results:
This table is a tank! Thanks!
I used the Danish Oil and the Thompsons to seal.
Now I am ready for another project.
Thanks Ana!
The Martin's
I used your "cedar planters for less than $20" plan and modified it to create two beautiful planters for my house. I framed out the top of the planter to give it a more complete look. Also, I added a "C" for our last name. -Shaye
Sliding door console built by Kathryn and Scott Winkler of K & S Coastal Home Furnishings. Kathryn added her own unique chippy finish to set this piece off! Visit our other builds at fb.me/kscoastal
This was a weekend job, had a lot of angles and I had to scribe a lot of them
My wife and I are expecting our second child in February, and we were short the money to buy a new crib. We searched Craig's List, and couldn't find anything in our price range that was worthy of buying. I began to search the plans catalog. My wife and I decided that we could give building my daughter a toddler bed a shot. This web site is a blessing to us. We were able to get everything we needed at Home Depot.
Sun, 11/25/2012 - 21:17
Love it! It came out great! Blessings to your growing family!
I built this table following Ana's plans! It turned out great!
Tue, 09/09/2014 - 14:42
This table turned out great. The stain job is very well done. Now I may have to build one.
My wife wanted a table for the entry way; so, of course, I showed her plans from this site. Wasn't hard to build at all. Since I knew she wanted an antique look, I left the screws exposed for a more rustic look.
Several months ago I built the queen sized storage bed for my son and daughter-in-law. They are so happy with it. But, recently, my son's sweet wife asked me if I would make a headboard for their bed. She'd seen a picture on Pinterest of just what she wanted - and guess what? It was Ana's plan.
The headboard went together beautifully. I made a couple of minor changes (no side pieces on the legs, an extra top piece and a tiny trim piece added). I also made it a bit smaller in width. Each leg sits about an inch and a half behind the sides of the bed, which enabled my son to attach it by screwing through the bed into the legs.
I also made floating night stands (so they can open the drawers in the bed!). No pictures of those, but they're stained to match and my kids love how everything turned out! It's so nice when things turn out well.
Modified the plans for the farmhouse table by using 4x4's for the legs and end pieces. Also cut 45 degree 2x4's for additional bracing on the benches. Upholstered the center 2x12 on the benches with some foam from army surplus.
Now that its all put together, I'm wishing I had went with 6x6's for the legs, but I like how the 4x4's look for now.
This was a Christmas present for my 6 year old. I felt that it was something fun and useful for him!
Followed instructions from child's step stool. Did a few modifications.
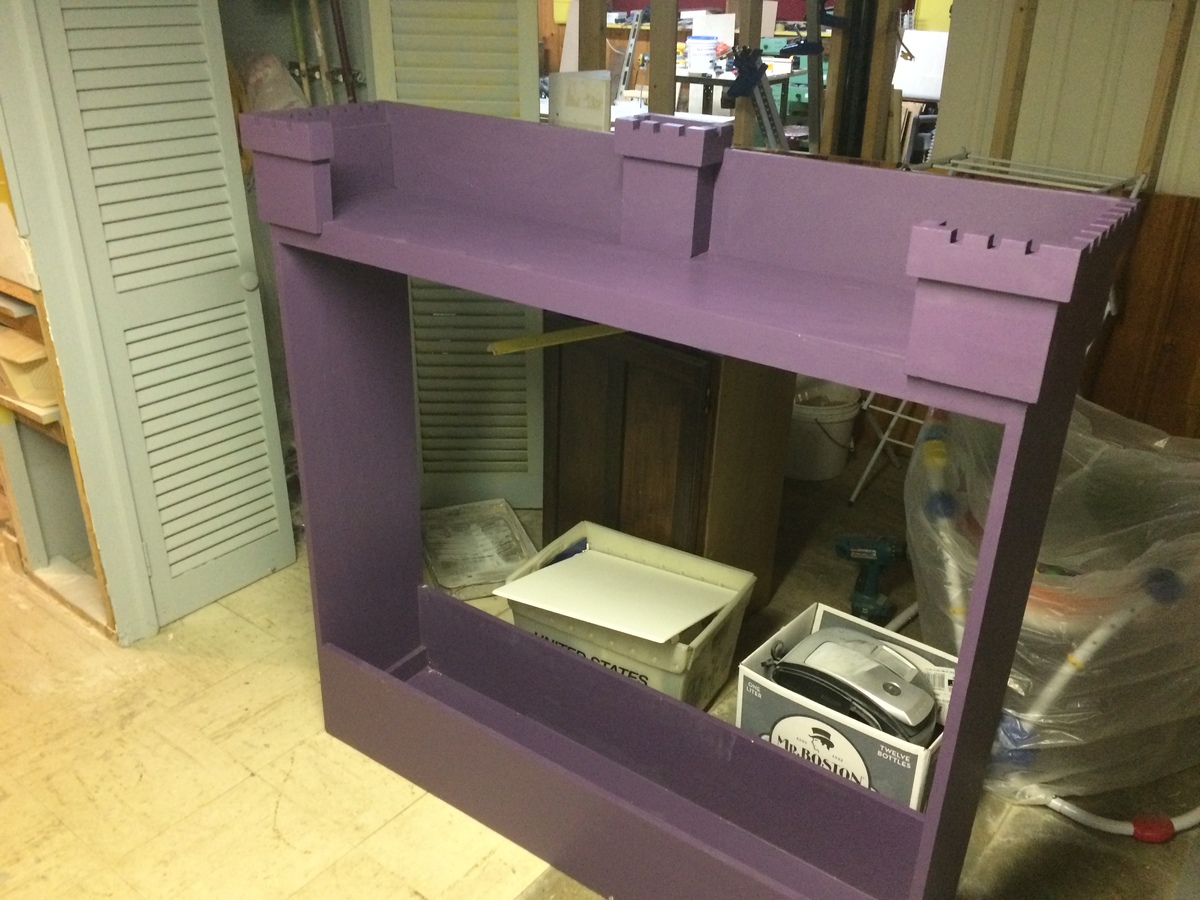
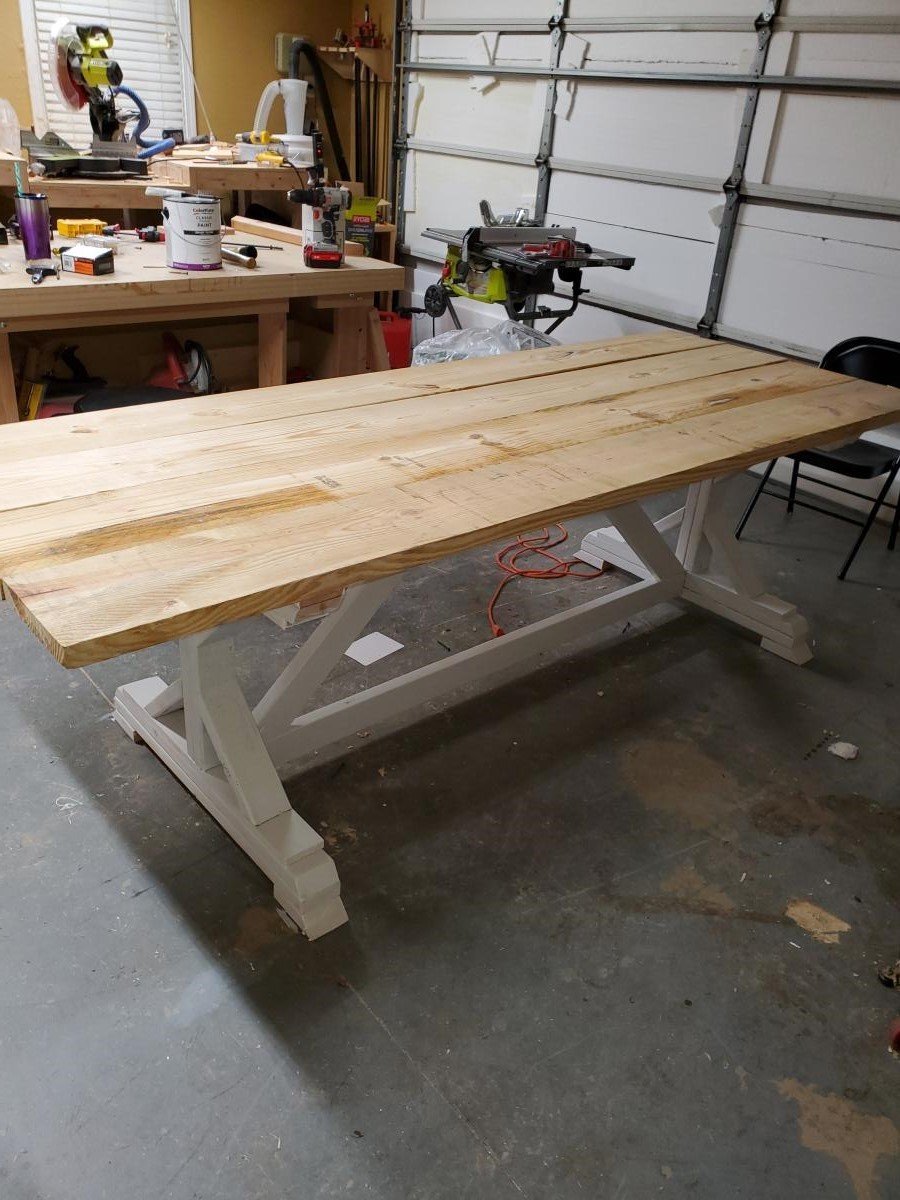
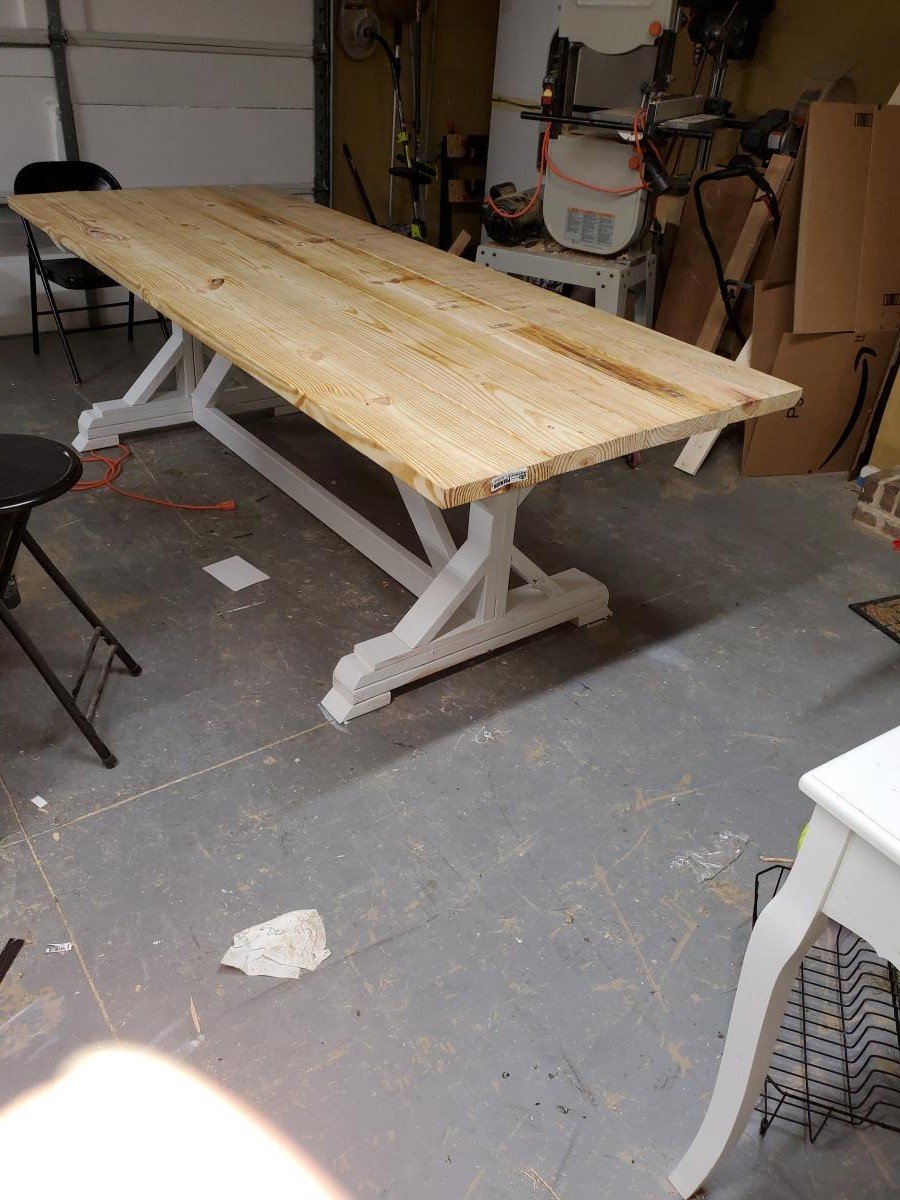
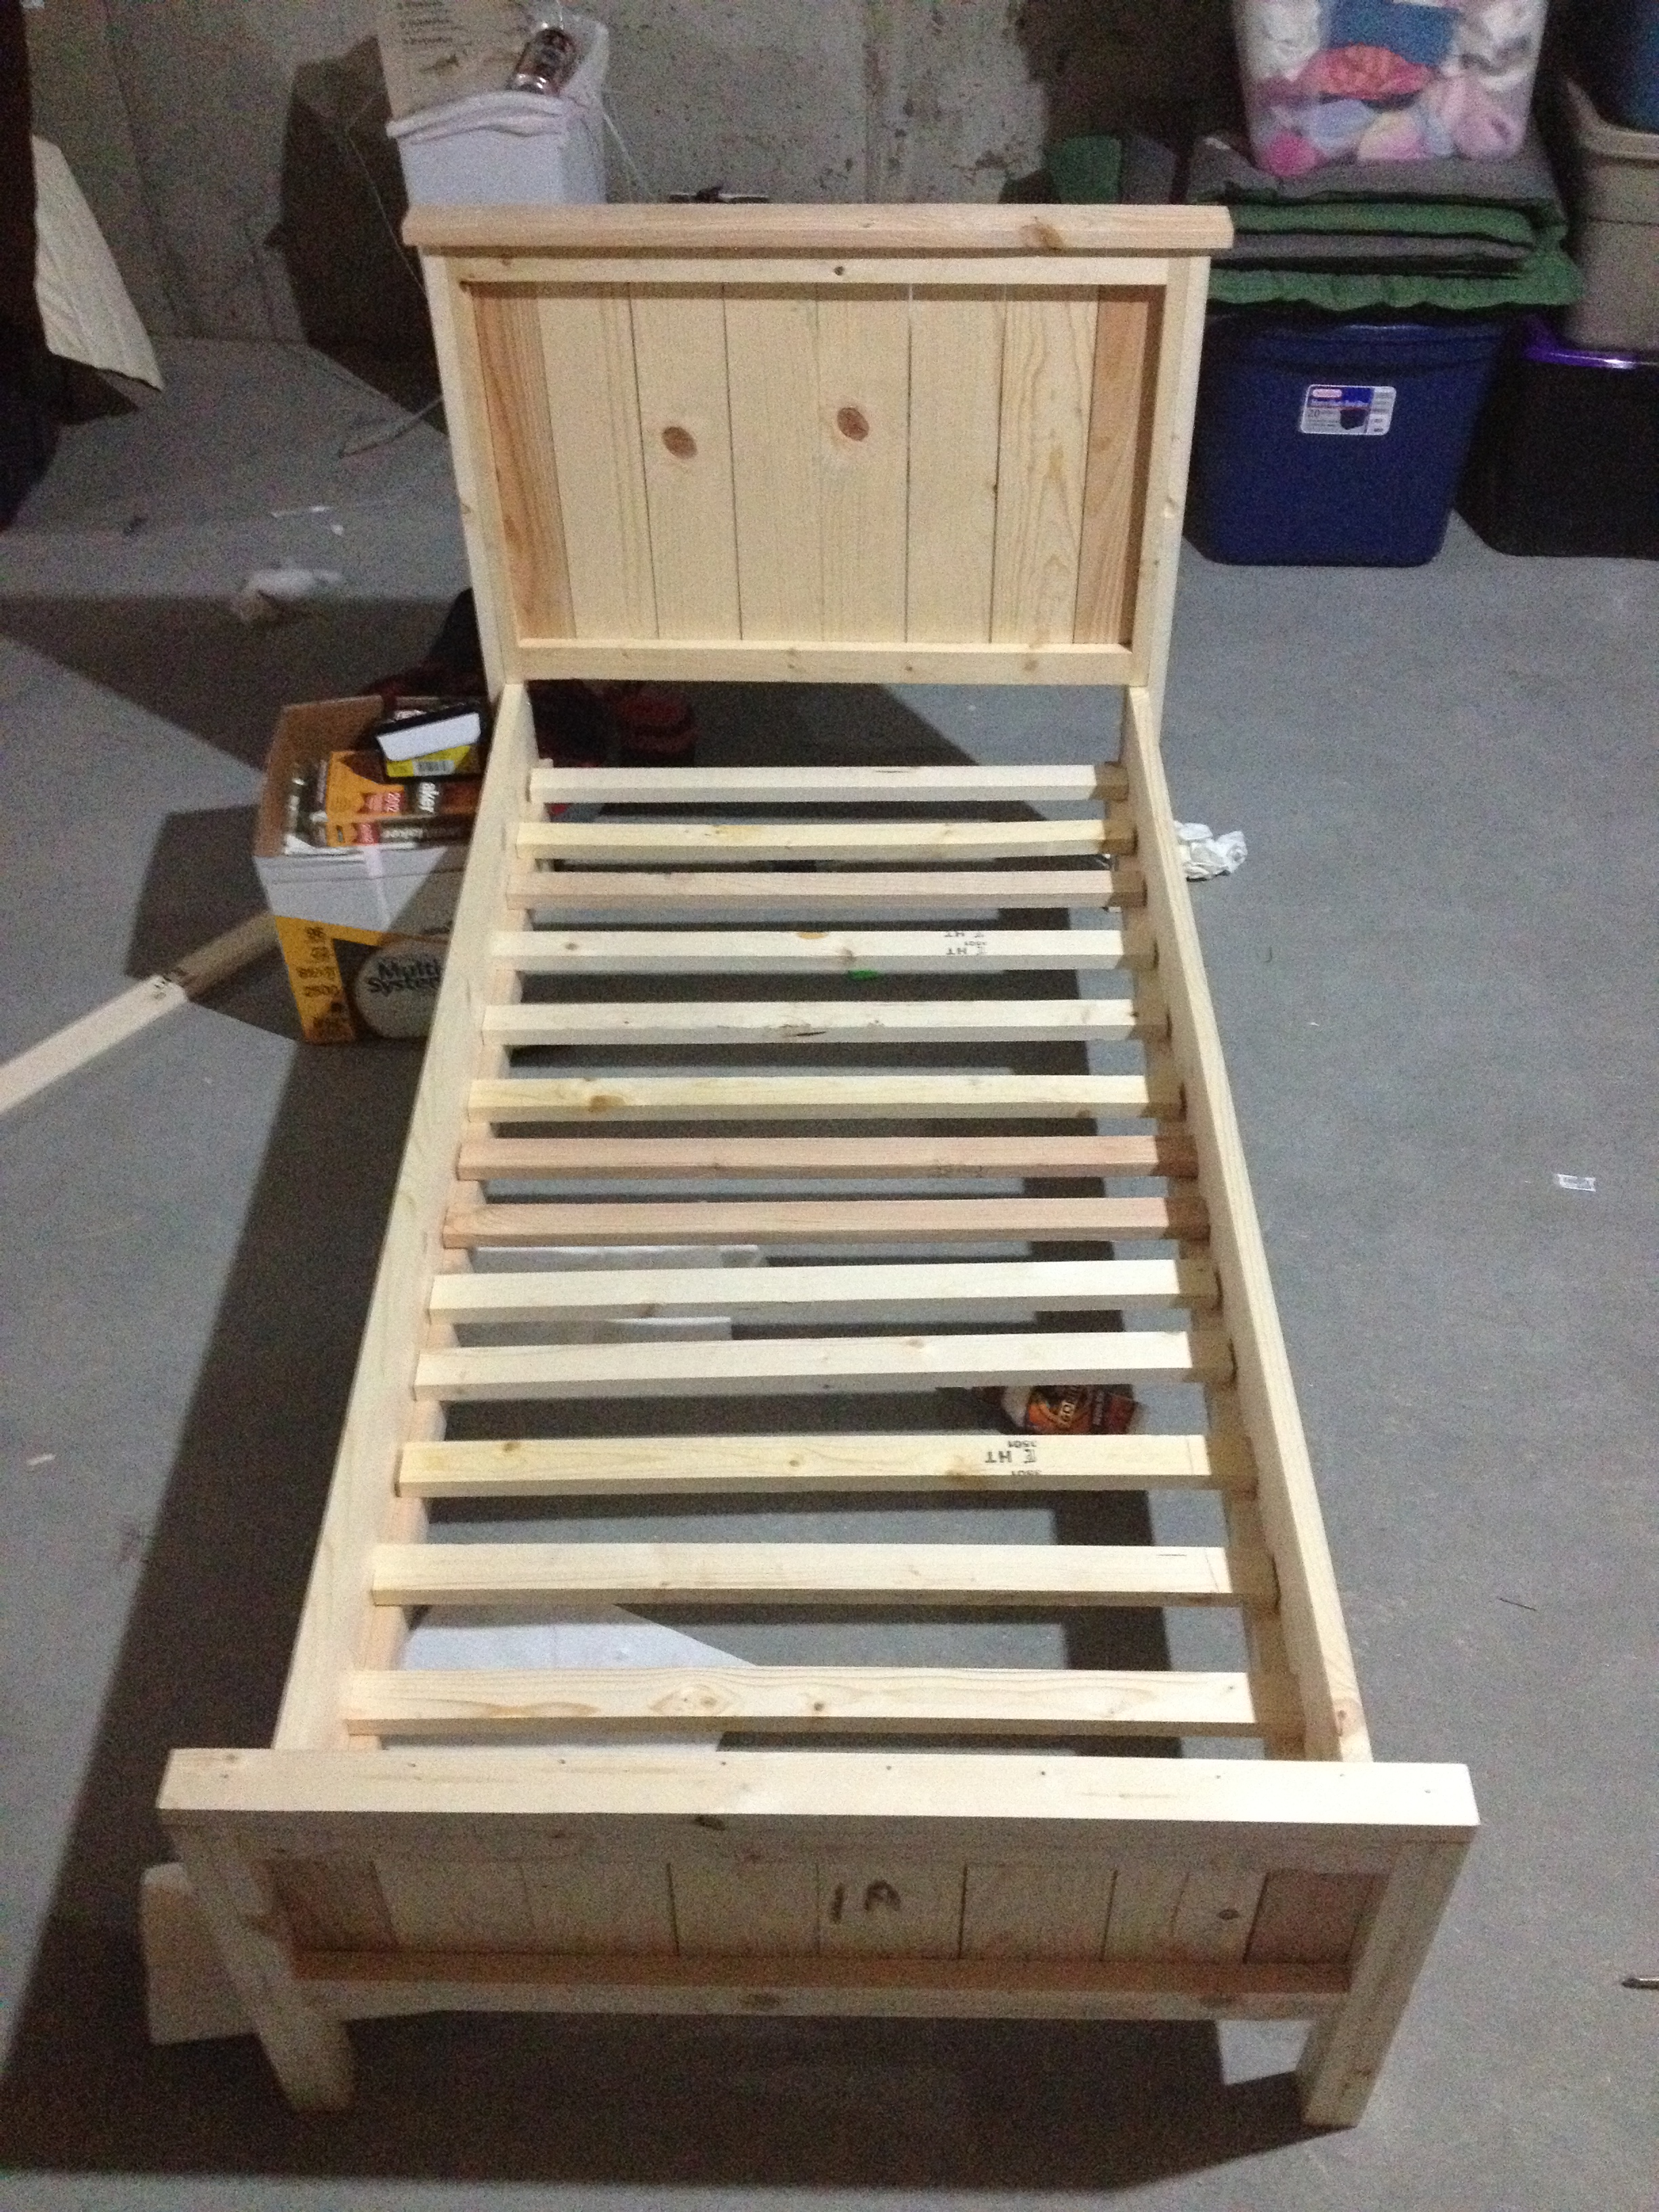
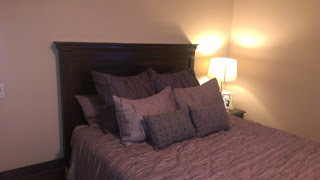
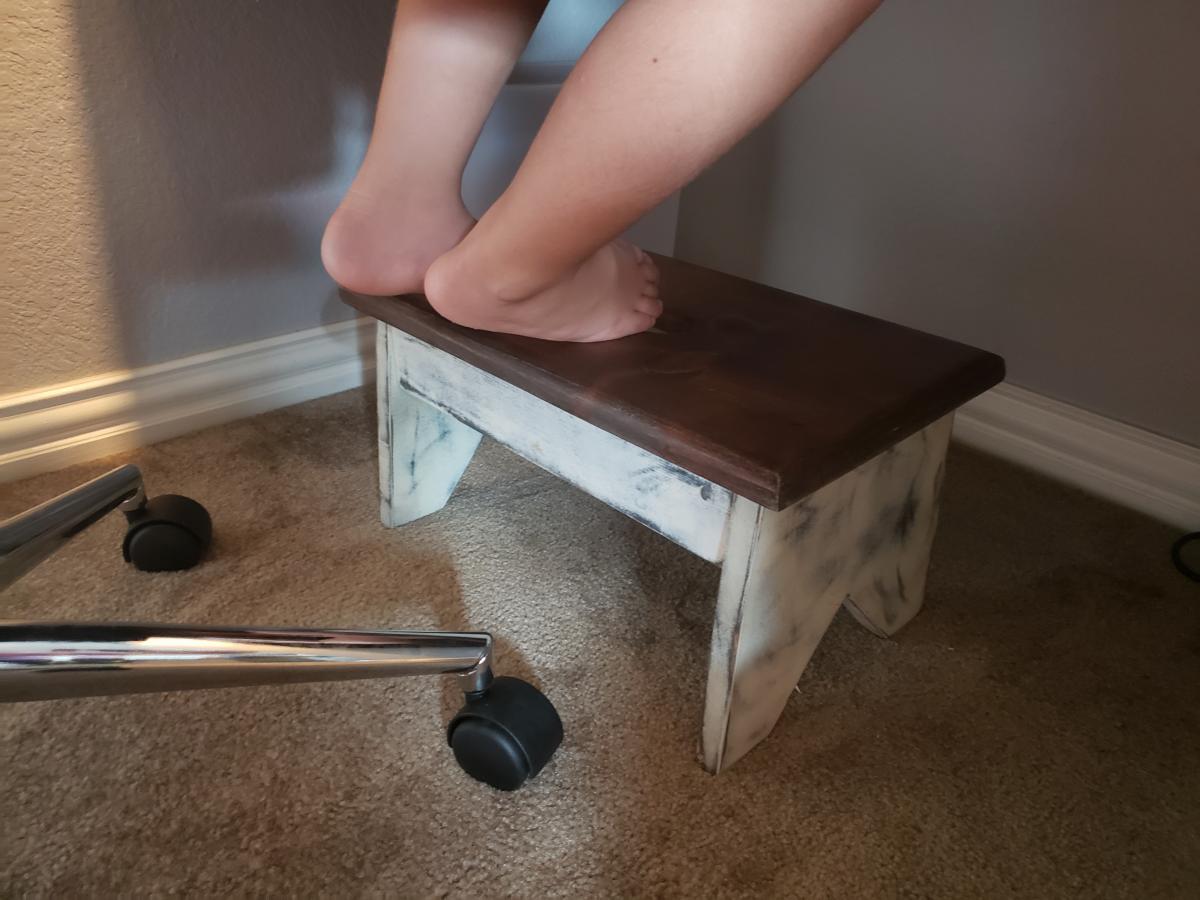
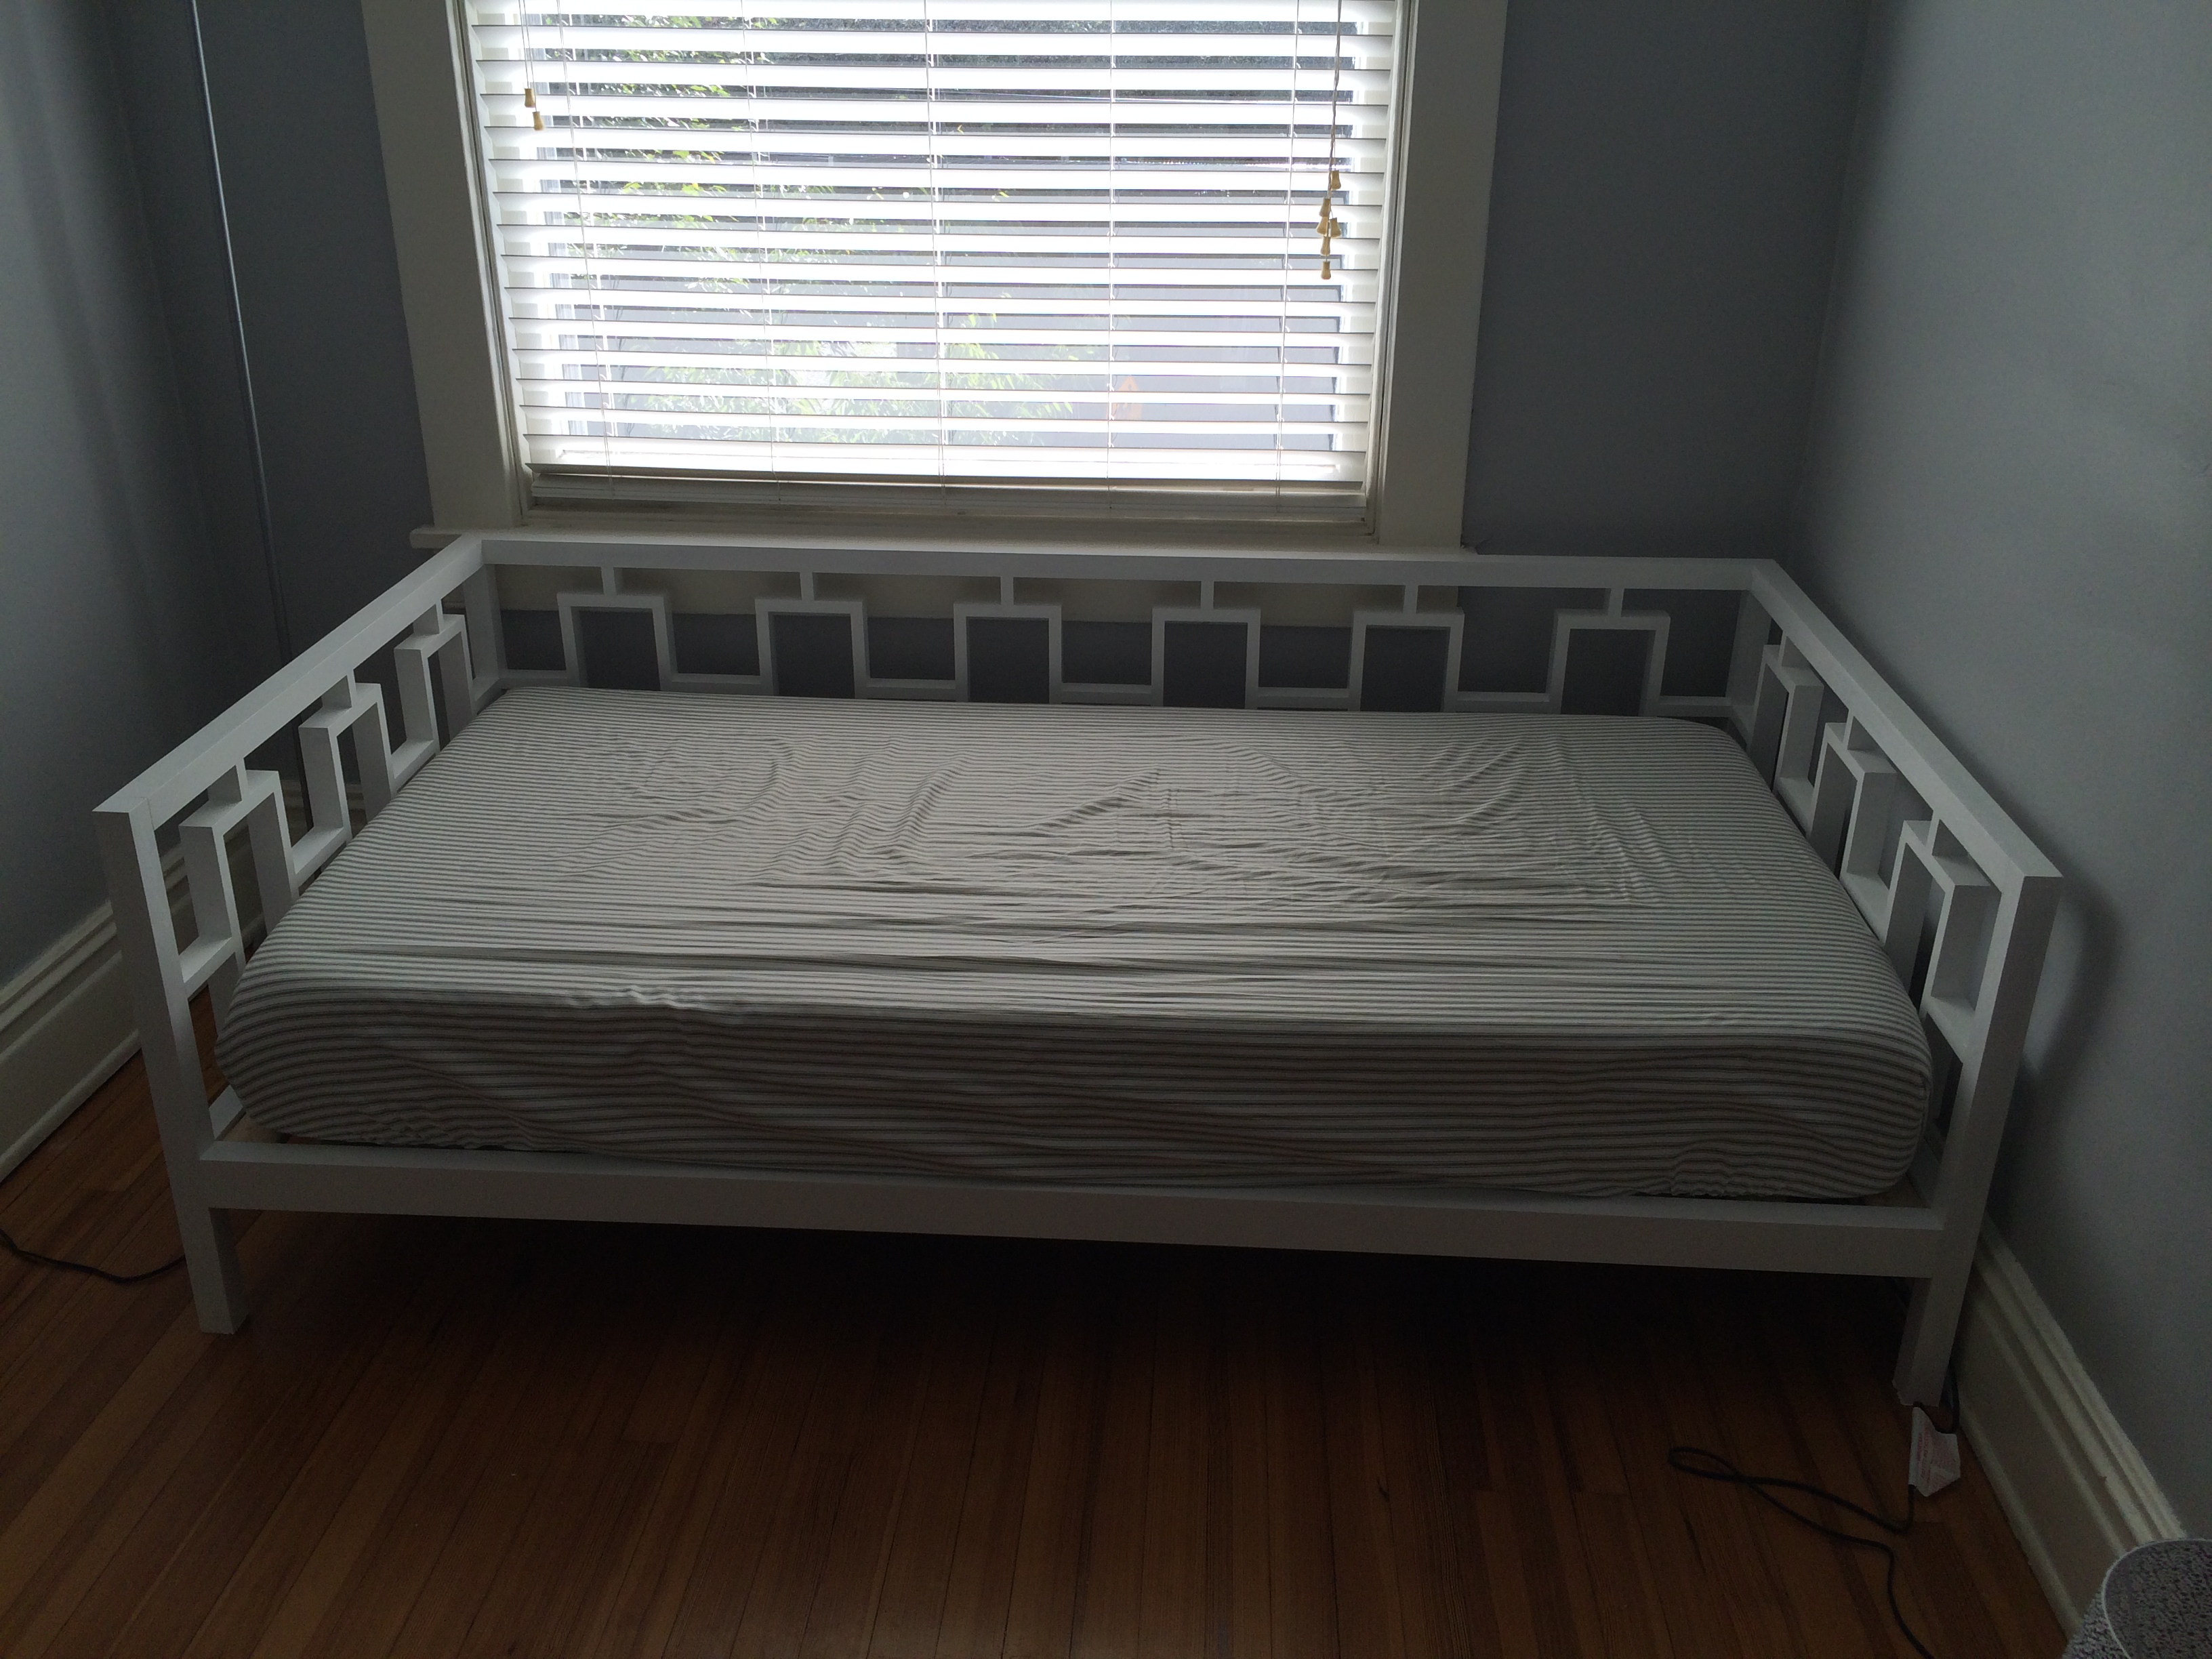
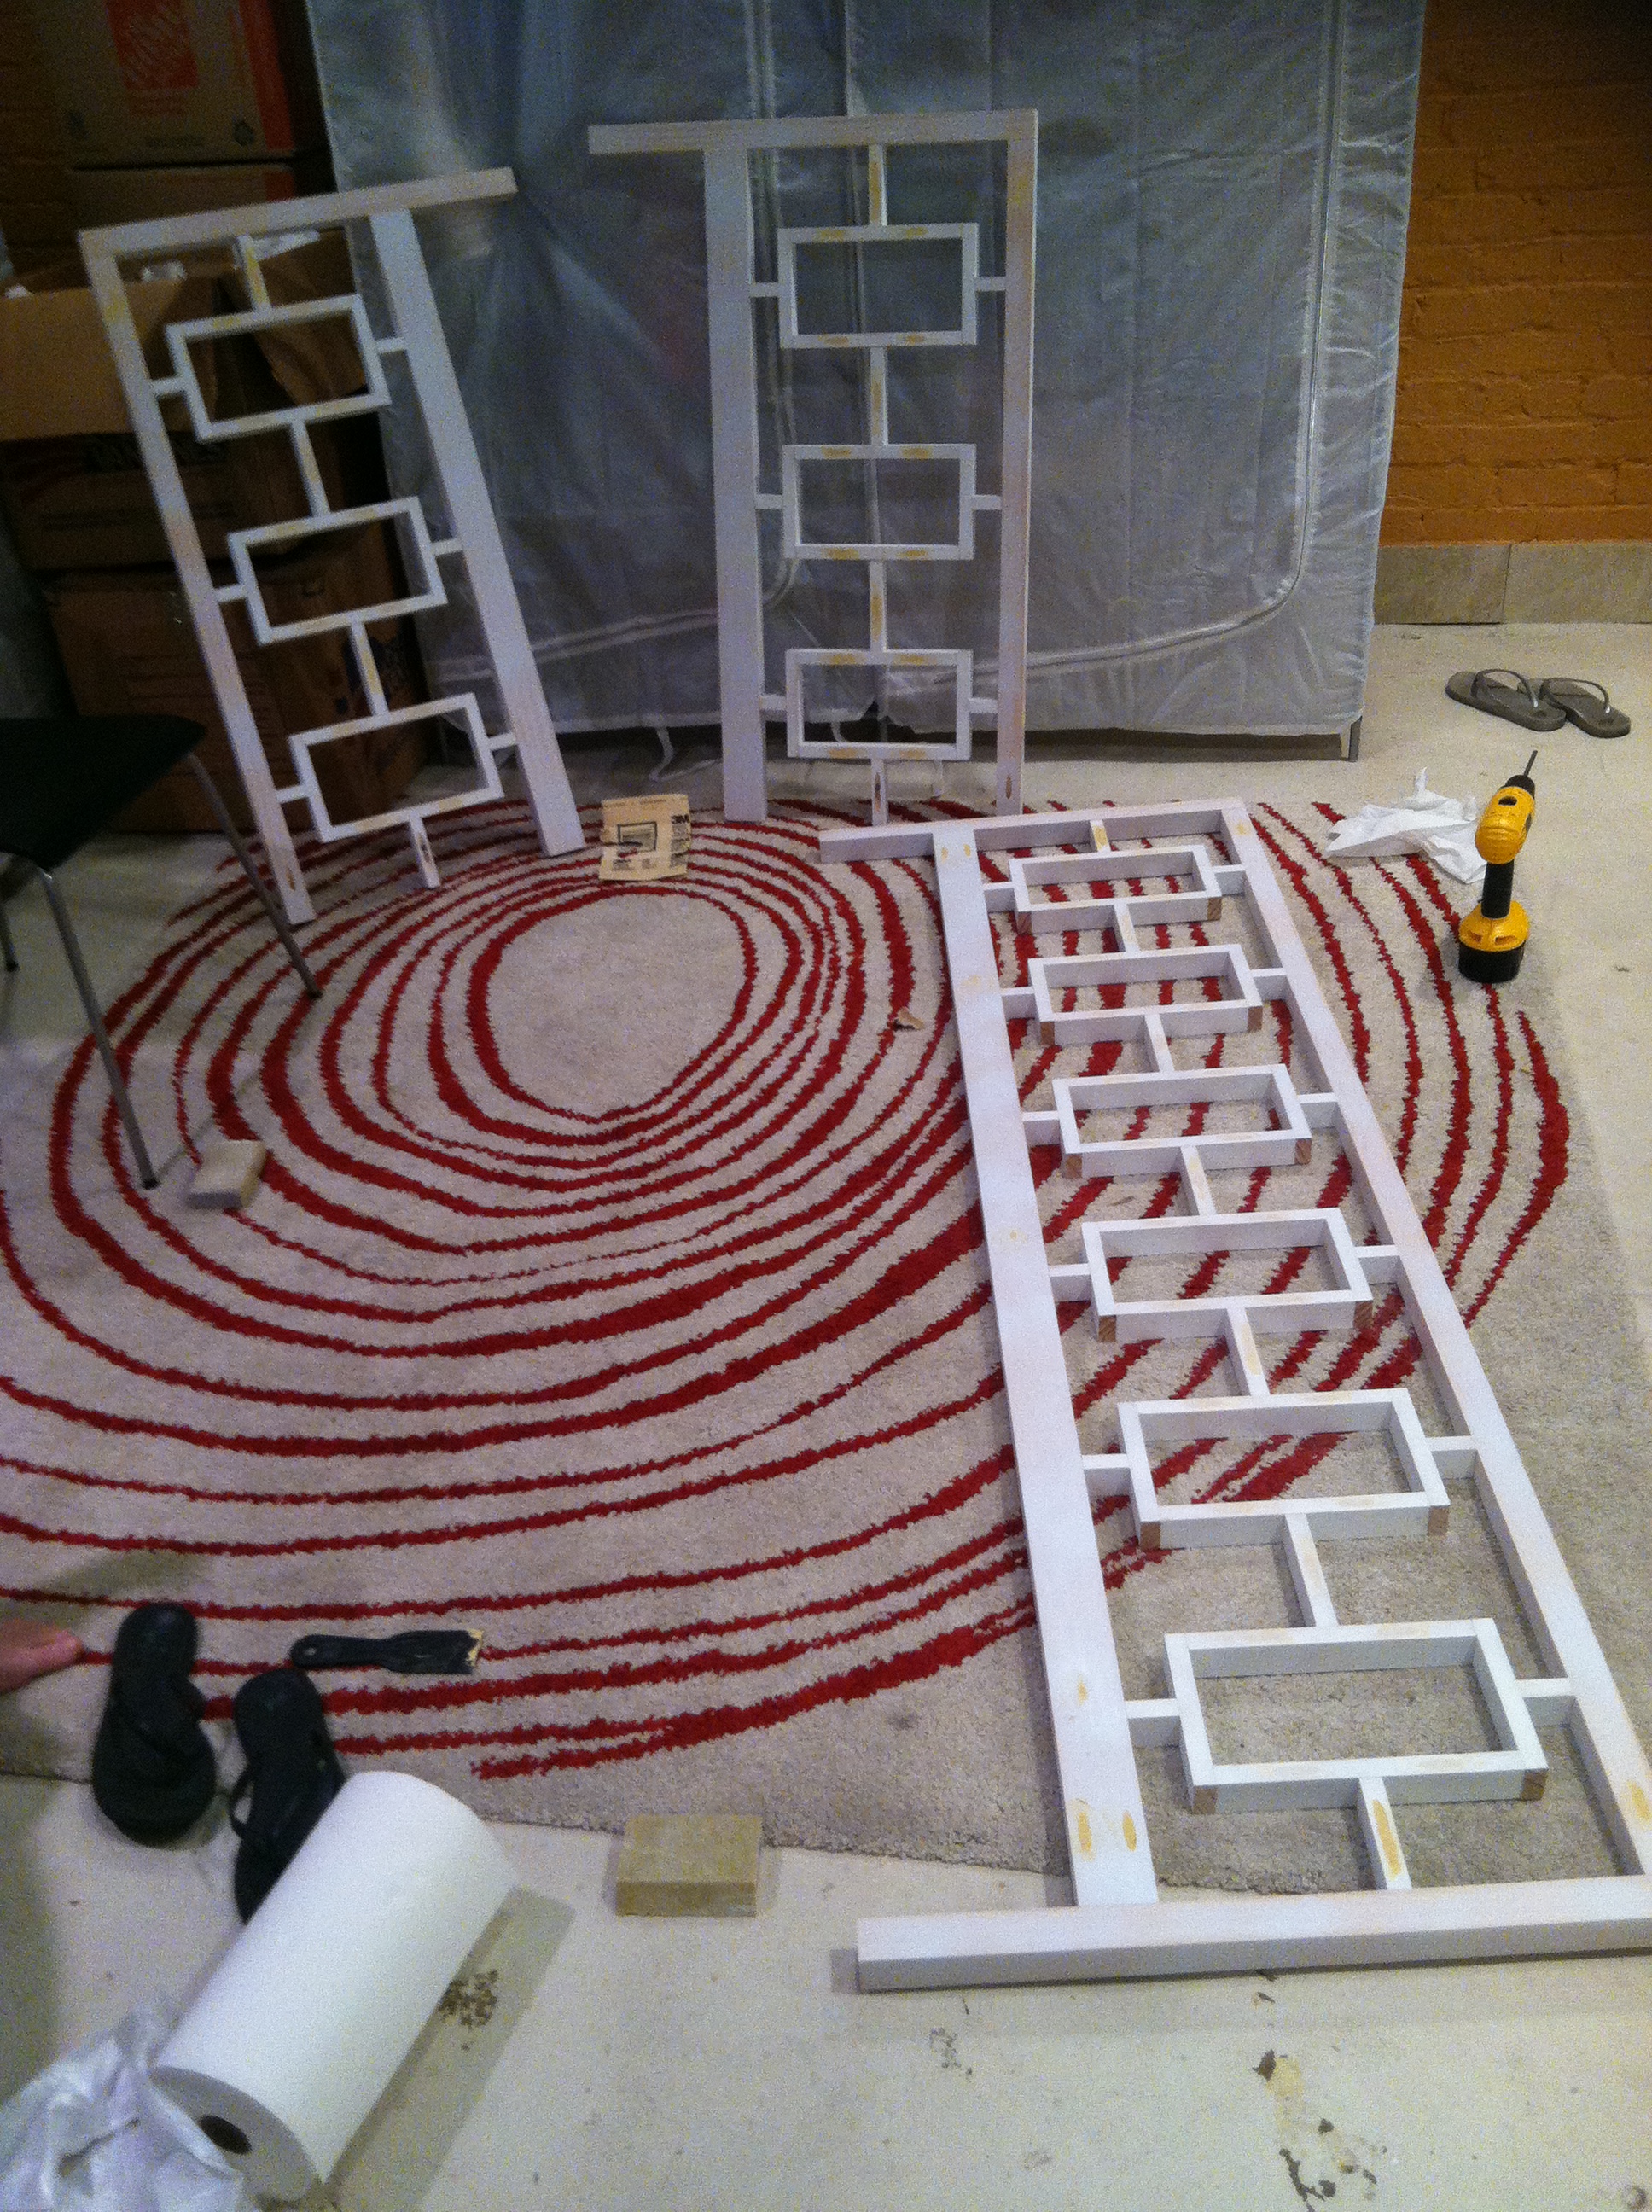
I was looking at getting the West Elm Rectangles Day Bed, however, the bed was a bit too tall. The window sill of the room was 26" high and I didn't really want the bed above the sill. I found the plans on this site and decided to modify the plans so that the top of the bed would be flush with the top of the sill.
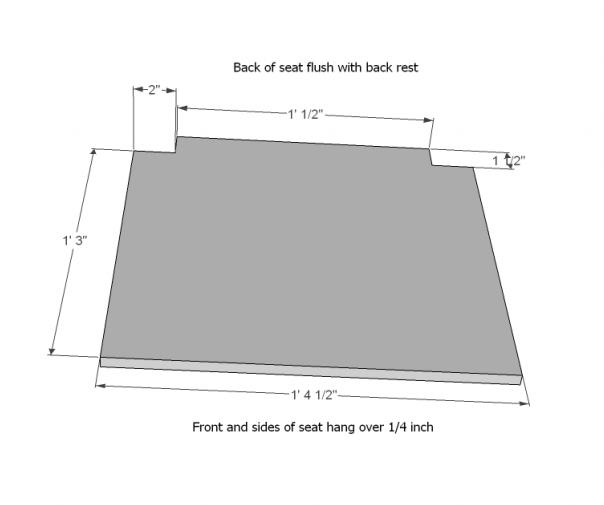
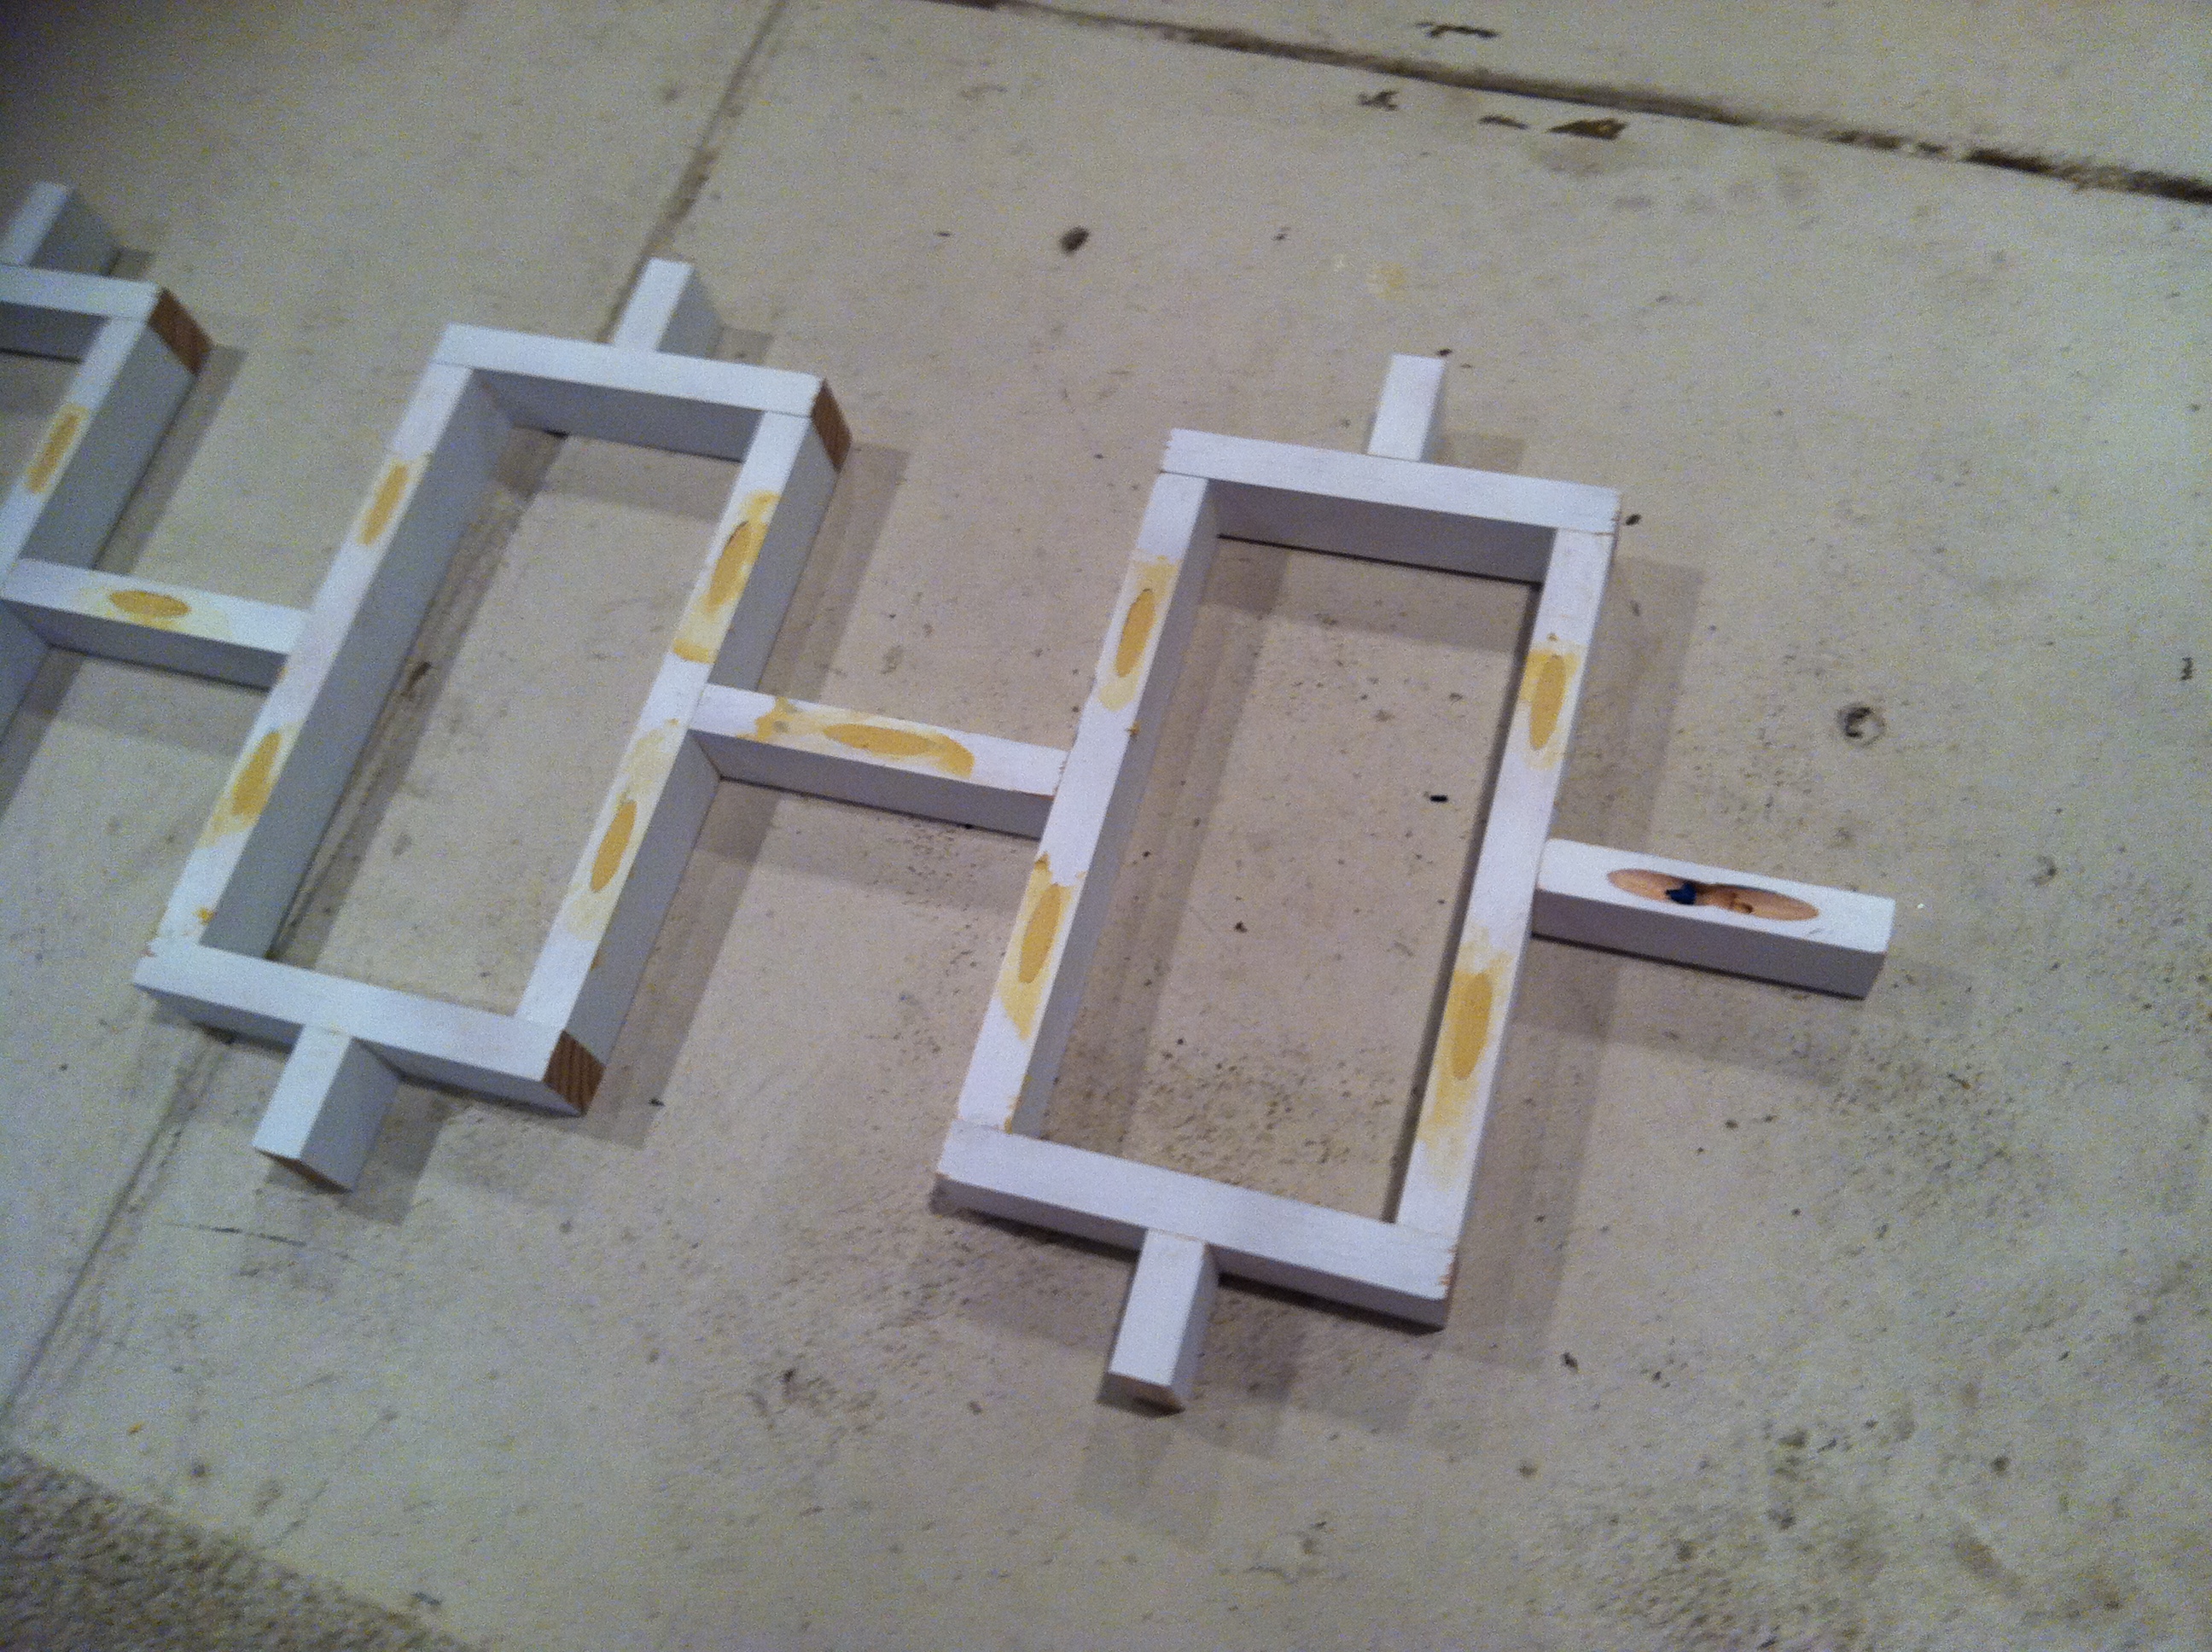
To make the bed fit, I removed 2" from the height of the rectangles (10" cuts instead of 12") and 1/2" from each of the top and bottom joiners (1 3/4" cuts instead of 2/1/4"). Finally, the corener legs are each cut to 26" instead of 30". The makes the be 7" off the floor instead of 8". Overall, I'm really happy with how it turned out.
A couple of things I learned:
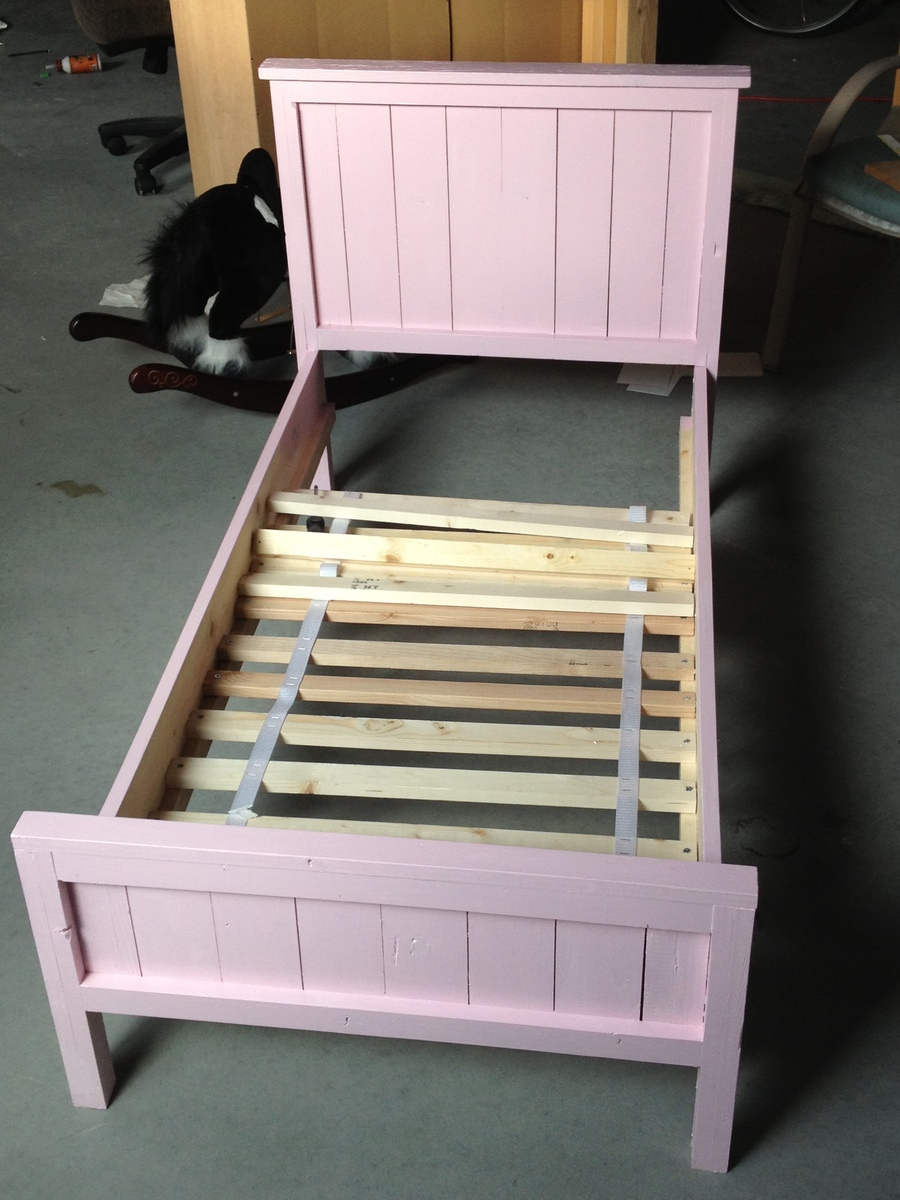
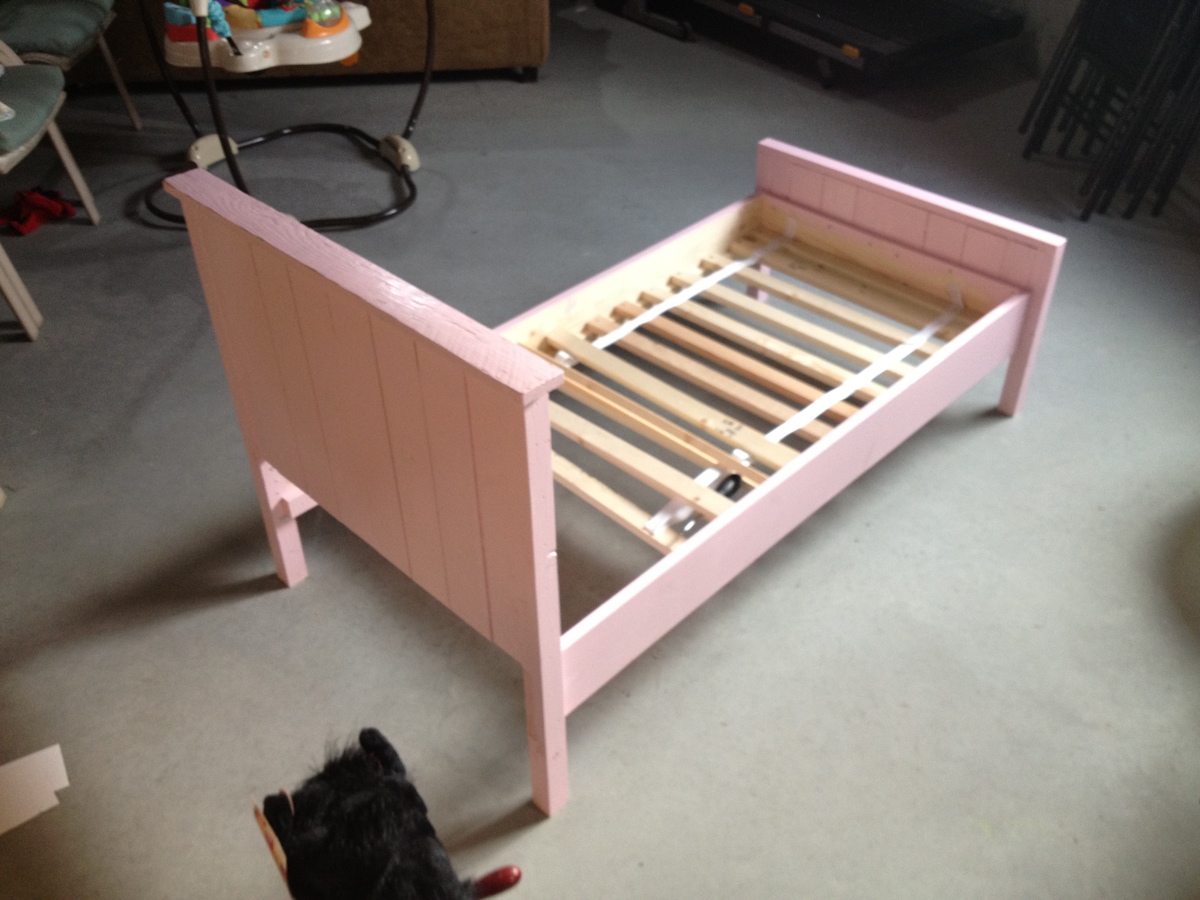
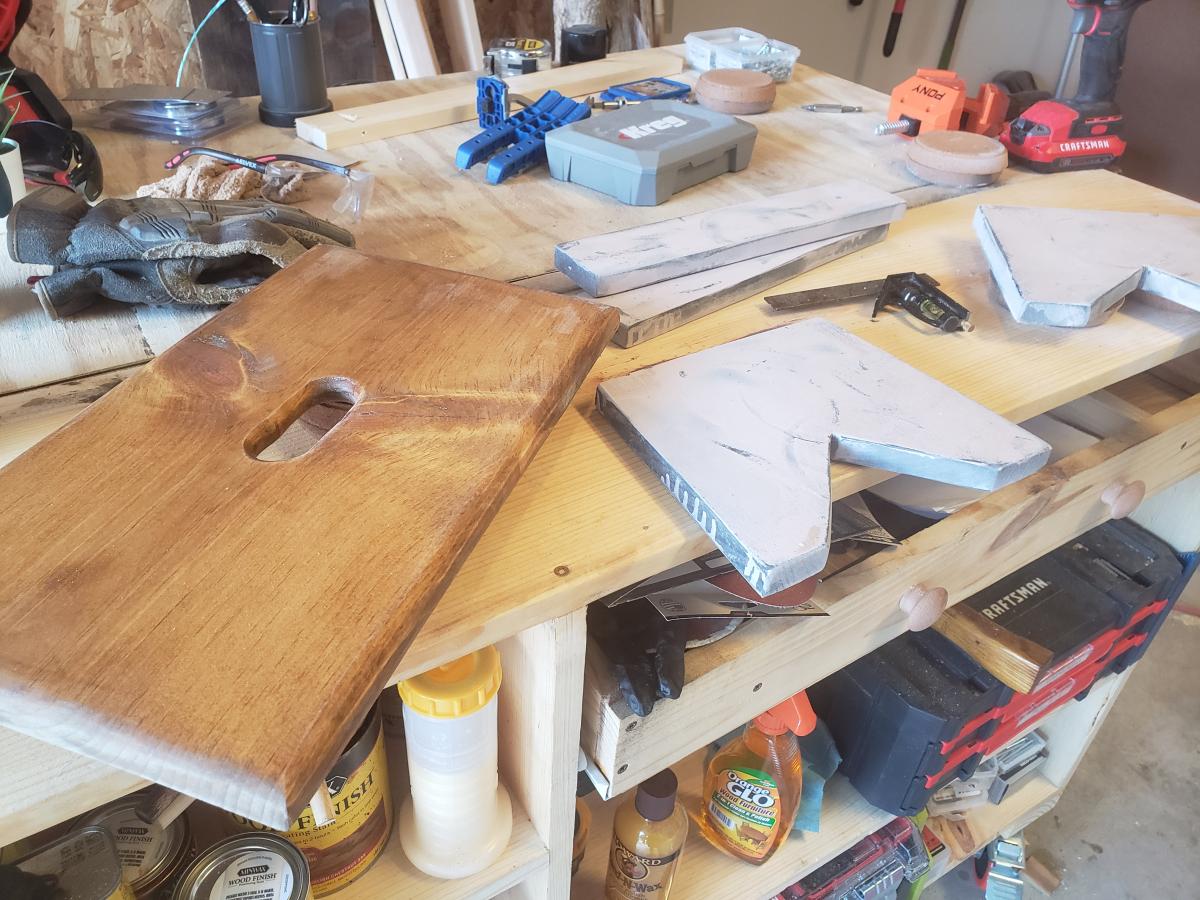
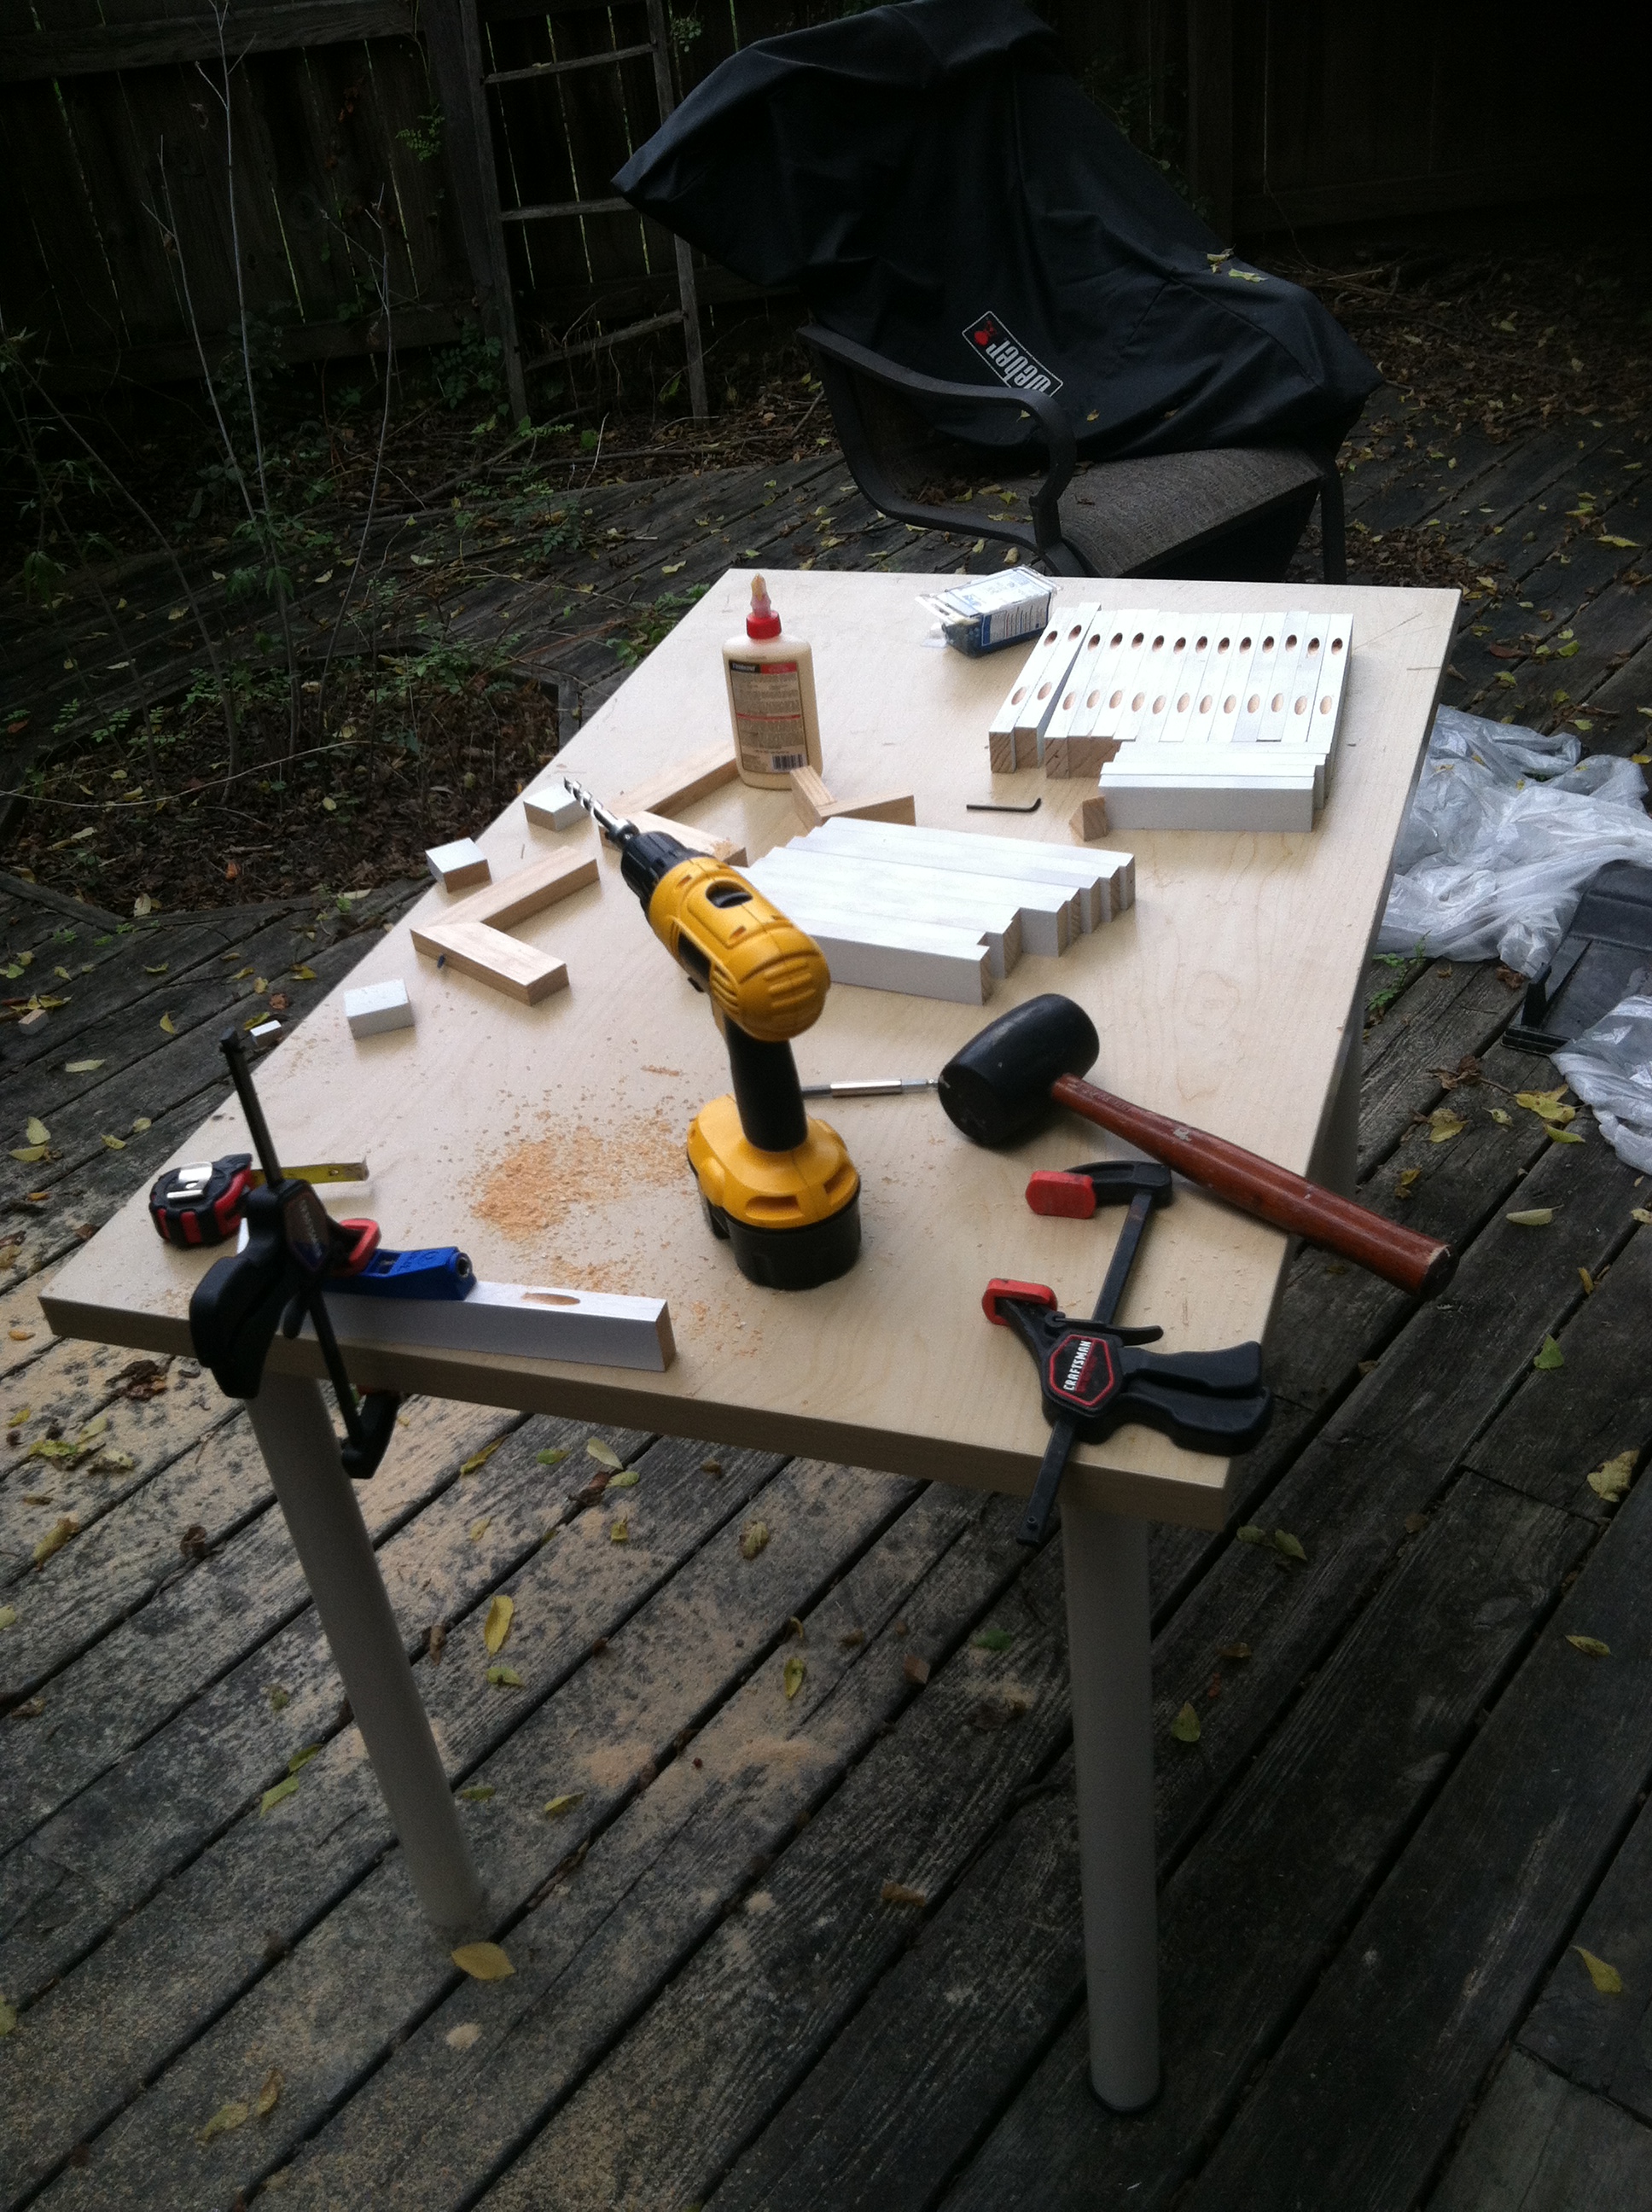
1. I used clear pine for the wood. It was very smooth to begin with, so I didn't need to sand it. I primed all the wood prior to cutting.
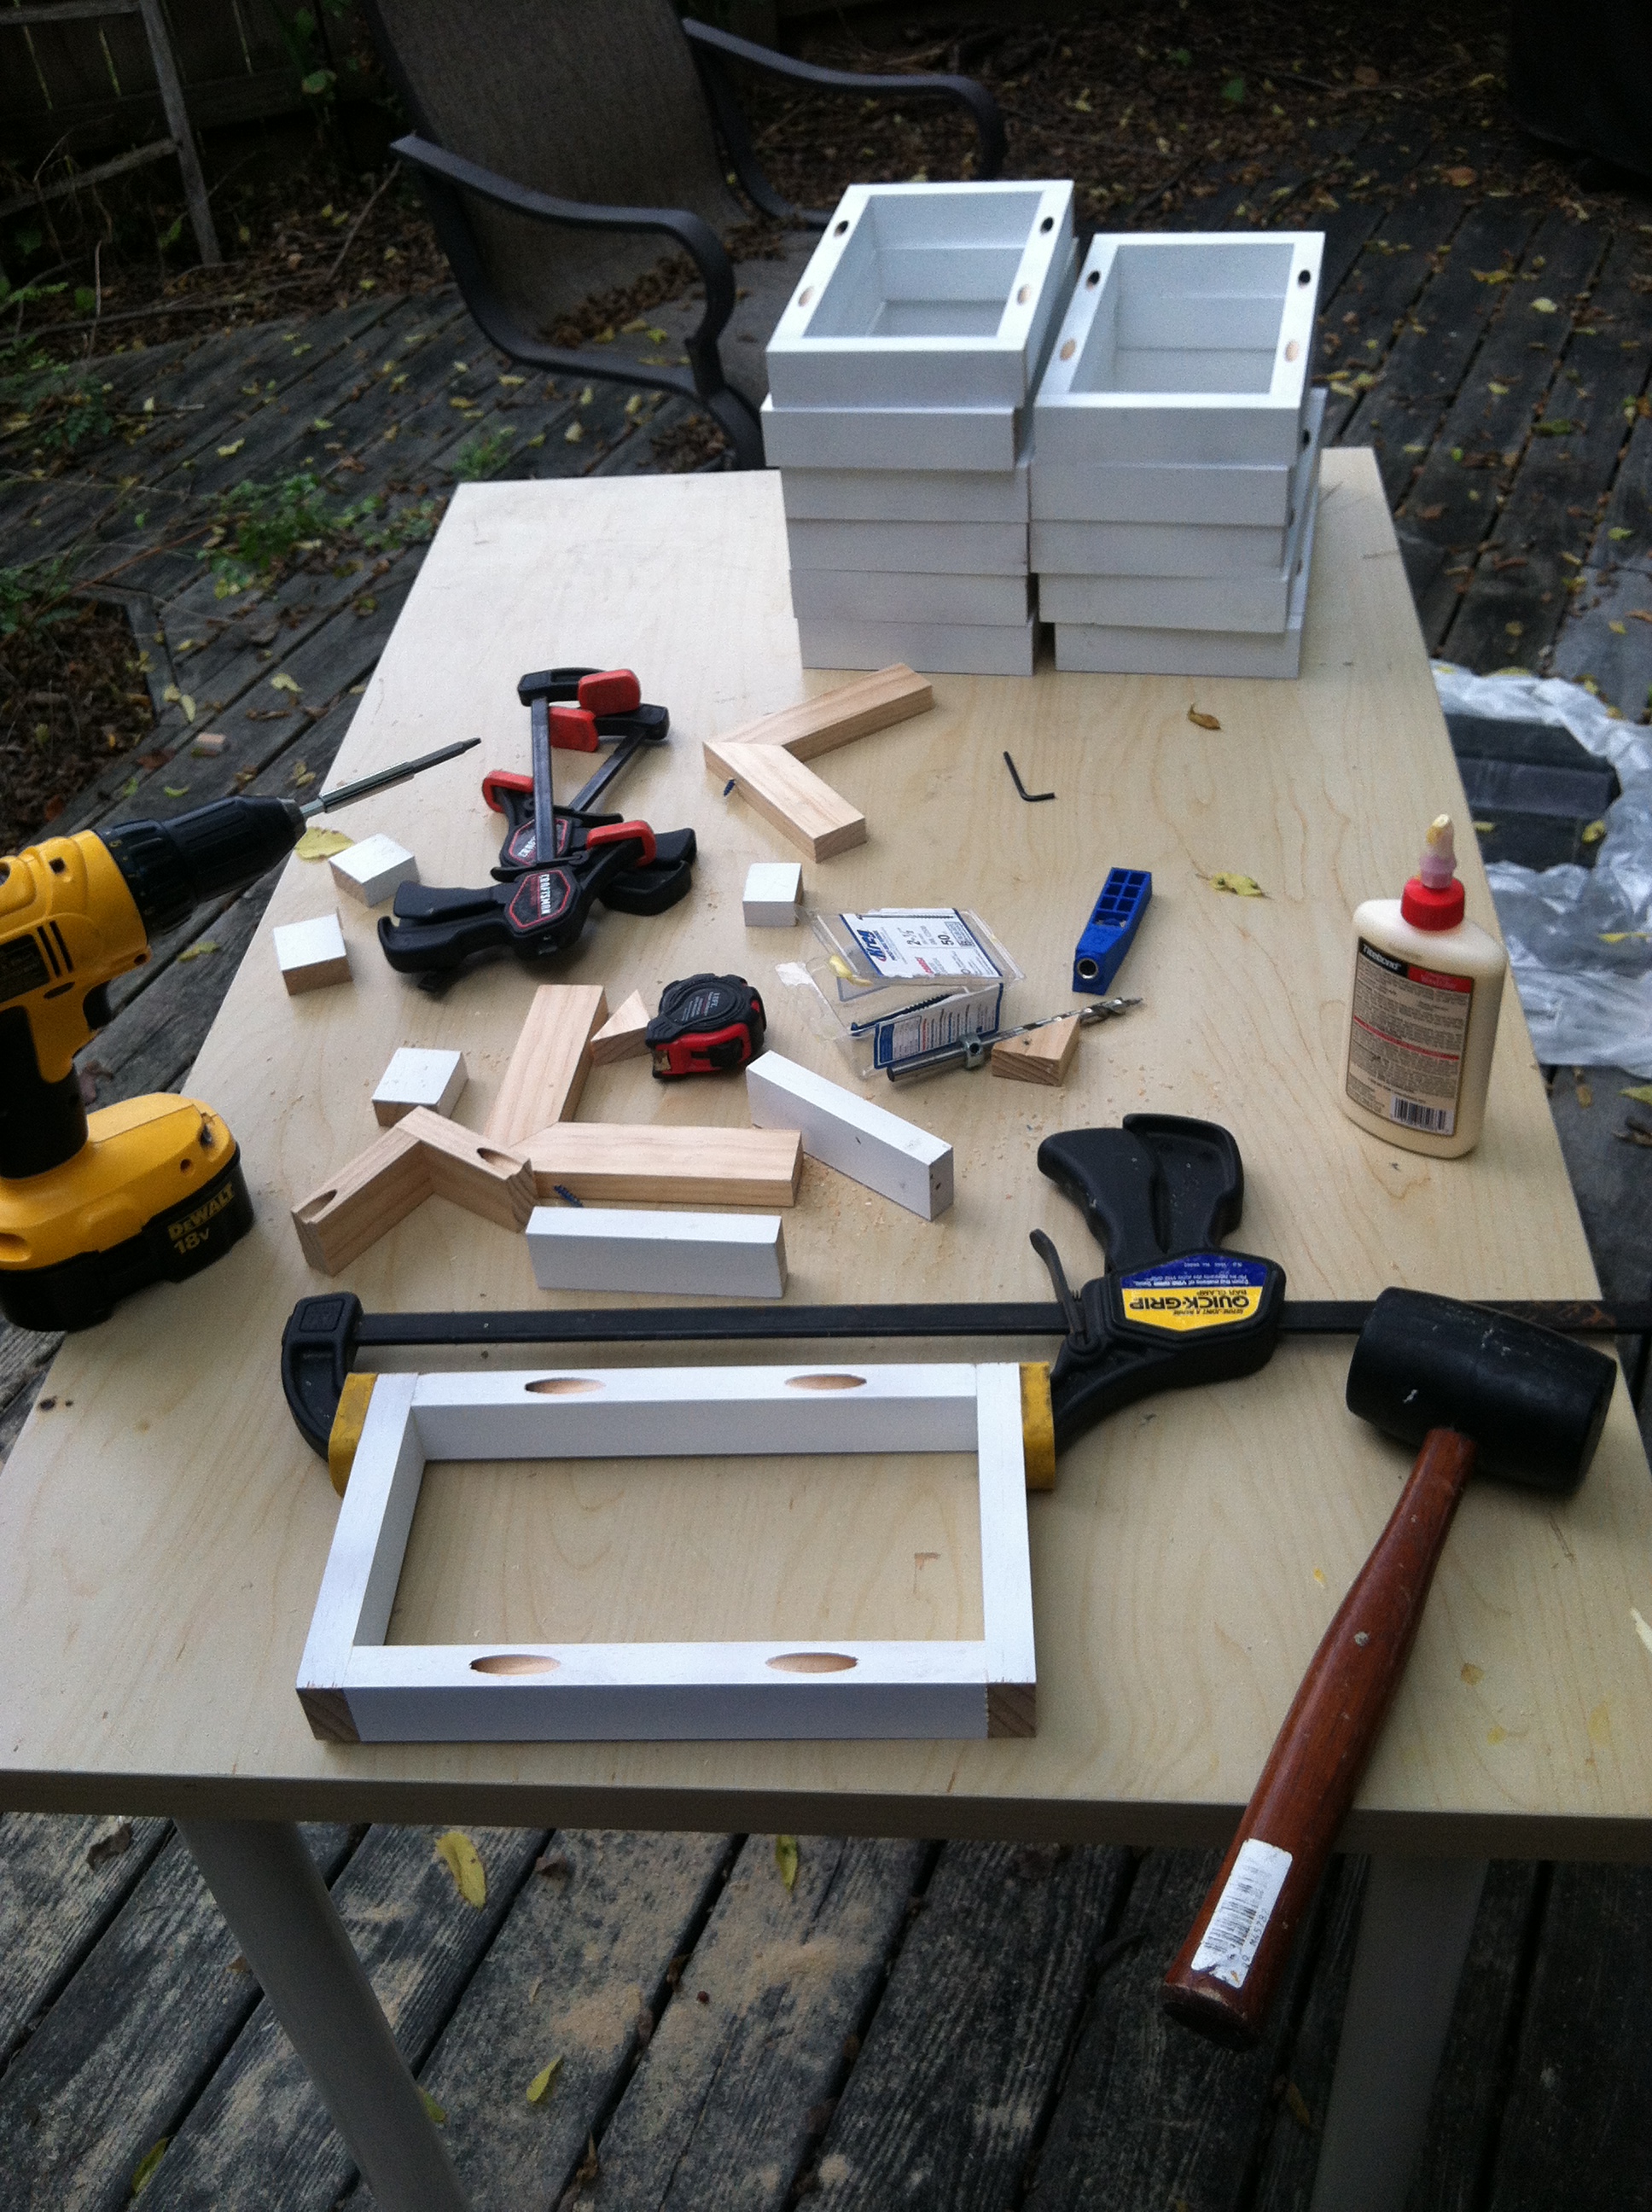
2. The pine was not all exactly the same size. This means that I could only have one side completely flush and needed to decide if it was the inside of the outside of the bed (I choose the inside). I sanded the outside a bit, but all the pieces still weren't completely flush, but I didn't care since it would be facing the wall. You may be able to get better results with more expensive wood.
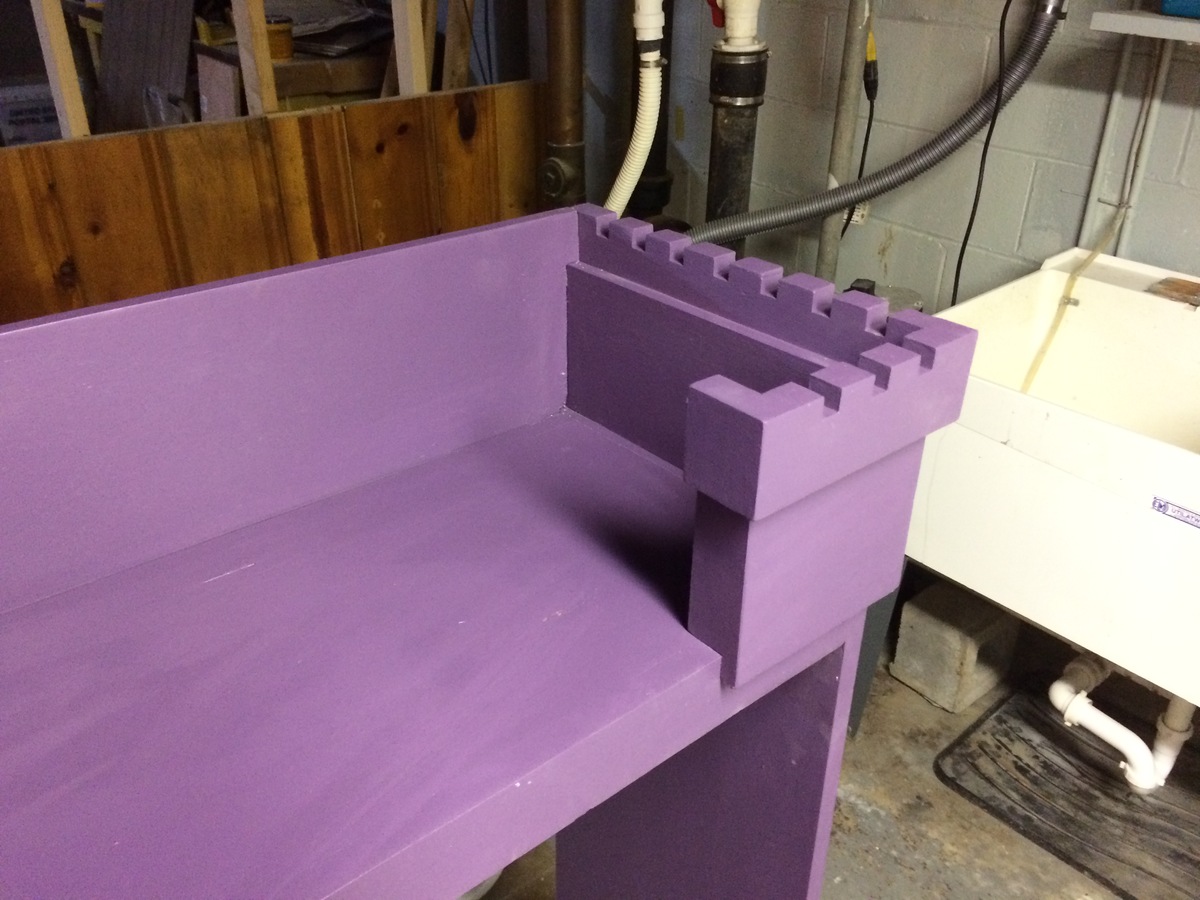
3. Get a Kreg jig. I bought the pocket unit for ~$20. It was very useful for creating joints. Make sure to do a test joint as I initially set the depth incorrectly and drilled too deep (luckily I DID do a test piece)
4. I did not buy the Kreg plugs. Instead, I just used wood filler. For each hole, I covered with wood filler, let dry and sanded. I then put on a second coat and sanded again using 300 grit sandpaper. You can not tell there are any joint holes, and am very pleased with how the joints look.
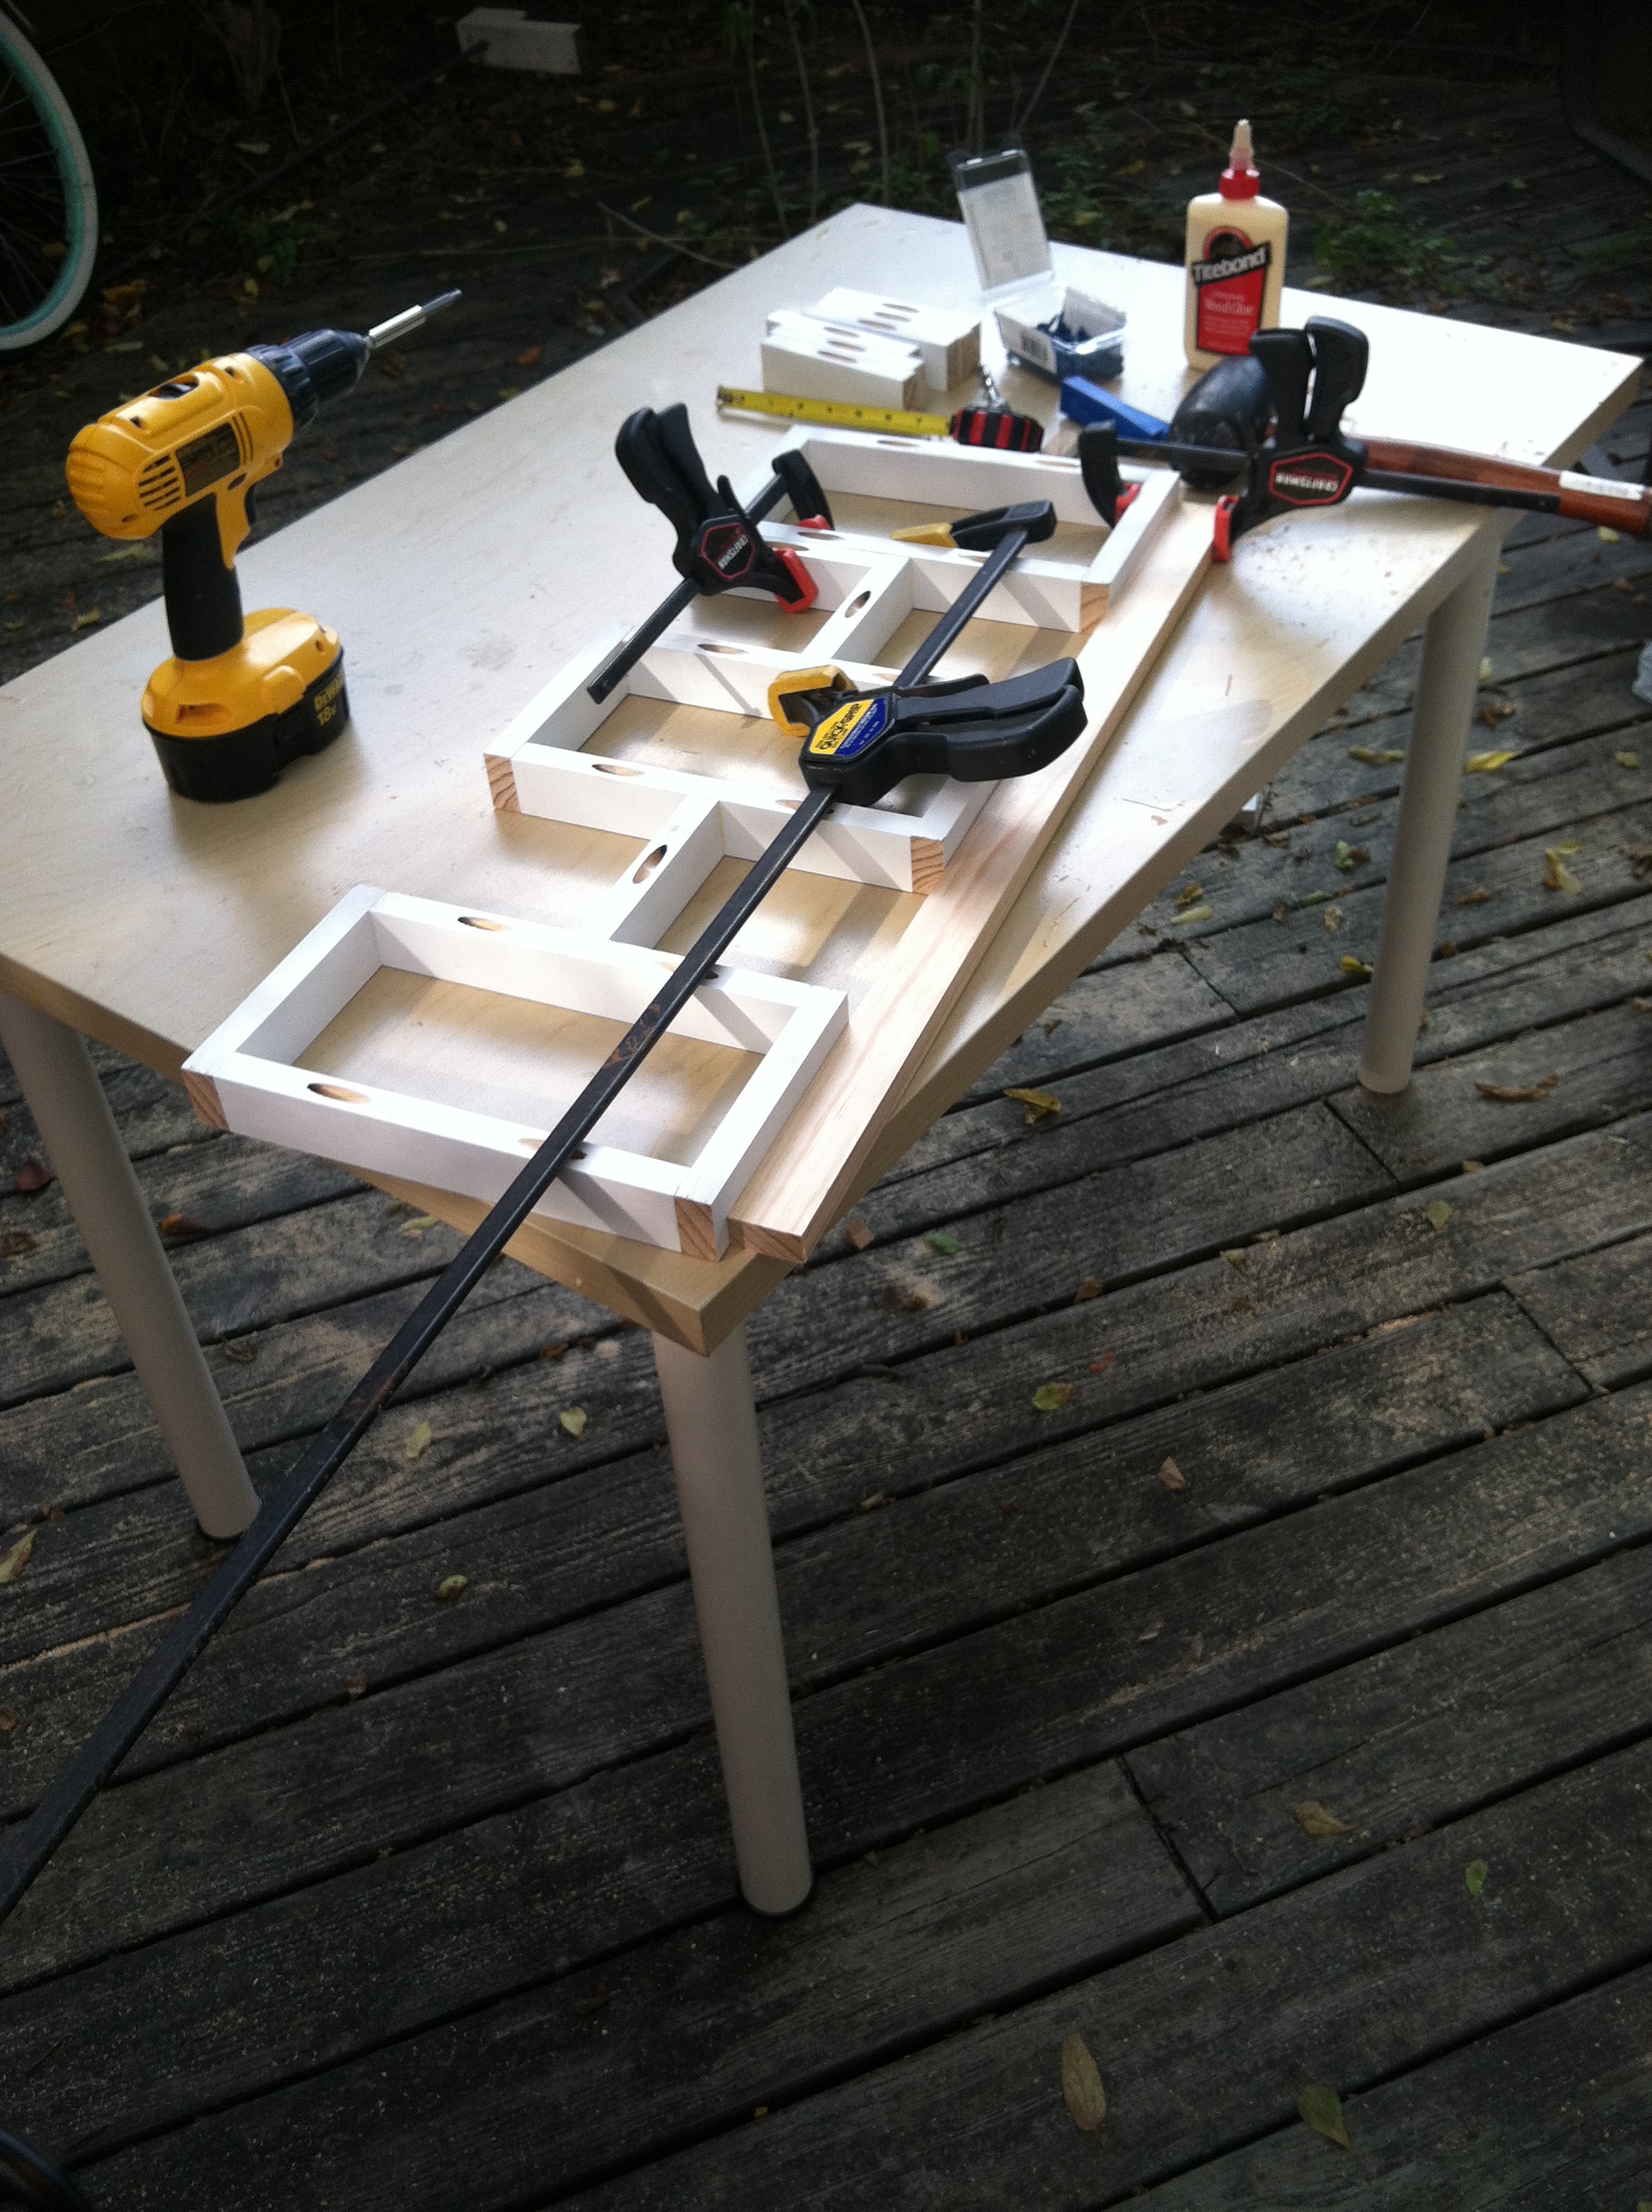
5. I did not use the Kreg Jig on the 1/3/4" top/bottom rectangle joiners, I just used 3" wood screws and screwed throught the top/bottom in from the top/bottom. I used a Big Gator Drill Guide to drill a pilot hole that was perfectly perpendicular (as I don't have a drill press) prior to screwing the pieces together. Filling the holes with wood filler and sanding (twice) worked well.
6. Sanding!! I sanded a lot to get the paint to be very smooth. It was a bit of a pain as I did it all by hand. I think a belt sander might have made some of the sanding go a bit quicker, but the rectangles day bed has so many inside areas to sand, you're going to have to do some by hand.
7. I used a primer on all surfaces and sanded the primer smooth prior to the final coat(s). For painting the final coats, I used a foam brush as the paint was pretty thin and I did not want to see any brush marks. I considered spray painting the final coat, but it was just easier to do by hand.
I had to scale mine down a bit in size (I didn't want a huge coffee table this time around)...I absolutely love this table. Very easy to build and only took one day from start to finish to make. I receive tons of compliments on it! People can't believe I actually made it from scrap wood I had in the garage! I have a 3 year old who plays and bangs toys on it everyday, and it only adds to the distressed, rustic look that I love! Couldn't be happier!
Look no further for a one-of-a-kind coffee table to complete your room!