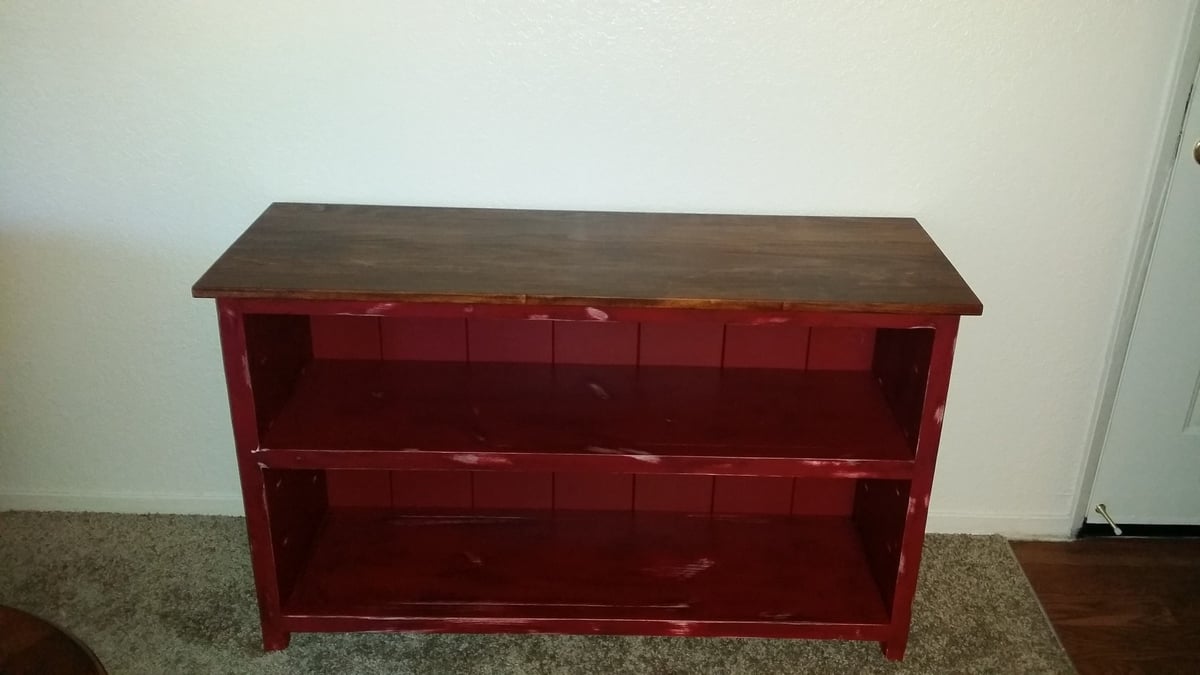
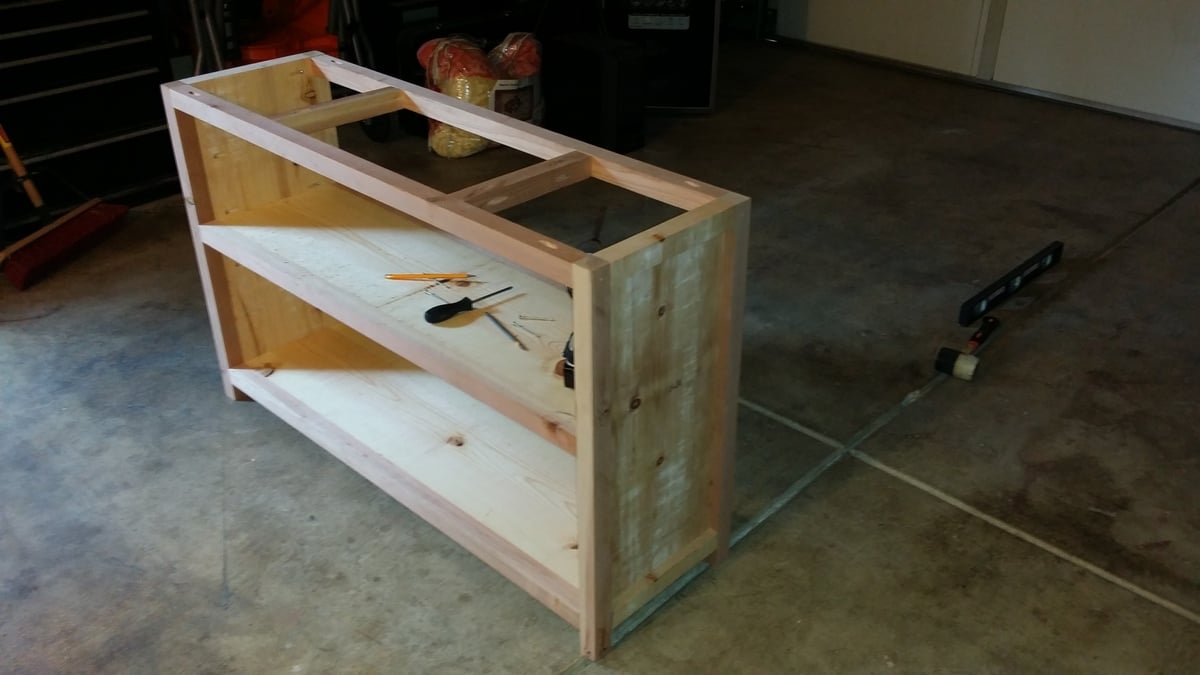
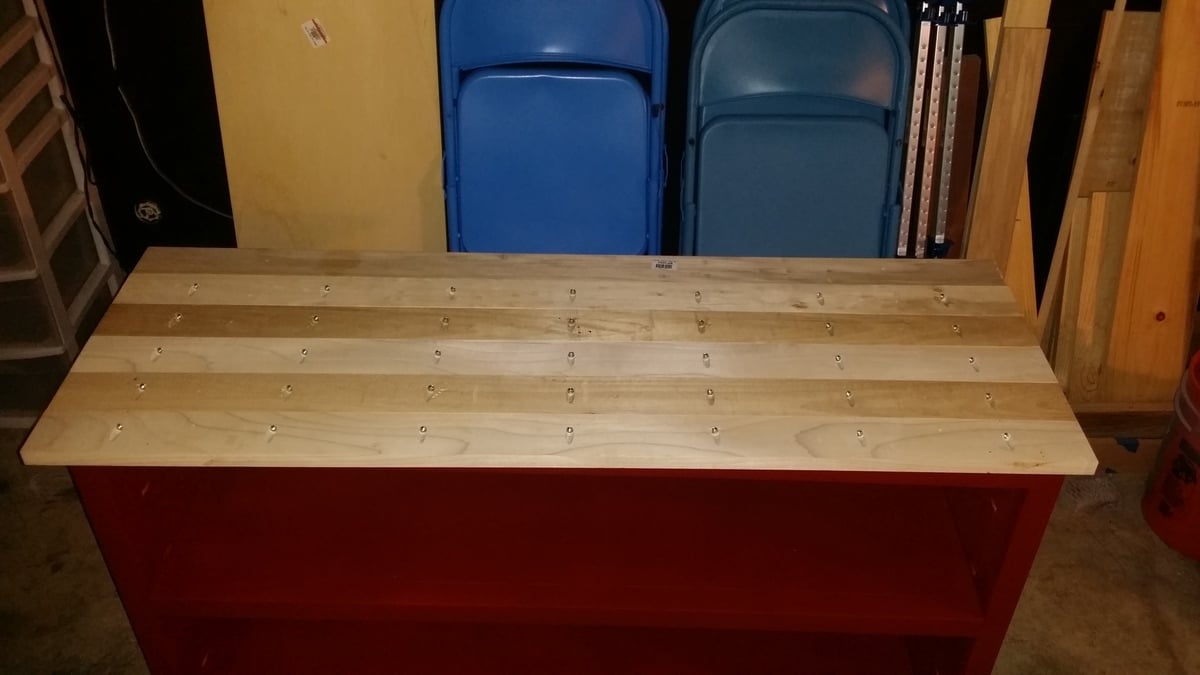
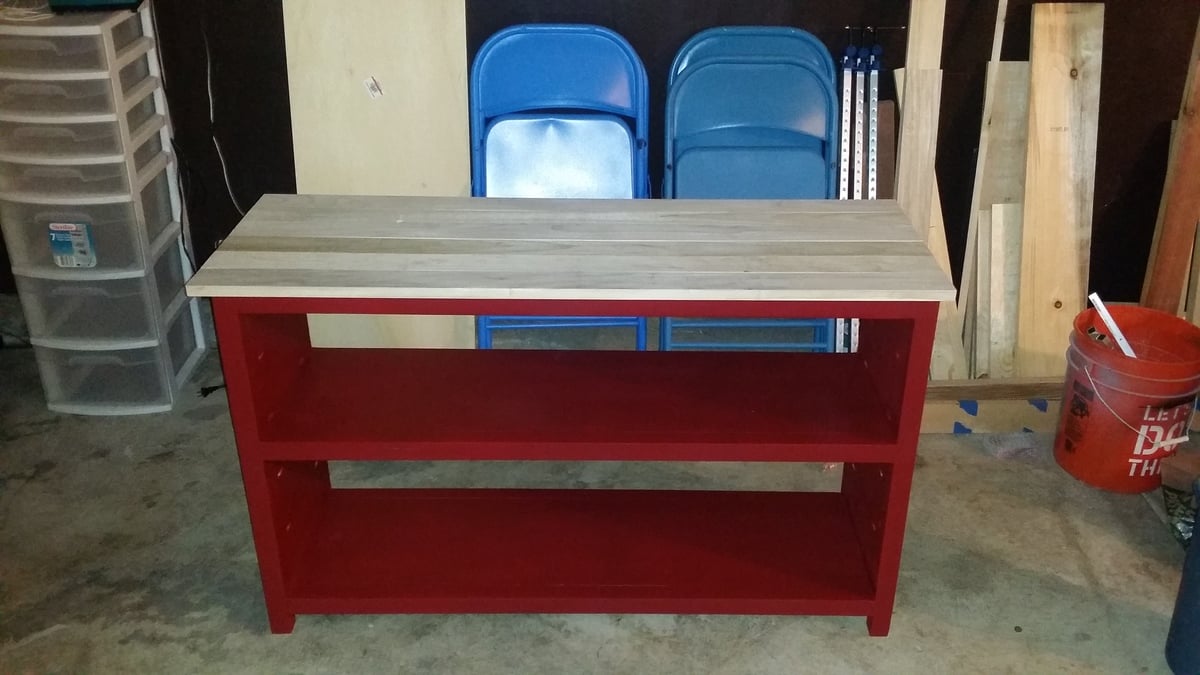
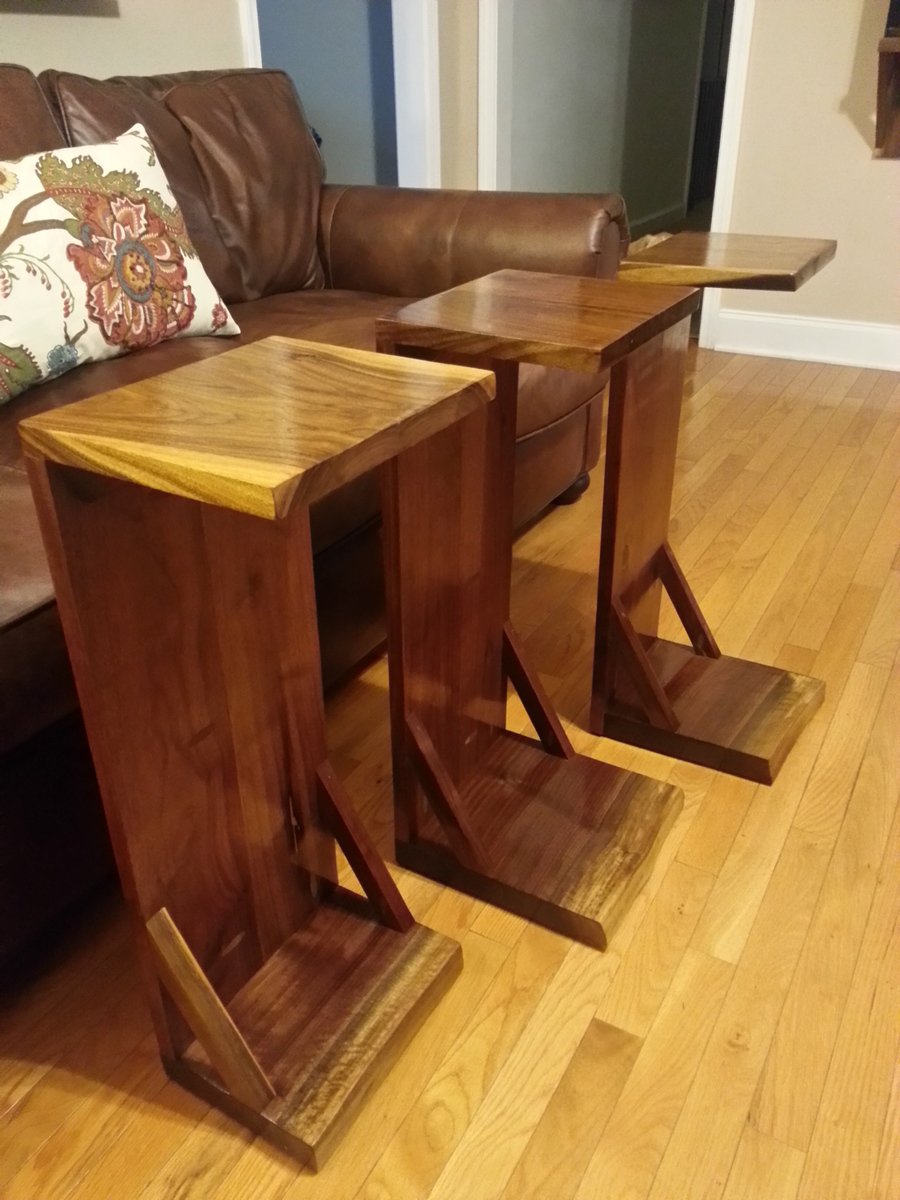
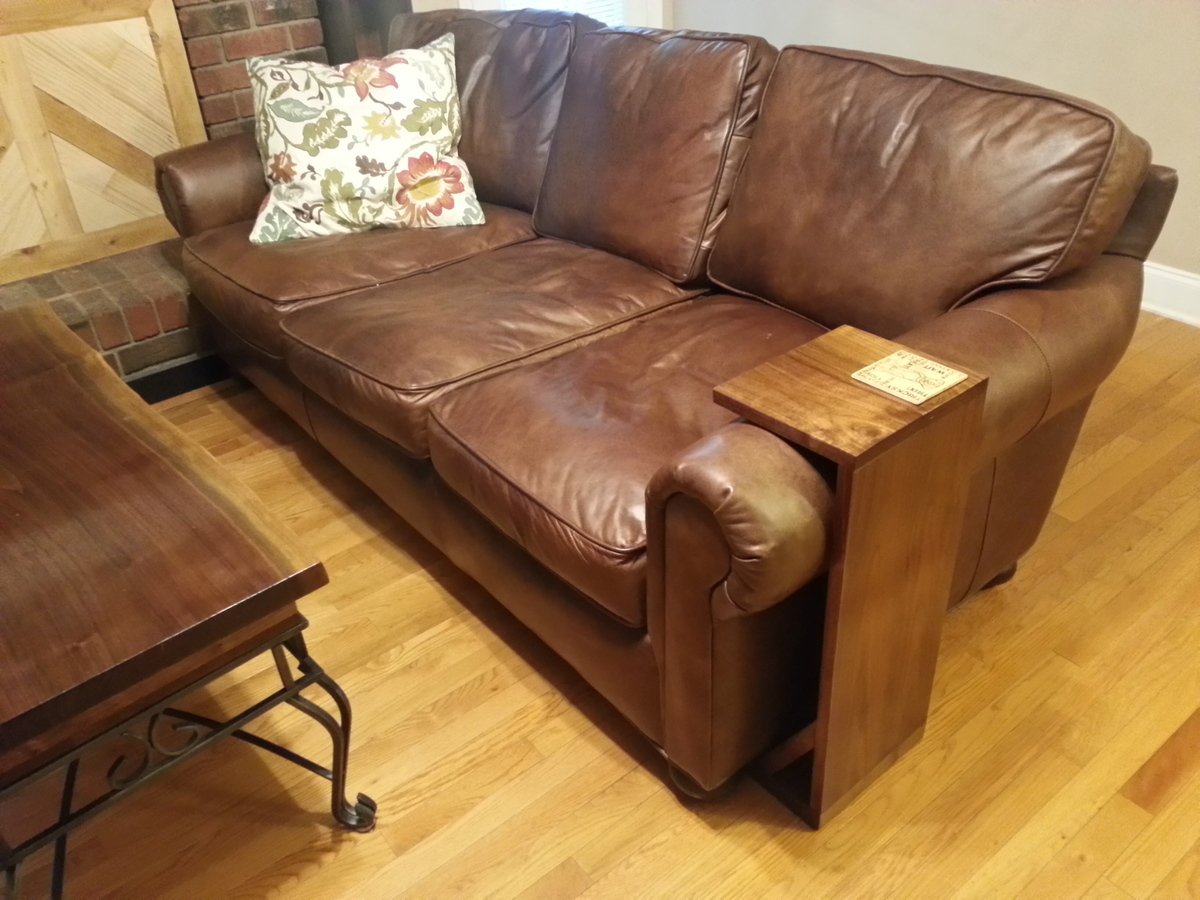
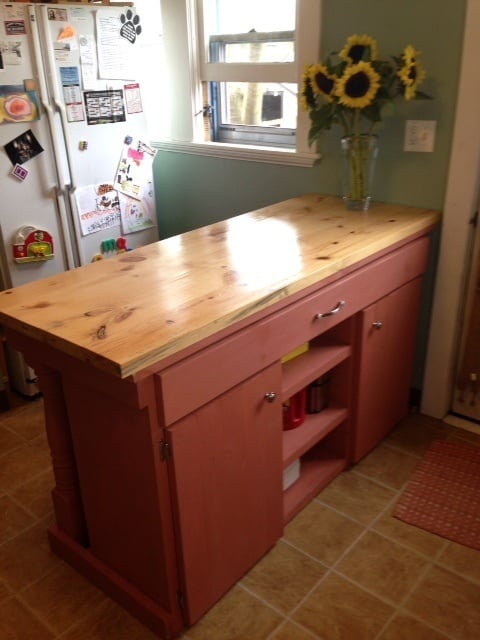
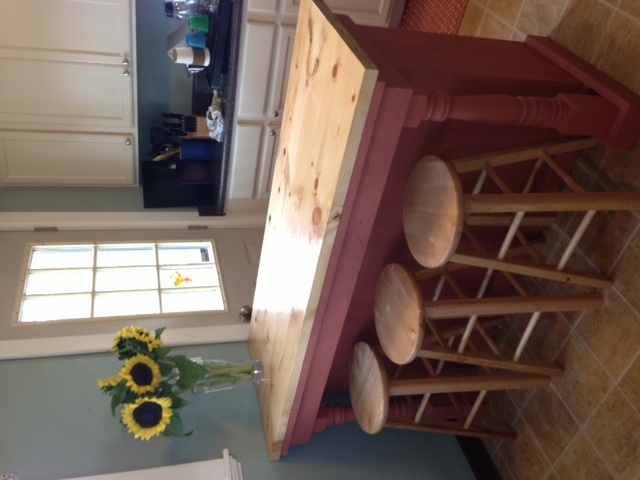
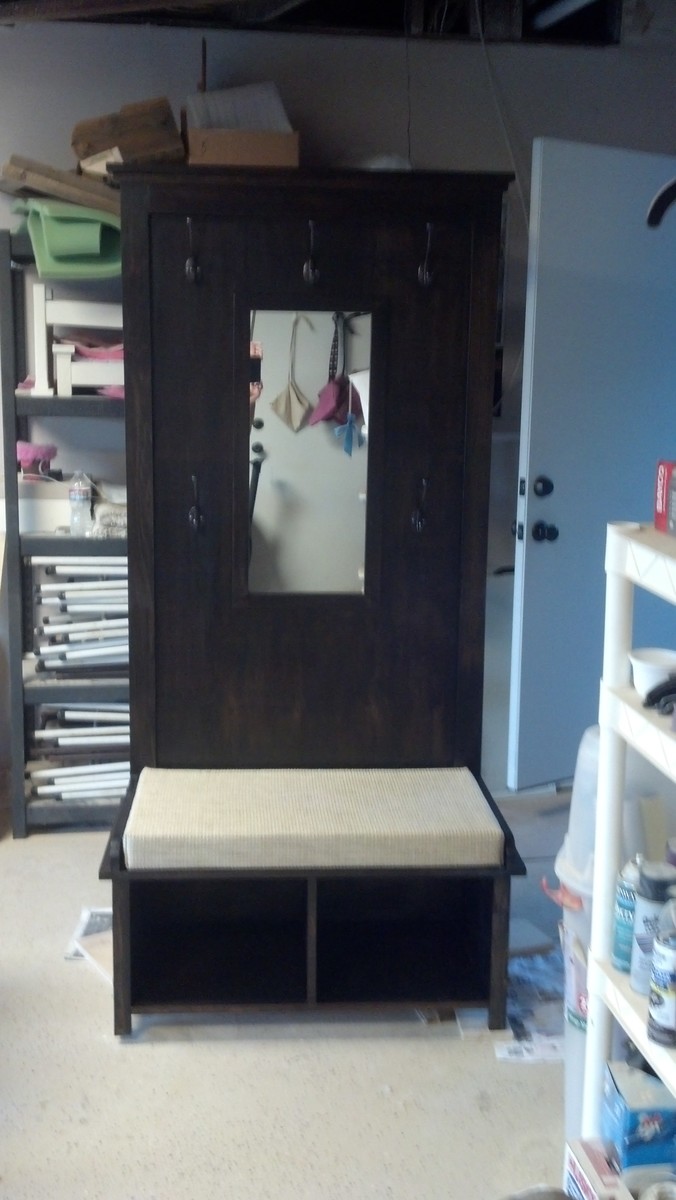
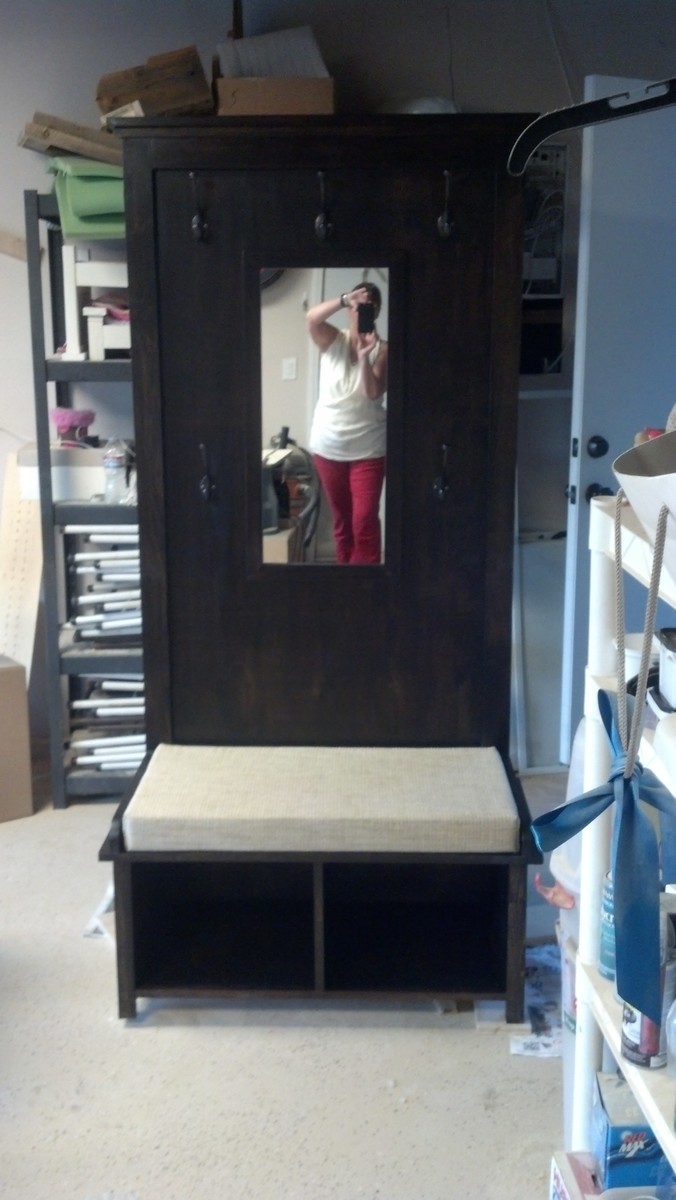
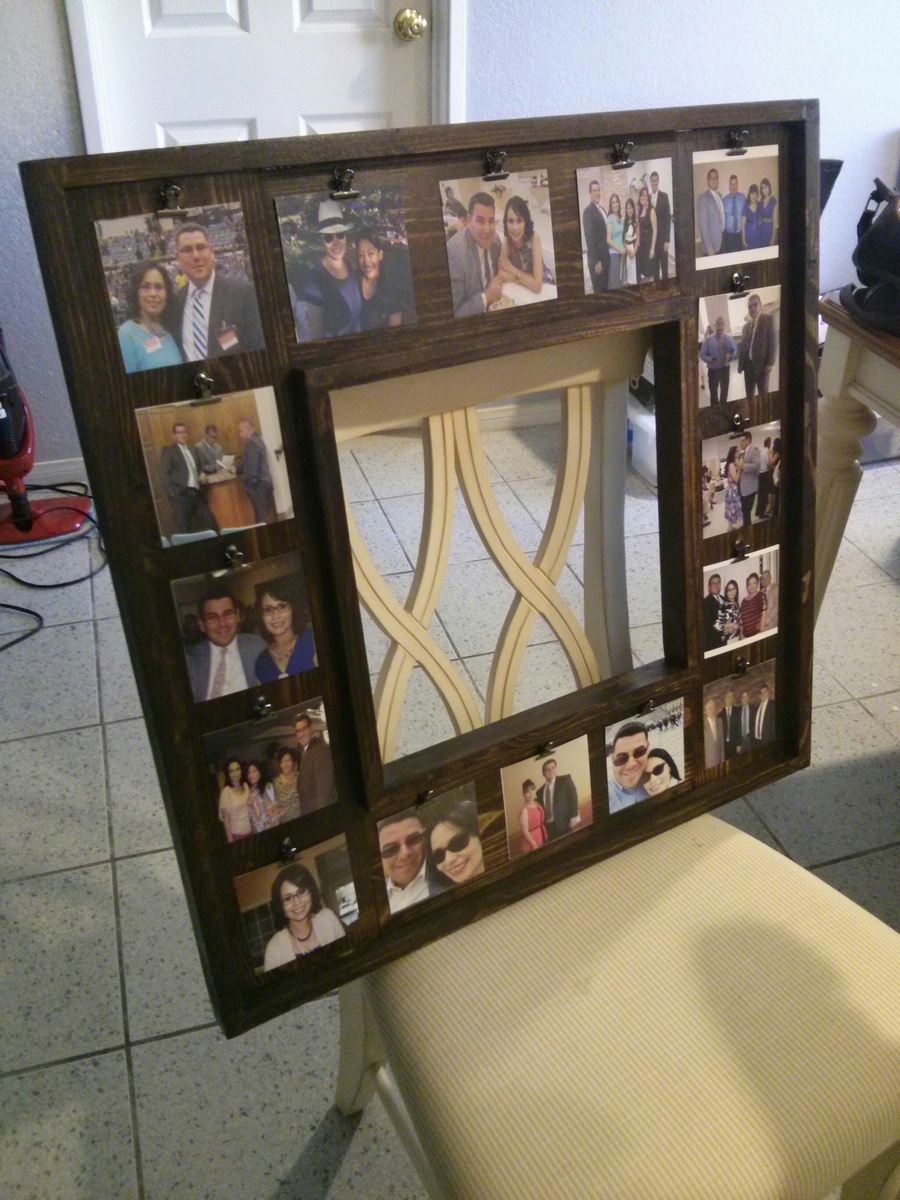
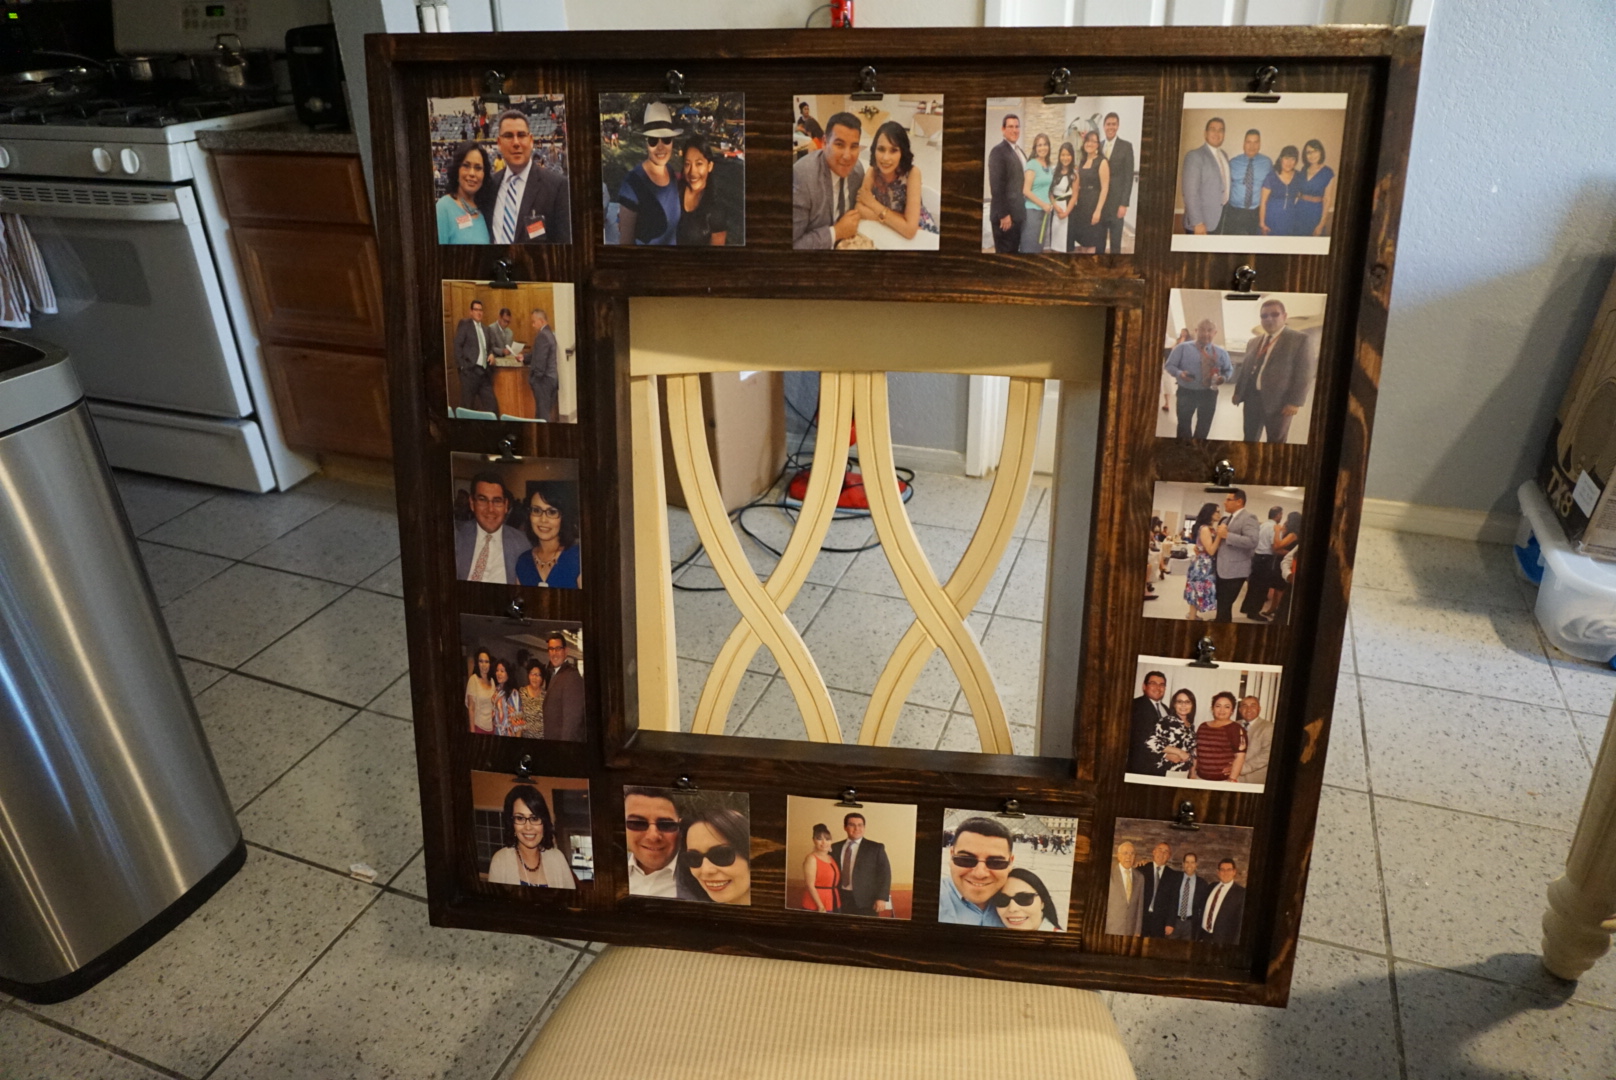
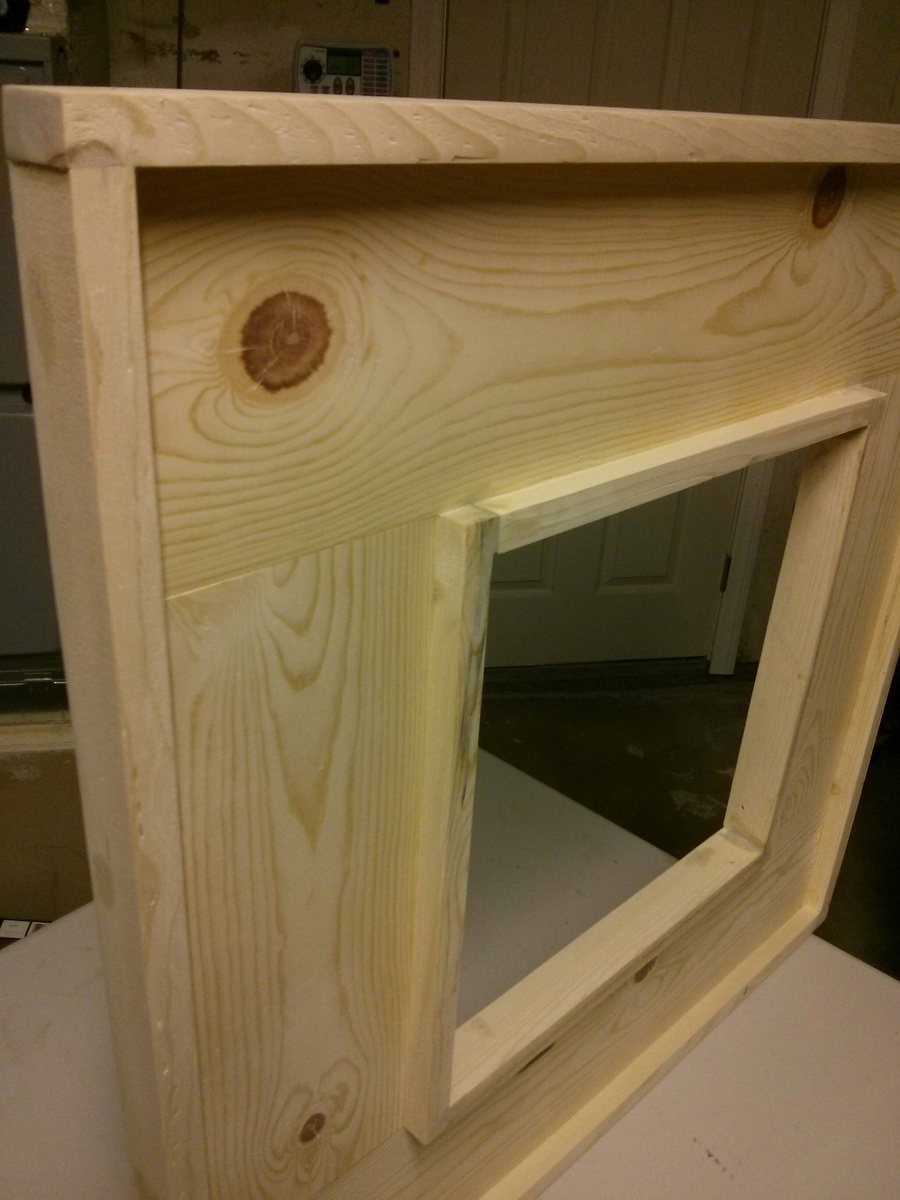
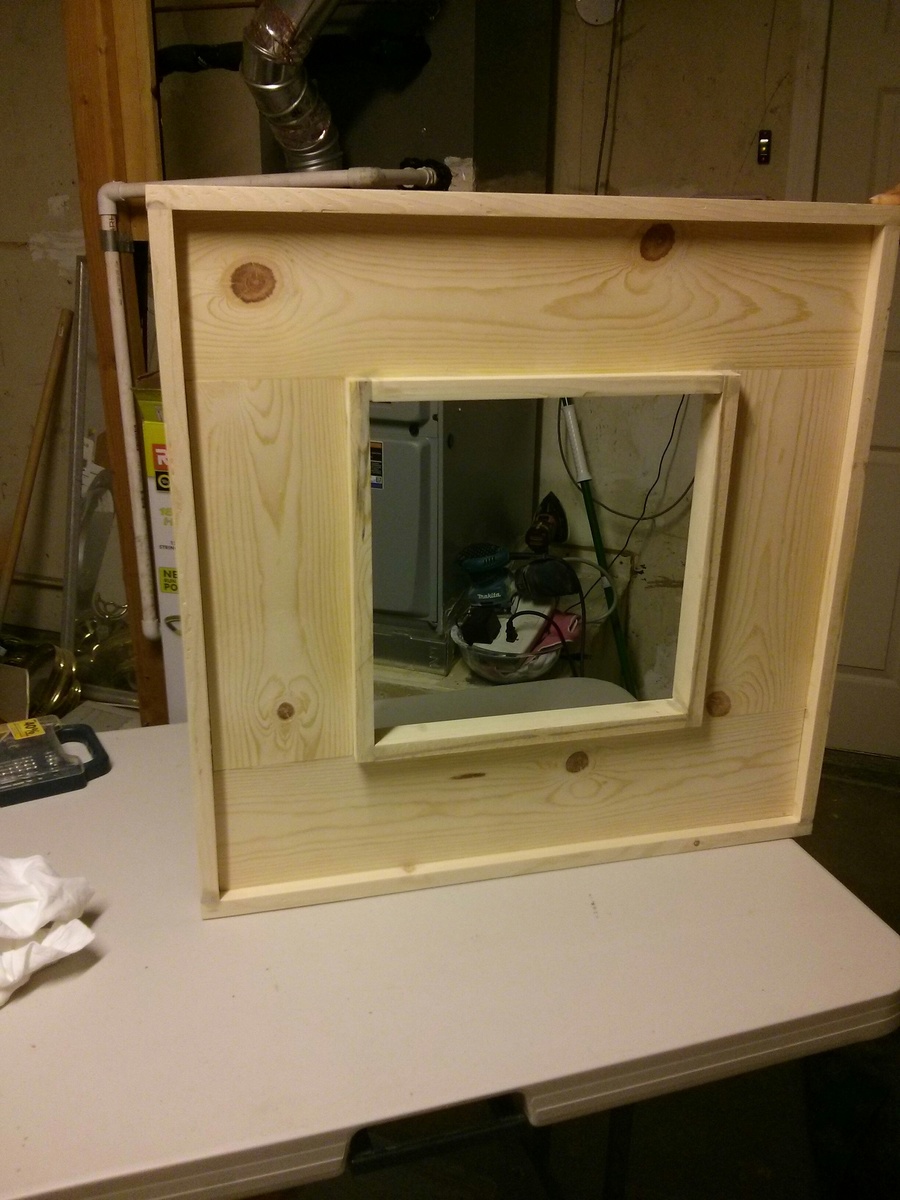
2/4 coffee table, glue only
![](/sites/default/files/rustic%20modern%20coffee%20table.jpeg)
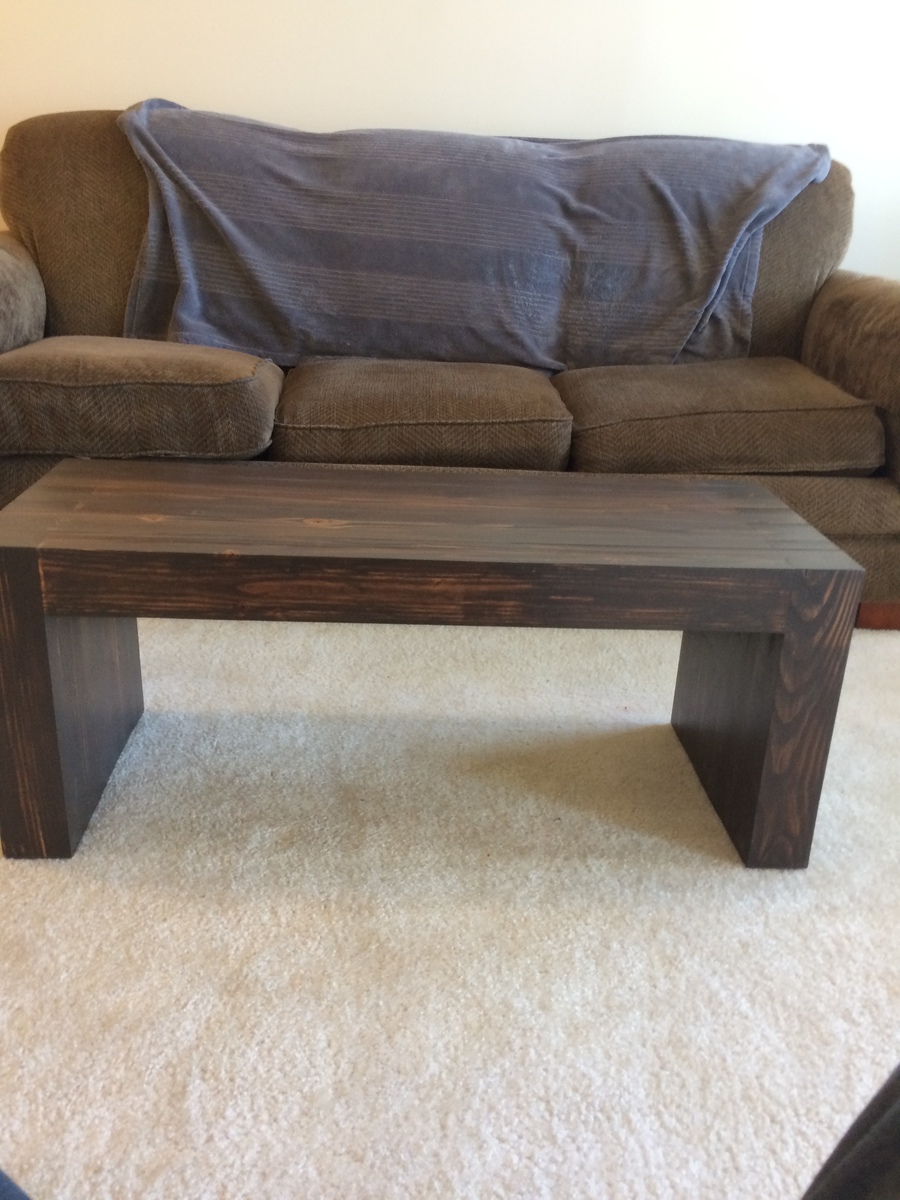
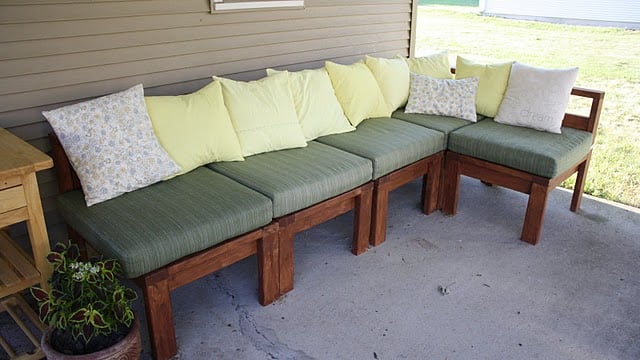
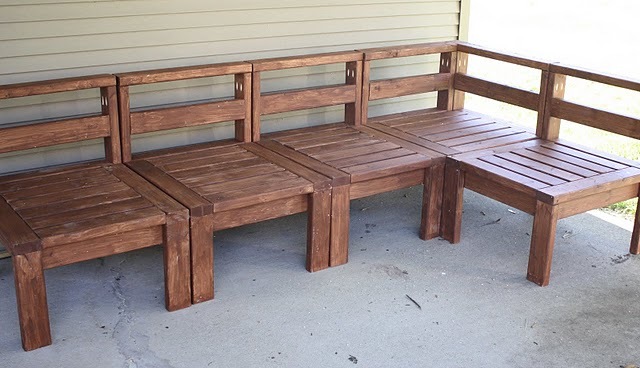
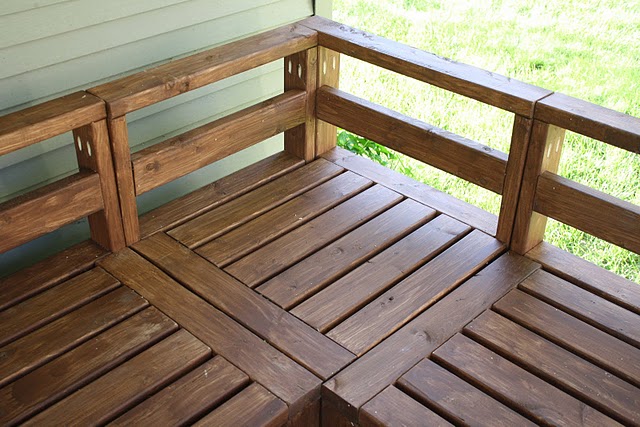
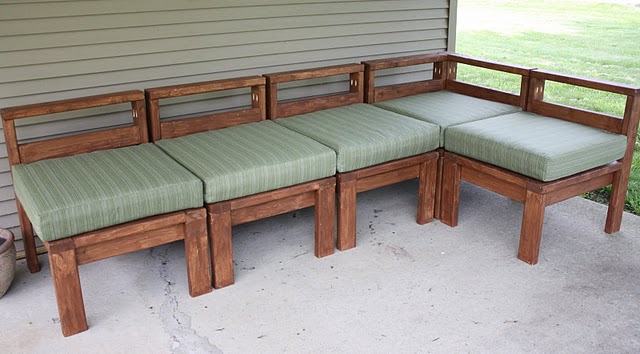
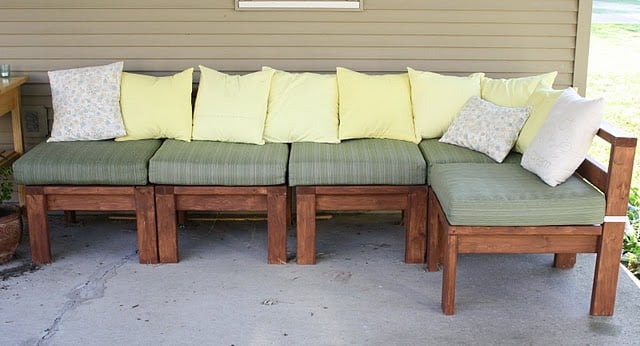
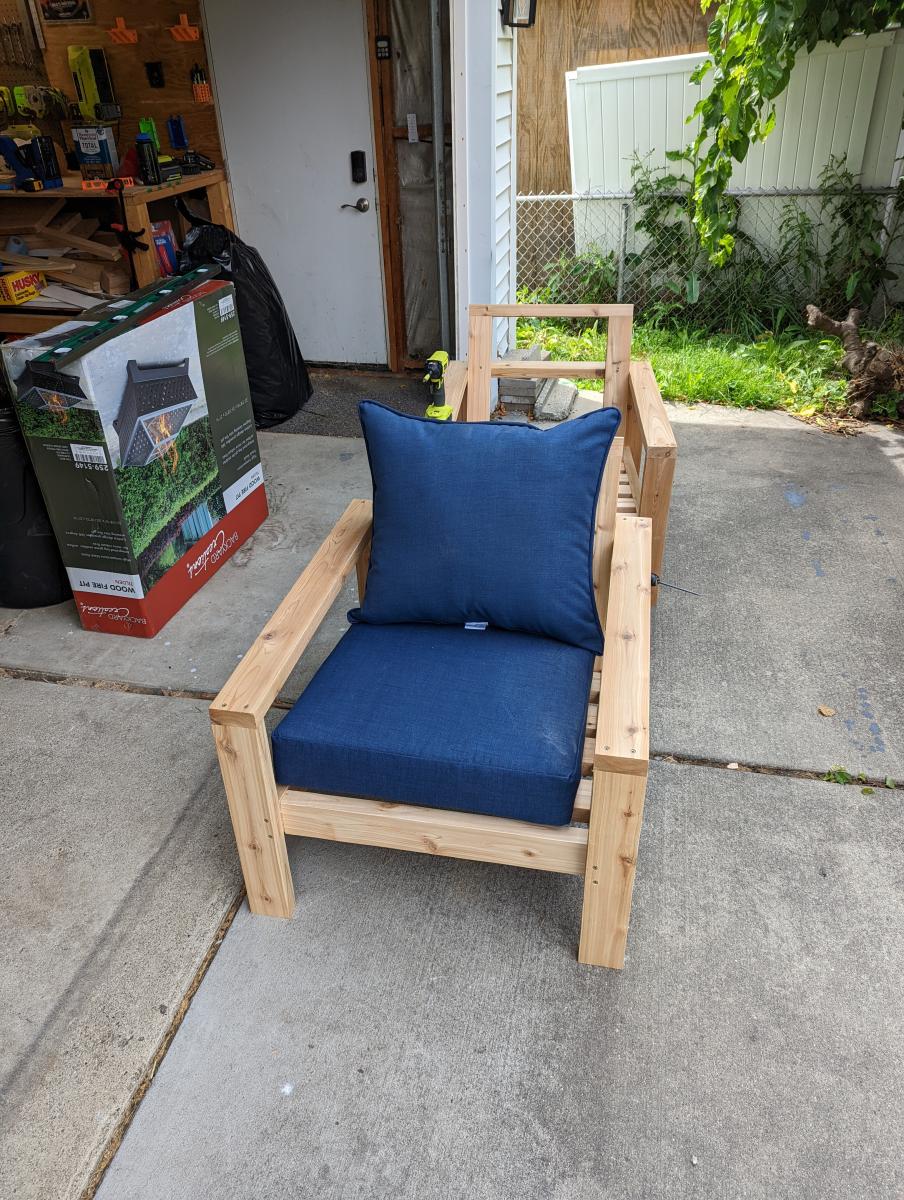
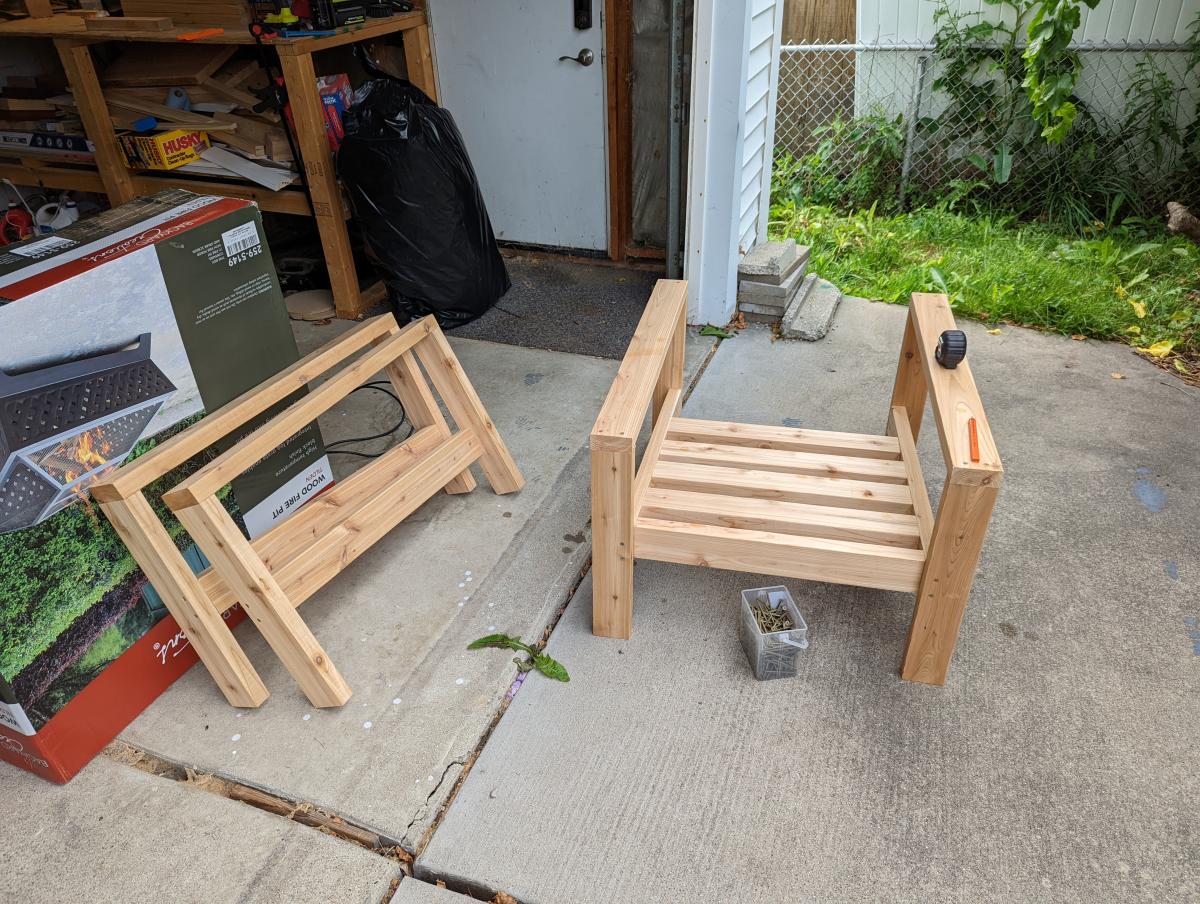
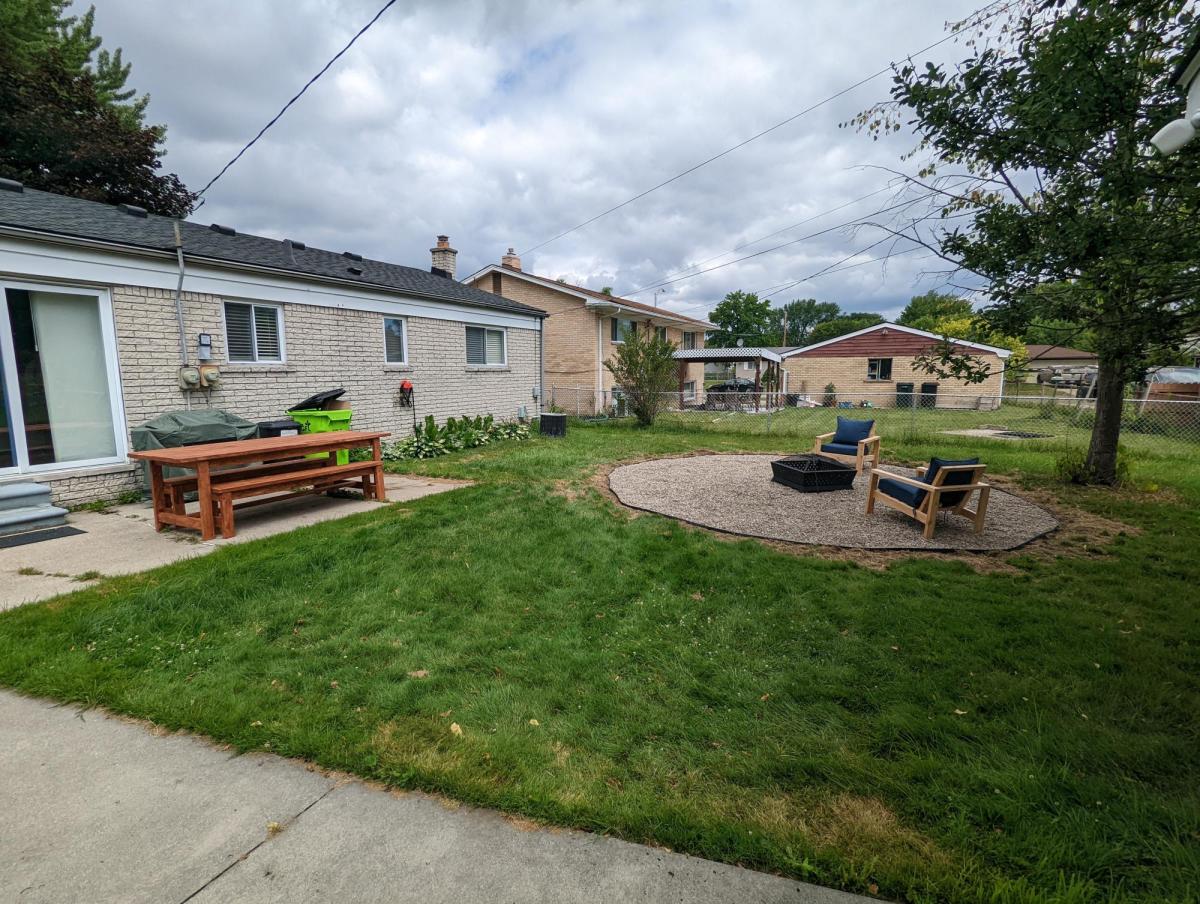
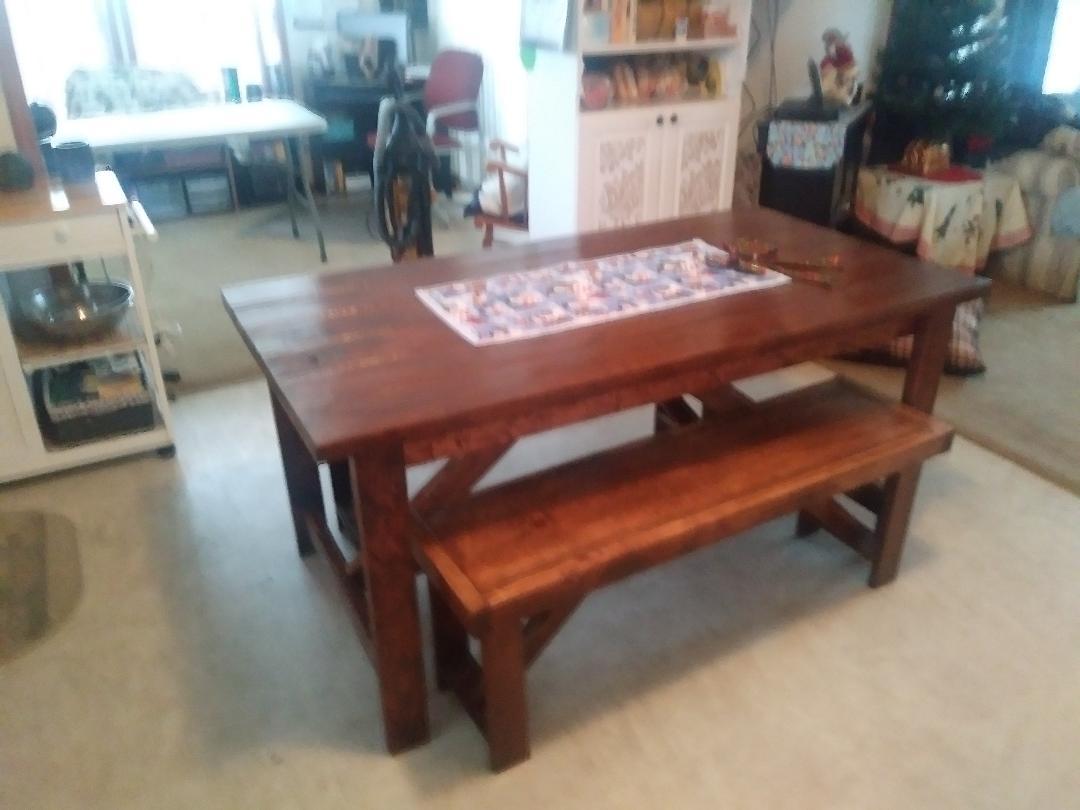
It was taken from a plan that Ana had for a patio bench. I made it longer and high enough to match the seats on the couch
Combined several different plans from several different sites, but my mother in law is a master gardener who loves birds and wanted a new bench for her garden. I used 1x4's on the seat slats (instead of 2x4's- added an extra support in frame), made the seat a bit deeper, and I modified the arms to allow somewhere to rest a glass of her southern sweet tea. :) All made from box store non PT lumber and sealed for outdoors. The ideas for the "pickets" on the back and birdhouse came from "MyOutdoorPlans.com"- want to give credit where credit is due.
We LOVE Ana's plans for the outdoor sectional! We just bought a house with a first patio and we knew this is what we wanted out there! We used one corner unit and four armless units to fill our space. I'm also planning to add a couple ottomans as a coffee table. Let the cookouts begin!
I don't know if it's true everywhere, but here 2x4s are about 1/2 the price of 1x4s so we made a couple modifications to the plans so we could use the much cheaper 2x4s instead. It saved us tons of money and gave the sectional a really chunky, sturdy look - a nice bonus!
When we finished it, the blue store employees suggested we use a deck sealer to make the cheaper wood last a long time. We were able to use a waterproofing stain to color and seal the wood at the same time which made the finishing go a lot faster than other projects I've done with stain and polyurethane.
This is the first time I got to use my new Kreg Jig, which was super fun, and made the furniture nice and sturdy!
If anyone is interested in using 2x4s I have the modifications here: http://morelikehome.blogspot.com/2011/06/our-new-outdoor-sectional.html
And info about my finished project here: http://morelikehome.blogspot.com/2011/07/patio-perfection.html
Sat, 07/30/2011 - 23:20
You did a great job. I really like how it looks with the 2x4's, too.
Sat, 07/30/2011 - 23:20
You did a great job. I really like how it looks with the 2x4's, too.
Sun, 07/31/2011 - 04:33
Love the chunkier look as well. Beautiful job and thanx for posting the mods which I will be sure to use in the future when we build ours! If you don't mind me asking, where did you get the cushions and how much for each? Also, love, love, love your profile pic! Absolutely precious!
Wed, 08/03/2011 - 20:06
I'm glad you like it! Thanks for the nice comments!
The seat cushions were from walmart for $25 each (marked down from $30). We spent almost as much on those as on the furniture! Crazy! The back pillows are just regular throw pillows to save some $$$. :)
Mon, 08/03/2015 - 10:21
I used your plans and made this! Thank you so much for the adjustments on the measurements!!
Made these barn door style doors for our master bath remodel. Using some of the same techniques found here. The finish is a 5 step Minwax process: pre-soak, American oak stain, grey, whitewash and finally wax finish.
Wanted to build a nice sofa table to go underneed the large canvas behind my couch. I wanted something more simple and robust to suit my taste, but also wanted to be able to give it a nice rustic look to to suit what my wife wanted. The kentwood bookshelf fit the bill perfectly.
Wanted a side table to go in dining room for drinks and spare dishes to go on when we have get togethers. It was a pretty simple that was fun and got it done in a weekend during naptimes and the spare moment here and there thanks to my husband having time off. I didn’t want a second shelf because that’s just a ladder for my toddlers! I decided to go with a truss look since it fit my furtinure a bit more and I like it having a bit of a decorative look in the back.
built straight from ana's plan. Used cedar 2x4s. super easy to make really happy how they came out. Cushions were like $52 per set at home depot.
Final pieces for my walnut living room set. C-shaped end tables that fit perfectly over the arms of the couches. They aren't large. Just enough to perch a glass of wine or snack plate when relaxing at the end of the day.
I made this easy and cheap Christmas tree wall shelf to add character to my guest bathroom. I went through all my wood stash and found enough wood to build this project with!
Make sure to pay attention to the long and short point directions in Ana's plans. Since I was hanging this above my toilet, I didn't need the hooks so I just omitted the bottom piece all together.
I ended up using wood glue and a nail gun to put everything together so it went really quickly.
I painted the whole tree with green chalk paint and distressed the edges with sandpaper. Hung it up with L brackets in a stud.
Fun and easy project! Thank you Ana!!
Mon, 11/05/2018 - 11:27
Super cute! I love the wider bottom shelf and the green paint!
Built this baby cradle for my second grandson all out of pallets
The design is good, it all goes together nicely. Mid-stream, I decided to use some Mahogany I had sitting around to make the face frame.
This was my first experience with drawers and predictably I had all kinds of self-inflicted problems. Most notably placing the bracket backwards and then I foolishly convinced myself I could put the top on before I put the drawer face frame on. (I could have but I would have never aligned it correctly)
I finally came together; it fits well in the intended spot & my wife likes it.
Sat, 08/06/2011 - 13:50
It's funny about drawers, there's a little bit of a learning curve with drawer slides, but once you get it, it's so easy! I love your end table!
I have a small kitchen with no room for a table and no storage space. When I saw the plan for this kitchen island i knew it would fit perfectly in our space and a project my husband and I could work on together. It took several days in total, but we had to work around the kids, so probably could be done faster if need be. It is made out of white pine, including the top and legs. We probably spent around $150, but we looked at several similar islands going for over $600 and not even made with wood. We are so pleased with the outcome. We cannot wait to get started on the bunk beds for our son.
Thanks Ana White!
My husband and I have never built anything. We decided to build our teenage boy a desk, as I could not find anything I liked online. The project was pretty simple for amateurs to follow. The cutting and assembly was done in a day. We decided to add the drawer and pull out shelf for the printer. Really, figuring what color to stain it and the staining process was the most tedious. We routered the drawer sides and the top of the desk for a nicer look. So proud of our work and the fact that this will last our son for years to come.
This was built as a nightstand/charging cabinet. I made it a little deeper for more stability. I also replace the 4-5 drilled holes with a corded electrical/usb outlet that allows you to both plug electri cords and usb cords for electronics (about $10 online). I added a center 1 X 2 and magnet closers on the doors. I used unfinished wainscot for the center of the doors.
We followed Ana's plans for the large project bench. We altered the plans to make a bench for our compound miter saw with the saw platform level with the project bench.
I made 4 Simple Lounge chairs and 3 Ottoman/Accent tables. They are made out of 1x3 and 1x2 furring strips. I was worried about how sturdy they were going to be but, in the end they turned out PERFECT!! We absolutely LOVE our new set!
Tue, 08/09/2011 - 17:27
What a steal, $15 bucks for each chair!!! Amazing! The color is just fab just fab!
I built this for a friend of a friend. They had seen a similar hall tree on line that ran between $300-$500. It was made of a mix of materials, including mdf and veneer. It was for newlyweds so I did the finishing (something I really hate) and I made the cushion. I had the mirror cut at a local glass shop, and had it cut a bit shorter than how it appeared in the picture they gave me - I was afraid someone would toss somthing onto the cushion and it would end up hitting the mirror.
They seemed happy with it. I hope to get a picture of it in place so that I can add it to my album titled "Look what Gramma made when she could still do things".
Tue, 09/03/2013 - 16:45
I was considering making the hall tree for our bathroom and wondering how you stabilized the back without those curvy side supports? I like how yours turned out!
Tue, 09/03/2013 - 20:31
It was an easy build and would be really easy to anchor to a wall. I suggested to my clients that they just add anchors to the top piece and screw to the wall there. This is 72" tall. Most people wouldn't even see the anchors. You could also screw through the back from inside the cubbies. It wouldn't budge!
This is my first project! My friend and i were debating what to gift our friends for their anniversary. This was perfect. Good first time beginner project.
I enjoyed making this project! My wife loves the table and benches.
Dear Ana,
I was able to change classrooms and needed a place for my students to hang their backpack, lunch, coat, and snow gear. I used a combination of your ideas and created this. Each shelf is 8ft. Long with cast iron supports and coat hooks. The zinc hooks were too thin and we could bend them. The wood was sanded, stained with golden oak, and routed out the edges. I pocket holed every 8 inches and joined wall board to the shelf. The coat hooks are 6 inches apart. I cannot wait for the class to see it on Monday. Thank you Ana for all the ideas and making me feel comfortable to create on my own.
Blessings,
Jennifer
Sat, 08/20/2022 - 21:01
Thank you for sharing your projects, no doubt everybody is going to appreciate what you've built and use it everyday!
We made this for my daughter's bedroom. There was not enough room for a canopy, so we adapted it a bit.
Tue, 09/20/2011 - 07:41
I love it! I was wondering about how much it cost?