Entryway Table Shoe Rack Bench
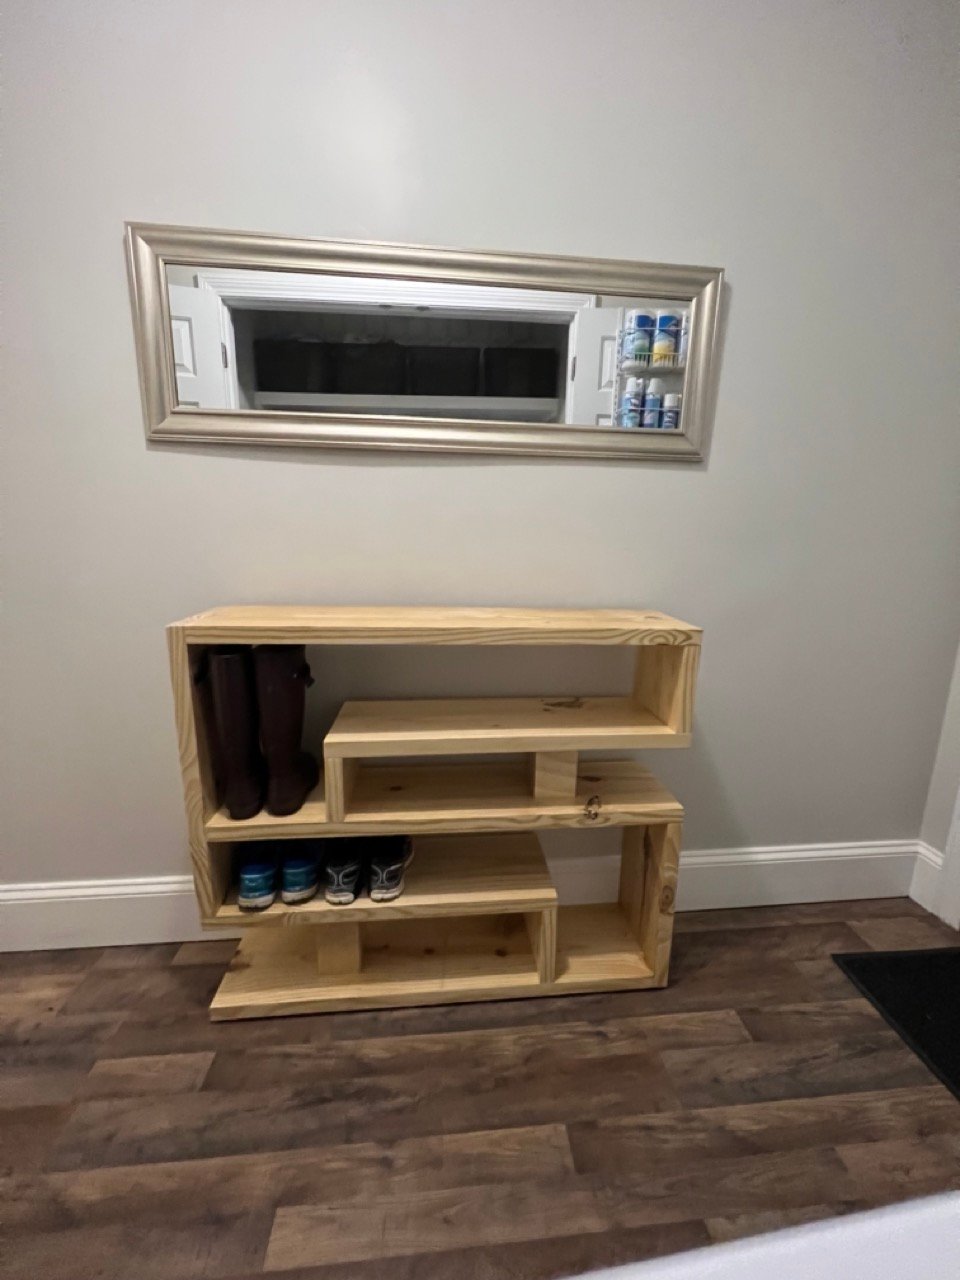
I adapted the plan for the Shoe Rack Bench to give it multiple levels and allow it to serve as an entryway table in addition to a shoe rack. I used 2 x 10's for the project.

I adapted the plan for the Shoe Rack Bench to give it multiple levels and allow it to serve as an entryway table in addition to a shoe rack. I used 2 x 10's for the project.
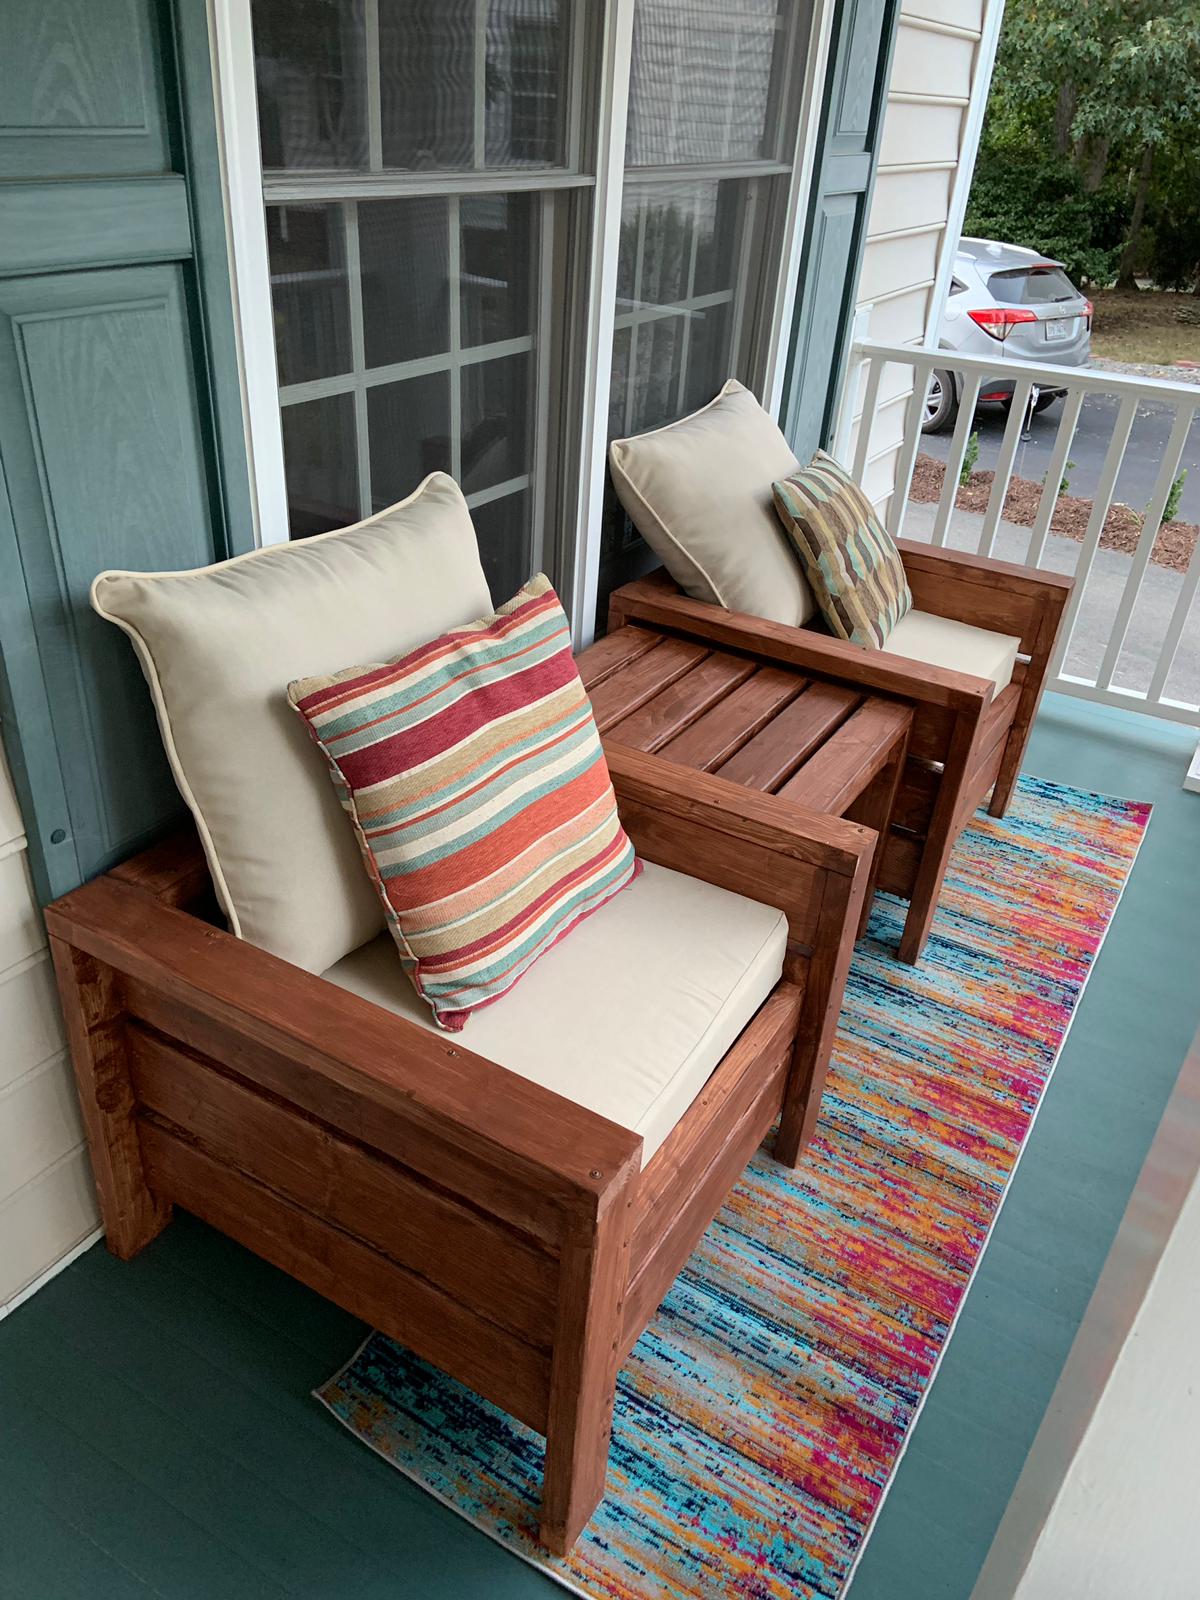
I have bookmarked these plans for my front porch a year ago. Finally last Saturday I decided to finish.
I had to change the chair dimensions to fit 24" x 24" cushion, and the accent table leg height from 13 1/2" to 20".
I also forgot sanding the surface too fine makes staining so hard and fine sawdust is not good to be around.

We needed a bed for our girls but had very little time to build one. My husband found Anna's site and we were excited to give this project a try. In today's market it's easy to spend a lot and not get much with regards to quality or longevity. At least, if we build it, we know the quality of the material, the workmanship and the love that go into whatever it is we are making. Without the encouragement and easy to follow plans and instruction I doubt we'd have been able to accomplish so much. Our girls just love their new bed.. THANKS ANNA! Now... on to the next project. The folks at our local hardware stores are getting to know us by name! ;-)


Mon, 01/16/2012 - 00:28
Oh i like your thinking, thanks for sharing.http://www.togolfshop.com
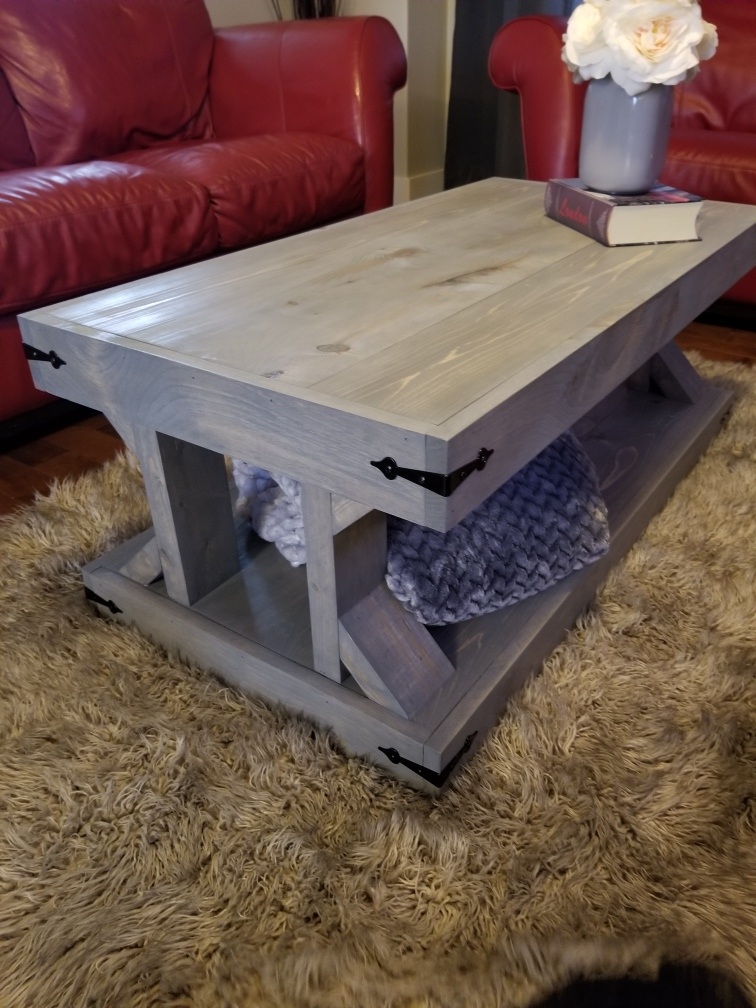
My first build
Wed, 10/02/2019 - 16:20
Wow!!! What an awesome first build! Thank you for sharing photos!
Wed, 10/02/2019 - 18:18
Your first build looks great!! What stain did you use? Love it too! Thanks
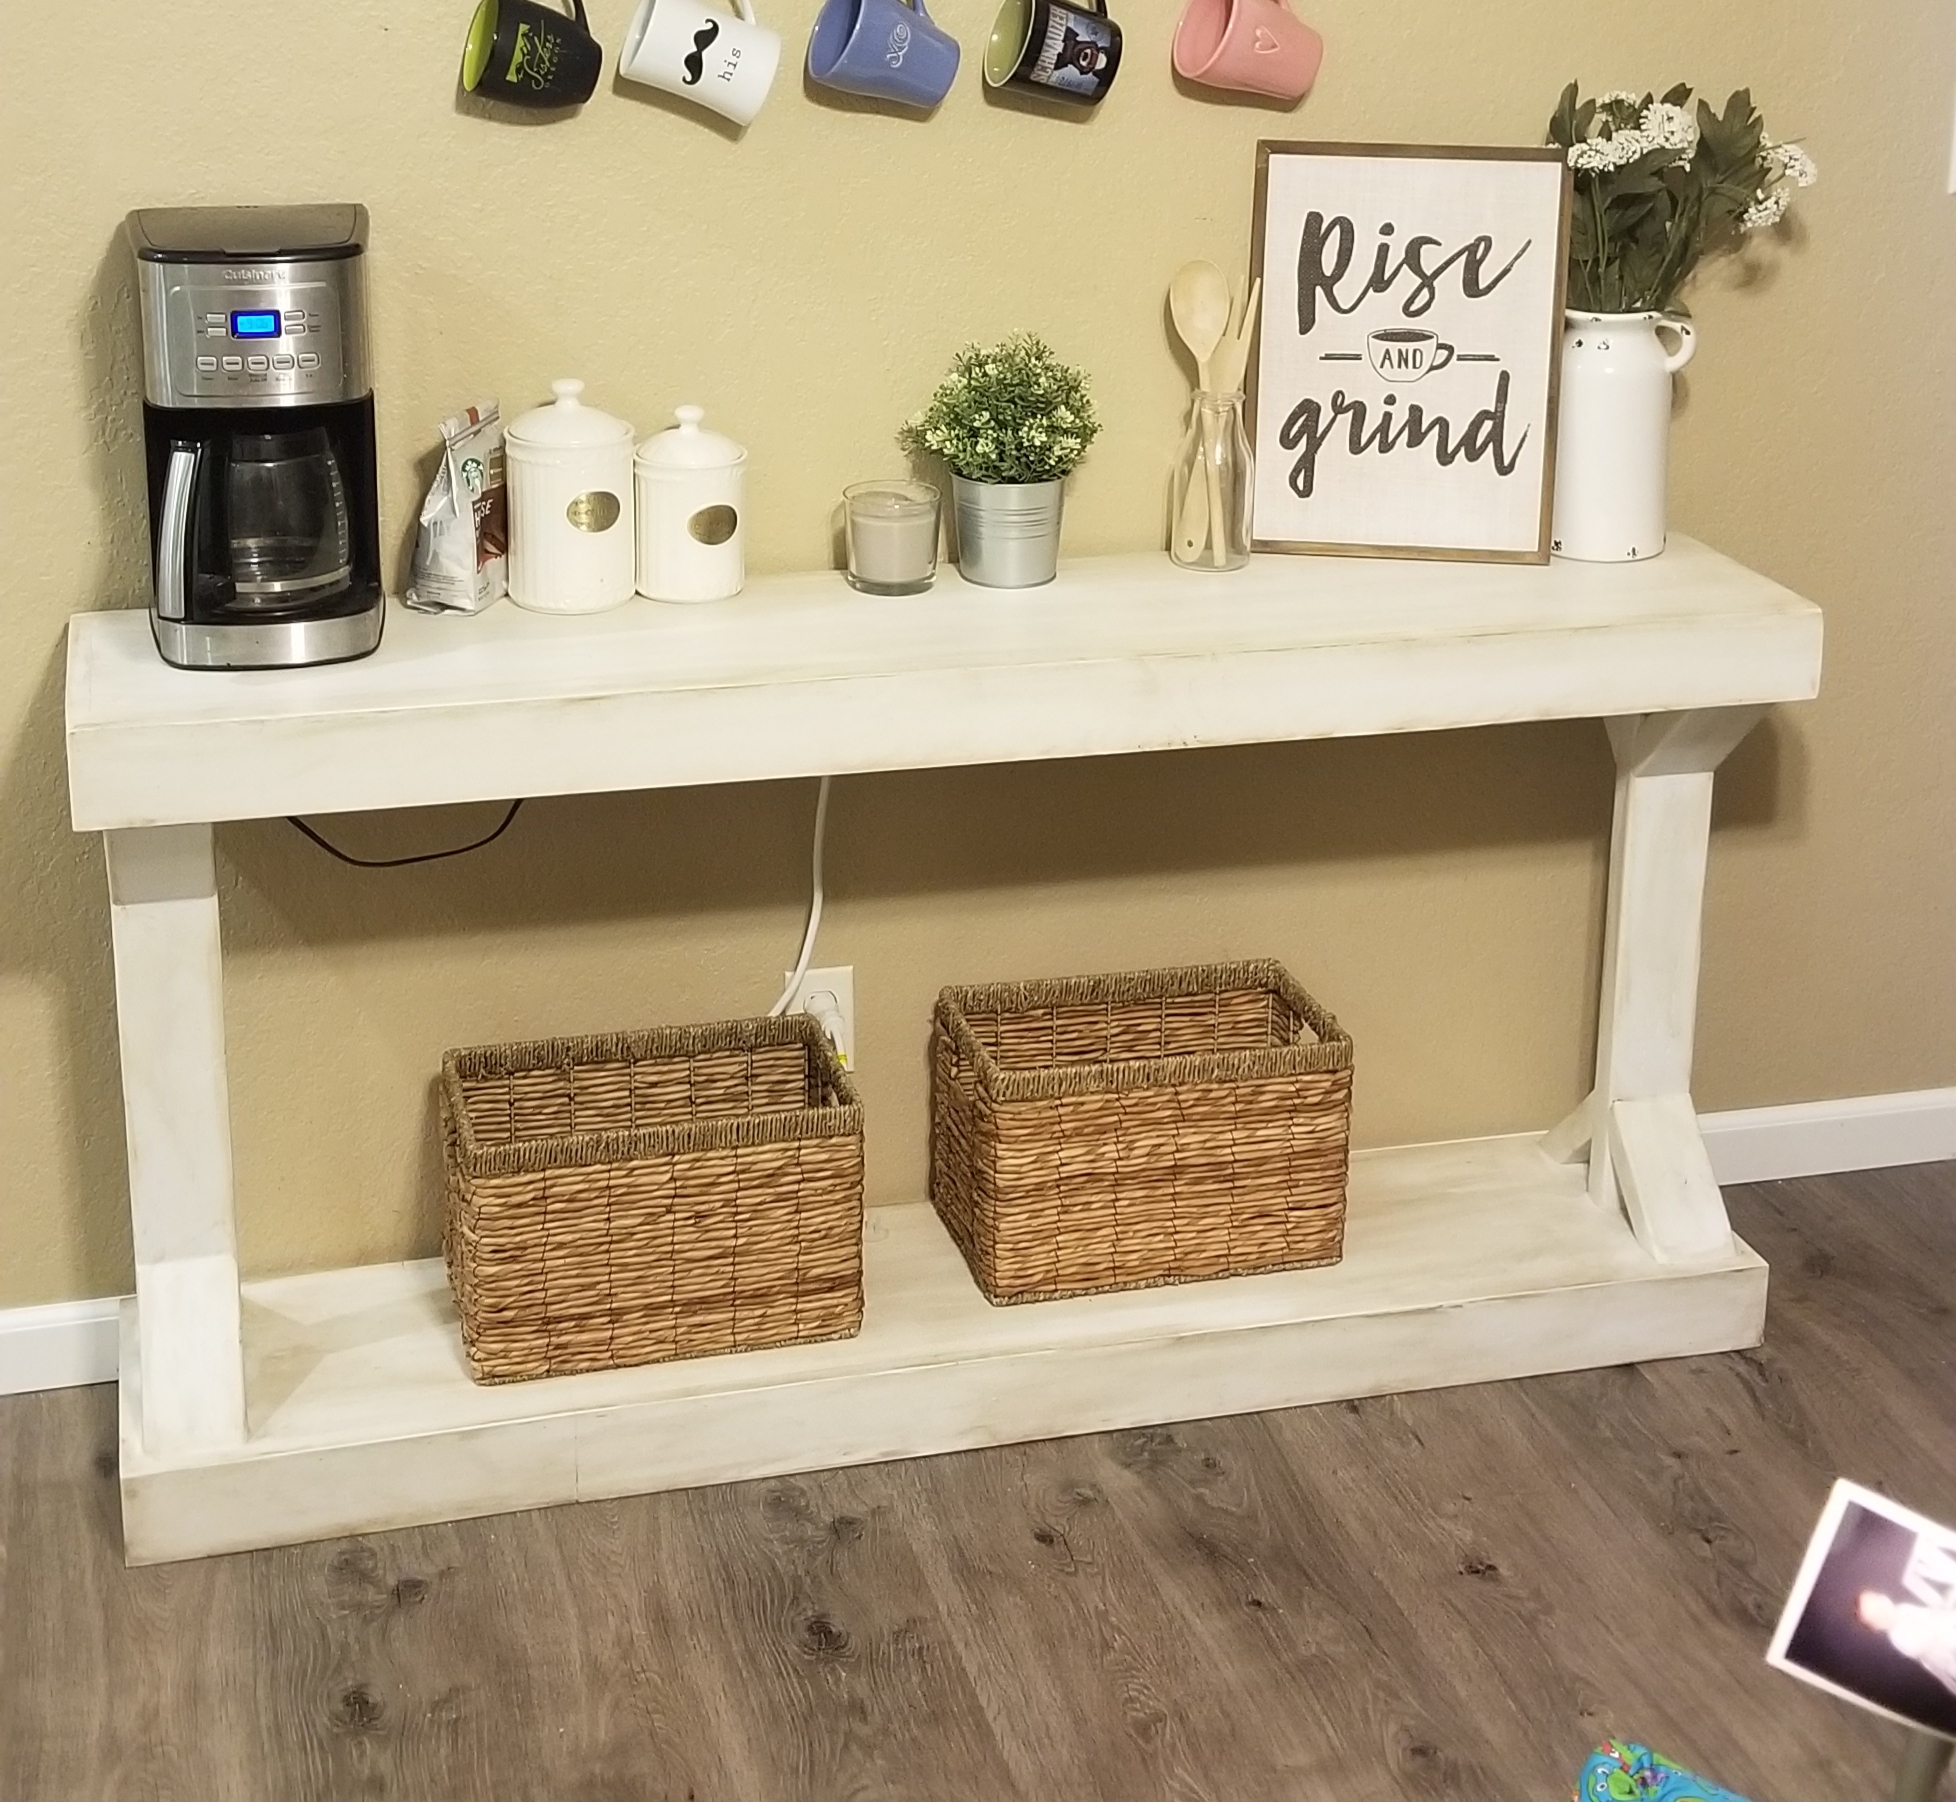
Attempted this plan, but I used 2x12 boards and made it 5ft long for my wife's coffee station.
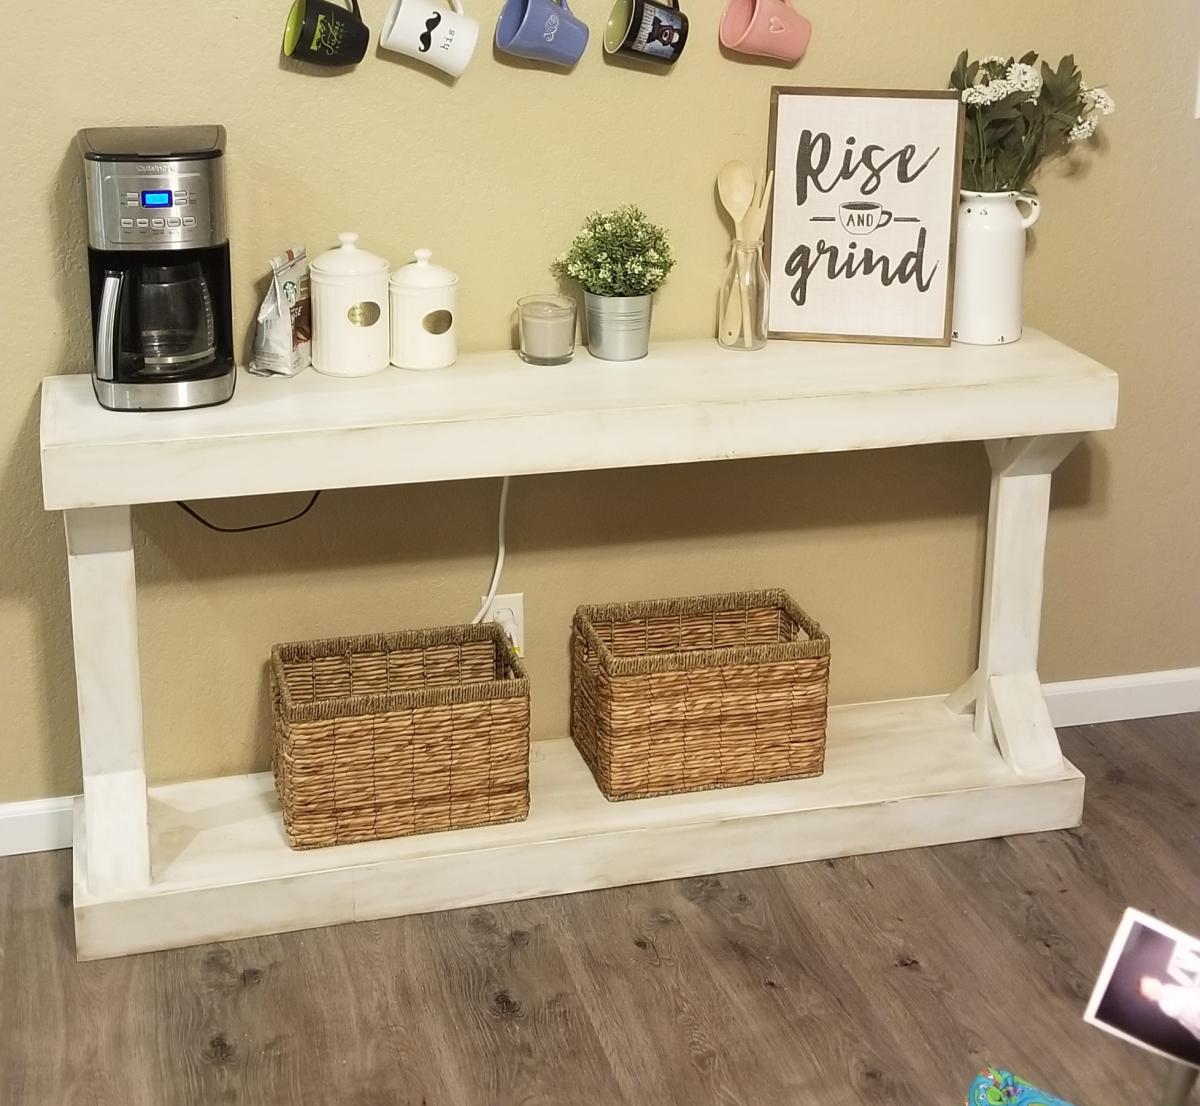
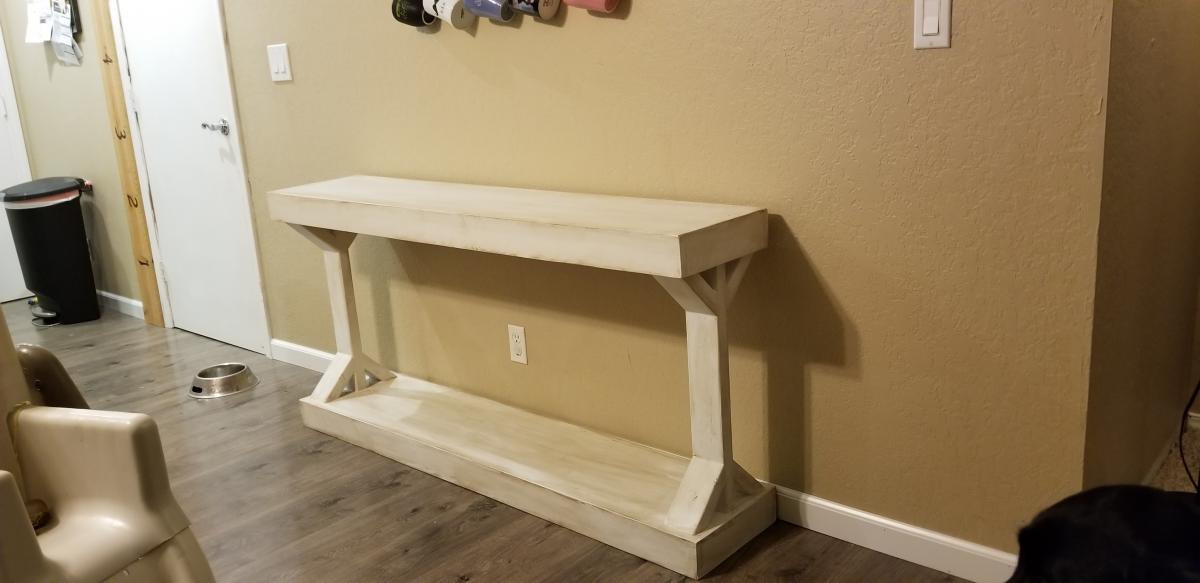
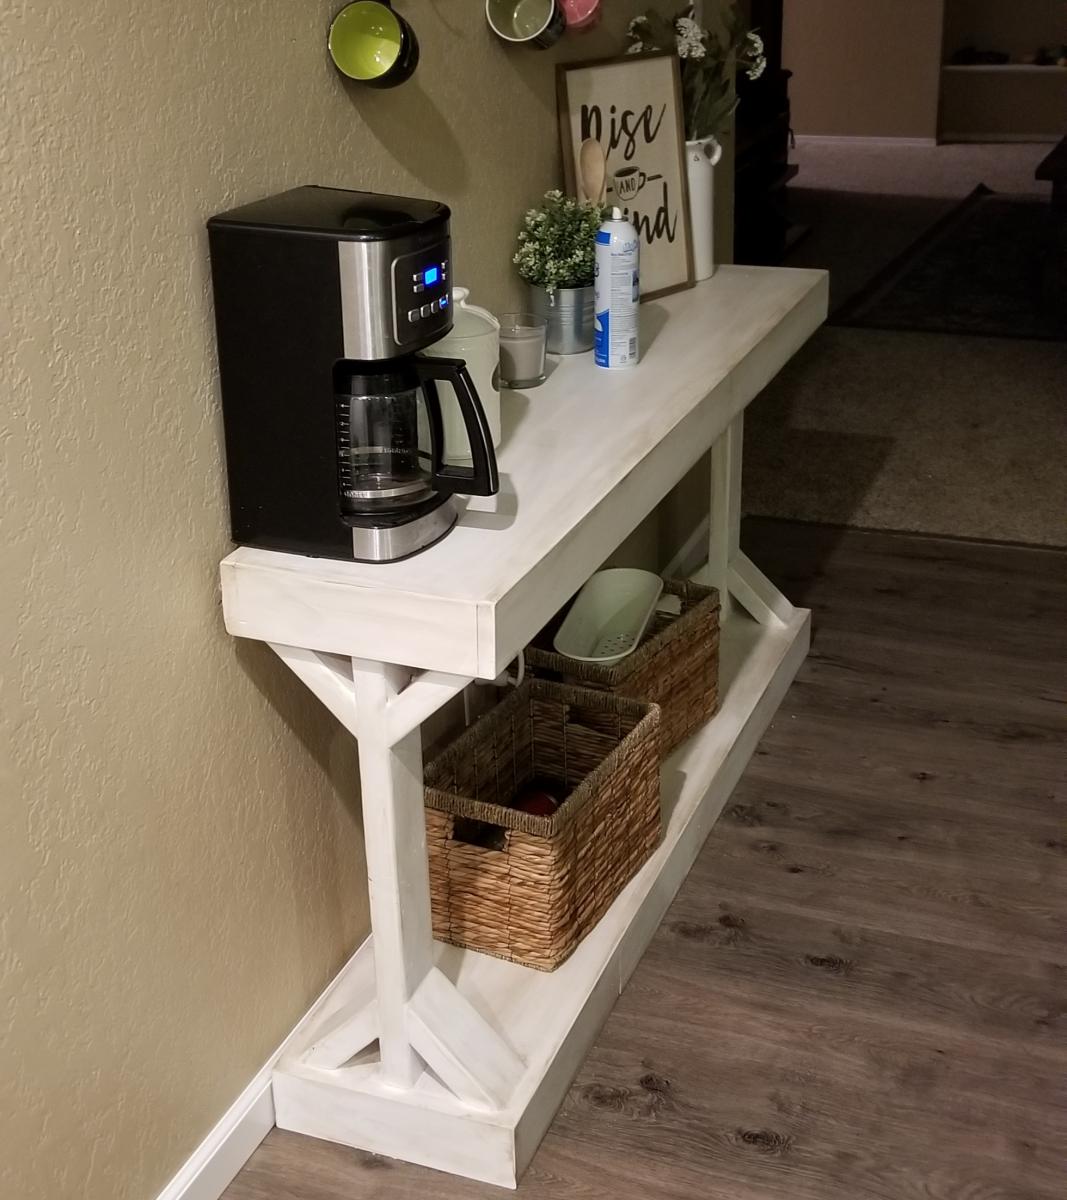
Thu, 10/03/2019 - 12:07
This is awesome!!! I love the wider width, it really works with the 1x12!
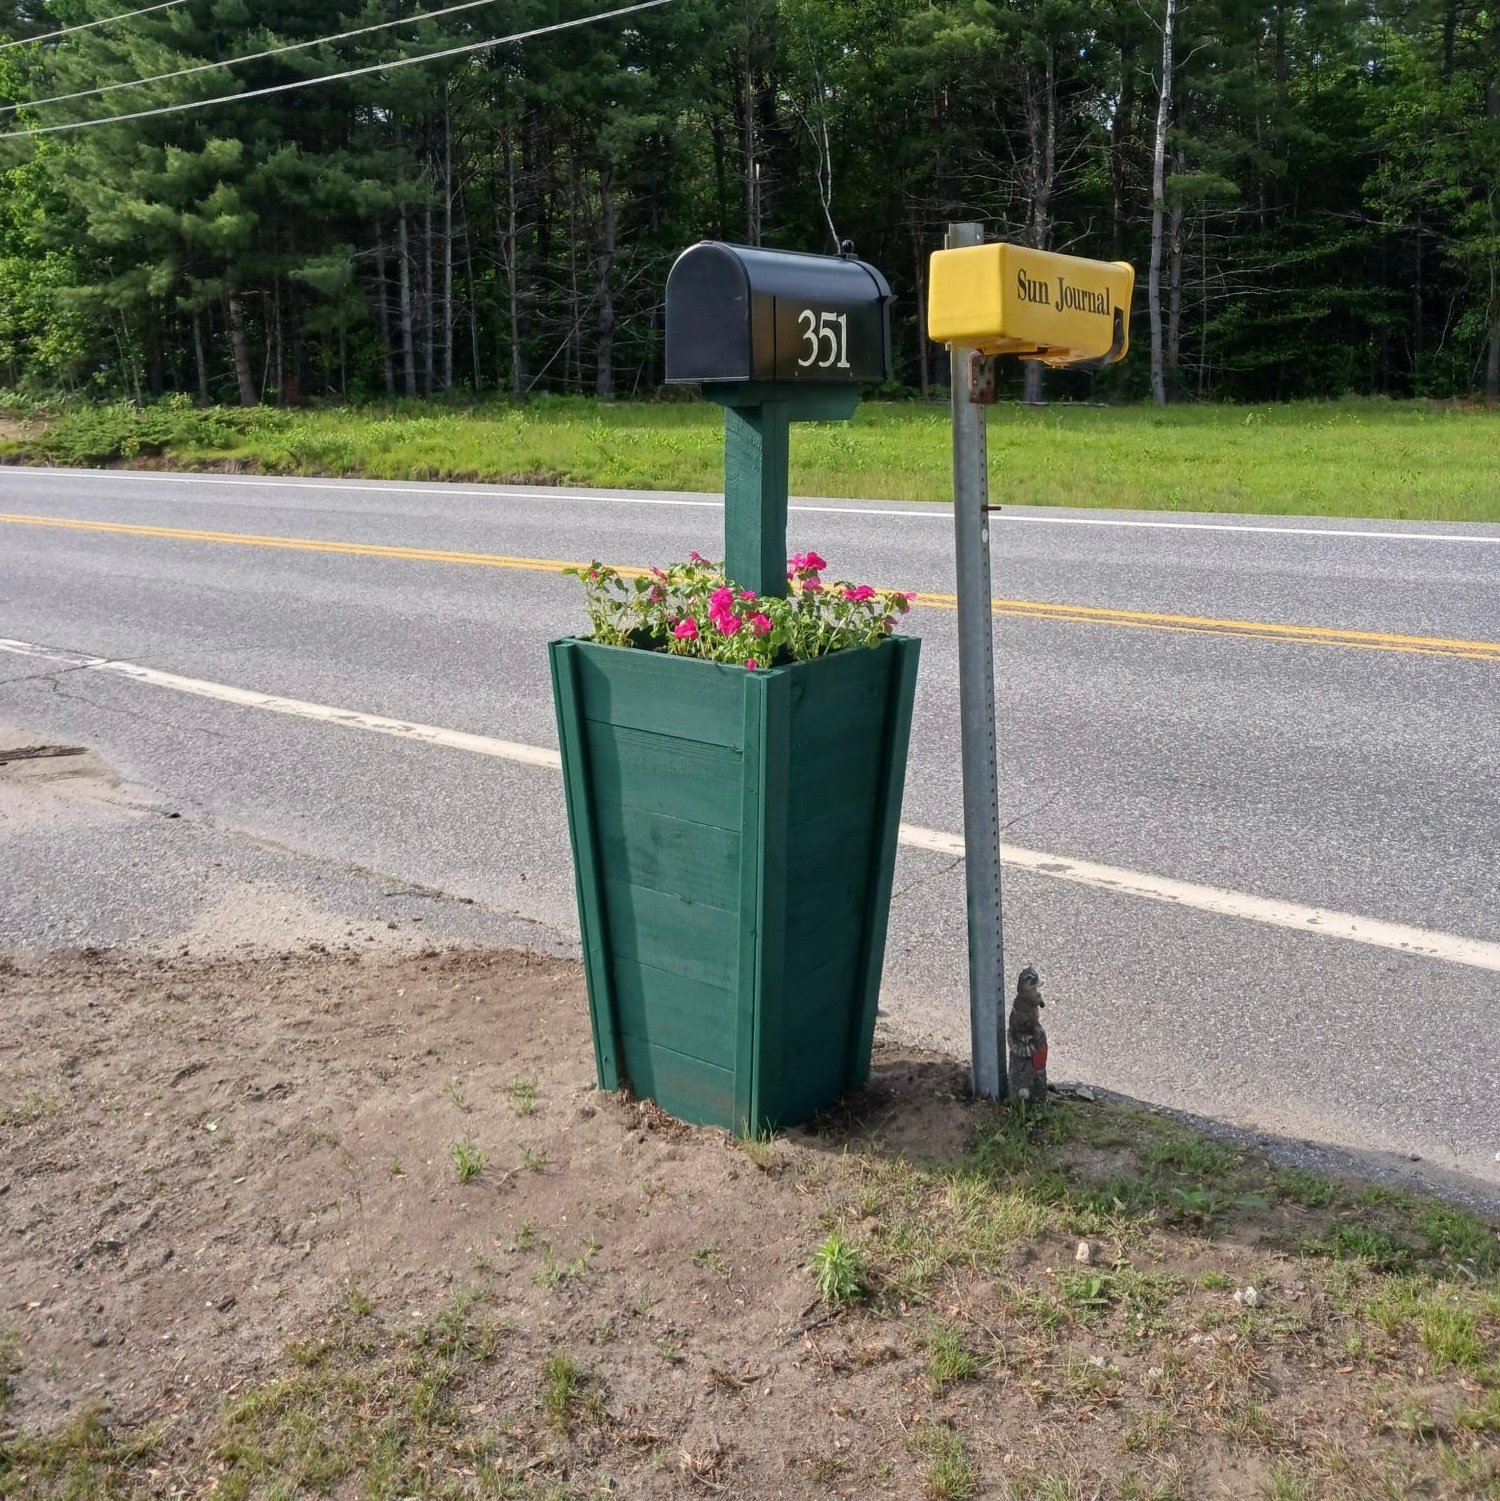
Thank you, Ana, for providing such great plans and video so I could accomplish the mailbox planter. It took me a lot longer than it did you, but I got it done! Had a hard time finding cedar pickets in my area, but ended up using the dog-eared ones as that's all I could get. Keep up the phenomenal content on your site...it is very much appreciated!
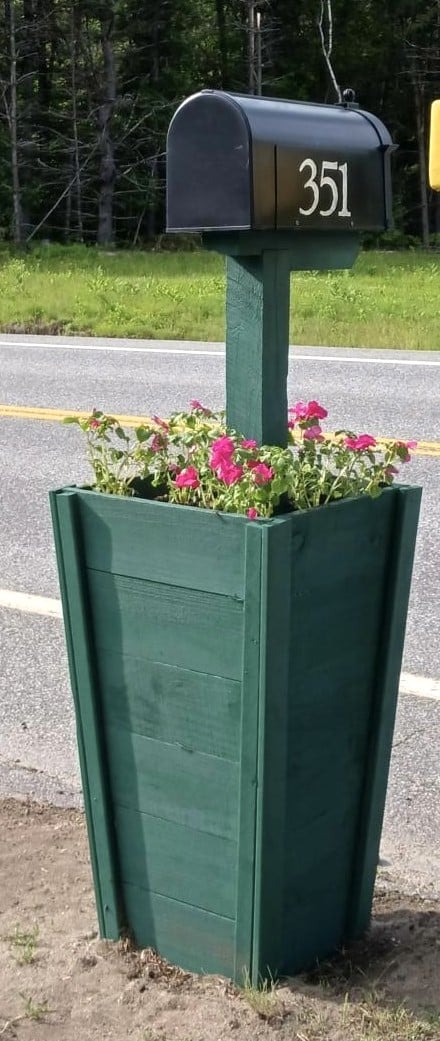
Thu, 06/15/2023 - 14:29
Love the idea of using this plan for a mailbox planter, well done! Thank you for sharing.
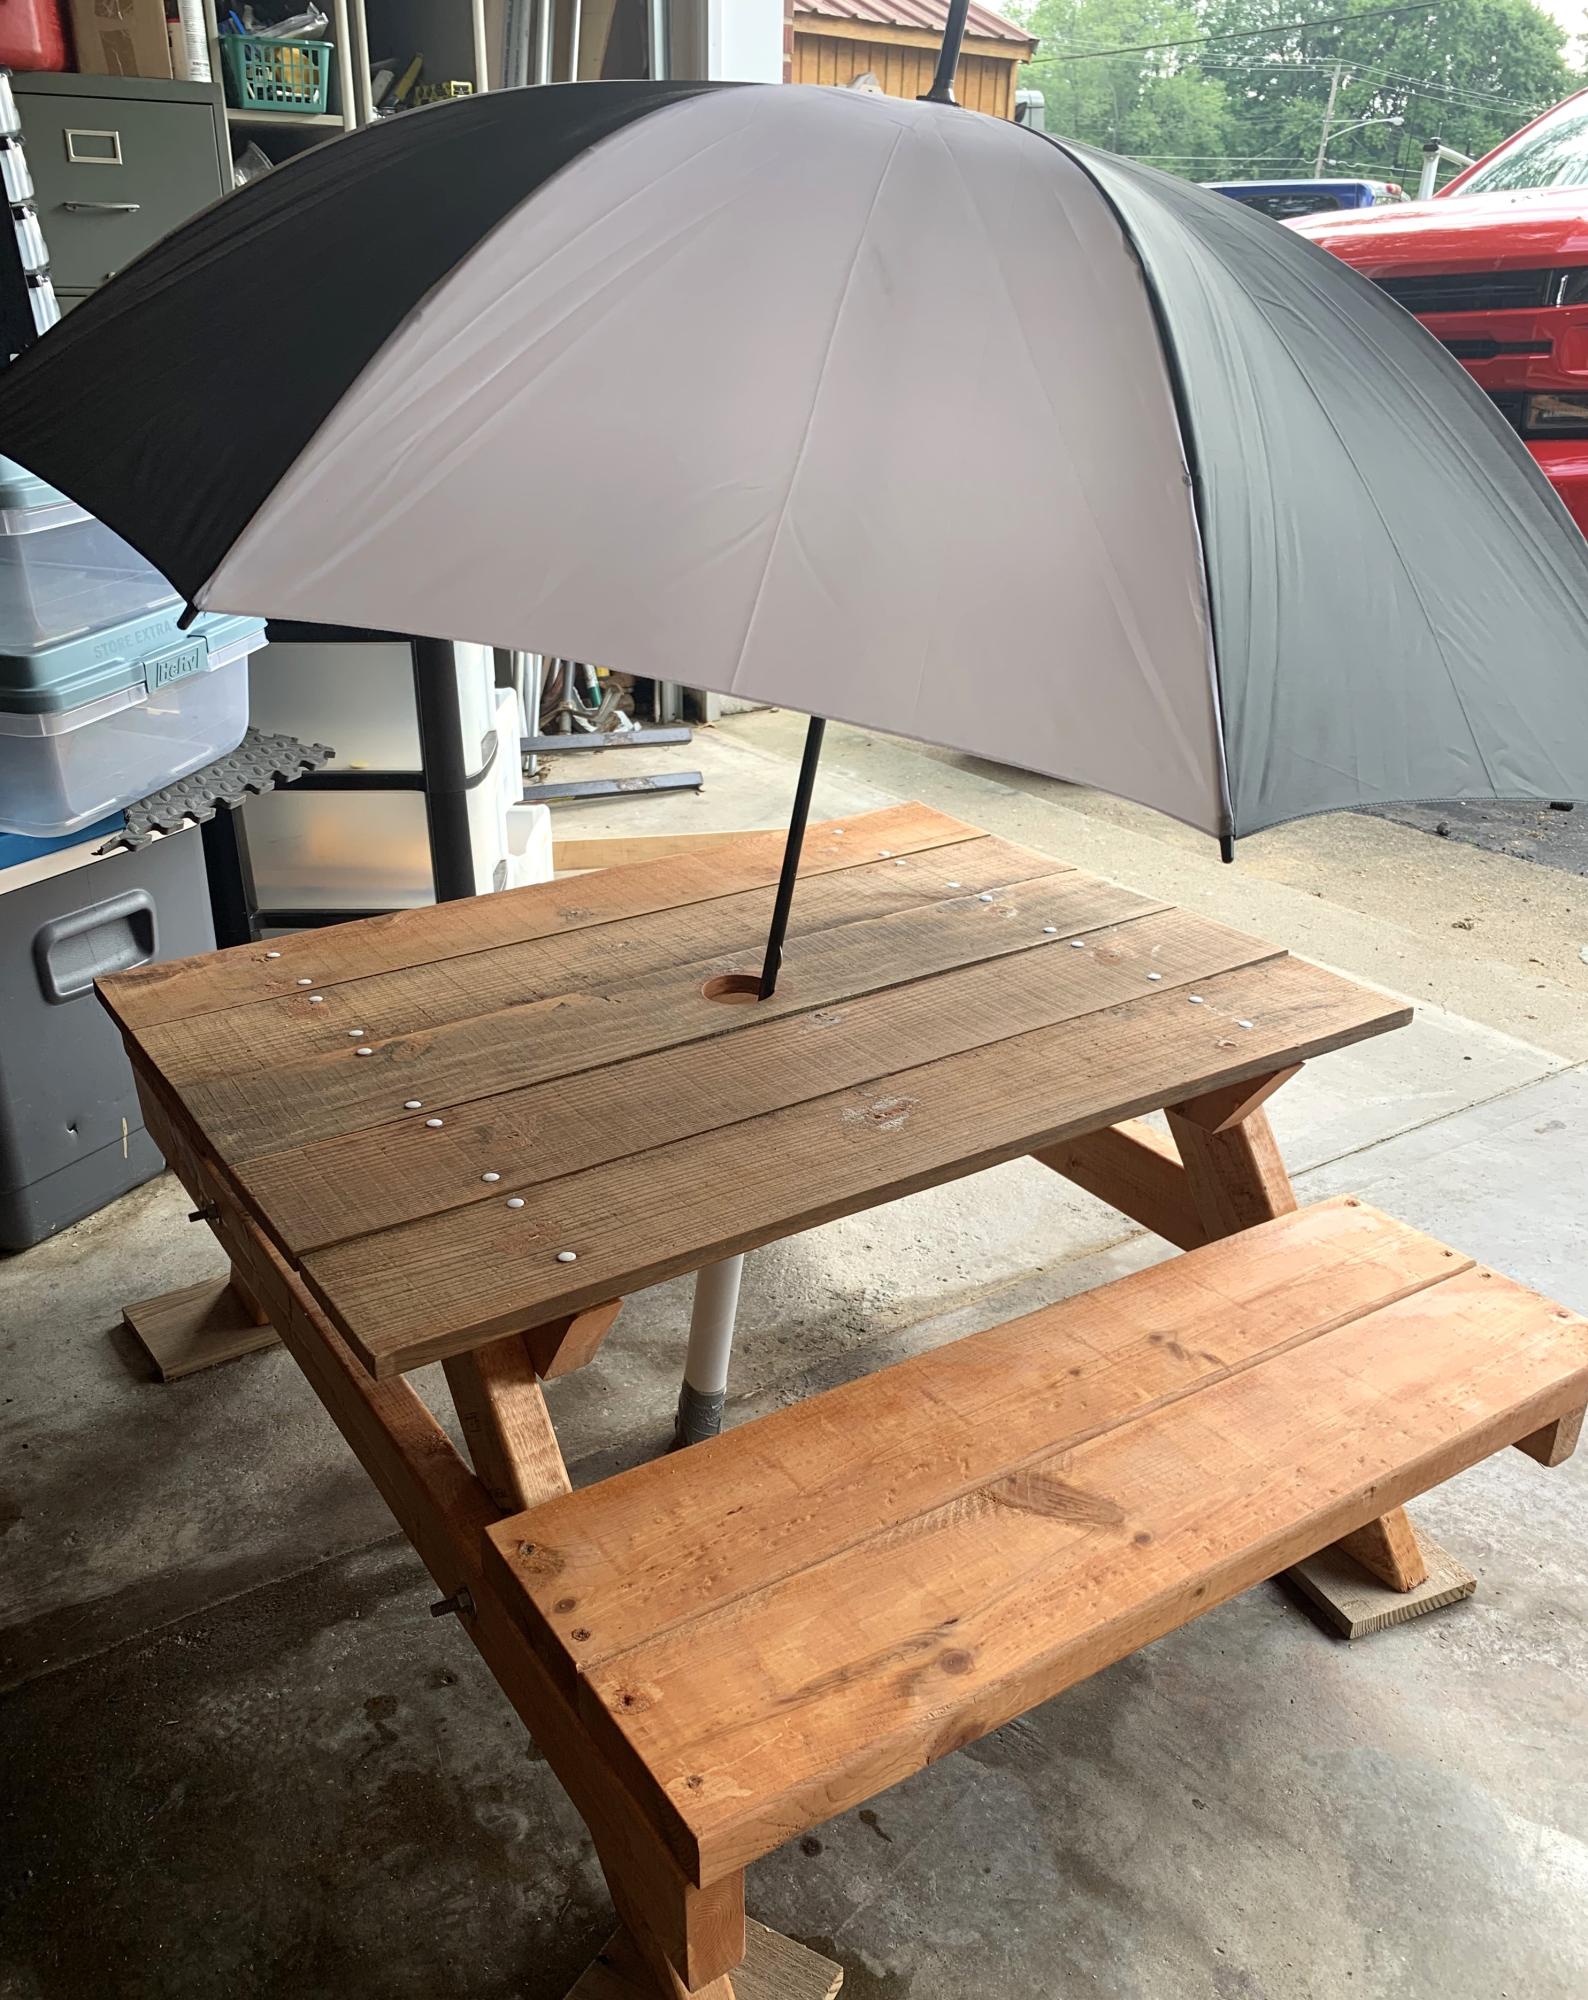
I built this picnic table from pallets and 2/4 it’s my first one nothing fantastic but I’m still learning.
Karen
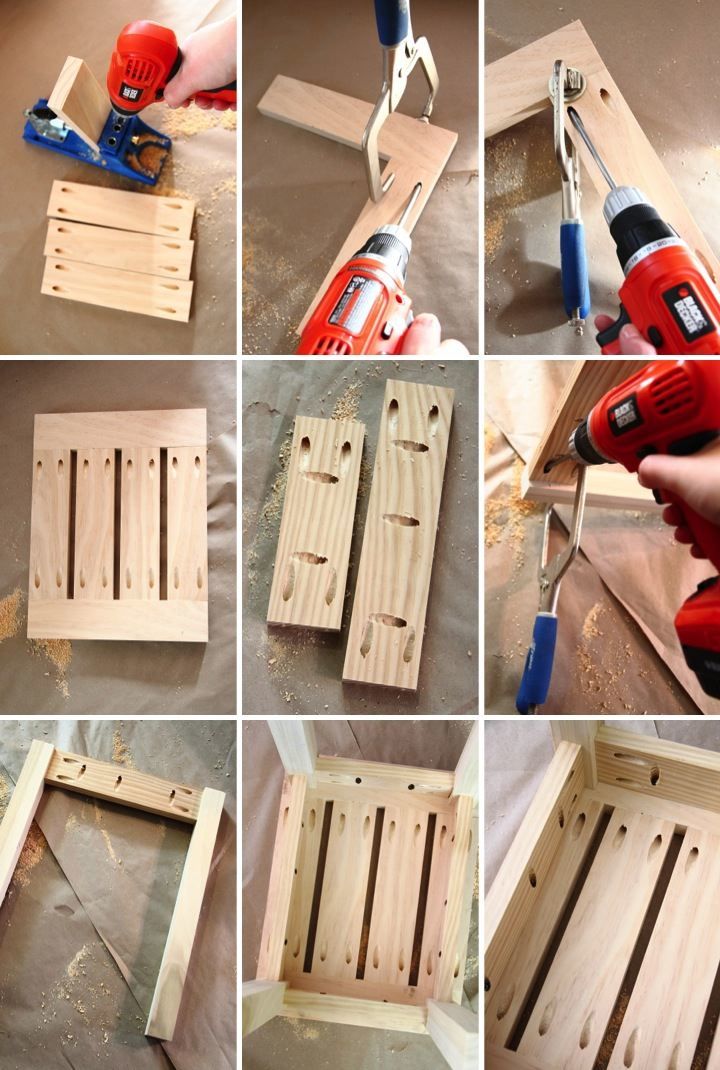
I love my 3' x 5' shower and with all that space I thought that having a little spot to sit down would be really nice. After looking around online and at some stores I couldn't find anything that I liked that was also reasonably priced so in the end I decided to make my own.
For details about how I built it check out my blog: http://www.homeandawaywithlisa.com/blog/2012/2/18/simple-diy-shower-sto…
Mon, 02/20/2012 - 07:03
Did you do any waterproofing? This would probably work well in cedar, too.
Wed, 02/22/2012 - 17:17
Cedar would definitely be a great option. For the finish I used Rustoleum outdoor spray paint which is supposed to stand up to the elements. I figured that would help it stand up to the water in the shower.

OK, I think this build may be my biggest project yet! It is definitely the heaviest. With the strong winds we can get here in Florida we needed substantial outdoor furniture.
I did make some modifications along the way measurement-wise so the sofa would fit my front porch better. All in all, this took 2 full days. I built the sofa first, stained it the next day and then decided (due to trying to get stain in all the nooks and crannies) to stain the chair pieces first before putting it together.
I am so happy with the results and so far, almost a year later, this furniture looks great and hasn't moved an inch in any of the thunderstorms we've had! Thank you Ana!!


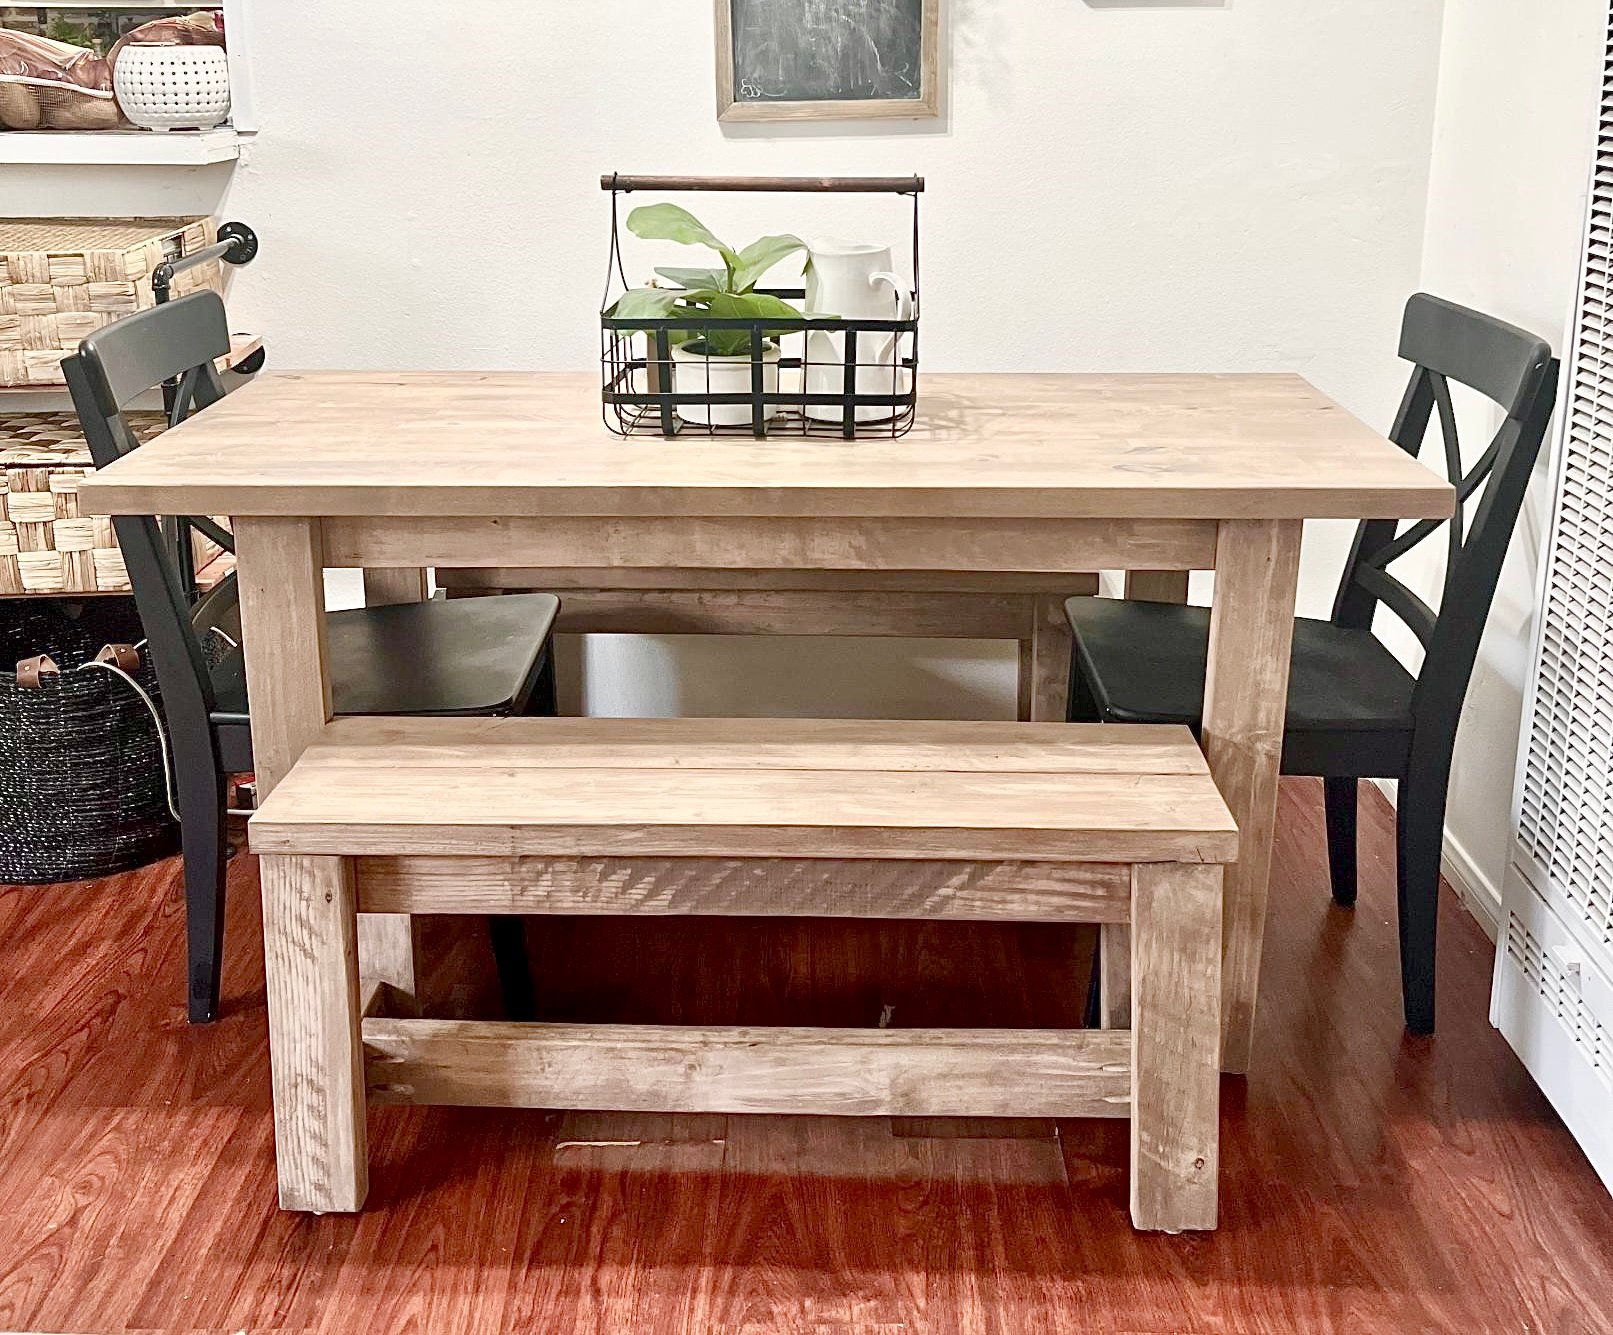
I absolutely love this table and benches! Thank you!
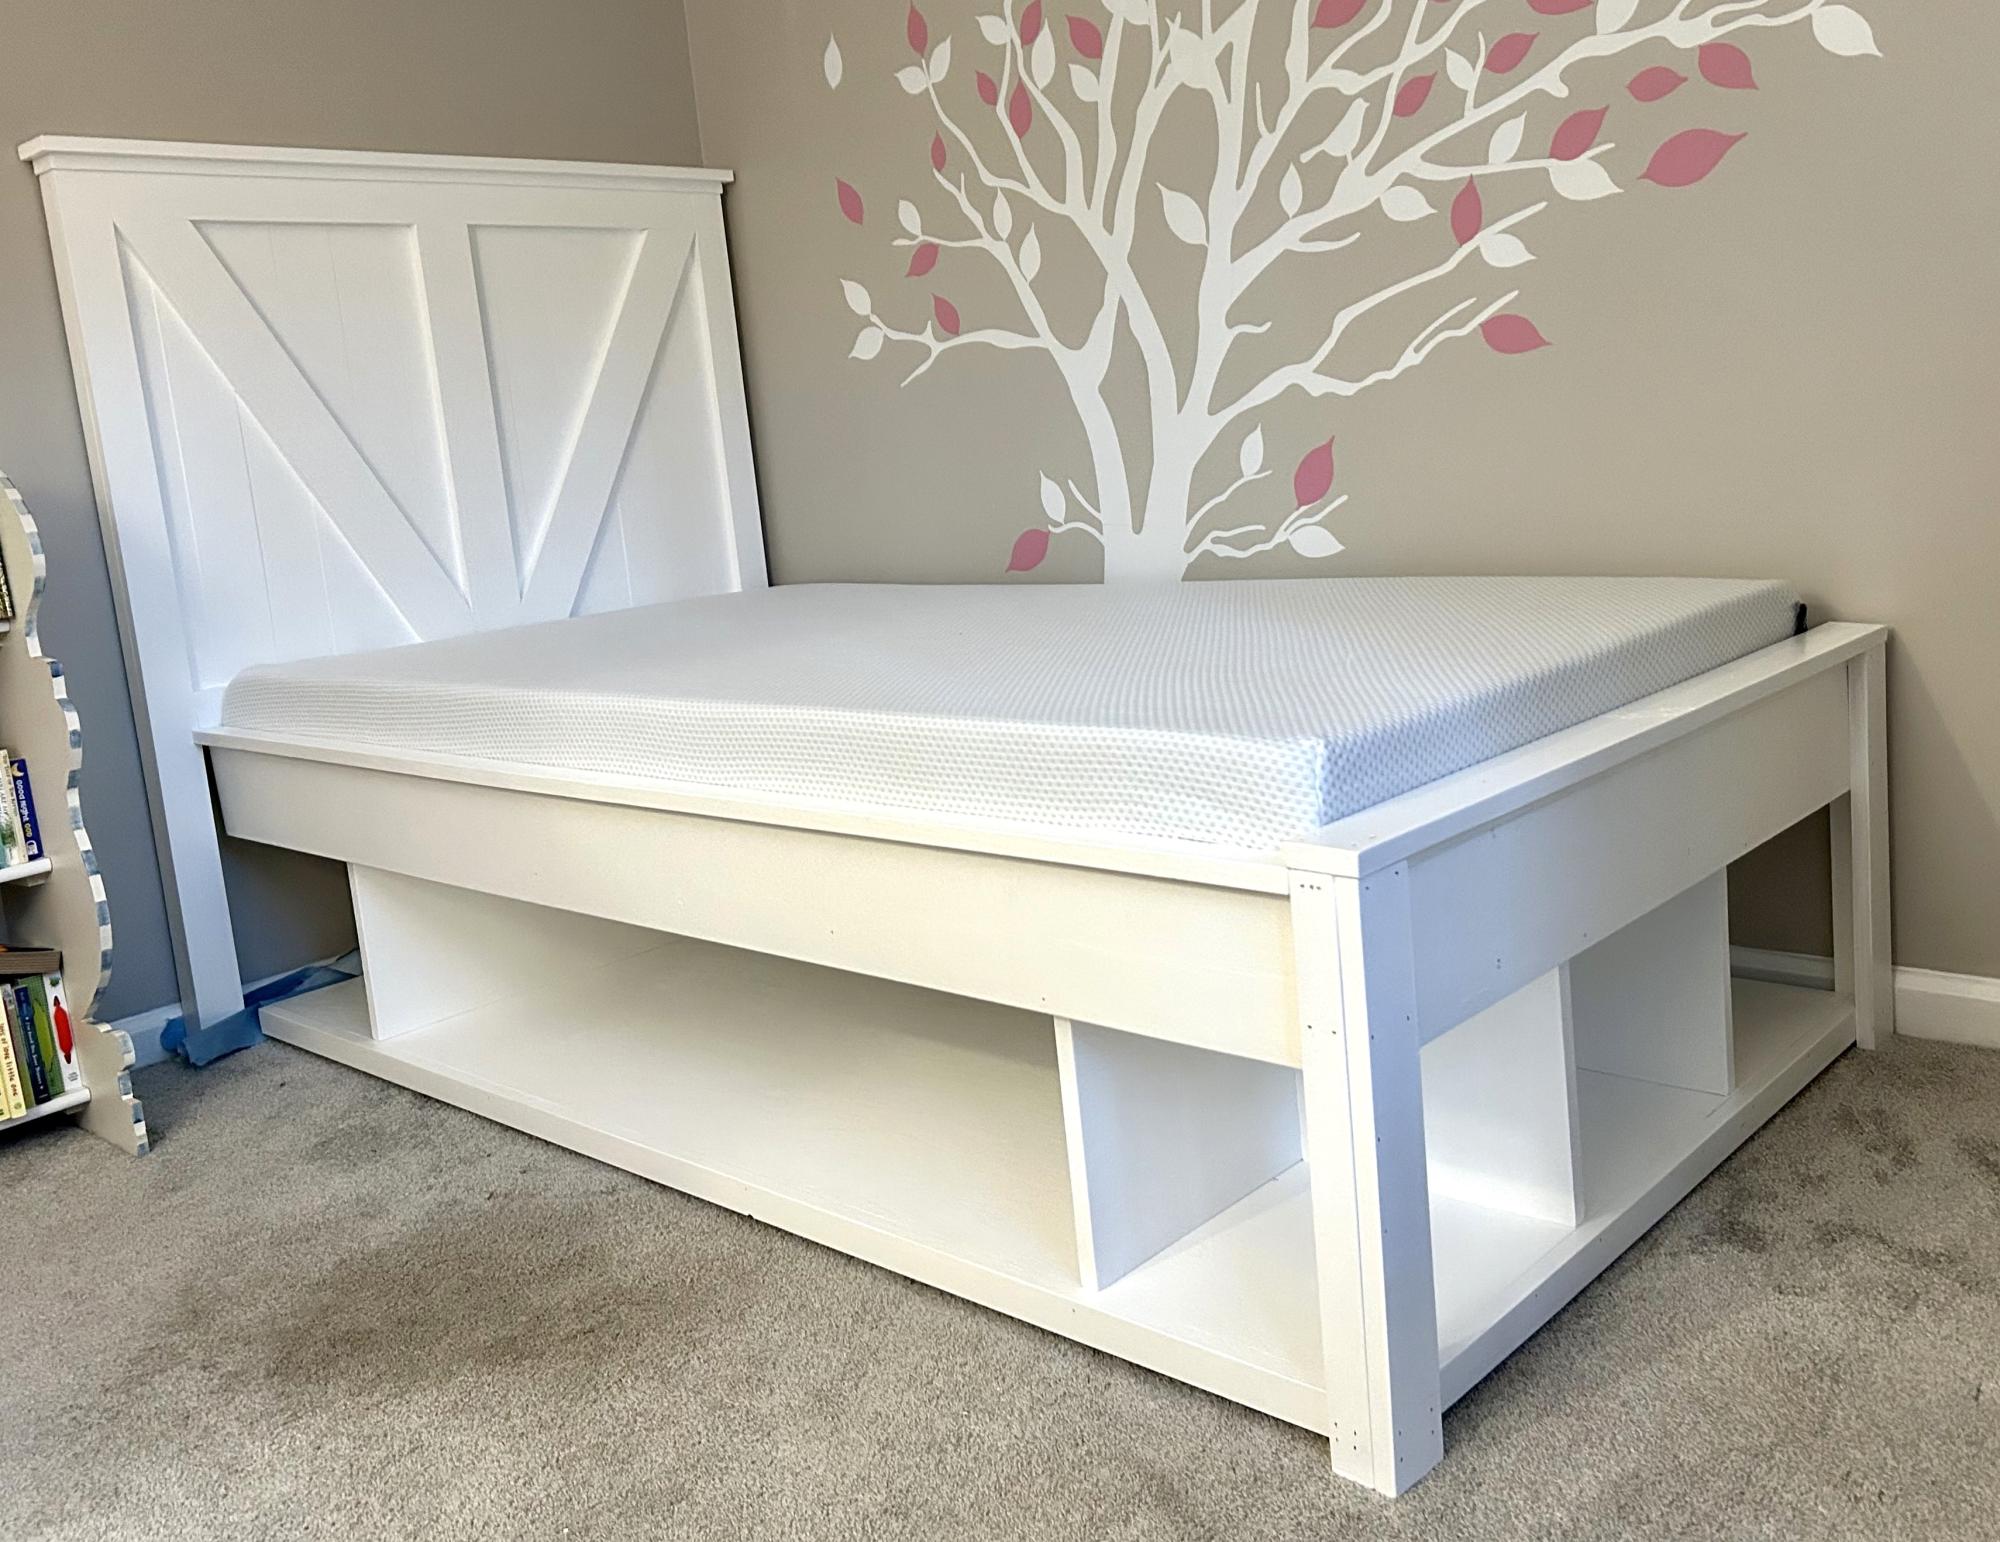
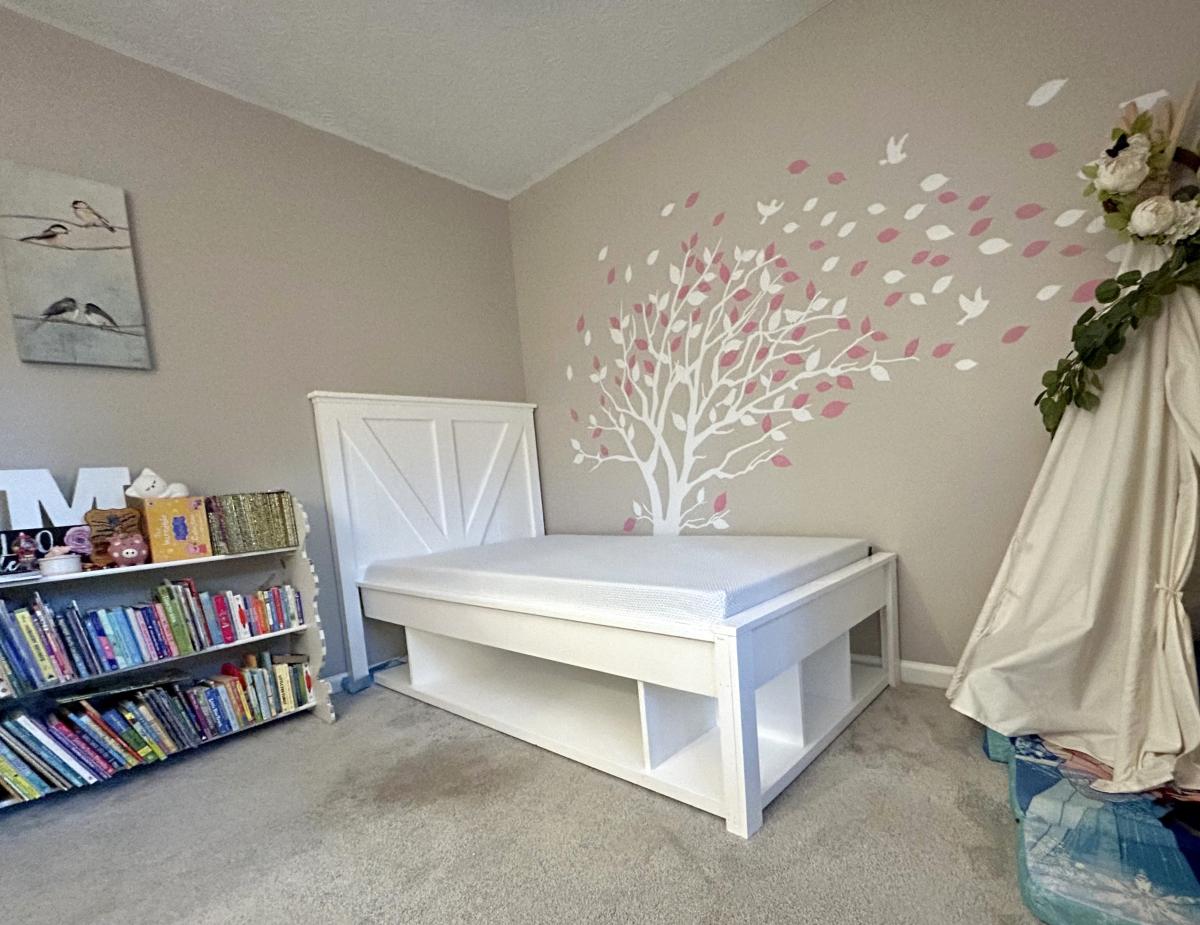
Love this build! We decided to flip the head board pieces because our daughters initials are MNW and we thought it looked more like a M and a W this way.
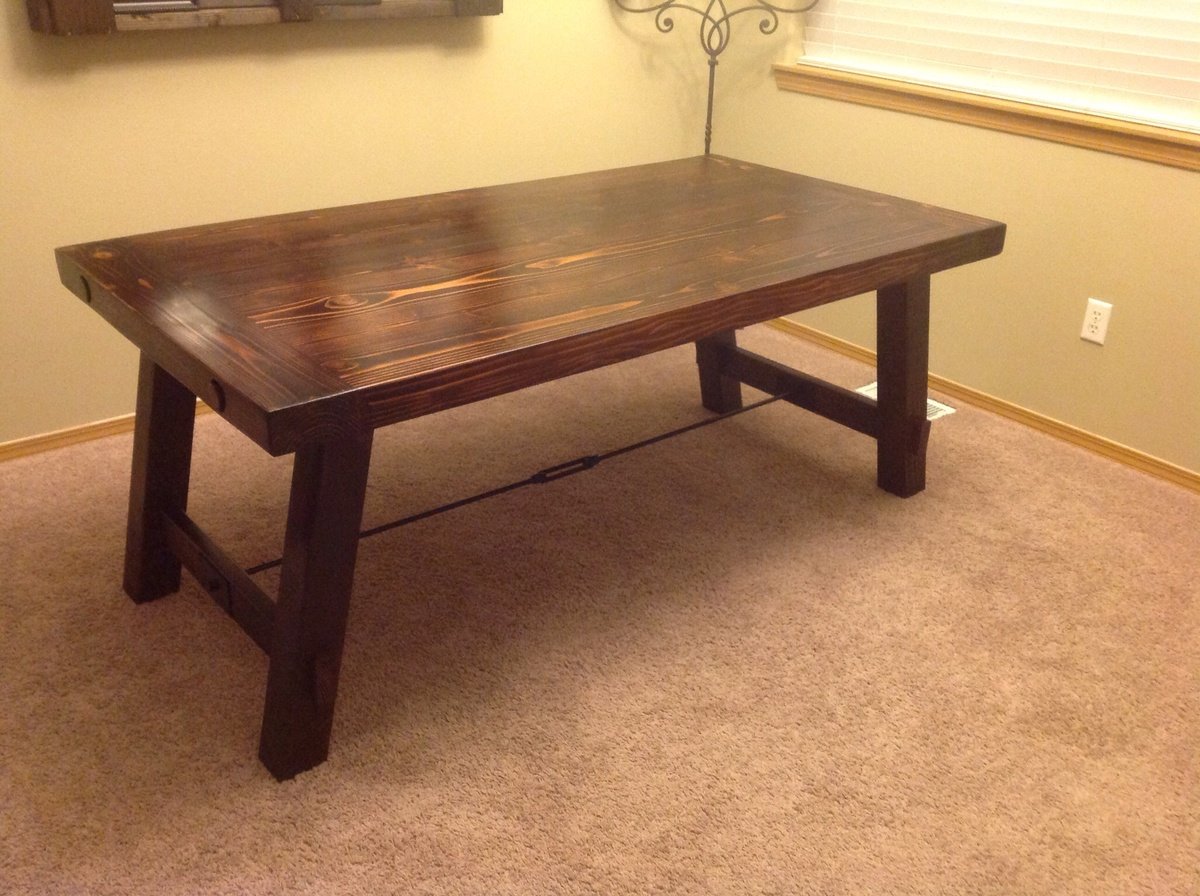
This was my first project and I completed it all by myself! I think it came out well :) My husband did not like the original table despite my love of it. I asked him if I made the table if I could then have it. So what started out as a dare (my husband thought I would not be able to do it) became a reality. I am really excited to tackle more projects and have gathered quite a few upcoming projects to complete.
I did a slight variation of the plans, I used 2x6s for the top and 4x4s for the legs. I located a planer and was able to remove the rounded edges of the boards. I wanted the thickness of the PB table so the thicker boards were my choice. I also used a solid welding bar threaded on both ends for the rod.
Mon, 01/13/2014 - 20:35
I love LOVE the thicker top. It looks fabulous! Great job :)
In reply to I love LOVE the thicker top. by Mrswhetstone1
Thu, 01/16/2014 - 09:39
Thank you :)
Mon, 06/09/2014 - 23:04
I like your version of this!
How did you attach the table top to the leg supports? Or aka, what does the underneath of the table look like? And how did you attach the breadboards to the long boards of the tabletop?
My email is [email protected], since that is probable faster than commenting back and forth on here.
Fri, 09/19/2014 - 02:10
I am also wondering how the thicker top is attached. Please share! You did a fabulous job!
In reply to Want to duplicate! by Jeana Hayes
Thu, 01/01/2015 - 21:12
To get the wider top I glued two 2x6 together than planed them so they look like one solid piece. I didn't really follow any plans just kept building a little at a time. I don't really think you can mess anything up if you just keep doing a little at a time. Let me know if you have any other questions! Love to help :) Happy building!
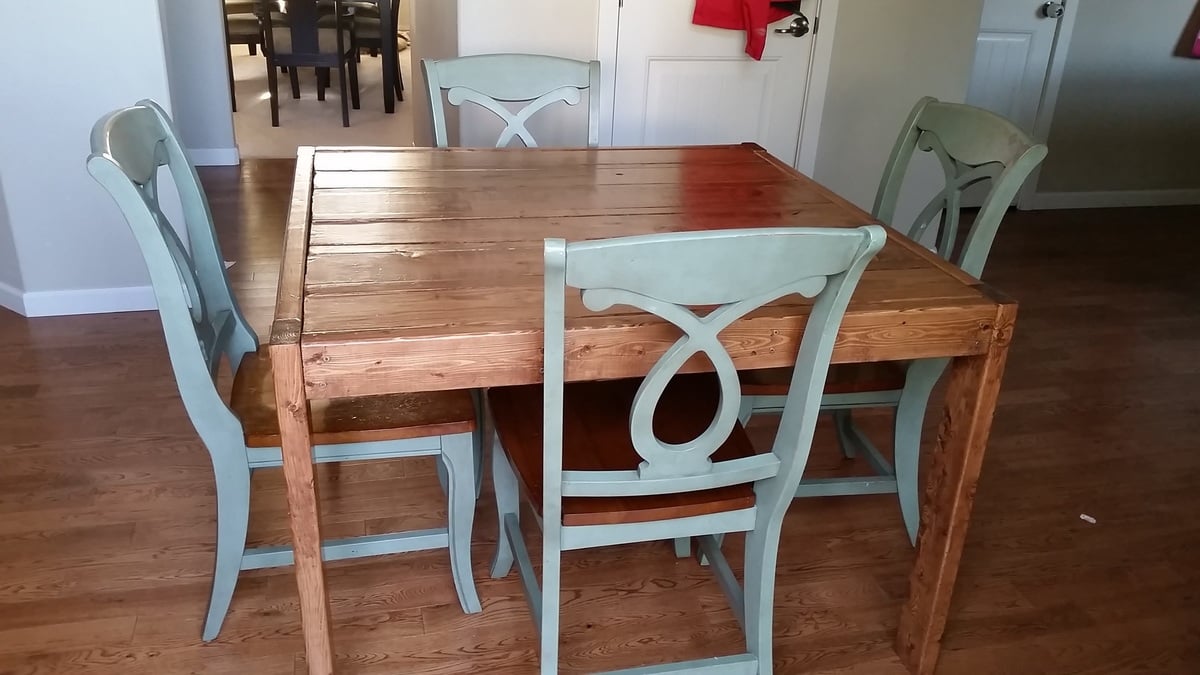
We modified this table to make it larger for our growing family. It measures 42" (10 inches larger than the original plan). We added 10 inches to the length of the 2X6's and added 5 2X2's to increase the width of the width of the table. We love the interest it added to the table. 3 coasts of minwax cherry and three coats of minwax helmsman poly.
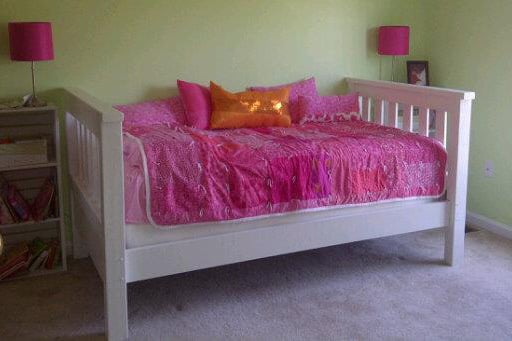
My dad used the plans for the Simple Bed - twin size and built two. Then he took the headboards from both to build the bed for our daughter's room. It sets against a wall, so it looks like a daybed since both ends are the same height. She loves it! The other bed will have both foot boards and will be used in our son's room when he is old enough for a twin bed. Our daughter loves the bed and our son can't wait to get his....and we all love that Pap made it just for them! :)
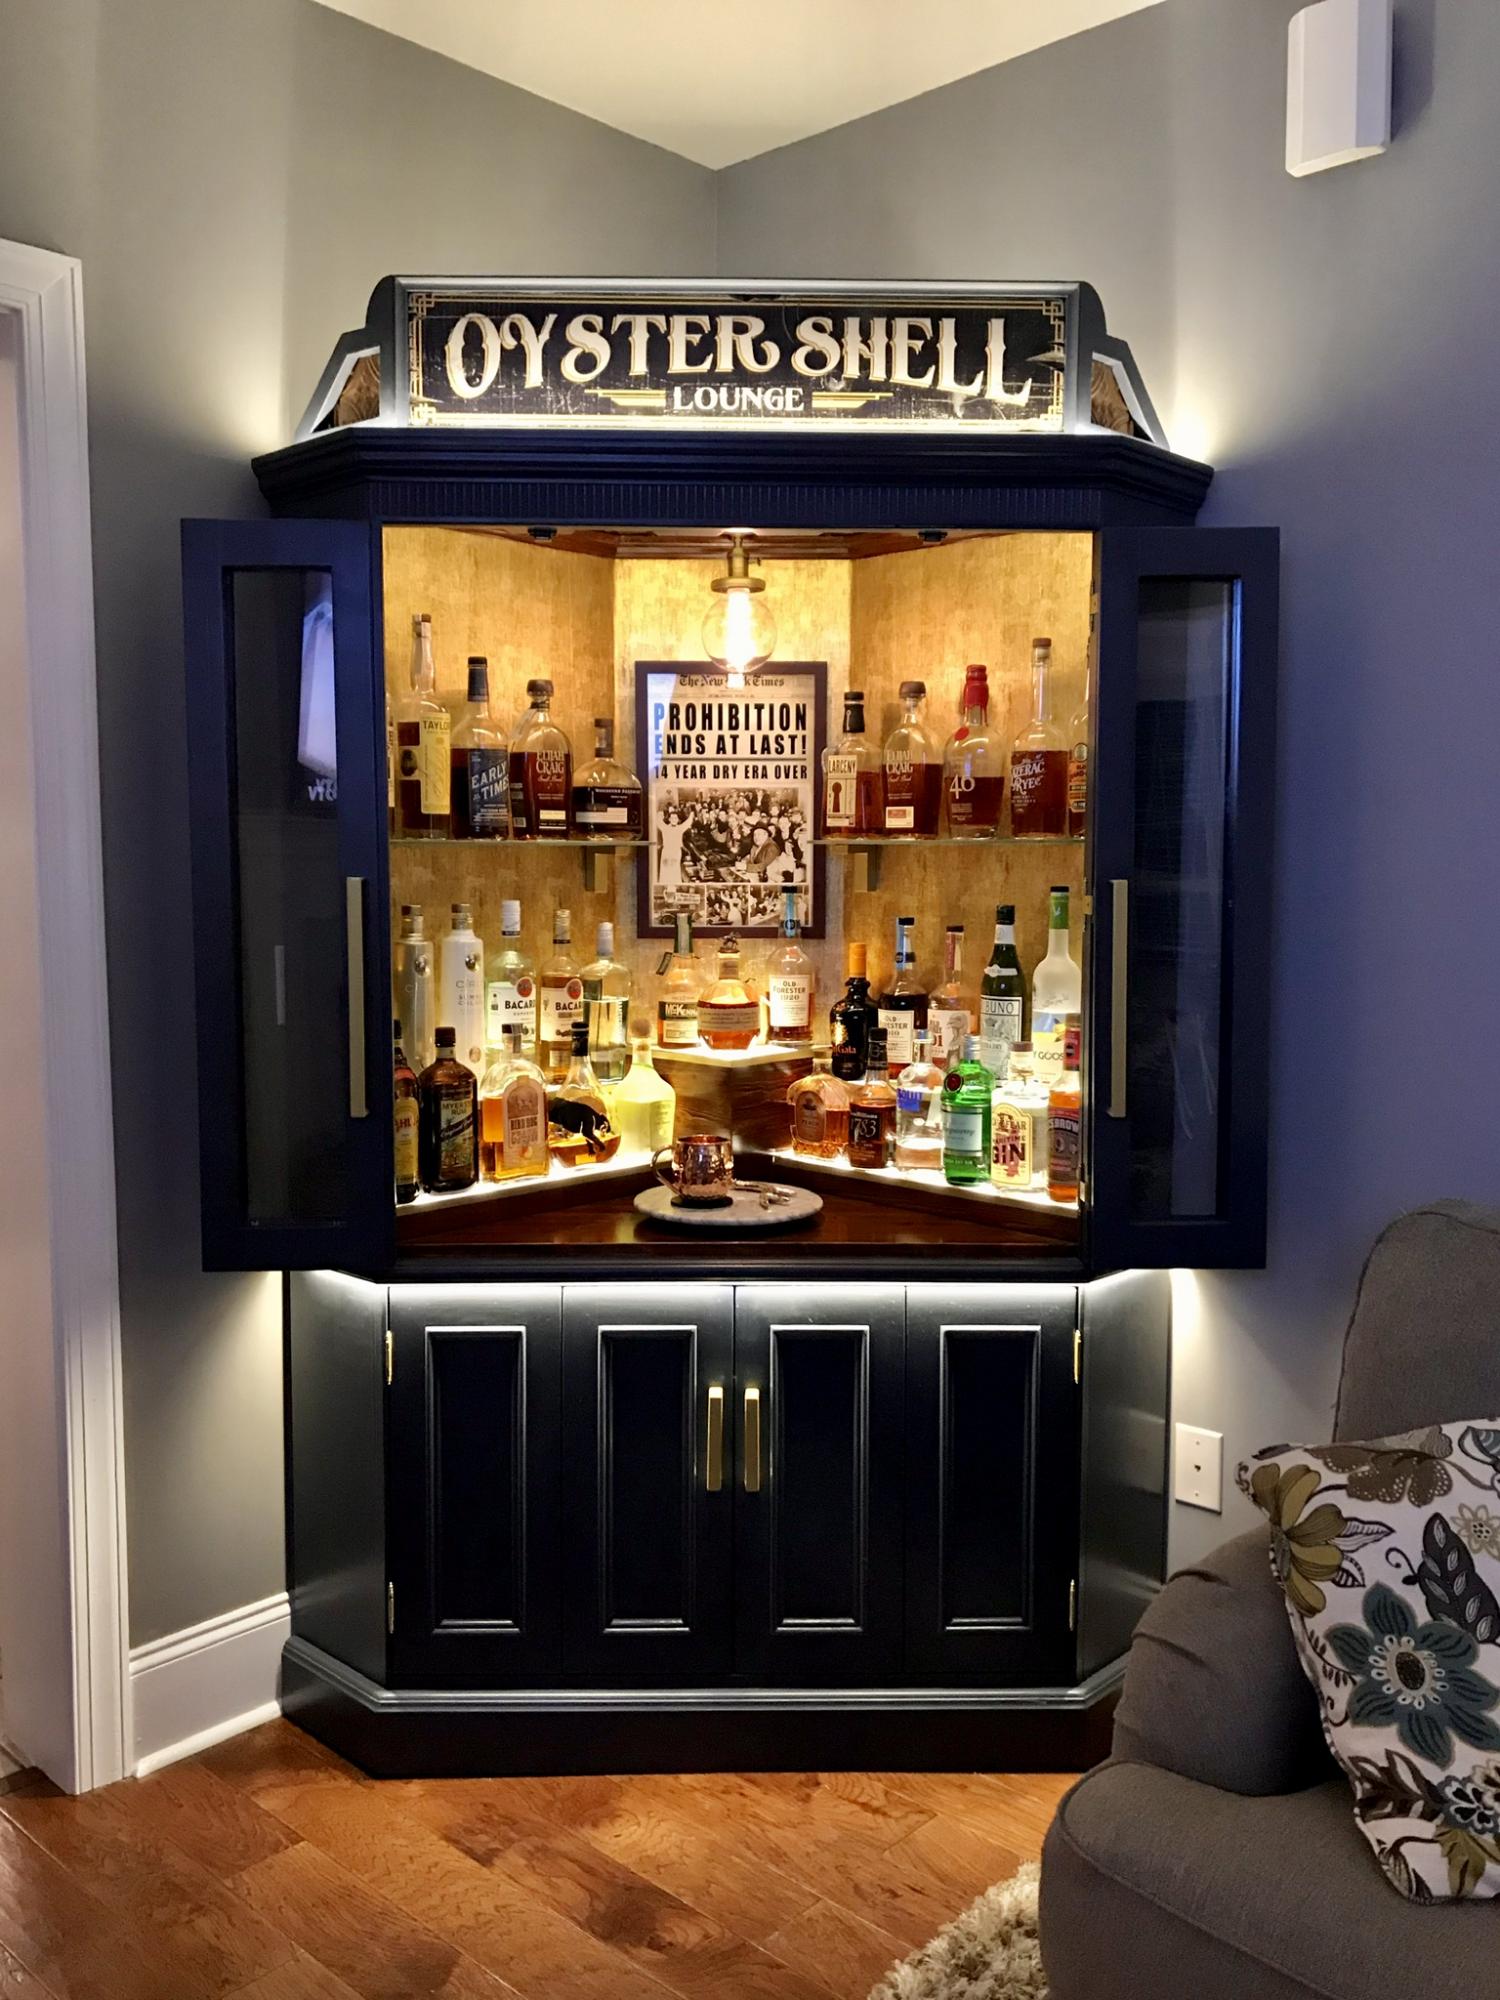
I bought this tv corner cabinet for $40. I spent many hours turning into my perfect bar cabinet. I built a custom lighted liquor display. I have posted photos of the transformation.
Thu, 03/18/2021 - 00:07
Wow that beautiful do you have directions on what you did?
Tue, 07/06/2021 - 19:04
So this is not your project? Because there isn't much information or a before and after picture. This gave me an idea for our home.
Sun, 08/15/2021 - 18:34
Yes, this is my project. What would you like to know?
Wed, 12/29/2021 - 06:41
This looks beautiful and authentic at the same time. Love how it gives me a theatre vibe! cabinet makers mornington
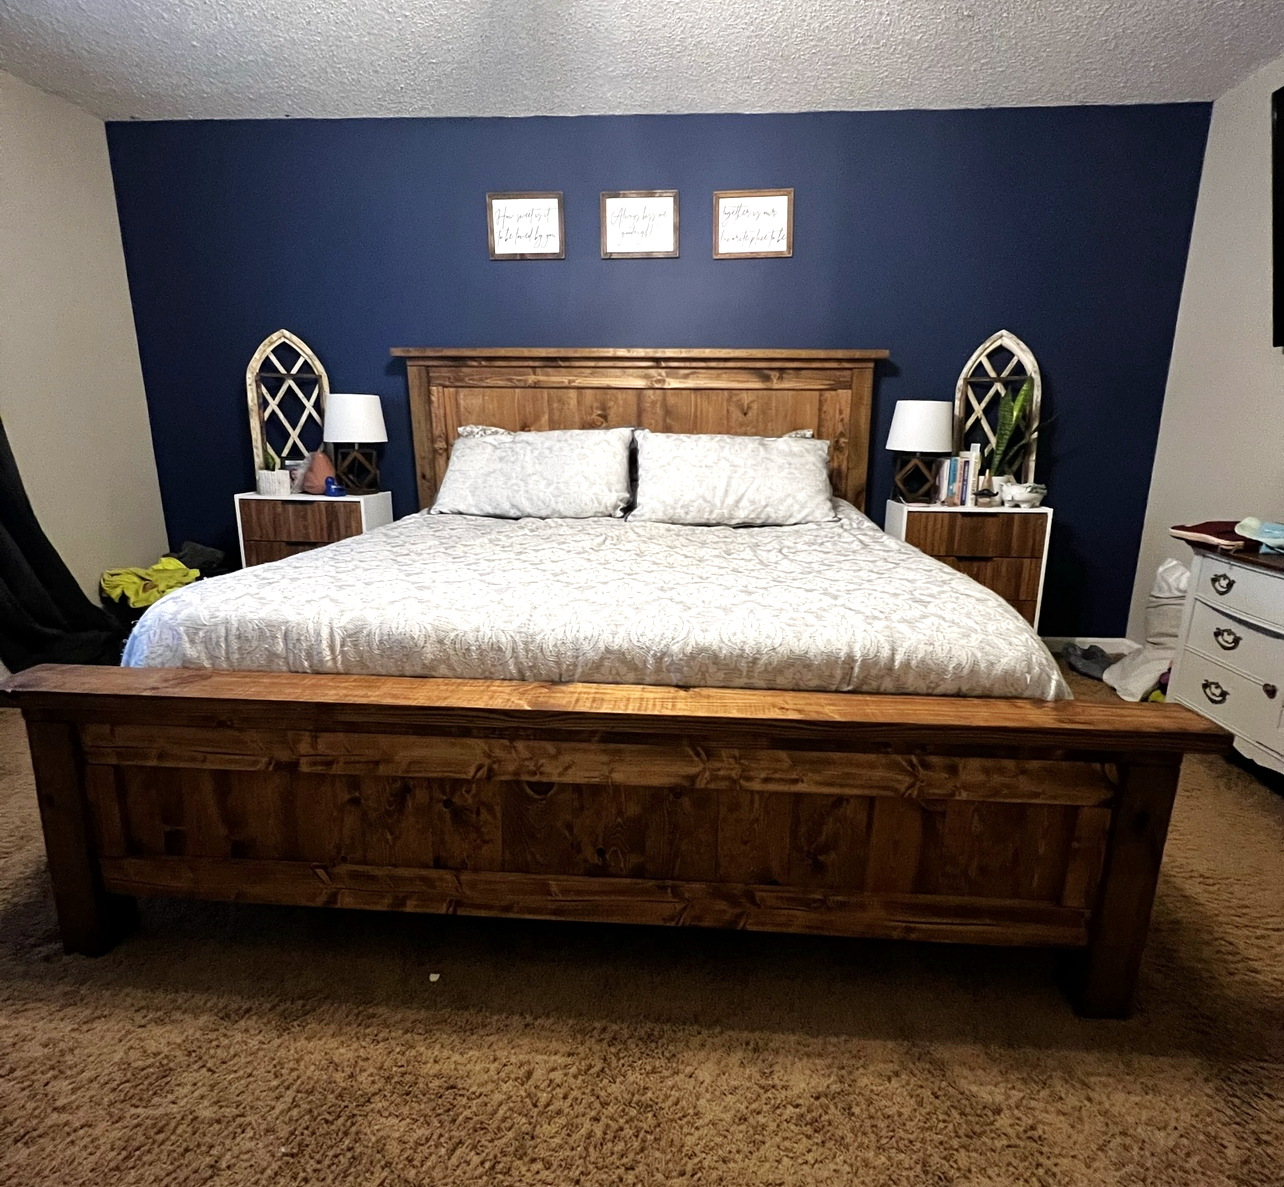
I needed a new bed and stumbled upon your plan for a bed frame. I love it and had so much fun building it!
Marielle Krupa
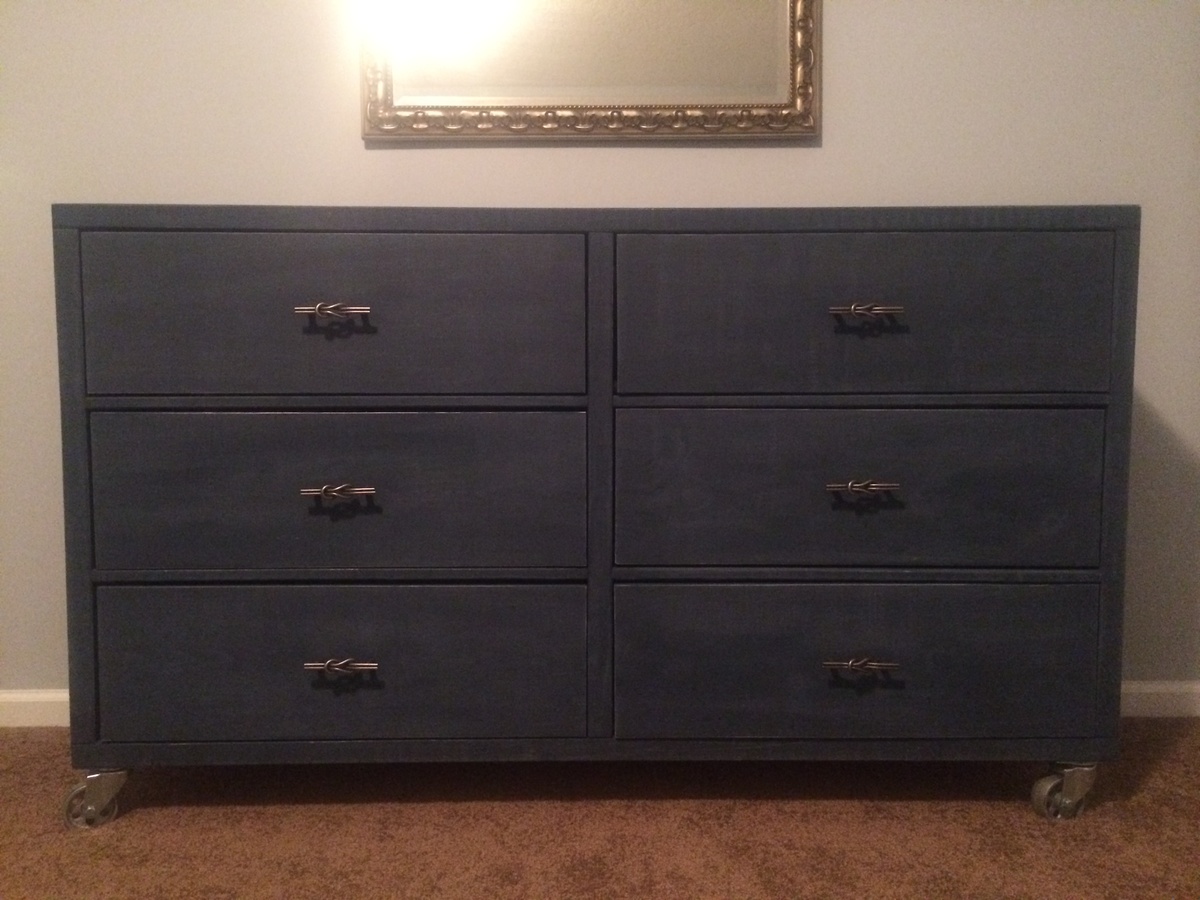
We need bedroom furniture desperately! So, I decided, for my second build I would start in our bedroom! The dresser first, because I was going crazy without a place to put my clothes!
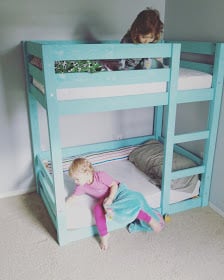
Modified the classic bunk bed plans to fit crib size matresses for our 1.5 & 2 year old girls, loved how my toddler bunk beds turned out!
Mon, 08/01/2016 - 17:27
Hi,
Could you email me the change in measurements you used for the crib mattress?
It would help me out so much. I want to build a similar one for my boys.
Thank you.
Danielle S.
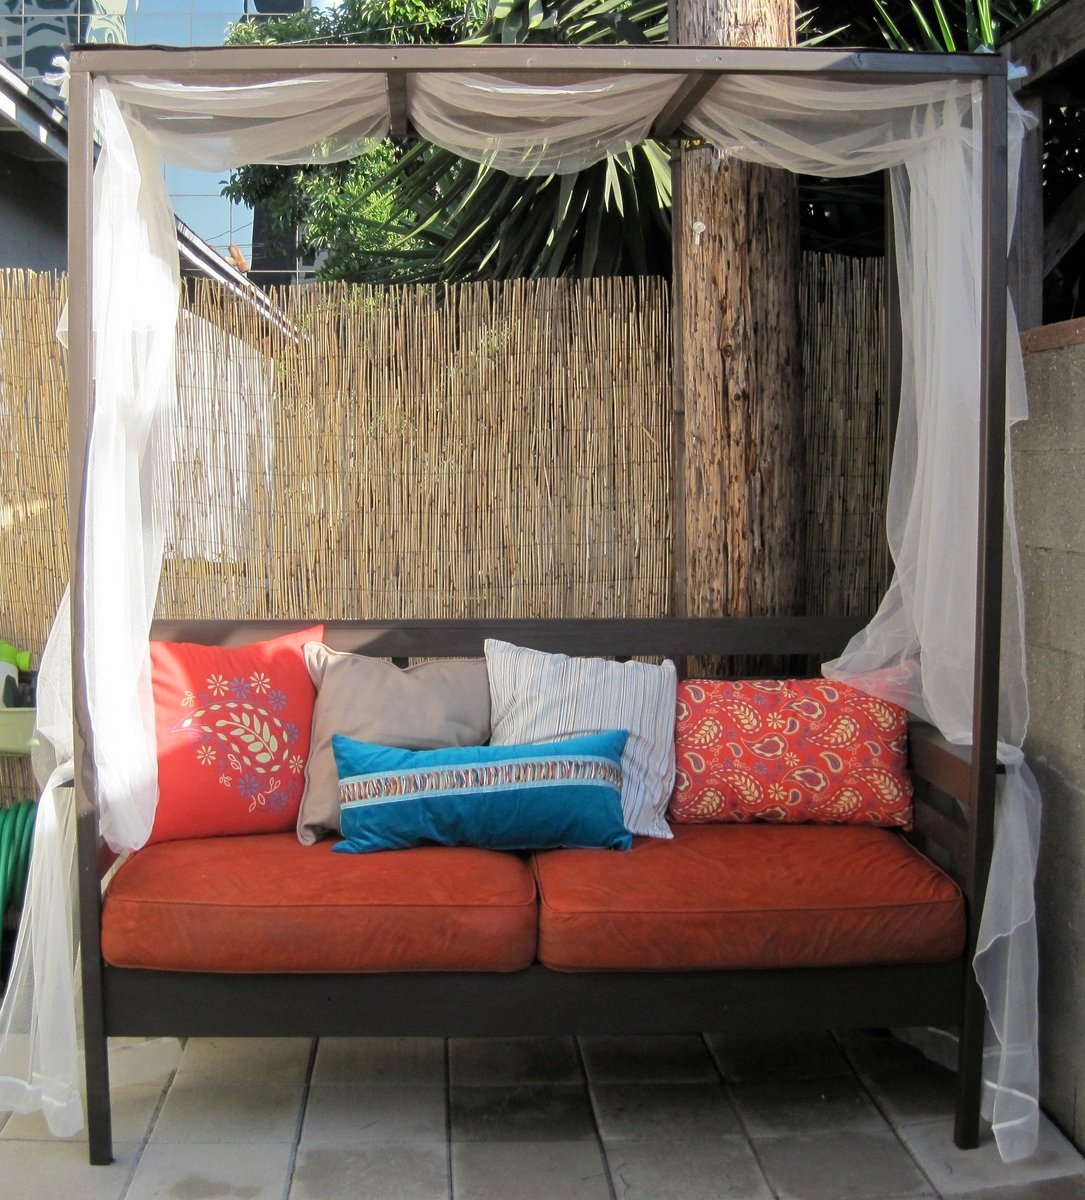
Thank you anawhite.com for this project! It was exactly what I was looking to build for my outdoor space. The outdoor daybeds with this look are WAY too expensive for us to buy and these plans were just what I needed!
My husband and I built (and painted) this project over one weekend. Not included in that time are 2+ hours shopping for materials on the friday night before and extra hours over the next few days to buy pillows, tie on the drapery, and finish the cushions.
We actually changed the plans to make more of a smaller 'daycouch' rather than a 'daybed' because we had some old cushions from a loveseat we just got rid of that I wanted to repurpose. It worked out great for our small space. If you do change the proportions keep in mind that a 1X3, 1X4, etc., are not exactly 3", 4", etc.
This project is totally doable, so go for it! The only things I would recommend are that you have some skills with power tools, know a little about carpentry (the directions are pretty spartan), and paint the pieces beforehand (if you have the patience; it really does cut down time on painting all those slats).
*Important note: the materials list is missing 2 2"X4"X8" (for the 2 cleats) that you need to complete the project.
Fri, 07/13/2012 - 23:26
Thank you! We are pretty happy with the way it turned out. If you do the project please post a pic!
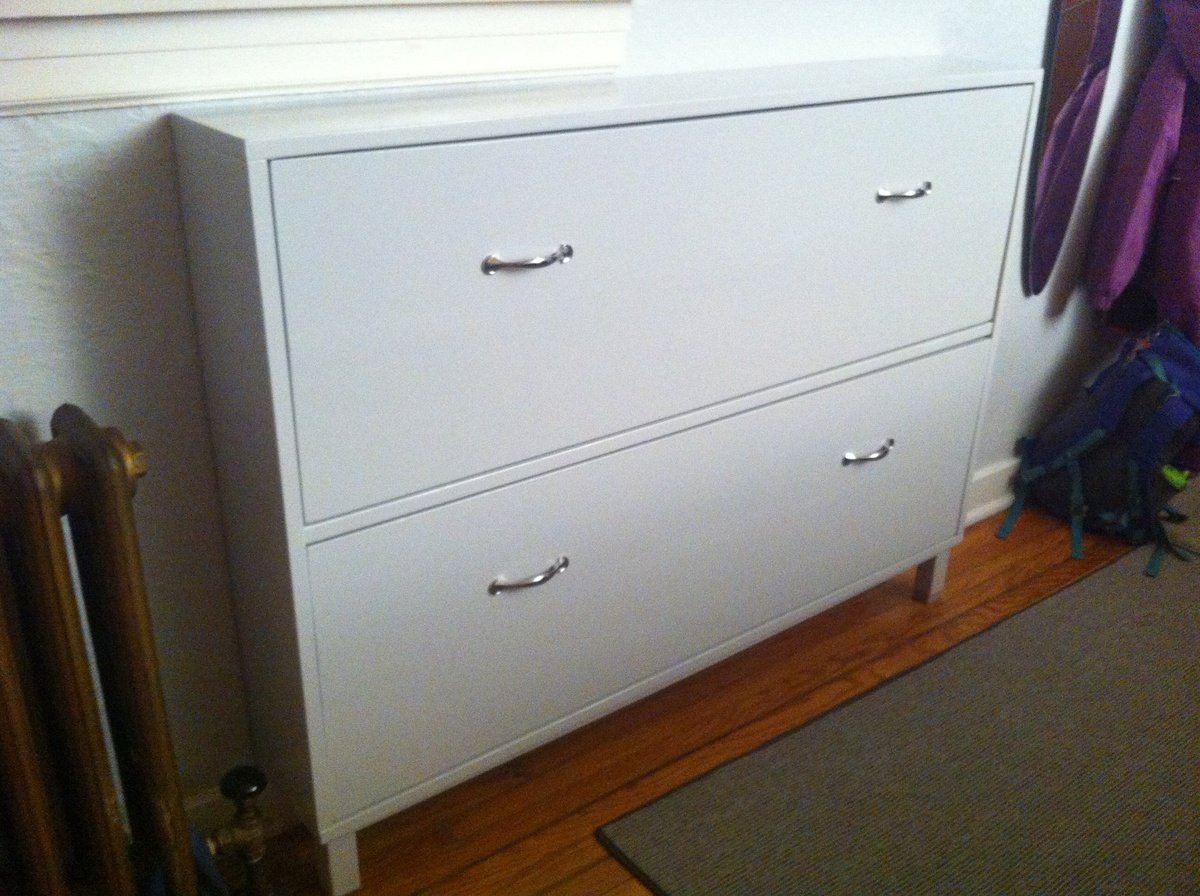
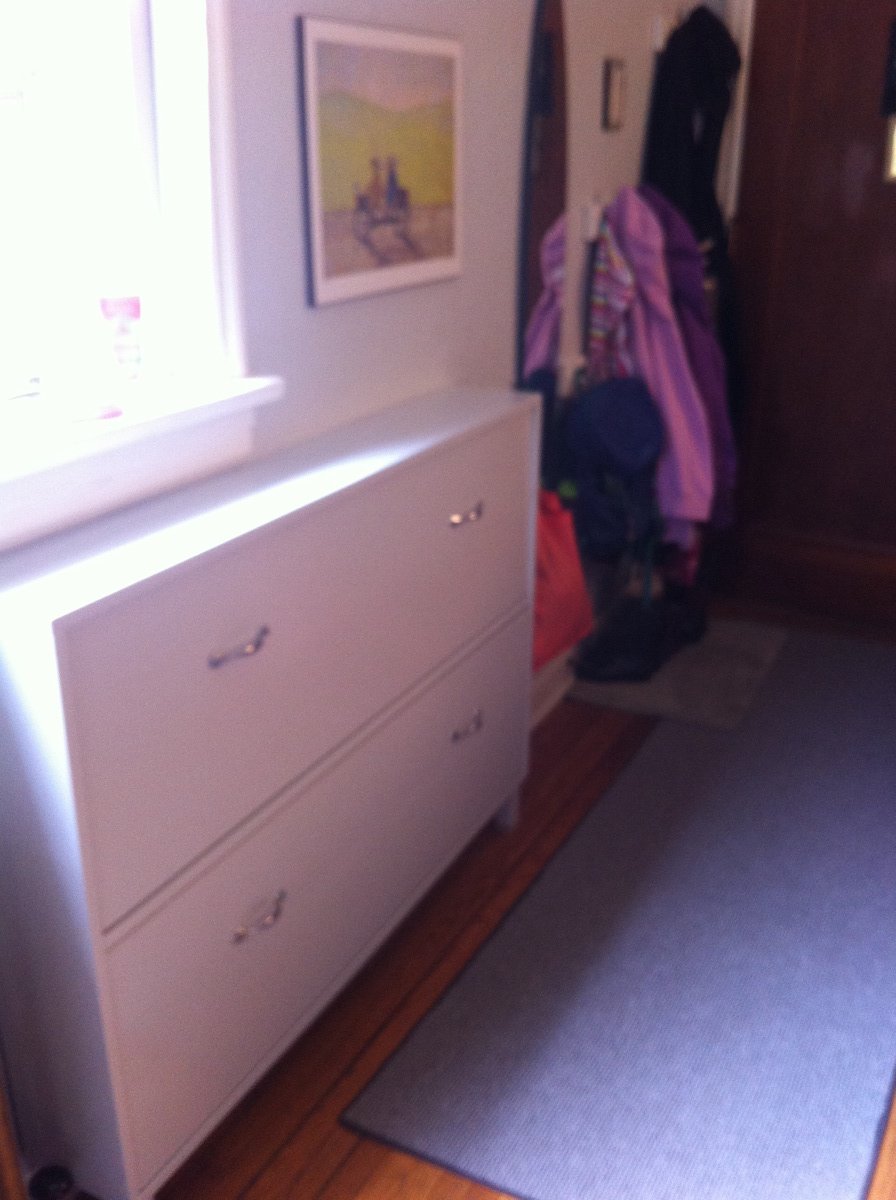
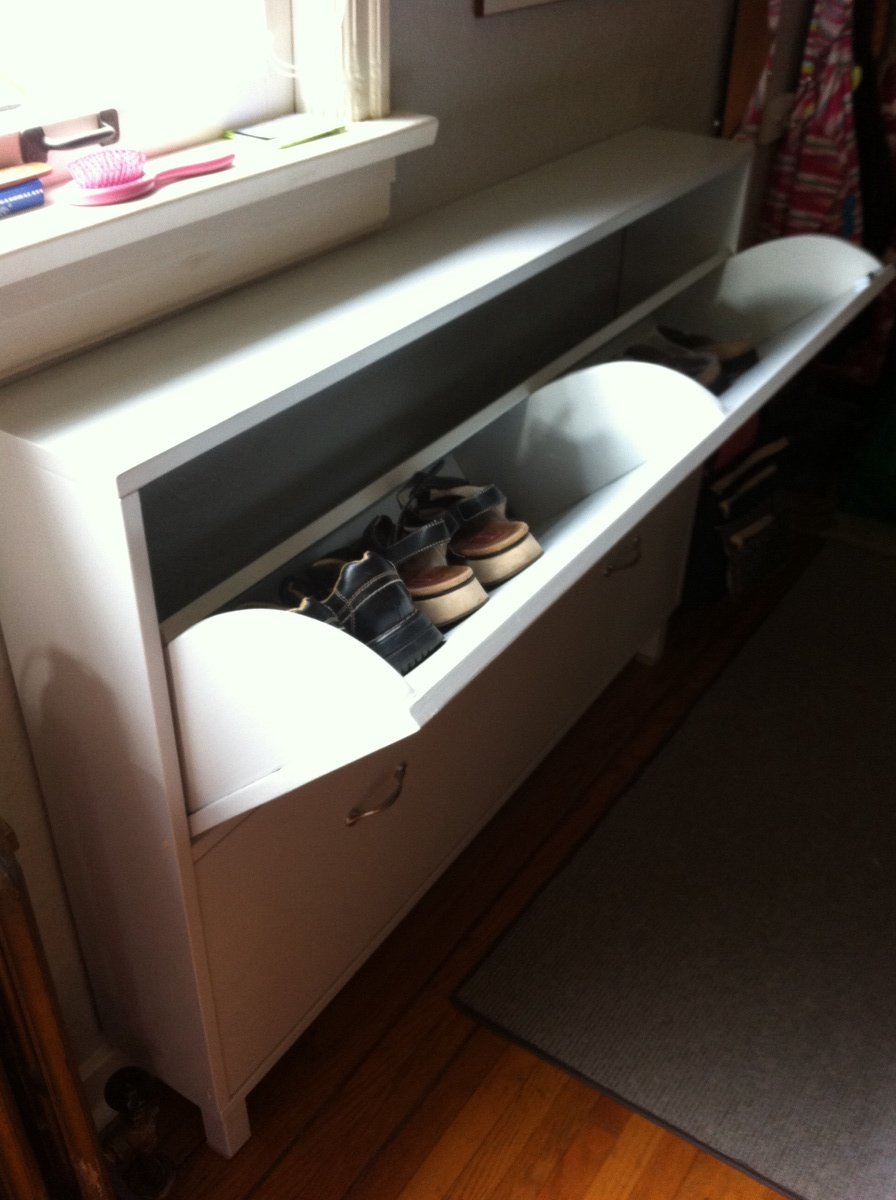
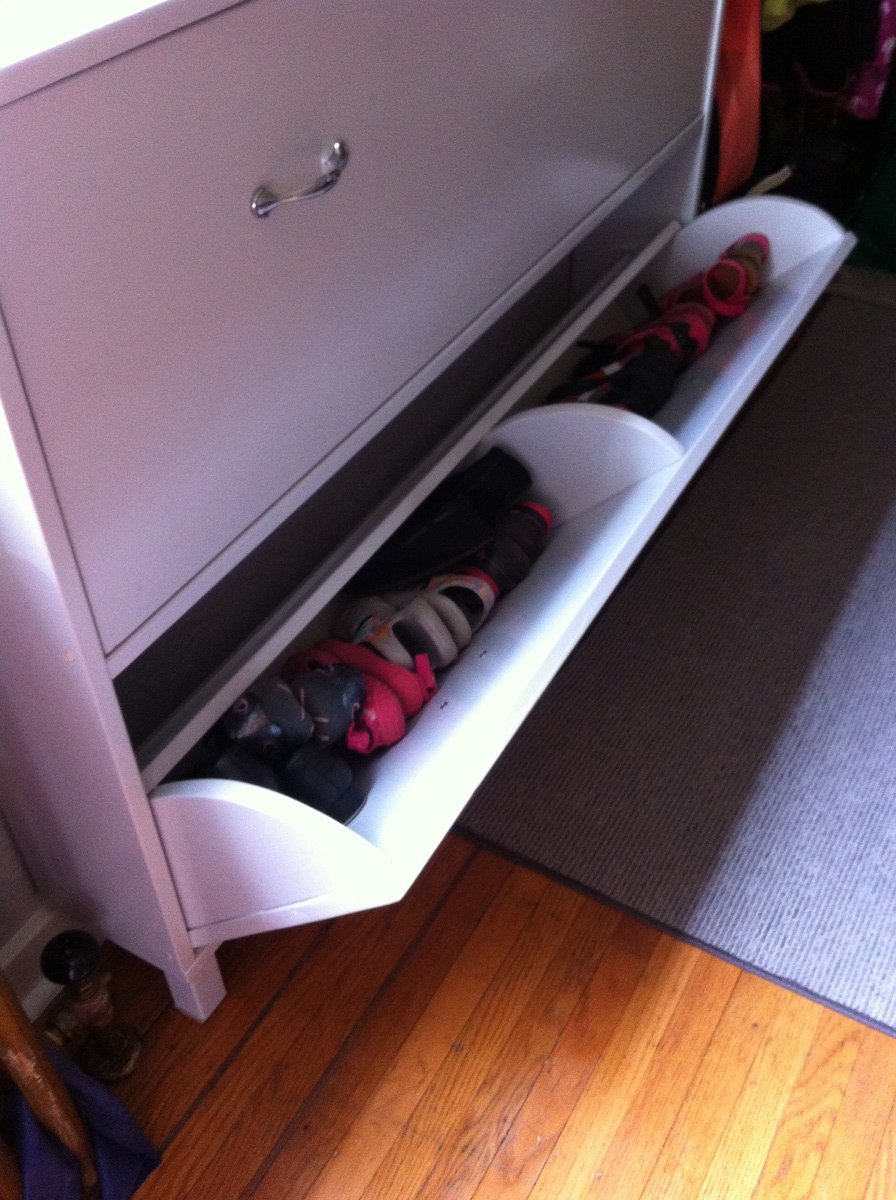
Had a horribly messy front entrance so really needed this shoe cabinet. It's dimensions suited my space better than an Ikea one, and accommodated more shoes. This being my first project, I am glad I started with this instead of a loft bed, since I made alot of mistakes (& corrections) along the way. Although some of the problems occurred because of pieces that ended up being convex. I chose to fill in the gap between the two boards on the front of each bin. It worked out really well.
Really love the Kreg Jig! So worth the investment.
Could not figure out how to properly use magnet catches. Did apply one to one side of the top drawer but it doesn't work too well--pulls the bin too far in.
Comments
Ana White Admin
Tue, 05/16/2023 - 15:08
Cool shoe rack!
Thanks for sharing, it looks awesome!