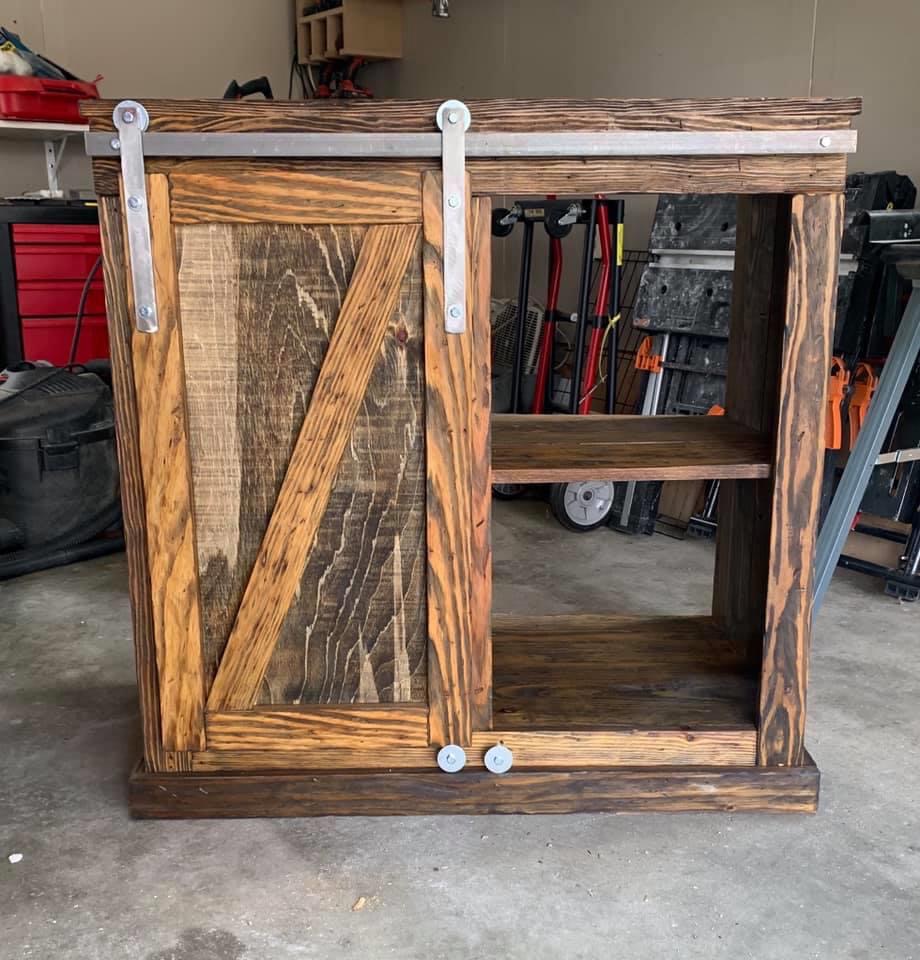
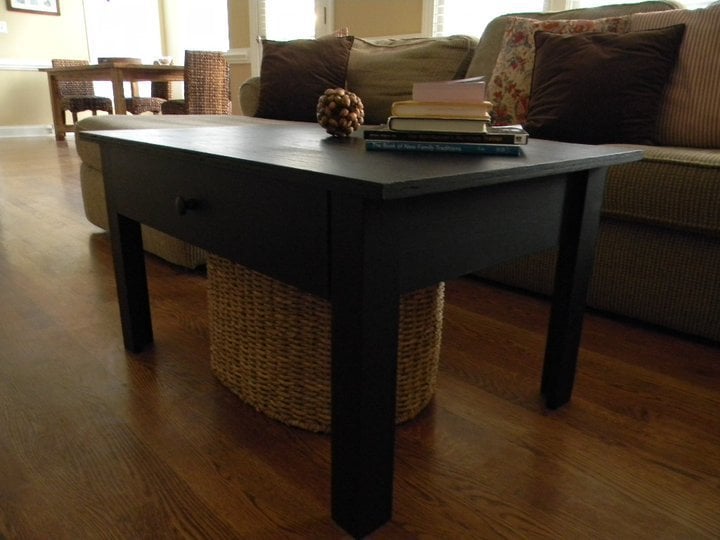
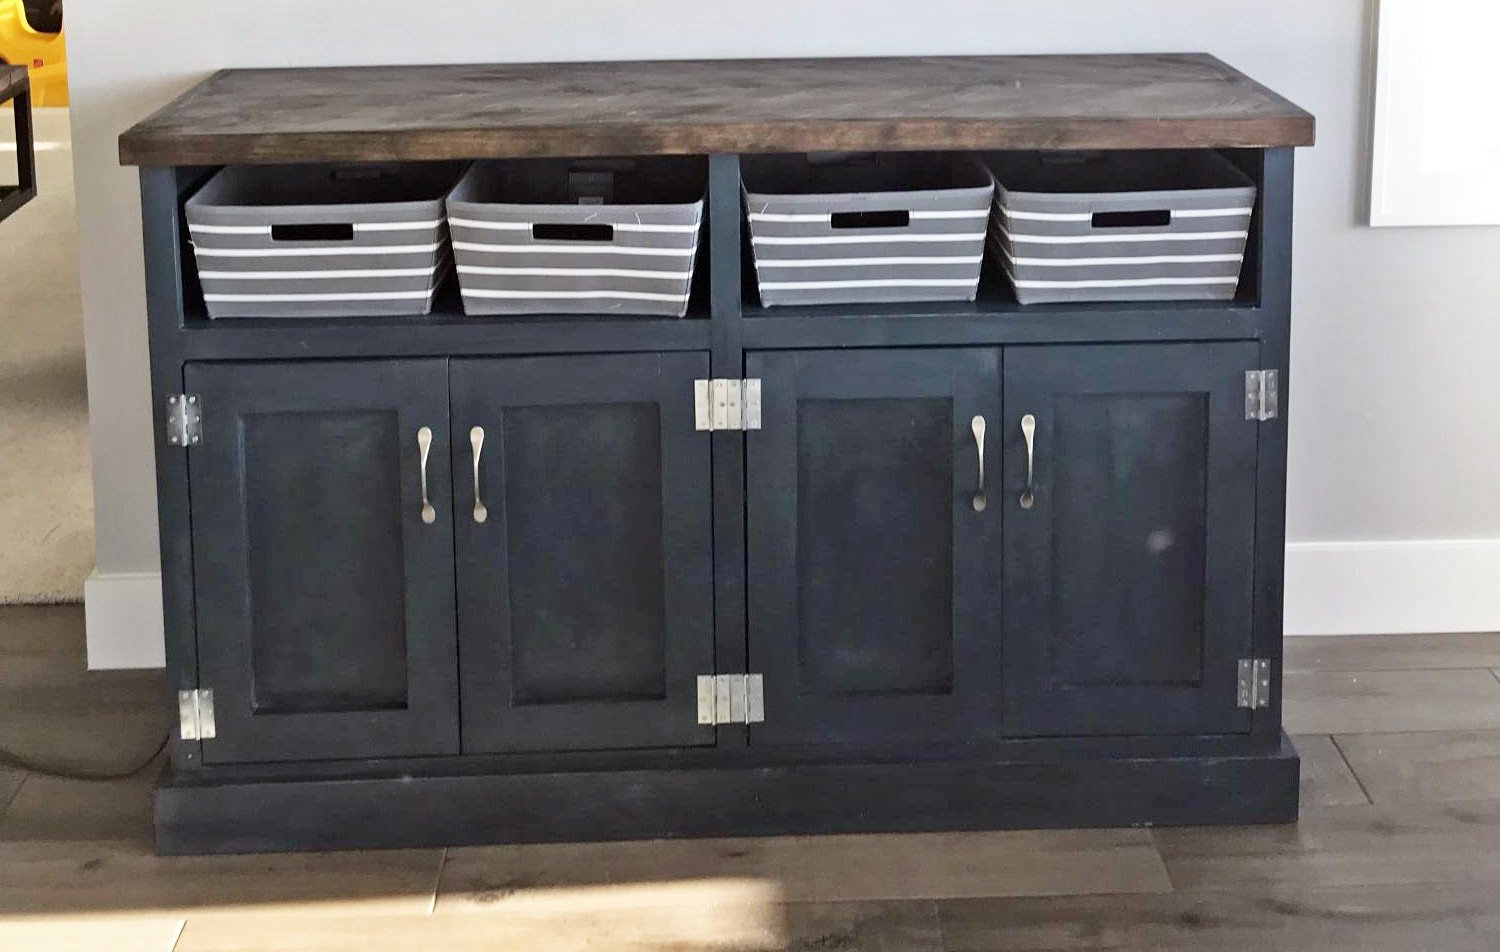
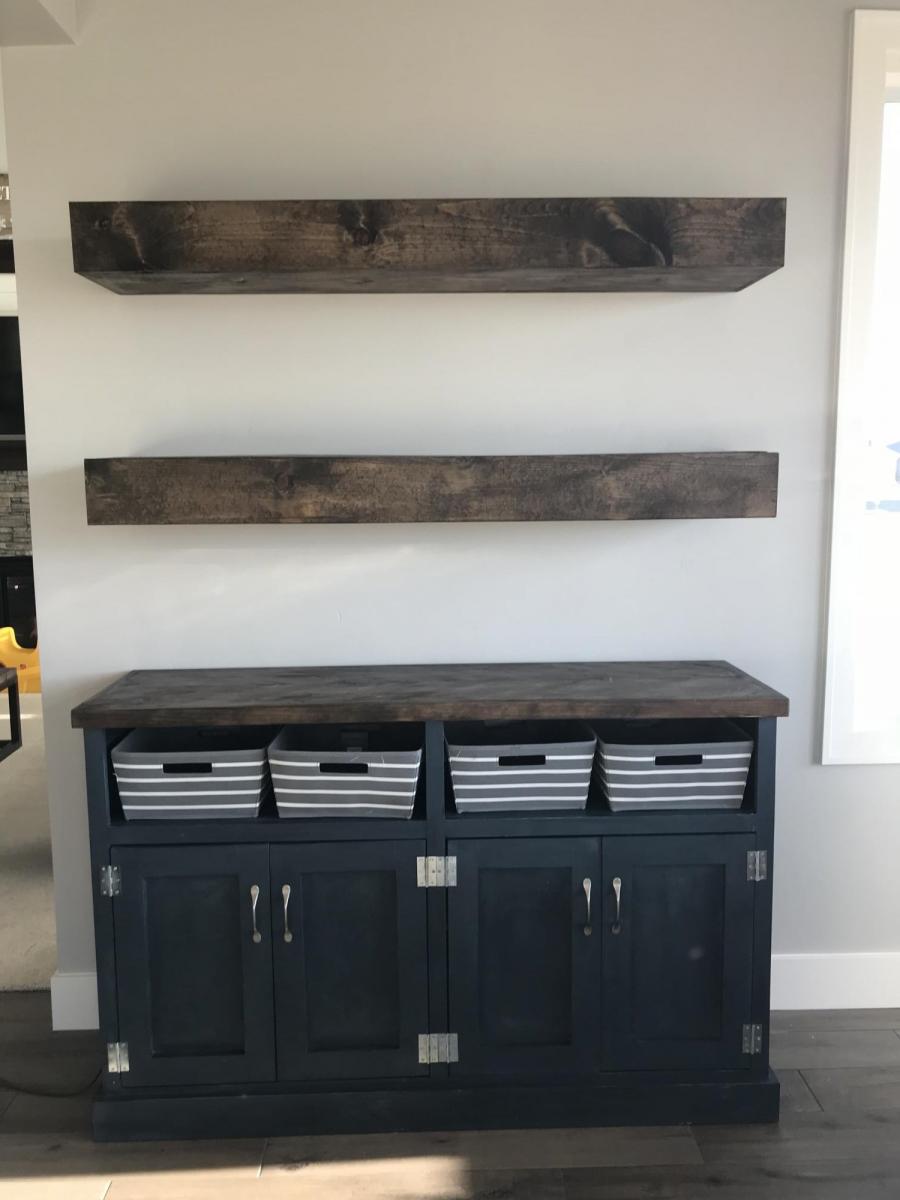
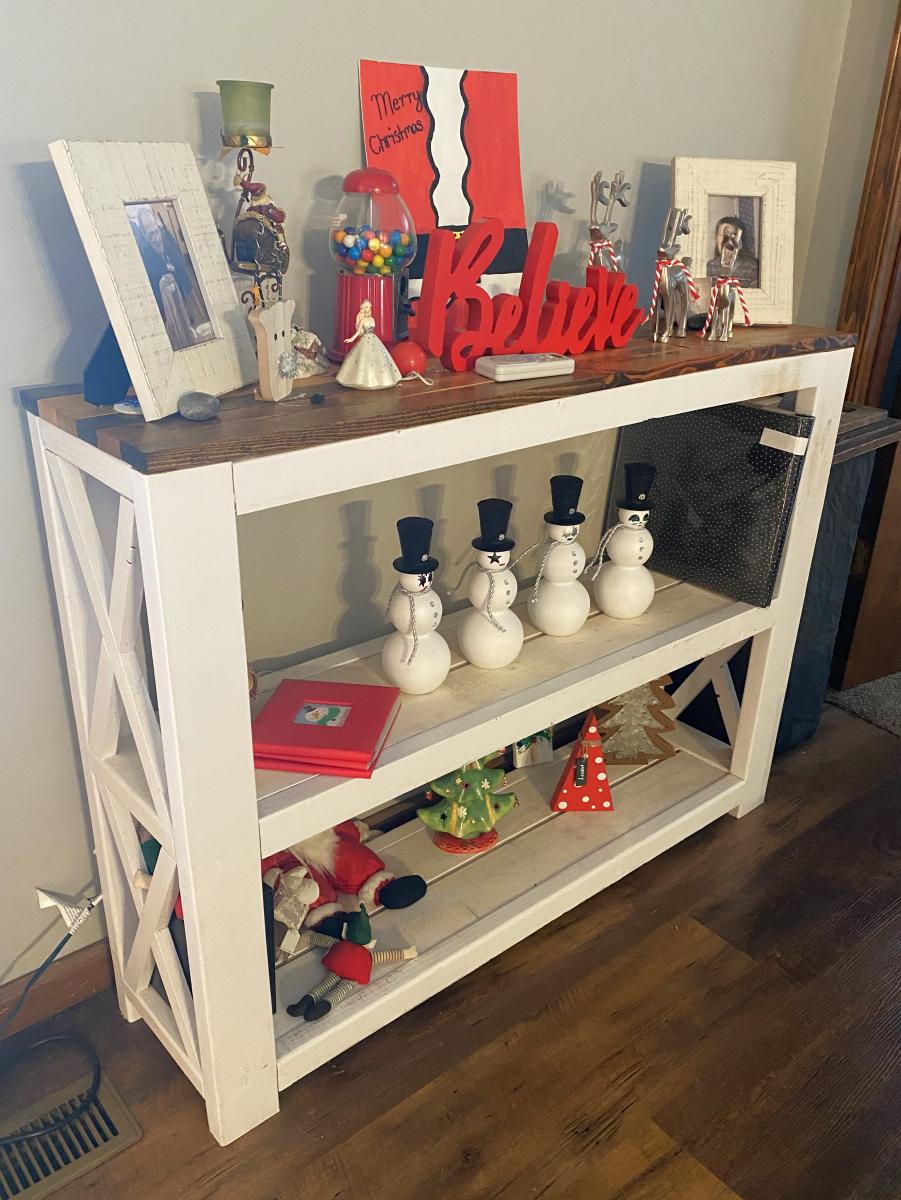
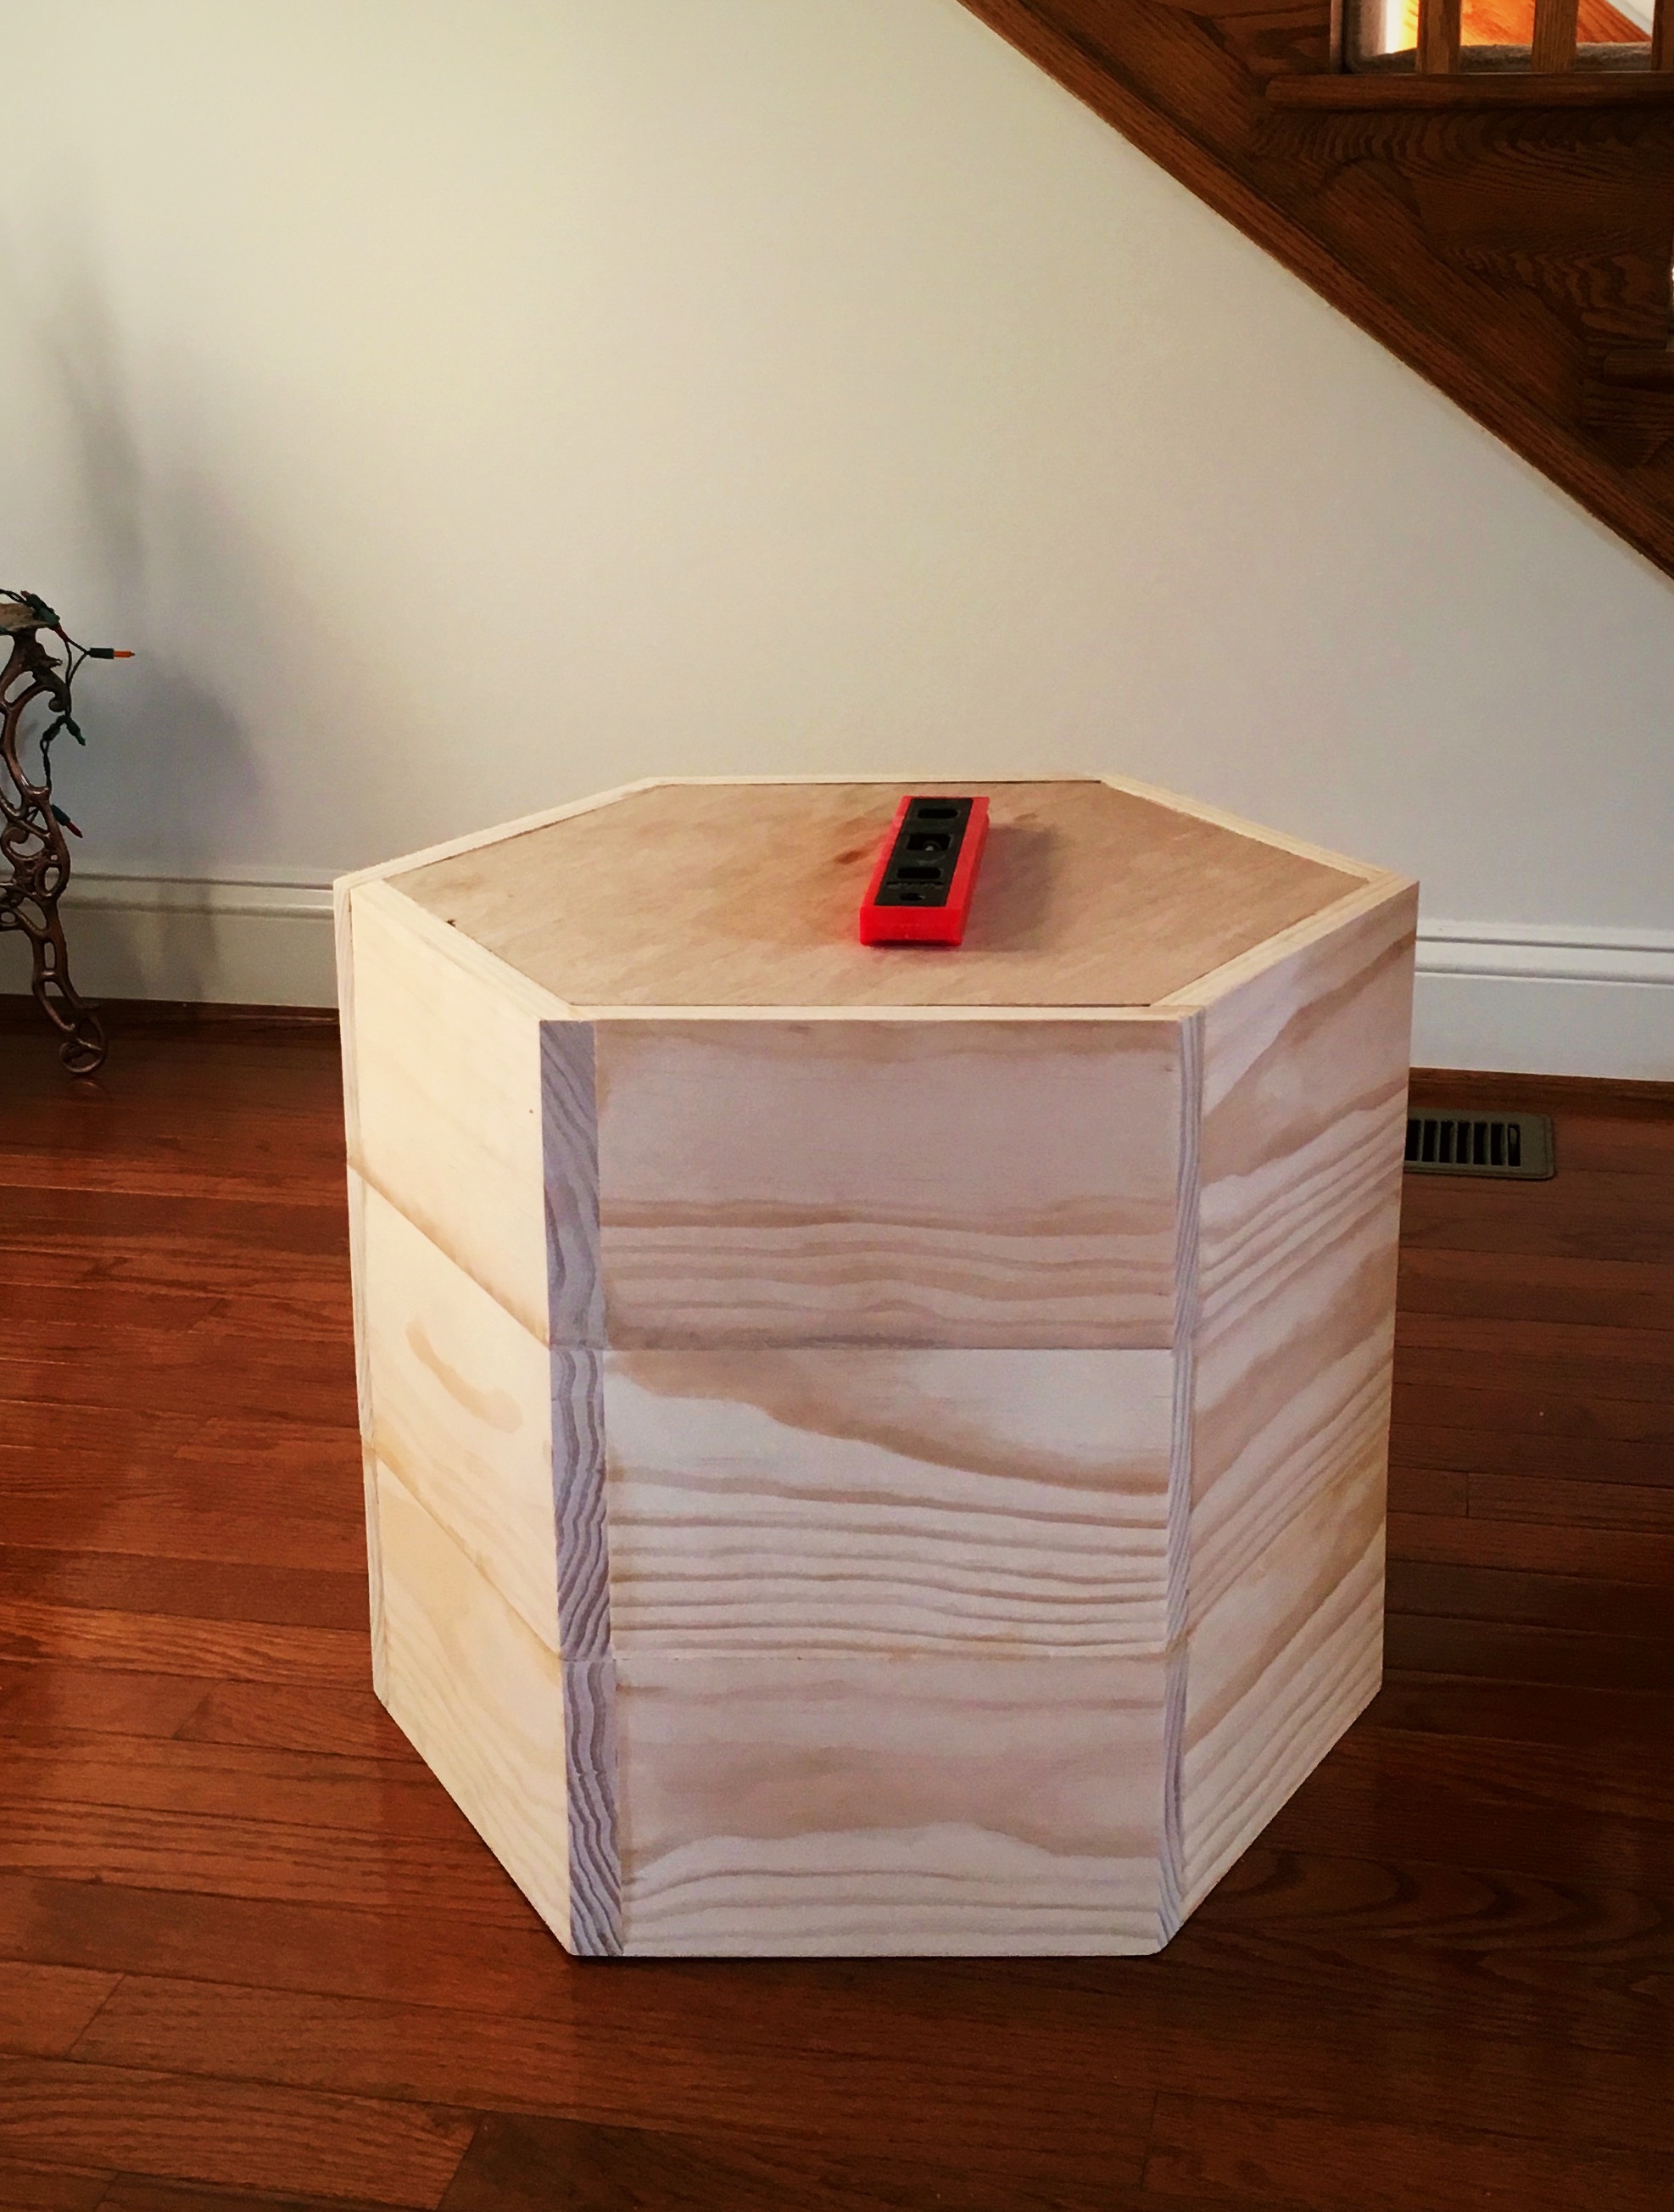
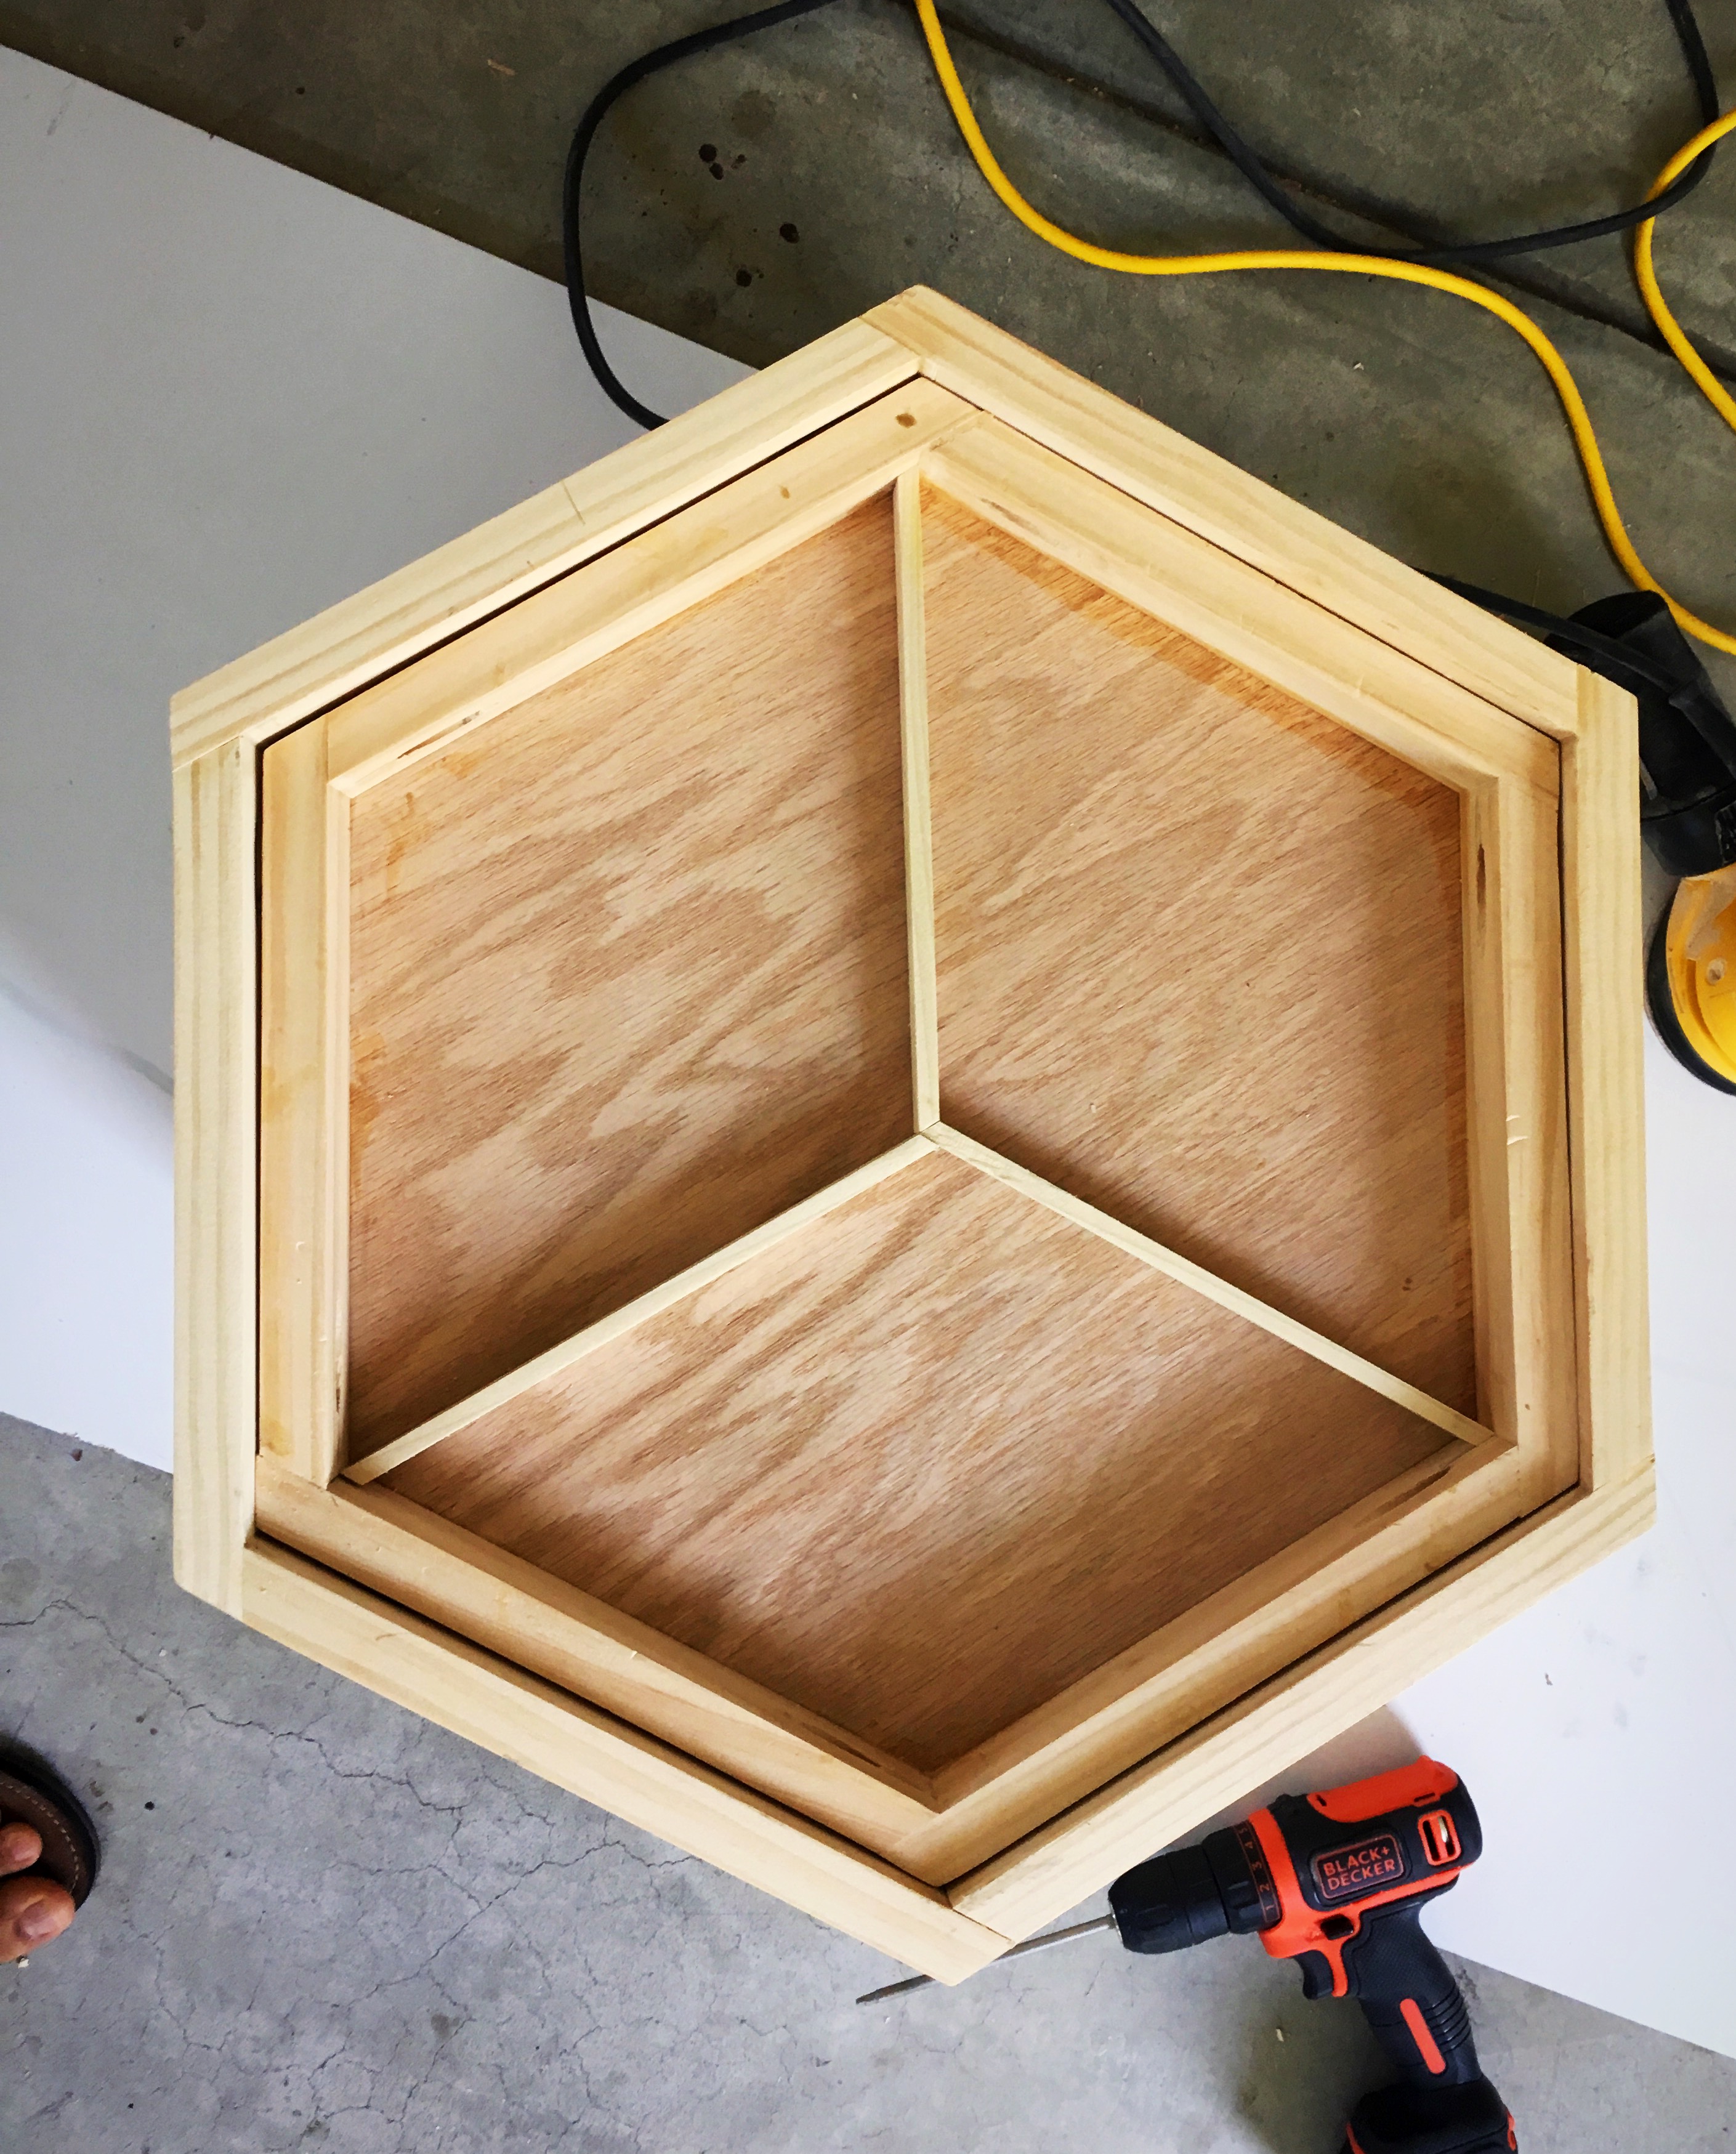
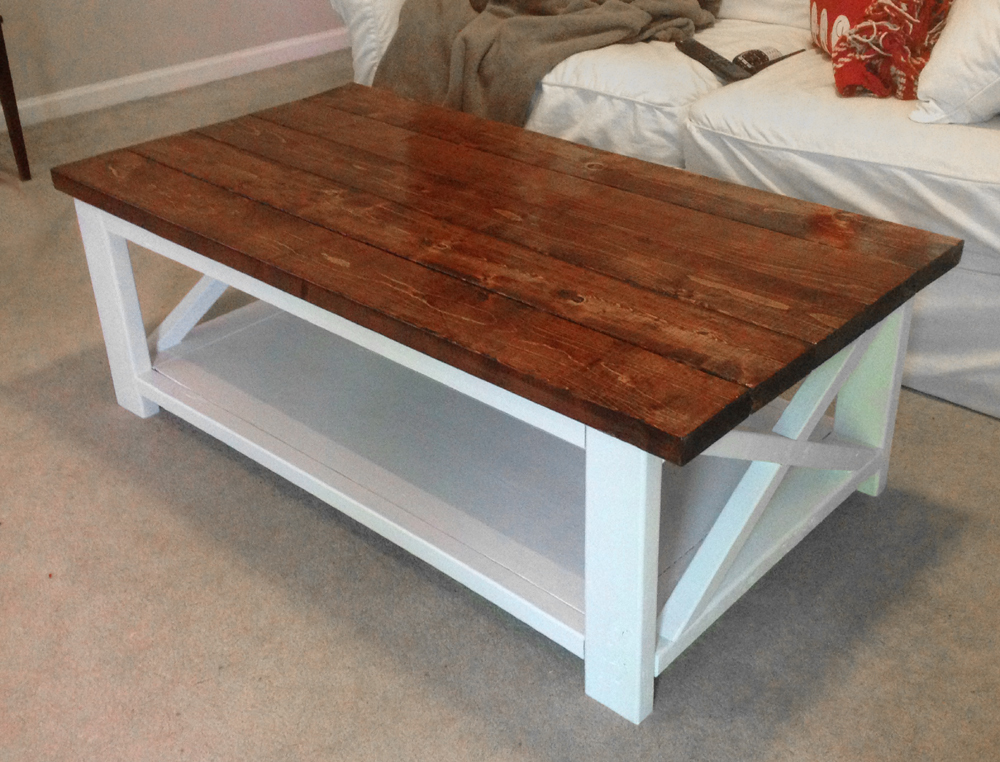
Modified X-base Table
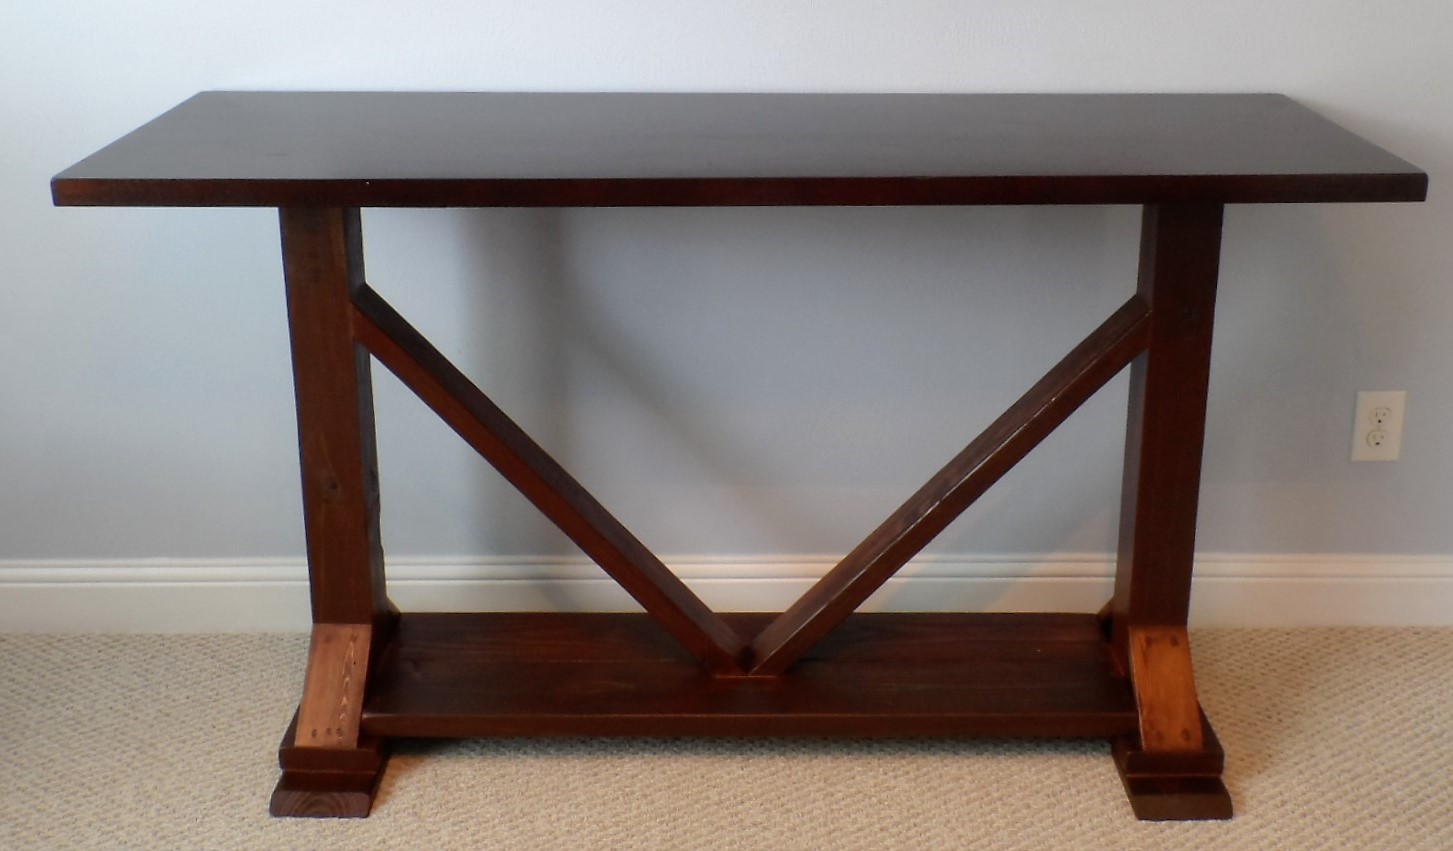
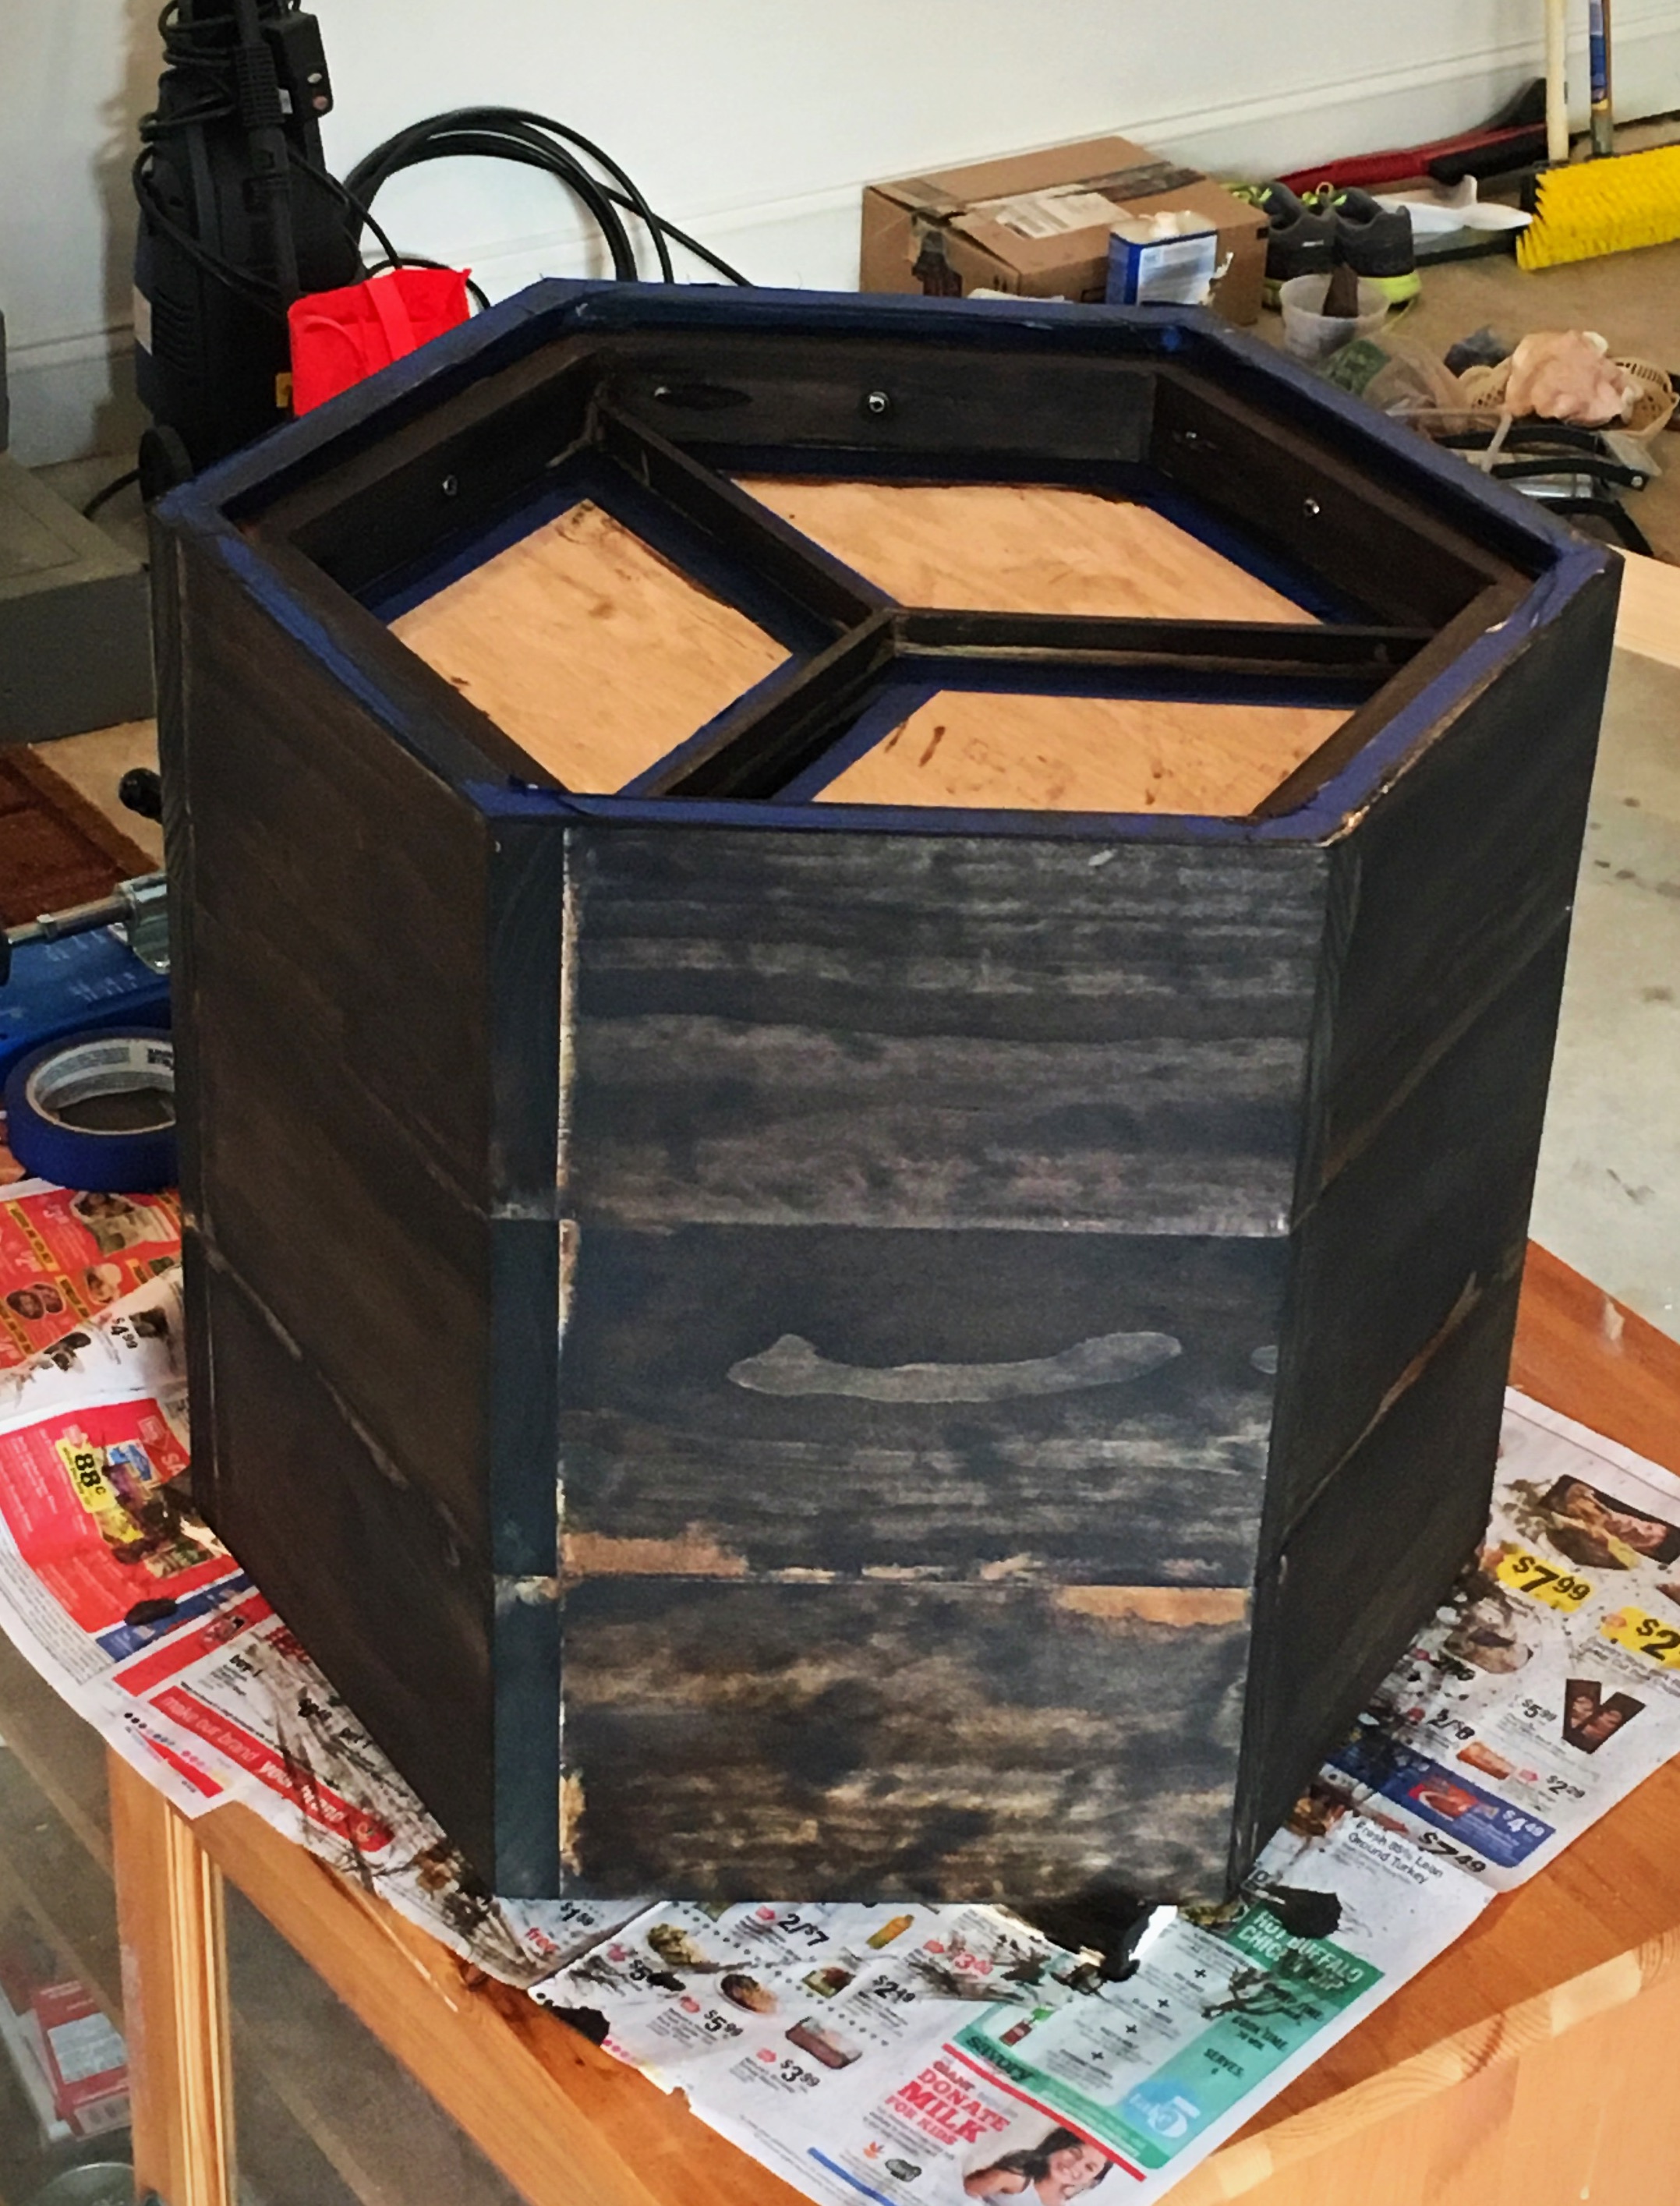
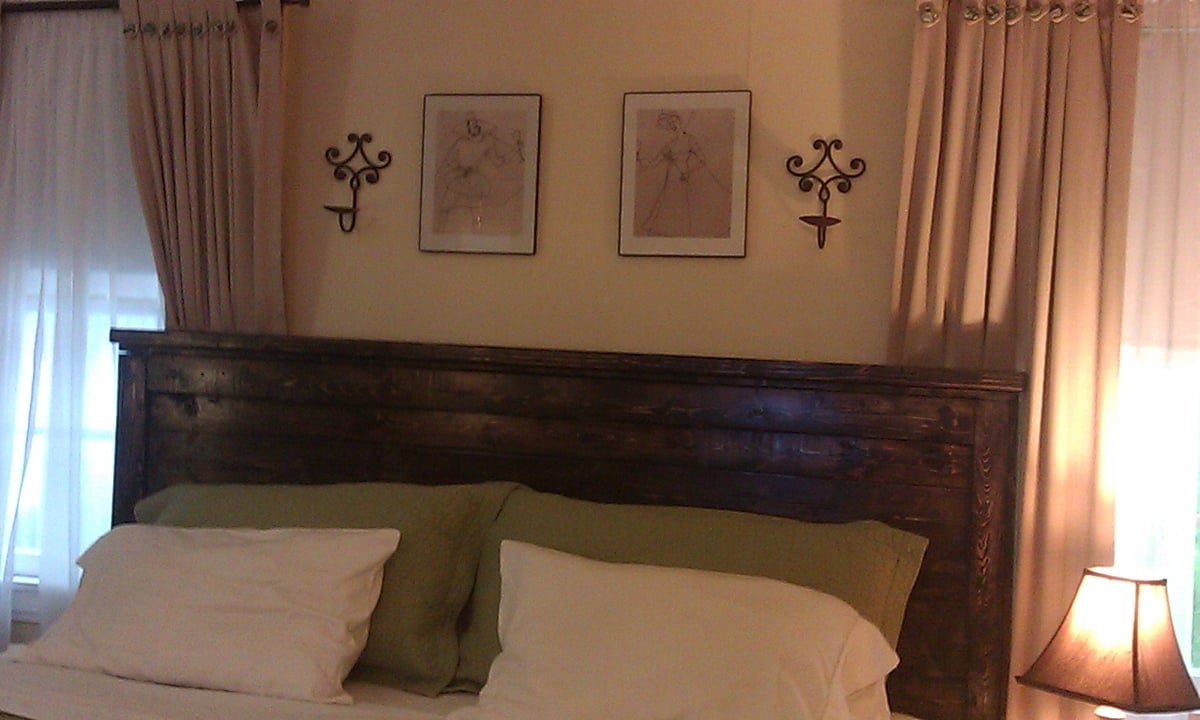
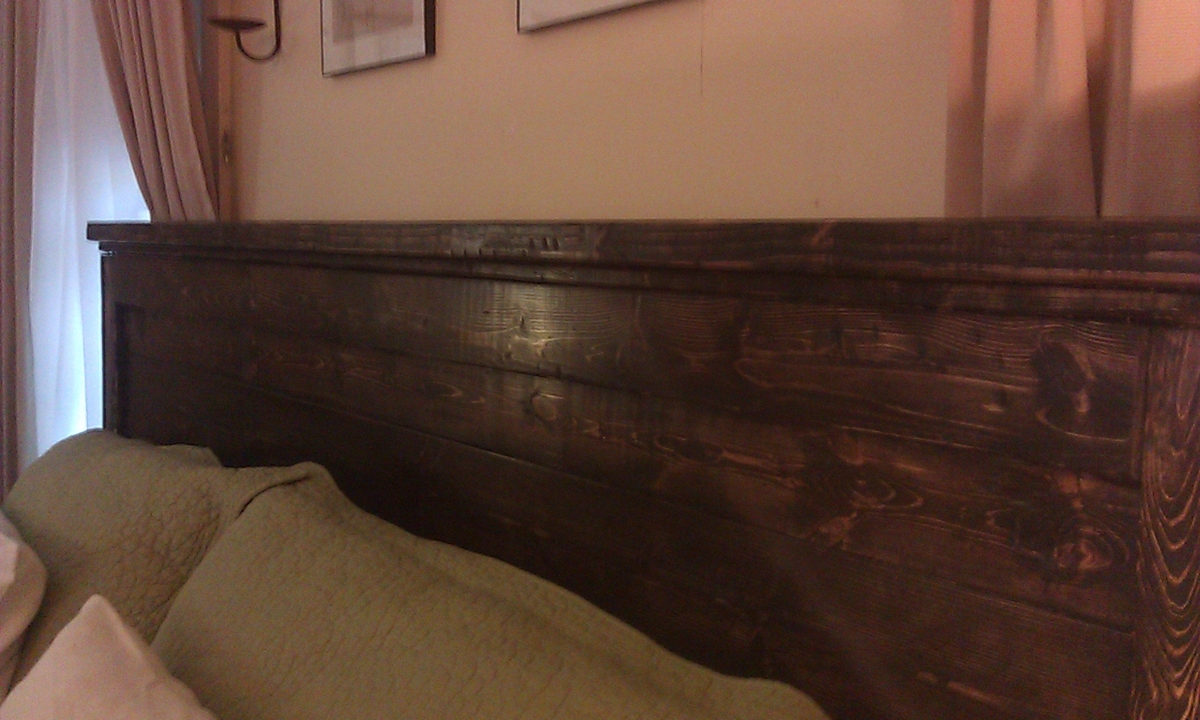
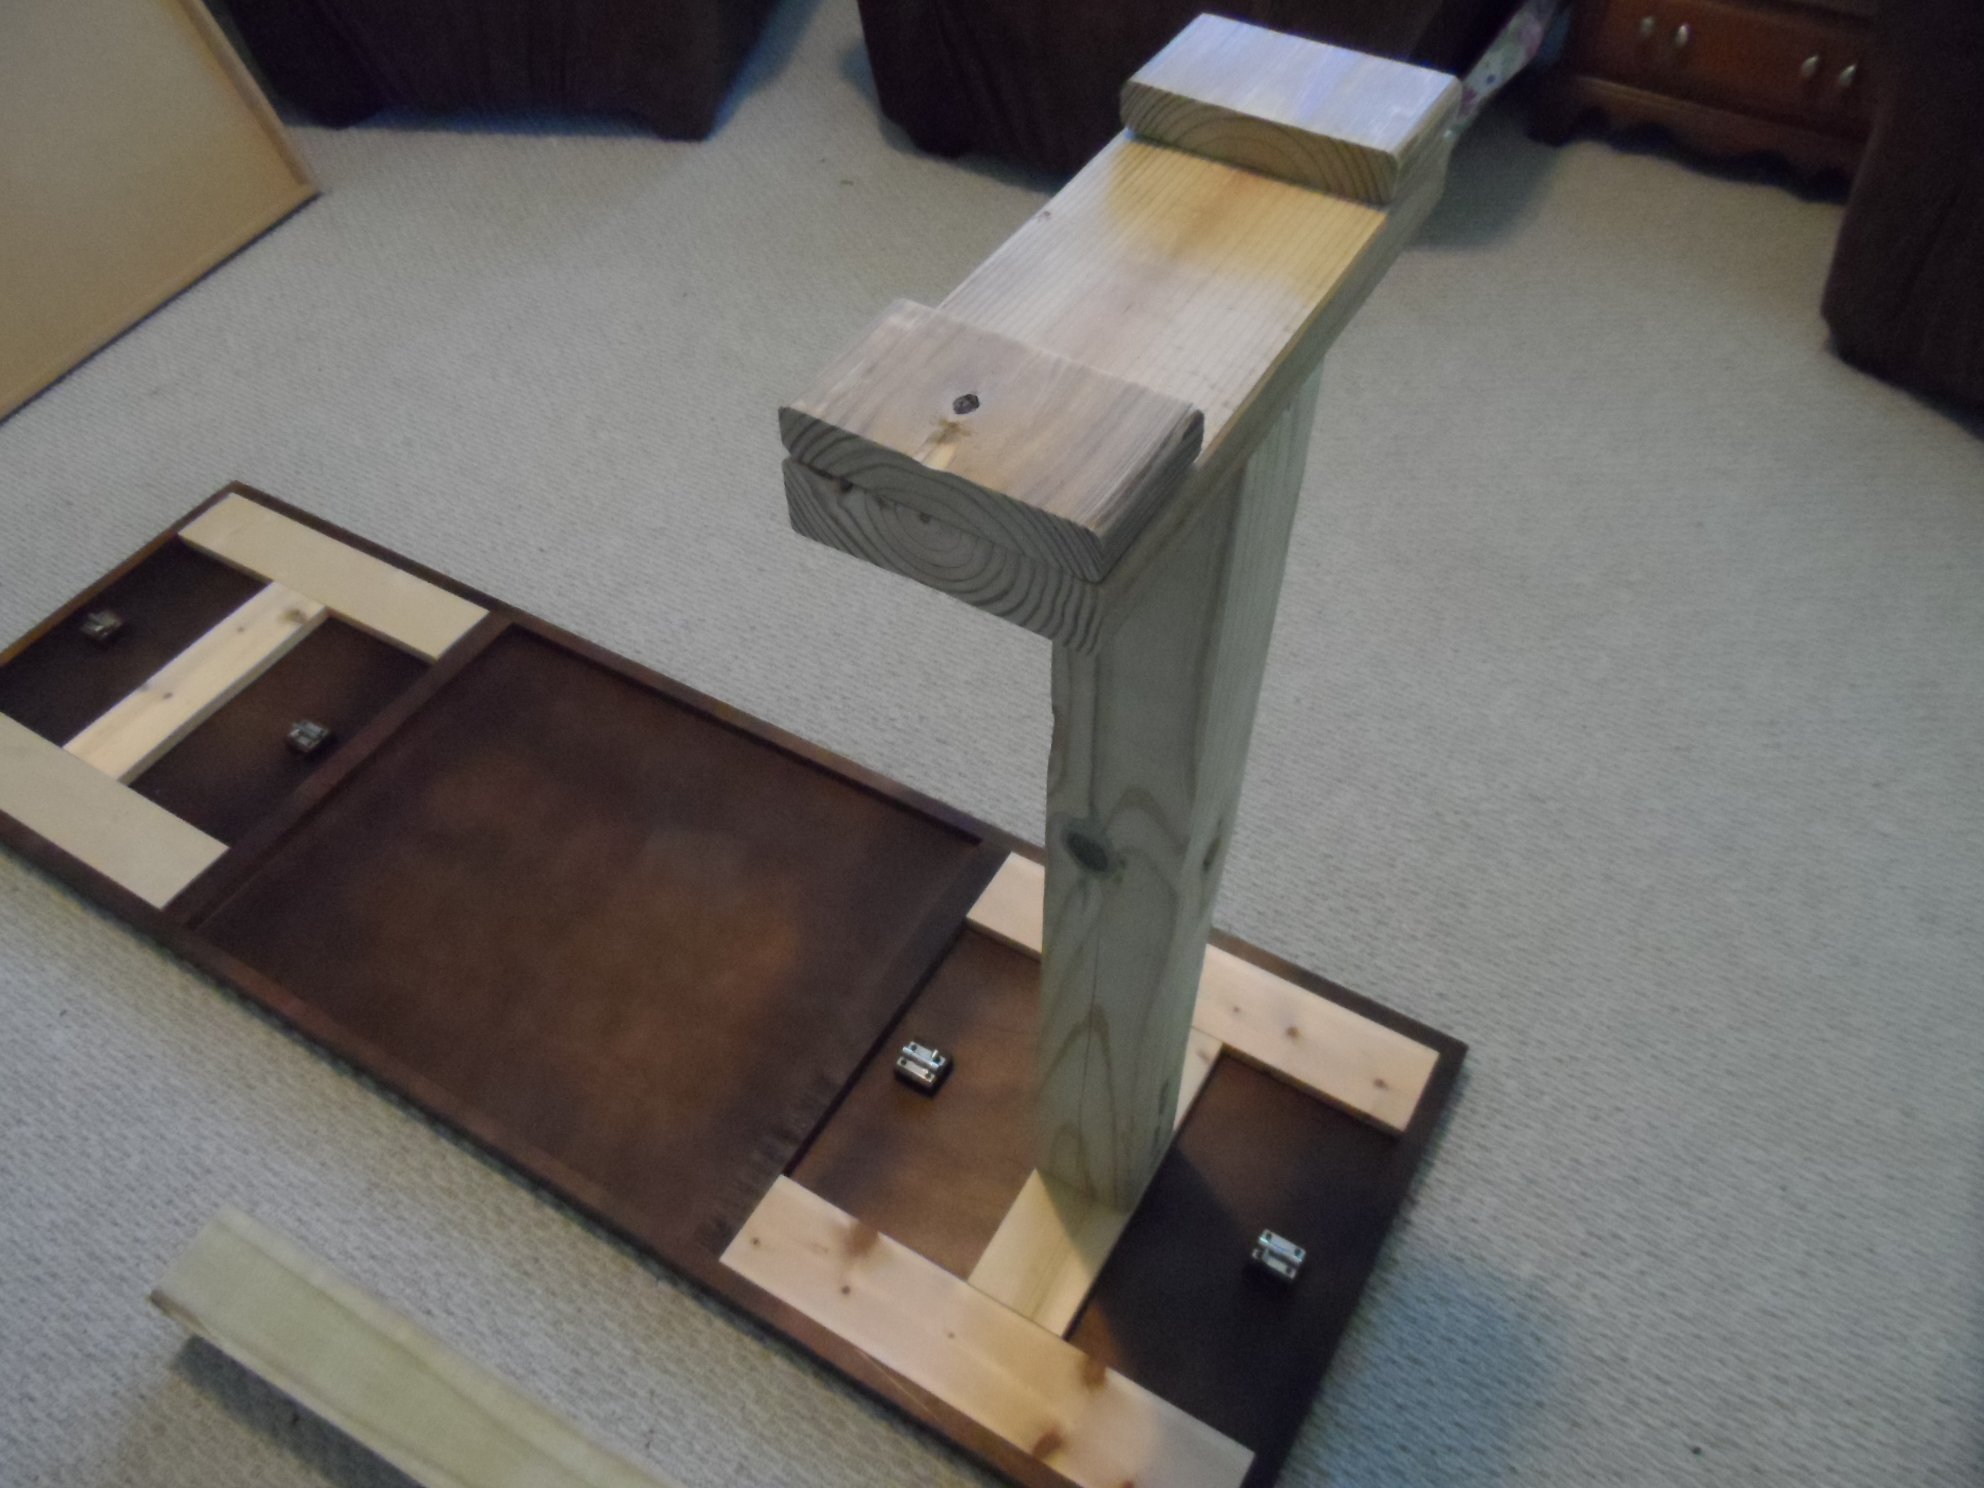
I had been looking for a console table that would compliment my dining table for months. Nothing I found was really working out, but these plans are perfect. The only problem was that I couldn't get the stacked look to work well with the tabletop I had because of the way the apron is made.
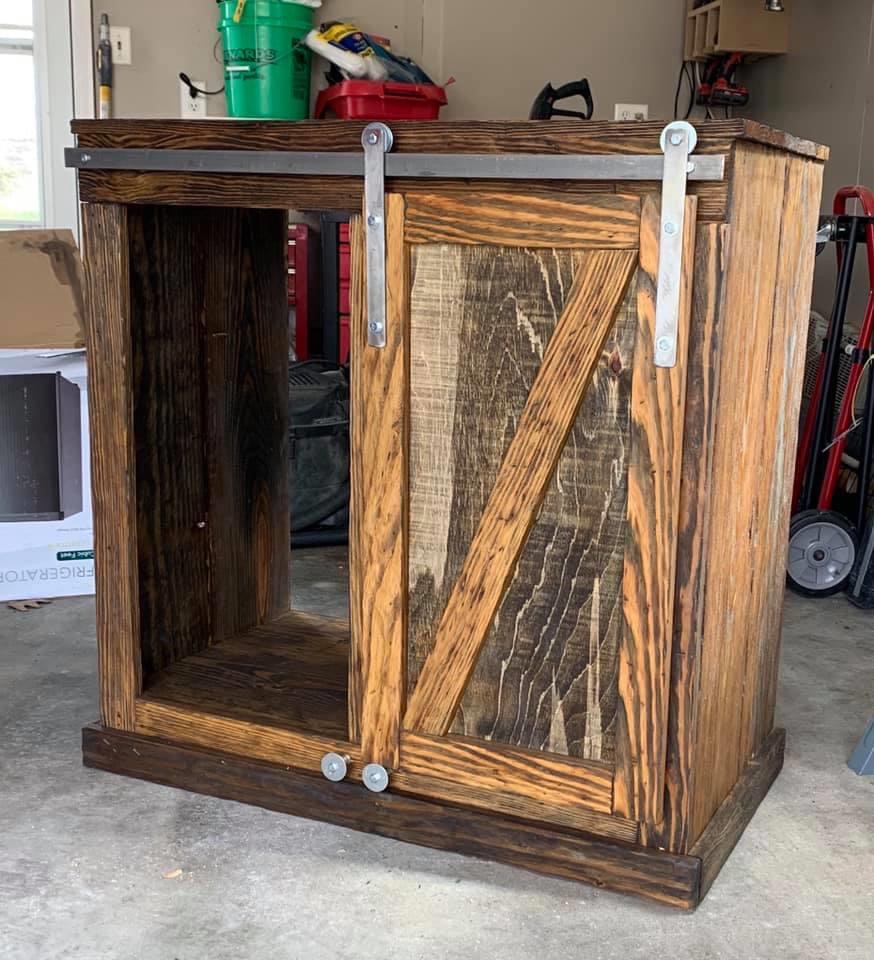
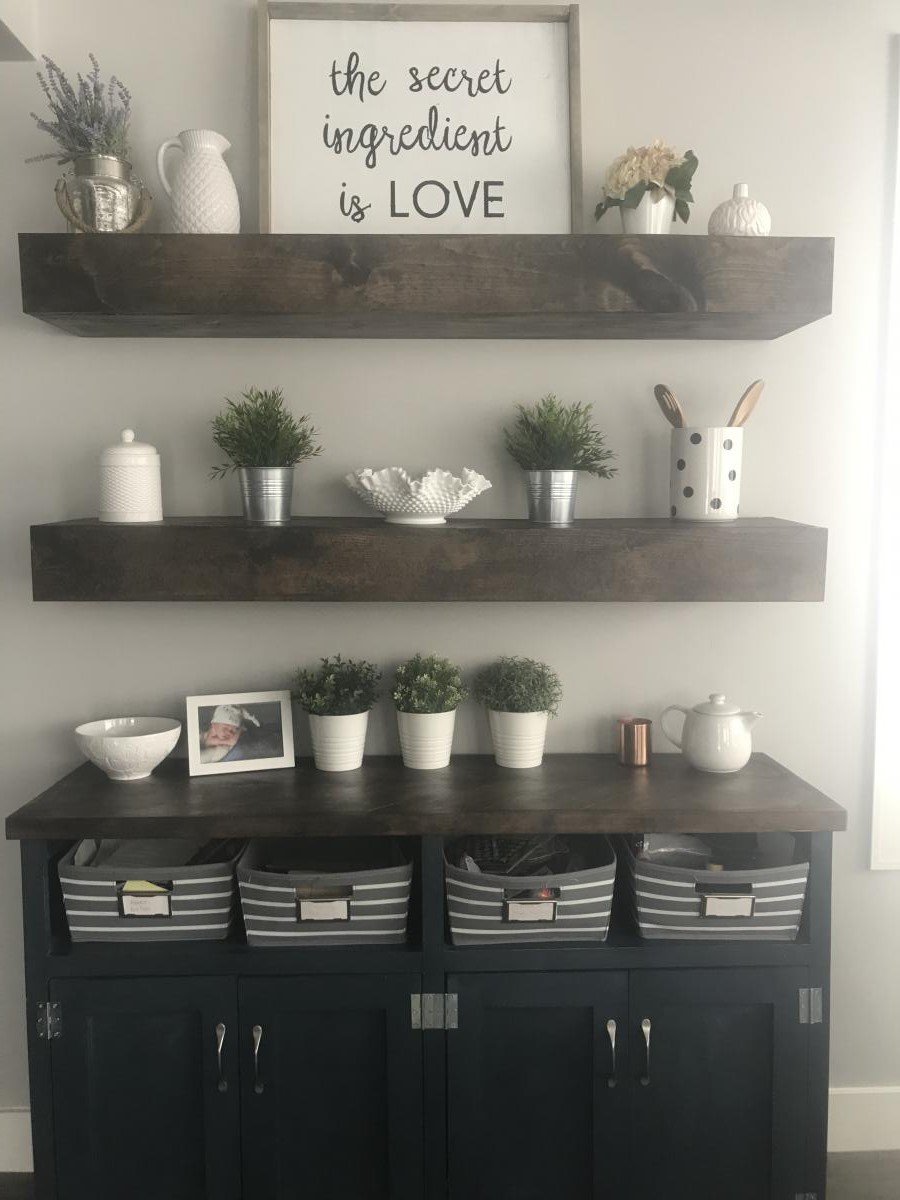
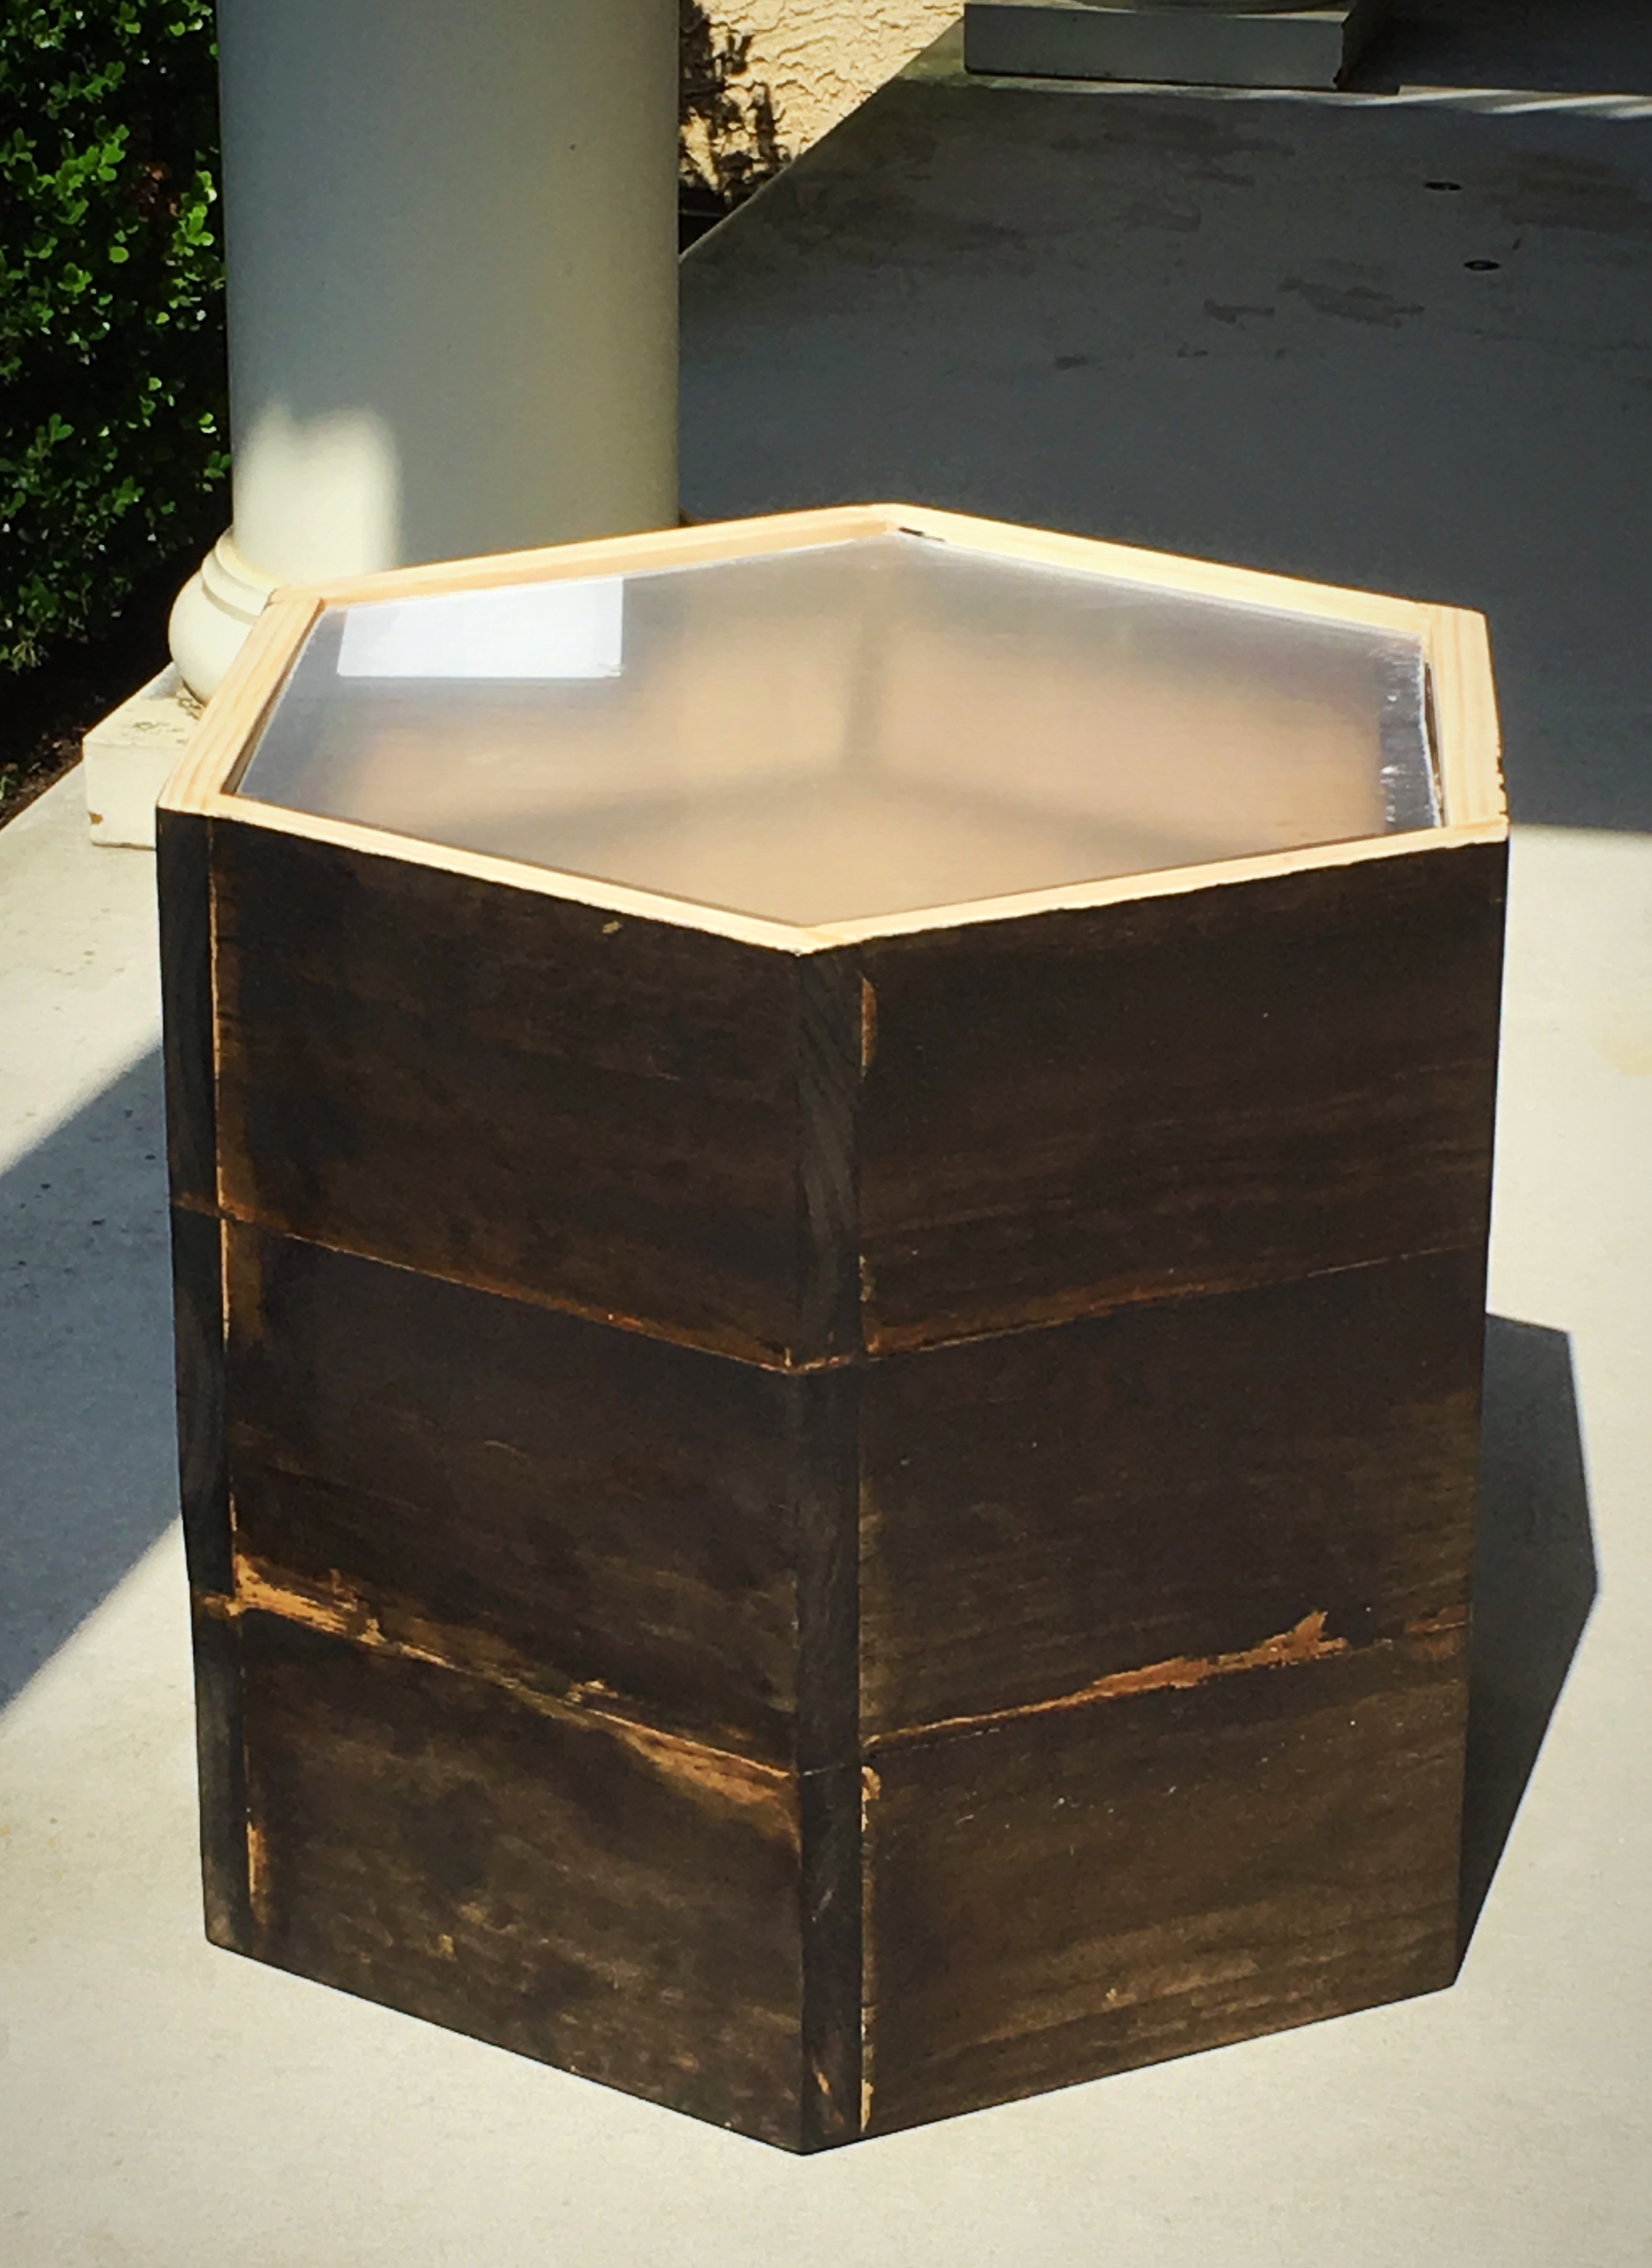
Still I love the way it turned out and am glad I found these plans. I also made it taller than a normal console table so it can be multi-purpose for us.
Built from Plan(s)
Estimated Cost
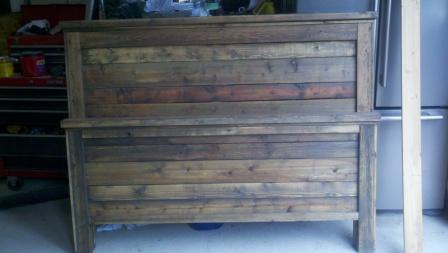
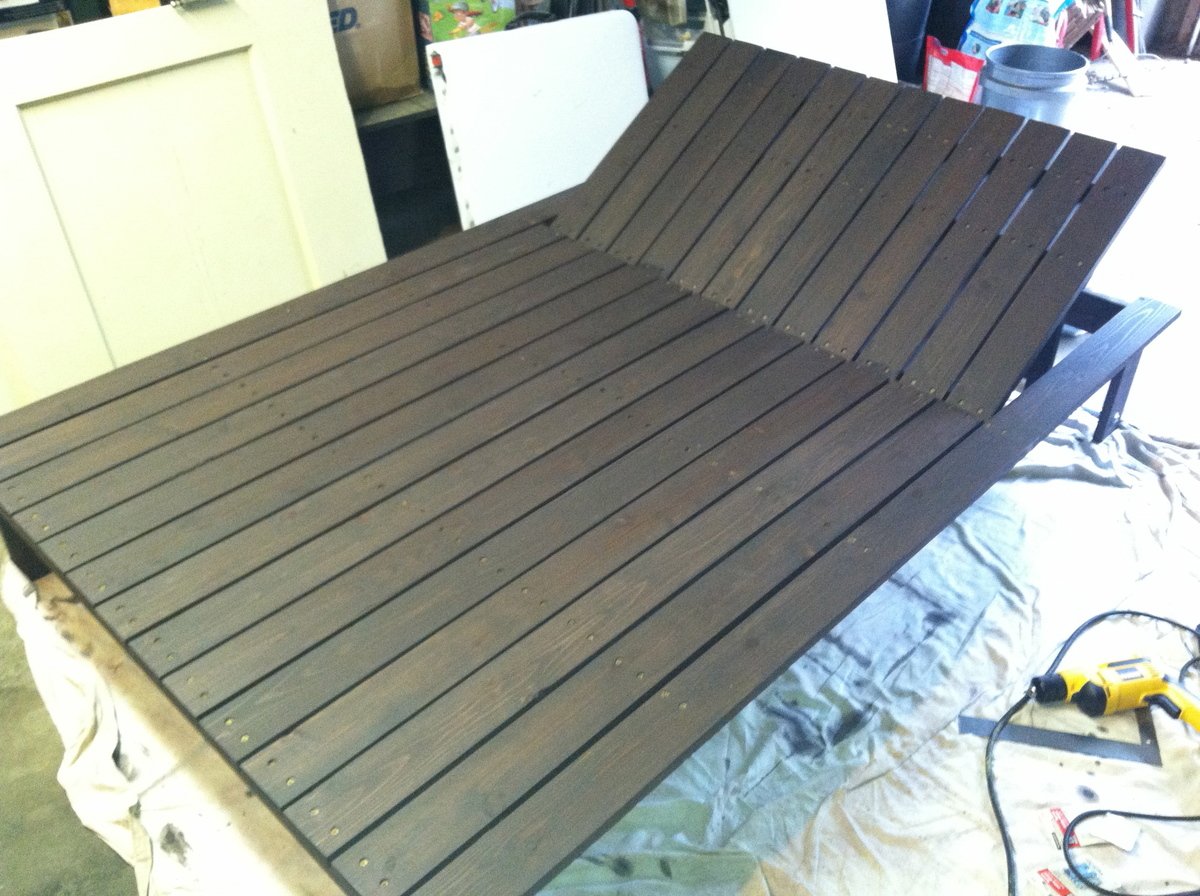
I fully believe that the $55 is probably accurate if I had to purchase all the wood for this project. Since I reused wood and had all the materials already, it cost me a whopping $20 for the tabletop I found at a liquidation sale.
Estimated Time Investment
Weekend Project (10-20 Hours)
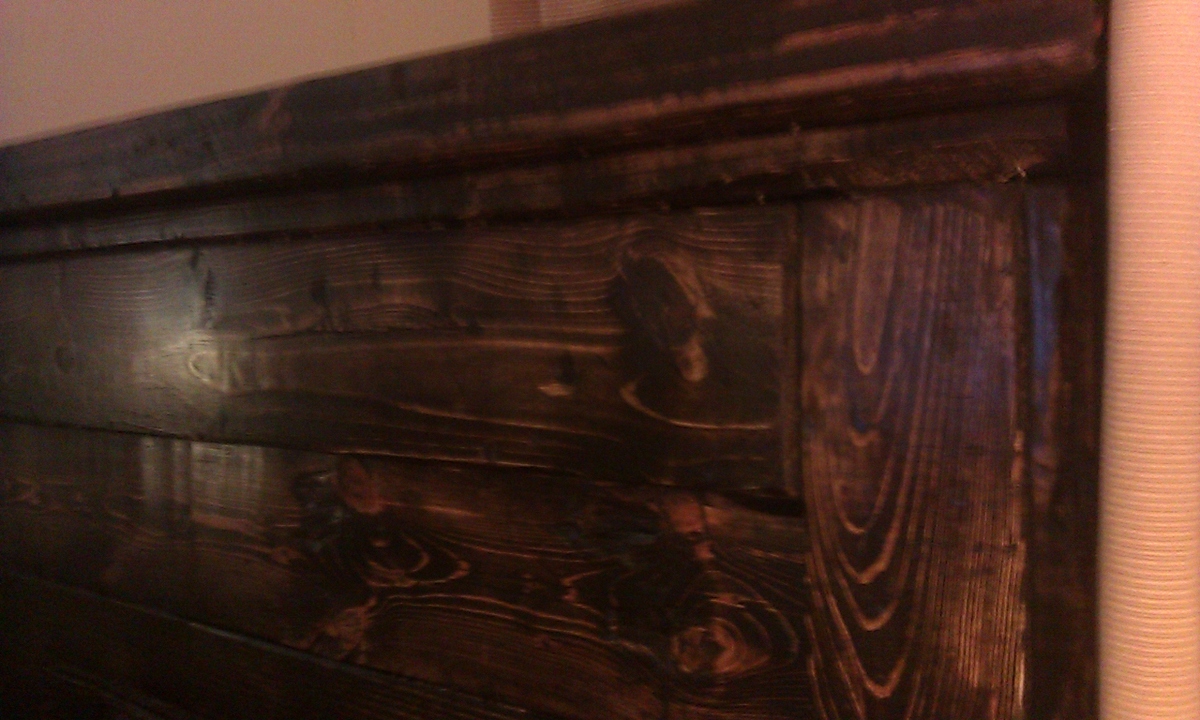
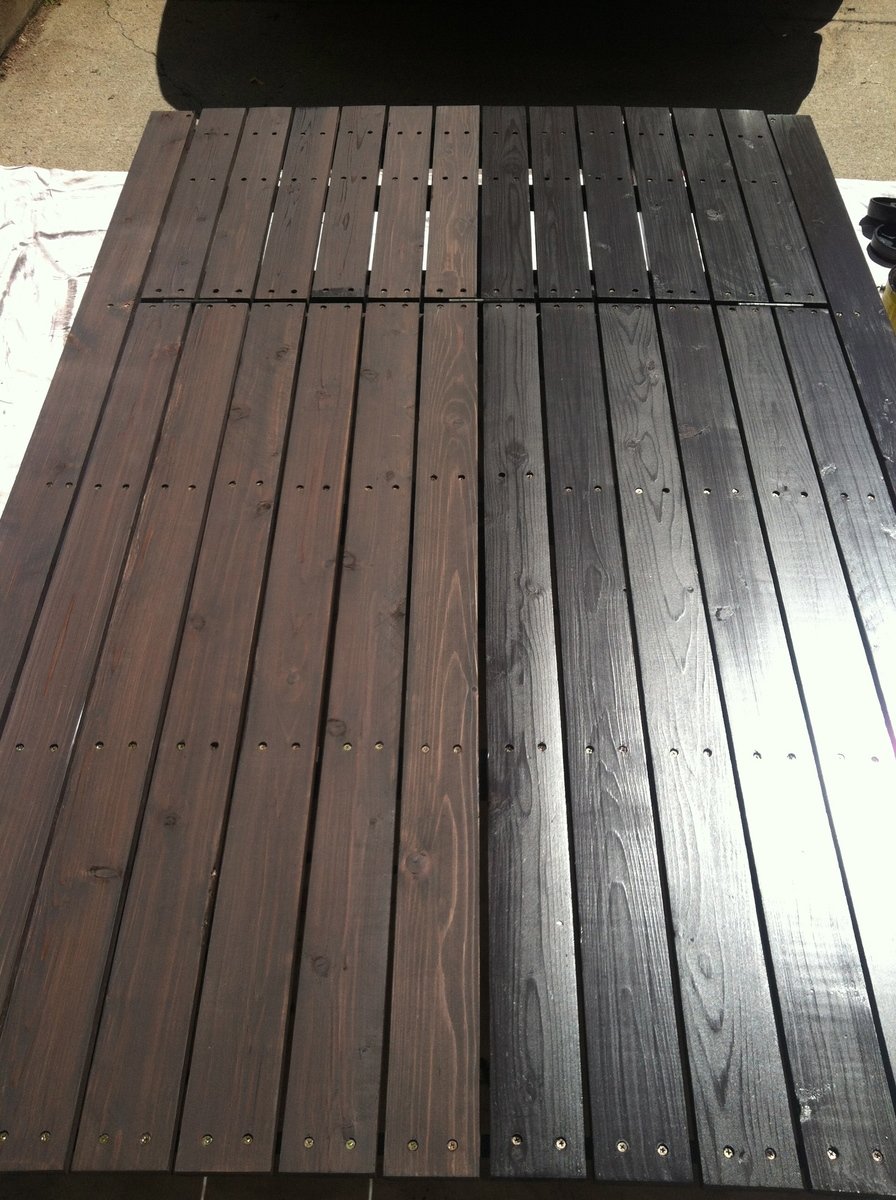
Finish Used
Minwax English Chestnut 233 & Oil-modified Polyurethane
Recommended Skill Level
Beginner