Cottage Bench with Storage Cubbies
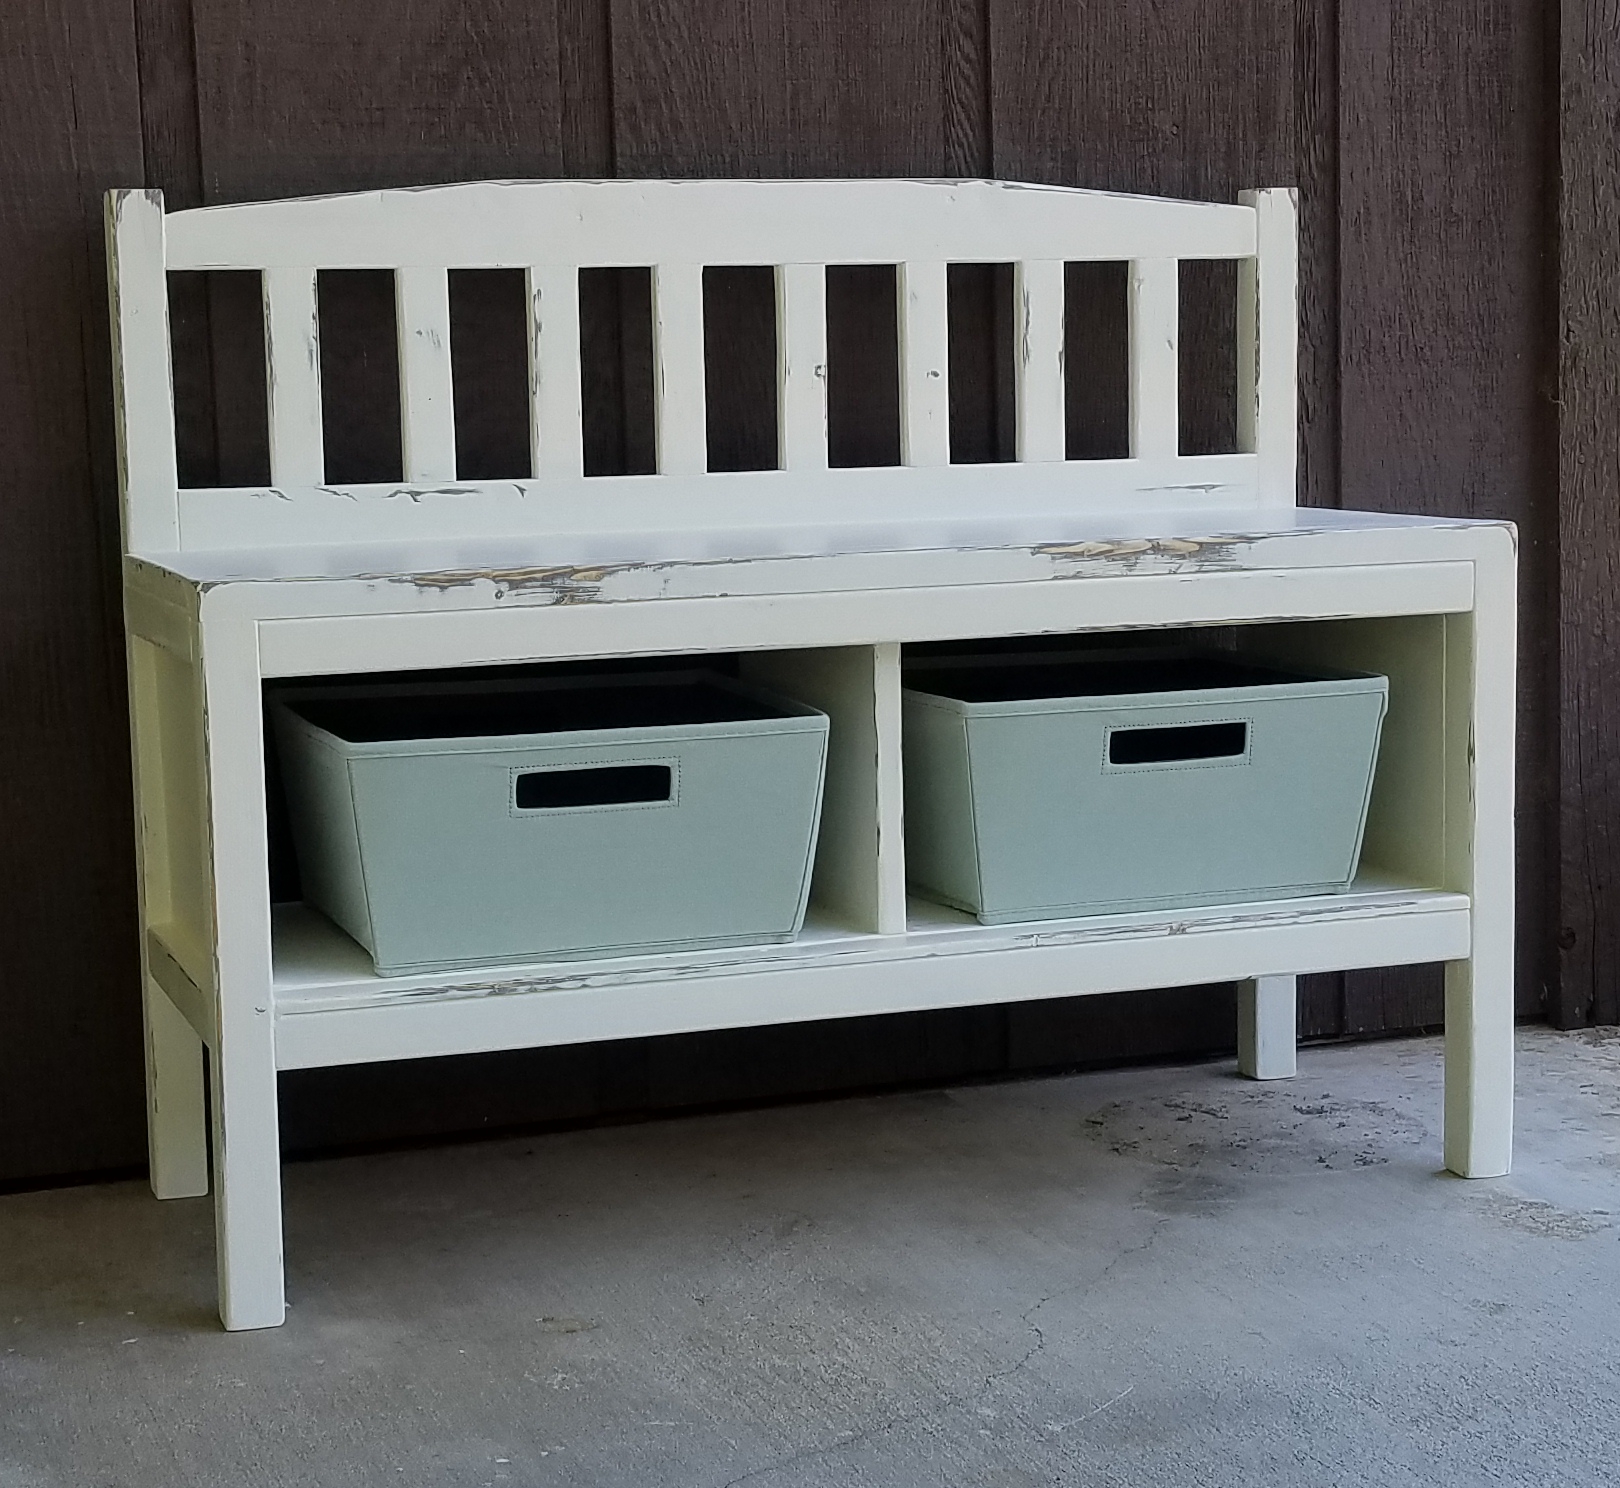
Cute little bench!
Built from Plan(s)
Cute little bench!
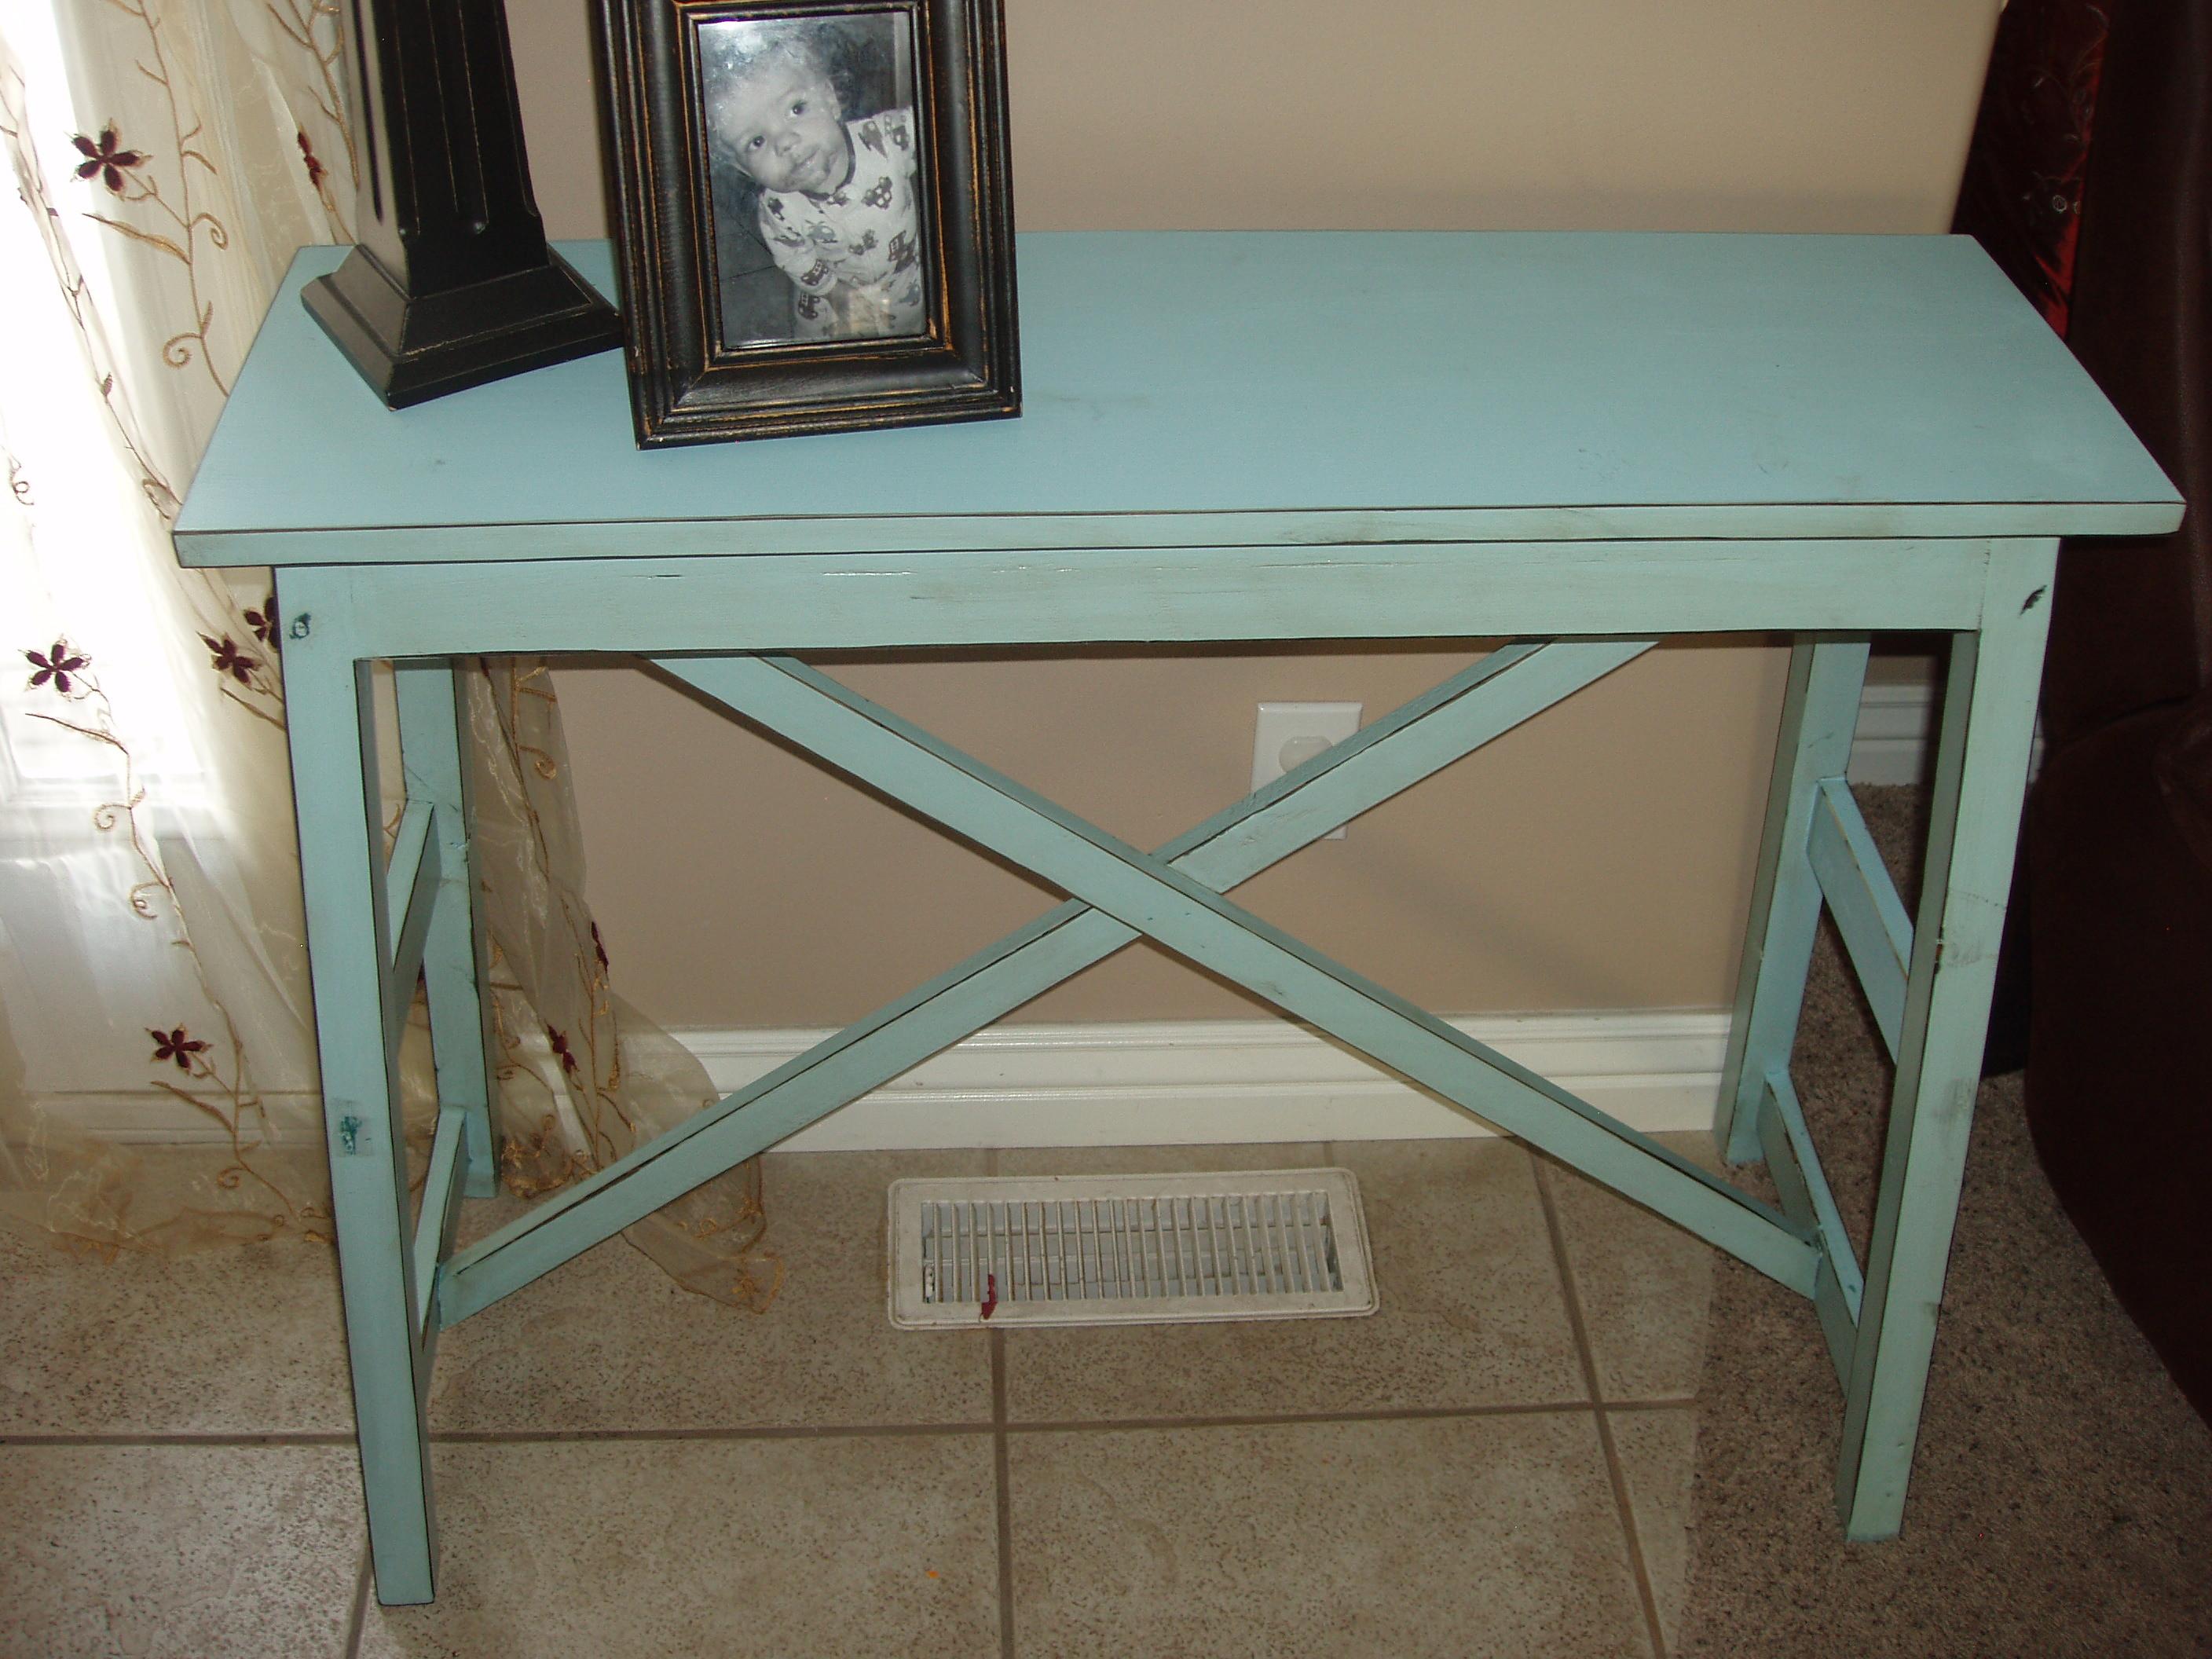
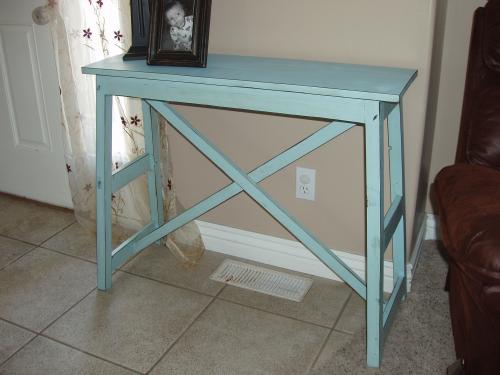
As soon as Ana posted the Rustic X Bench I had to have it, even thought I didn't need it. But I did need a console table! So I made a few modifications and came up with this console table that I absolutely LOVE! You can check out the modifications on my blog. http://isteppedoutofmycomfortzone.blogspot.com/2011/02/and-built-xoxo-t…
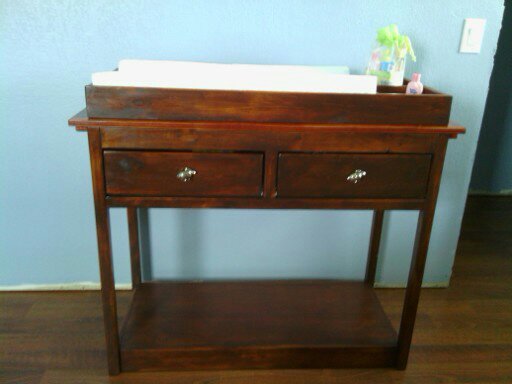
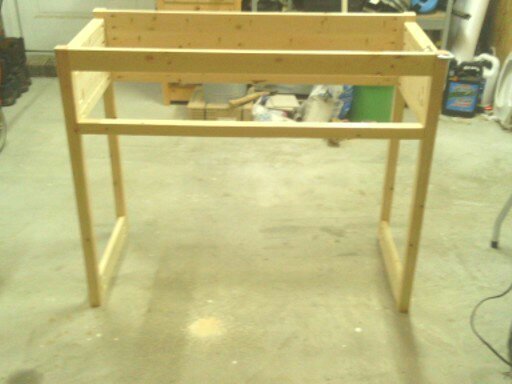
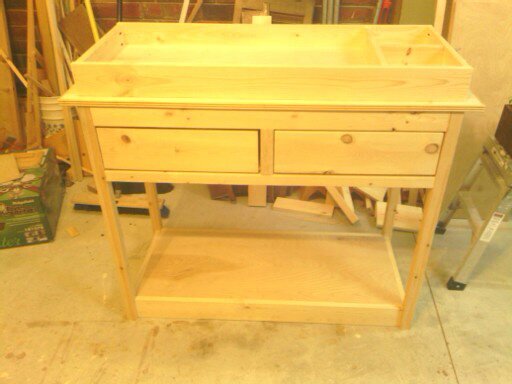
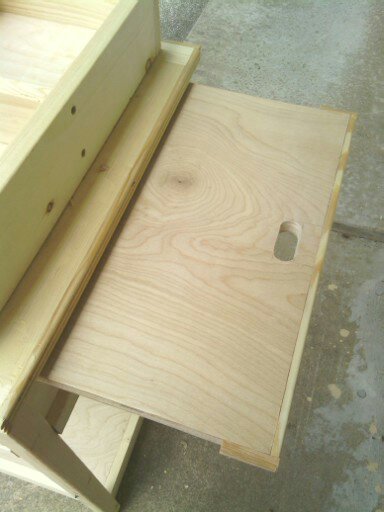
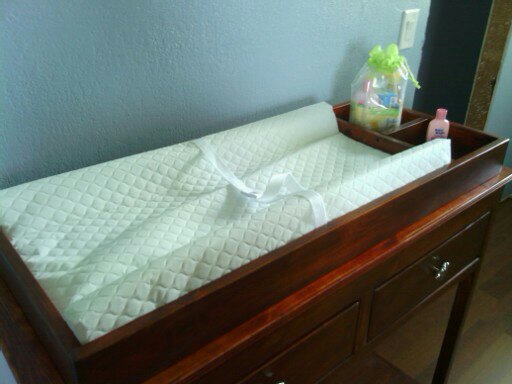
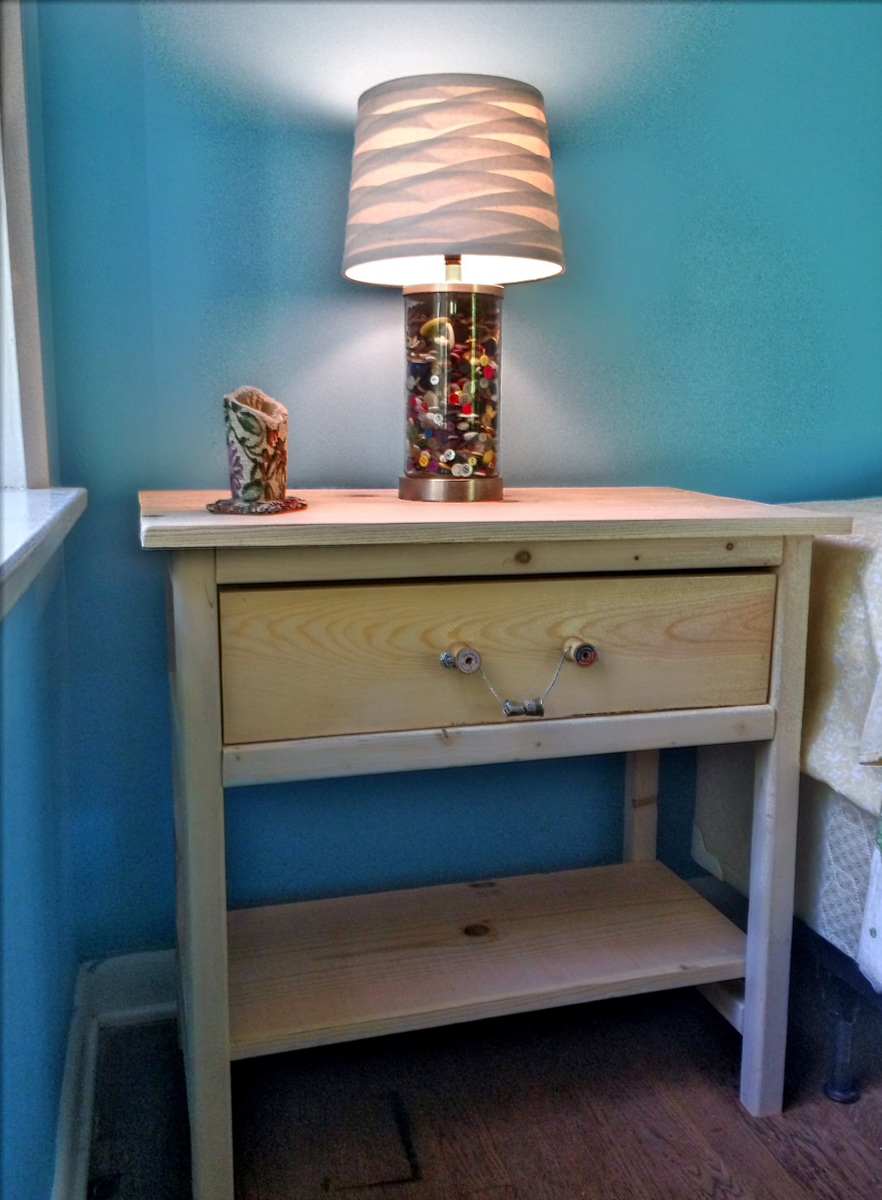
Our baby girl is due to arrive in August, so dad thought it was about time to start building her furniture. We liked different things about two very different plans on the site, so he combined them to come up with plans for his build. We liked the design of the simple changing table, and the wings on the Brookstone plan. The nursery is Beatrix Potter character themed, so we went with bunny rabbit drawer pulls. Now he just needs to find/come up with plans for a farmhouse style convertible crib.

This was my first ever project. I learned a lot about choosing better wood but I made due with what I bought since I live 30 minutes from the home store. I had badly cupped 2x6s and some twisted 2x2s, which is why I ended up not doing the X on the end and just doing one angle.
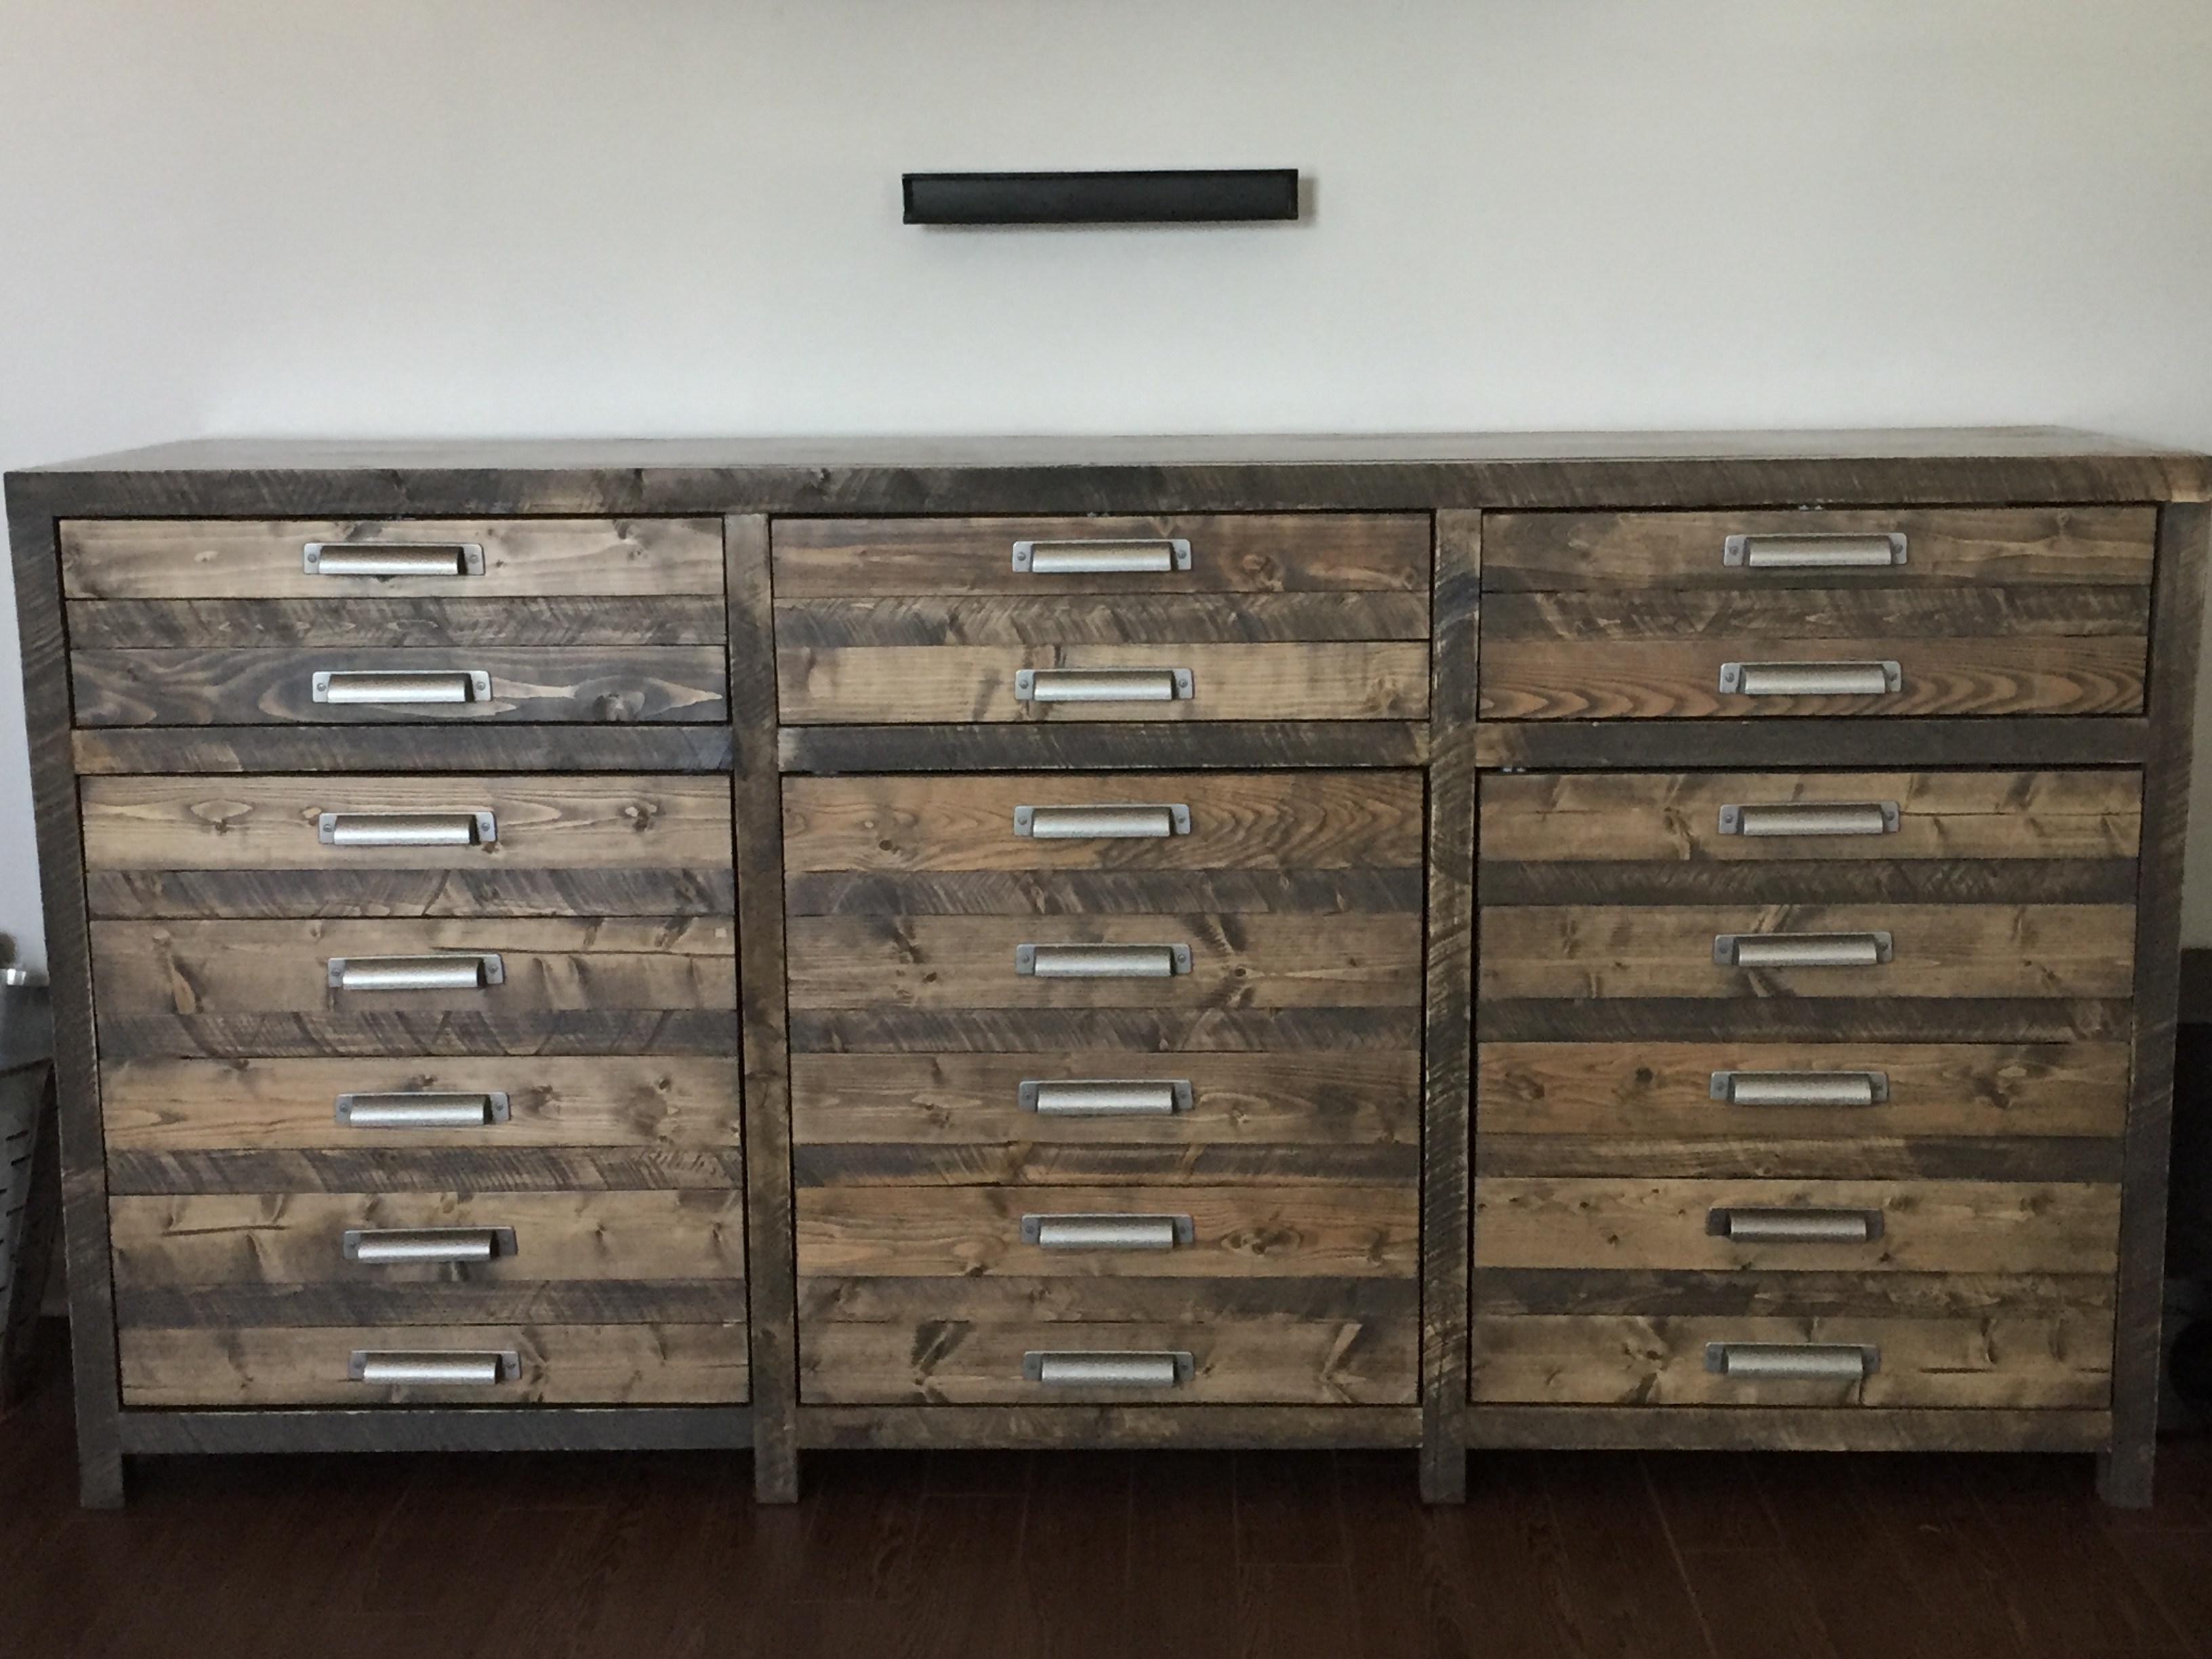
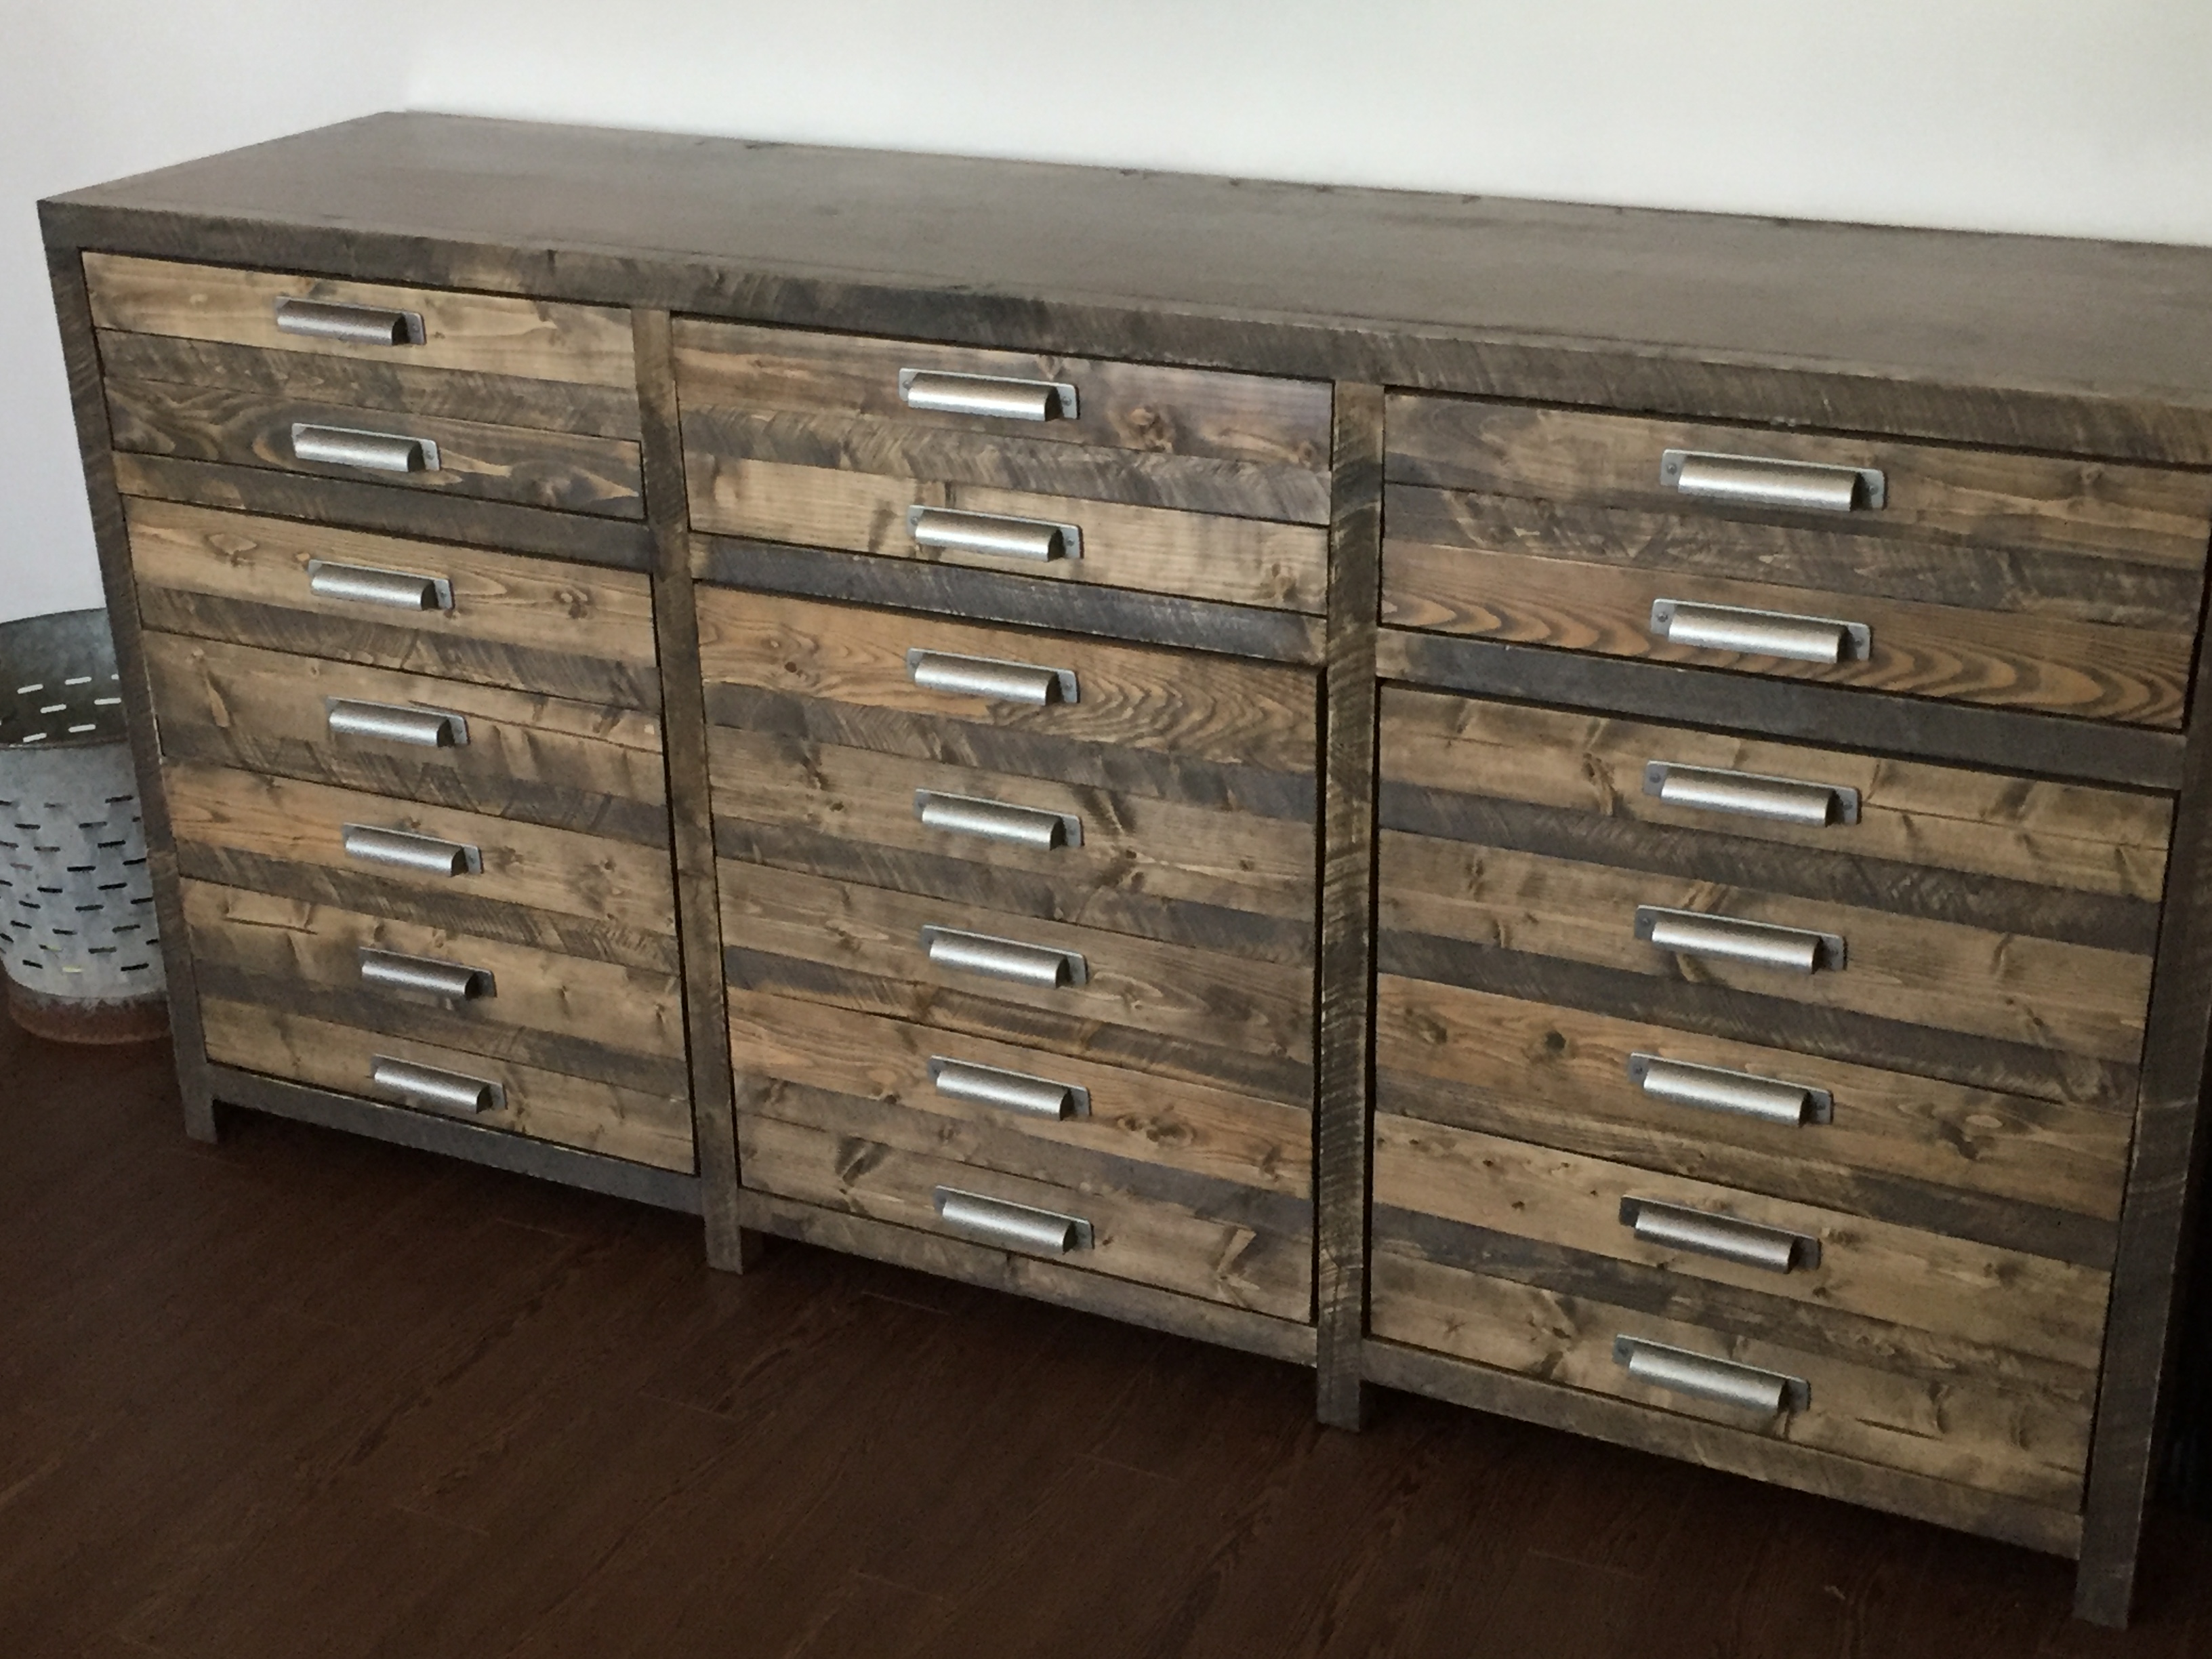
Of all of my Ana White-inspired builds, this is absolutely my favorite so far and the first piece of furniture I've built that I absolutely want to use as the centerpiece and inspiration for my DIY redecorating. I slightly modified the height of the top compartments so that all of our electronic equipment would fit. I also used 2x4's, which I ripped into 2x2's using an old blade where I slightly bent a couple of the teeth to leave the rustic curf marks. Because I altered the height of the top and bottom sections, I had to rip down my 1x3's for the bottom, and I had to use 1x4's (ripped down appropriately) for the top section's flip-down faux drawer fronts.
Fri, 01/10/2020 - 11:28
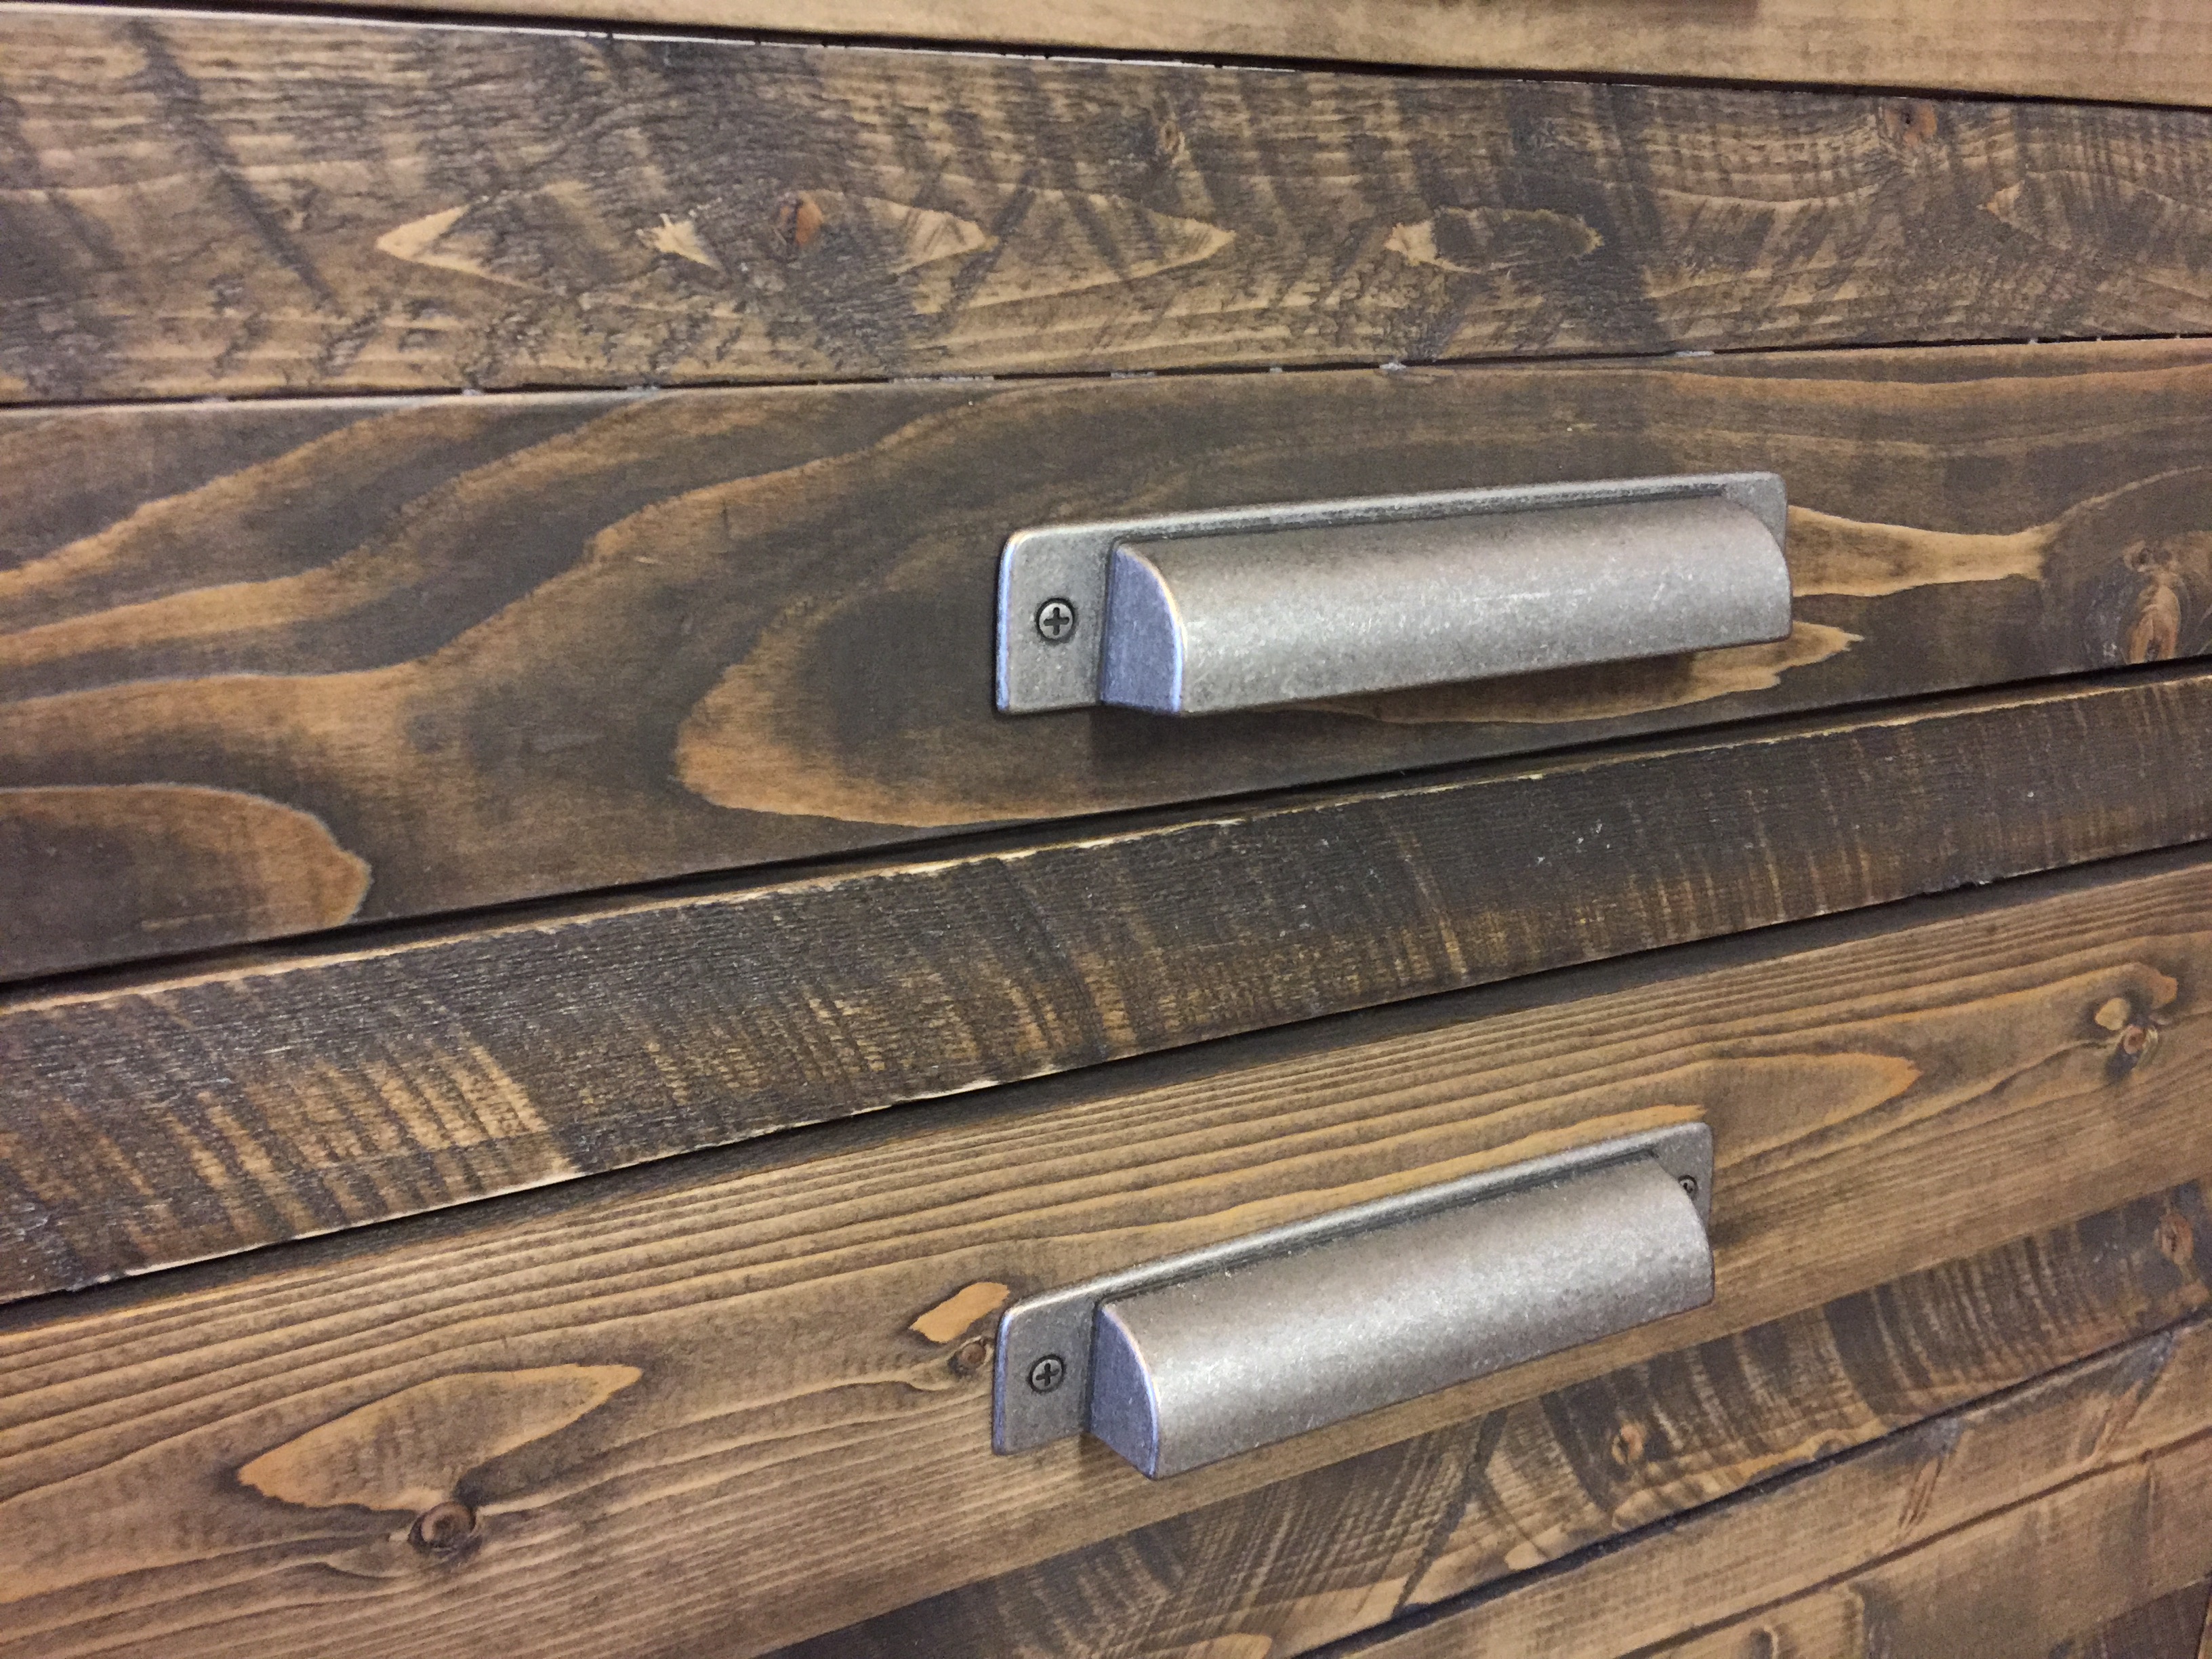
Absolutely beautiful. I plan to build this in two weeks, or start building it. Love your pulls. Where did you find them?
At the beginning of the covid lockdown my daughter who was attending college started looking for outdoor inexpensive chaise lounges to relax on since gathering in public areas was not allowed. We couldn’t find any so, I started searching for simple plans to make from scratch and ran across this plan. It came together very quickly and the instructions were very clear.
Wed, 10/06/2021 - 10:38
Thank you for sharing, looks fantastic and I'm sure your daughter is very happy with it!
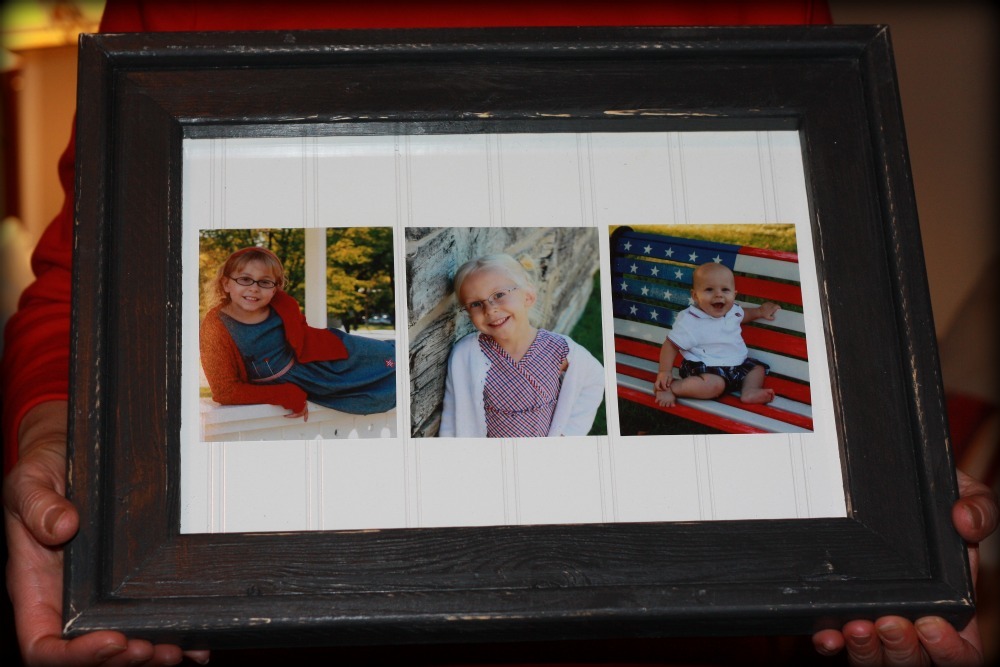
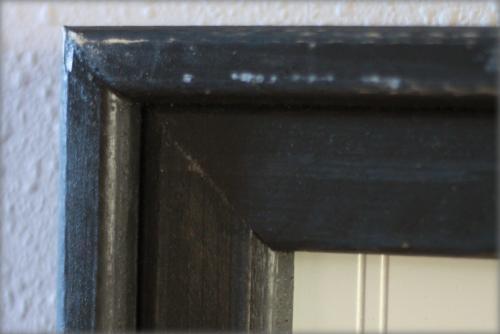
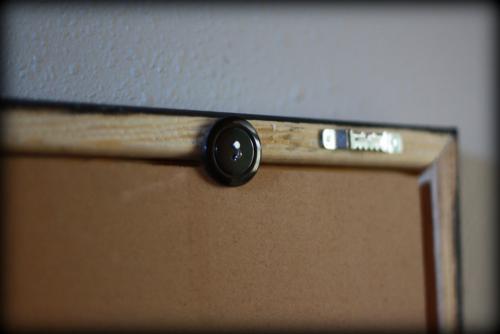
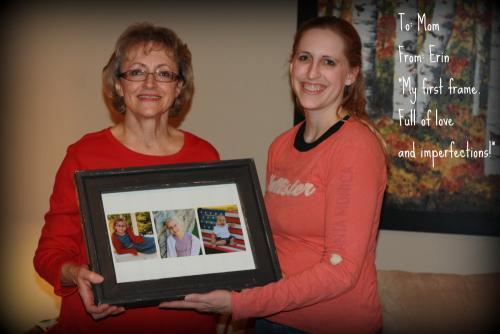
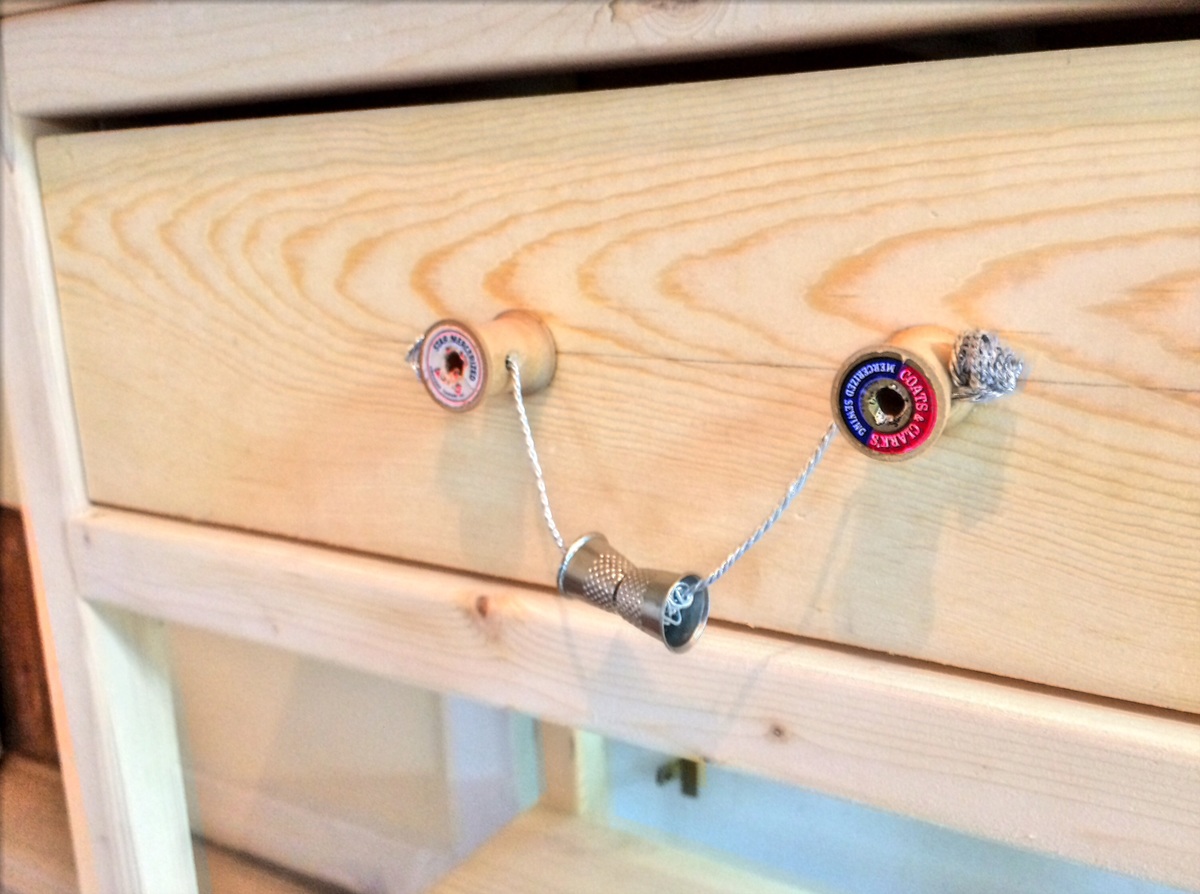
I decided to make a frame for a Christmas present for Grandma (my Mom). I wanted a different size than the plan listed so I did some modifying and thought posting the measurements would save someone else time in figuring it out. I wanted to cut down three 5×7 photos to square-ish shapes so decided on buying glass of 12″x16″ ($3.52 @ blue). The overall frame is a few inches bigger than that but I didn’t measure the exact size. I didn’t know what to do for the matting so decided to use some extra beadboard scraps that I had on hand. I had to get creative for holding the glass and beadboard in the frame (I’m sure there was something at Blue that was really for this, but the guy I talked to was no help!) so I nailed four buttons on the back. They can twist to allow the backing to come out to change the pictures.
Here is my cut list:
12×16 glass
12×16 beadboard
1×2 cut into:
(2) 12 1/4″, (2) 16 1/4″ (mitered at 45 degree angle on each end with the board laying TALL)
(2) 13 3/4″, and (2) 17 3/4″ (mitered at 45 degree angle on each end with the board laying FLAT).
Follow the plan being careful to miter the ends correctly (so you don’t have to cut new boards when you thought you were done cutting). The glass and beadboard fit well with a 1/4″ space as the plans suggest. I also found it helpful to mark the 1/4″ on the outside of the frame when putting in nails…b/c I didn’t and ended up with a little extra ‘character’ poking through than I was planning. :)

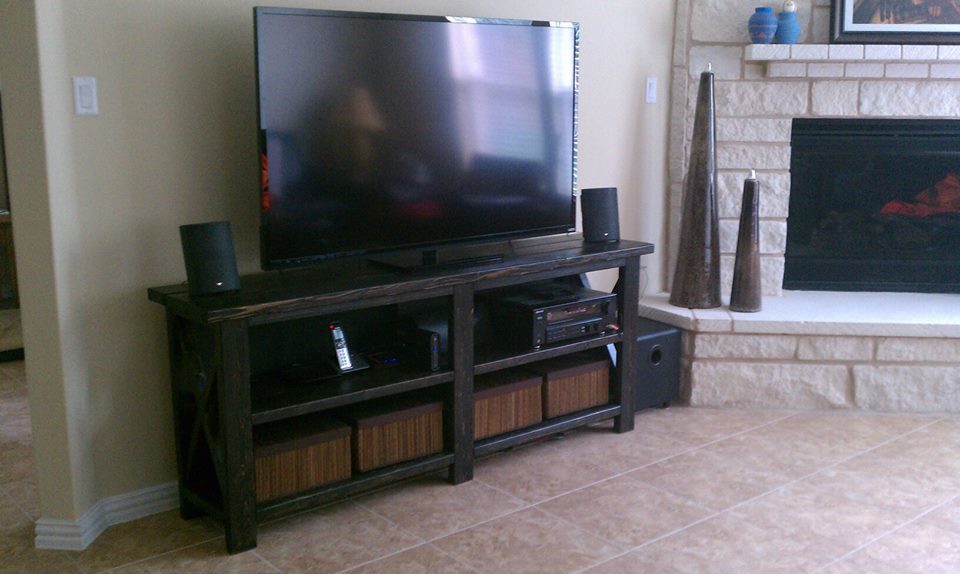
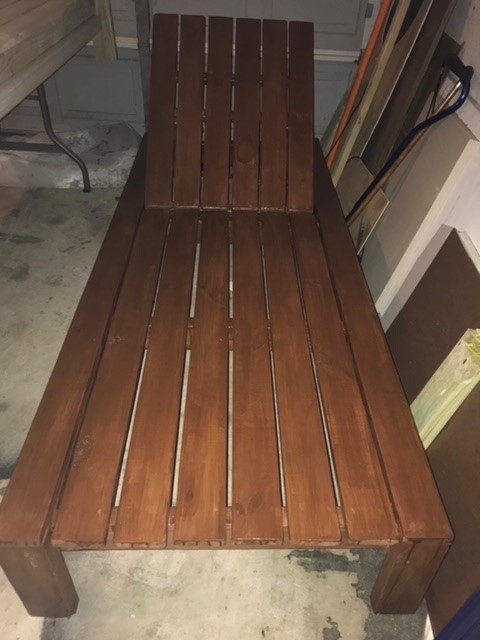
Built of Douglas fir with Minwax Ebony stain (and satin polyurethane) and storage boxes from Ikea. Also added a black plywood backer with cord holes. Planning on building the matching coffee and end tables.
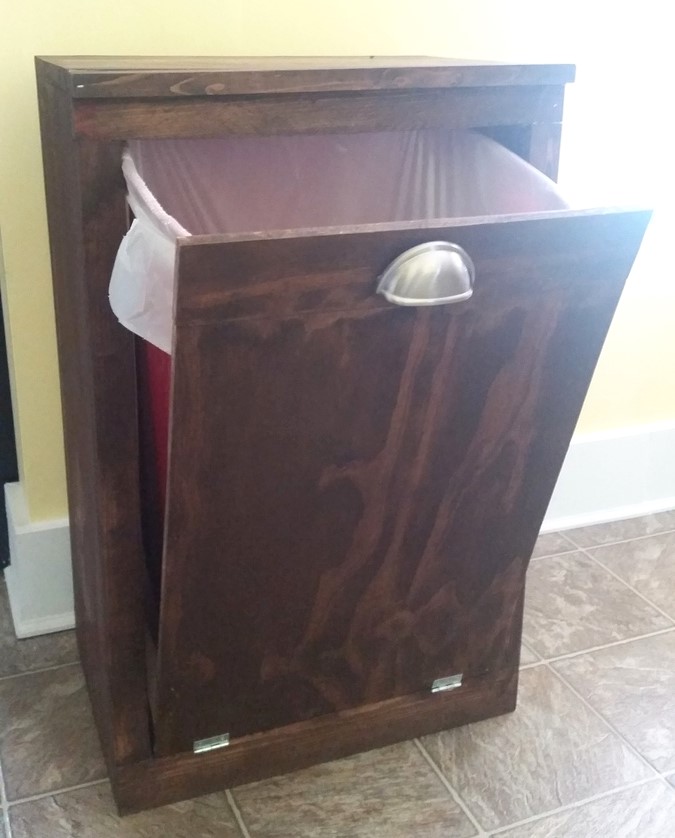
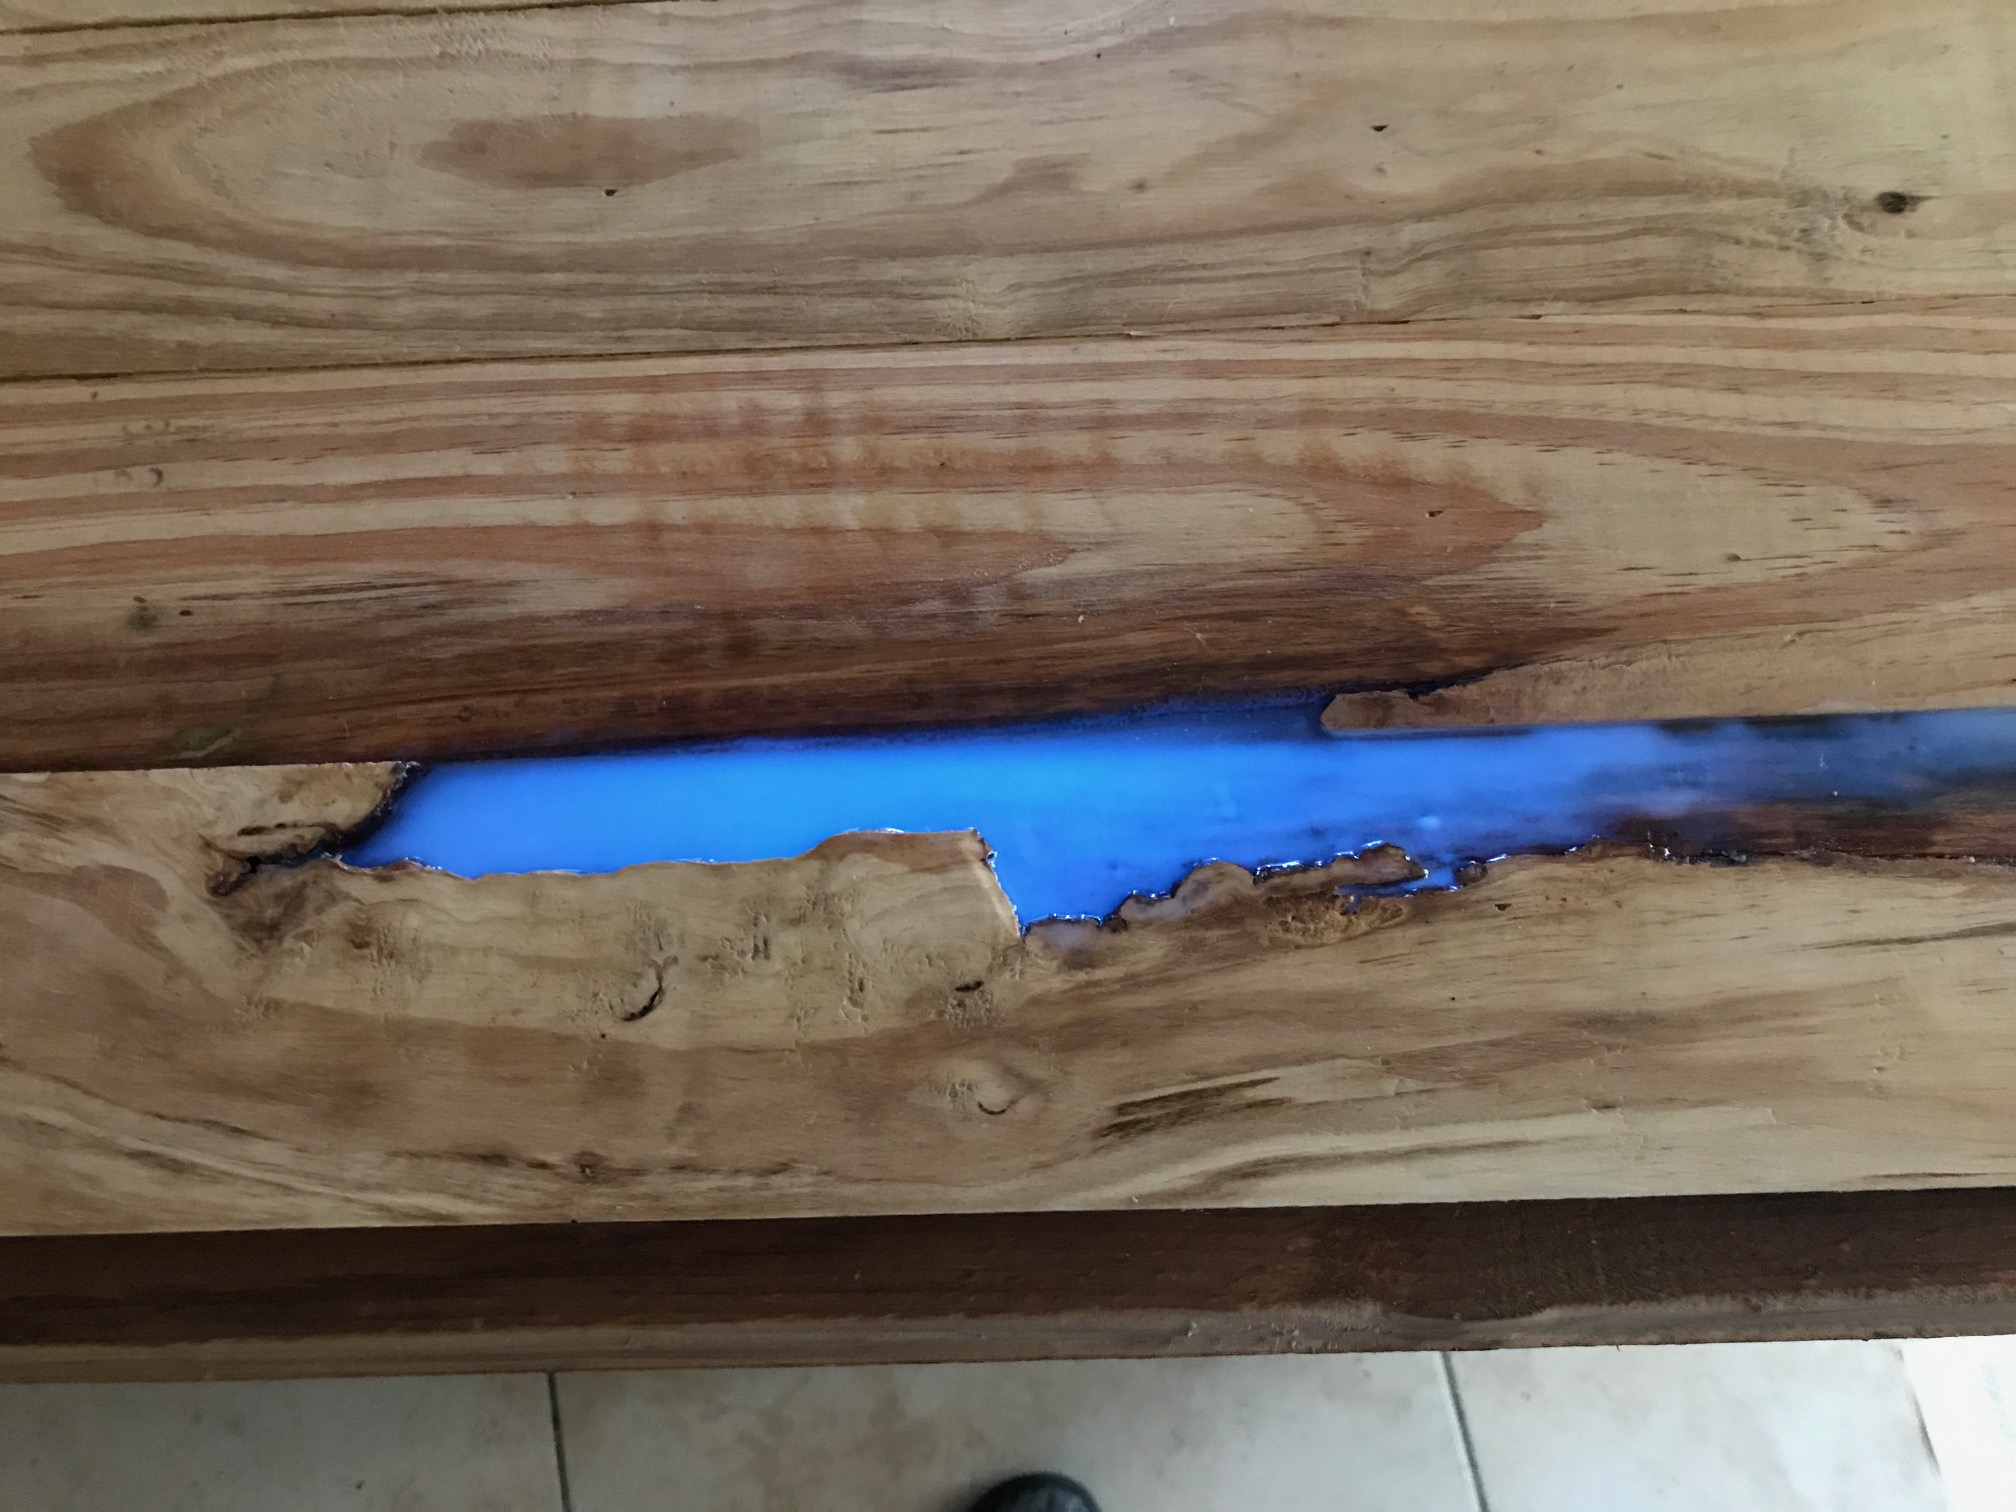
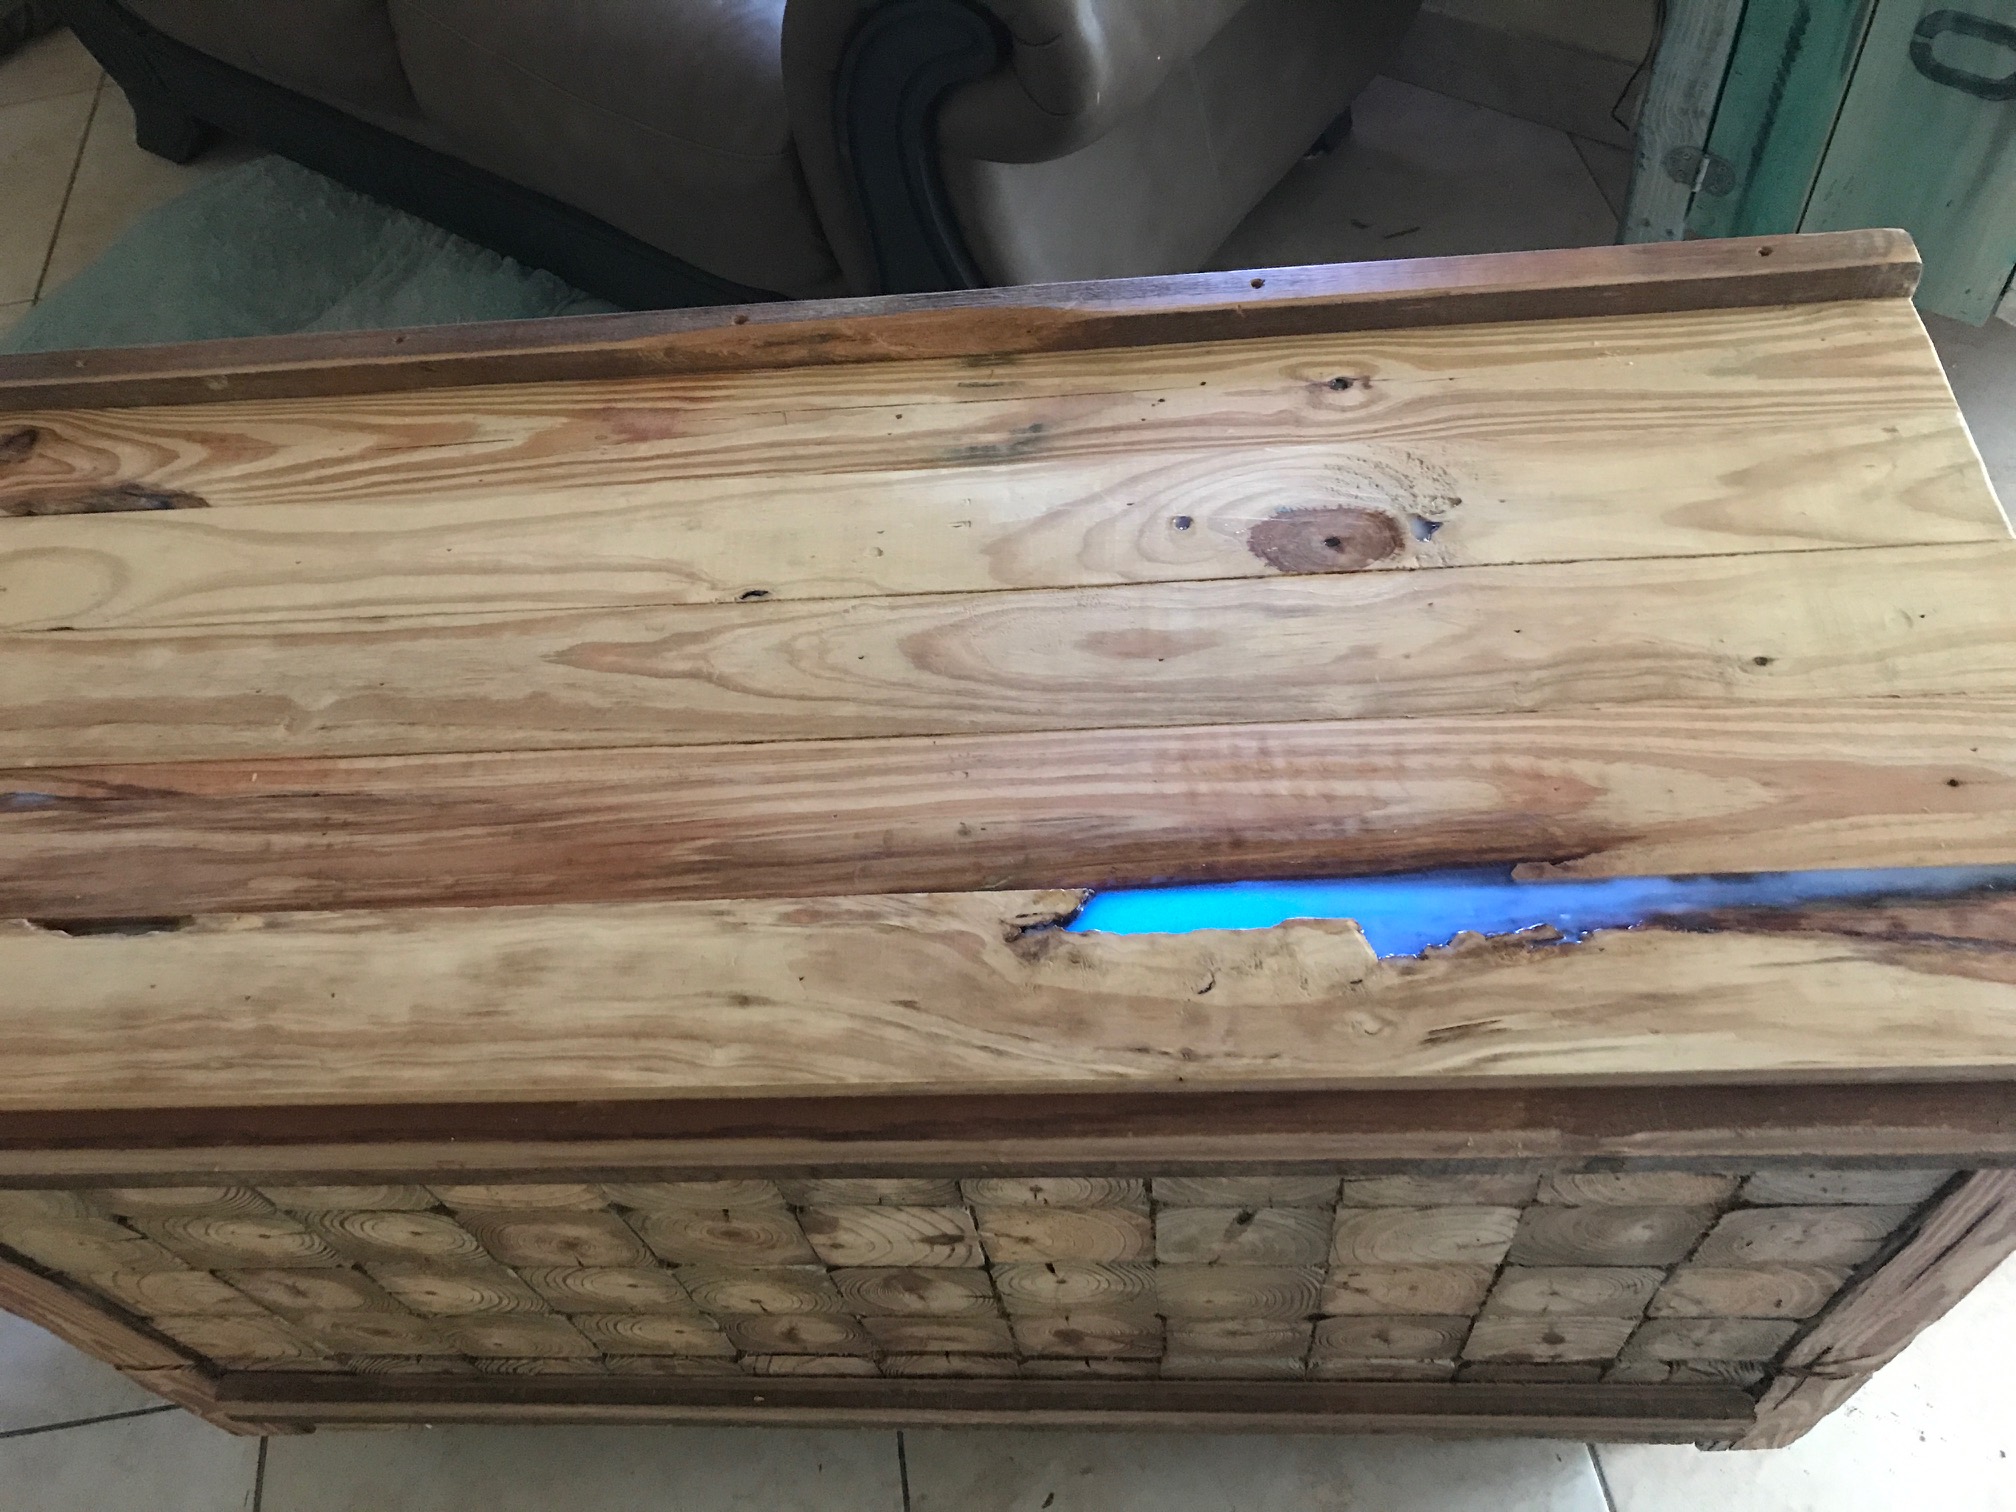
I needed a trash can that did not have a basic lid on it because my nosey dog, no matter how hard I tried to teach him, would continue to knock the lid off the trash can we had. Not only was it to keep the dog from sniffing around the garbage it also made my trash can look alot cuter!
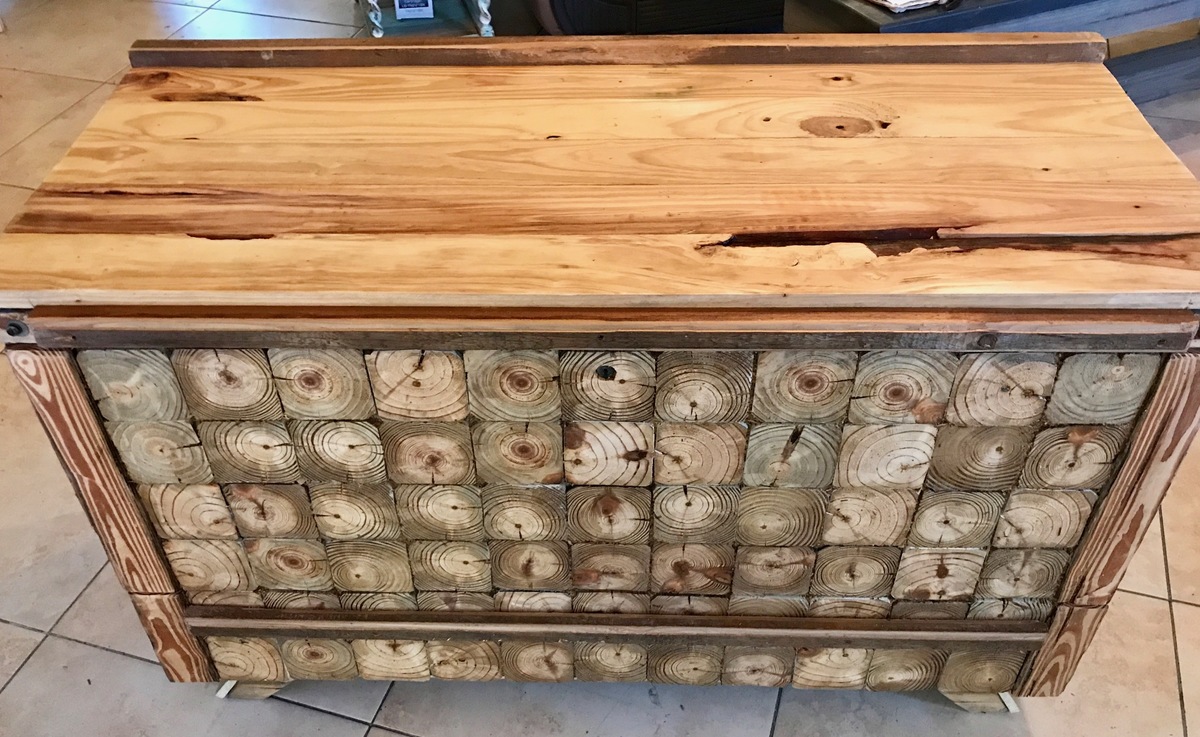
I had this idea, cut approv 150 plus slivers of 4 x 4 and glued and nailed them on. Always wanted to try
the glow in the dark powder, yes it works!!
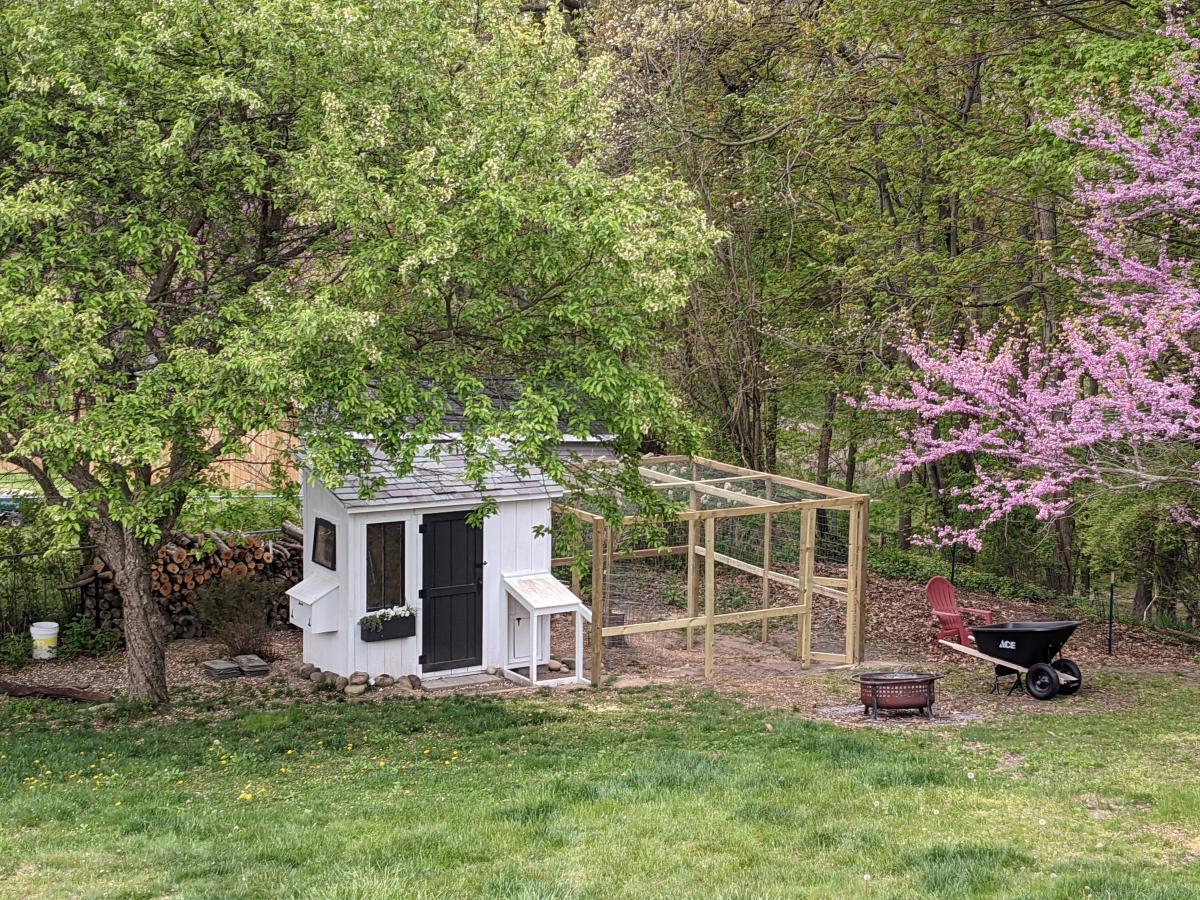
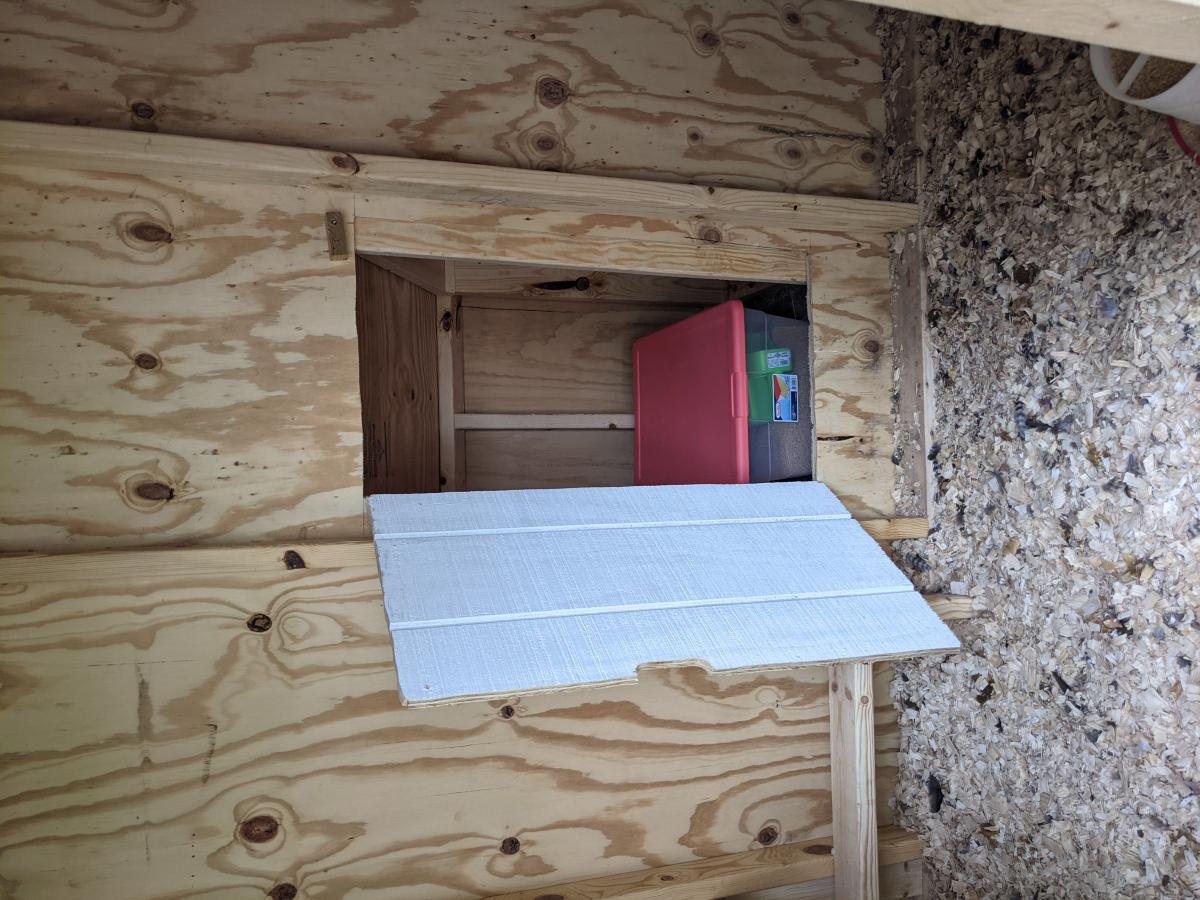
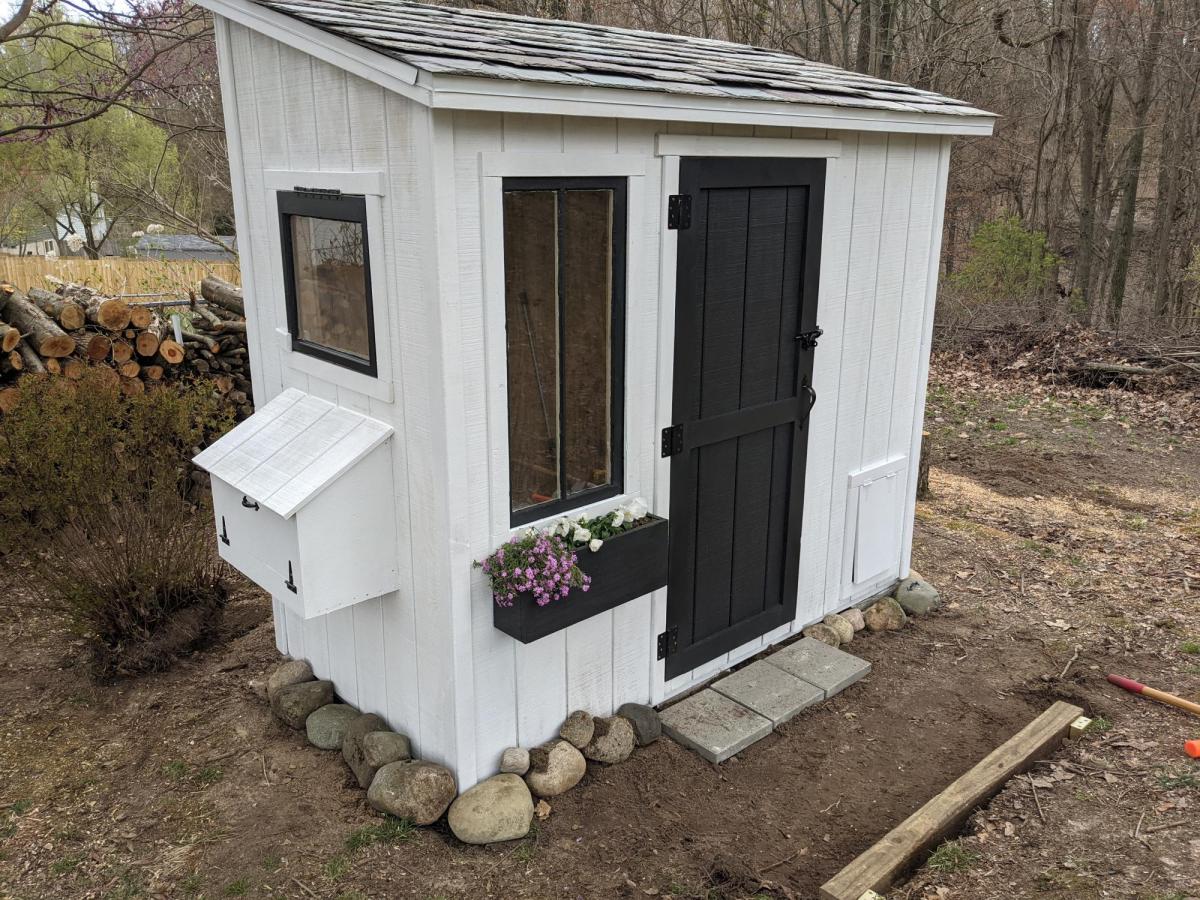
I followed the Shed Coop Plans to make this chicken coop and designed my own run. Because I wanted to view the chickens coming in and out of the coop, I moved the chicken door to the front and built a little covered area to shelter the coop door so I did not have to have the entire run extend over the front. I also made the access to the layer boxes be accessible from the front rather than the top so that my kids could more easily access the egg boxes. I thought these were great plans to follow and easy to adapt to fit what I wanted in a coop. I also ended up adding a lean-to storage on the back with an inside access so I could easily refill their feed.

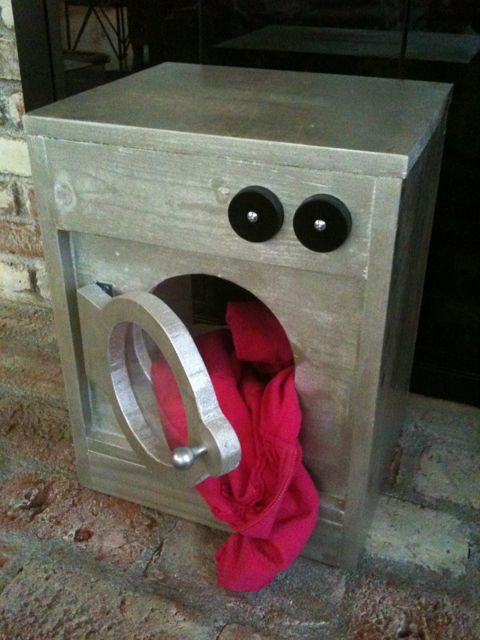
This was A LOT of fun to build, and even MORE FUN to play with!! The hardest part was cutting out the round door and then getting it sanded smooth. My daughter actually calls this her "dryer", and tends to stuff all of her aprons, mitts, tablecloths, and towels from her play kitchen into the "dryer".
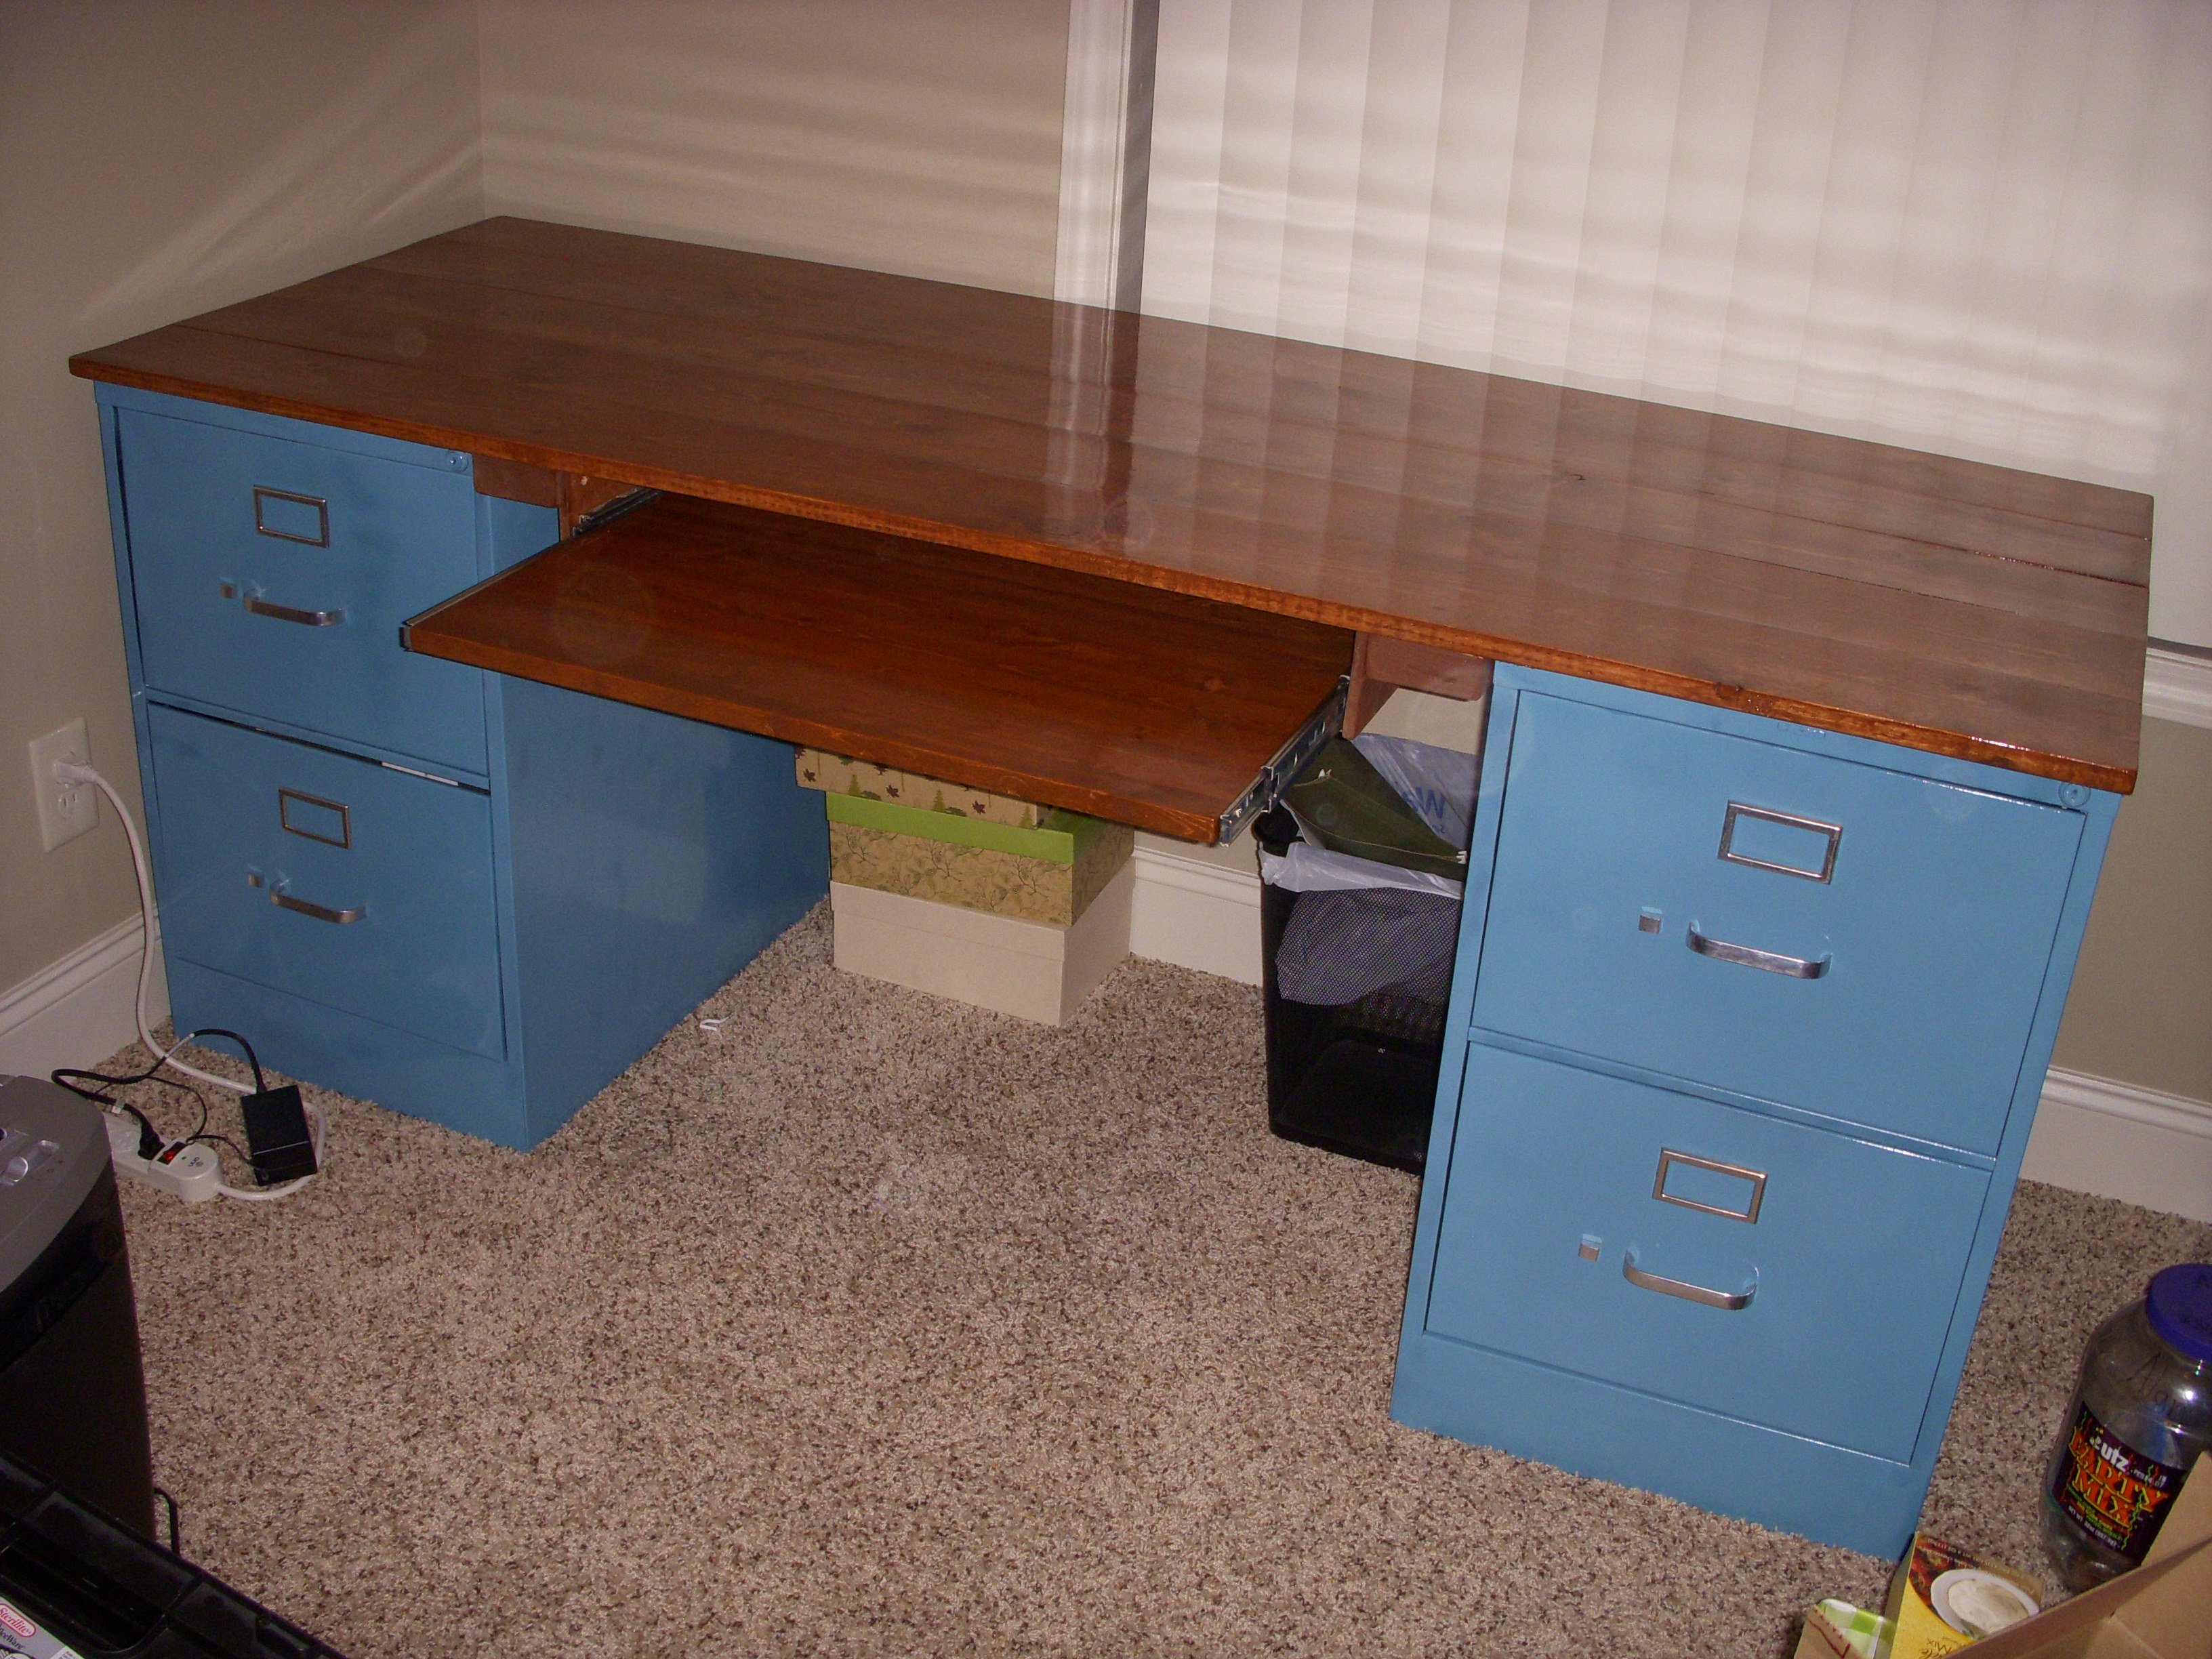
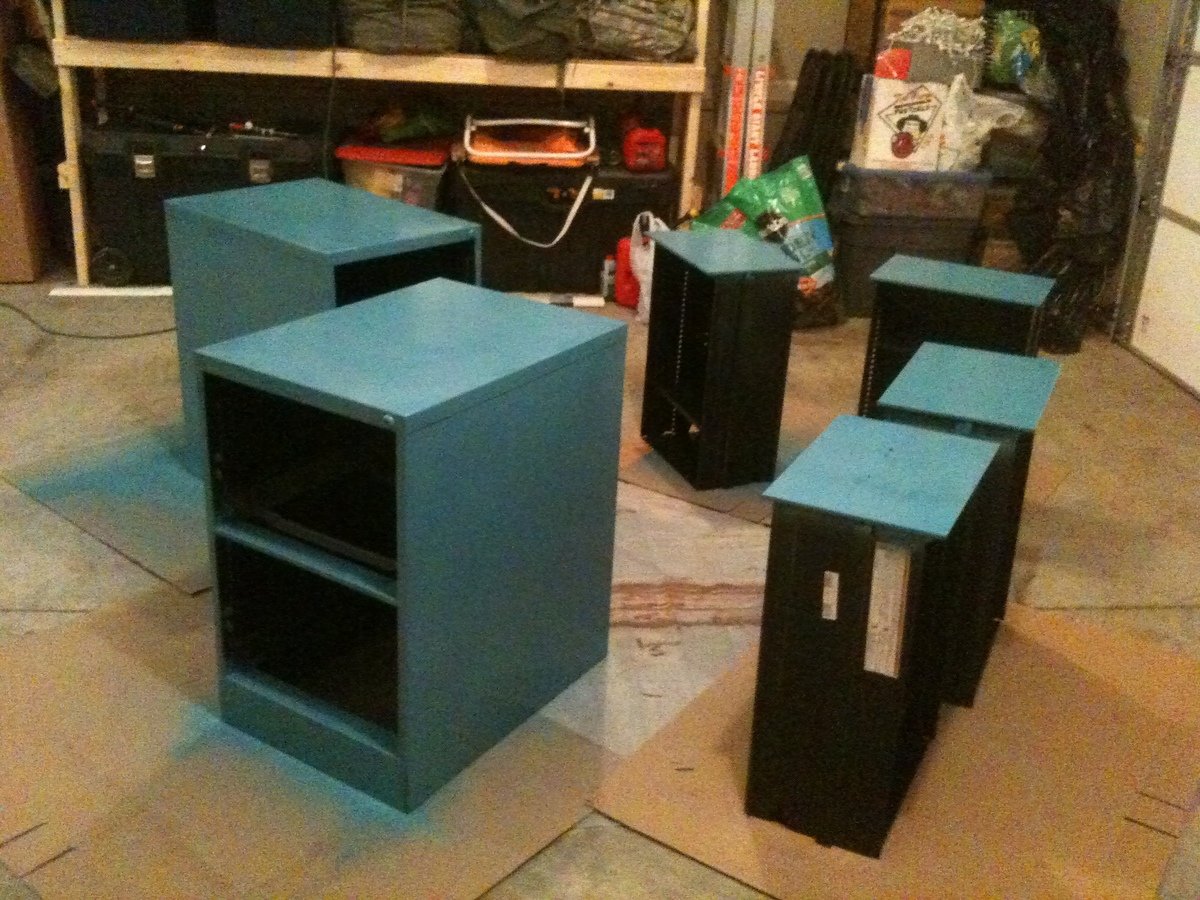
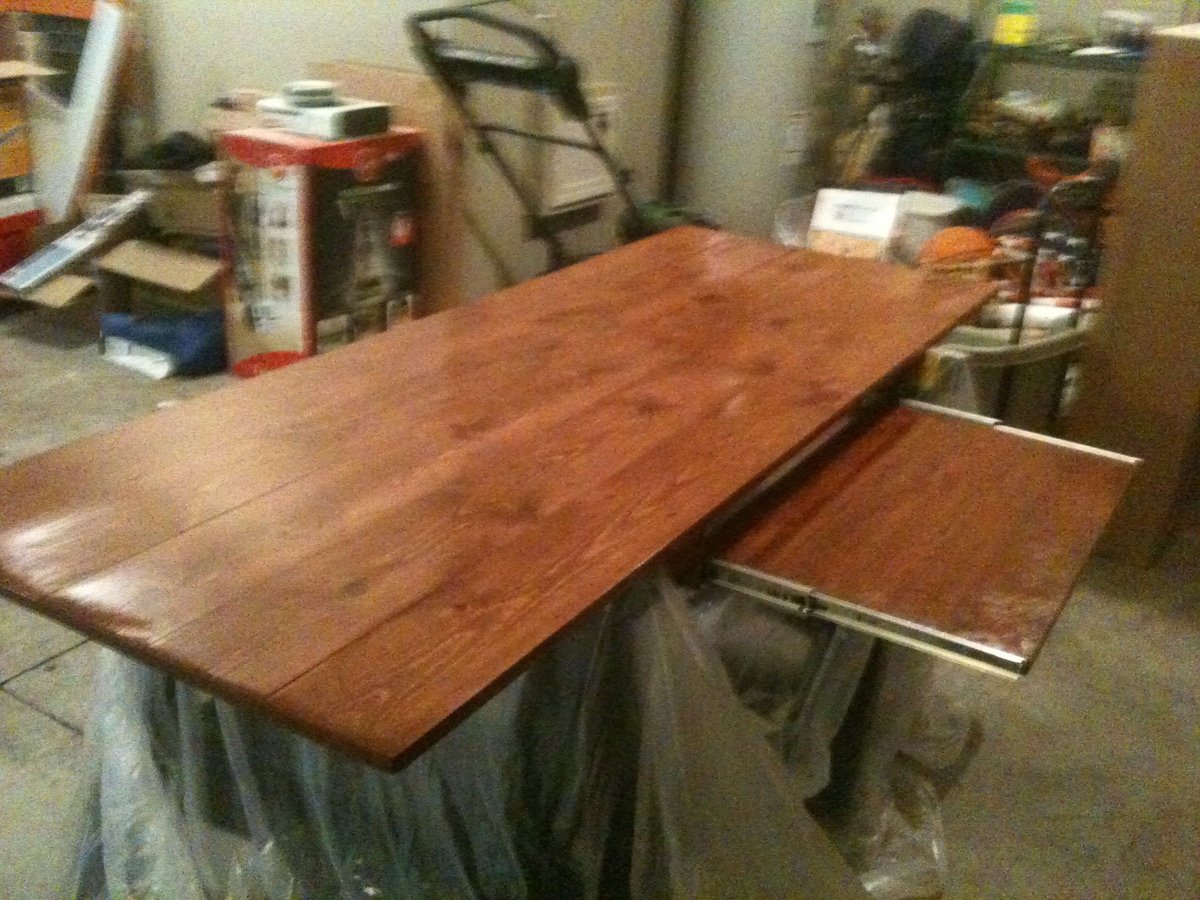
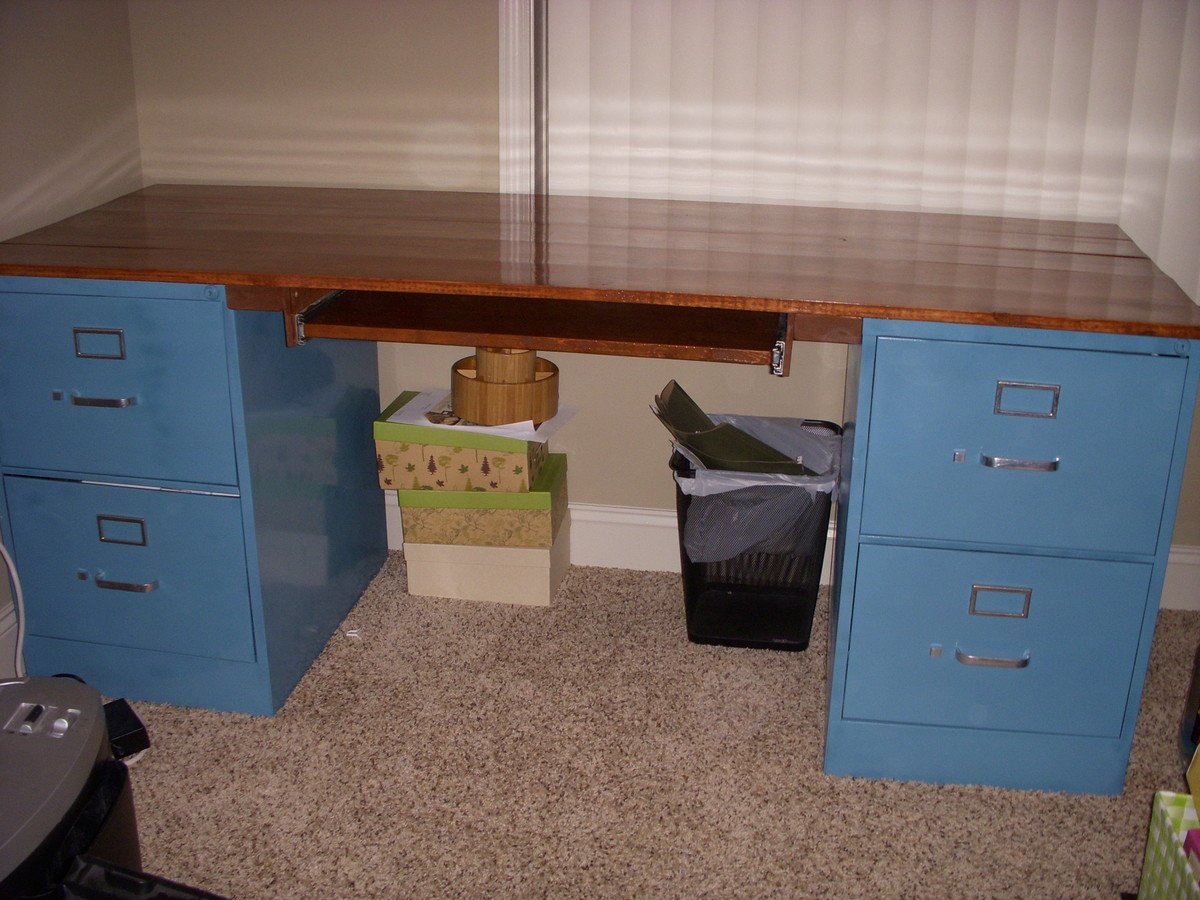
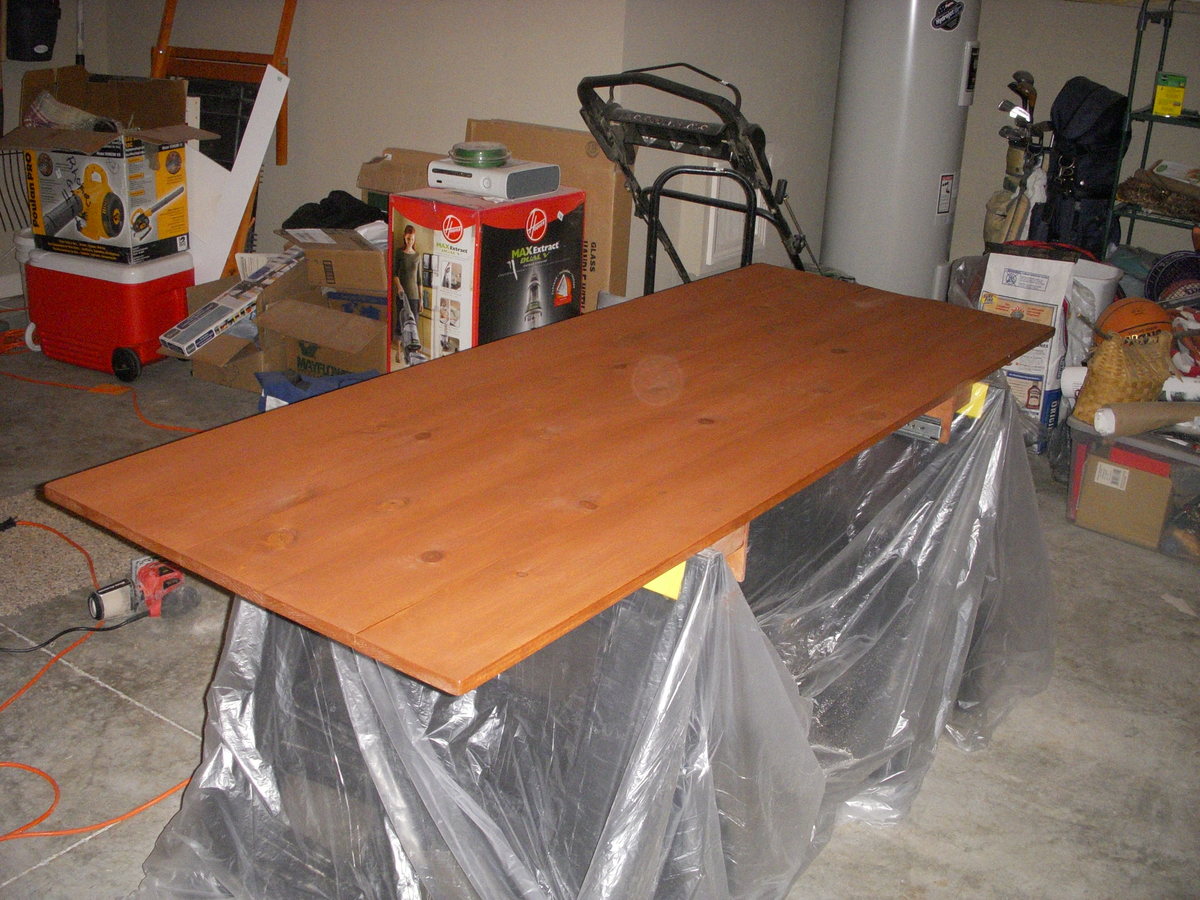
I've been on the quest to find a desk that can serve as a multipurpose table. I wanted a slide out to store my laptop so the desk can be cleared off for my sewing projects. I finally stumbled across the two filing cabinets at a flea market ($35 each) much cheaper than I could find at any store ($100+ each). They were a little beat up but still functional. Nothing a new coat of paint couldn't fix.I really like the Farmhouse Table but already have a beautiful wood dining table, however I figured I could take some inspiration from the design for my desk. I used 5 1x6x6 boards for the desk top and some 2x4s and 1x3s for the supports.
Built this for our guest room
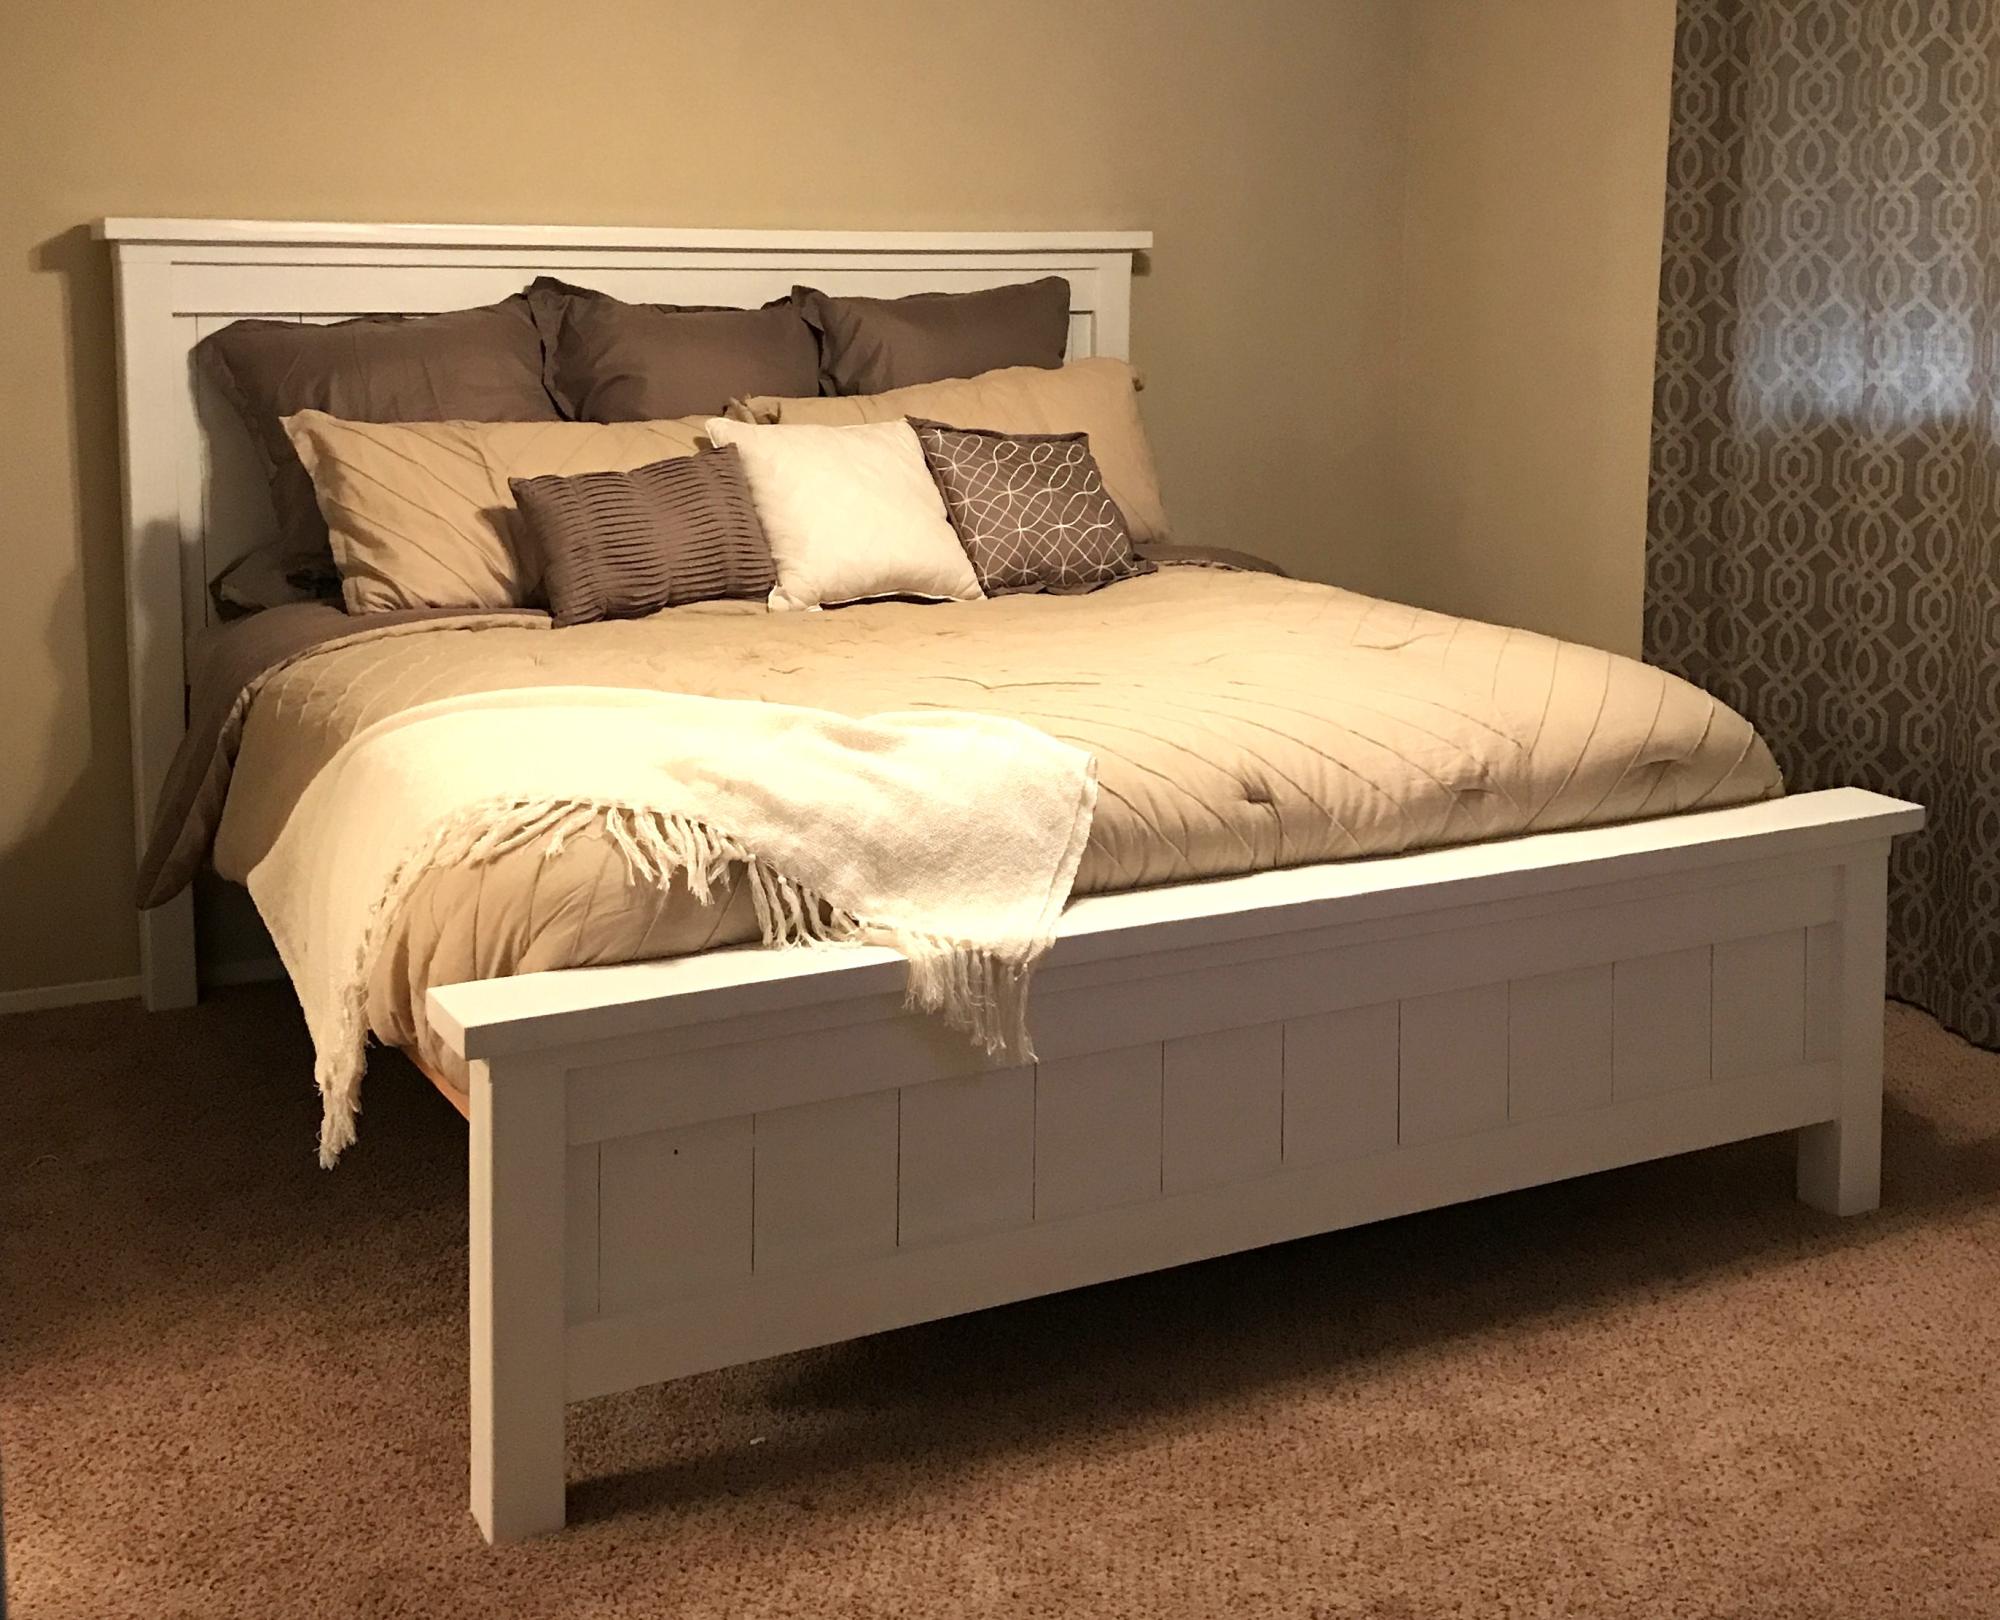
Modified for standard king bed.
Built this for my daughter when she bought her first house.
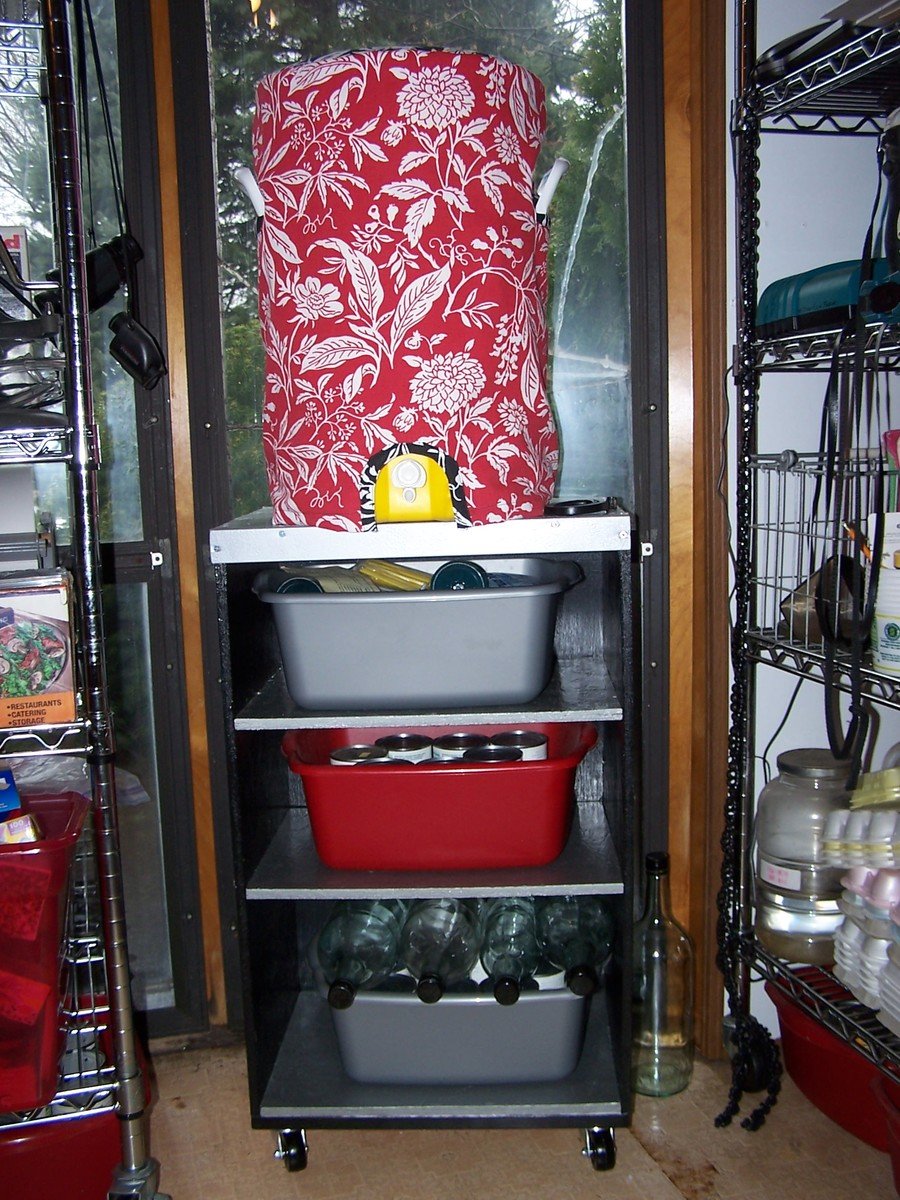
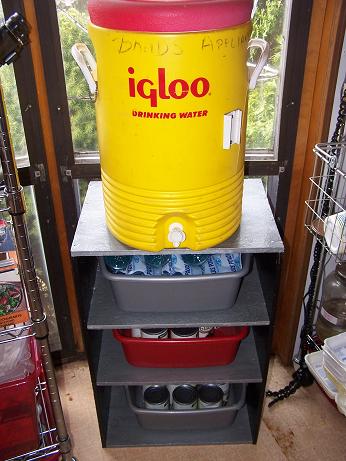
We are slowly remodeling our kitchen bit-by-bit. Our house is less than 1000 sq. ft. so storage space is at a premium. We keep five gallons of emergency drinking water (for when the power goes out during tornadoes or ice storms) in an Igloo cooler that sits in our kitchen at all times. I wanted an attractive stand to put the cooler on and thought a smaller version of the Laundry Basket Dresser would work well with the plastic tubs I use to store juice pouches and bottles of gatorade that I buy in bulk. (Please ignore my yucky floor in the pictures. We won't be replacing the 23 year old vinyl flooring until the rest of the remodeling is done.)
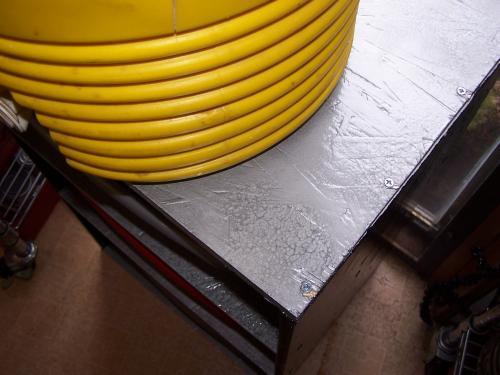
I built this stand using scraps of OSB from building goat houses for our goat herd so the wood was basically free. I wouldn't use 1/2" OSB again, though, because it split so easily even though I drilled pilot holes for all my screws. I also wasn't real thrilled that there is no way to sand it smooth. I did the best I could and hoped the primer would smooth it out some more. It didn't, but my husband says he really likes the texture of the hammered metal paint on the shelves and top mixed with the texture of the OSB because it looks really distressed.
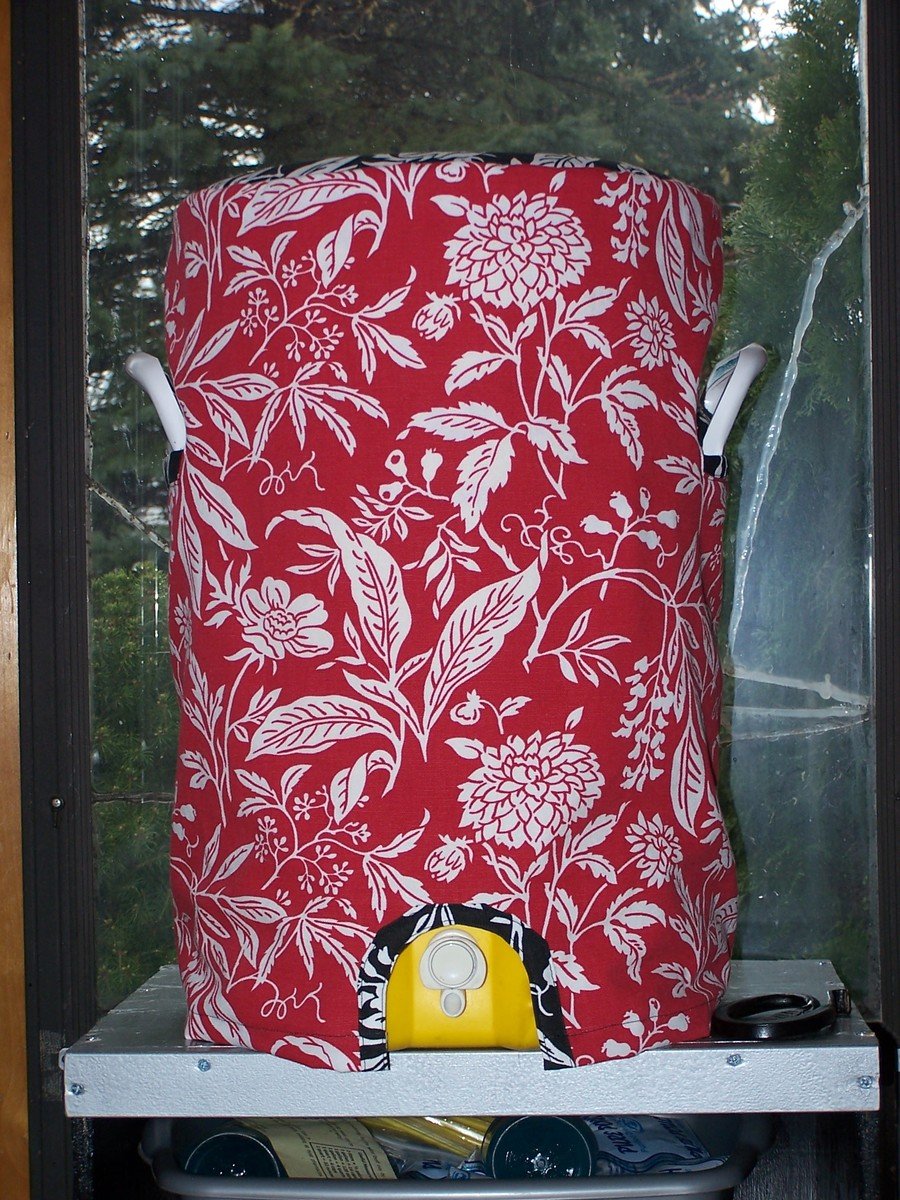
I plan to buy some wheels to put on it so it will eventually be countertop height and I want to be able to move it around if needed. I also will be sewing a cover for the cooler so it matches my kitchen decor and looks a little spiffier than the dinged-up former soccer team beverage carrier that it has been in the past.
The biggest challenge of this project was keeping everything square while screwing the pieces together. I kept a framing square with me throughout the entire assembly.
My next project is going to be building a hutch using a variation on the plans for Grace's Bookcases.
(Updated pictures to show the cover I sewed for the water cooler and the added wheels.)
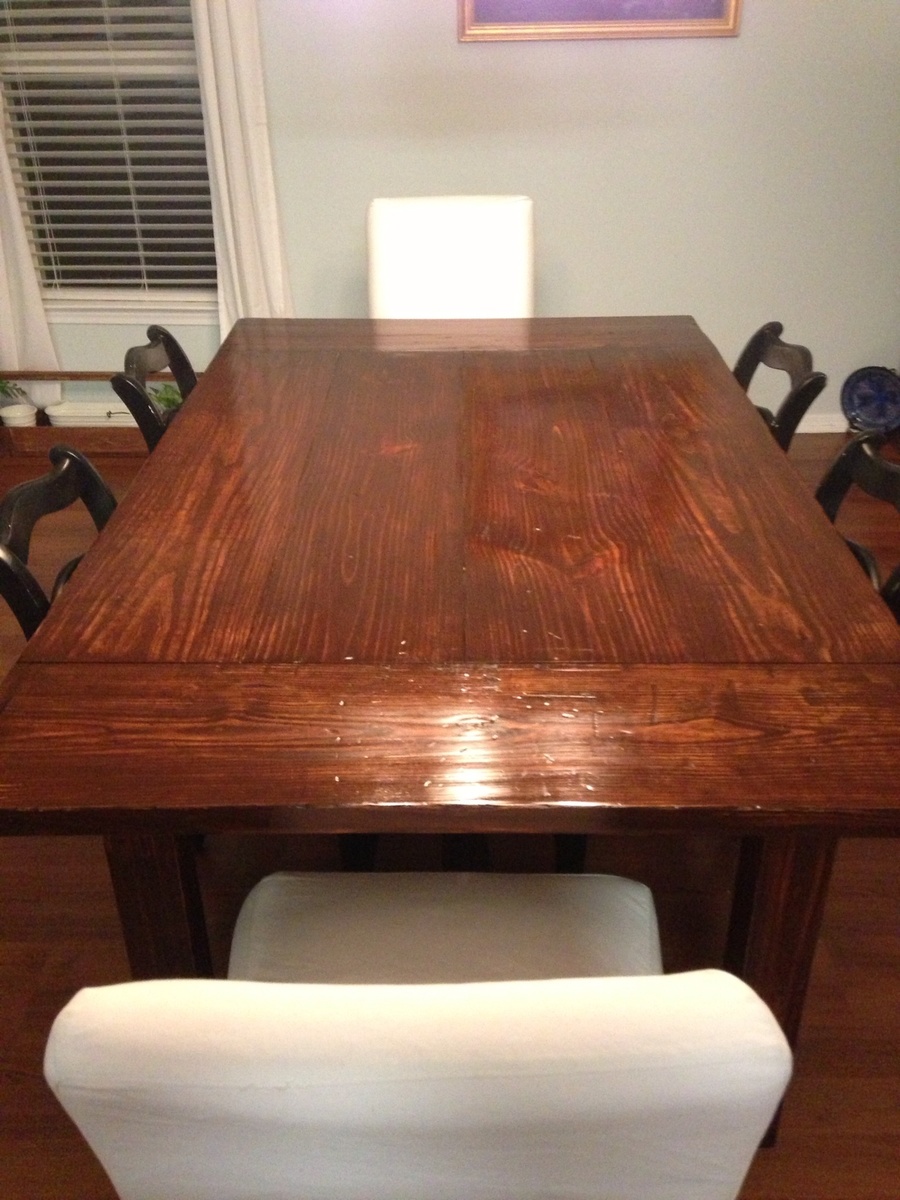
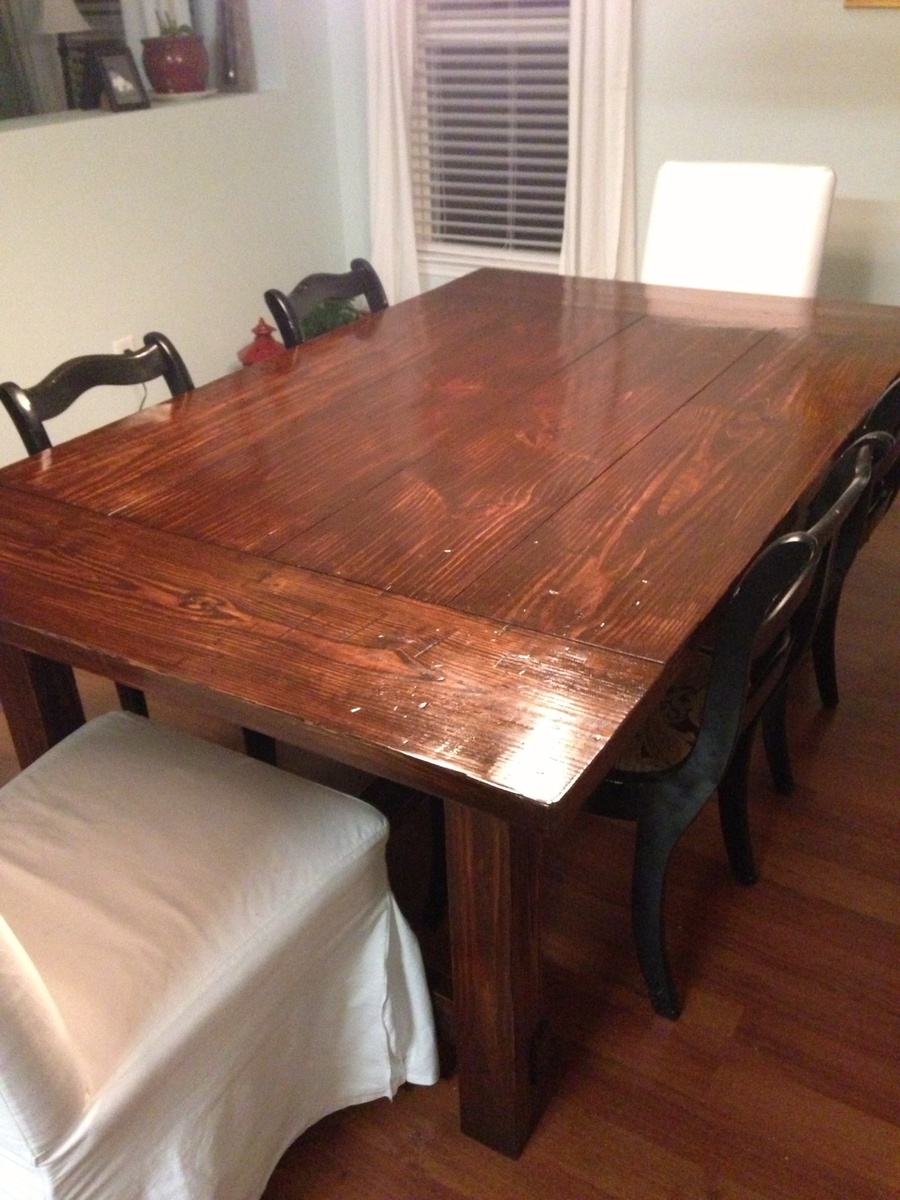
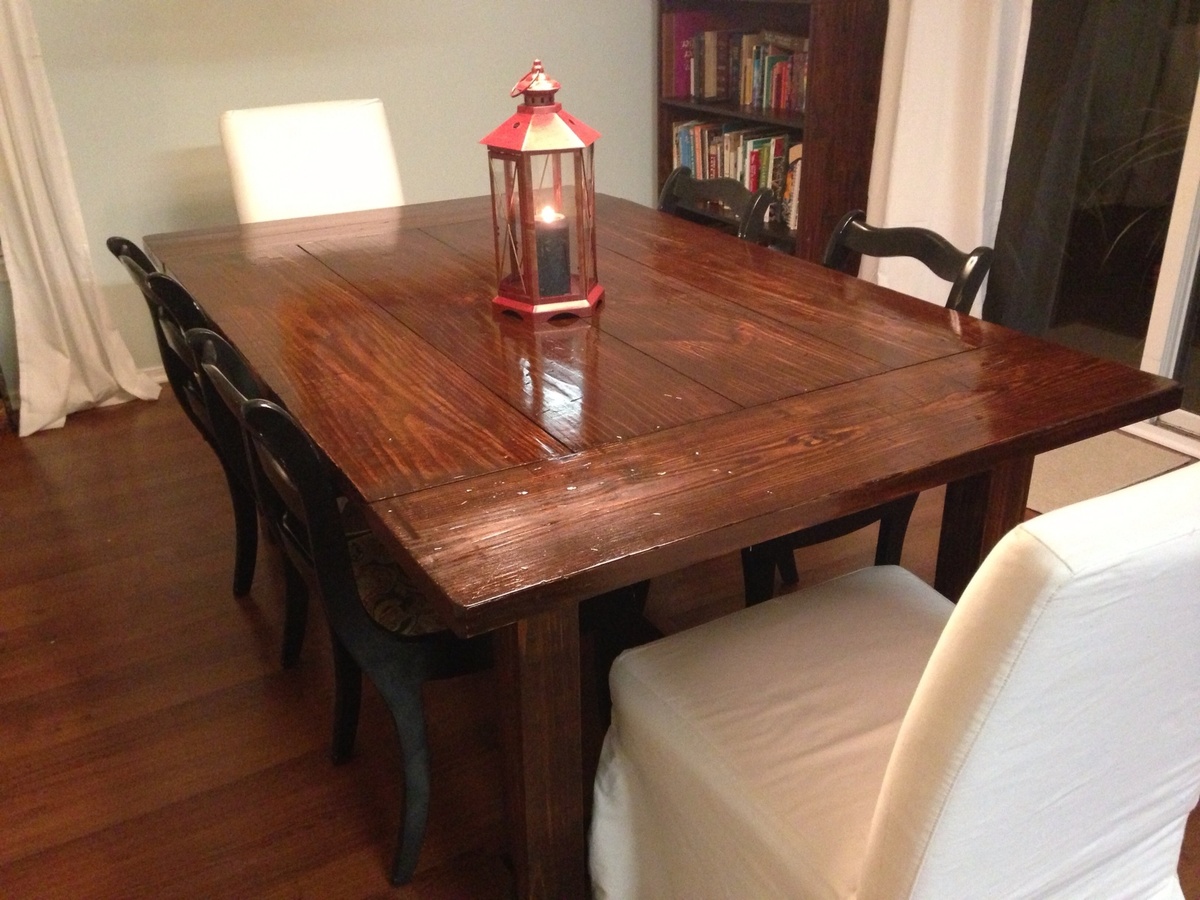
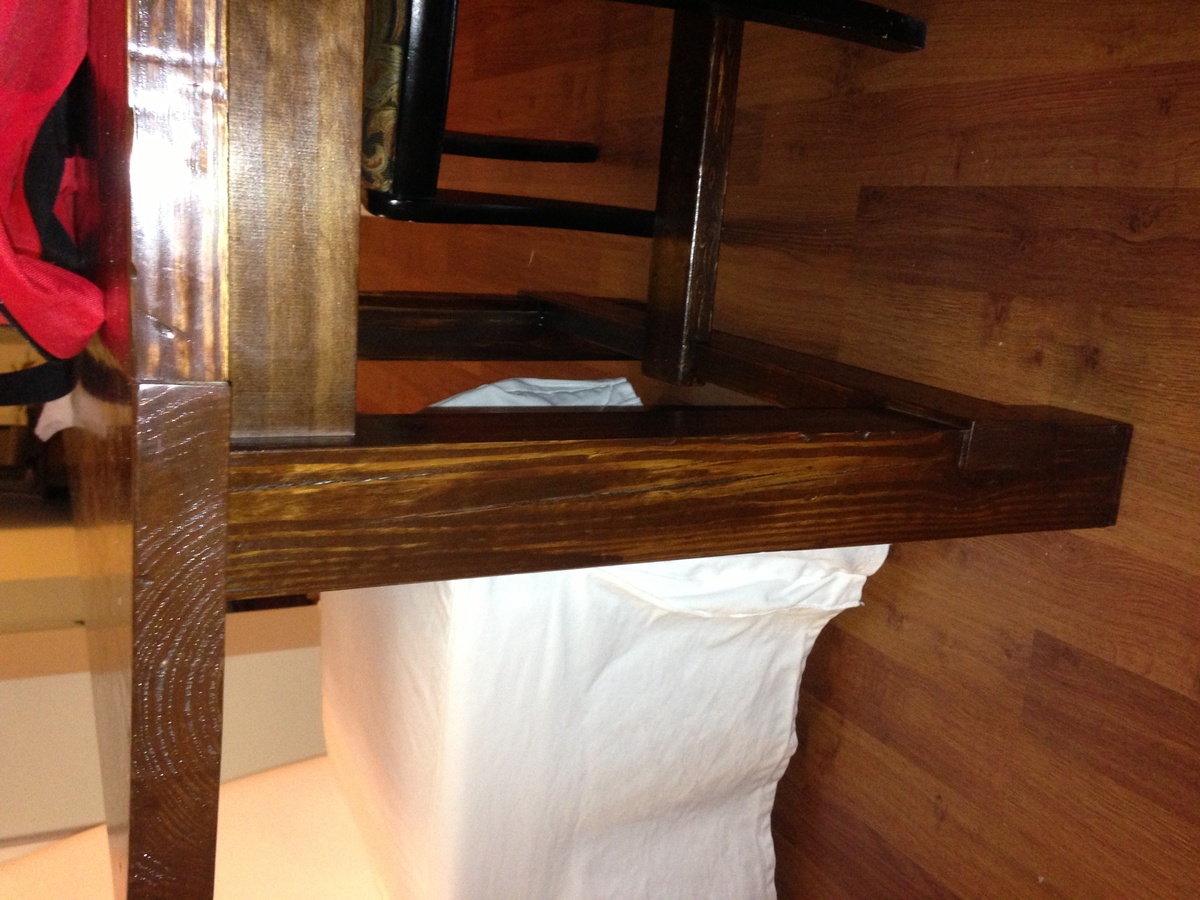
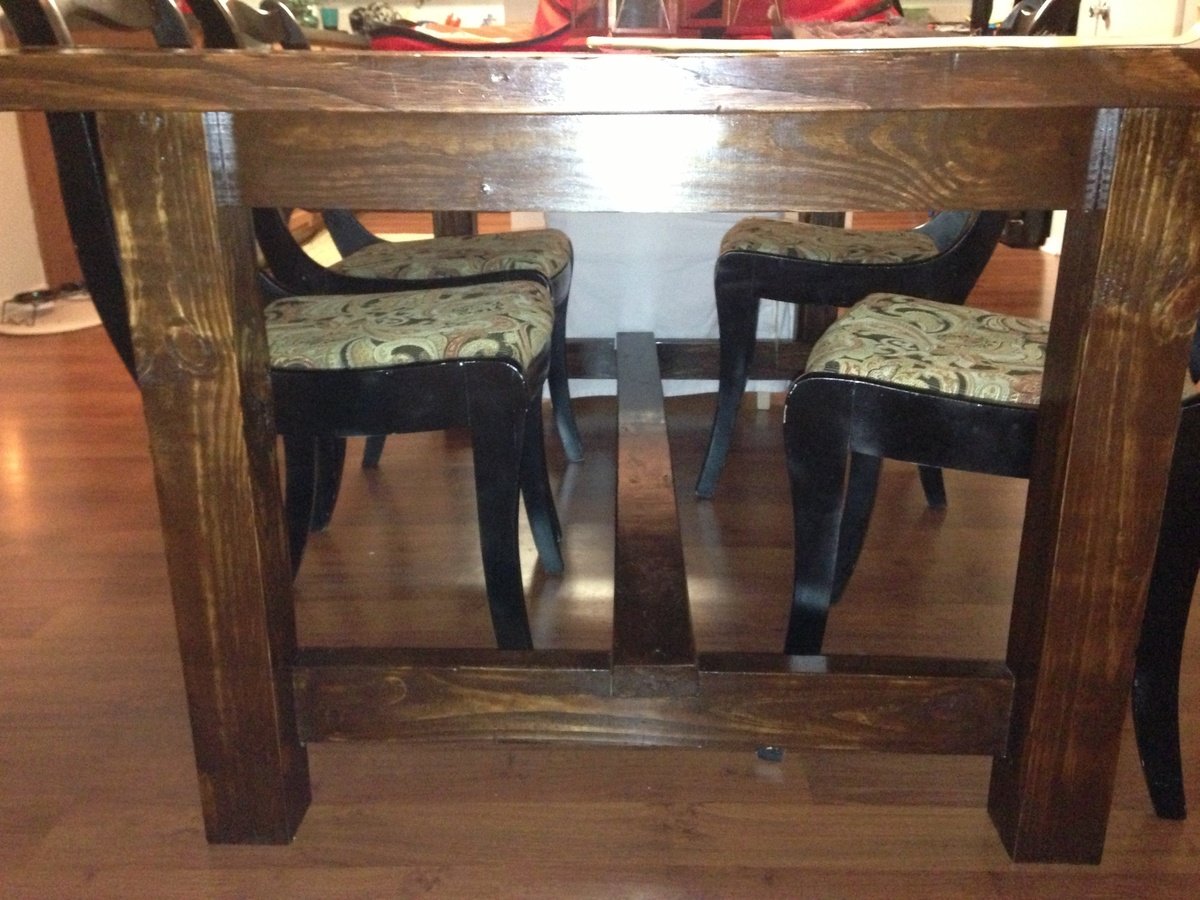
I used the basic plan by Ana, but modified it for the size I needed. Its 2x12 pine with english chestnut stain and tung oil (formby's) finish. I did use 4x4 posts for the legs instead of 2- 2x4's. notching out was the most difficult part. (Should have watched the video by Ana 1st. Lol). I did want some over hang so I cut the leg notches 1/4 shallow so there would be detail. I regret not using the kreg jig on the top, as I have much bigger gaps than I like! But I started buying better tools during this build when I realized mine were not getting the job done. And it definitely makes a huge difference!!! I still have to finish the benches. Just trying to find the time. I can't wait to start the next project!
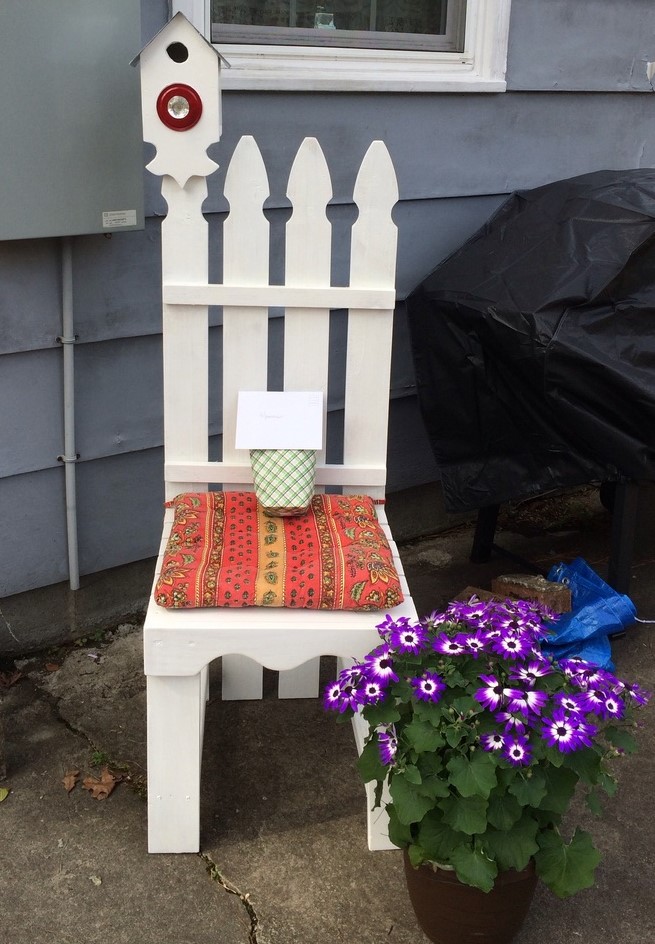
This was such a fun and easy project using 1x3s and 1x4s, (scraps on hand) along with pickets that were less than $2 each, my Mom loves it, a gift for her birthday!
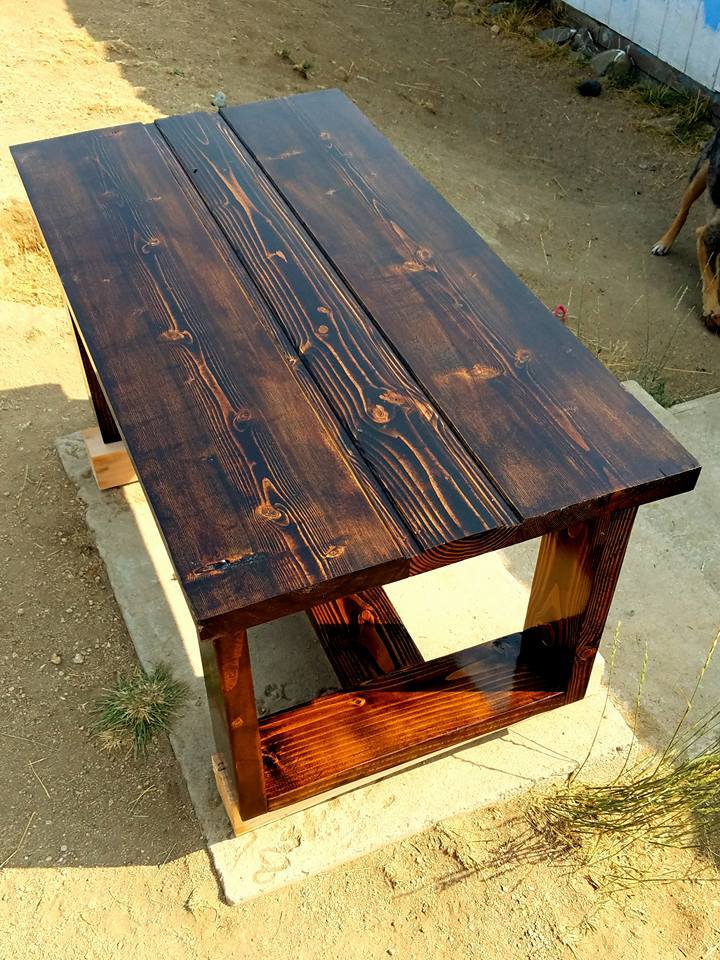
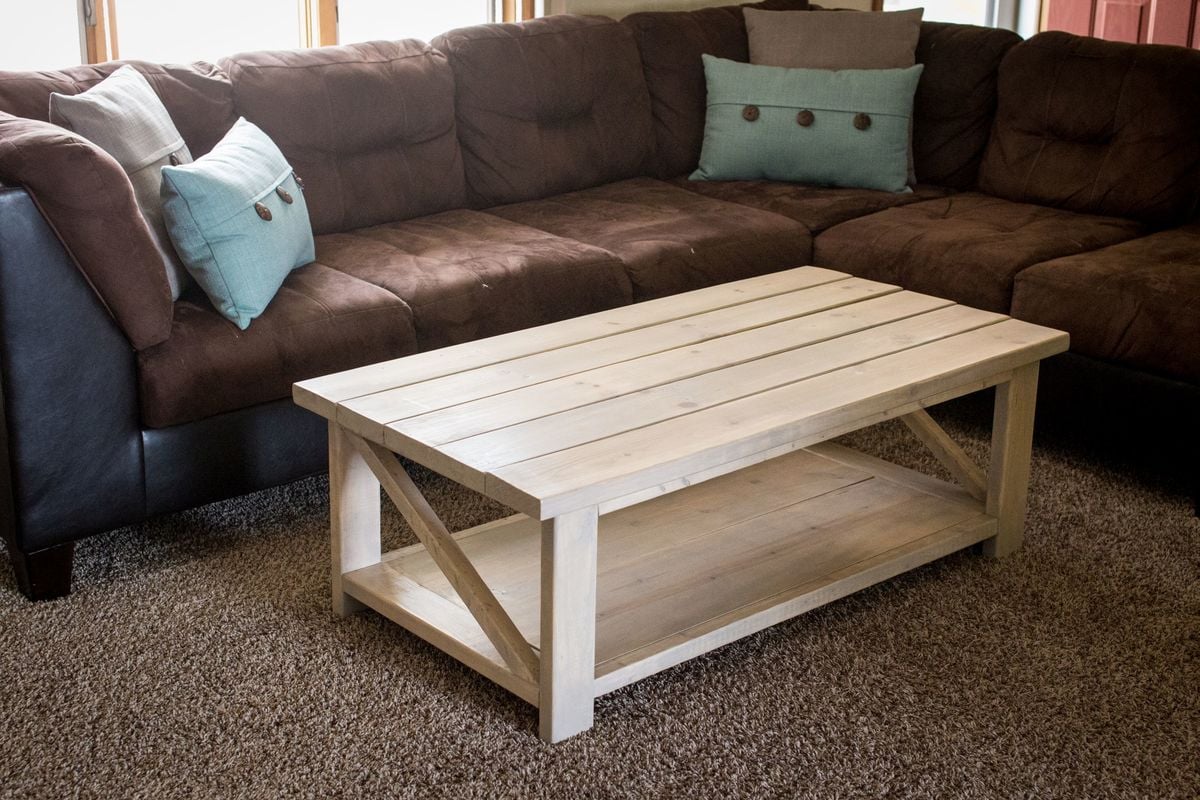
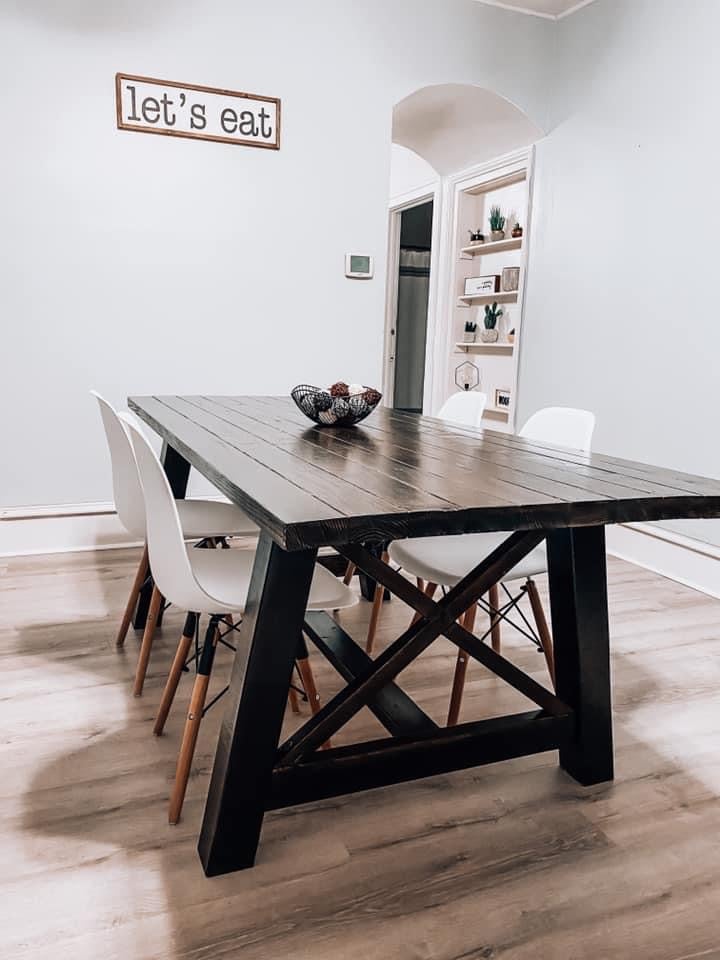
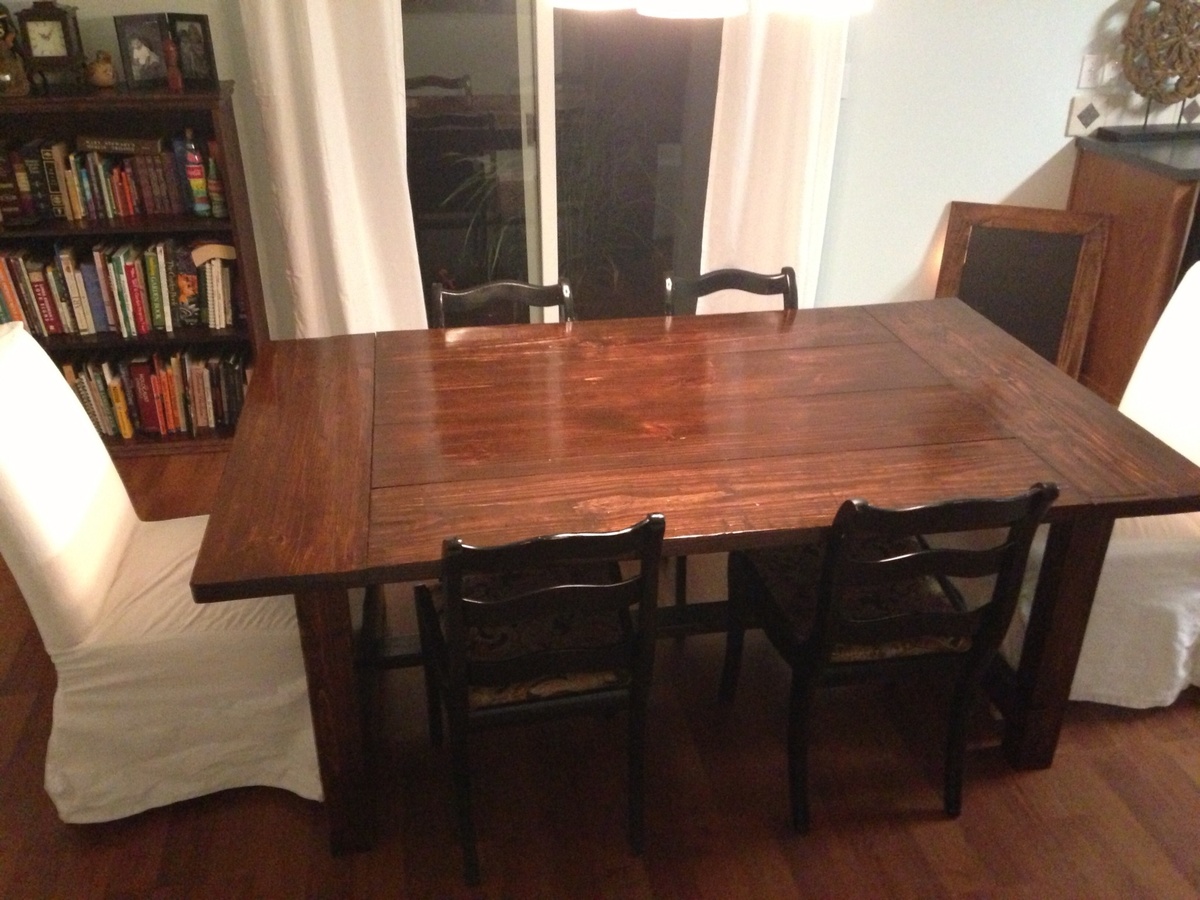
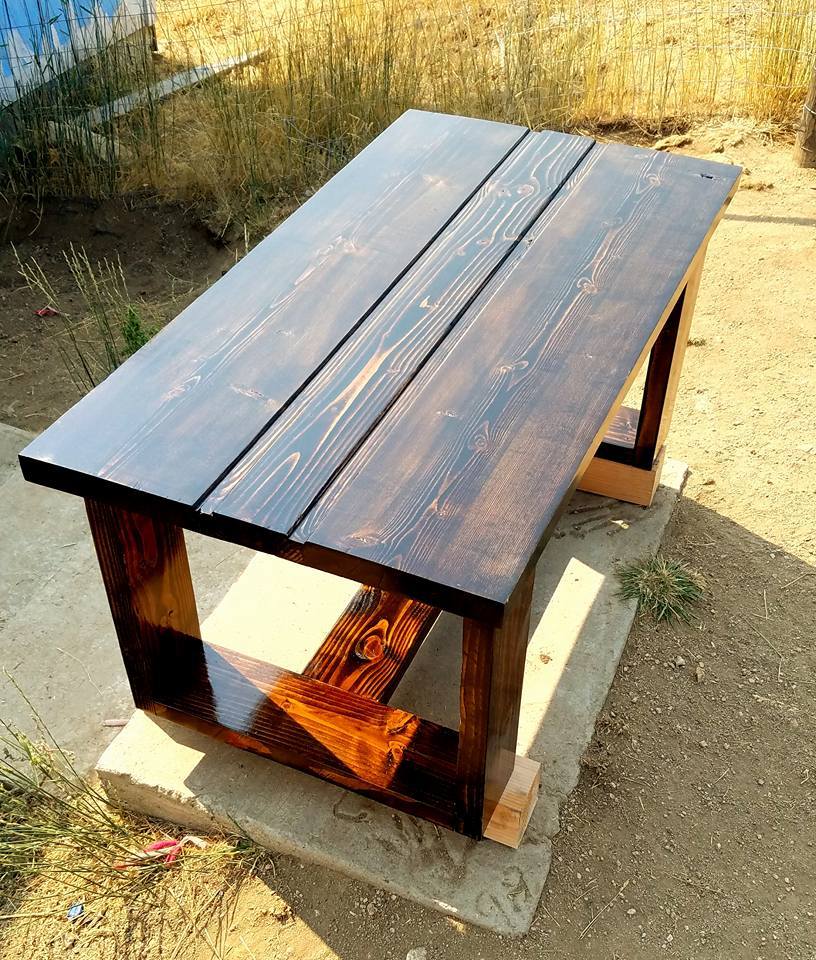
Really liked the design of this, but I just prefer the look of wood over concrete. Used 2x6 rather than 2x4 for the base, as it gives it a more sturdy, modern look. Used 2x10 and 2x6 for the tabletop, which was biscuit joined and then given artificial seams with a router. Stained in Jacobean, and given a gloss poly finish.
Using the plan,I used (3)1x3’s for the top and (3) 1x2’s for the top so would have a similar look. I also opted for Select pine boards. This table I left plain. I have also made them and painted them. Love the plan. I typically glue and use a Brad nailer to finish.

Comments
Ana White Admin
Wed, 10/06/2021 - 20:14
Very cute little bench!
Way to go, super cute, the distressed finish is right on!