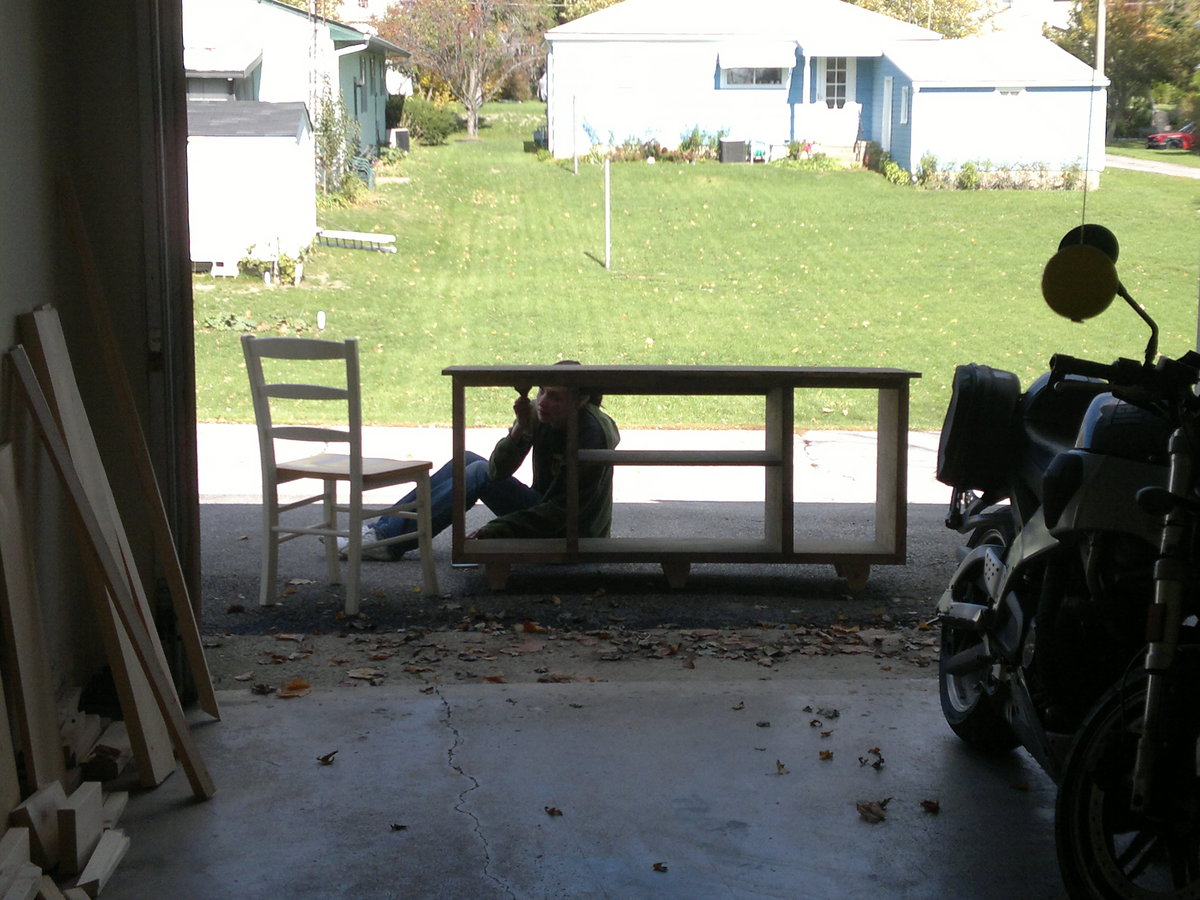
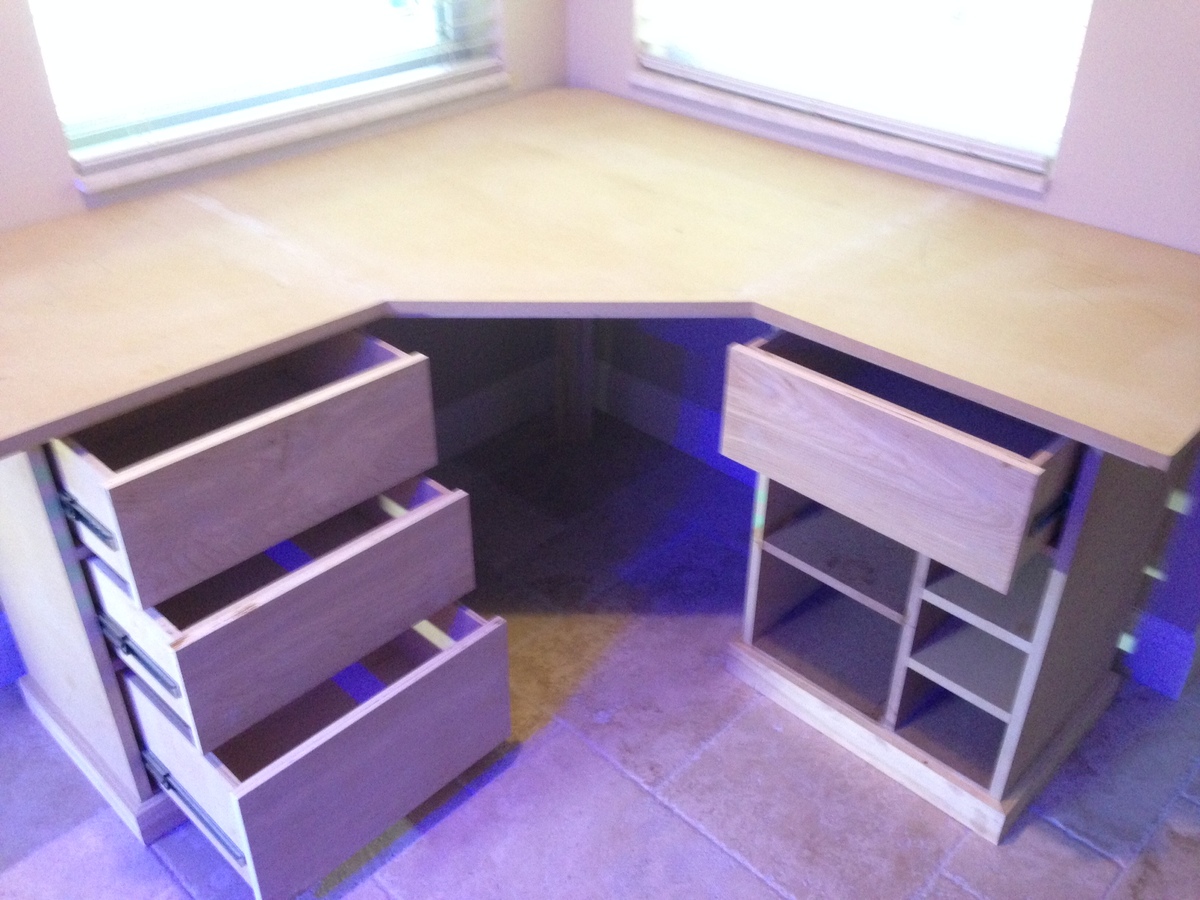
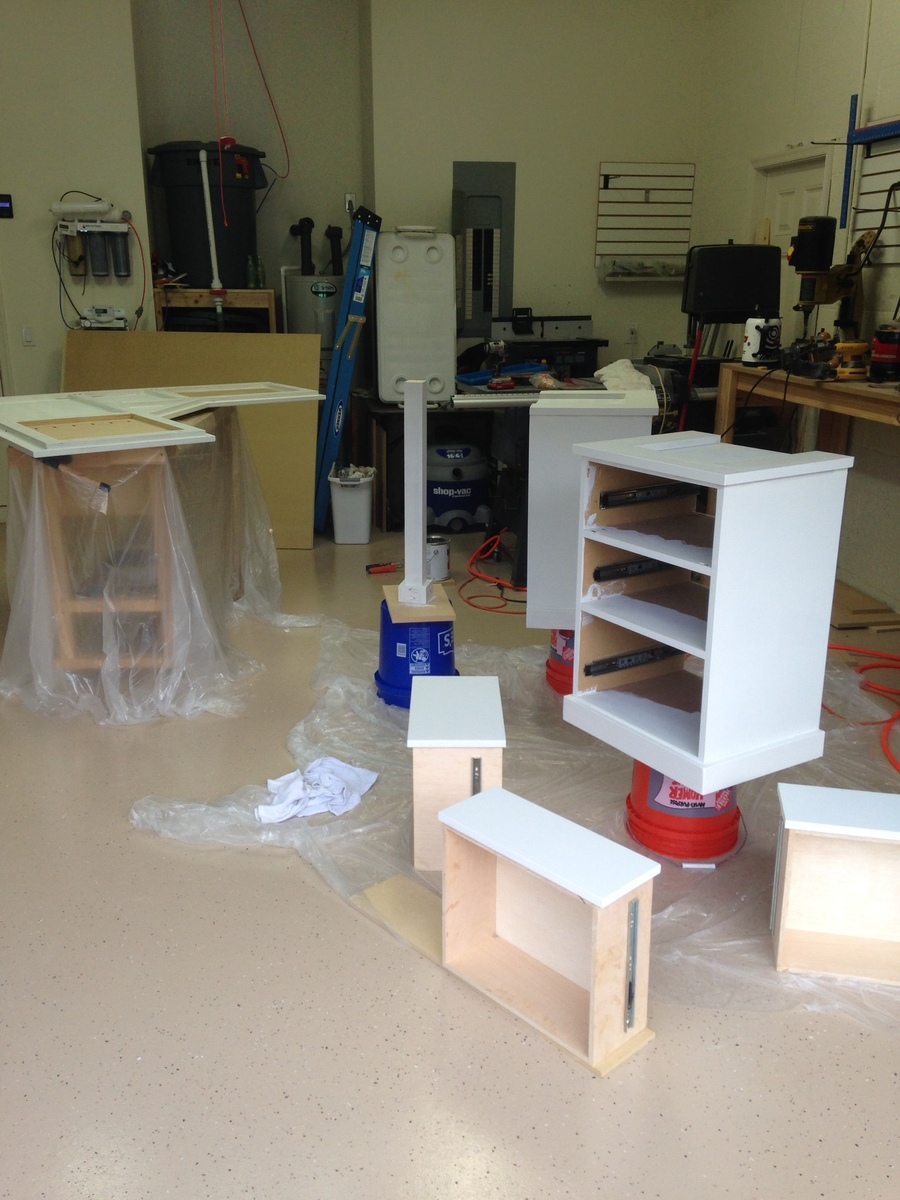
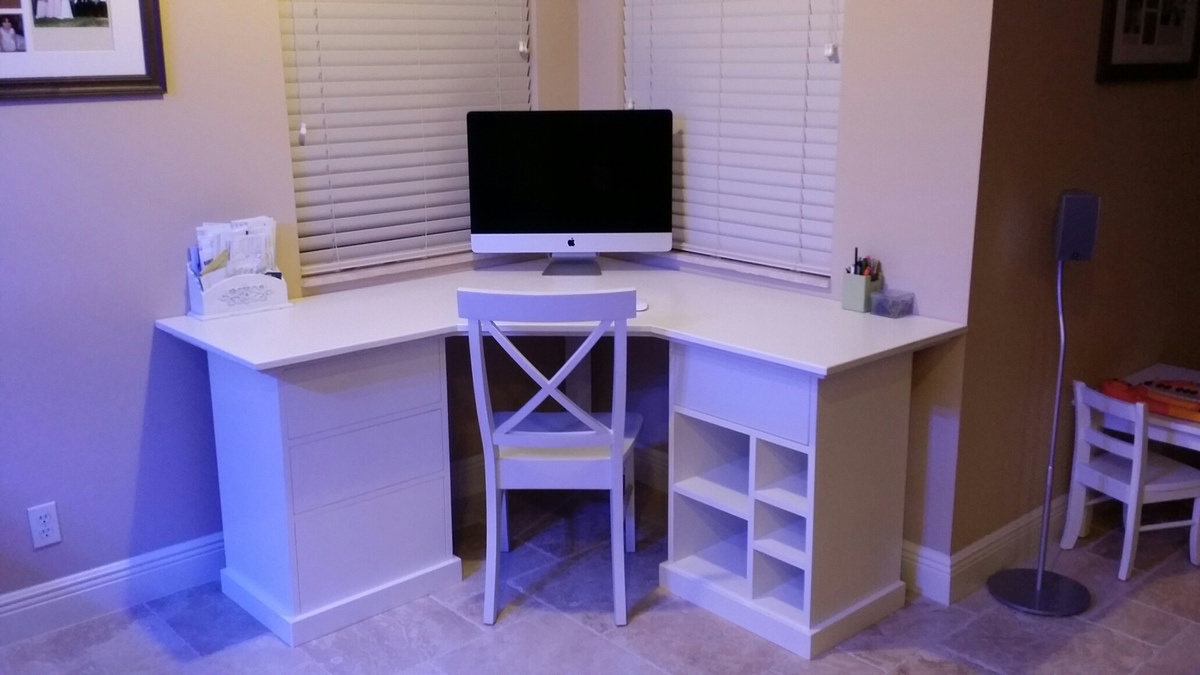
Rustic X Desk
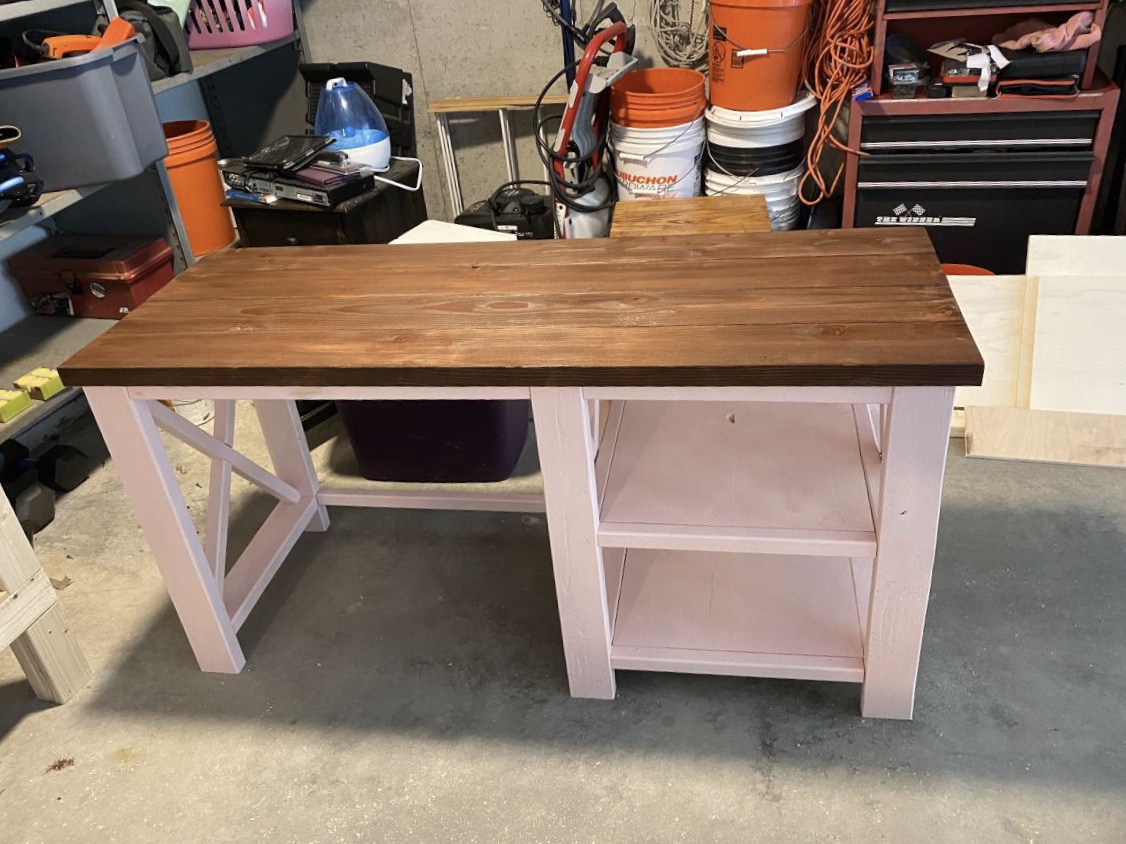
Built this for my daughter’a remote learning space. She chose the color of the base (ballet slipper pink). Minwax dark walnut for the top and 3 coats of poly.
Built from Plan(s)
Built this for my daughter’a remote learning space. She chose the color of the base (ballet slipper pink). Minwax dark walnut for the top and 3 coats of poly.
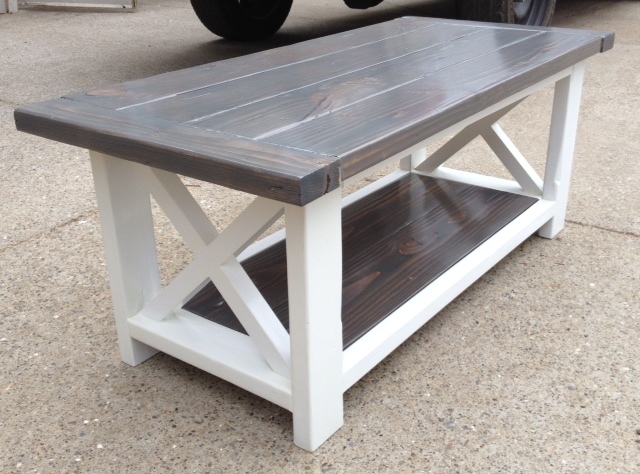
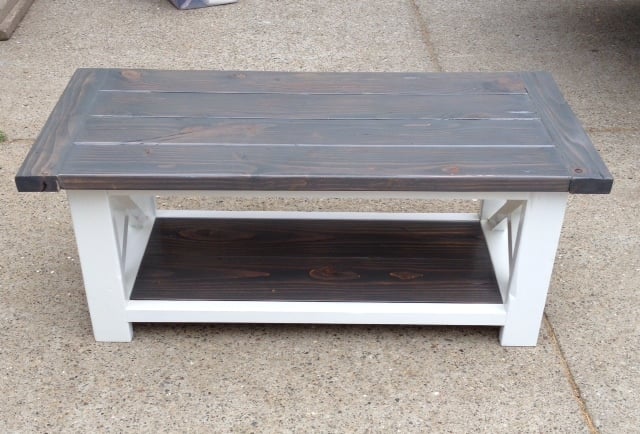
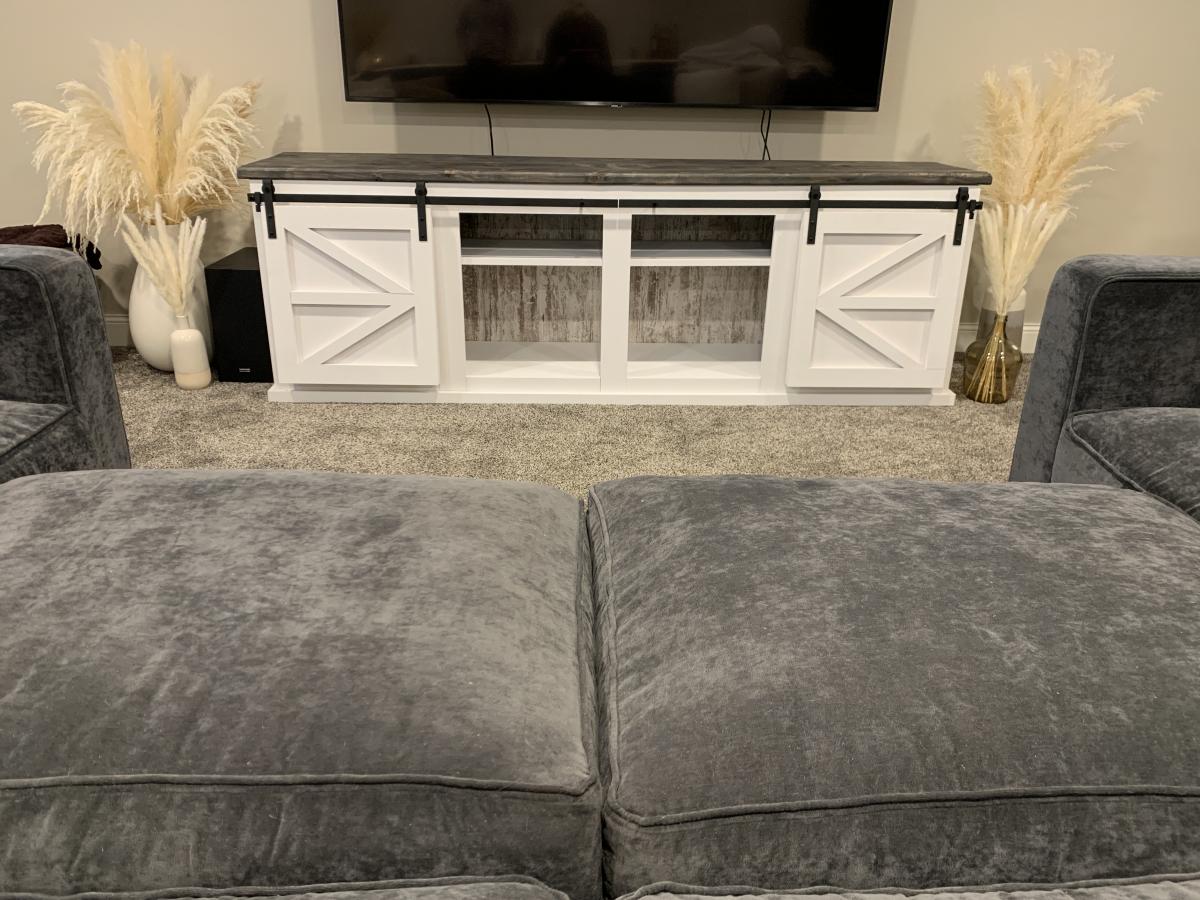
New to woodworking, first Ana-White plan. Changed the dimensions a little to fit our living room decor. Bottom shelf is 2x8's. Ground through the learning curve but pretty happy with the end result. Hand distressed the project. Kreg jig made it much easier. Love this site and looking forward to building new projects!
Tue, 09/09/2014 - 07:32
Hello!
I'm looking to scale this project down for my living room as well - do you mind sharing your final dimensions?
Thanks!
Tue, 09/09/2014 - 08:37
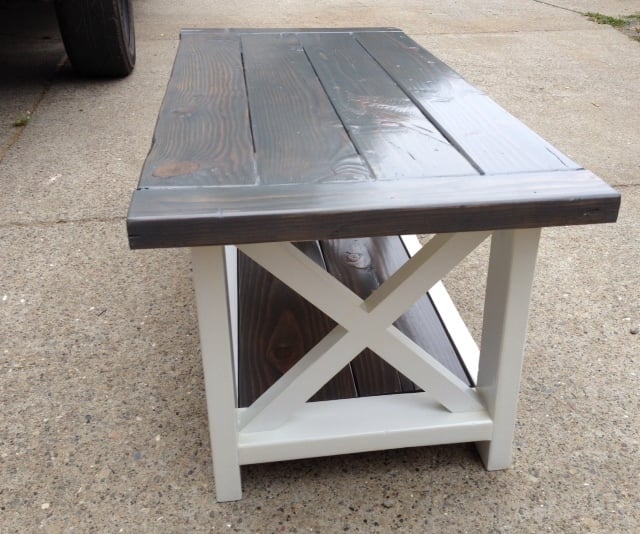
Top surface: (4) 2x6's cut 42" long - which will be 22" wide;
Breadboards: (2) 2x4's cut 22" long - Top surface becomes just shy of 49" in overall length;
Bottom surface: (2) 2x8's cut 36" long;
White frame: 18" wide to the very outside edges,
43" long to the very outside edges,
Hope that helps.
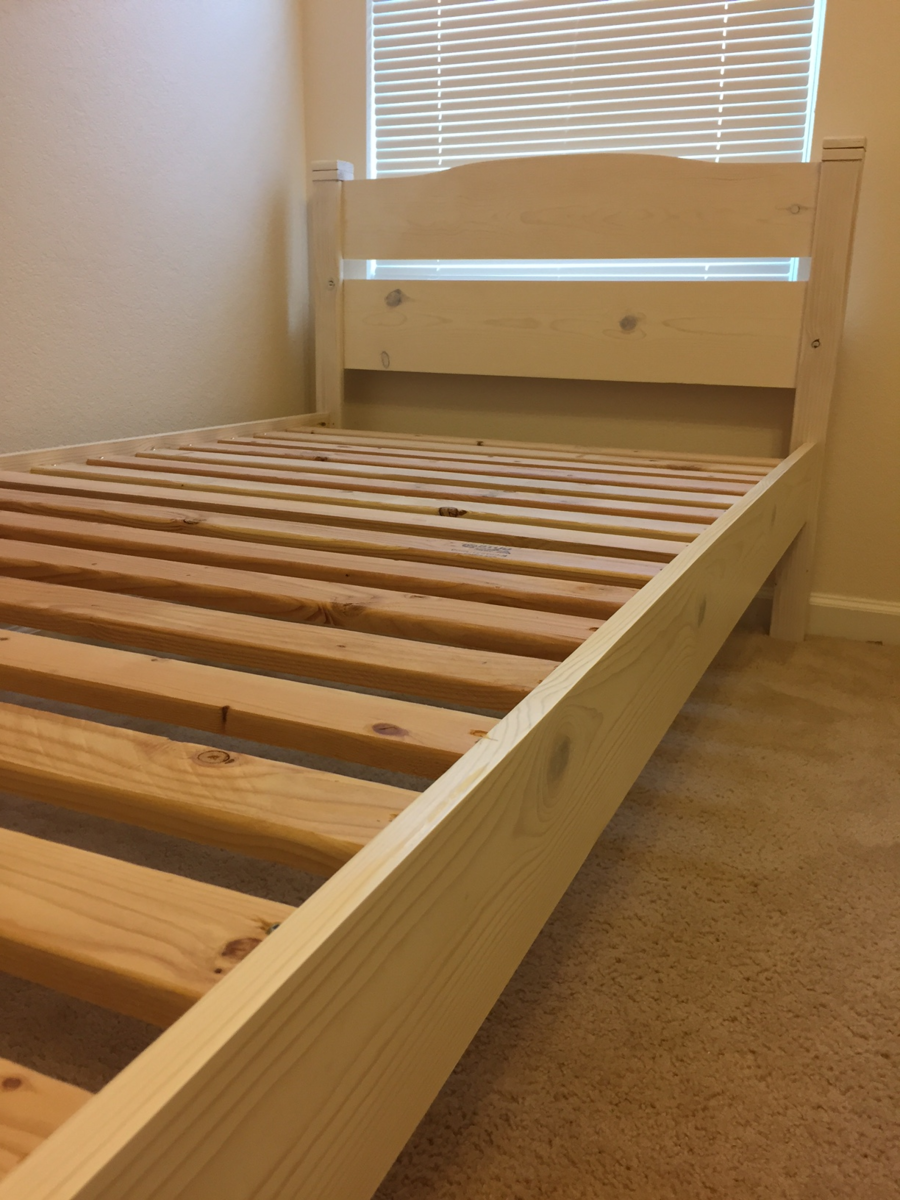
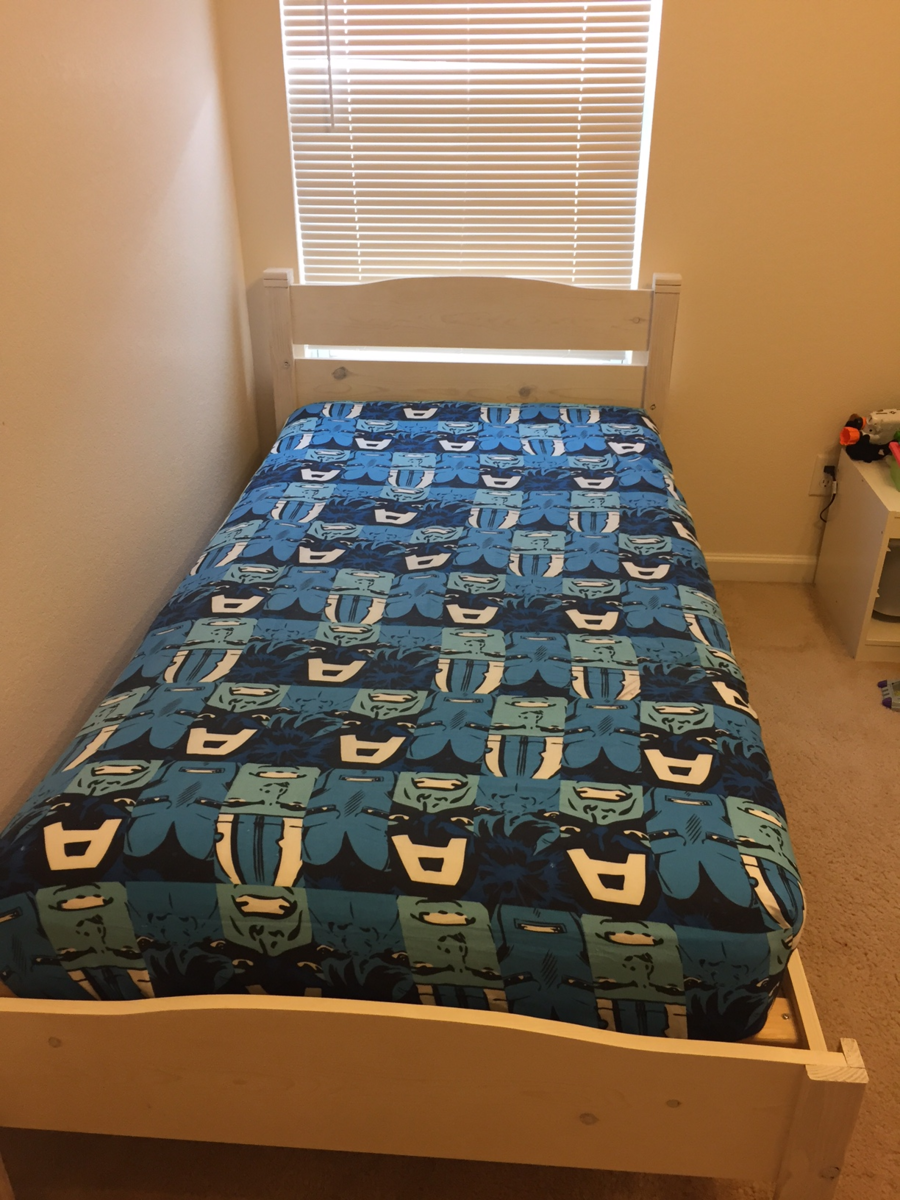
After making the farmhouse table and bench I was excited to try a bed for my next build. I wanted something simple for my 5 year old son that wouldn't necessarily be outgrown in a year or two. I truly like the simplicity of this bed and the price point for making it was even more attractive. His entire bedroom is white furniture but I did not want to completely cover the grain of the wood. At the same time, I wanted to ensure this bed was going to match with the rest of his room. I decided to do a white wash finish and then a clear coat. It turned out perfect; matches his other furniture and still displays the wood grain. The bed was beyond simple to construct. I had two worries prior to starting the bed: the curve on the headboard/footboard and how sturdy the bed would be given how the rails attached to the headboard/footboard. For the curve on the footboard and headboard, I used a scrap piece of cardboard to trace a curve for half of the piece. Once I was happy with the curve I cut out the cardboard and transferred the curve to the headboard and footboard. I did half of the curve so I could guarantee each side would be identical and made it easy to have matching headboard and footboard. I intended on buying some hardware to make the bed more sturdy based solely on the plans. However, once I had the entire thing put together and I (6 foot, 200 pounds) got on the bed and moved around rather violently without any movement. since this bed is for my 5 year old, I have no worries about the structural integrity. For the whitewash finish, I simply mixed a couple ounces of spare white paint I had with water (1:1 ratio). I used a rag to rub the whitewash into the wood and ensure even coating. I completed the project with a satin polyurethane.
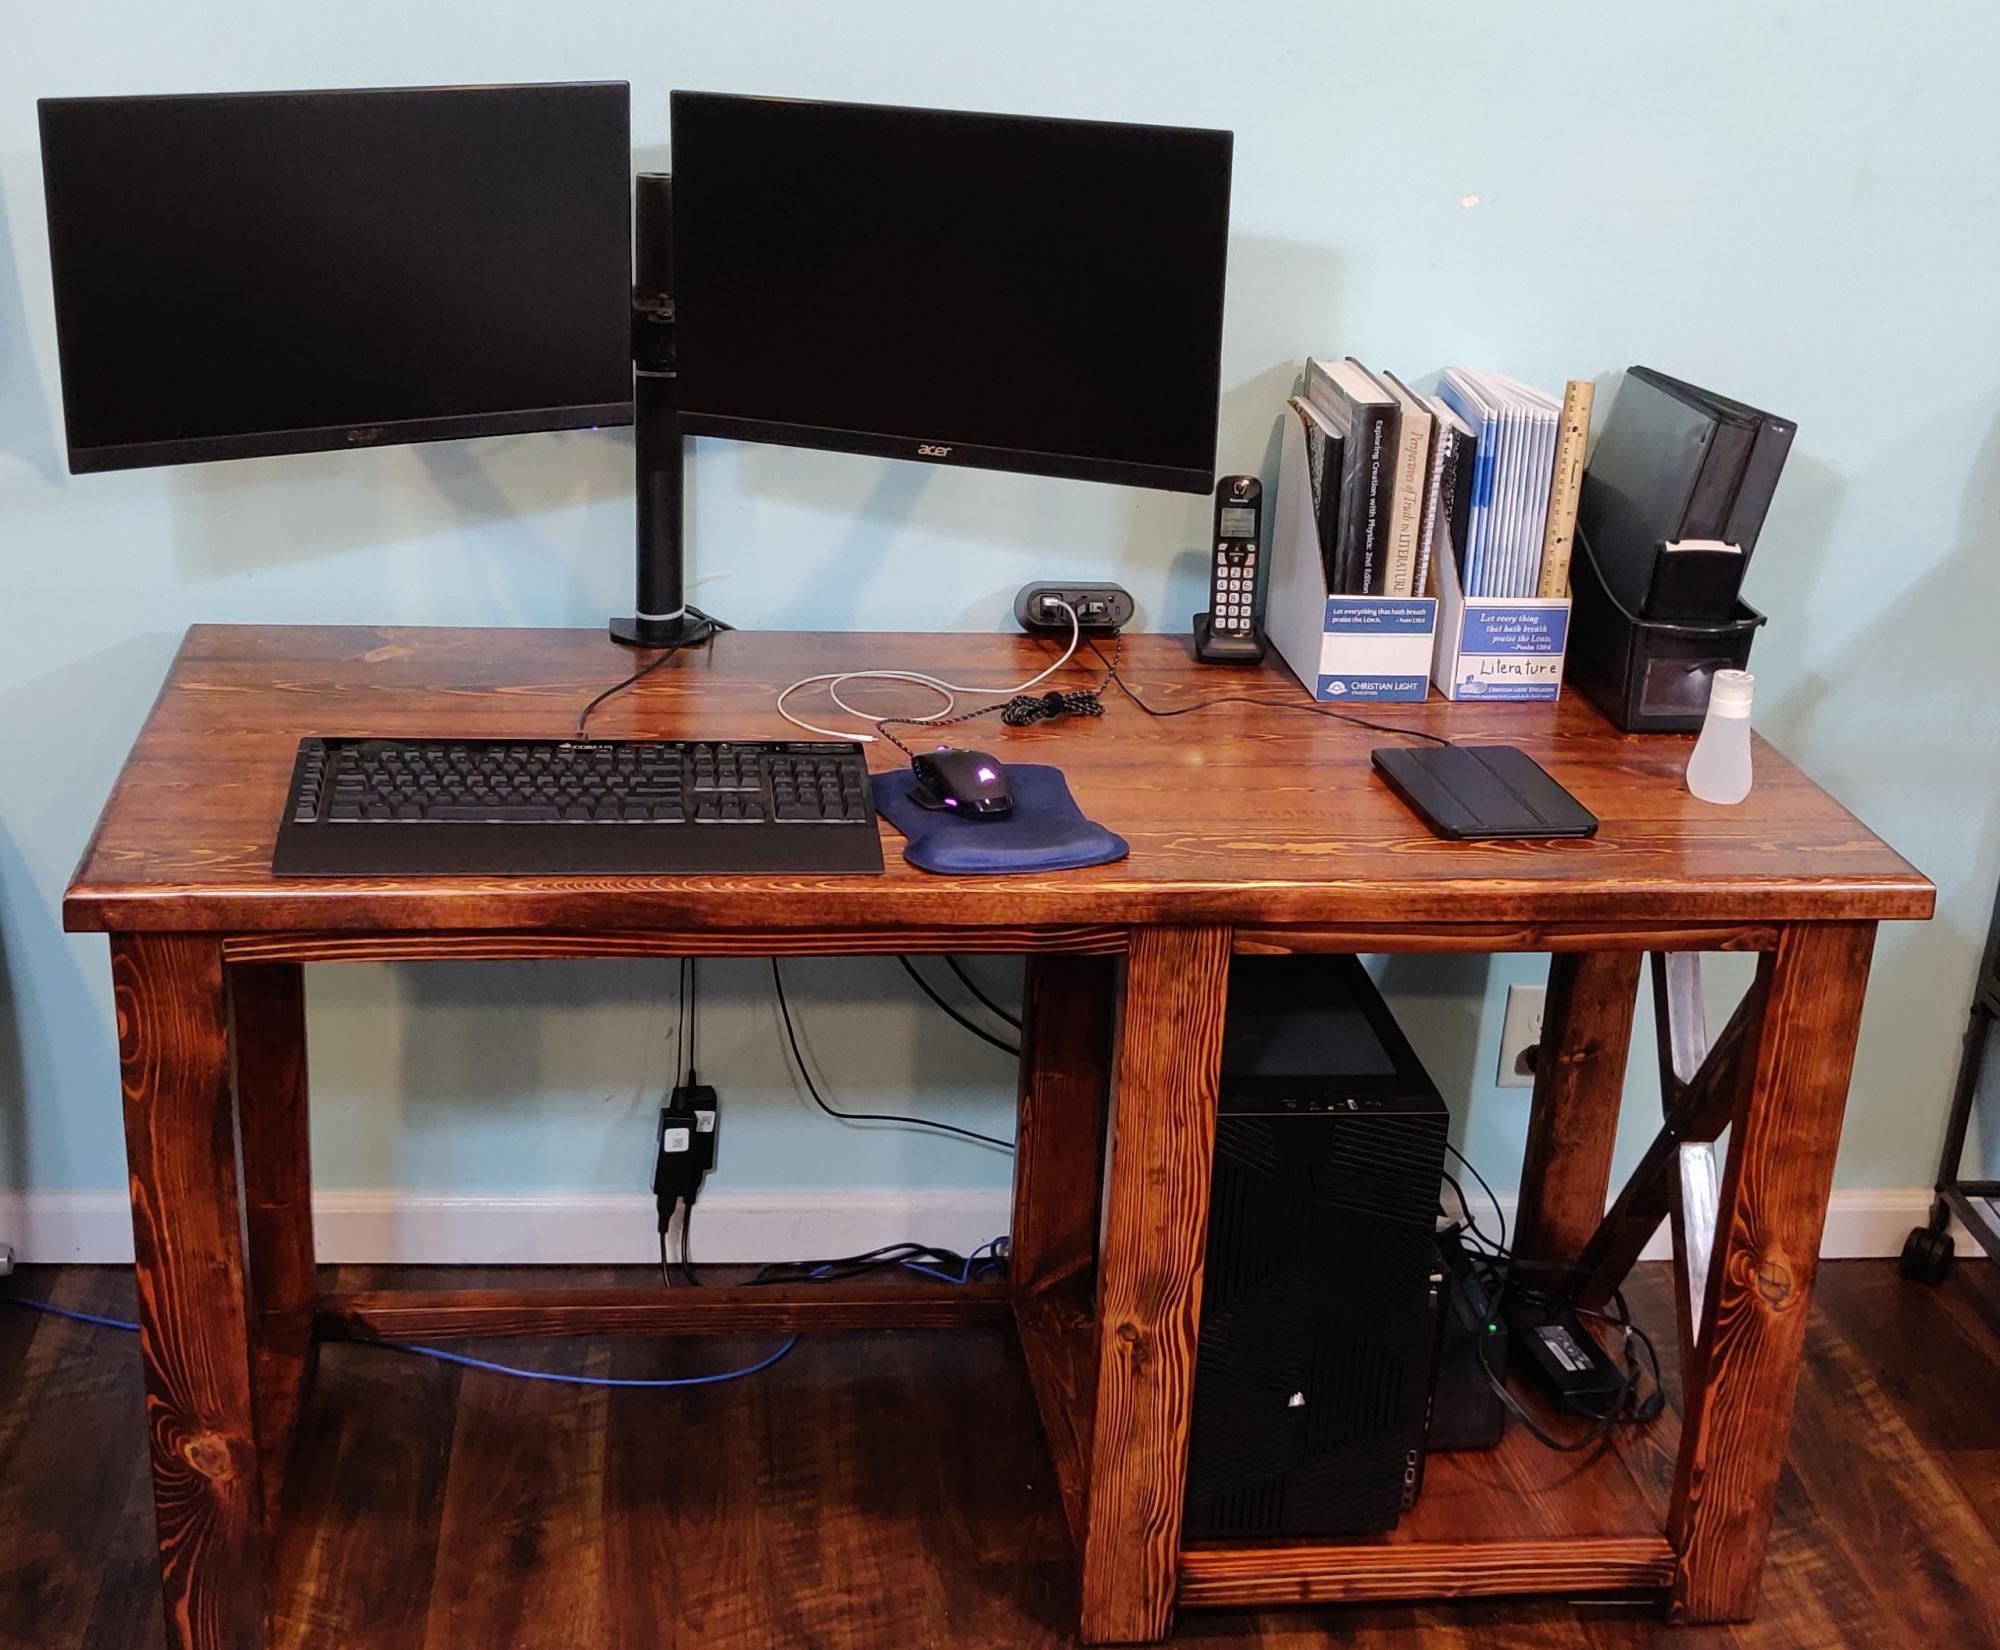
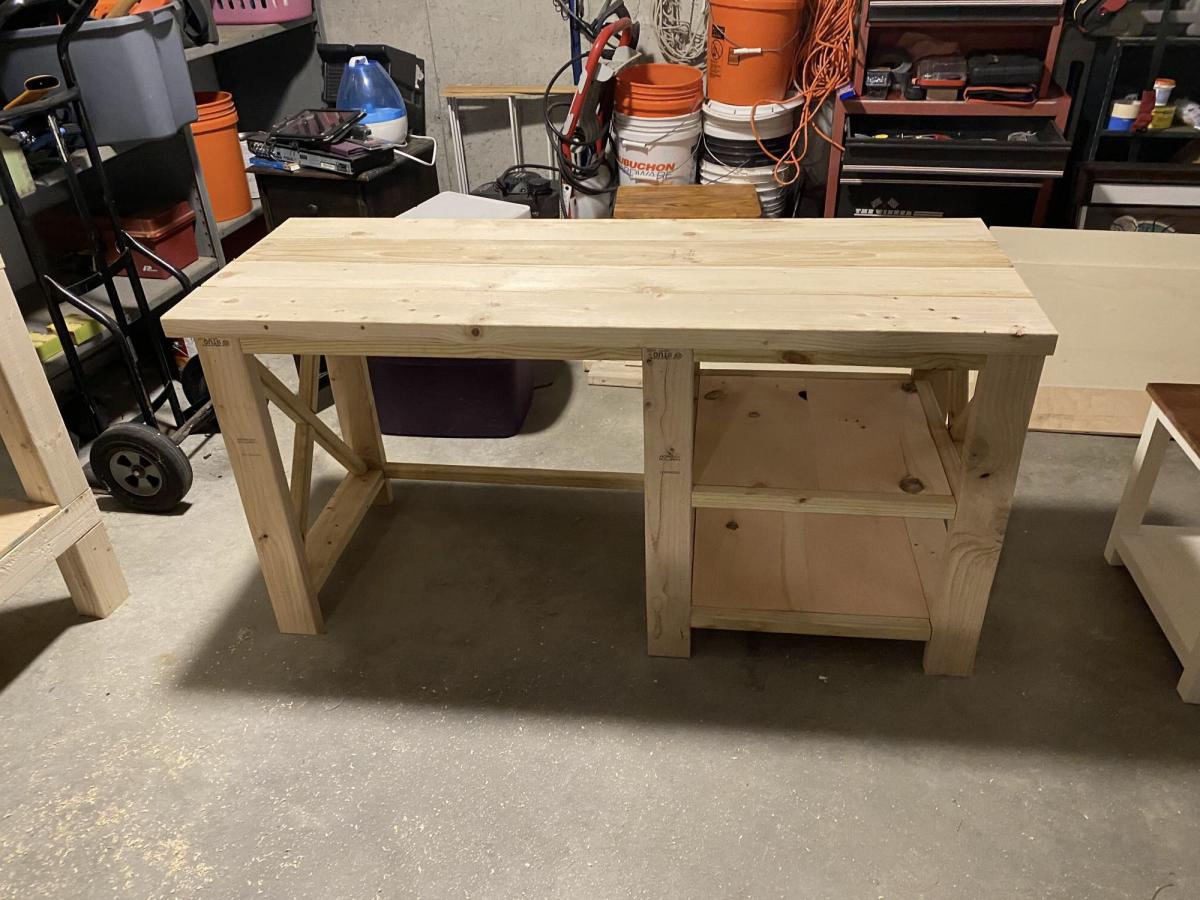
I built this iteration for my second son to give him a spacious workspace for his schoolwork, dual-enrollment activities, and for the occasional moments of kicking back and enjoying a bit of PC gaming.
We stained it with Minwax #215 Red Oak and used Minwax Satin polyurethane to finish ours.
I stuck to the Rustic X Desk plan for the most part and made the following modifications:
1) I used five 2x6 planks instead of four, to give it a 27.5-inch depth.
2) I used a 3/4-inch roundover bit to round off the tabletop to give it a smooth feel.
3) I left out the "middle" X, so my son could have easy access to the "guts" of his computer
4) I left out the middle shelf so my son could stow his PC tower "below deck"
5) Not really a modification; I used a 3/4" straight router bit to cut notches into the 2x2's used for the X detail so they would sort of lock together because I wasn't happy with the way the angles and all were coming out with the two half-leg parts of the X detail.
6) I hated the selection of furring strips at the local big box home improvement store and didn't want to travel all the way across town to see if the "lumber stores" had anything better, so I ended up milling my own on my table saw from cherry-picked 2x4 lumber. It was cheaper than buying the premium pine to boot, since a 2x4 would give me a pair of 2x2s and leftover 1/4x2 that I'll be able to run through a planer and turn into something useful. Not a modification, just more of a "if you're plagued with lousy selection, try this instead" idea.
7) Installed a Wiremold WMC220BK convenience 120V/USB power center to make it easy to plug in a desk lamp, charge a cell phone, etc. without making a cable mess. (https://smile.amazon.com/dp/B0768R2JDG)
8) Added felt pads under the feet to make it slide easily on wood/vinyl flooring
9) I set the bottom of the leg assemblies 1-1/2 inches above the floor instead of 3 inches, so our indentured robotic servant "Mo" won't get trapped underneath any of them. He isn't the sharpest tool in the shed but at least earns his keep. Mo is a late-model Roomba 675, if any are curious to know.
Between the "custom" milling and the fact that I should have run all this 2x4 and 2x6 through a planer to cut down on all the sanding and resurfacing needed, this ended up taking a lot longer than the initial couple weekends to build plus the staining and finishing time. I'm in the middle of building a second one of these with some slight modifications since the need/use case is a bit different. I'm also planning a third revision and build that will include some "geek-friendly" customizations, namely integrated cable management and will have two shelf bays instead of one, just half as wide (a single 1x10 on the left/bottom and another 1x10 on the right/bottom, with the seating area in the center). The third "generation" will be a Christmas present for a computer science student (who consequently also graduates at the end of this fall semester).
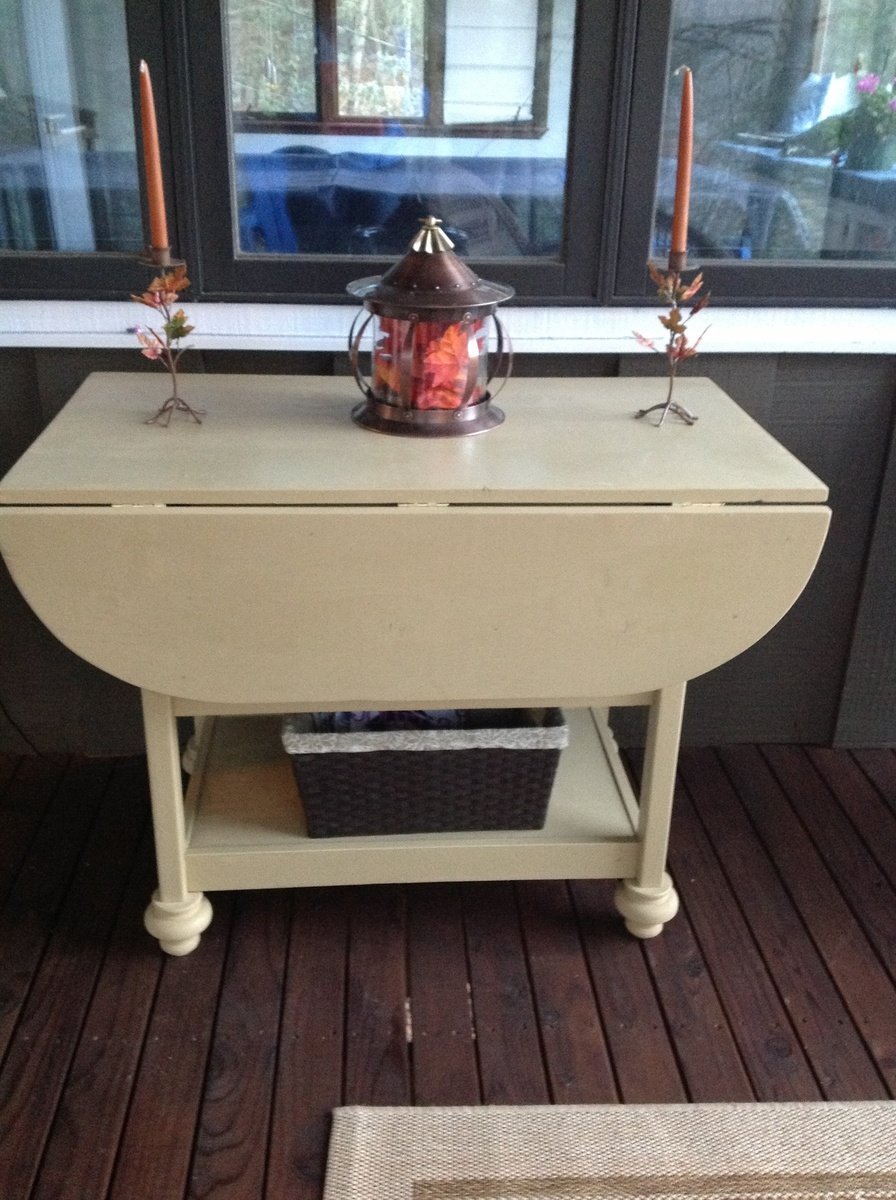
This table is perfect for our screened in porch at the lake house. Everyone seems to gather there so we have rockers and casual seating. When we want to eat out there we just open the table and move it to the center.
Thu, 11/29/2012 - 04:22
NCLimo...you do really excellent work. I shy away from curves because my jig saw has a mind and GPS of its own. And to build this table in an afternoon is amazing. I would probably take several days. Keep the projects coming and offer any advice you can throw my way.
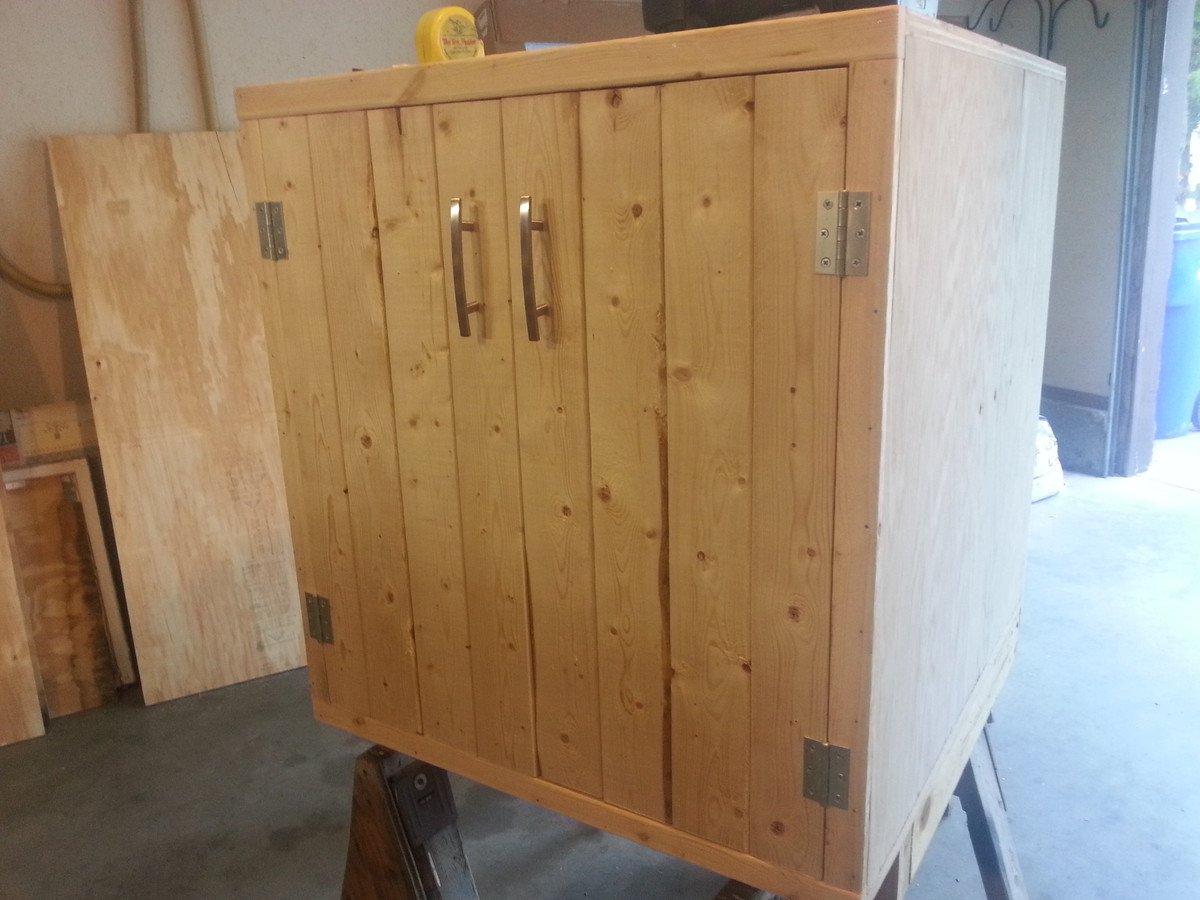
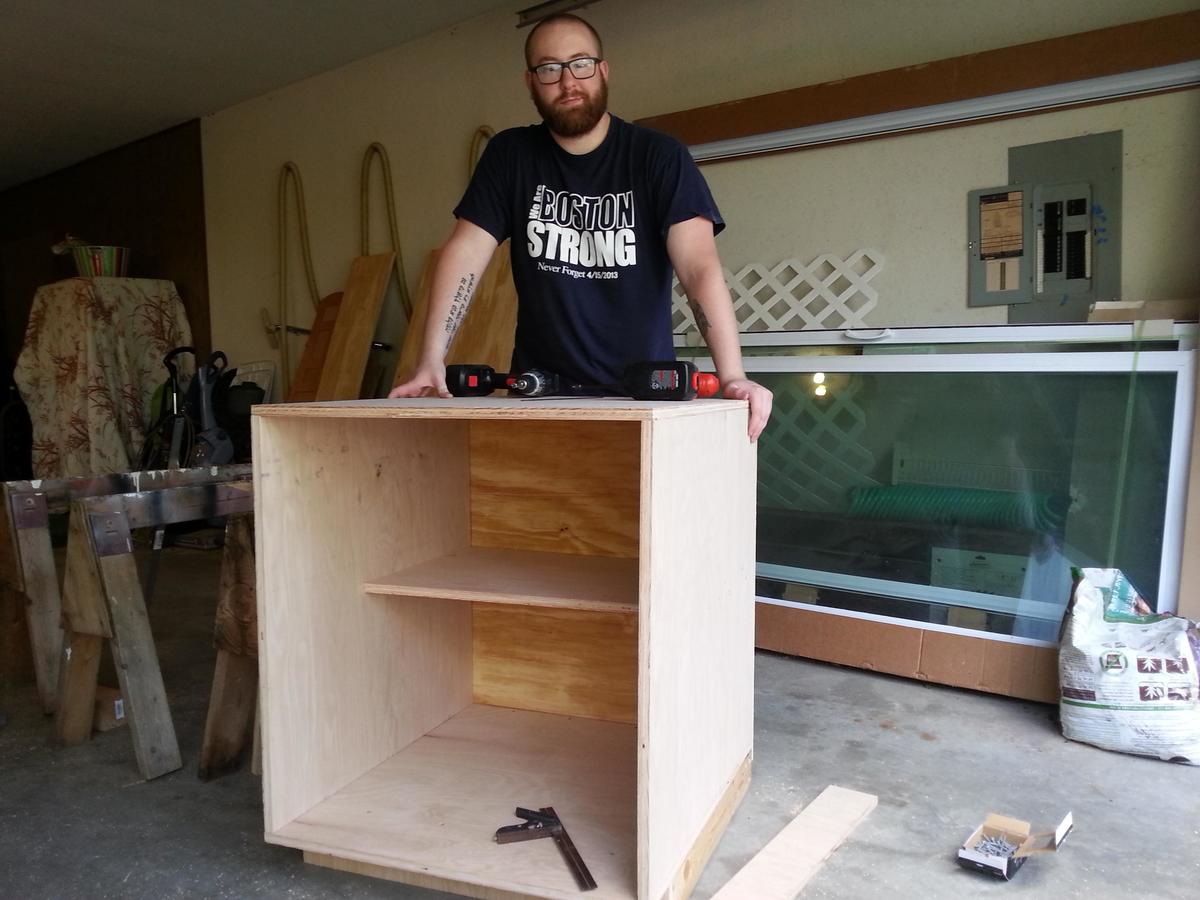
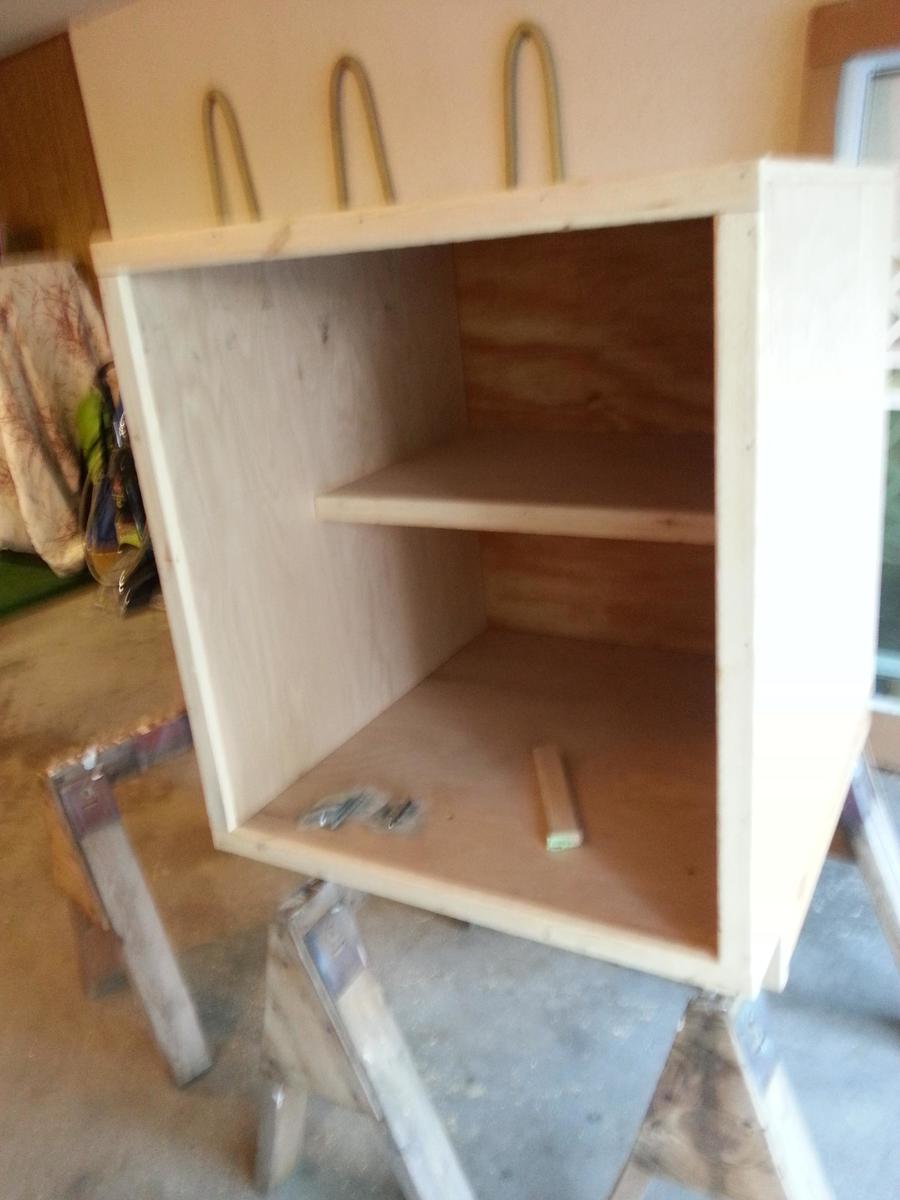
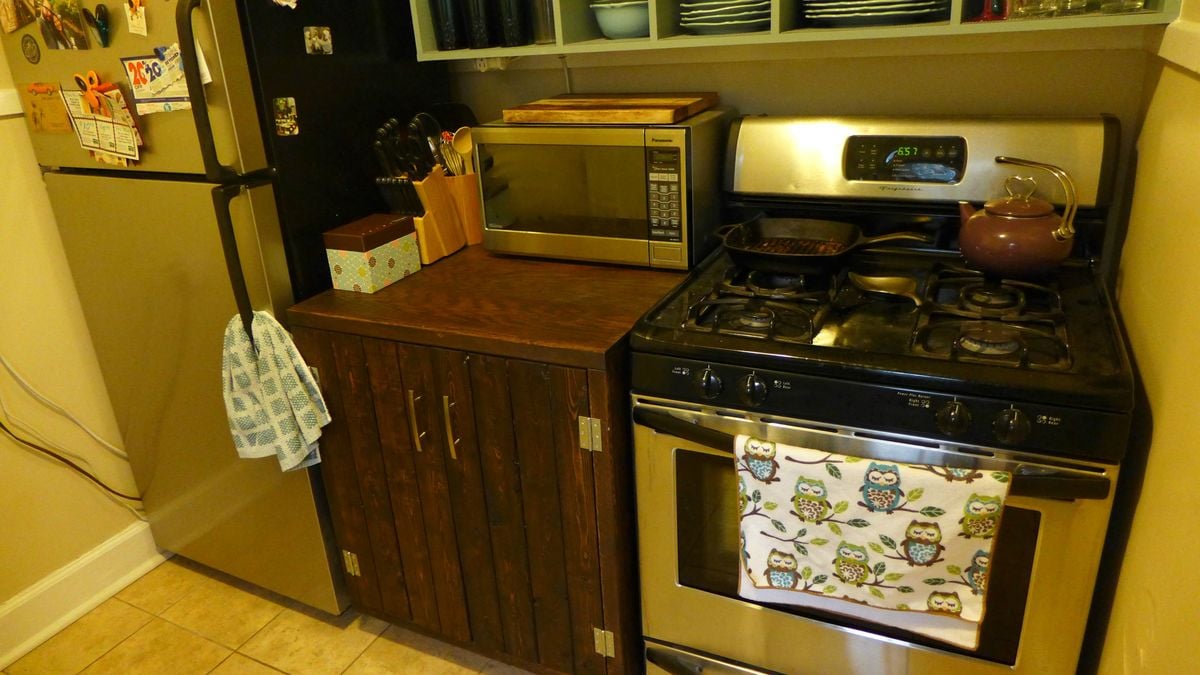
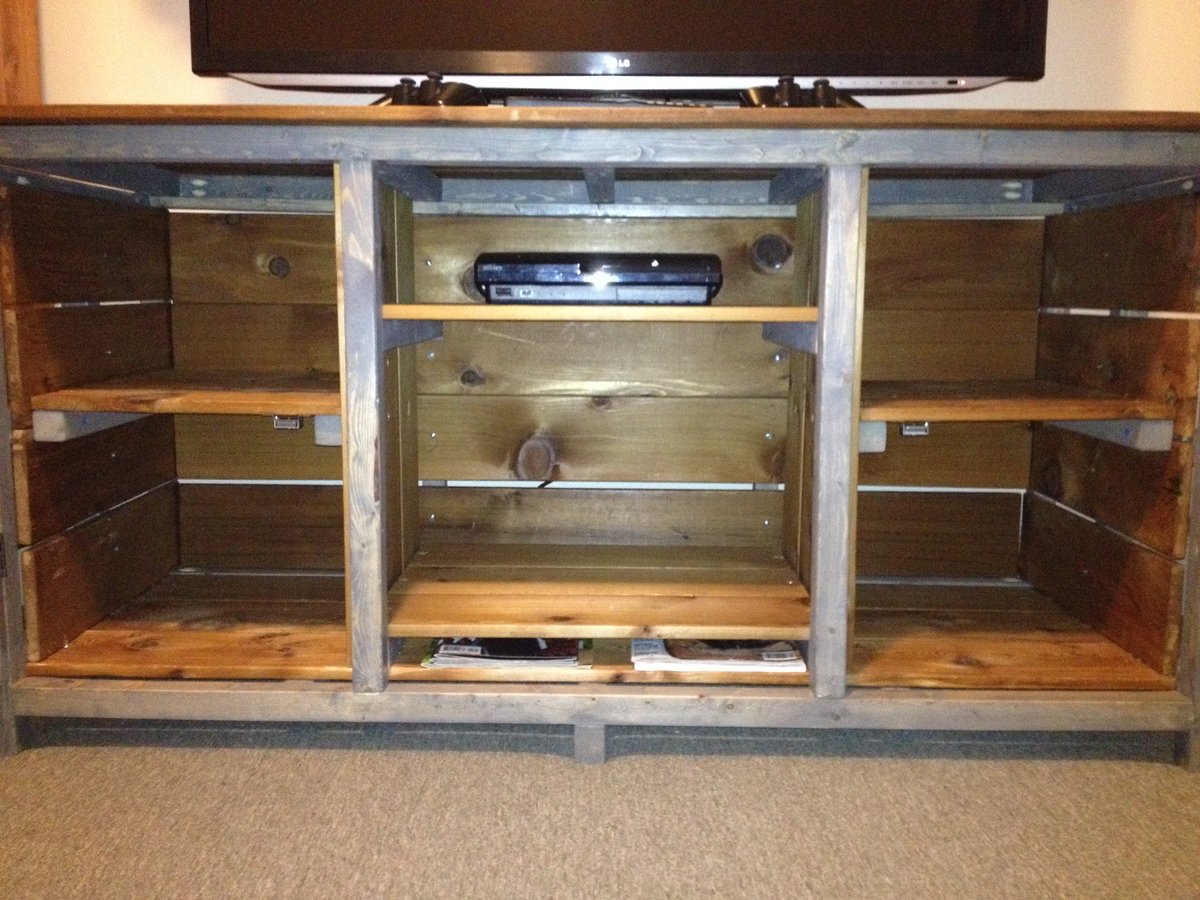
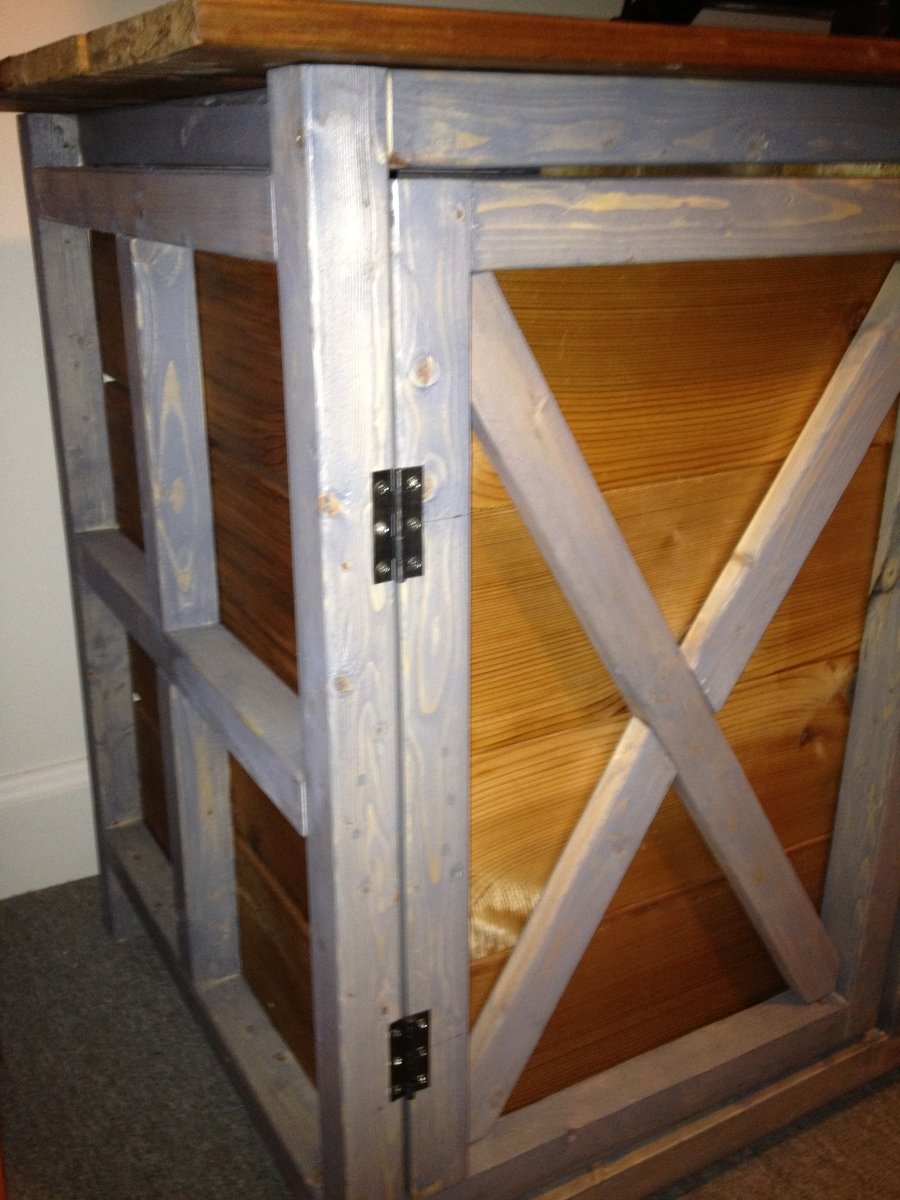
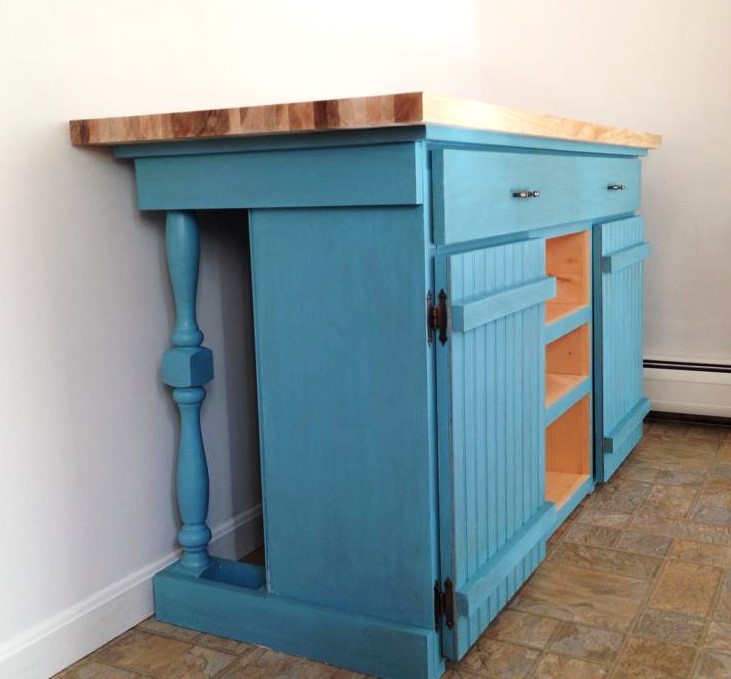
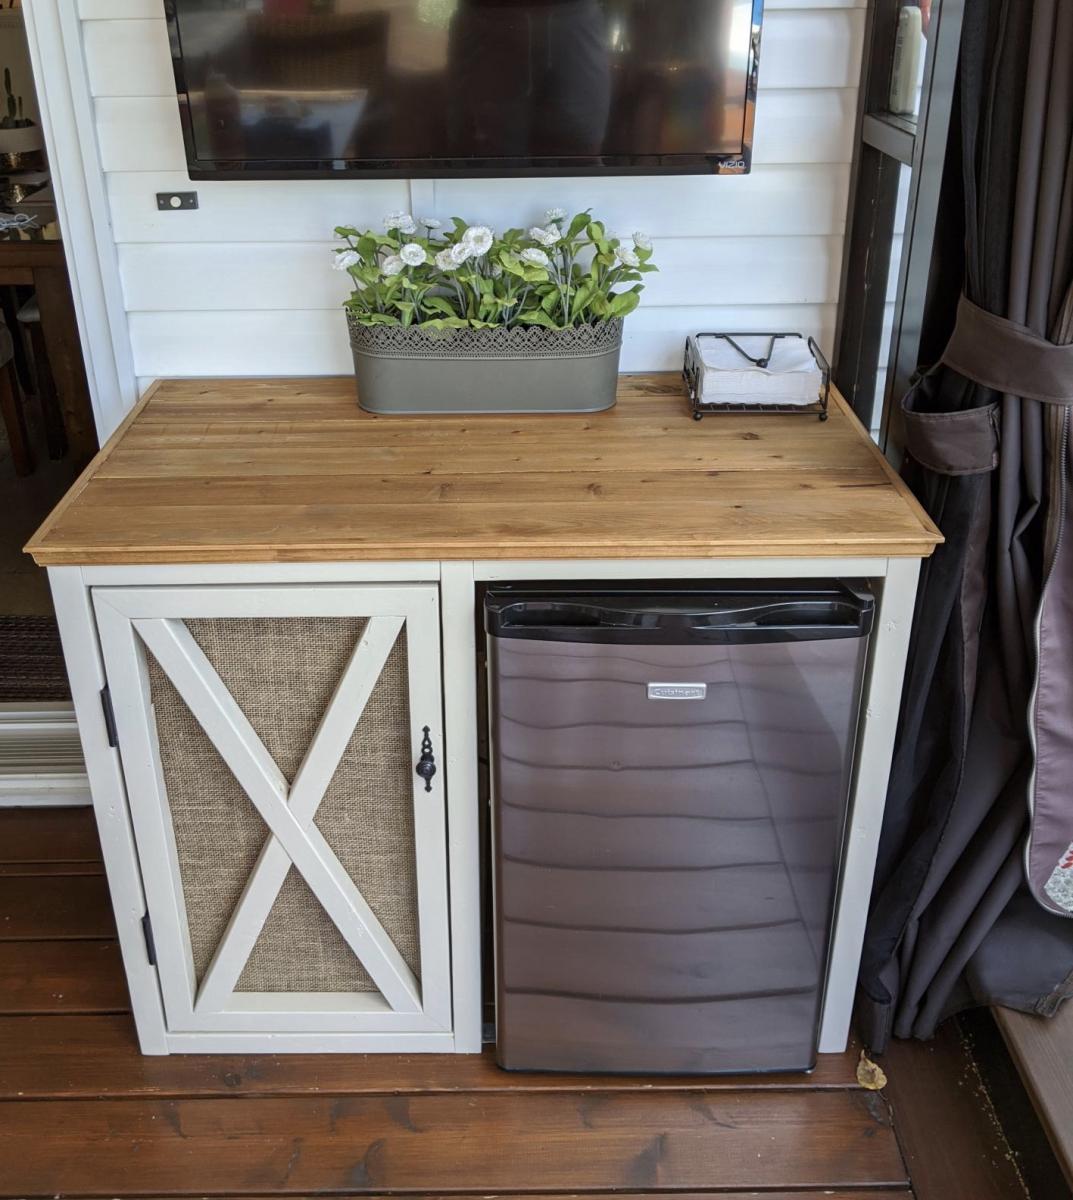
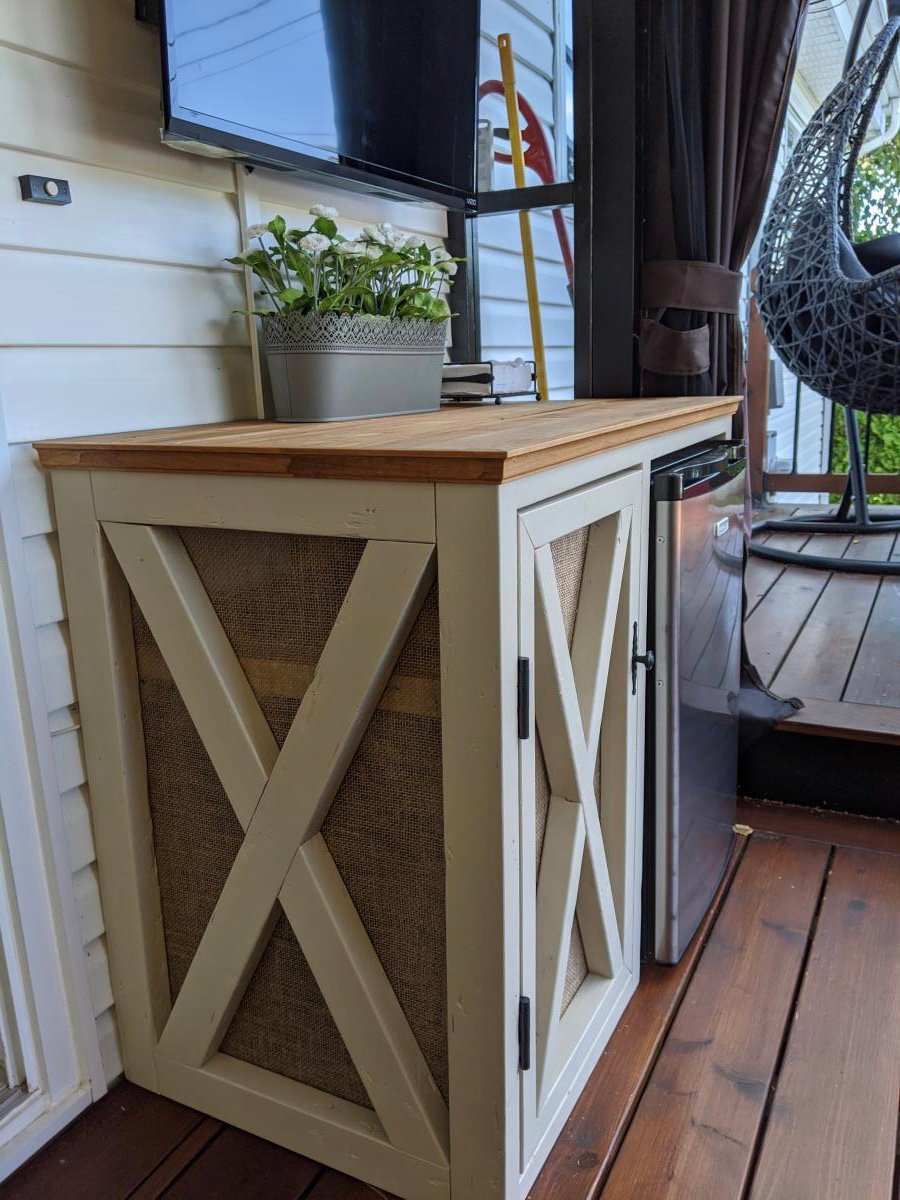
Made this cabinet to go between the fridge and stove in my kitchen. I based it on the Emerson plans (although heavily modified) because I love the looks of that buffet. Came out huge and quite square (its about the size of a washing machine), and it holds soooo much. Great to have that much extra storage in the kitchen.
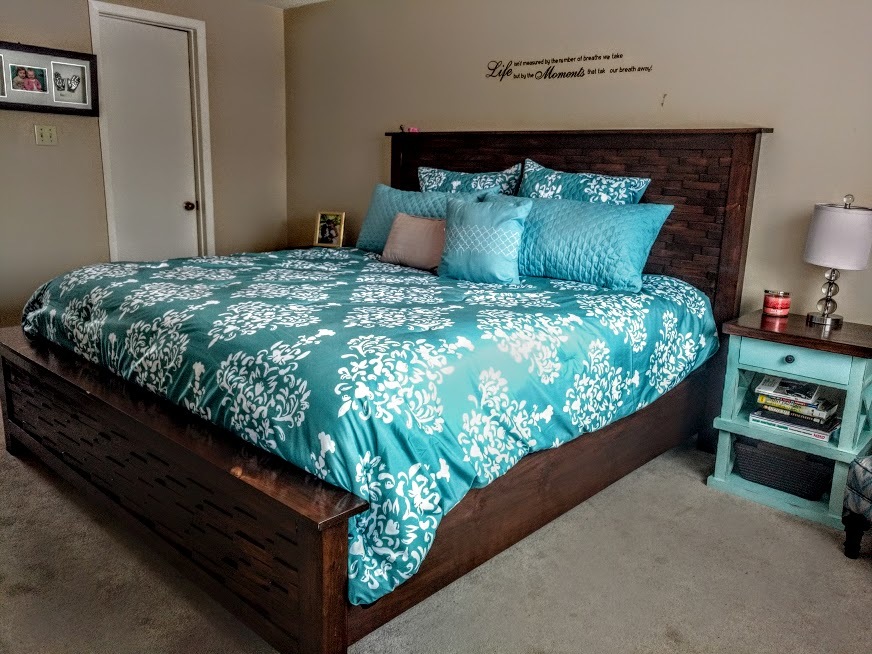
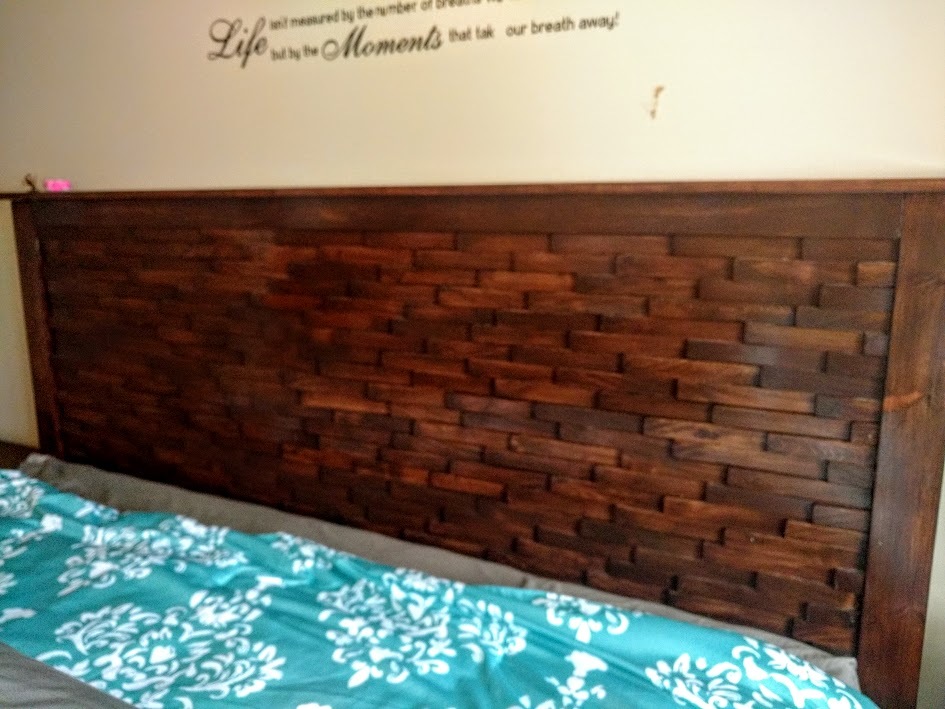
my first grown up furniture! I didn't start small lol. I listened to the advice of others who'd made the bed and sanded and stained each shim individually. Lots of work, but well worth the time and effort! It did take me all summer lol. I used minwax gel stain 606 and used a glossy varnish. I did make matching night stands, with a plan from another website. Super pleased with how it turned out!

Thank you Ana for the plans!! I haven’t built anything in almost 20 years, My daughter and I built these together!! It was a great way to spend time together and we are now planning on building the matching coffee table!

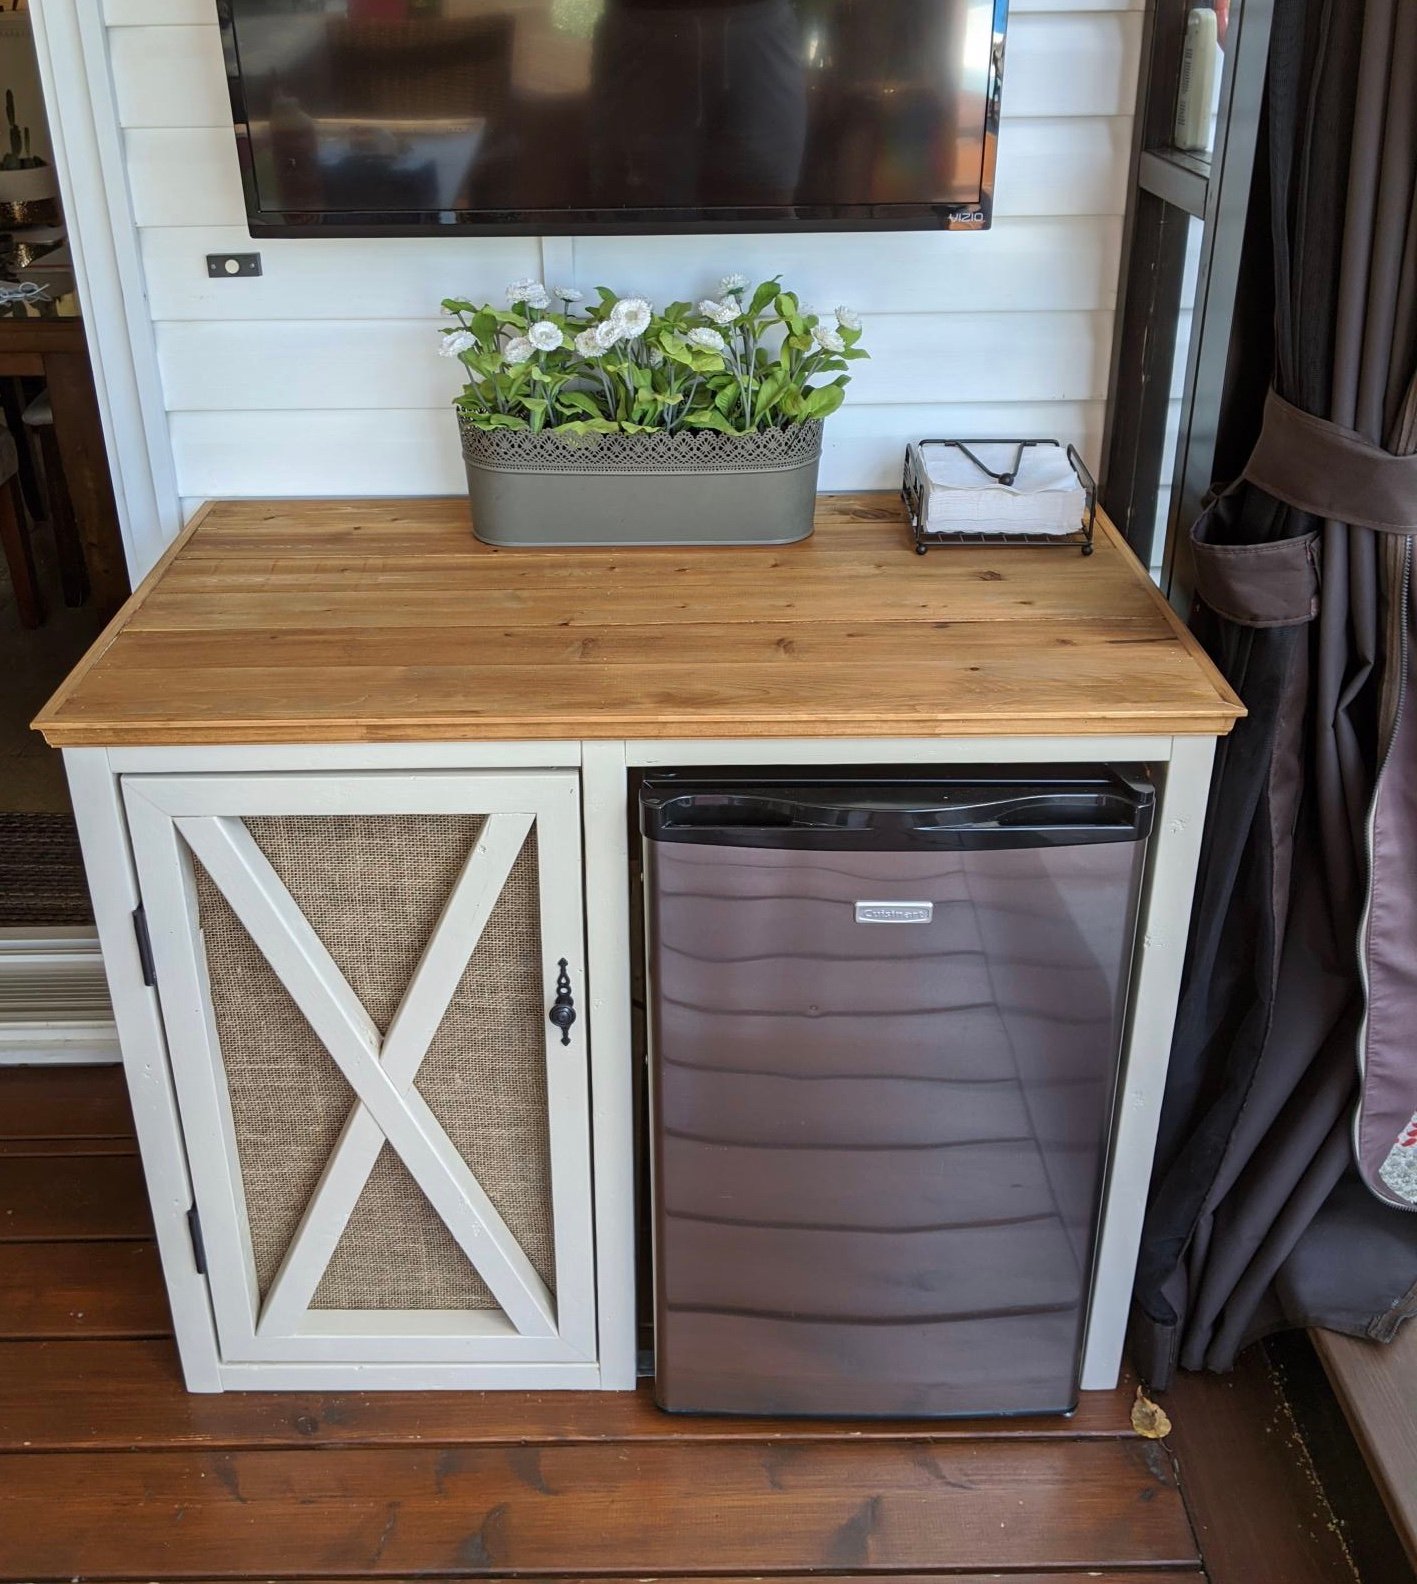
This was my first project from scratch.
I used the following resources:
Kreg Jig
Table Saw
Random Orbital Sander
Jigsaw
Bosch Power Boss 360 Radio (for my sanity)
I used the following materials:
2x2 Furring Strips
1x2 Furring Strips
1x6 Cedar Planks
1 1/2" Pocket Hole Screws
1 1/4" Pocket Hole Screws
2 1/2" Pocket Hole Scerws
Minwax Prestain Wood Conditioner
Minwax Classic Grey Stain
Minwax Fast Drying Polyurethane
Magnetic Touch Latch
Hinges
Handles
*Project Idea was based on the following item:
http://www.porterinternationaldesigns.com/ge5016-plasma-tv-stand.php
I altered the design and materials to fit my needs.
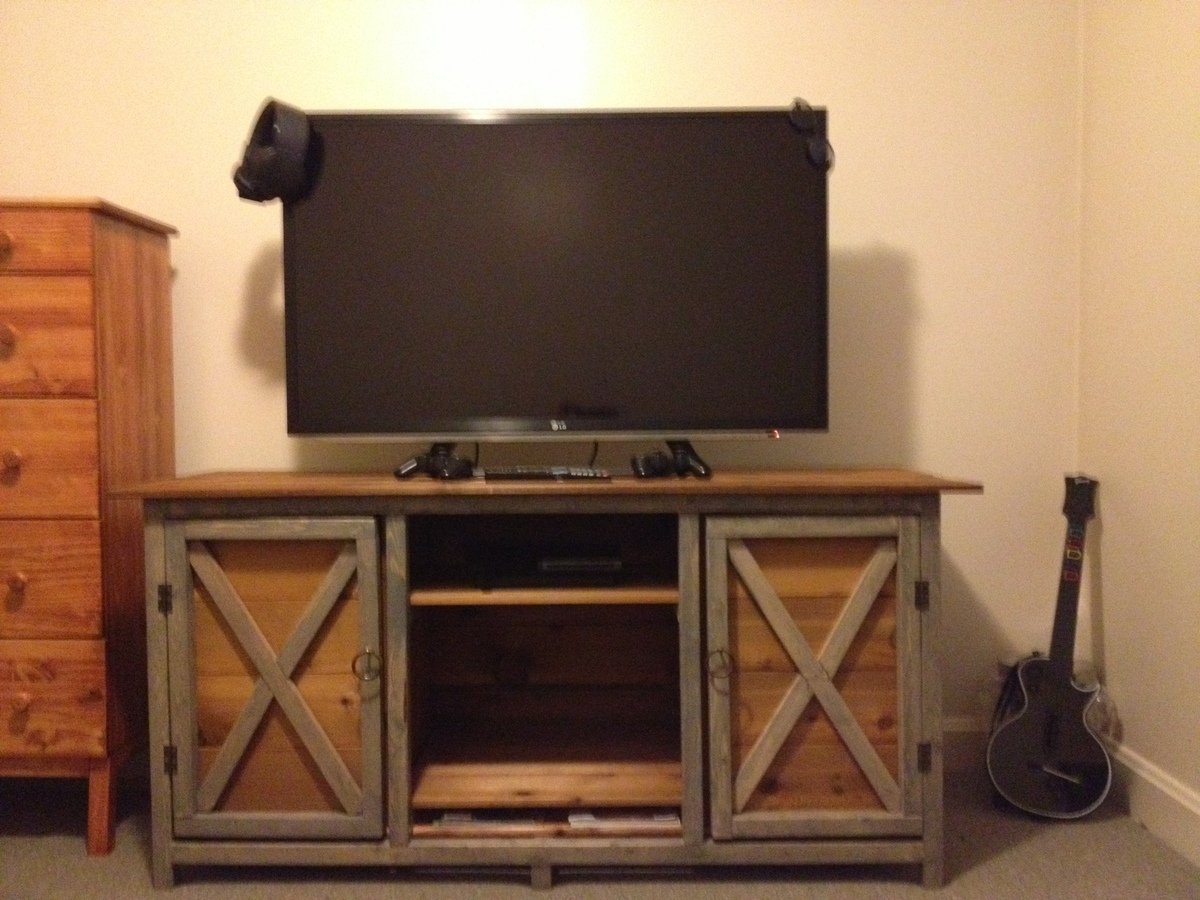

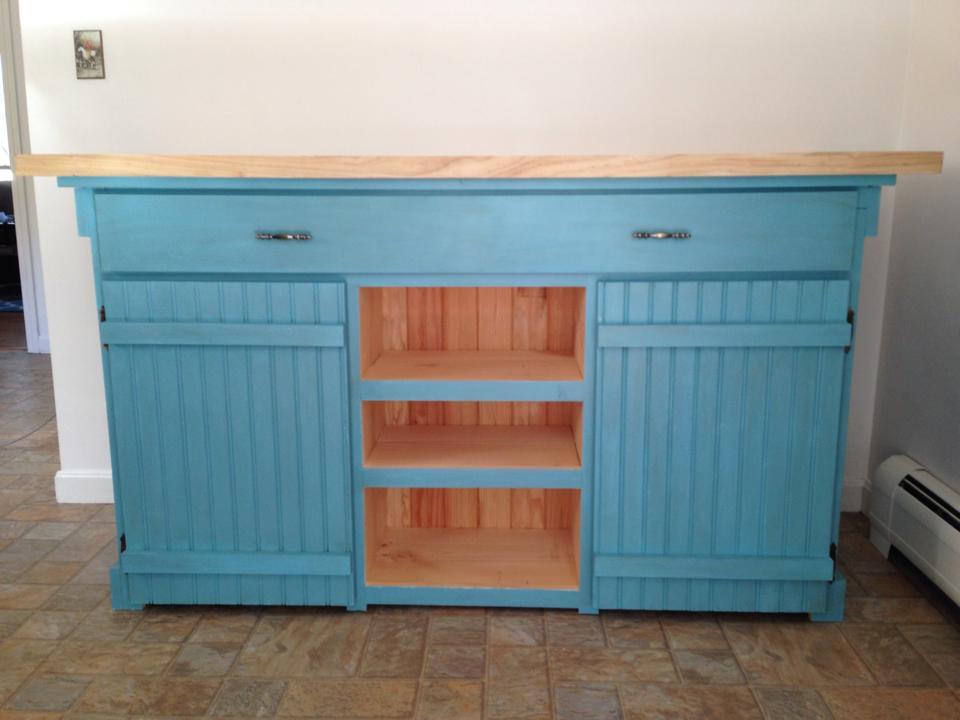
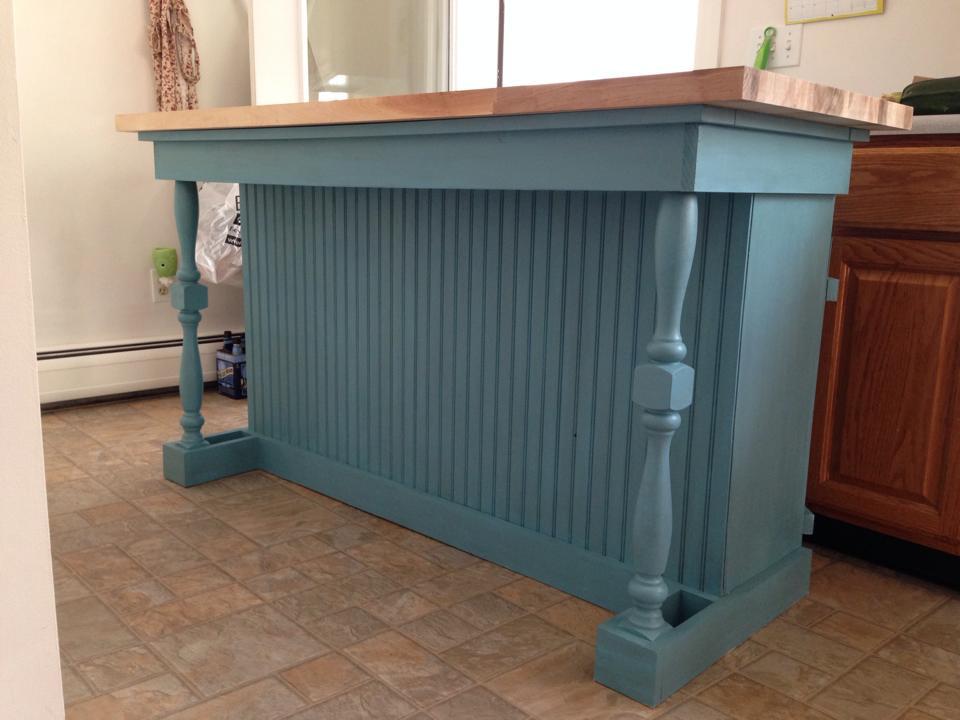
I found the bead board and post for the legs at a reclaim store. I had so much fun doing this!!
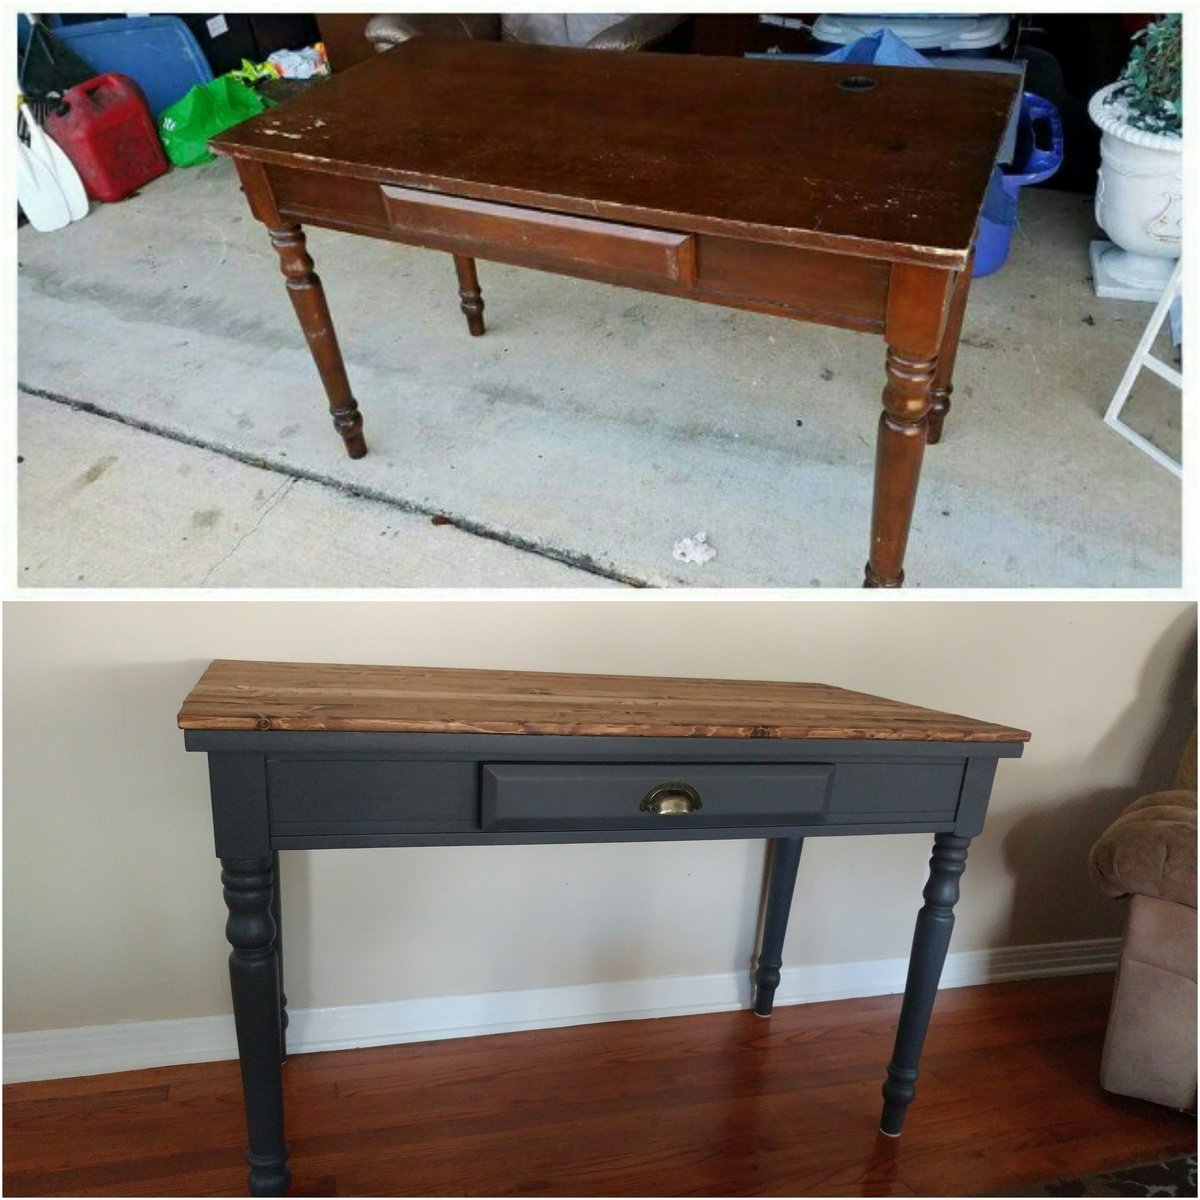
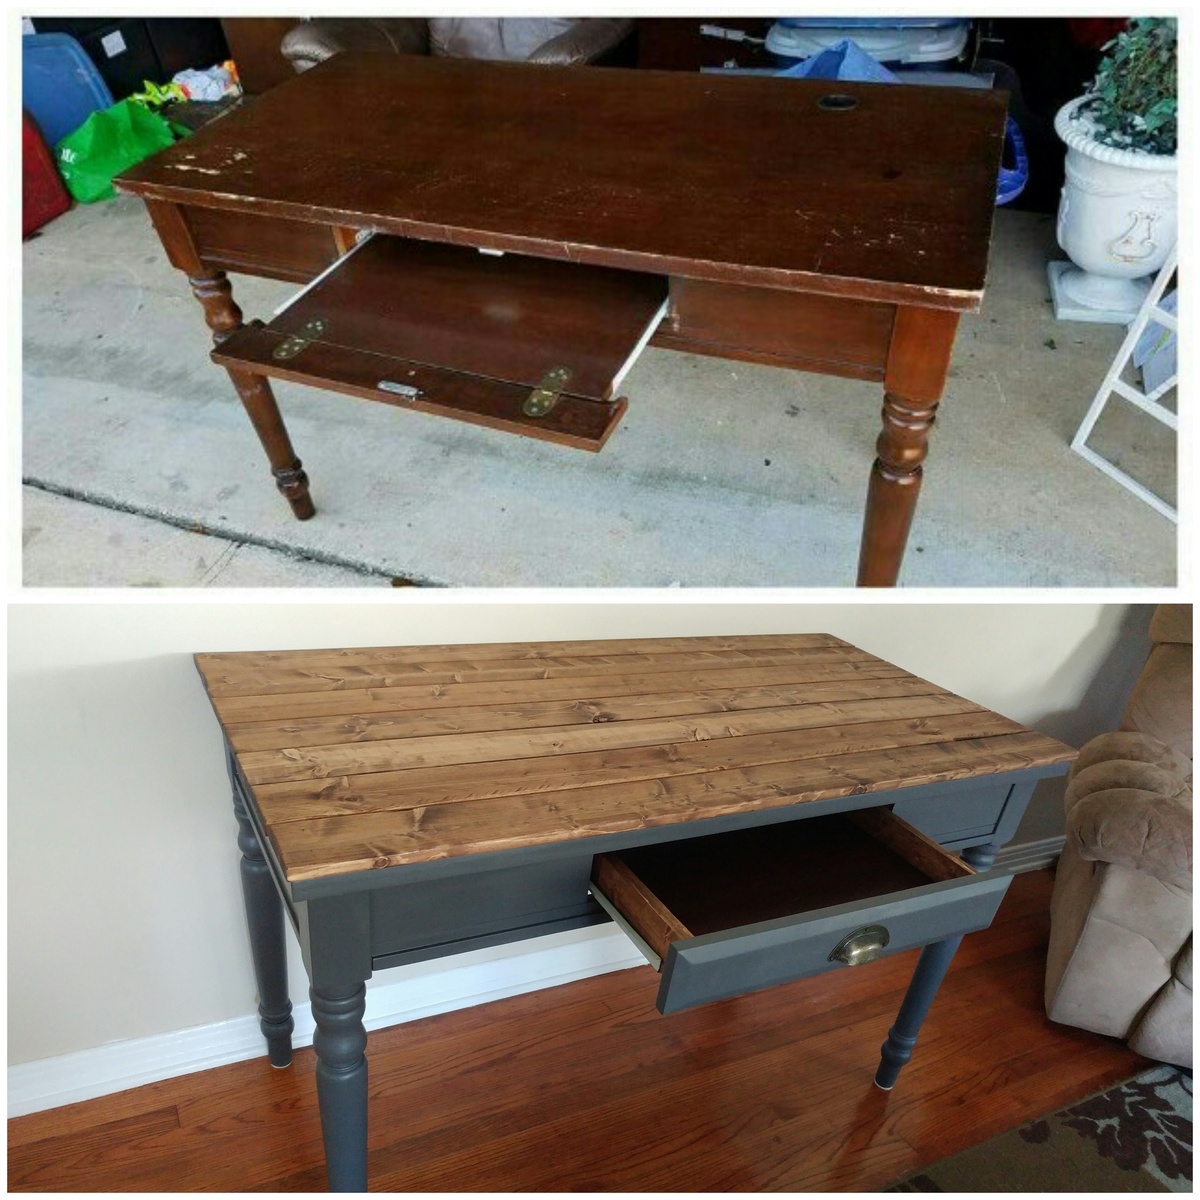
Found the writting desk on an online yard sale site for $25. Desk is all wood except the top which is wood with a laminate overlay. The top had severe water damage and could not be reused. I used 1 x 4 pine furring stipes to make a new desk top and frame out the drawer which was originally a key board tray. The paint used is Behr paint and primer flat Shadow Mountain. After the paint set for 48 hours I used a cream wax to protect the finish.
À partir du rustic x desk, j'ai modifié pour l'adapter à mon besoin.
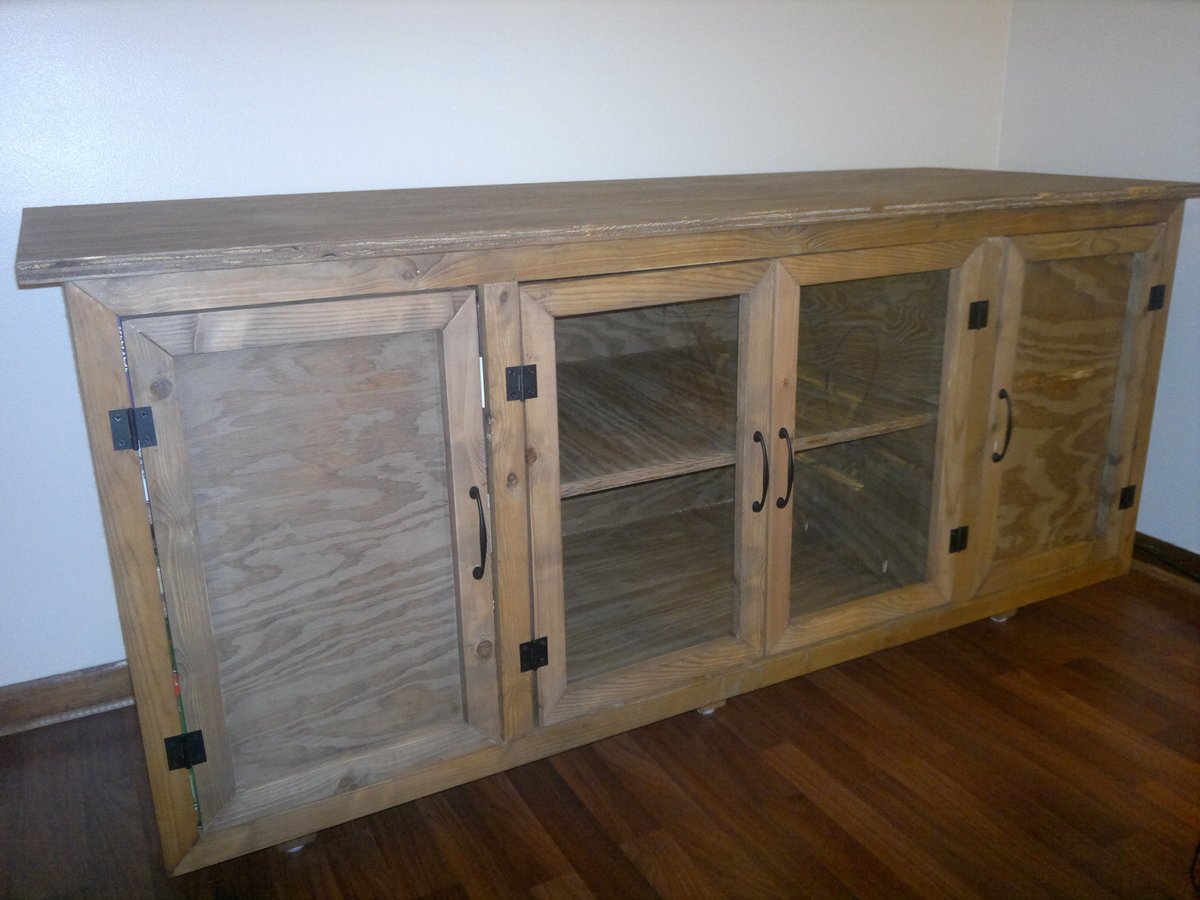
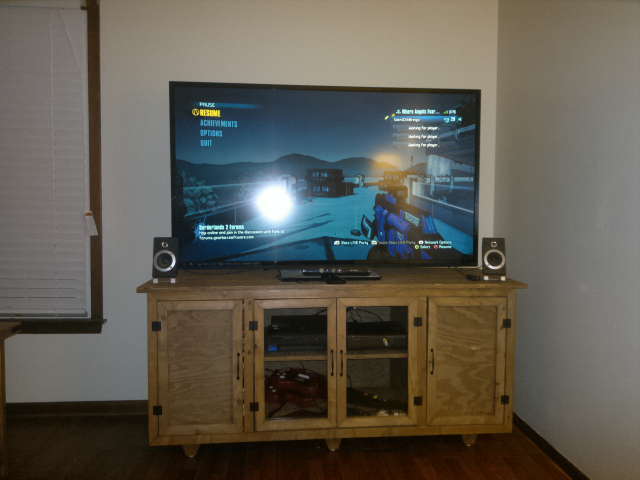
This project took several months of off and on work but I am very happy with the results. Got the wood from the local lowes and the hardware from Ace Hardware. Used the Kreg Jig pocket hole system to hide the fasteners which makes a big difference. I also used flat black spray paint for the hardware.
Followed the plans on this website to the T and they were pretty good. The only change I had to make was adding some wood shims for the magnetic door closures. It also wasn't clear where to place the center shelf front and back but I figured out it needed to be back. Also cut some holes in the back for cords and made my own custom legs rather than pay so much for store bought ones.
I made some other furniture from this website so I used the same oxidized finish. I used flat black hardware where I could and spray painted everything else. The stain was great, really easy to make and stains really well. I covered the stain with the recommended wax which gives it a really nice shine and is very smooth.
Huge thanks to this website!
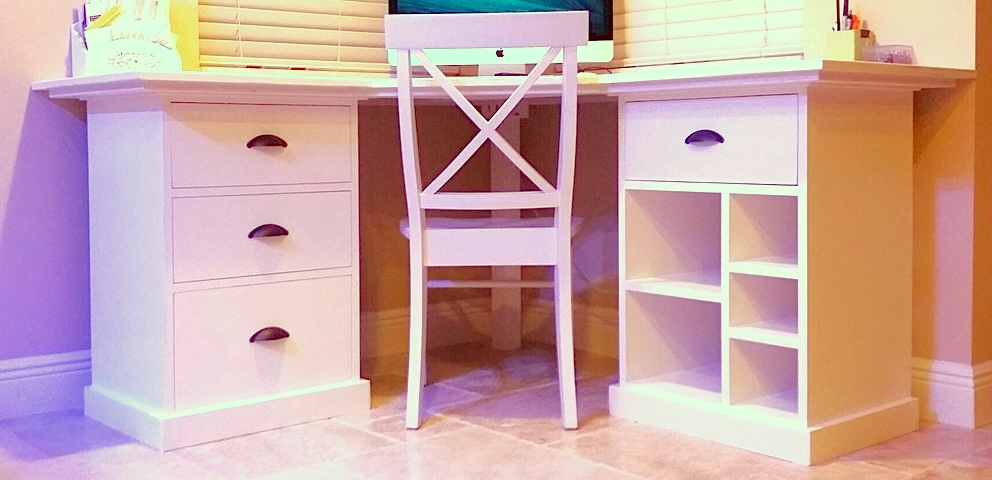
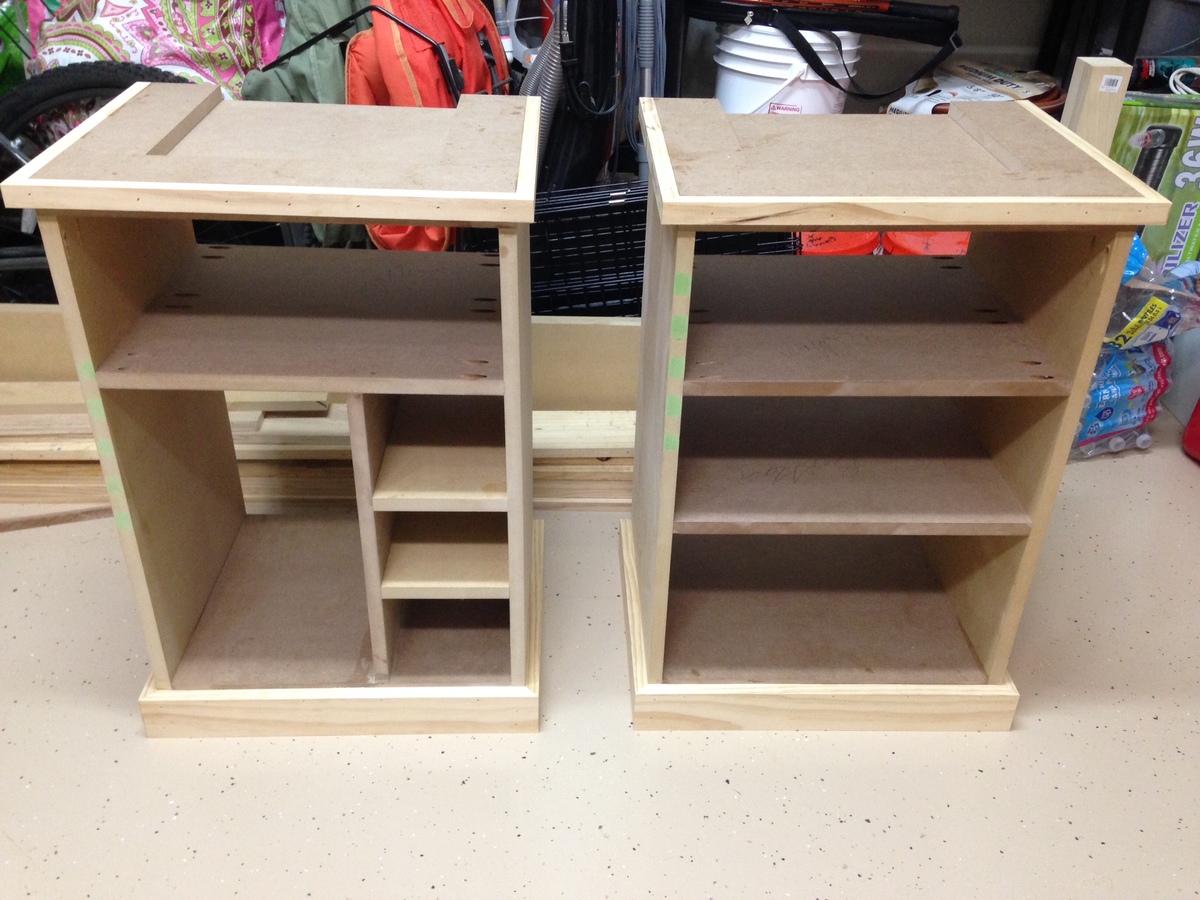
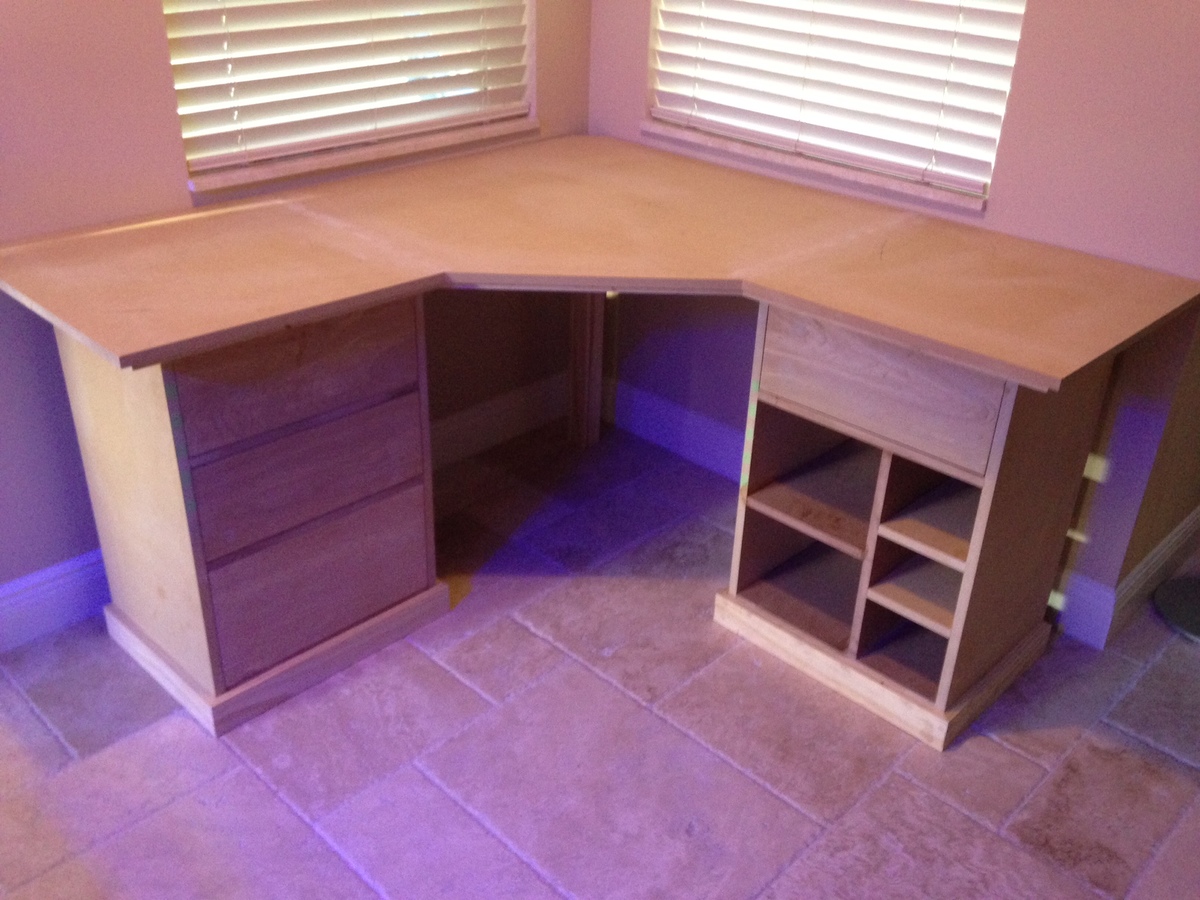
Beautiful Bedford Modular Desk (Pottery Barn)
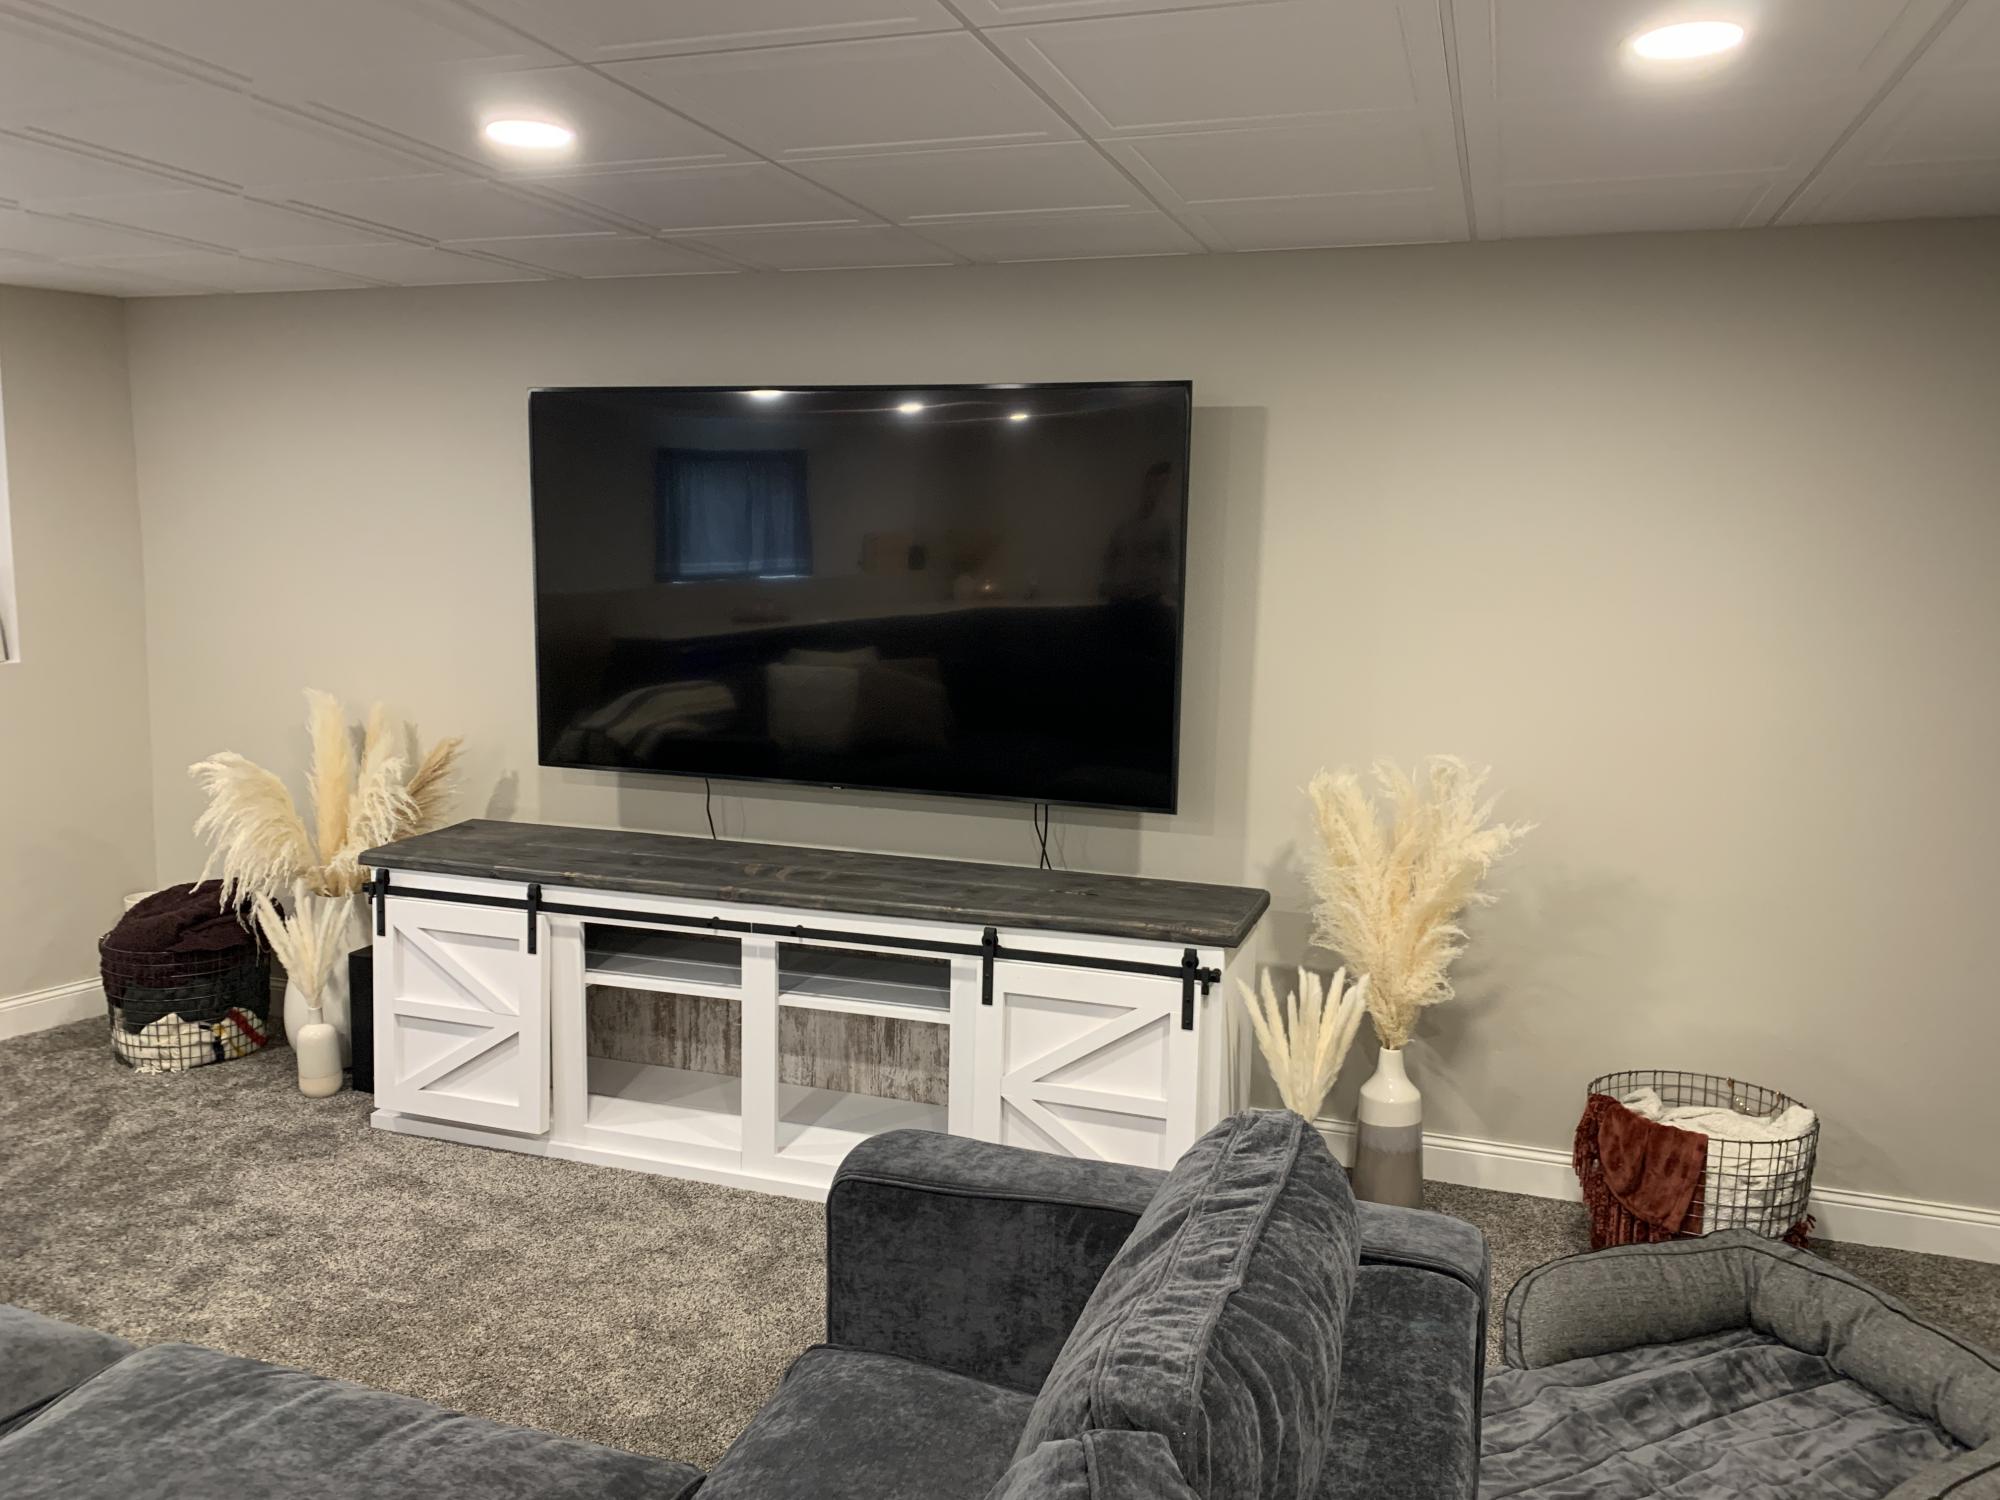
I am so happy with the way this turned out! (By no means is it perfect) My husband and I have been looking for a tv stand for our basement for months! Everything we liked seemed overpriced and still not exactly what we wanted. That was when we remembered the Adirondack chairs we had made from Ana’s plans and started looking to see what else she had. We found this tv stand and read through the step by steps and it all seemed manageable. Ana has the easiest plans to follow along with and so many tips and tricks also! We are by no means experts - we are very much still beginners, that’s how good her directions are!

I made a new drawing since I updated some of the dimensions.
http://www.instructables.com/id/Simple-Low-Cost-DeskTable/
Video of the build:


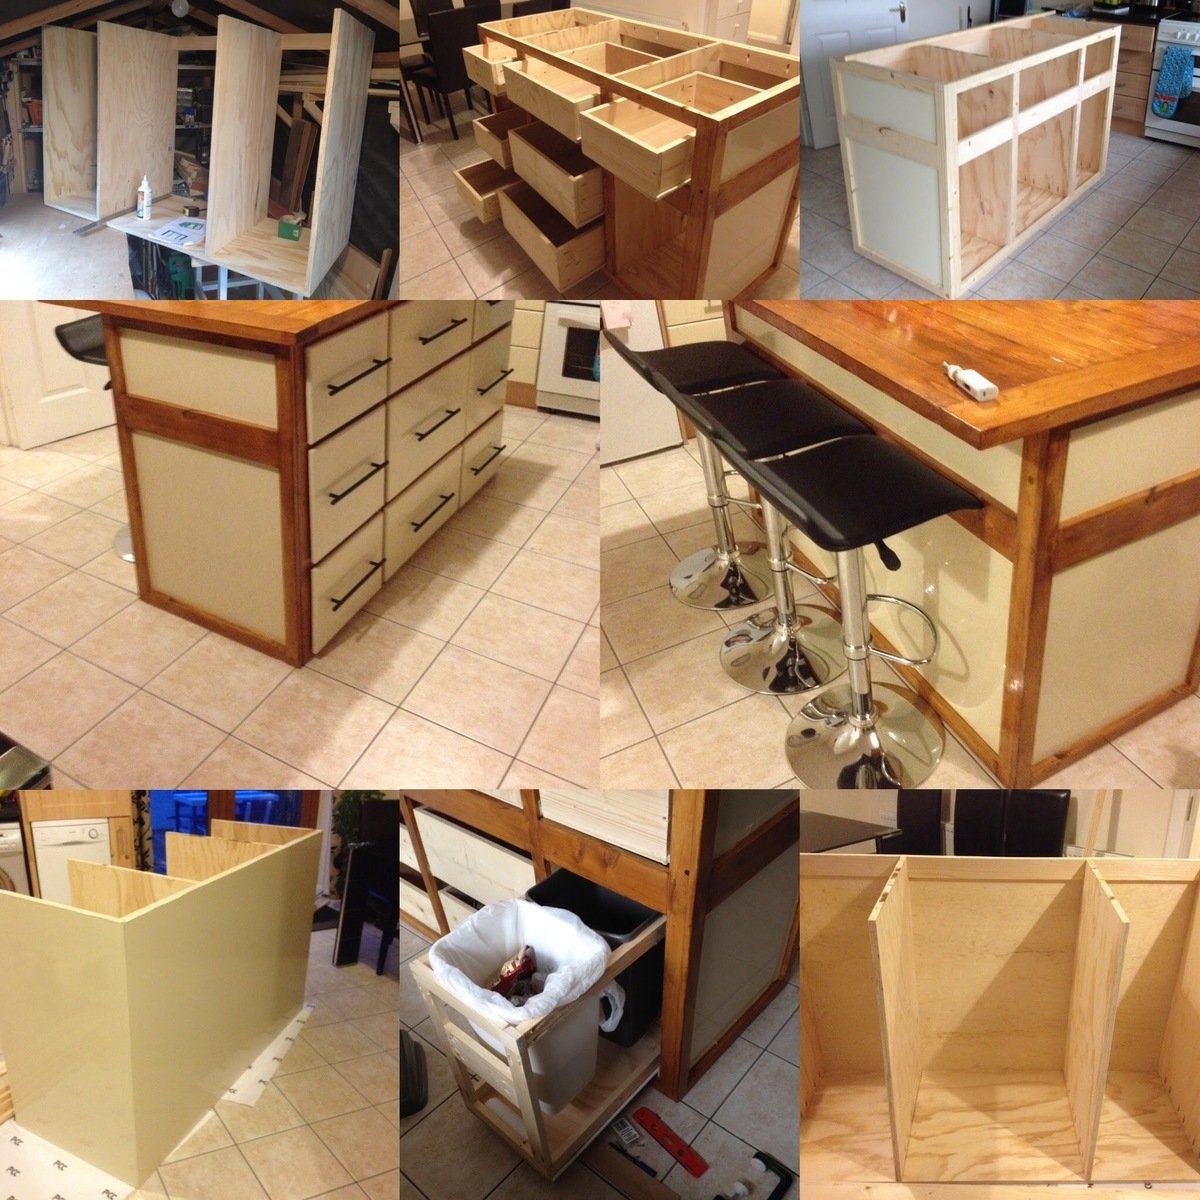
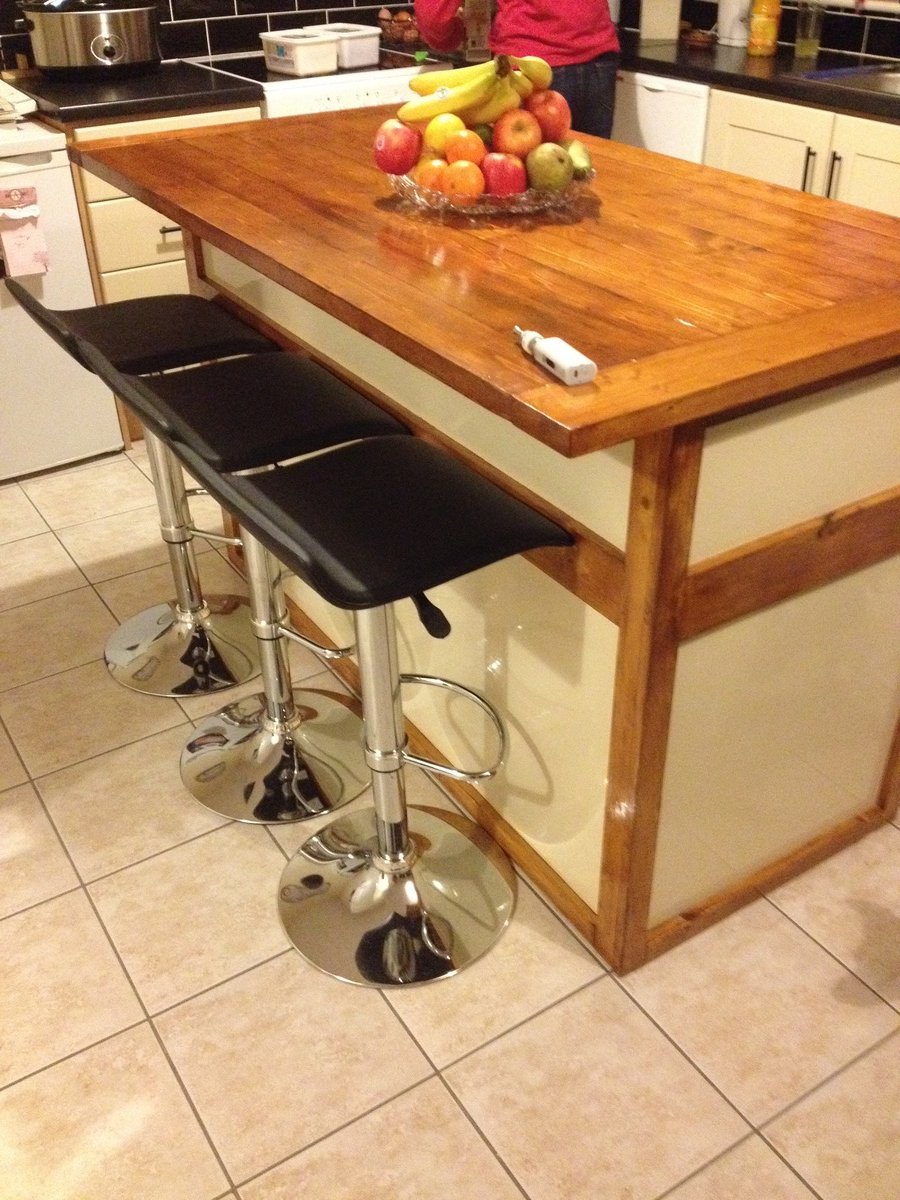
This was my biggest project yet and I am so proud of the final finish. I adapted the salsa console plans to make all drawers. I felt this made more use of the space in the island.

I used the lift top table for inspiration, we needed more storage in our livingroom for throws and blankets. This was the perfect solution as fall approaches. Thank you for your original design!


