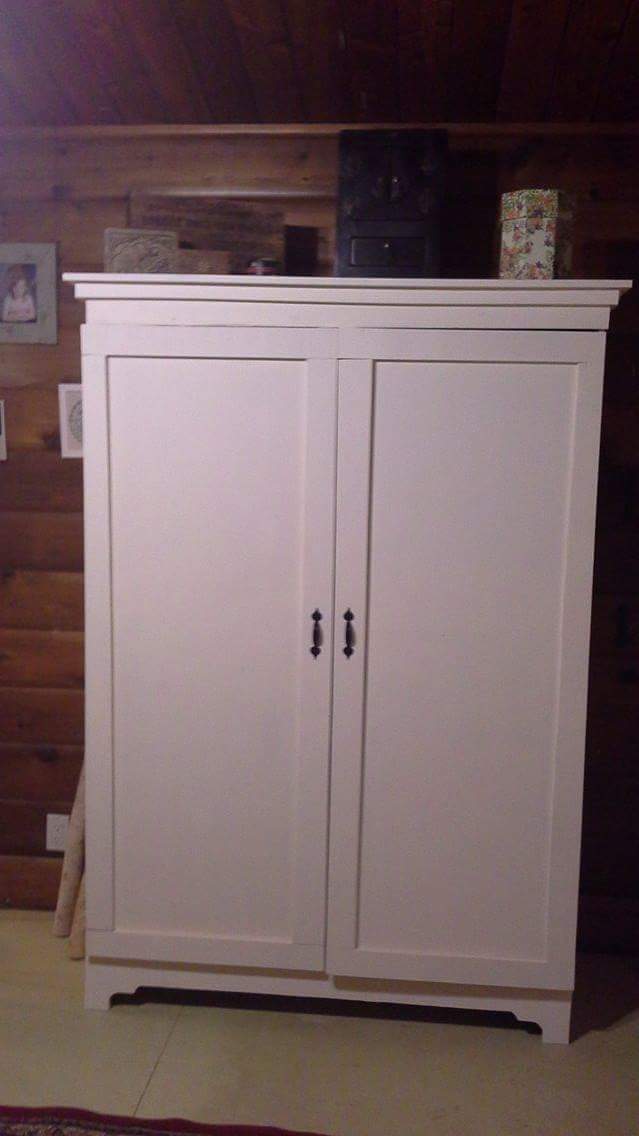
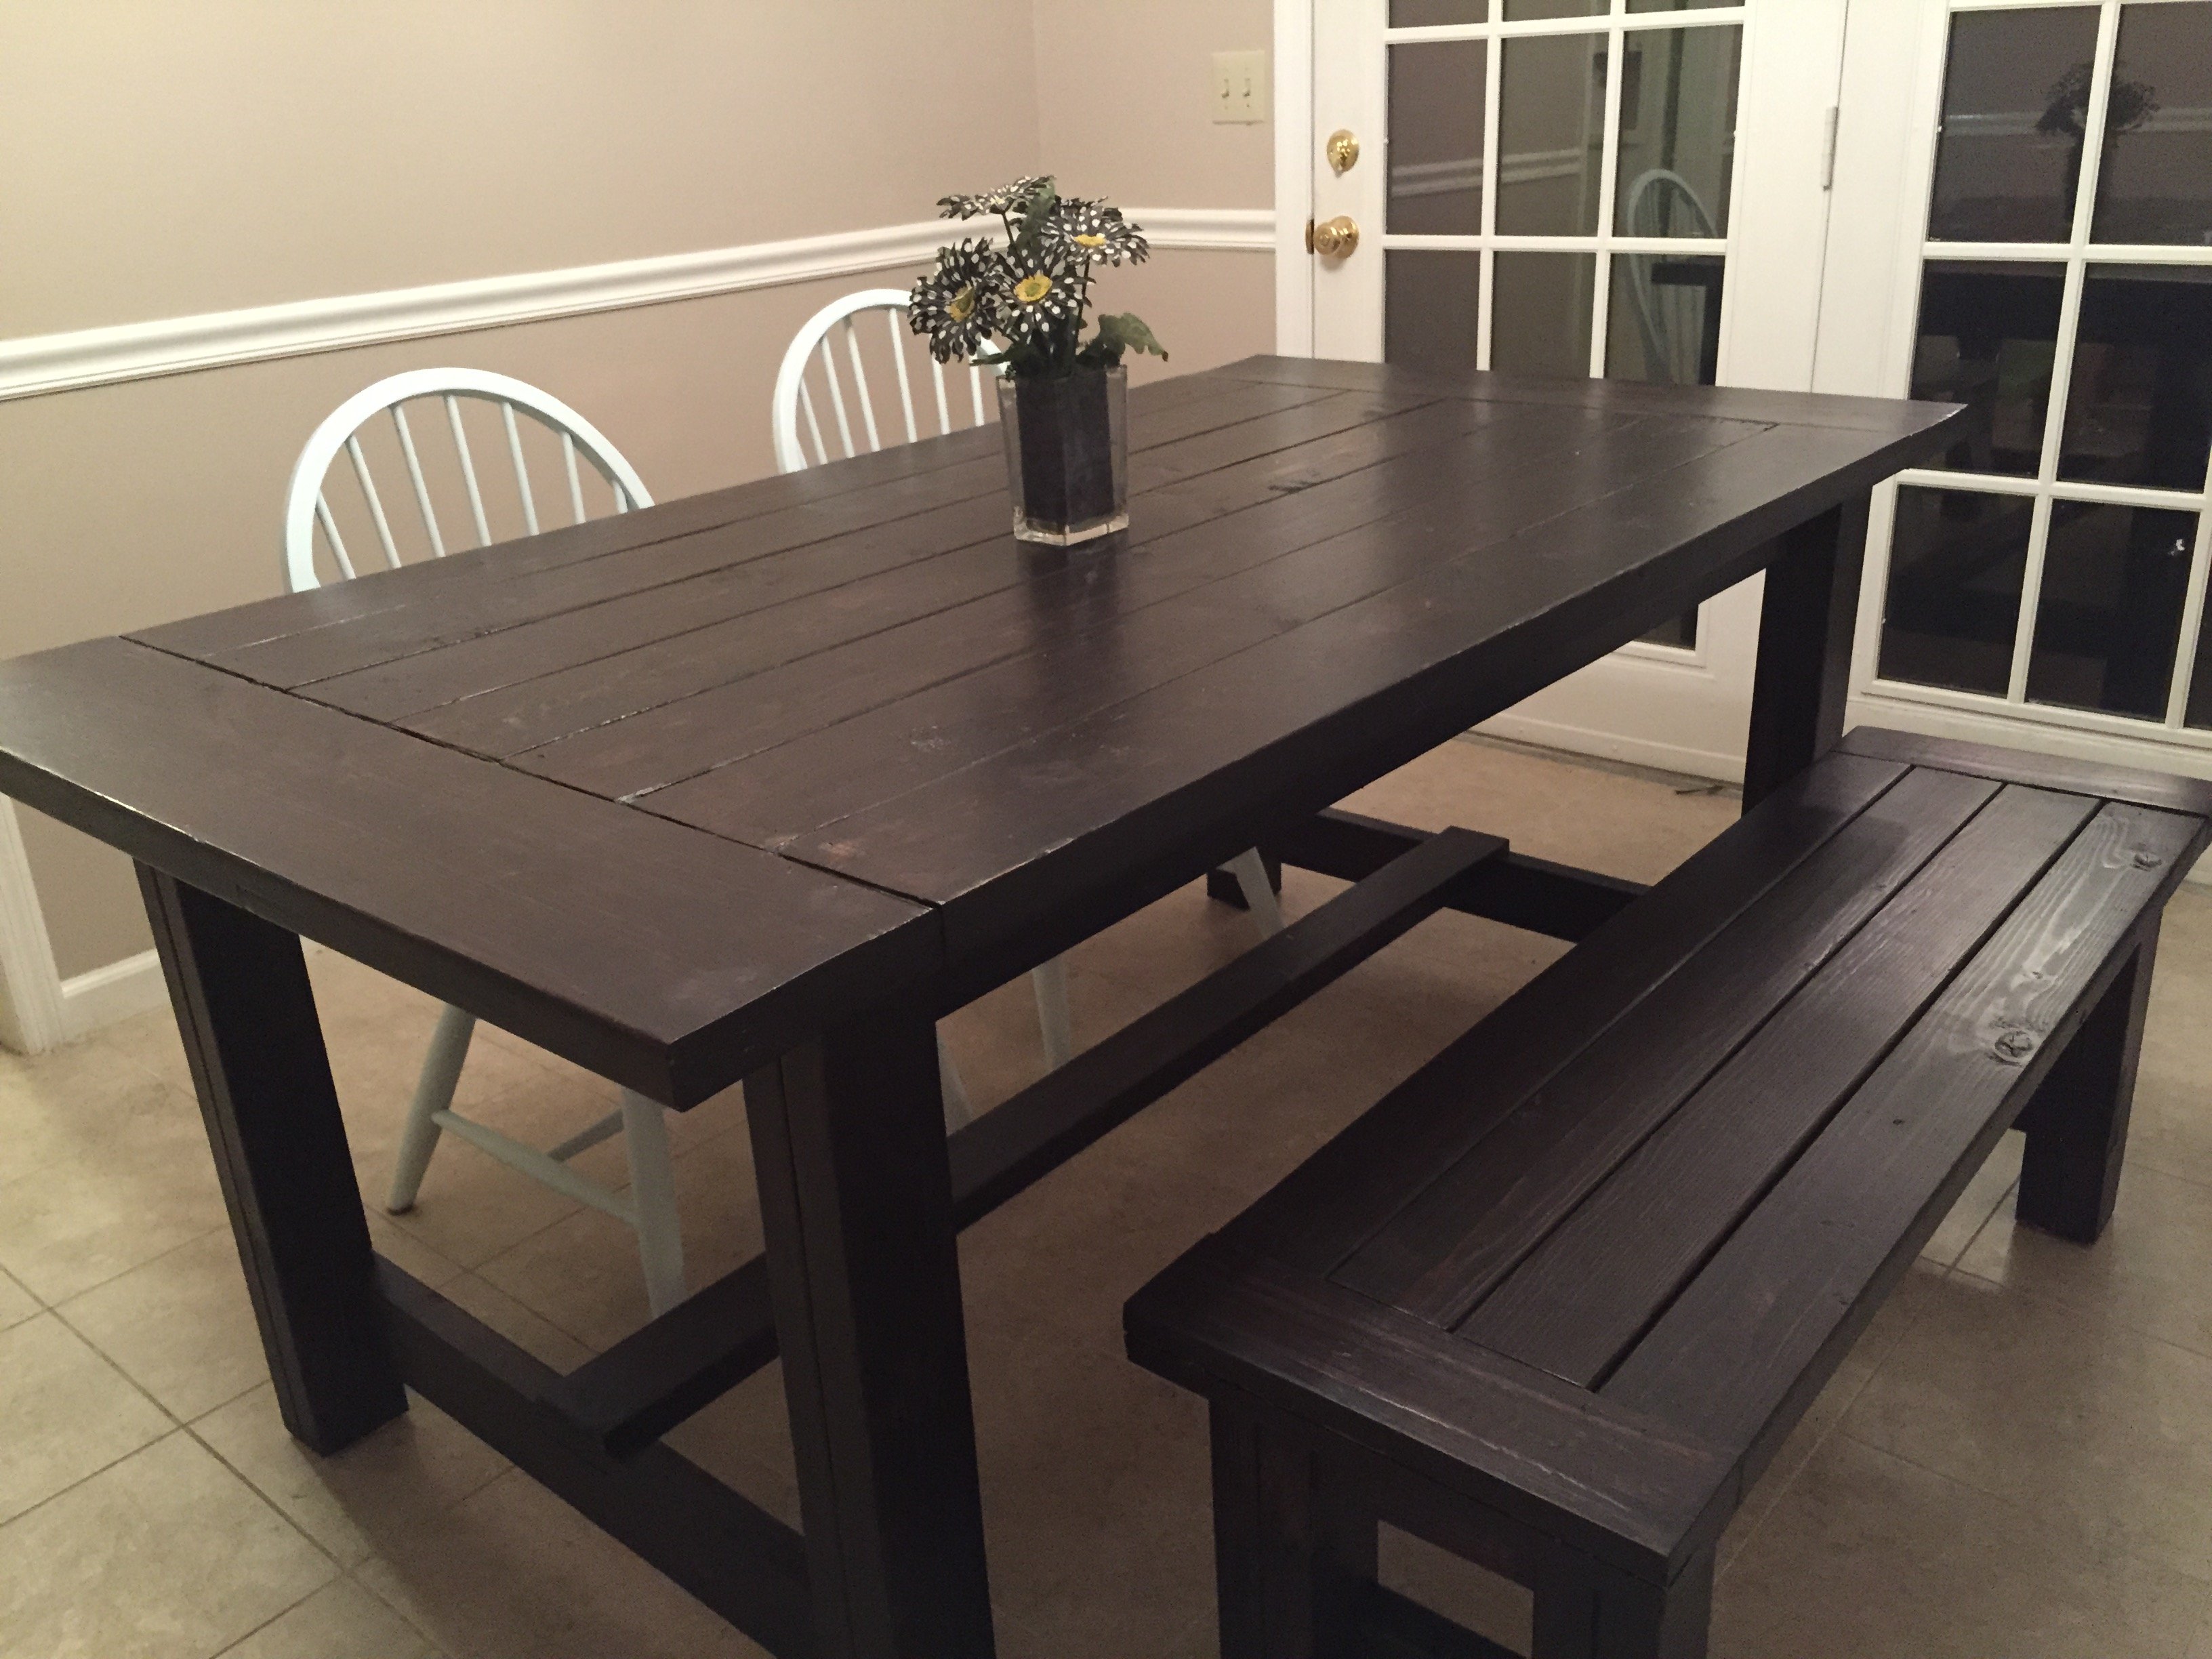
Modified Farmhouse/Pottery Barn Bed Frame
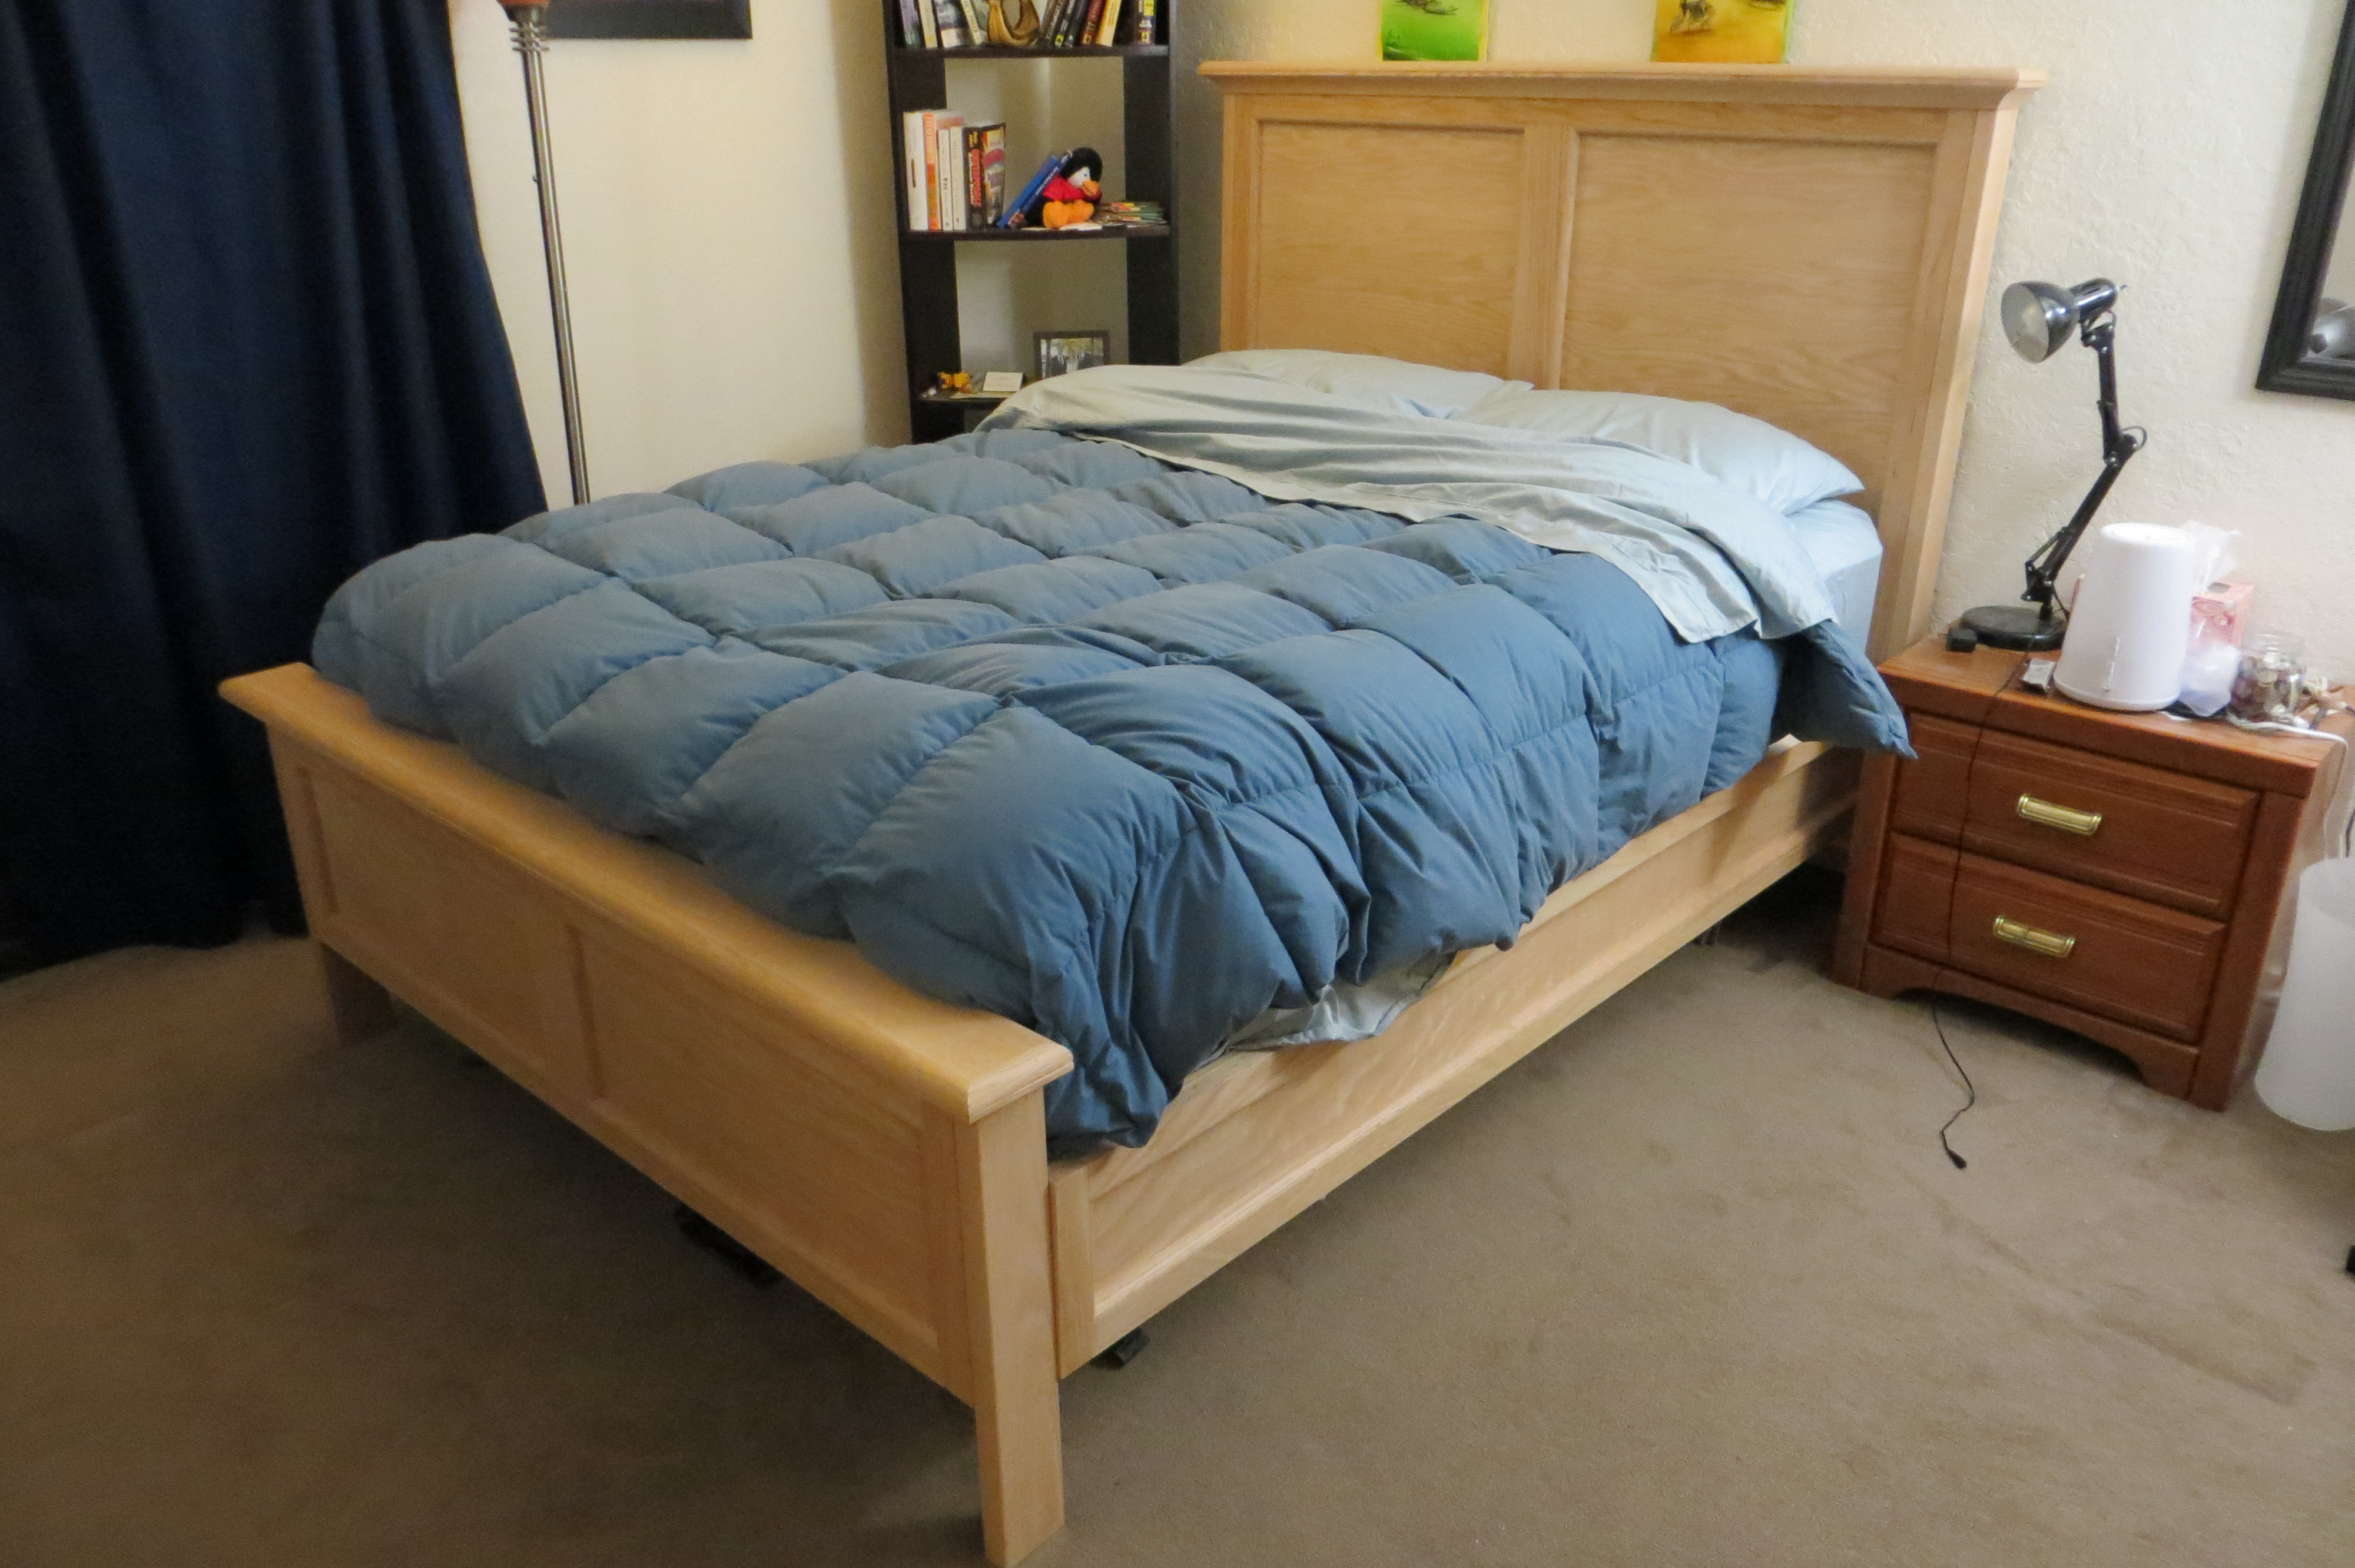
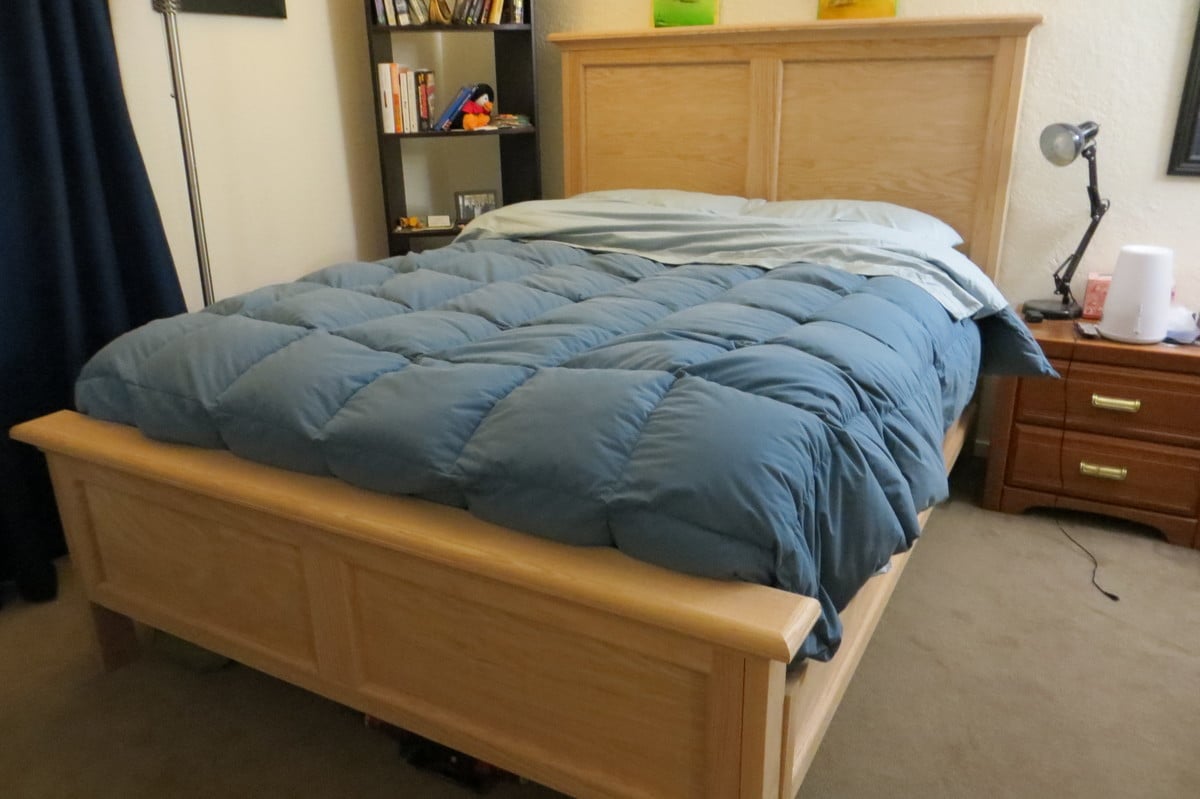
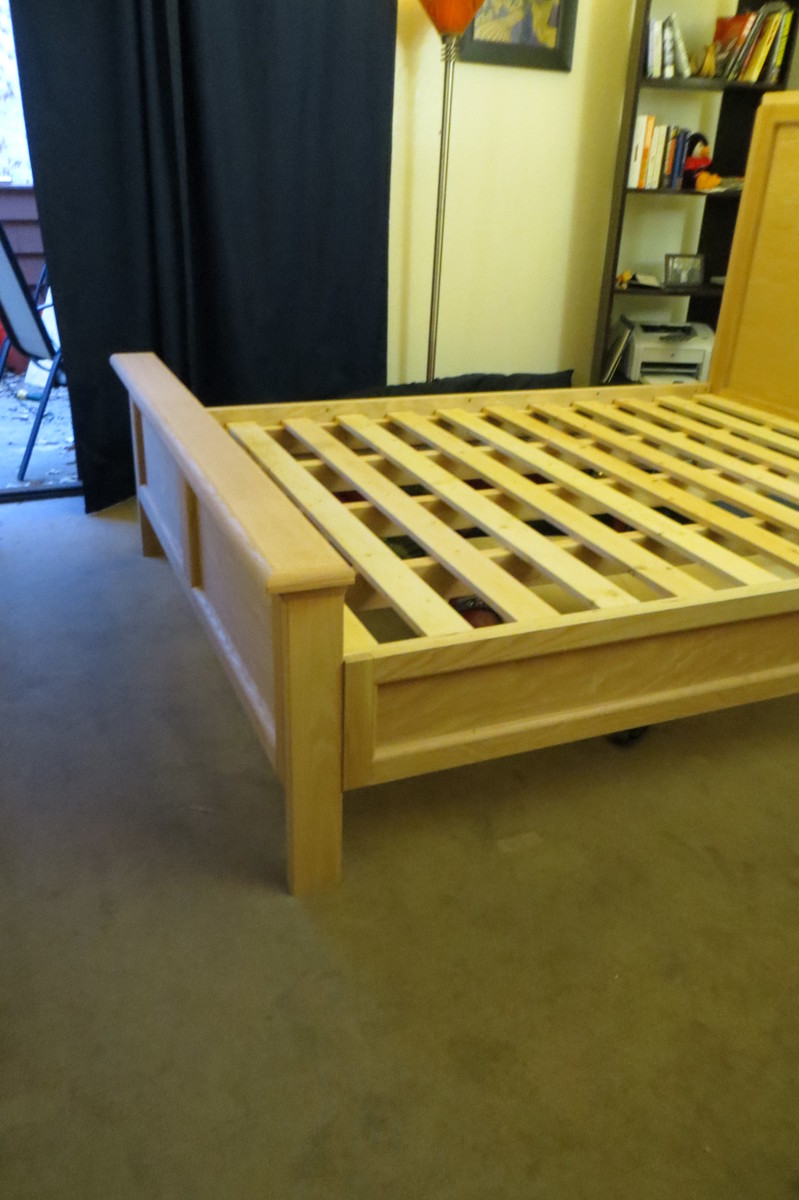
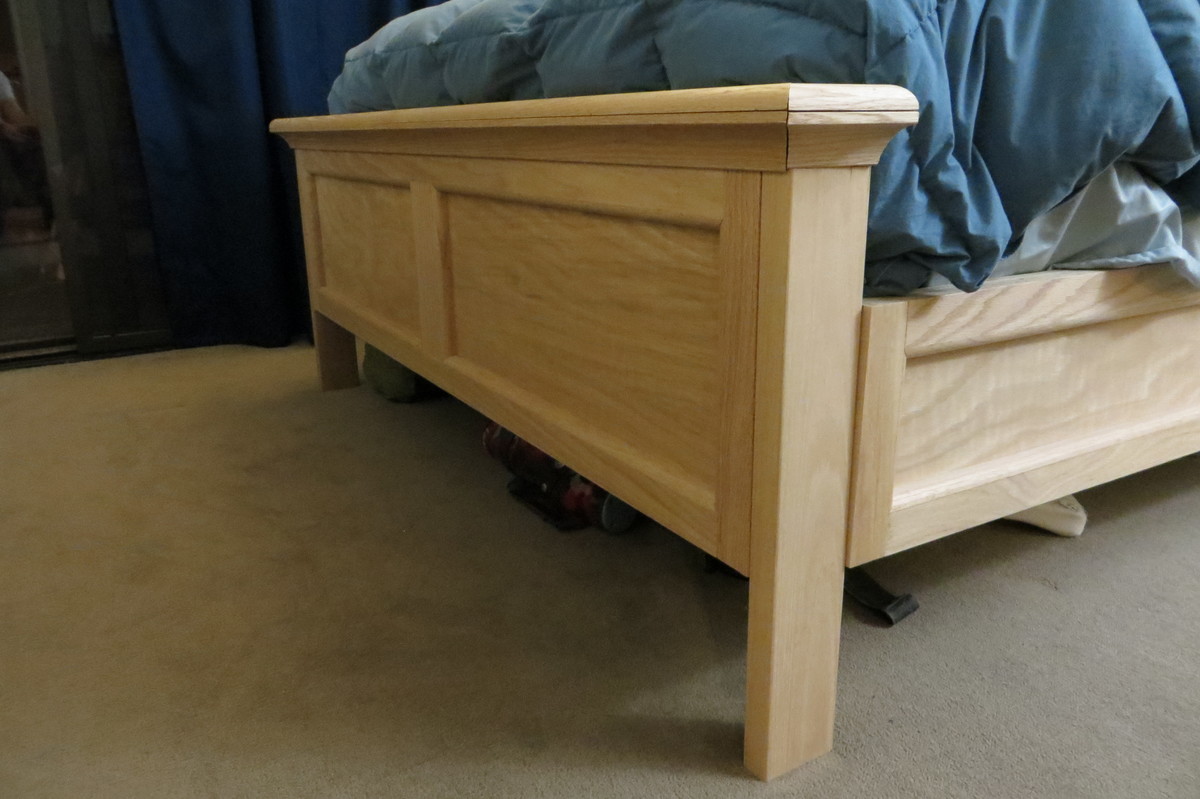
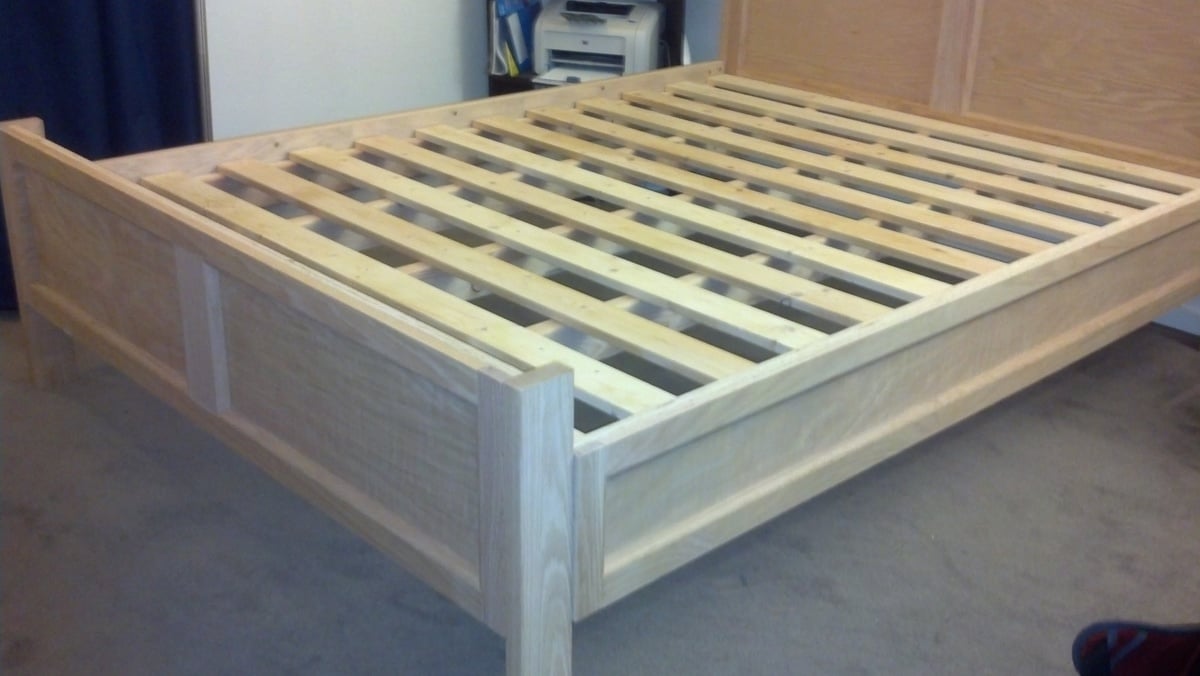
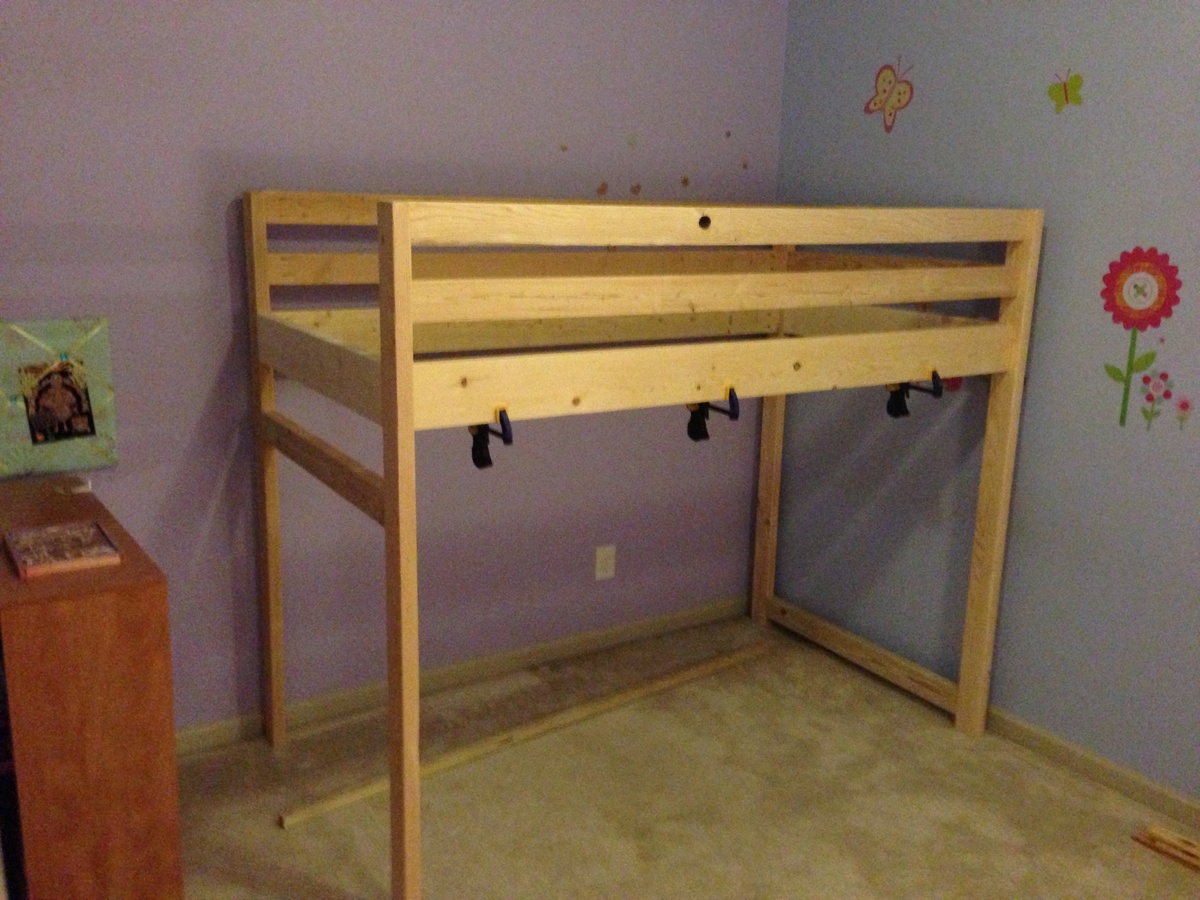
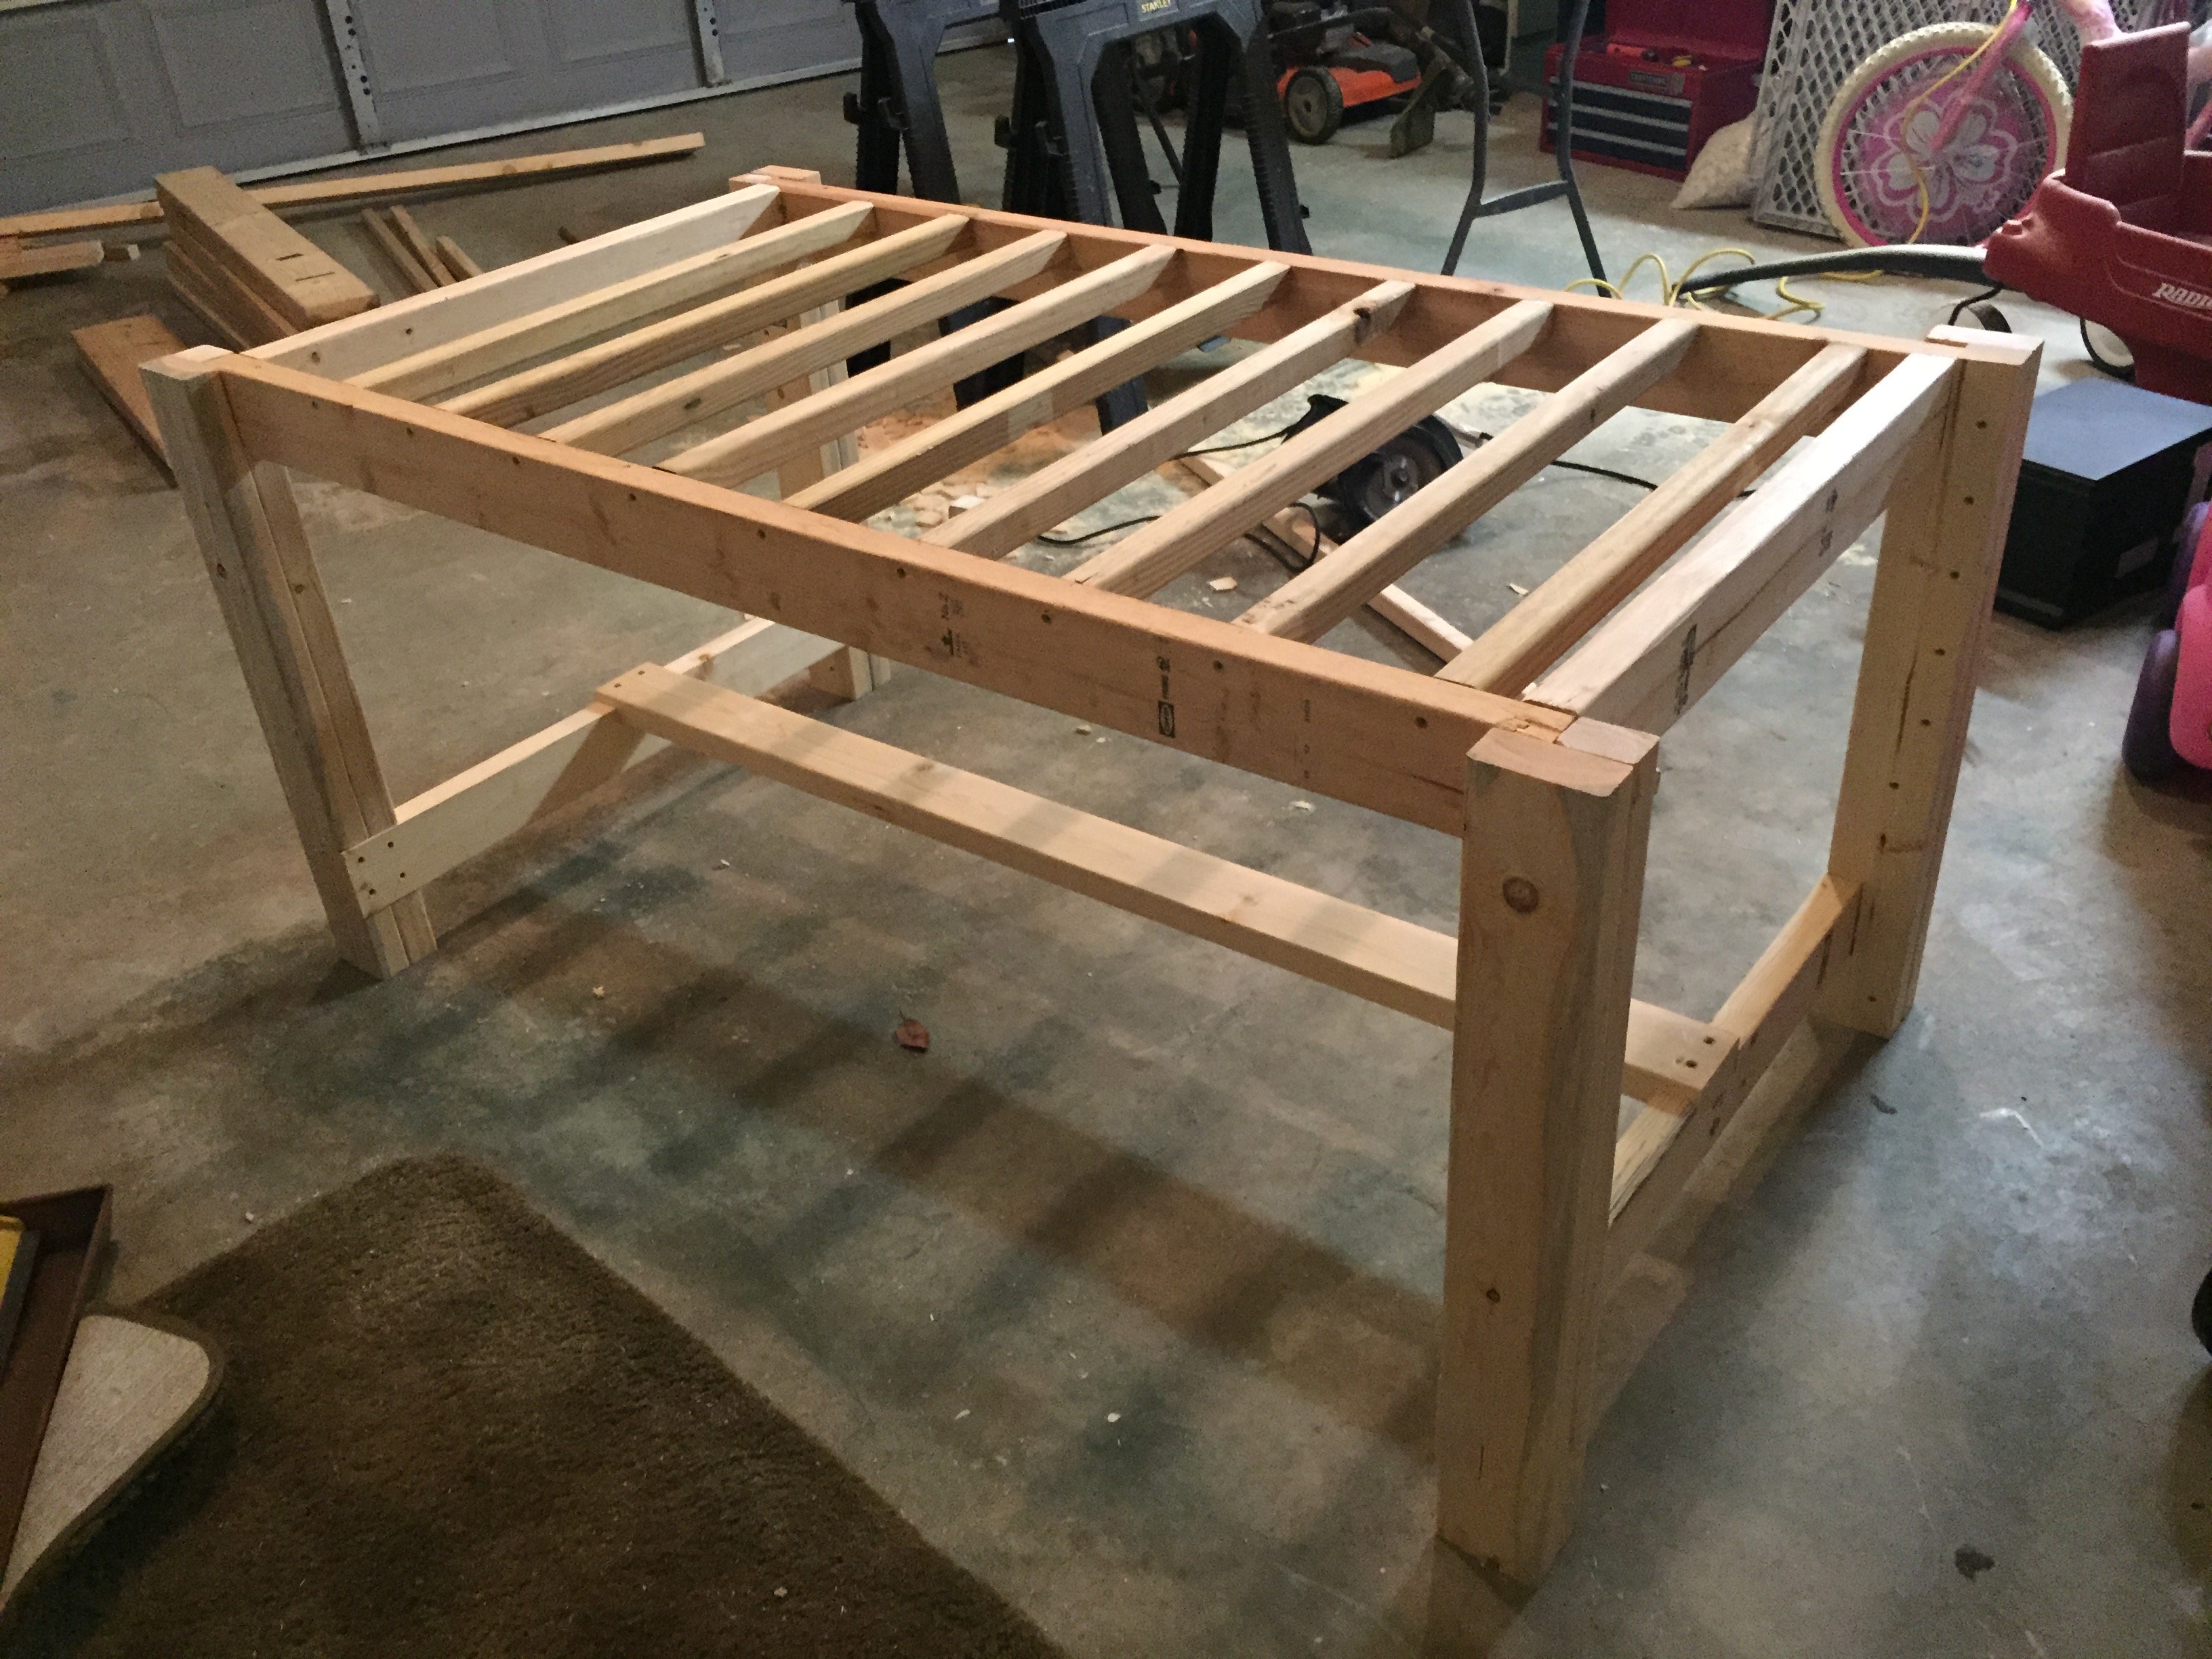
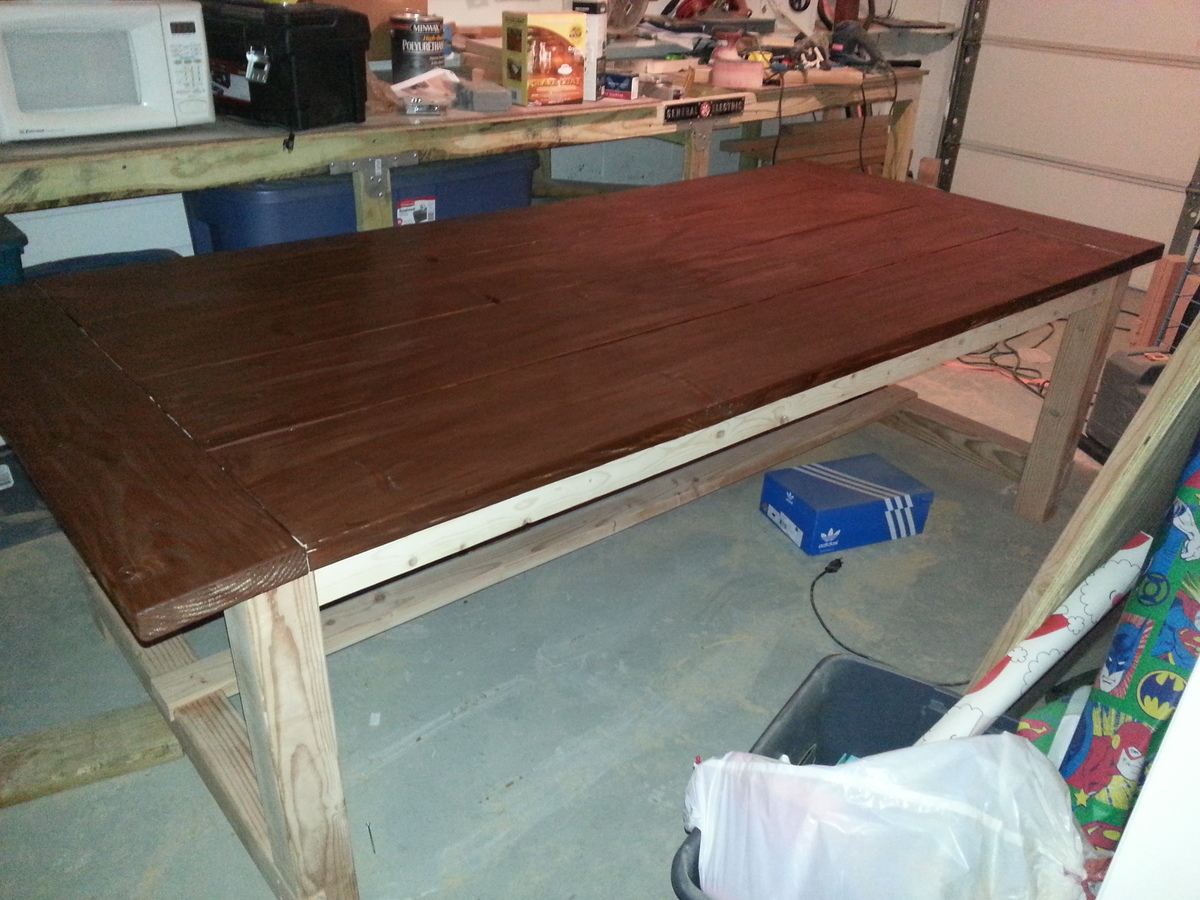
This was my second big project and I went ALL out! I was inspired by the modified farmhouse bed, but completely modified it to look like the Hudson bed from Pottery Barn. I designed it completely on my own too. All of the exterior is oak and the frame is fir and pine. This bed is super sturdy and sleeps great!
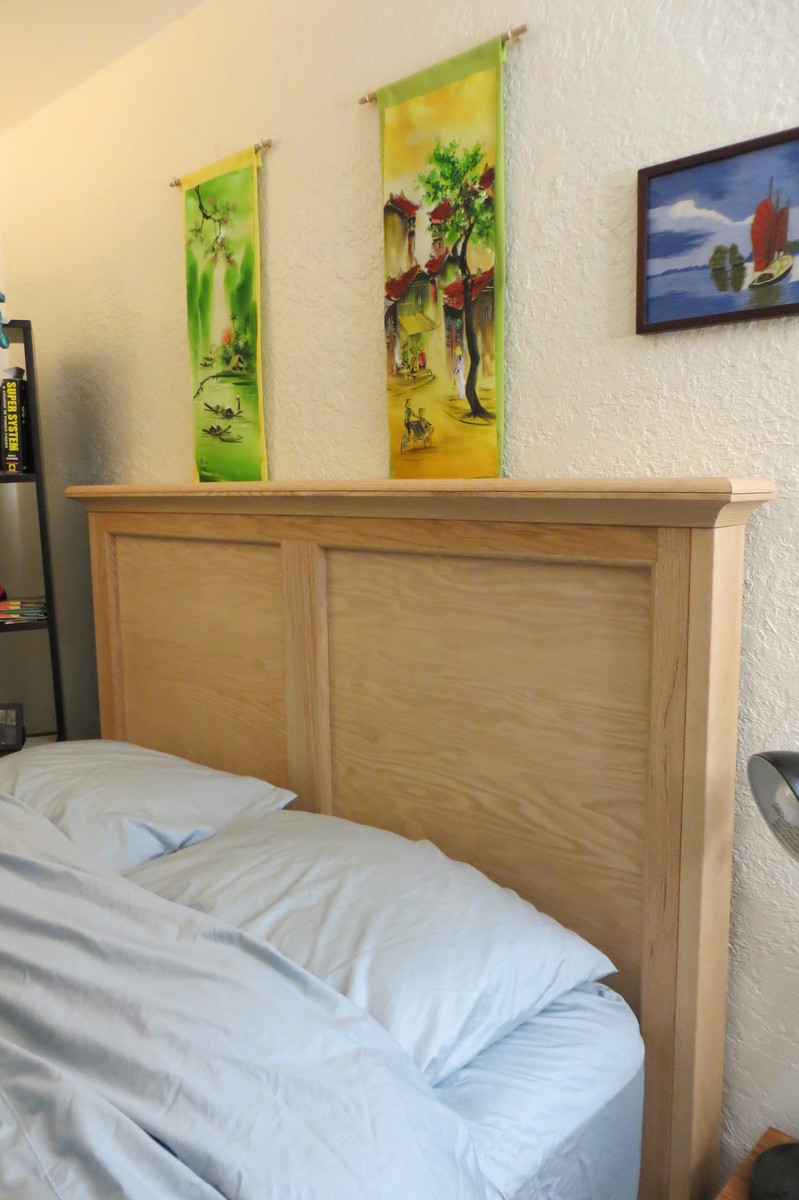
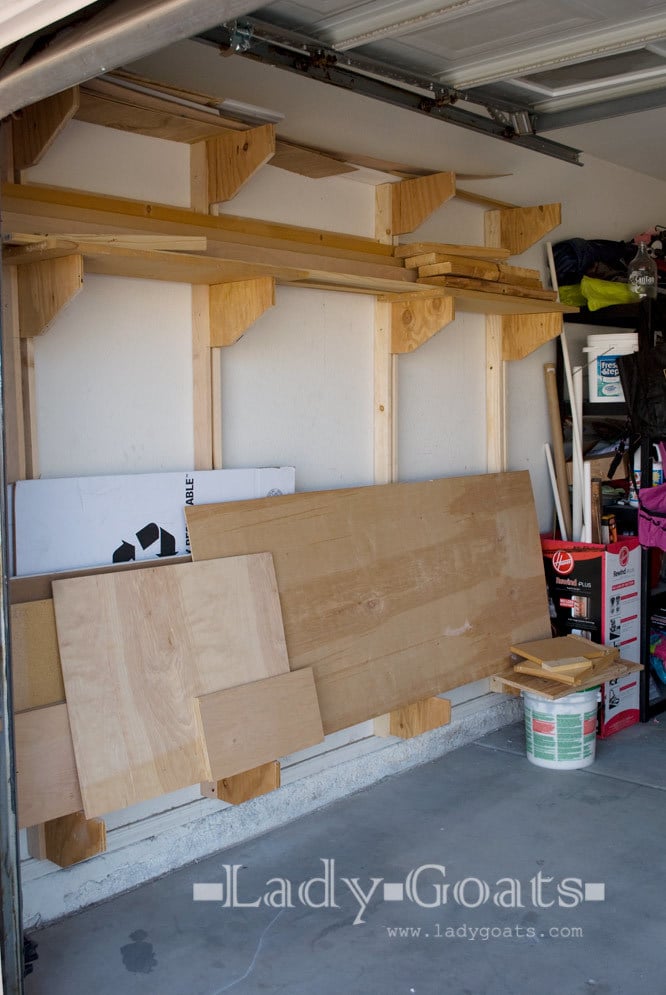
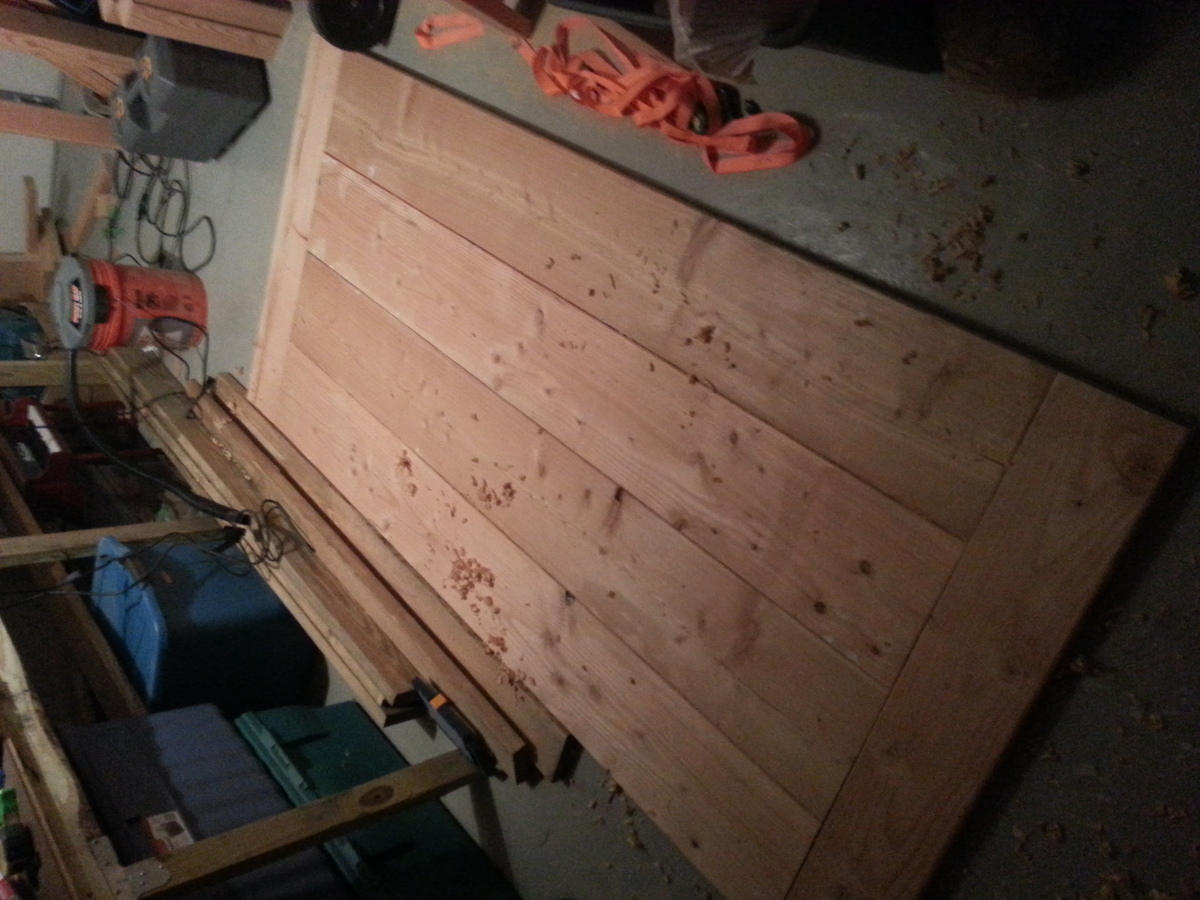
The sides, footboard, and headboard are made from oak plywood outlined by oak 1x2 and 1x3. Then added 1/2"x3/4" oak shoe molding for the indentations. The top of the footboard and headboard has 1.5" cove molding topped with quarter-round.
The total cost of all the material was $430. But I have enough leftover oak plywood to make a matching night table. I still need to stain it, but I love the raw oak smell and feel.
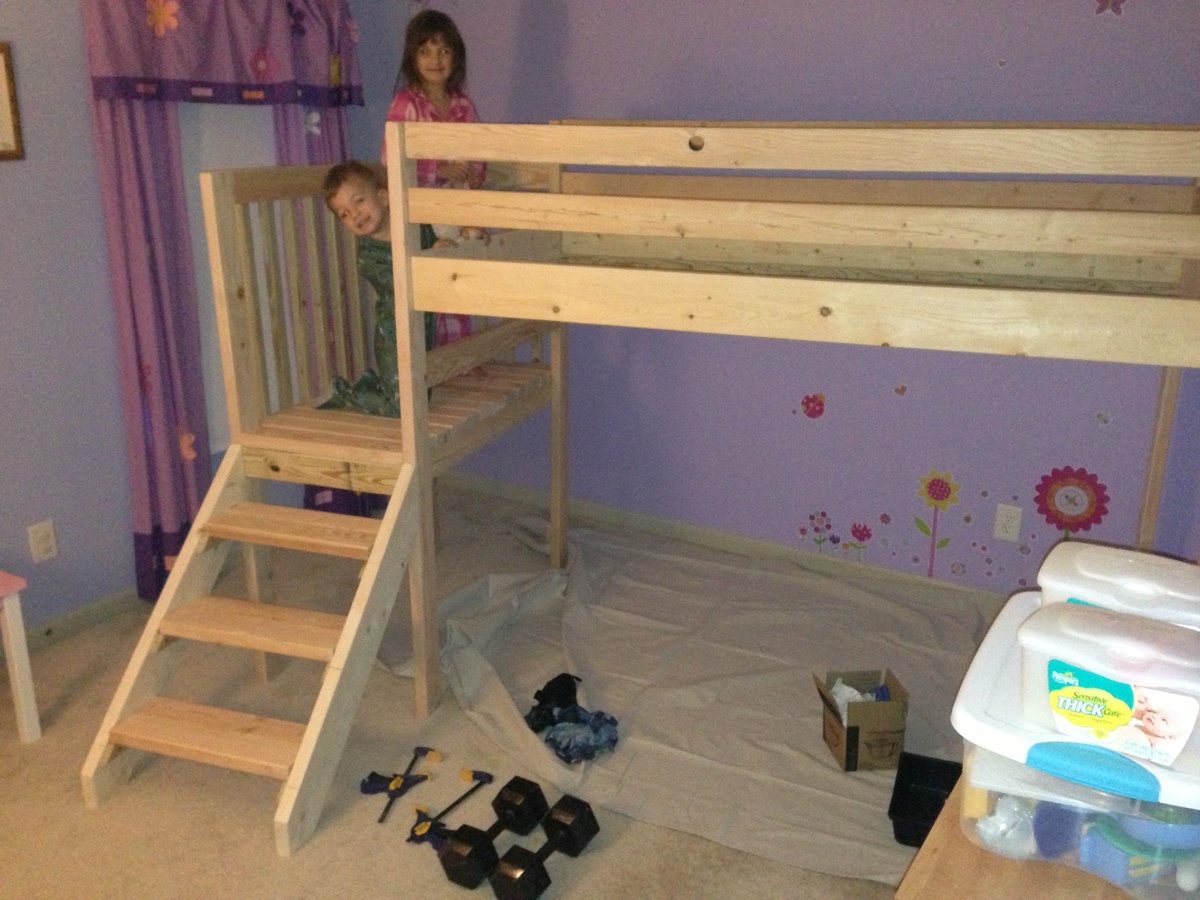
My only tools to create this was a circular saw, drill, screwdriver, miter box, and sander. The frame itself took only a few hours. All of the hand cutting of the molding and careful angles took most of the time (20+ hours) since it was my first time ever doing anything like this. The cove crown molding was especially difficult.
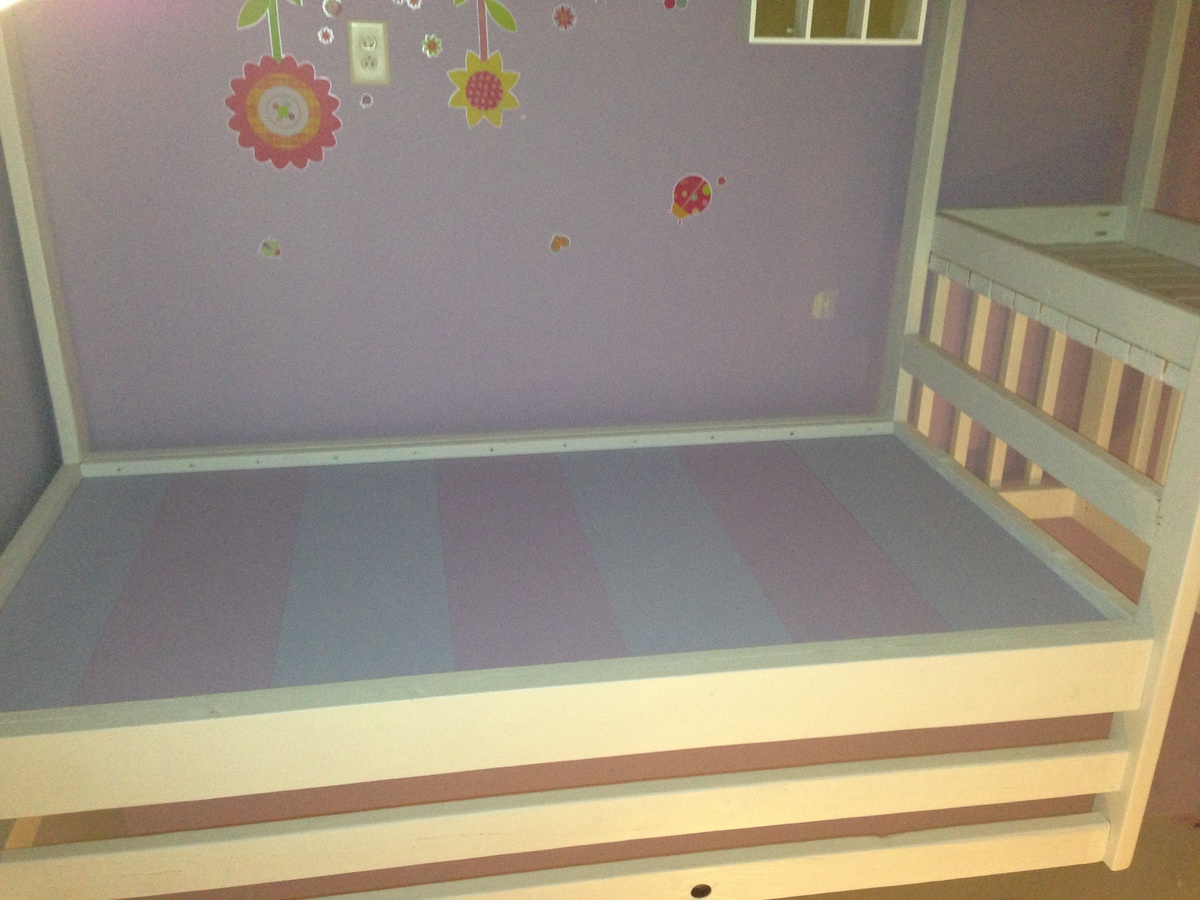
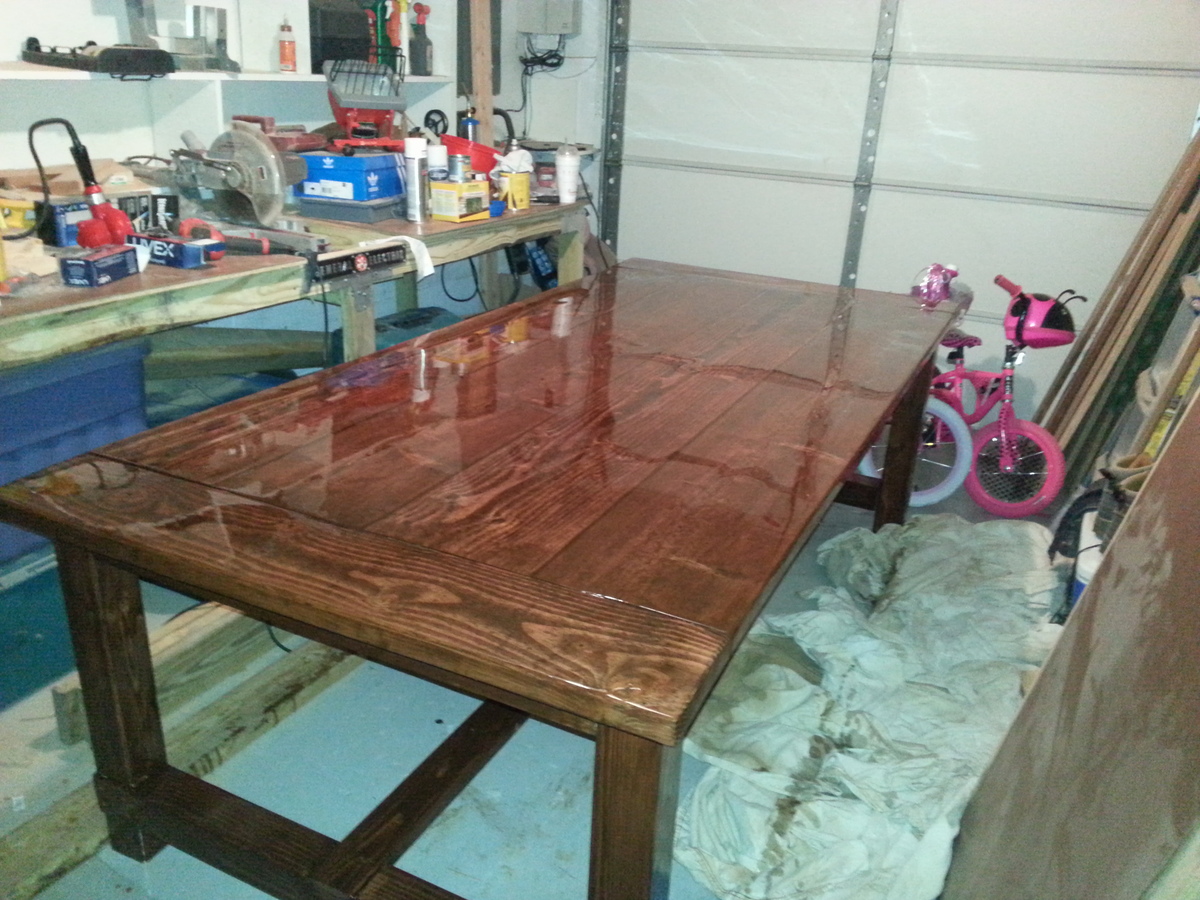
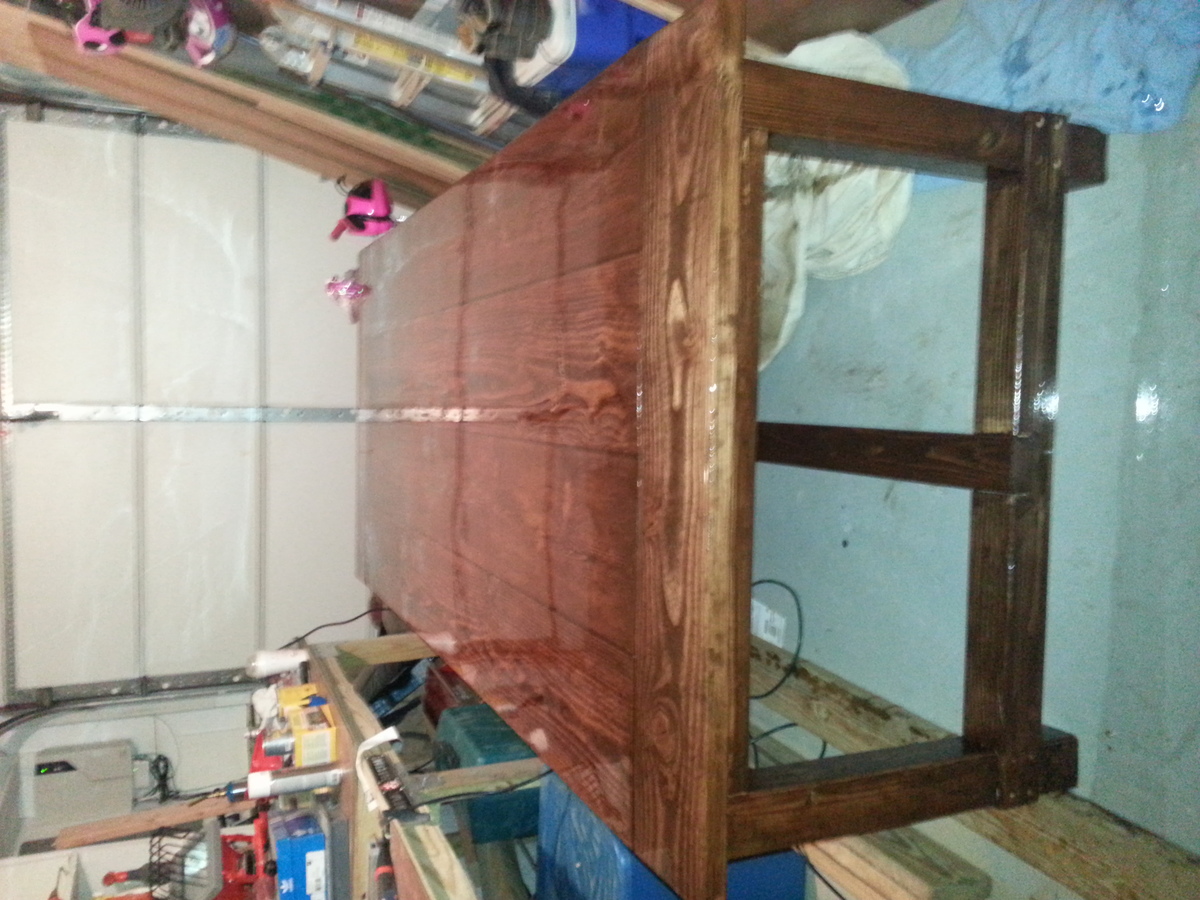
So....what color should I stain it?


Comments
Elisha (not verified)
Sat, 11/10/2012 - 12:30
Beautiful! I love my
Beautiful! I love my farmhouse bed too. Doesn't it feel so good to cozy up into something to sturdy and know you made it with your own two hands? I don't know if it goes with the rest of your furniture, but I like the blonde color it is now. Maybe just seal it with Polyacrylic or wax so it doesn't yellow?