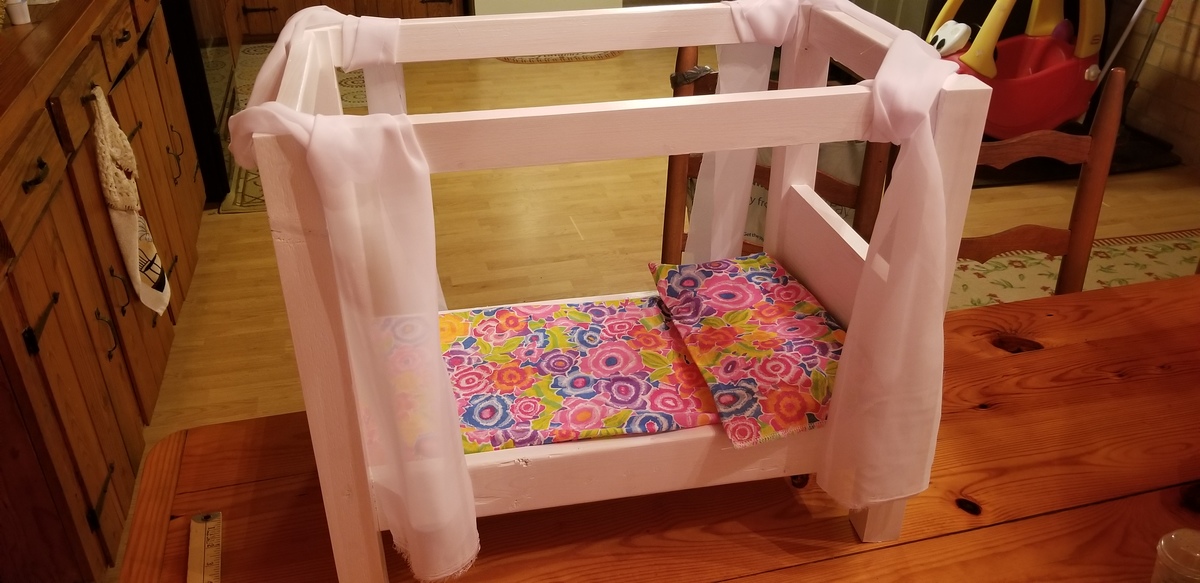
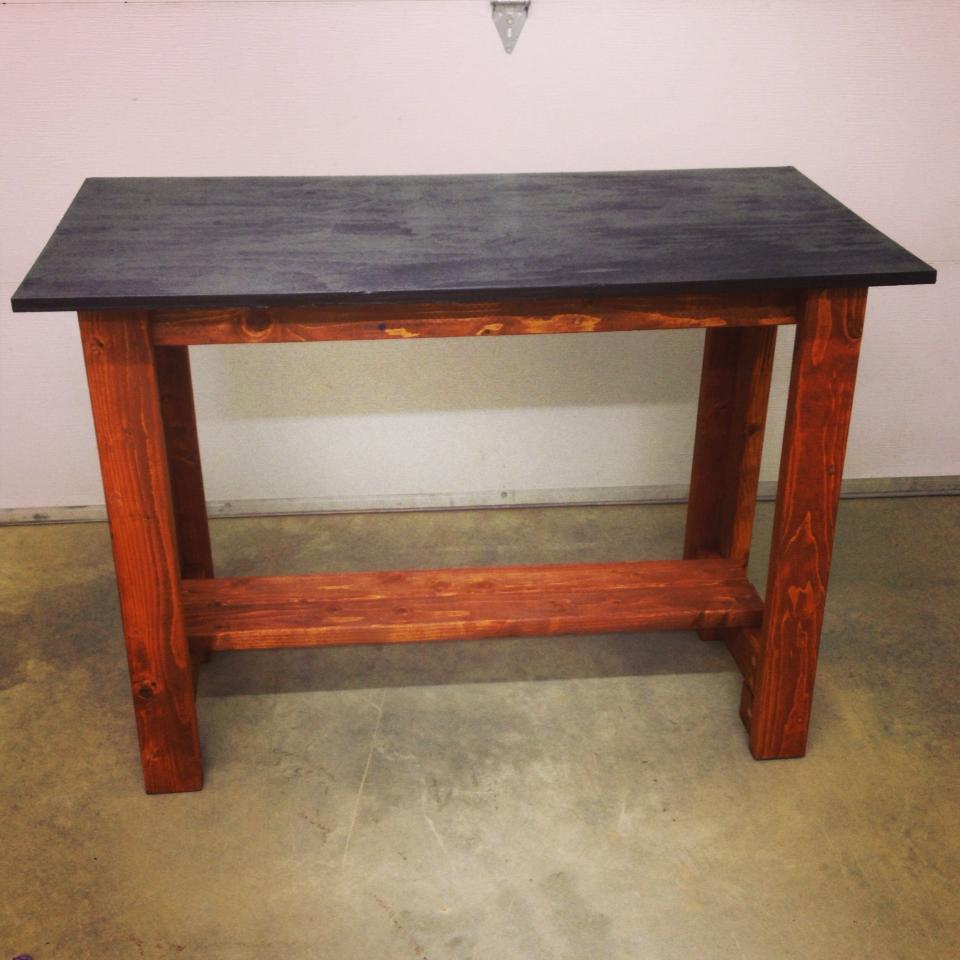
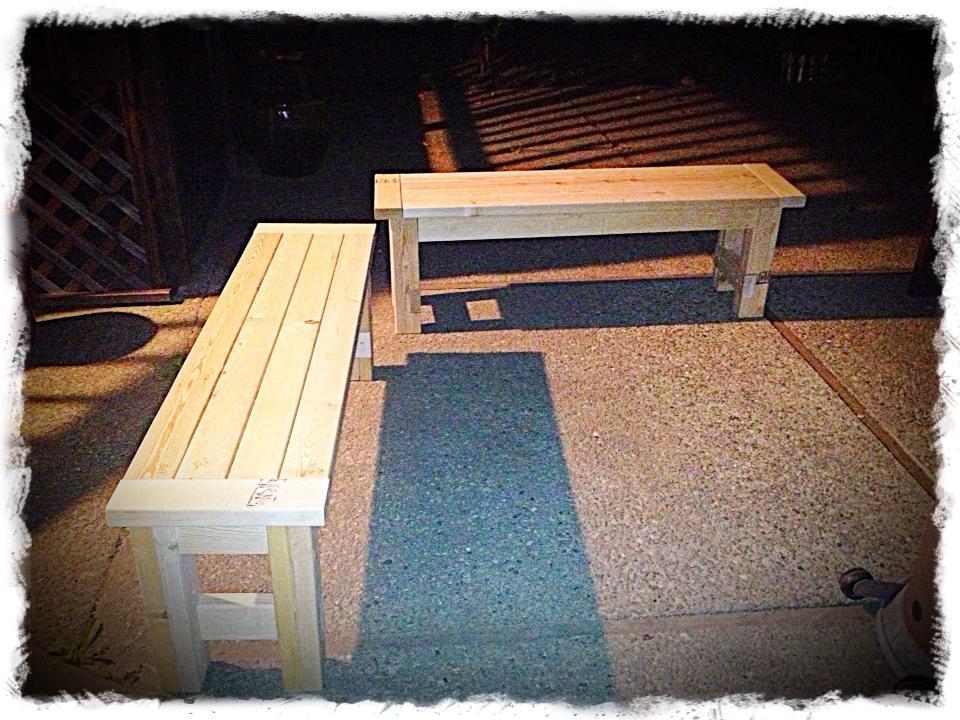
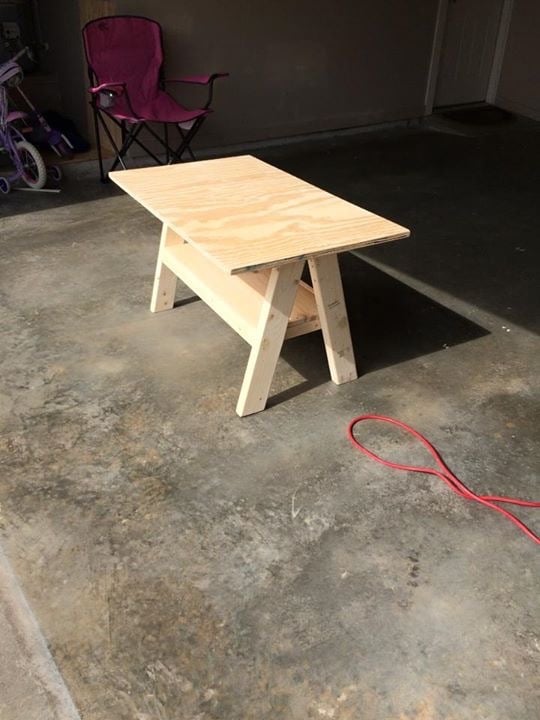
SIMPLE, CHEAP AND EASY CONSOLE TABLE

very quick to make
Built from Plan(s)
Estimated Time Investment
An Hour or Two (0-2 Hours)
Recommended Skill Level
Starter Project
very quick to make
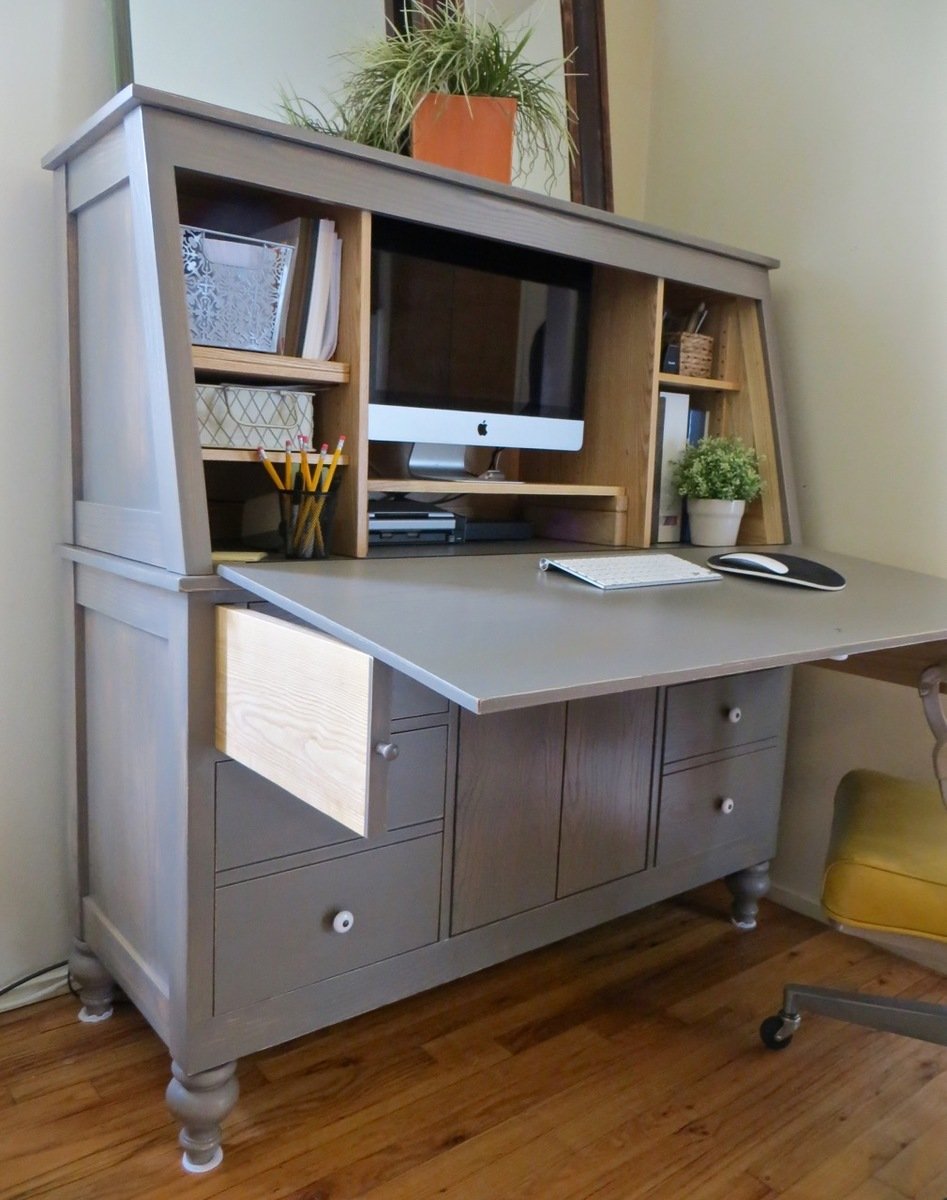
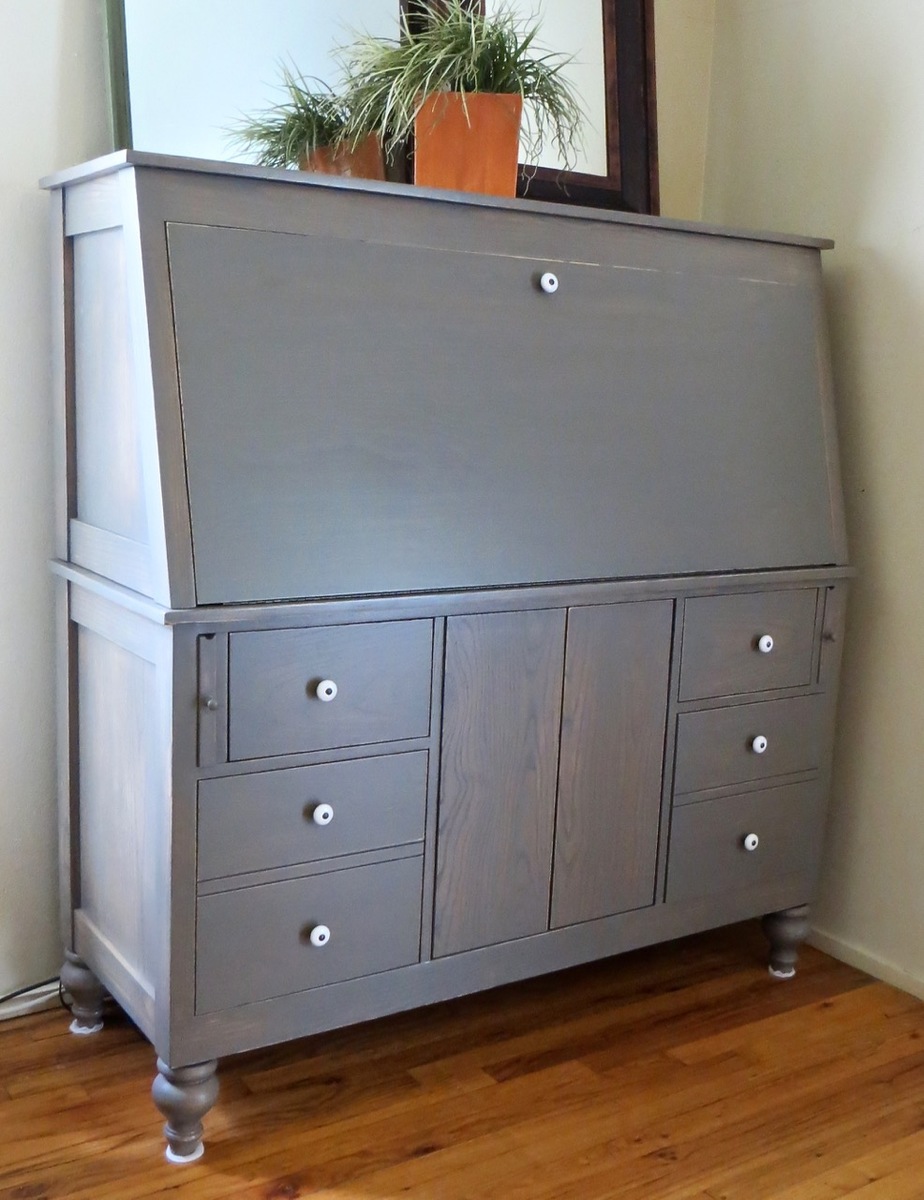
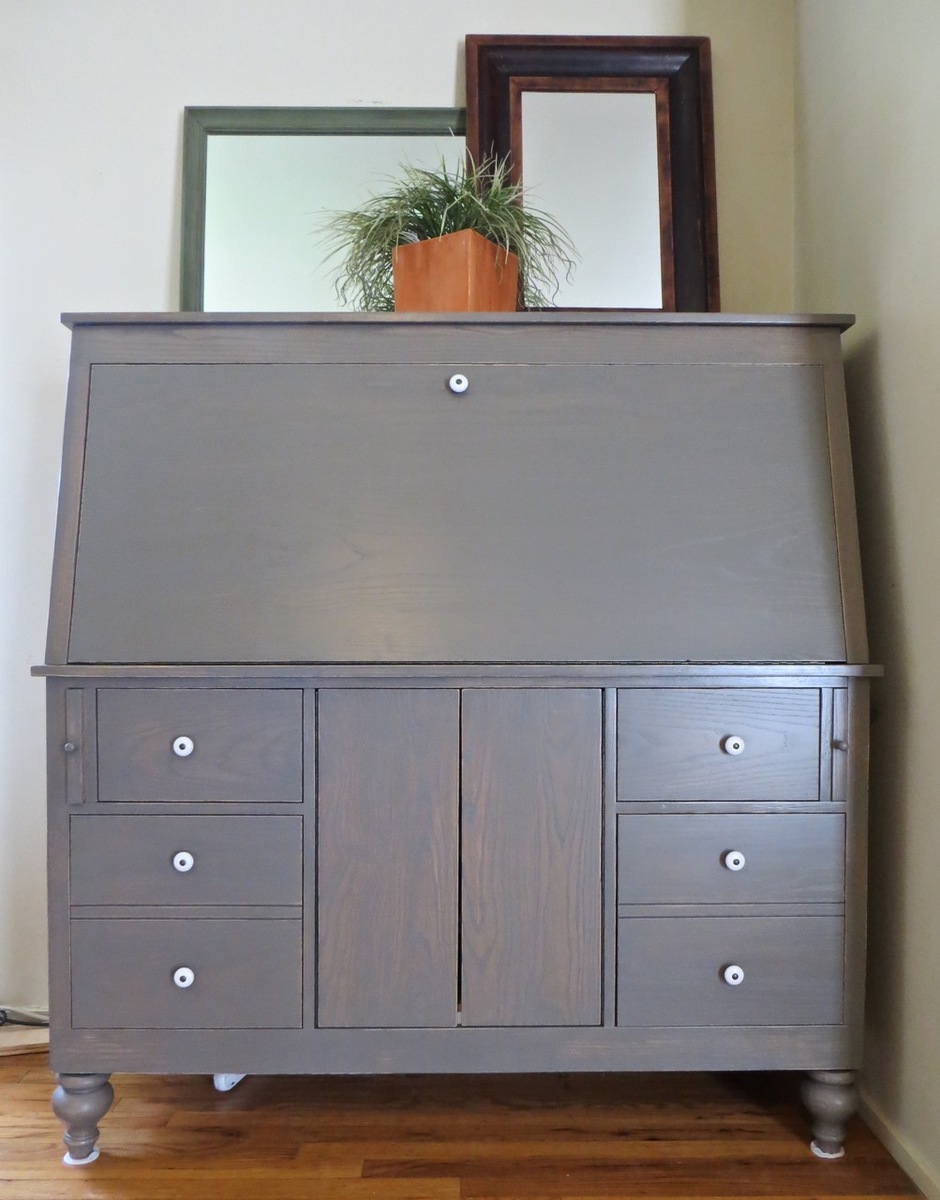
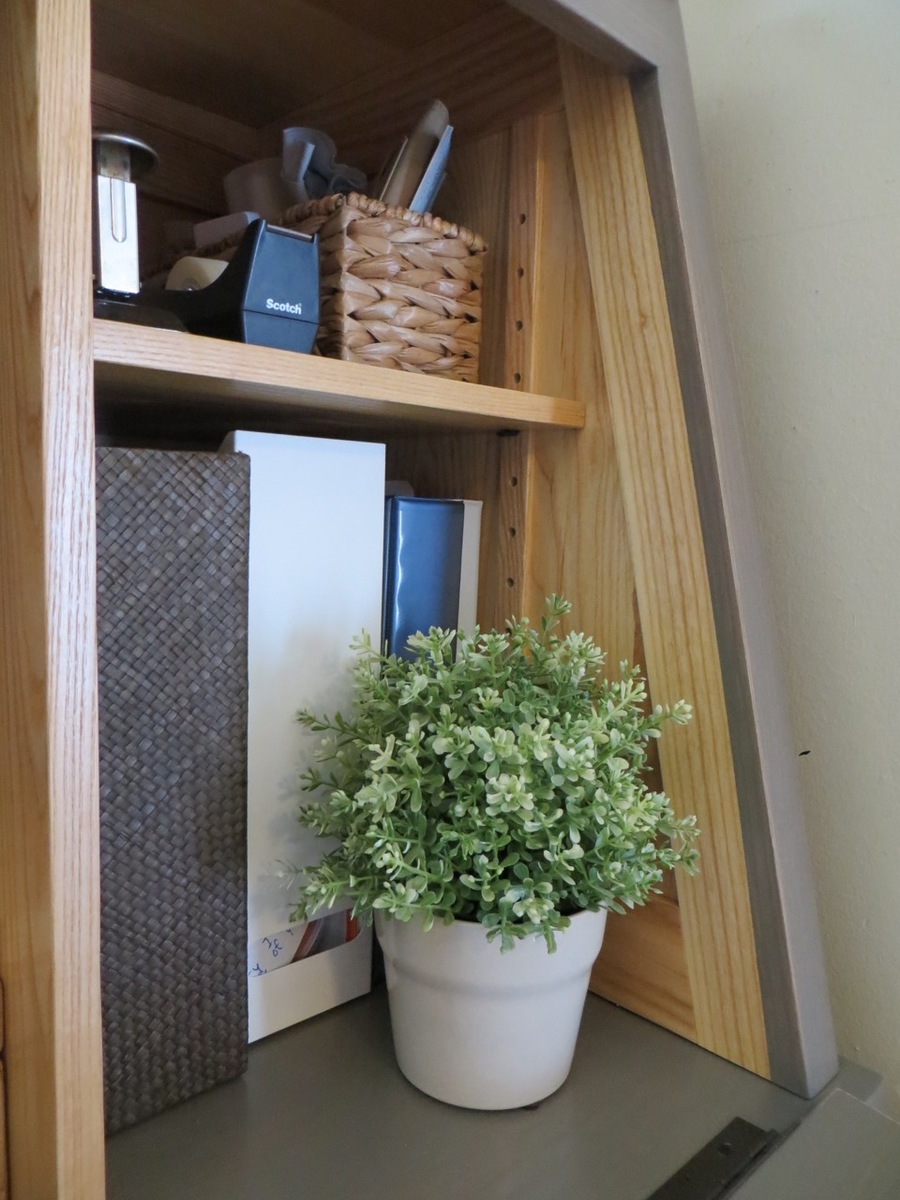
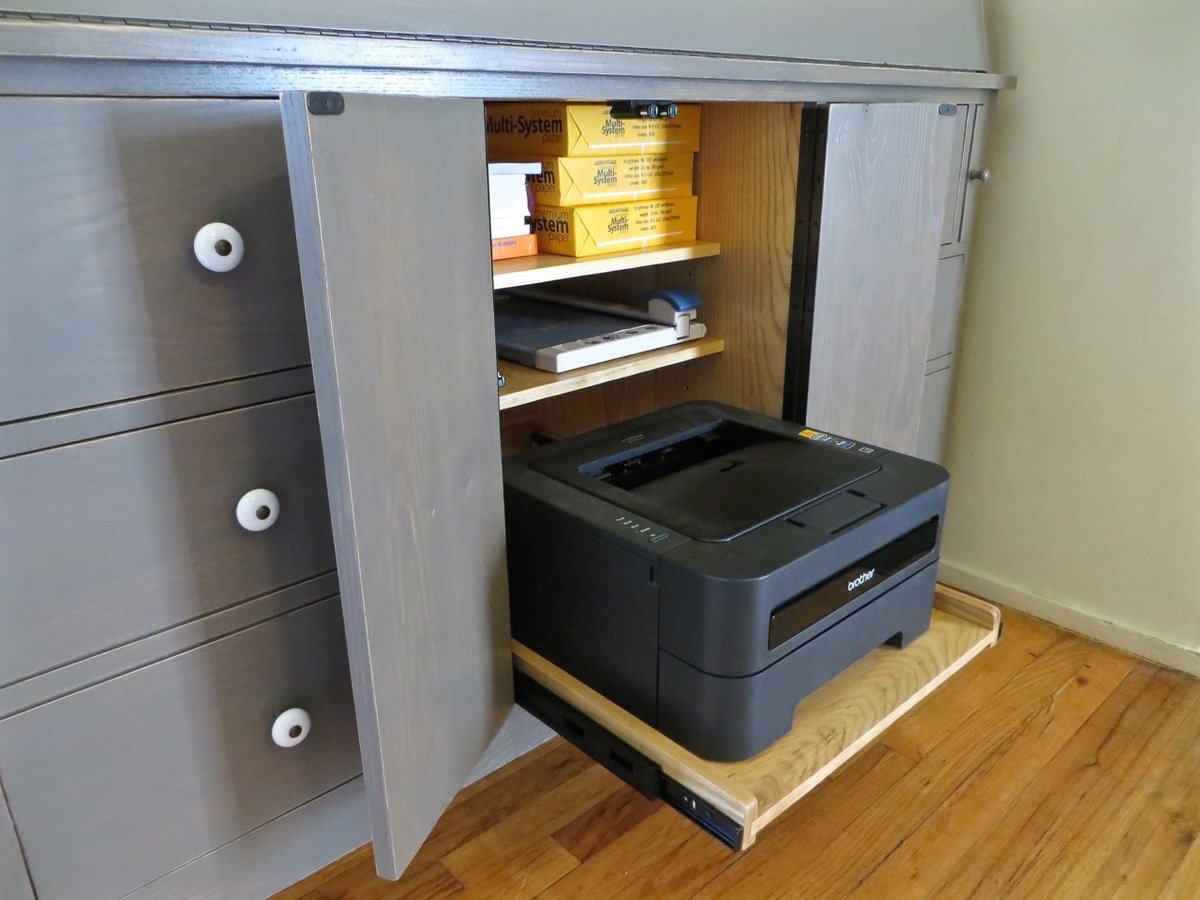
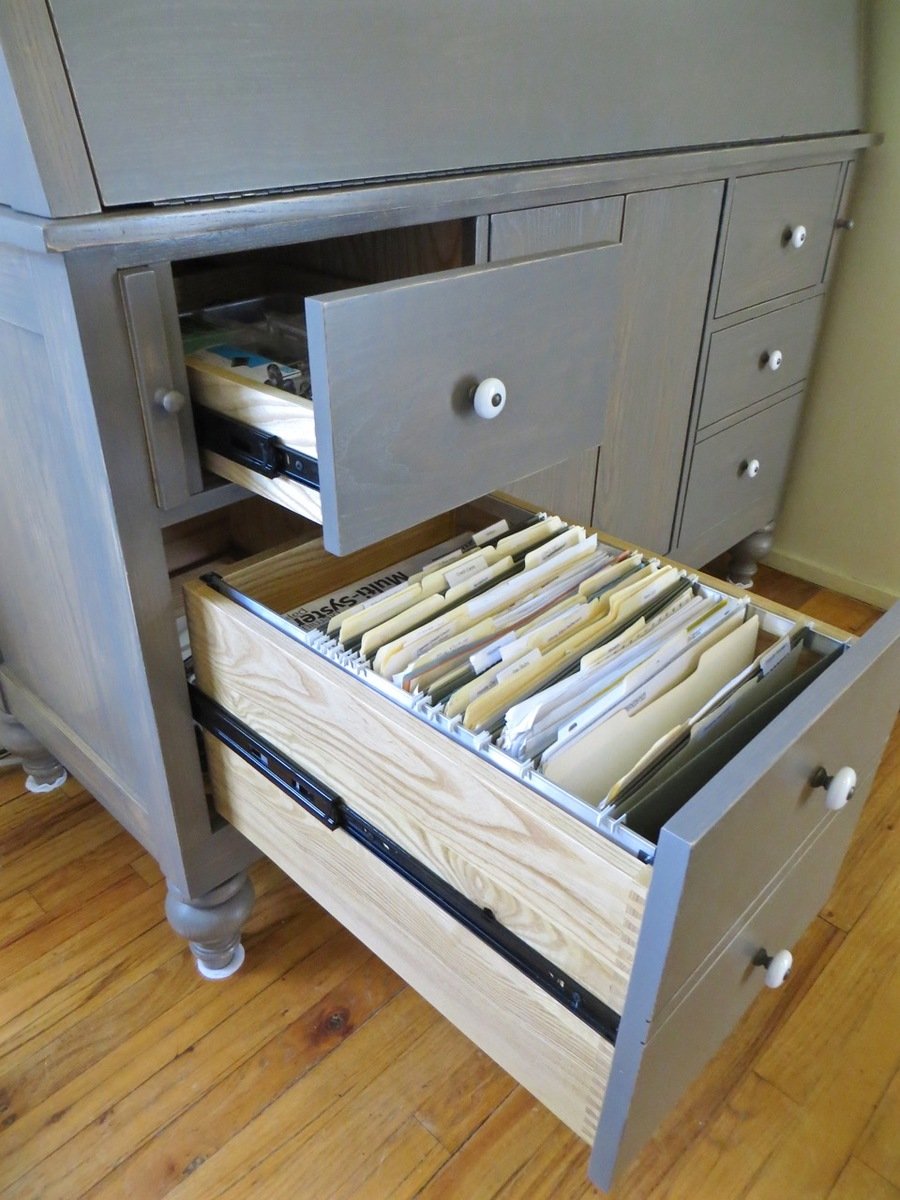
I designed this desk from another desk I built. With this one, I wanted the overall foot-print smaller but still something that was able to organize all our office stuff and be able to close everything to keep it clutter-free. We have a small apartment, and although this desk is about the size of an up-right piano, it works perfectly into our living space!
I made it out of raw hardwood (Ash) and because I knew just the wood alone would make this desk heavy/bulky to move I made the top hutch removable. It's held in place by wood pegs (dominos). All the shelves are adjustable and the drawers are full-extension (something I've never had - wahoo)! The drop-down door is help up by 2 pull-out boards on each side (my first desk had chains). I spend a lot of money on this desk because I knew it was a chance in a lifetime to make and wanted it to be perfect and something that would last generations.
I built the main carcass off of plans/measurements I designed, but then all the insides, drawers, shelves, doors, etc where made as I built (because just a millimeter difference in building changes everything)!
If you want more pictures/descriptions of the building process I wrote about it in a 4-part series on my blog.
Wed, 09/23/2015 - 11:22
is there plans available for this project?

In reply to is there plans available for this project? by Nsmjc
Tue, 09/27/2016 - 12:20
Hi there! I'm sorry but I don't have plans put together on it! I designed it in Google Sketchup and have some 'screen shots' I could send you for basic measurements if interested. You can e-mail me at [email protected]
Mon, 06/15/2020 - 09:08
Hi. Do you happen to still have those 'screen shots' or any other info/dimensions from this build? LOVE LOVE LOVE it!!

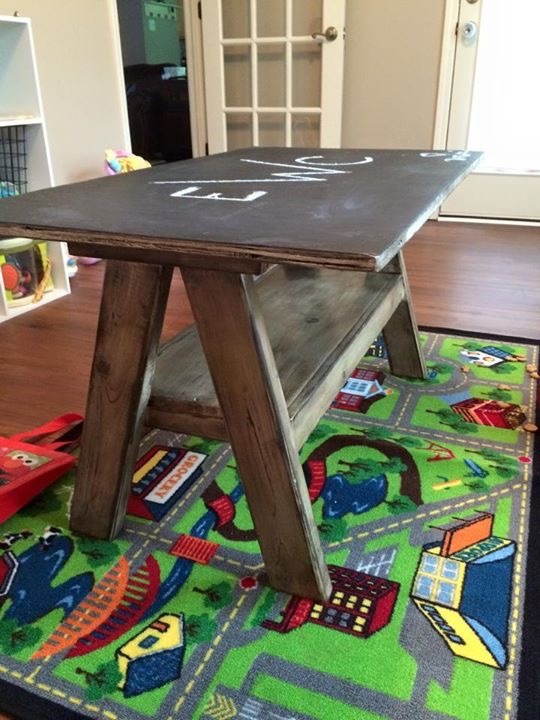
Added an X on the sides and a mitered 3 inch top frame. Added some color to make it fun and tropical for the lanai.
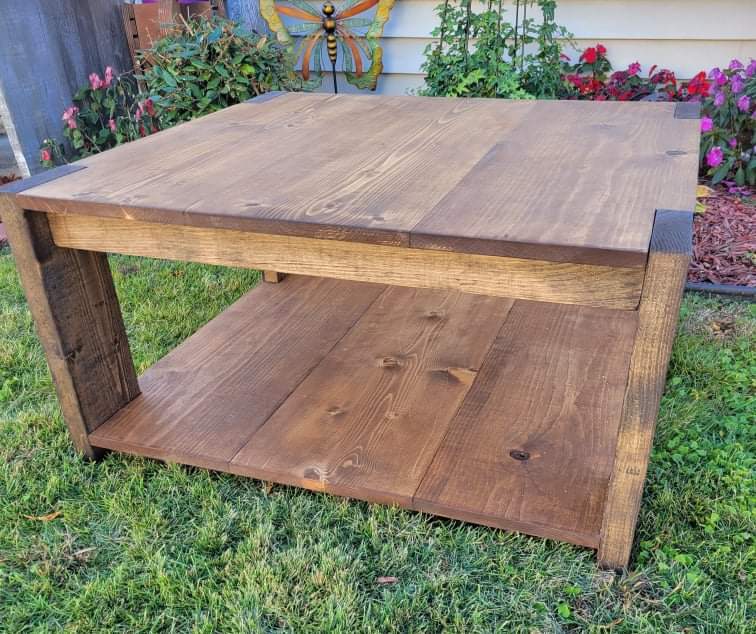
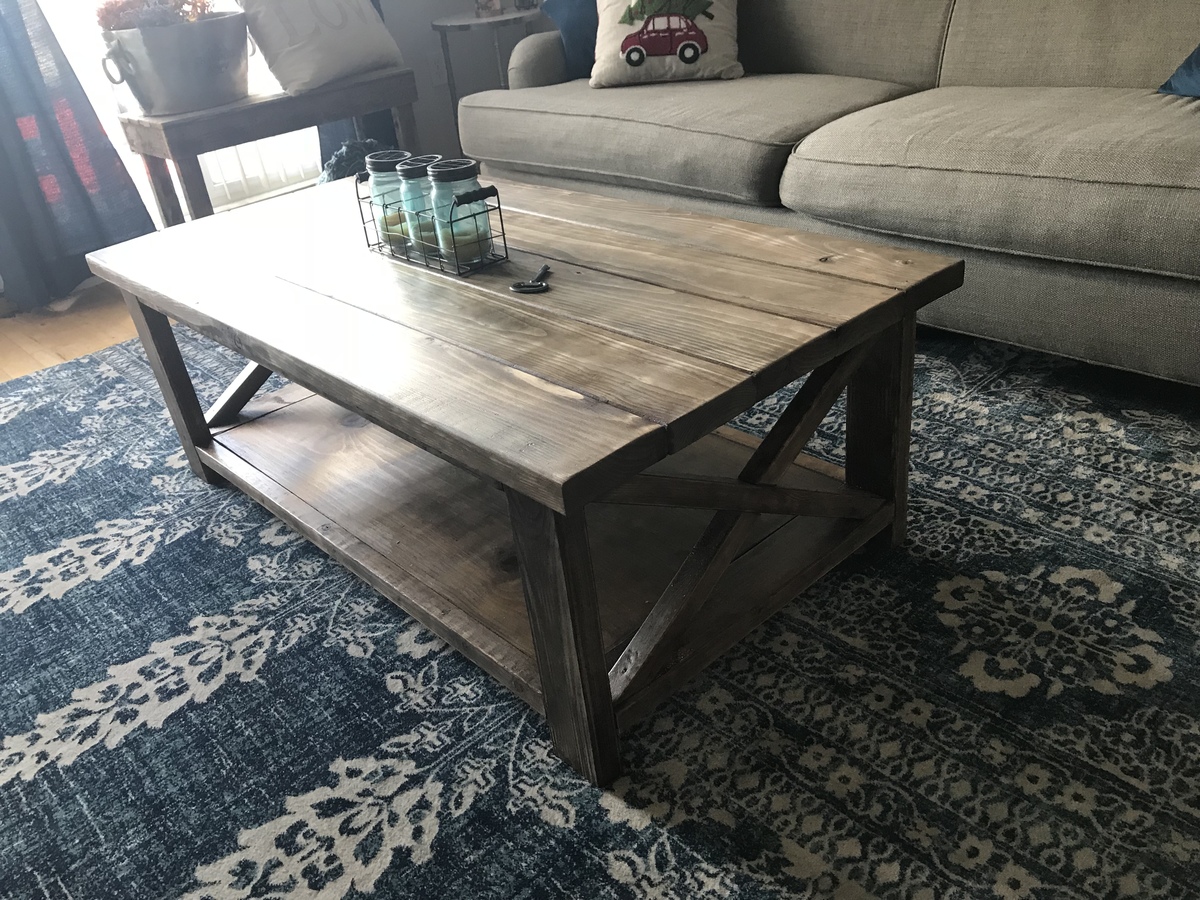
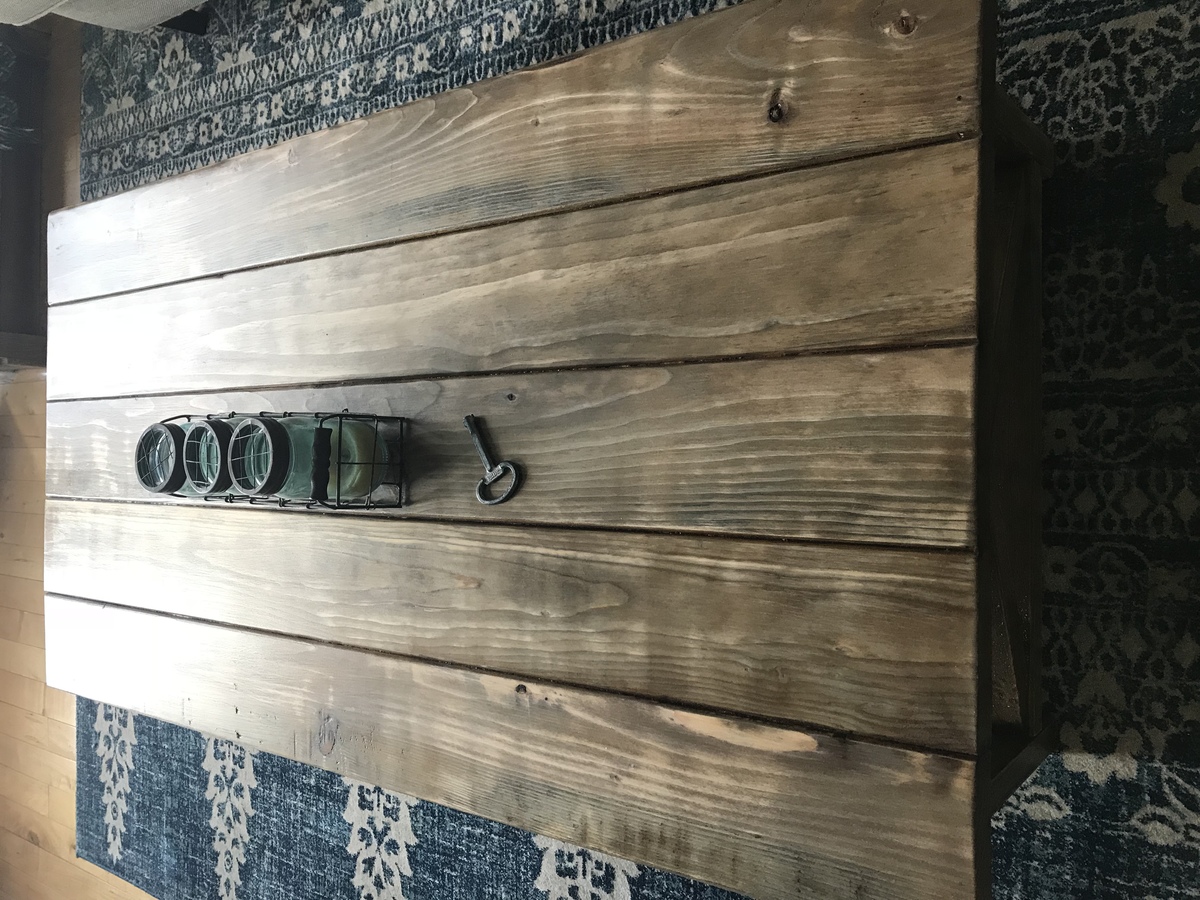
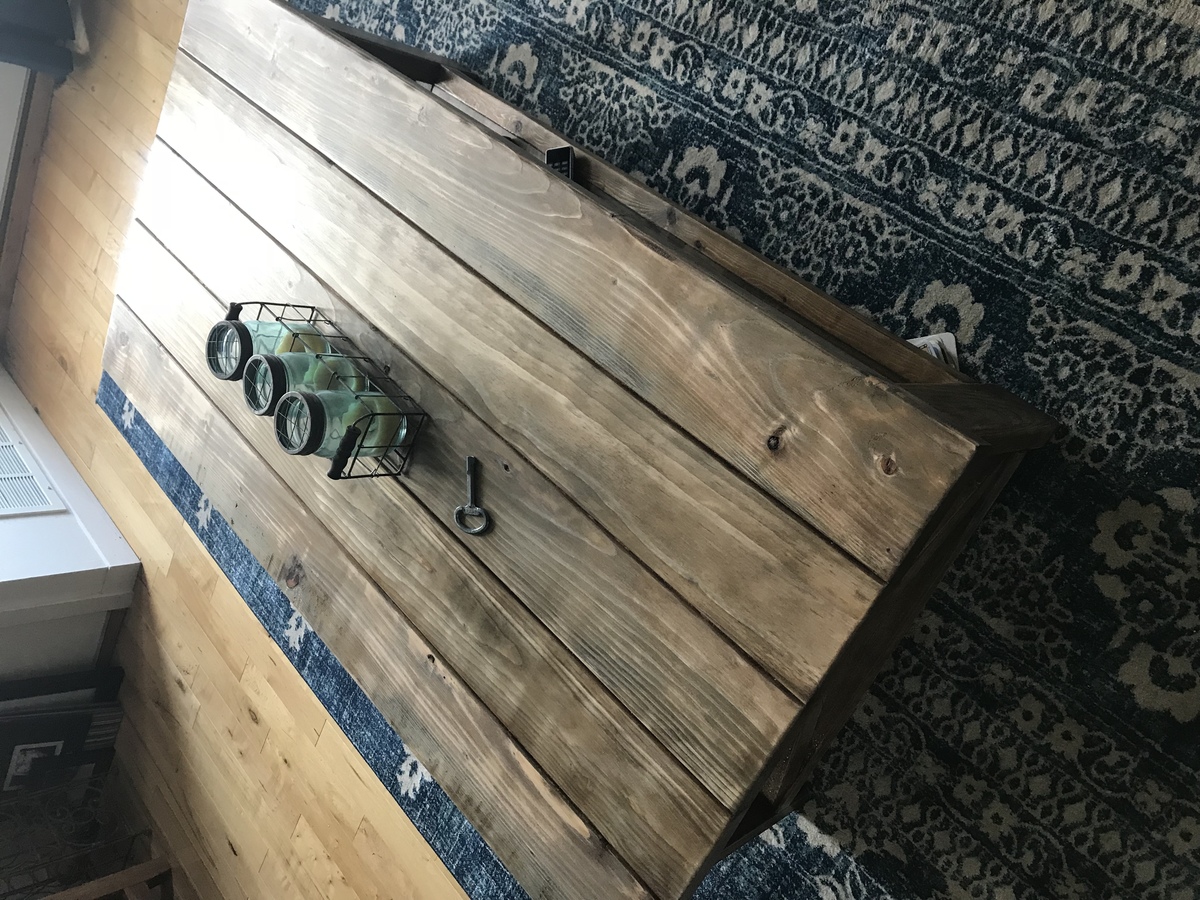
We decided it was time to upgrade our coffee table situation. We absolutely love the chunky series Ana White has, and can't wait for the other pieces to be released.
This great easy build basically took about a morning to complete. Special walnut with espresso accents.
Happy build8ng!


Mon, 11/15/2021 - 09:25
Love all of your builds, thank you for creating a brag post!

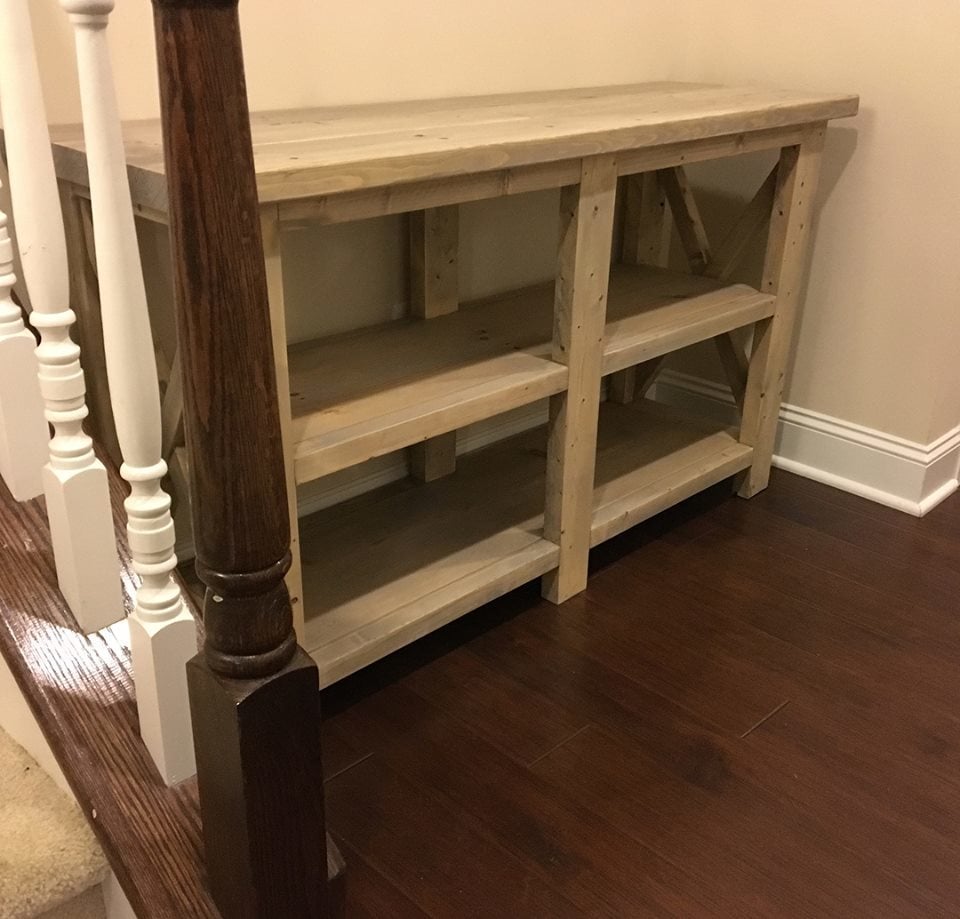
Modified the plans so that the width was the same as the bookshelf on the otherside. Easy to put together.
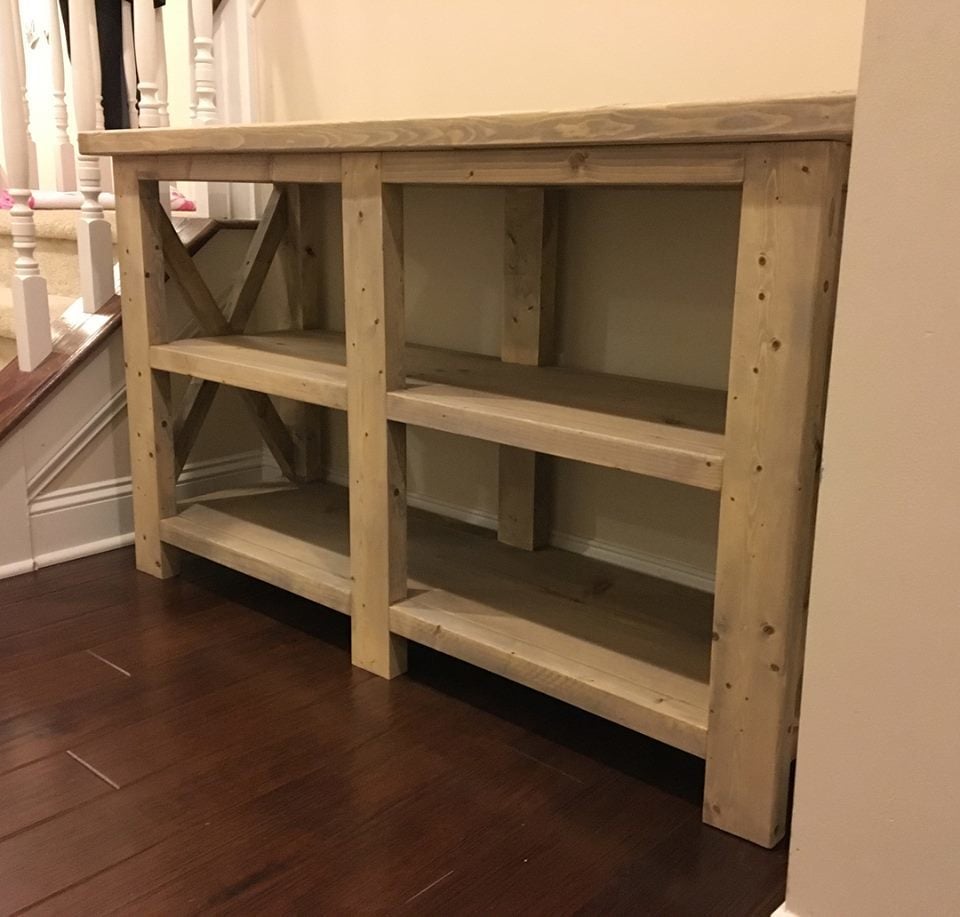
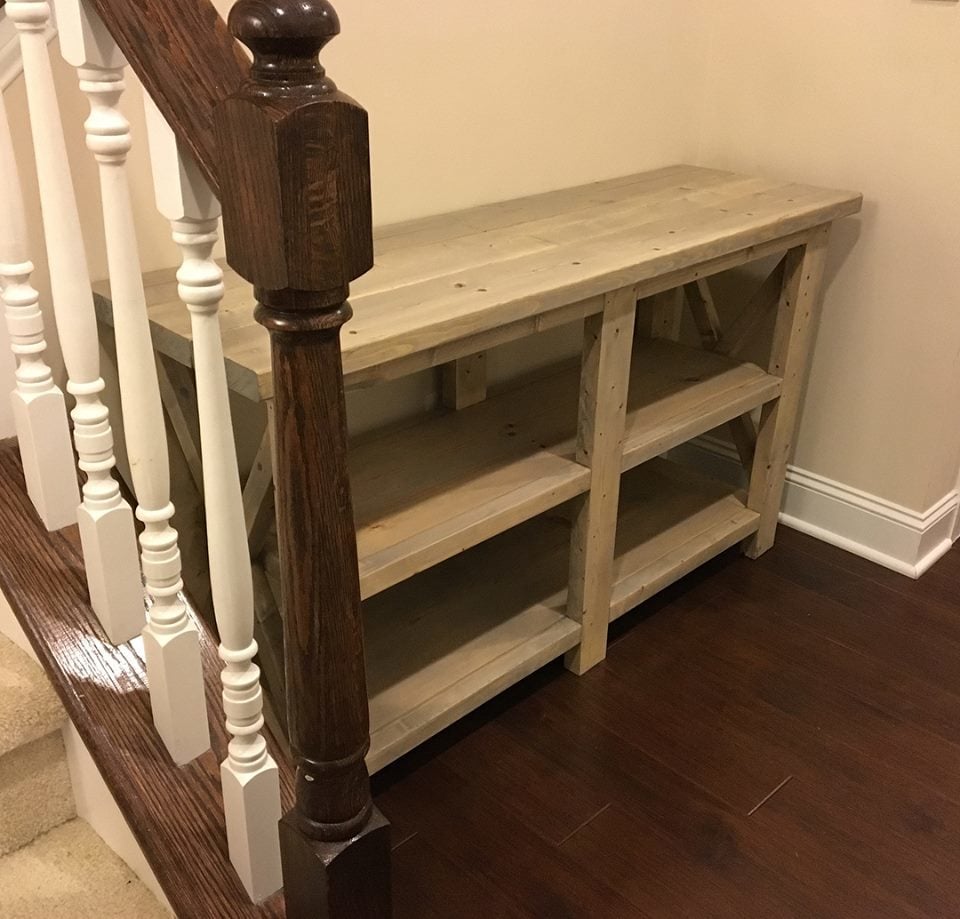
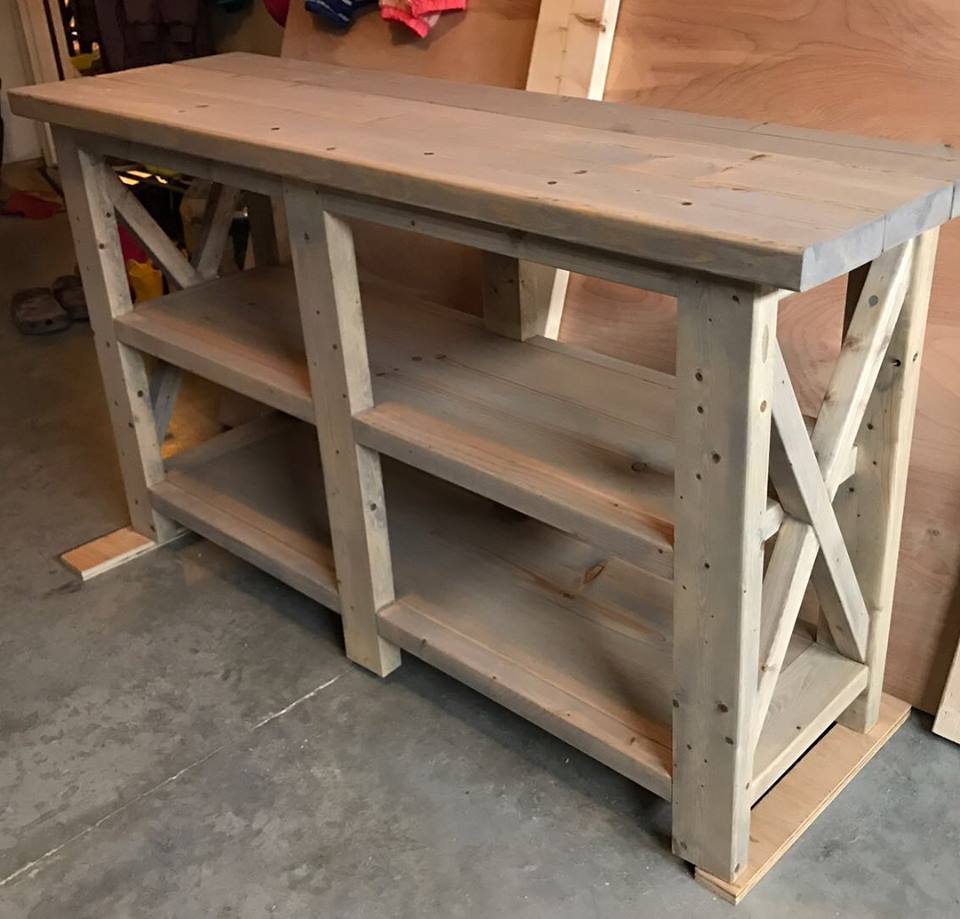
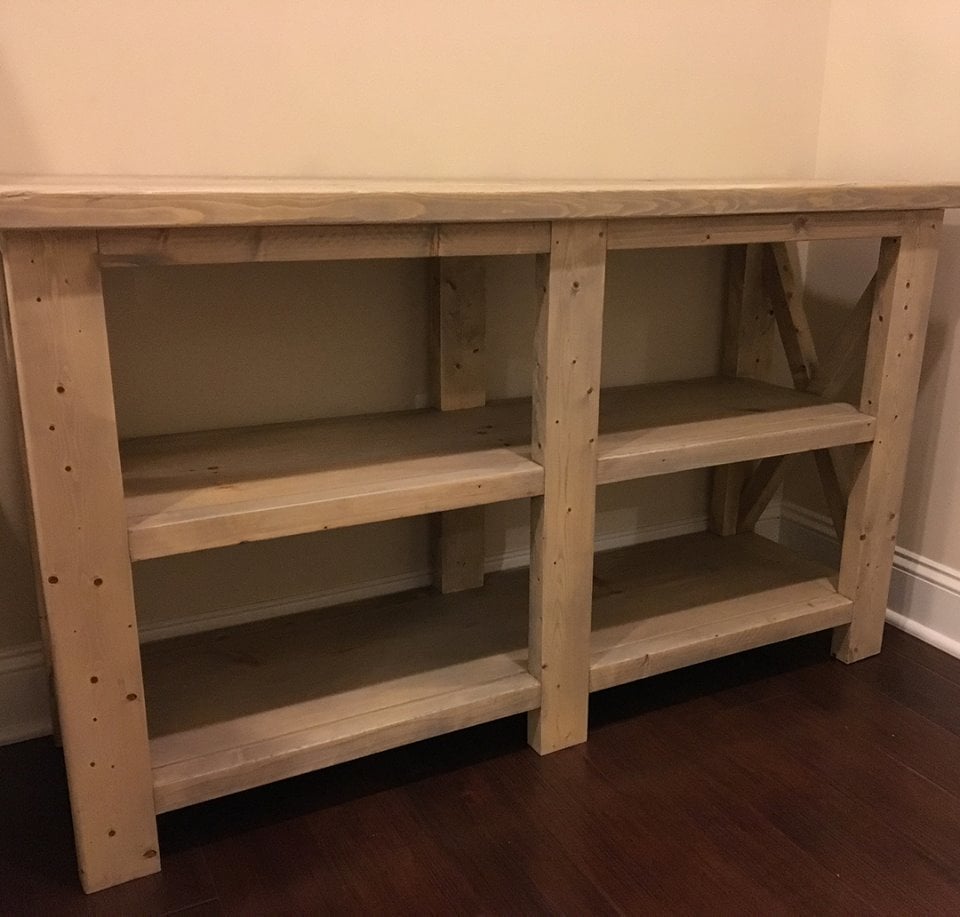
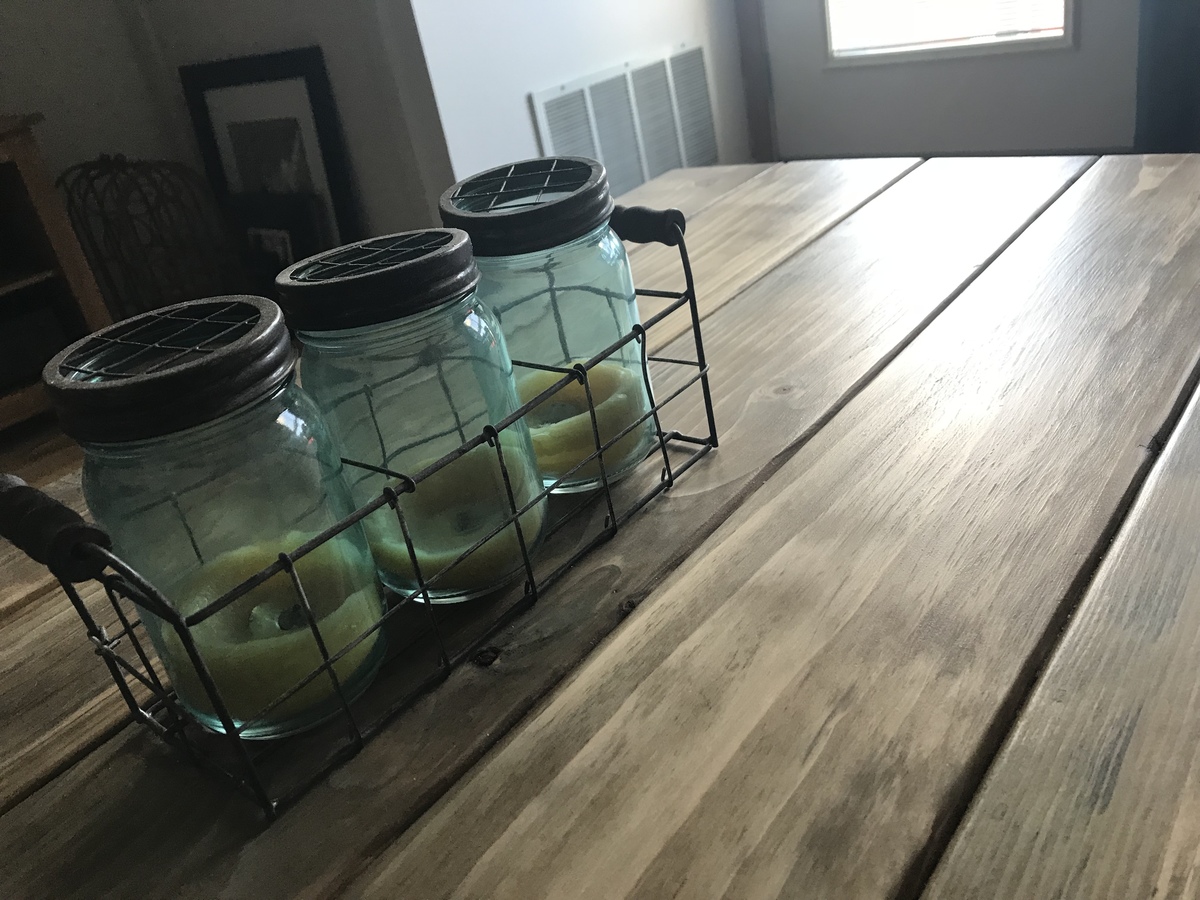
My version of X Console Table


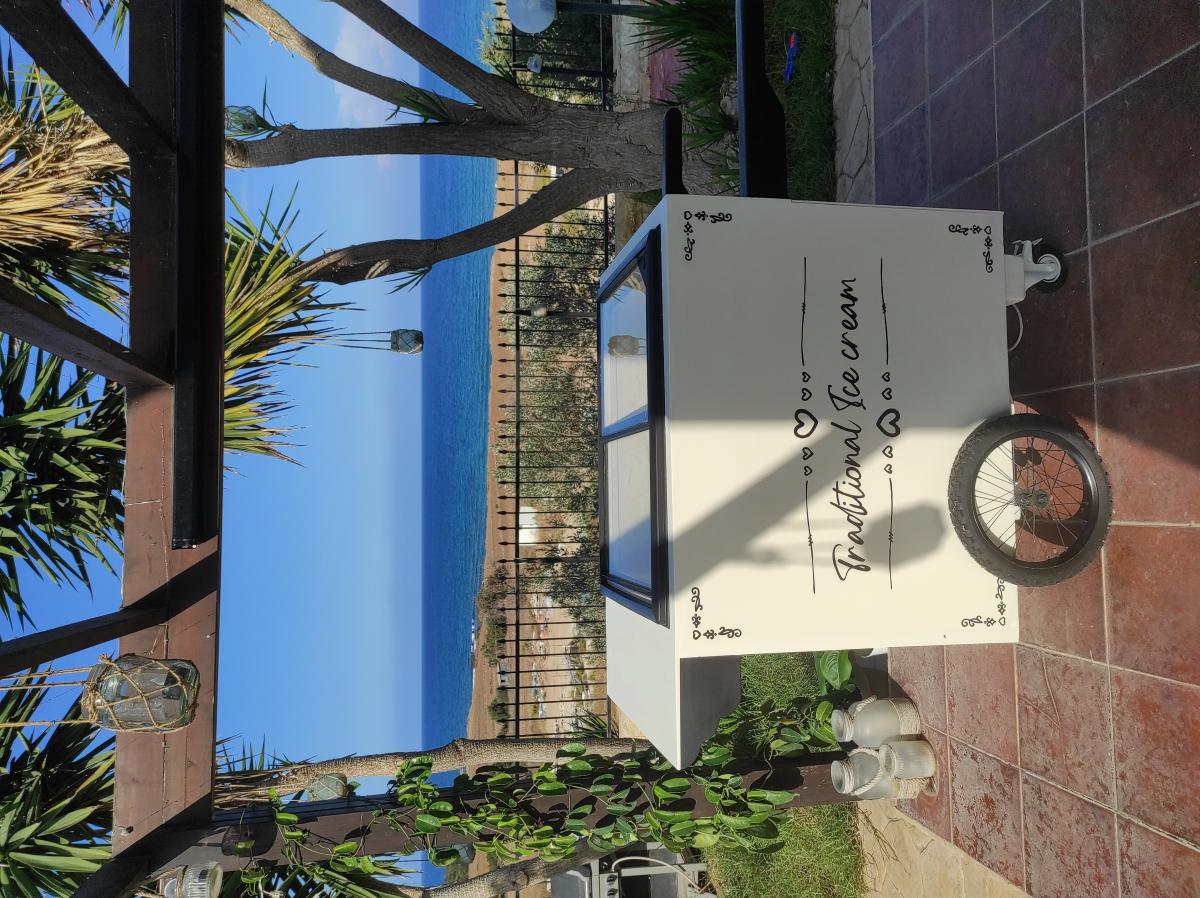
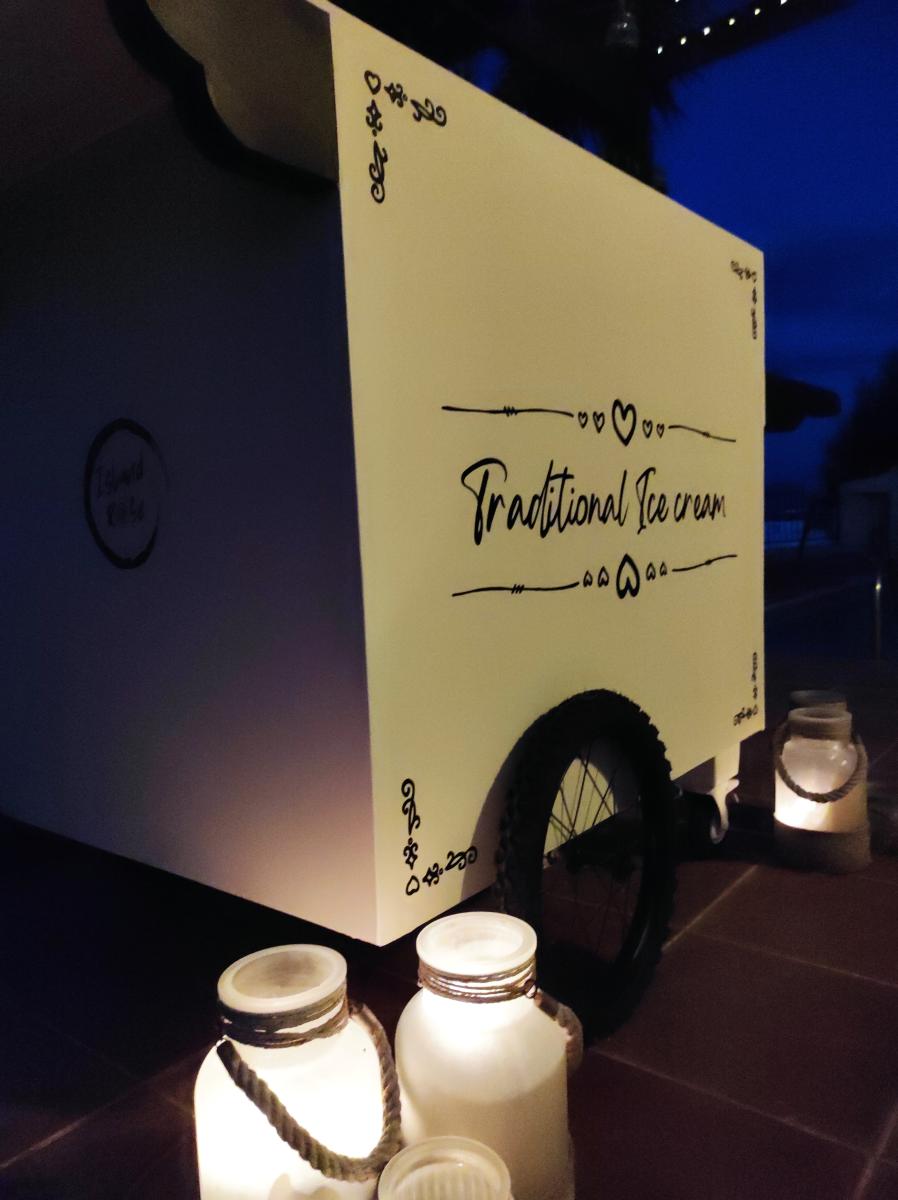
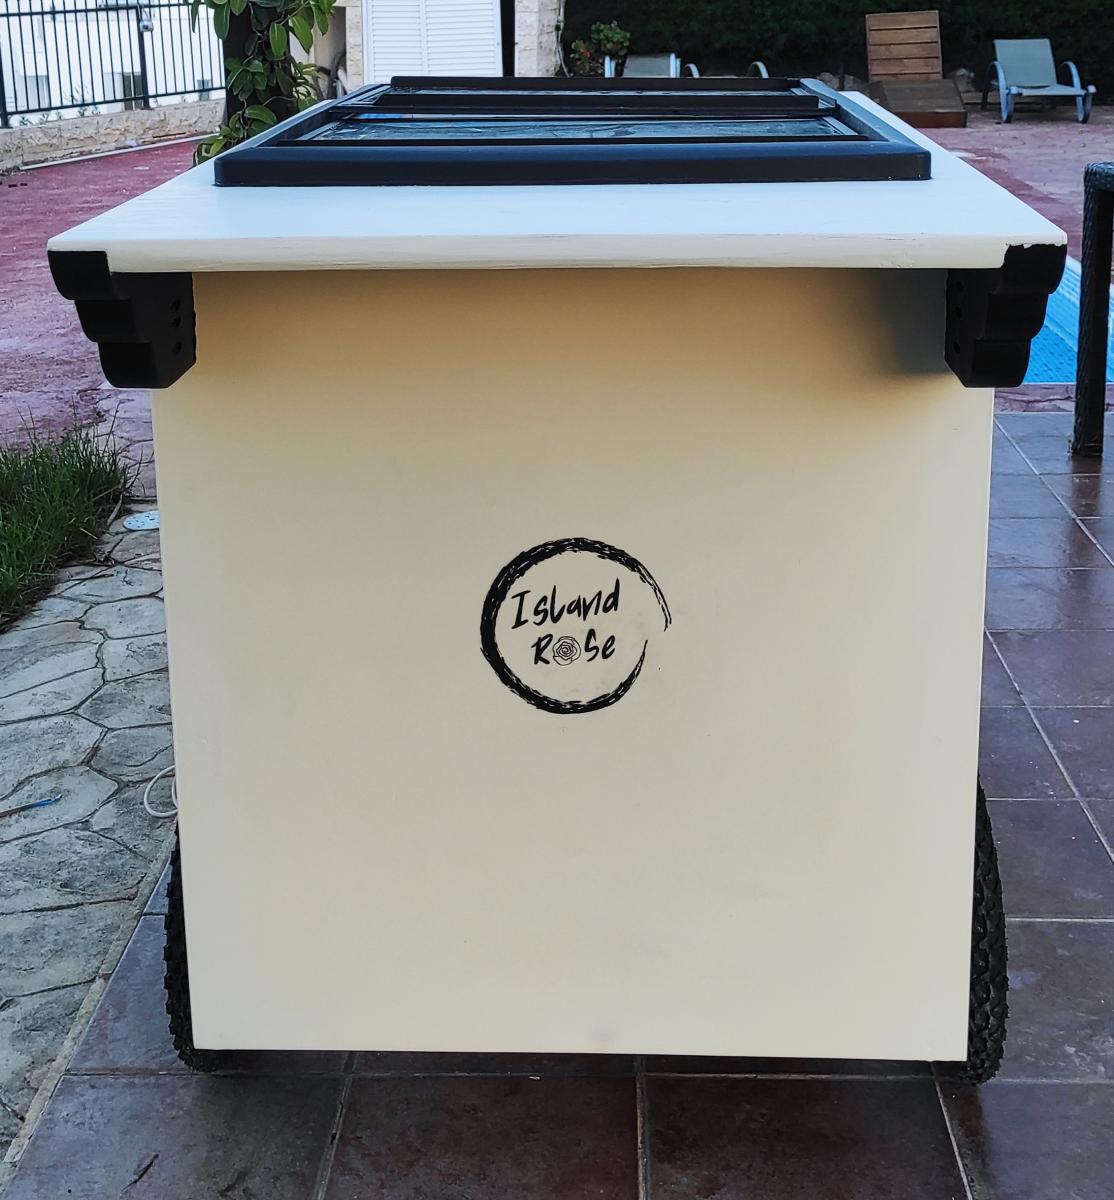
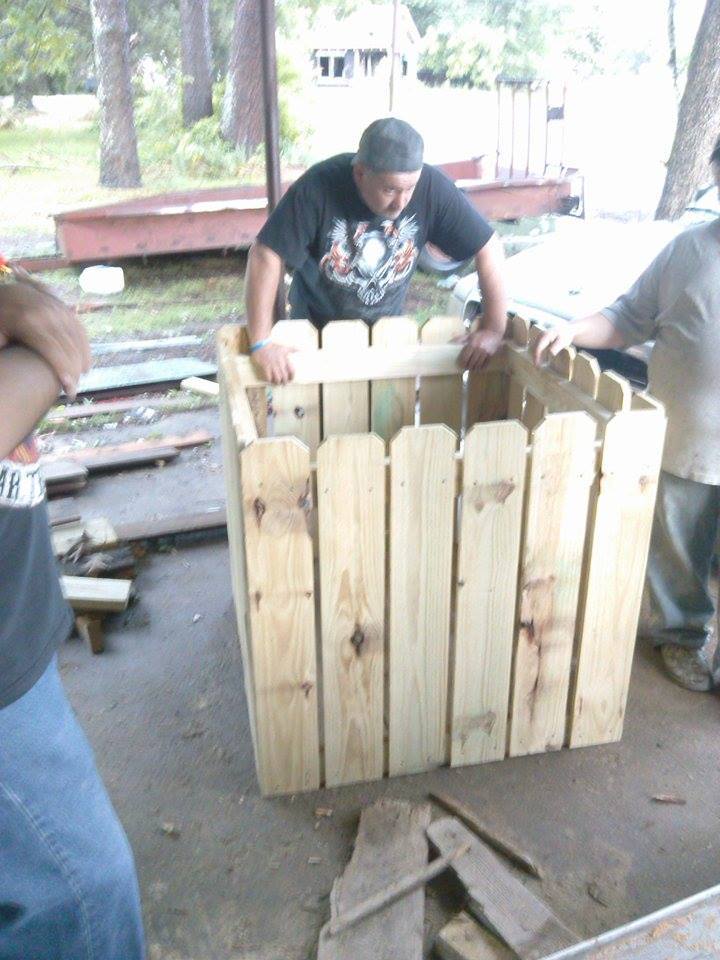
A friend wanted a tatty old chest freezer turning into a traditional looking ice cream cart for her business. The freezer itself was way to heavy and not really fit for purpose but, after a week of tinkering about with a couple of design changes here and there to accommodate the weight, I don't think I've done too bad a job.
The internal frame is Nordic fir, half lapped at the joints and secured in place with 38mm oak dowels, the cladding is 6mm birch ply finished with paint from the French chic Al fresco range, the writing proved a little challenging on the the eyes and my hands aren't as steady as they used to be but she's happy.

Like many others have posted, it made sense to start out by building a workbench. This took me about 3 hours to construct, but it would have been a lot quicker if I hadn't had to put in so many screws by hand (my drill needs a new battery). I stained the base and painted the top with a high-gloss black paint. My total materials cost was about $42, plus an additional $15 for small cans of paint & stain. I can't wait to start a new project!

Sun, 06/16/2013 - 18:28
That project looks too good to use as a work bench! You did a great job!

In reply to Nice Work! by Val Manchuk
Sun, 06/16/2013 - 23:39
Thank you. It turned out even better than I imagined it would!
Found the project on Ryobi Nation http://www.ryobitools.com/nation/projects/3983
I built this in my studio/loft apartment. Great beginner weekend project. My first of many.
I used as much reclaimed wood as I could to make this project as inexpensive as possible...and since it was going to be covered, you can't tell. What I couldn't get from scrap or the pallet I tore apart, I bought at Orange...only to discover that they do not sell untreated 2x6s in Hawaii. So I improvised and screwed a couple 1x6s together, and it worked just fine. The only real problem I ran into was that reclaimed wood isn't really all that straight...so some of it went together by sheer force of will! :) It was my first build completely without my husband...and at 8 months pregnant, I definitely got a workout!

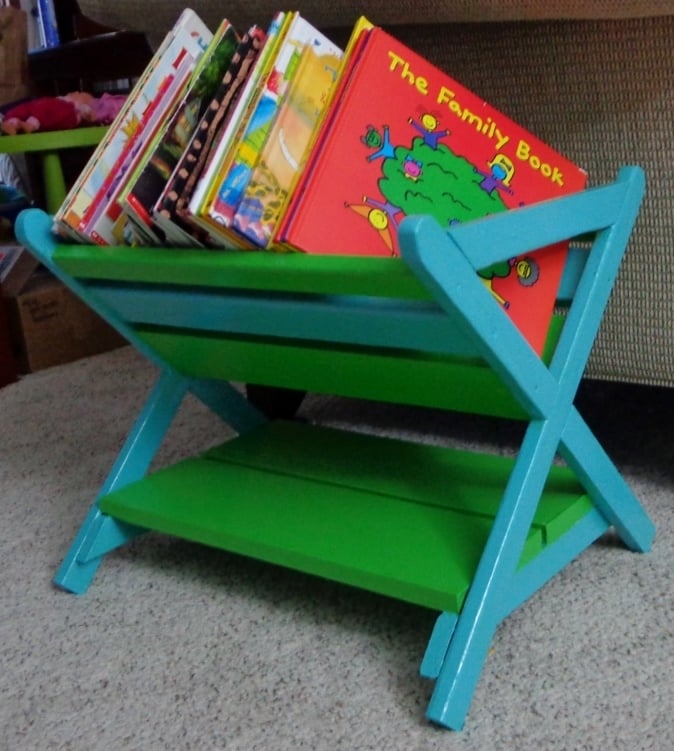
This book caddy was just what I needed...a small shelf to store the books that the girls are currently reading, so I am not constantly returning books to the bookshelf. Now we can keep a bunch of books at ready access, without them stacked around the room.
I shortened it to 18", but otherwise followed the plan as written. Some of the spaces/angles were a bit tricky to get into to with my tools, but the concept was straightforward. I did it myself, but a second person would have been handy to help hold the pieces while I fastened.
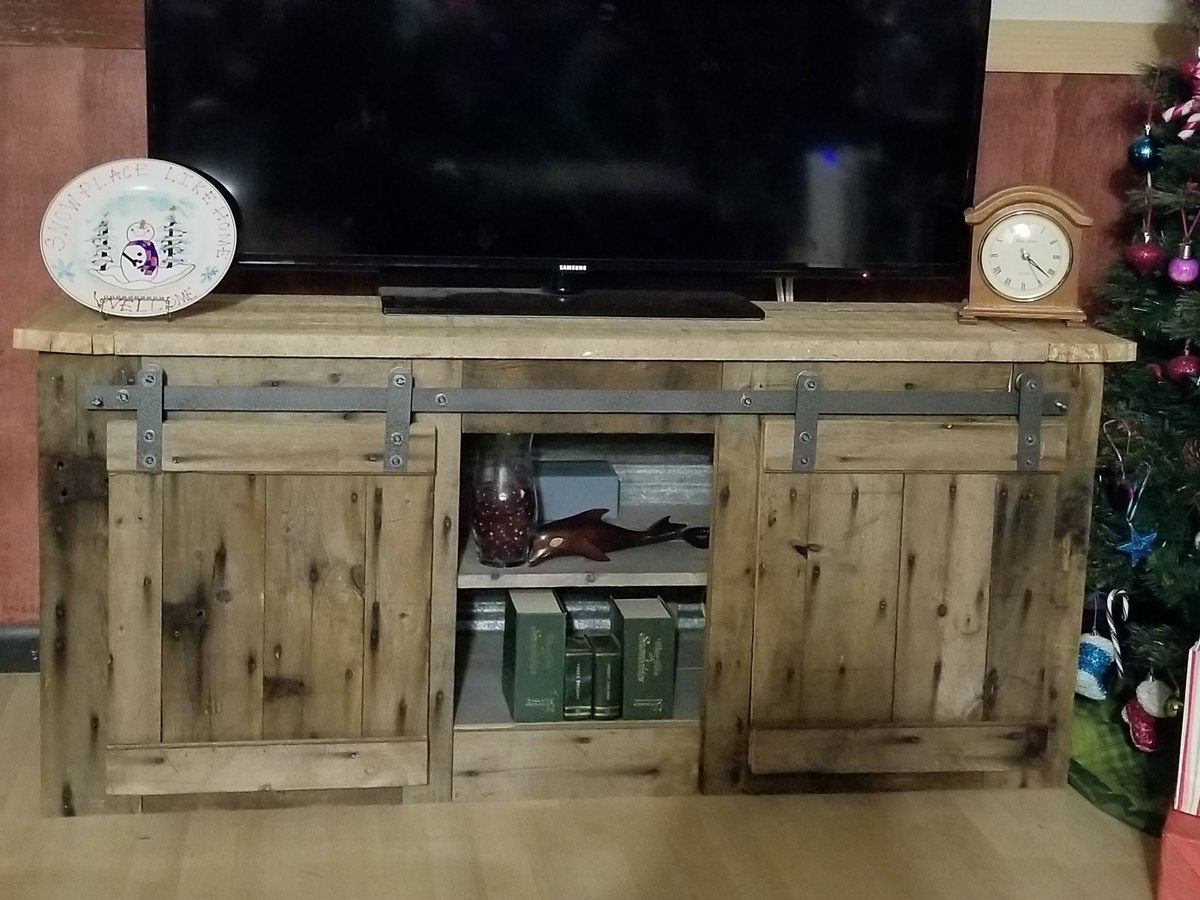
Used the plans from here and the plans for the sliding door hardware to create this for my wife for Christmas.
Top is 2x10 KD spuce. Finish is Varathane cherry stain and Varathane semi-gloss poly. This was my first intermediate project. Learned a lot.
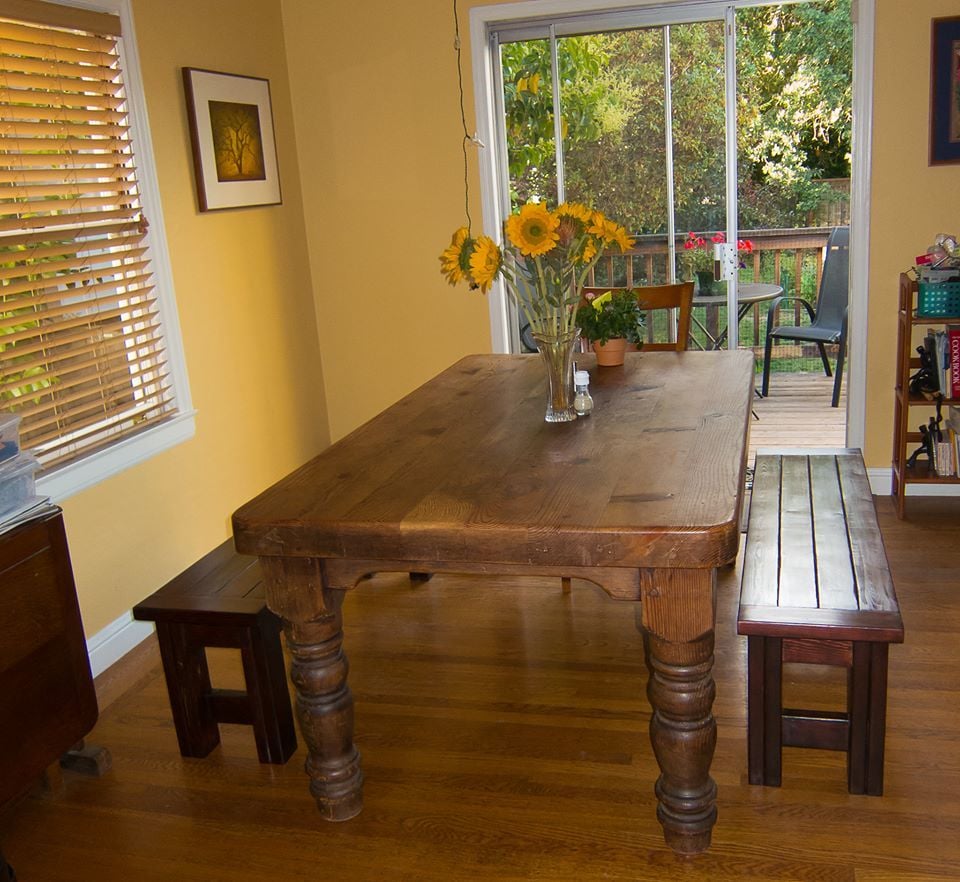
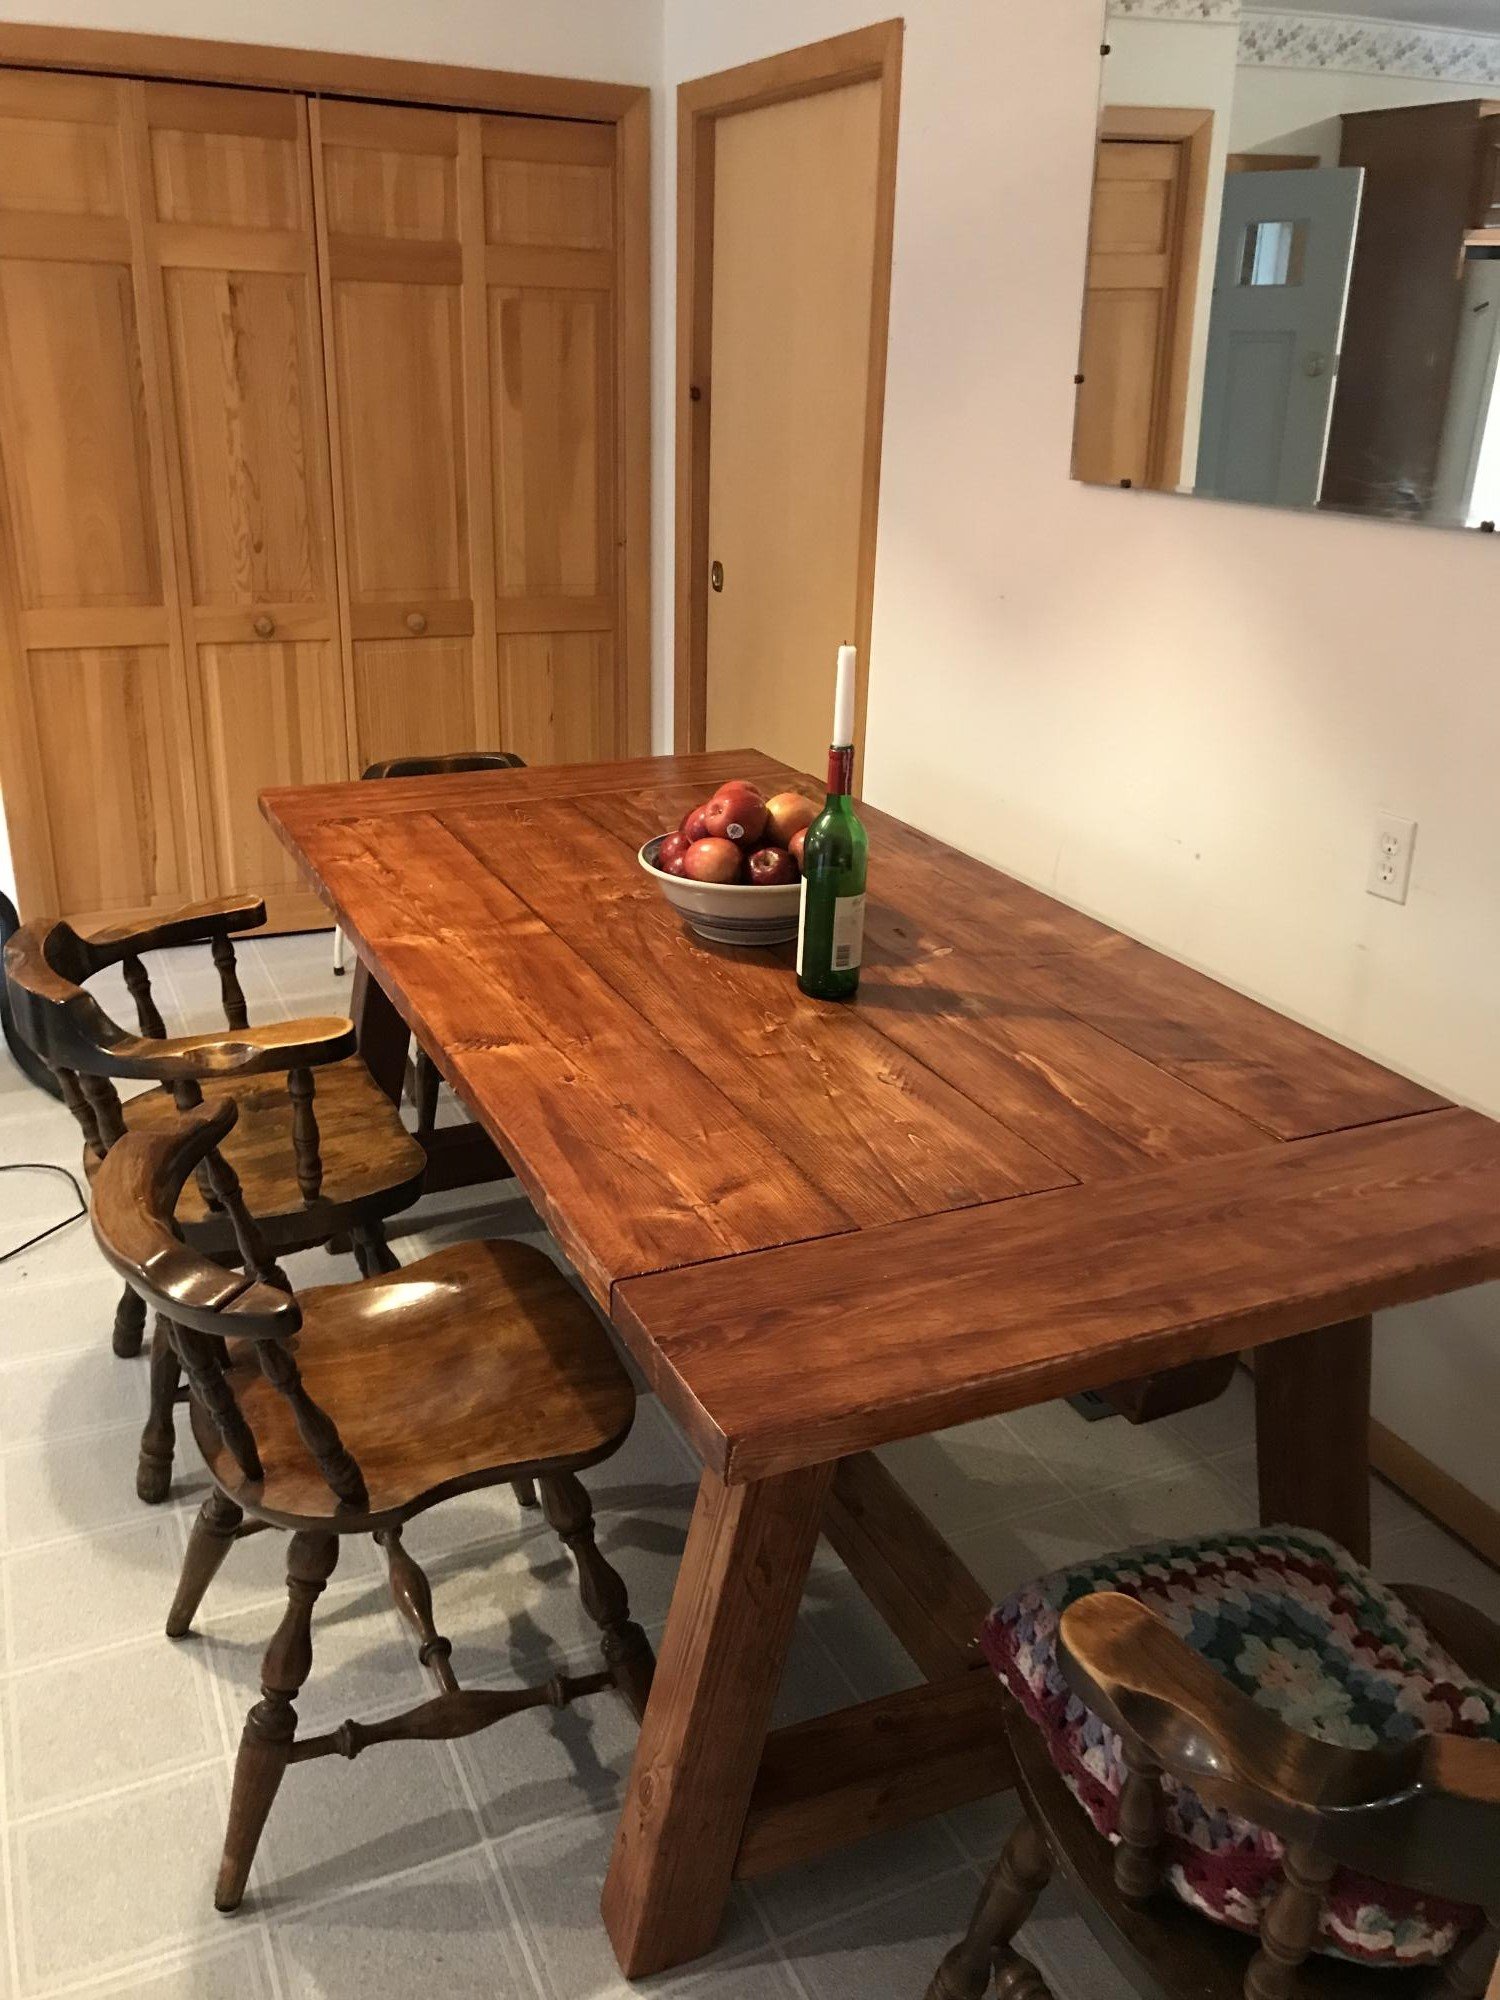
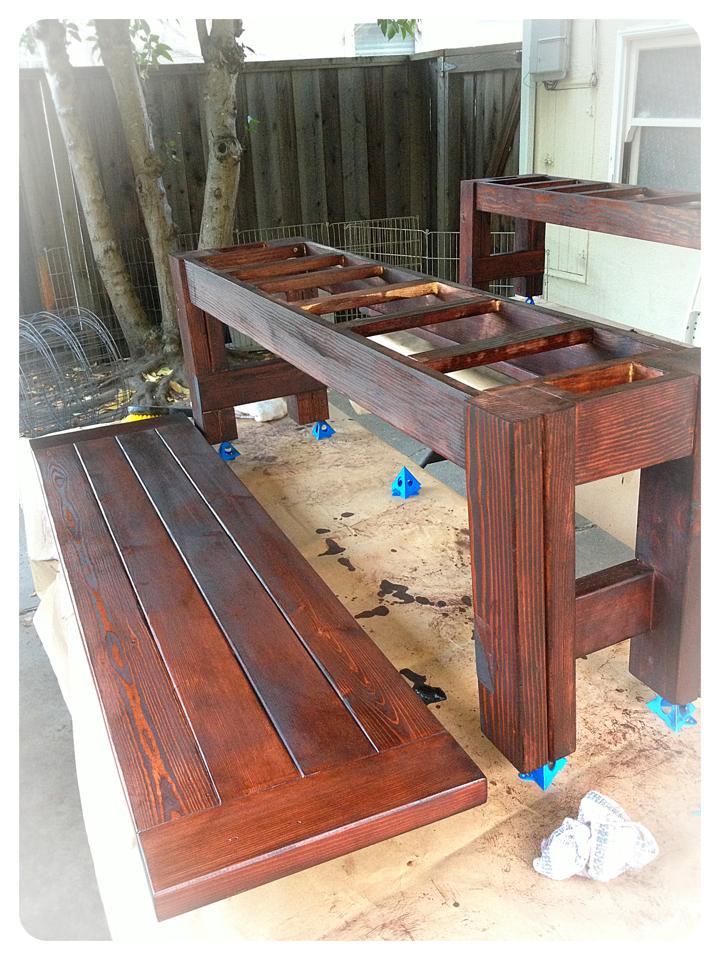
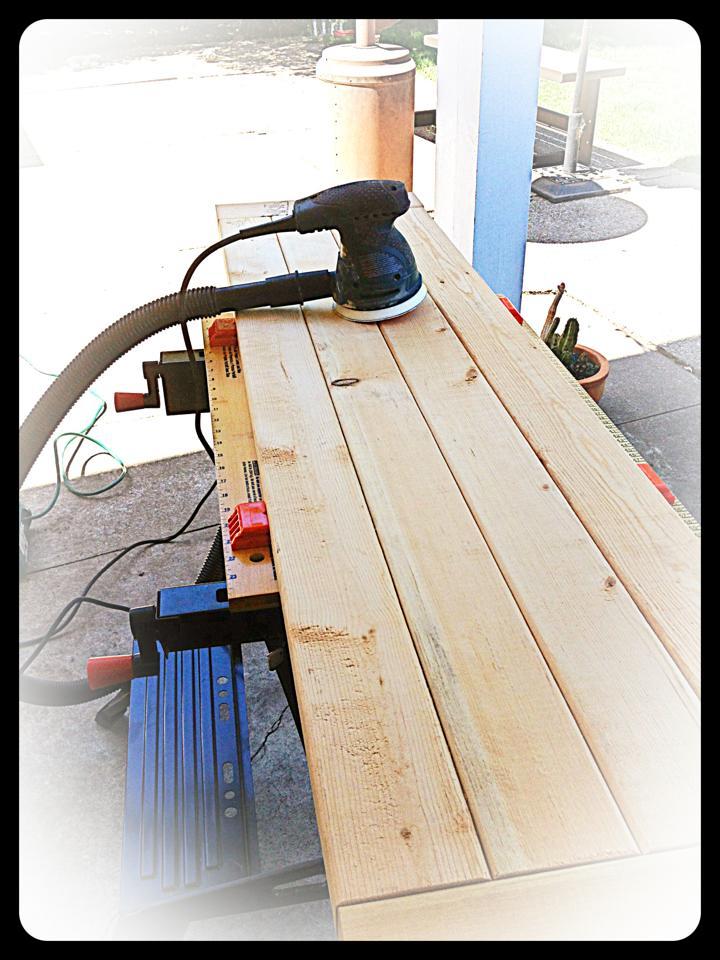
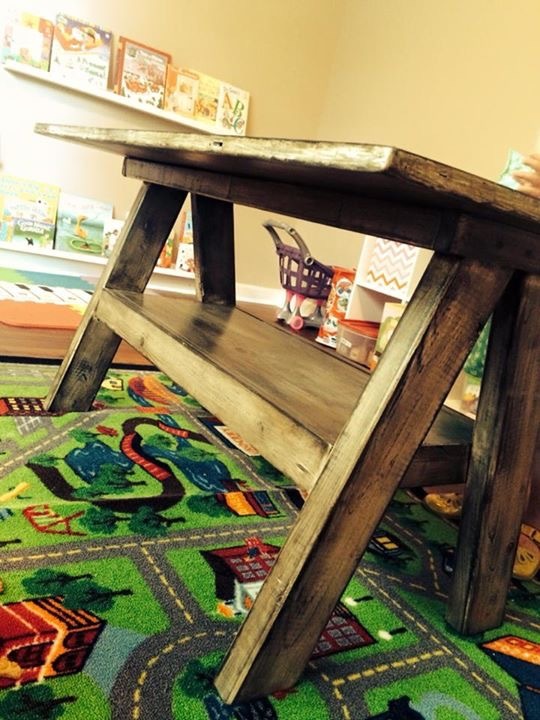
Basic Farmhouse benches, shortened to fit with an old table that I already had.
I couldn't find any plans on here for a simple outside trash bin so I drew these up and it turned out great
I used 12 1x6x6 fence pickets like you use for privacy fences they were 1.75 each and one 16 foot 2x4 and 1 10 foot 2x4 the trash bin is 3 foot tall and a 3 foot square
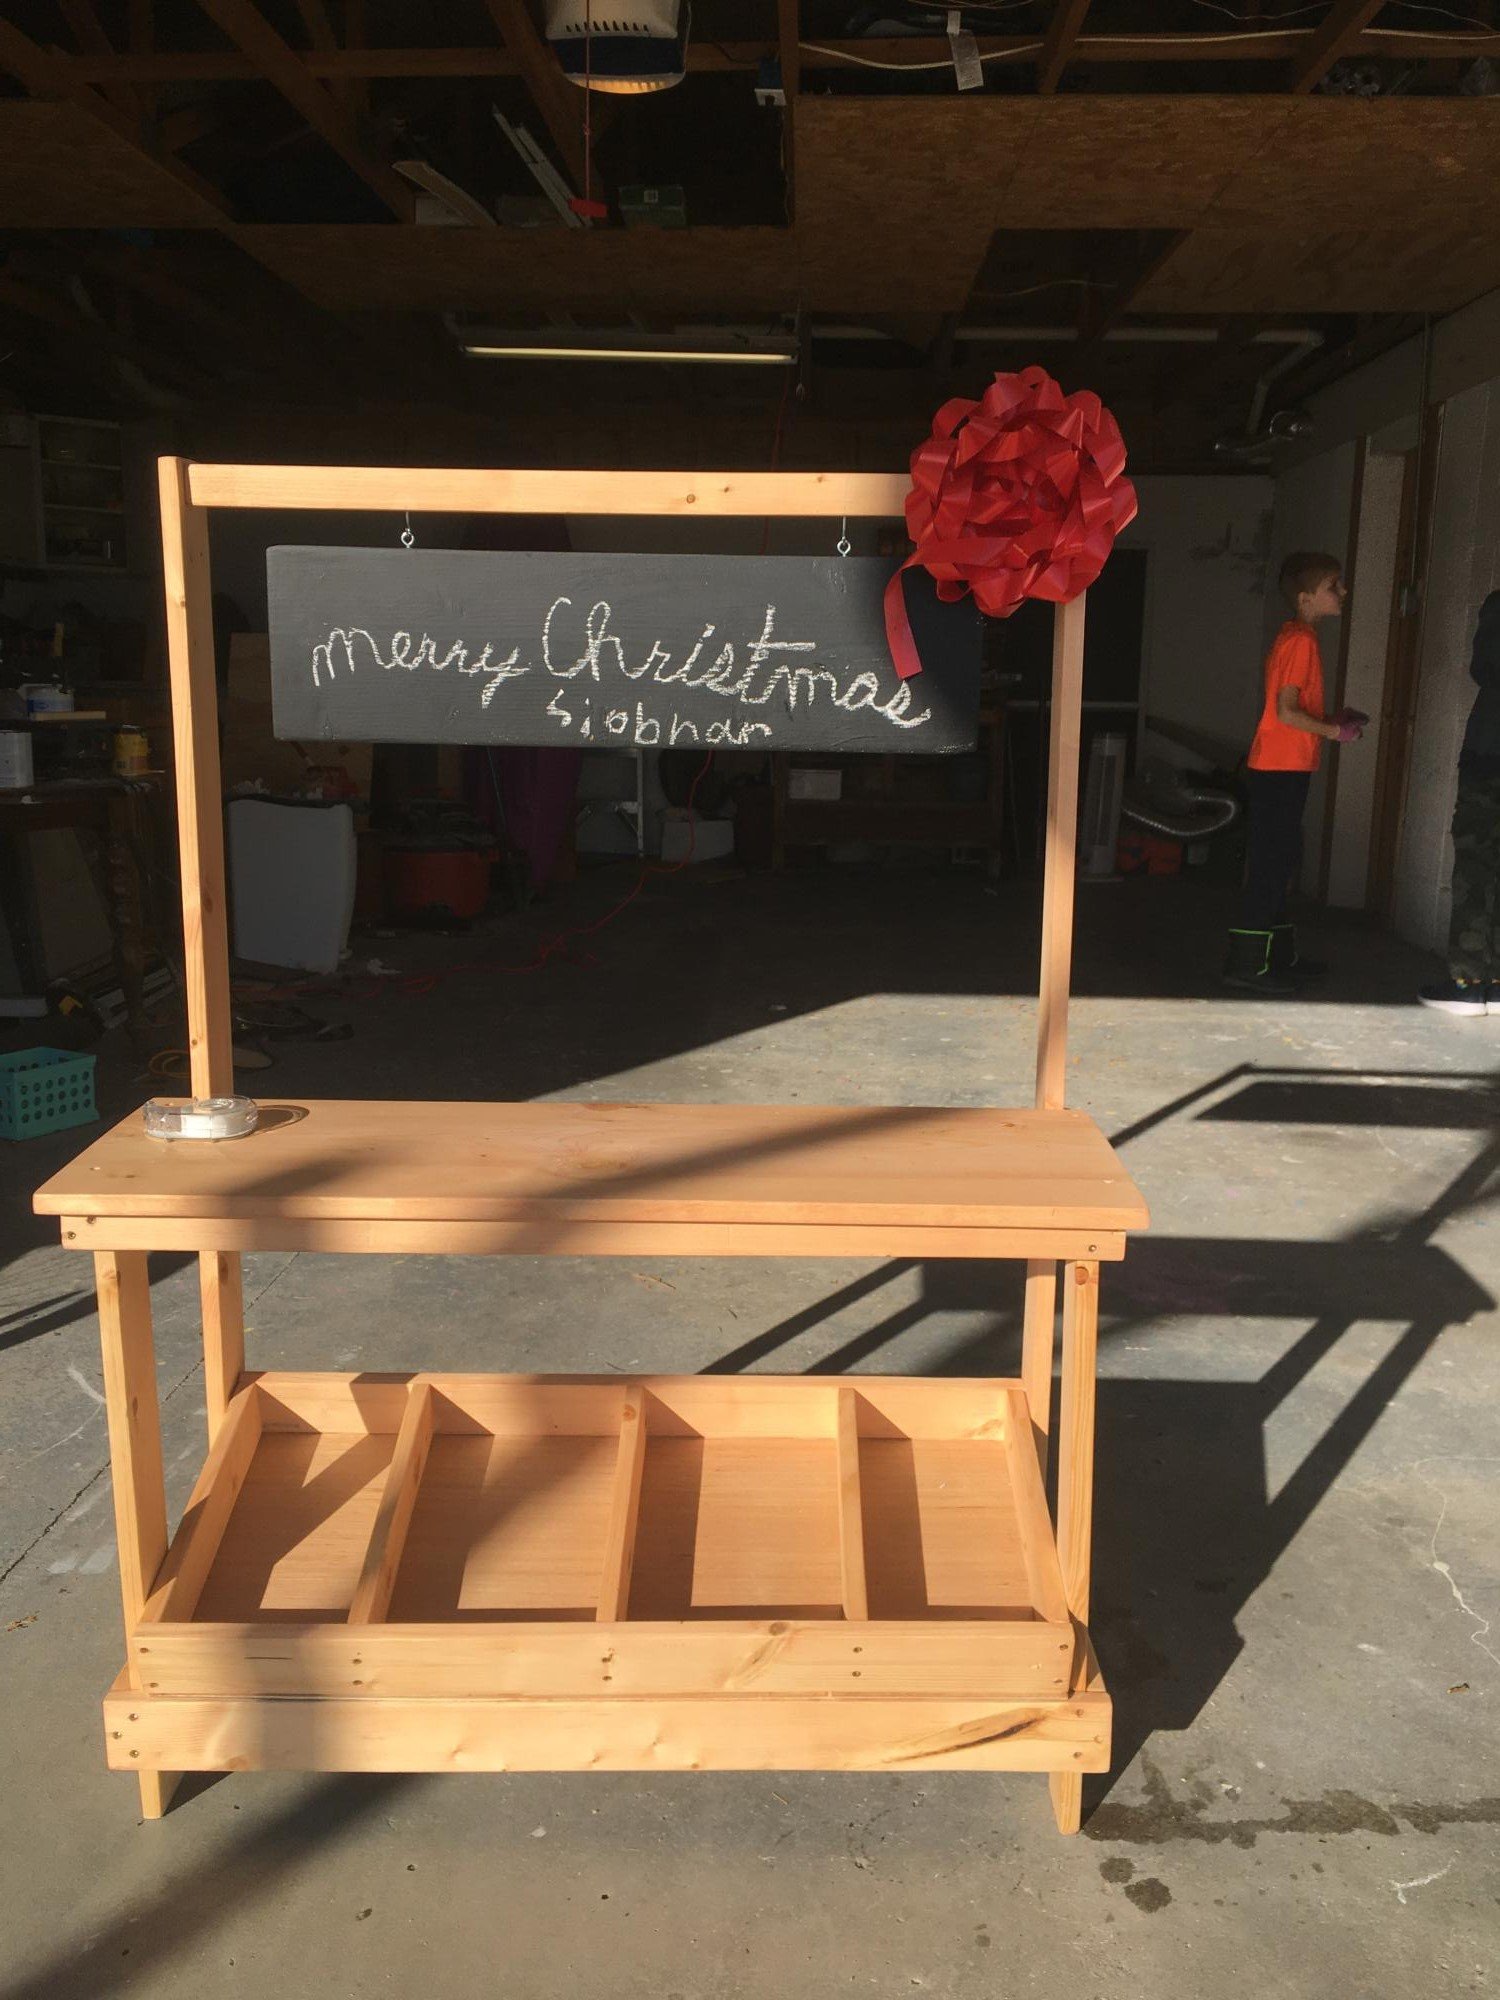
I made this for my daughter this year for Christmas. I’m pretty proud of how it turned out.
Wed, 12/22/2021 - 17:59
Thank you for sharing, wonderful job and a gift that will be cherished for years to come!

We modified Ana's Recycling Center plans to make this piece. It's made of MDF and painted to match the kitchen cabinets. I had the pieces cut at the lumber yard so they'd be straight, but didn't have the plans quite correct. My poor plans resulted in the build being quite fidgety and took ages to complete (and I ended up having a handyman help get it right), but I'm happy with the result. I used drawer runners for the drawers and made a box inside, cutting out a hole for the plastic liners. Thanks so much for the help!
This was my first attempt at a project from the site here, and I am hooked! this was well thought out and the fact that you have the cut sheet and materials list ensures you get what you need and help to keep cost down. This will not be my last build from this site! Thank you for the great information and how-to you guys have provided.
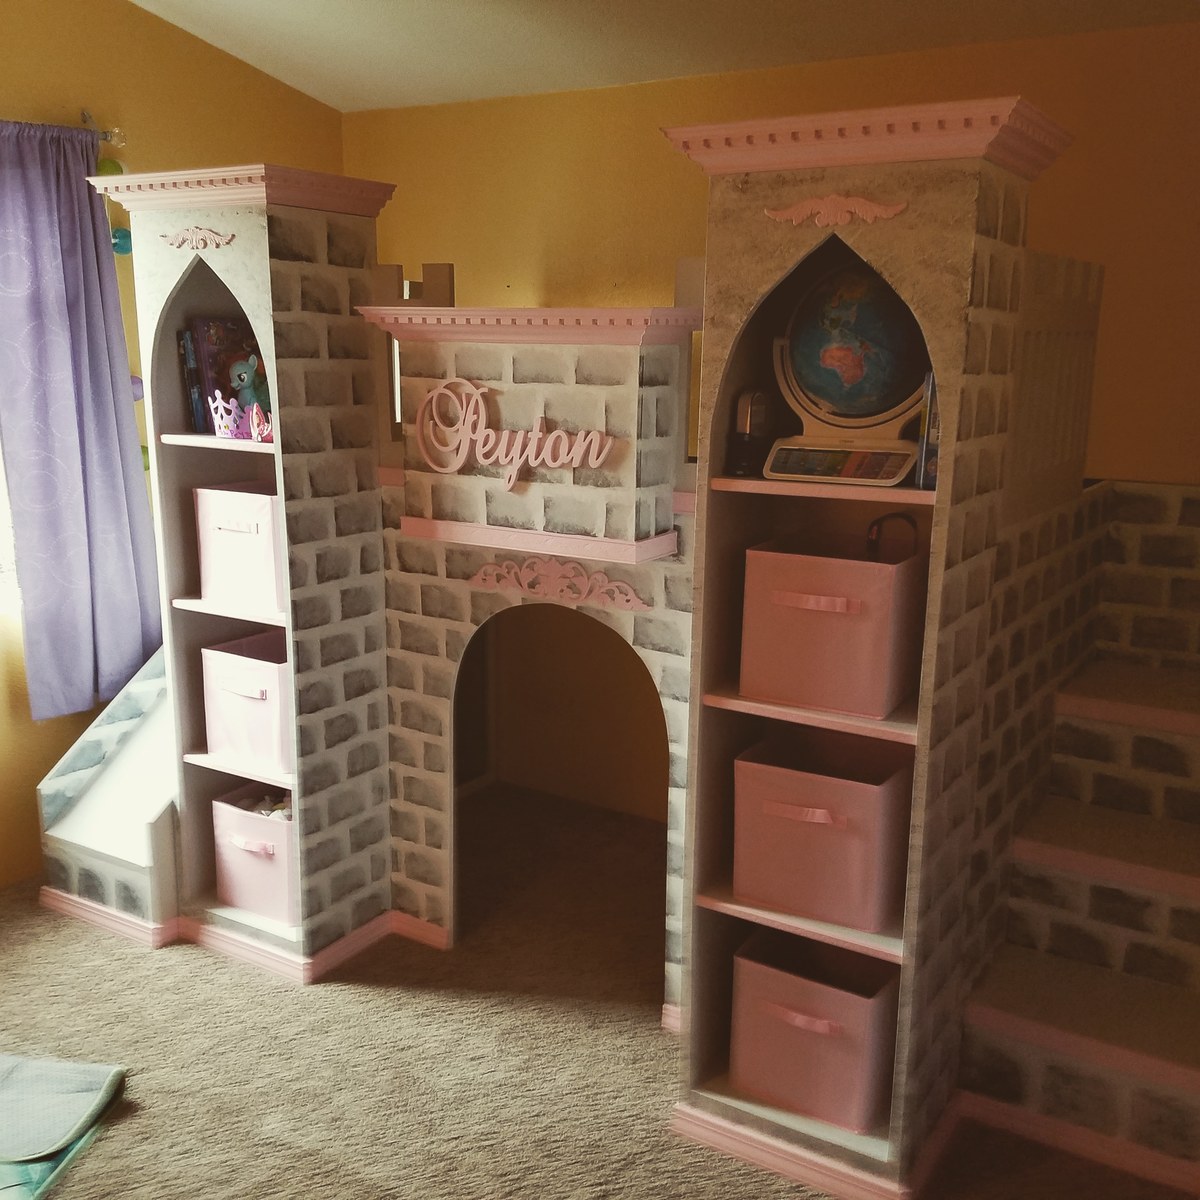
Took different plans from this site and combined them to make this princess castle for my daughter.