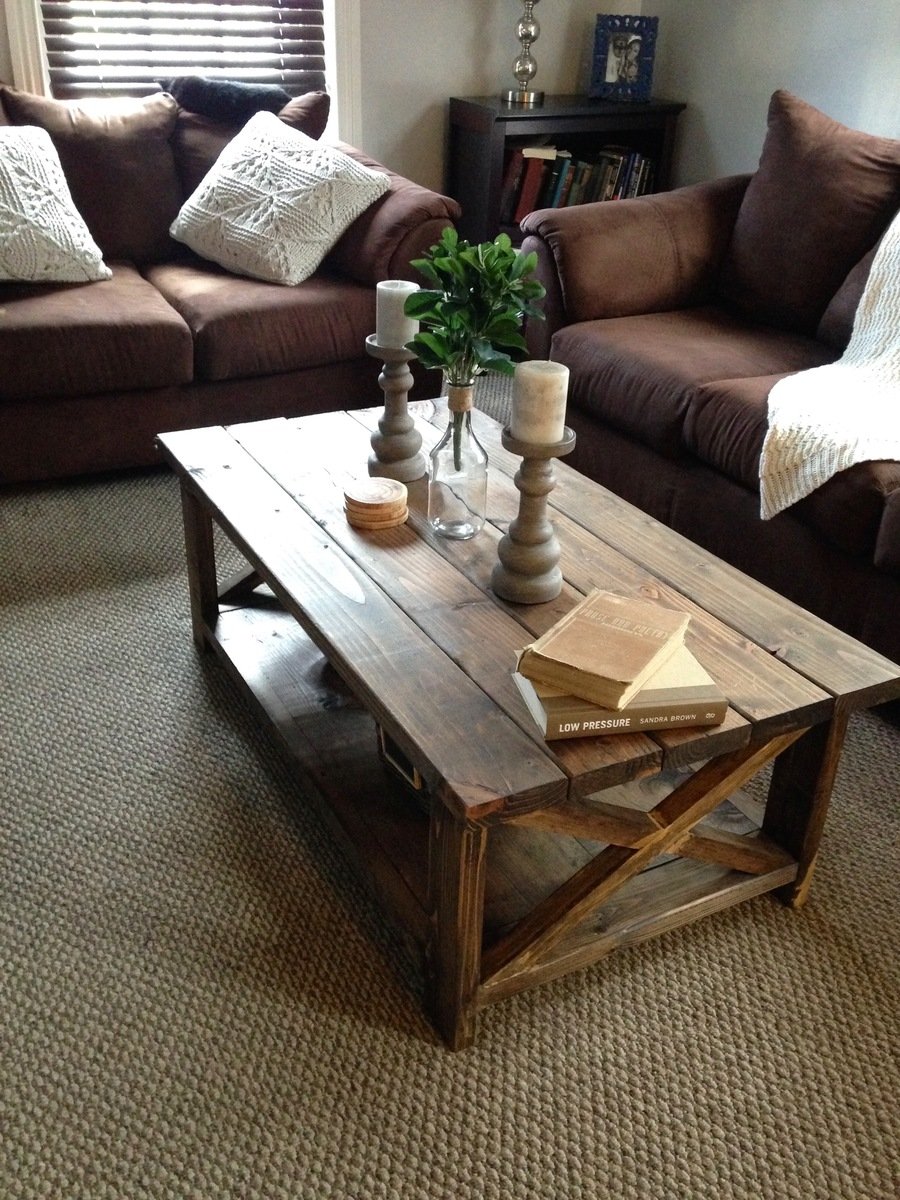
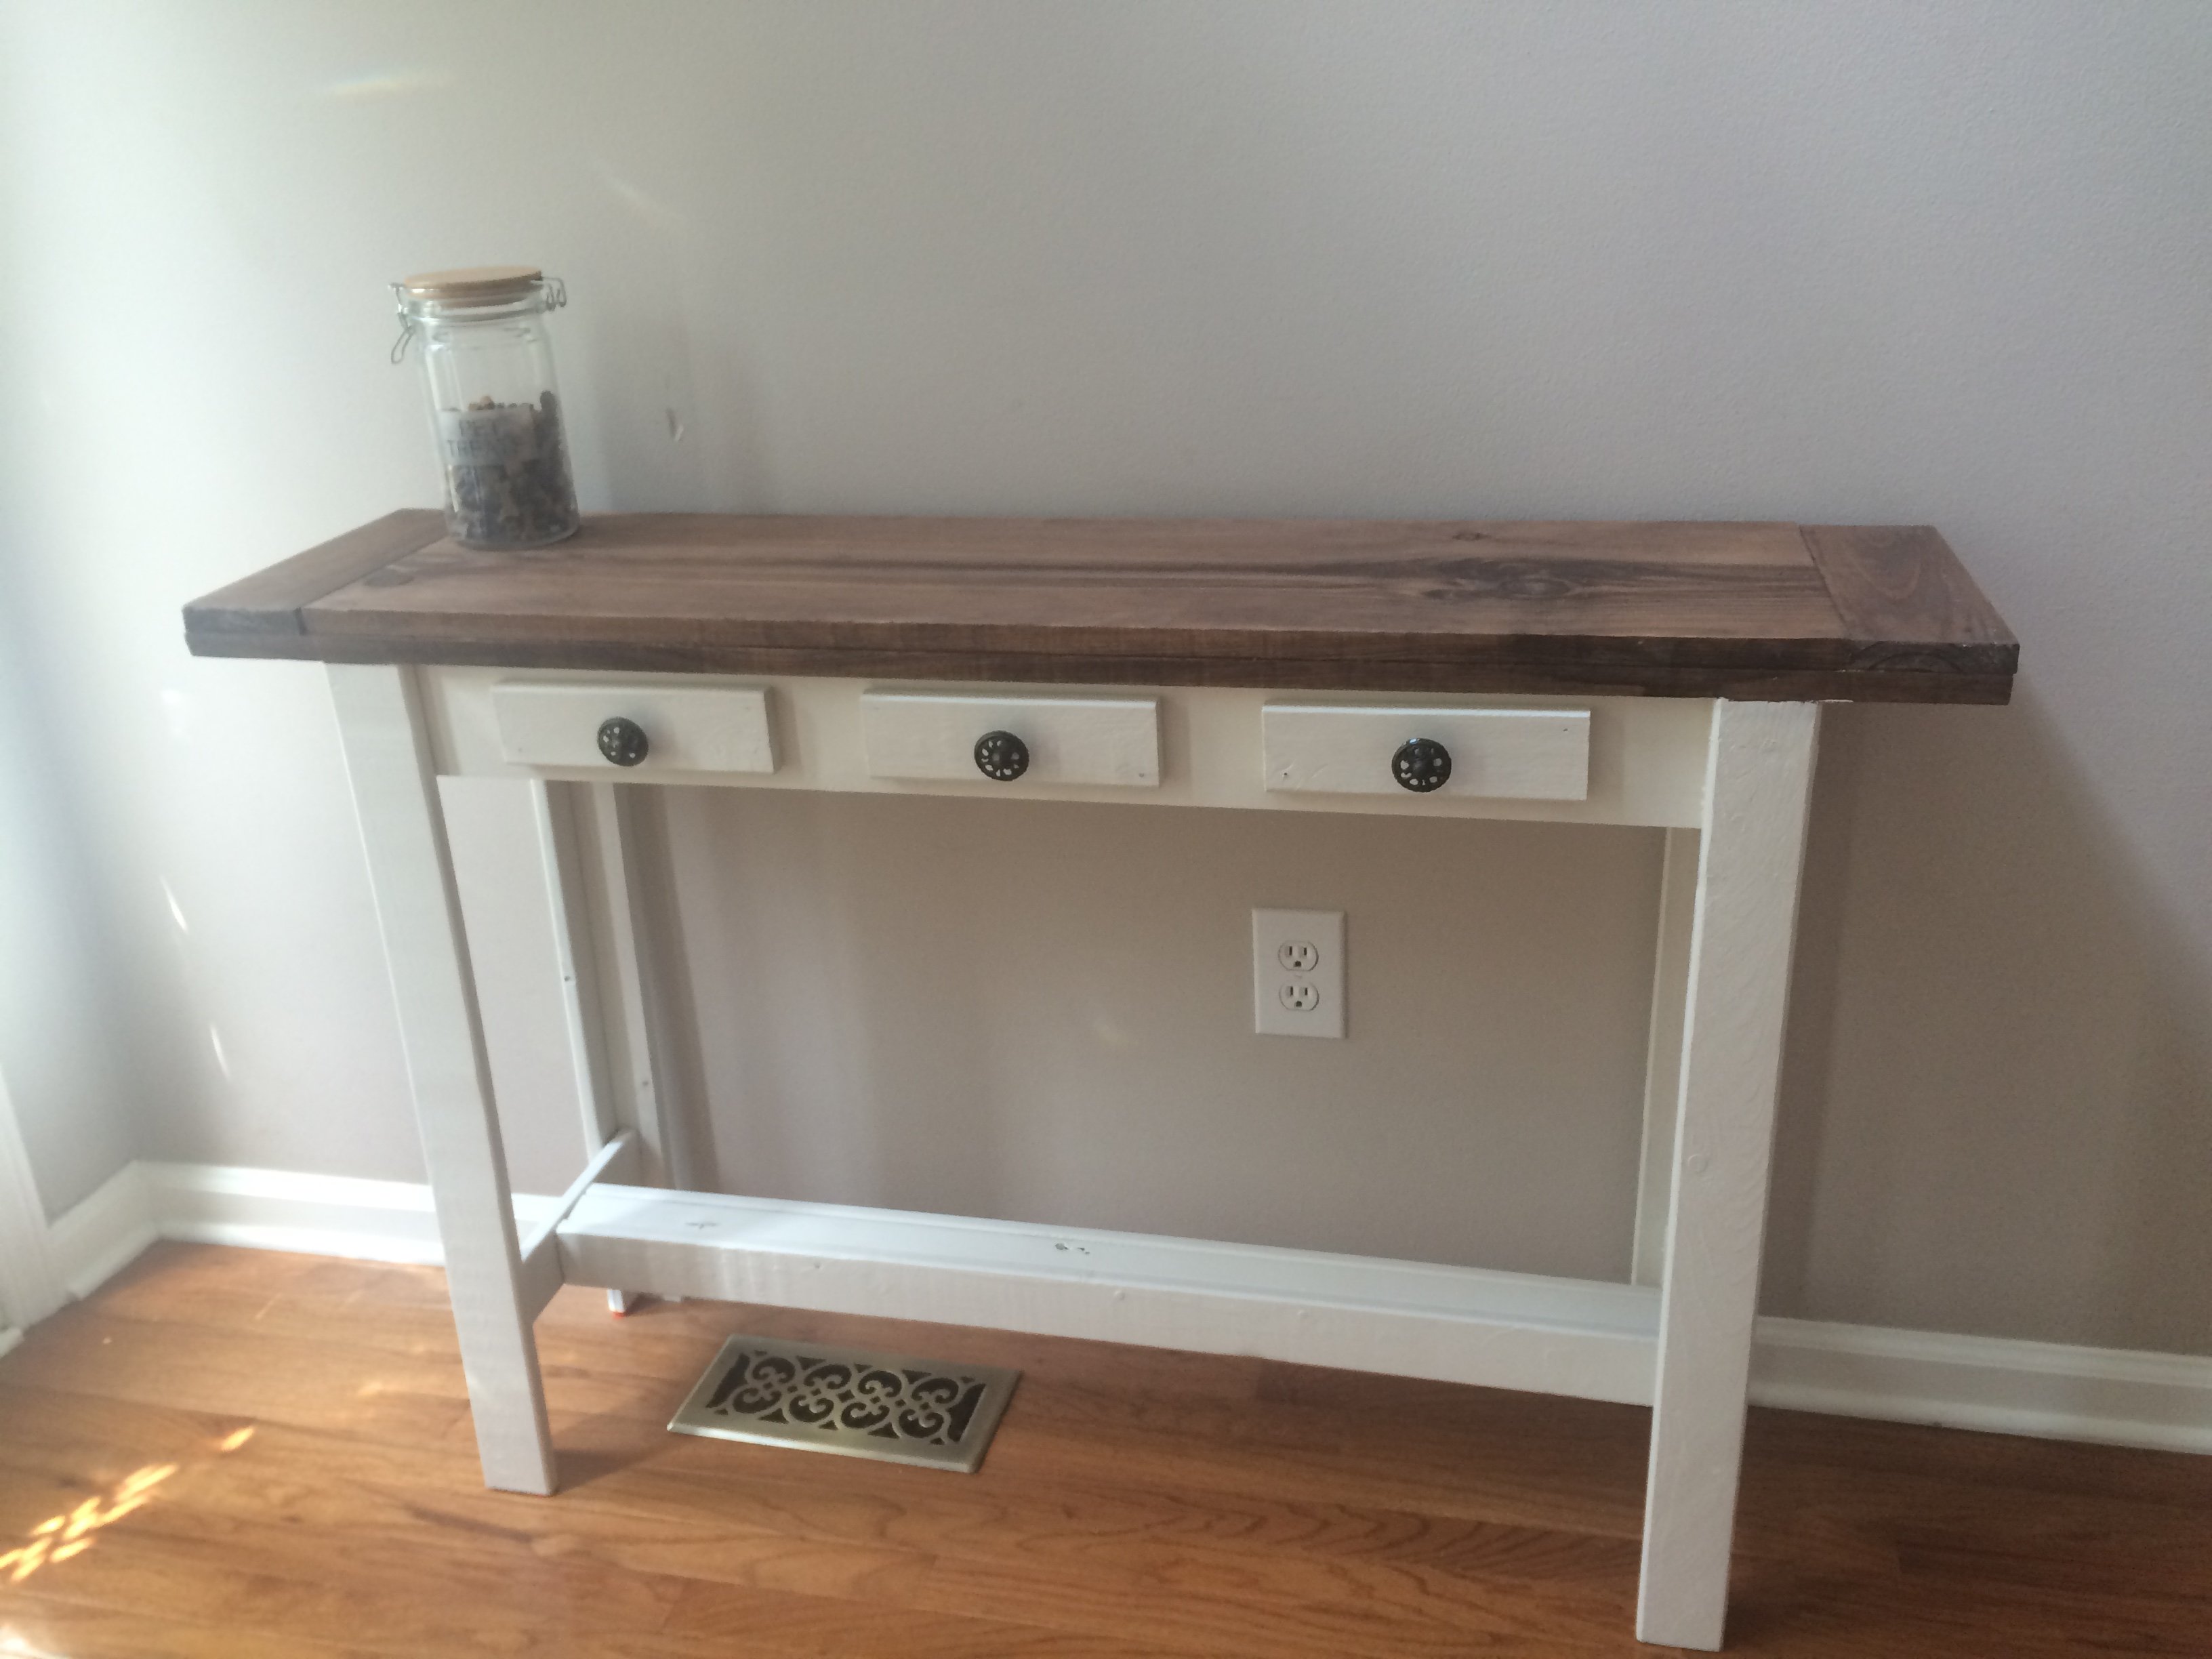
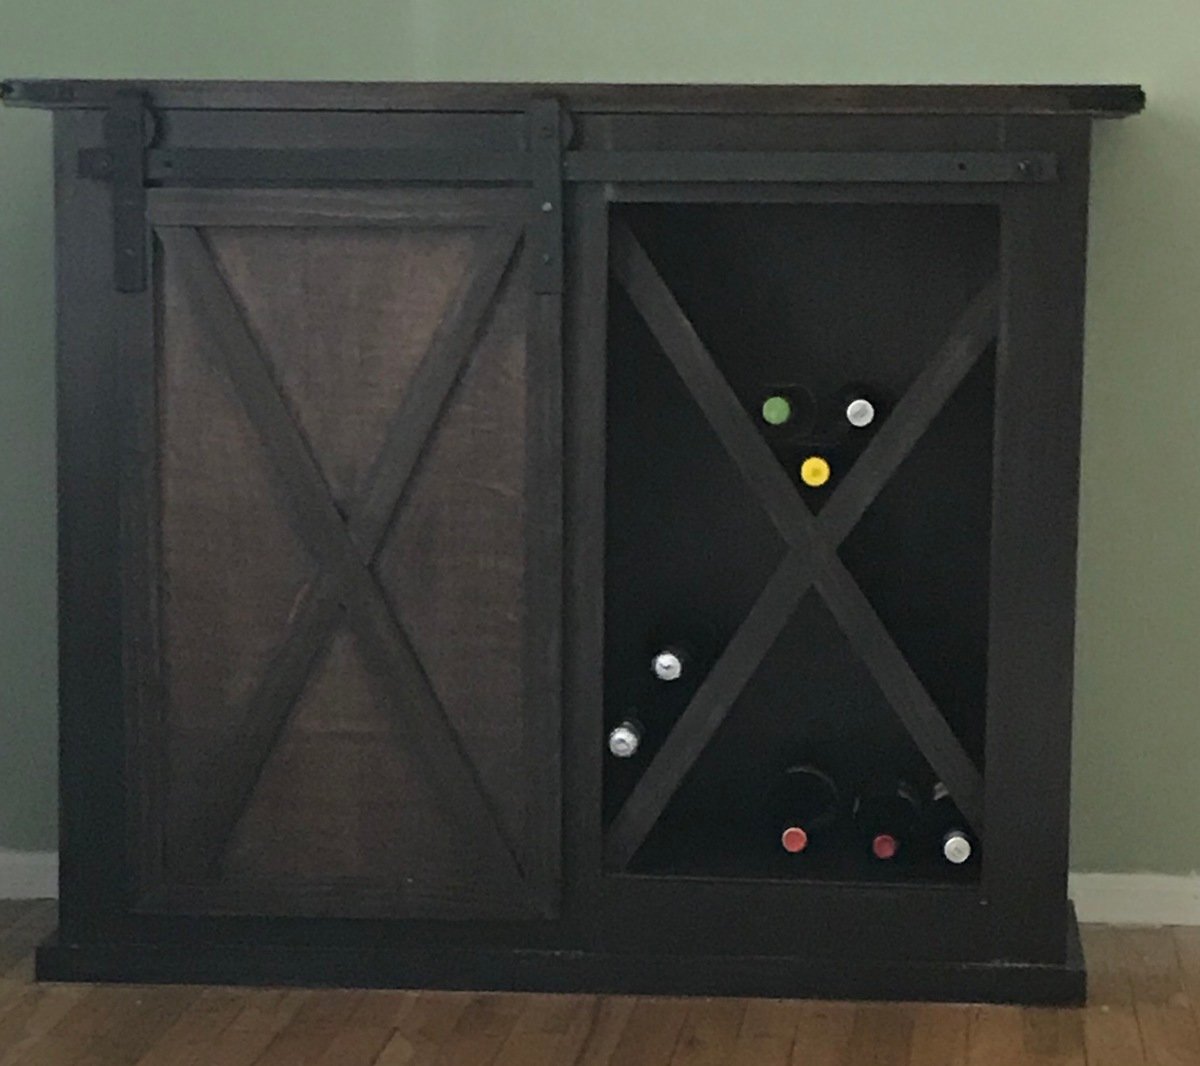
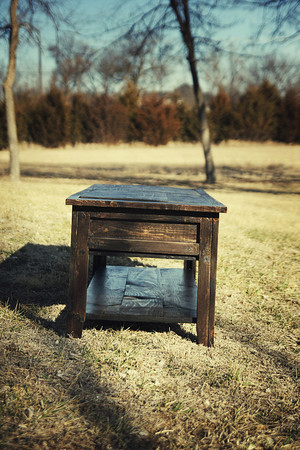
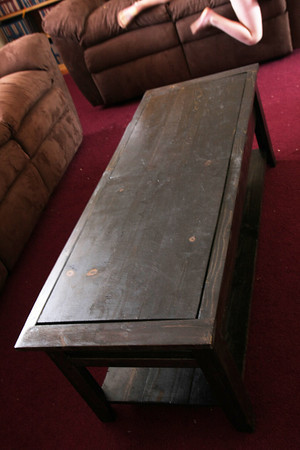
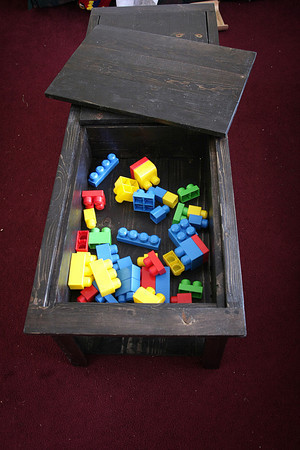
My Lego table
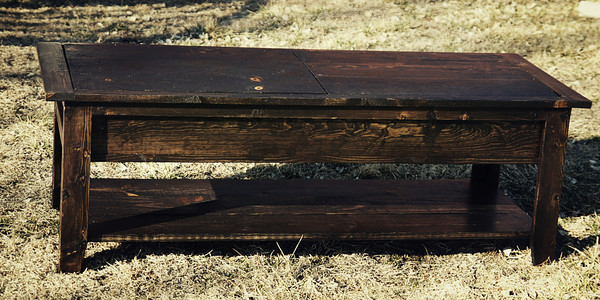
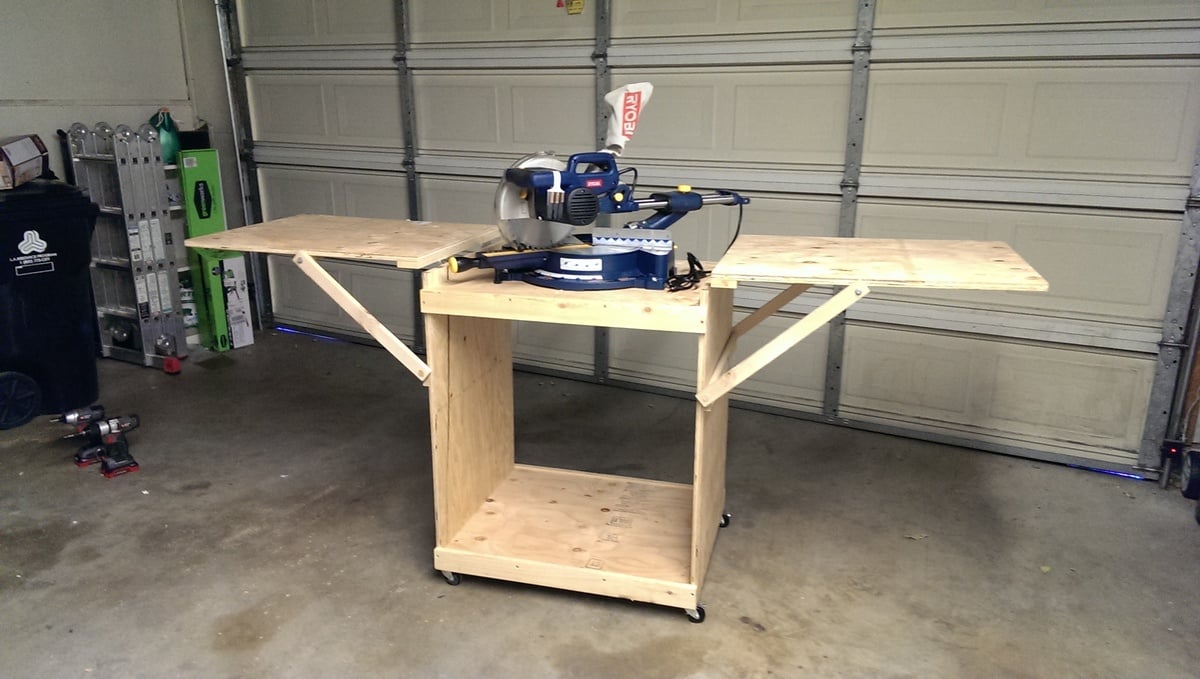
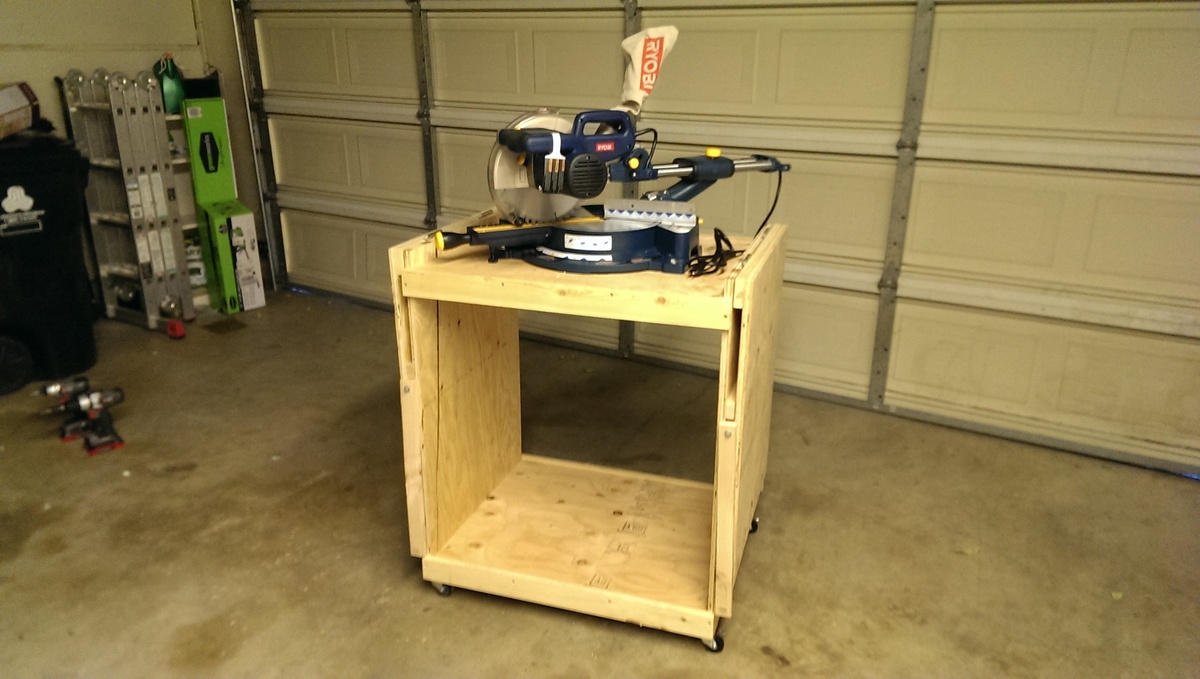
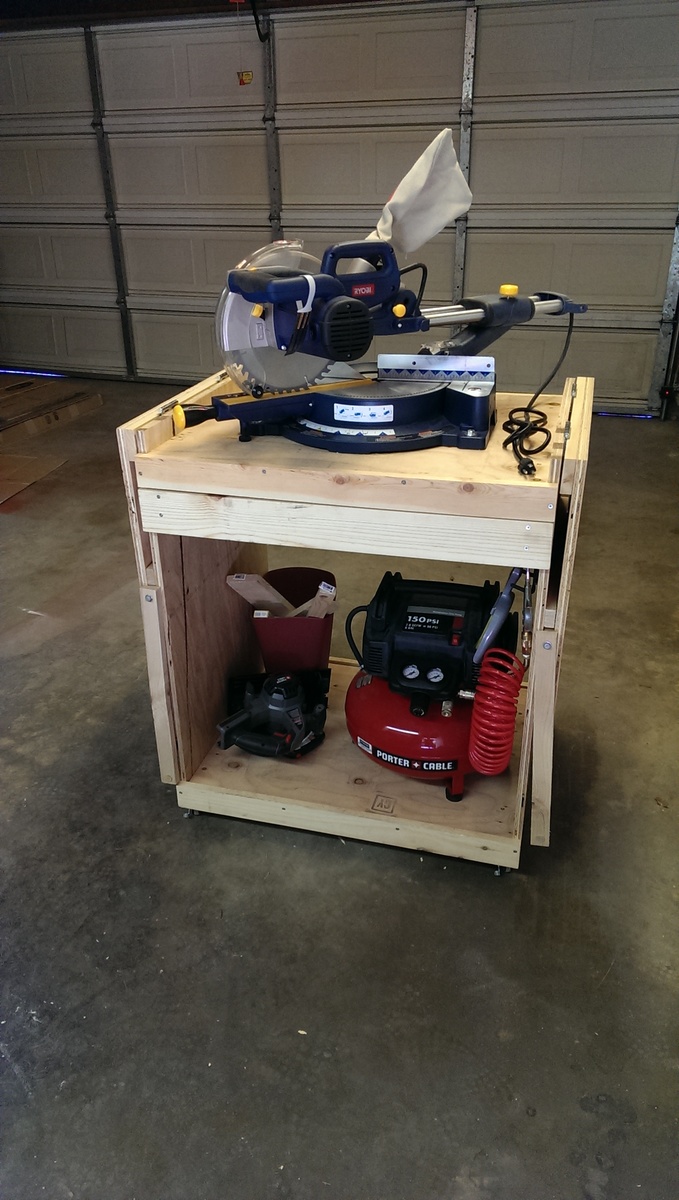
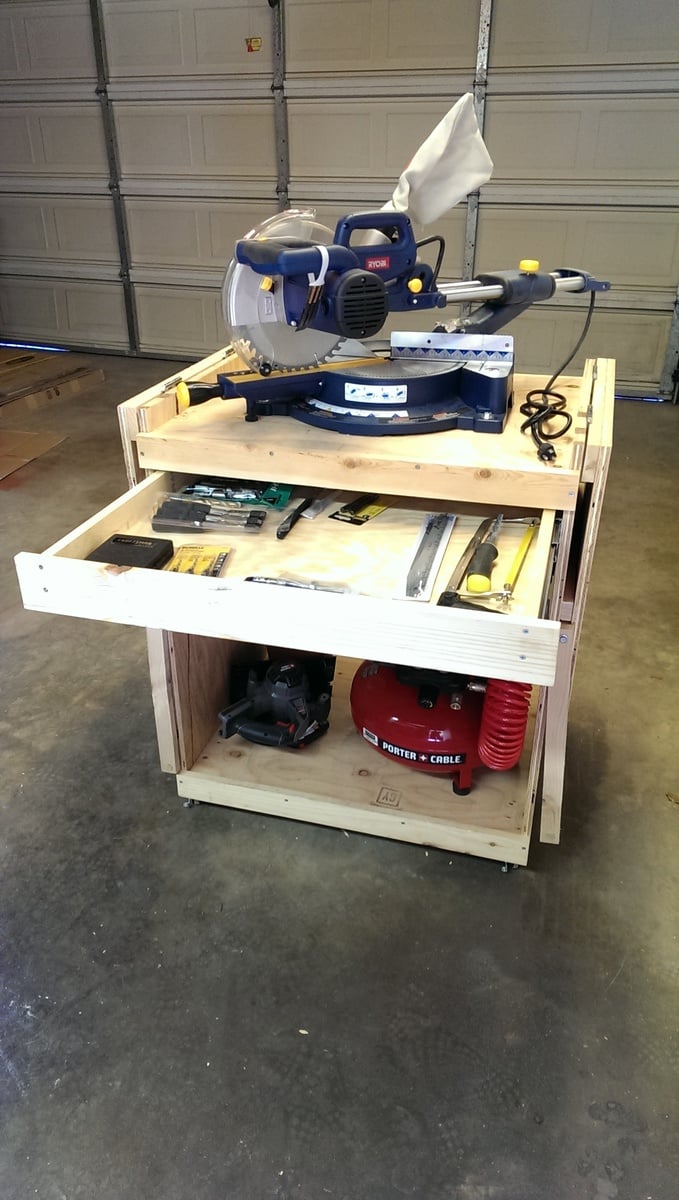
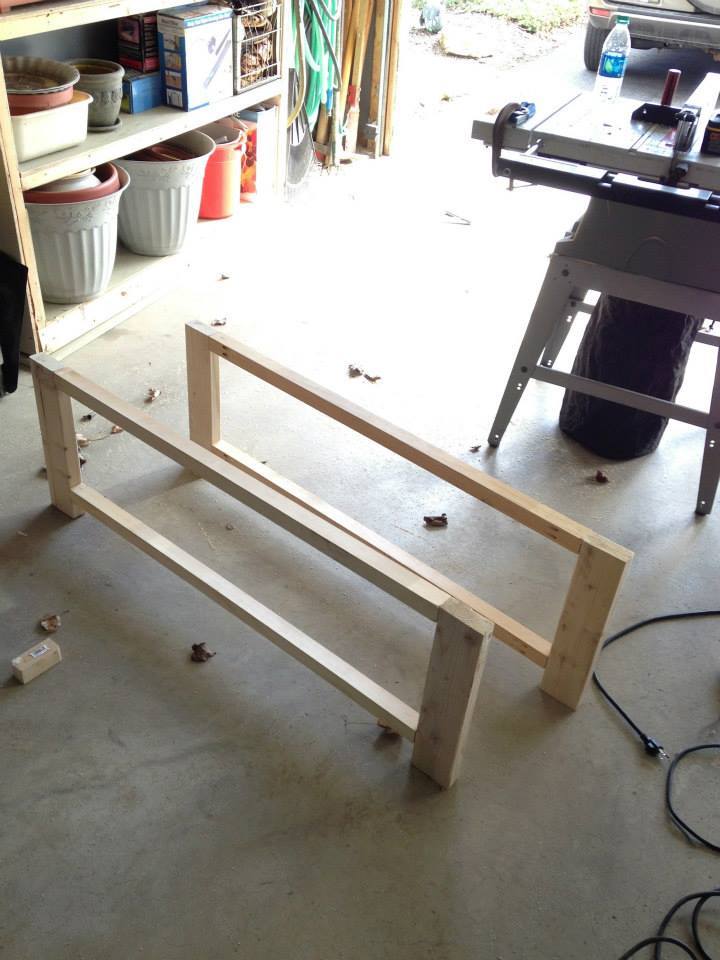
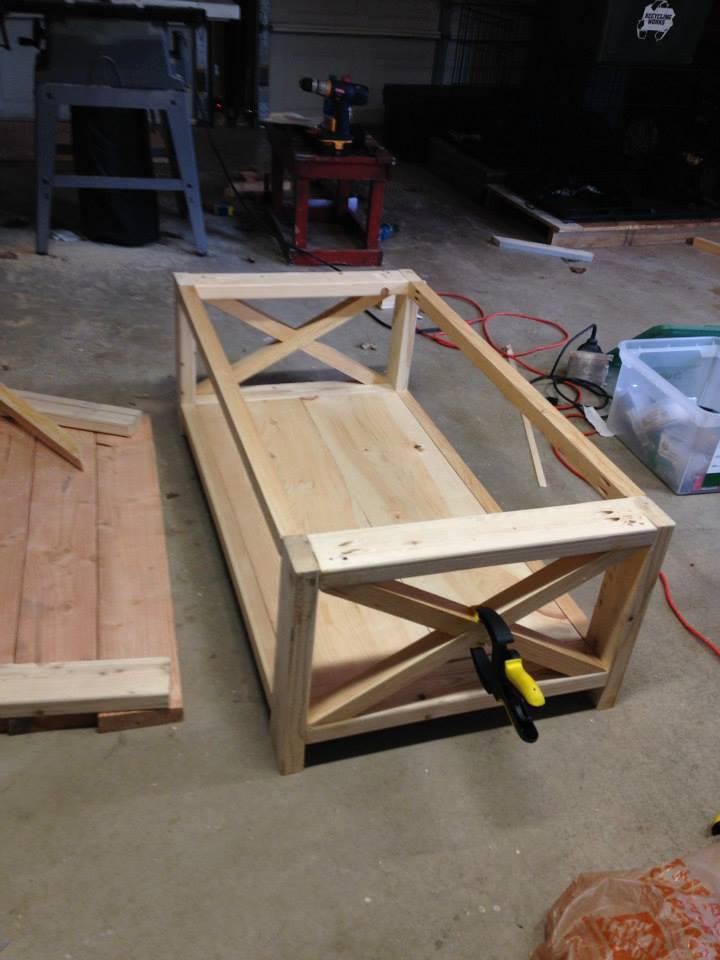
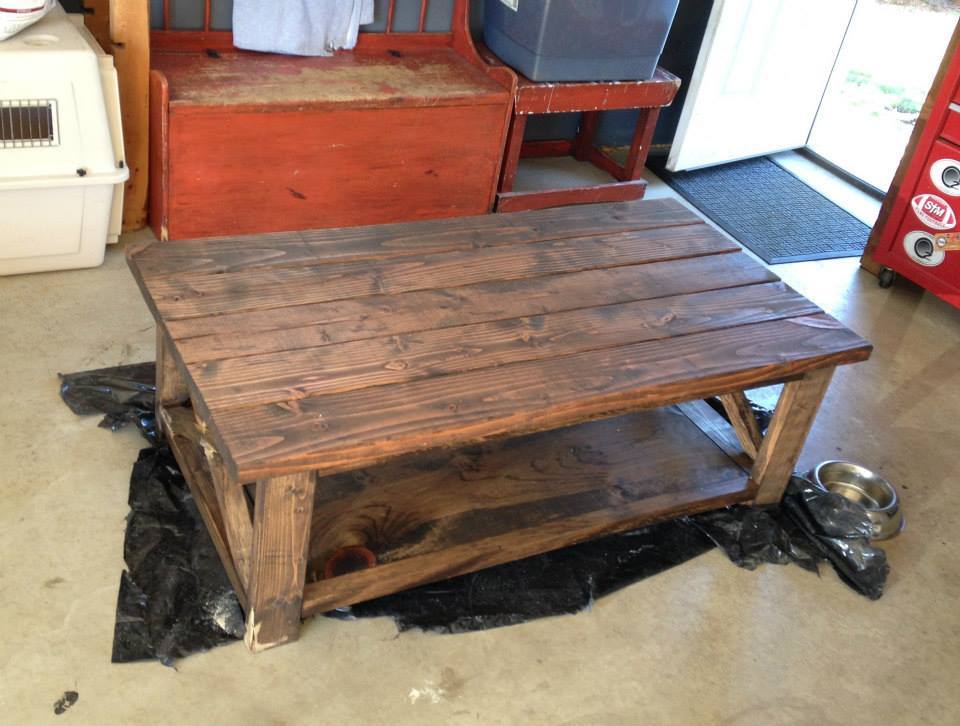
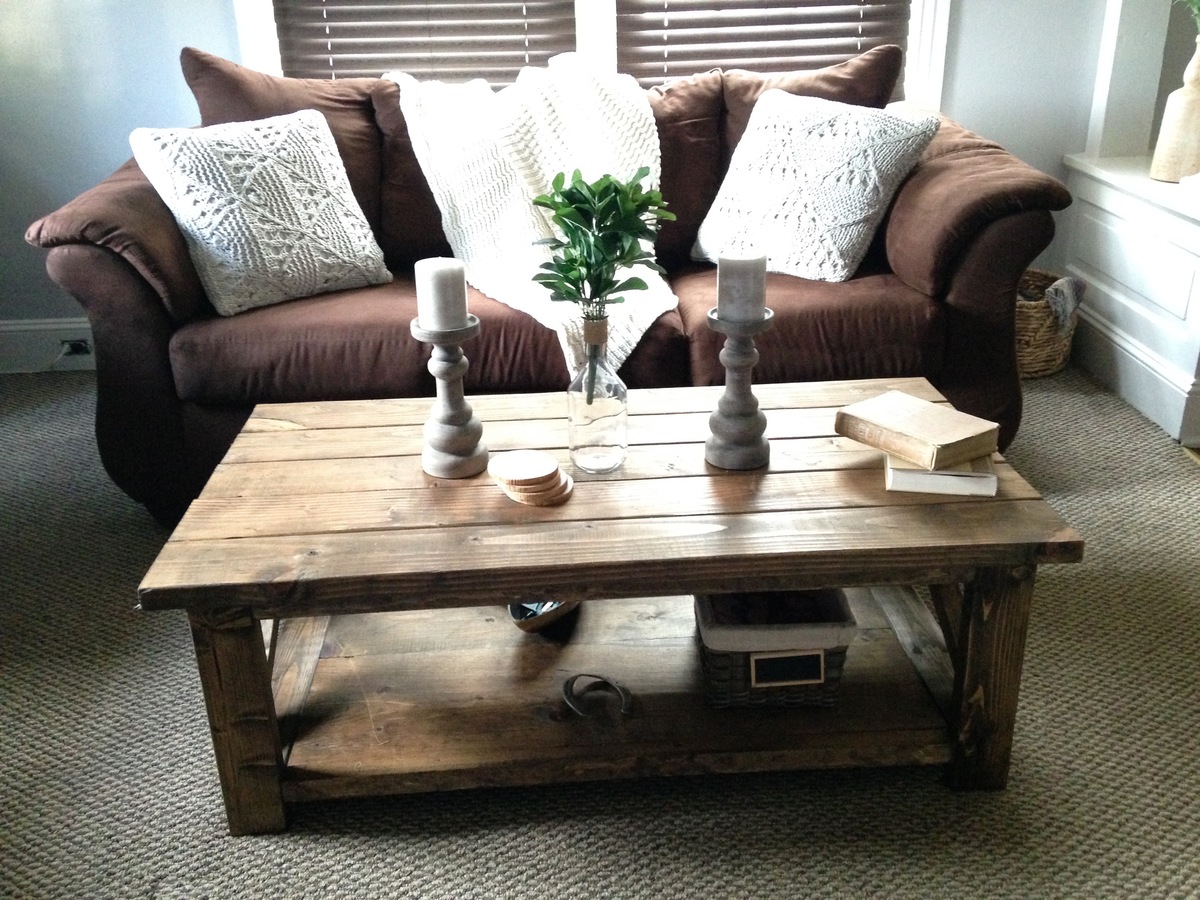
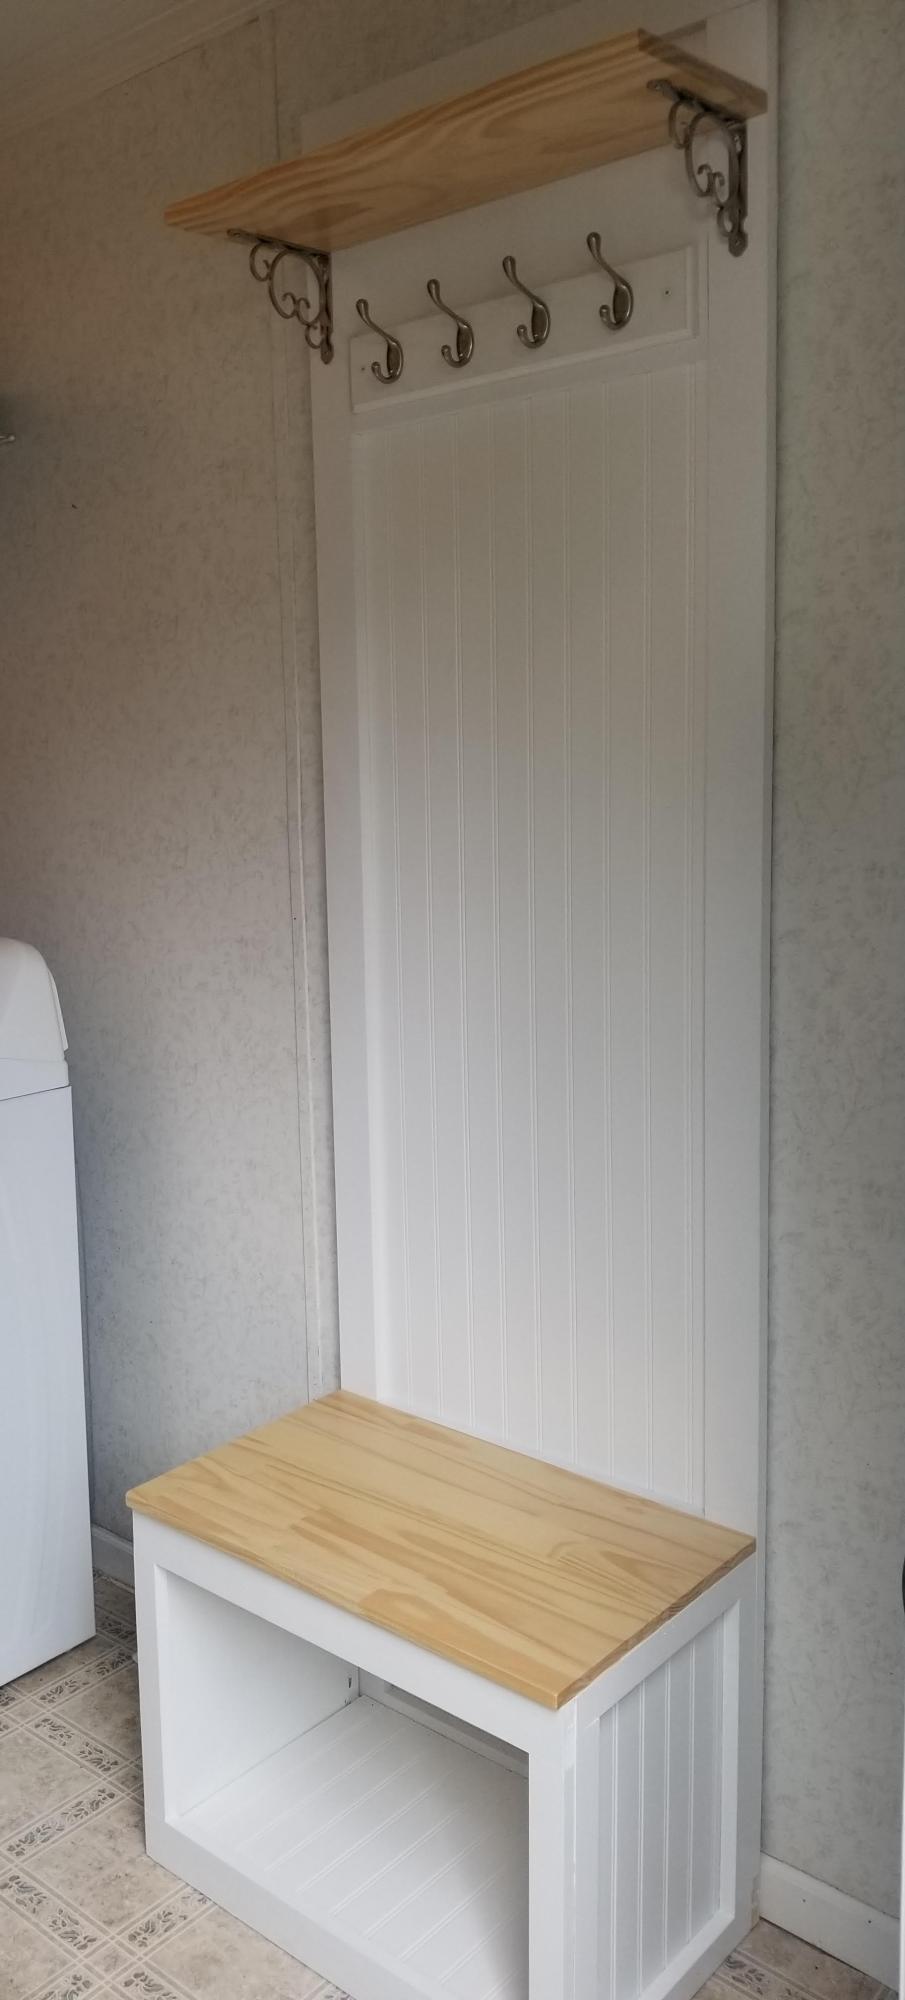
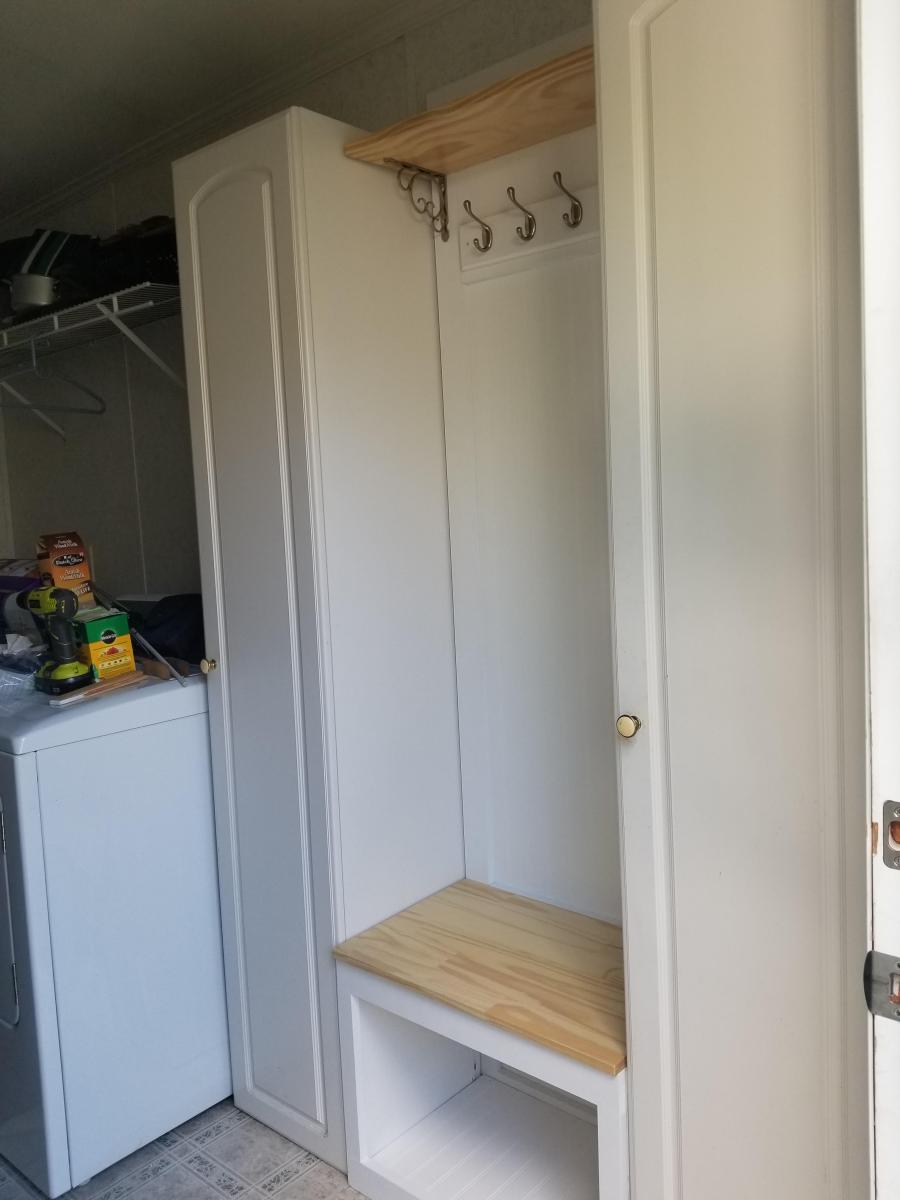
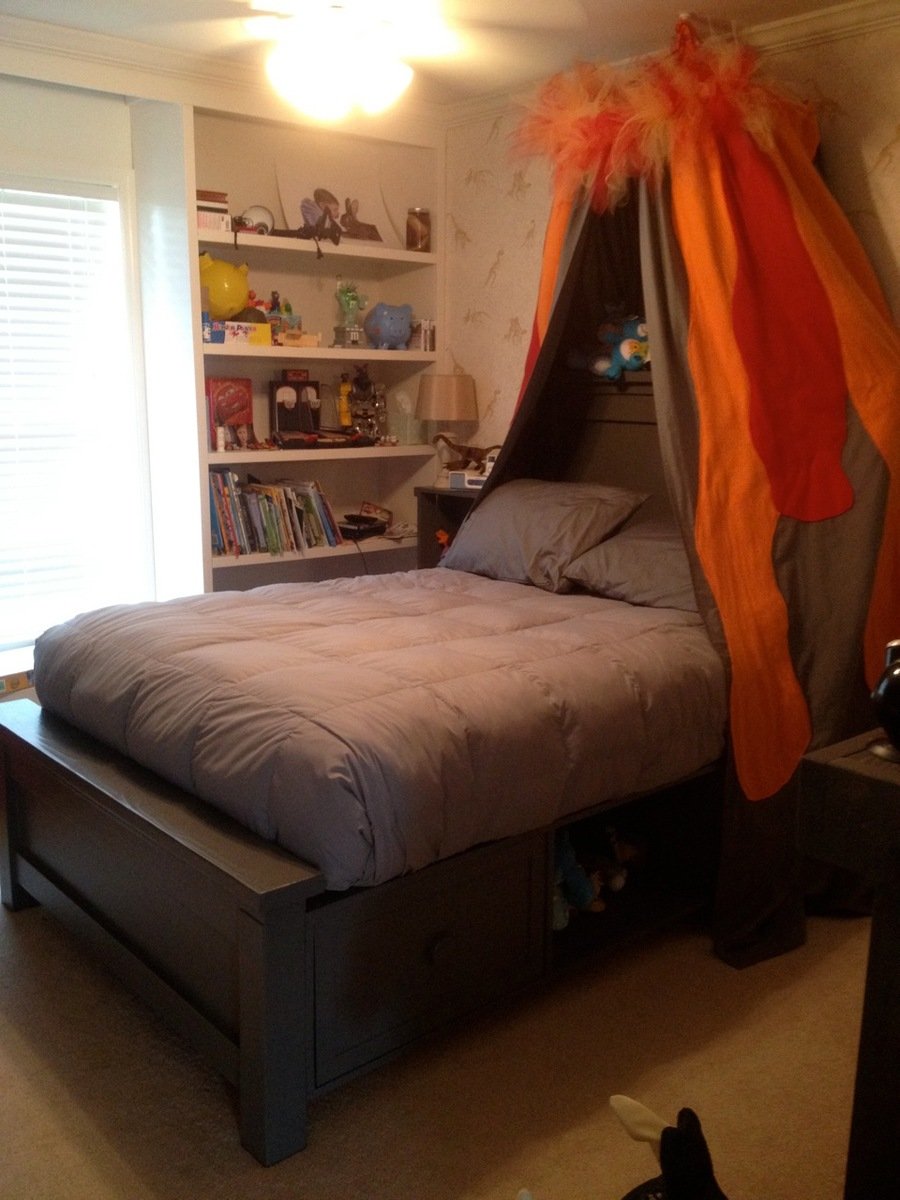
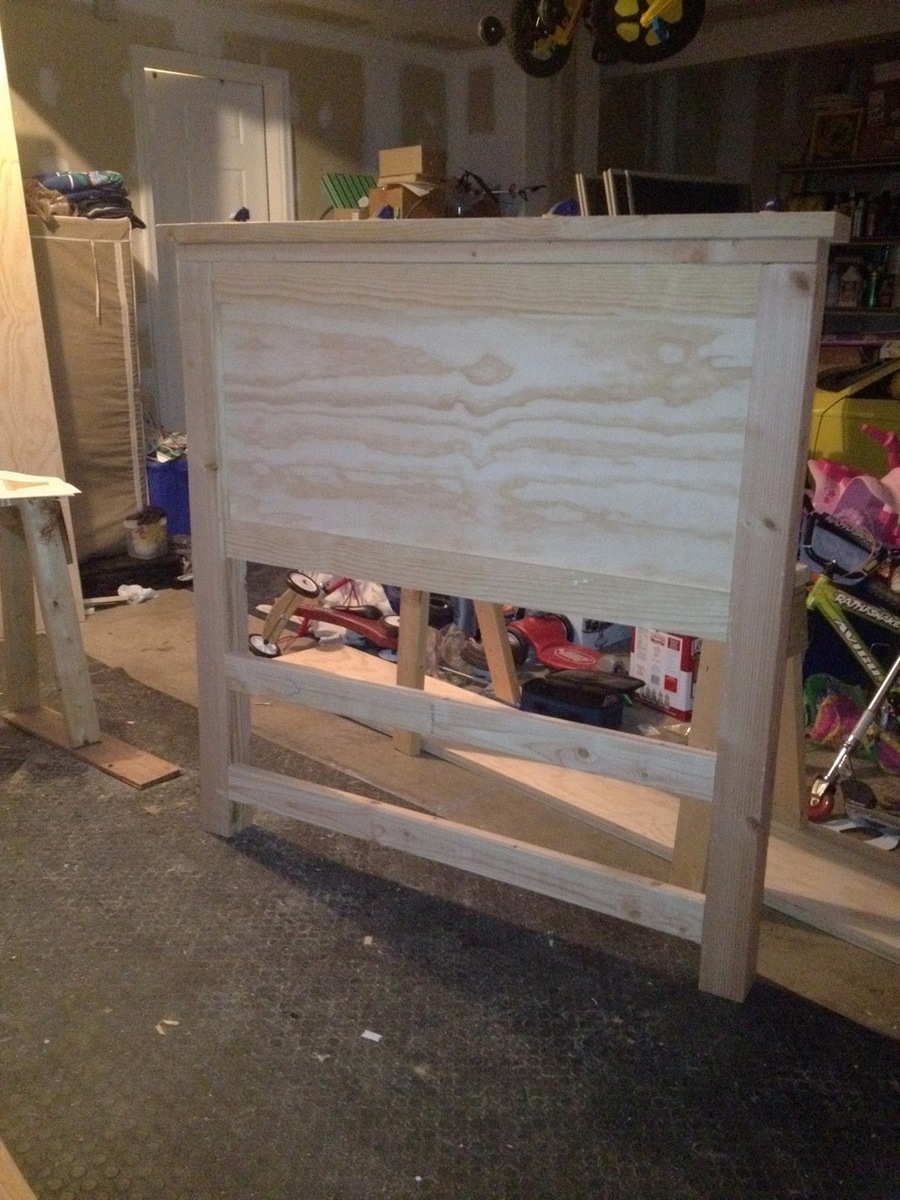
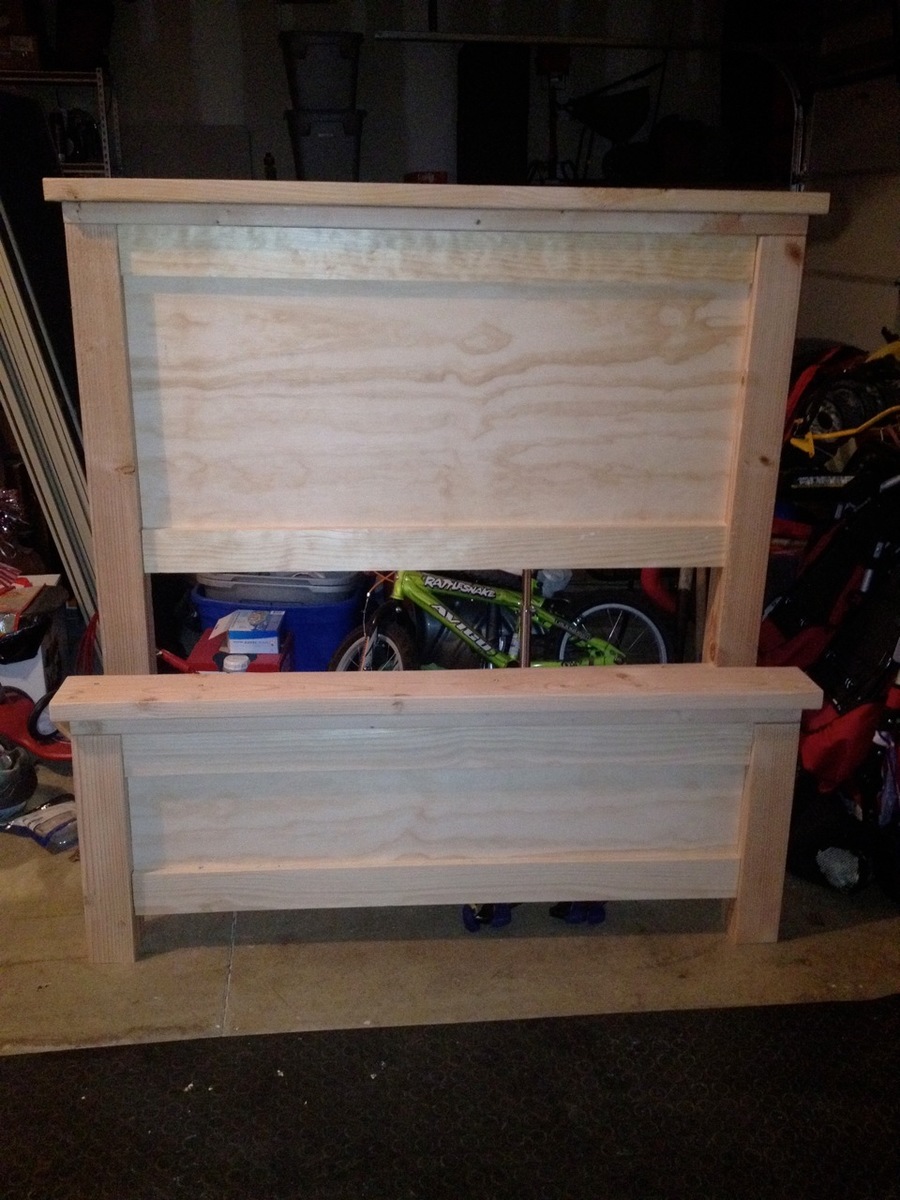
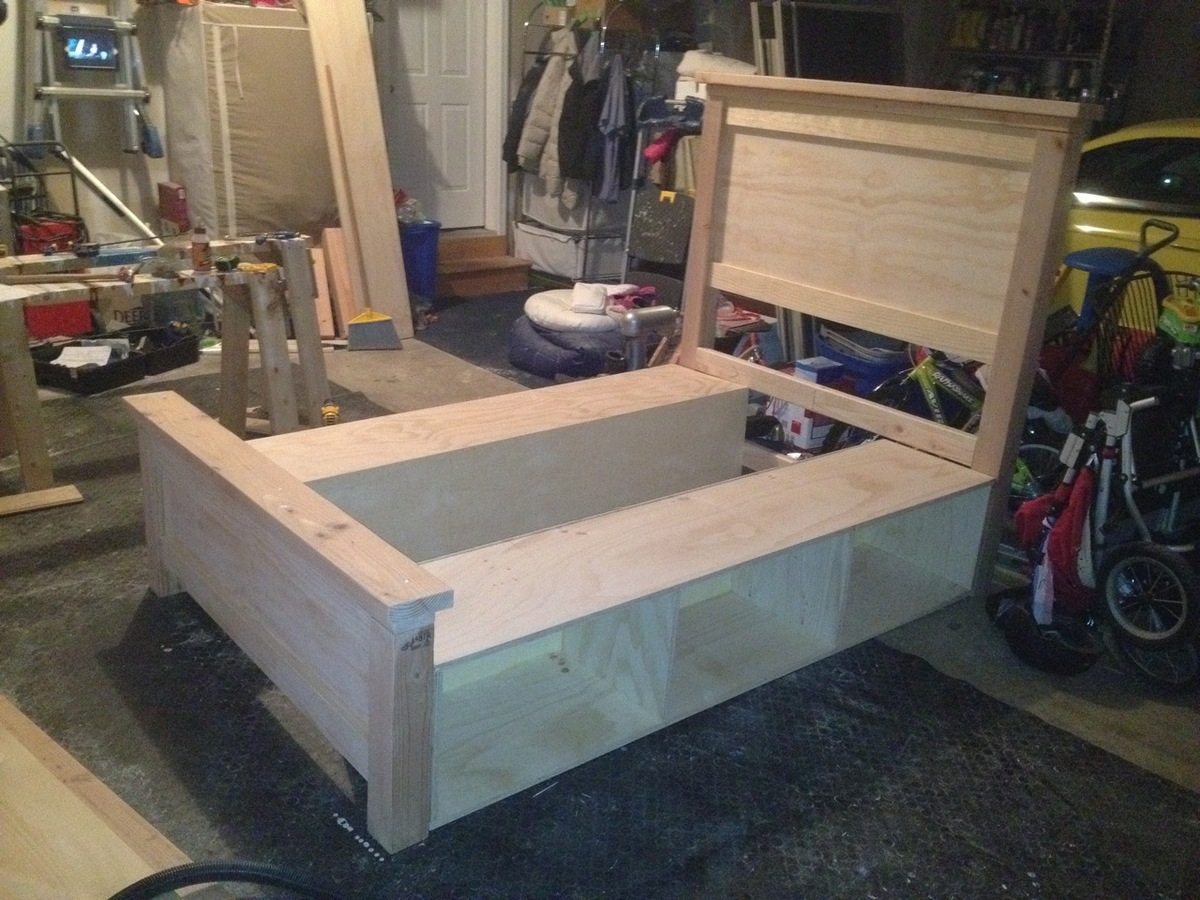
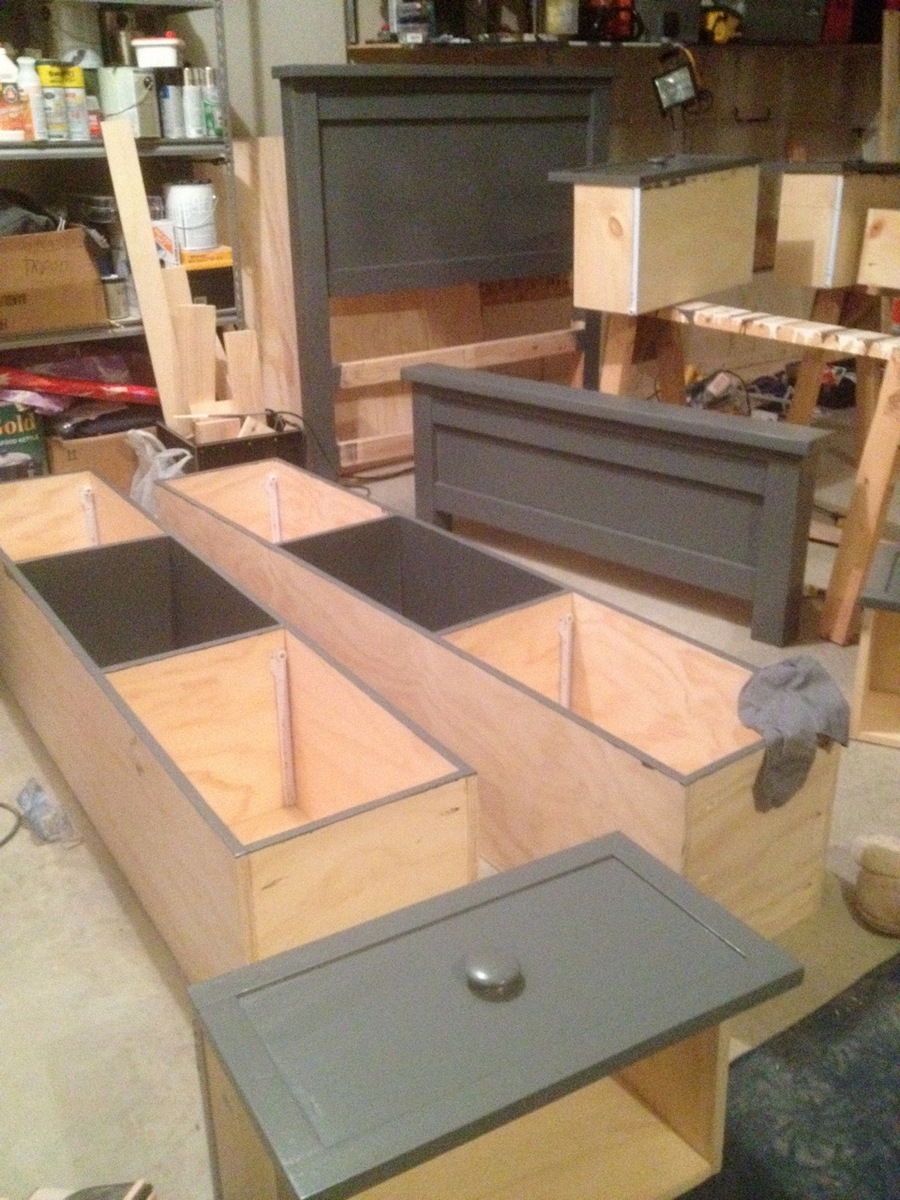
My third project (second from Ana). I love how it turned out. So far it's held up well to a massive amount of abuse from my 4 year old and 2 year old. I've had it for about 3 months I think. I used 1x6s kregged together for the lids and bottom shelf, because I like that look.
Built from Plan(s)
Estimated Cost
$60
Estimated Time Investment
Weekend Project (10-20 Hours)
Finish Used
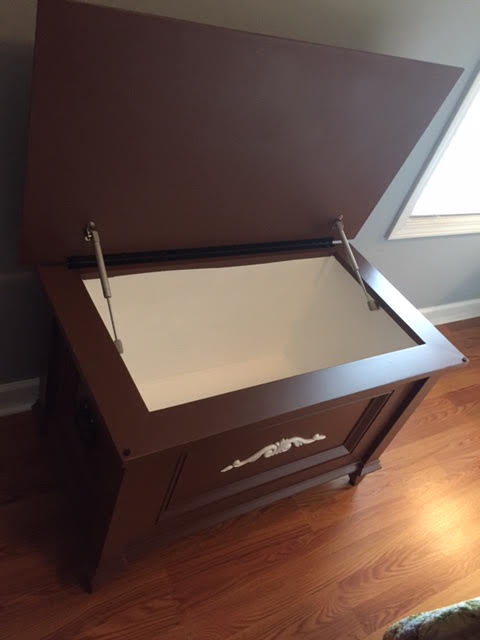
1 coat ebony, 1 coat "natural" and a couple coats of semi gloss poly.
Recommended Skill Level
Beginner