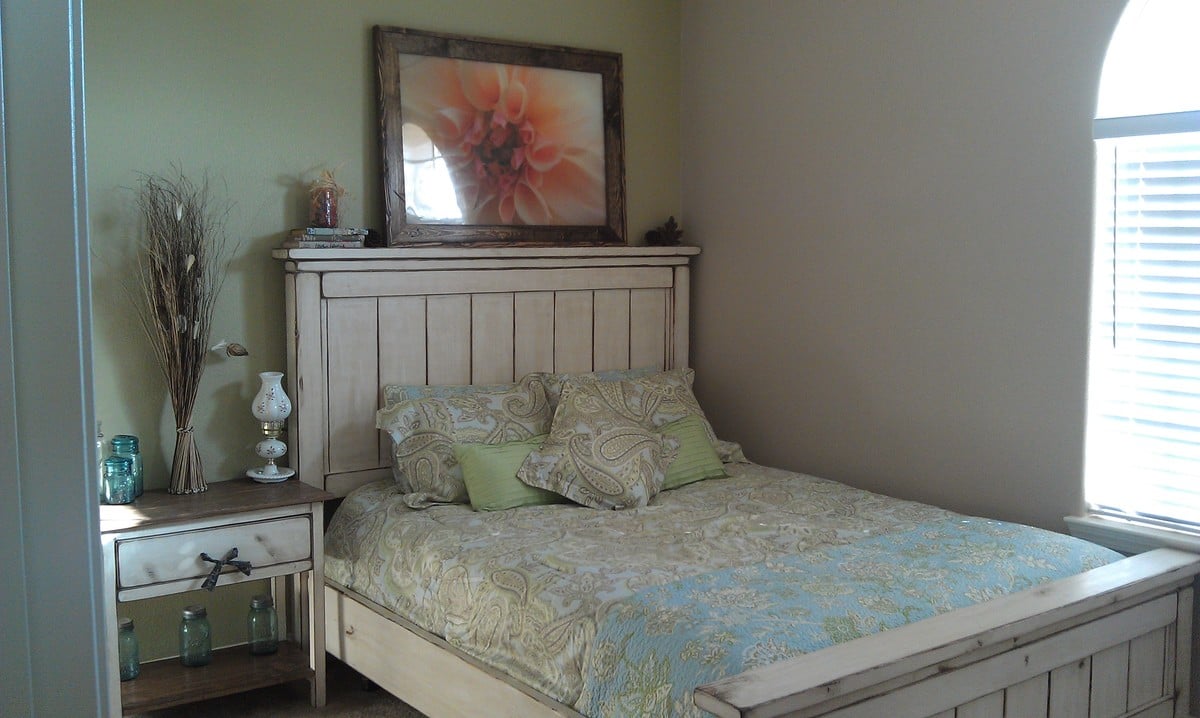
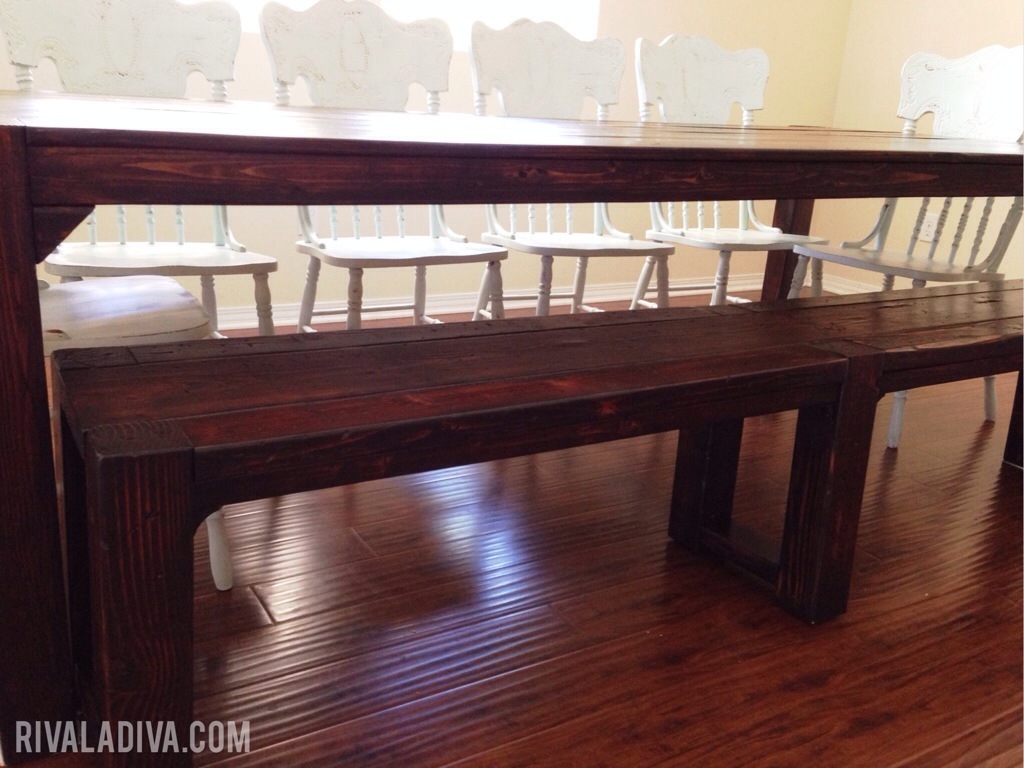
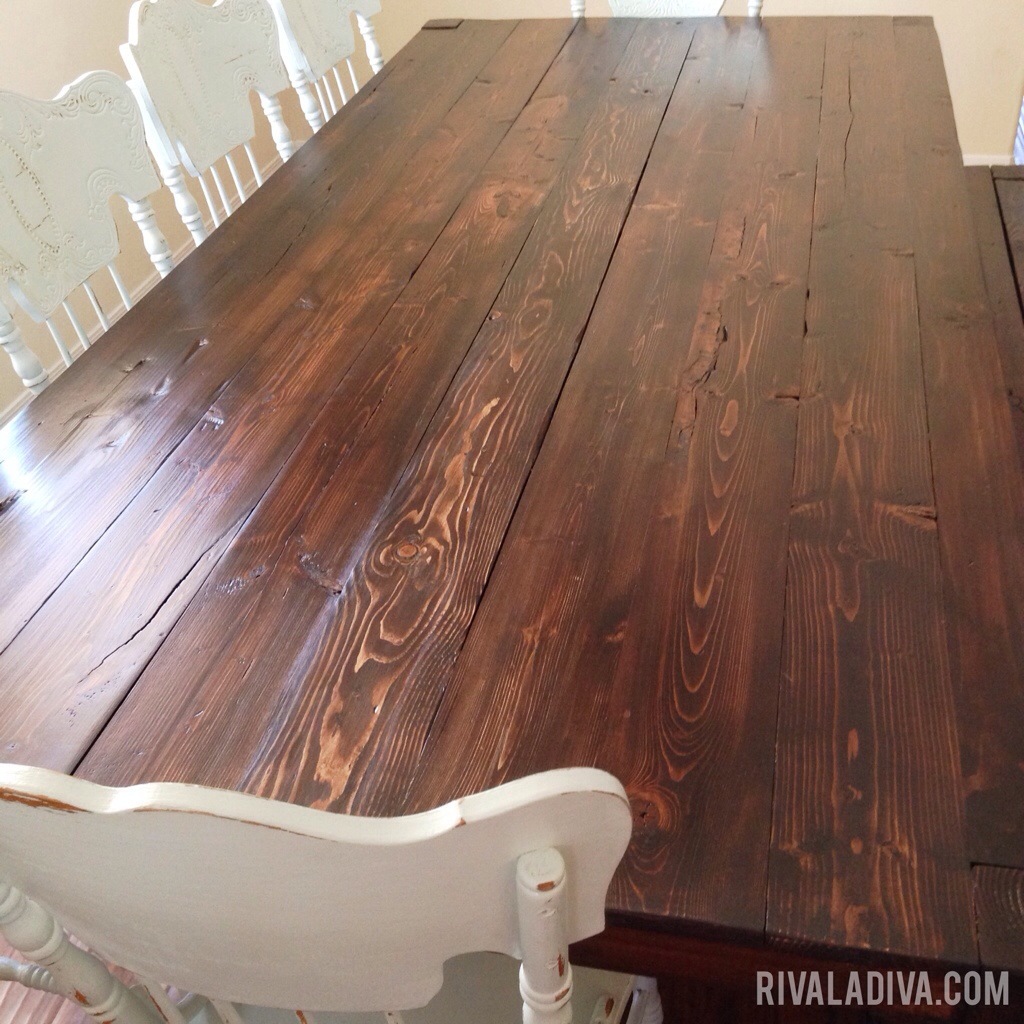
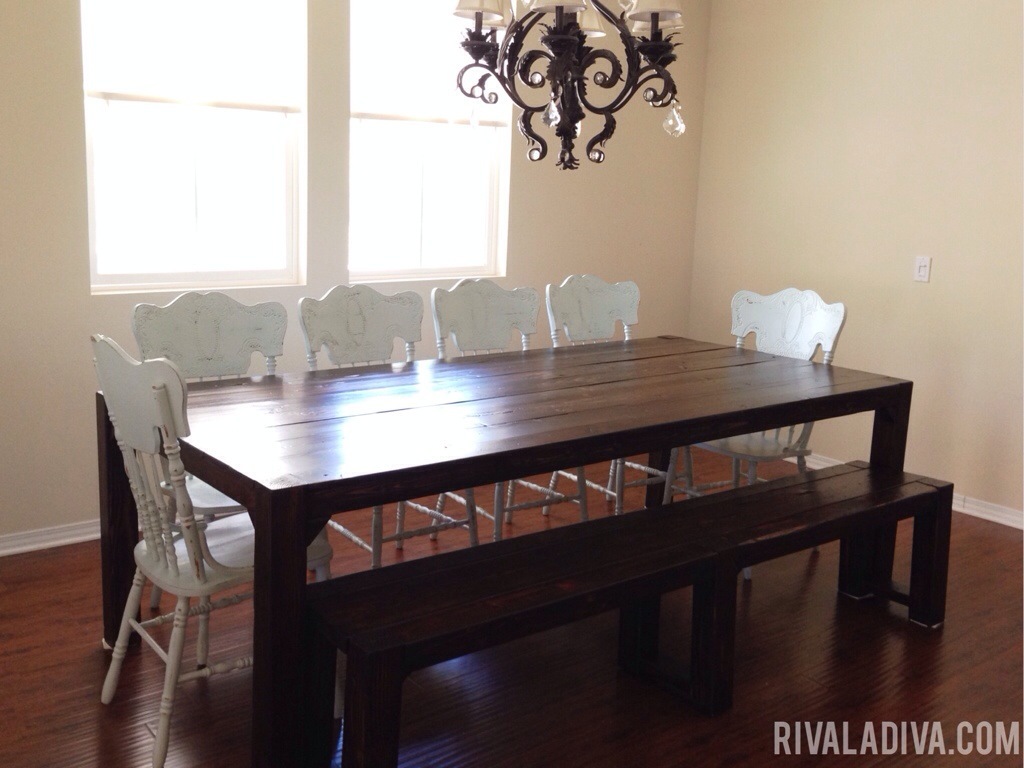
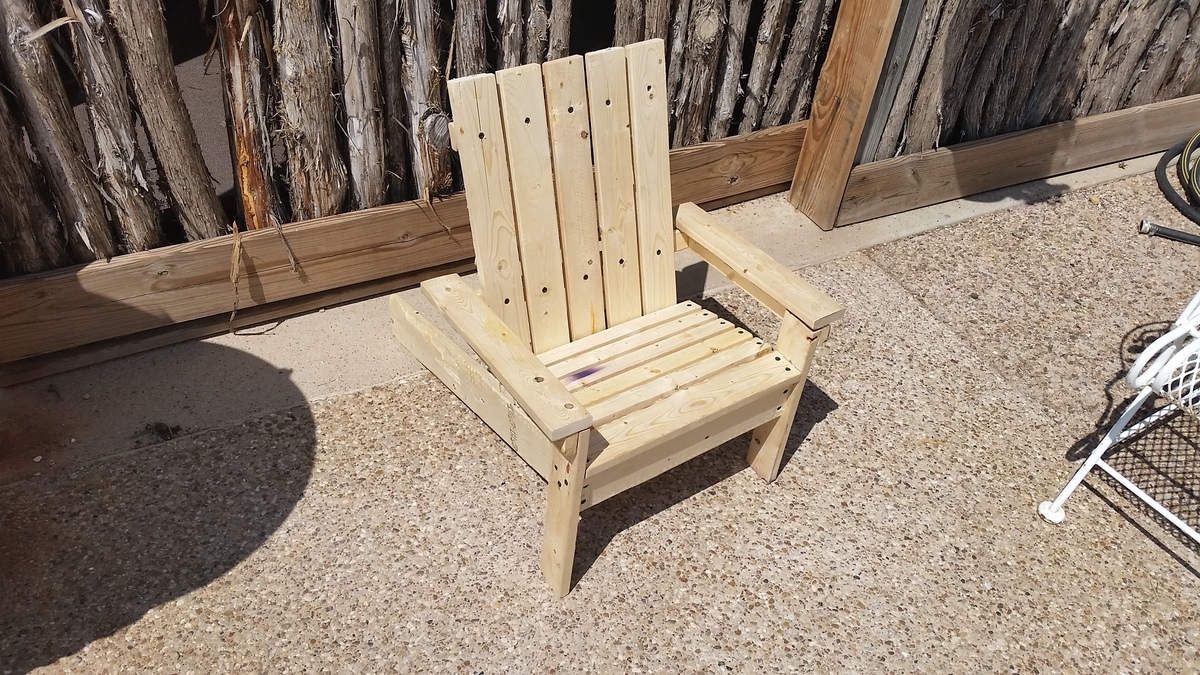
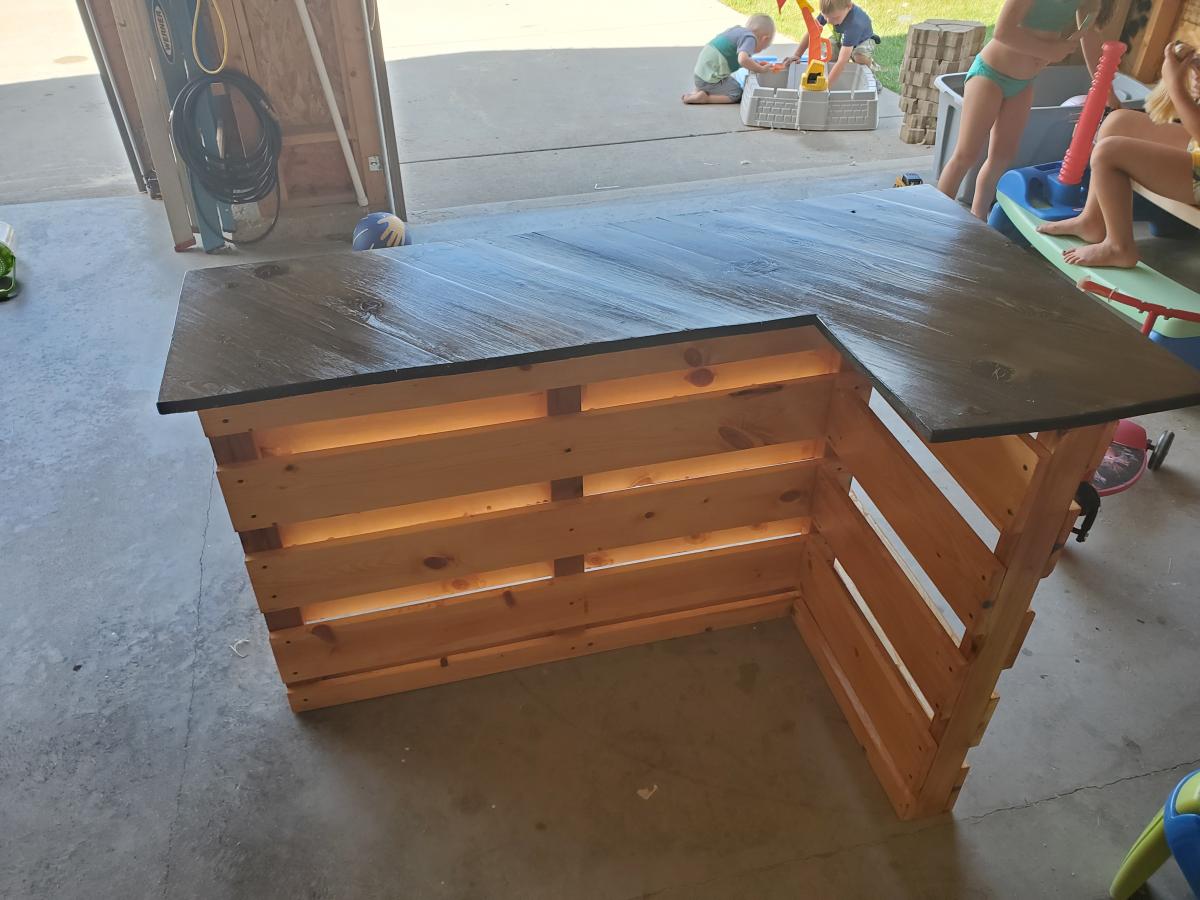
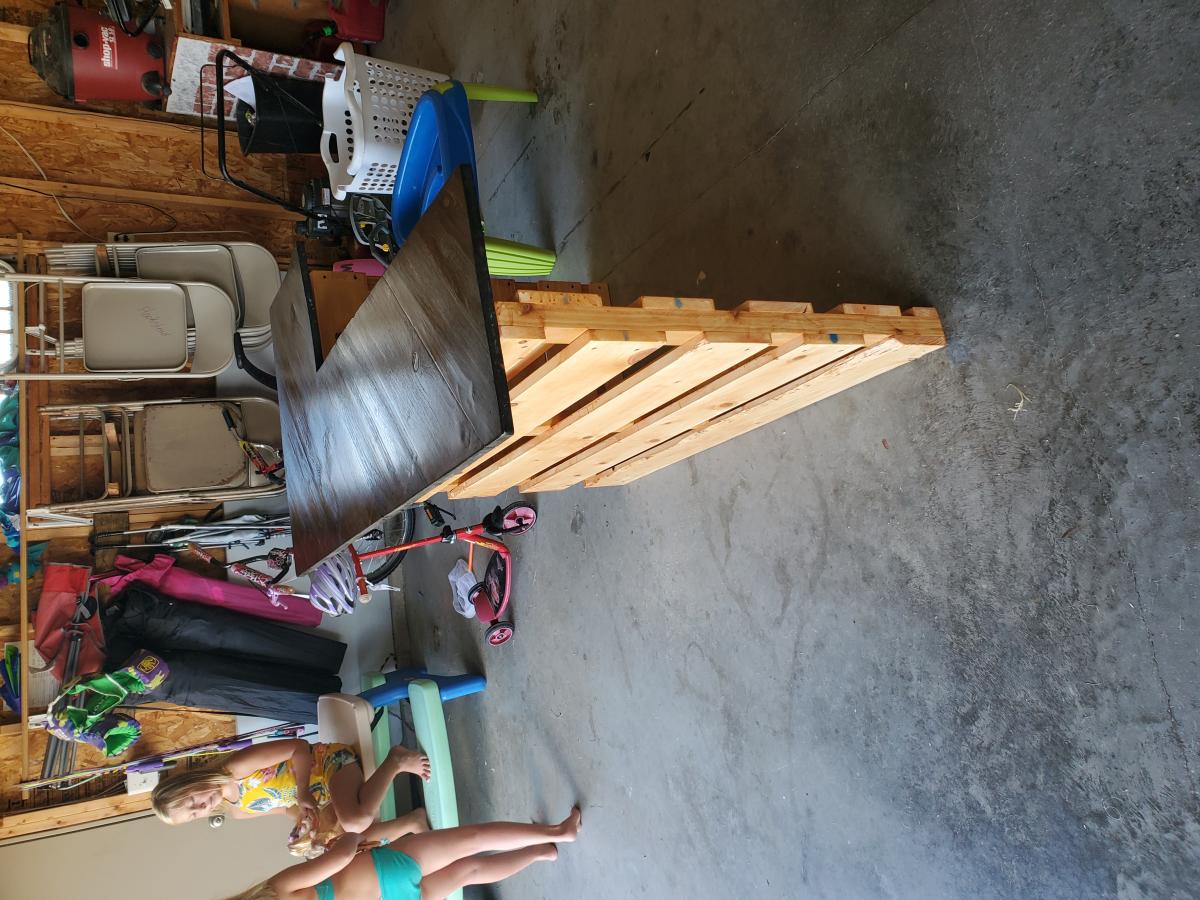
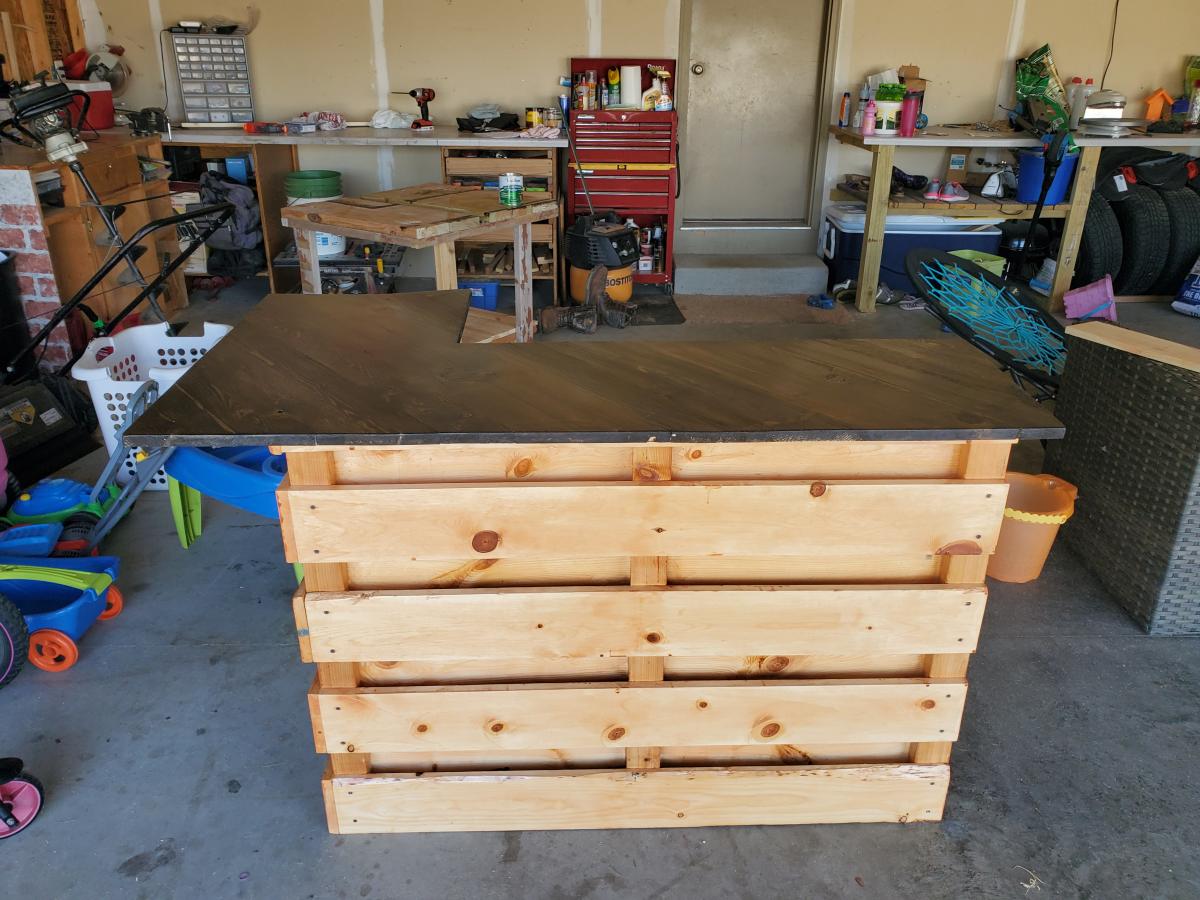
Outdoor sectional
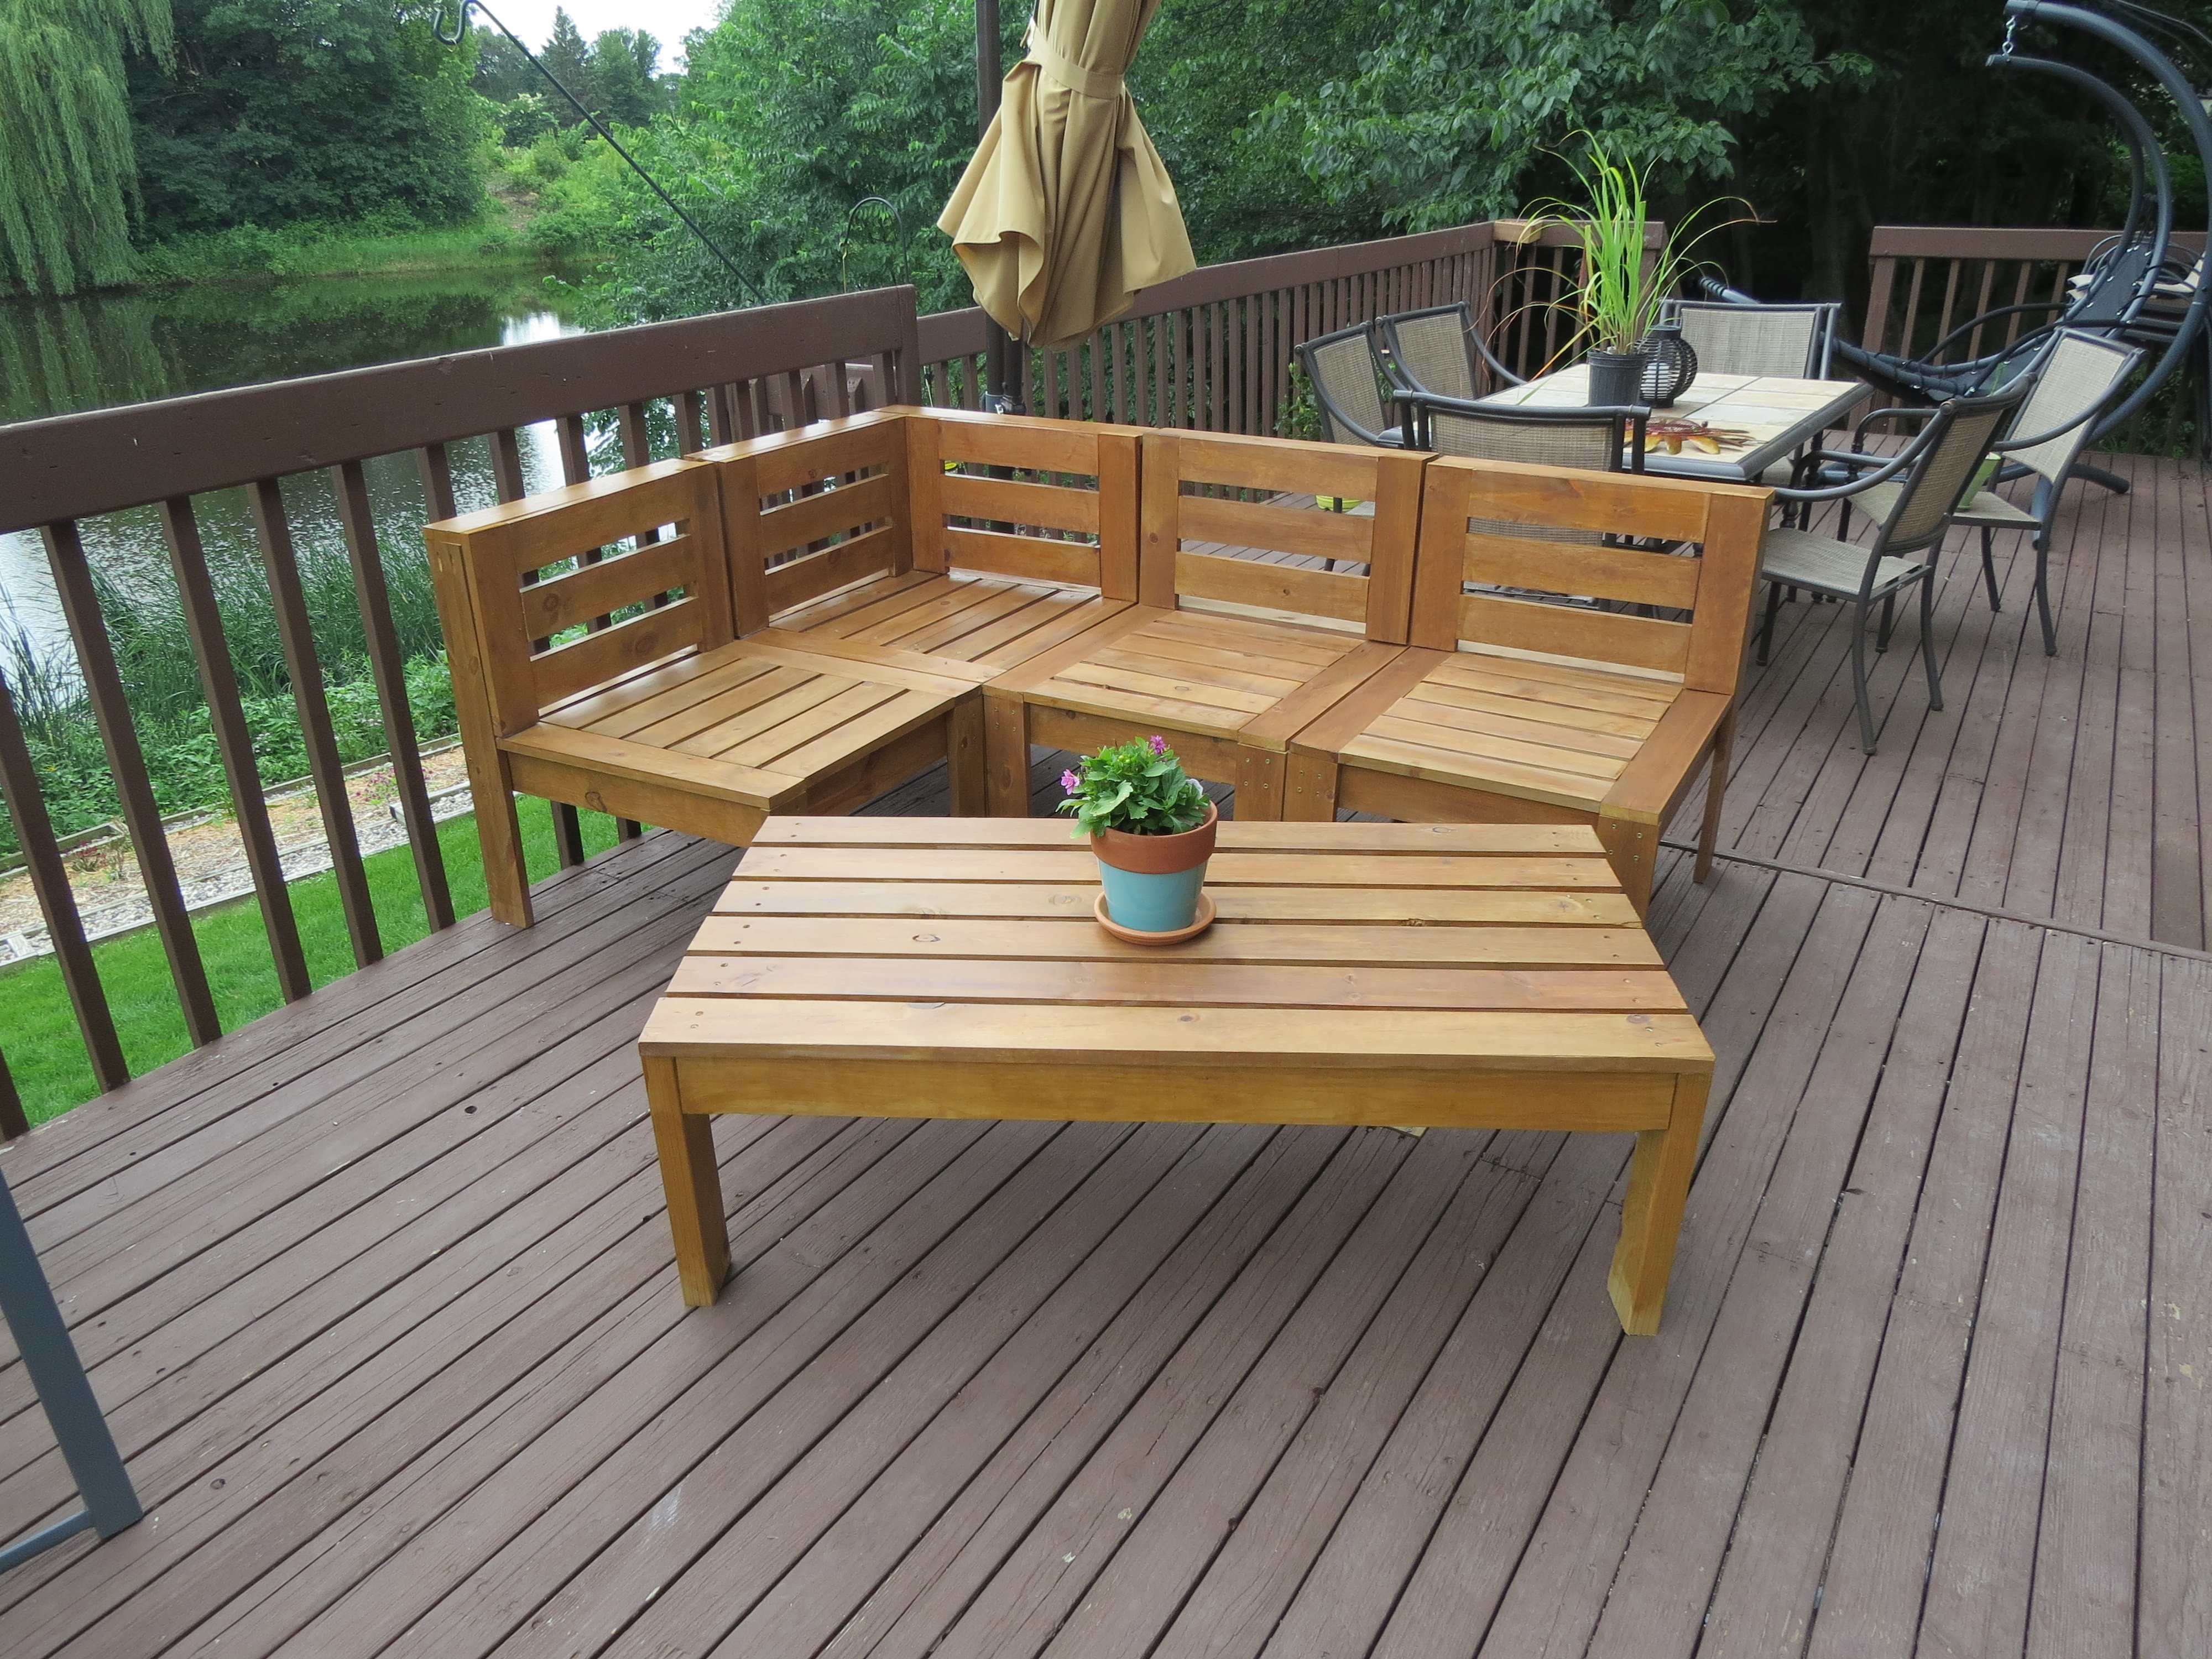
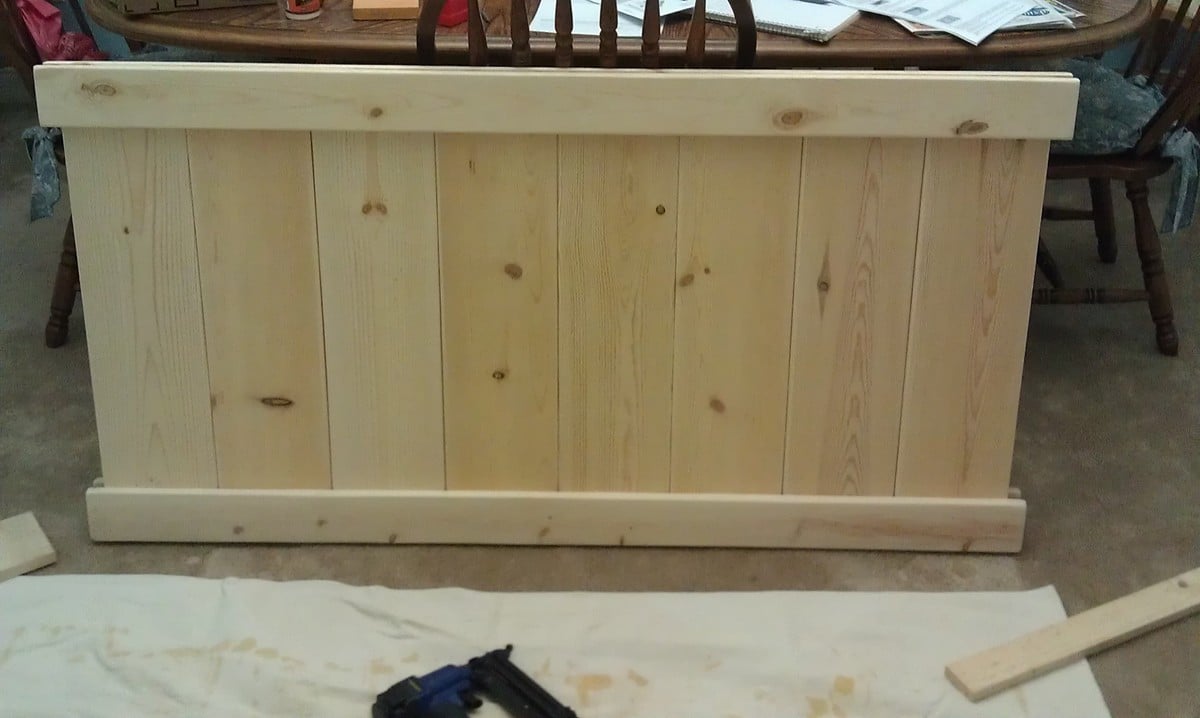
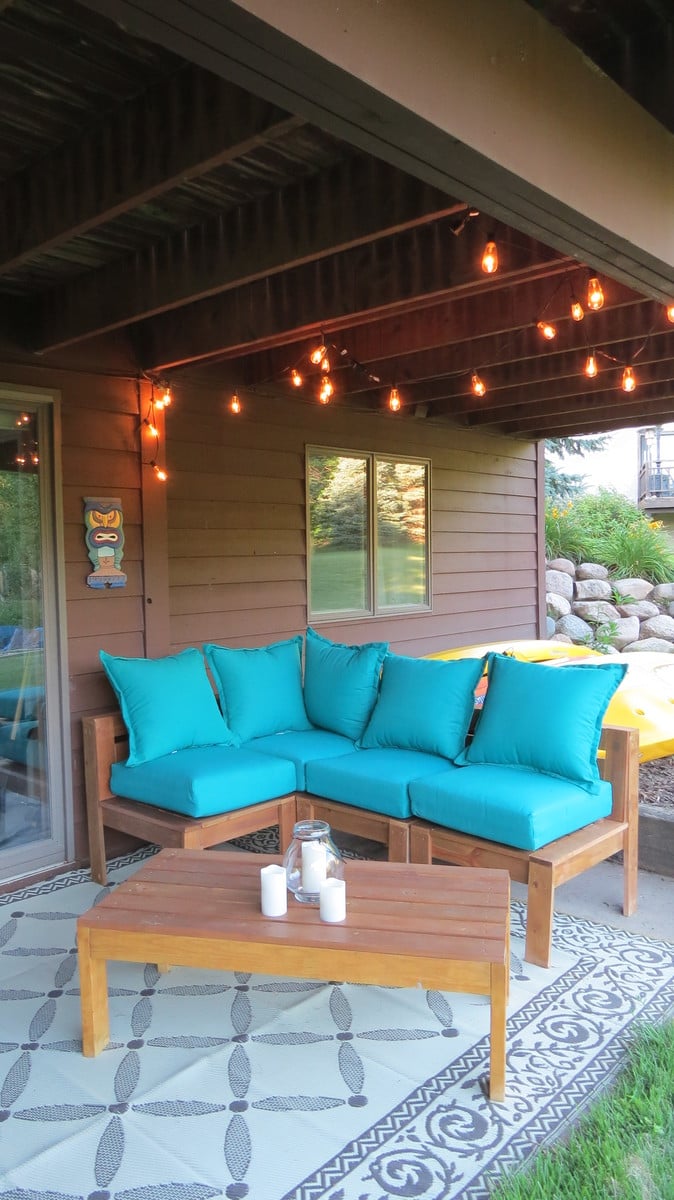
I changed the plans a bit and added backs to the chairs. I've never used a saw or a drill before, but I am thrilled with how easy this was to do. I love the end result!
I found cushions to go with the furniture at Target.
Built from Plan(s)
Estimated Time Investment
Week Long Project (20 Hours or More)
Recommended Skill Level
Beginner