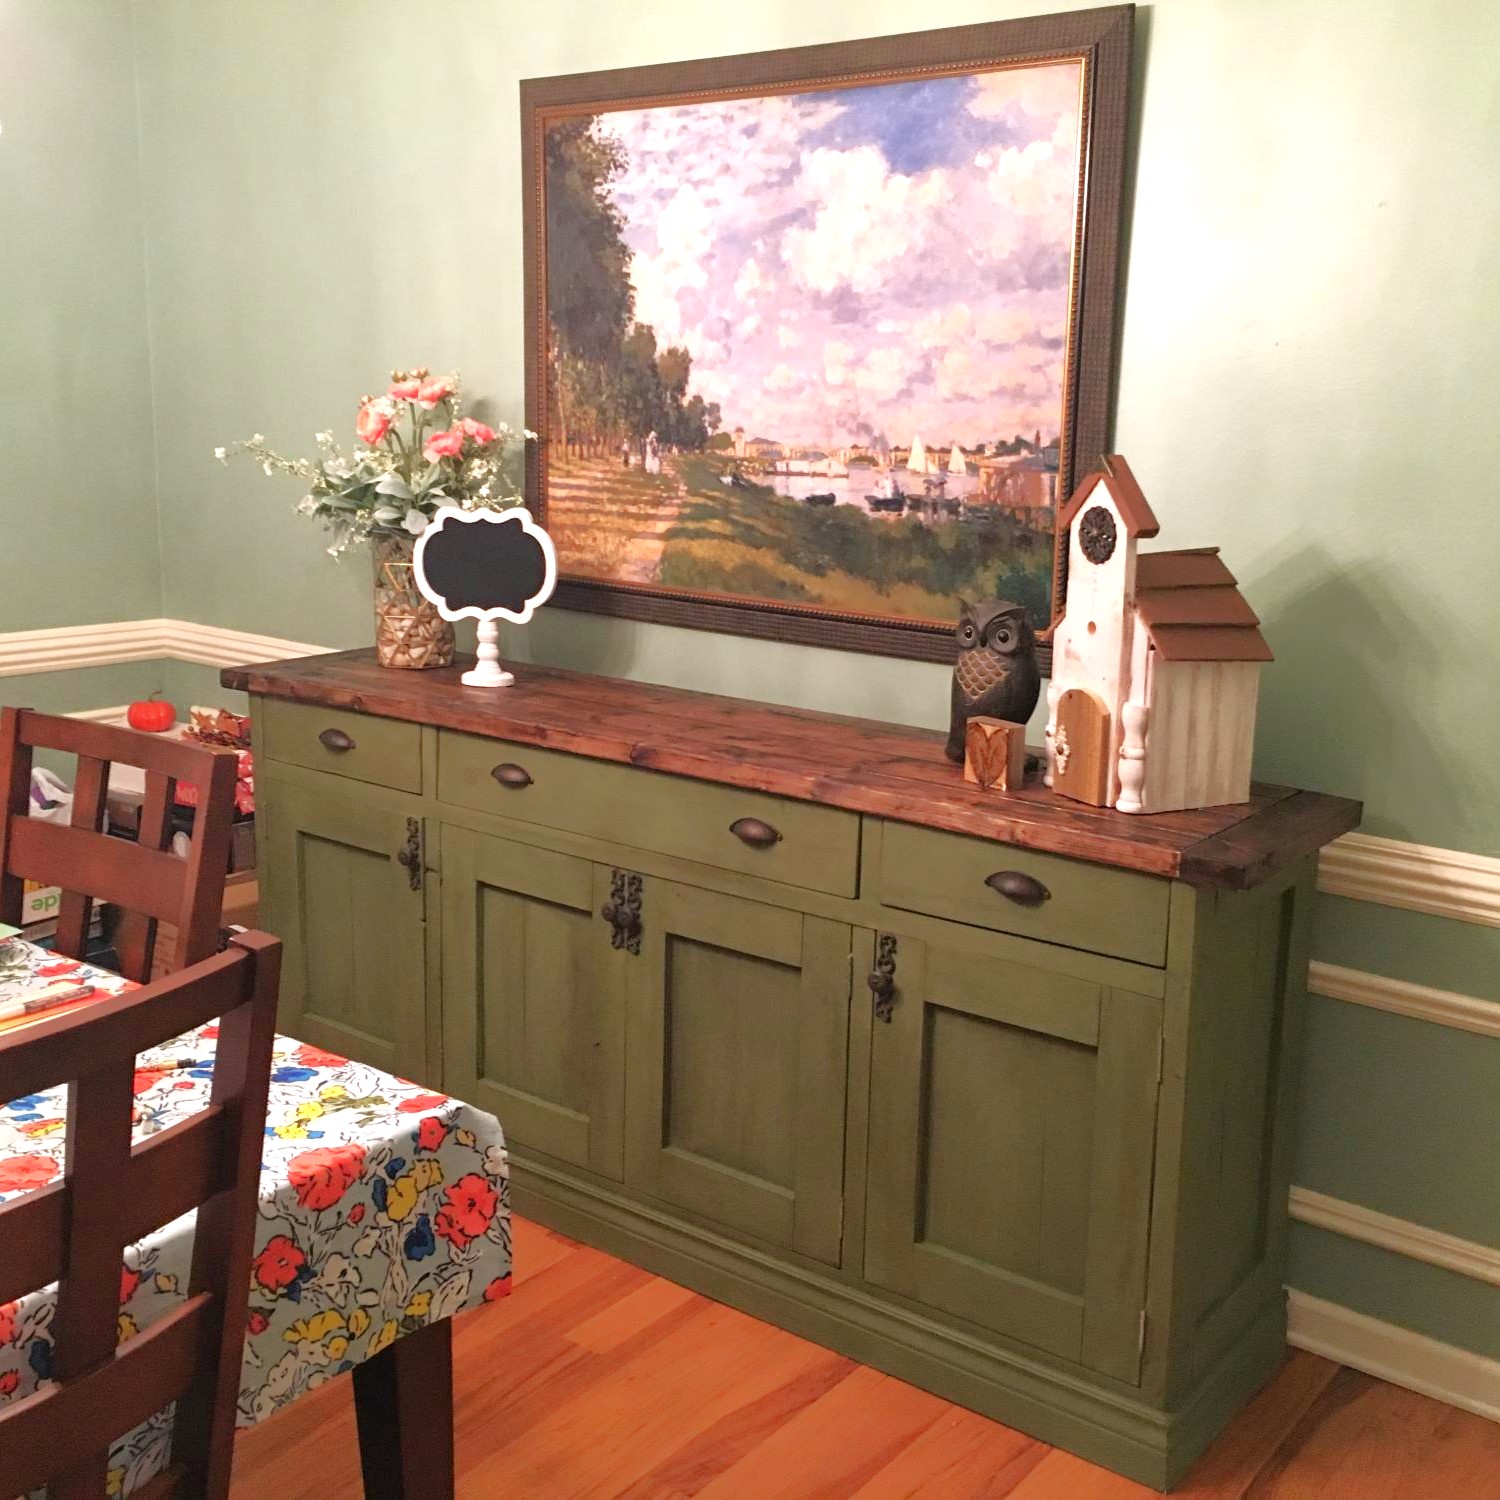
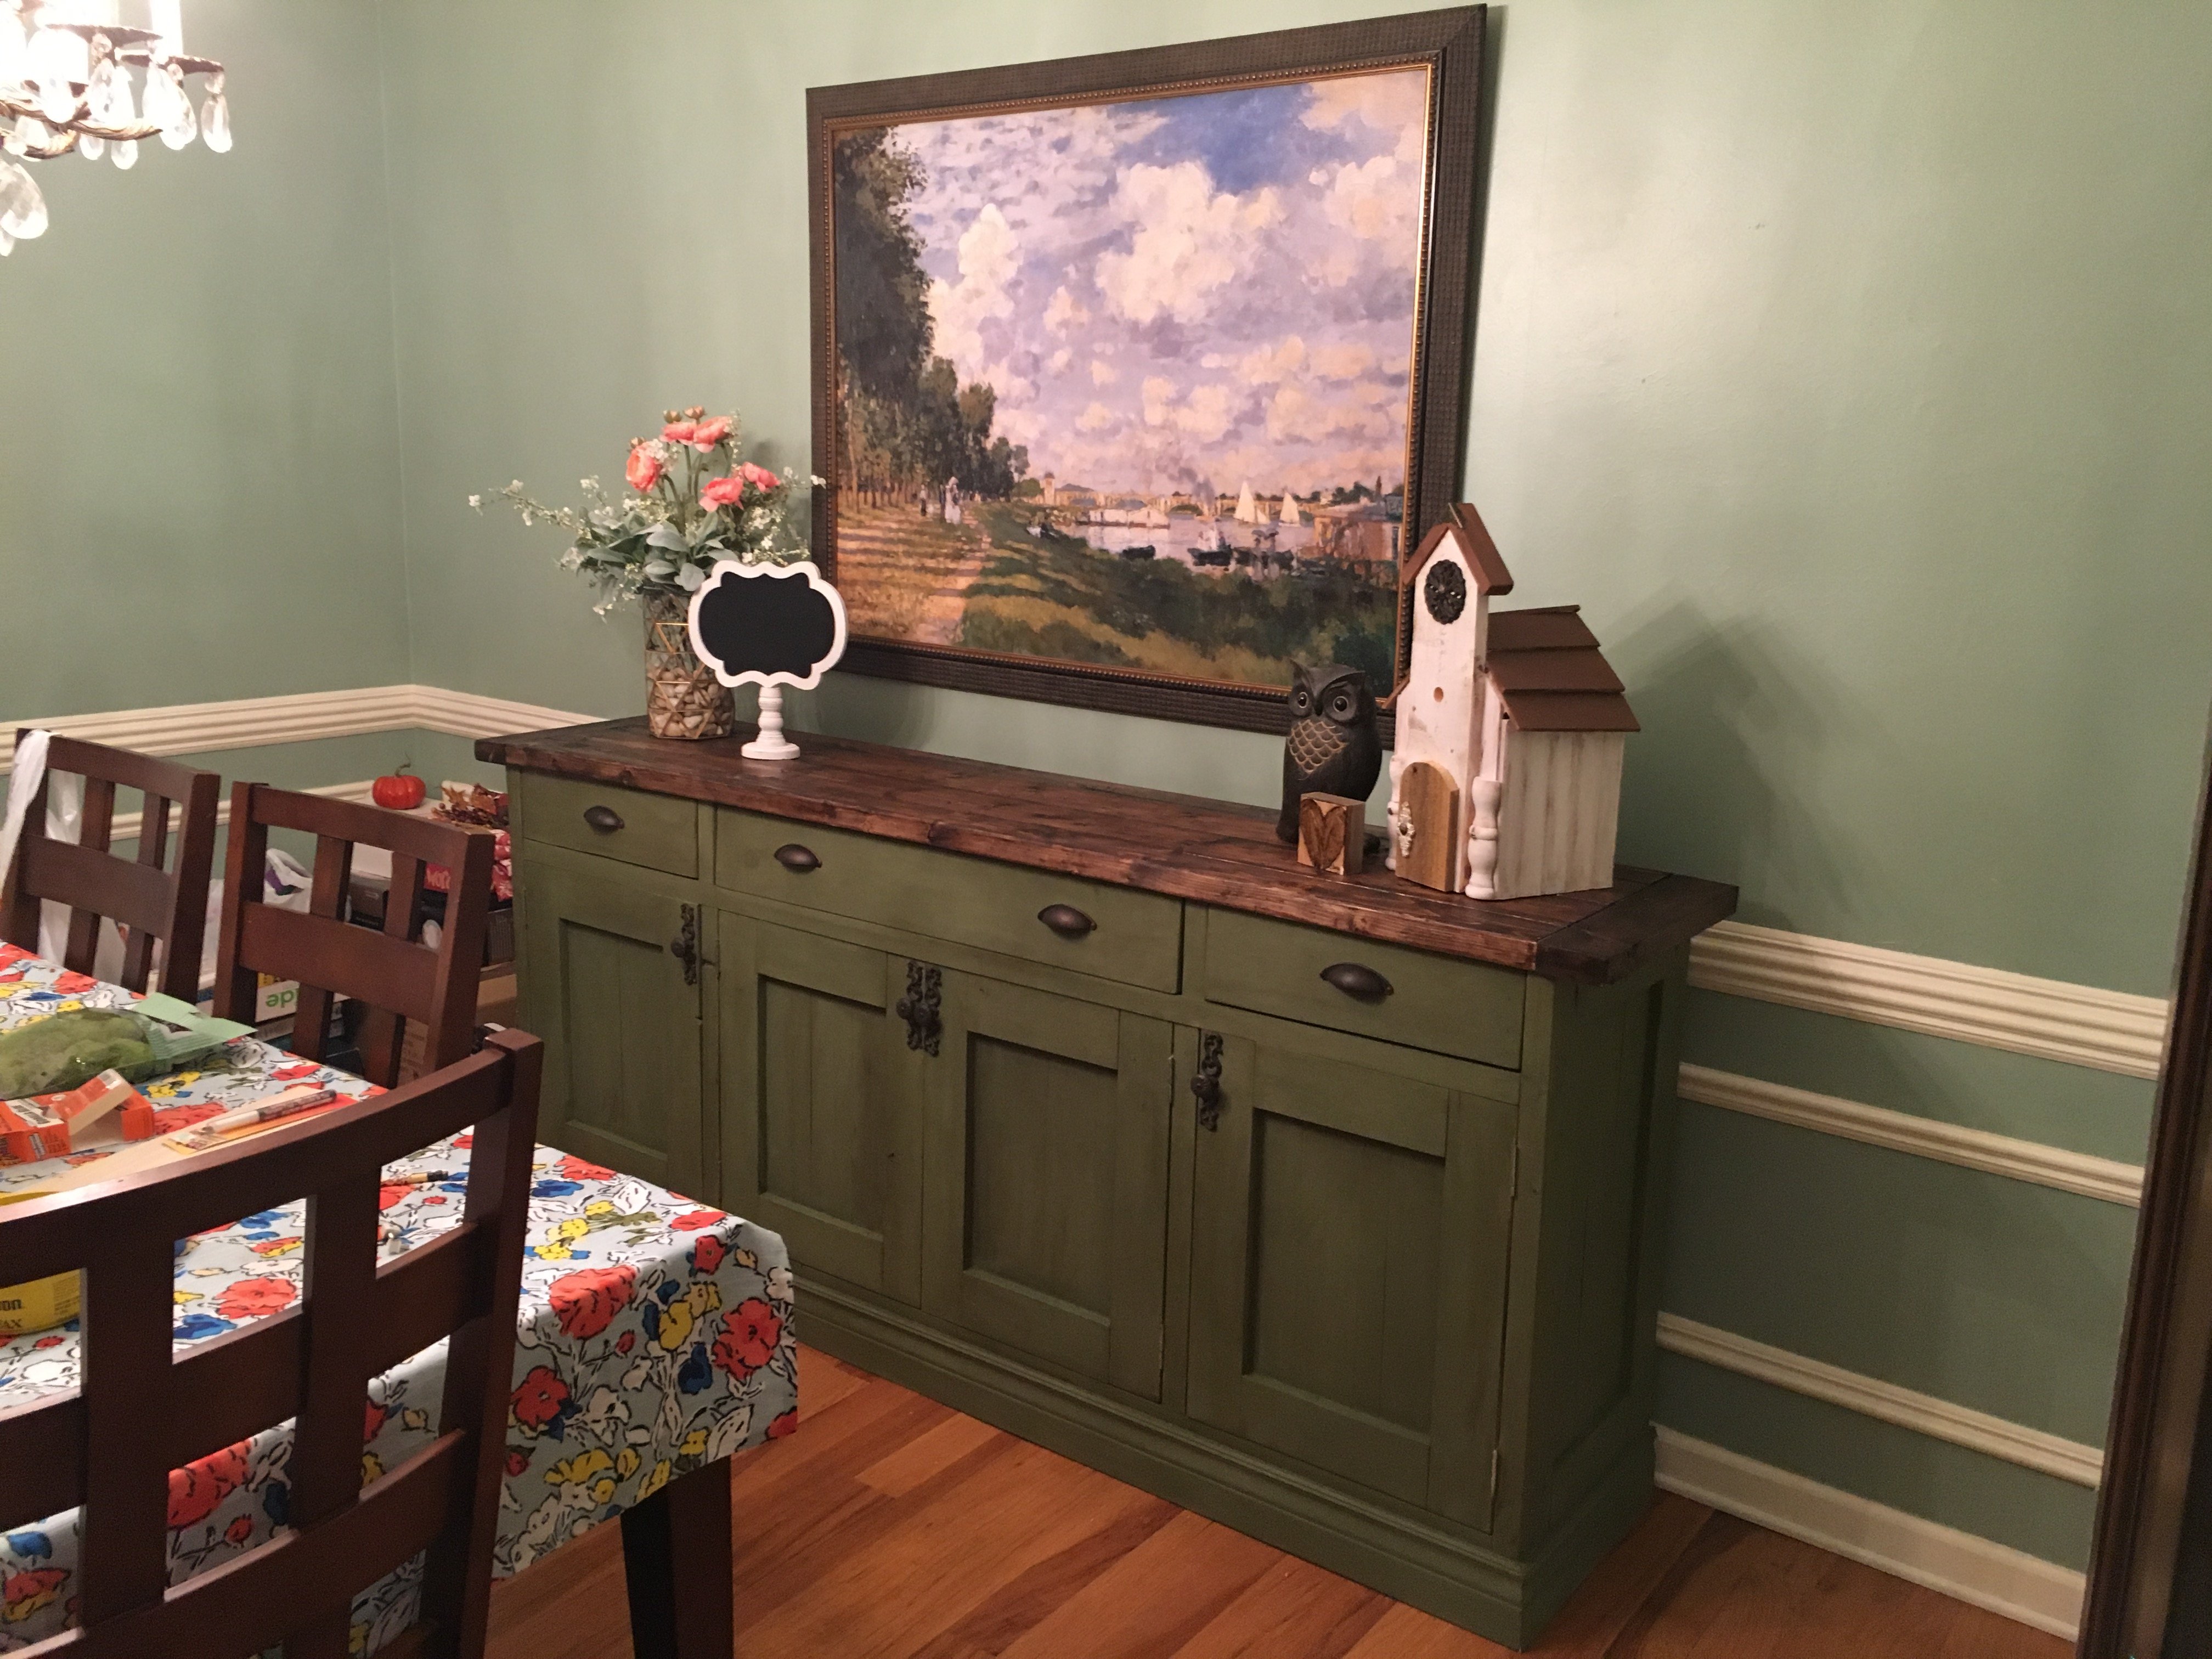
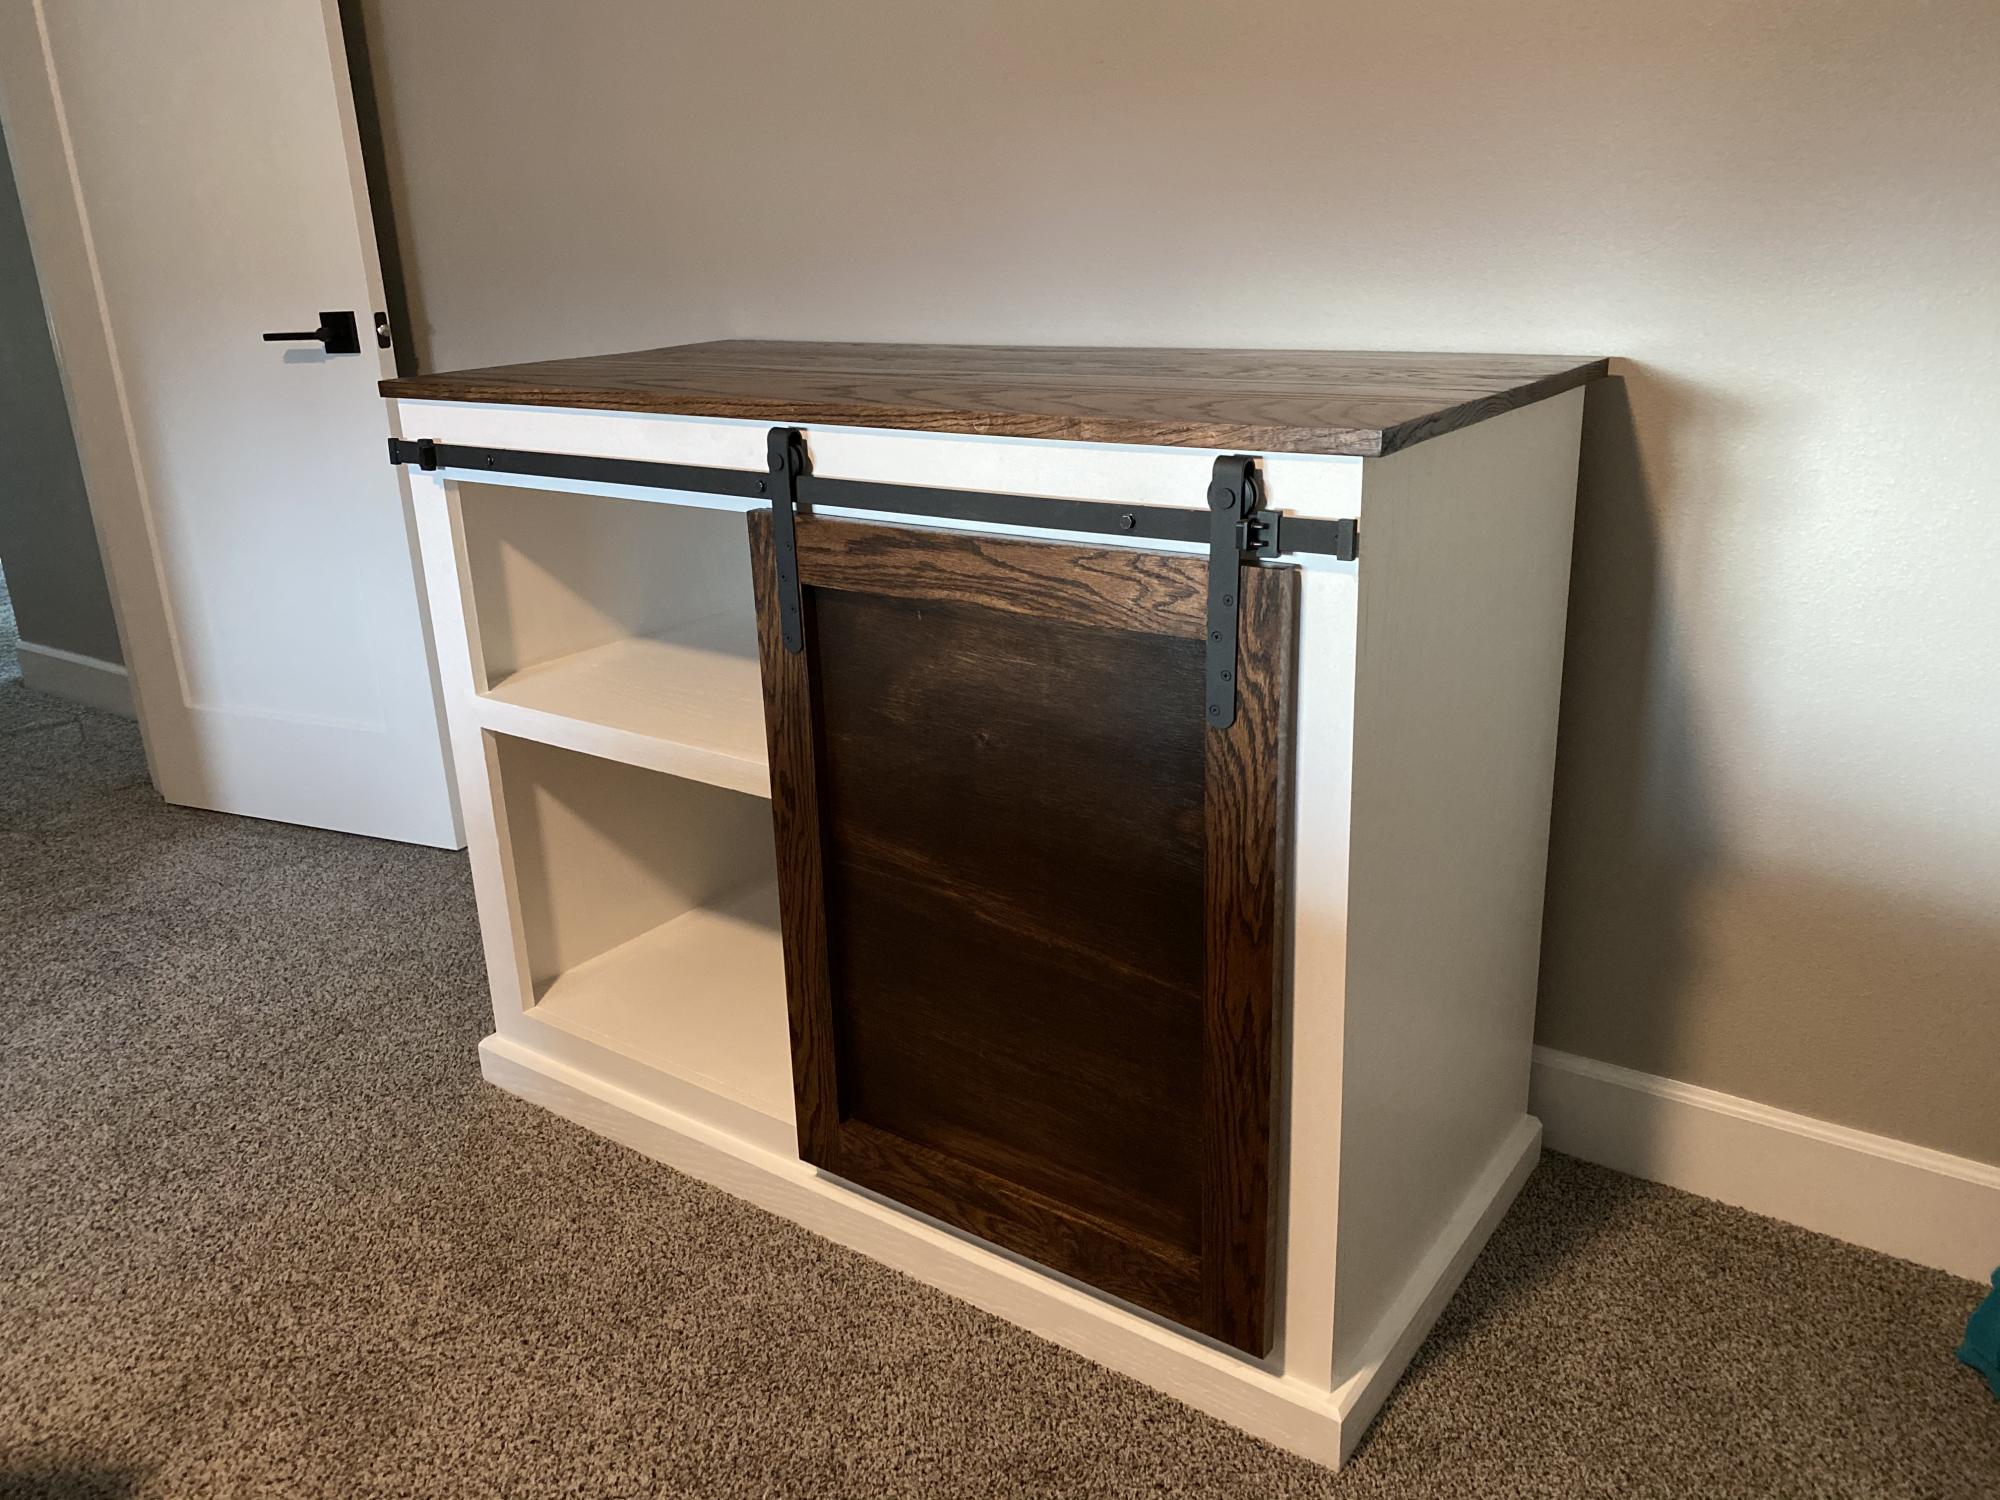
Grandy Barn Door Console

First time doing something with a face frame. Painted with chalk paint and finished with black wax

Built from Plan(s)
First time doing something with a face frame. Painted with chalk paint and finished with black wax
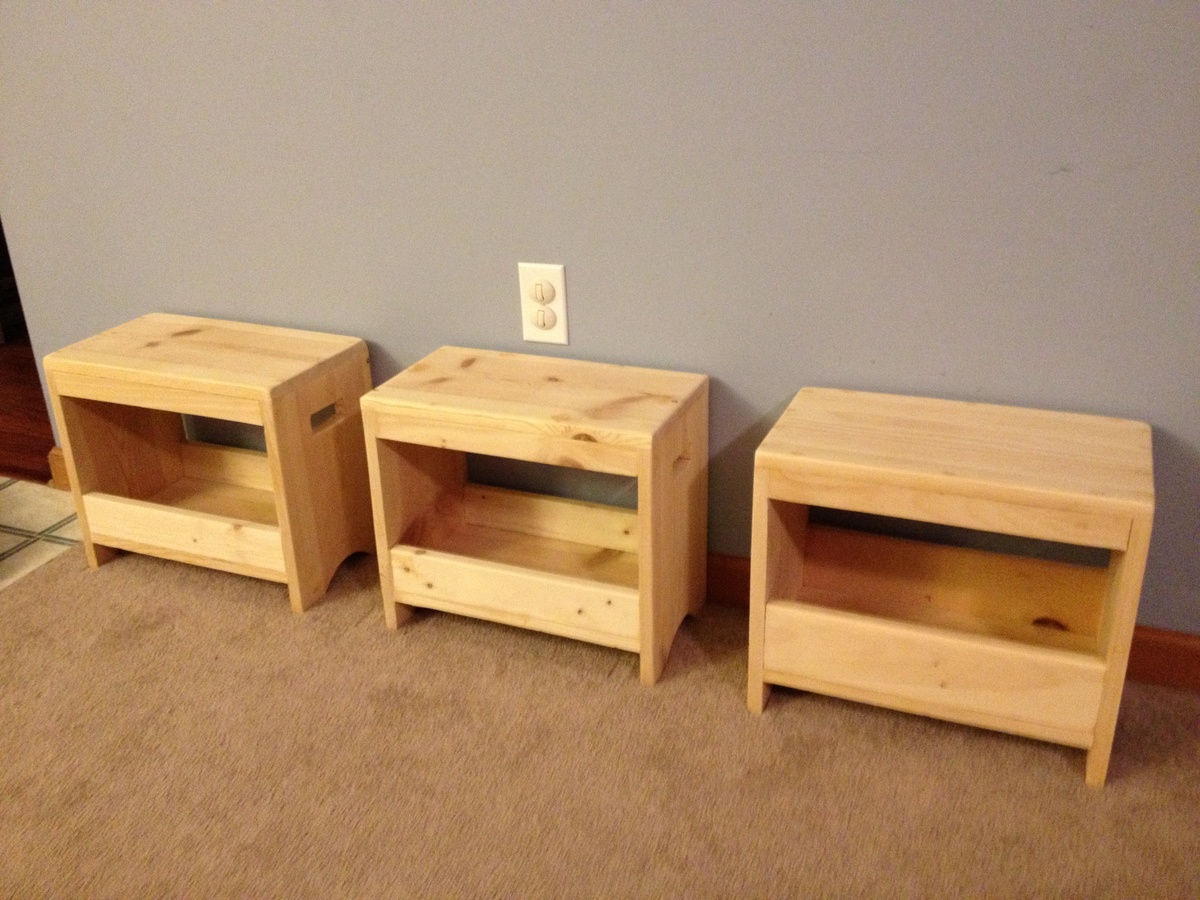
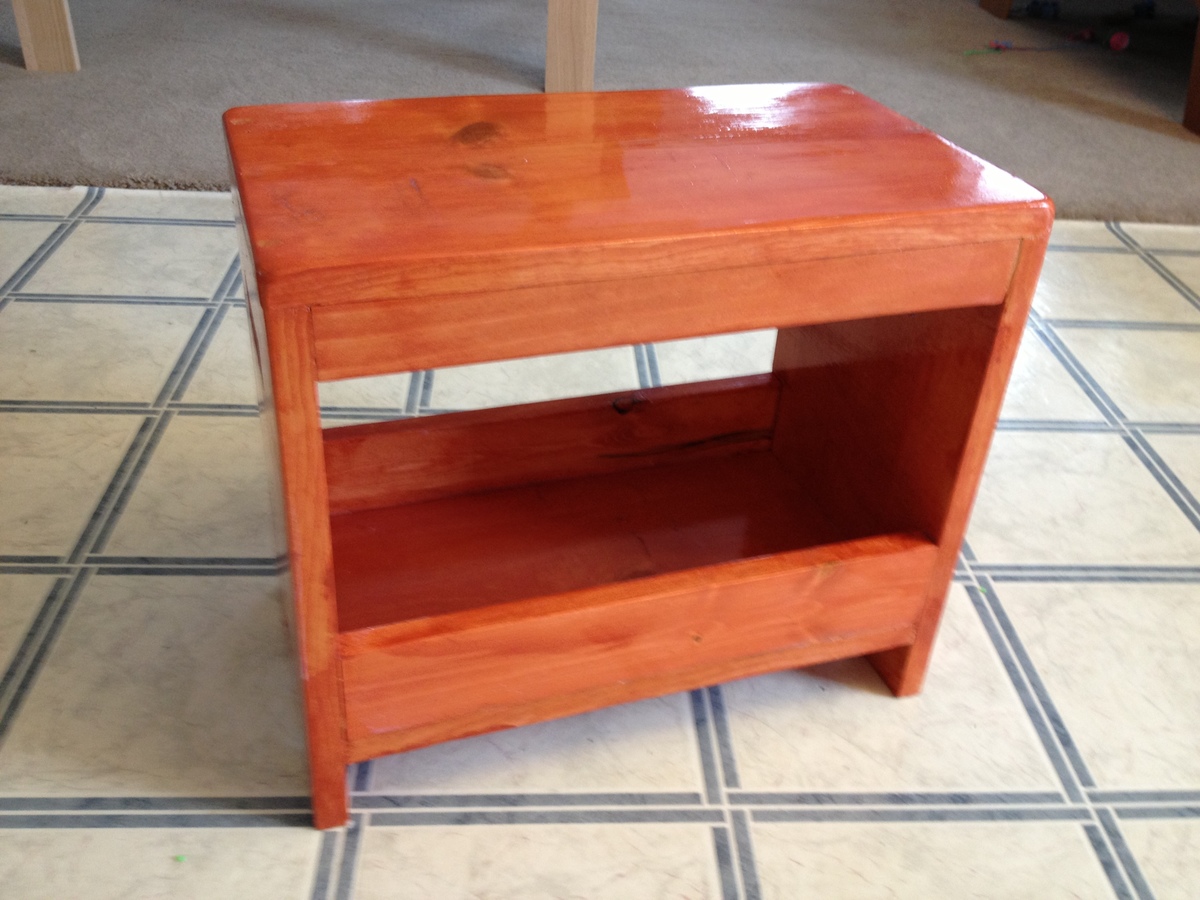
Well I have found your site through Pinterest md now I am Addicted. Not only did I make one stool, but now three ( one for each of my boys). I will be finishing them shortly. But since it is my first project I wanted to share and thank you for the plans.
Next up is a sofa table (90% done already) and the media center (which I will float and use as storage for kids toys and double as a window seat)
Anyway, these stools are great, the kids love them and thy will go great in the kids room under the camp loft bed or loft playhouse bed (my next project :)
Fri, 01/25/2013 - 21:46
This is a nice project. I gotta make one for my nephew.:)
Wed, 01/30/2013 - 07:36
thanks, they really like them - simple but practical and useful project
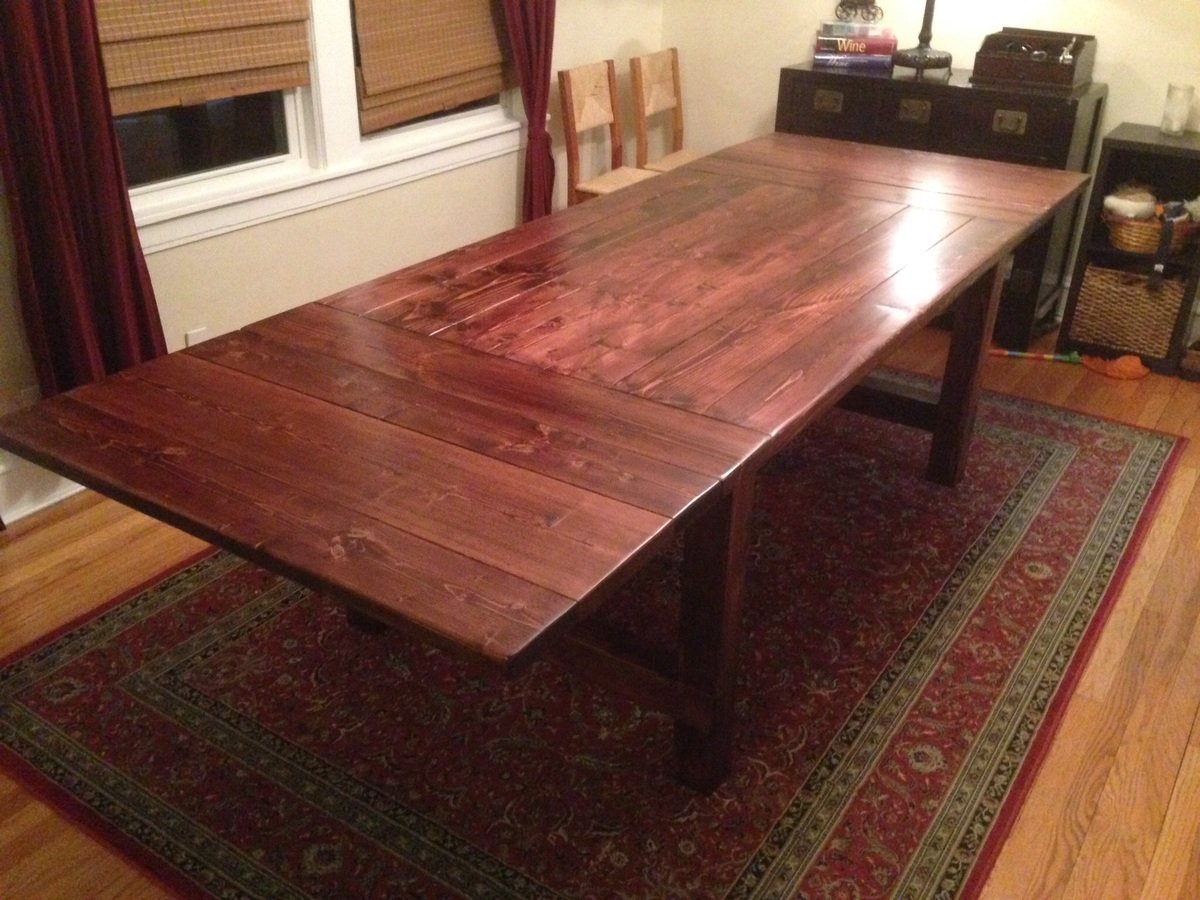
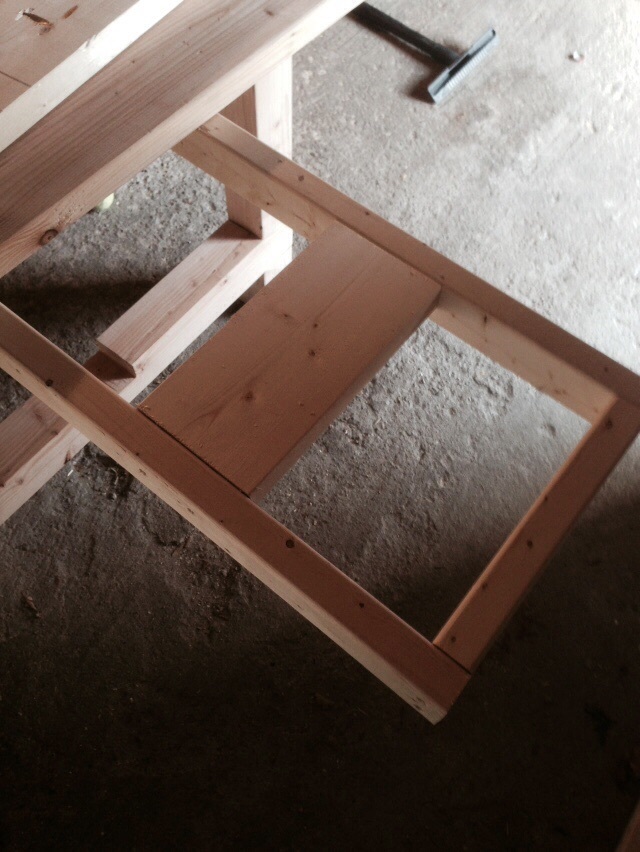
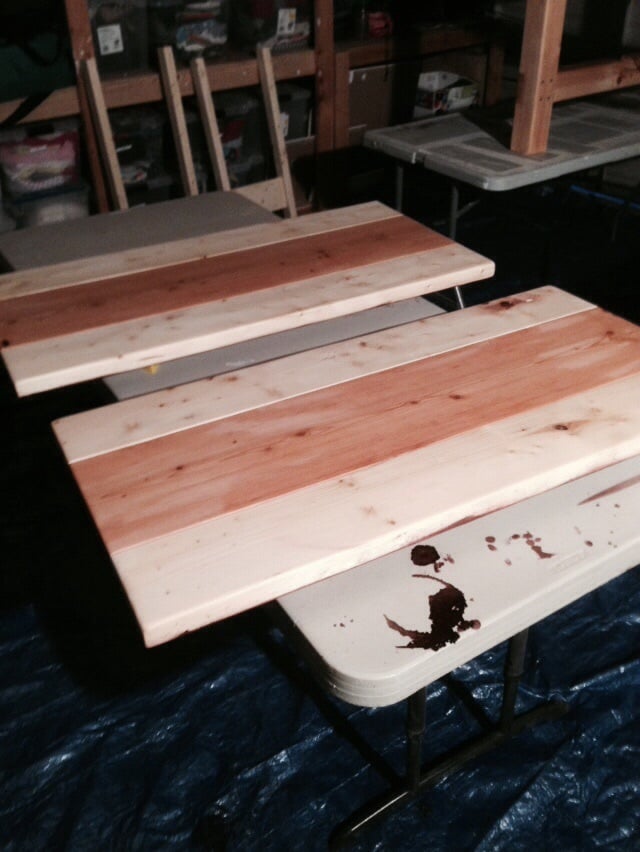
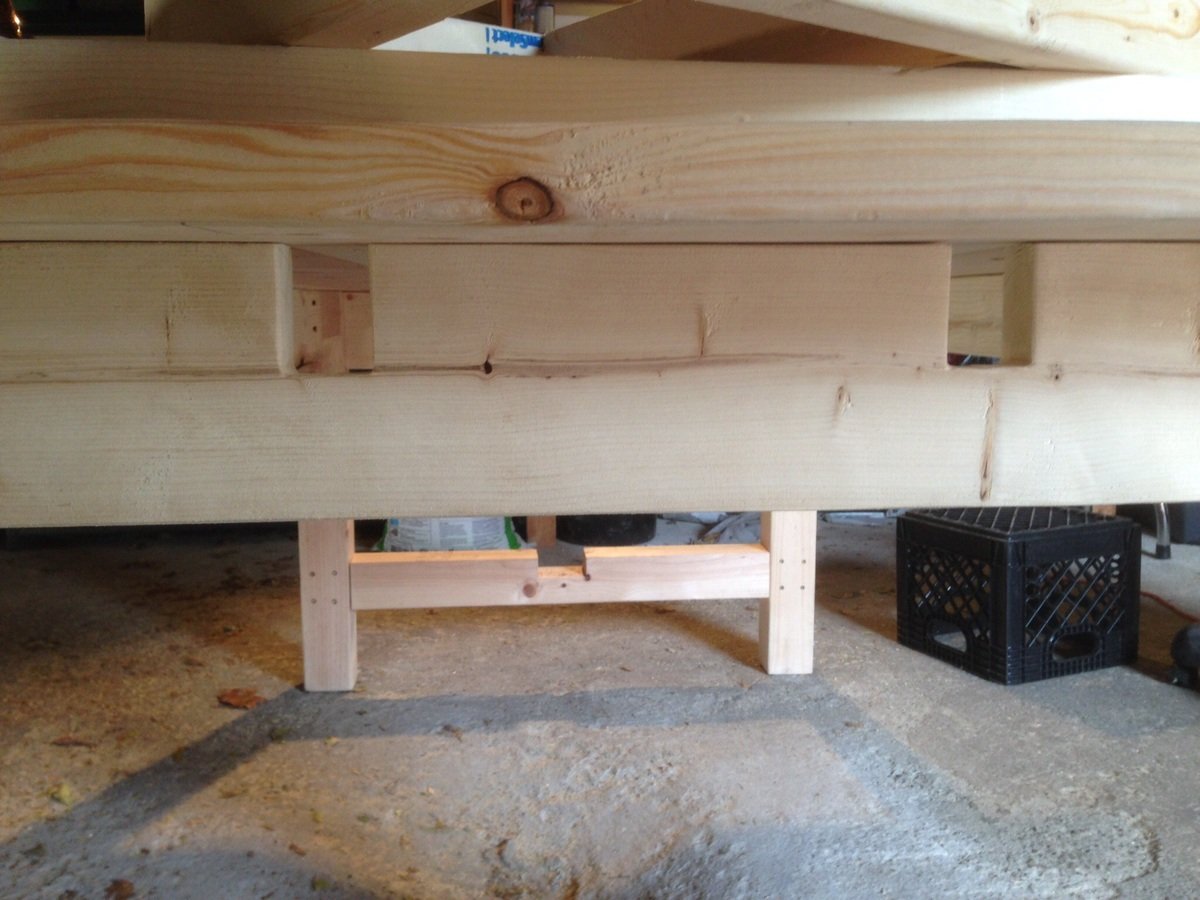
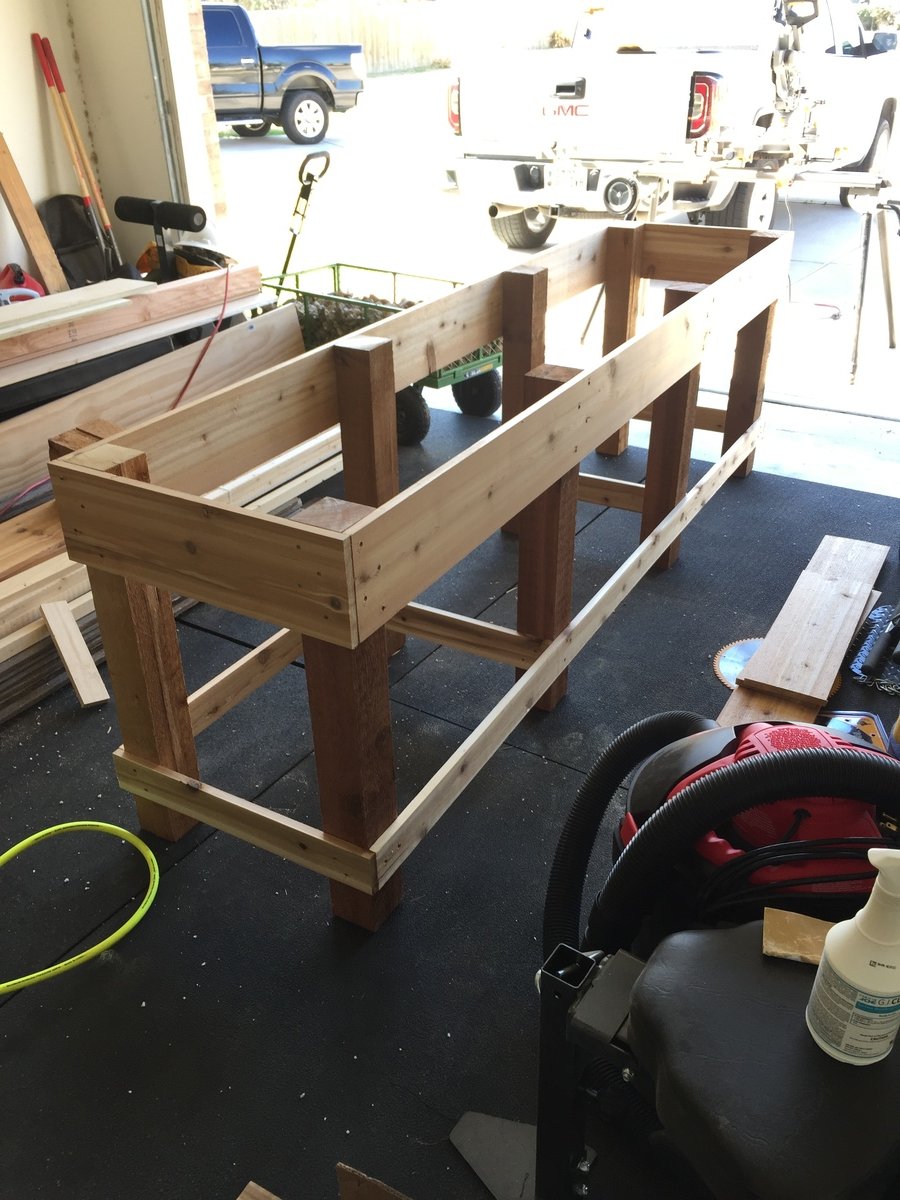
Modified the main table by knocking down the length one foot. Slightly reduced width based on lumber used by about 2 inches. Added two extensions. Used 2x4s for side aprons and 2x6s for end aprons. This allowed me to notch 2x3 (lumber size) holes in the ends to slide extension arms in. Arms held by friction and torque so if you do this make the holes tight. Don't over stain or poly. Slide wax candle on arms to help them slide in. If lose you can install a latch on arms under table. All items from Home Depot. Last photo shows dry fit of extension prior to screwing on top from the bottom. Gave me best alignment. If you haven't paid it forward for this great FREE site, do so by ordering Ana's book a Handmade Home. Making the coffee table I found in it this weekend. Good luck all and if you are wondering if you should? Yes, you should.
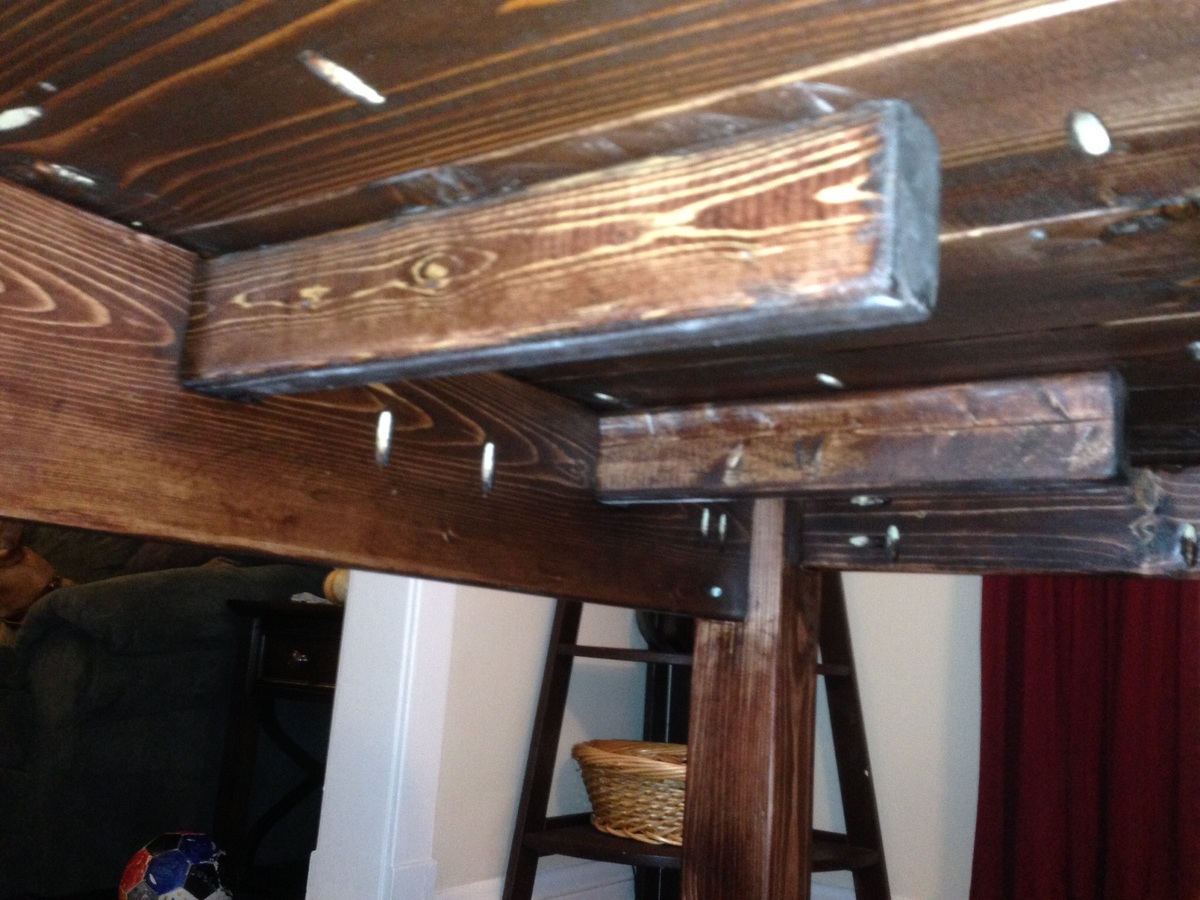
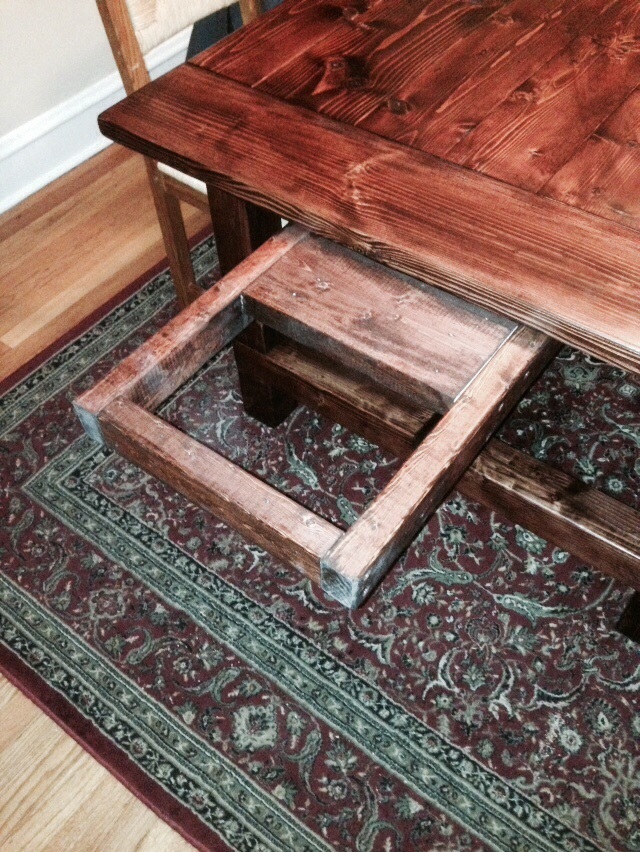
Tue, 11/18/2014 - 20:06
Ana's book is actually the Handbuilt Home!!
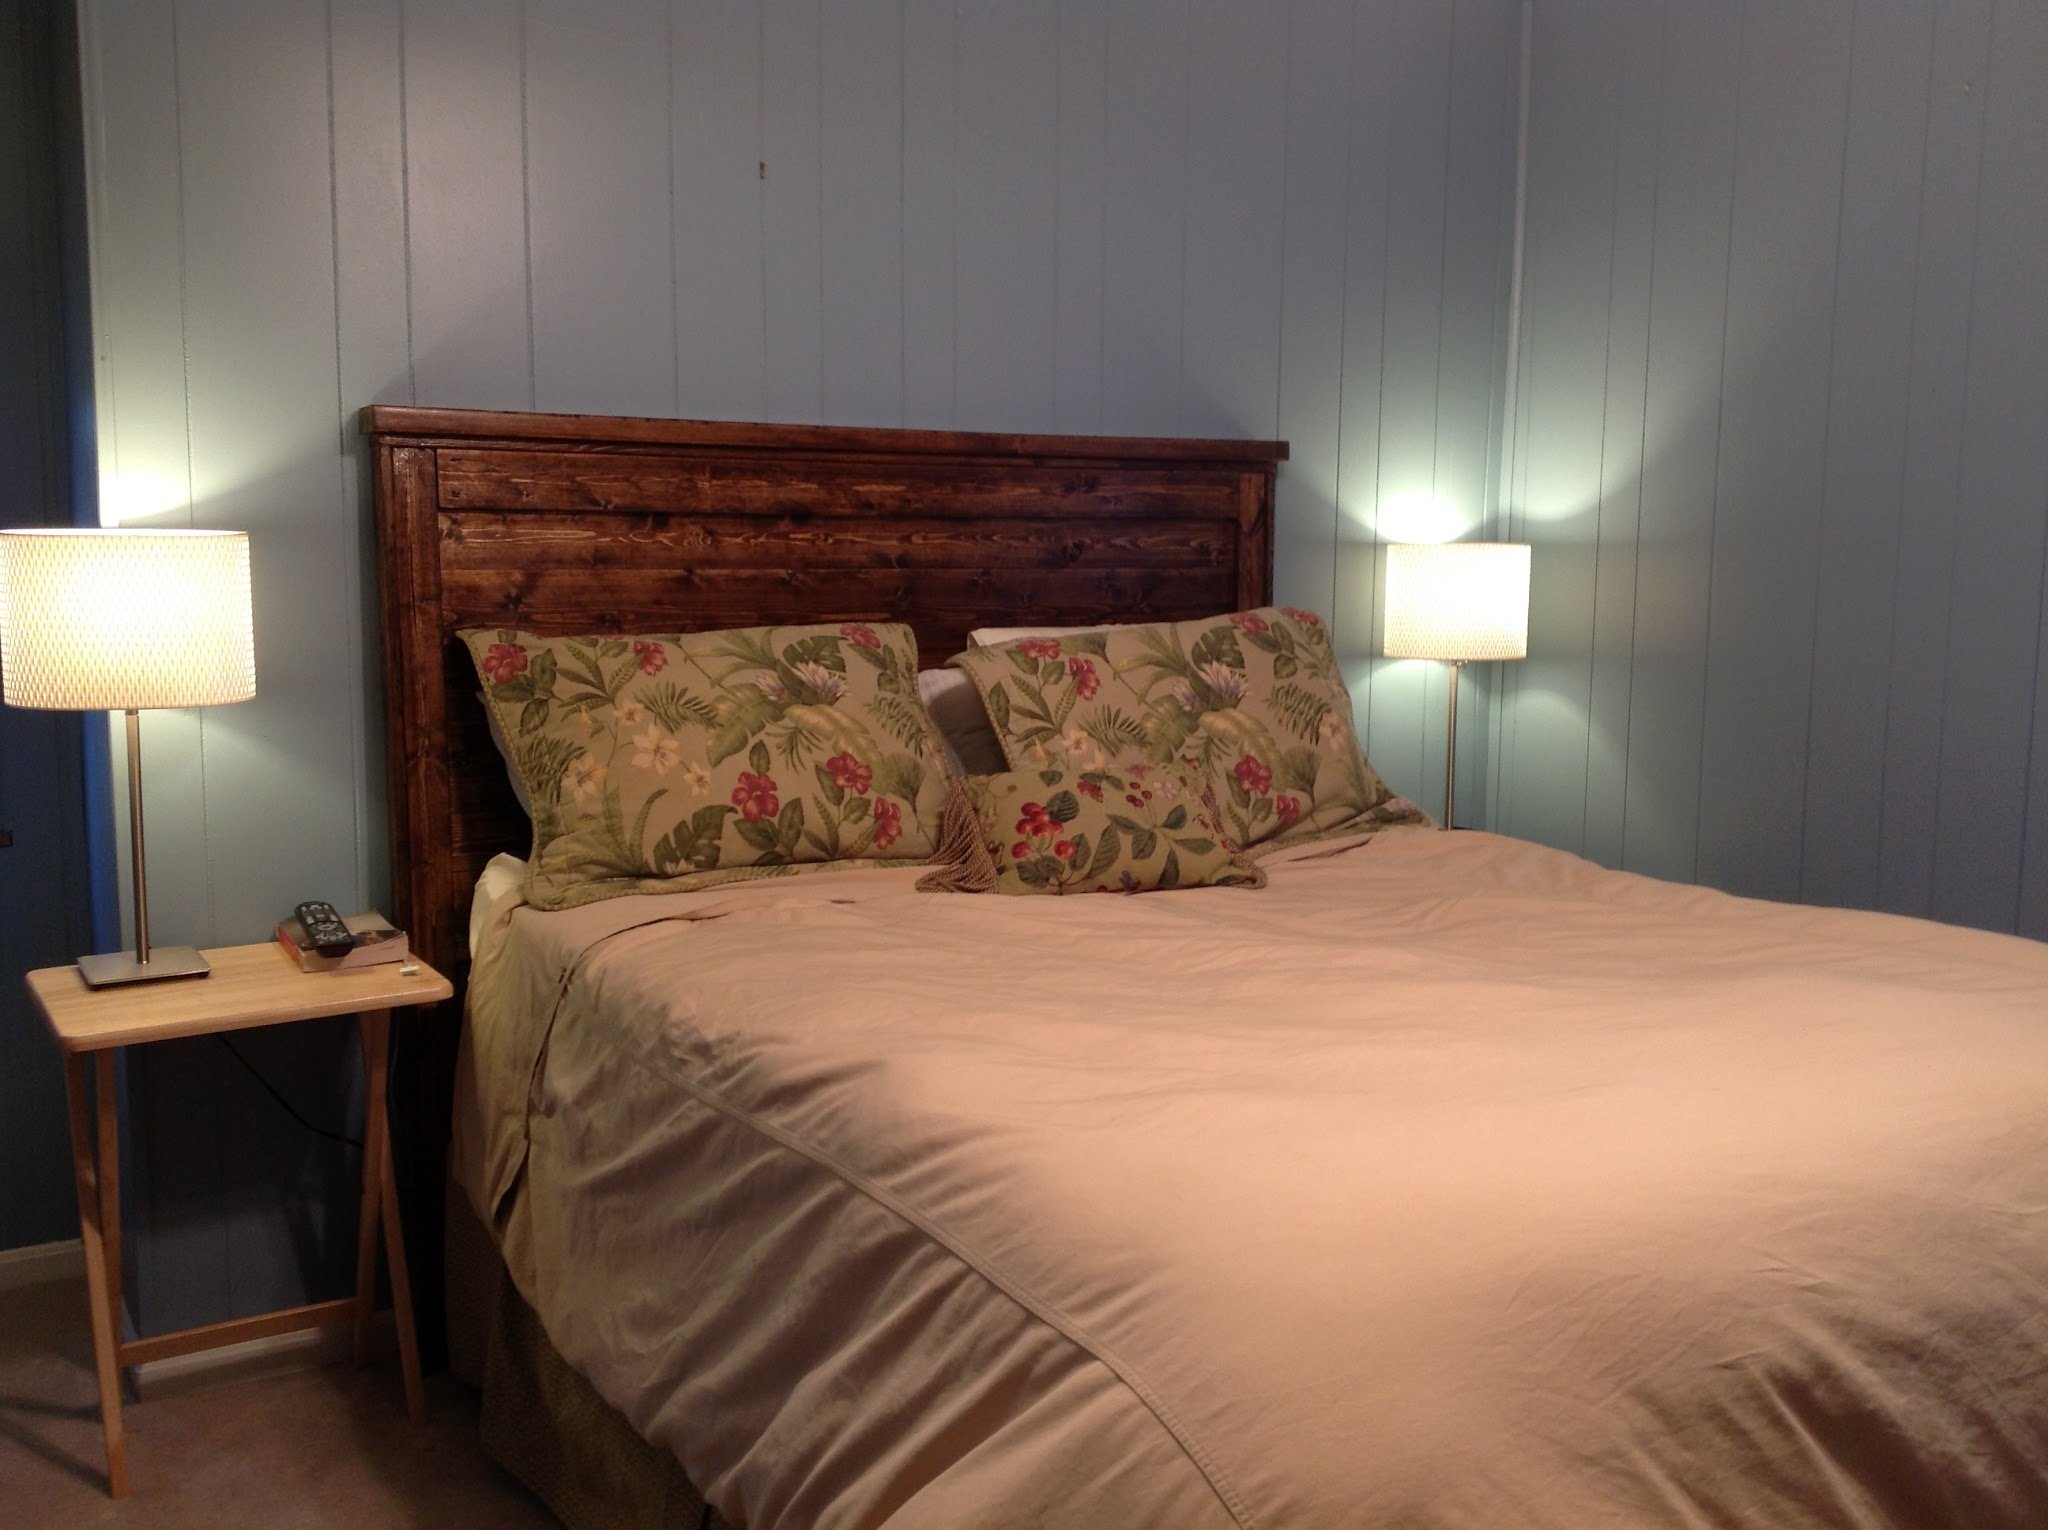
I used the plans provided. I made a small change to the windows and made the bigger.
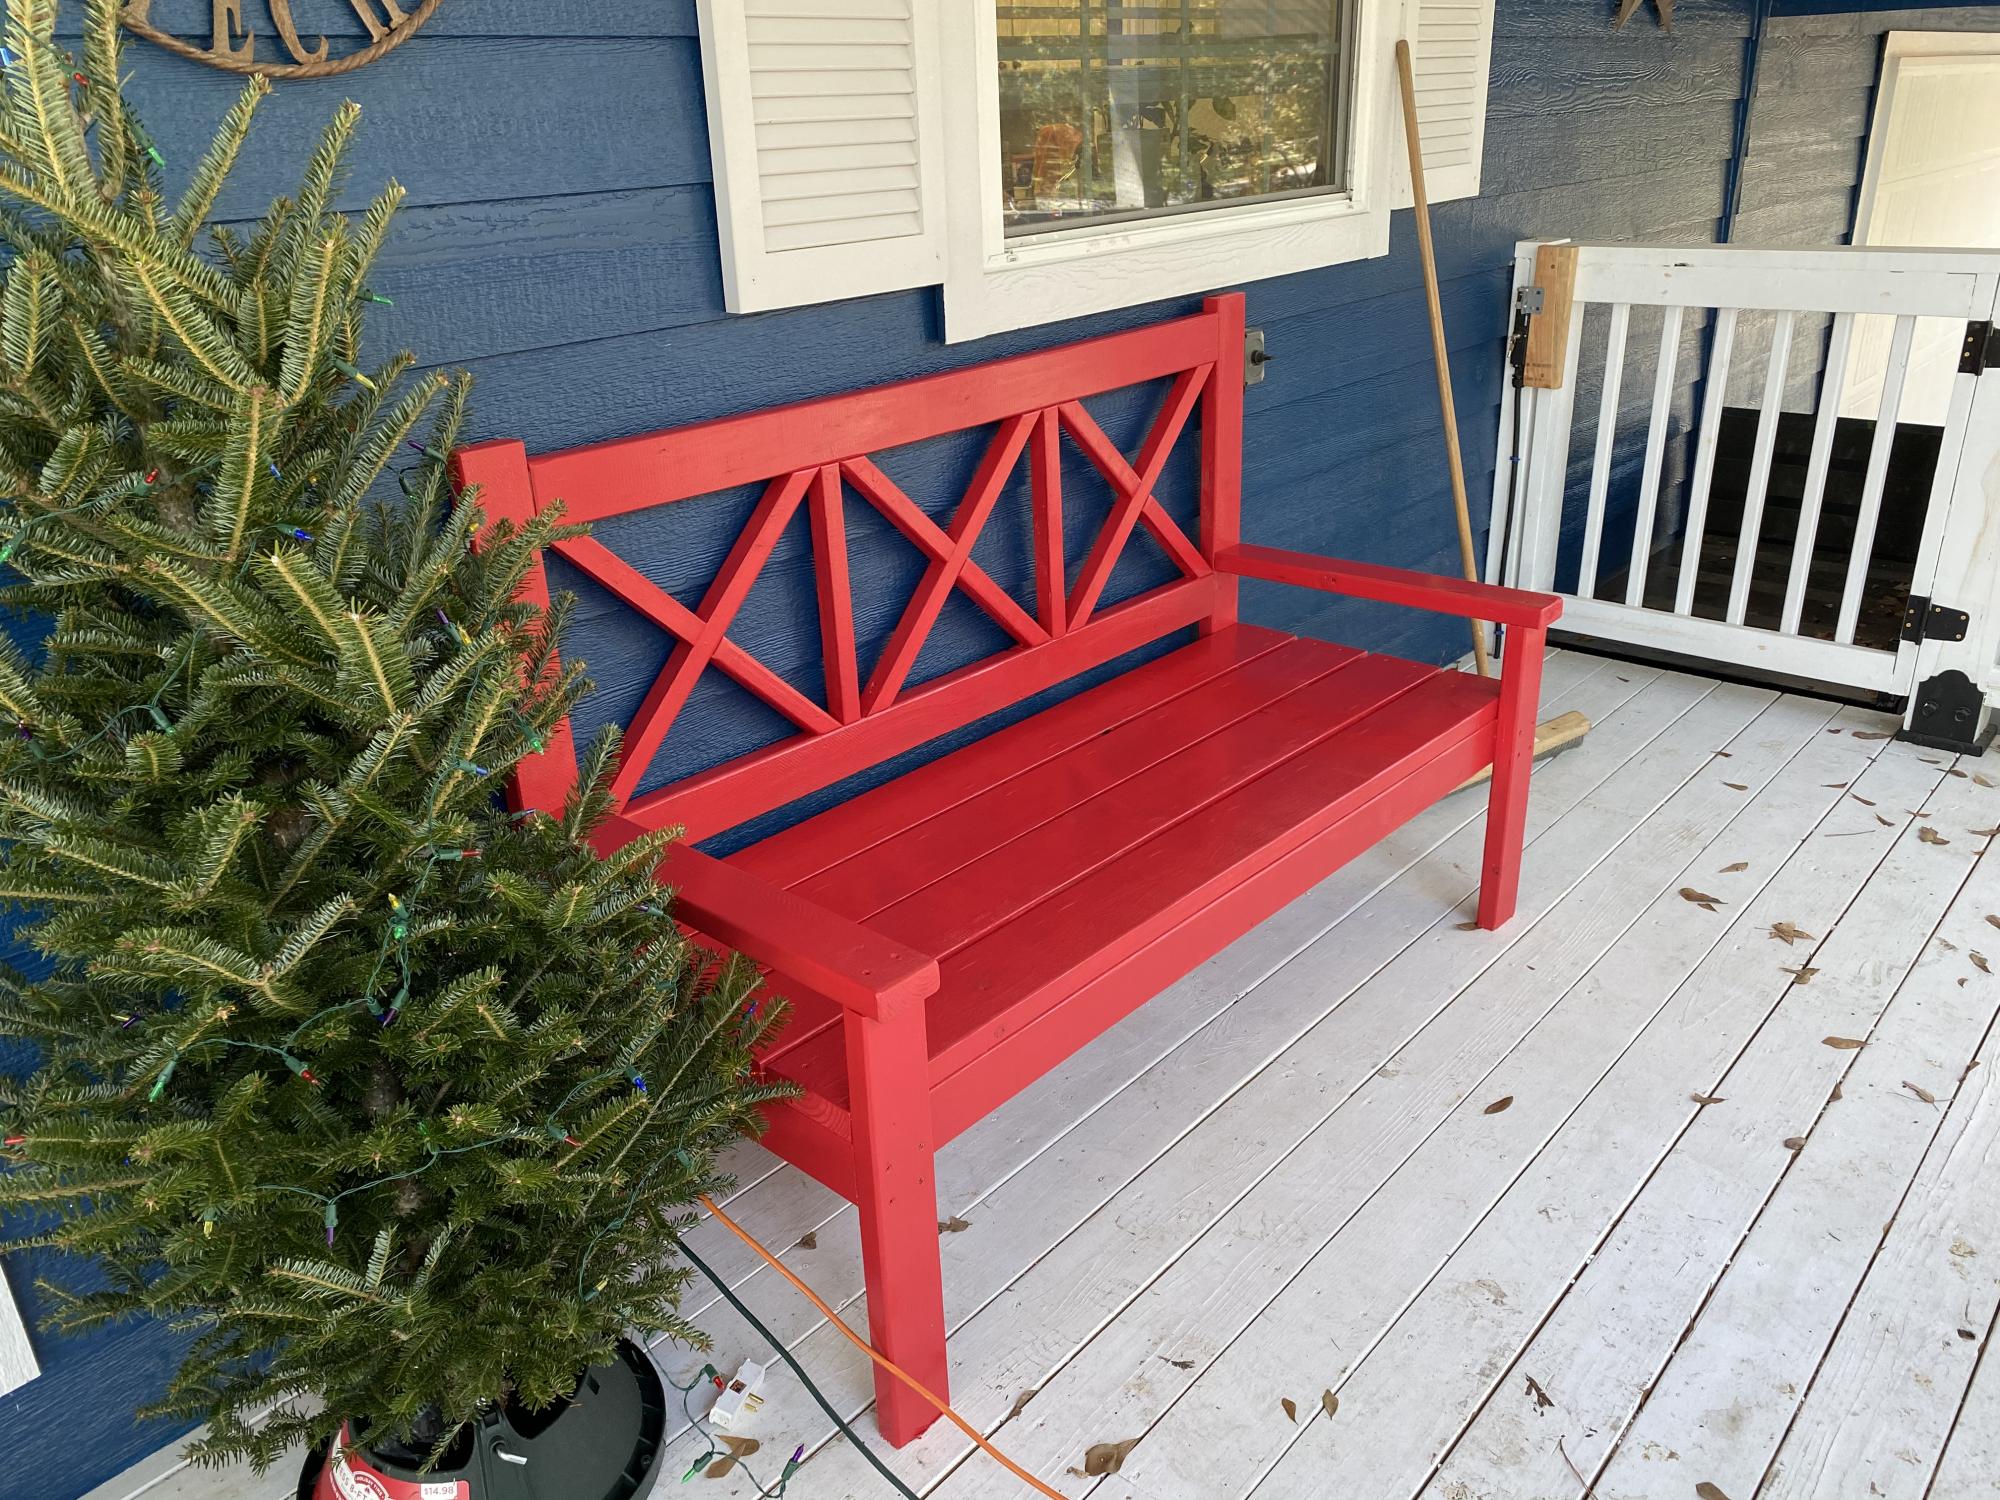
Porch bench for my parents’ new house.
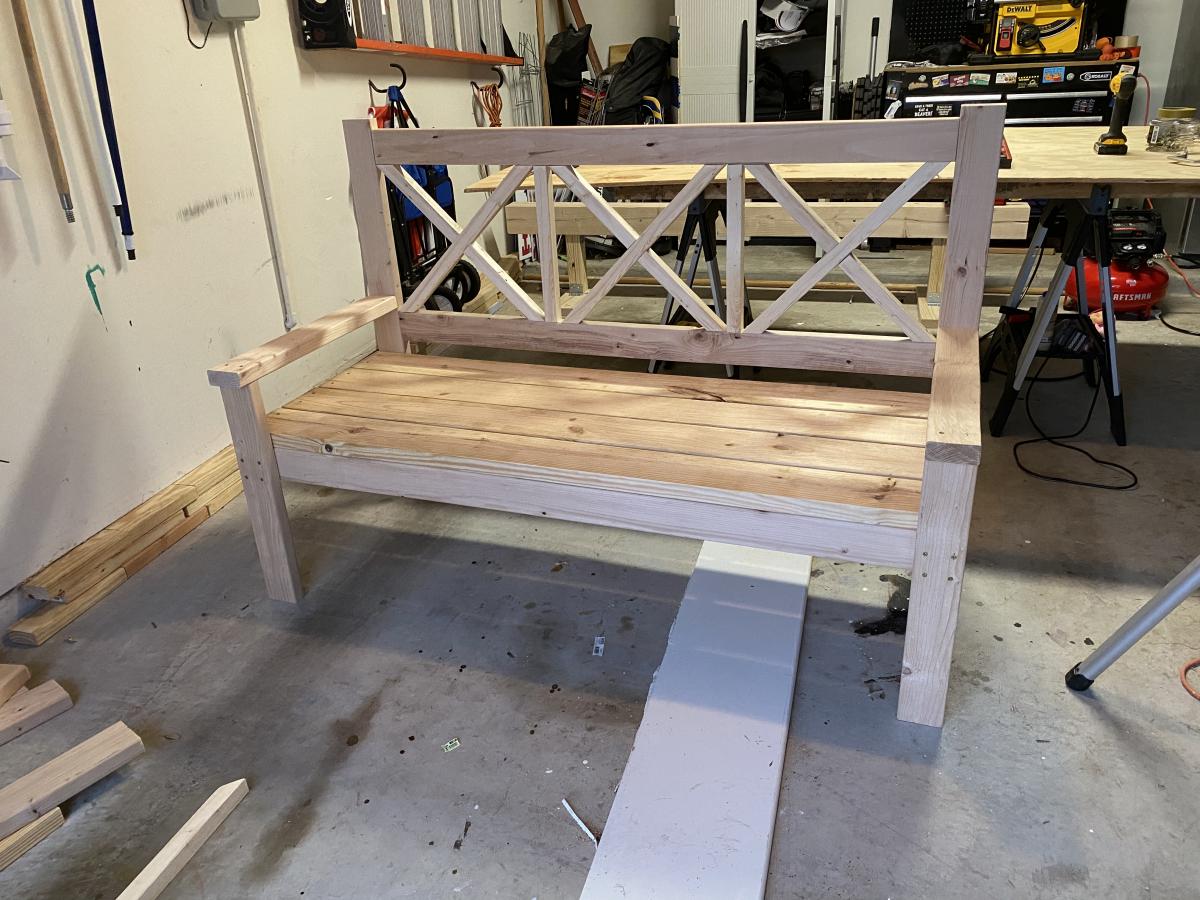

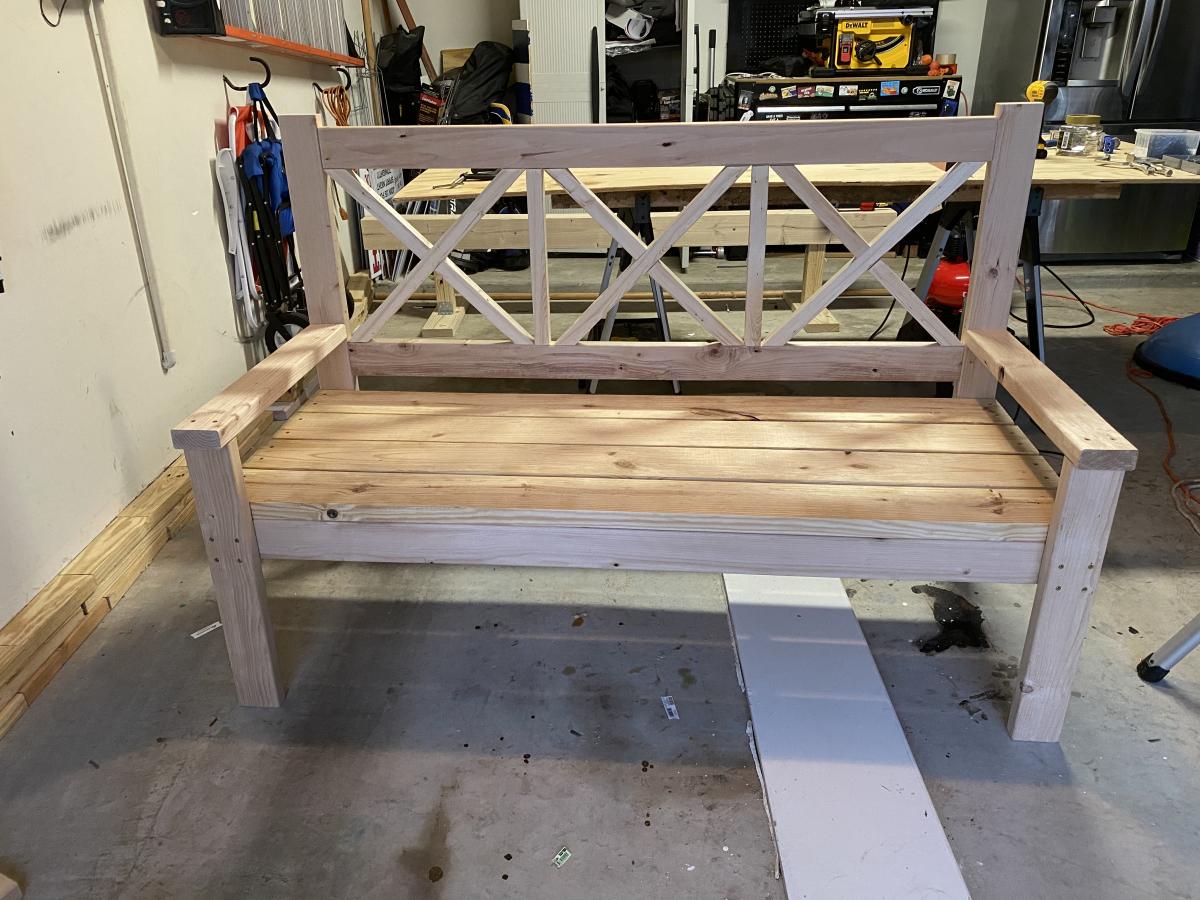
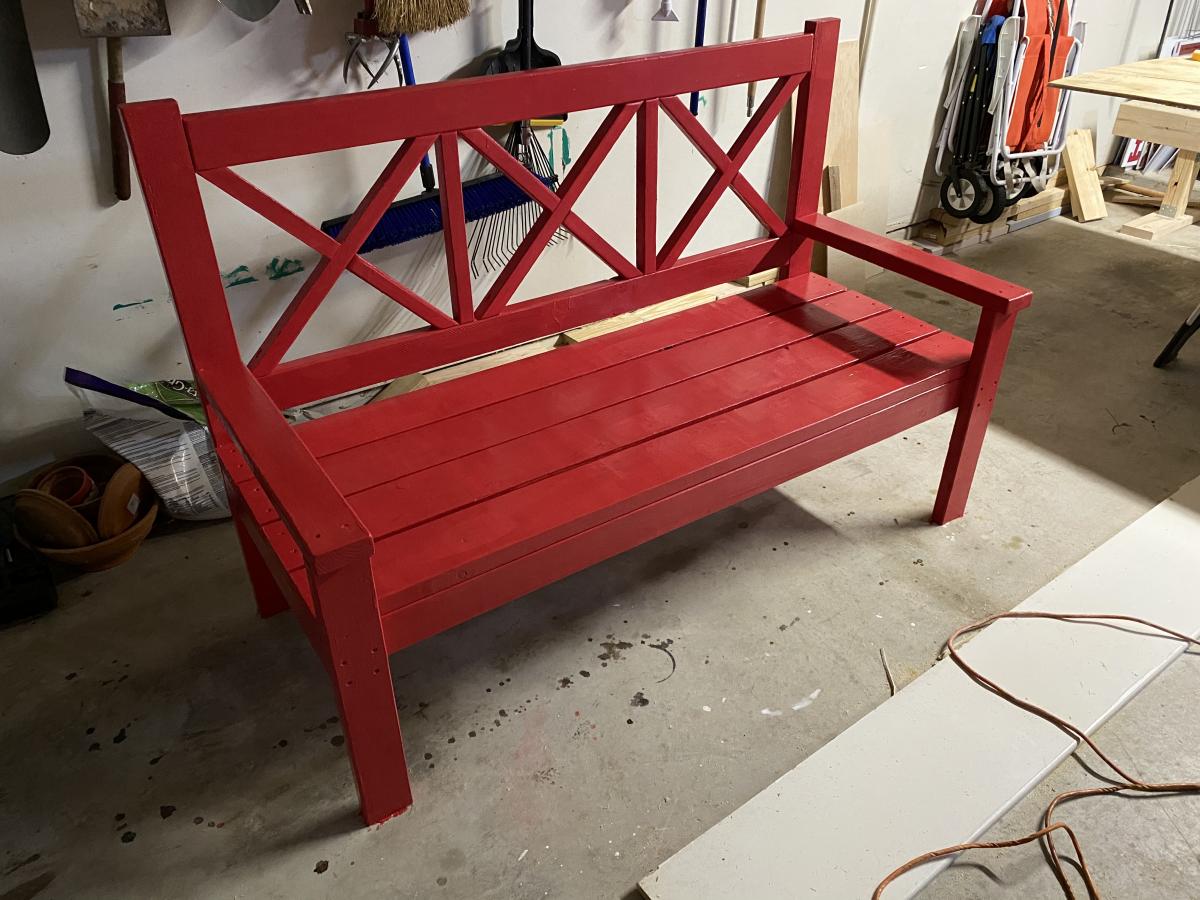
Super easy project with huge results!
Took us 2.5 hours to build and about 2 hours of finishing work. Be sure to use a square as you position each panel.
Thanks Ana!
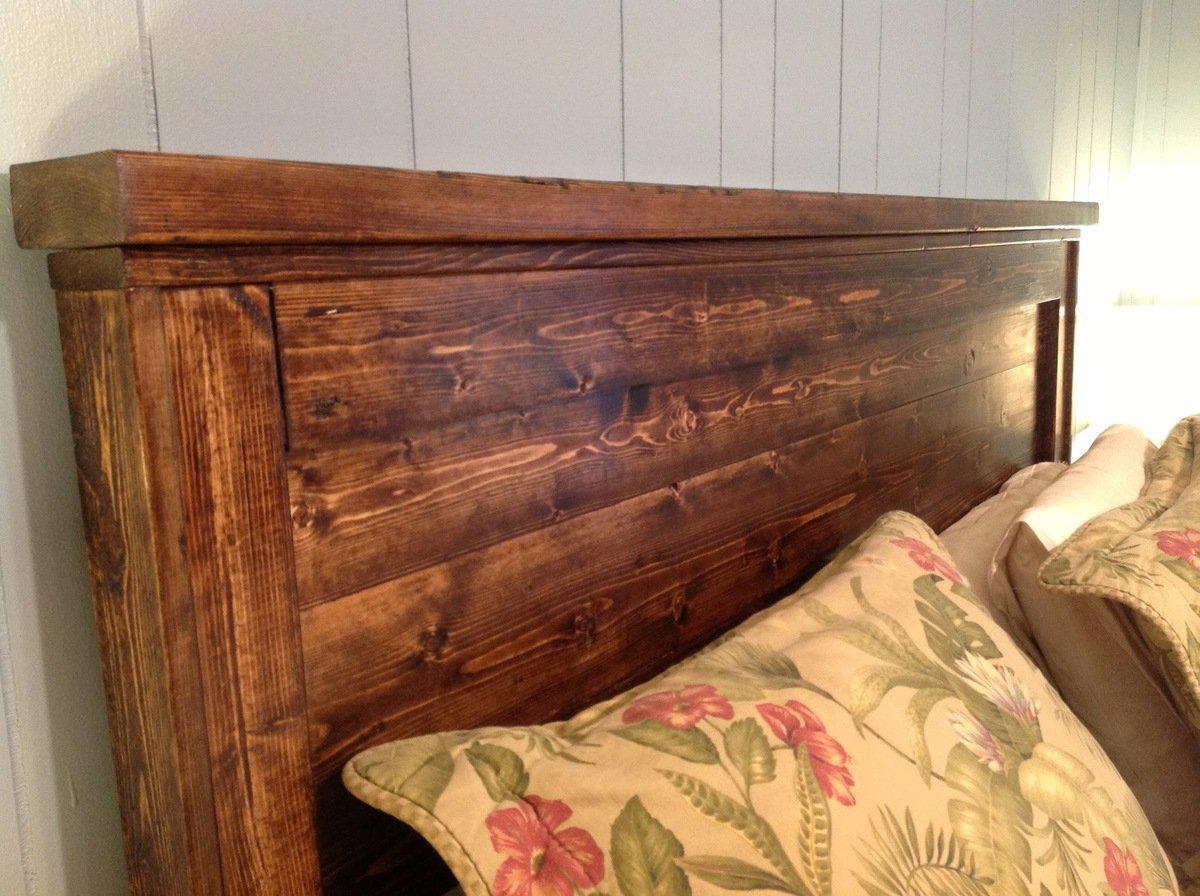
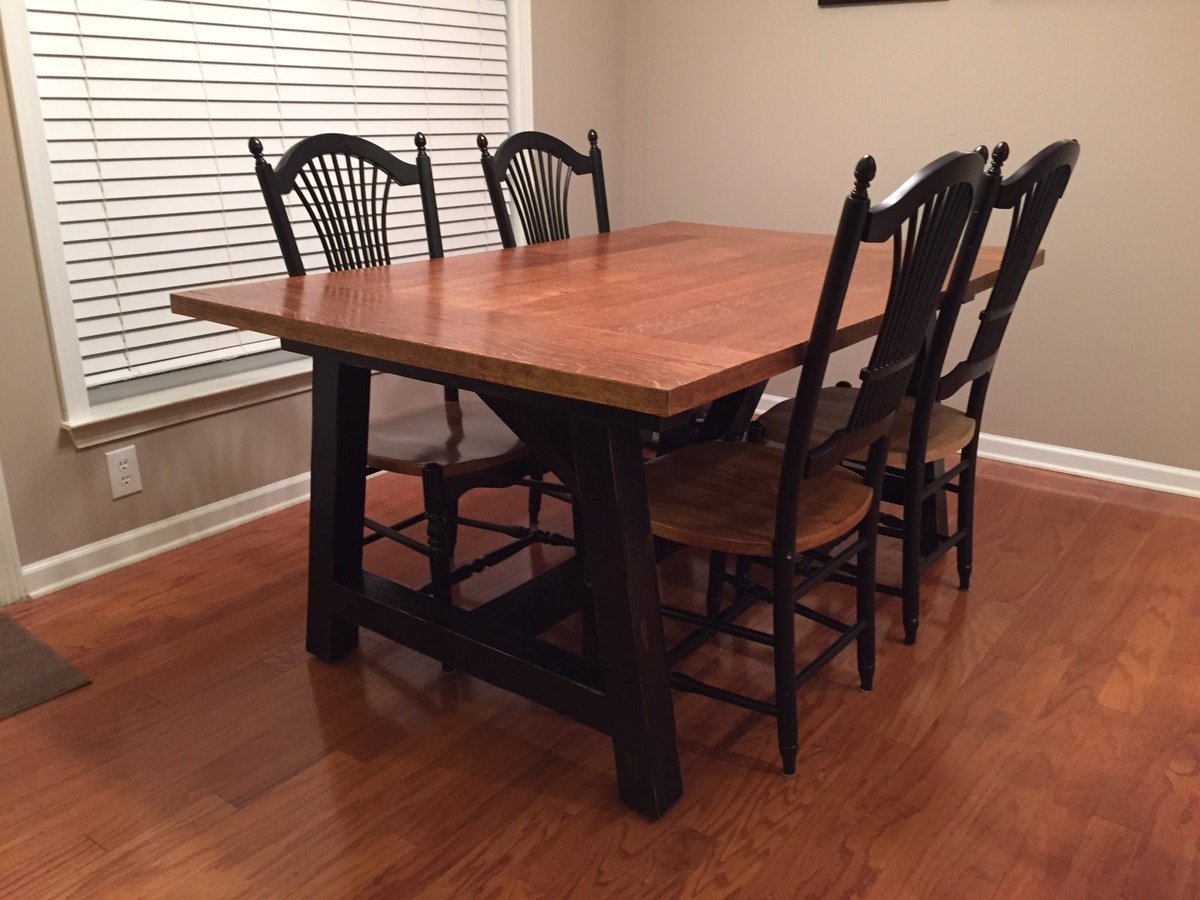
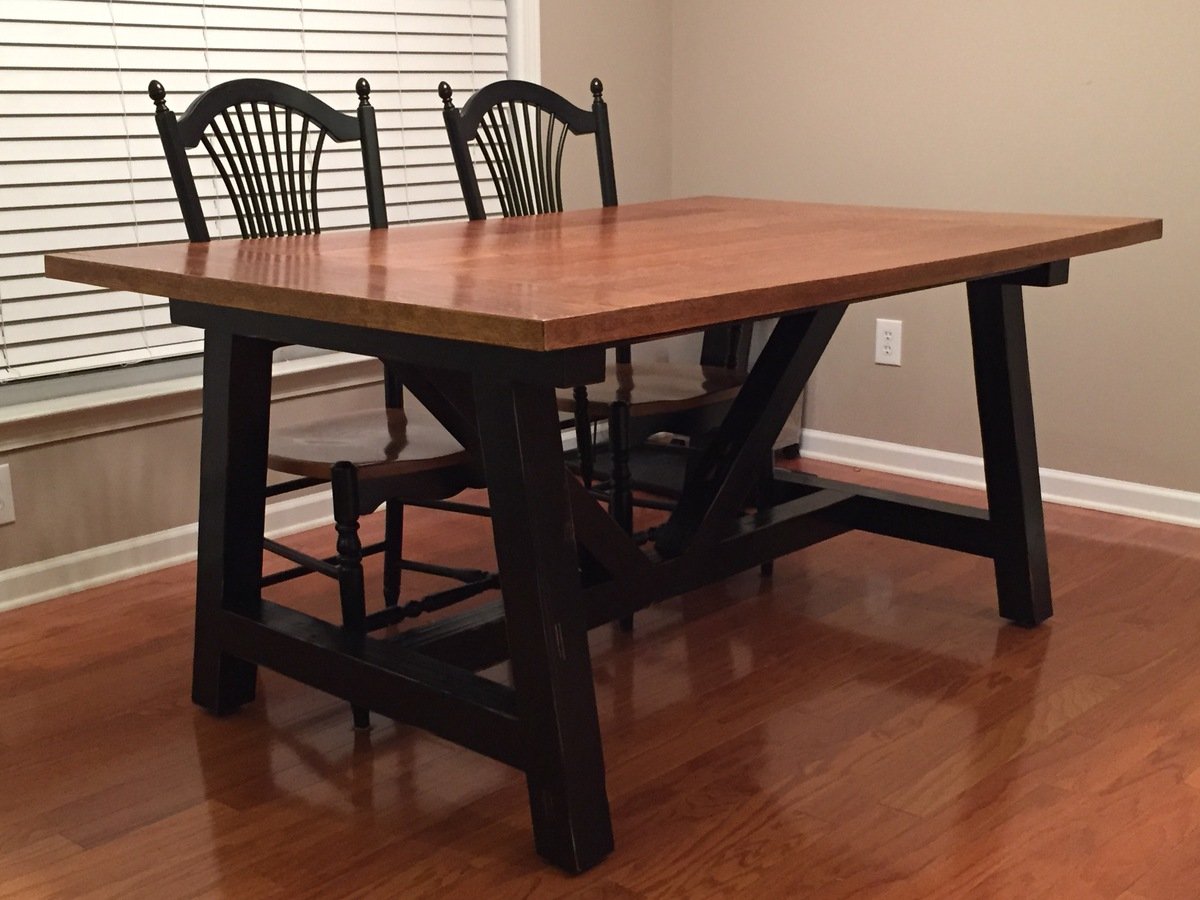
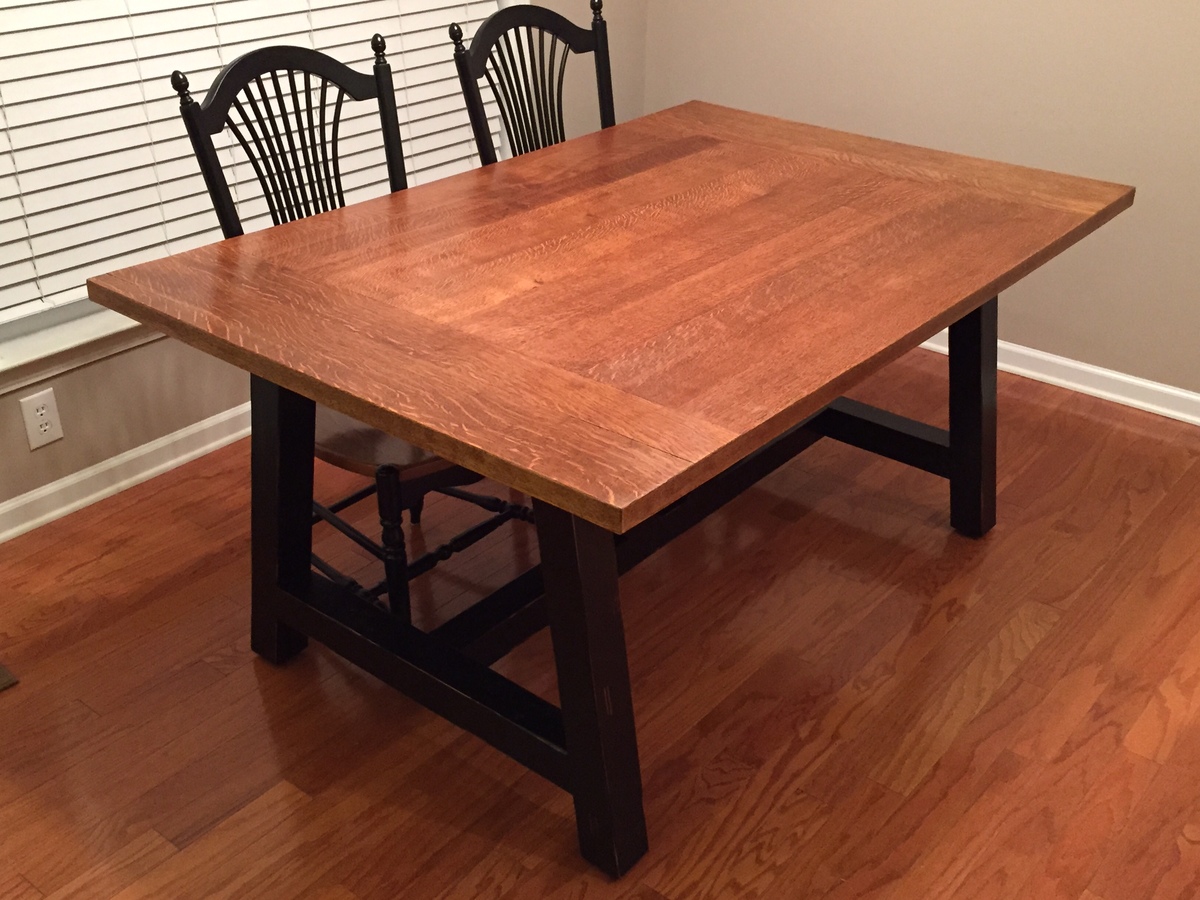
Here is my latest project completed. I took the table that belonged to my wife's parents and re-purposed it. Took it apart, stripped it, rebuilt it into a farm style table, and refinished it. Put it on top of a base that I built, painted and distressed. Turned out solid as a tank. Broke bread on it for the first time tonight. It should last for a couple more generations!
Intermediate project. It is not specified how to attach the top but I would recommend using the Kreg Jigg on the outside ends. Beautiful and spacious amount of storage.
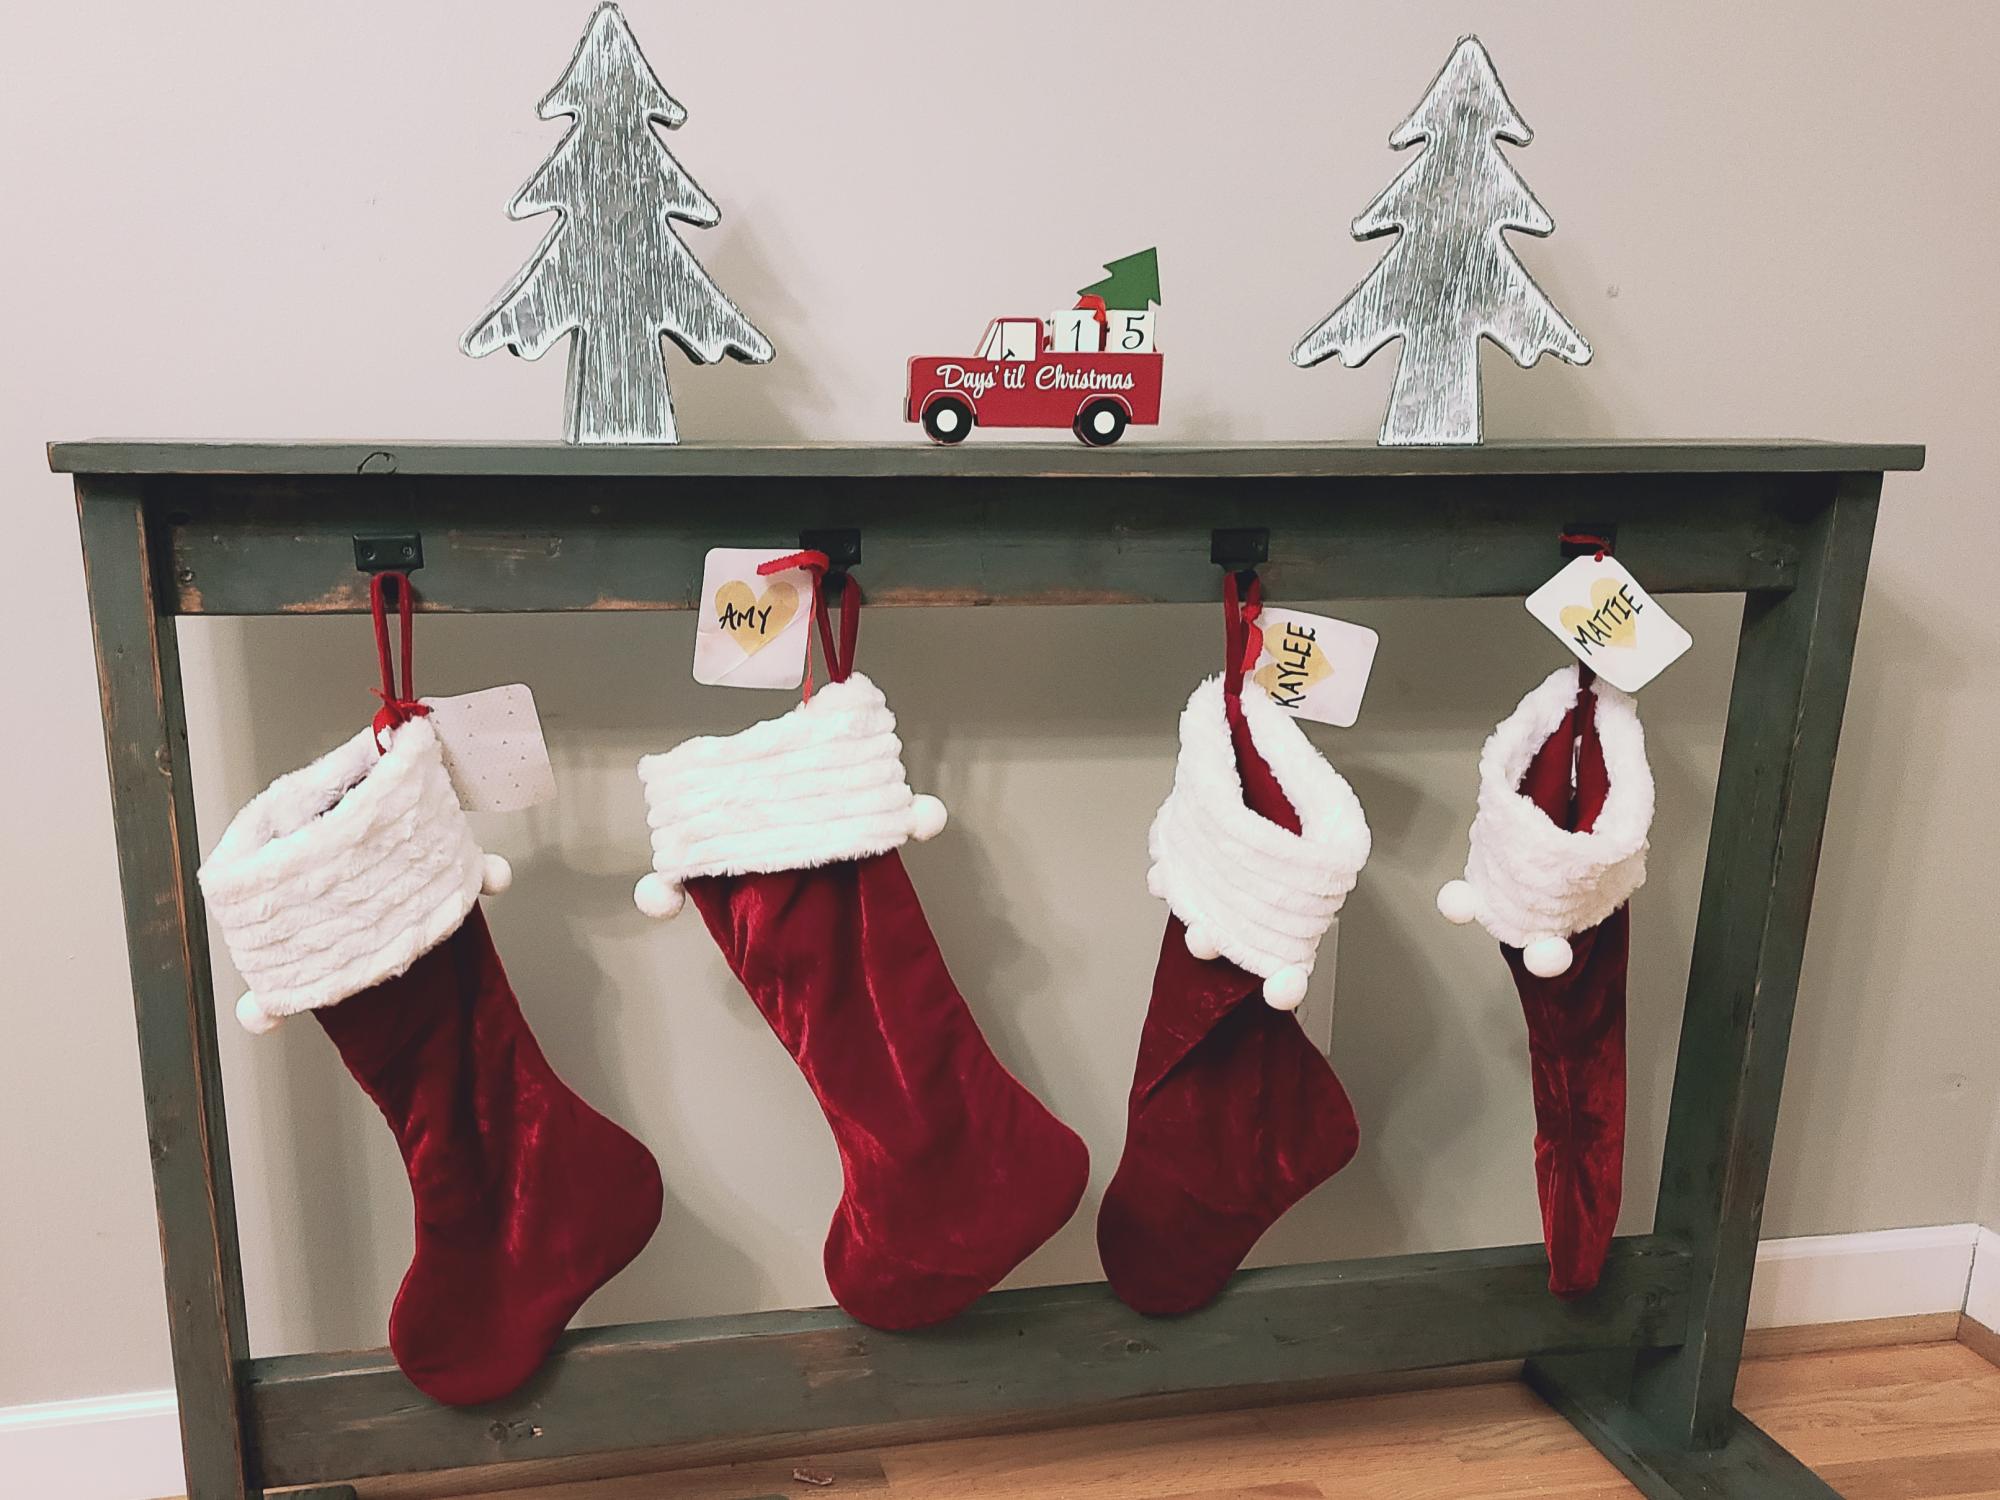
Started built from https://www.ana-white.com/woodworking-projects/stocking-stand plan.
My finished product is mostly the same, except I added a little to beef it up. I added decking board size wood for the feet to give it more stability. Santa leaves heavy things in sticking sometimes. I wanted to be prepared! 😁 I made the top 2x4 flush with the top of the sides and added a 1x6 across the top like a shelf. If I get to do it in time, I'm going to add a 1x8 (or 2x8) stained a dark wood color on top and may add a little trim between it and the 1x6 to beef it up. I love it! Might be able to repurpose someway during the rest of the year. Thanks Ana White for the plans!
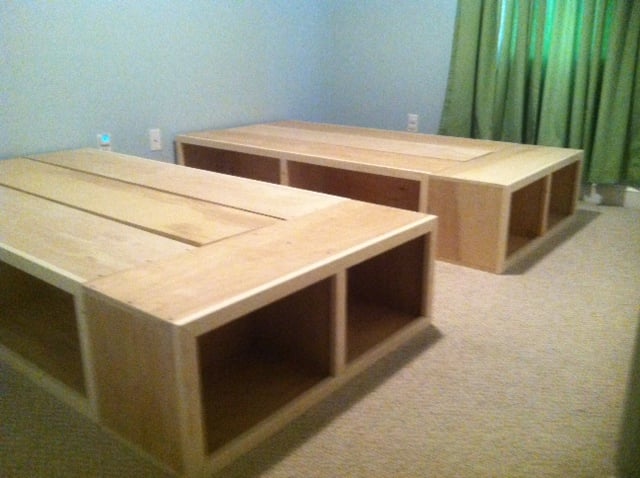
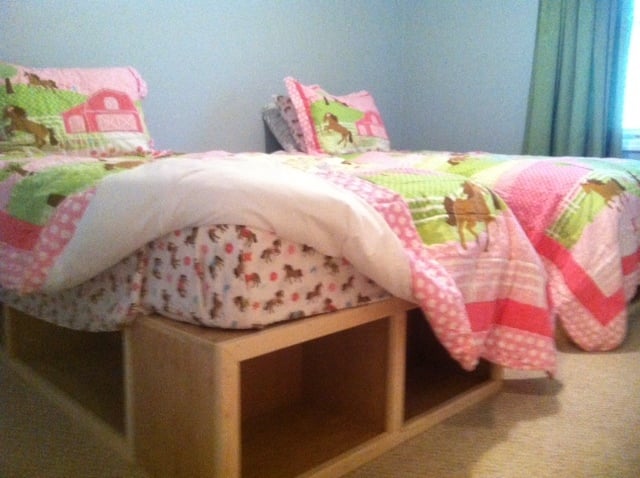
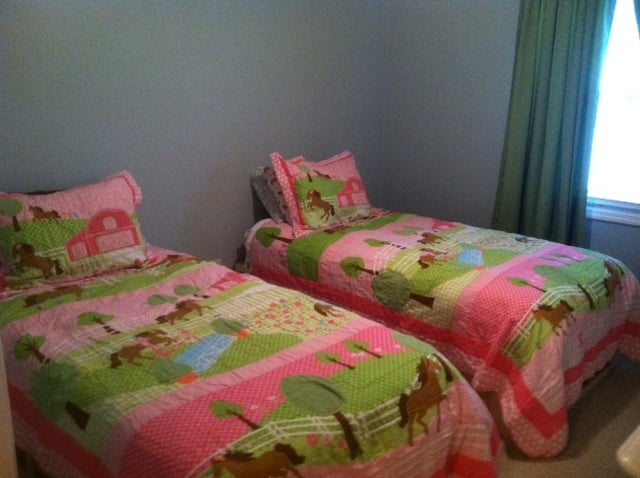
Rather than buying beds for two of our daughters, I wanted to take the opportunity to build them. I really had a great time doing. I used the plans from the Captains Storage beds, but modified it a little.
We ripped two 3/4 inch finished ply into 12in pieces.
That gave us all the sides, ends, and dividers.
The platforms are 12x12 3/4x
The ends are the same only sorter.
Rather than using slats for the middle support I just used the remain ply.
We finished the front with 6ft sections of 1x2 inch furring strips. A good sanding and clean up, and we are good to go!
Thanks for posting the plans! We really enjoyed building the beds and our girls love them!
Fri, 09/20/2013 - 13:14
LOVE this! was looking for something other than the slats that would TRULY hold my polynesian kids, thank you for sharing! :-)
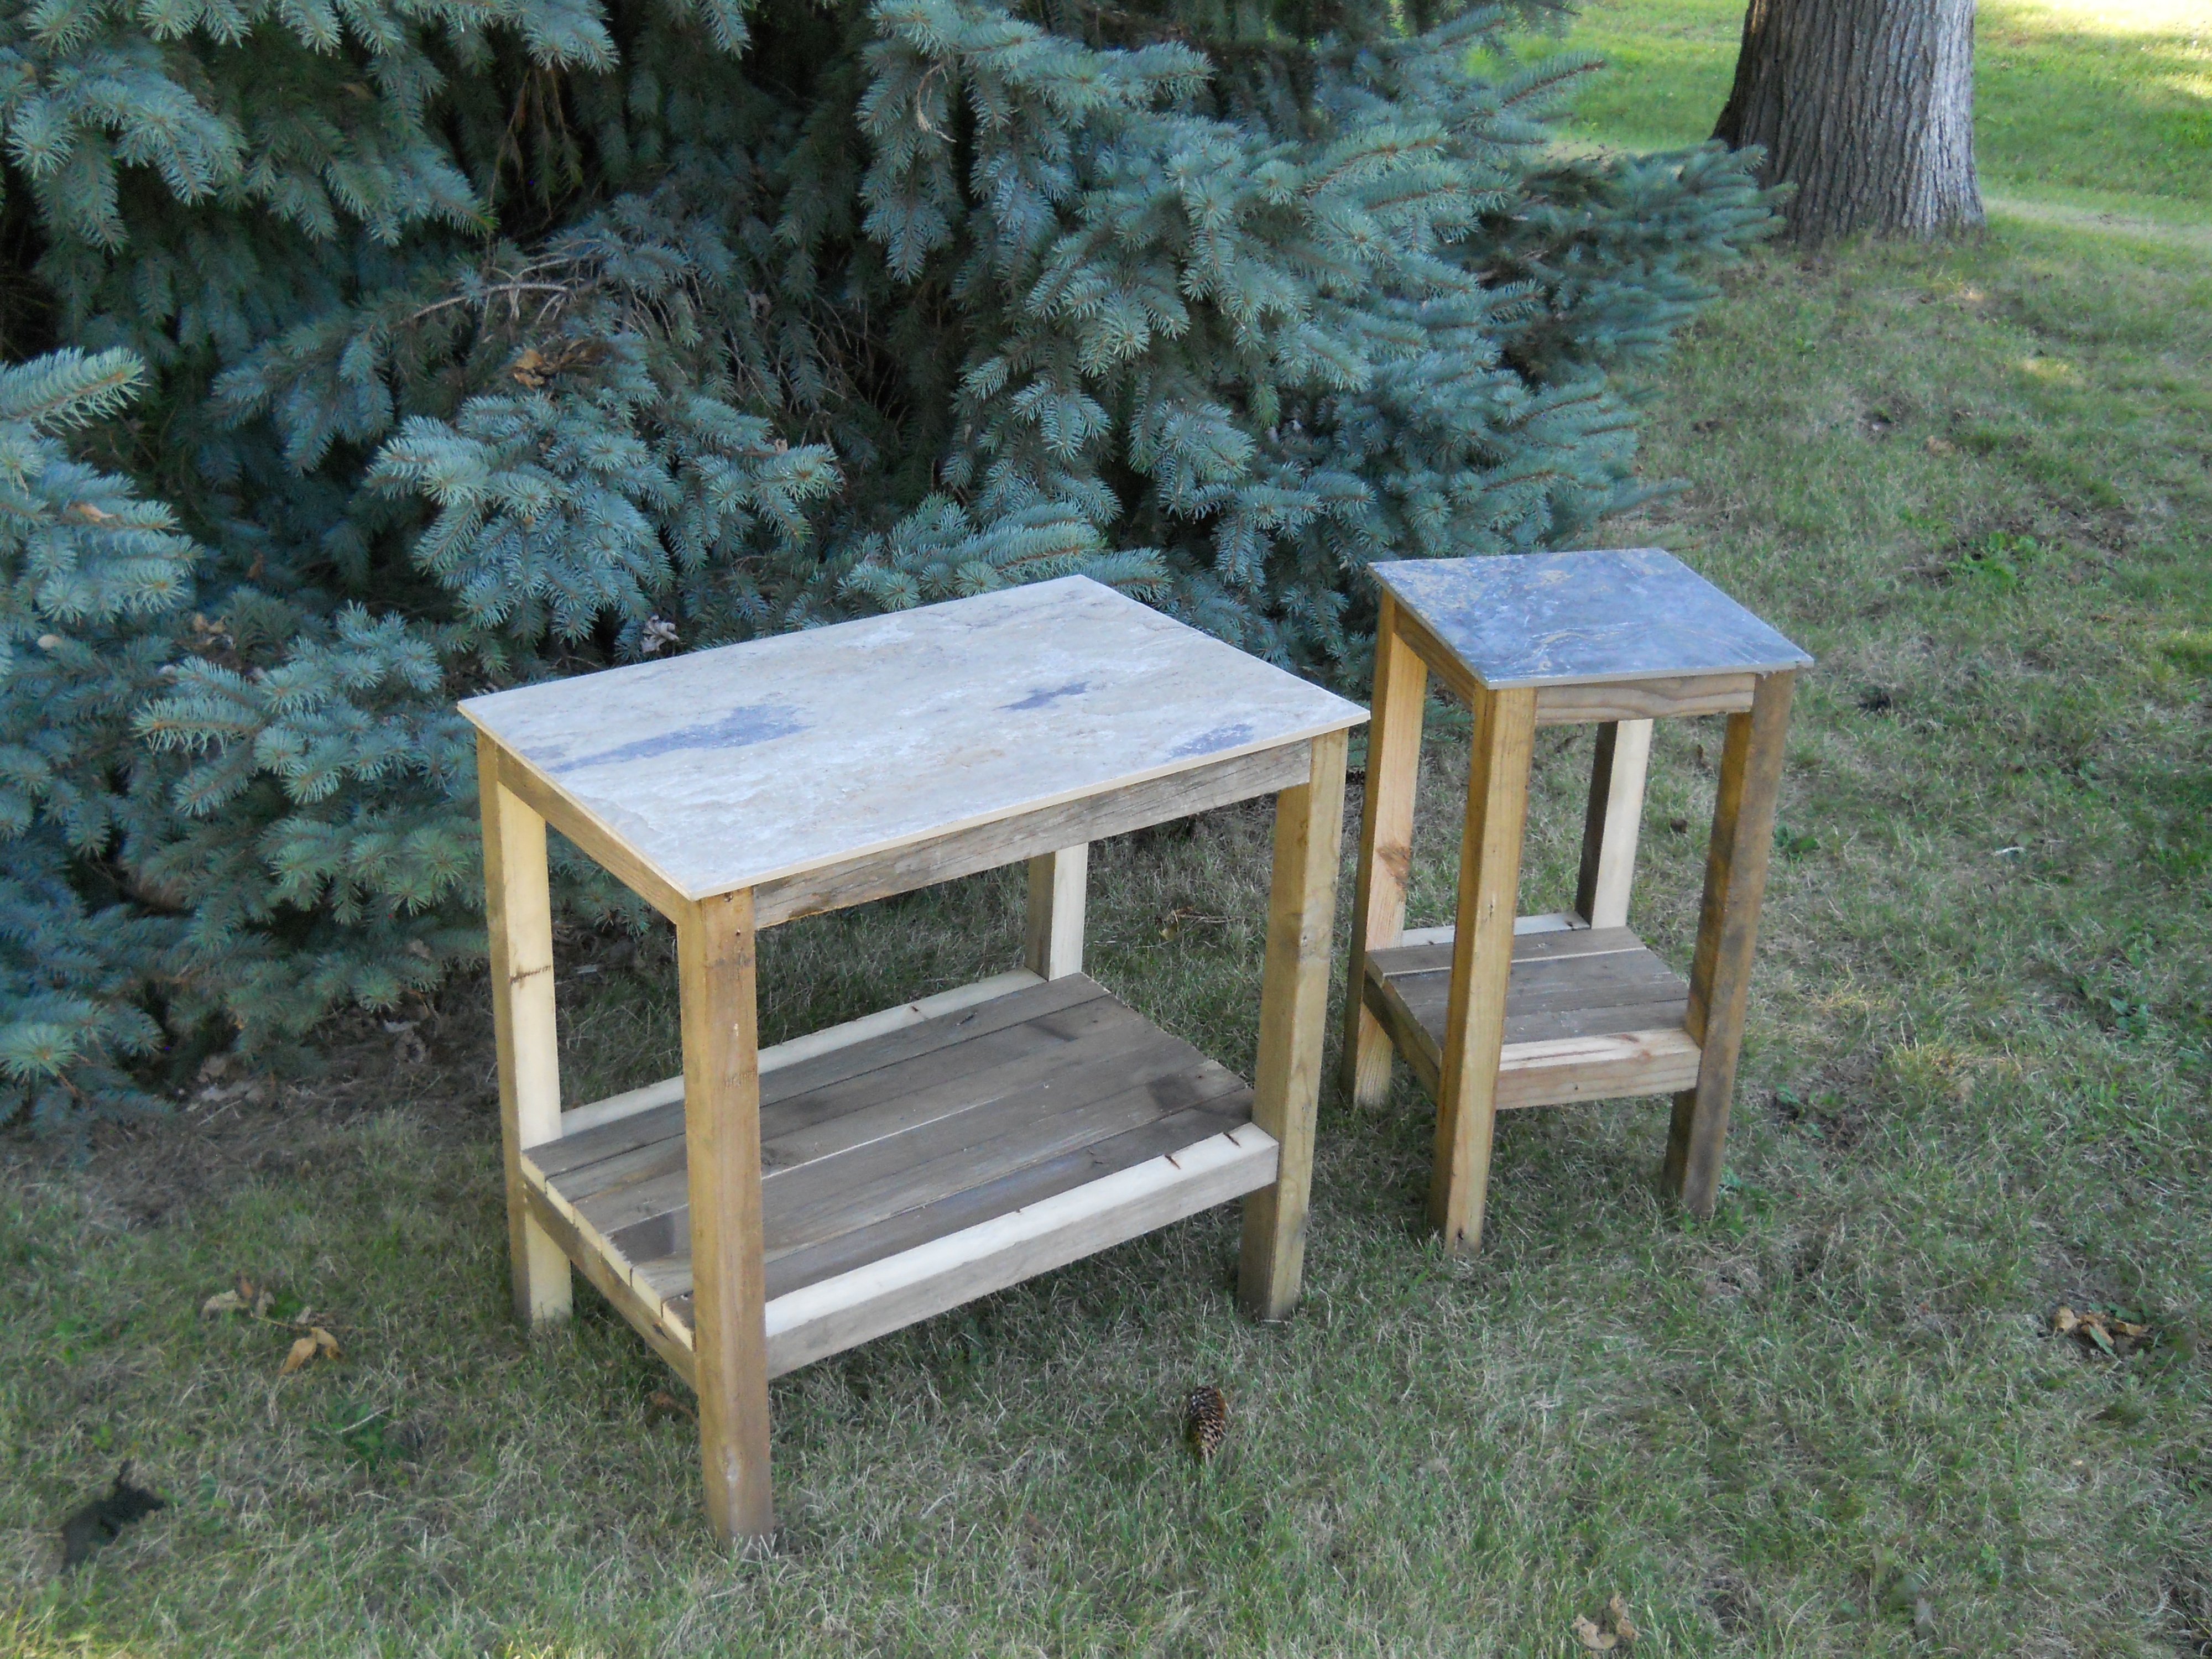
Made from leftover 16x24 and 12x12 tiles from my daughters bath room remodel and leftover treated 2x4's and 1x6's. The legs and cross pieces were ripped from 2x4 and attached using my Kreg JIg. I glued the tile tops with silicone Calk and ripped 1x6 's for the shelf bottoms and nailed them to the lower cross pieces. Opposite side cross pieces were 3/4 in lower to accomodate the 1x6 shelf to make it even. The width and length of the tables are 1 inch less then the respective tiles to allow a 1/2 inch overhang each of the tile tops.

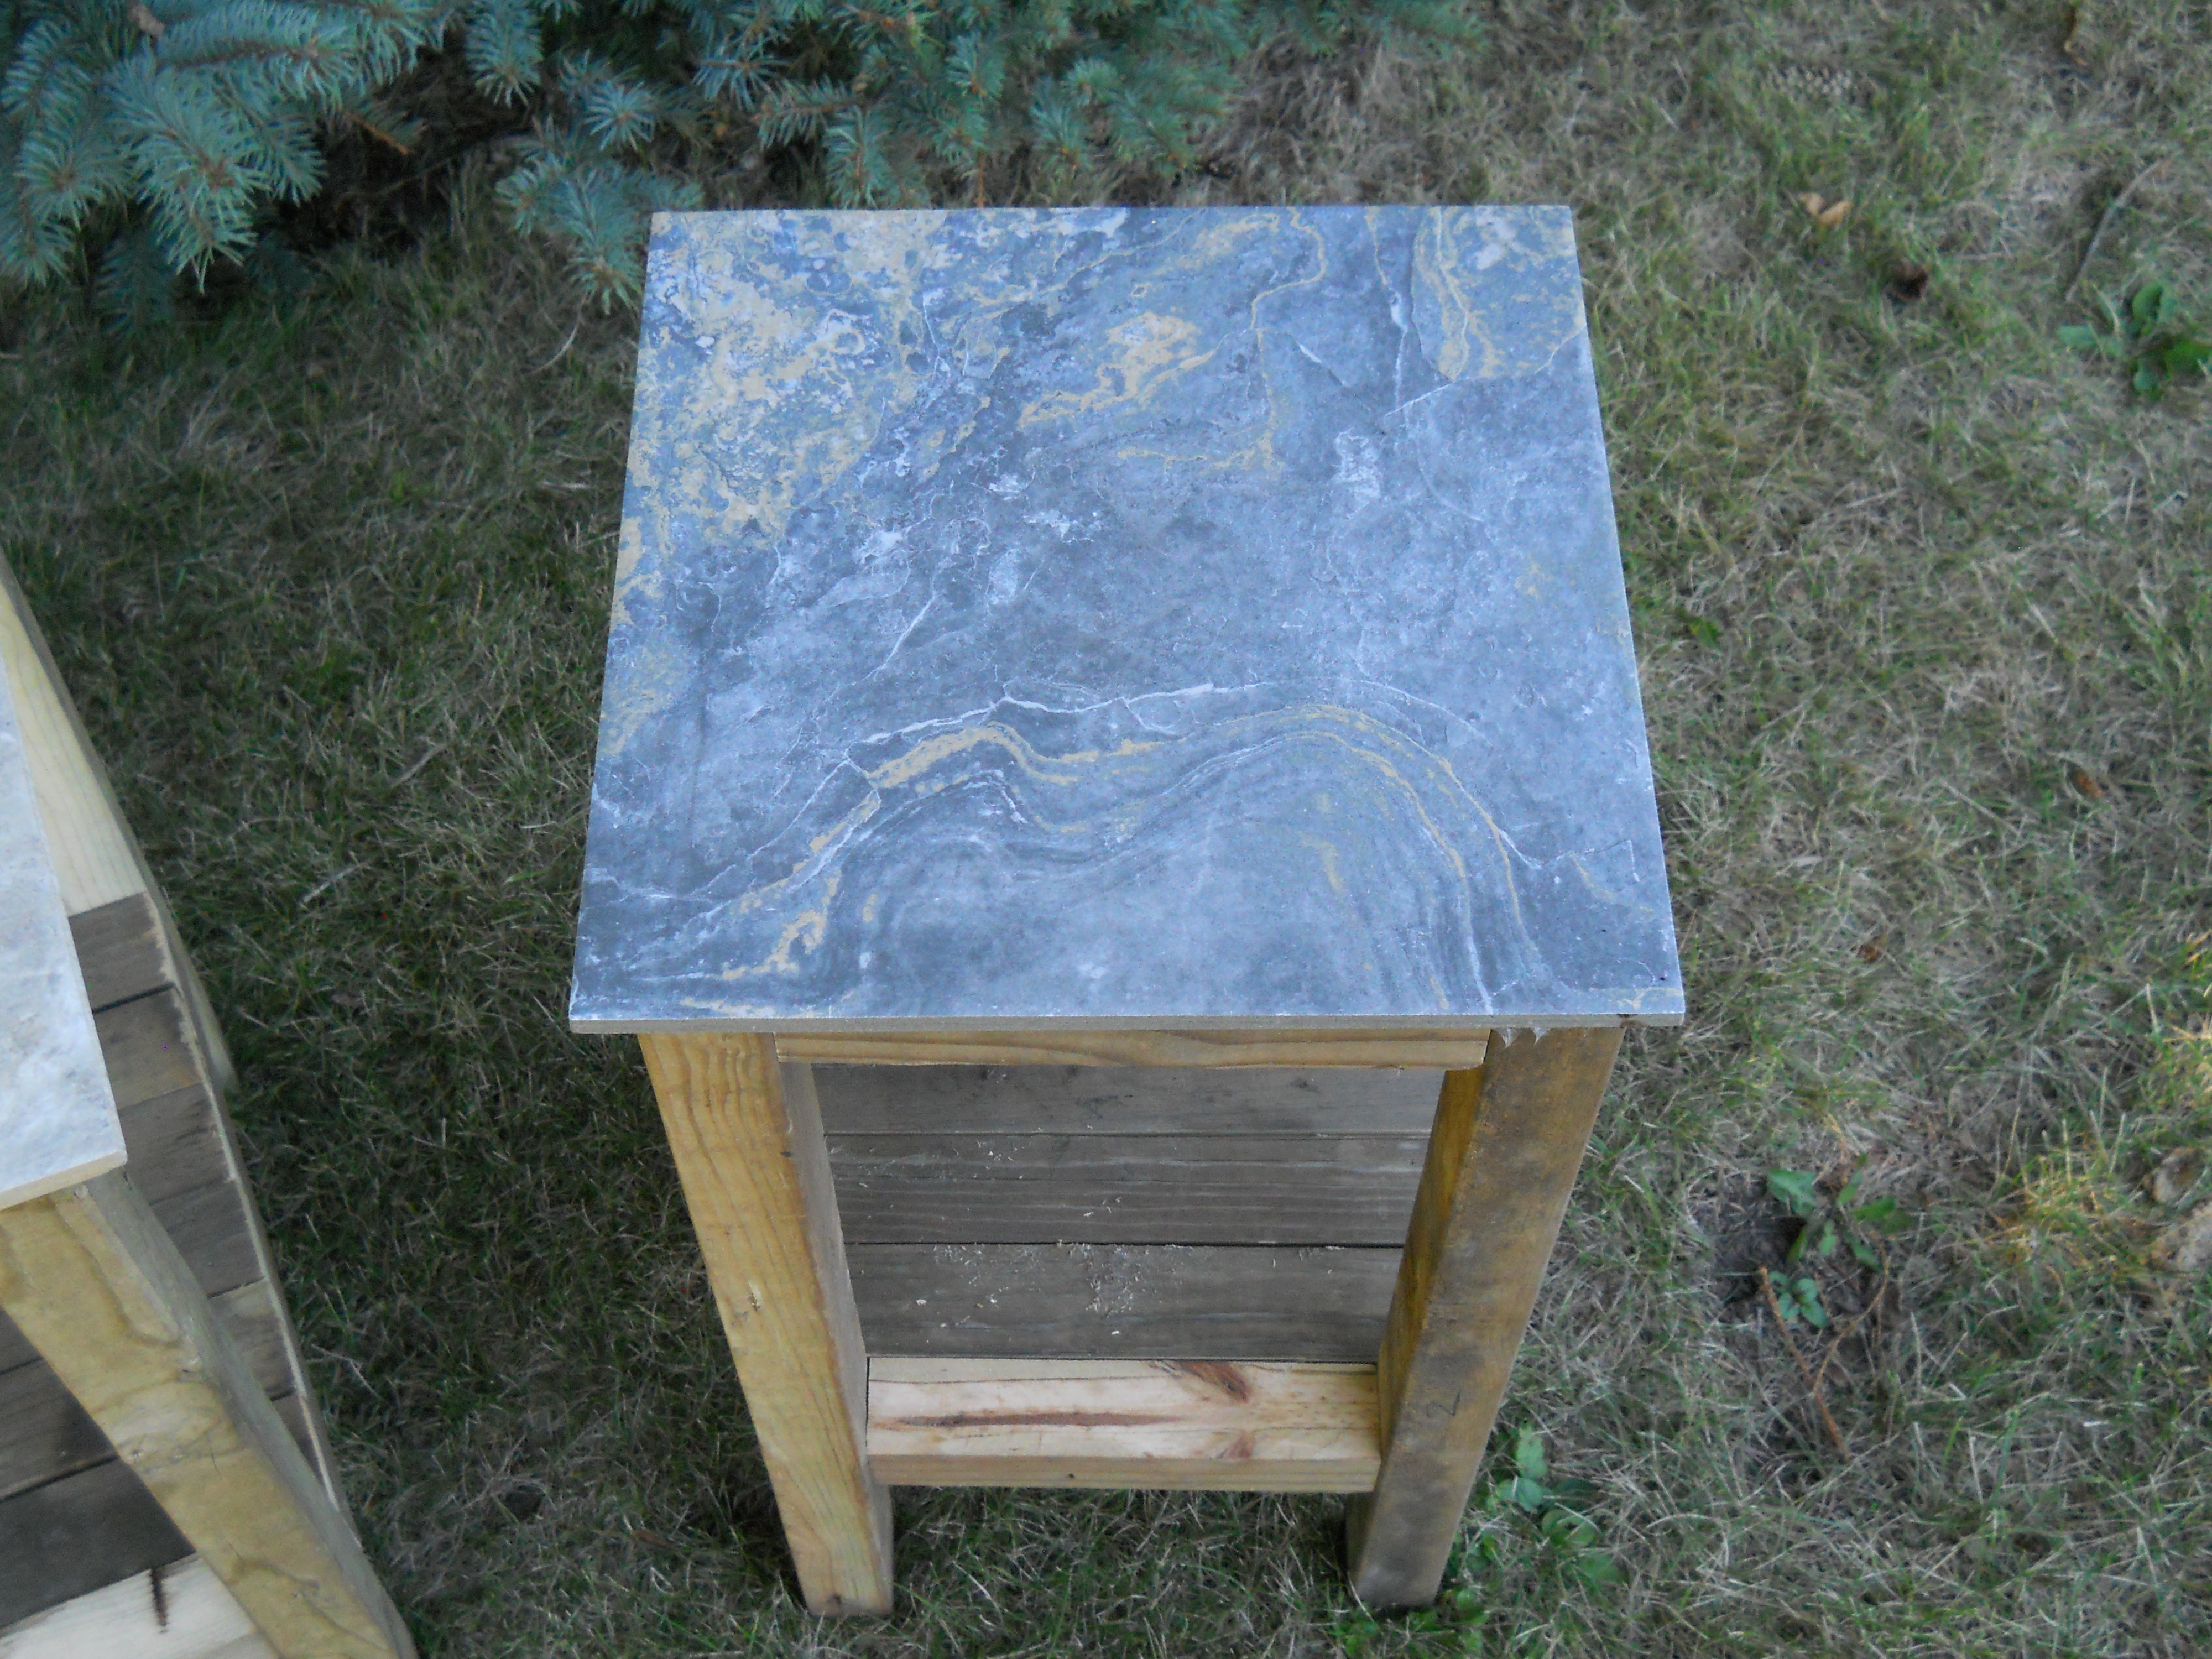
Click the blog link for a full description of this project. Thanks for looking! - Clint
This project took me a couple weekends and turned out great.
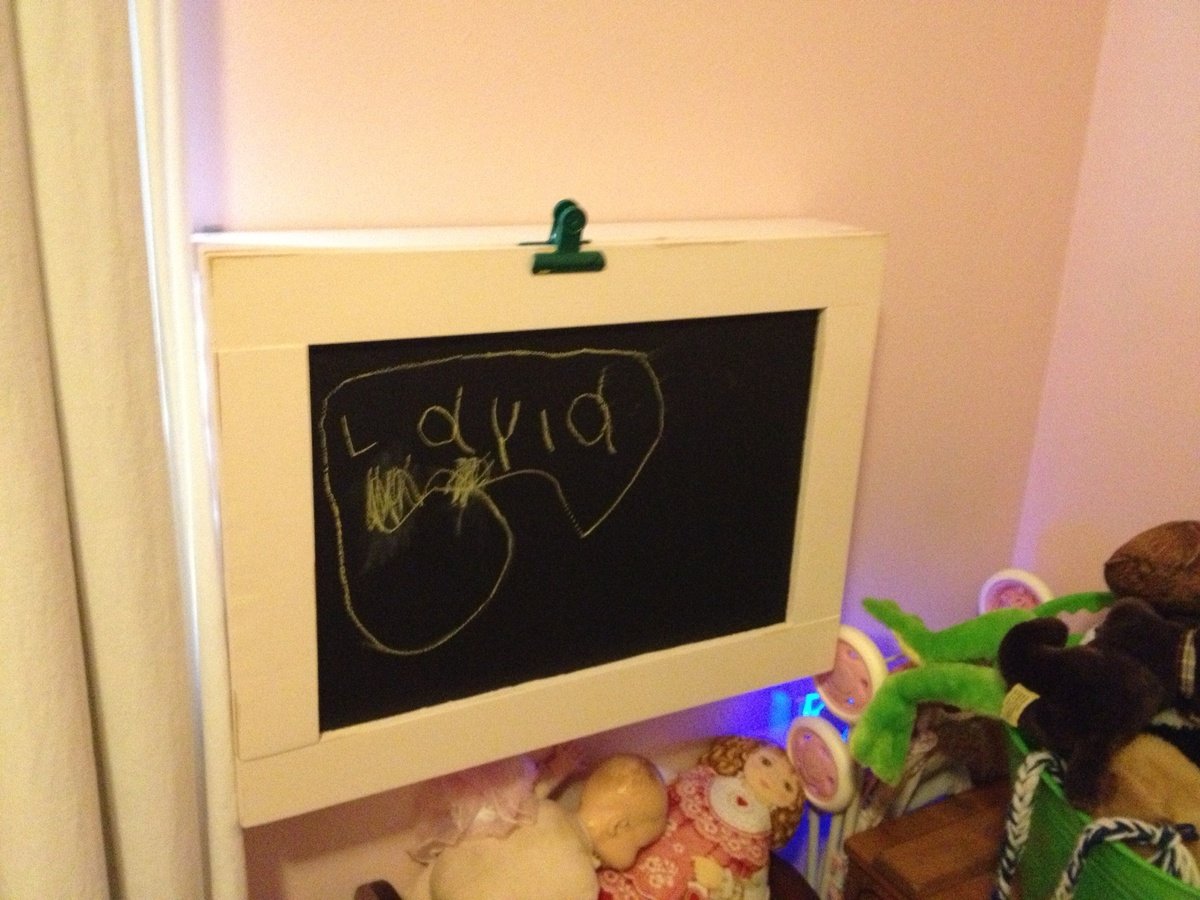
This is our first project. My wife was searching the Internet for a small desk to buy/build after we decided it was time for the little one to have a dedicated art station. She was previously using a small chair in her room. Followed the plans with the exception of making it 18" tall instead of the 16" the plan calls for.
Overall it was very easy. But definitely attach the hinges before finally assembly of the bottom frame. That took about an hour to put 4 screws in with fingers, screw bit, and a wrench.
I built and my wife painted.
Thank you Ana White and everyone for their follow up comments.
Nick

So easy to make!
My first project. I didnt check for squarness so my board cracked on the bottom but i still think its pretty:)
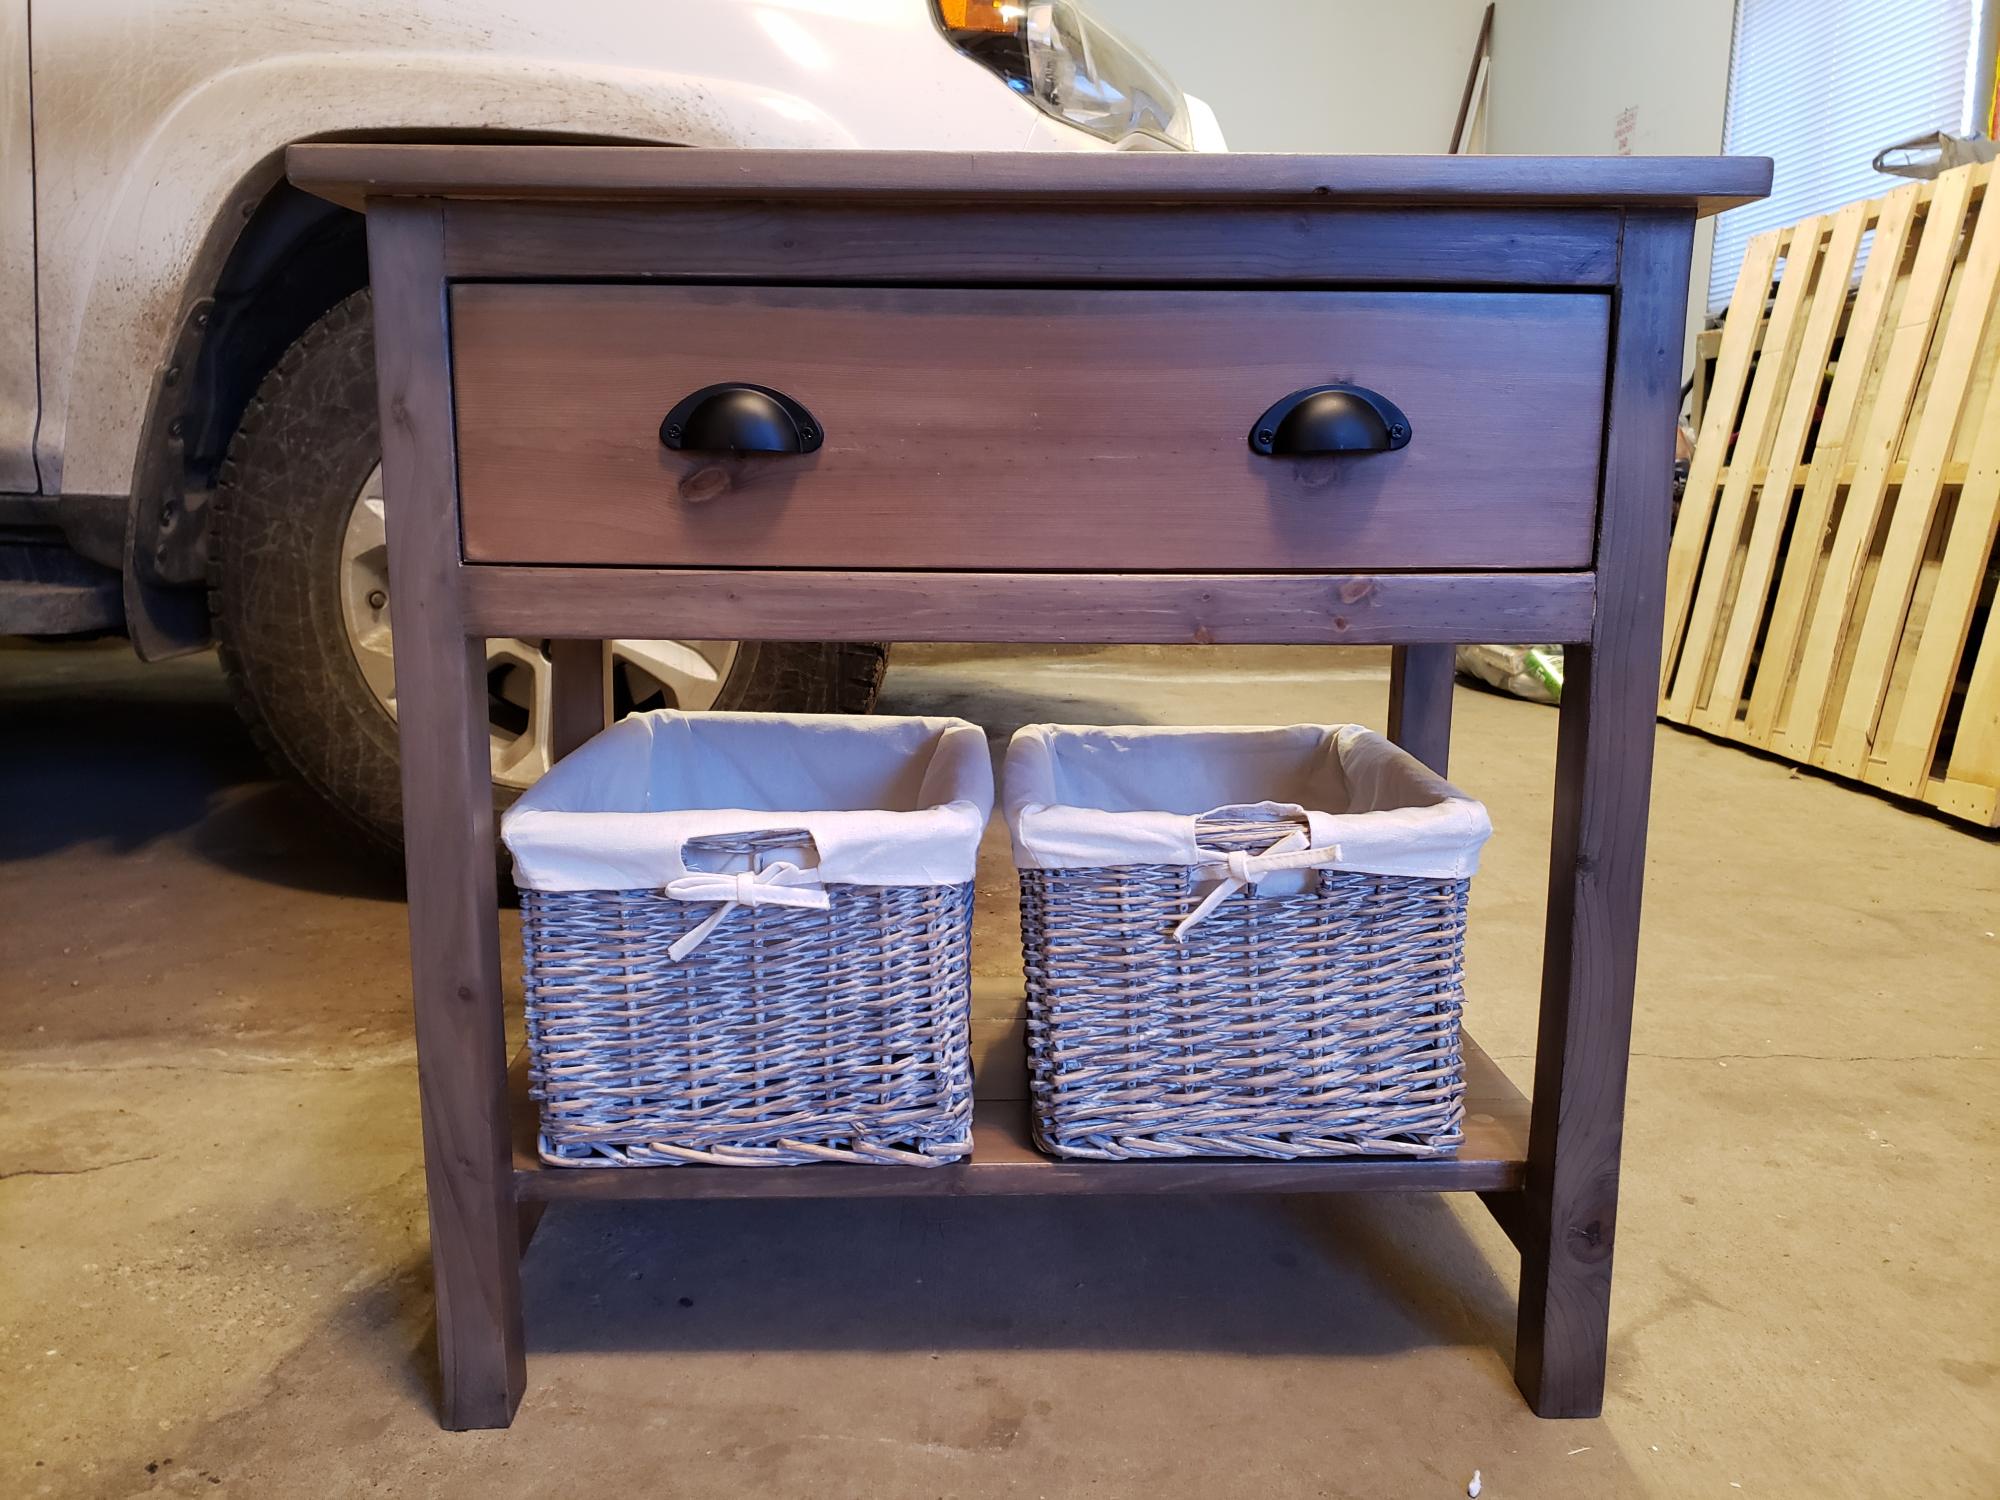
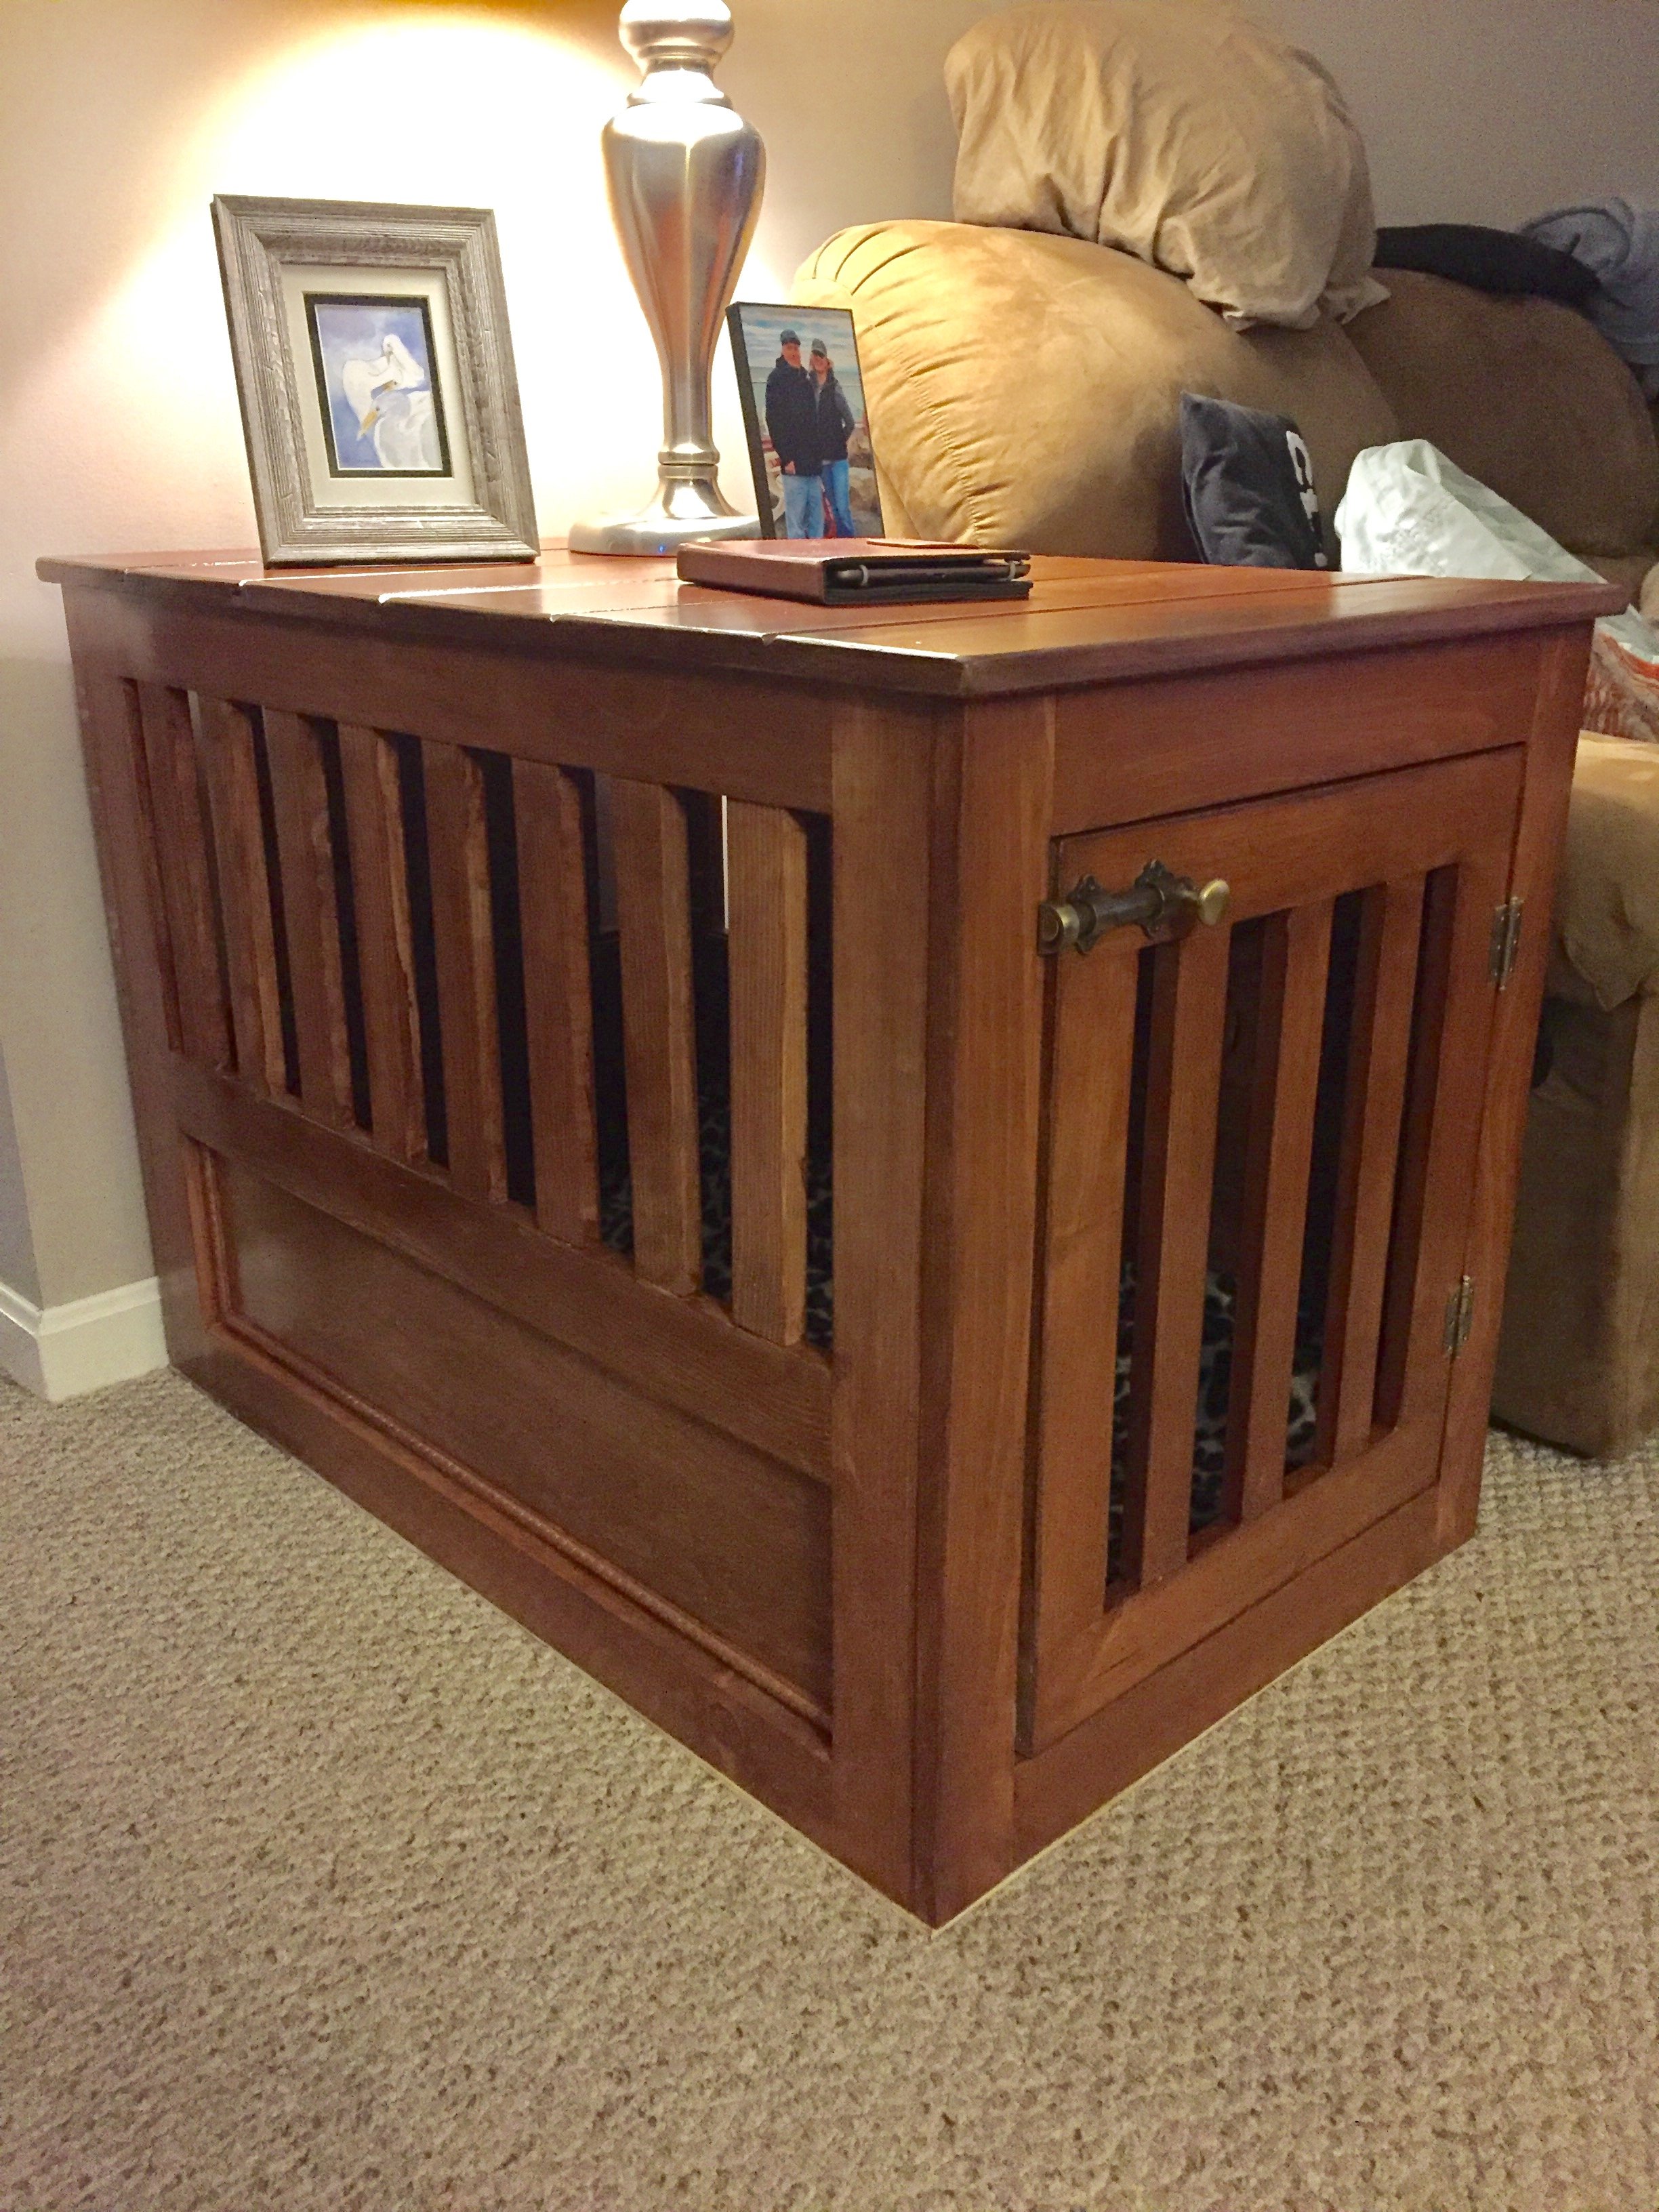
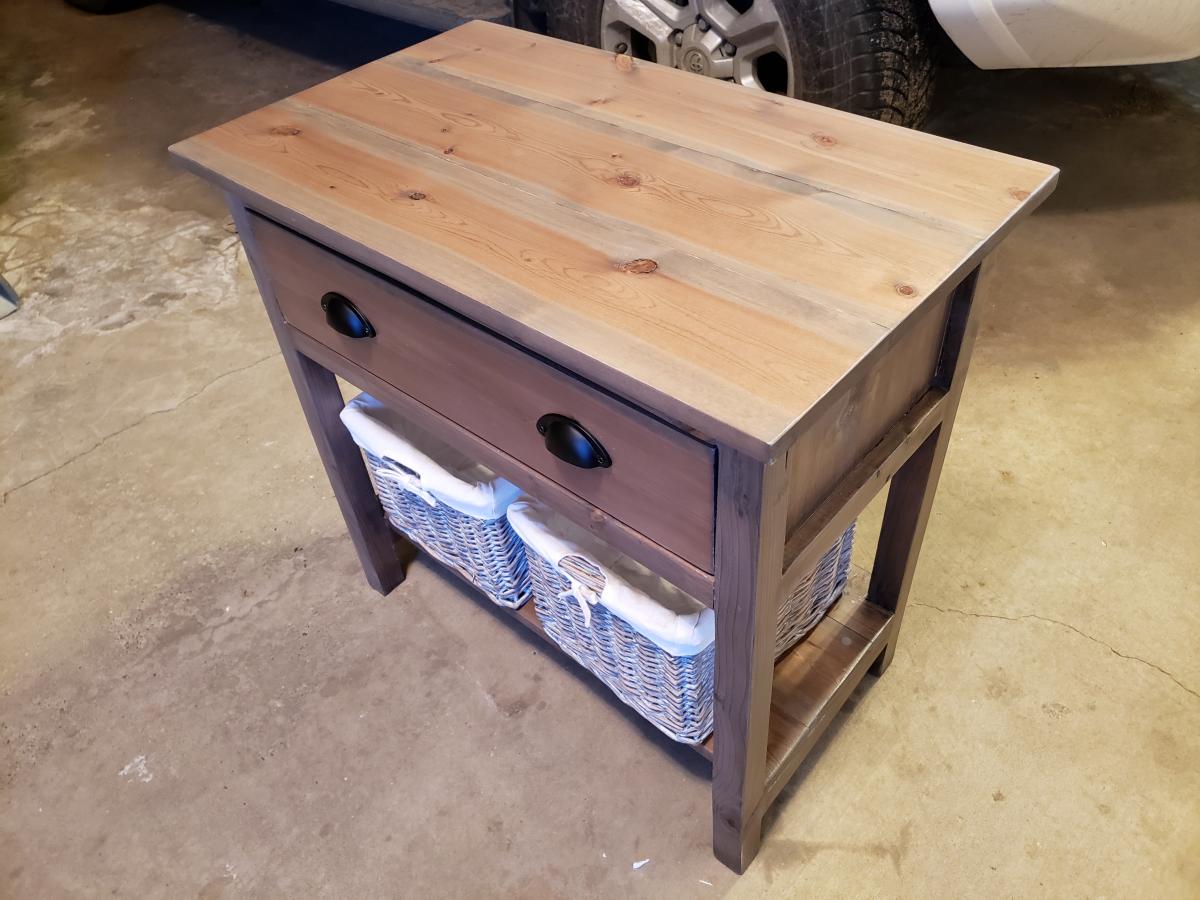
This was made for a bedroom at our cabin. Nice extra large drawer and storage baskets. My favorite finish colors so far!
Mon, 12/21/2020 - 11:41
I used a bar of soap to make the drawer slide nicely

Fantastic project! Our first ever woodworking adventure and it turned out beautifully!

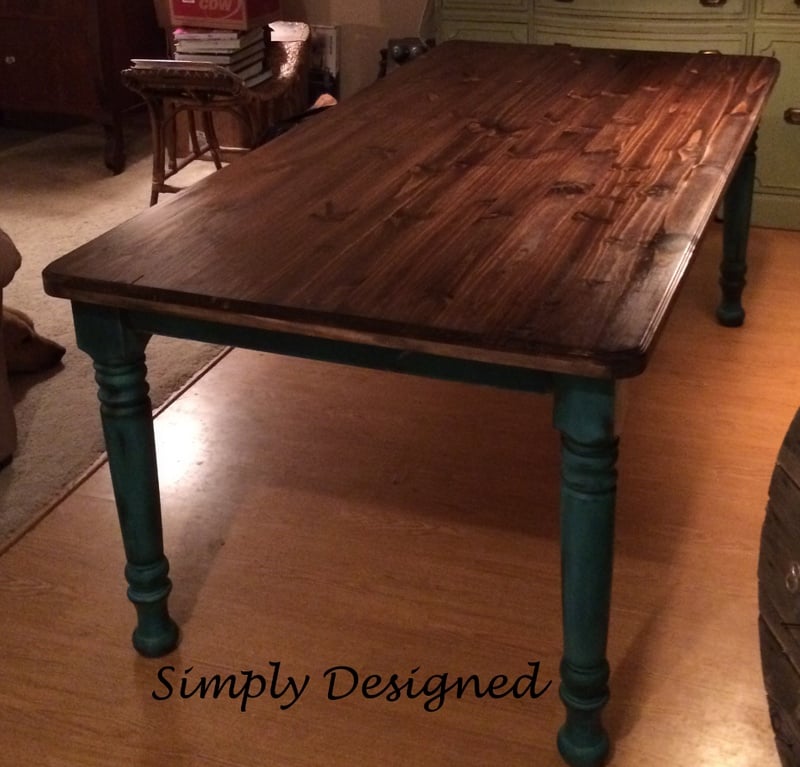
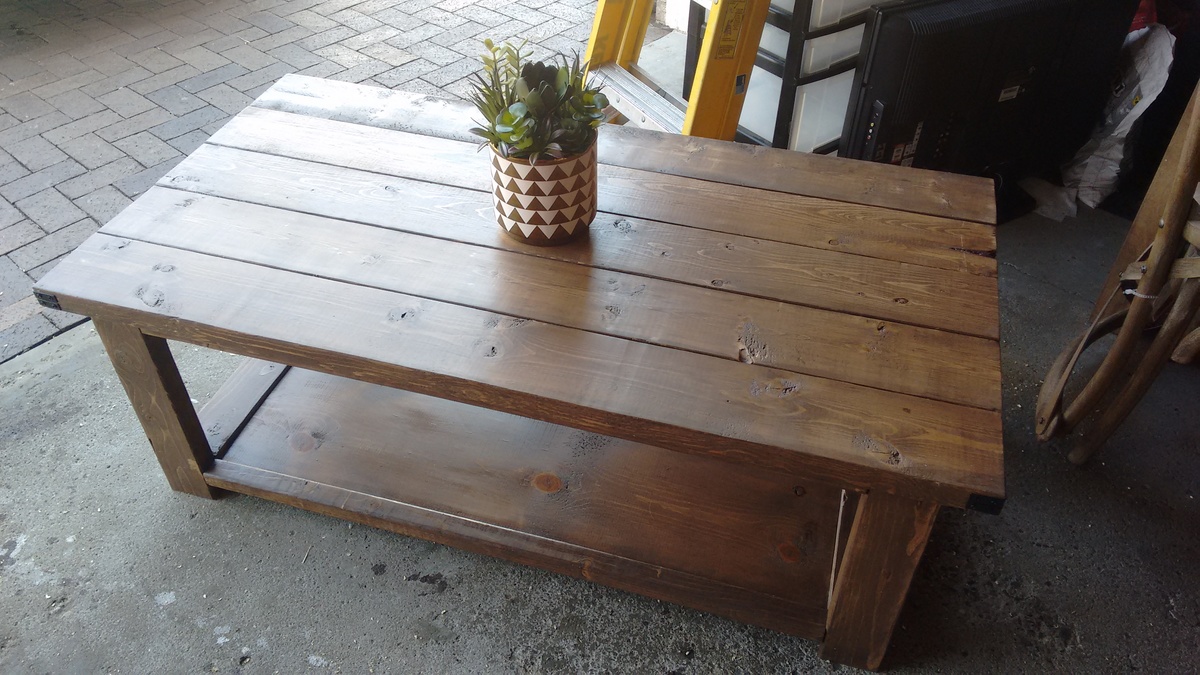
I built this table awhile ago and have been enjoying it with my family.
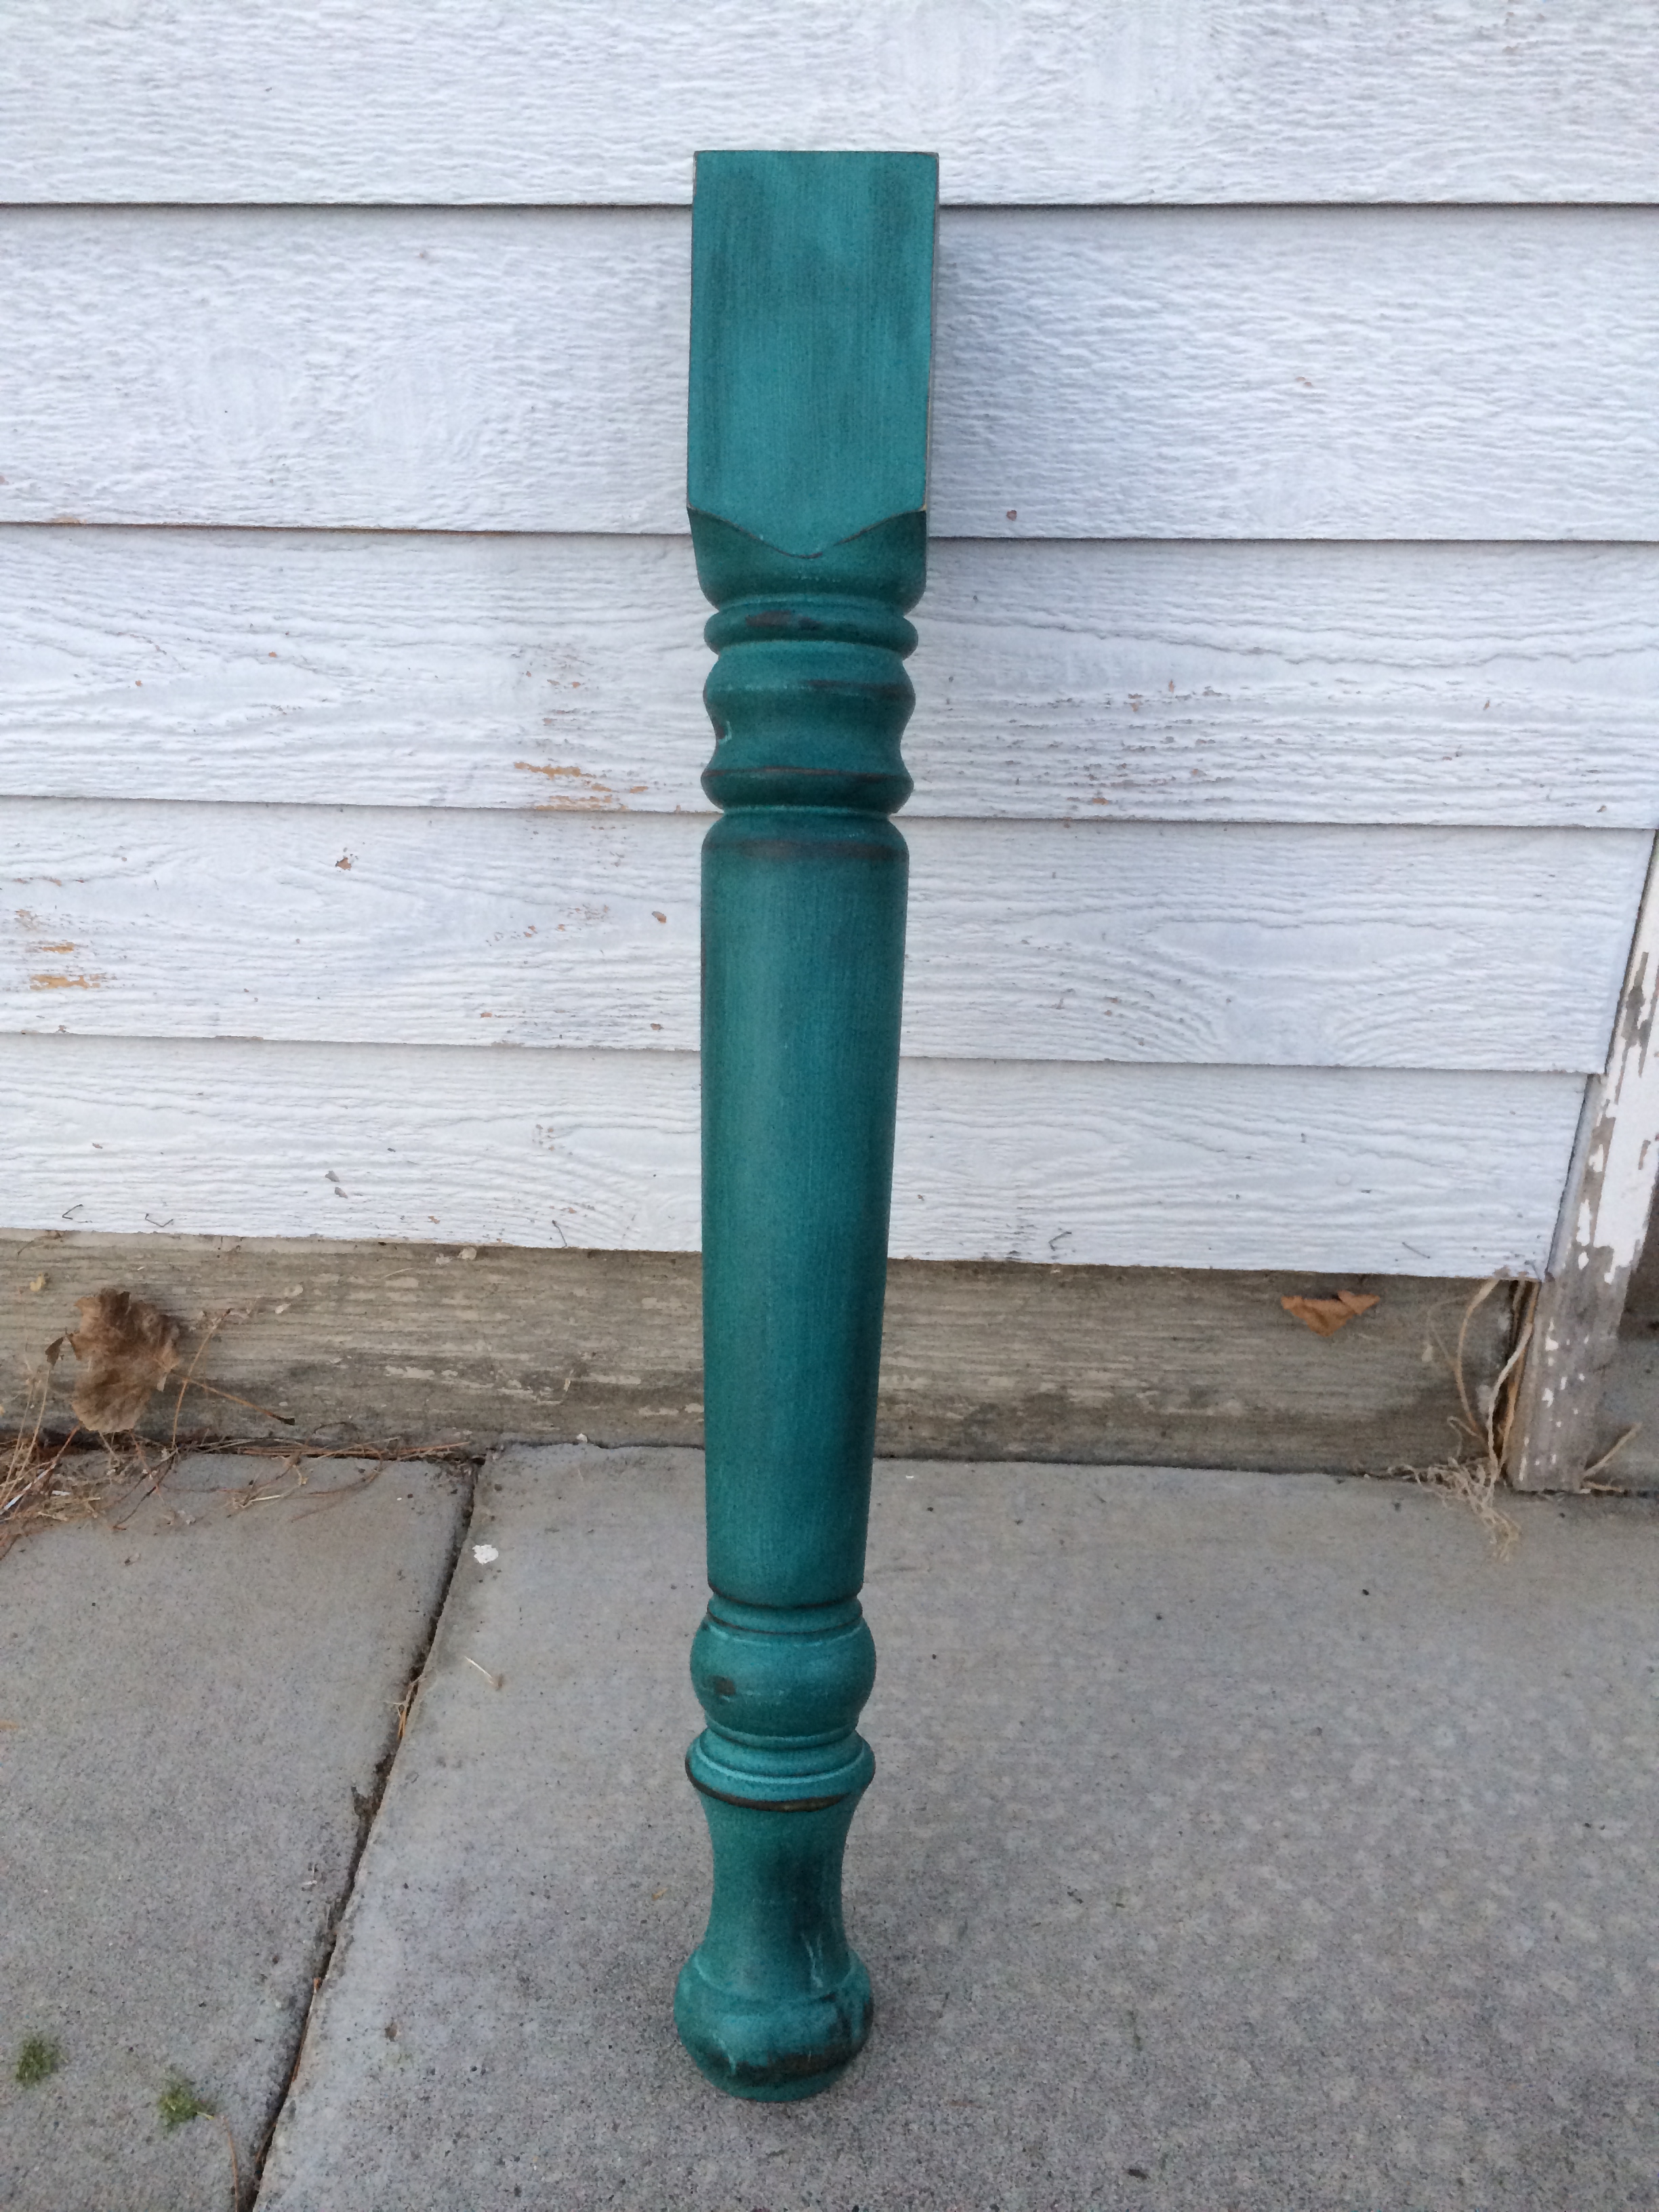
I used the husky farmhouse legs from Osborne Wood Products, painted them with APC mineral paint in Beach Glass and finished with MMS Hemp oil
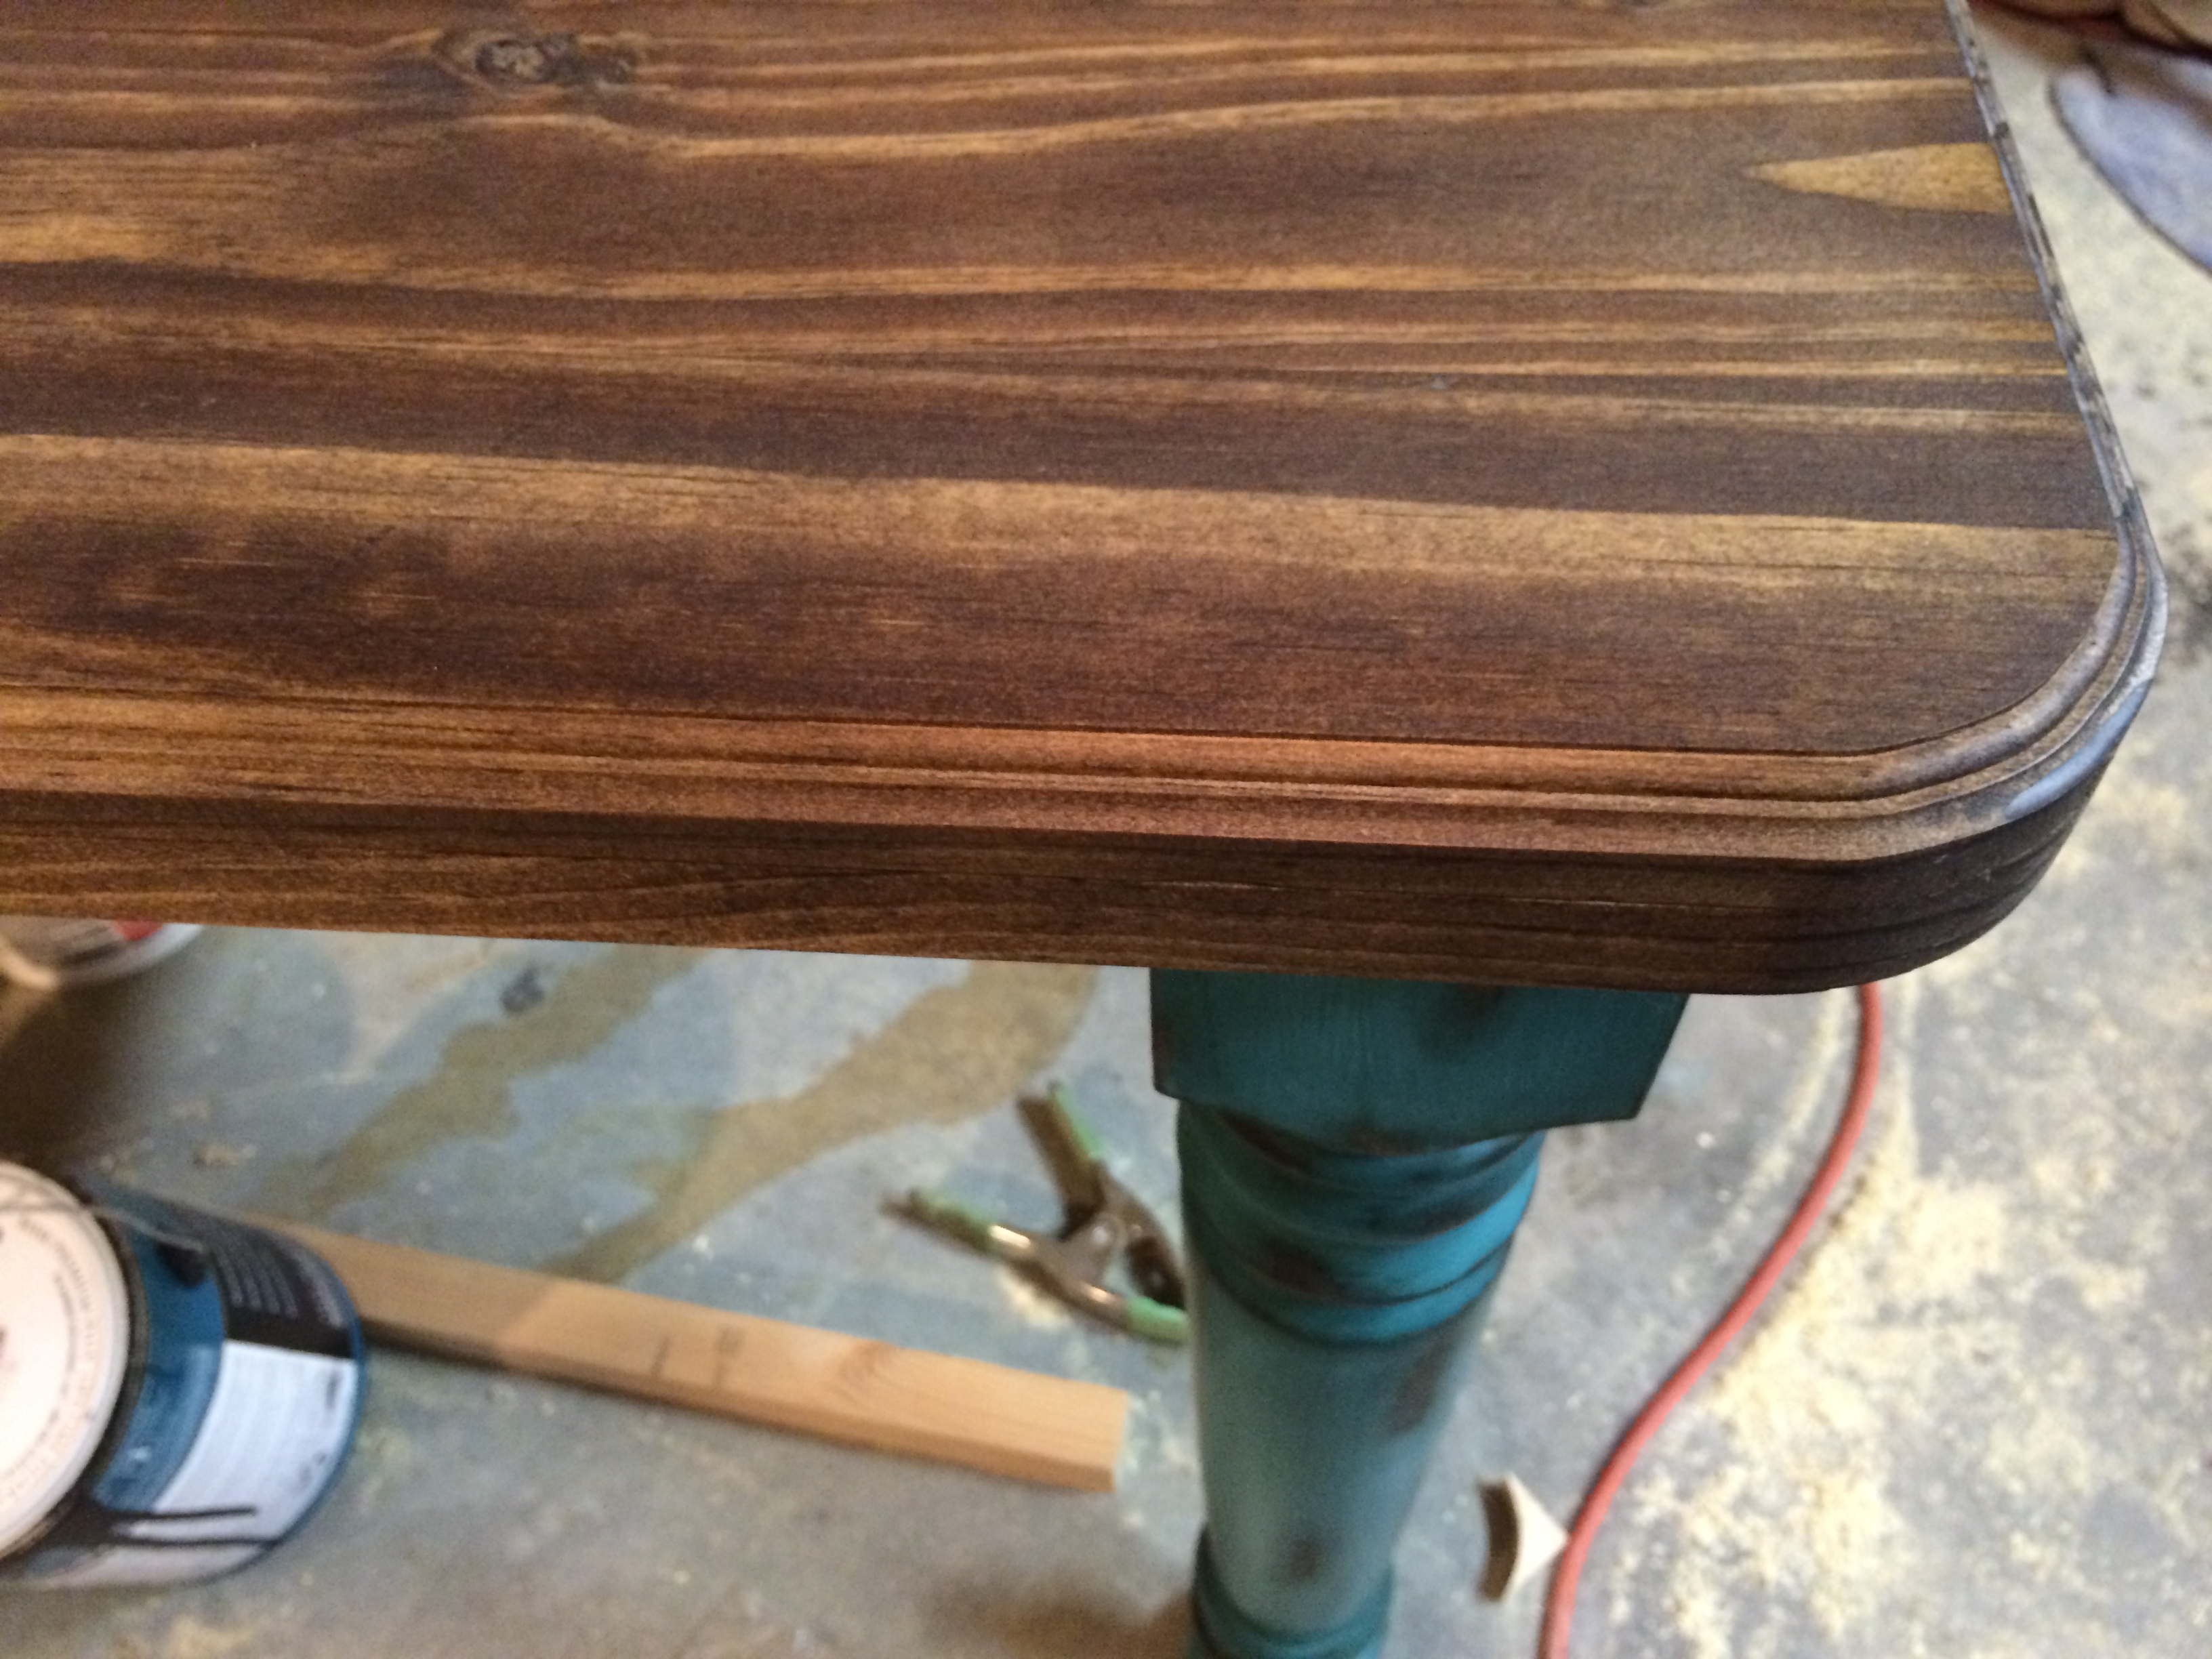
The top, I used two project panels 6' long, finished in Minwax Dark Walnut stain and finished with clear, satin polyurethane.

Thu, 12/04/2014 - 22:42
The turquois legs give this a fun look! Nice Job!
Thanks Ana for this amazing project!
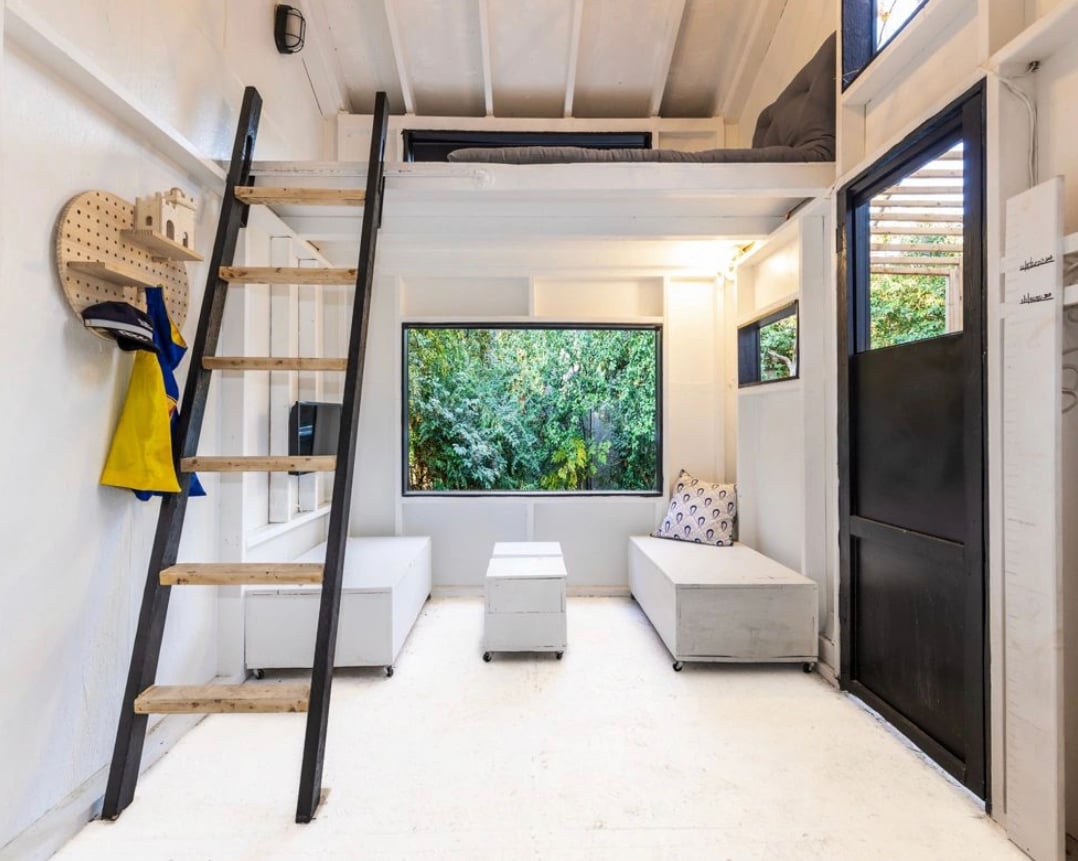
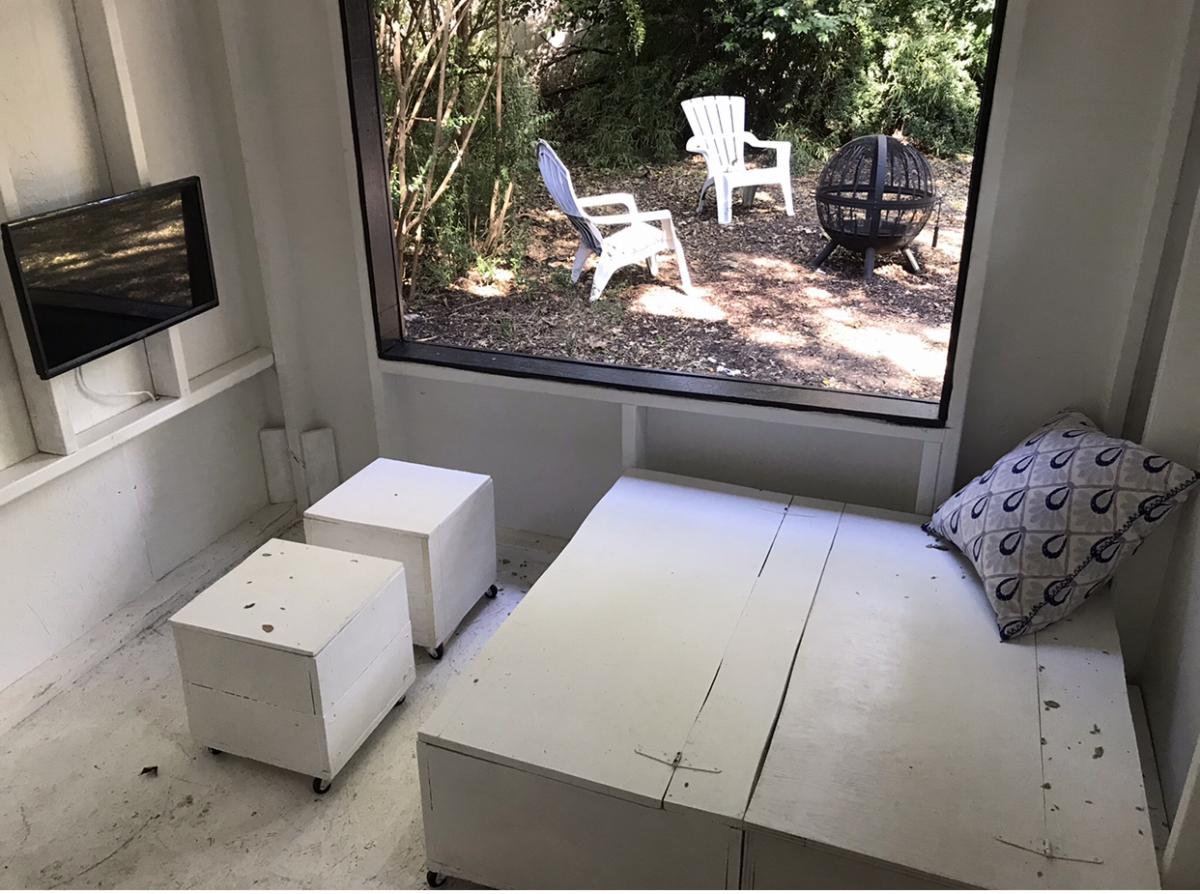
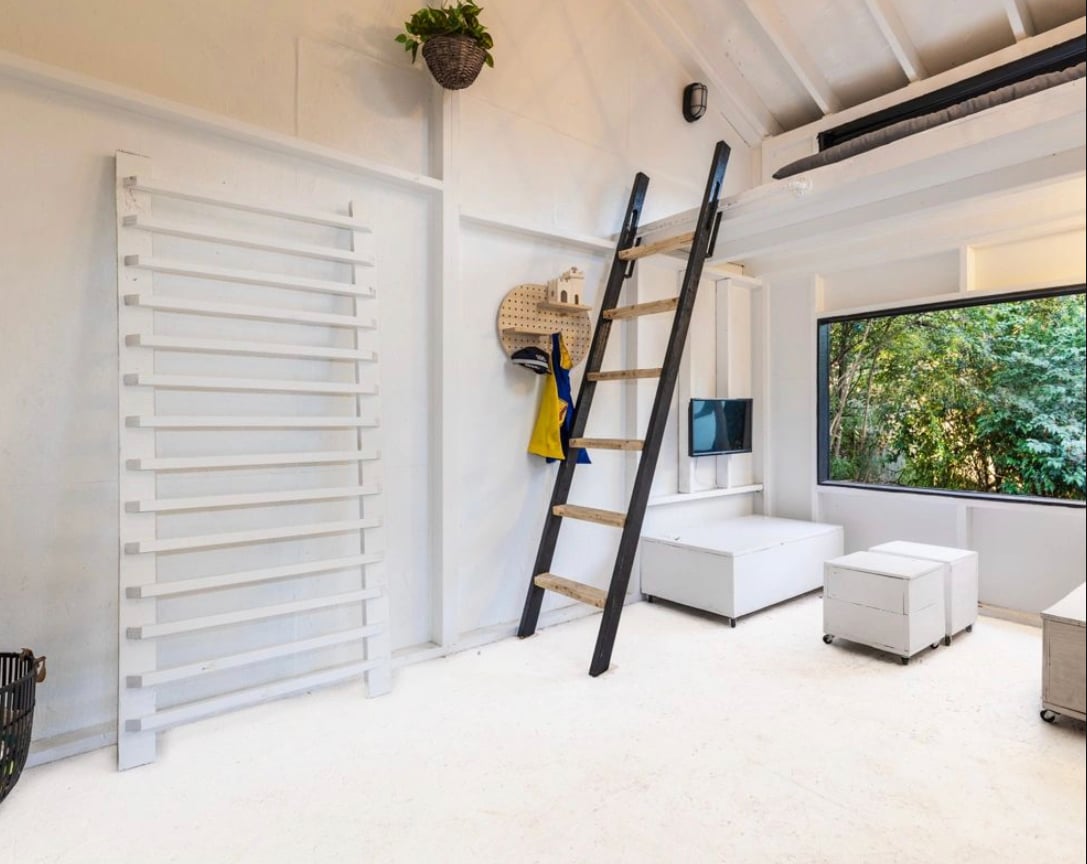
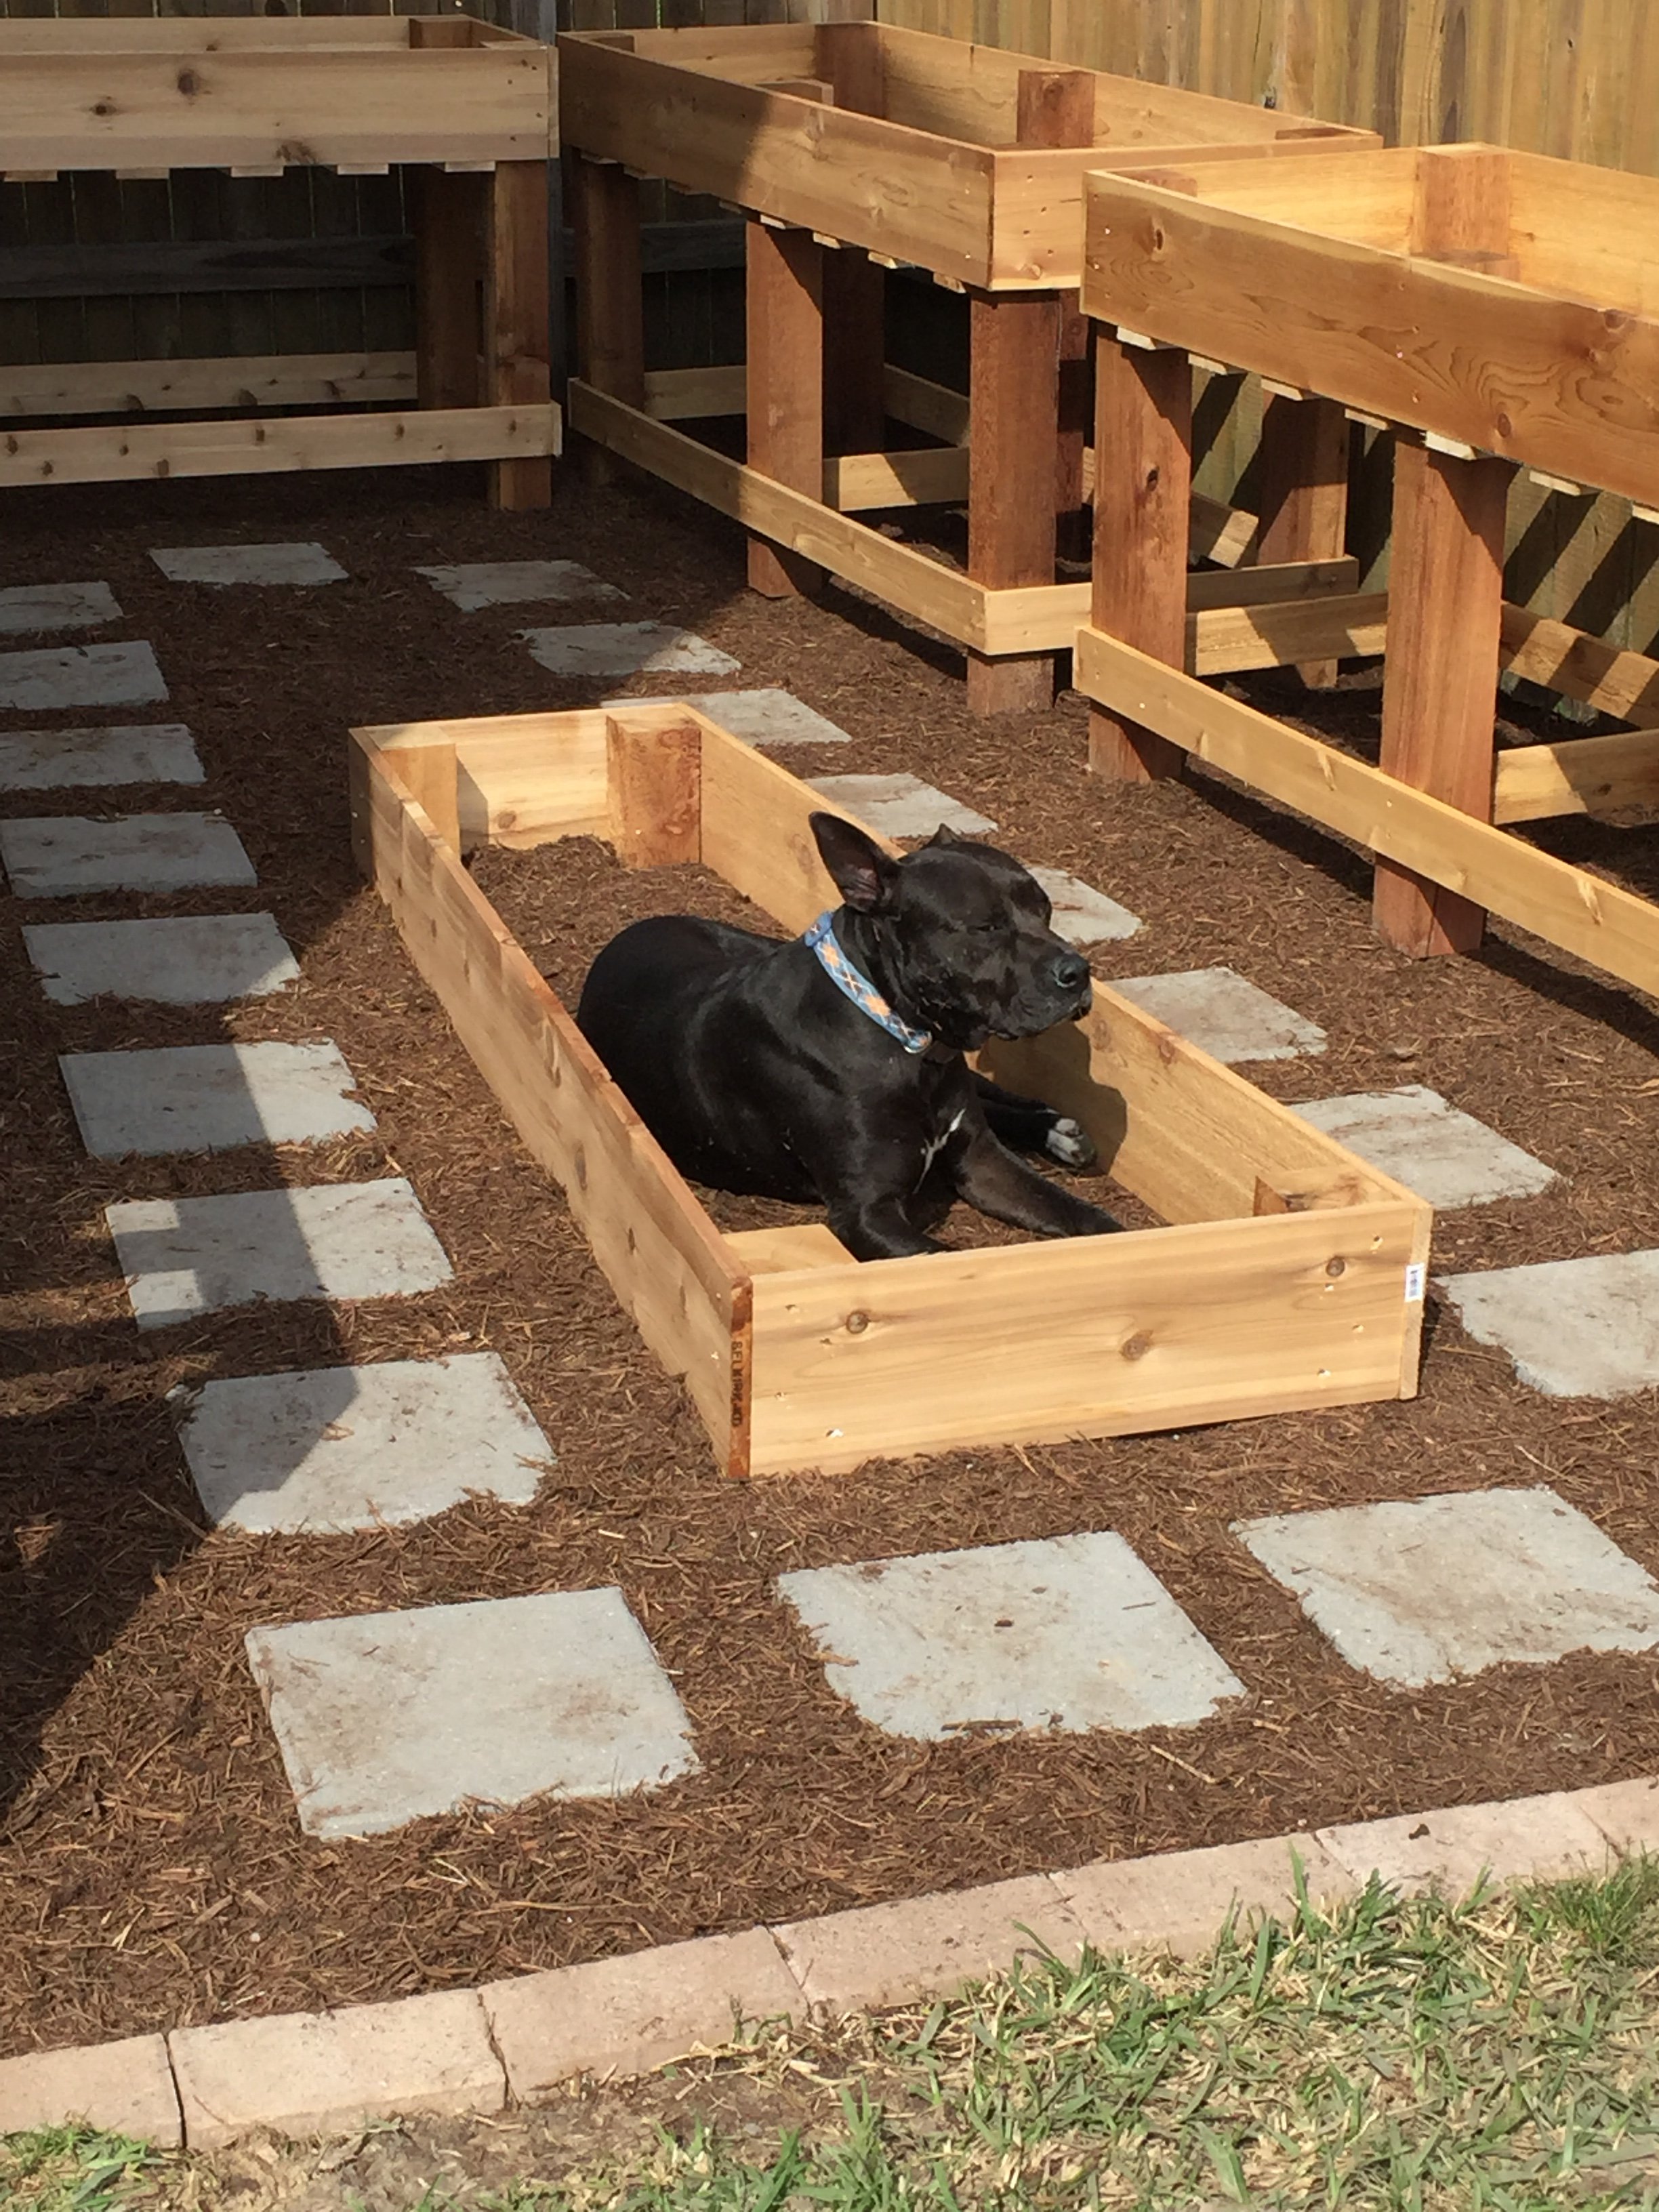
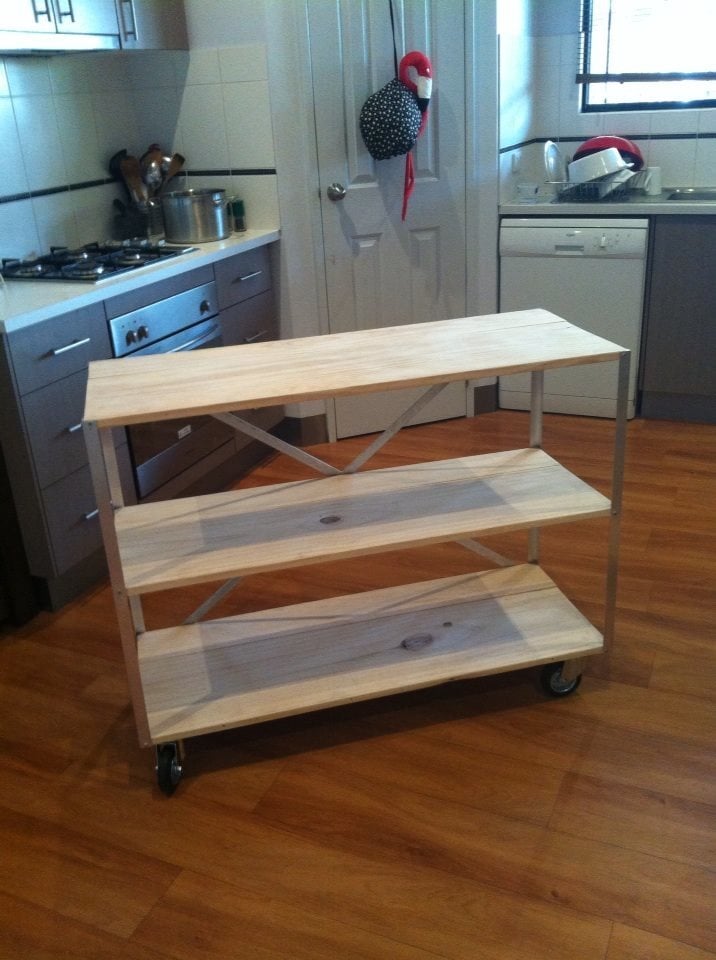
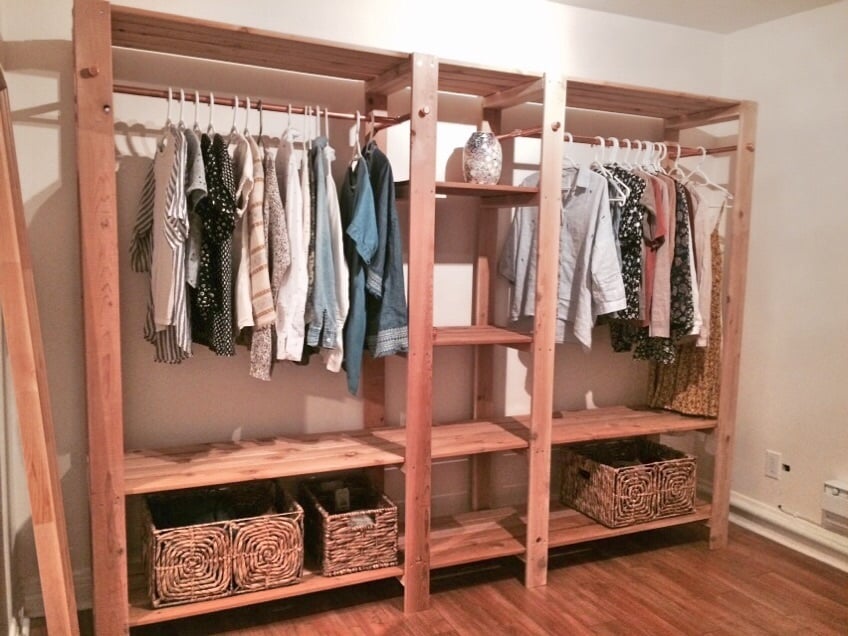
Thank you for the inspiration and plans to build the highly functional and stylish storage + seating solution! You used it for tiny house and I used it in children’s playhouse - it’s been excellent for toy storage! I also love that each piece is on wheels (even the stools that double as coffee table) - very smart and functional. I actually built another one for my garage and use that one for tool and hardware storage. Bravo Ana! Thanks again 😊