Grid Mirror
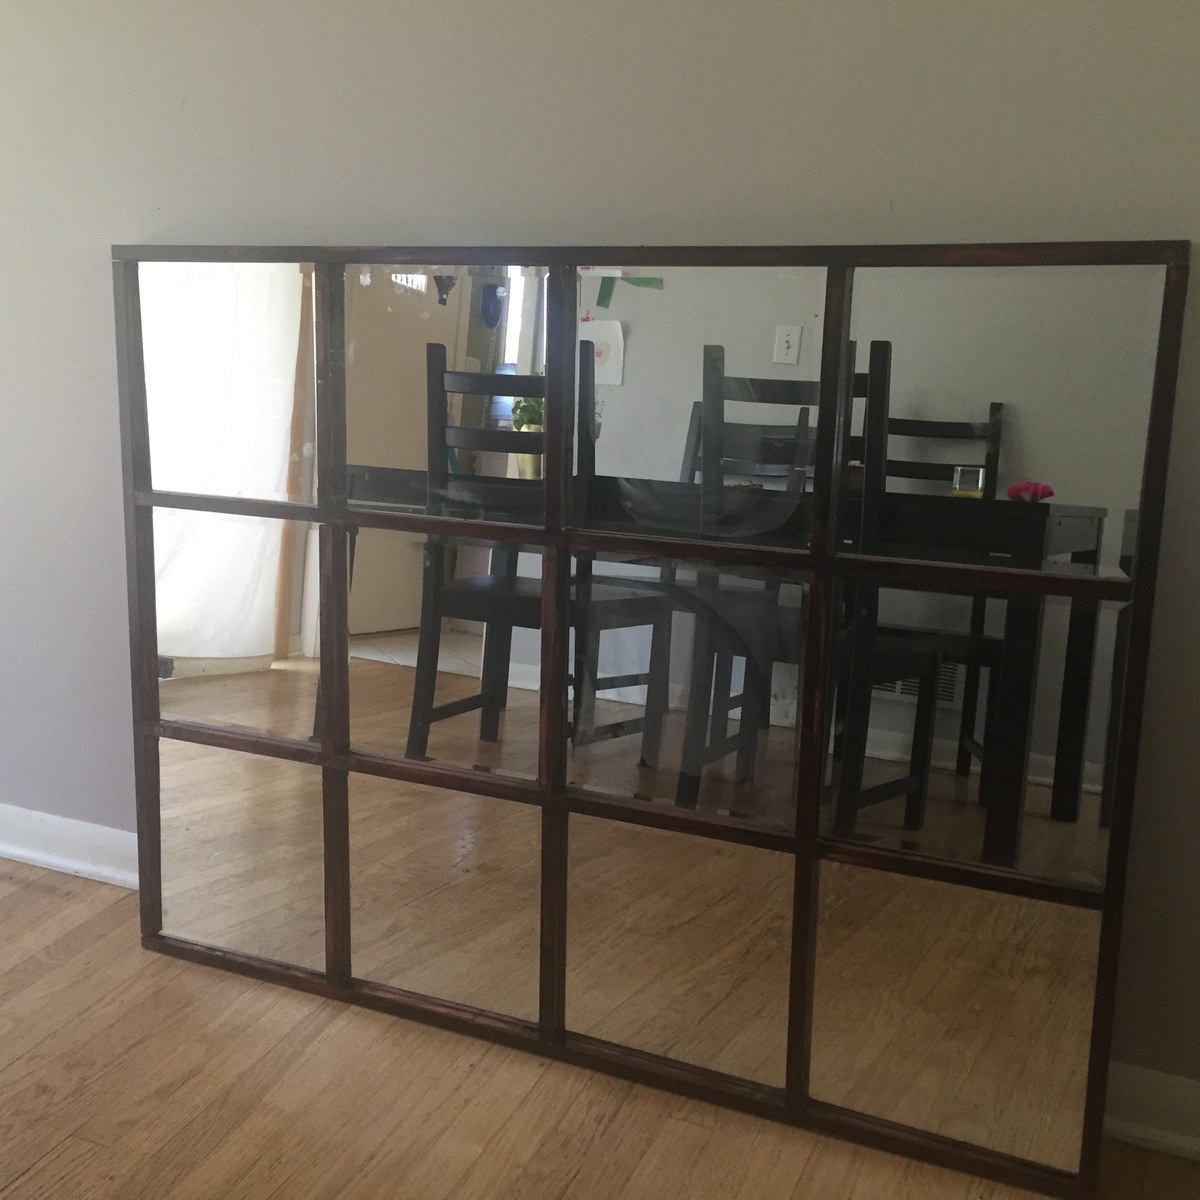
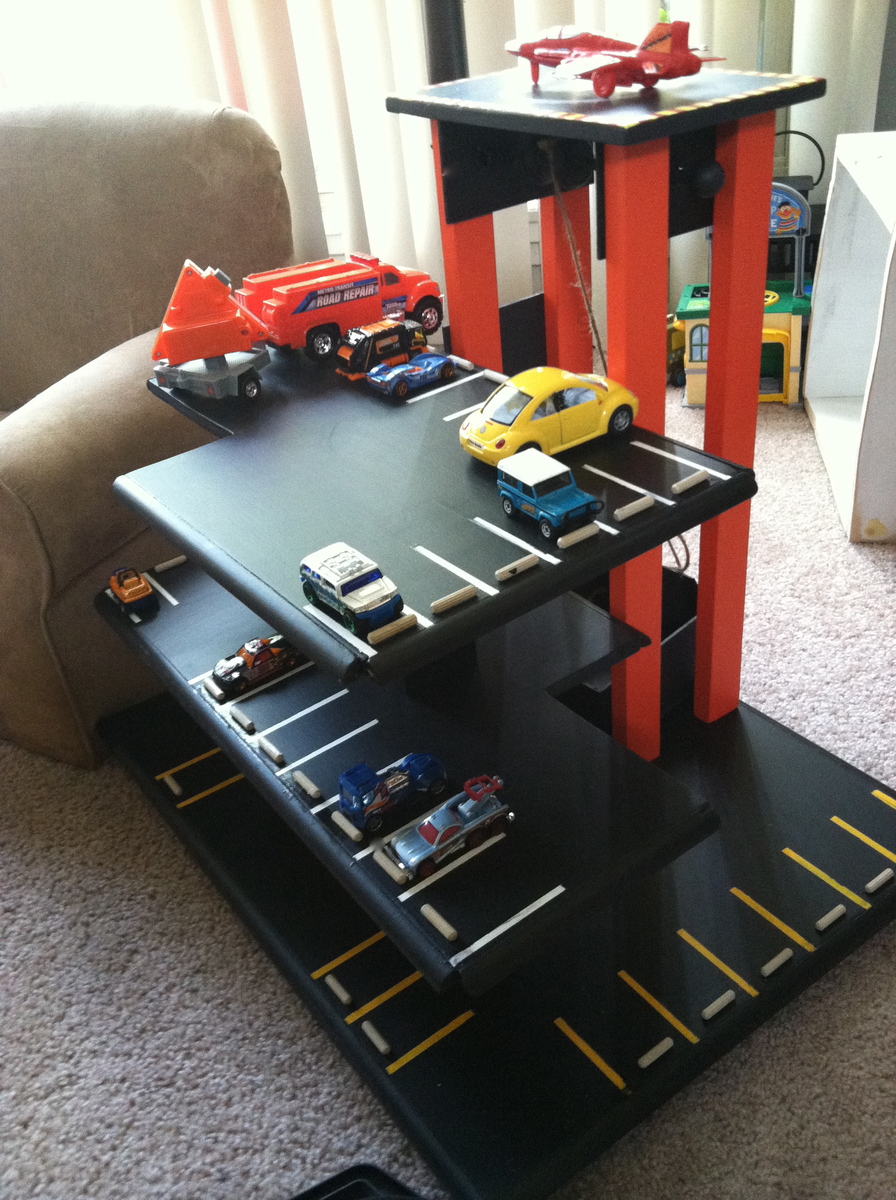
Found the project on Ryobi Nation http://www.ryobitools.com/nation/projects/3983
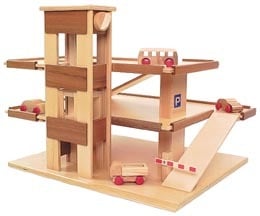
Built from Plan(s)
Estimated Cost
60$
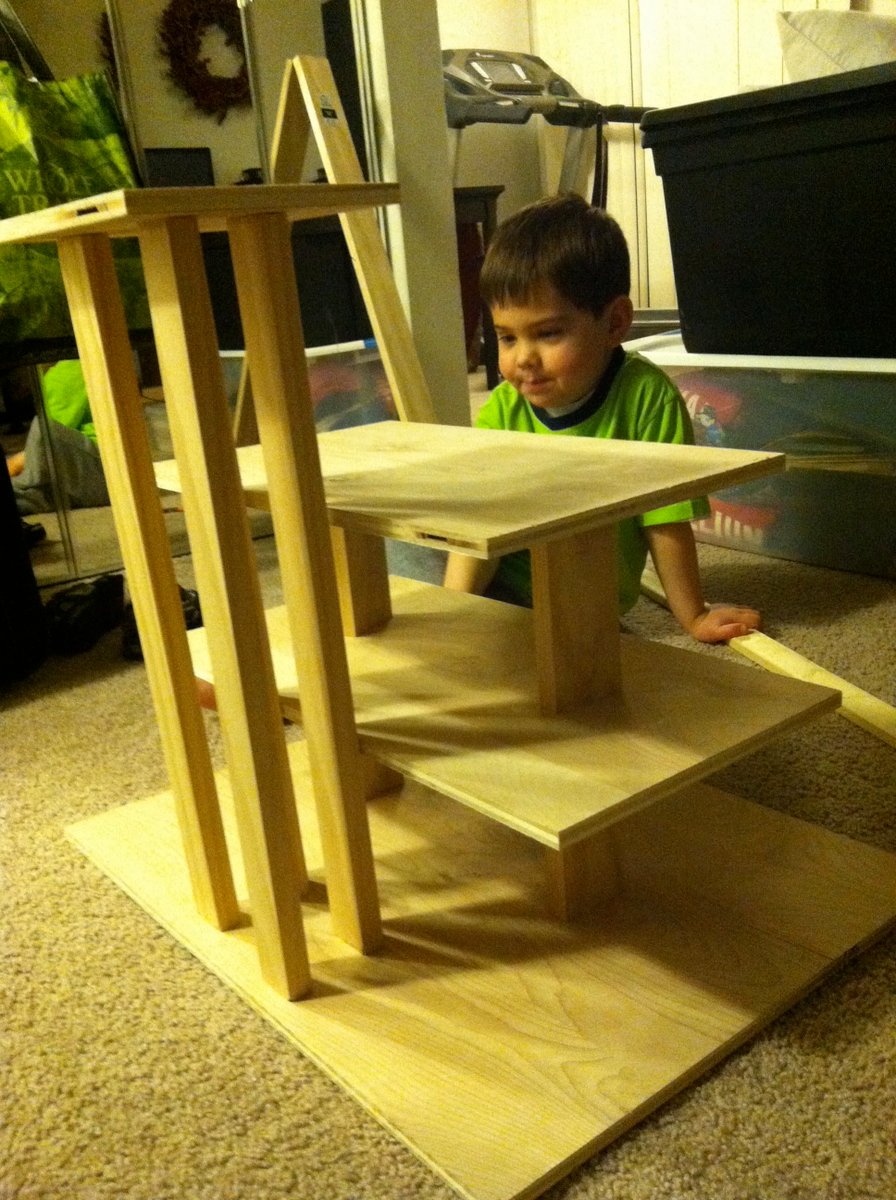
Estimated Time Investment
Afternoon Project (3-6 Hours)
Recommended Skill Level
Beginner